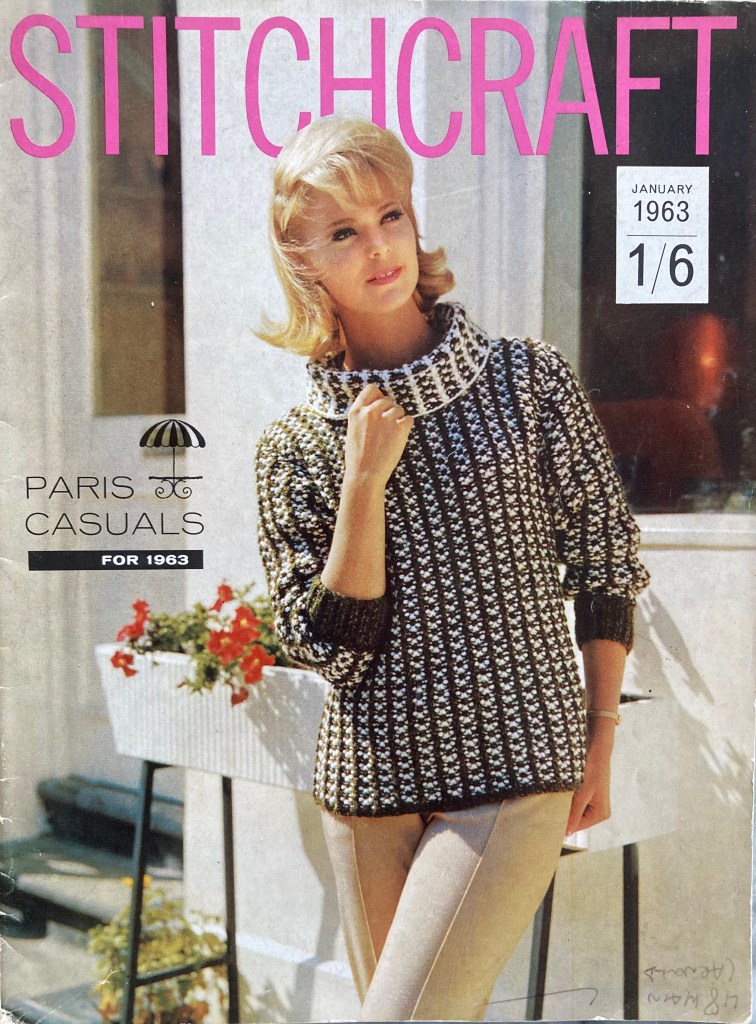
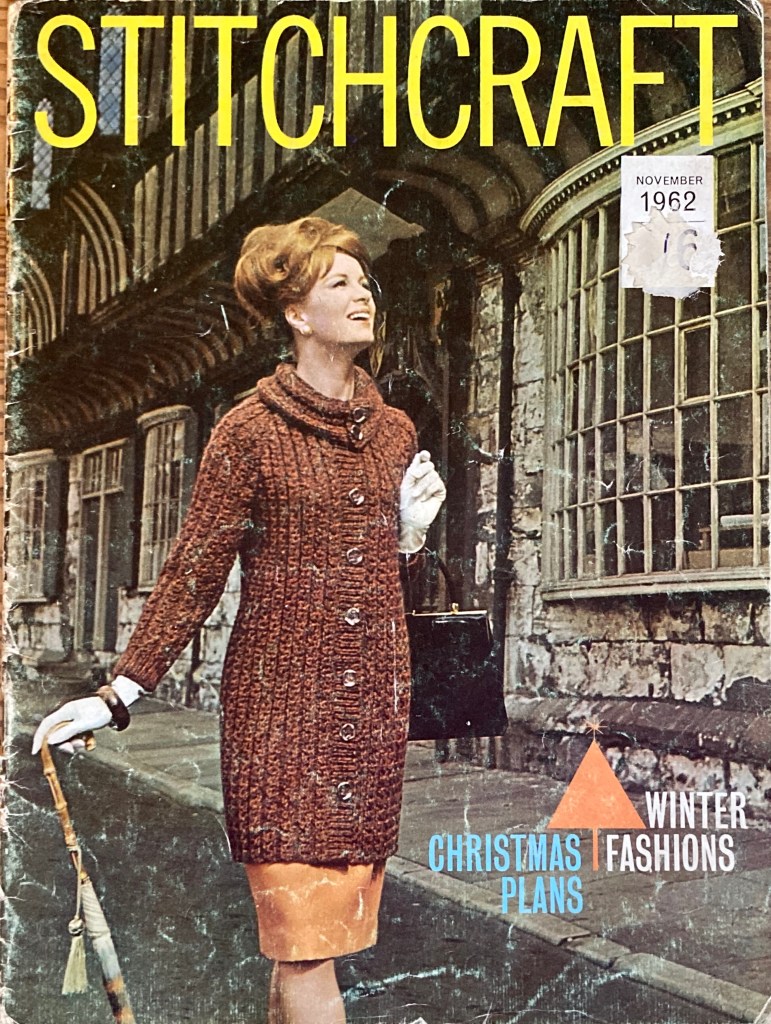
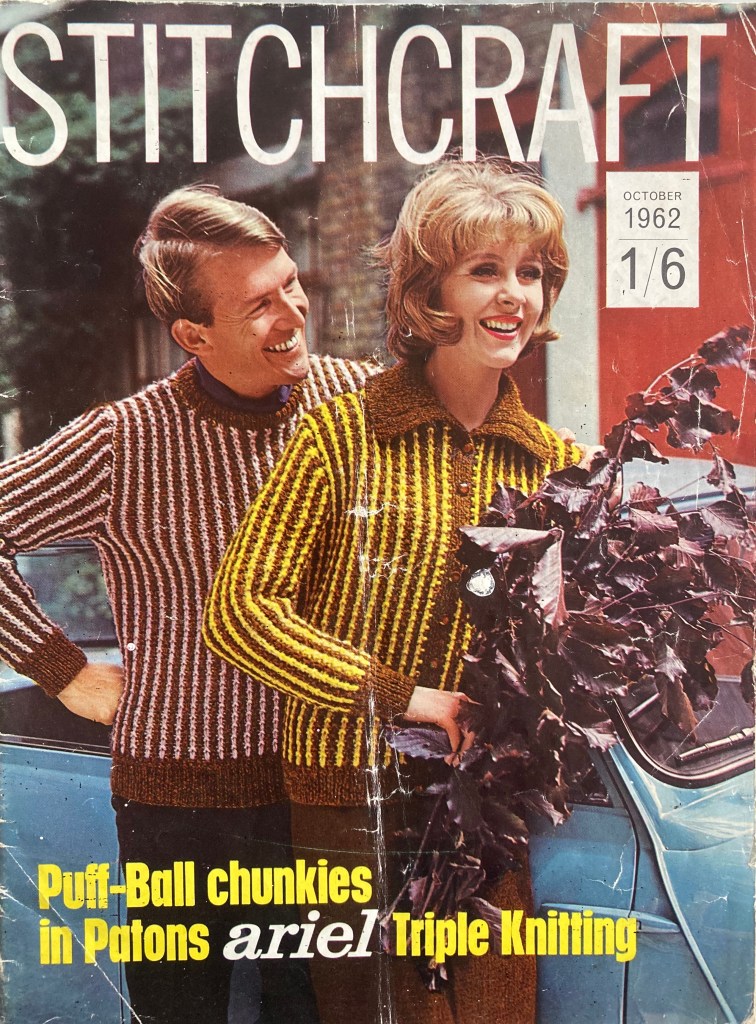
Start your engines and give that propeller a whirl! The theme of this month’s issue is “Fashion On The Go” and the photo team really outdid themselves in showcasing adventurous and enjoyable modes of transportation. “With the wonderful opportunities for travel”, writes “editress” Patience Horne, “you need clothes that are easy to wear and will carry you through the day without a lot of care and pressing.”
Travel opportunities definitely took off (pun intended) in the early 1960s. Passenger air travel, though still a luxury, became increasingly possible and affordable with the advent of jet aircraft. Ocean liners, challenged by the rise of air travel, revamped into cruise ships. The Eurail train pass was introduced in 1959. Huge improvements in automobile technology and design made the freedom of the open road more tempting and accessible than ever. Yearly sales of Vespa scooters doubled from 1956 to 1960. Of course there was very little, if any, concern for environmental factors, and the oil crises of the 1970s were far in the future. There was no better time to travel.

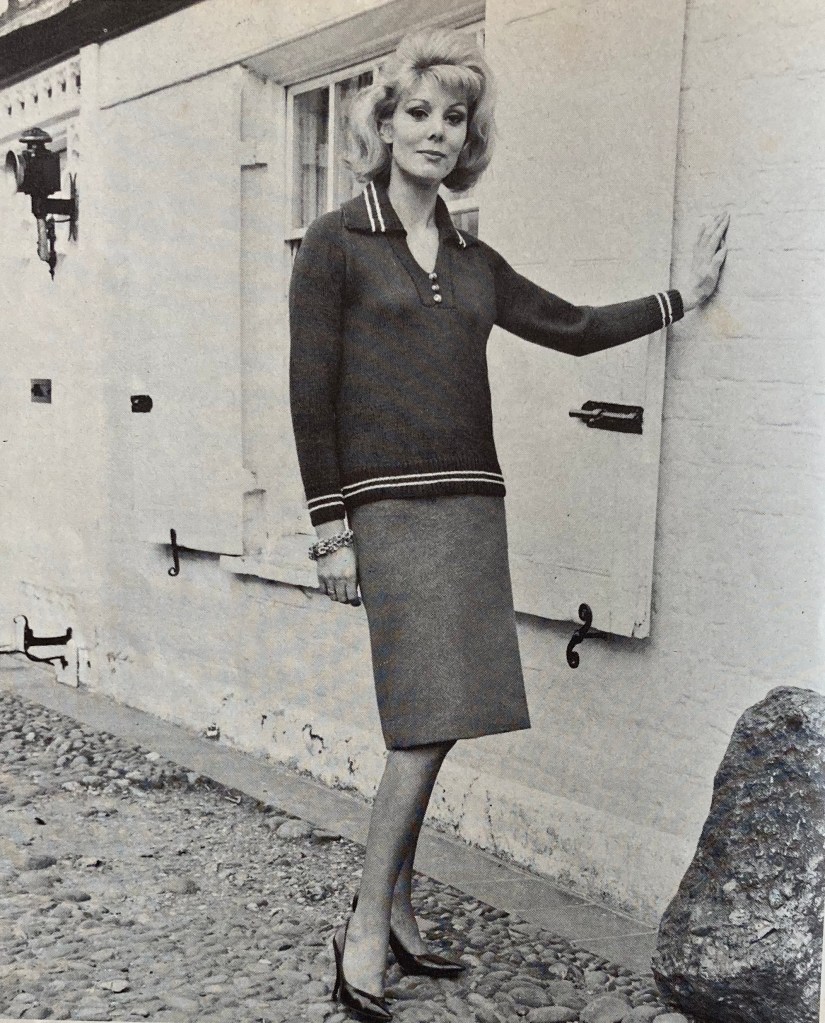
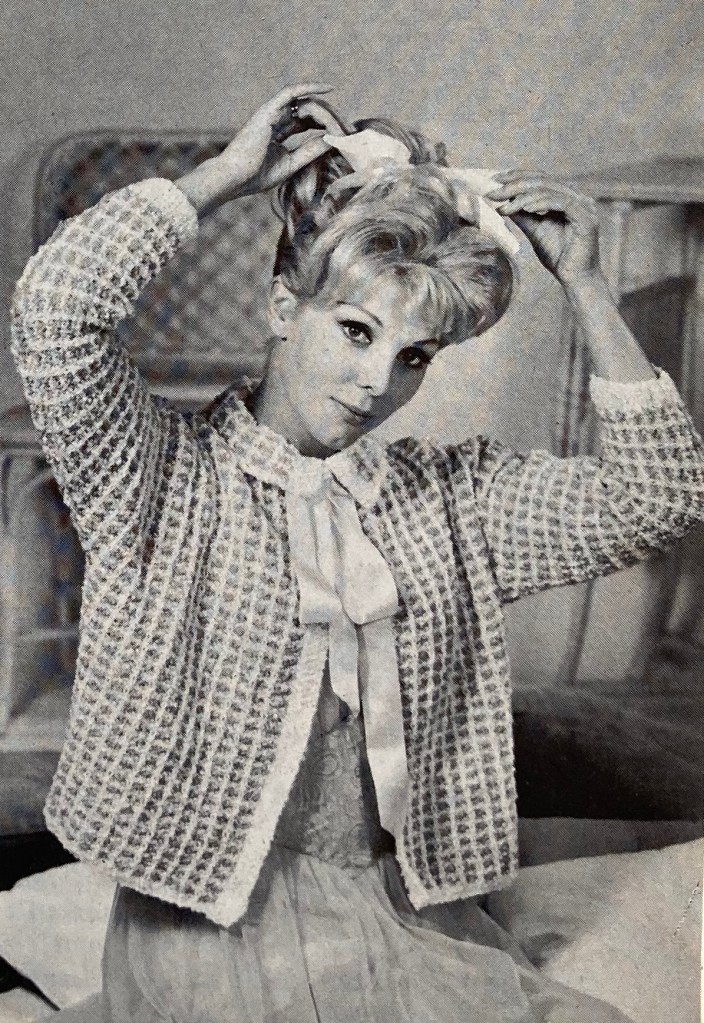
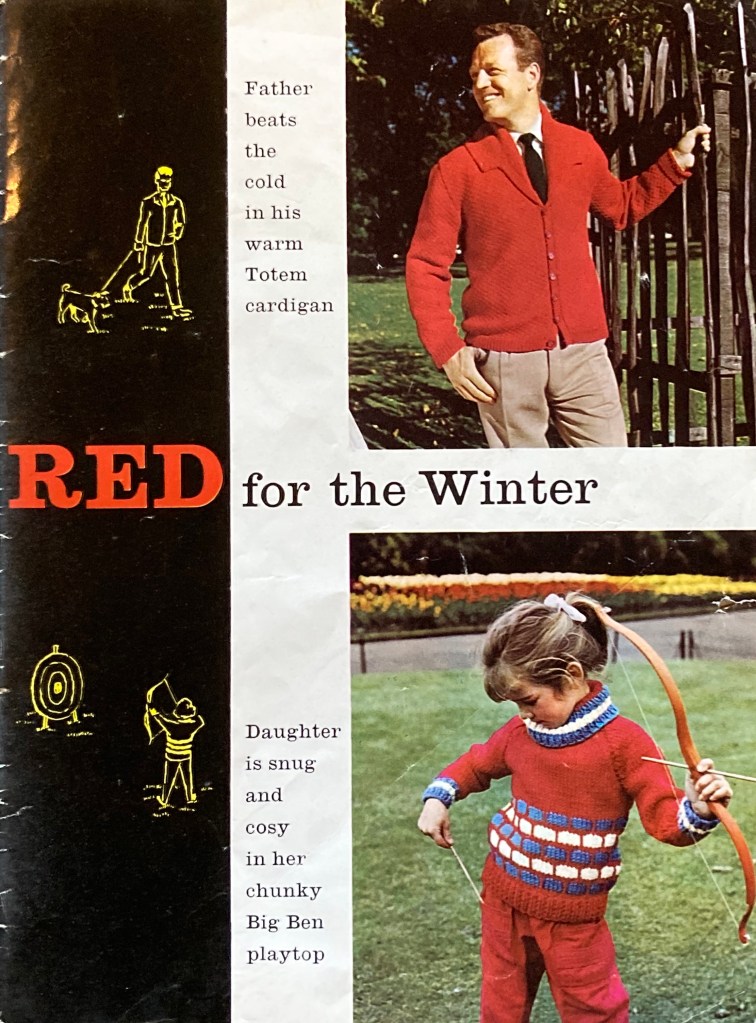
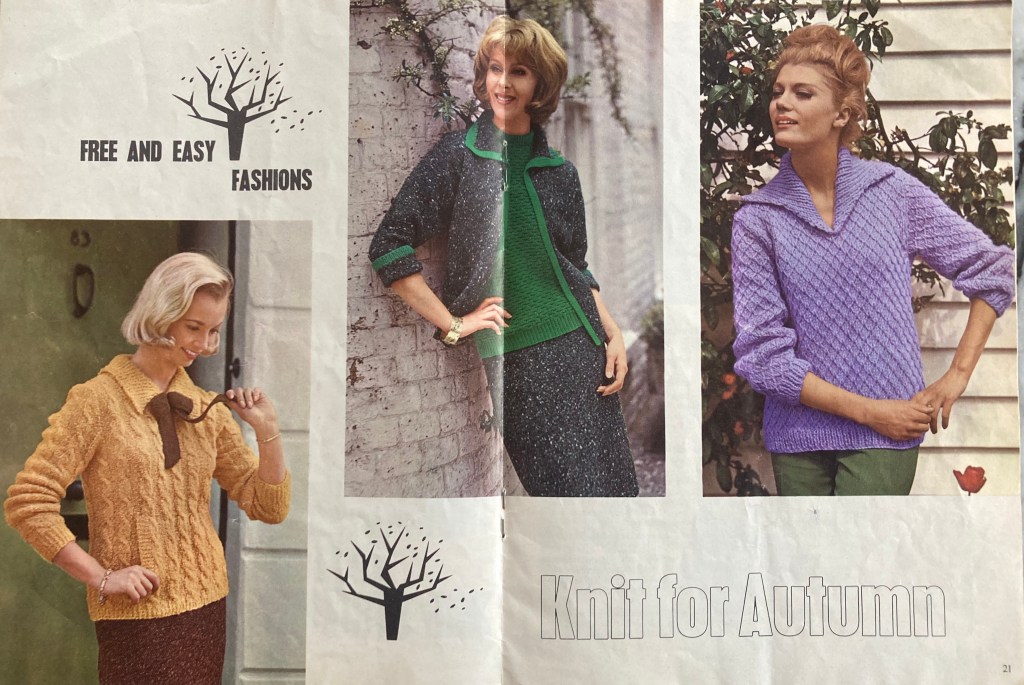
On the race-car track, our cover model is wearing her “Paris Flash Slimline Blazer” — a simple but elegant jacket in moss stitch — and her colleague is sporting a “Double Quick shirt waister” that promises to be “the perfect travelling dress”. In a lovely juxtaposition of modernity and history, the model in the photo next to her is posed in front of what looks like an old-fashioned, horse-drawn stage coach! Her twin-set is made in finer 4-ply wool and though you can’t see it in the photo, the jumper is made in normal stocking stitch and the cardigan in reversed stocking stitch. In a separate photo, you see her posed in front of a horse box — no doubt one of the horses who pull the coach. Train travel is covered with a beautiful photo of this tweedy green travelling coat. It looks very cosy, but as it is made from 60 ounces (!! 3 3/4 pounds or 1700 grams !!) of extra-bulky, extra-heavy Big Ben wool and unlined, I can only imagine how it will stretch and sag with time and wearing.


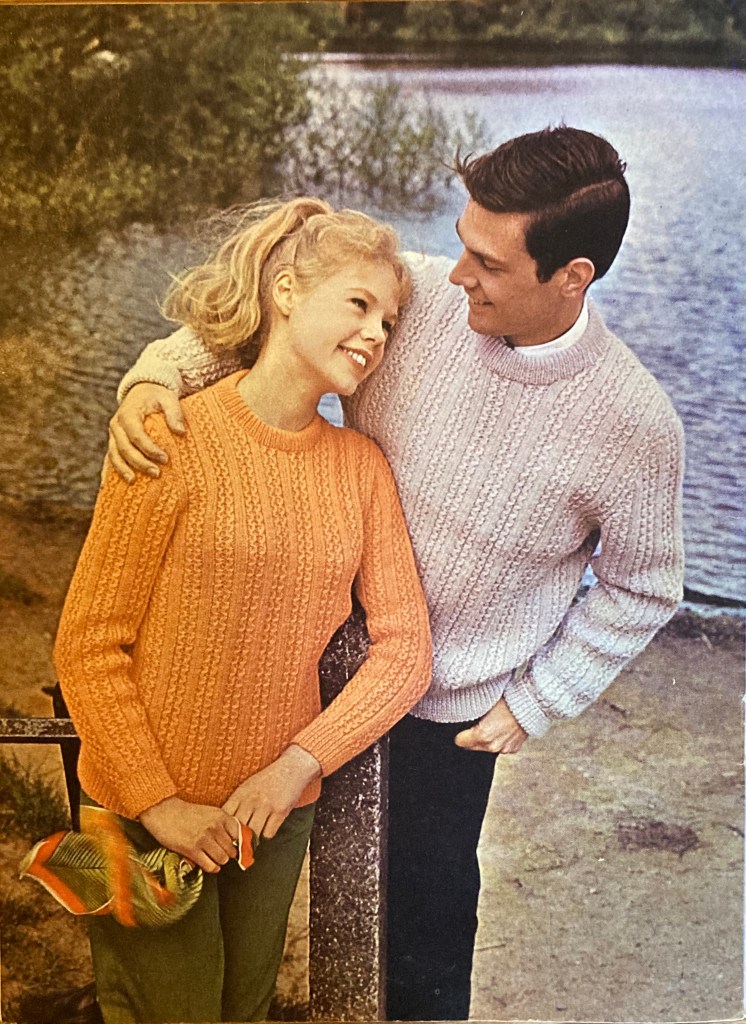
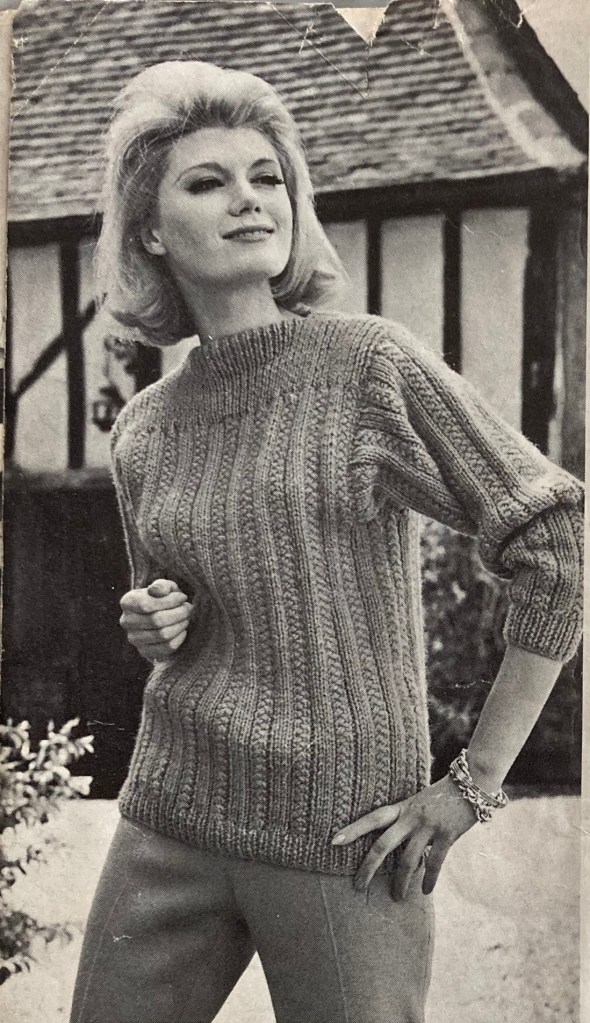
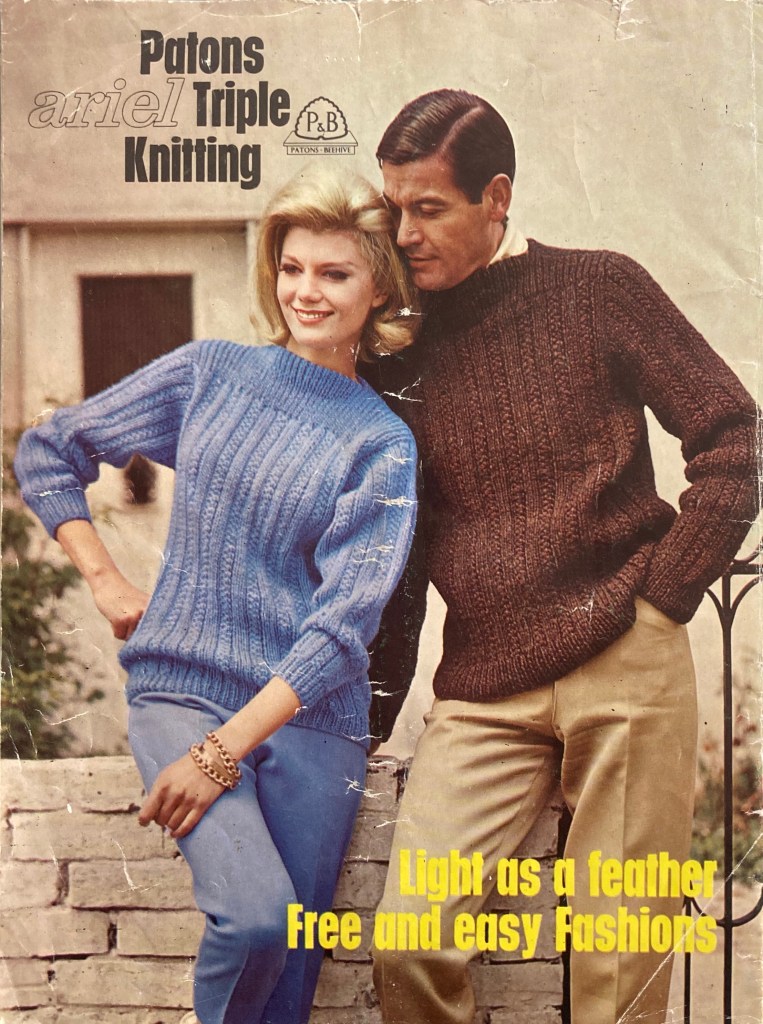
The centerfold photo showcases more glamorous nautical and aerial travel opportunities. (I am sorry to say that the photo is blurry in the magazine, not just in my photo.) The “boat-deck sweaters” are both in double knitting weight with plain stocking-stitch and collared-shirt form for him, fun nubbly Rimple wool and a welted front insertion with cute tied collar for her. Collars, in general, remain well in fashion, though they are not quite as large as in the last few seasons. The airplane enthusiasts in the right-hand photos sport a casual, oversized cabled cardigan in bulky Big Ben wool and a striped dolman-sleeve pullover in double knitting weight. The dolman pullover sits weirdly around the neck and looks like it would be awkward to wear.

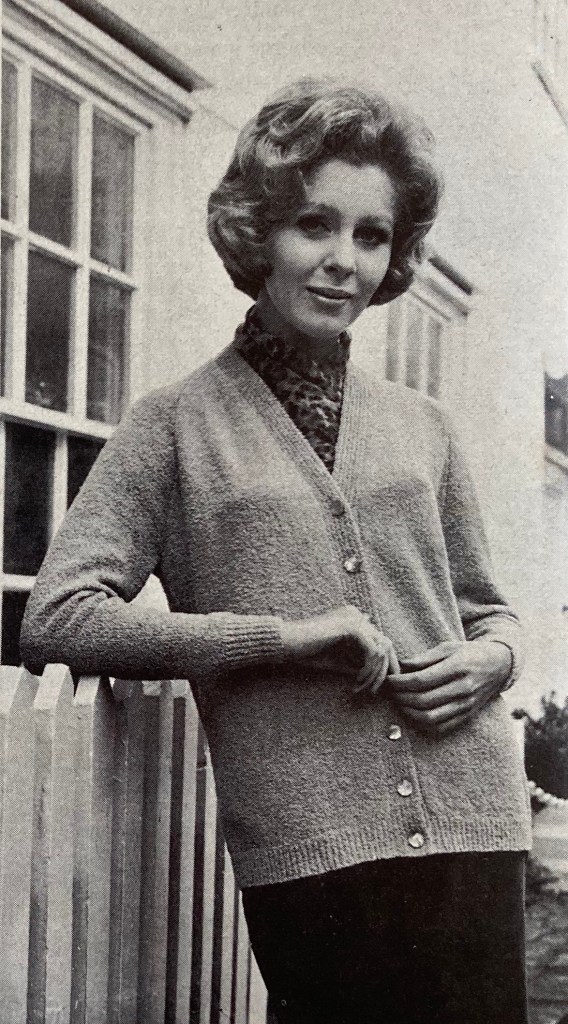
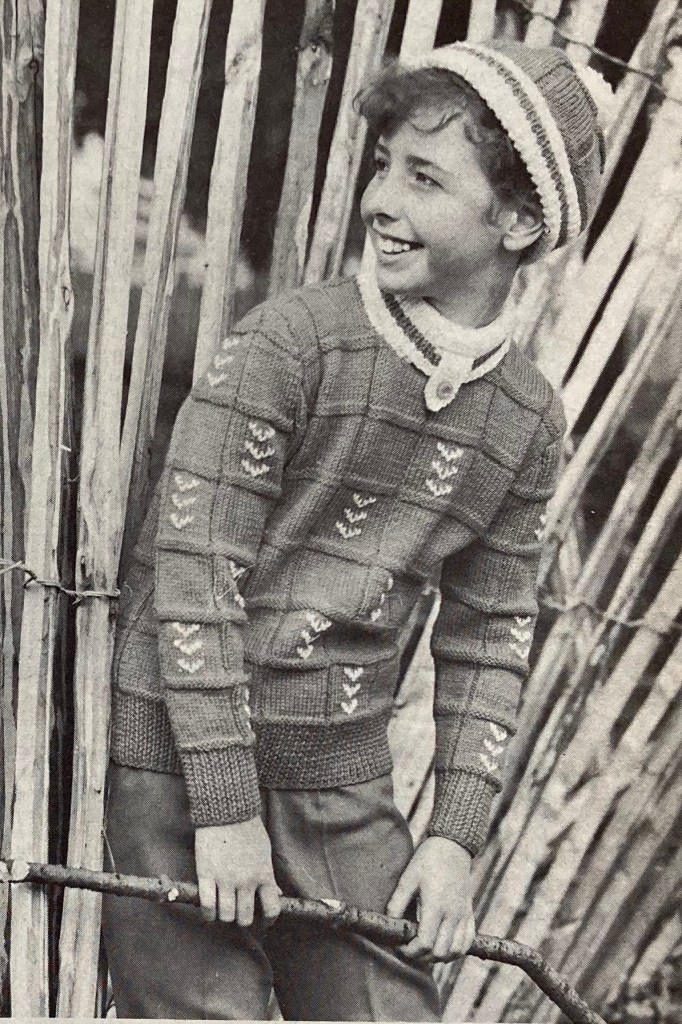
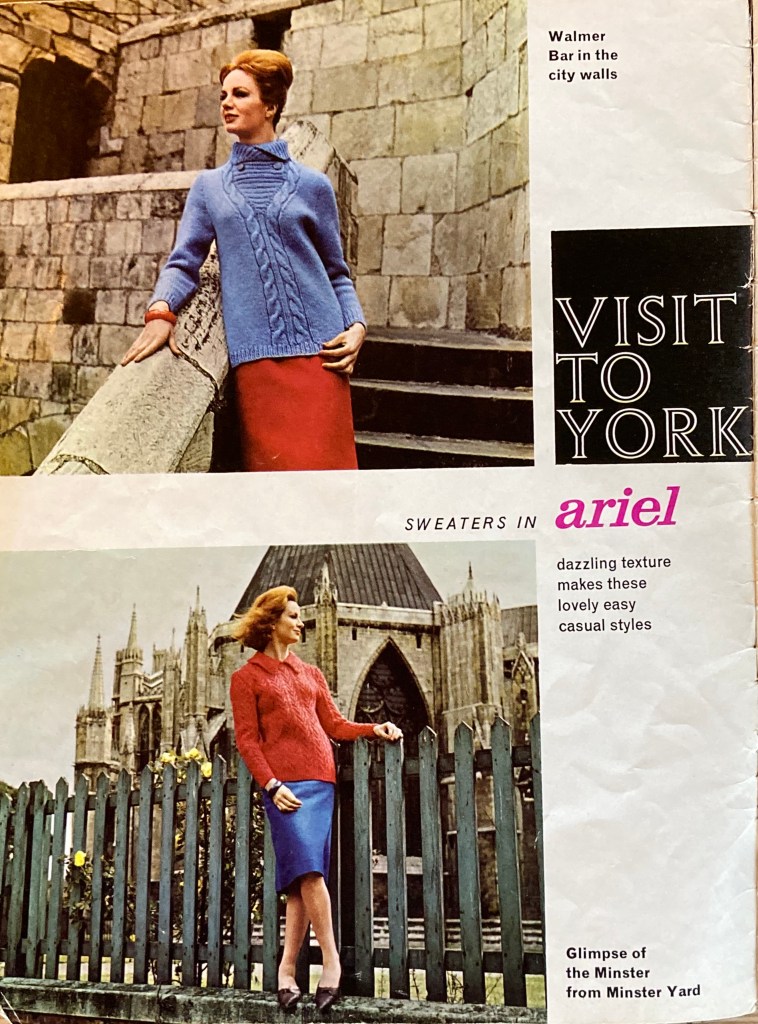
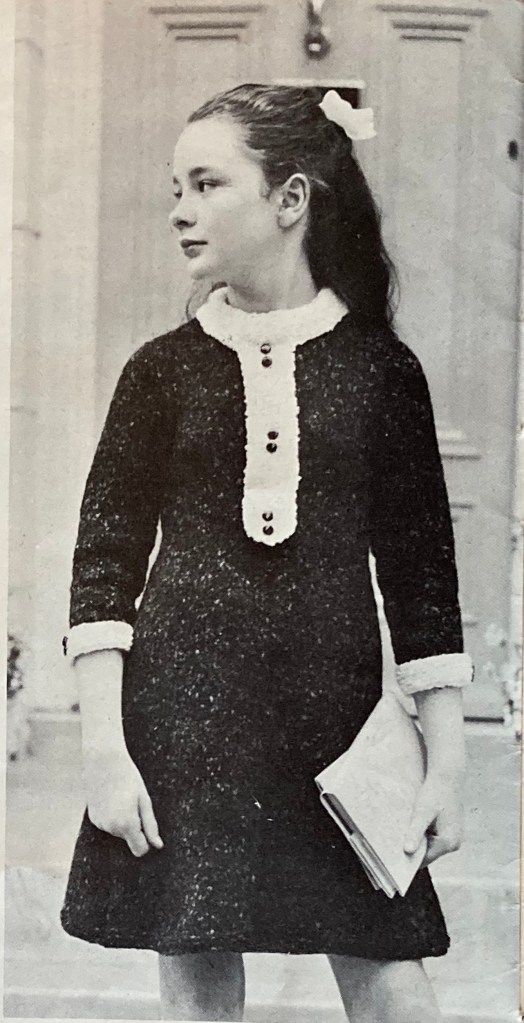
For those who prefer more leisurely ways to travel, i.e. walking around town, here’s a “stroller sweater” in fluffy Ariel and a sort of diagonal basketweave stitch pattern. Even the children get a travel-themed photo, if only in the studio! While the little sister is very keen to drive her wooden locomotive, big brother is apparently tired of playing conductor (but still blocking the tracks…) They’ve both got wonderful things to wear. The two-tone pleated skirt is knitted sideways and the pleats sewn in with the making-up, and his light-weight pullover has another fun diagonal knit-and-purl pattern.


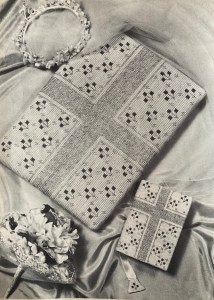
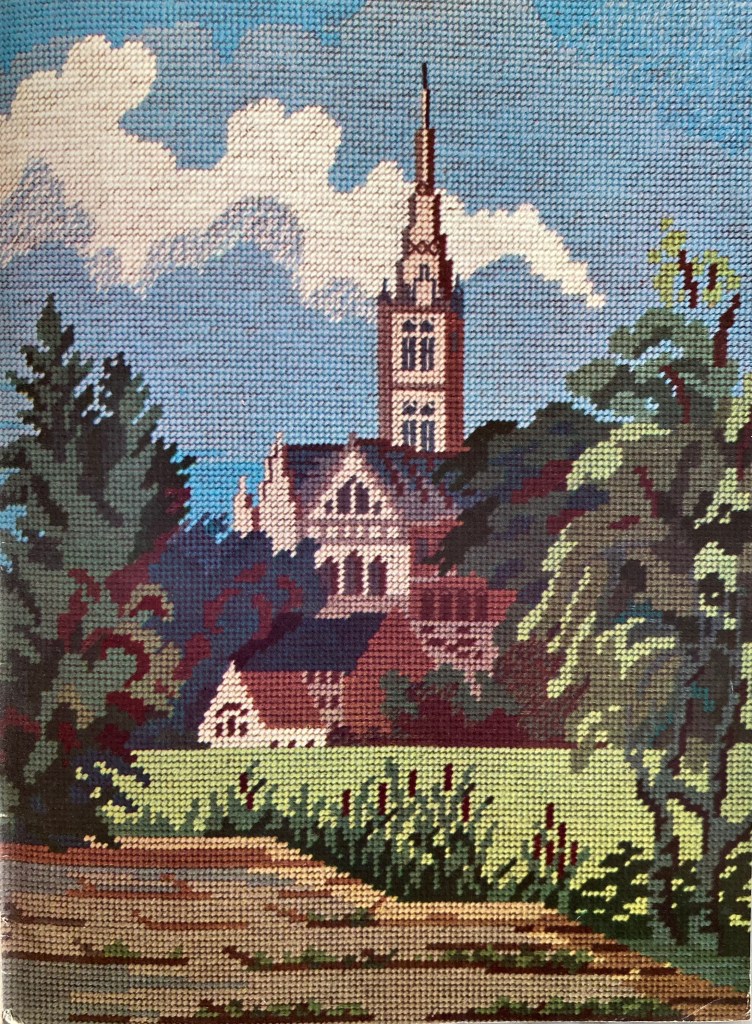
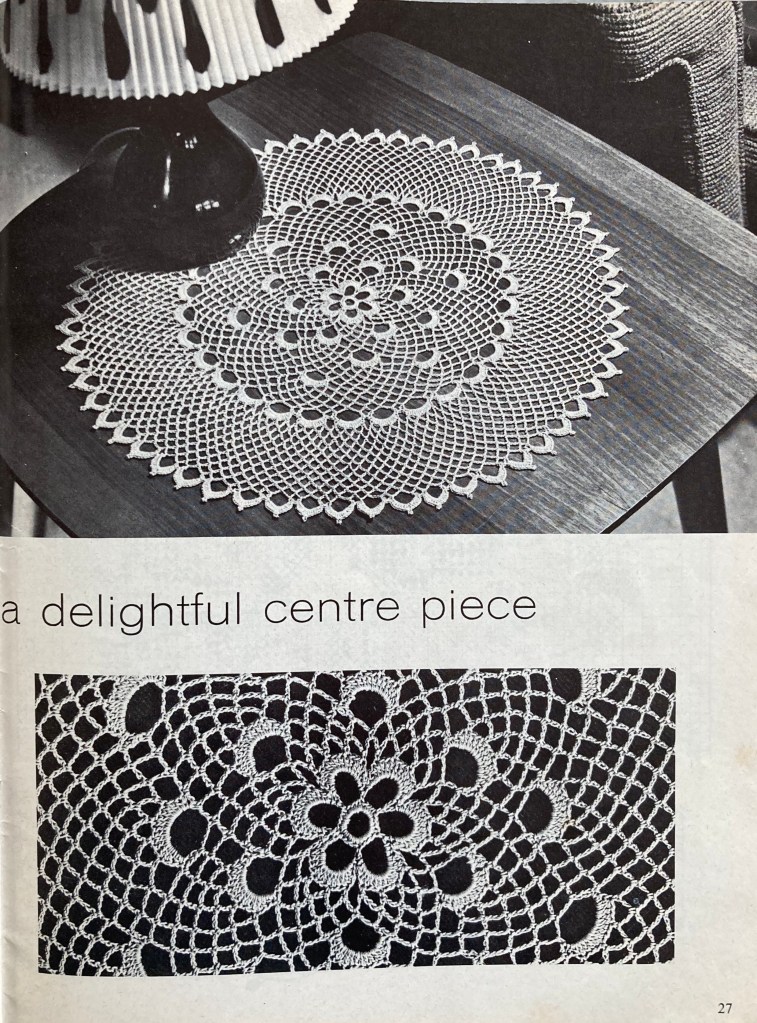
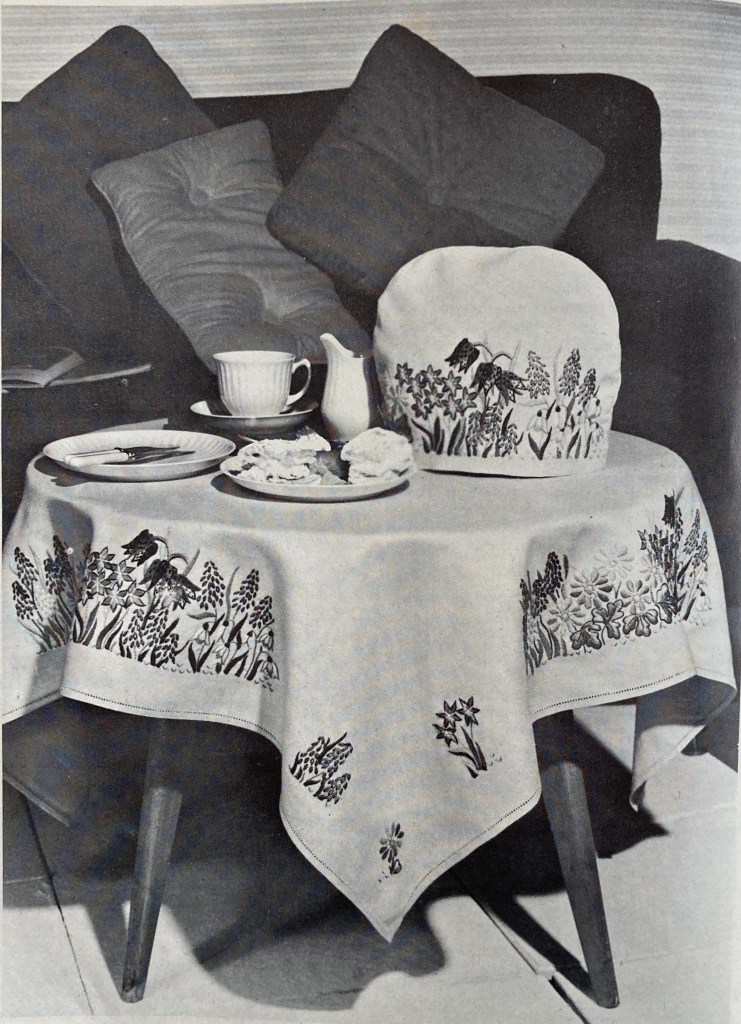
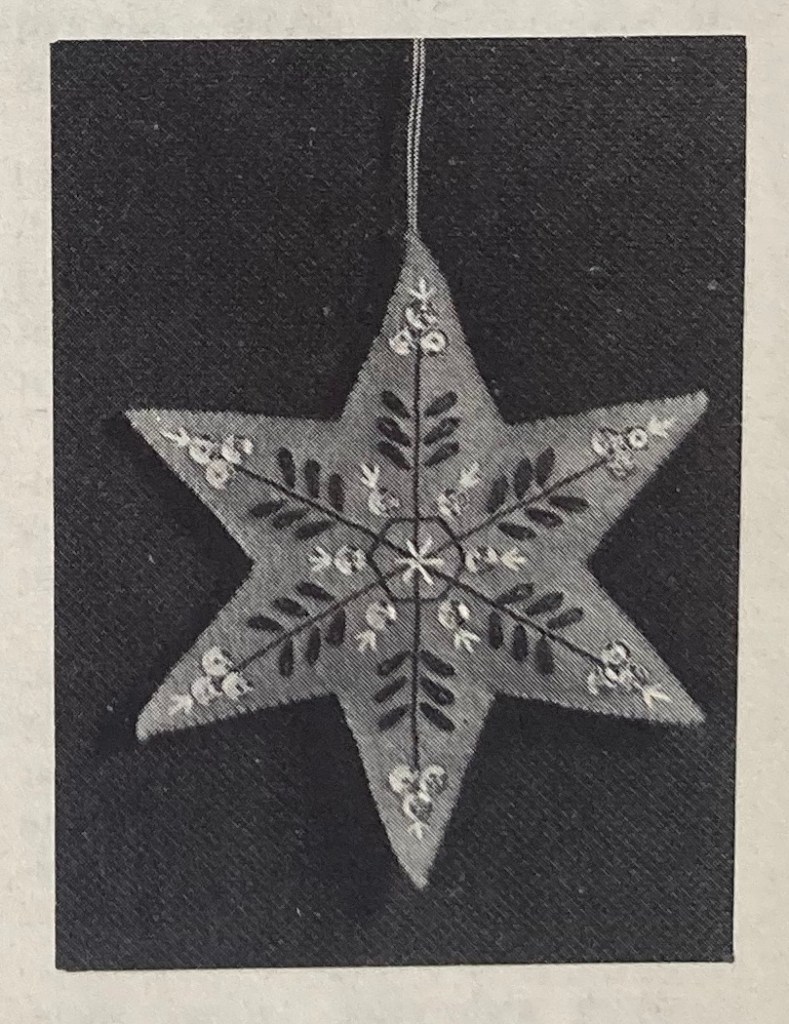
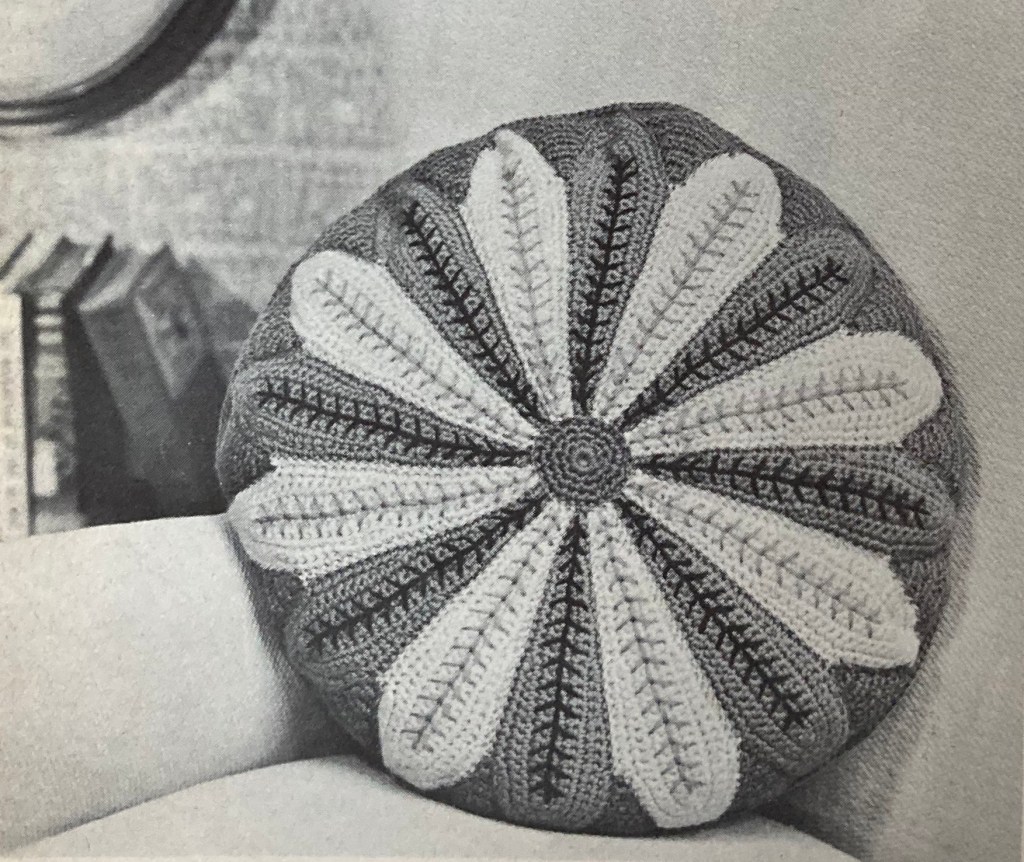
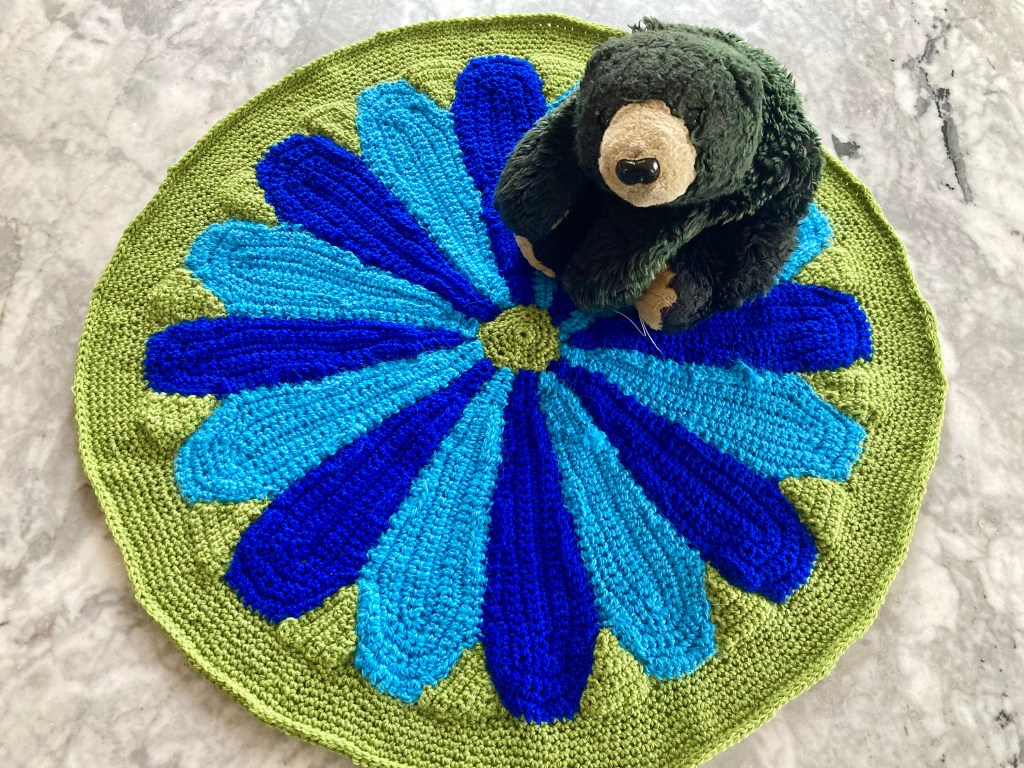
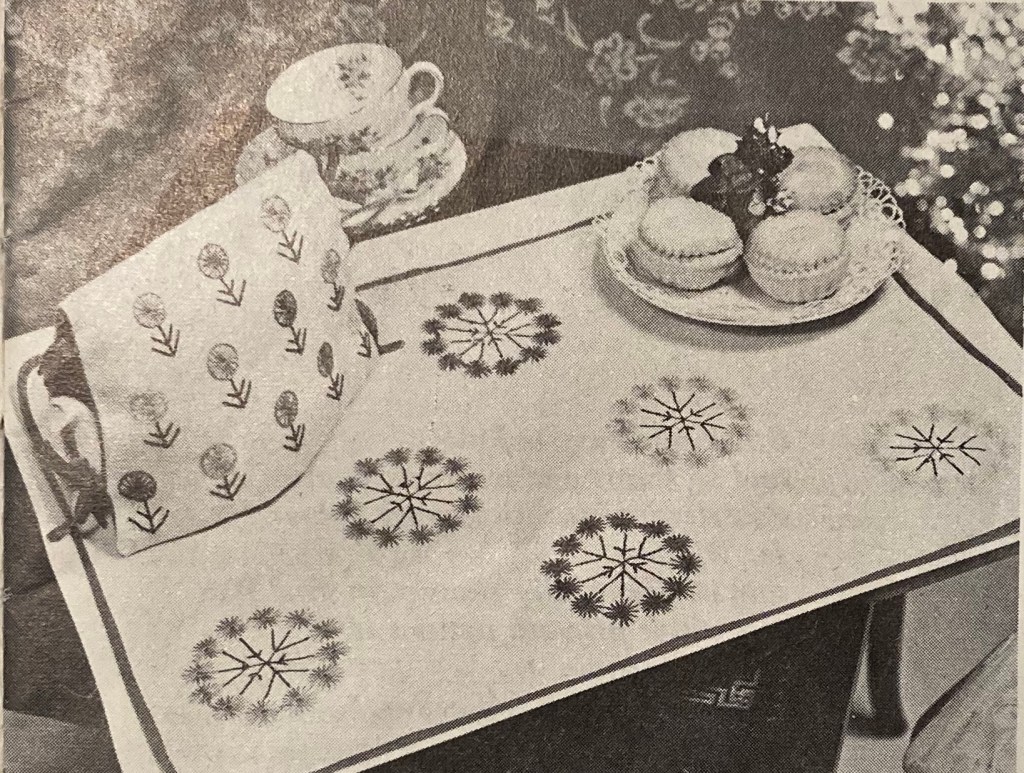
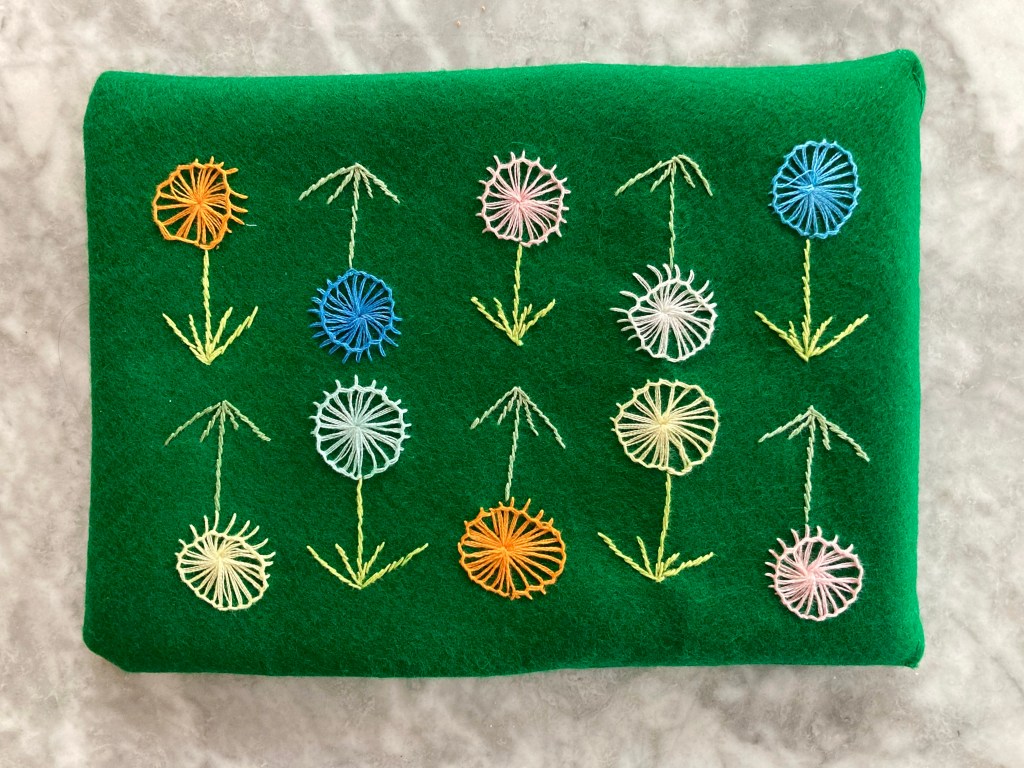
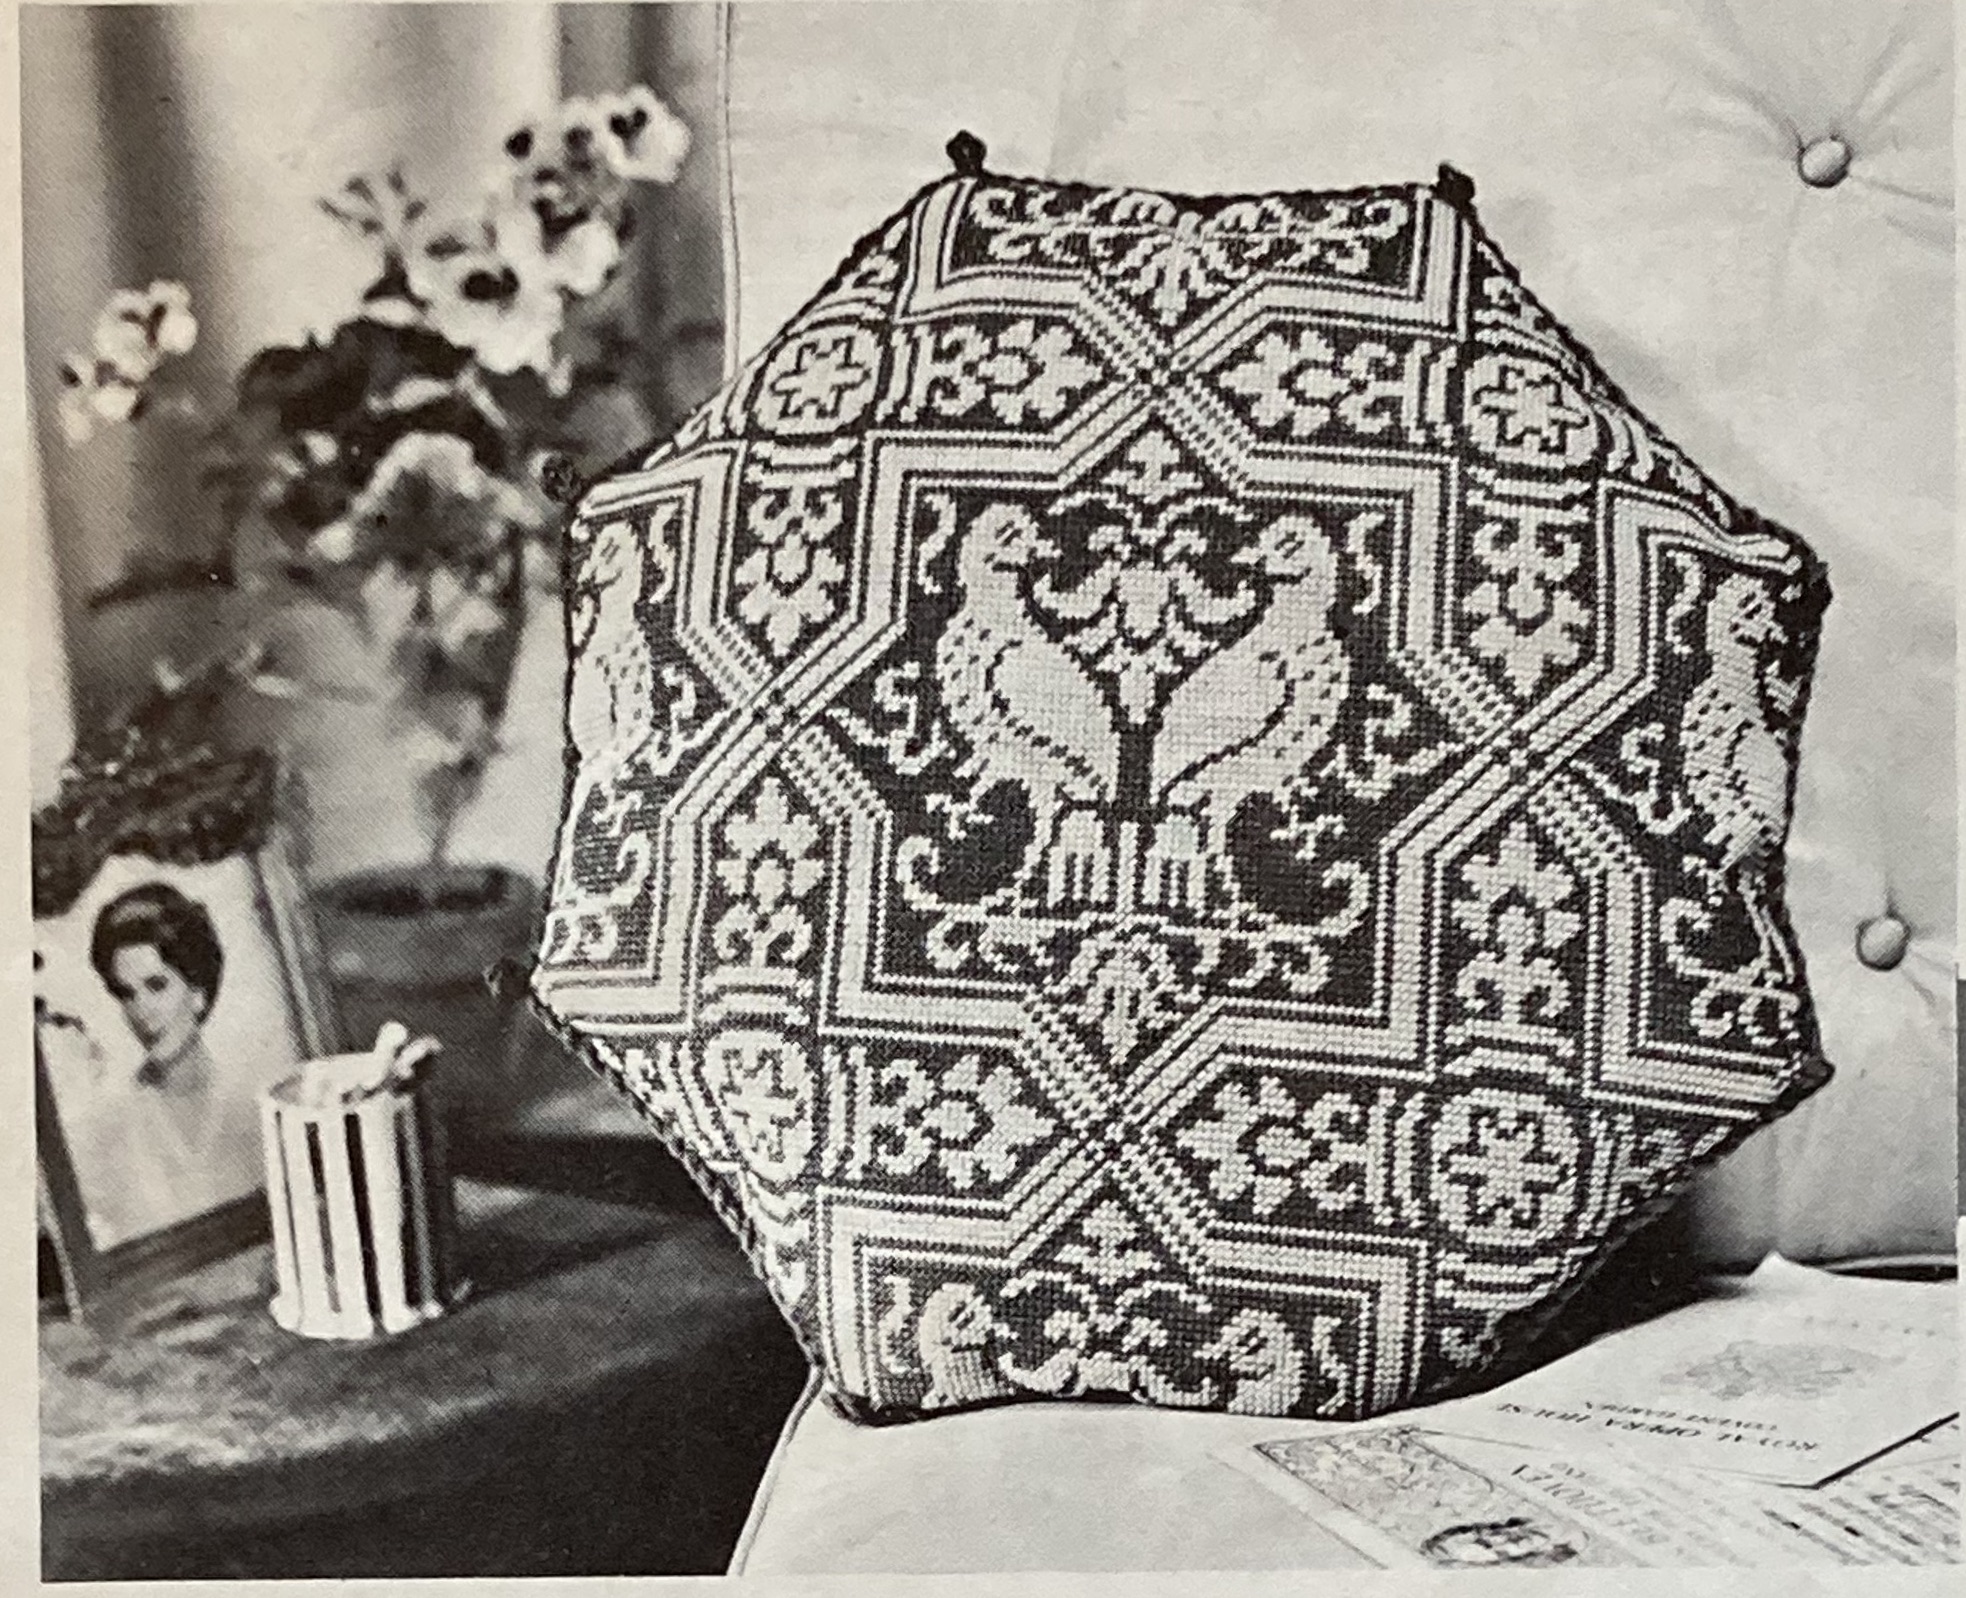
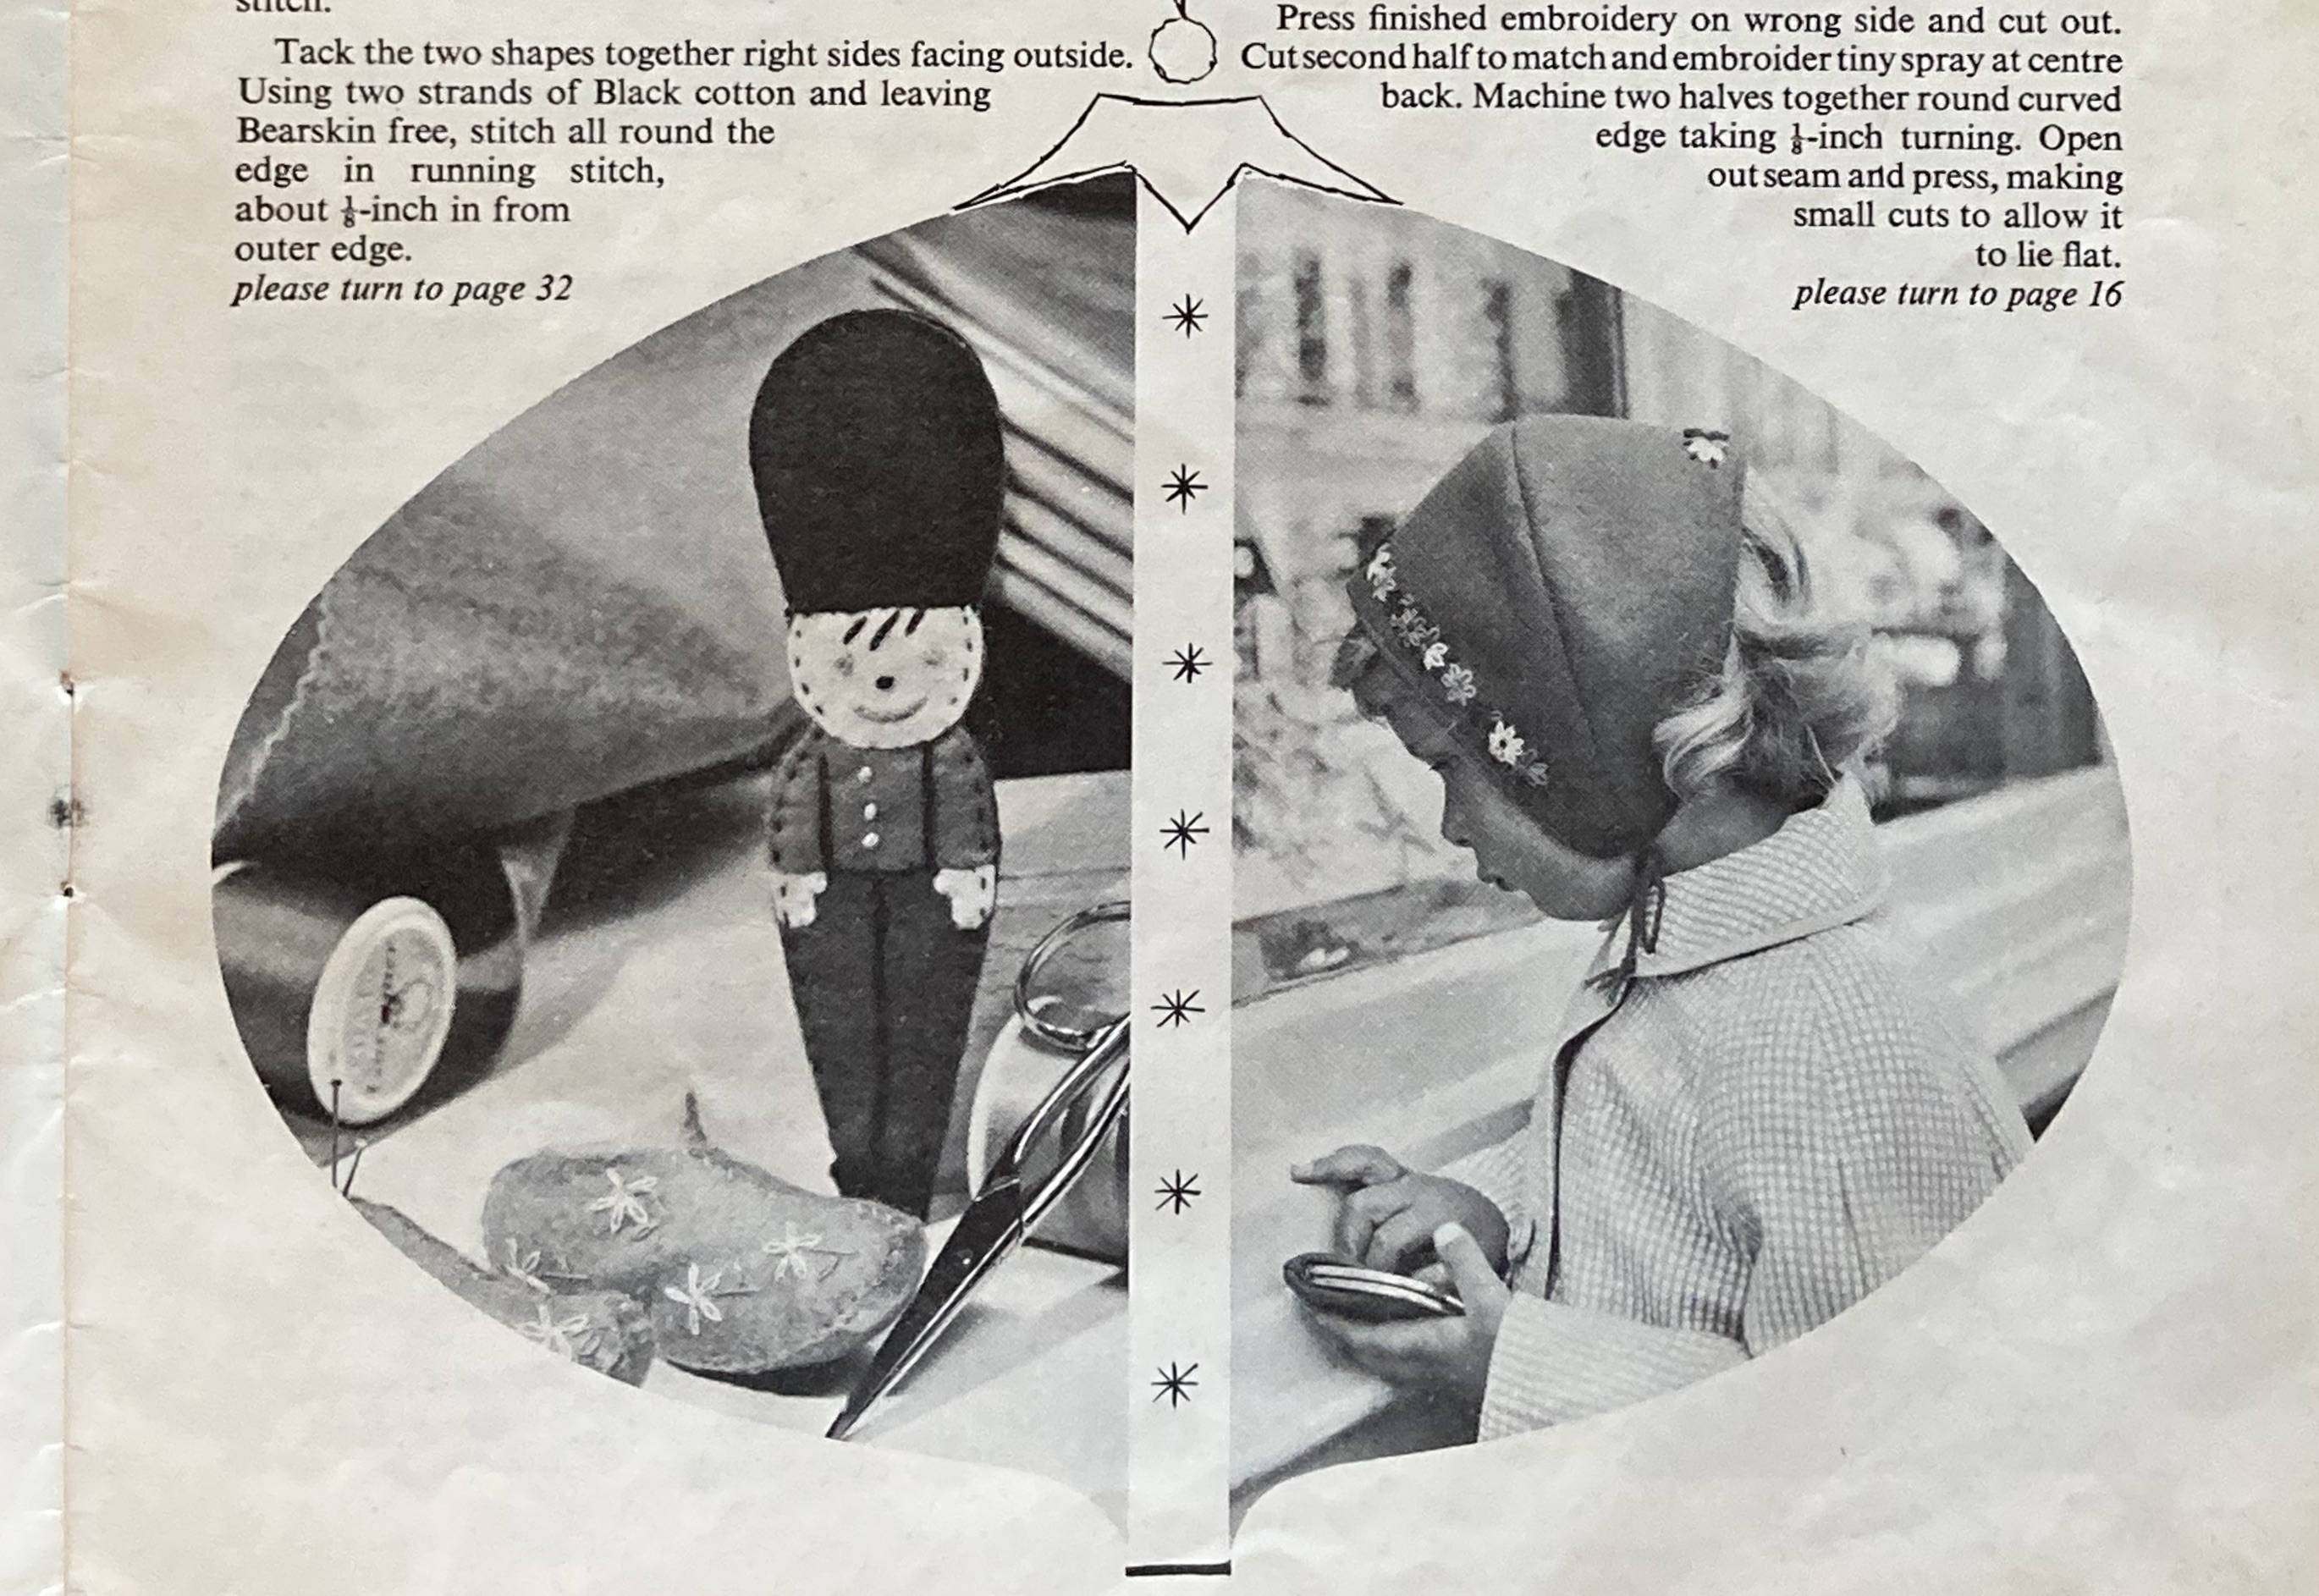
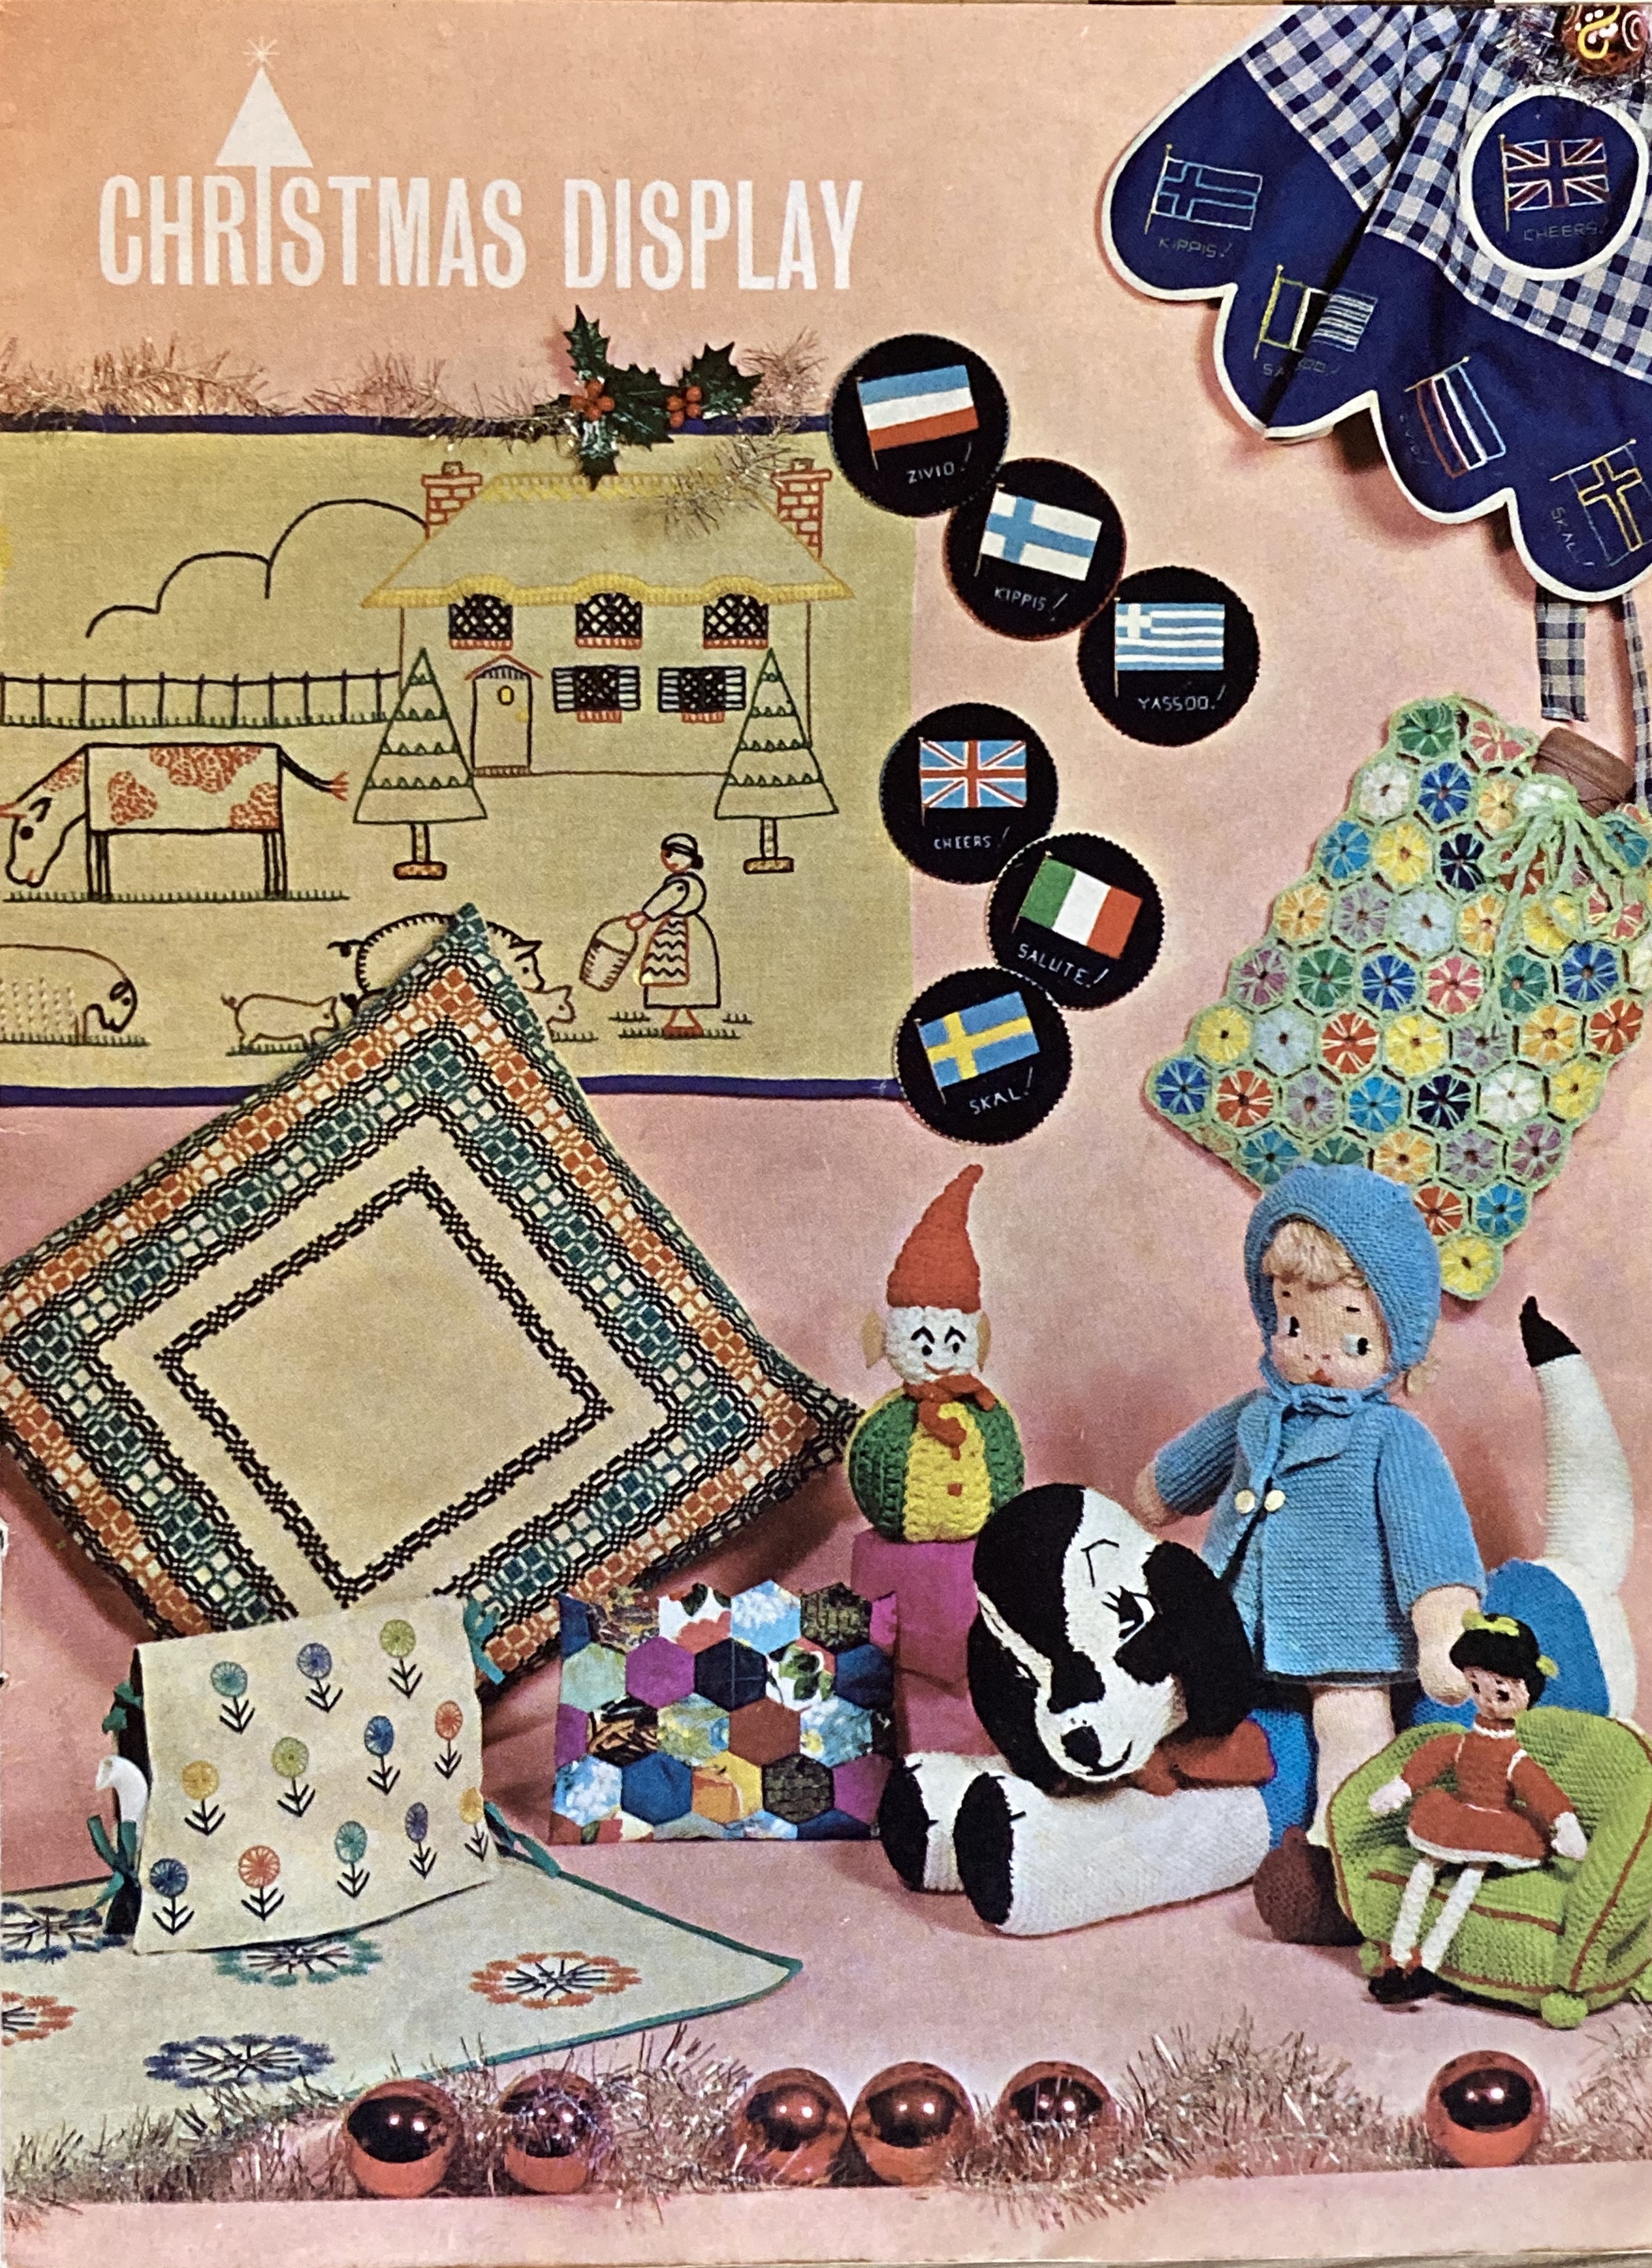
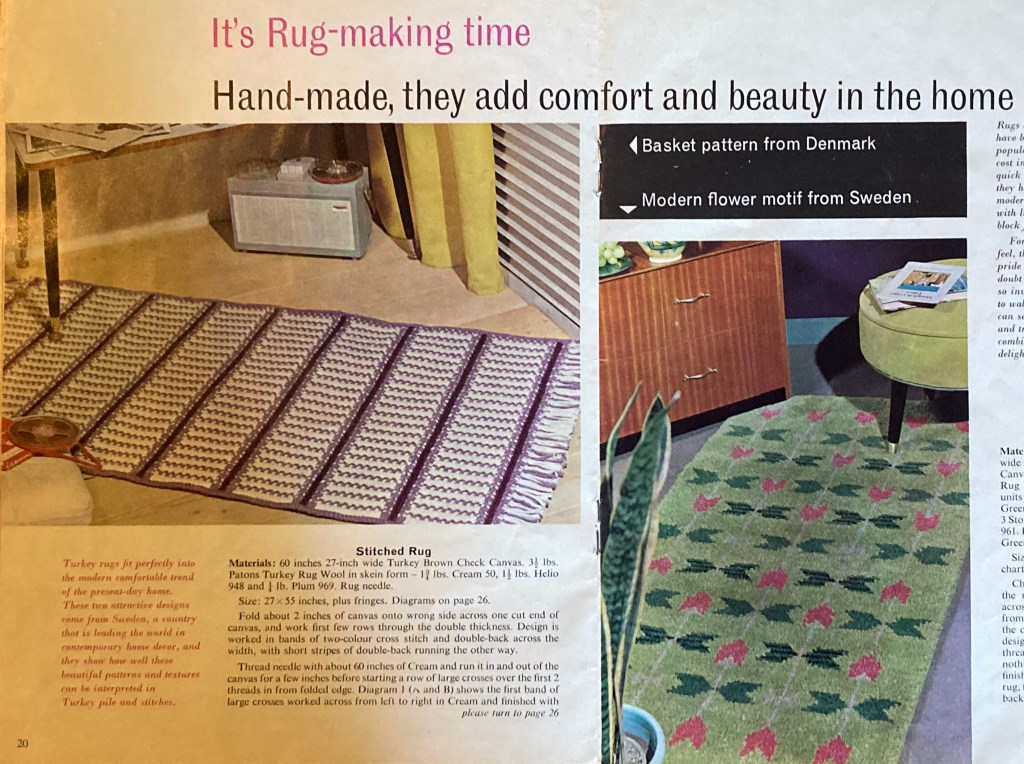
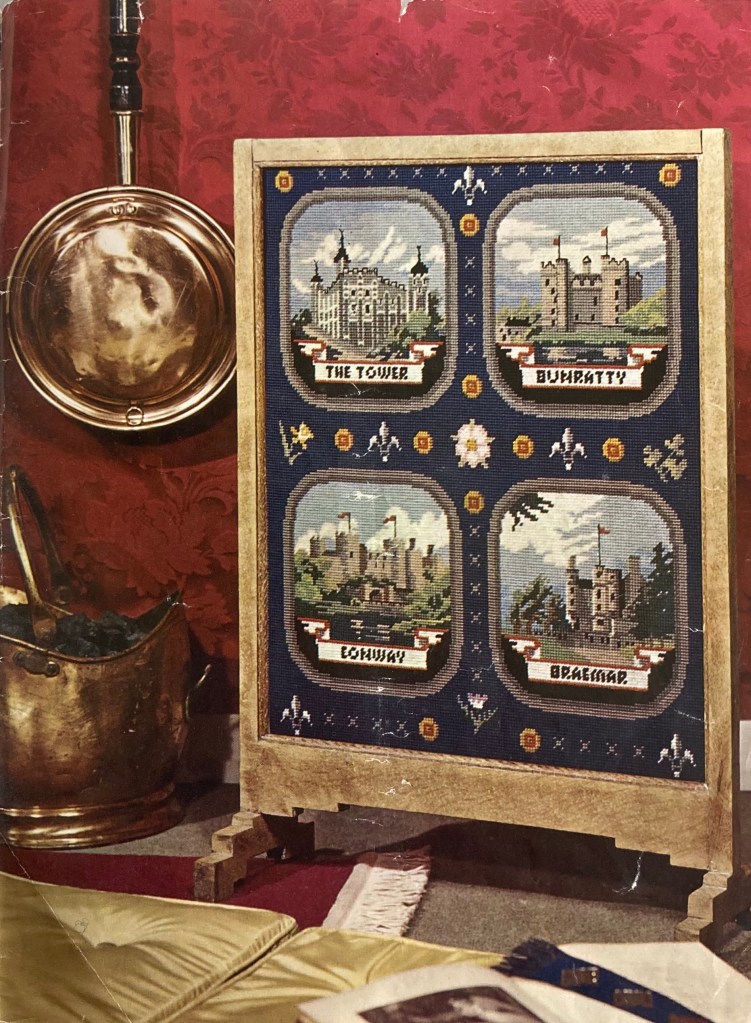
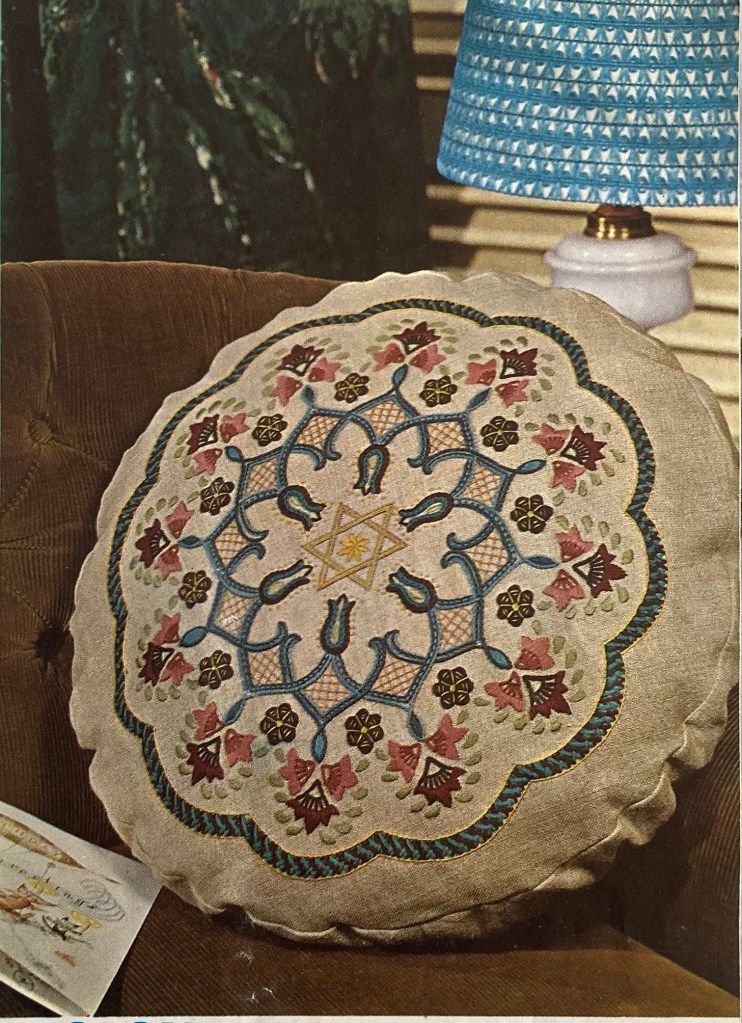
With all these wonderful things to knit, you would think the homewares would be less interesting, but there are still plenty of projects that are mostly small enough to pack with you on your travels. There are all sorts of cushions to embroider: darned and tufted in very 1960s colours (brown, biscuit, fawn, two shades of orange and two shades of rust), neon-on-black “peasant embroidery” in regular crewel work, and with a matching chair-back in Assisi embroidery — traditional Italian designs where the backgrounds and ornaments are filled in with cross-stitch, but the main motifs are left unworked. The Victorian-inspired tapestry chair seat and stitched bathroom rug are probably too unwieldy to pack, but the fine embroidered initials and baby outfit are easy and portable. Readers could order the pattern for the baby set along with the embroidery transfer.


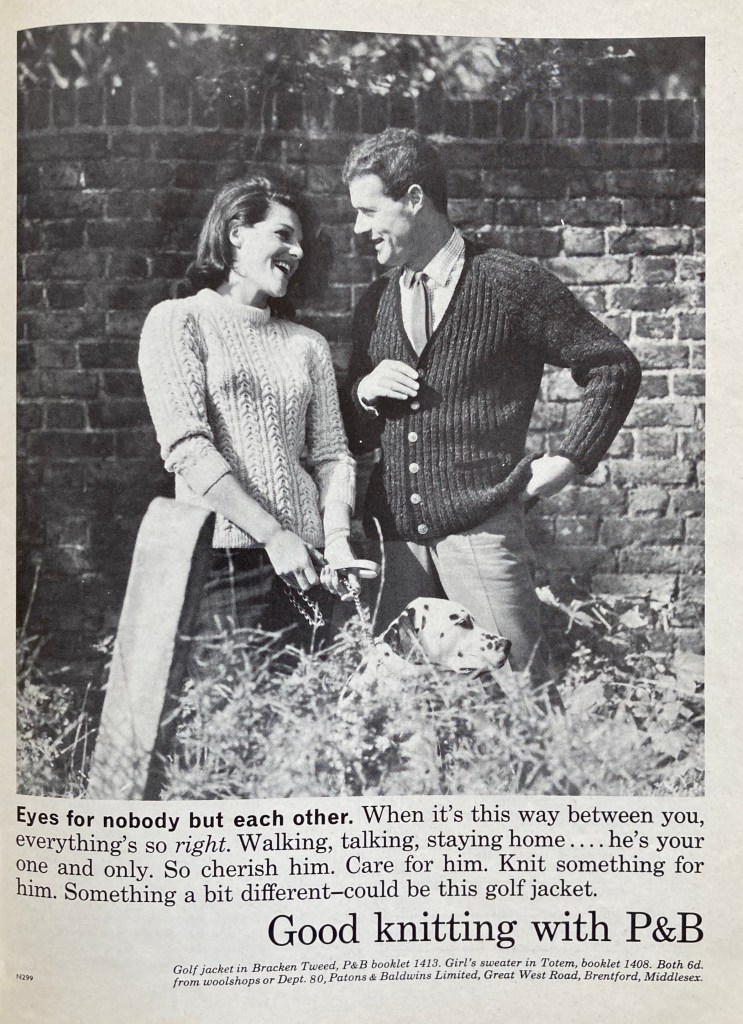
The back pages feature the worst of the Patons & Baldwins “please your man” advertisements, in which a woman can’t even knit herself something for once or look nice in it without all of it being To Please Him. (And then she has to pretend to be interested in whatever boring mansplaining he’s doing with the book he’s showing her.) I can’t help thinking of that scene in Vertigo where James Stewart’s character is trying to get Kim Novak’s character to dye her hair… and she doesn’t want to… and he gets more and more frustrated before blurting out, “It can’t matter to you!” Alfred Hitchcock would have approved of this ad.
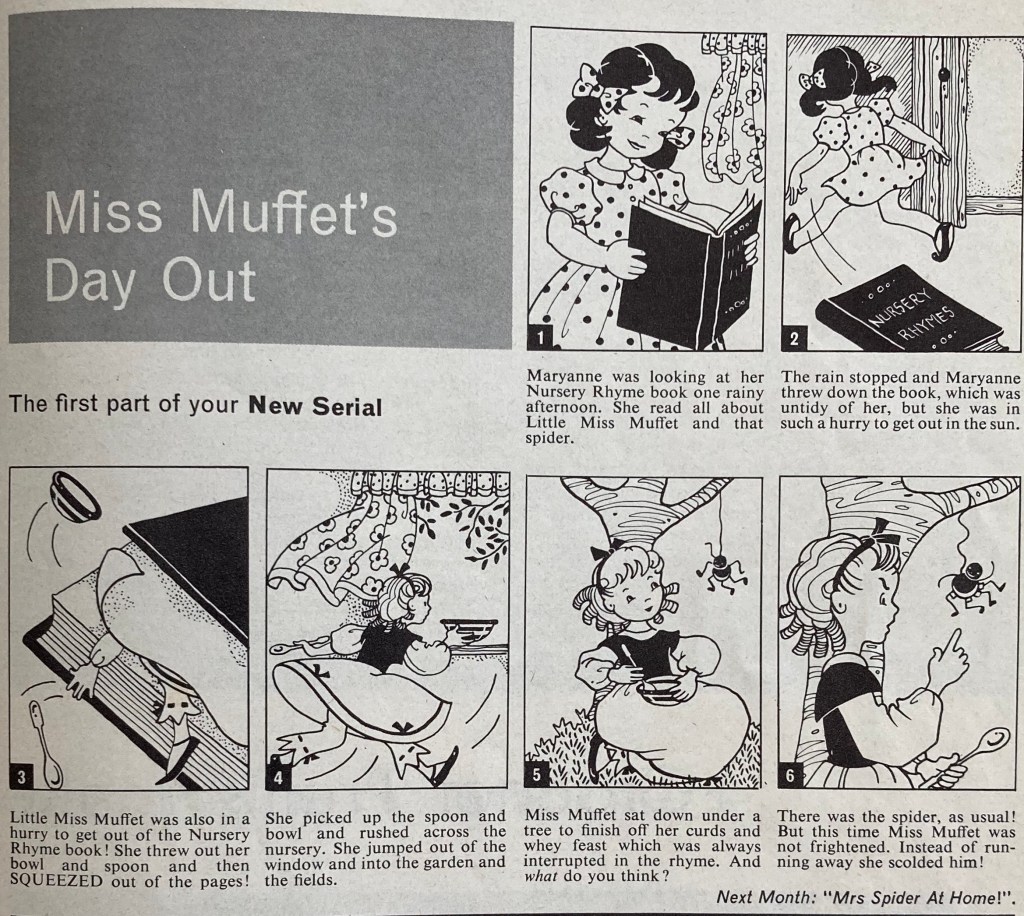
The “Children’s Features” continue the alternative telling of the Miss Muffet rhyme story, in which Miss Muffet, leaving the home of the kindly spider-lady, gets captured up by a grumpy beetle, saved by the first spider, and then in turn saves a captured beetle who promises her a present. What could it be? We will find out in next month’s issue!
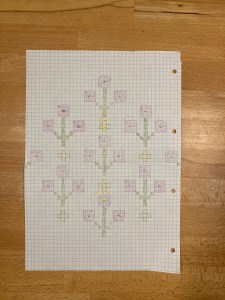
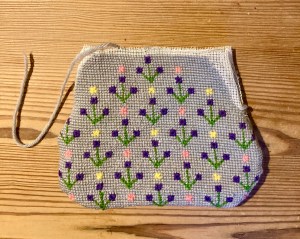
None of the larger projects are begging me to make them and I’m still working through the WIP pile, so I’m going to use some of that fine embroidery on the vintage handkerchiefs I inherited from my grandmother.