
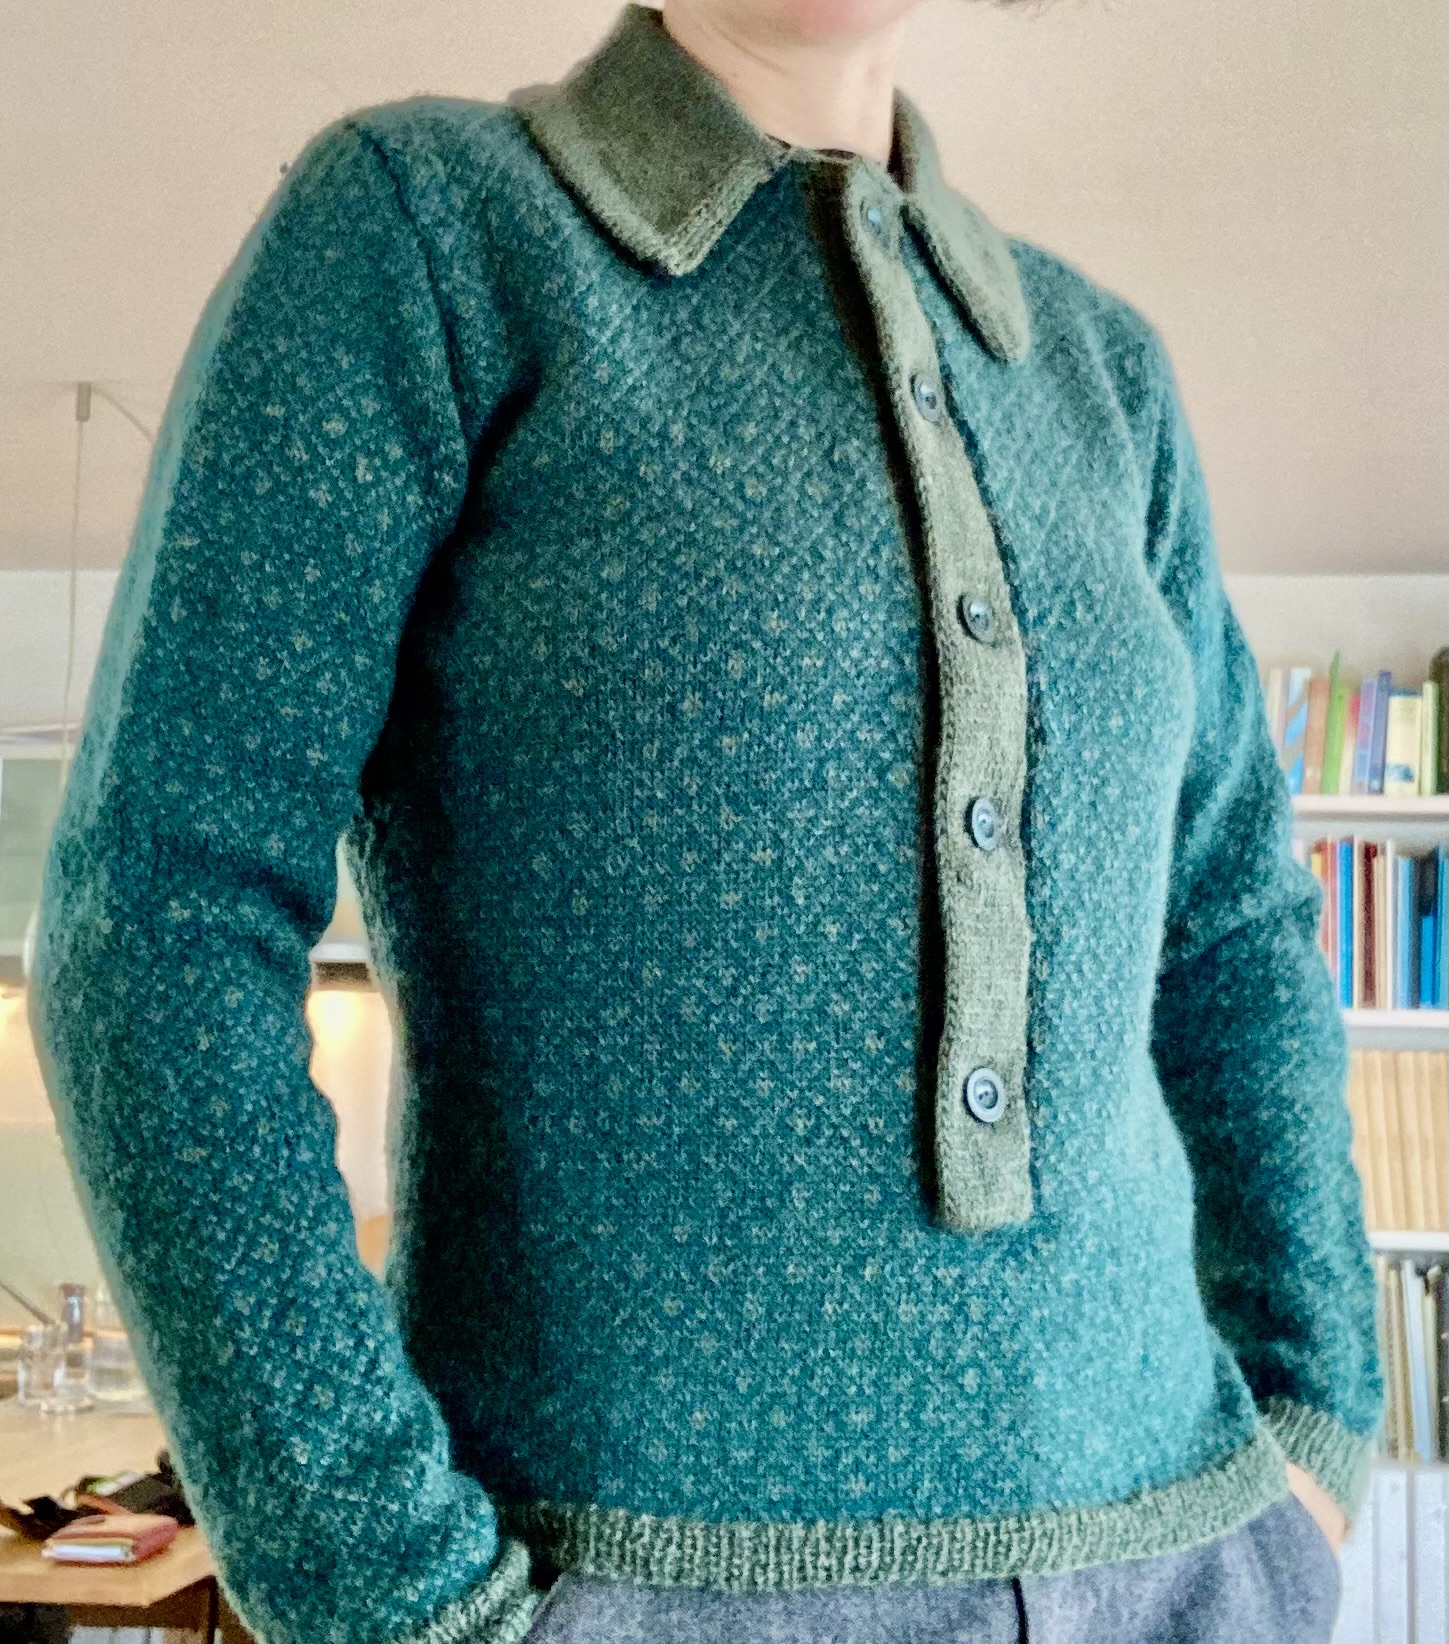
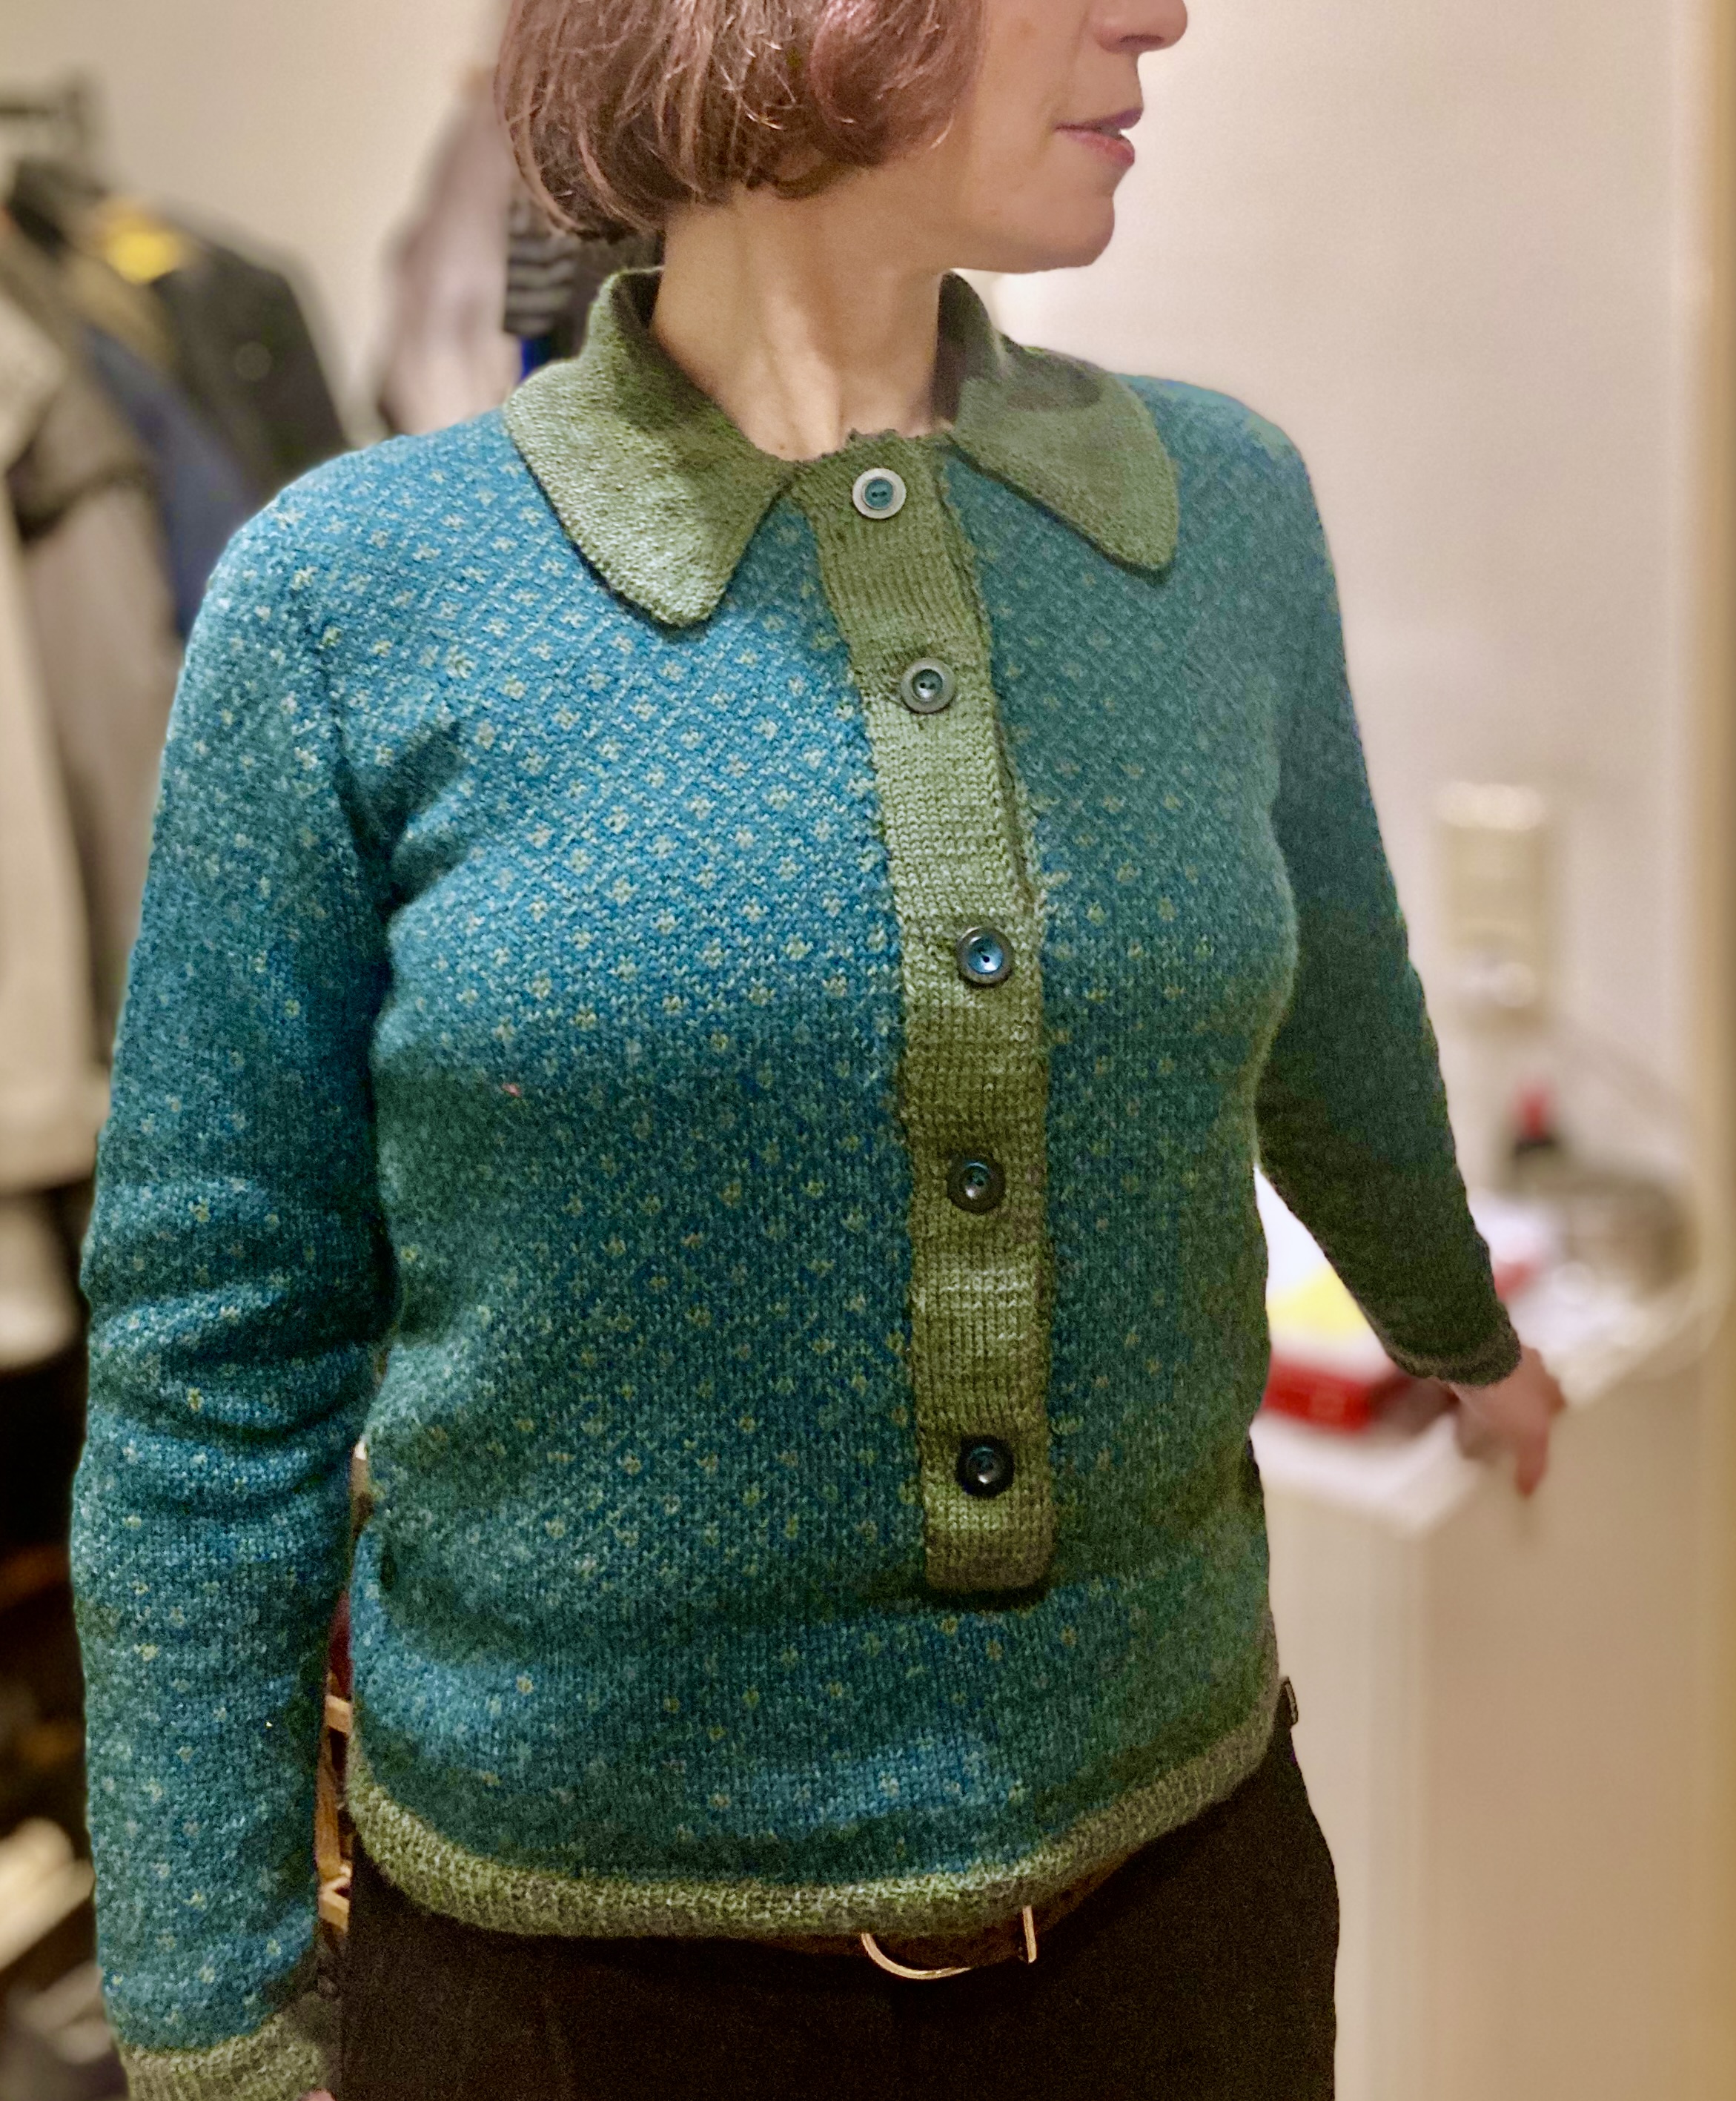
EDIT February 3rd, 2026: Finished!
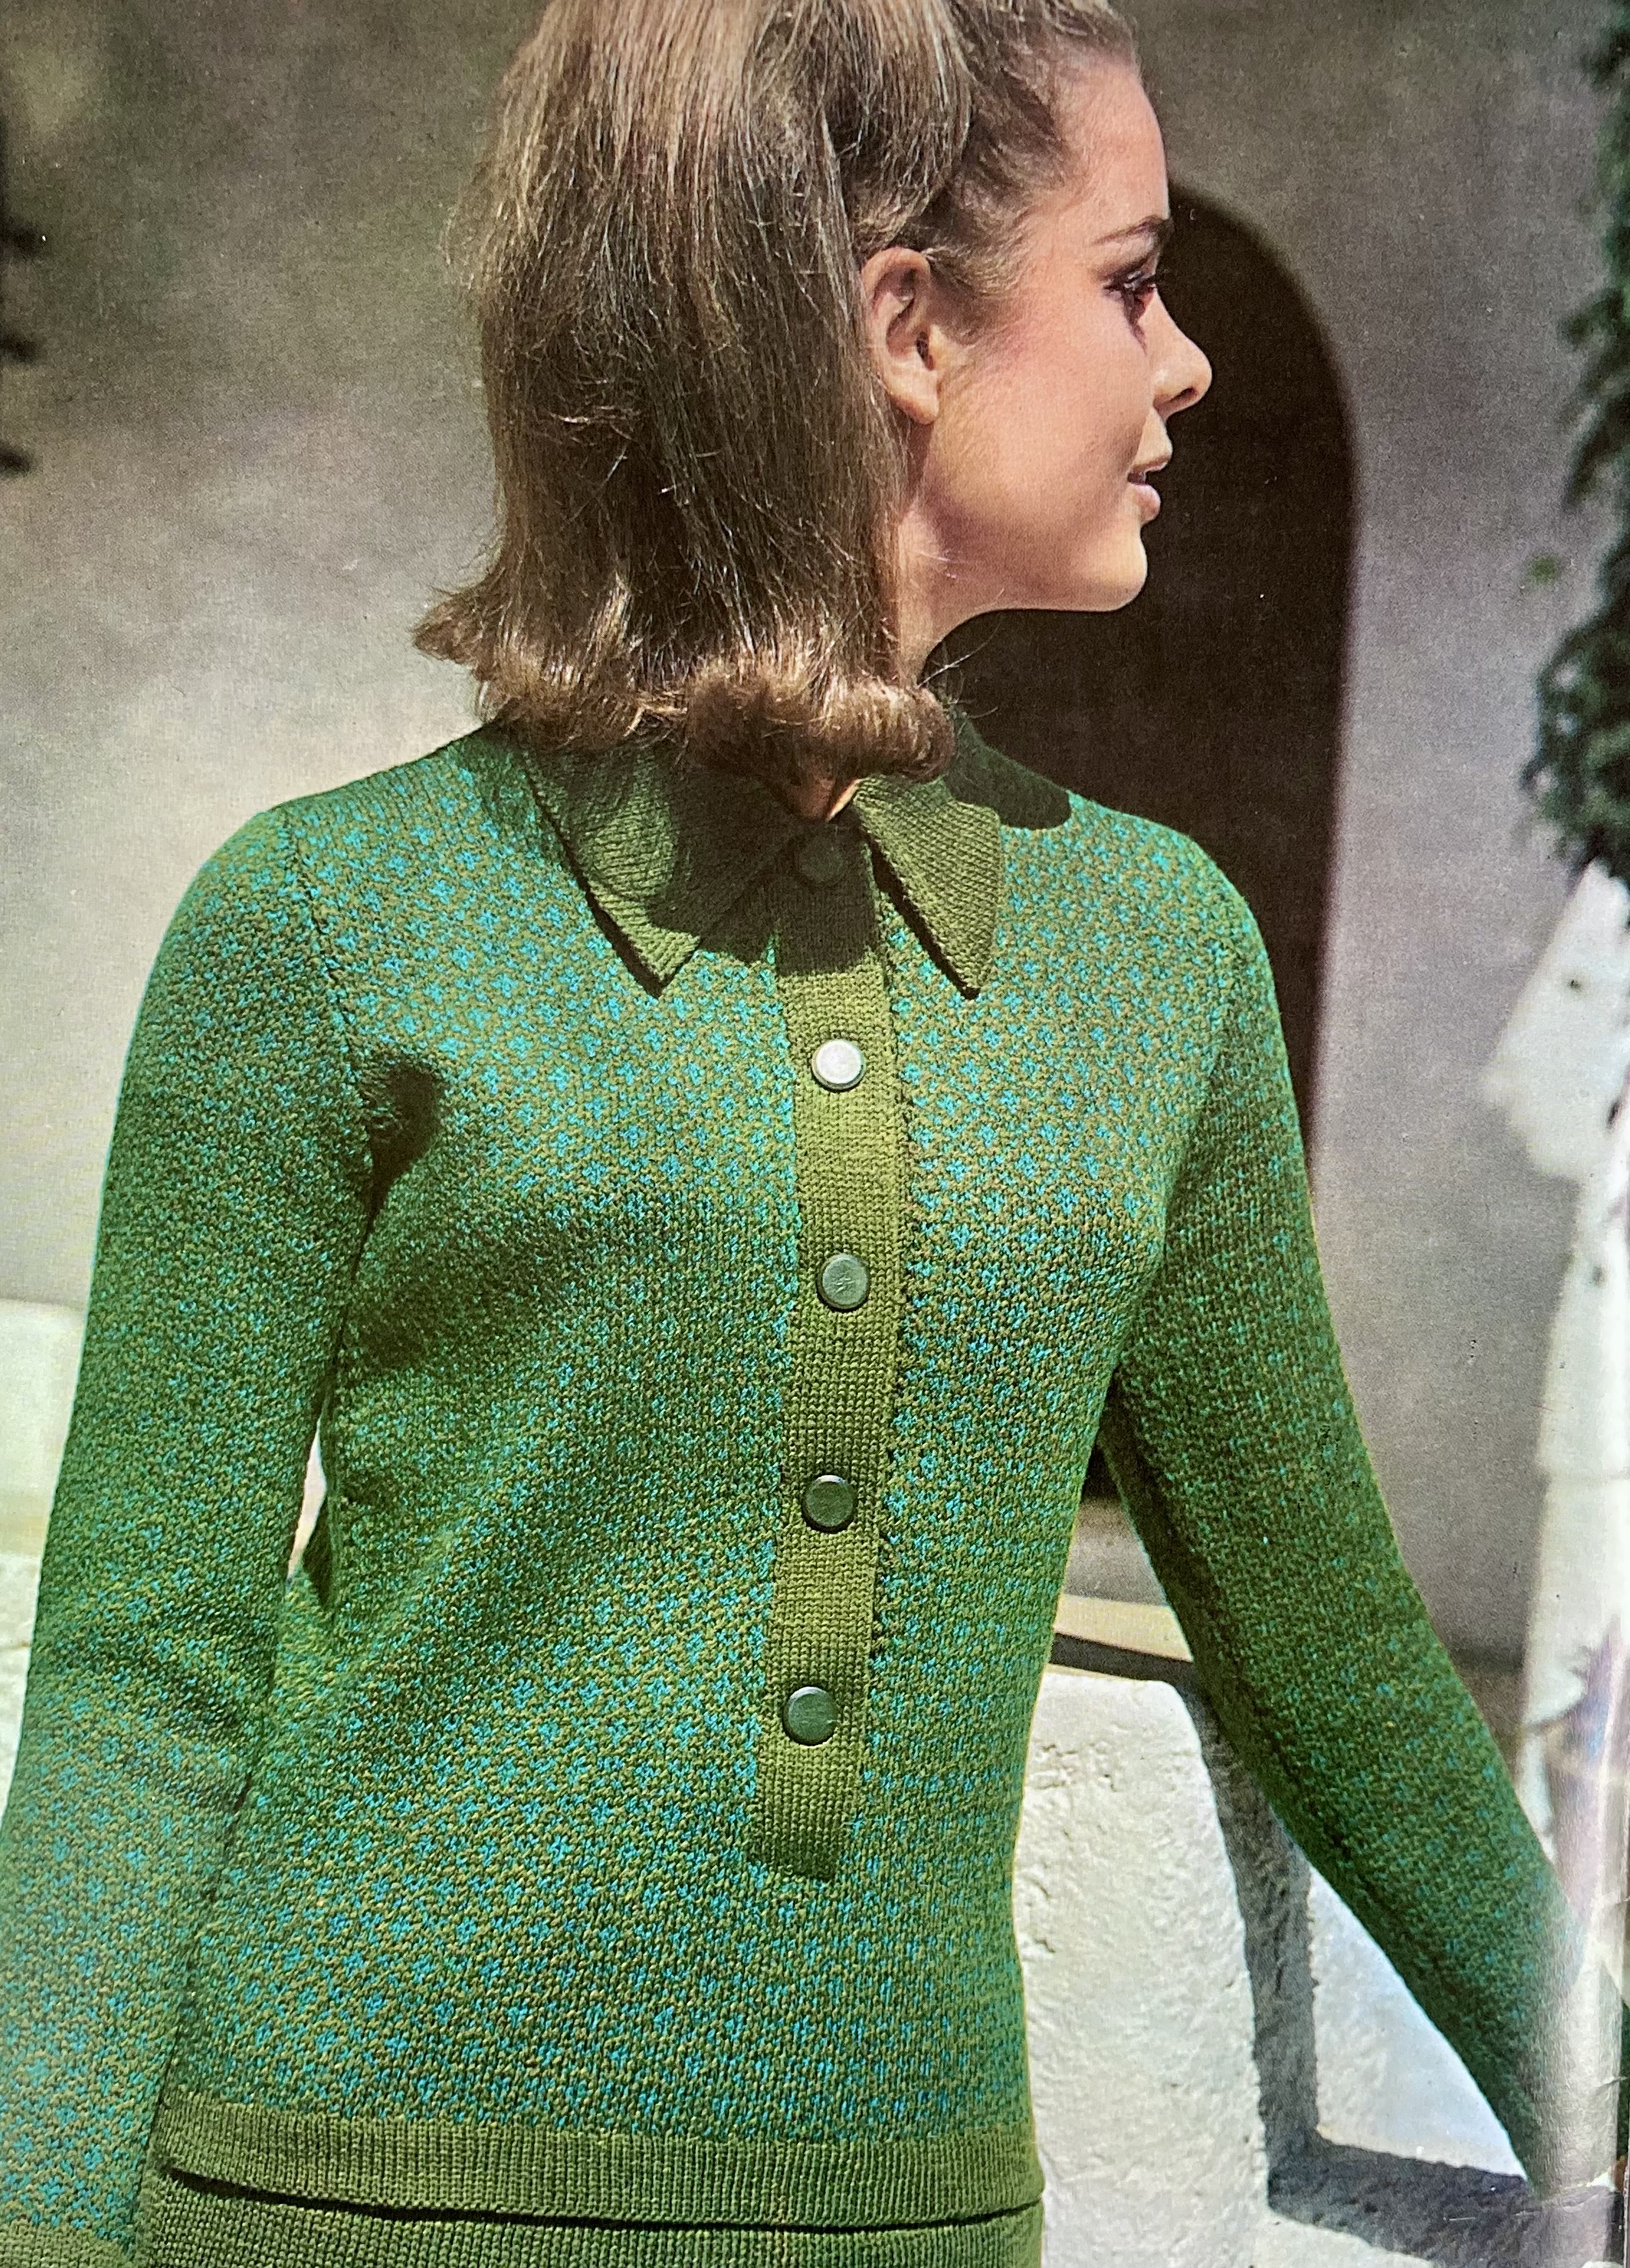
My November 2025 project was the jumper from a “Jaquard Pattern Jumper Suit” from the November 1967 issue of Stitchcraft.
It’s written for Patons Cameo Crepe, a smooth, fine, worsted-twist wool. I decided to make my version in sock yarn, which is smooth and fine but not 100% wool — mine was Lana Grossa Meilenweit, which is 80% wool and 20% polyamide. I prefer not to use synthetic yarns for environmental reasons, but it is also surprisingly difficult to find smooth, “normal” 4ply/ fingering-weight 100% wool in a variety of colours. It’s either too bulky, too hairy, or a mixture of fibres, or variegated colours. Or baby wool, which has a limited pastel colour range.
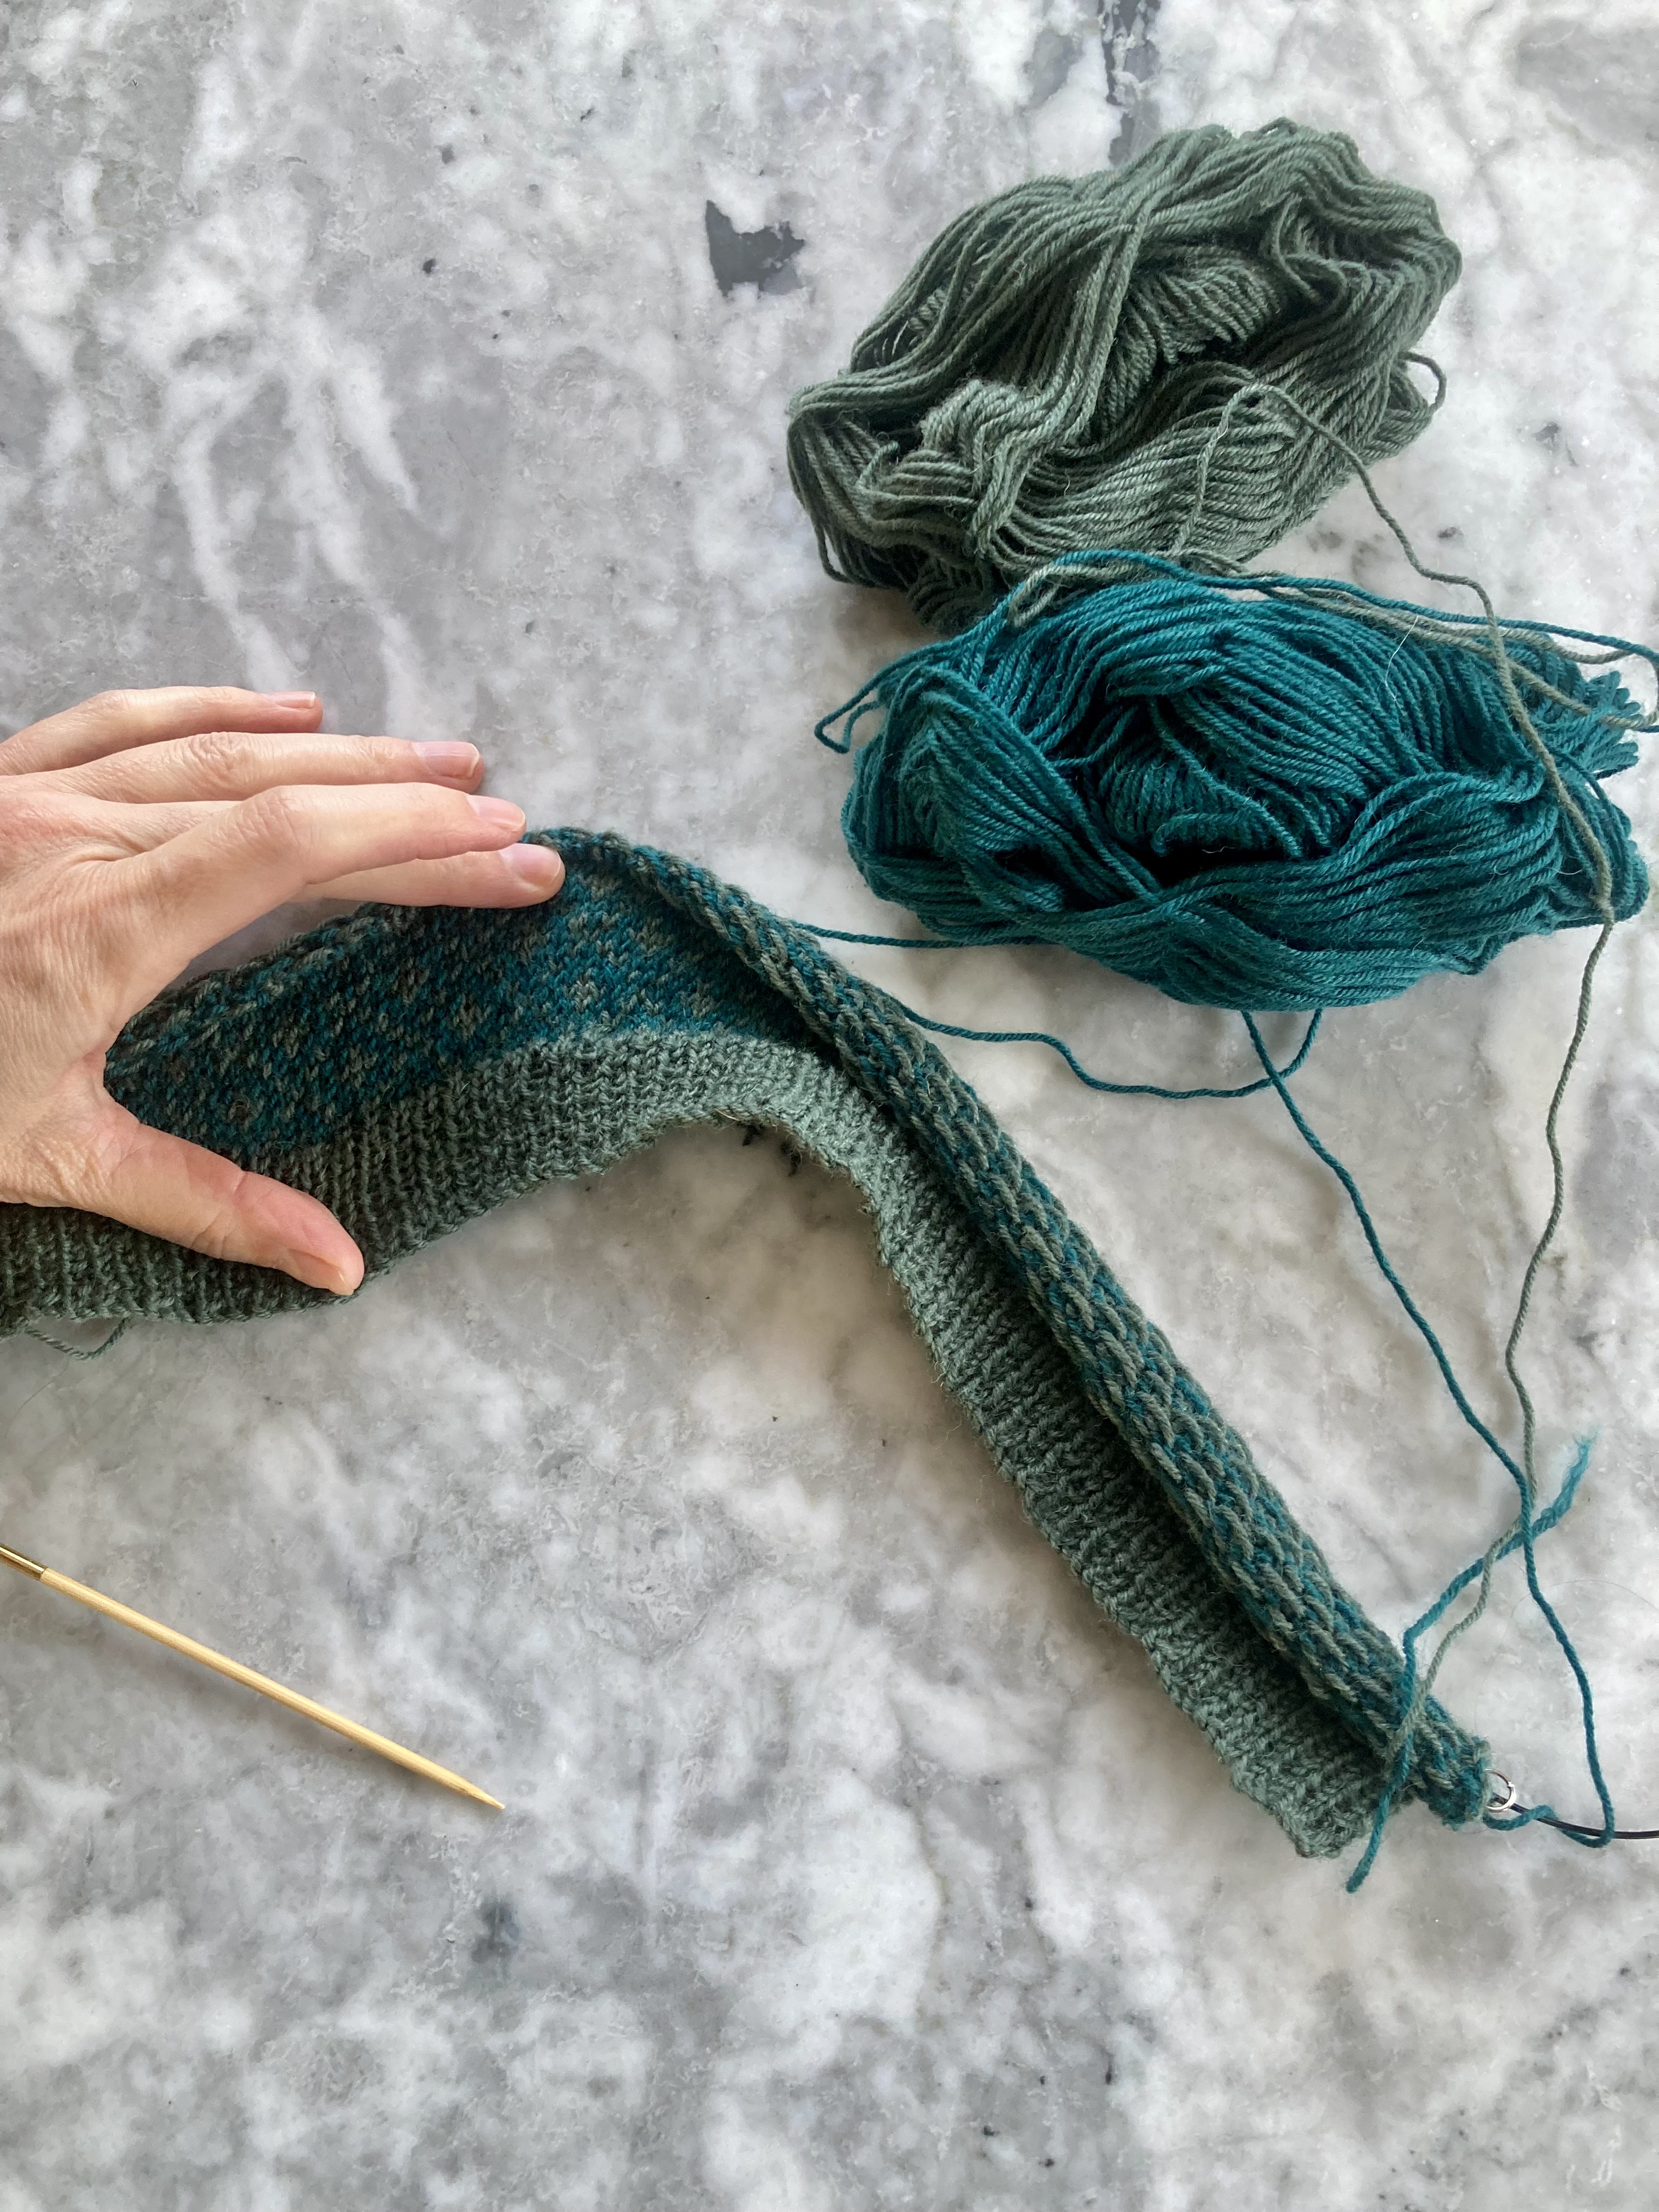
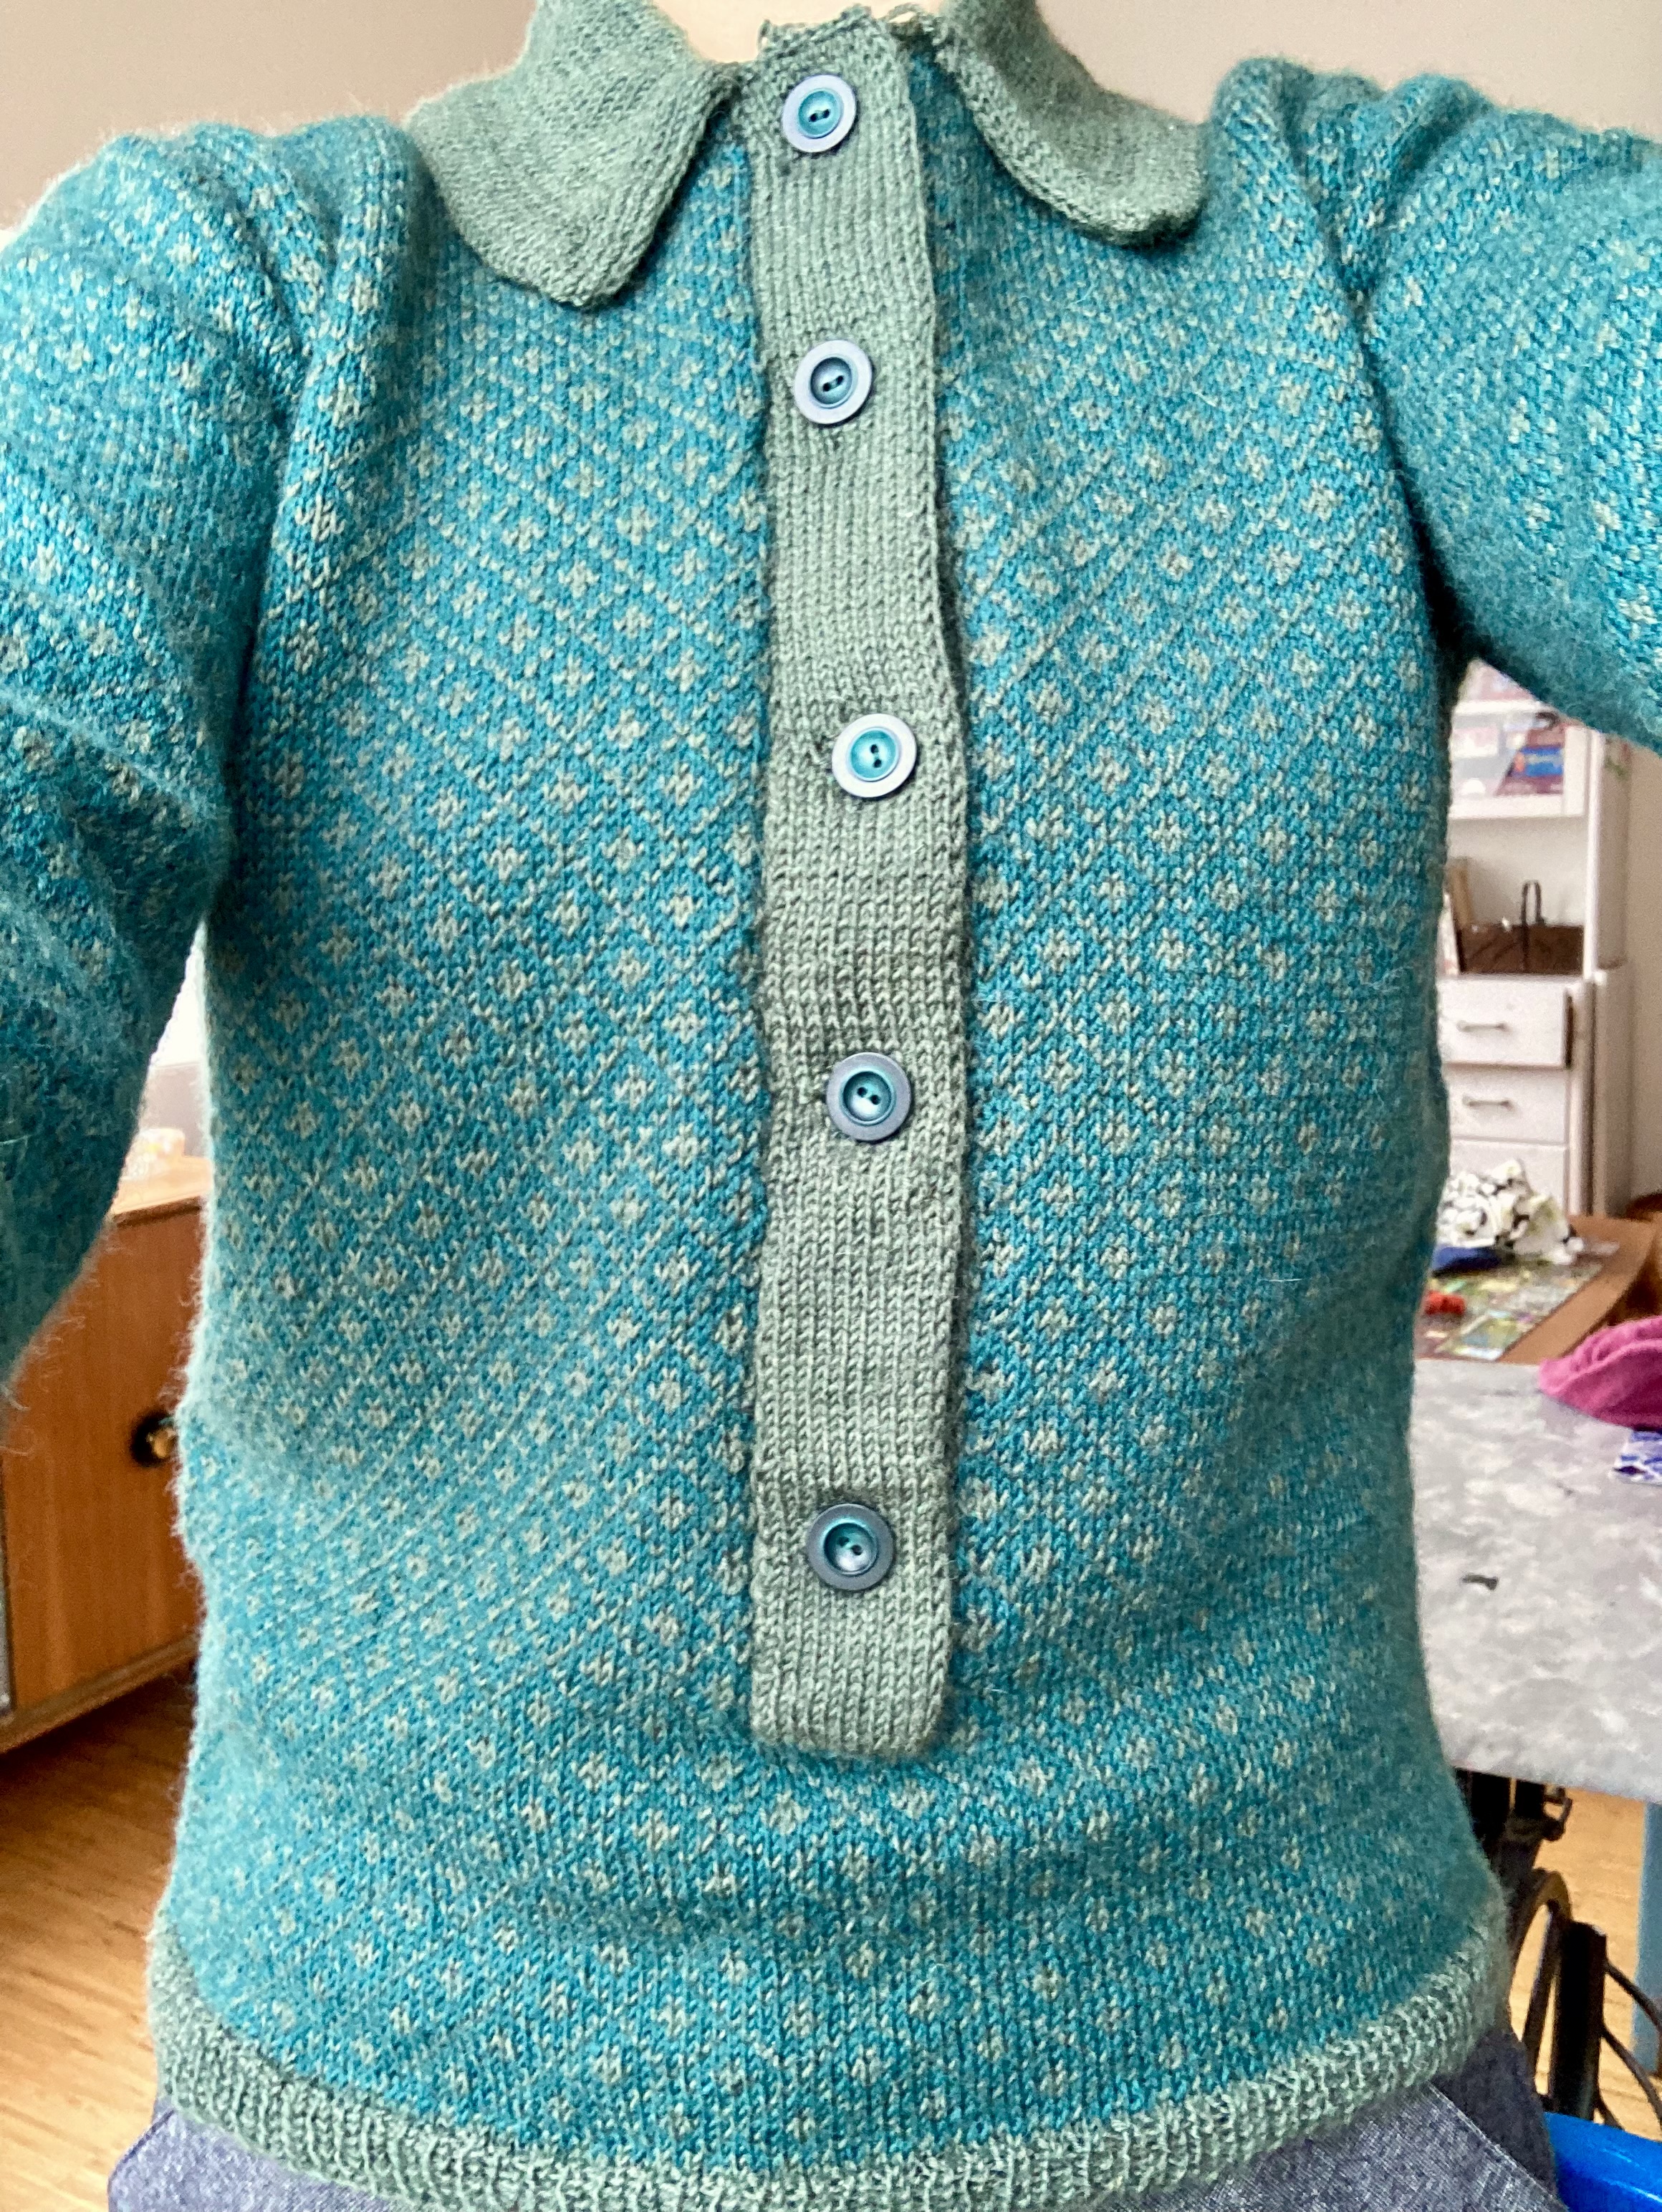
I was happy with my colour choices. My olive green was a little more grey than the Stitchcraft version, and my jade green more blue (but still a little more green than it looks in the photo). I was not prepared for how very blue it looks when knitted up in pattern, but it’s fine with me.

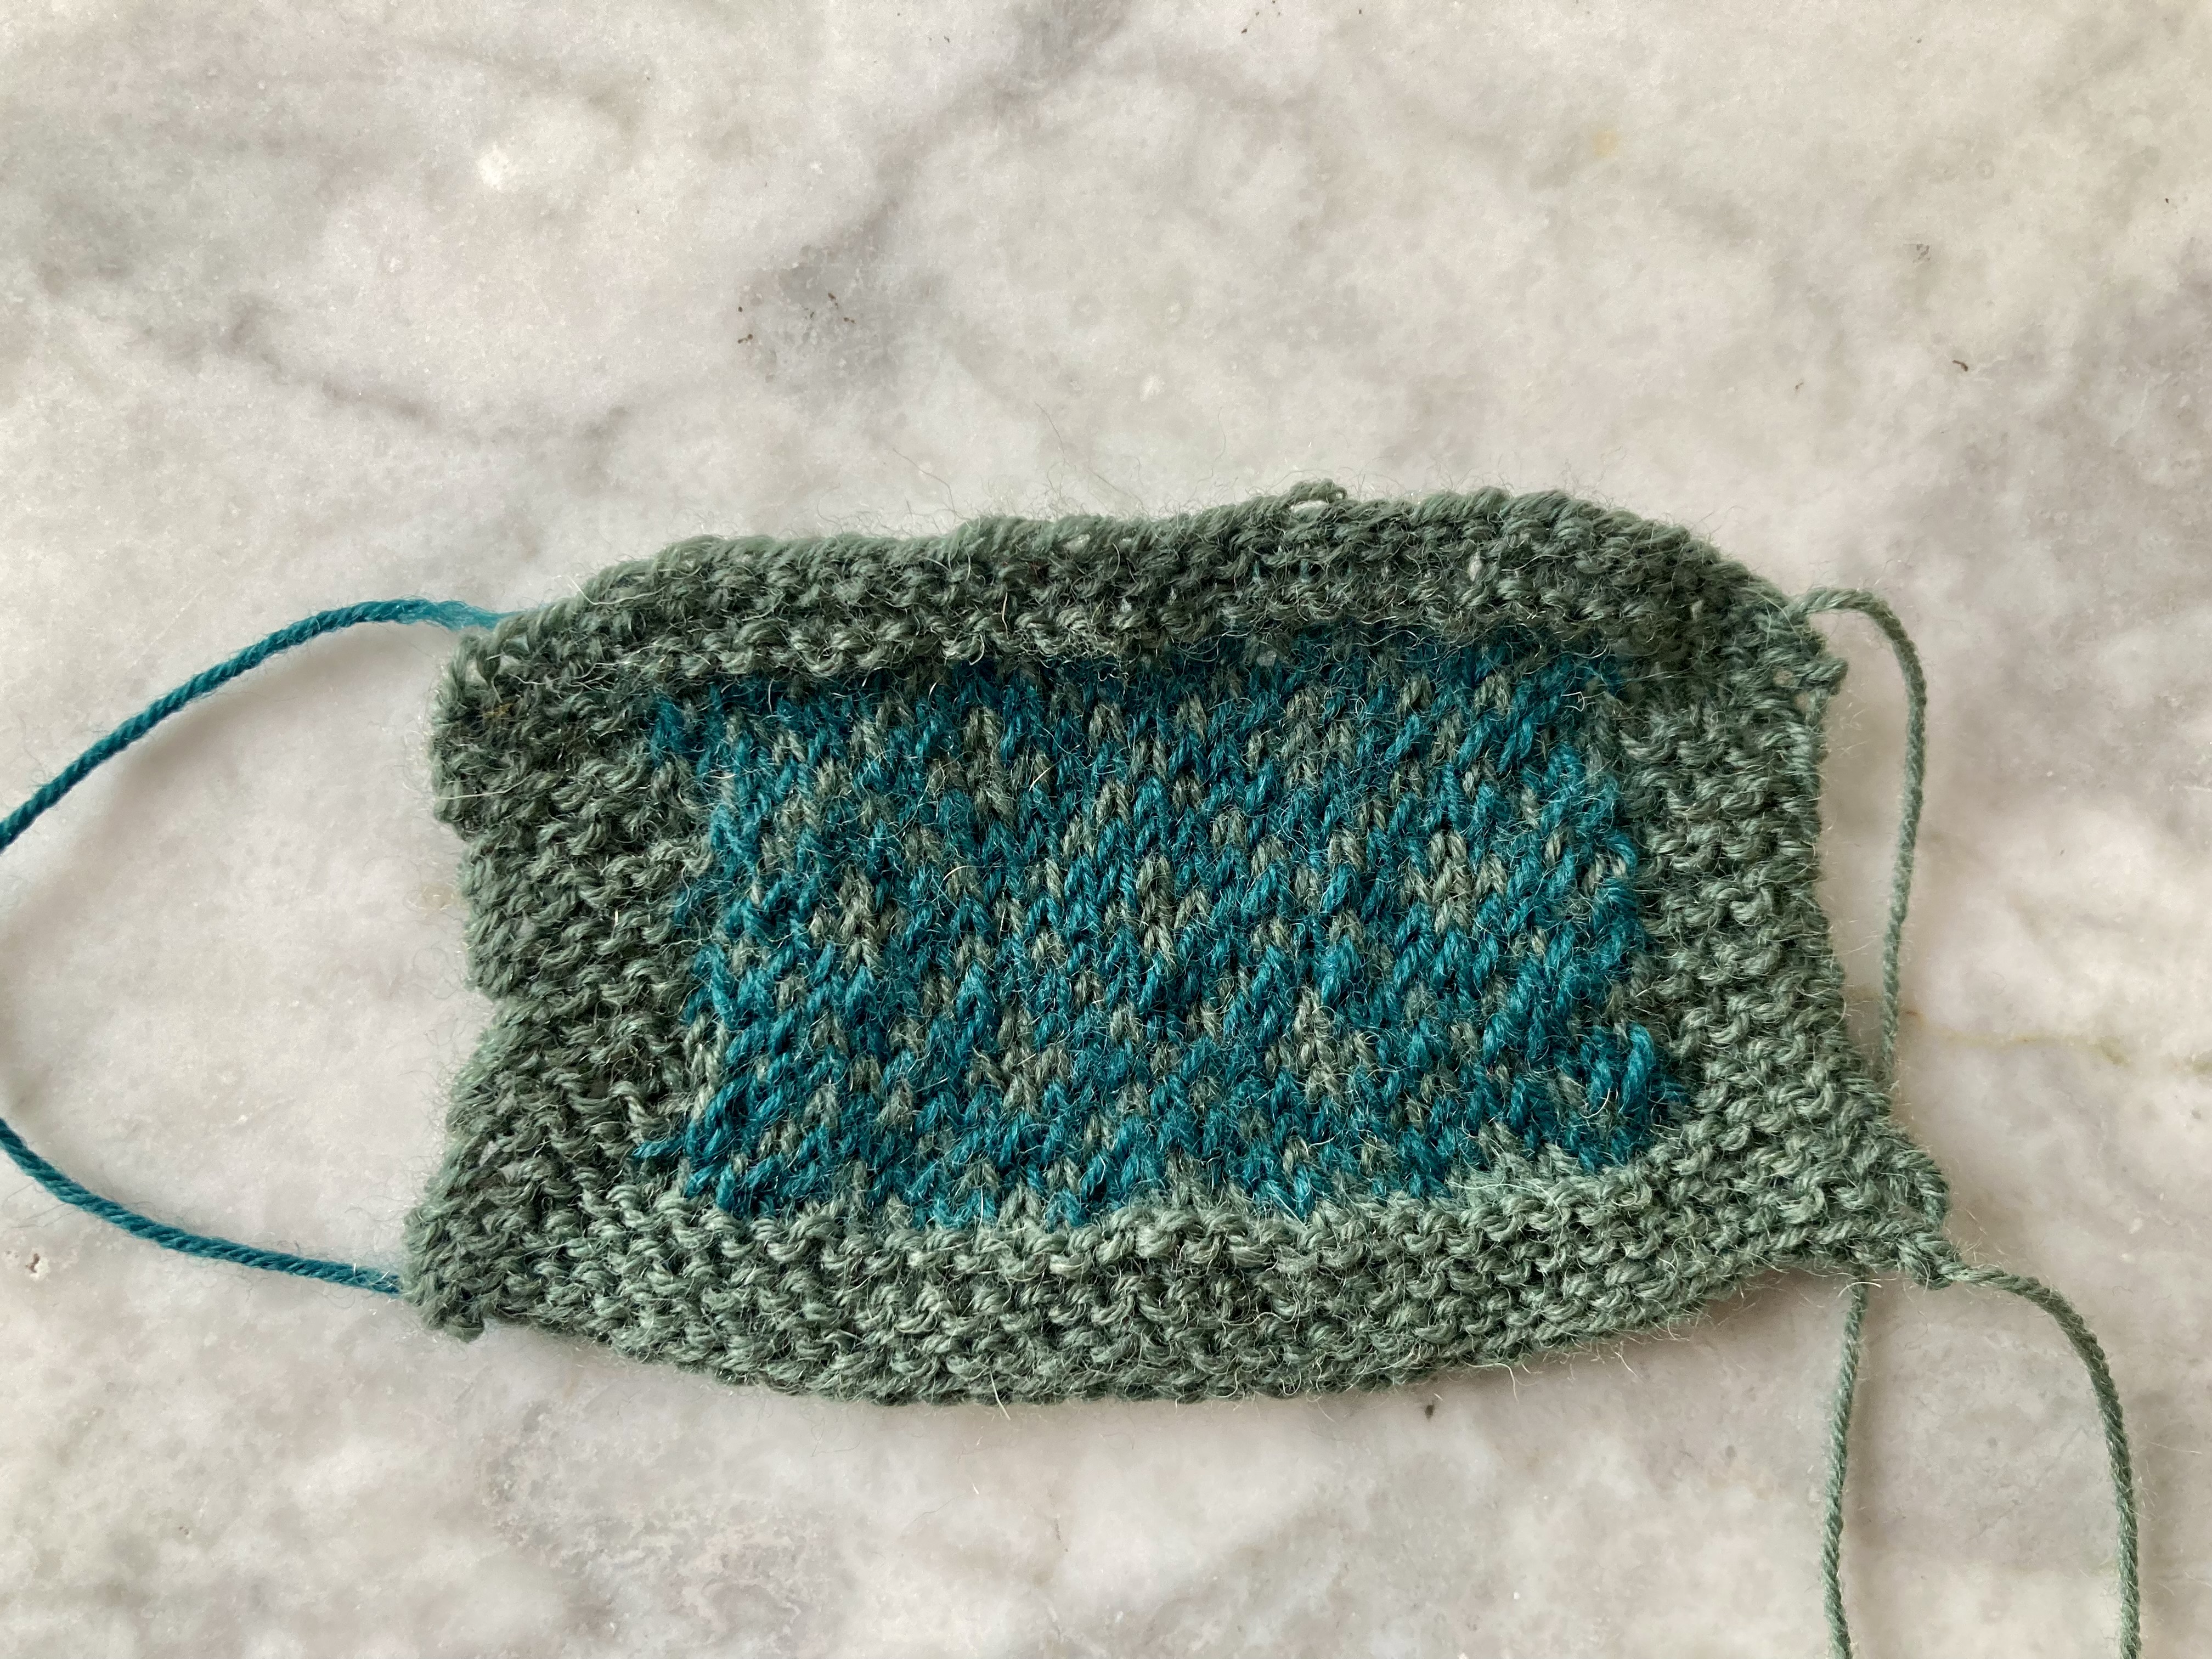
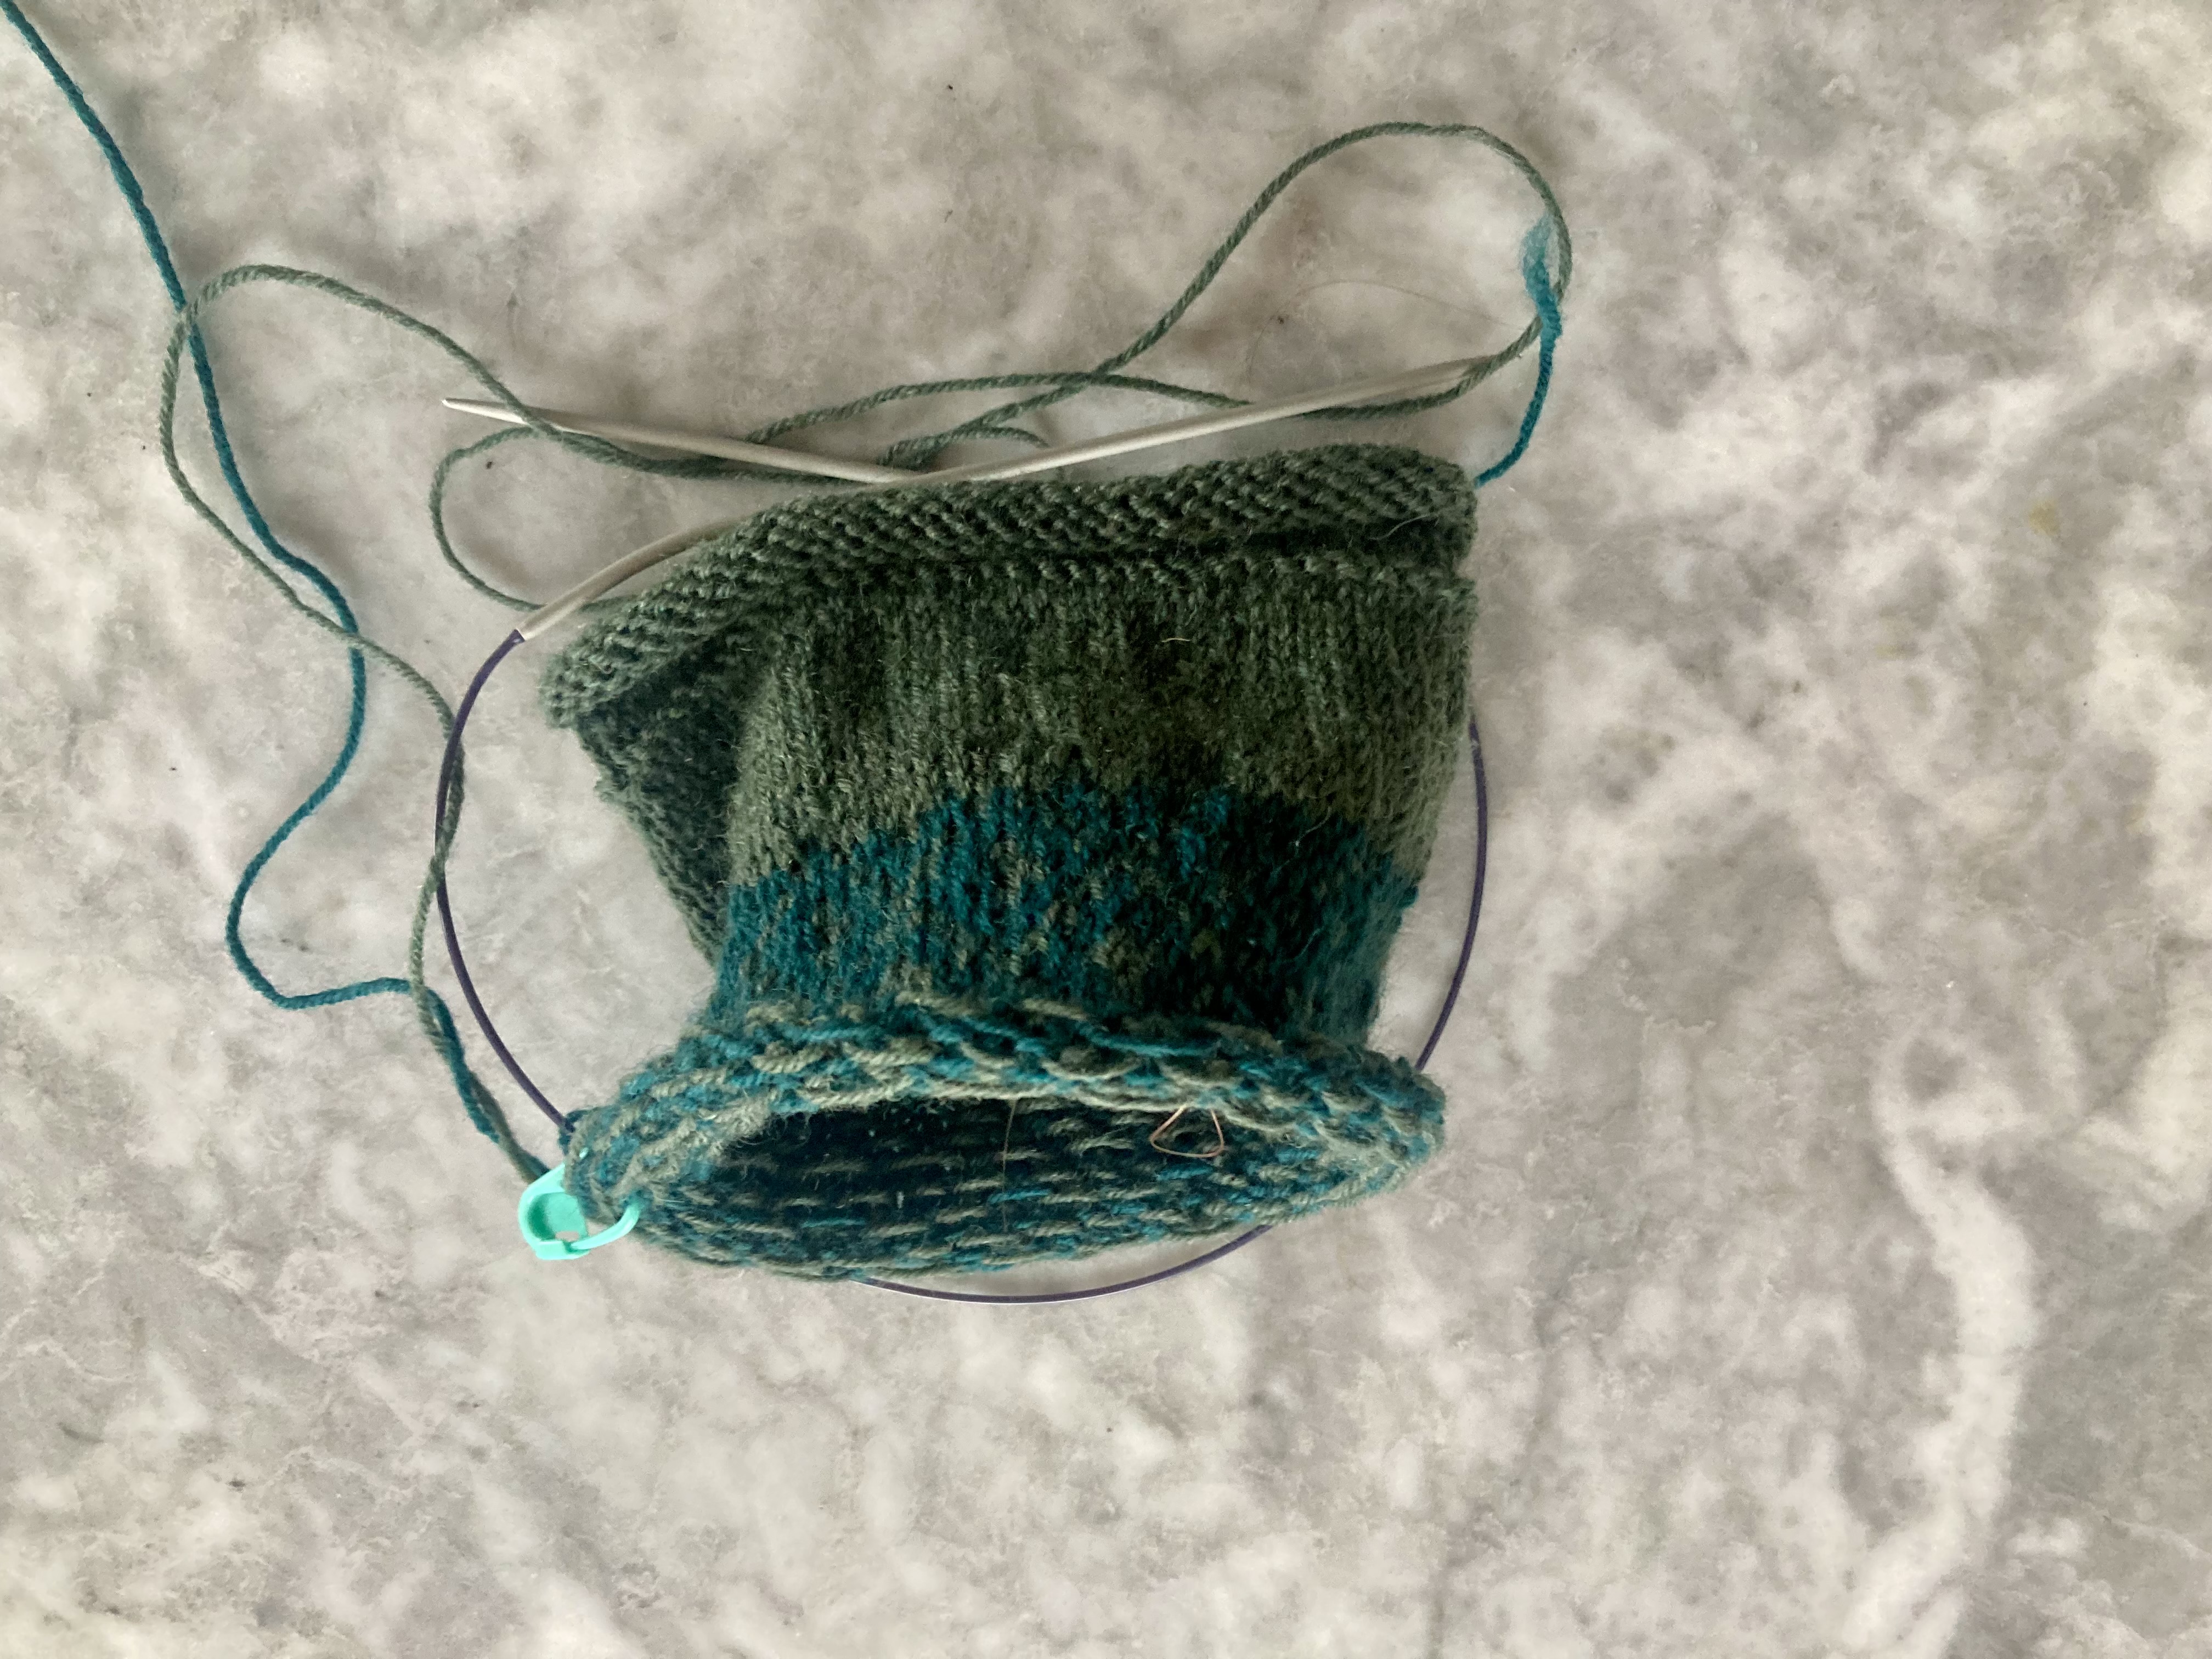
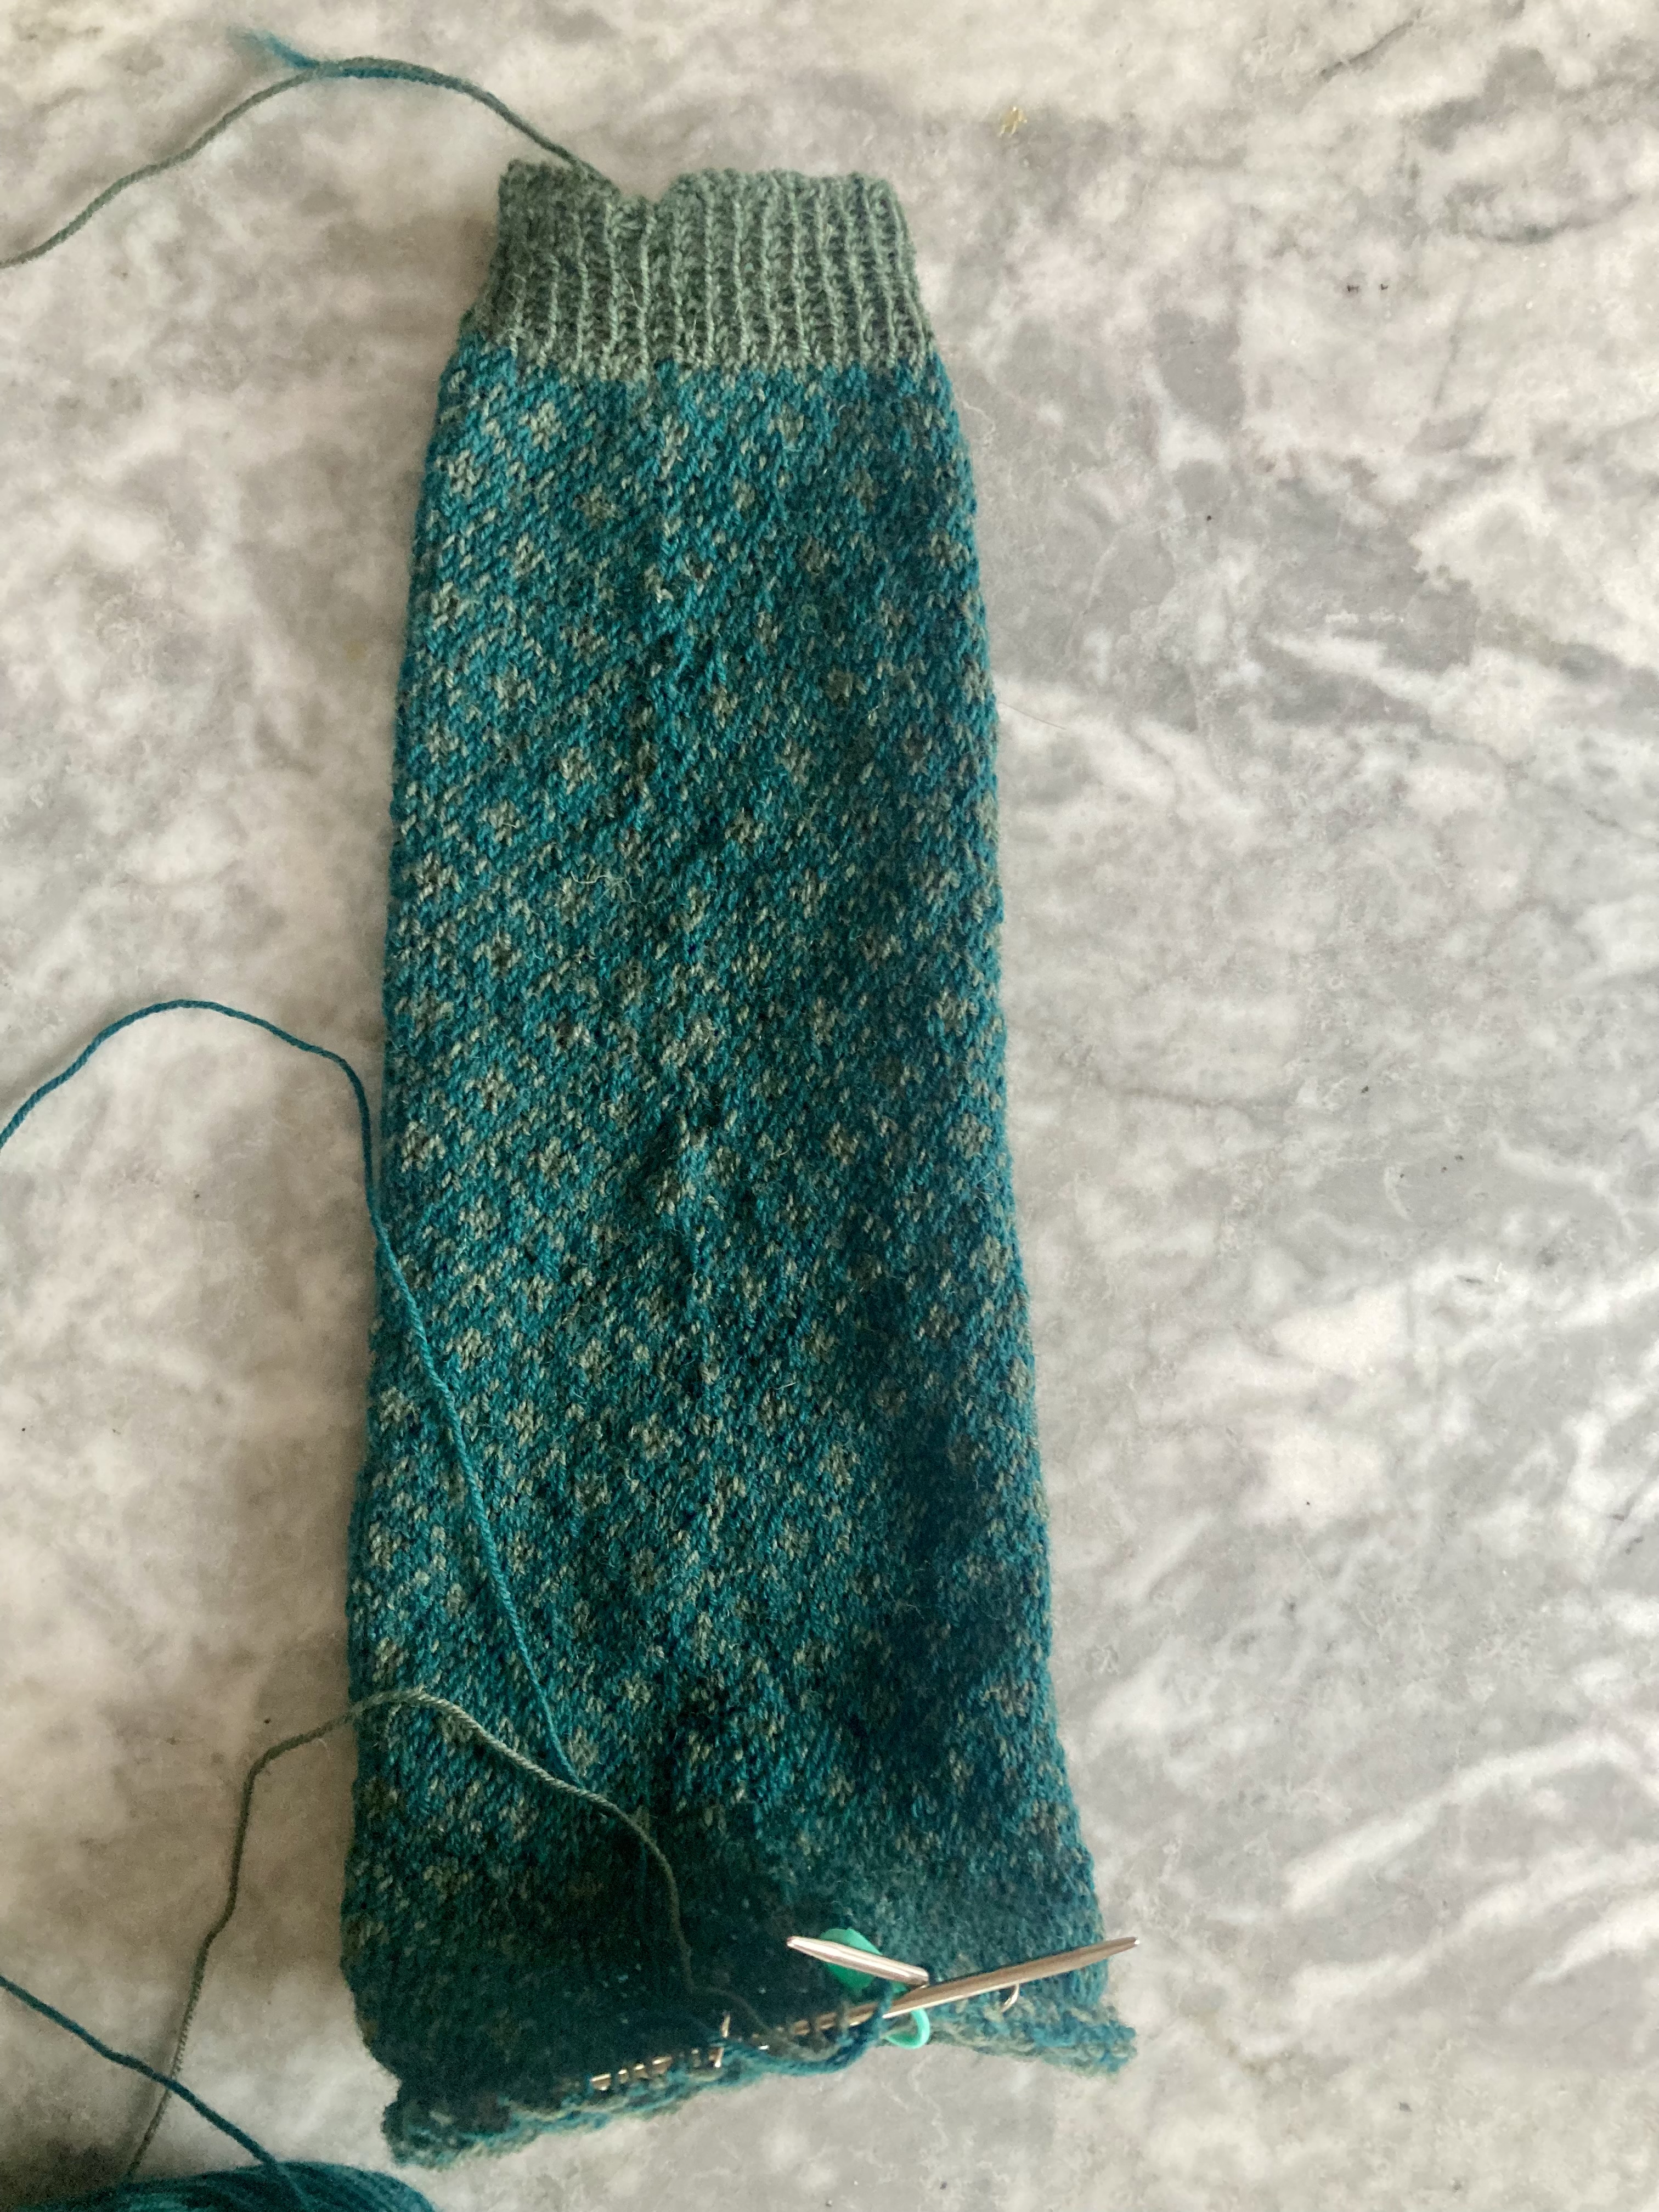
The stranded jaquard pattern is quite easy and has the advantage of having very short stretches of one colour — no more than three stitches ever — so it makes a very evenly worked wrong side and there was no need to weave in floats. It’s a subtle pattern with not much contrast, but that’s how the original looks as well. I started with the sleeves, to check for size, and made them in the round for speed and ease. I also decided to make a normal ribbed cuff instead of a hem.
I started the sleeve the first time with the hem as written, and didn’t like it — the transition from hem to pattern wasn’t smooth. I started over and got to halfway up the arm while wondering why it was so narrow. Suprise, I had been doing the increases wrong. Started over and did them right, and the fit was perfect.
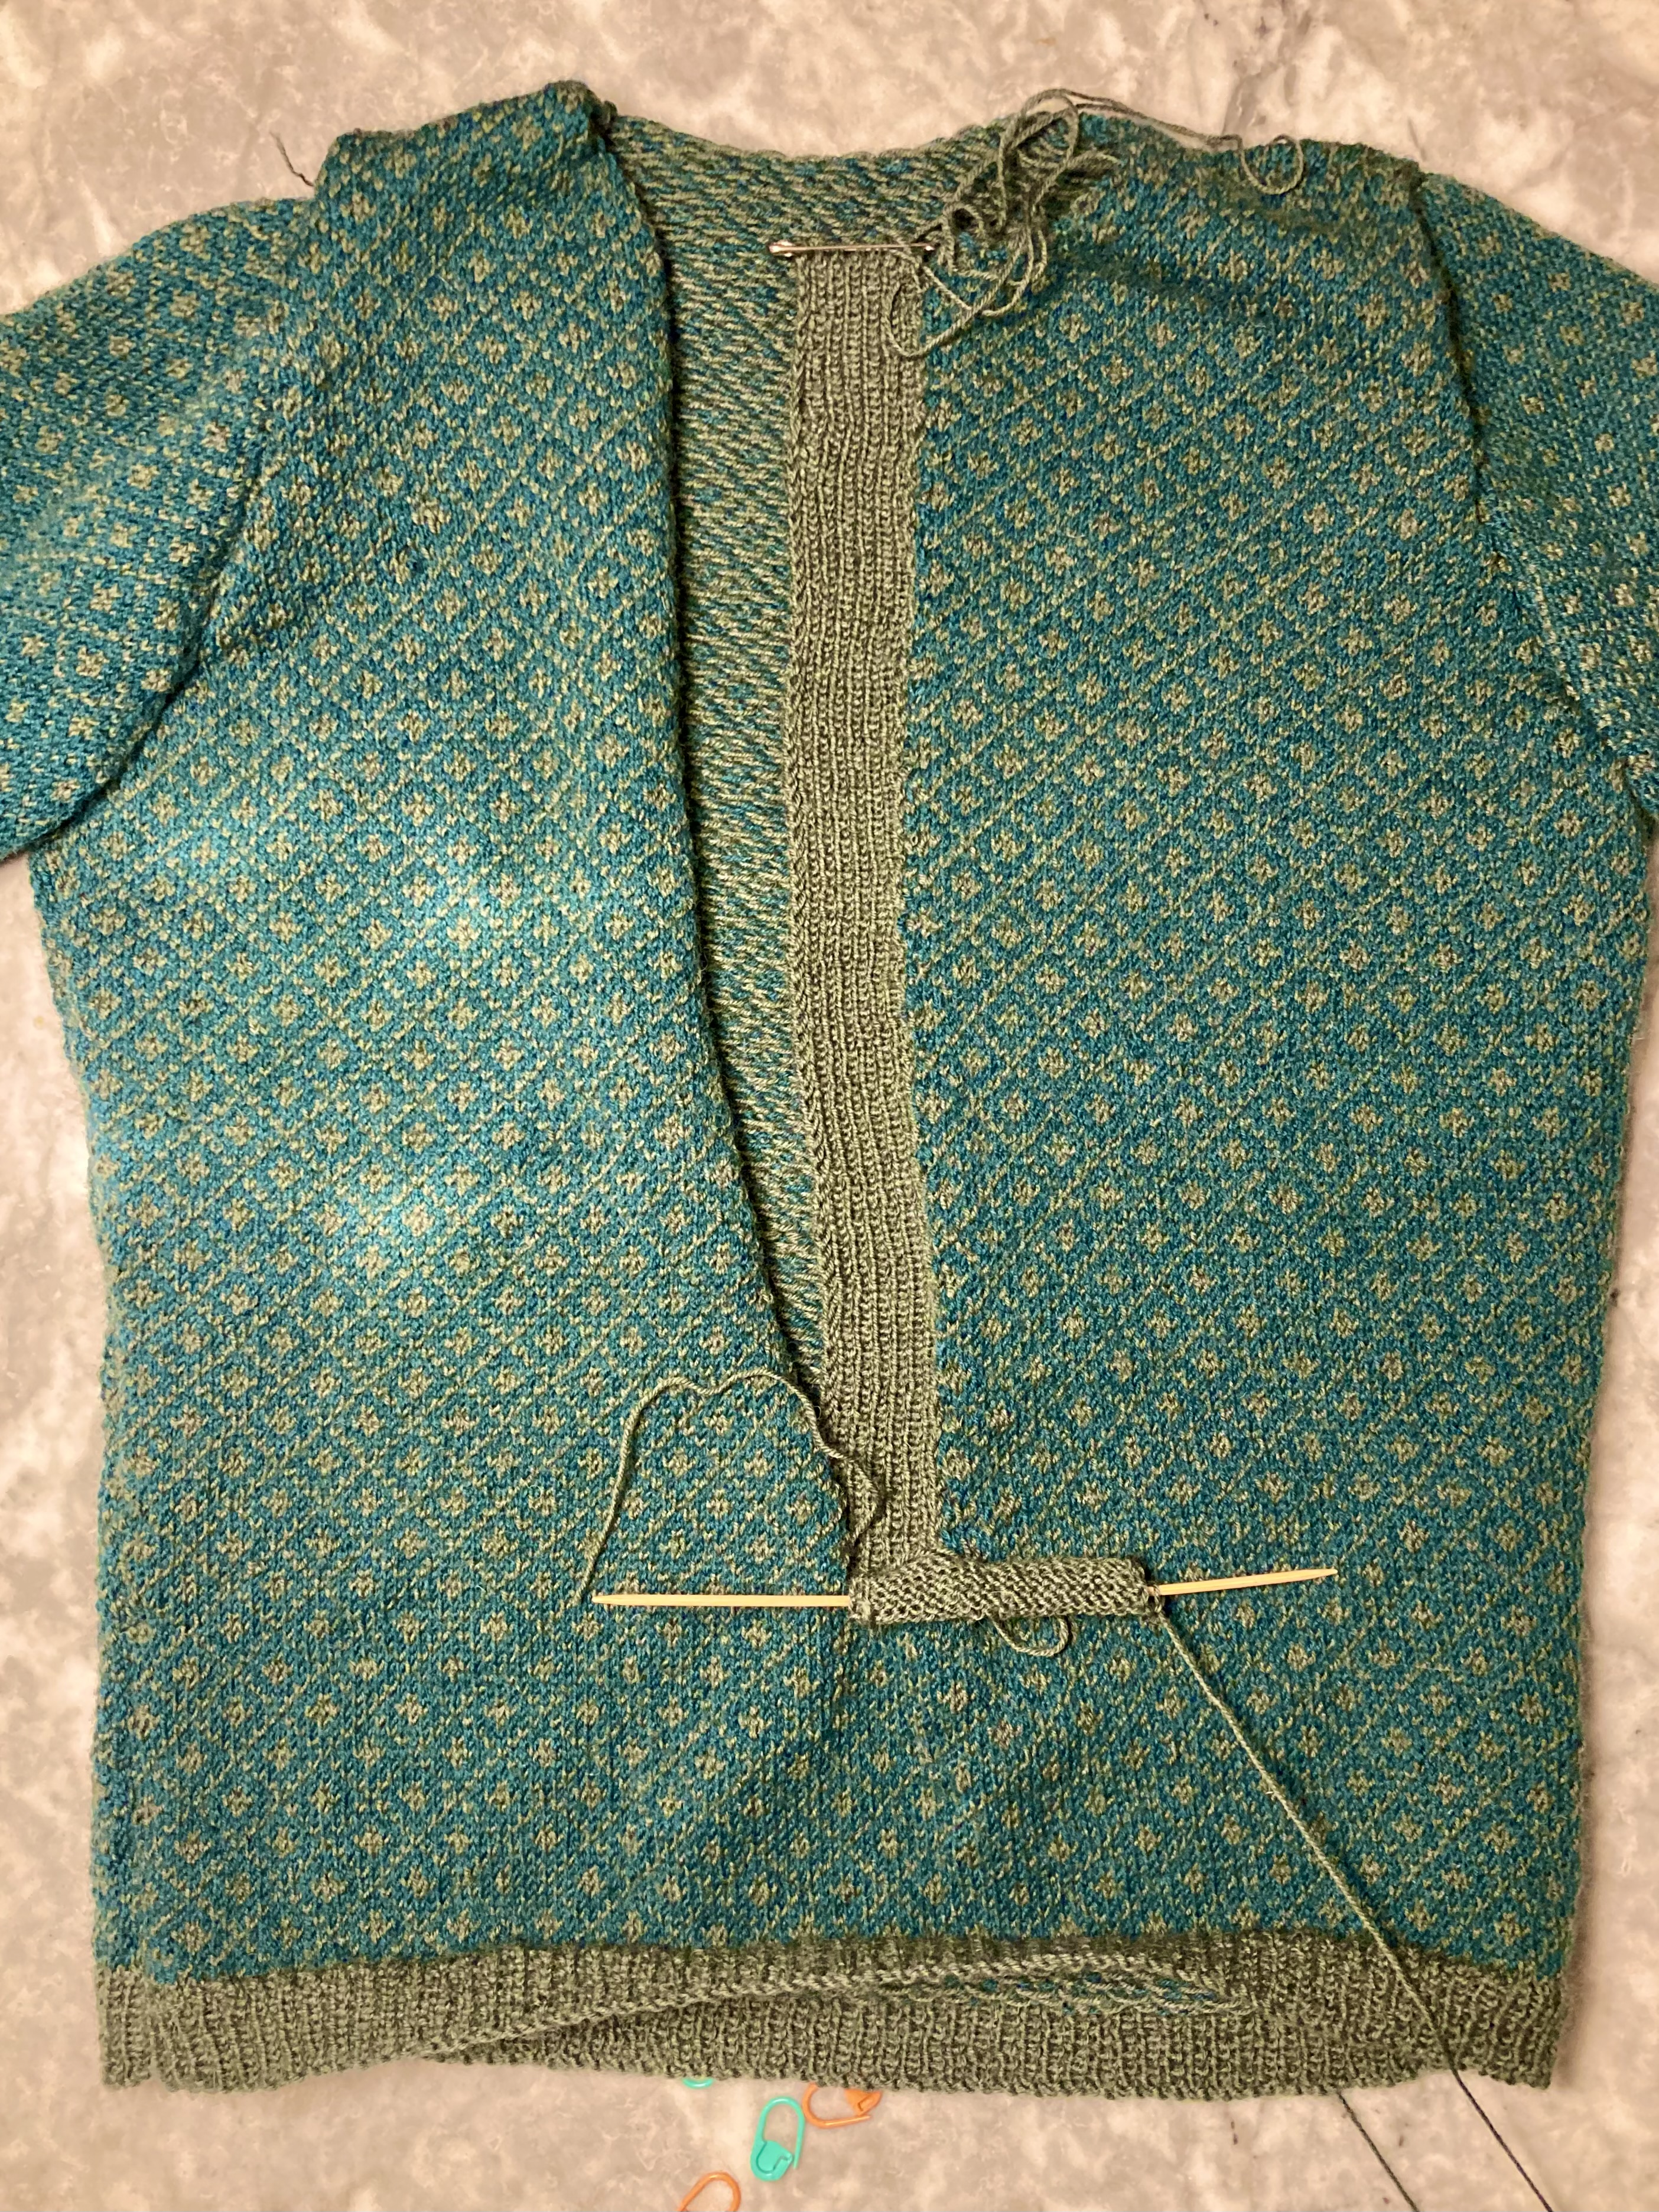
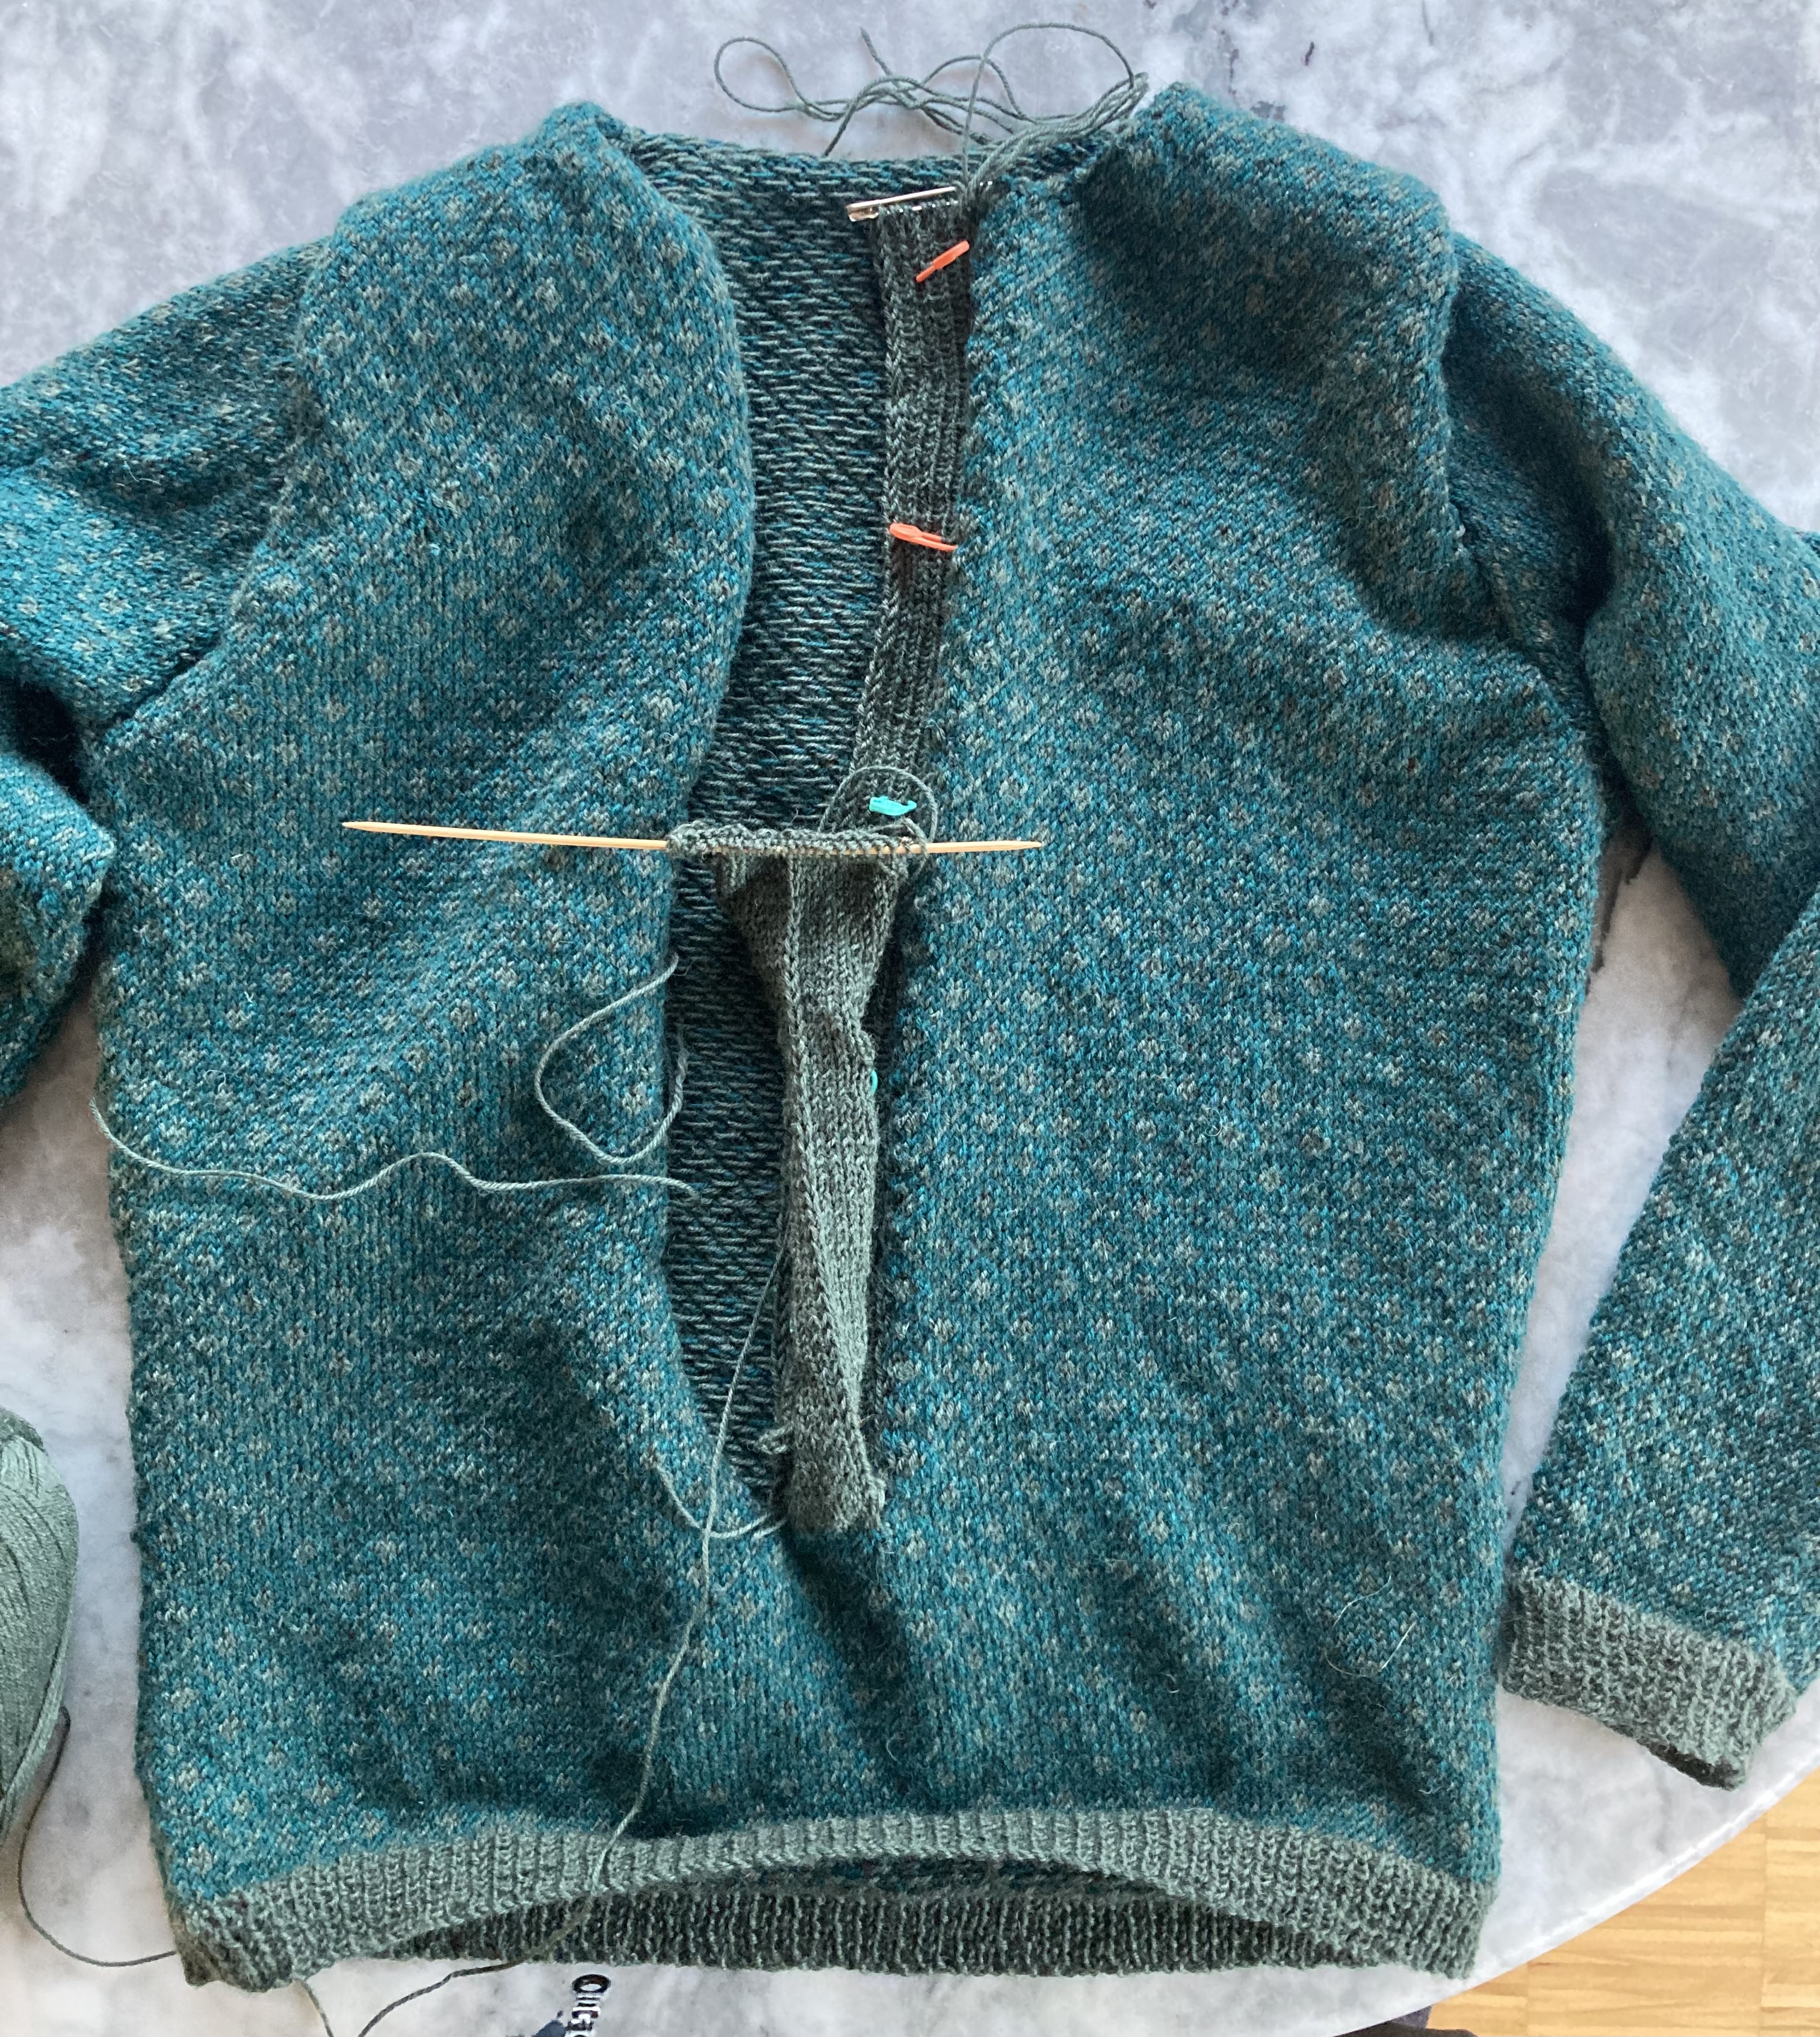
I decided to make the body with ribbing as well, and in two separate pieces worked back-and-forth instead of in the round. I thought about making it in the round with a steek for the placket, but then I thought a steek might be too bulky (the fabric is nice and flexible in spite of the close stranding) and I could adjust for fit more easily by working the back and front separately.
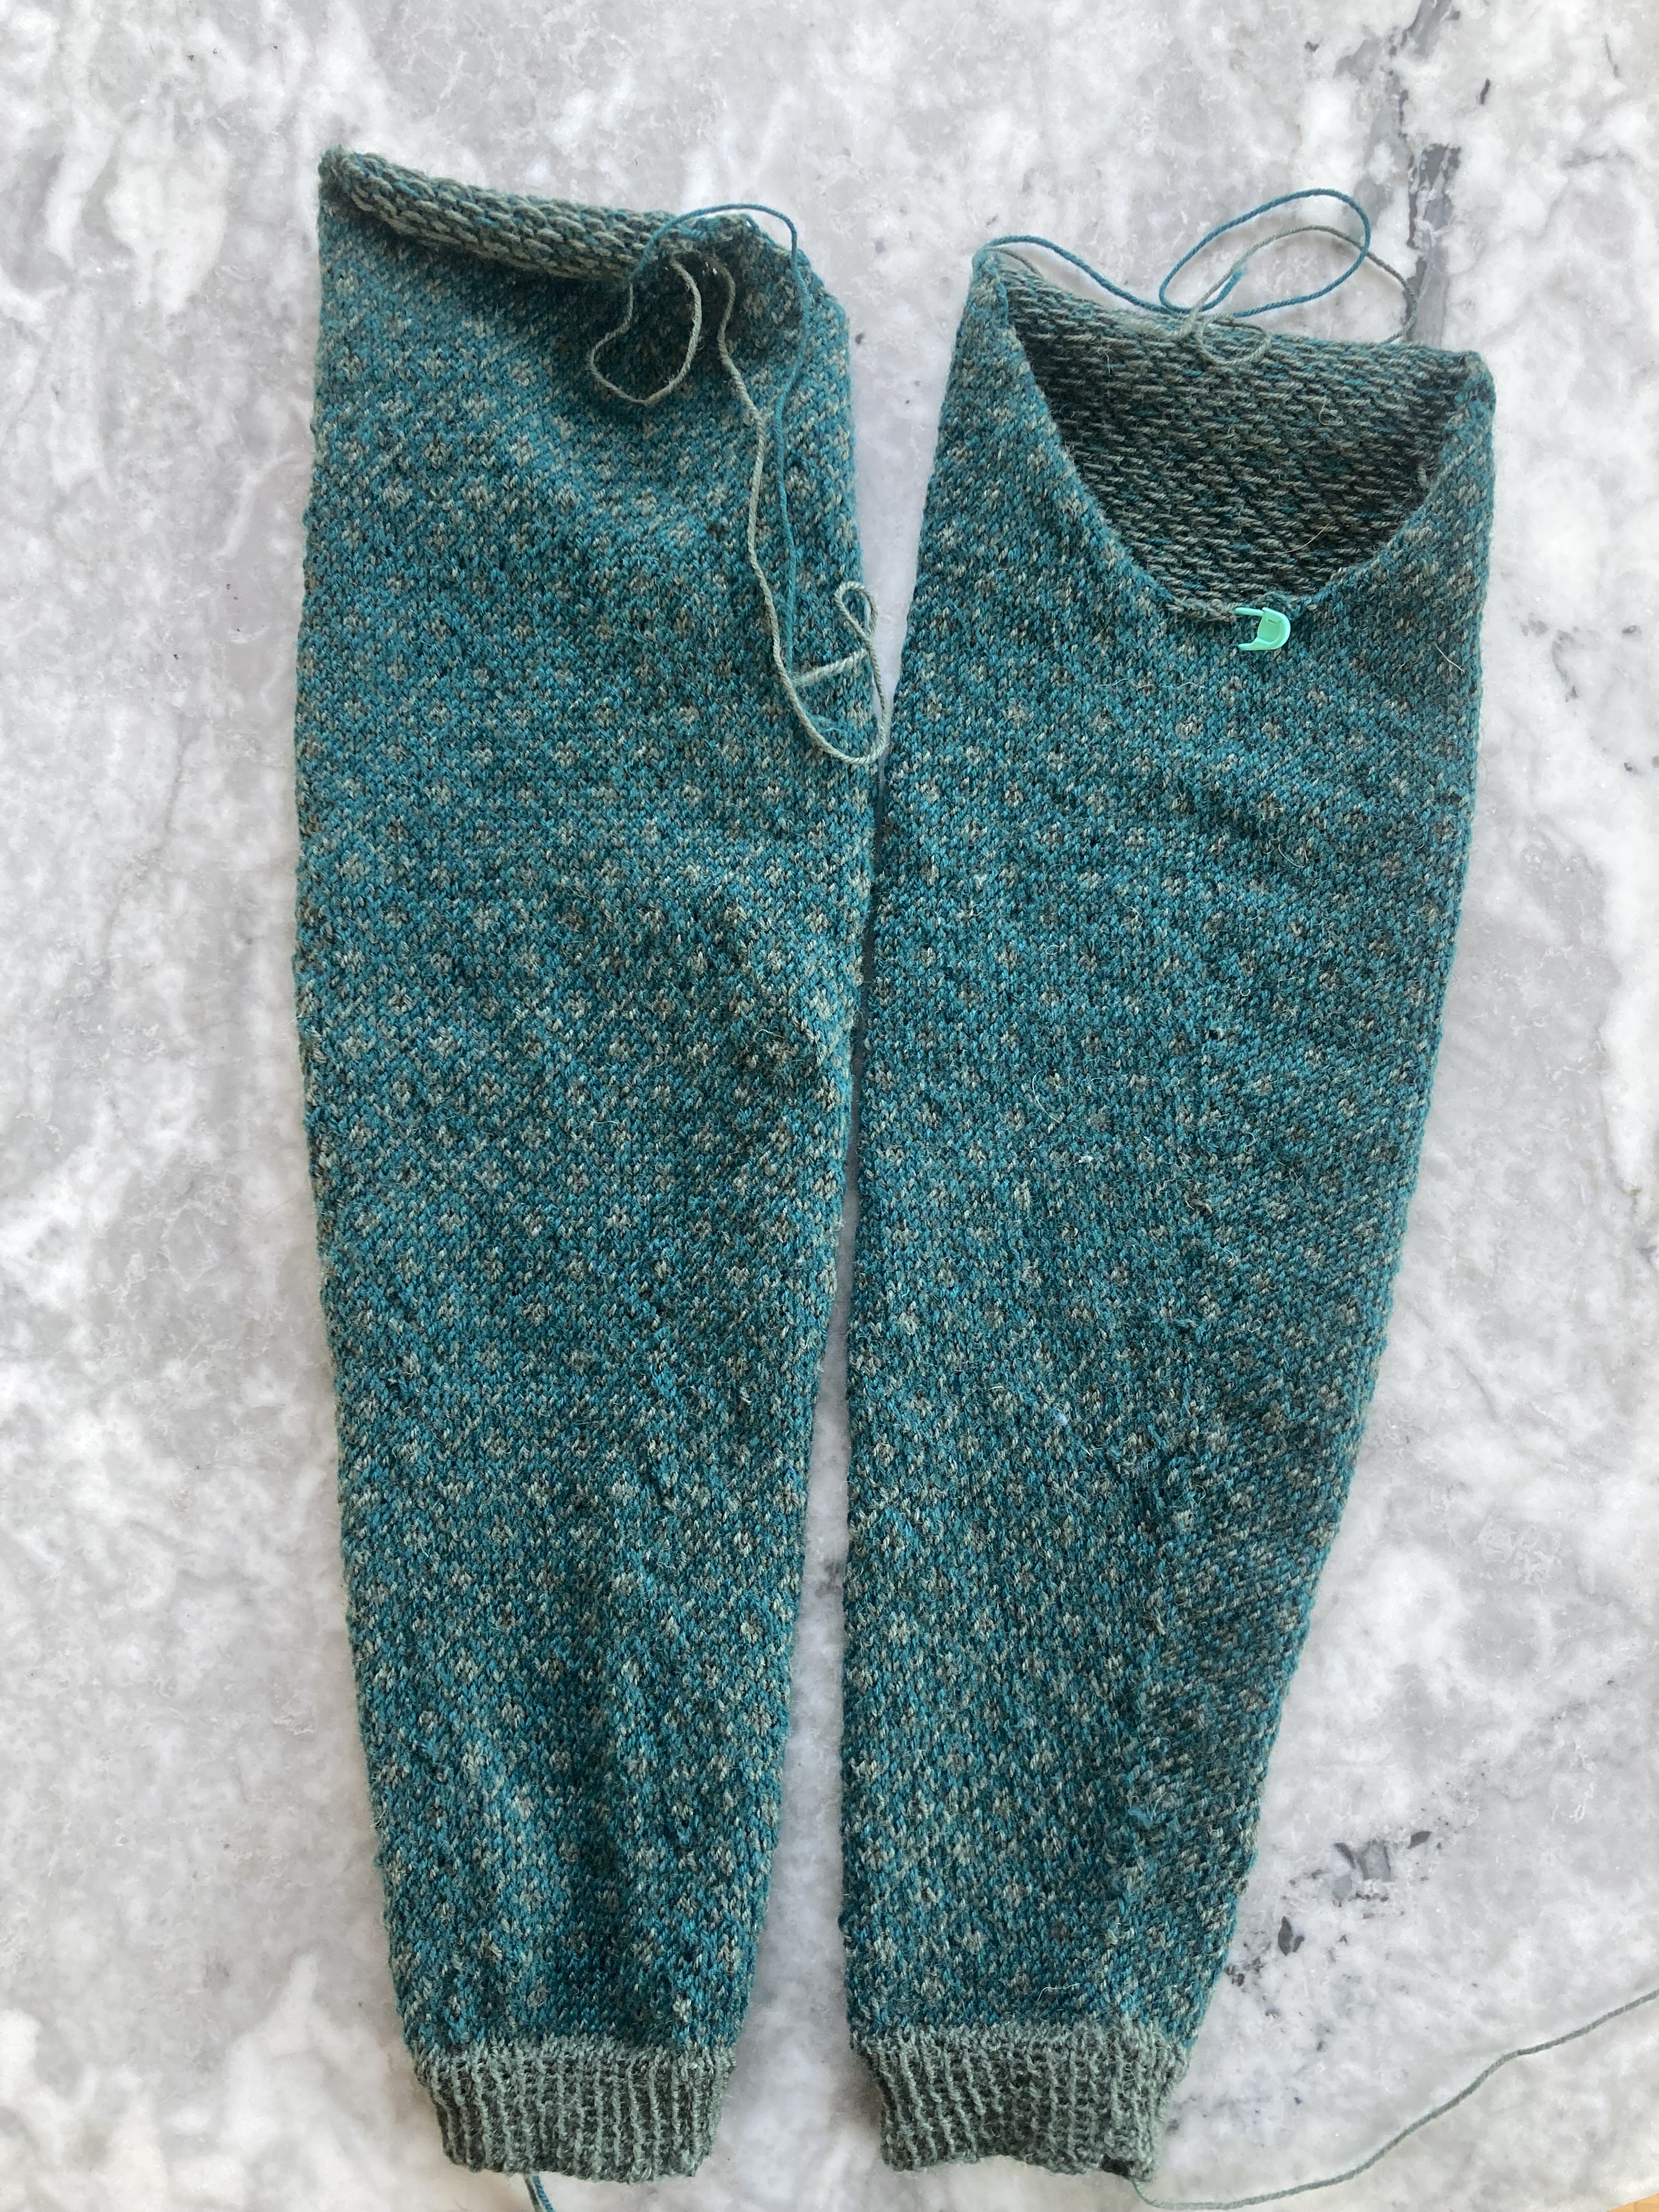
On the subject of fit, I made the sleeves in the regular second size, for 36-37 inch bust, and 17 inches to underarm instead of 16. The body of these late 60s, unshaped garments always looks well-fitted on the model in the photo, but like a huge floppy sack on me. My calculations tell me that the back piece, even knitted in the smallest size (for 34-35 inch bust) would be 19 inches wide the whole time, from hem to underarm, and anything that wide around the hip/waist area is just going to look awful on me. The question was: should I start off as in the pattern, decrease for waist shaping and then increase up to the bust, or start smaller to keeop the waist narrower from the beginning and just start increasing after the waist?
Since I had decided to make the bottom edge ribbed instead of hemmed, like the sleeves, I went for the second option. Started the back according to the first size and increased up to the second size for the back, and the second size for the front. That will give a different shape than intended, but it will look a lot better on me.
It still went very slowly, and unfortunately I was quite badly ill for much of November and December, so that on many days I didn’t even have the energy to knit. Also, the pattern, yarn and needles were all very small and fine. But eventually, it took shape. I decreased down to the first size again for the shoulders and back neck to get a nice fitted look.
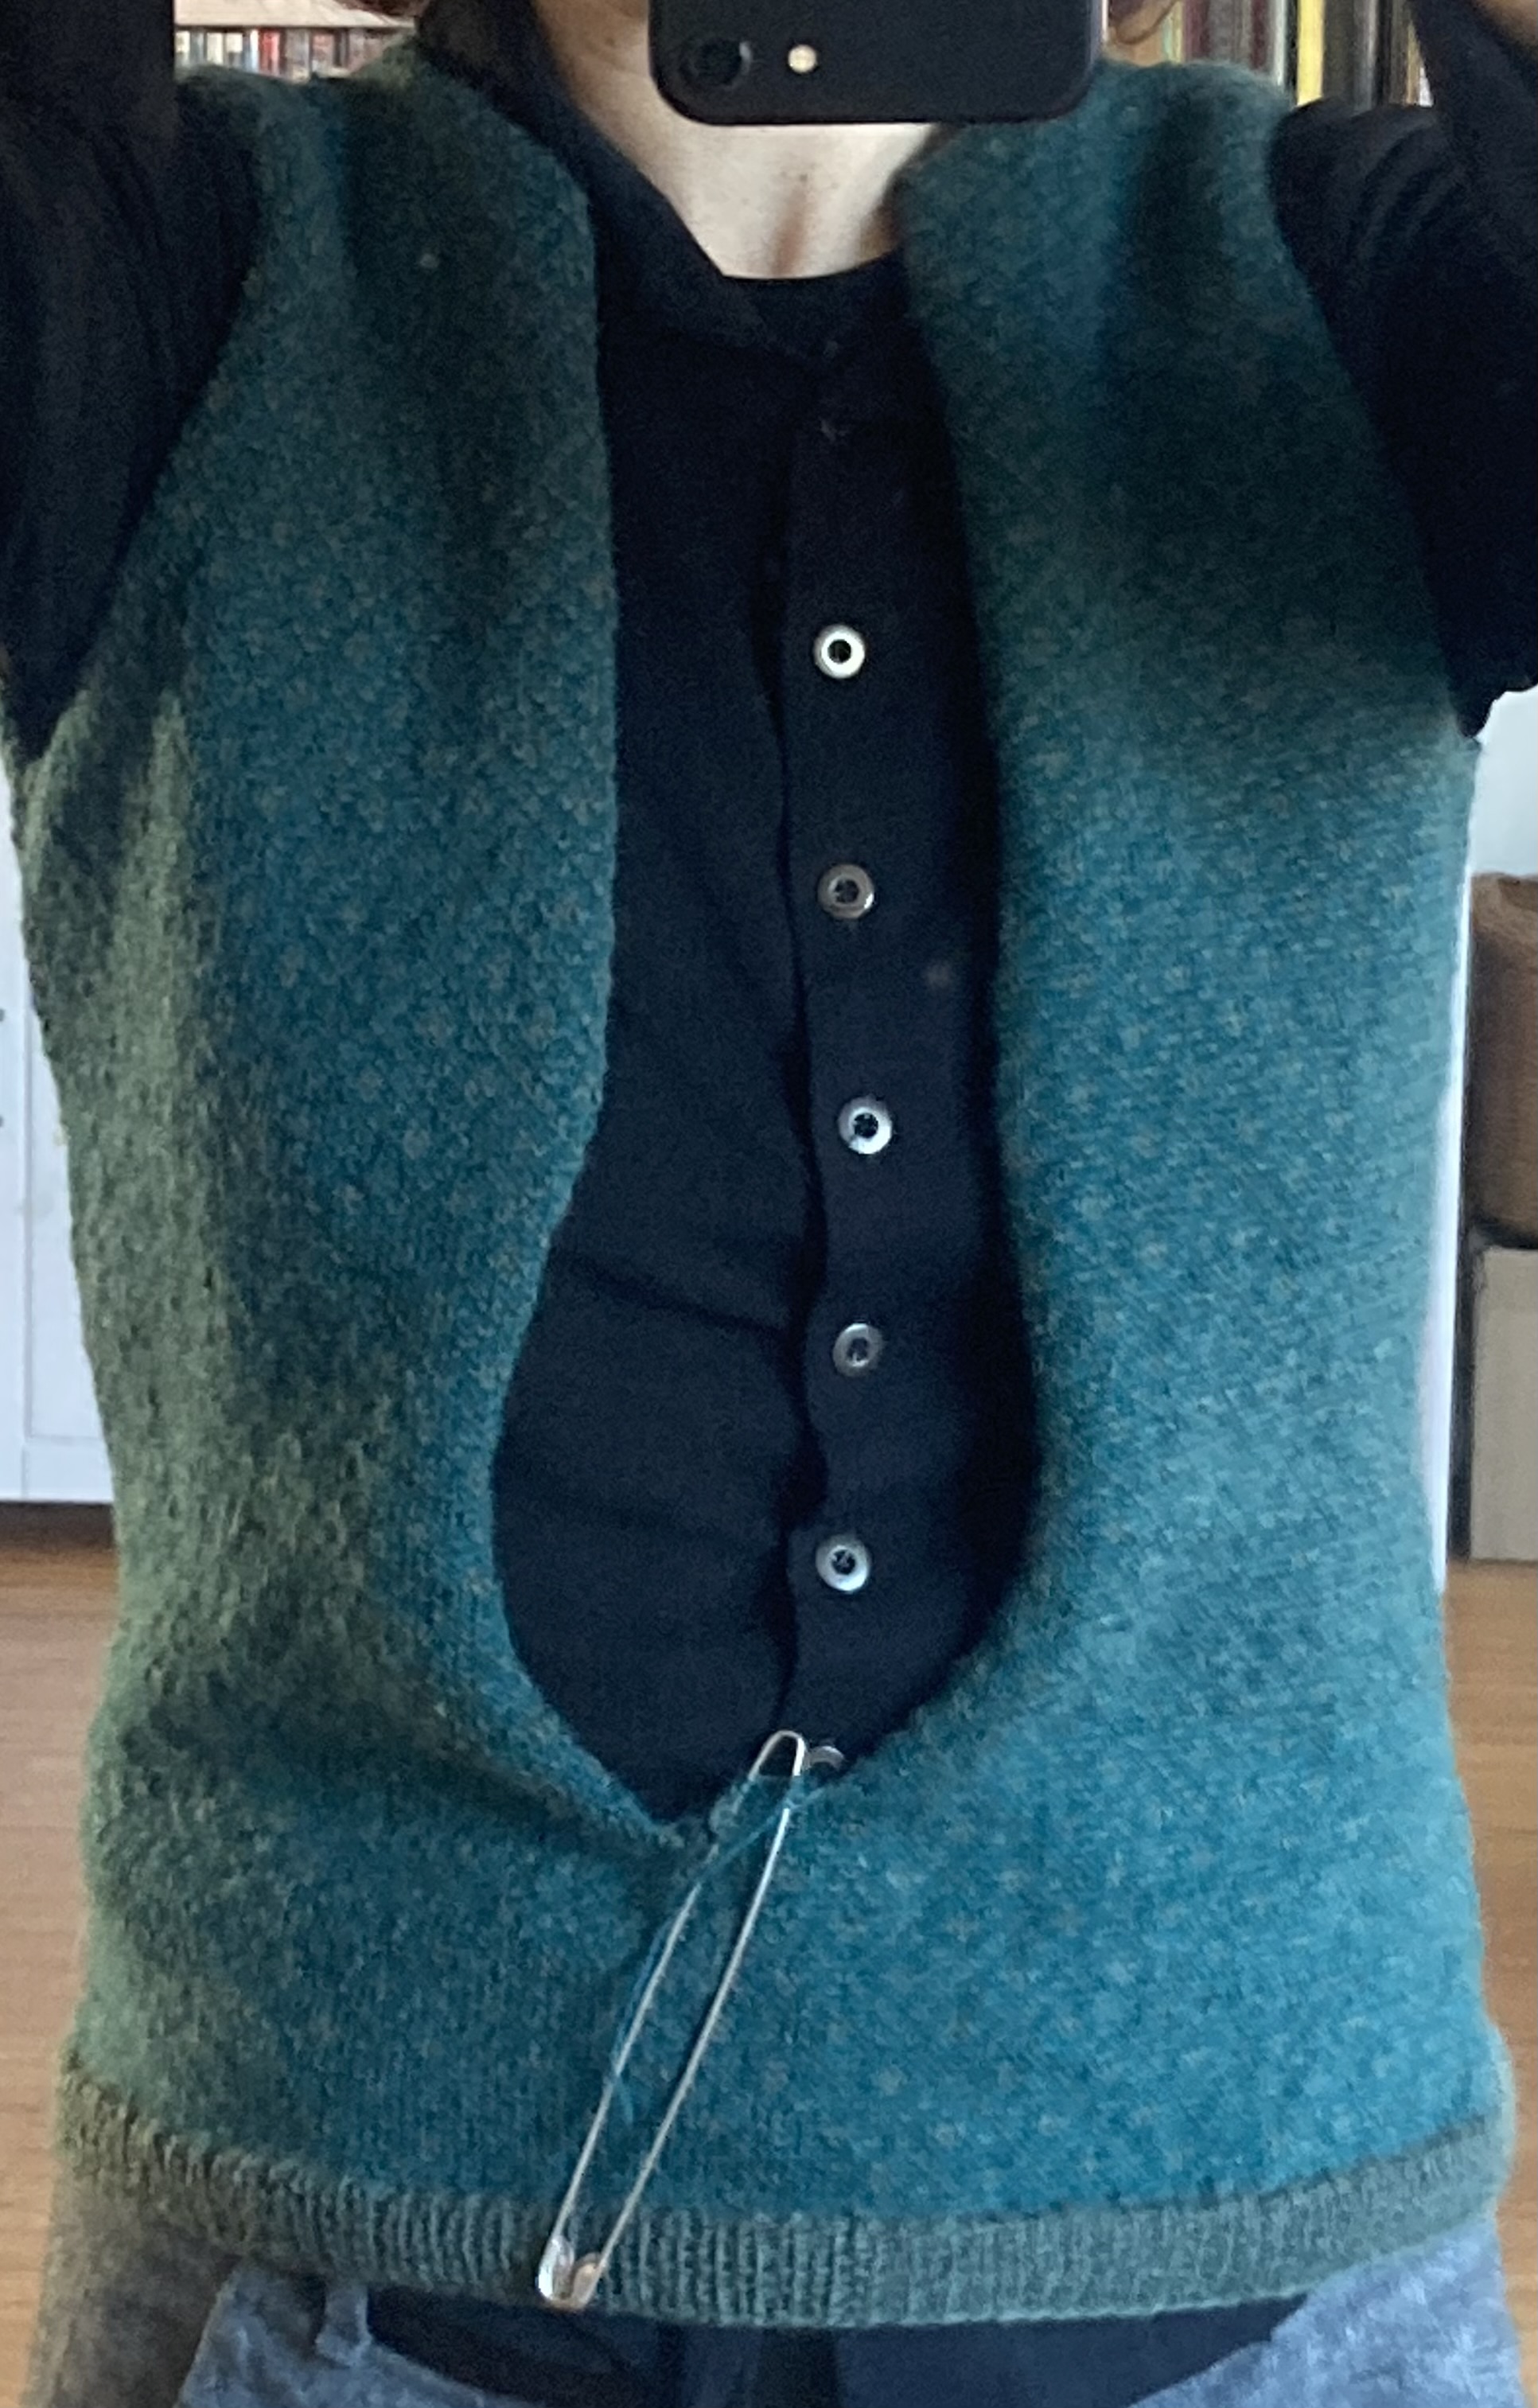
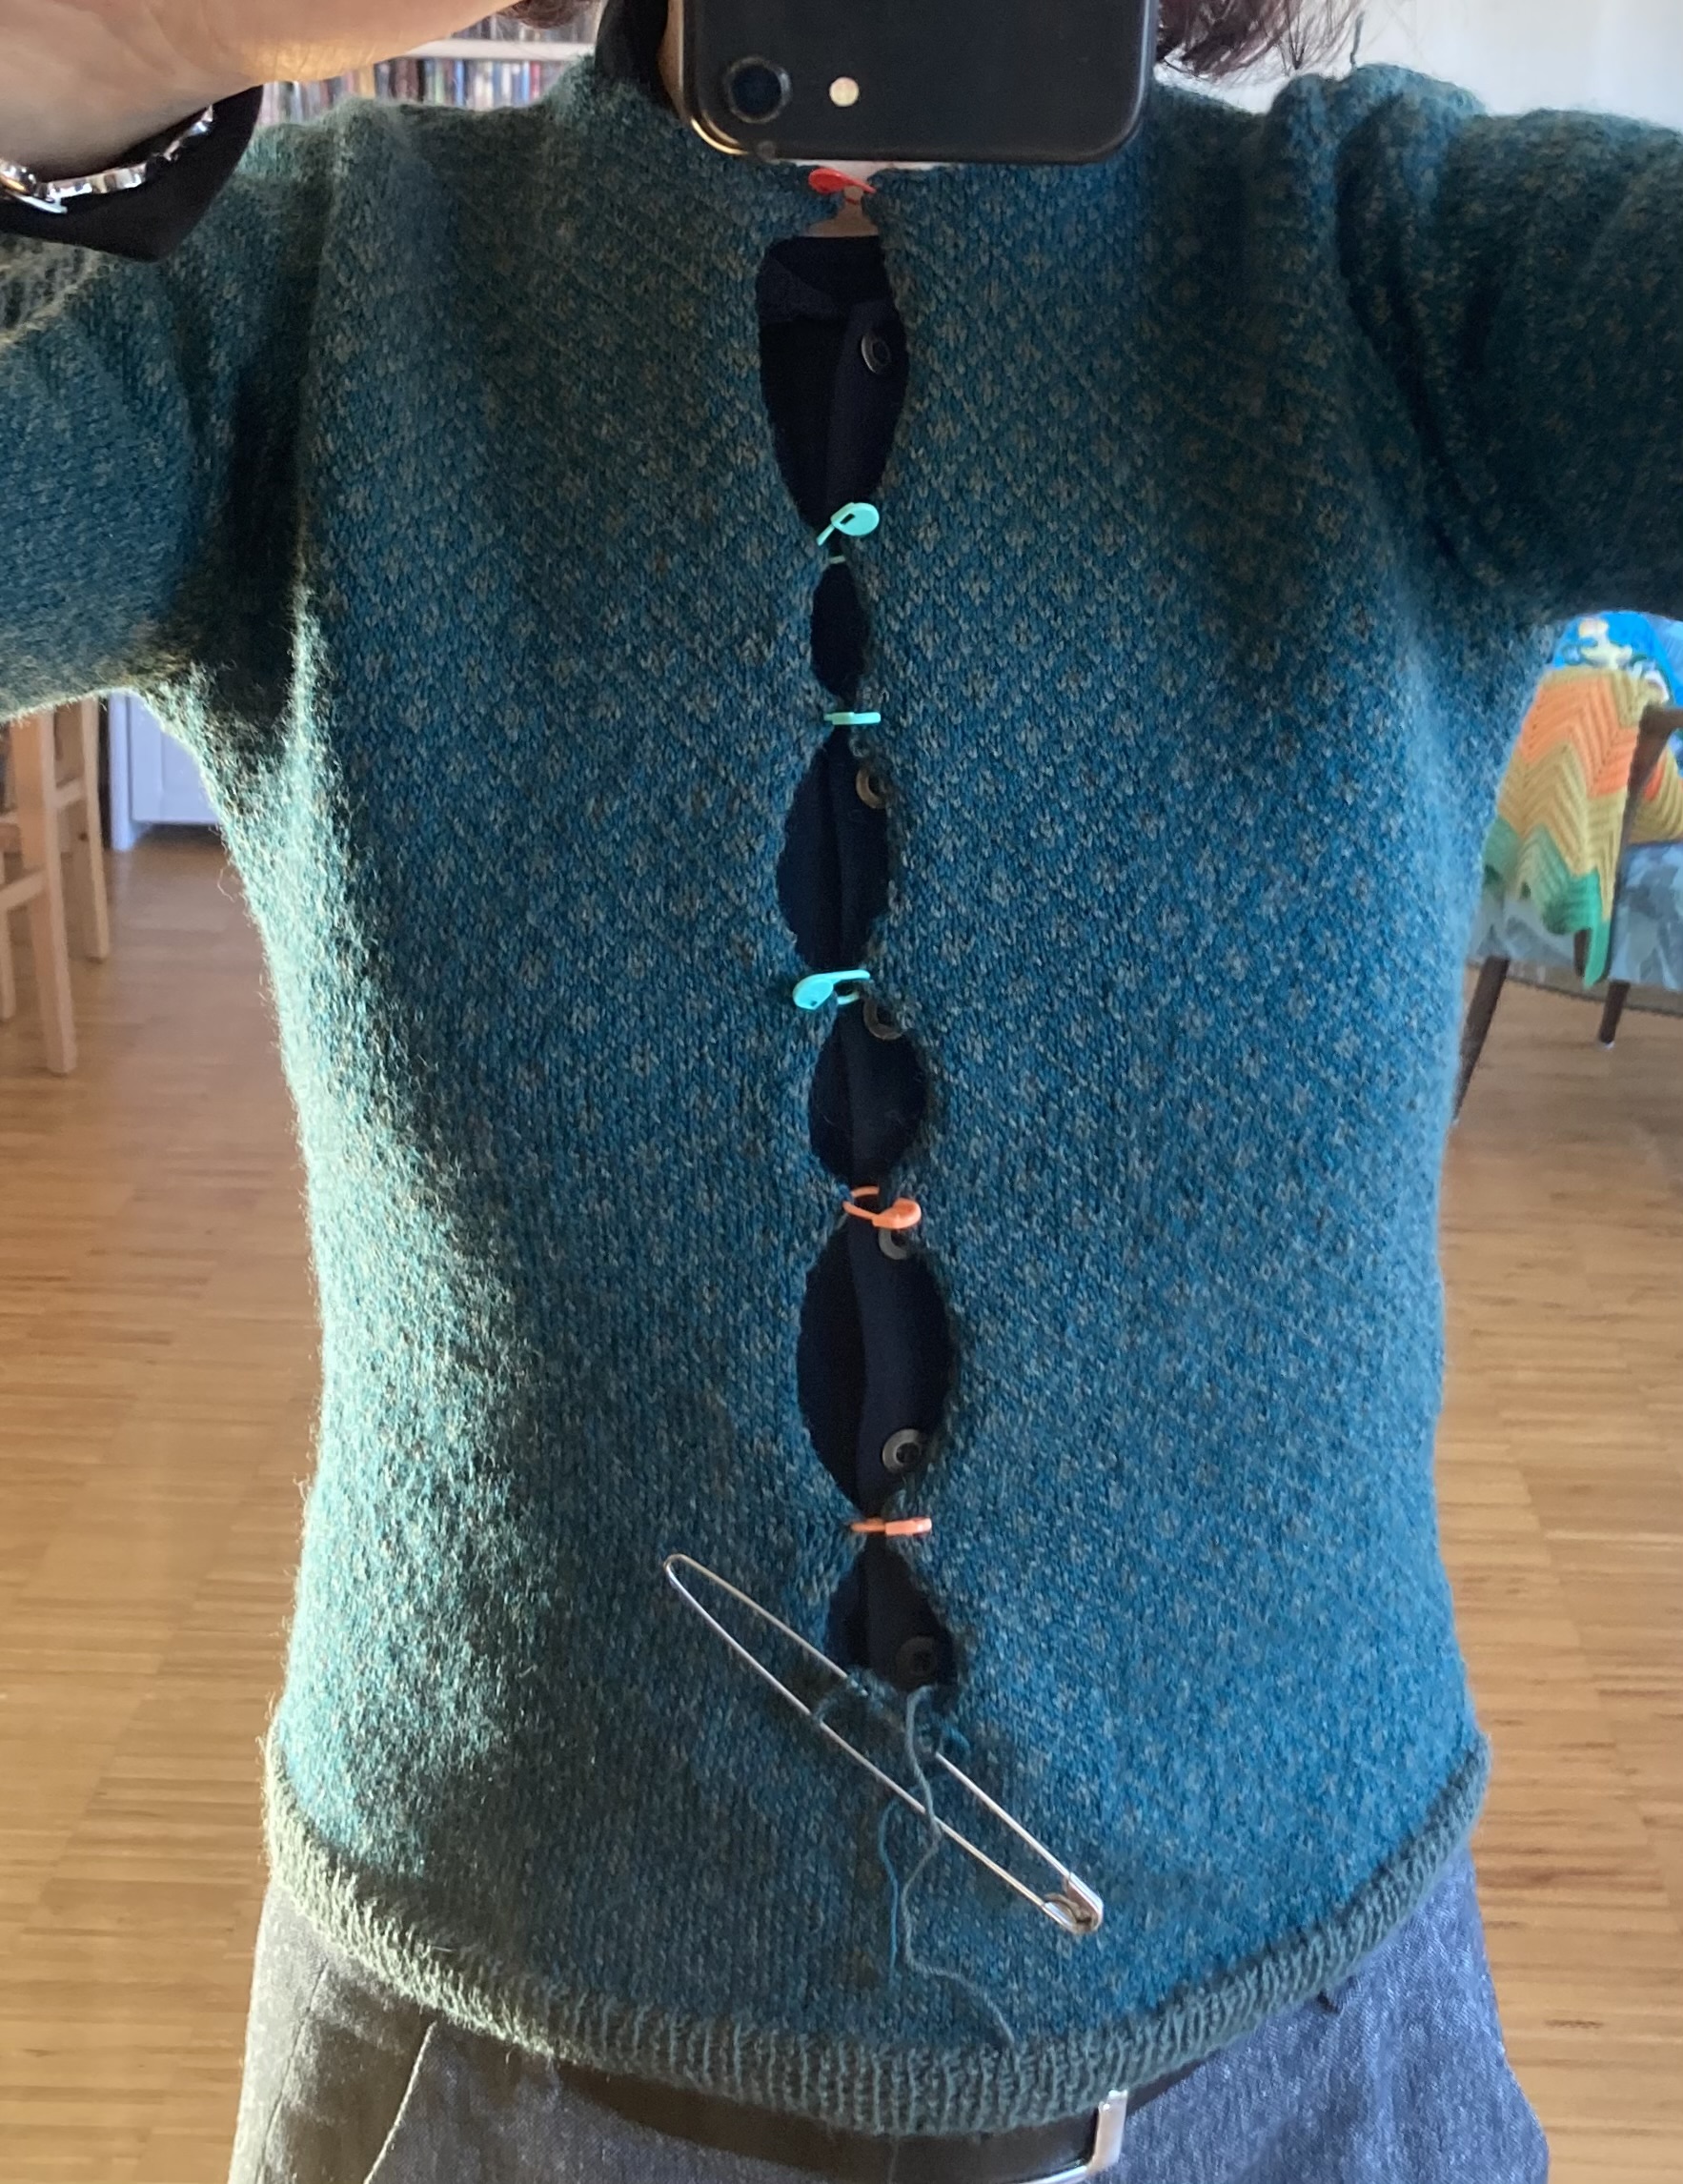
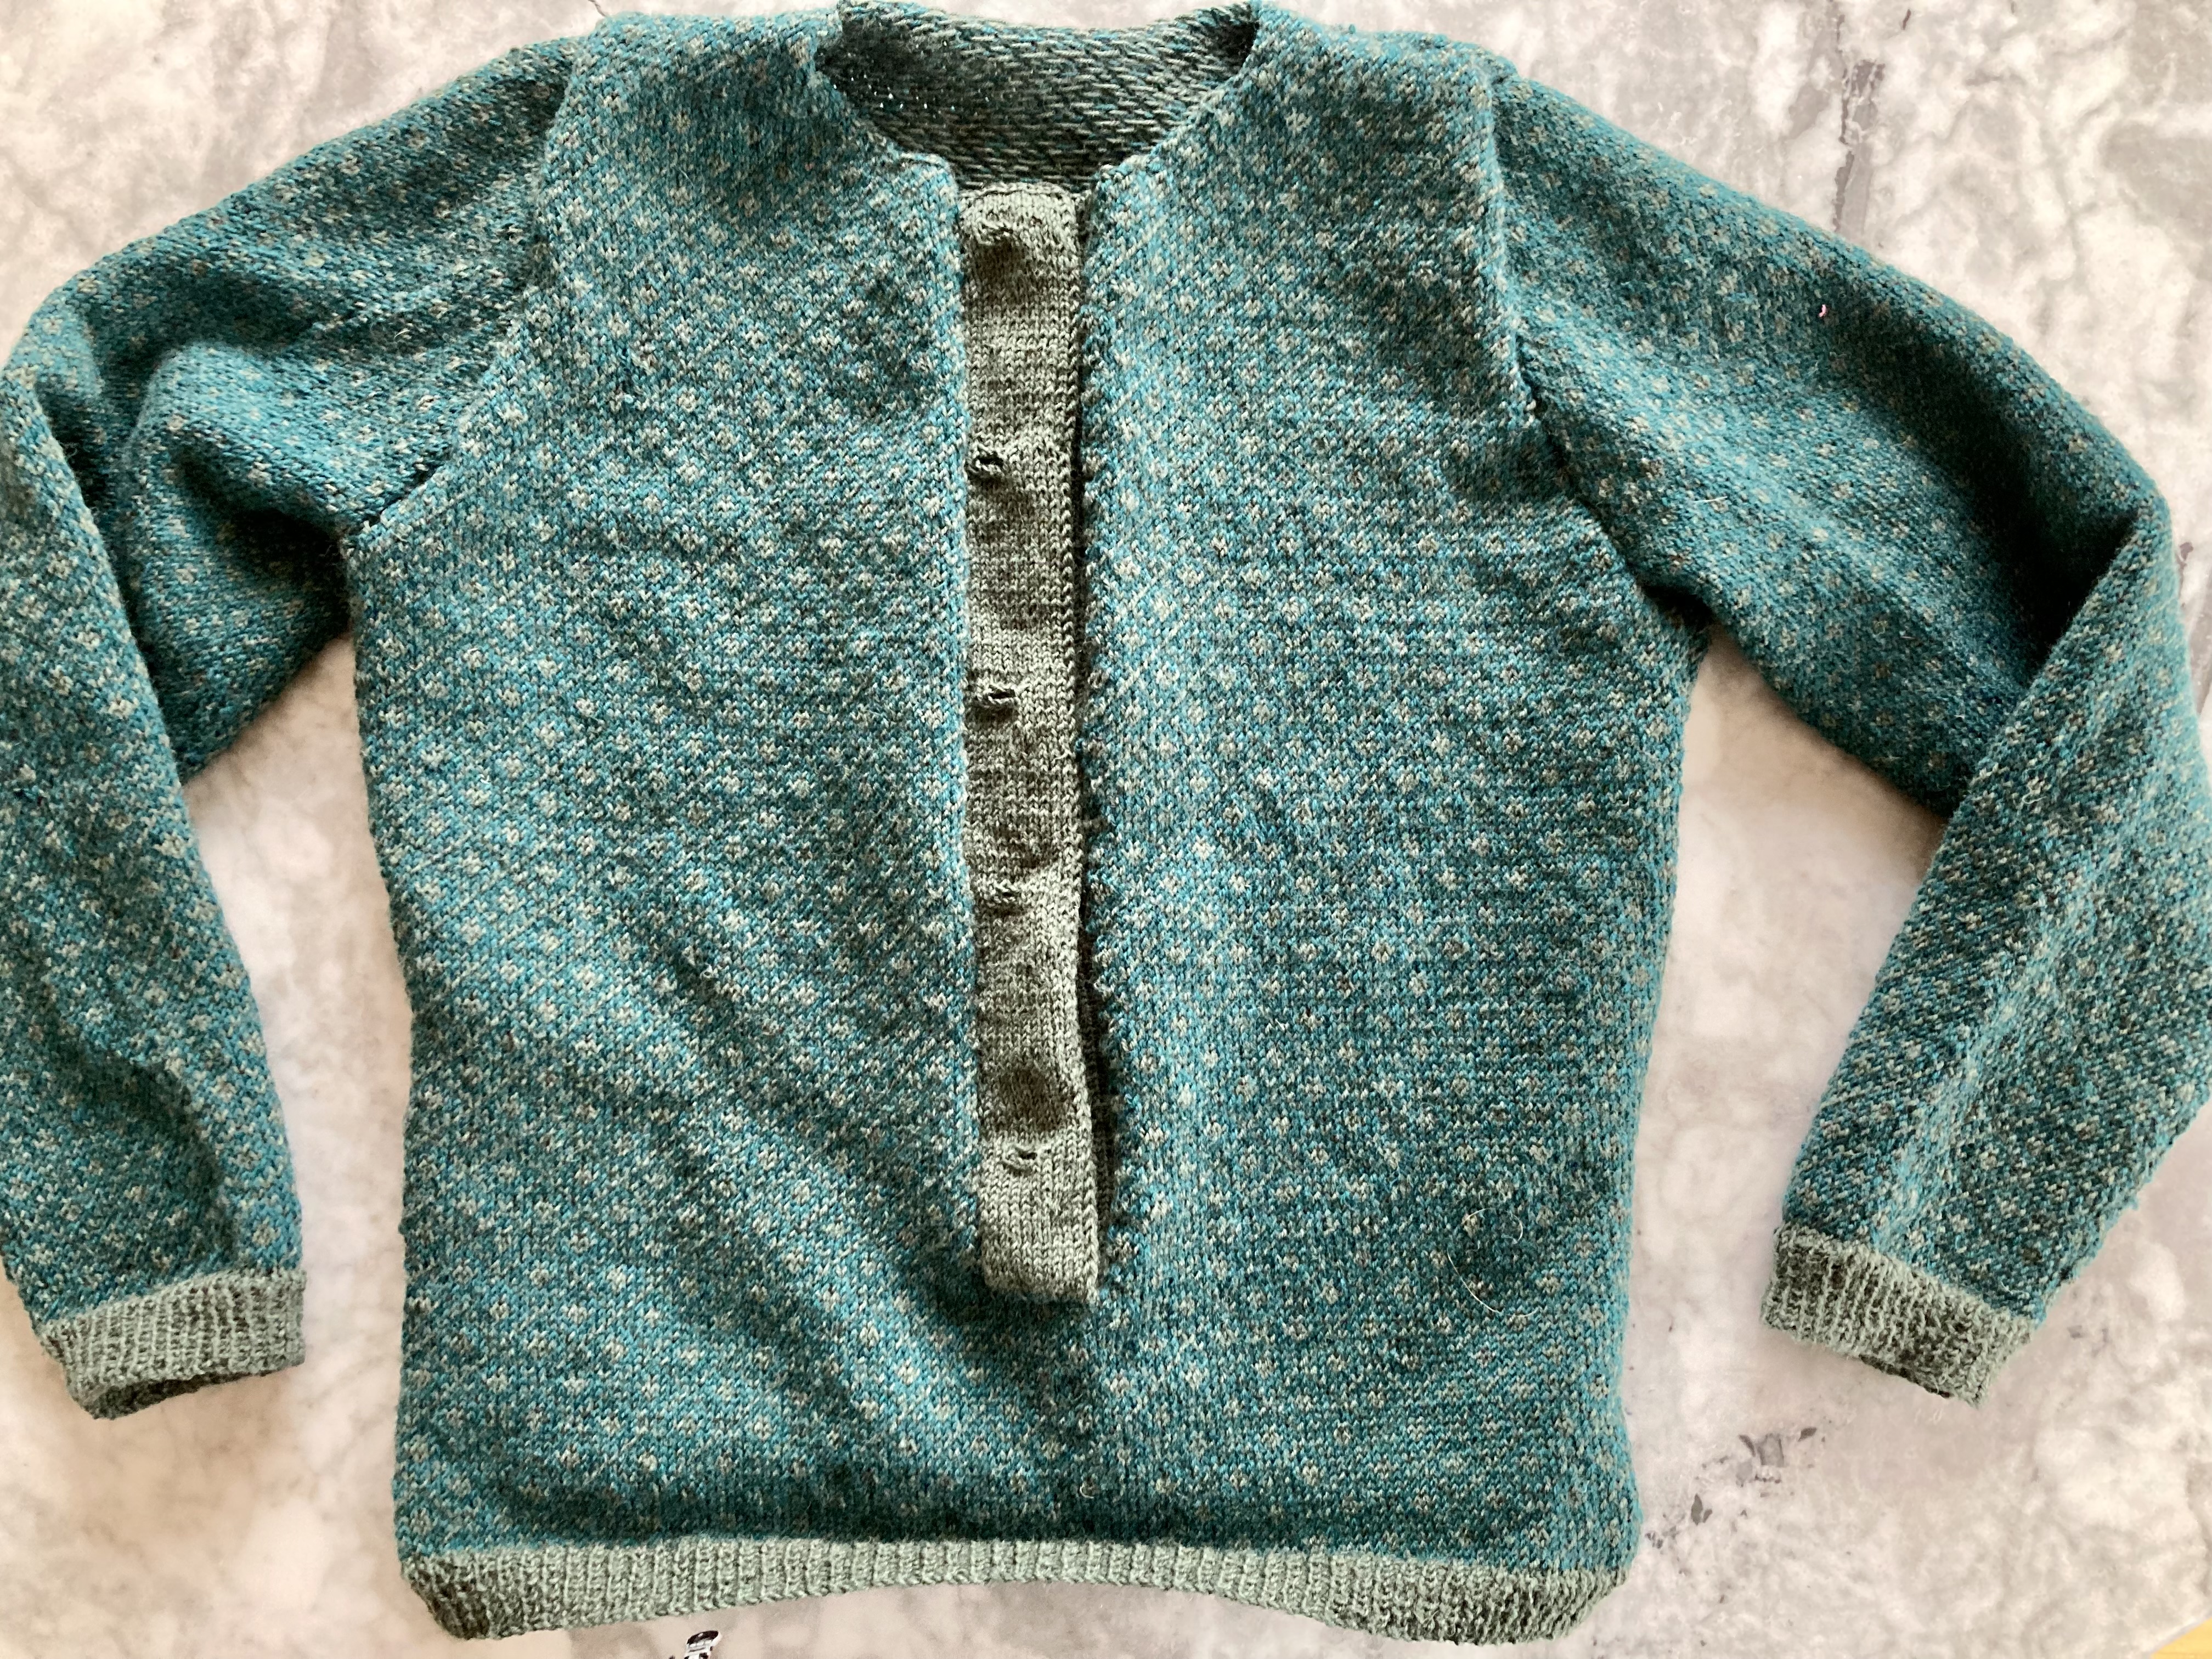
The front bands are interesting: the inside one, where the buttons are, is made in 1×1 rib, and the outside one with the buttonholes is made in stocking-stitch with a facing and double buttonholes. The collar is also made in stocking-stitch, with facings on the bottom and front edges. I thought the facings wouldn’t be enough to stop the stocking-stitch curl, but was pleasantly surprised — the collar lay perfectly. I found some nice, possibly vintage buttons in my stash.
Before blocking, it was quite snug and the sleeves were a bit short (16 1/2 inches). It stretched the right amount in width with a loose block (no pins or stretching) but also stretched out so much lengthwise! I did not expect that from a jaquard pattern. The sleeves stretched from 16 1/2 to 18 1/2 inches, making them just a little bit too long, and the body stretched from 21 to 23 inches, which is about an inch too long. Next time, I’ll try washing it in the machine and putting it in the dryer on gentle cycle for at least a few minutes, which works with every other superwash wool I know.
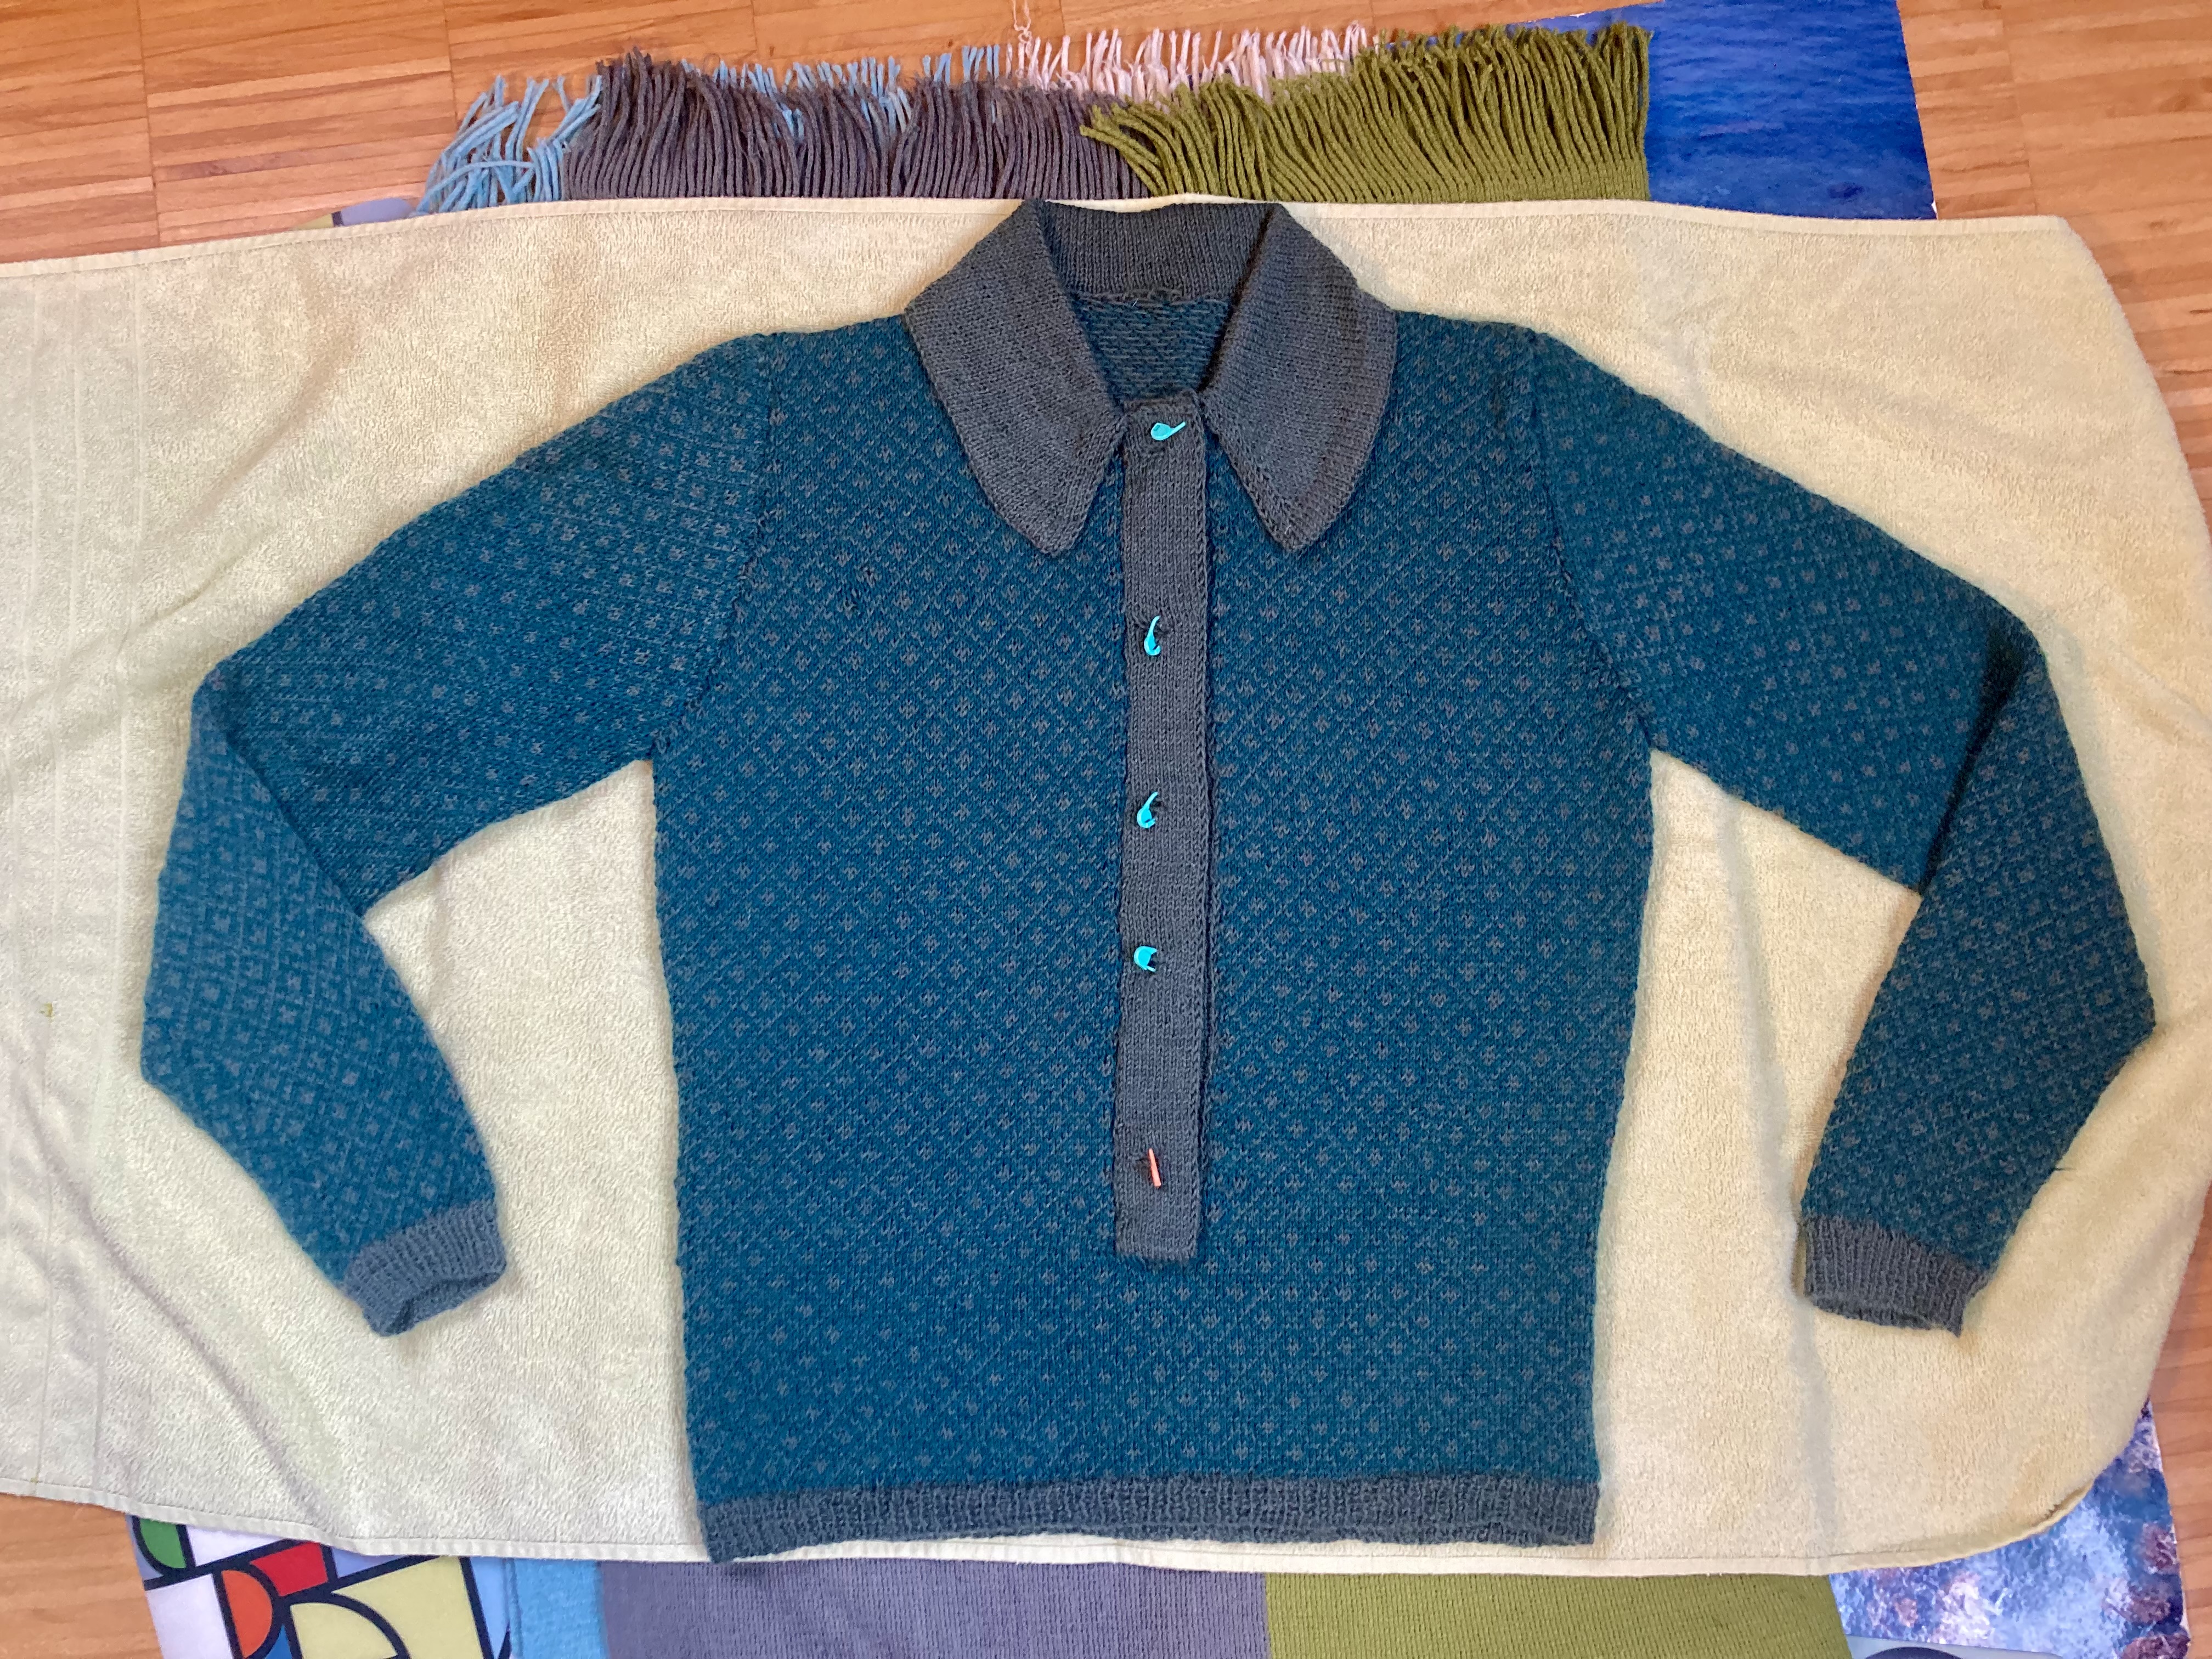
This project was worth the wait and I’m very happy with the way it turned out. The photos are suboptimal this time, since we’ve been having a lot of snow and it’s hard to get out anywhere during daylight hours where we could get a perfect re-creation of the magazine photo. This was the best light we could get at five o’clock in the evening inside! I’ll try to take some more after the jumper has been washed and blocked again and we have a little more daylight.

Hoping you get better soon! The jacquard pattern is really pretty in the colours you are using. I’ve never tried knitting sleeves 1st. Is it tricky to sewing into the body? Your hem modification is a great solution and improvement. Looking forward to seeing your FO photos.
LikeLiked by 1 person
Thanks! I don’t find it any more difficult to sew sleeves into the body if I’ve knit them first, than if I knit the body first.
LikeLiked by 1 person