
EDIT November 12, 2023: Finished!
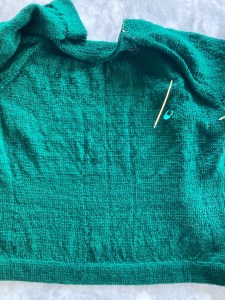
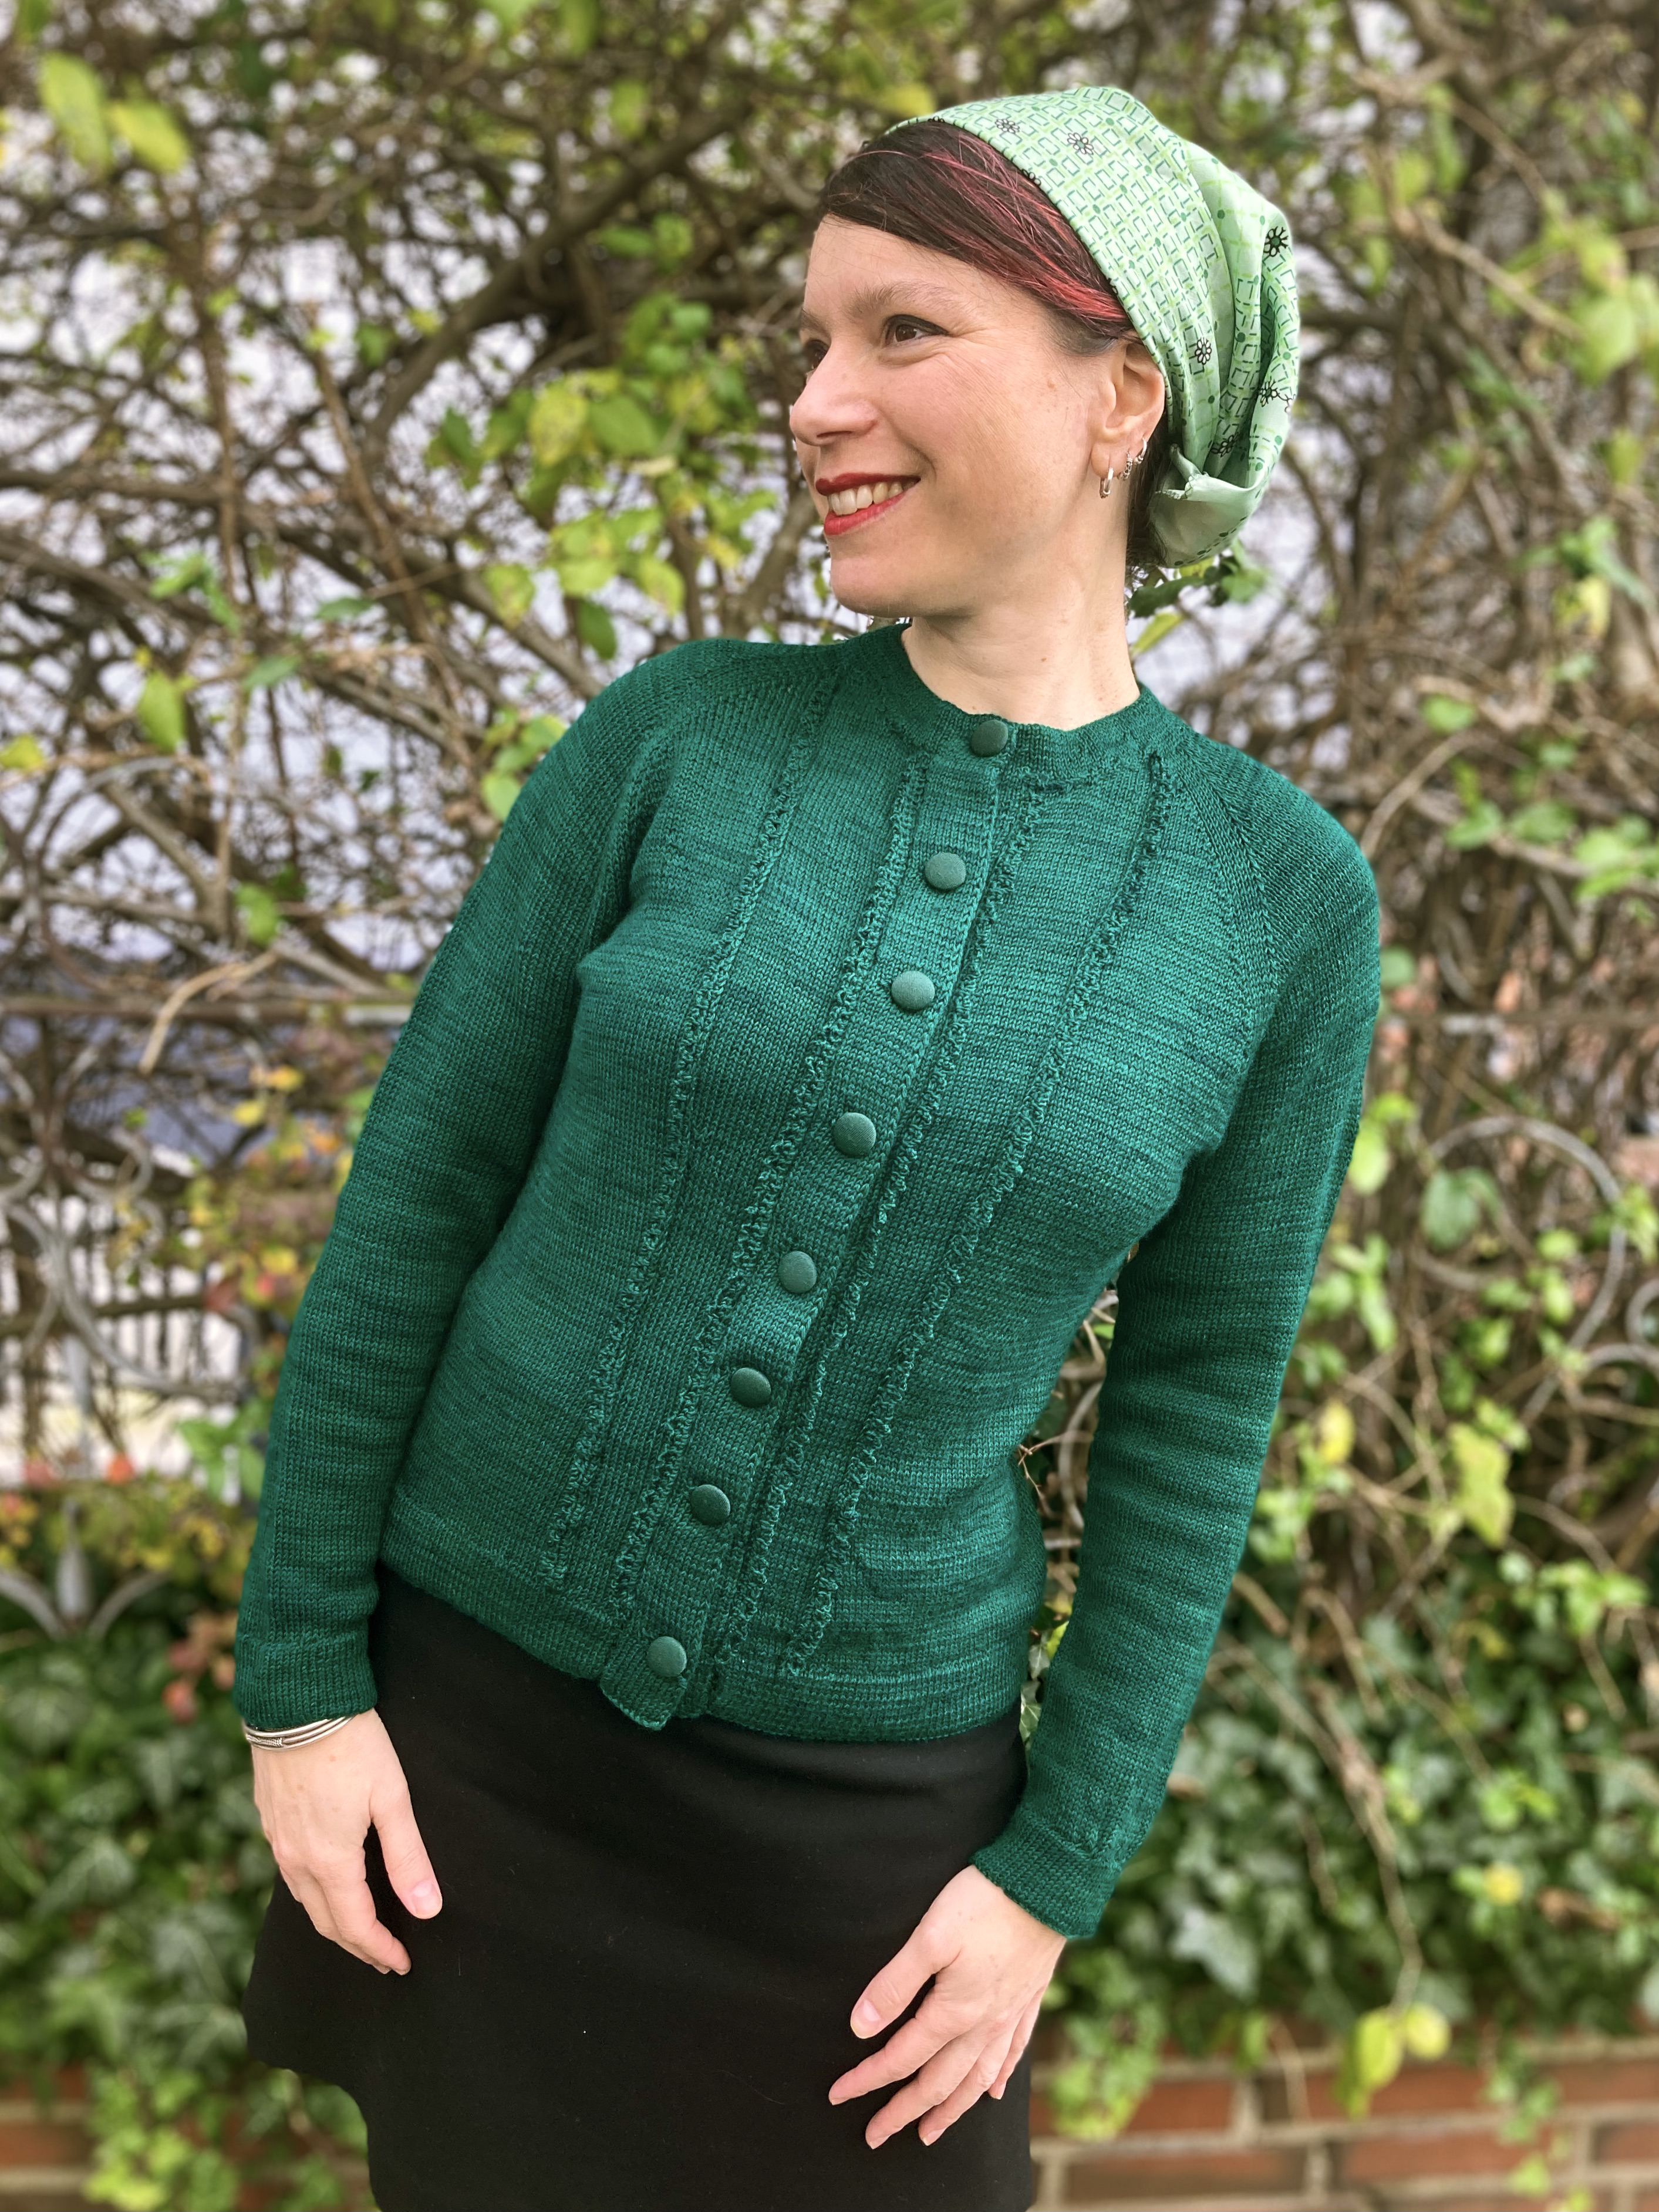
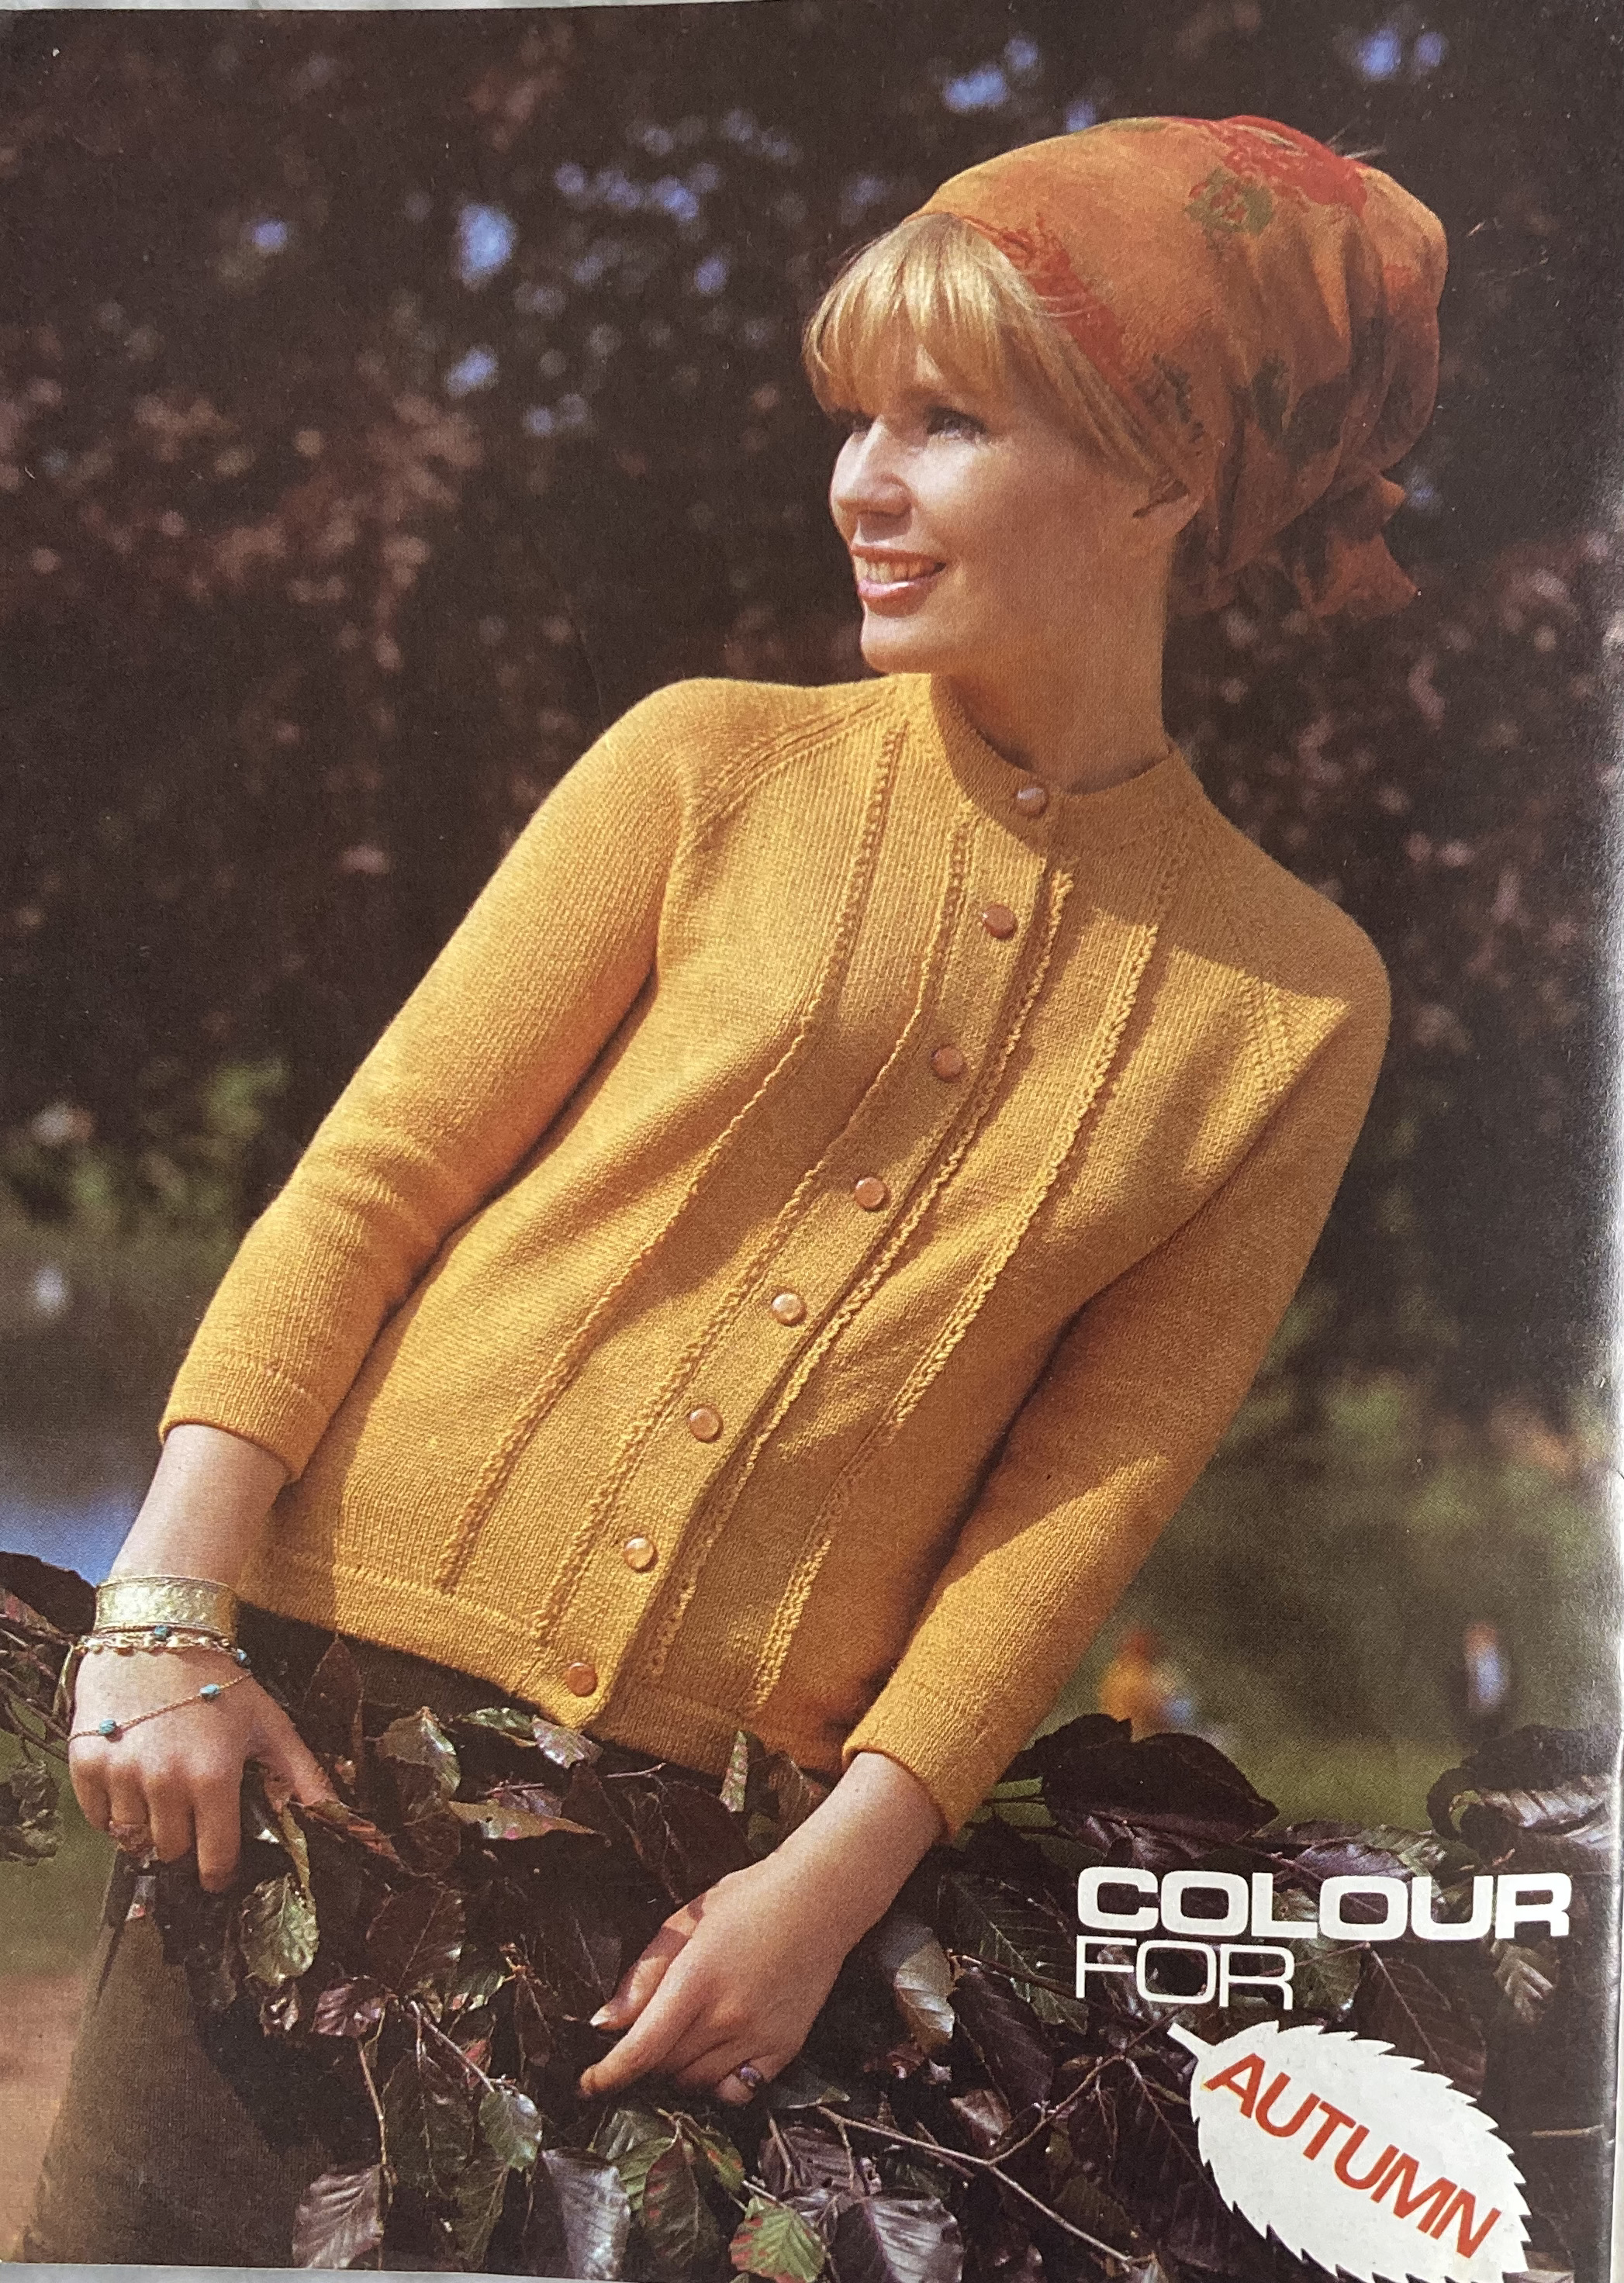
This month’s project was the simple, yet elegant “Cardigan with Picot Trims” from the October 1965 issue. It is made in stocking-stitch with 3/4 length raglan sleeves and hems at the lower edge, front bands, cuffs and neck. The fronts are then trimmed with simple crochet picot edging and the back is left plain.
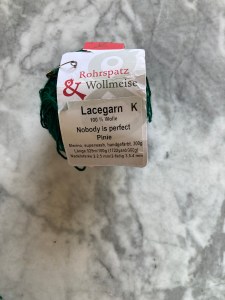
It was the perfect project for the Rohrspatz & Wollmeise “Lacegarn” wool (100% merino wool, superwash, hand-dyed) that I had bought at the Sulinger Wollfest this past summer. The pattern calls for Patons Beehive 4-ply, so a little thicker than my laceweight, but that meant that for once, I could use the intended needle size and get the intended tension (7 sts and 9 rows/inch on No. 10 (3.2g mm) needles — I used 3 mm and it worked perfectly.) The yarn is glorious, with its deep, glowing green colour, which is deepened by the slight marling that results from the hand-dying process. This hank (300 g) was even discounted due to possible knots, breakages or dying errors, but there were none of any of those that I could find.
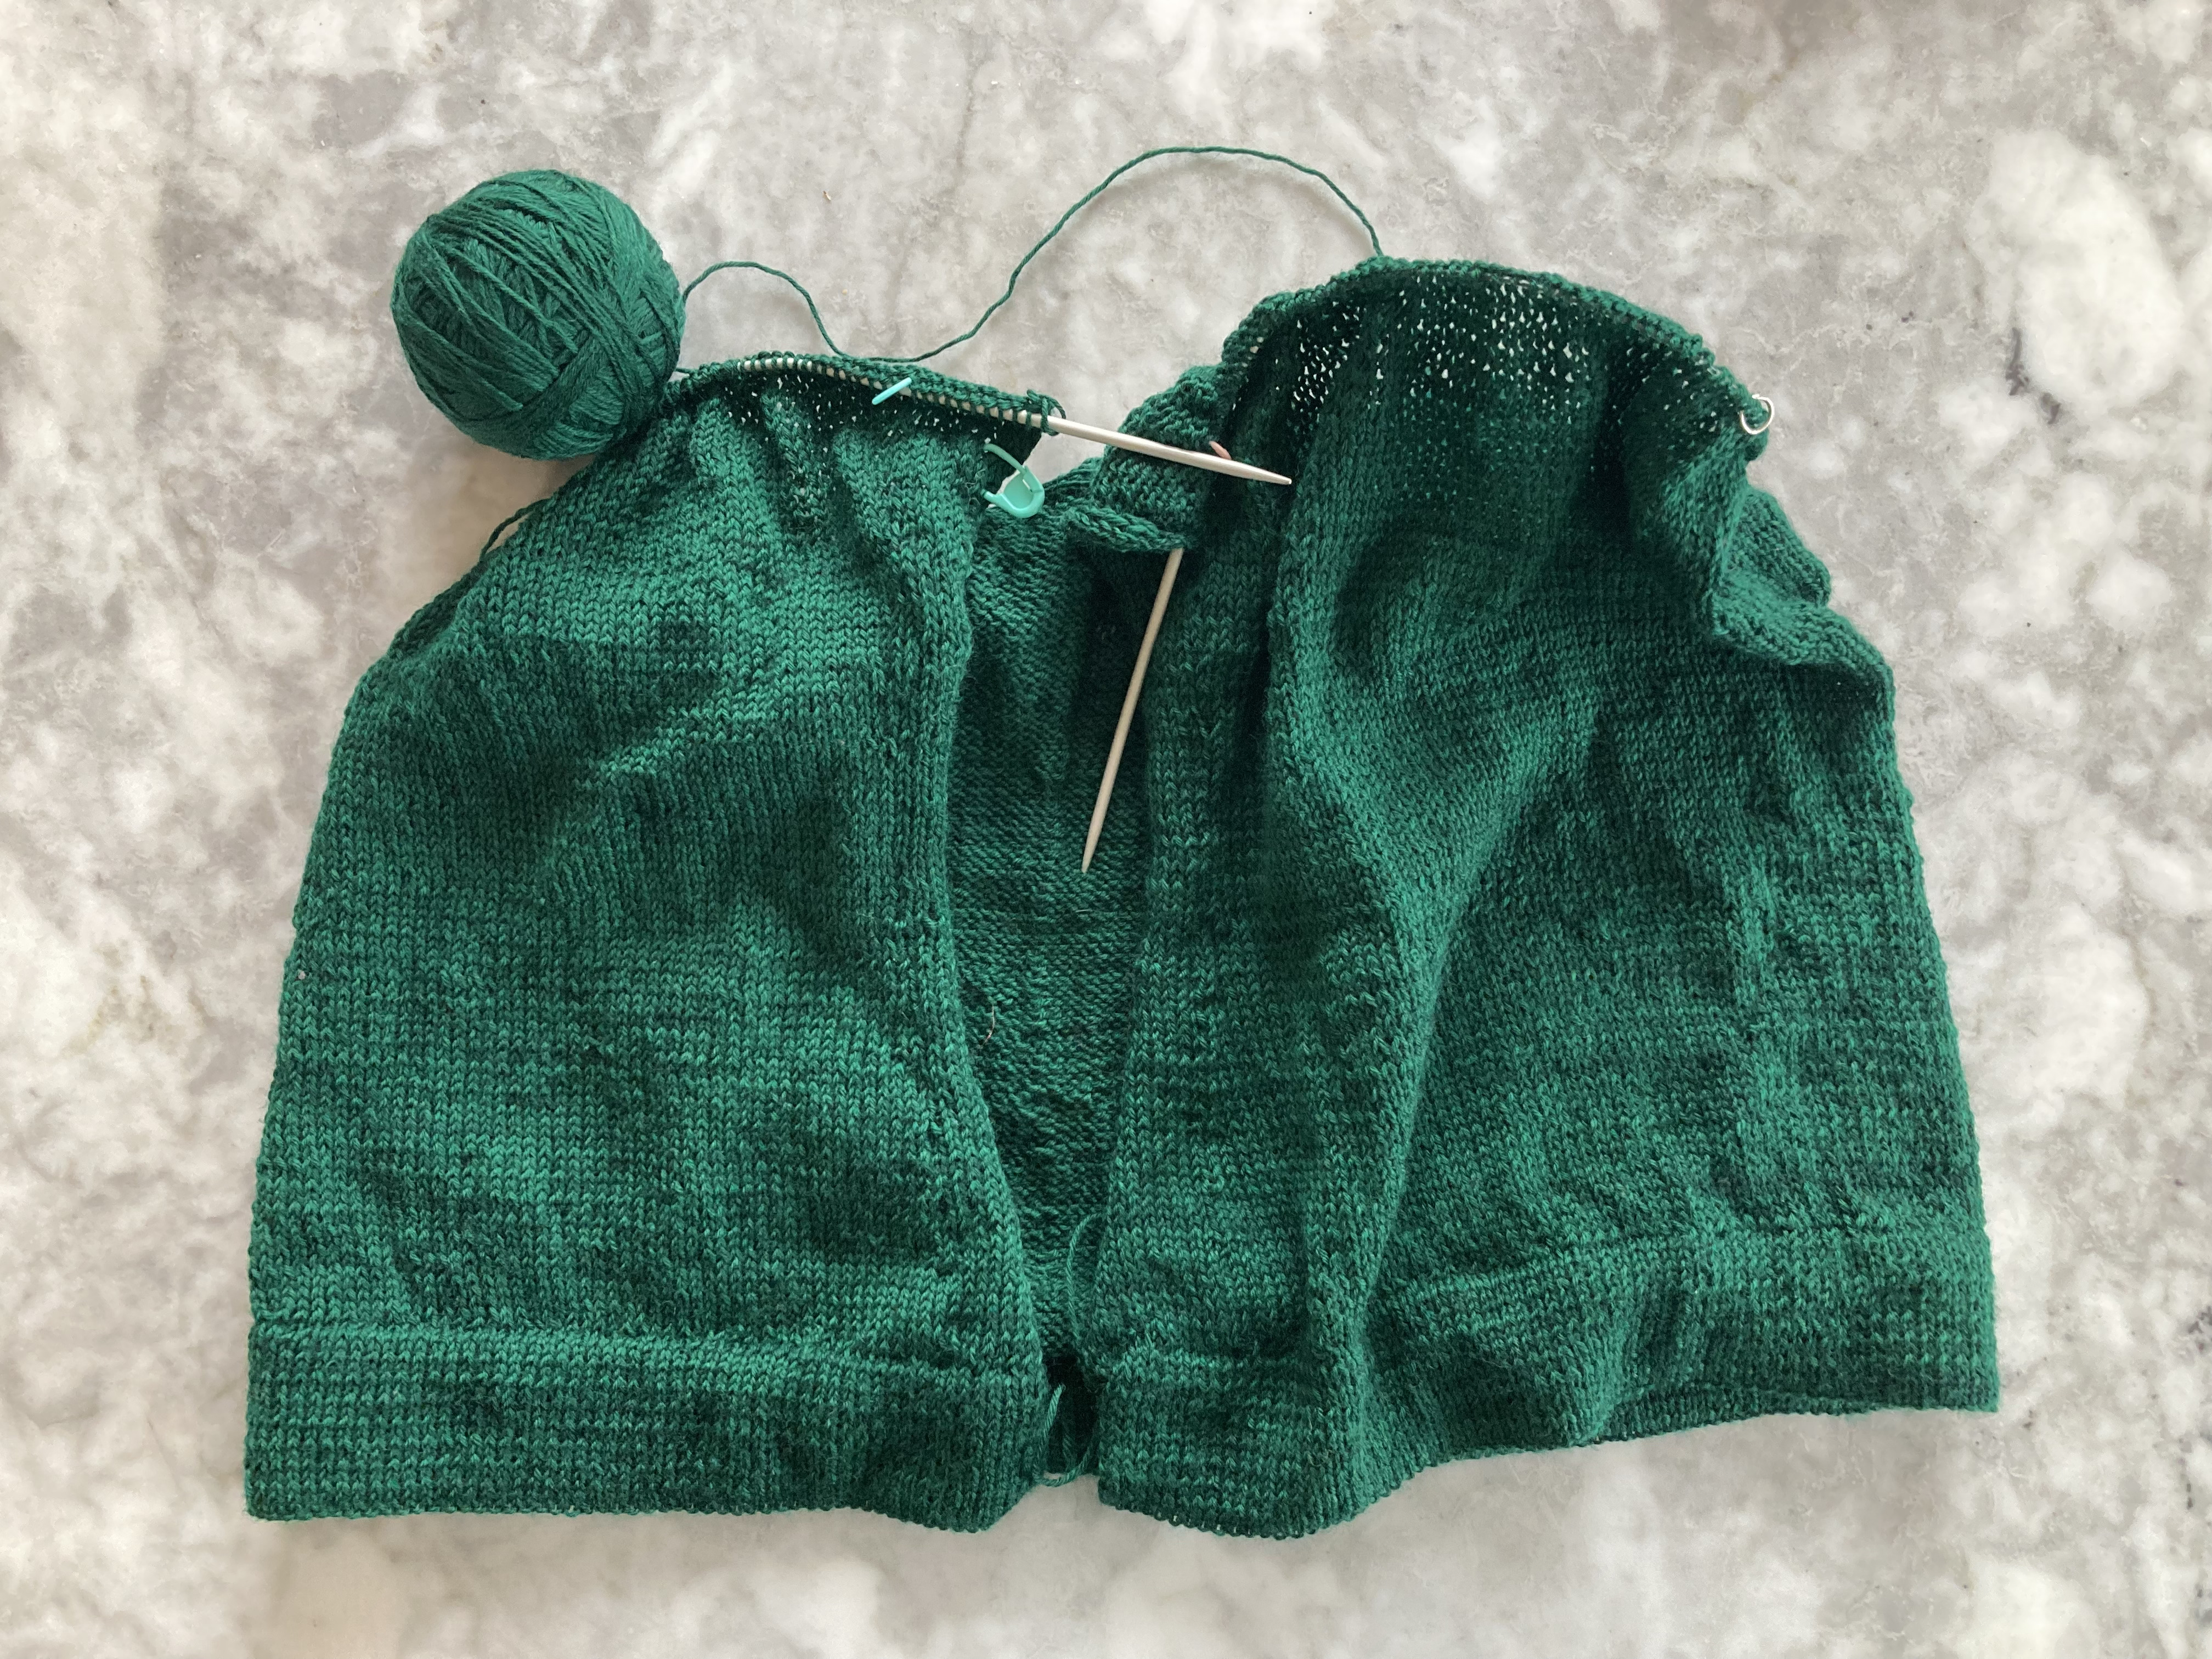
I had resolved to never again make a garment with a stocking-stitch hem in lightweight wool, since in my experience it stretches out horizontally and the whole garment shrinks vertically, turning even a slim long-line into a boxy tent. In an attempt to counteract it, and to avoid the ballooning back and general dumpiness of 1960s unshaped style, I added some waist shaping, decreasing every 6 rows to just below my natural waist, knitting 2 inches plain and then increasing up to the required number of stitches. I decided to make the decreases not at the sides, where one would expect, but 12 stitches in from each front edge (where the picot trim is sewn on later) as well as 12 stitches in from each back side edge and 12 stitches in from the middle back symmetrically. Yes, this meant I decreased twice as many stitches on the back as on the fronts. And it worked! The back fits well without being too tight or ballooning out over the waist and the front has an elegant curve. Plus, the picot trims will cover up the decrease/increase line on the fronts.
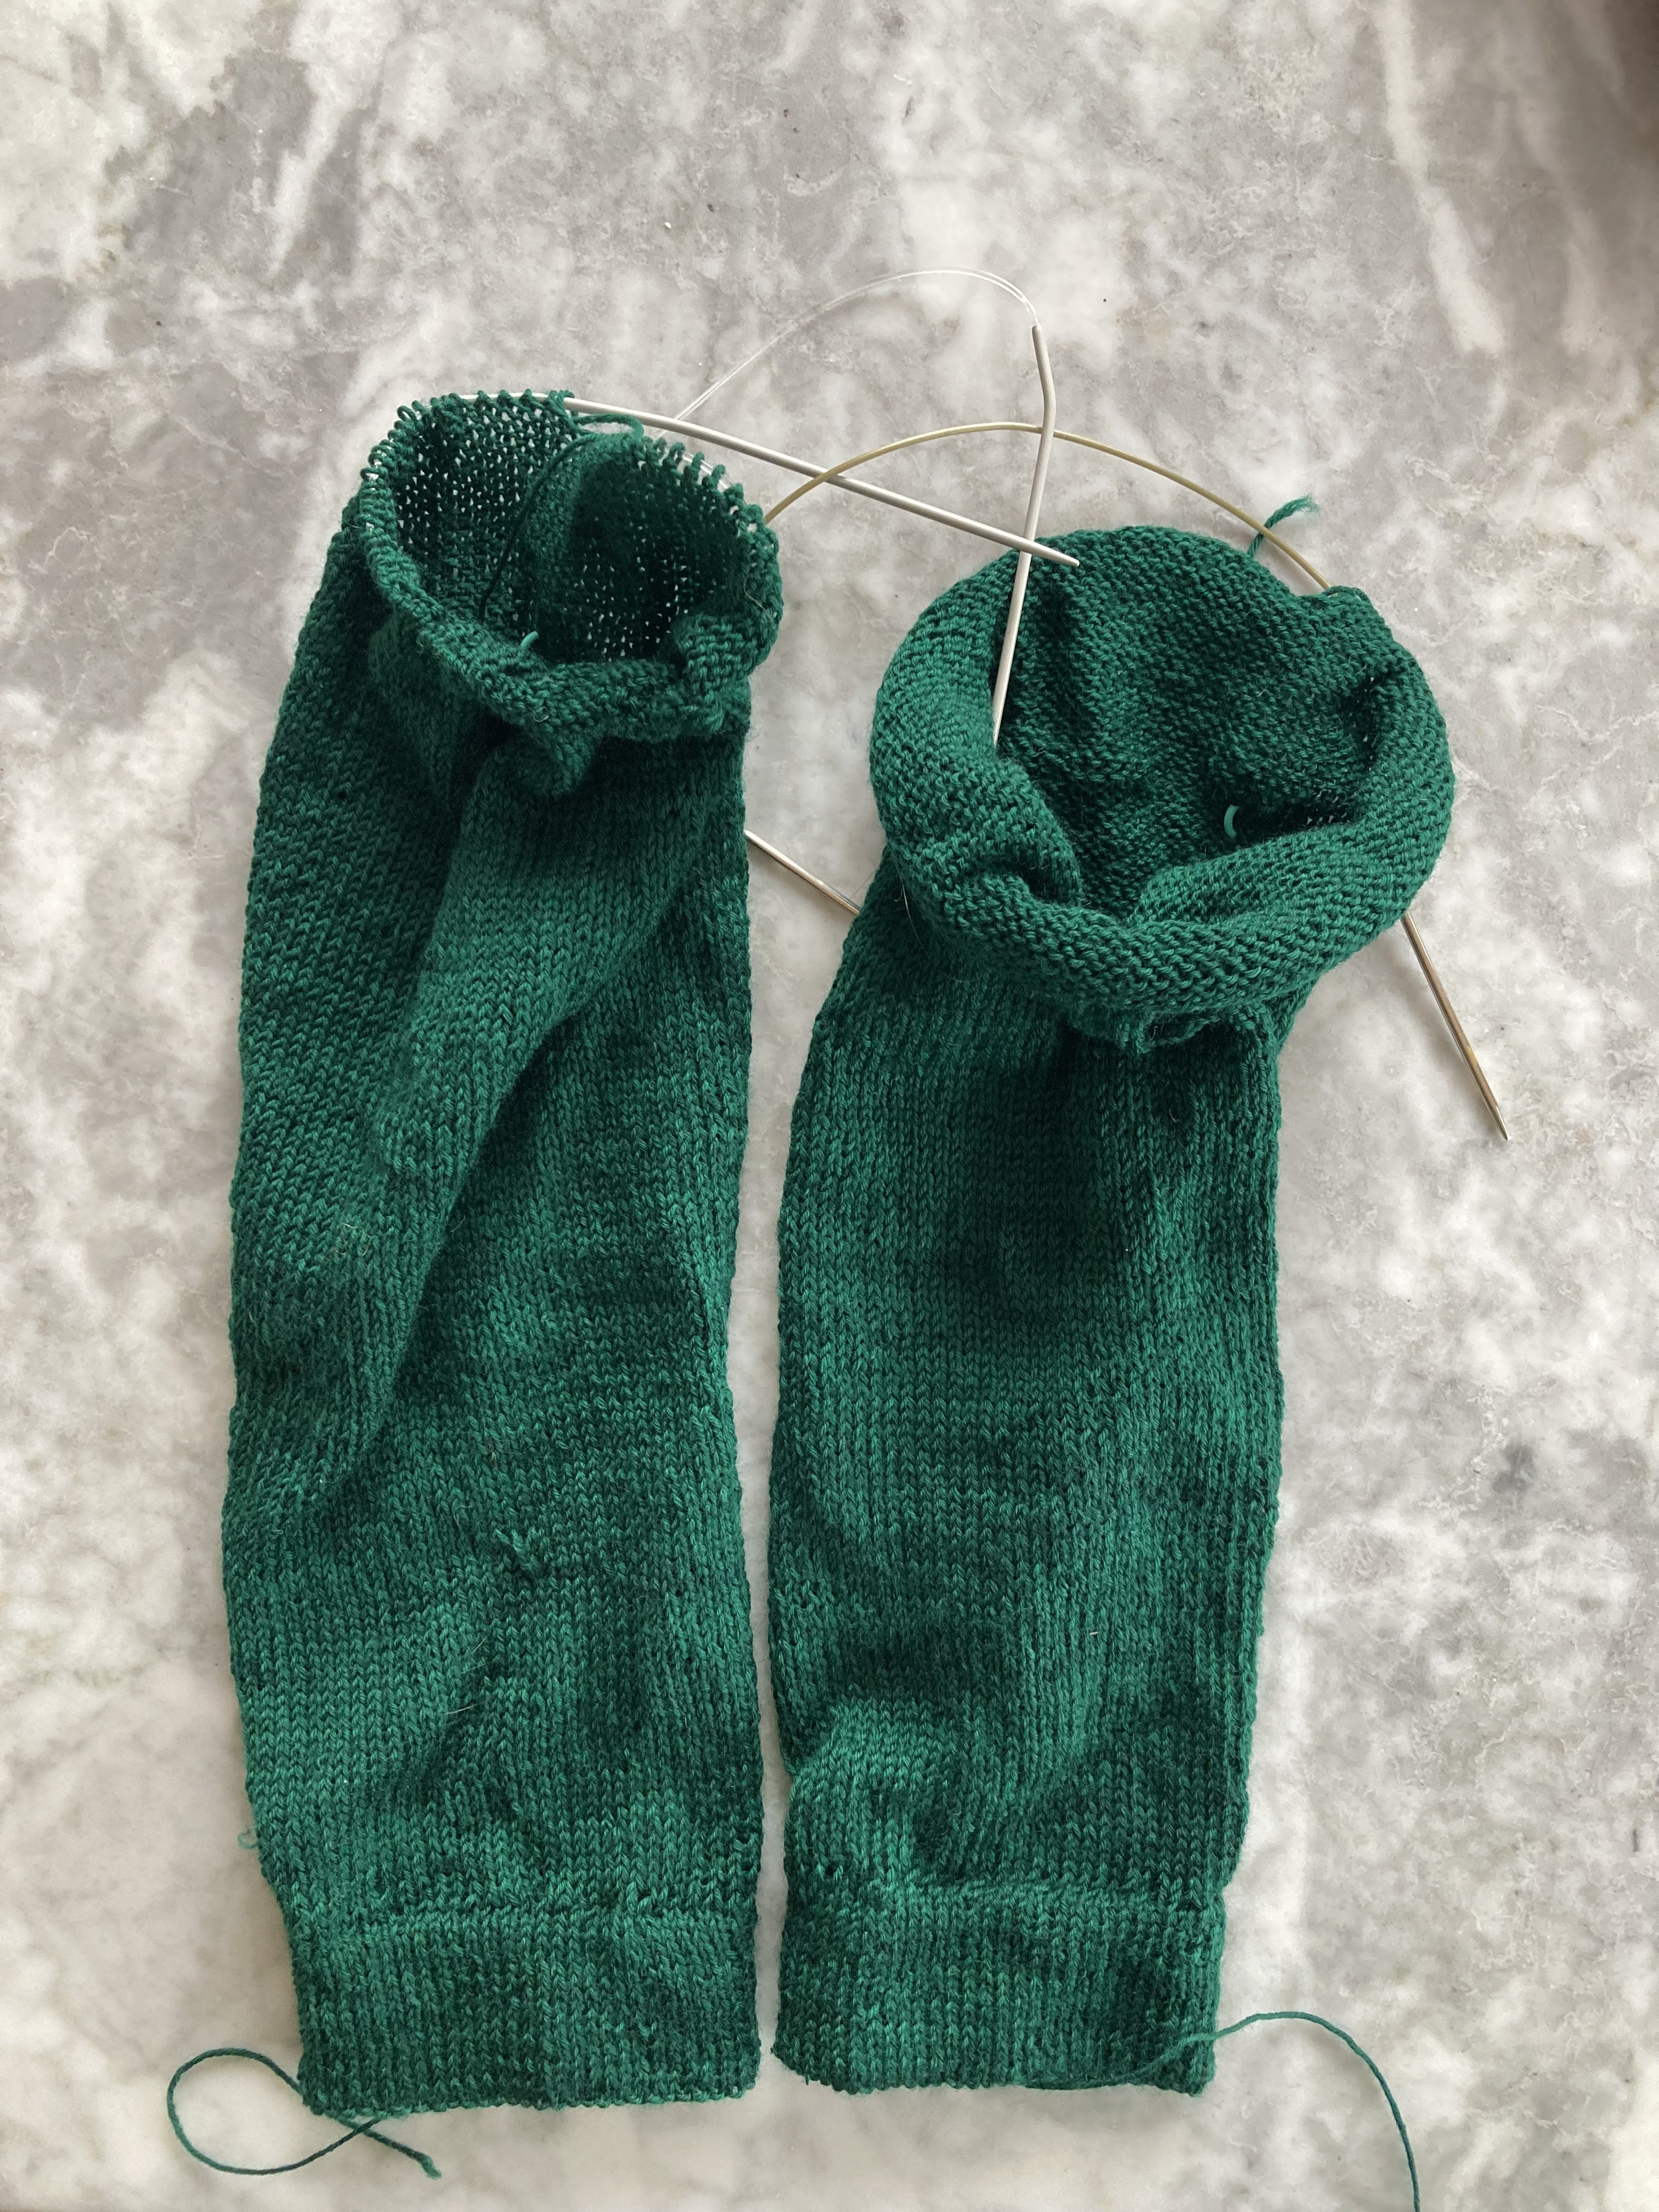
In that vein, I increased up to the correct amount of stitches for the second size on the fronts, but kept the back at a stitch count between the first and second sizes, to allow the front to be wider than the back even before allowing for the extra inch or so of the front bands. The sleeves (which I actually knit first) were a bit tight, so I went ahead and increased up to the third size. I also made them longer. The 14 inches specified in the pattern for 3/4 length is closer to elbow length on me, and didn’t look quite right. I increased to 16 inches, which gives a nice “bracelet” length.
I made the raglan decreases as intended — sleeves decreasing every 4th row at first, then every other row, and always every other row for the fronts and back. Of course, the counts didn’t match exactly, since the stitch counts were from different sizes. Also, I wanted the neckline to sit a little lower and I was concerned that the yoke might be too long — I didn’t check row tension, but it seems to be not 9 rows/inch. I ended up making the initial neckline decrease about an inch below where it would have been in the pattern, ending where it fit the best and just making some extra decreases on the last row to pull the back neck in a bit for the neckband.
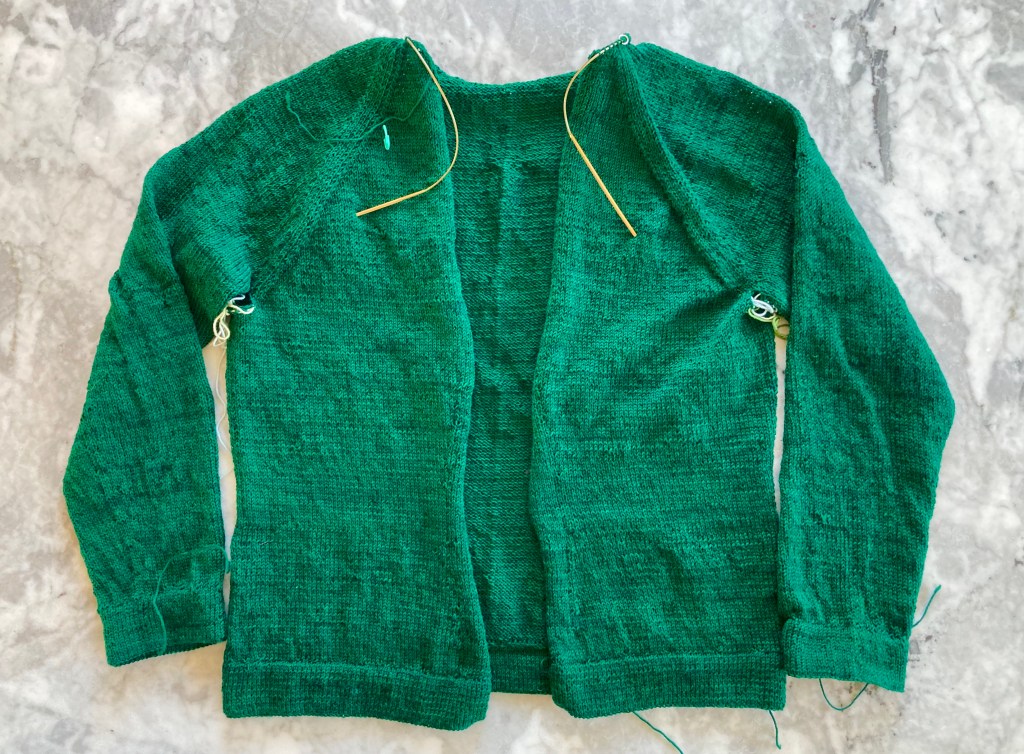
The front bands are made separately and sewn on. I guess I could have knitted them with the fronts and back, which I made in one piece anyway, but I didn’t think of it in time. And anyway, making them separately meant I could make them on smaller needles. For once, I got the spacing of the buttonholes right! Stitchcraft always tells you to make the button band first, sew it on as you go, then mark the places for the buttons with büpins and make the buttonholes on the other band to correspond. It does not always work as well as you think it should.
After the button bands and the neck band were finished, and the underarm seams grafted (terribly. So terribly. I can not seem to master the Kitchener stitch no matter how it is taught), it was time for the picot trims. I thought it might be possible, and easier, to crochet them directly onto the fabric instead of making them separately and sewing them on, as the pattern indicates. I tried it on a swatch, crocheting into the horizontal bar between stitches and working into 2 of every 3 rows. That gave a good length, but also made the trim stand up straight instead of lying flat to the side as it should have. So I crocheted the trims separately and sewed them on, handily covering up the line of decreases and increases from the waist shaping in the process.
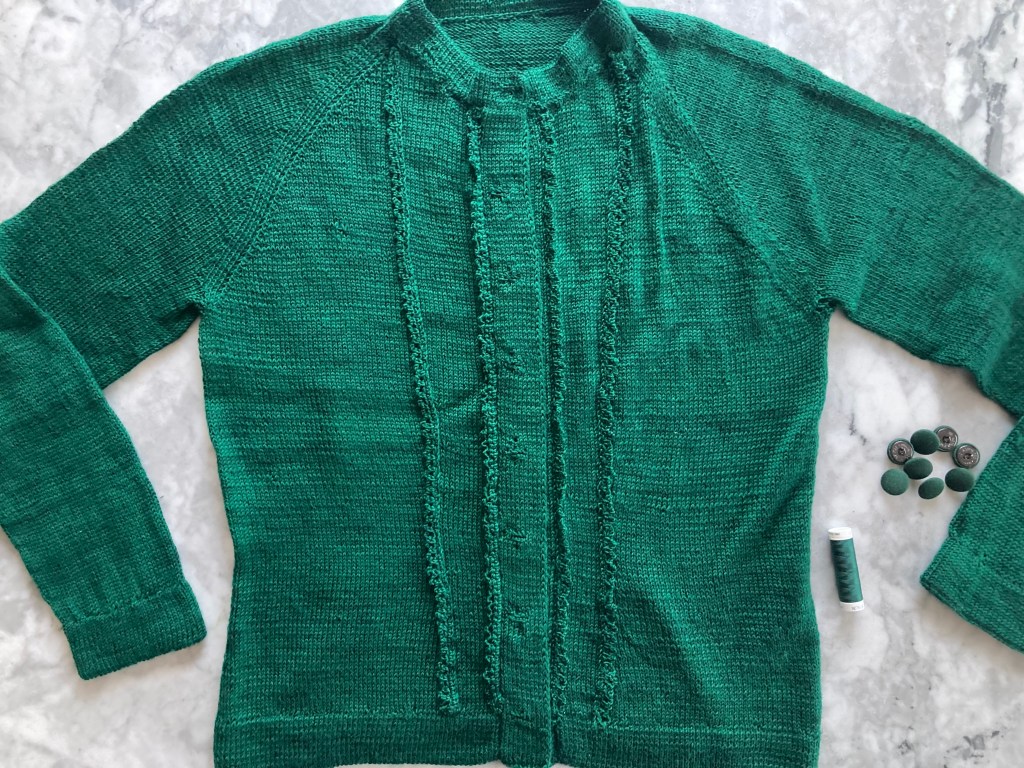
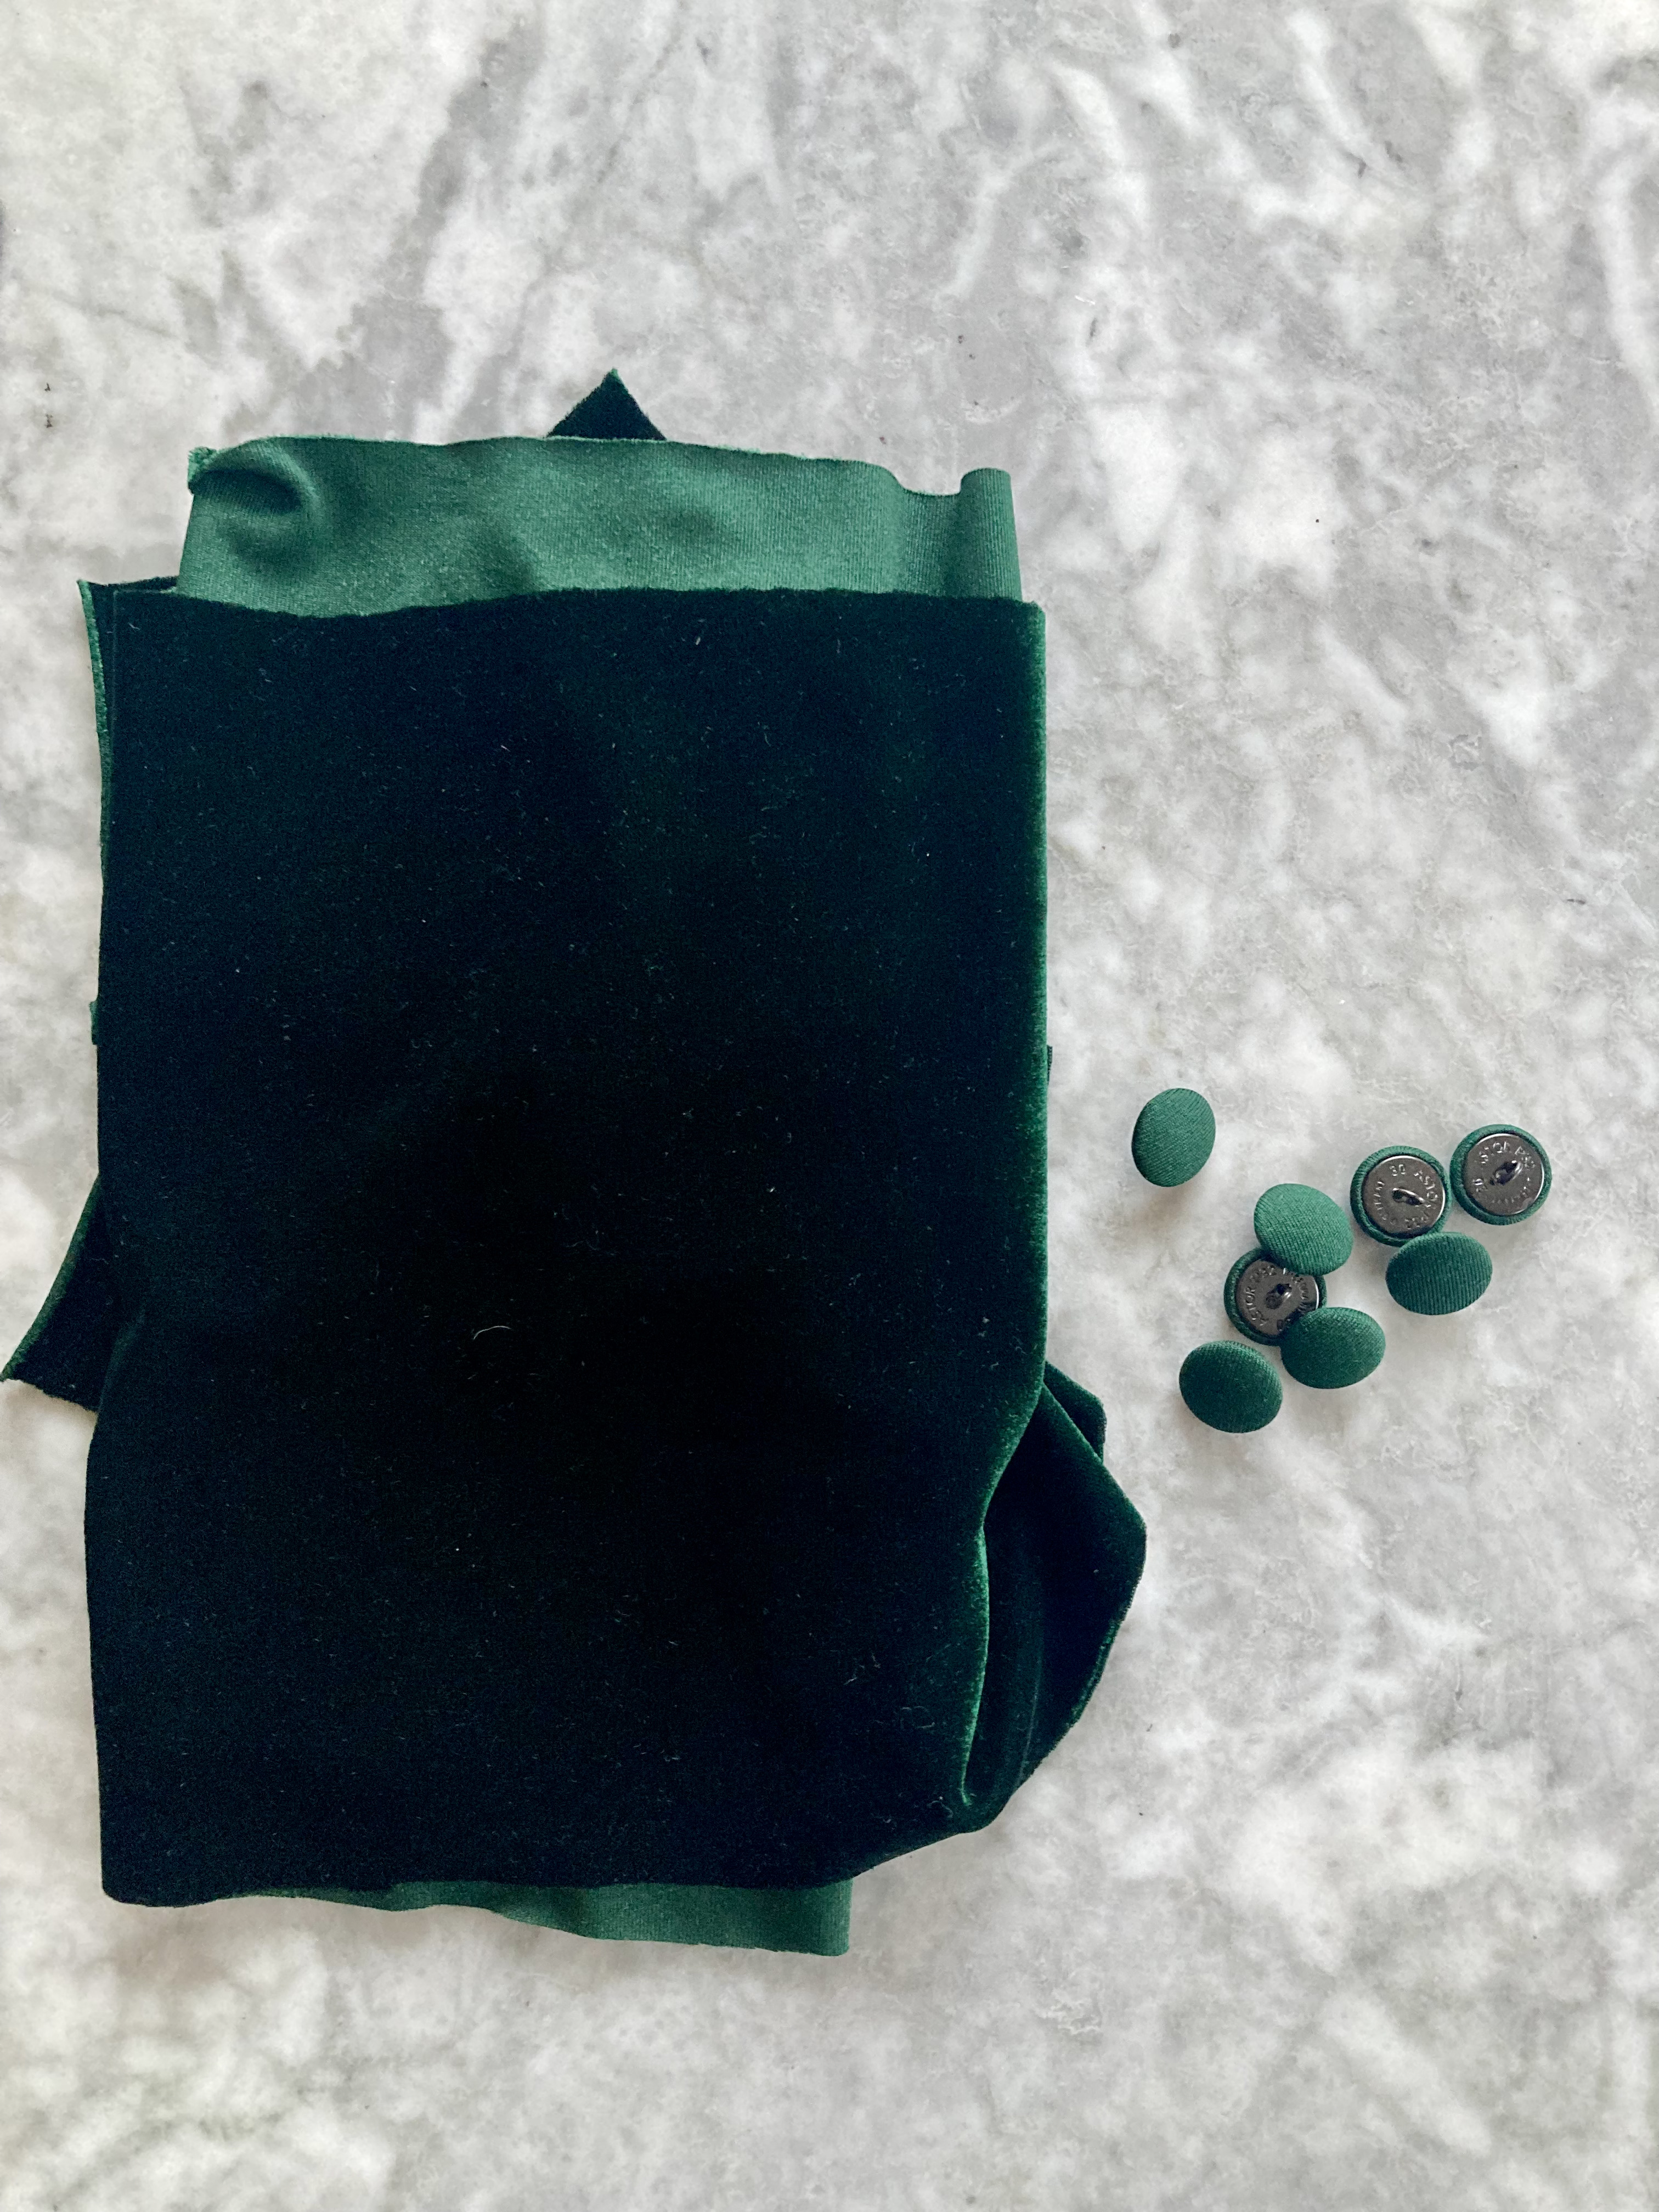
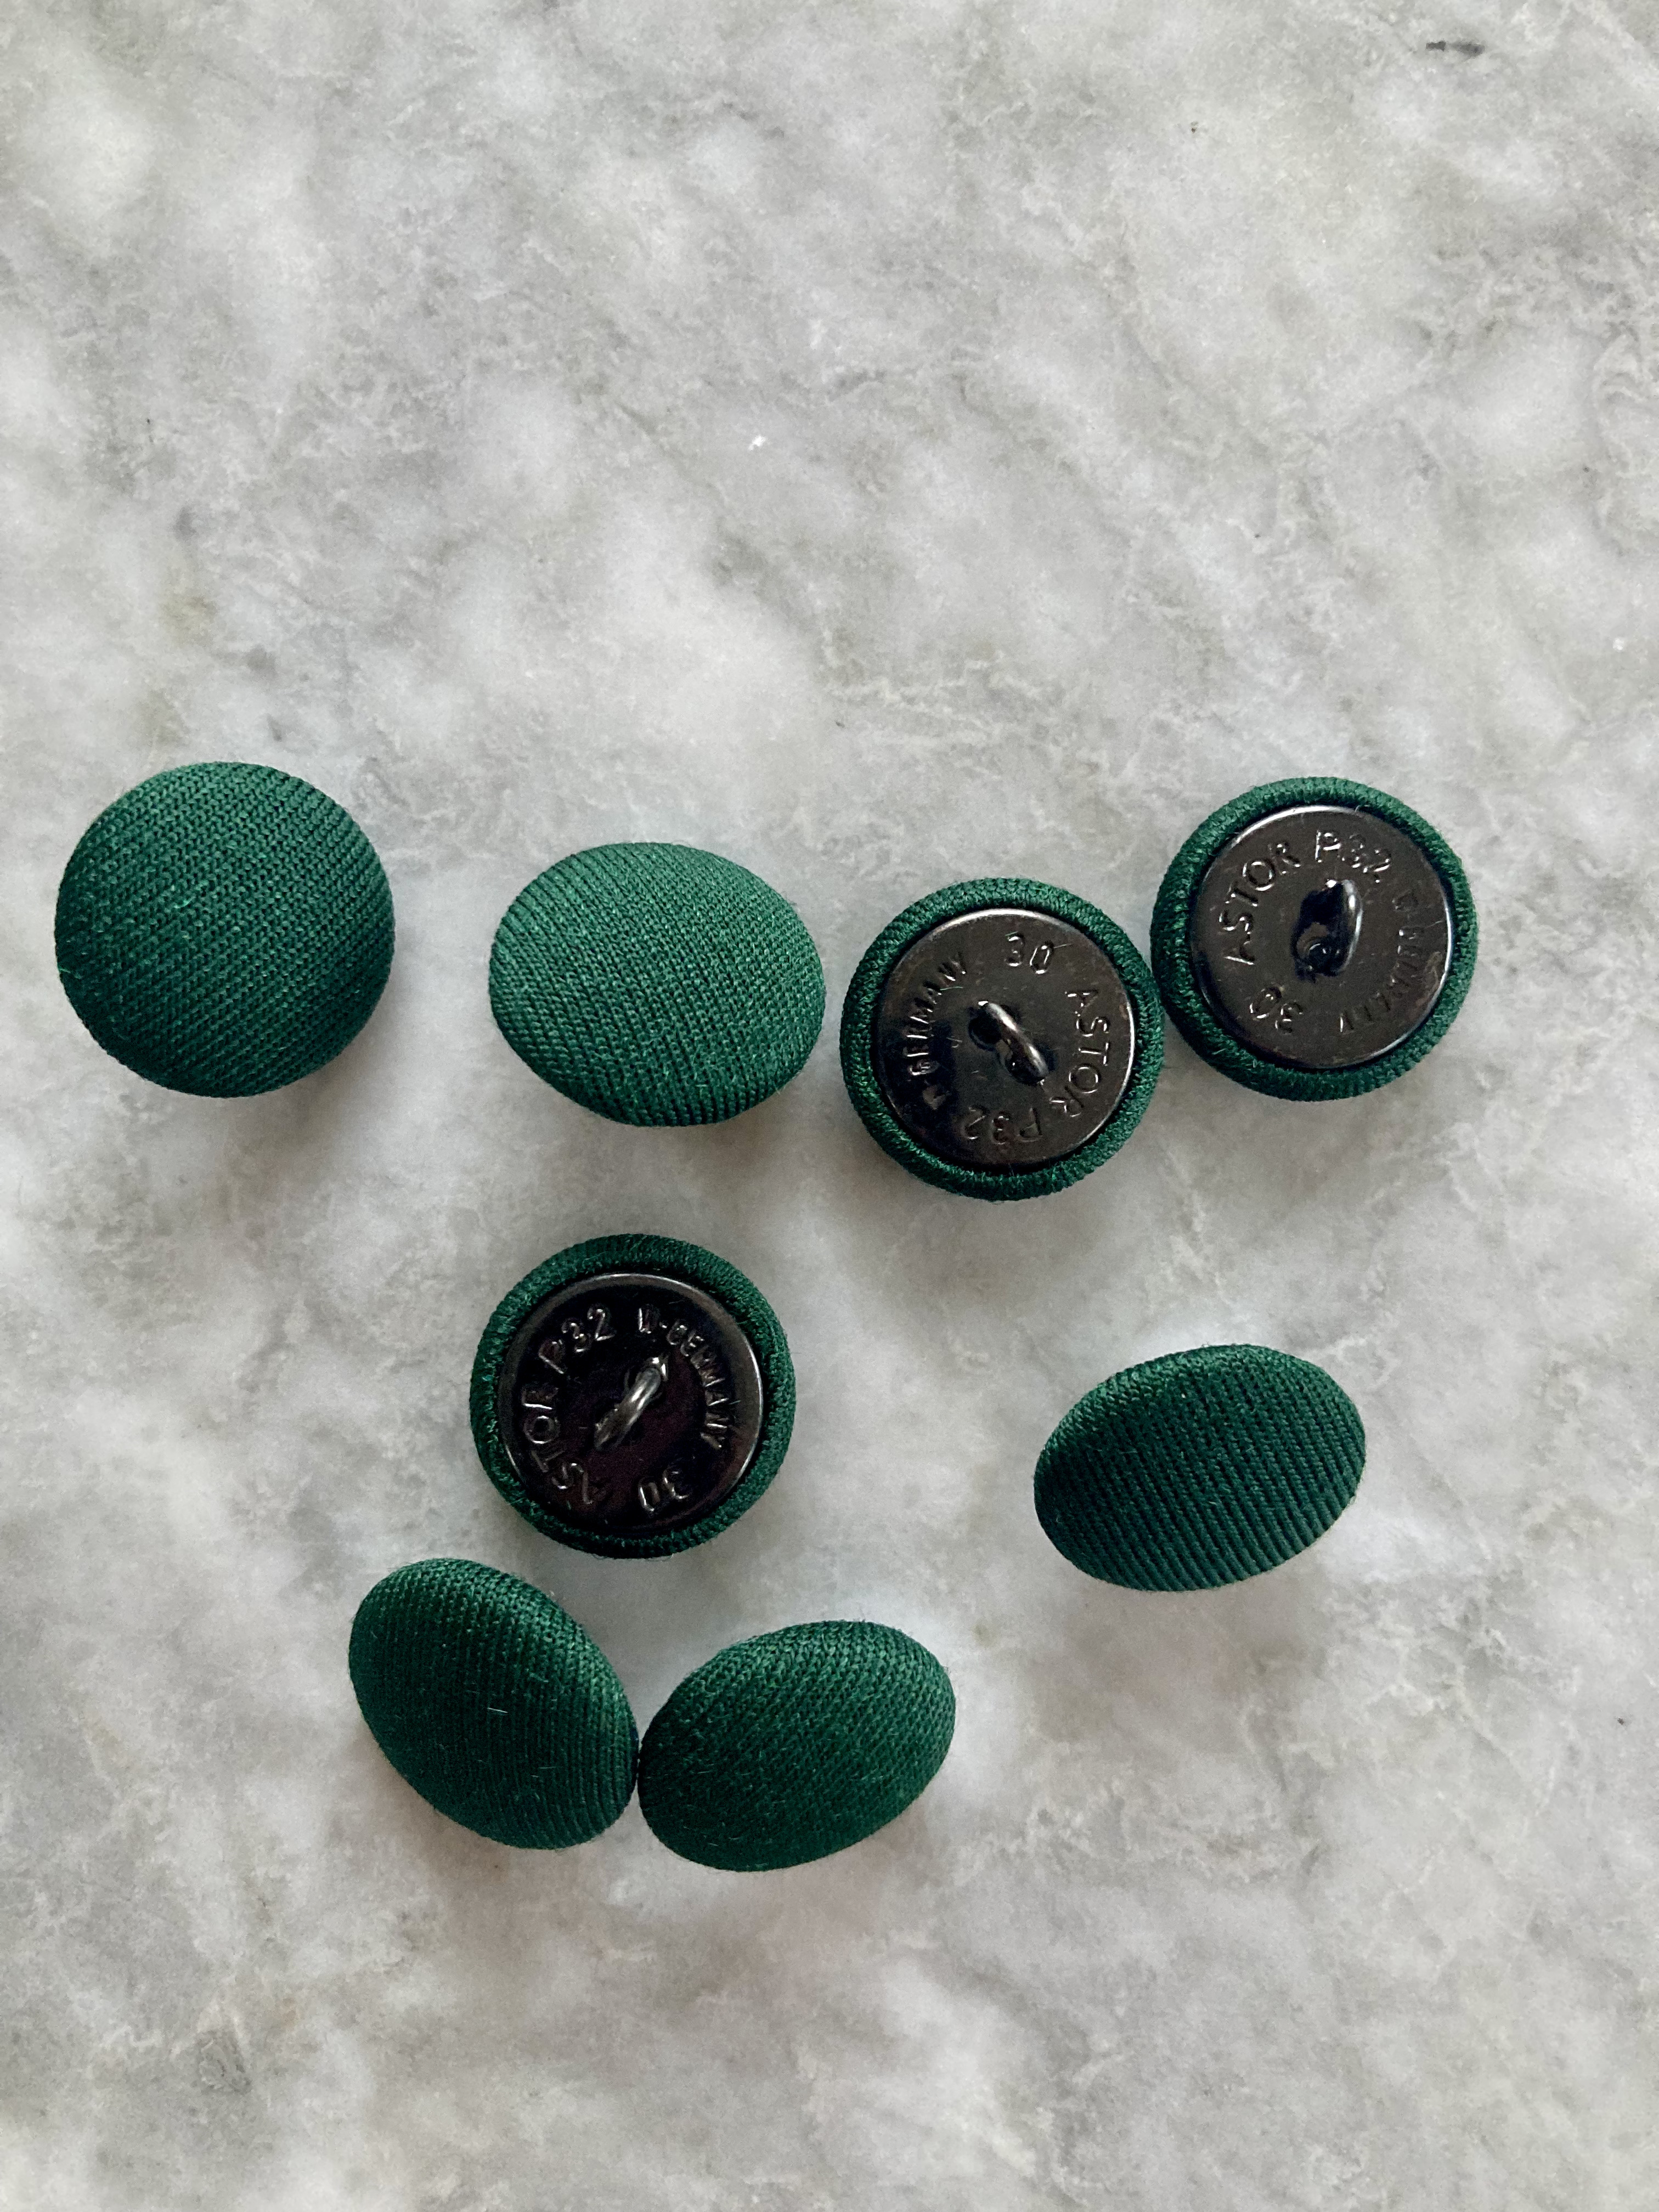
That left the buttons! Which were, strangely, the most difficult part. I wanted round, flat buttons with a back hook (not holes), as in the photo. So very 60s and in my opinion, they really make the outfit. But neither the colour of the wool (a deep, slightly blue pine green, none of the photos here really do it justice) nor the style of button seem to be in fashion. I looked at different stores, online button shops, vintage buttons on ebay… Nothing close. Luckily, my local wool/sewing shop can cover buttons with fabric if you have the right fabric. What do you know, this colour is not in fashion for fabric either! I finally found some gorgeous green stretch velvet and used the wrong side (not the velvet side) for the fabric buttons. Perfect.

In fact, everything about this project was perfect. The fit is perfect and the waist shaping worked perfectly. The sleeves blocked out to exactly long-sleeve length. The wool is wonderful, the colour is wonderful, and the finished blouse looks exactly like the photo except for the colour choice. I even managed to twist my back into almost as hard an S-curve as the model in the photo… (Rotating the finished photo helped too.)
May all your projects work out so well!

I love the color!
LikeLiked by 1 person
Beautiful tailoring. Like you, I think that this style will look better with subtle shaping than as a plain boxy rectangle. The color, of course, is wonderful!
LikeLiked by 1 person