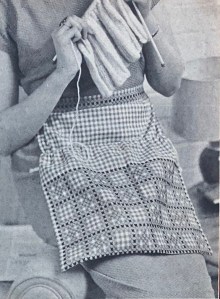
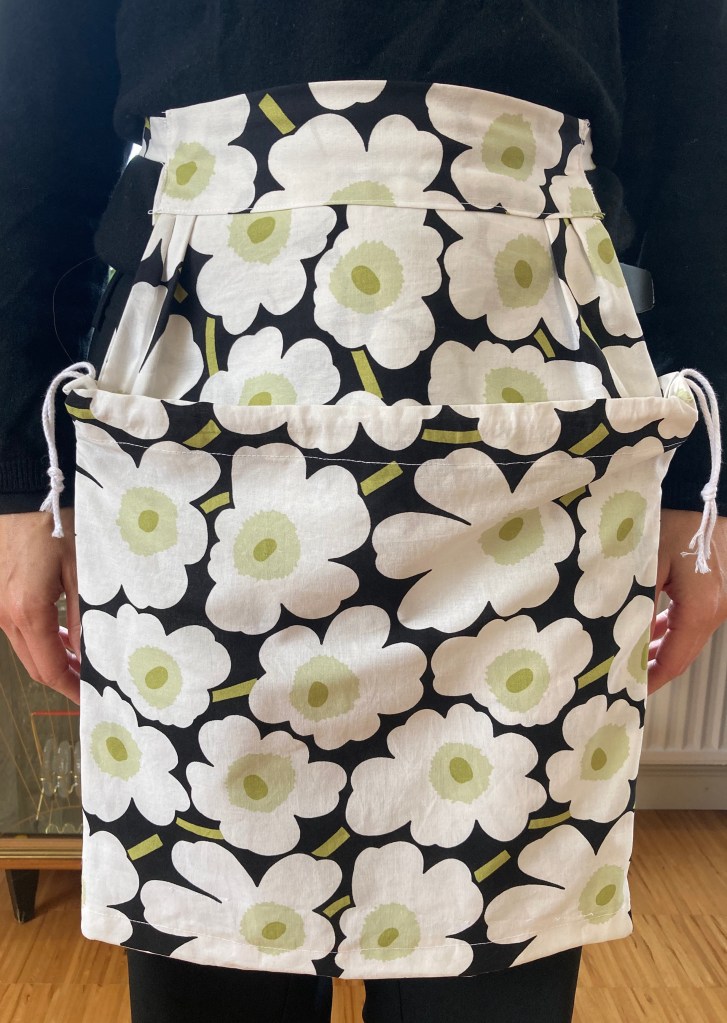
This month’s project was, as its name suggests, a knitting workbag with an apron-style top, allowing you to “tie it on and keep your wool in your pocket as you work.” Brilliant idea! I actually have a vintage, embroidered apron that I inherited from my grandmother that I use as a tie-on knitting bag, but this Stitchcraft project goes one better in that the apron top folds down into the bag when not being worn, allowing you to close the bag with drawstrings so that nothing falls out in transport.
It’s supposed to be made with gingham fabric and embroidered with cross-stitches in the gingham squares, but I have so many unfinished embroidery projects that I went ahead and made this one plain, using a nice cotton print from Marimekko.
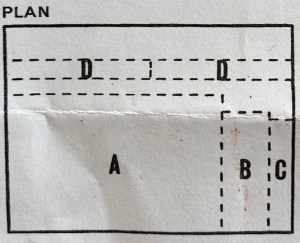
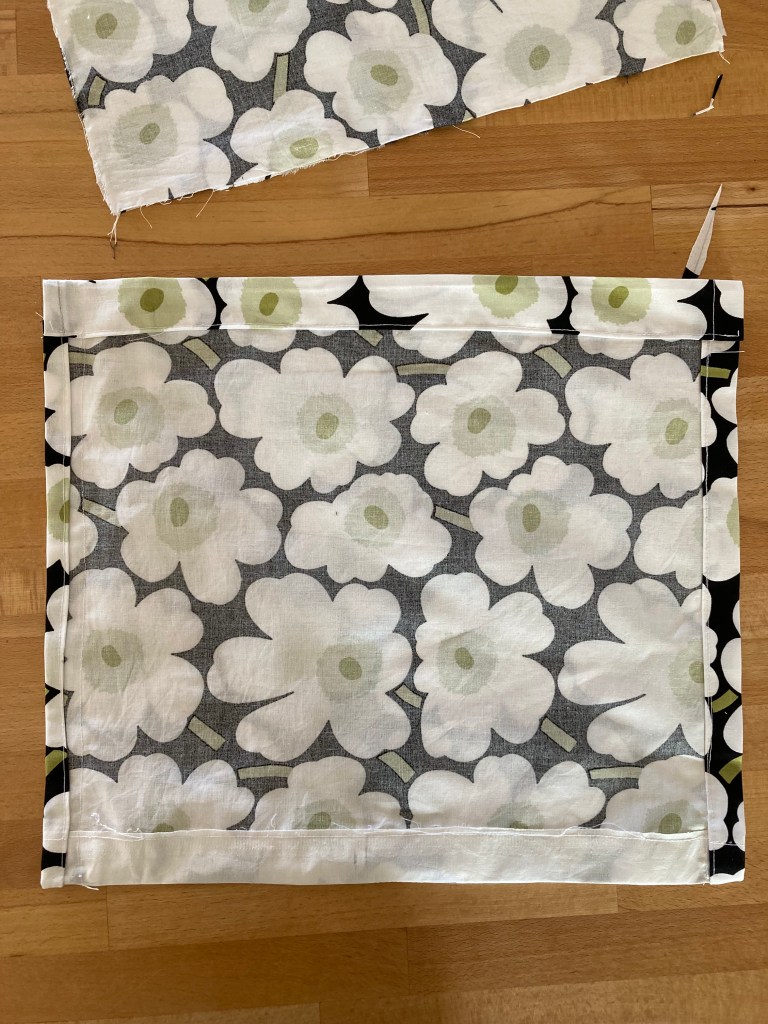
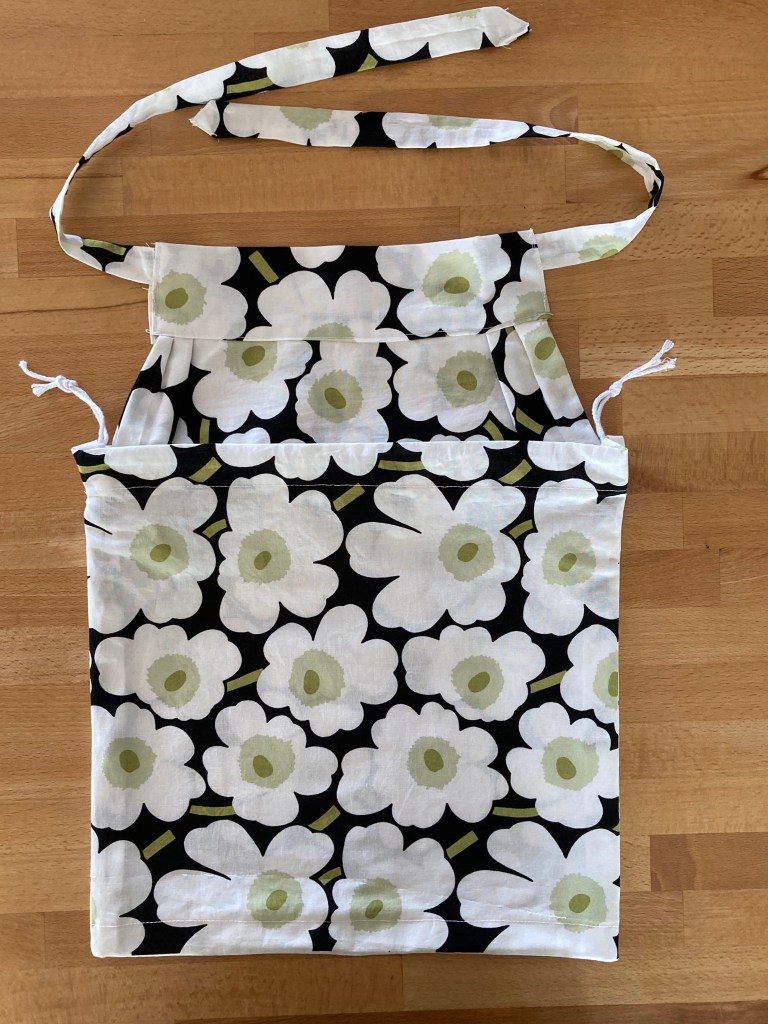
Since the “pattern pieces” are all just squares and rectangles, there’s a little chart showing how to divide up the fabric to get piece A (bag), B (apron top), C (waistband), and D (tie strings). After cutting out all the pieces (why are straight lines the hardest to cut?) I was suddenly confused: The bag, piece A, was 18×17 inches. That’s pretty big, and in fact looks just about that size in the photo, but a bag has a front and a back… Was I supposed to cut it on the fold? Or cut two pieces? The waistband is obviously folded in half, and the instructions for hemming the apron top make it clear that only one, unfolded piece was needed. Huh?
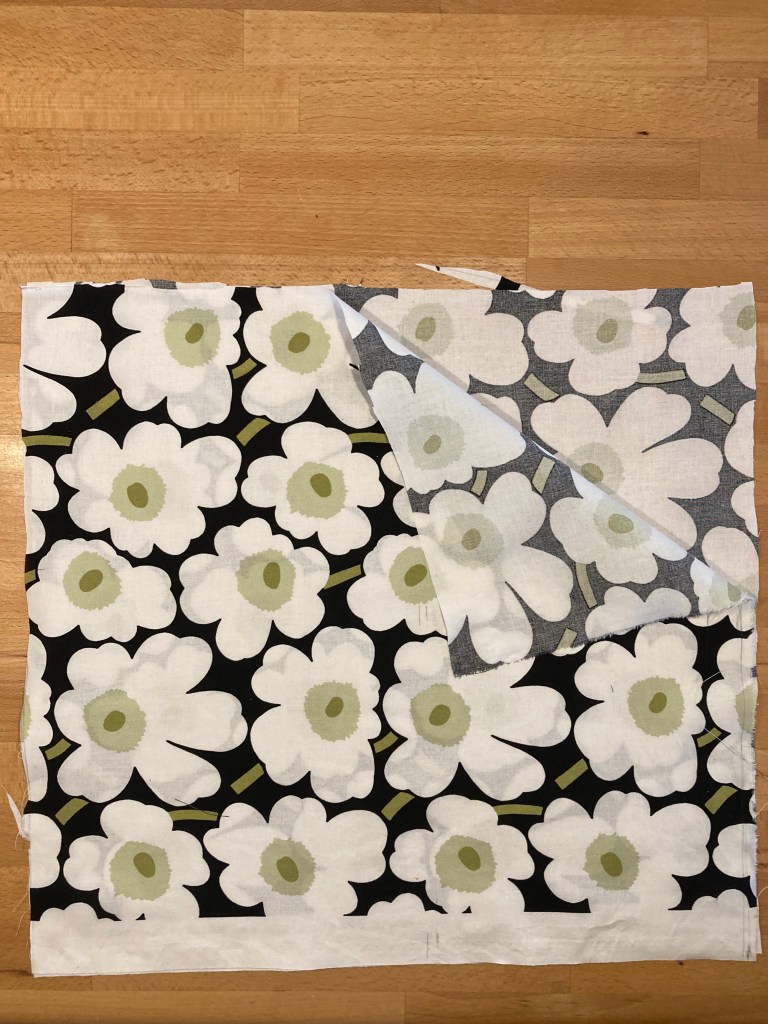
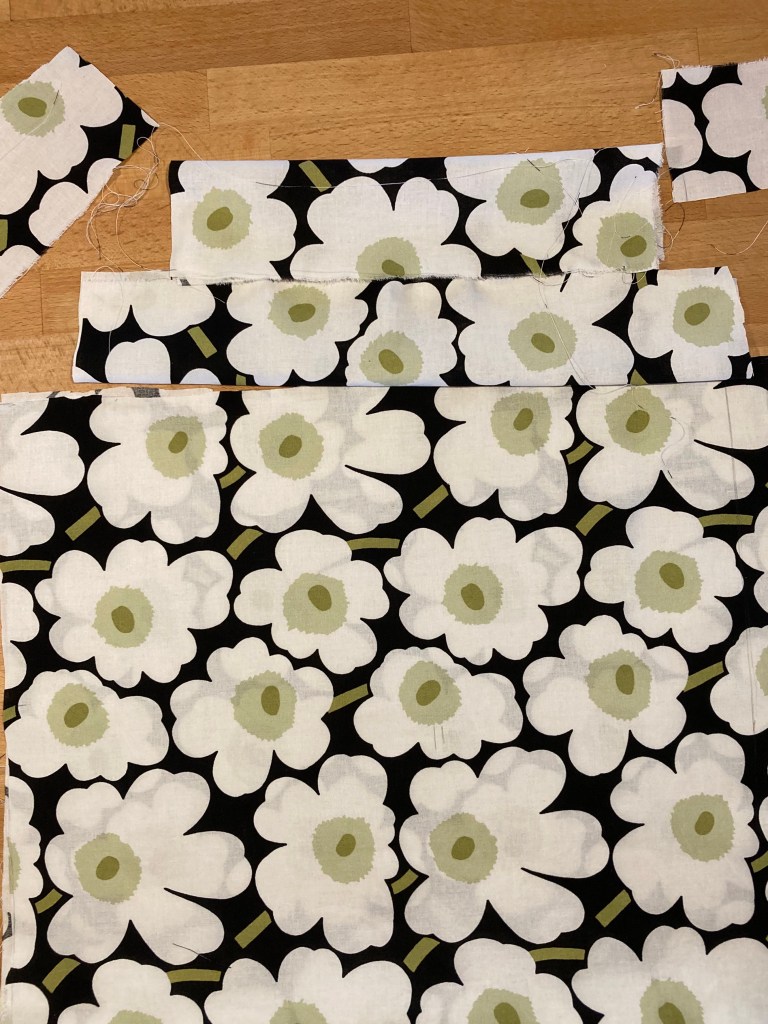
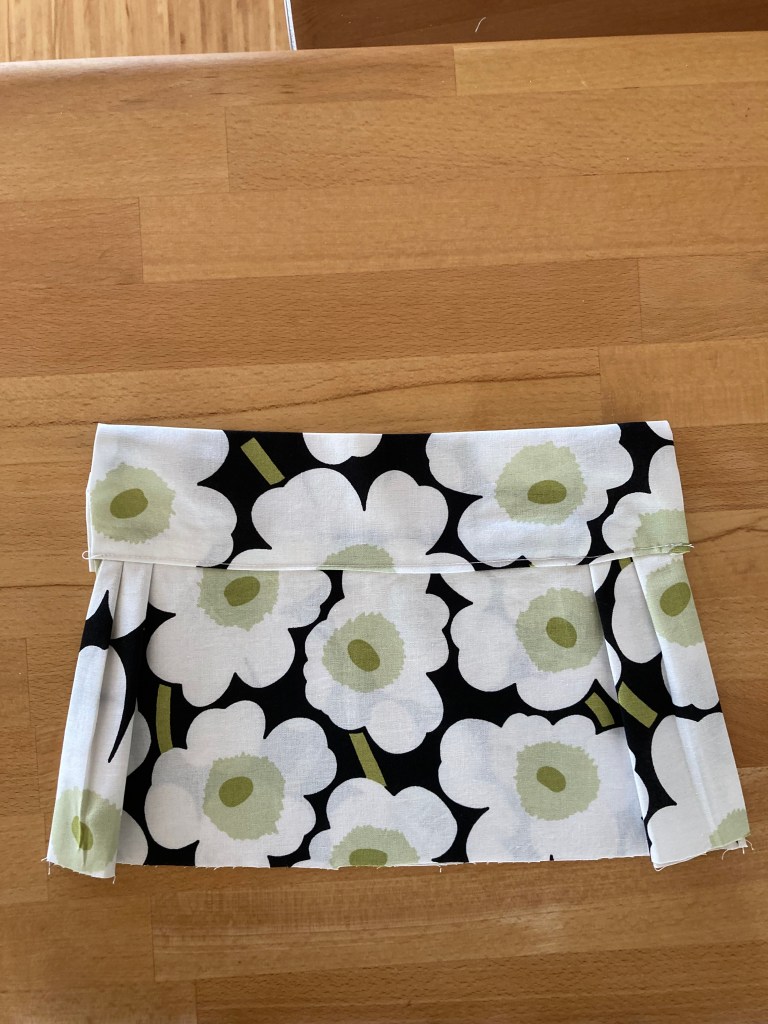
I cut another identical piece for the bag and decided to also cut another identical piece for the apron top, so the hems could be neater and the fabric stronger. I cut the two bag pieces with the selvedge on the bottom edge to make a very wide seam allowance, which I could then open up and sew down to make a really sturdy bag bottom. Similarly, I hemmed the side edges before making the side seams instead of zig-zagging the raw edges. This made everything very sturdy and very neat.The apron top is made with a couple of little pleats on the sides to bridge the width difference between bag top and waistband. Before it was sewn on, it looked like a little doll miniskirt!

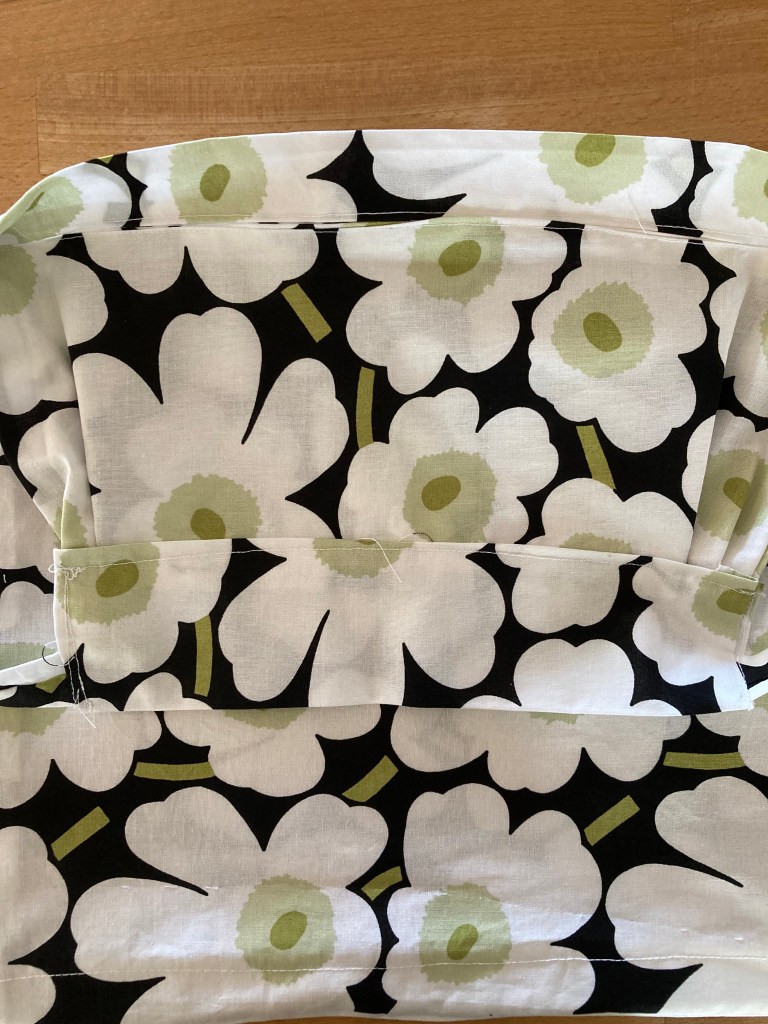
The apron top is sewn into the back part of the bag, so that it folds down into the bag when not in use. I was really glad I had made the apron top double, as it makes the seams even neater and everything looks very smartly finished from every angle, inside and out. (I am a sloppy sewer, so always impressed with myself when lines are straight or seams are not ragged.)
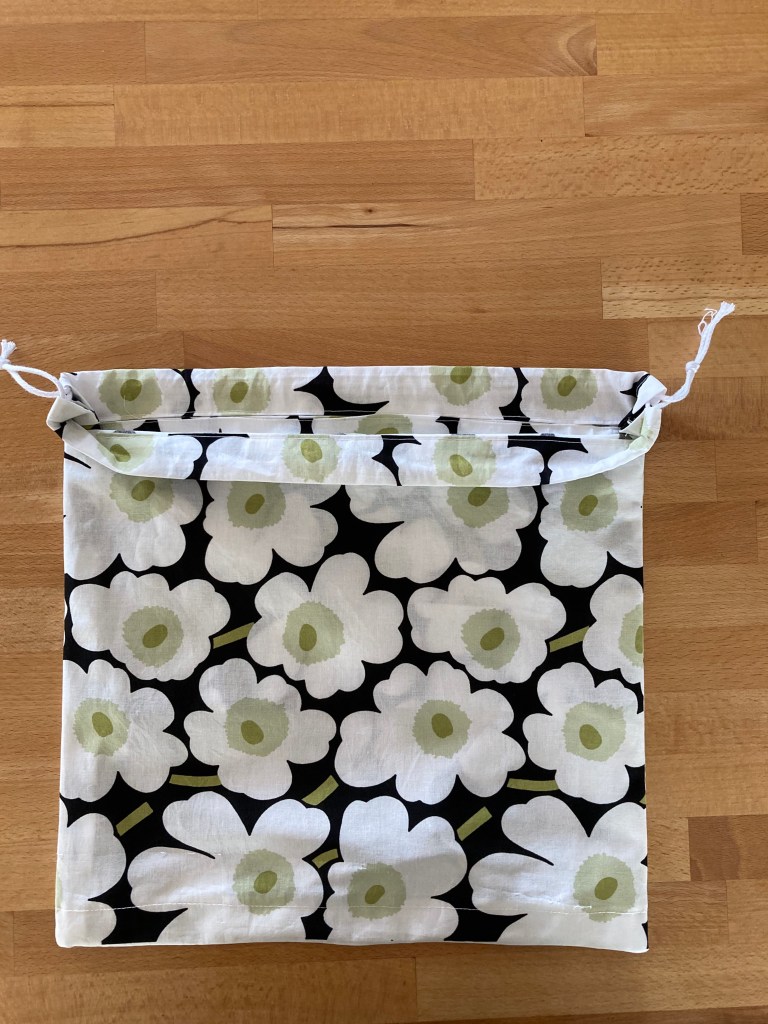
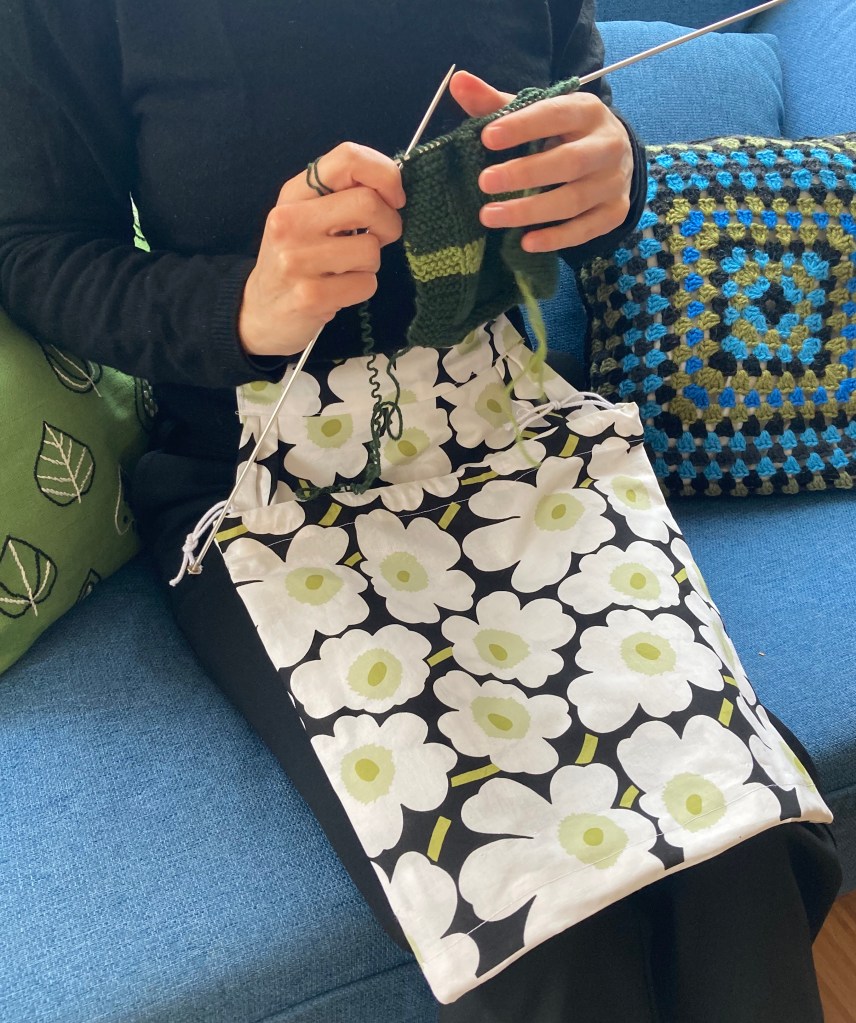
That was it! I finished the whole thing in three hours. It works perfectly and I can use it to knit while standing, walking, sitting in the train, etc. without worrying that my yarn will roll away, and it packs up in a flash. The bag part is quite large — if I made it again, I would make it slightly smaller. Other than that, it’s perfect. I imagine it would be a lot of fun to make in felt, with an embroidered front part, and that I could adapt a lot of the typical Stitchcraft designs for embroidered chairbacks, cushions, tea cosies etc. to make more of these.


Wow! Instant success. I love it in the Marimekko fabric.
LikeLiked by 1 person
Great project… wish I had the pattern…wow…commendable effort.
LikeLiked by 1 person