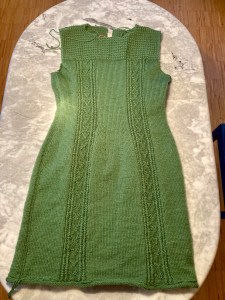
EDIT October 22, 2024: Finished!
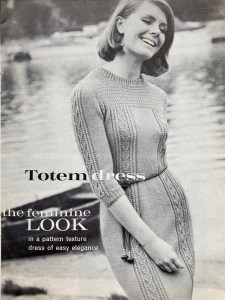
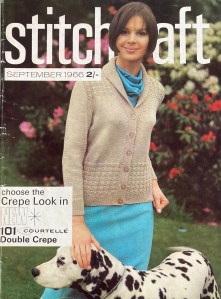
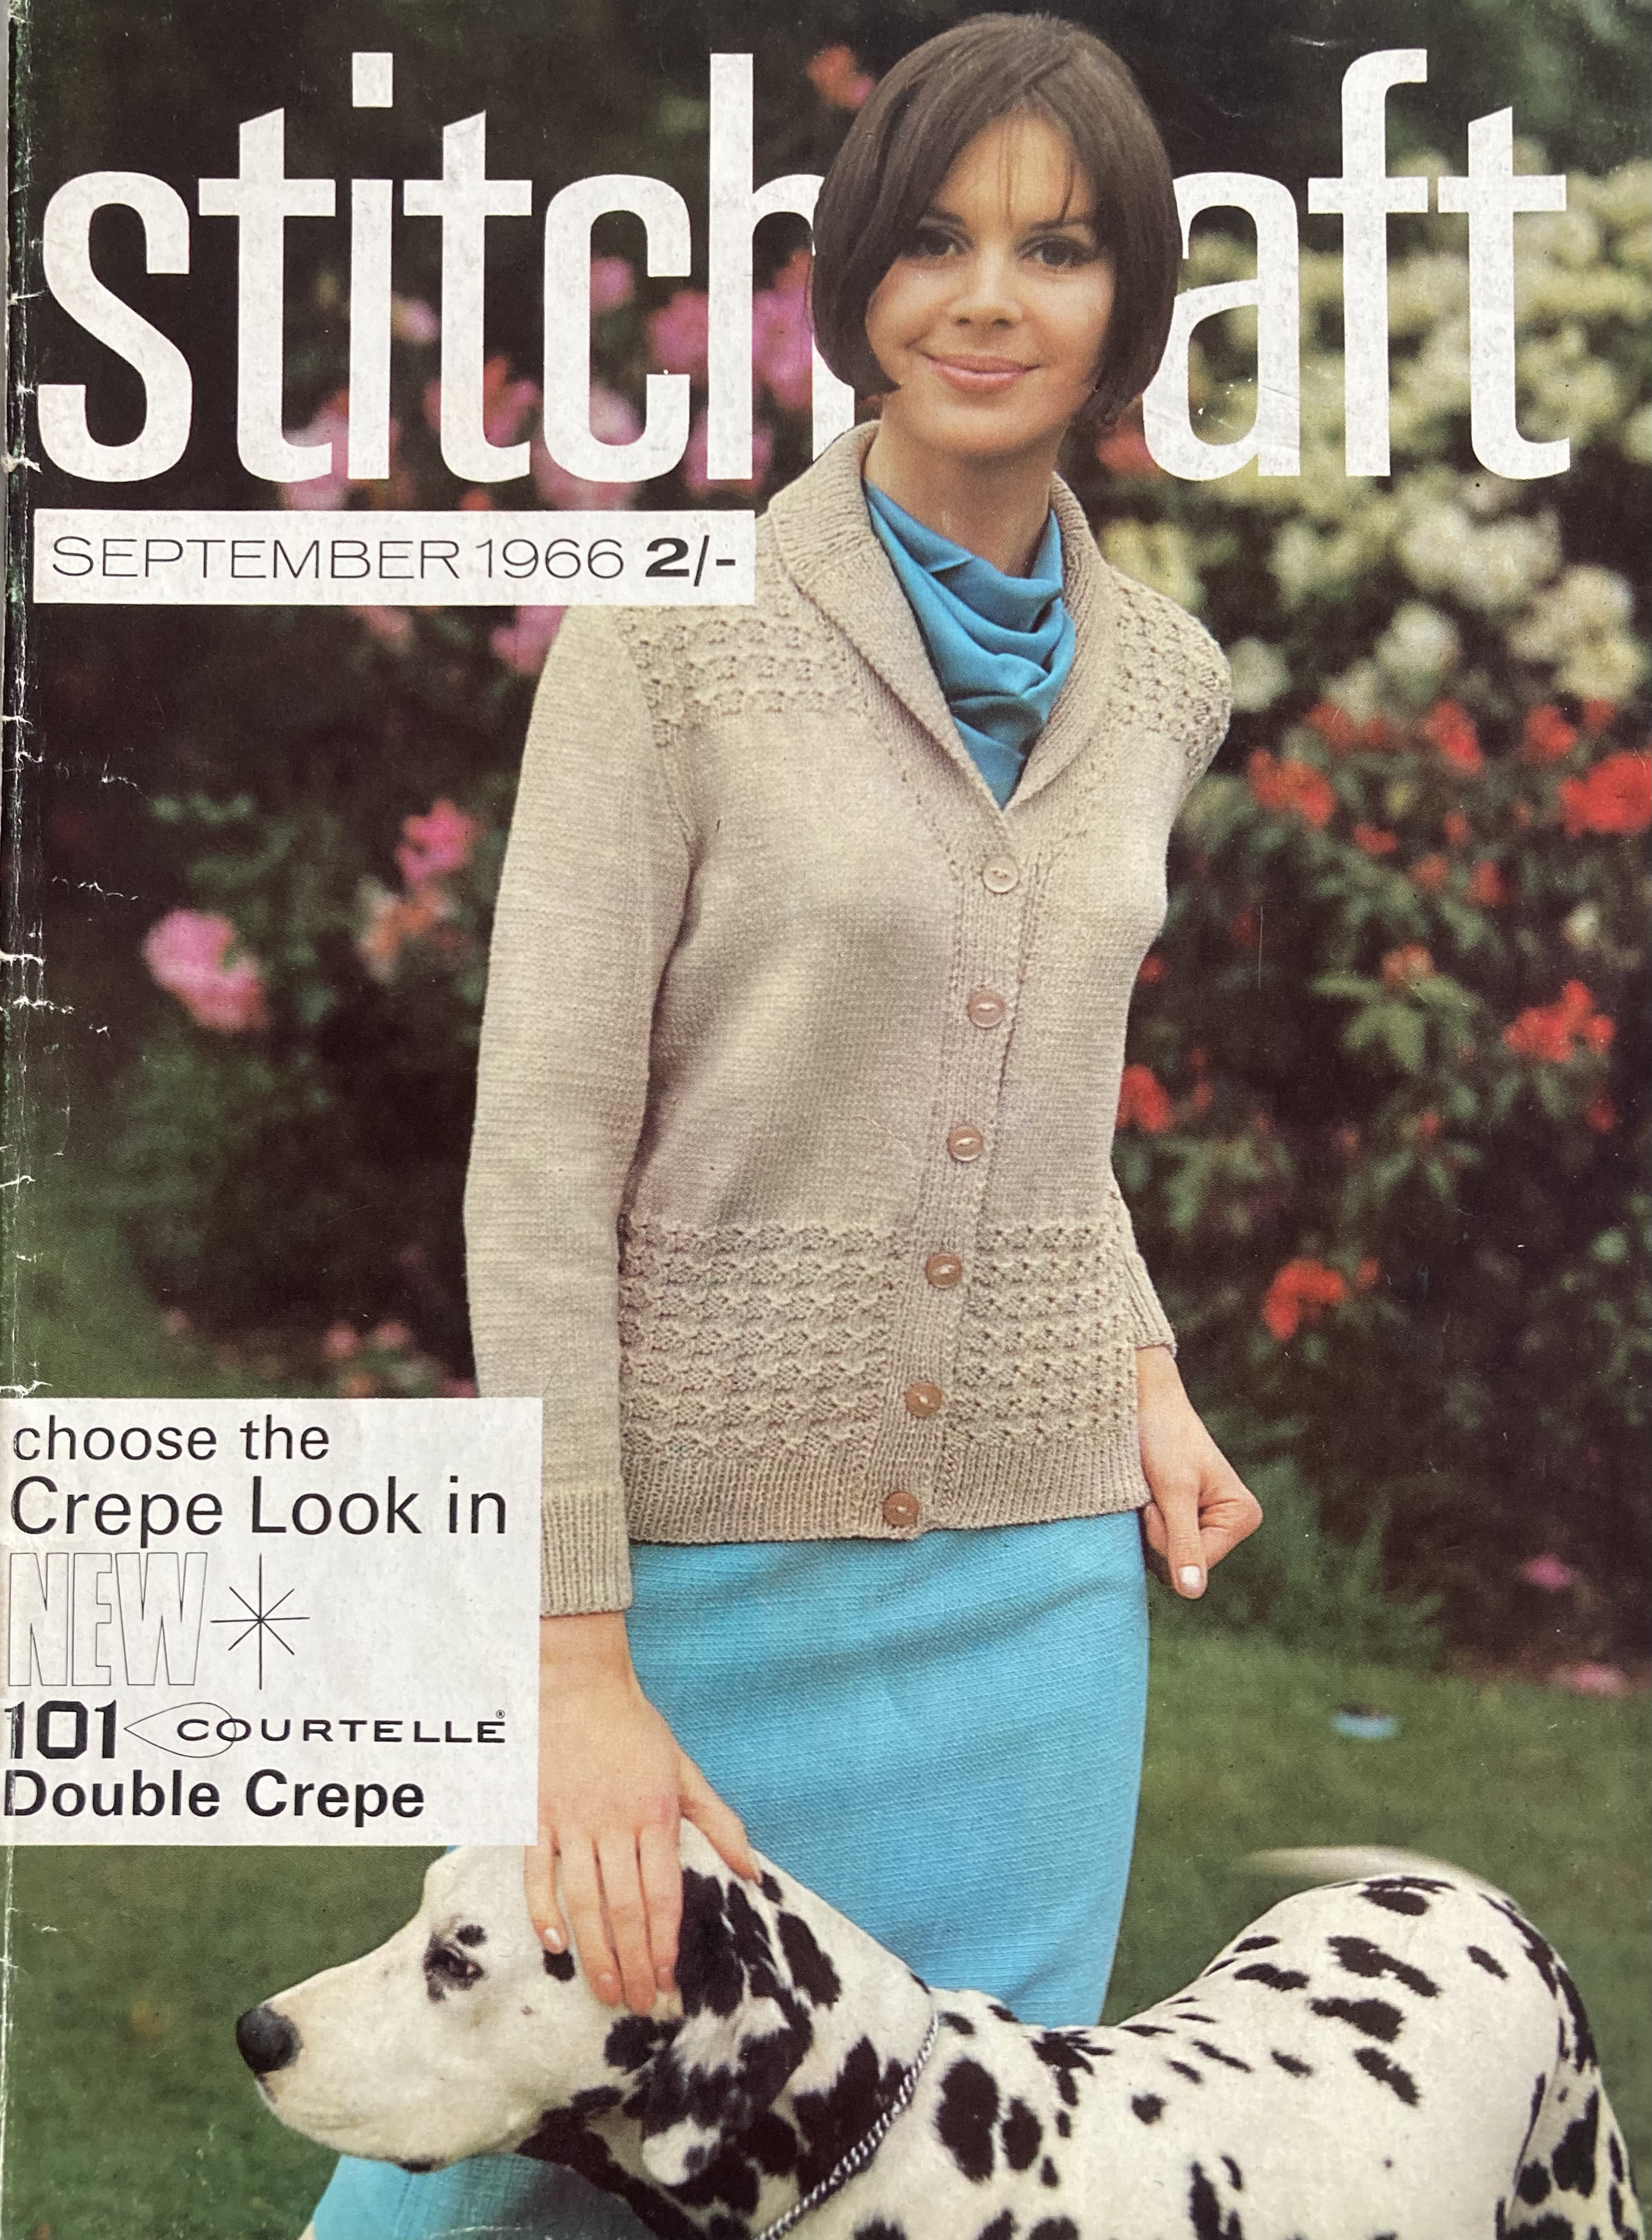
My September project was the cardigan from the twin-set in “crepe look” featured on the cover of the September 1966 issue of Stitchcraft.
The original version is made in Patons 101 Courtelle Double Crepe, a “new” (in 1966) 100% synthetic yarn. I prefer real wool and chose Schachenmayr Merino Extrafine 120, a smooth, tightly-plied merino that gives the “crepe look” very nicely. It seems to be a bit thicker that the Patons 101 Courtelle — the wool is supposed to have a tension of 5.5 stitches to the inch on (old UK) number 8 needles (4mm / US 6) and I got 5.25 stitches to the inch. I didn’t want to use a smaller needle, as the 4mm needles felt right for the wool and gave a good texture, so I made the smallest size (35-36 inch bust) instead of the otherwise-correct second size (37-38 inch bust) in the longest length (22.5 inches from shoulder).
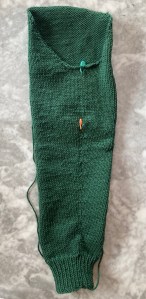
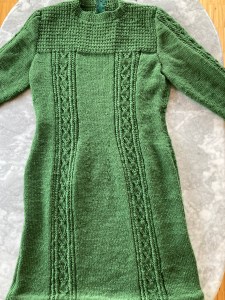
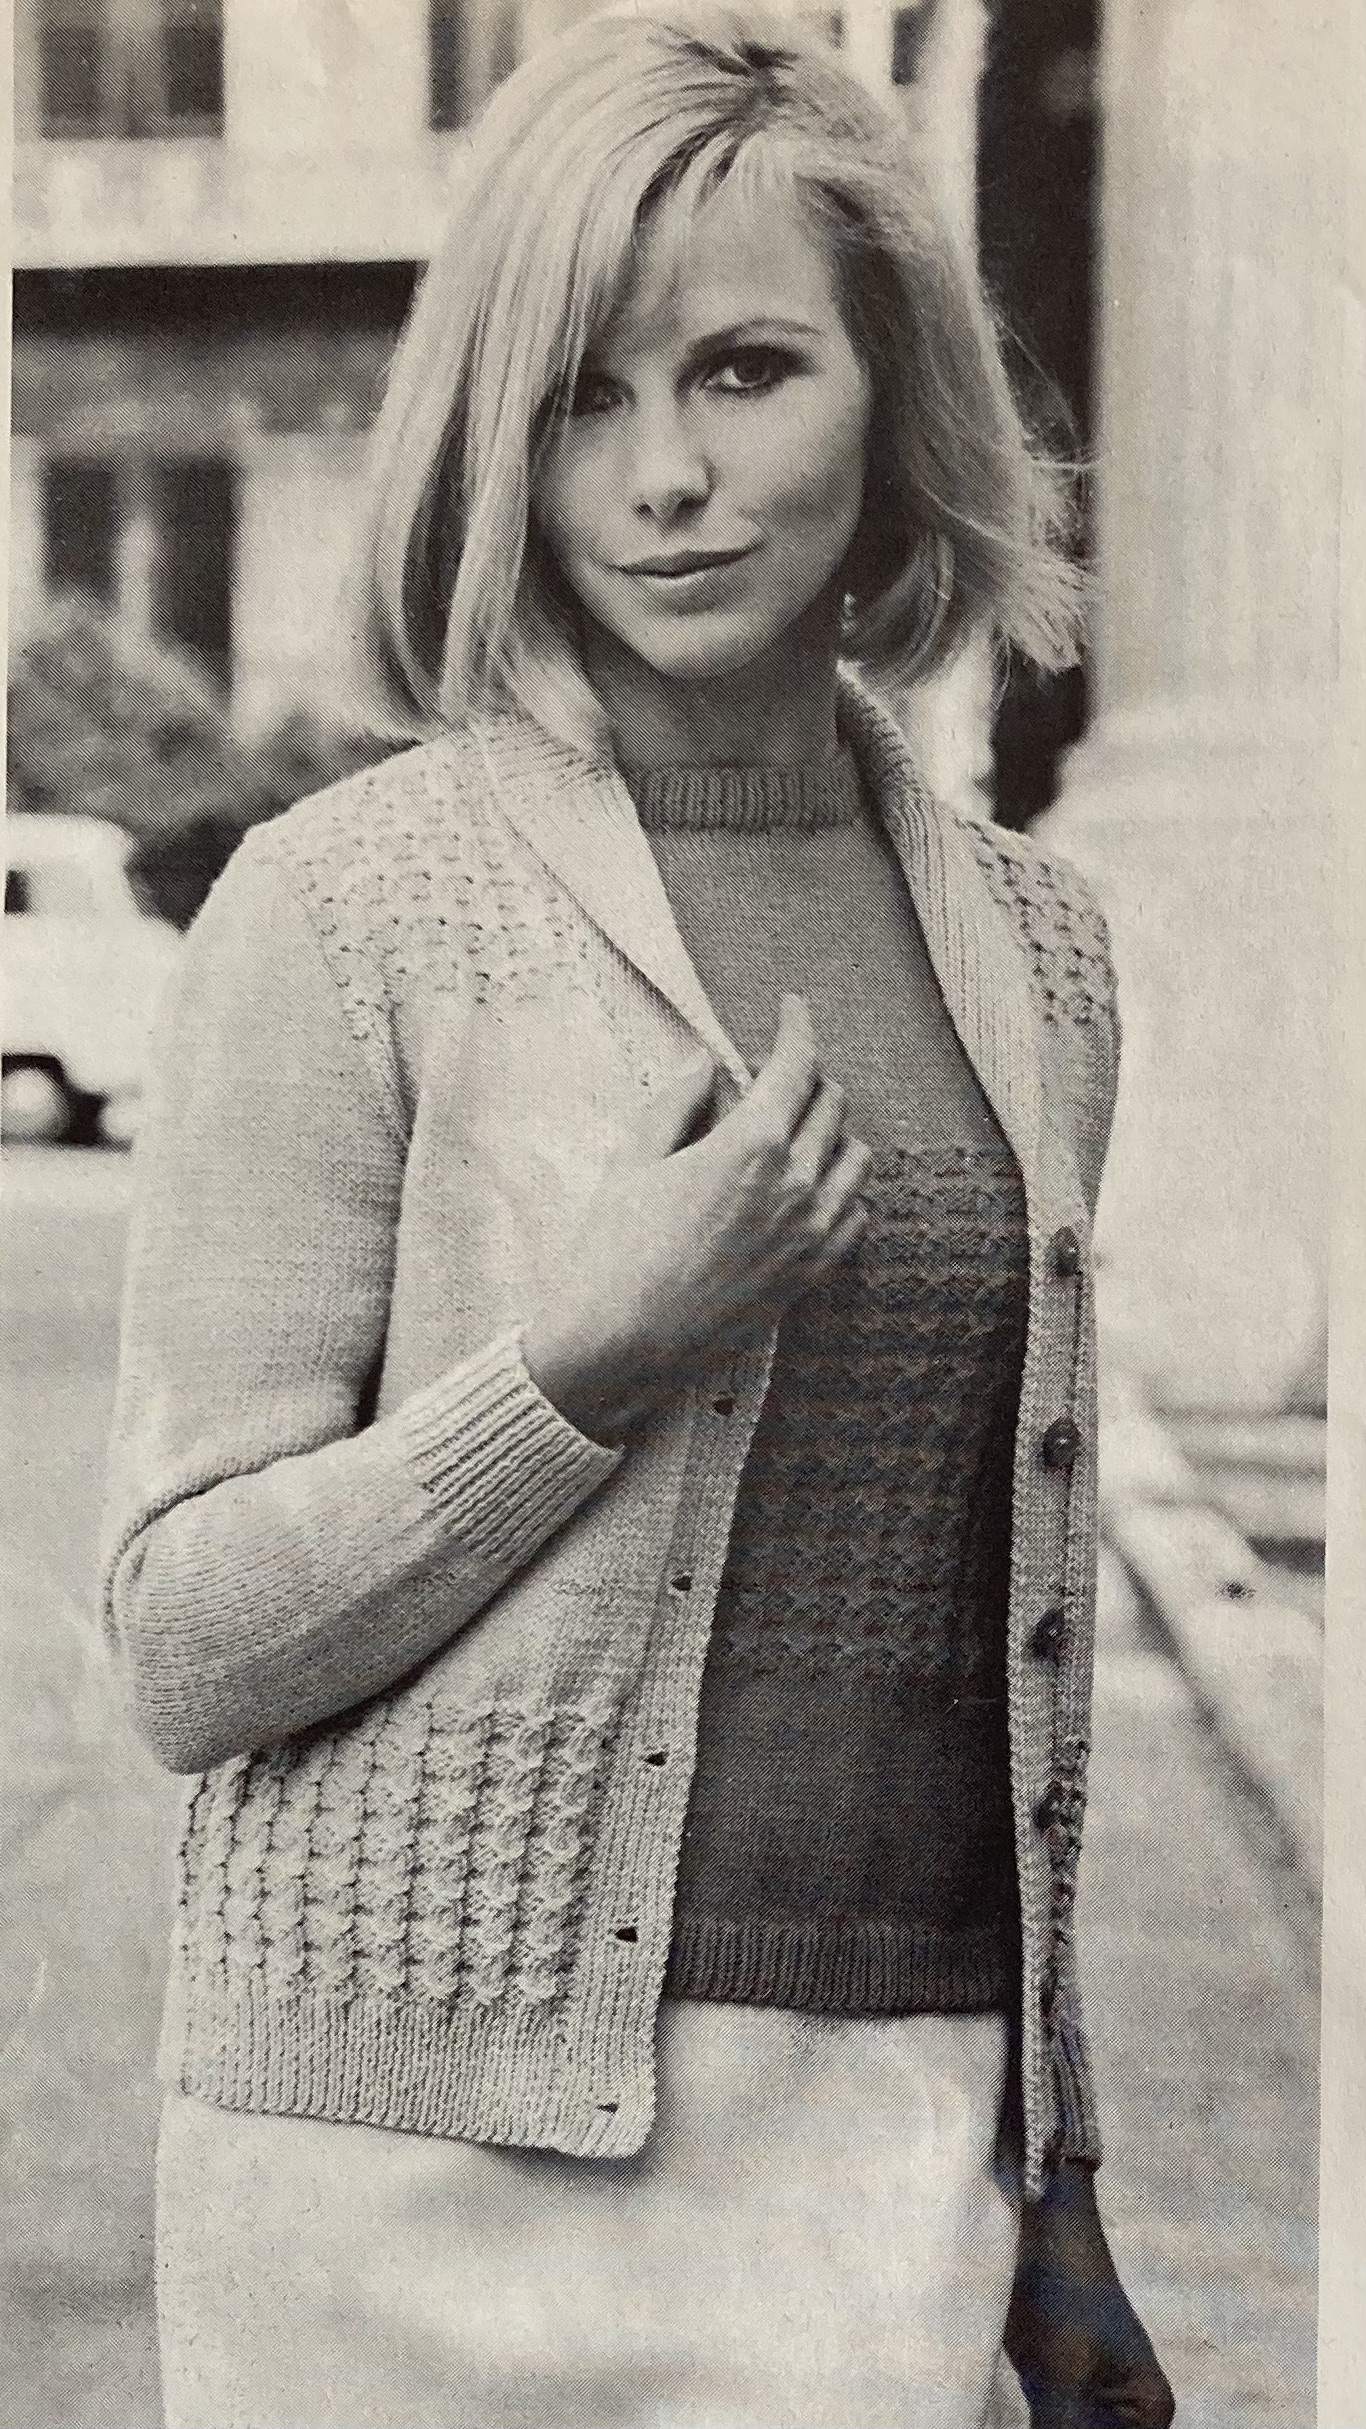
I started with the sleeves, which I prefer to do in order to 1) check how size, tension and fit are going and 2) get the boring part out of the way first. The sleeves are made in plain stocking-stitch and I made them in the round to work faster and avoid seams. The sleeve length from underarm is supposed to be 16 inches for all sizes and judging from the photos, hits at about “bracelet length” i.e. not quite long to the wrist. I prefer long sleeves to go all the way to the wrist, but I have also made sleeves longer than required and had them turn out too long after blocking, or because the underarm depth was larger than expected. These finished sleeves fit before blocking just above the wrist at the expected underarm depth, and there was enough width to adjust if necessary.
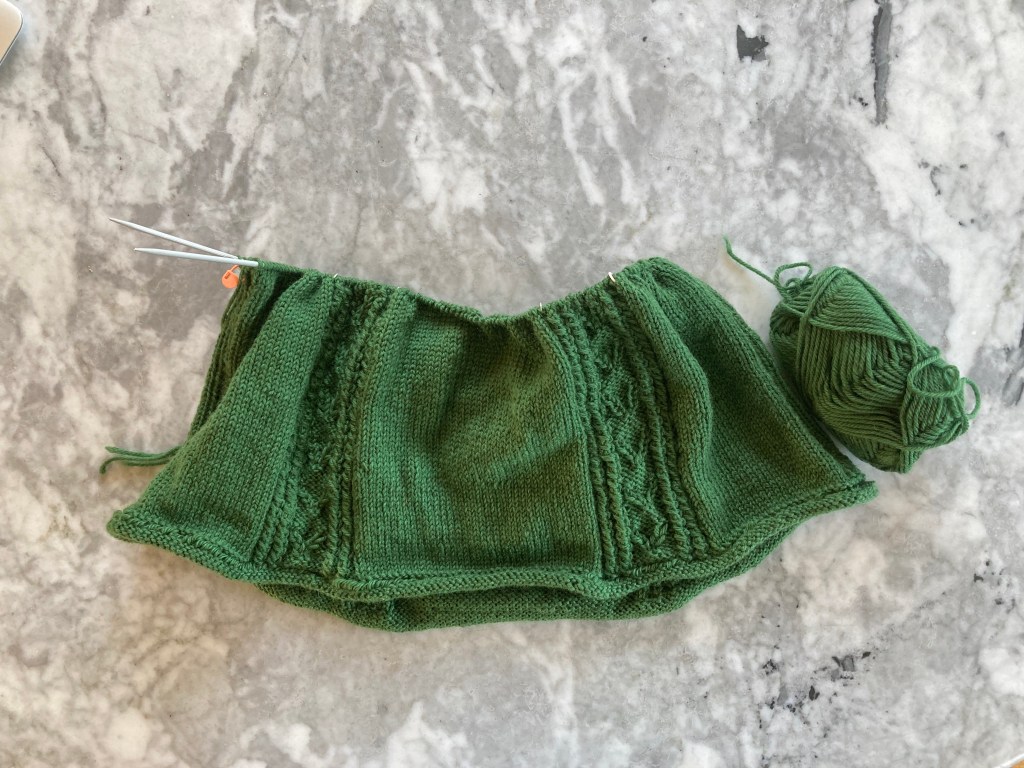
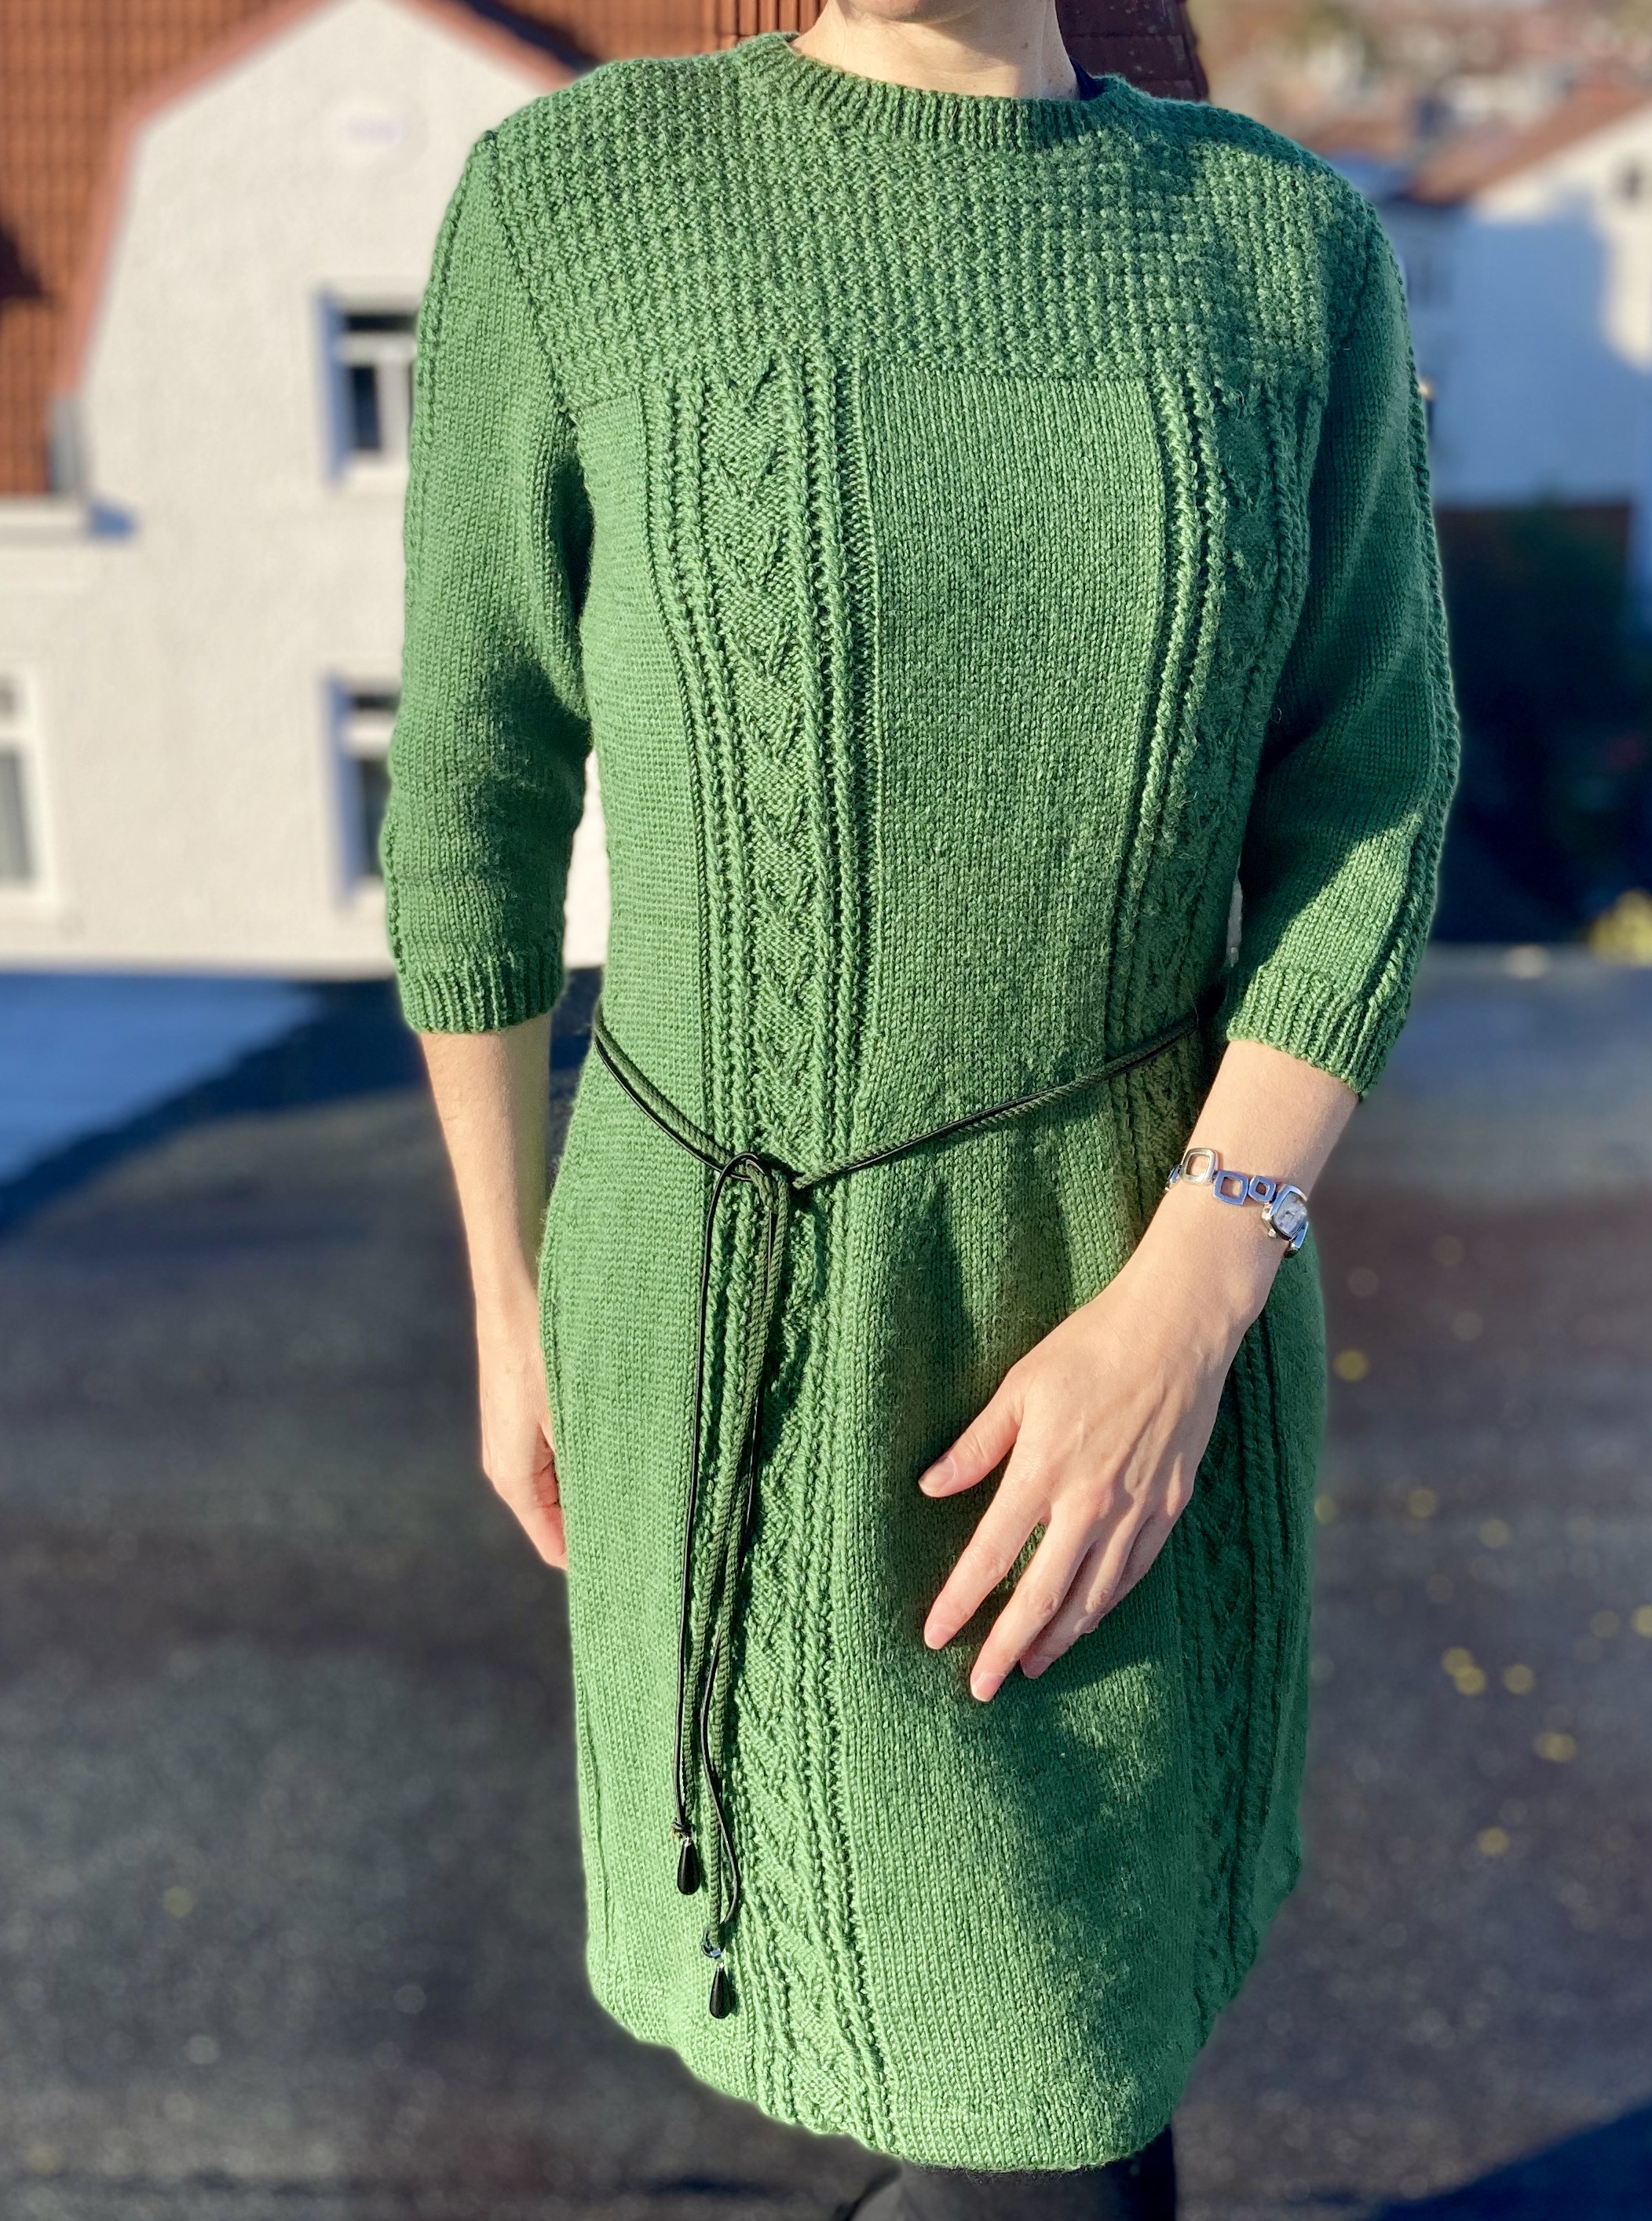
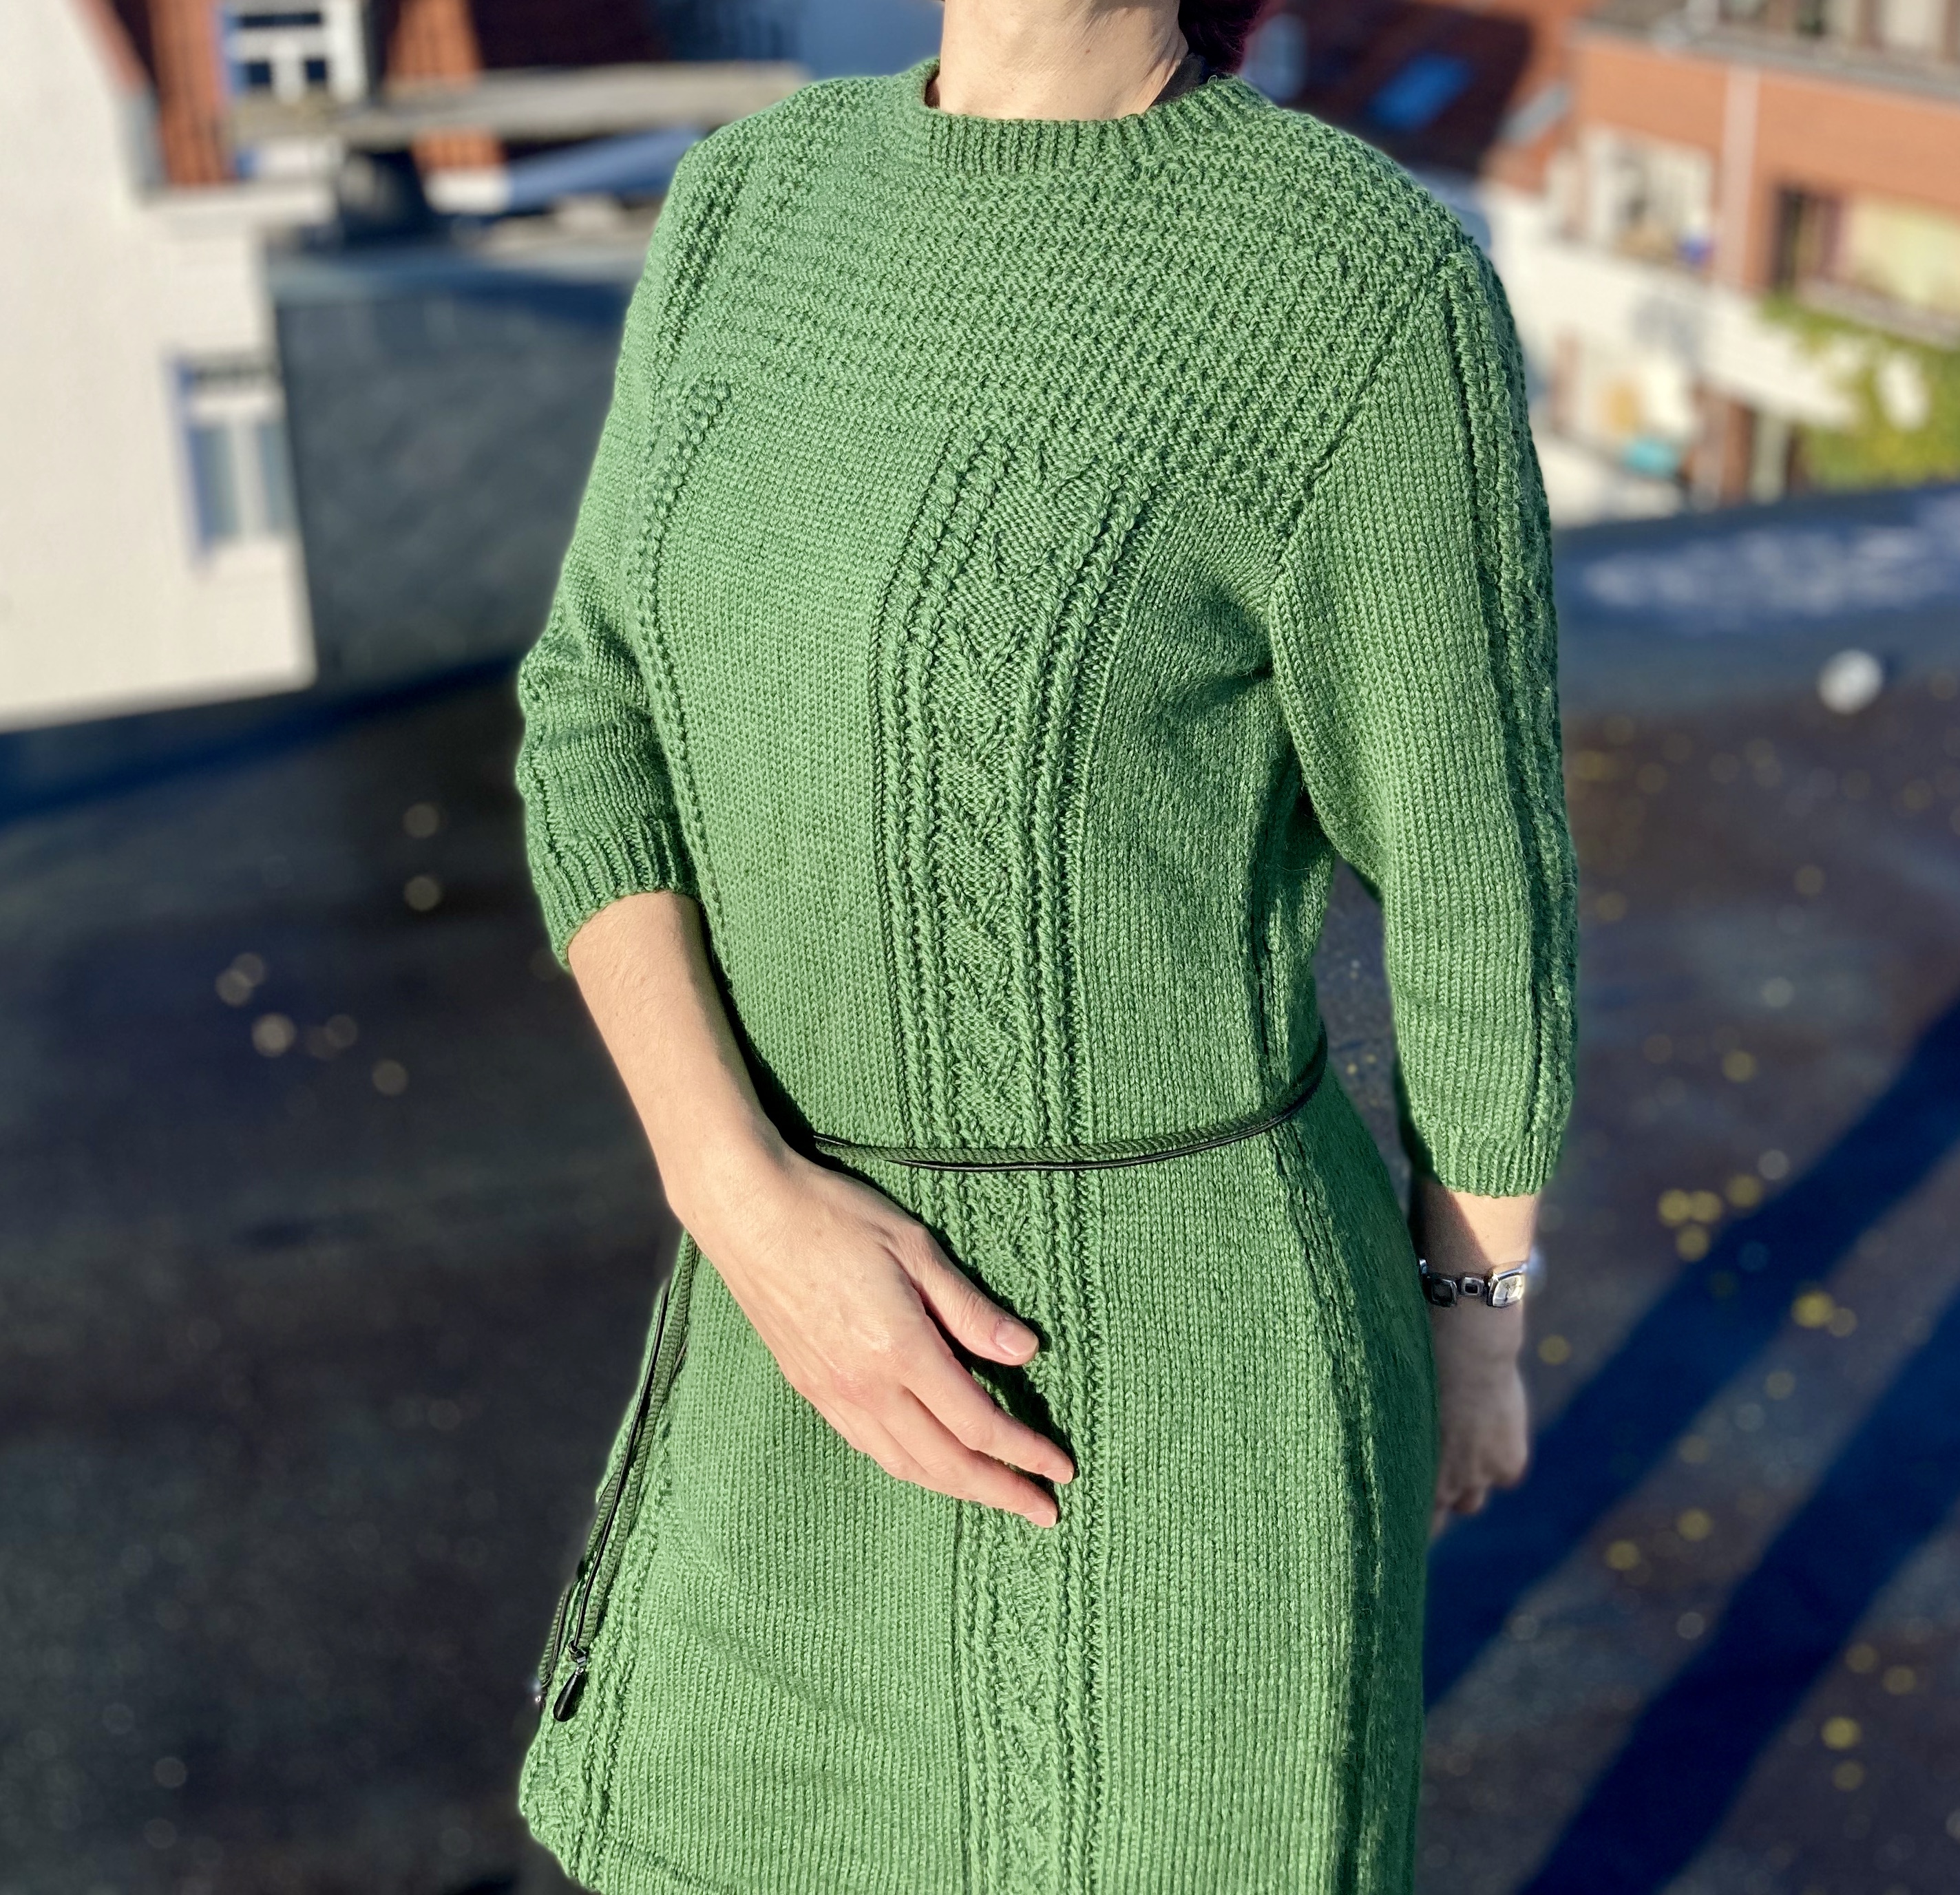
The body of the cardigan features an interesting twisted-stitch pattern both on the fronts and back between hem ribbing and low waist, and at the top of the yoke.
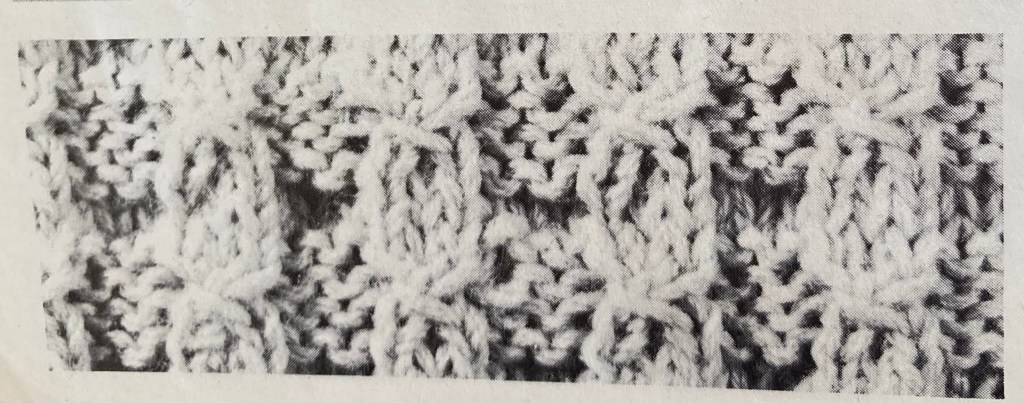
The pattern is
- 1st row (RS): p3, *k3, p3* to end
- 2nd row: k3, *p3, k3* to end
- 3rd row: *p3, take wool to back, sl1 knitways, k next 2 sts tog without taking them off the needle, then k 1st of those sts, slip off needle and pass sl st over 2 rem sts*, rpt to last 3 sts, p3
- 4th row: *k3, p1, pick up horizontal loop below next st and purl it [i.e. m1 in the lower horizontal “bar”], p1* rpt to last 3 sts, k3
- 5th row: K
- 6th row: P
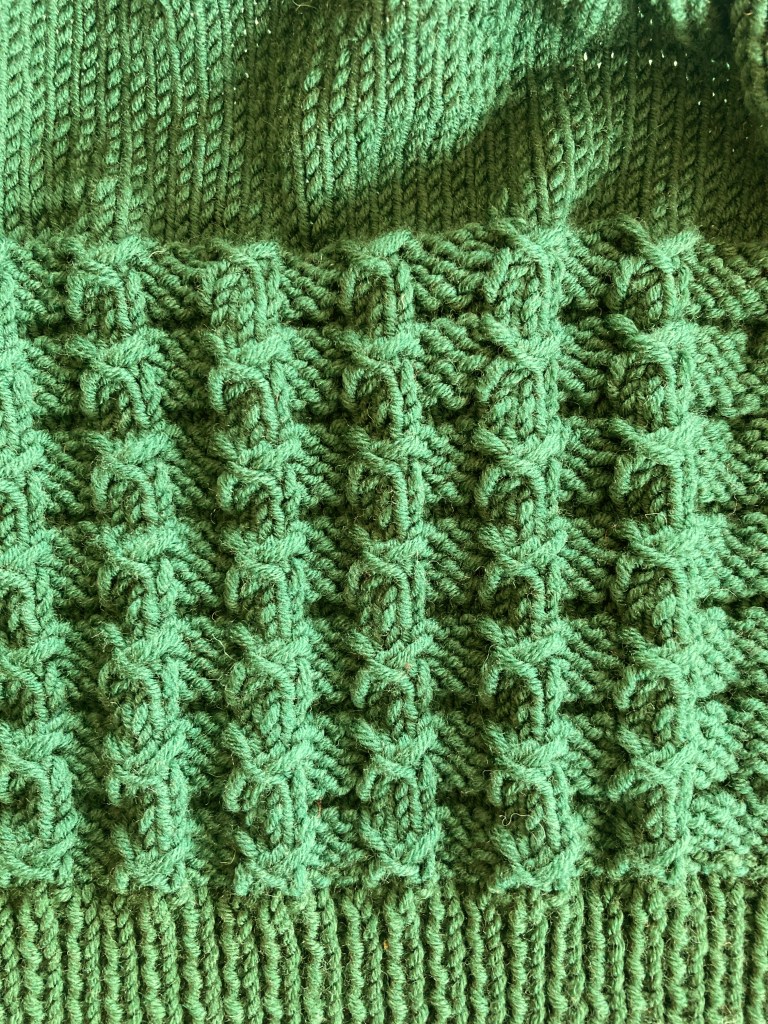
The twist rows are much easier to do than the description makes it sound. When you see the stitches on the needle, it’s quite clear. The background makes horizontal bands of rib and stocking-stitch and the overall effect is pleasantly squishy and nubbly.
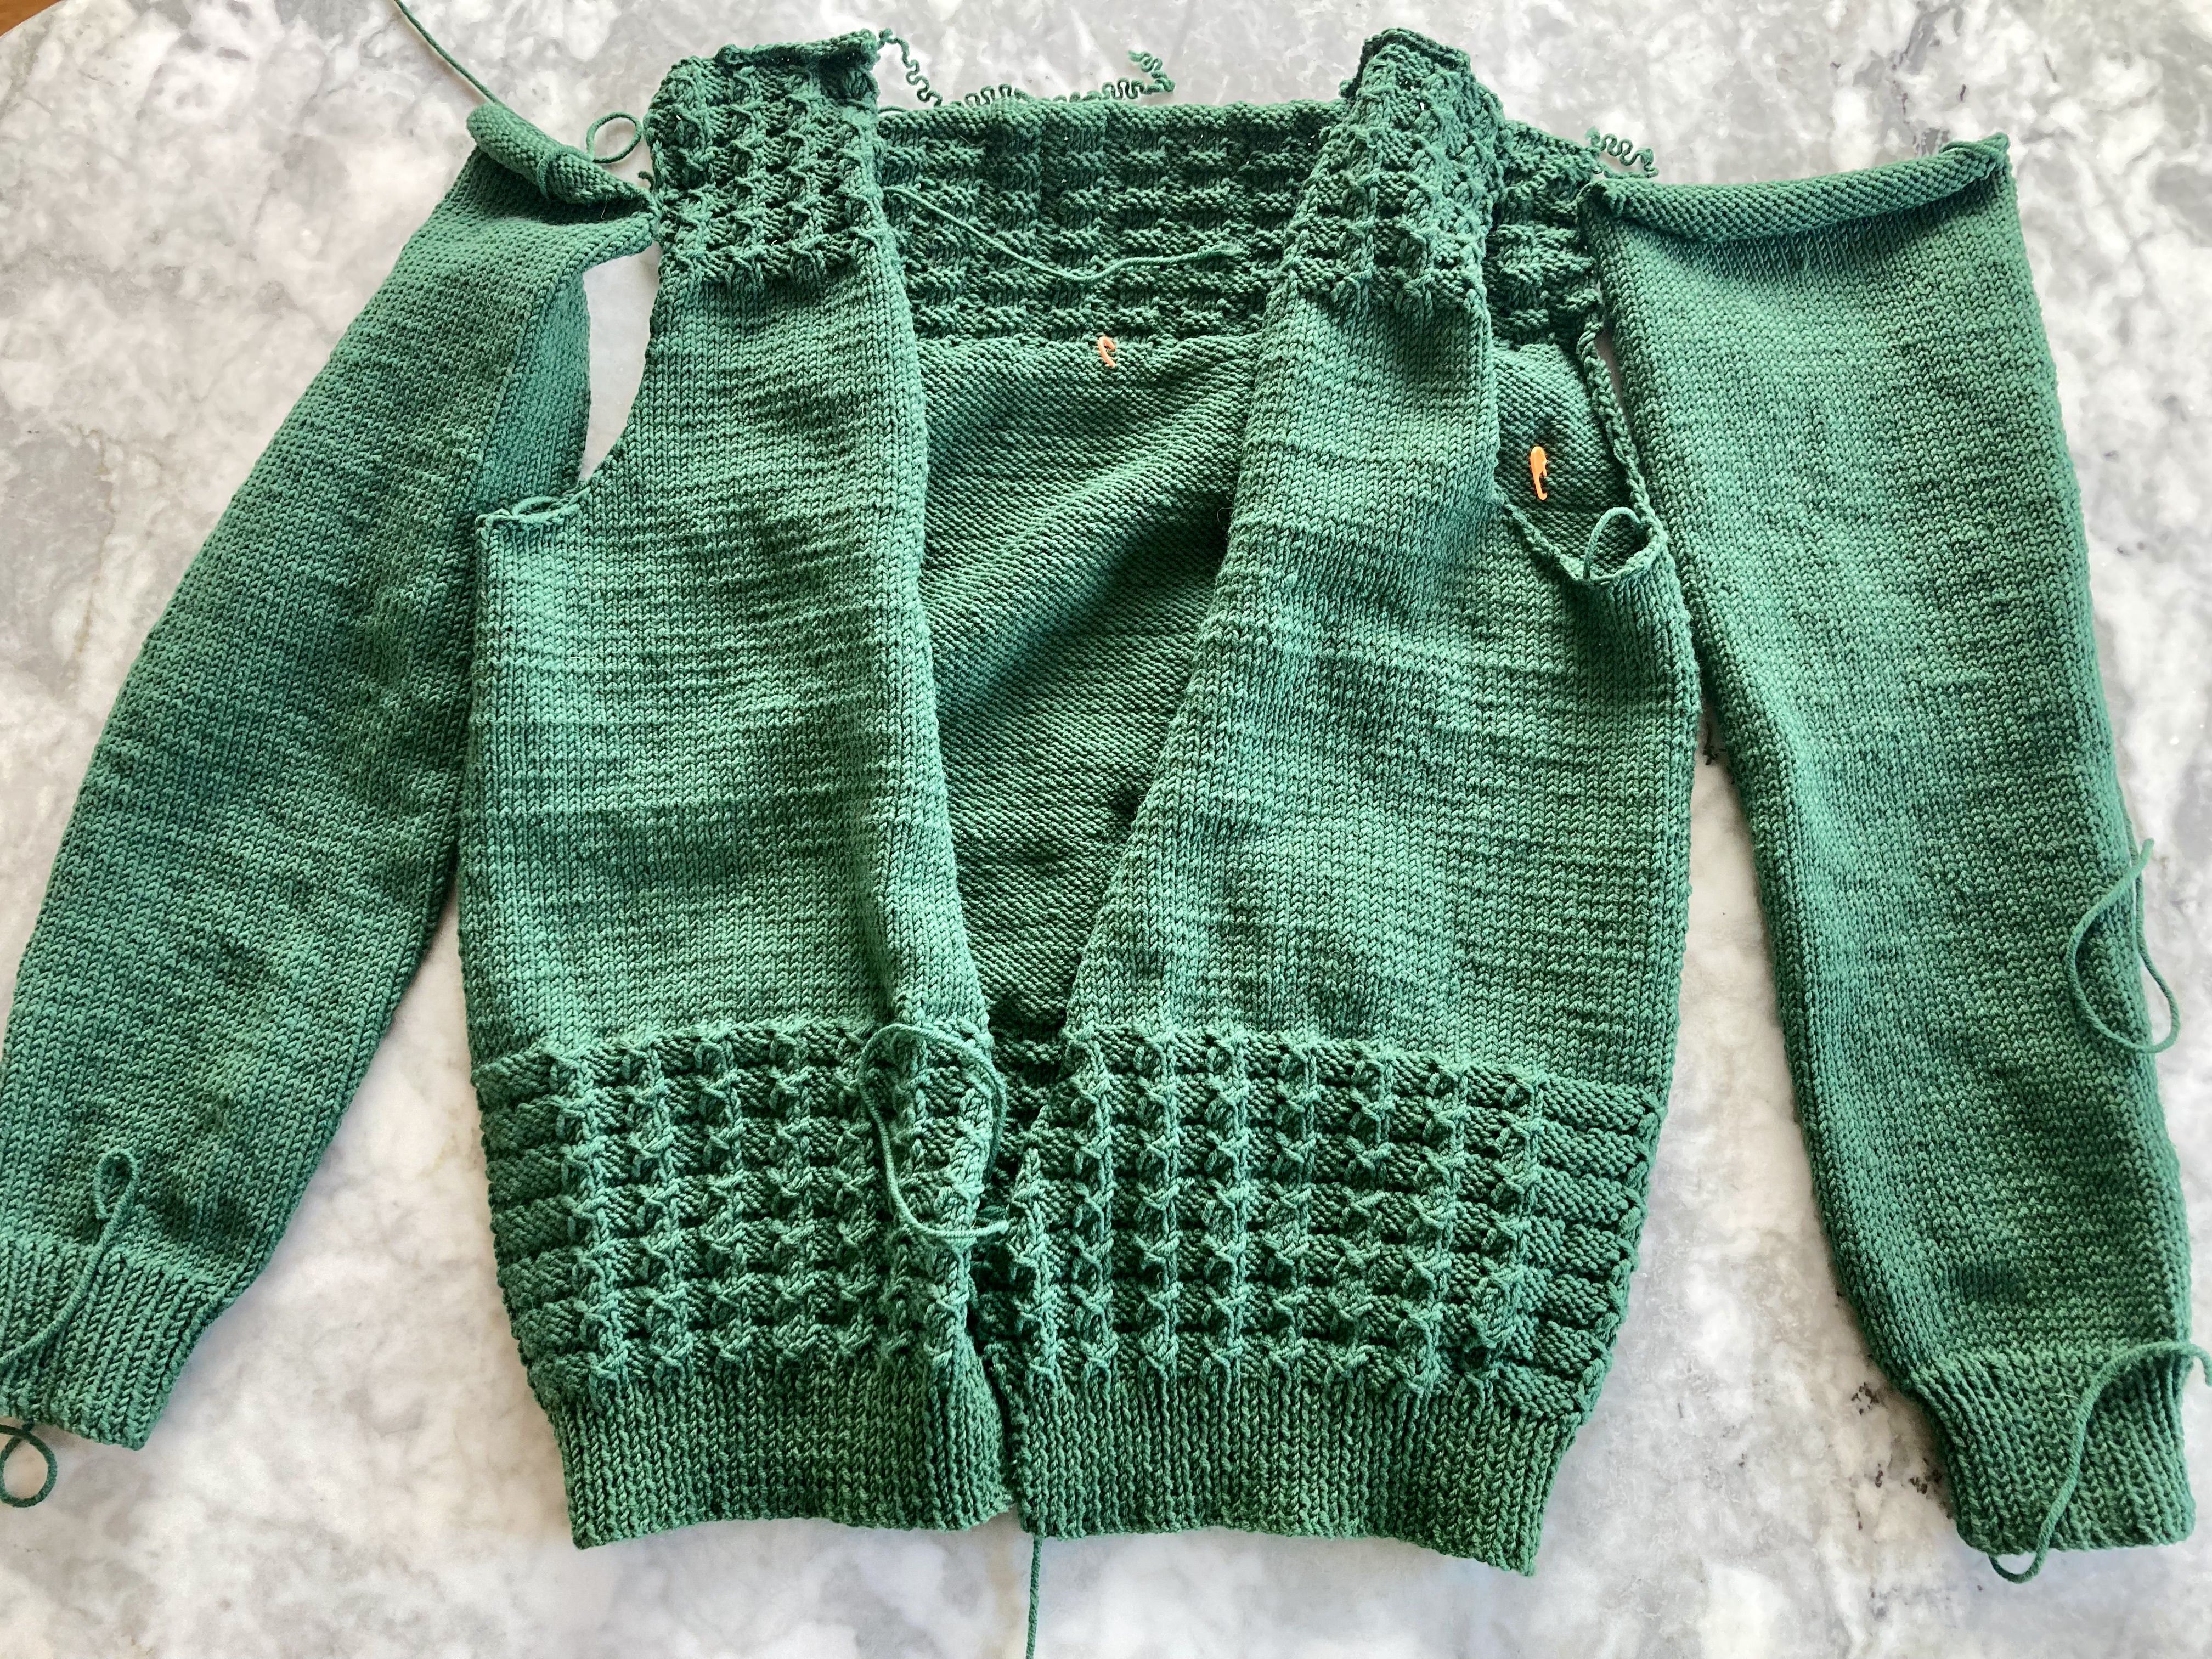
After seven patterns, you switch to stocking-stitch, and that is where I found myself as of September 27, 2024, when I first wrote this post. I made the fronts and back in one piece and had a few long train trips since then, so it went quickly enough.

Unfortunately, there wasn’t enough yarn of the right colour in the store when I bought it, so I had to order more and of course, the new balls of yarn were from a different dye lot. I hardly ever have a problem with that, as many brands have very consistent dye lots, but of course the one time it’s a problem, it’s a problem! The new yarn had a much yellower-browner tinge than the old. I planned ahead to make the ribbing and collar in the new yarn and hoped to have enough of the old to make the complete body and sleeves minus ribbing. That actually worked, after unraveling the original swatch, and I had only a tiny little ball of the old yarn left over.
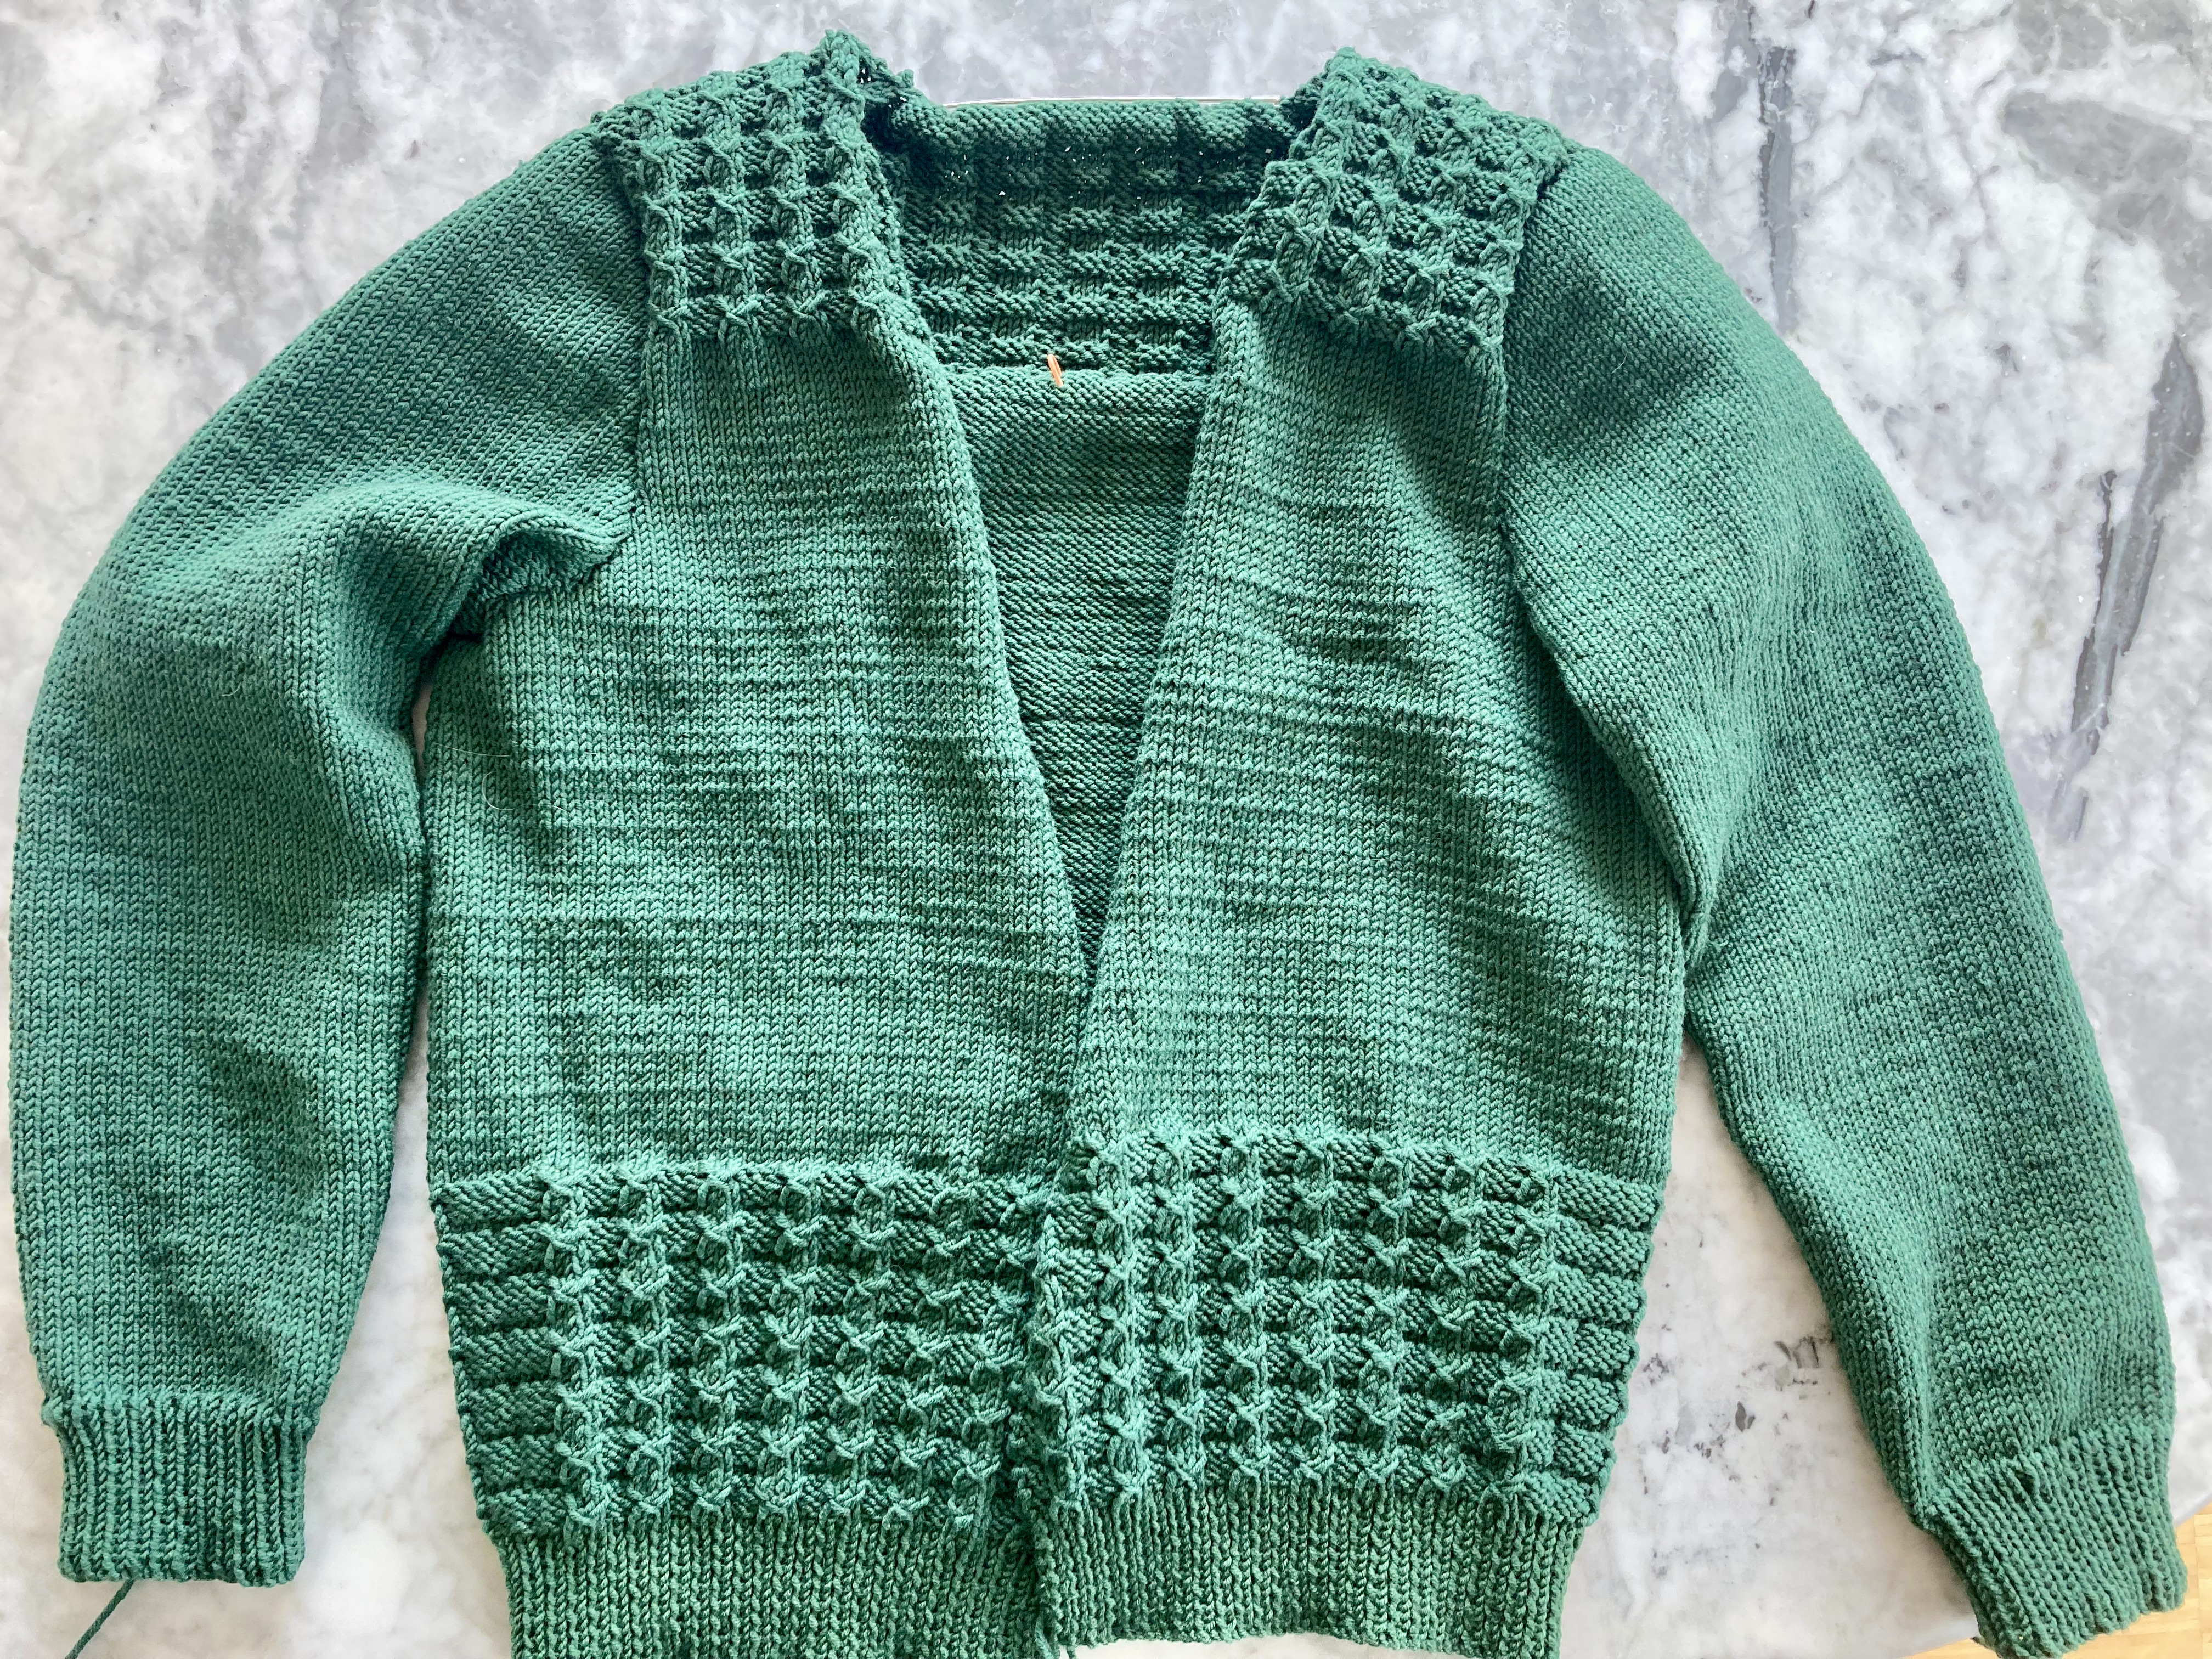
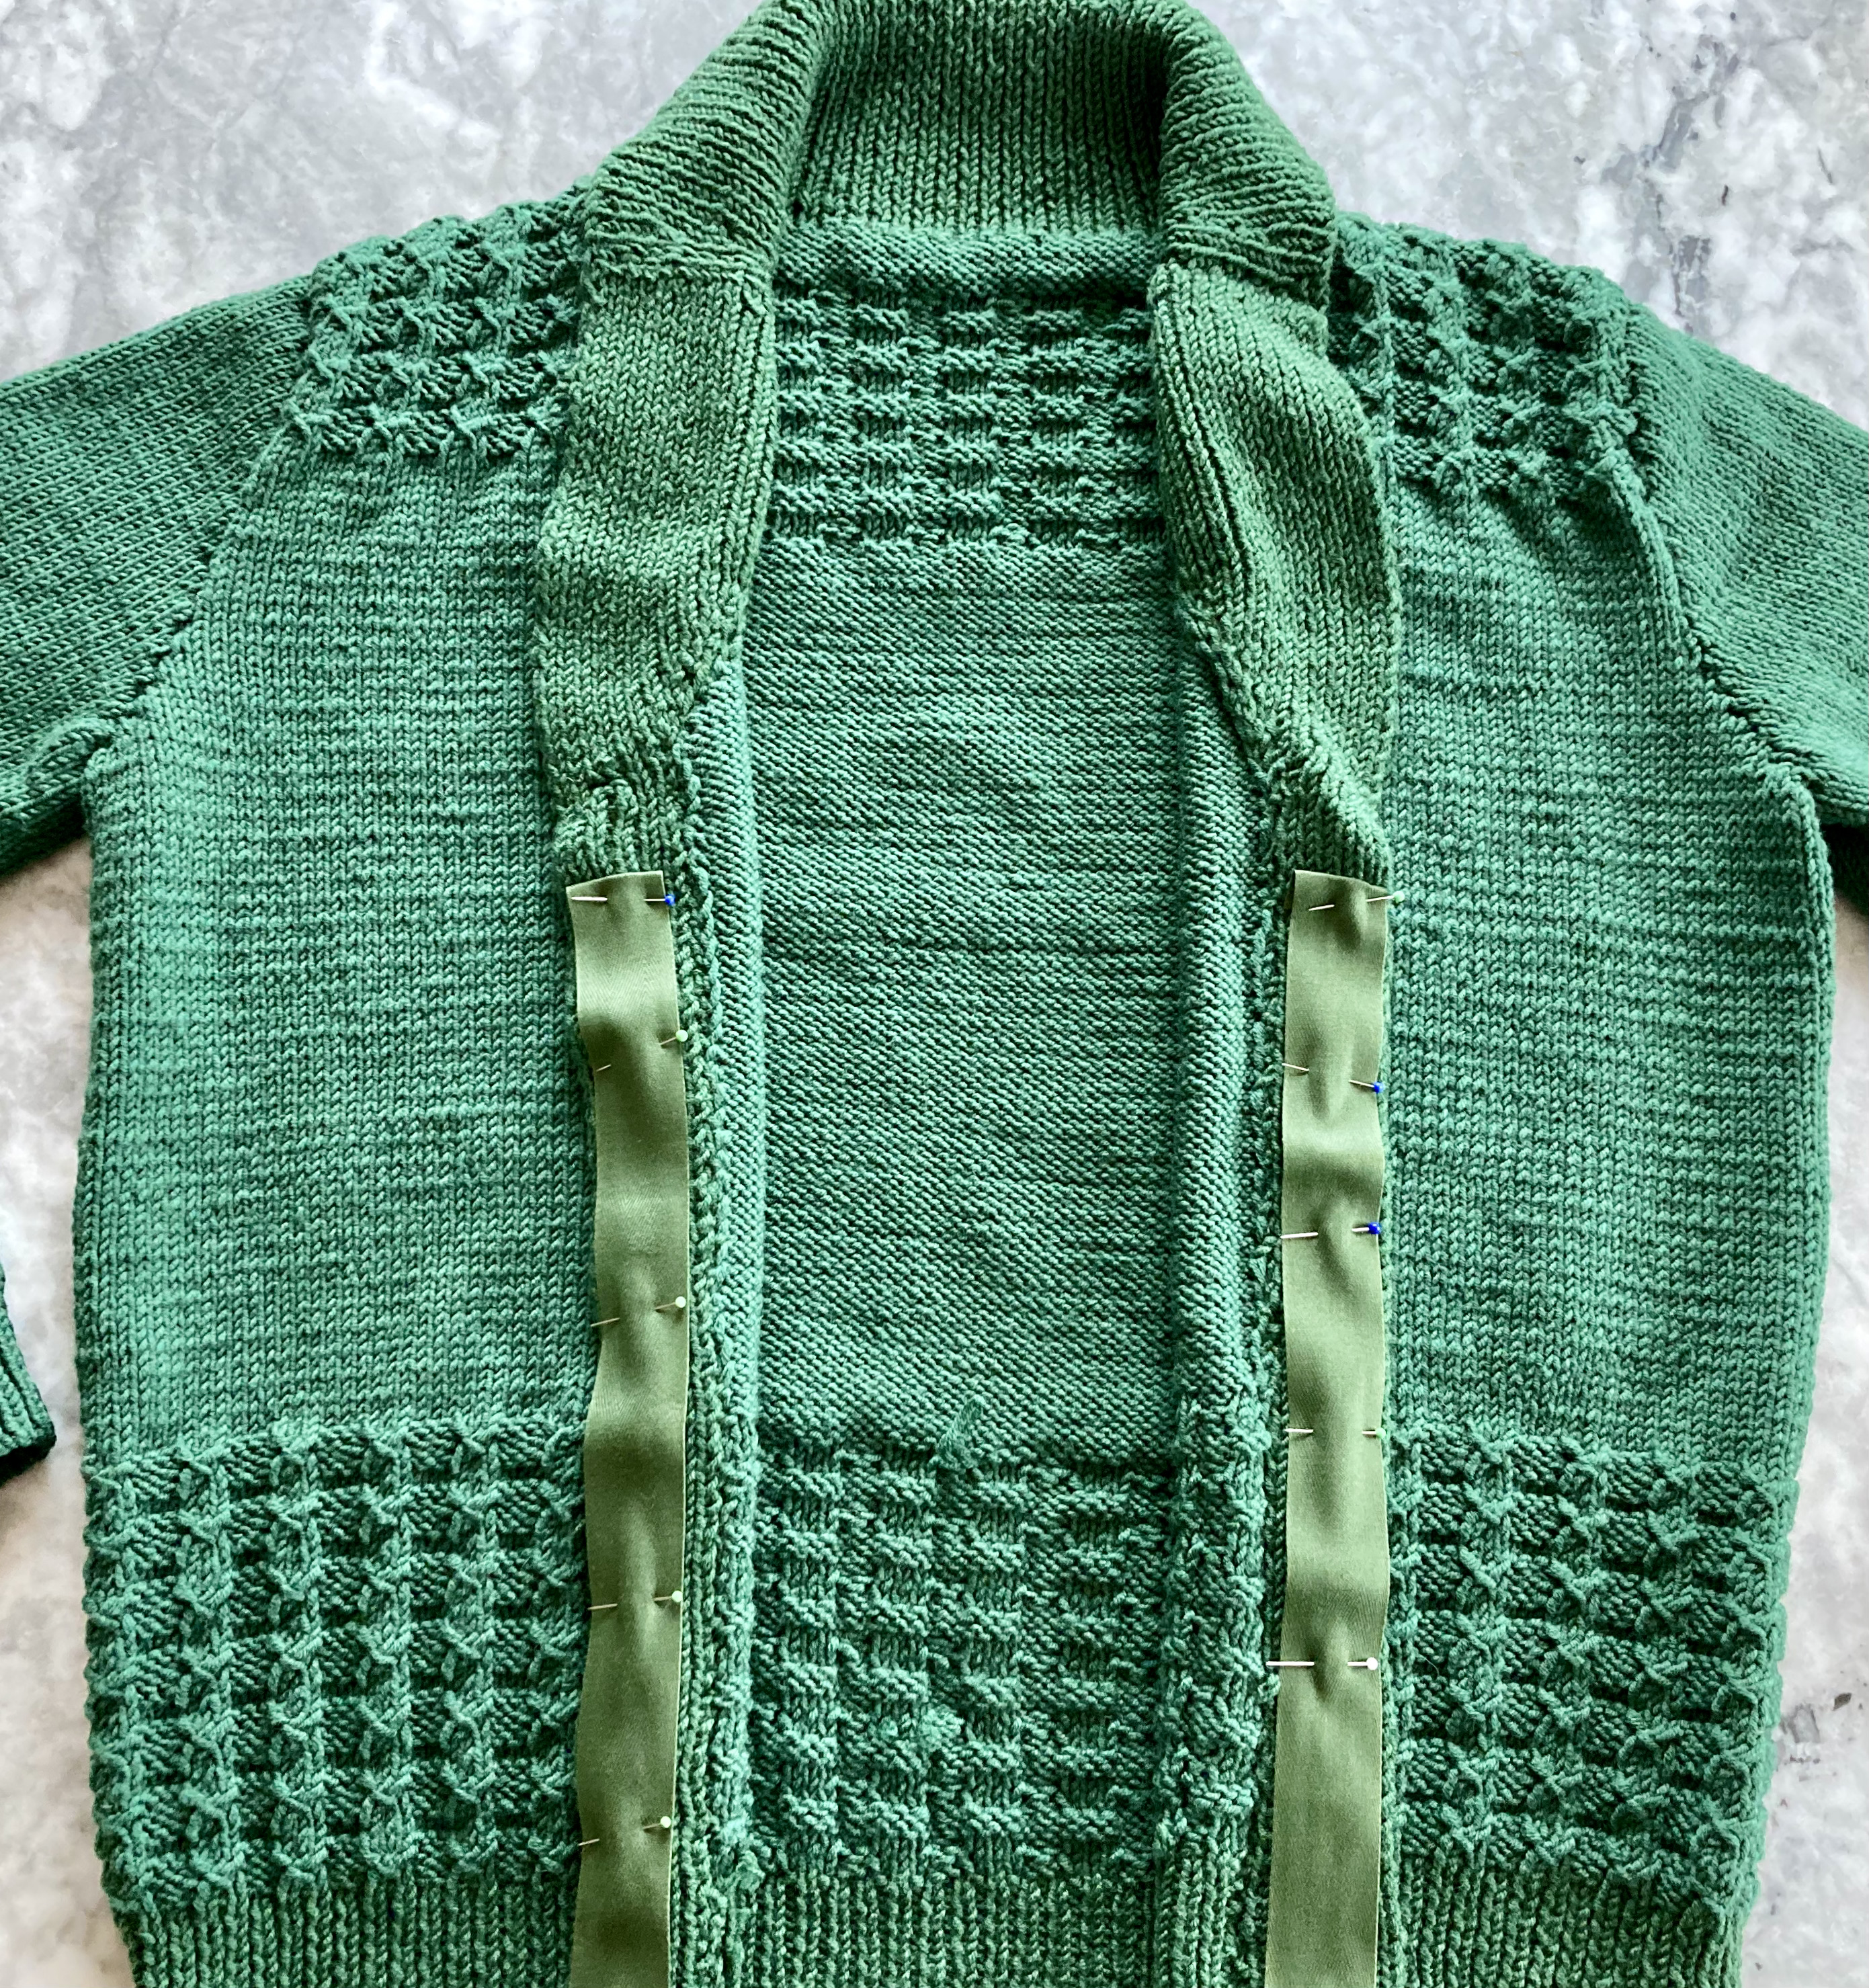
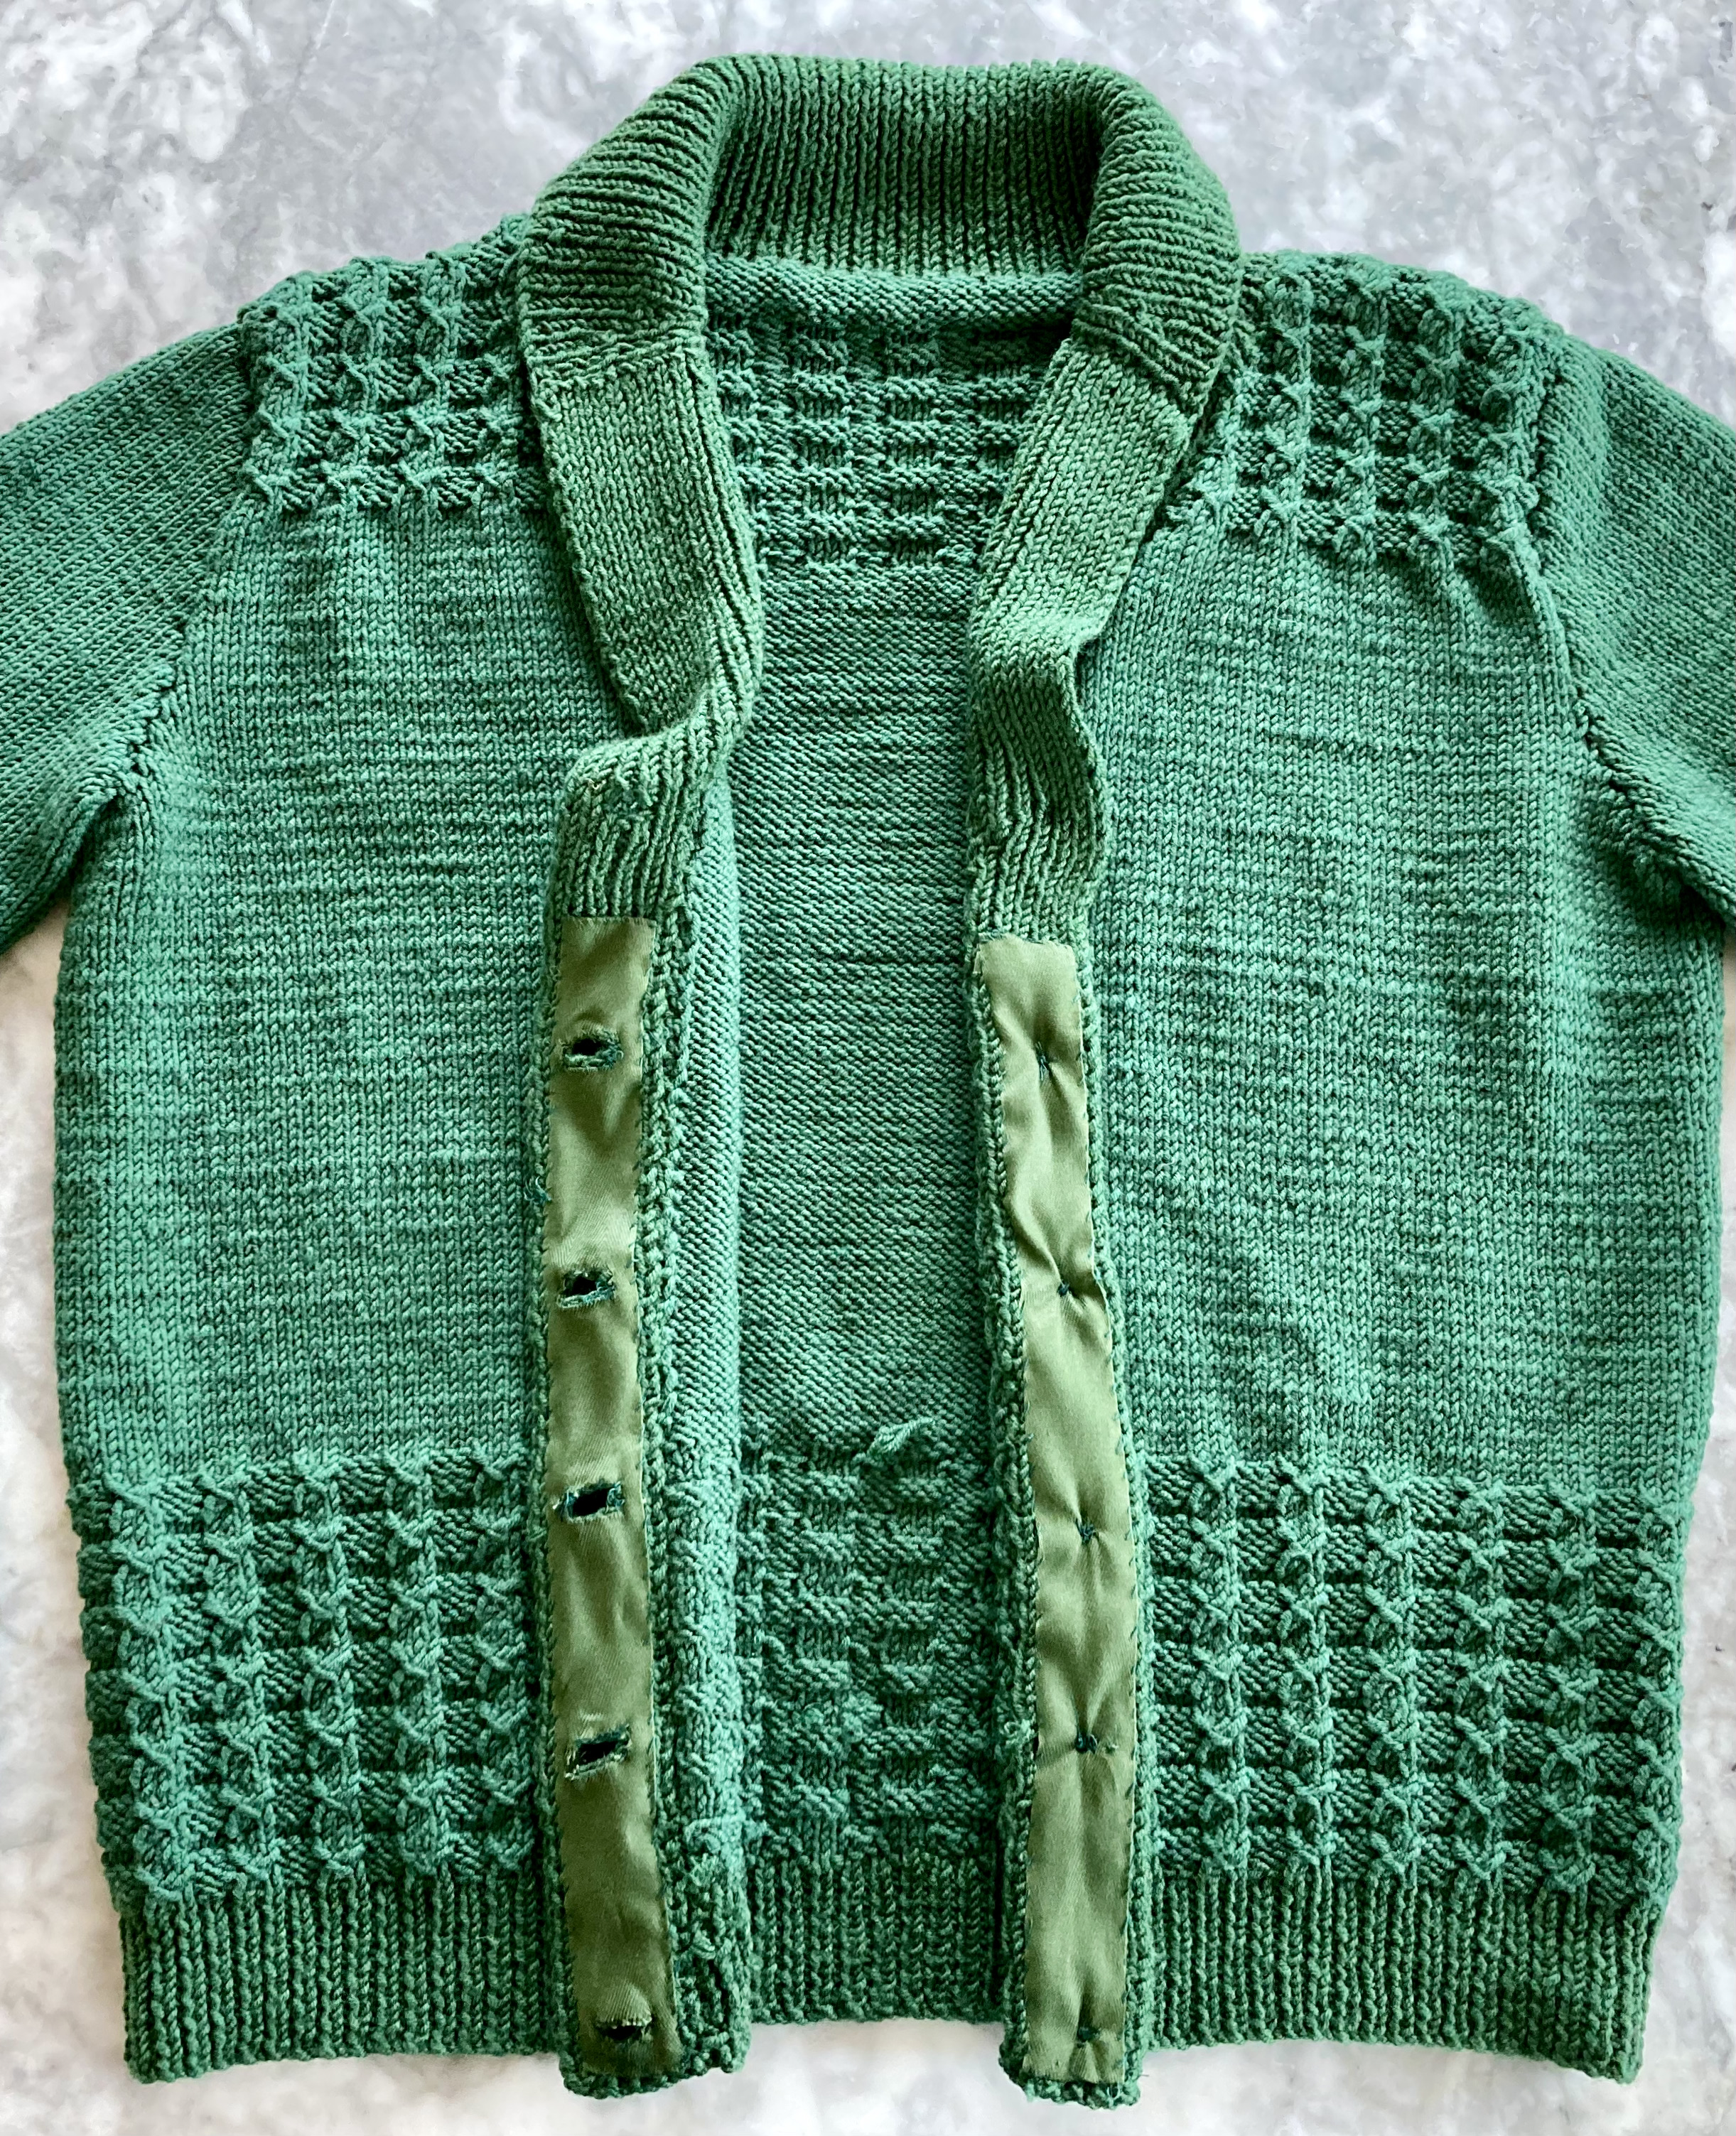
The ribbing and collar are mostly made separately, picking up stitches on the back neck for the back collar part only. The ribbing is knitted in vertical bands and sewn on, the collar horizontally and then you sew them together “with a very neat seam”. Hahahaha well, I did my best. The back collar has a couple of short rows at the end, to give it a nice roll. I added facing bands to the ribbing to help it keep its shape, and found some nice matching buttons.
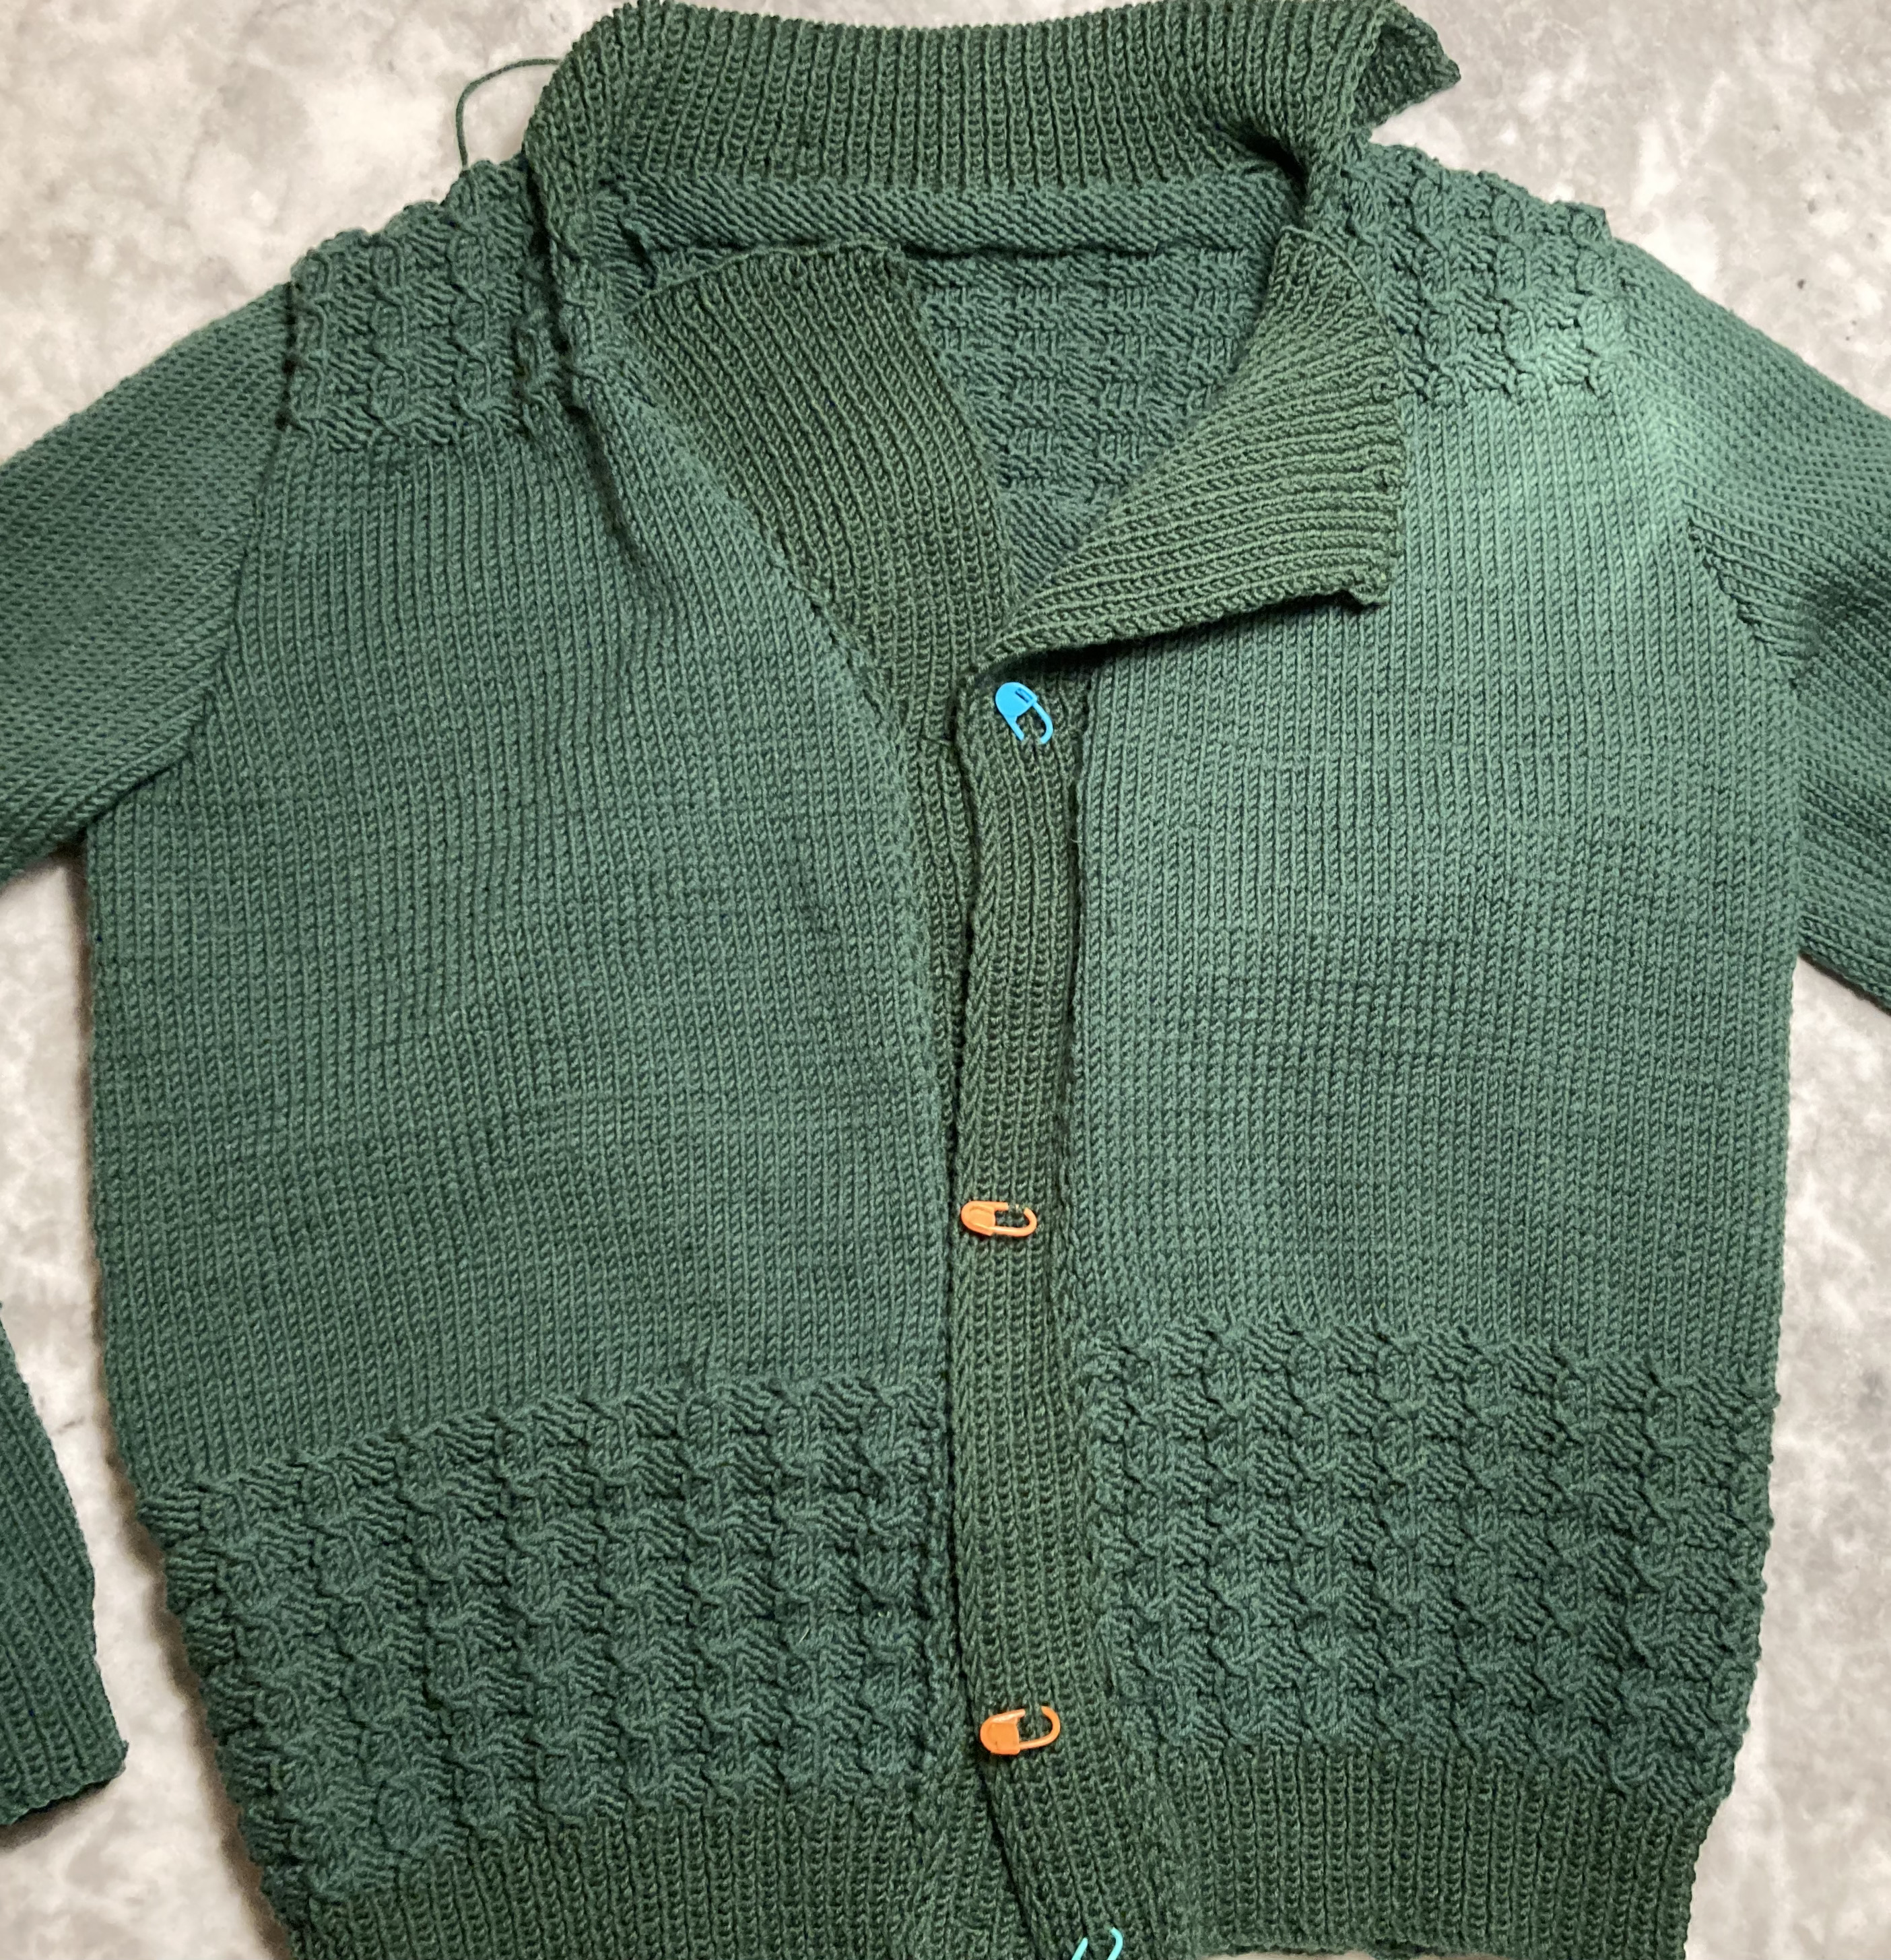
(N.B. The real colour is more like the photo on the upper left. My computer and I are not good at colour correction).
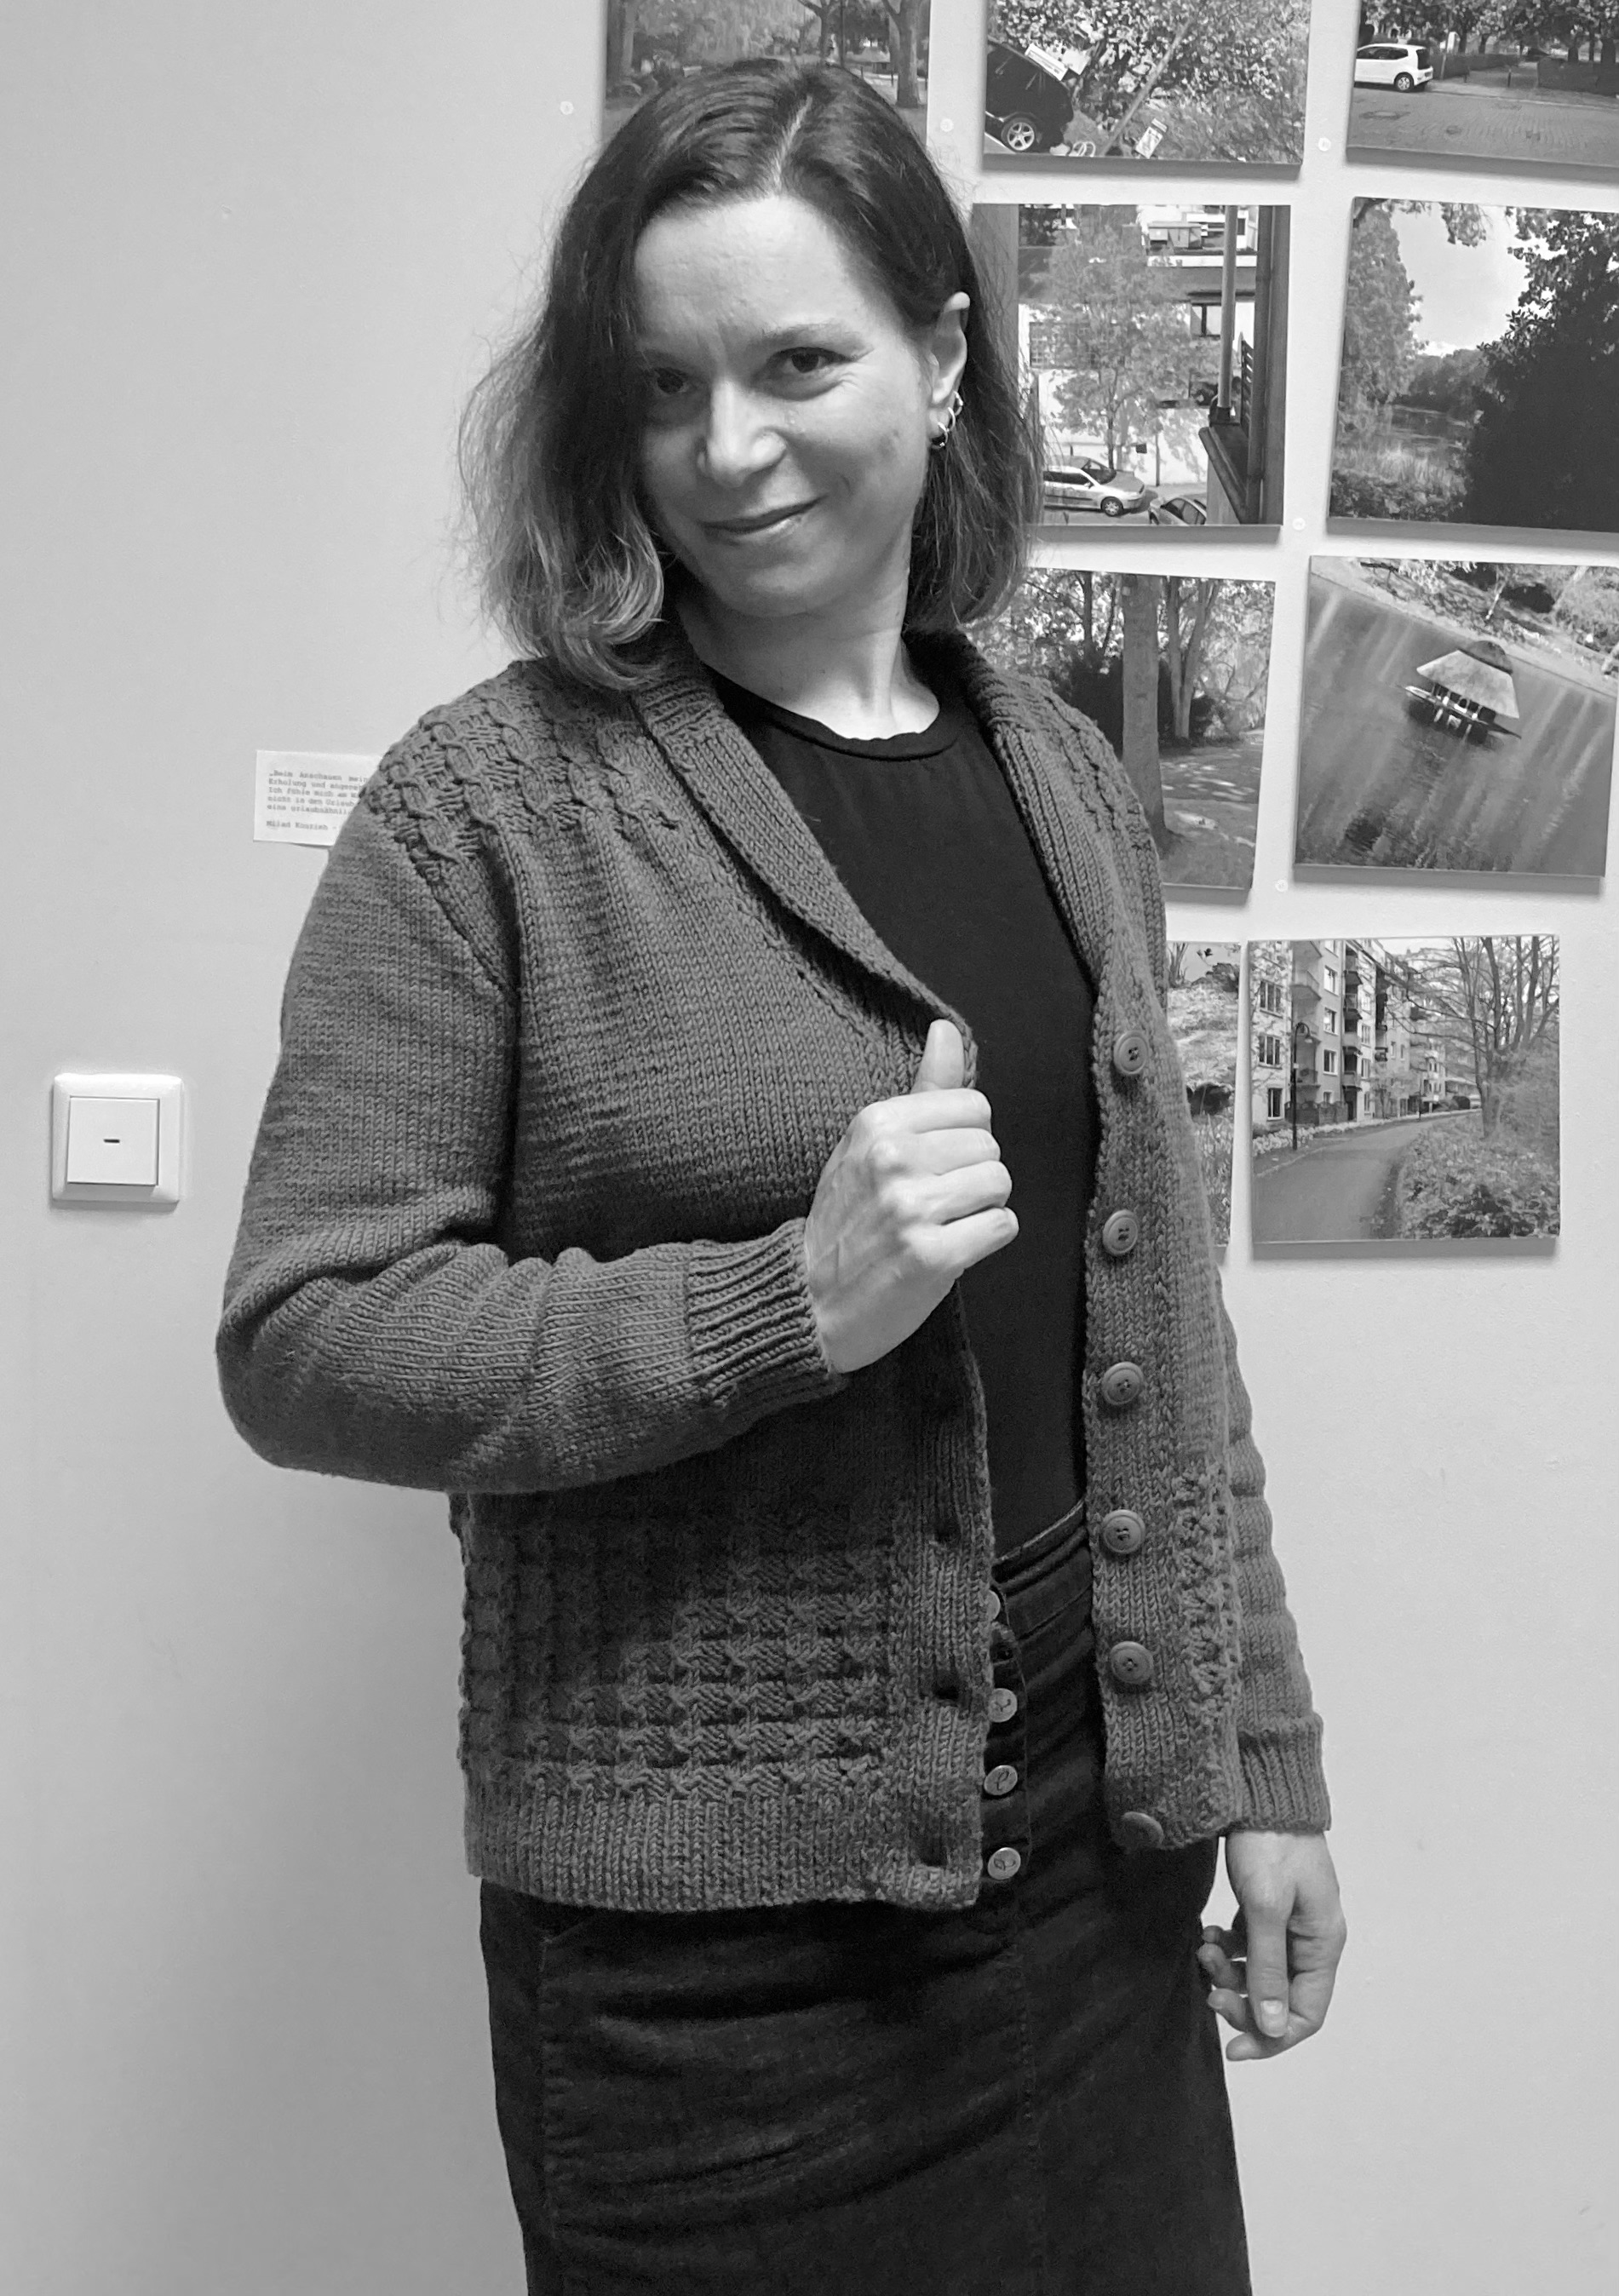
The finished cardigan fit OK after blocking, just a little stiff and scrunchy. It stretched way out with blocking. The yarn is not labeled “superwash”, but it says on the band that it can be washed in the machine at 40 degrees C, so I’m guessing it is superwash-treated and they just didn’t say so. It certainly behaves like superwash in its stretchiness. I actually liked it better when it was a little stiff, but as it is 100% wool, it will always shrink a little with subsequent washings. And it is nice and soft, I’ll give it that!
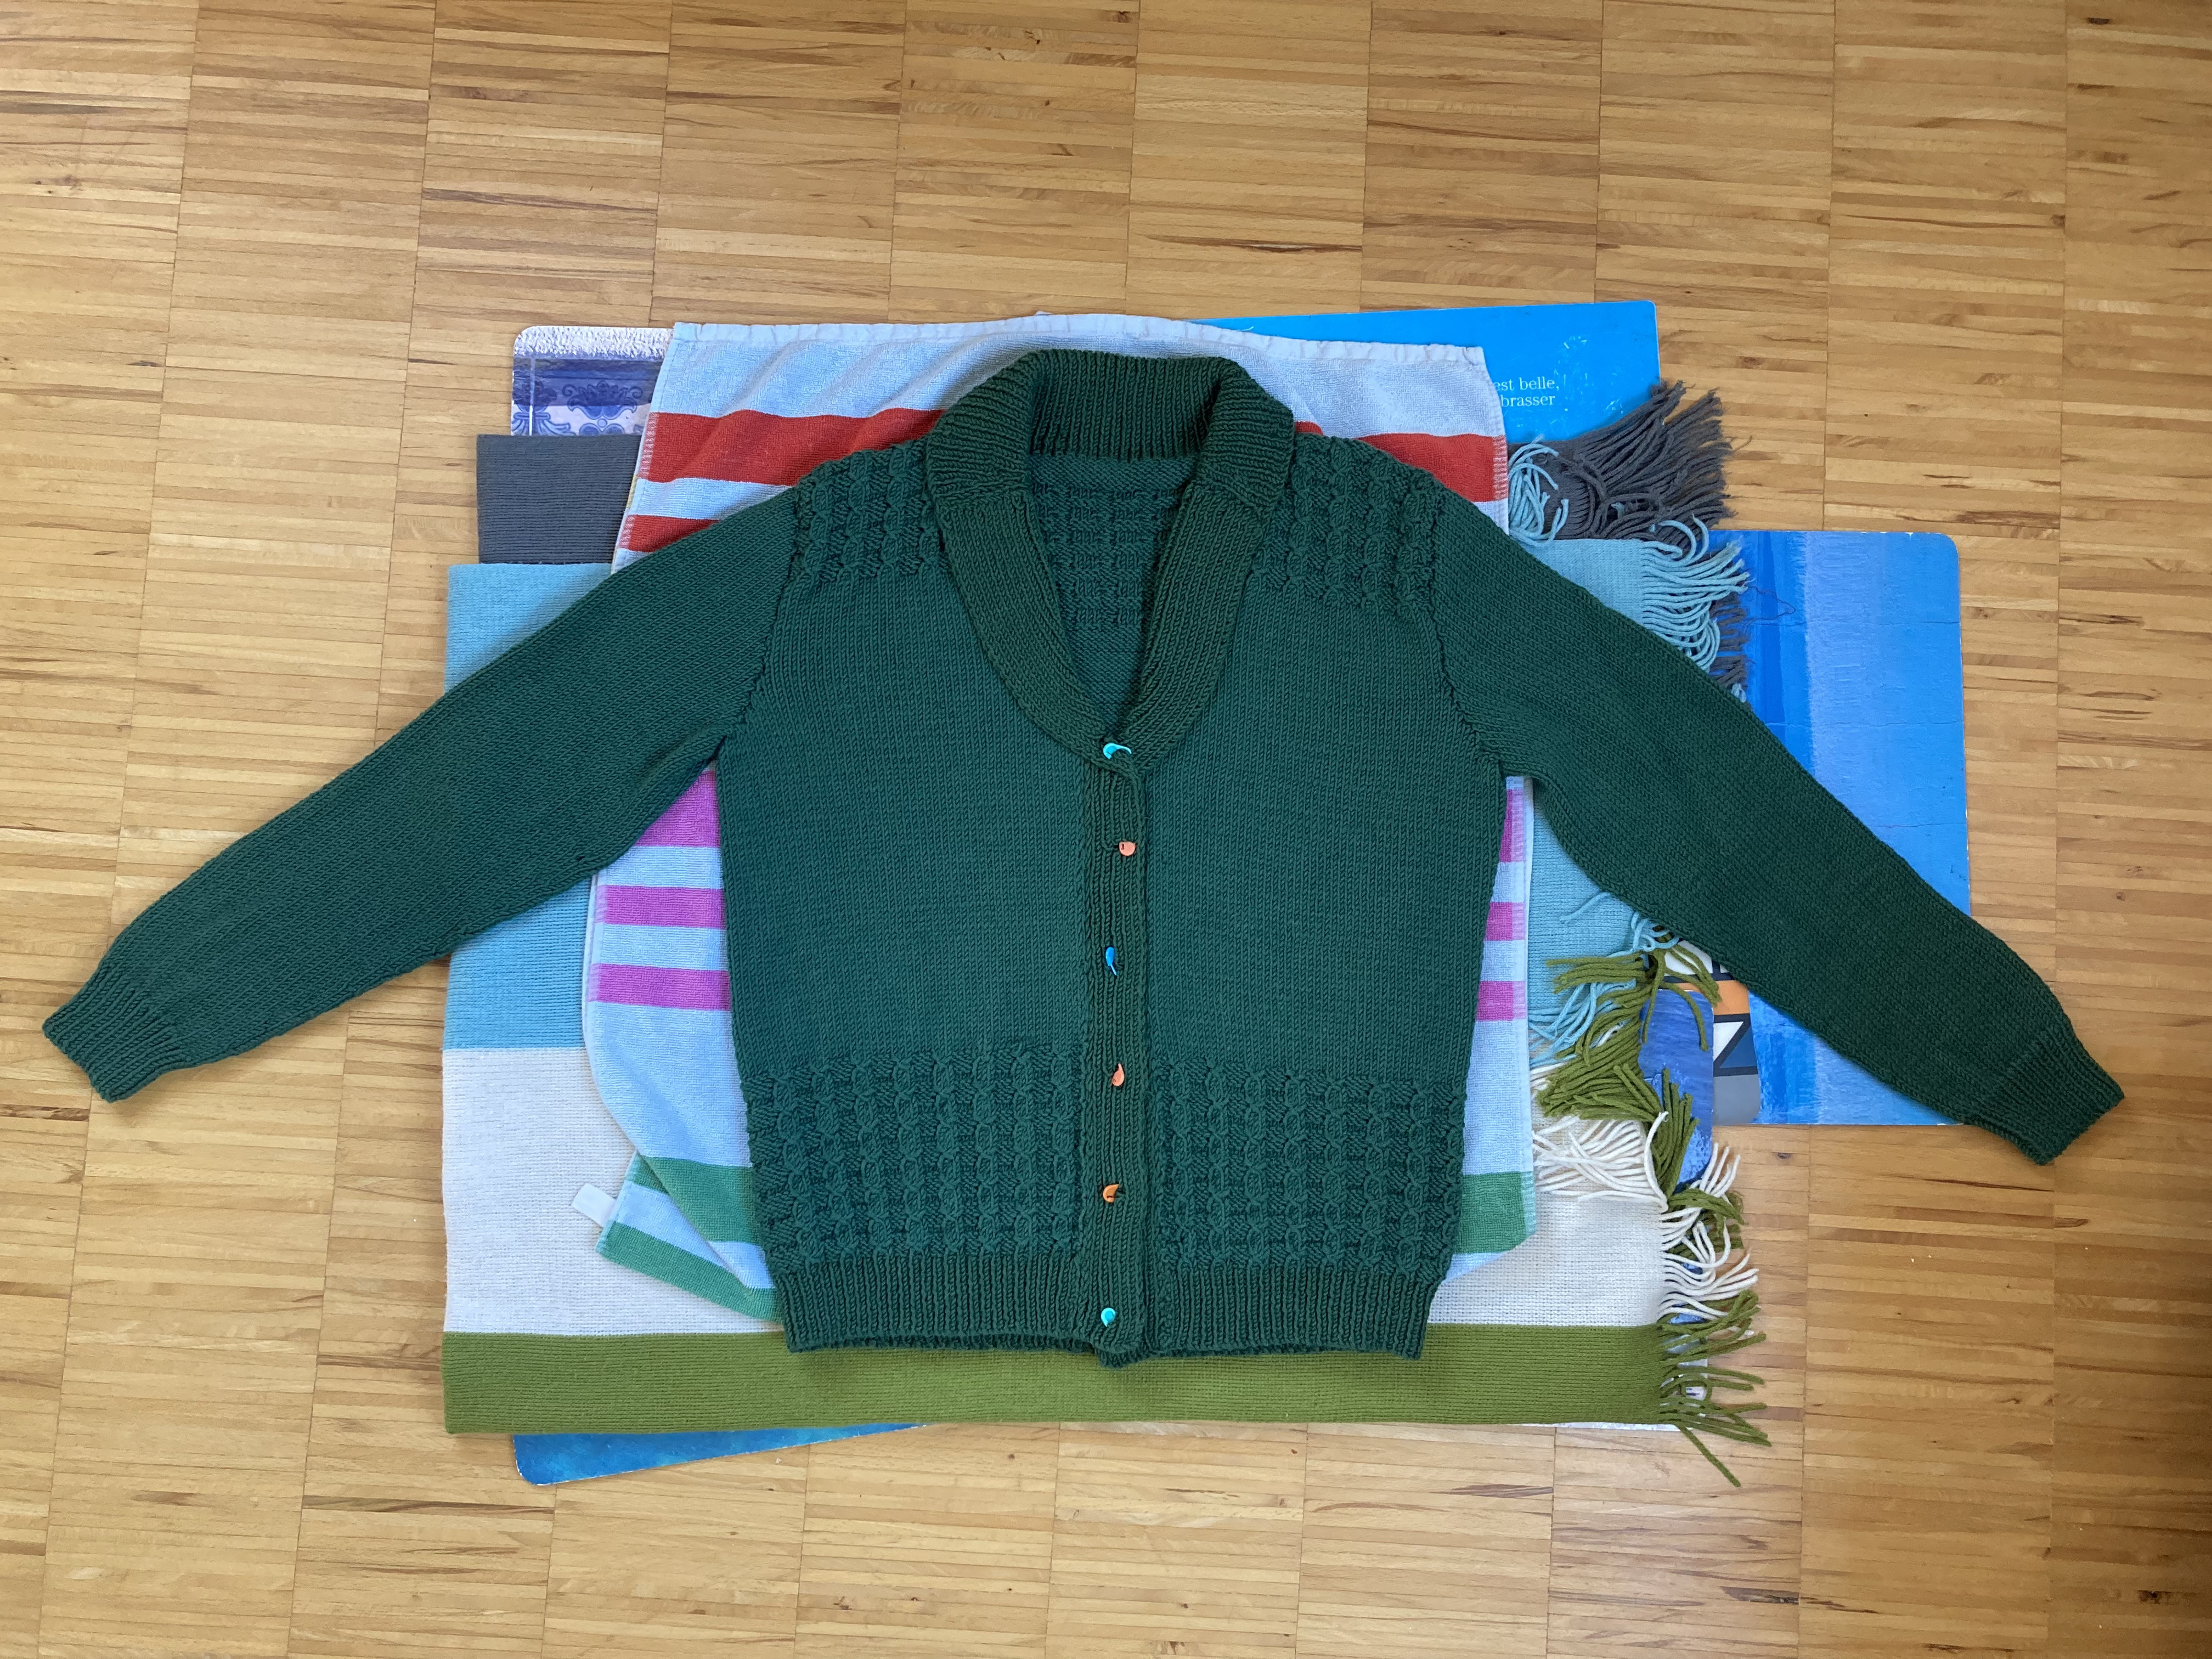
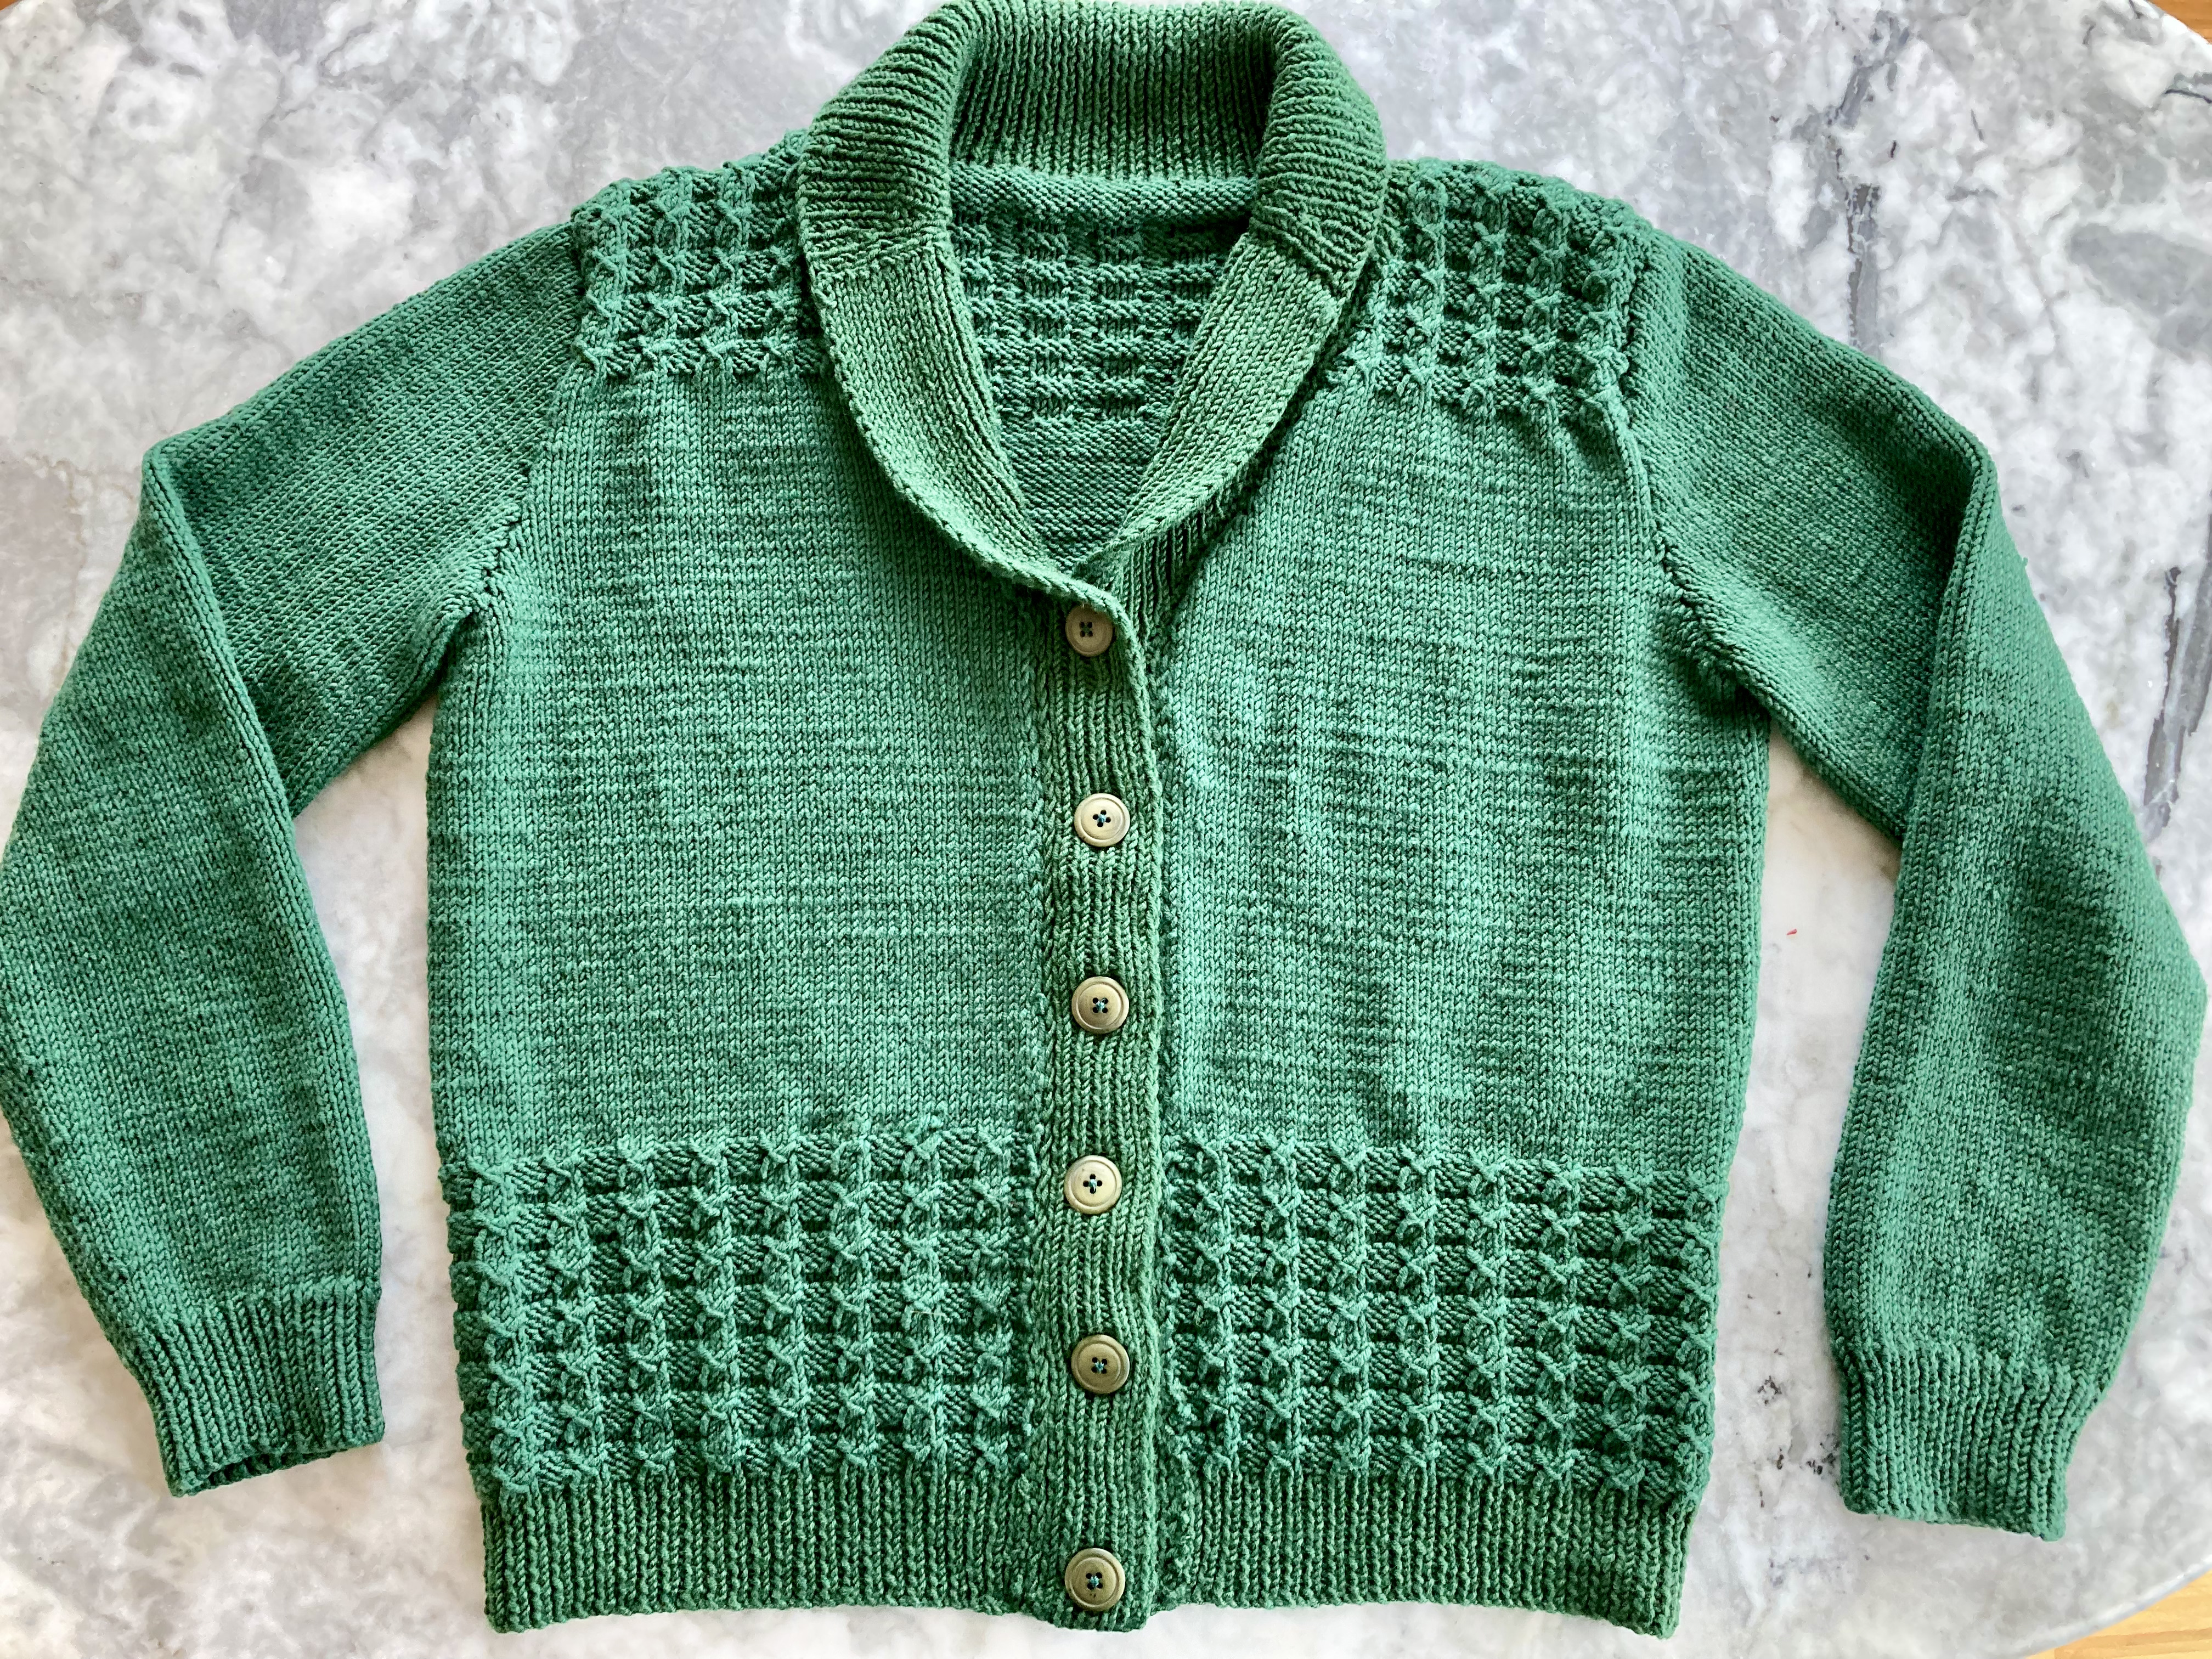
The finished fit was fine. I prefer more fitted clothes, but that’s not the 60s style. The colour is beautiful — hard to reproduce in a photo, but a nice woodsy green. It will match many dresses in my closet. And the two-tone effect from the different dye lots worked out fine — I mean, you definitely see that the colours are different, but it looks deliberate. The sleeve length was just a little bit on the long side, but that will change with subsequent washings, I am sure, and I can always fold the cuff back. So all in all, I am quite happy with this project.

As always, we tried to reproduce the photos… with neither a real park by daylight, nor a dog. I think I nailed that sultry look from the black-and-white photo, though!
That’s all for this project! Time to start the October one…