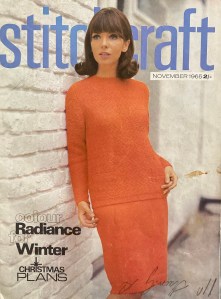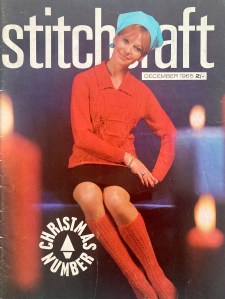
Here it is — the 1965 “Christmas Number”! December at Stitchcraft is always a month of “quick” holiday trimmings and small gifts, mixed with warm winter clothing and party ideas.
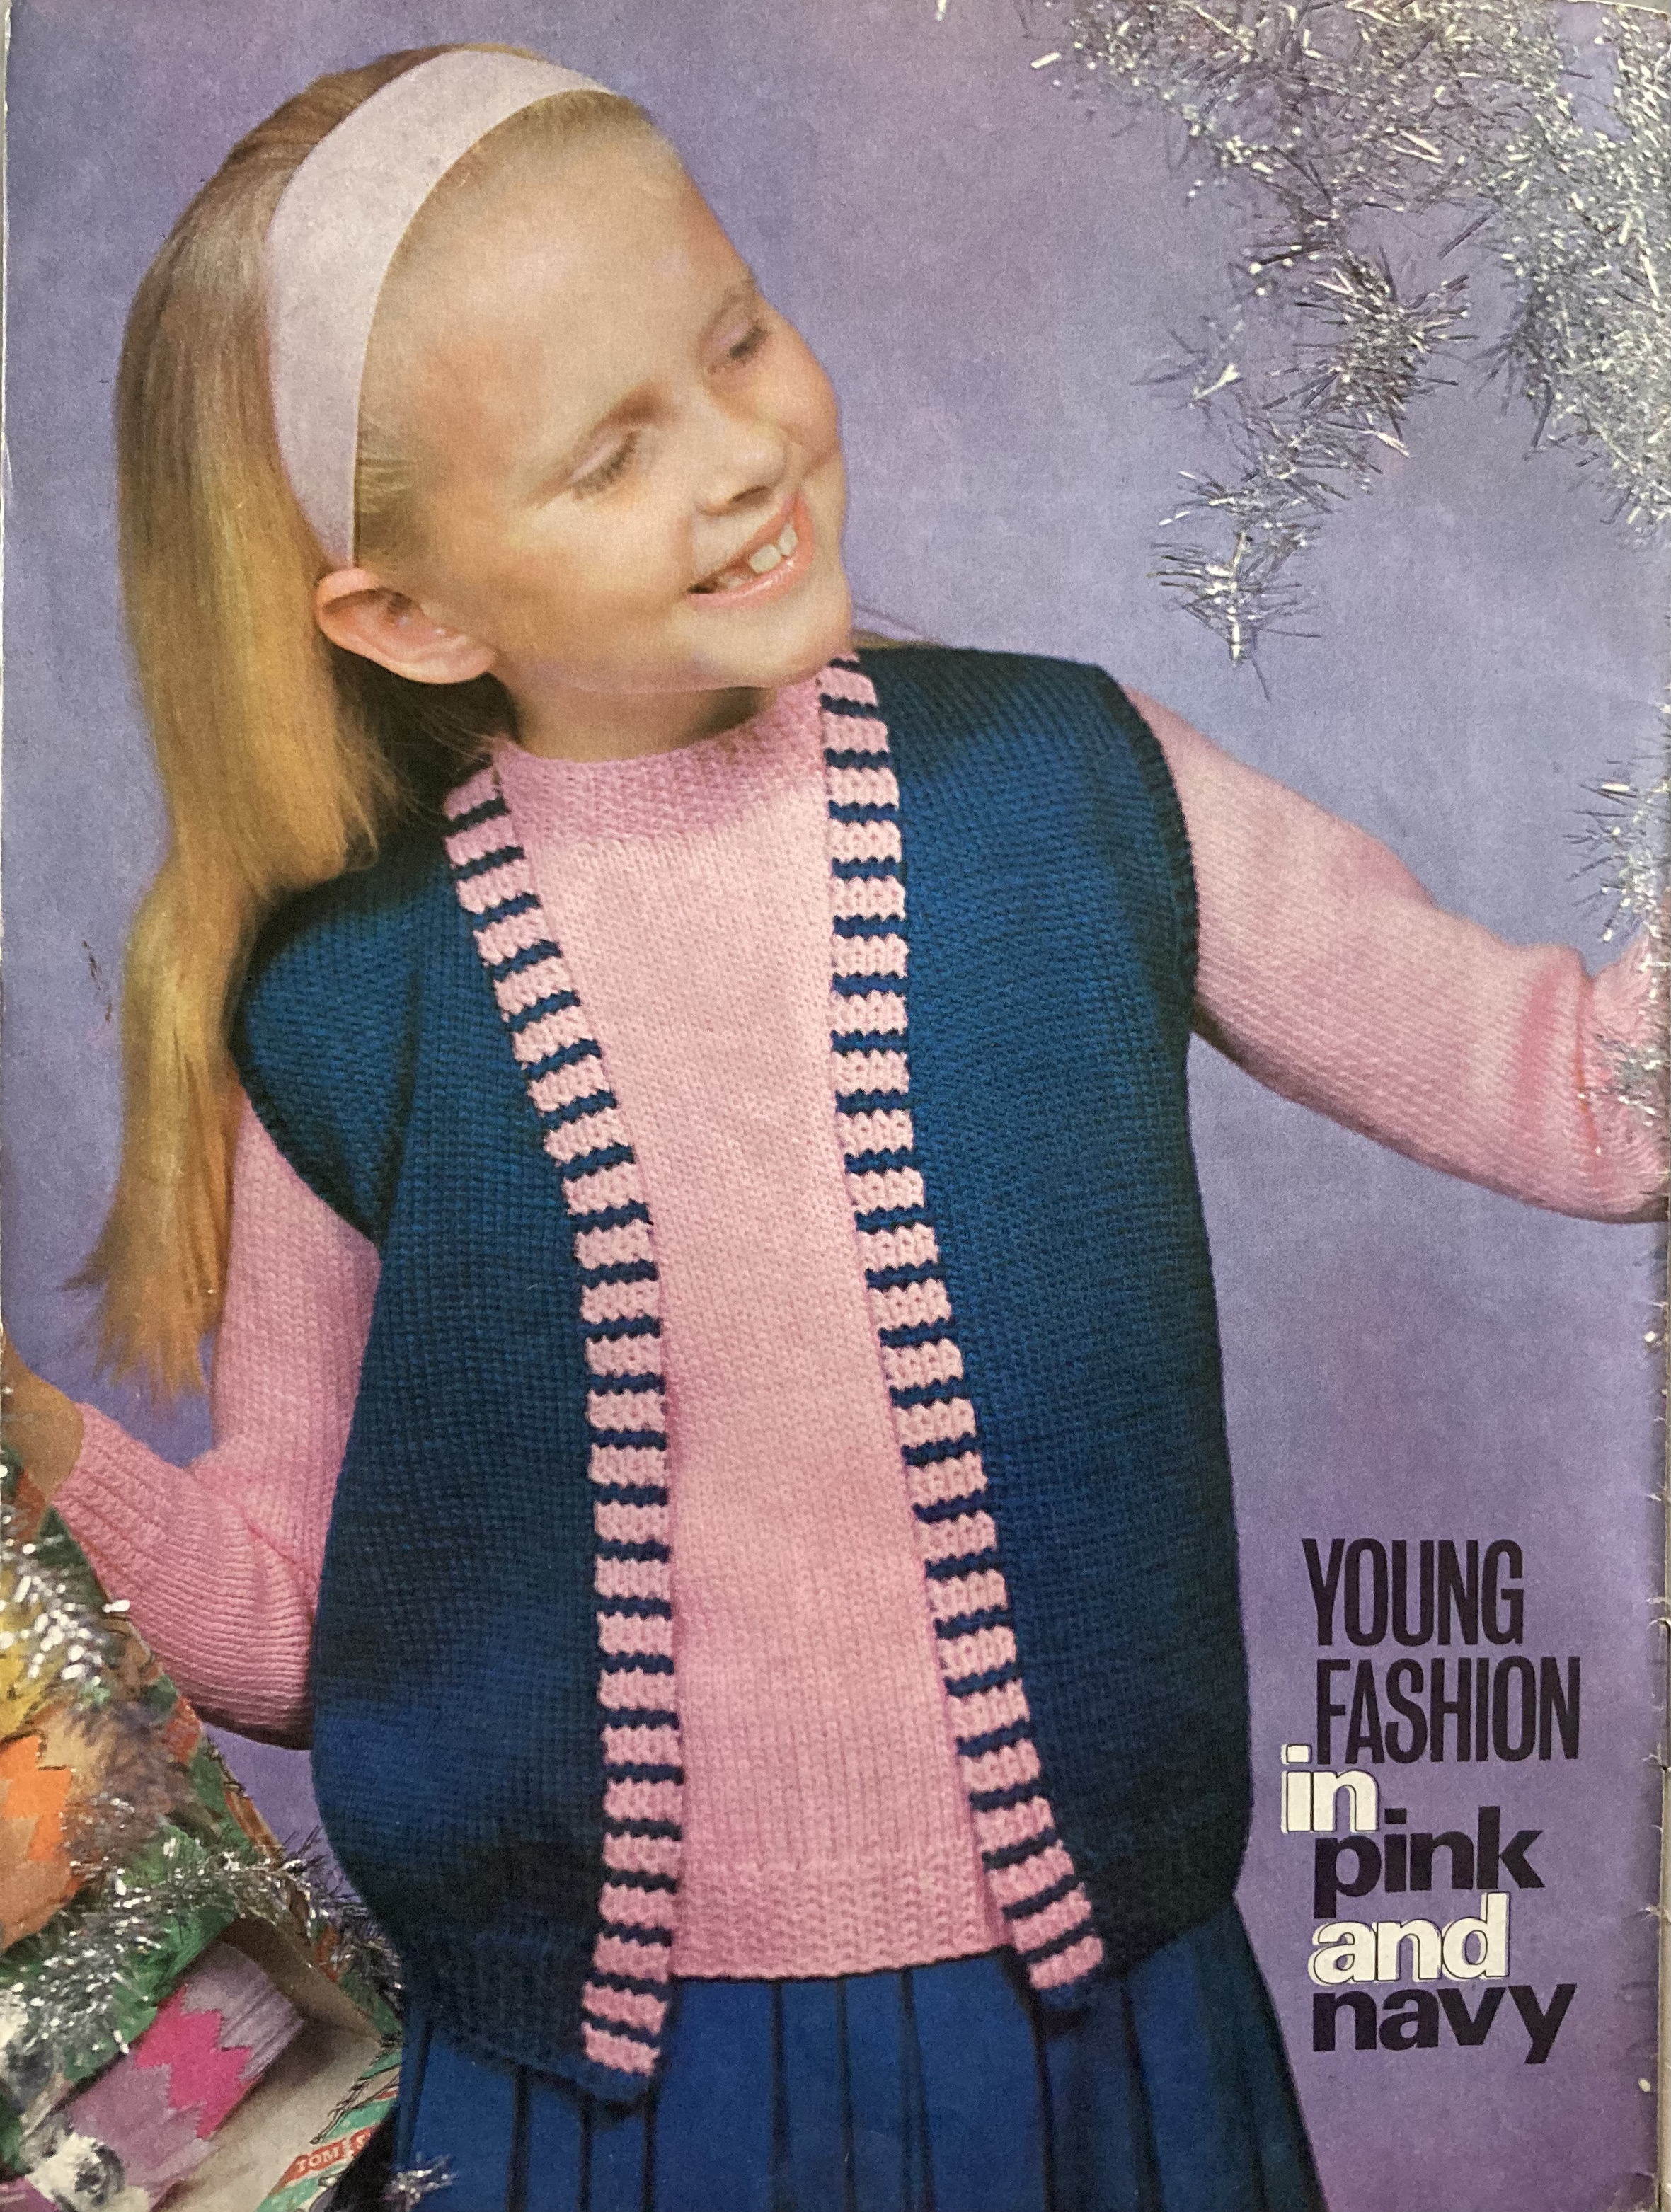
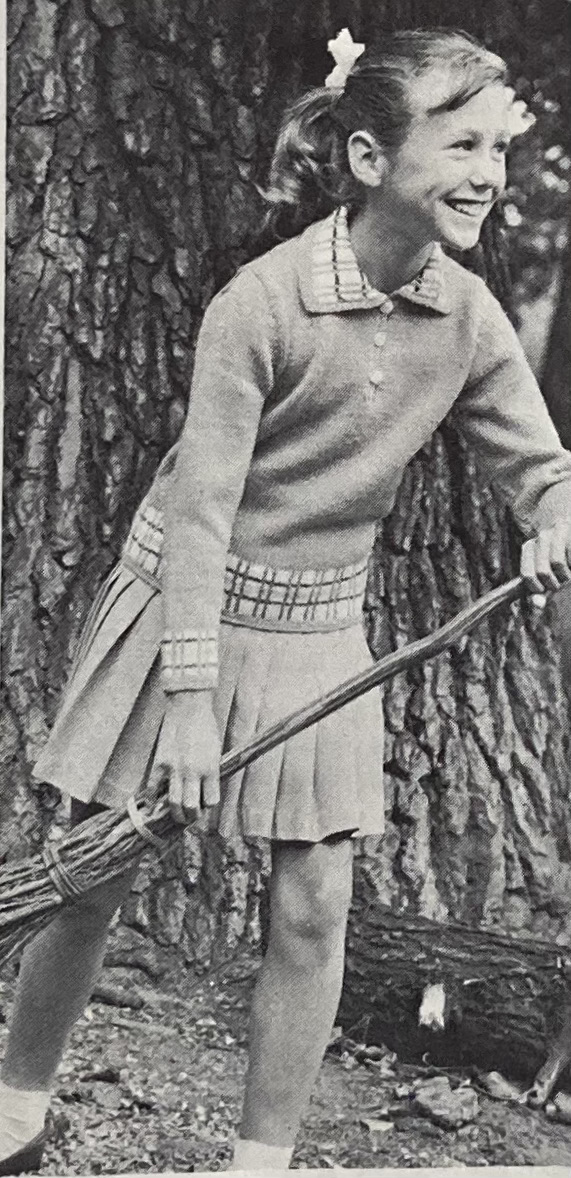
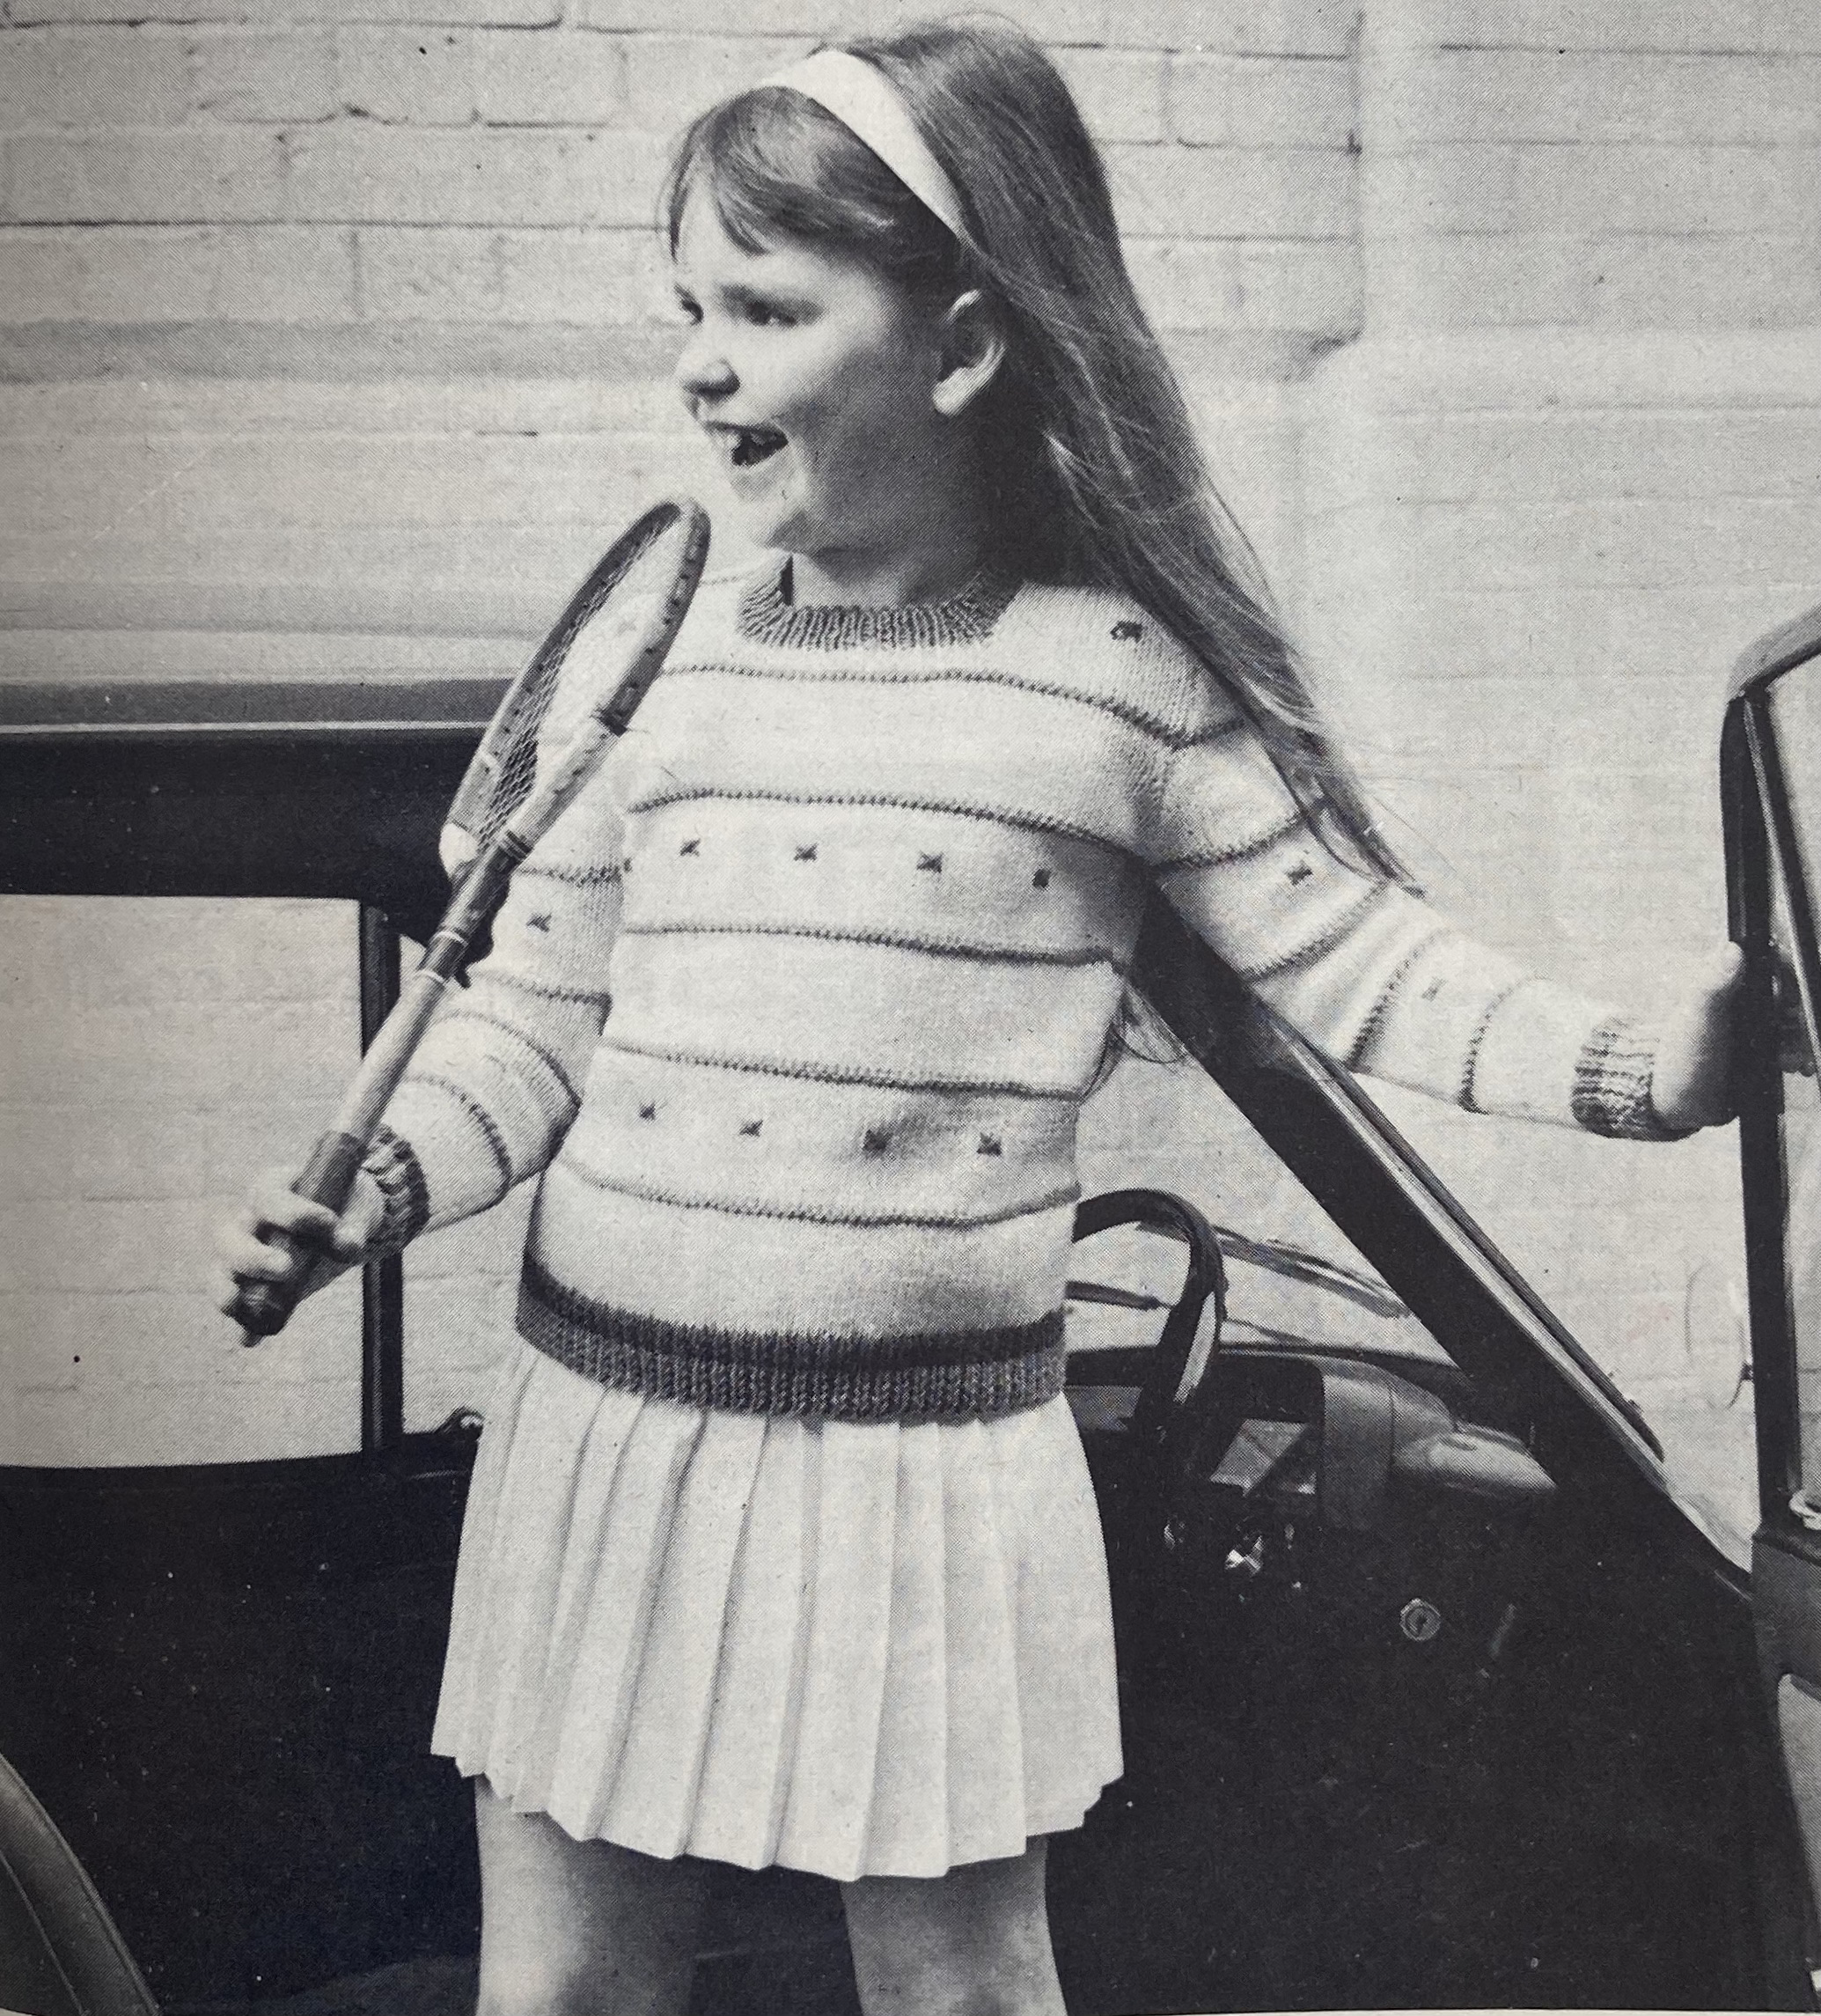
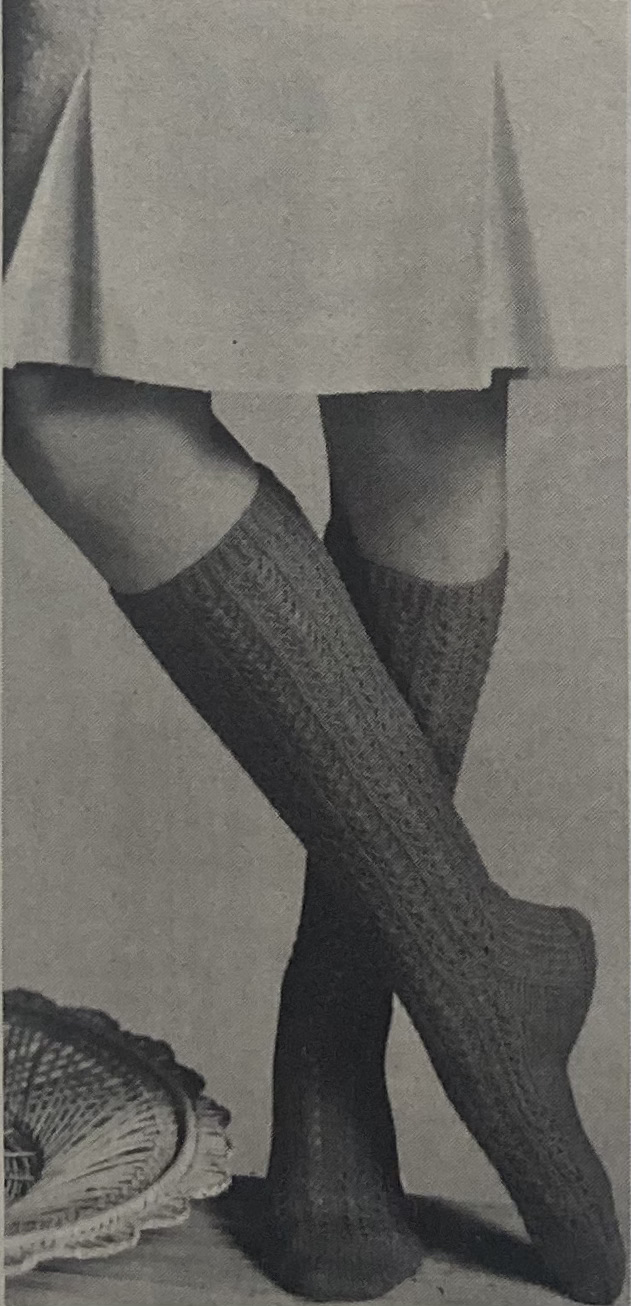
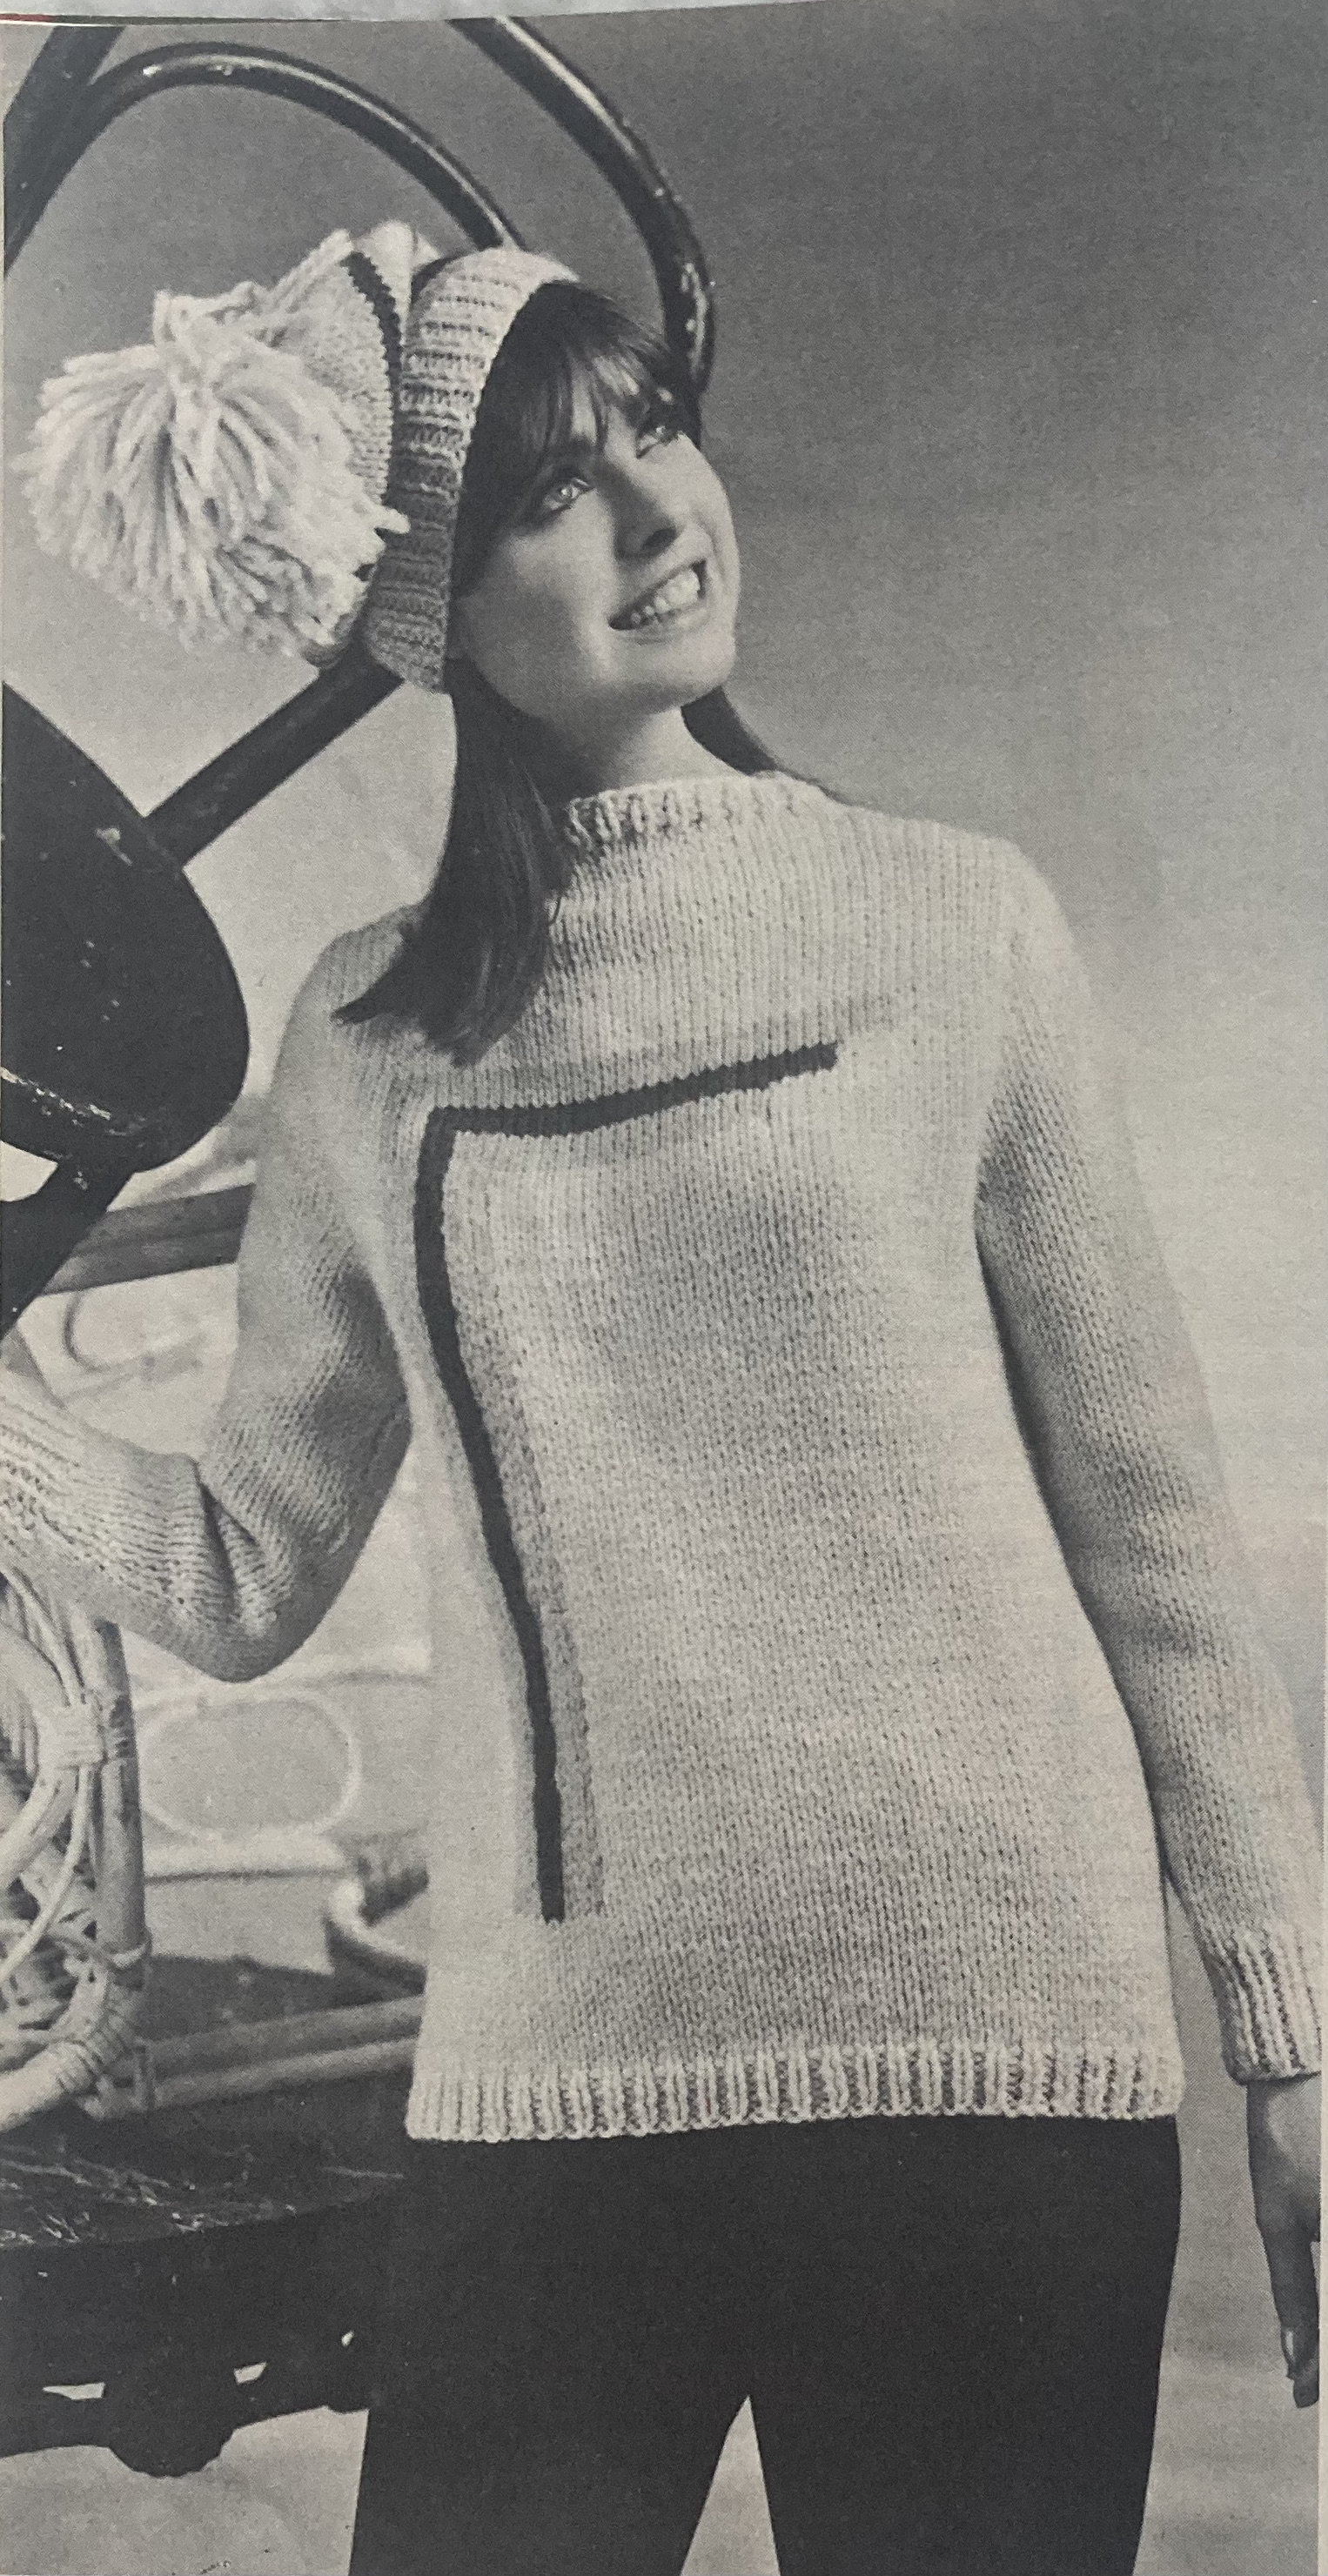
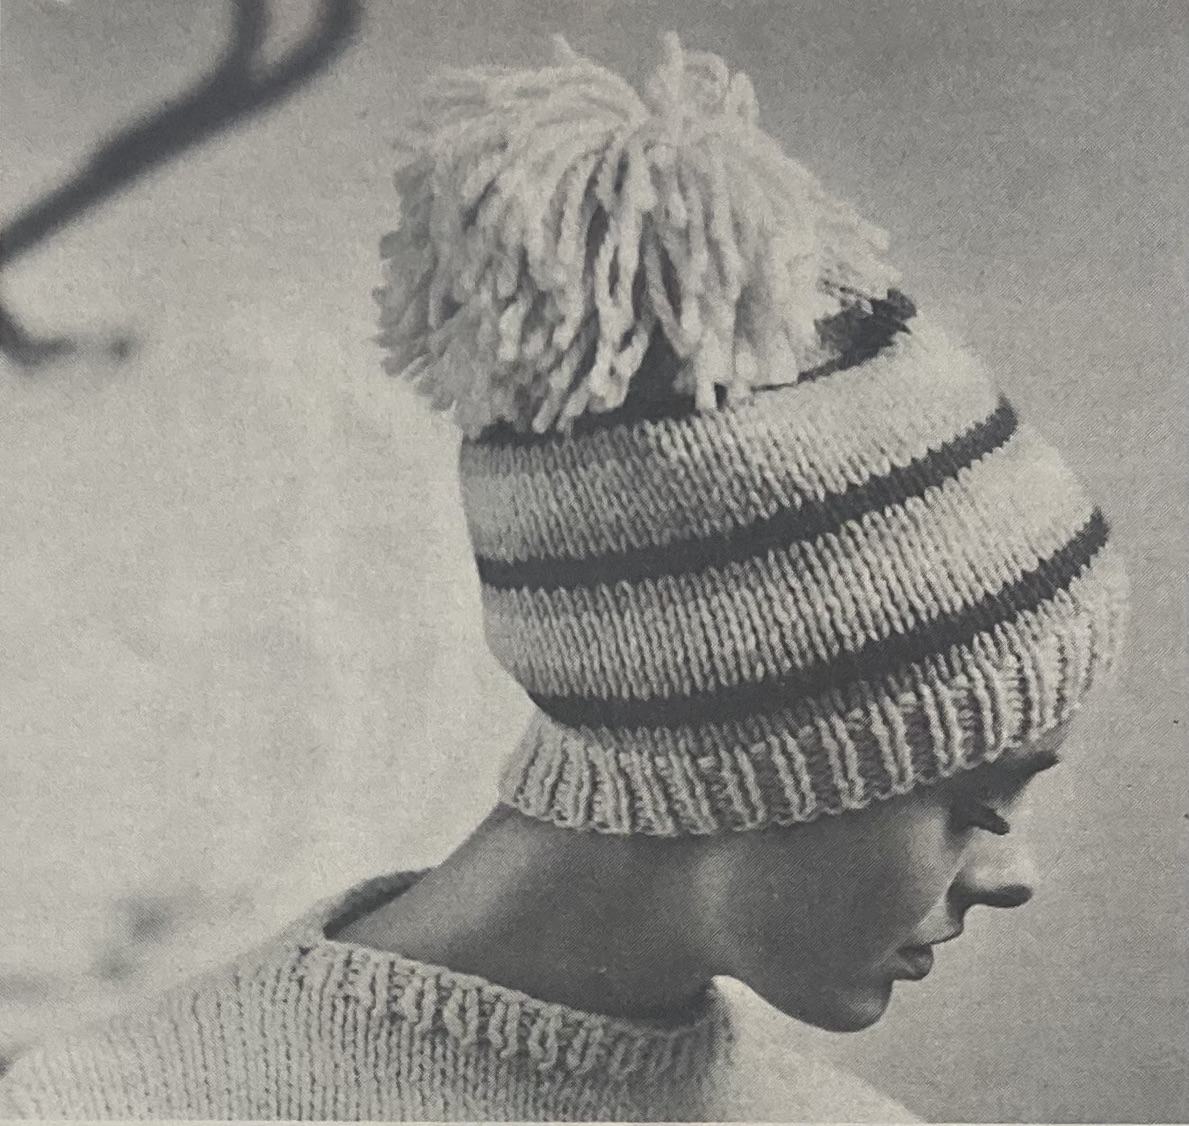
Our cover model is wearing a cable-block pullover (with non-crossing cables) in bright red double-knitting weight wool and matching knee-high socks in a lacy rib pattern. The caption on the pattern page is “Fashion feels Young” — Stitchcraft is finally getting into the children’s-fashions-for-adult-women idea that influenced so much of mid-60s fashion. Note the short skirt on the cover model, along with the knee-high socks, the playful kerchief and the big straw hat accessory in the black and white photo. It’s not quite Twiggy or Mary Quant (spoiler: Stitchcraft was never that fashion-forward), but it’s starting to show their influence. “Young Fashion” fun is reflected in the matching cap and pullover set as well. Look at the enormous pom-pom on the hat, outdone only by the model’s fake eyelashes!
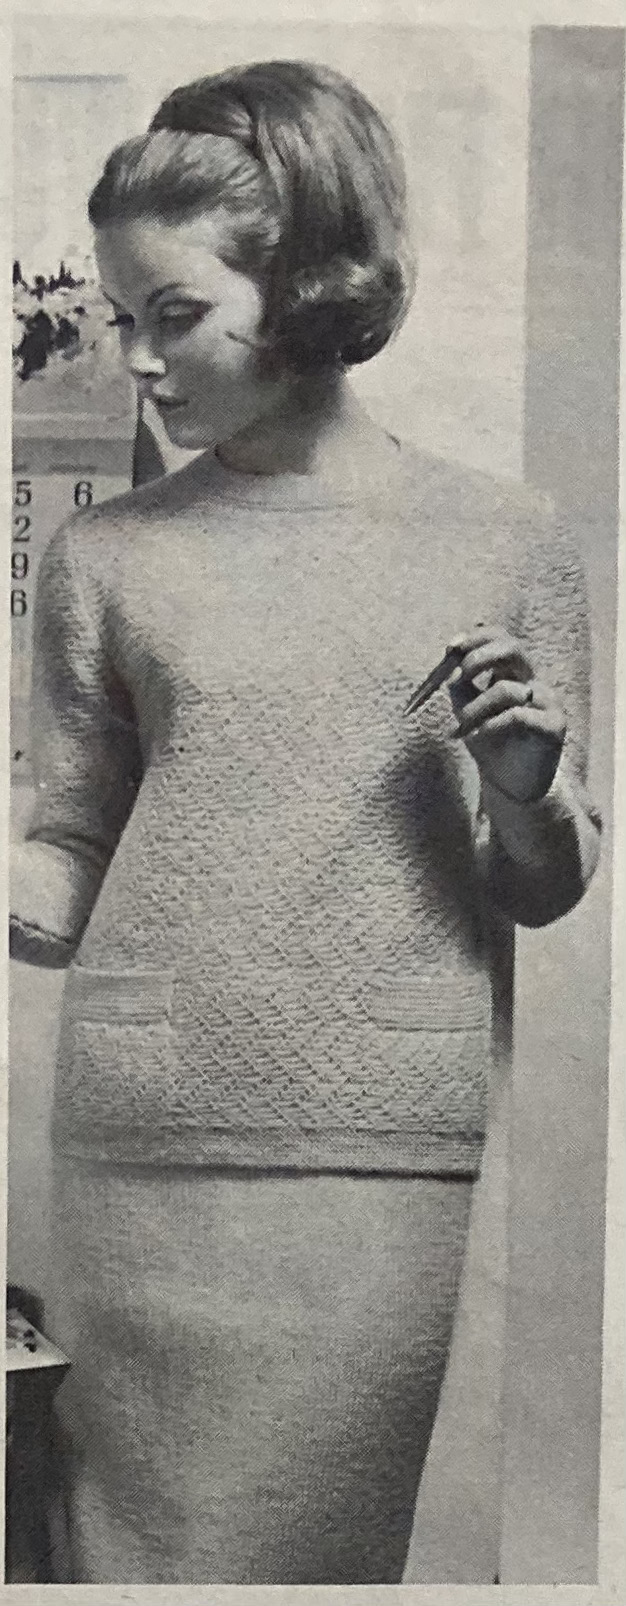
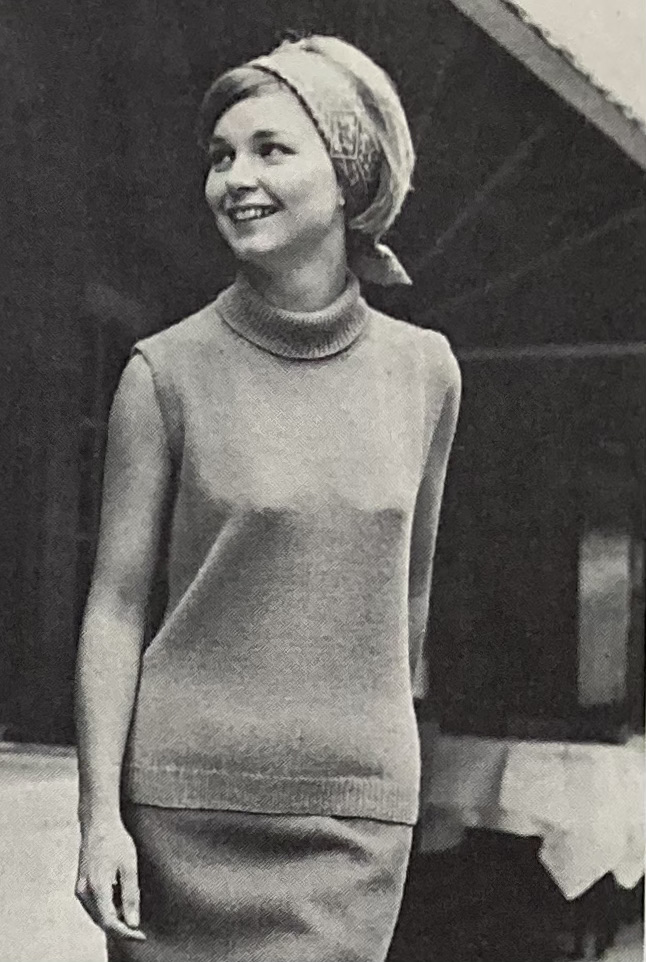
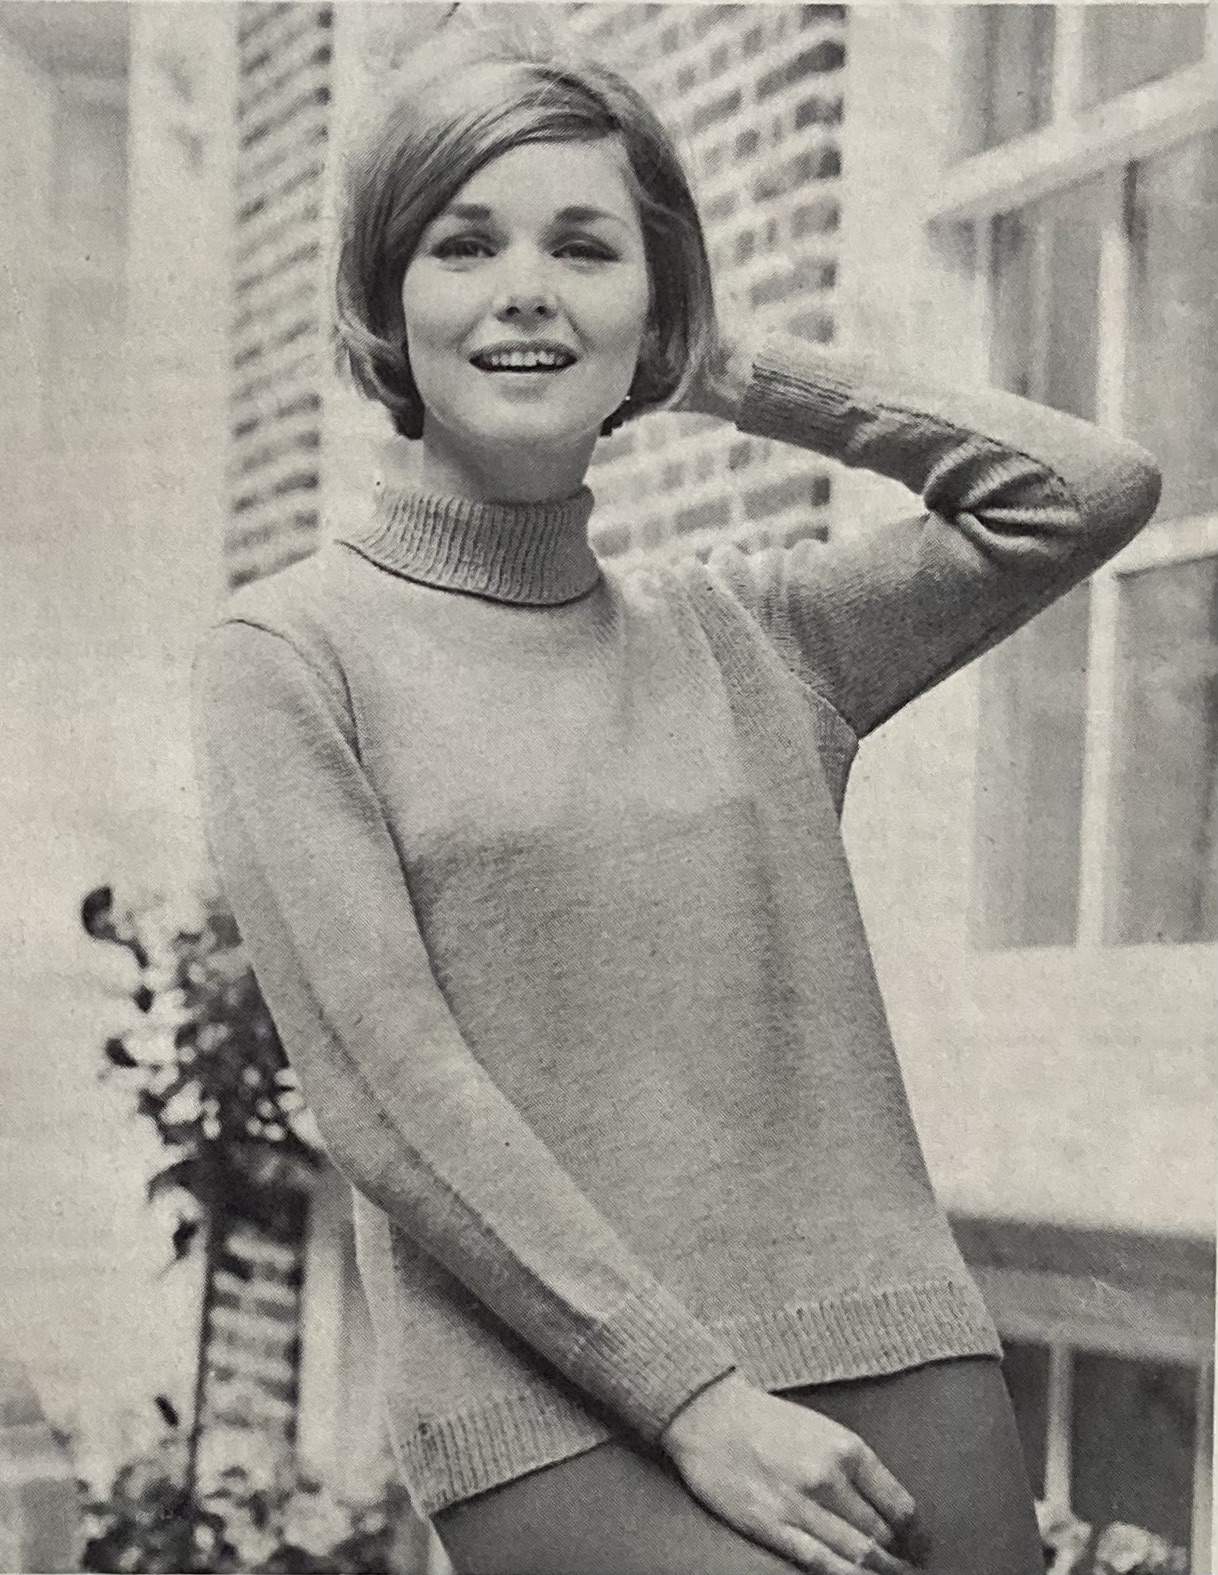
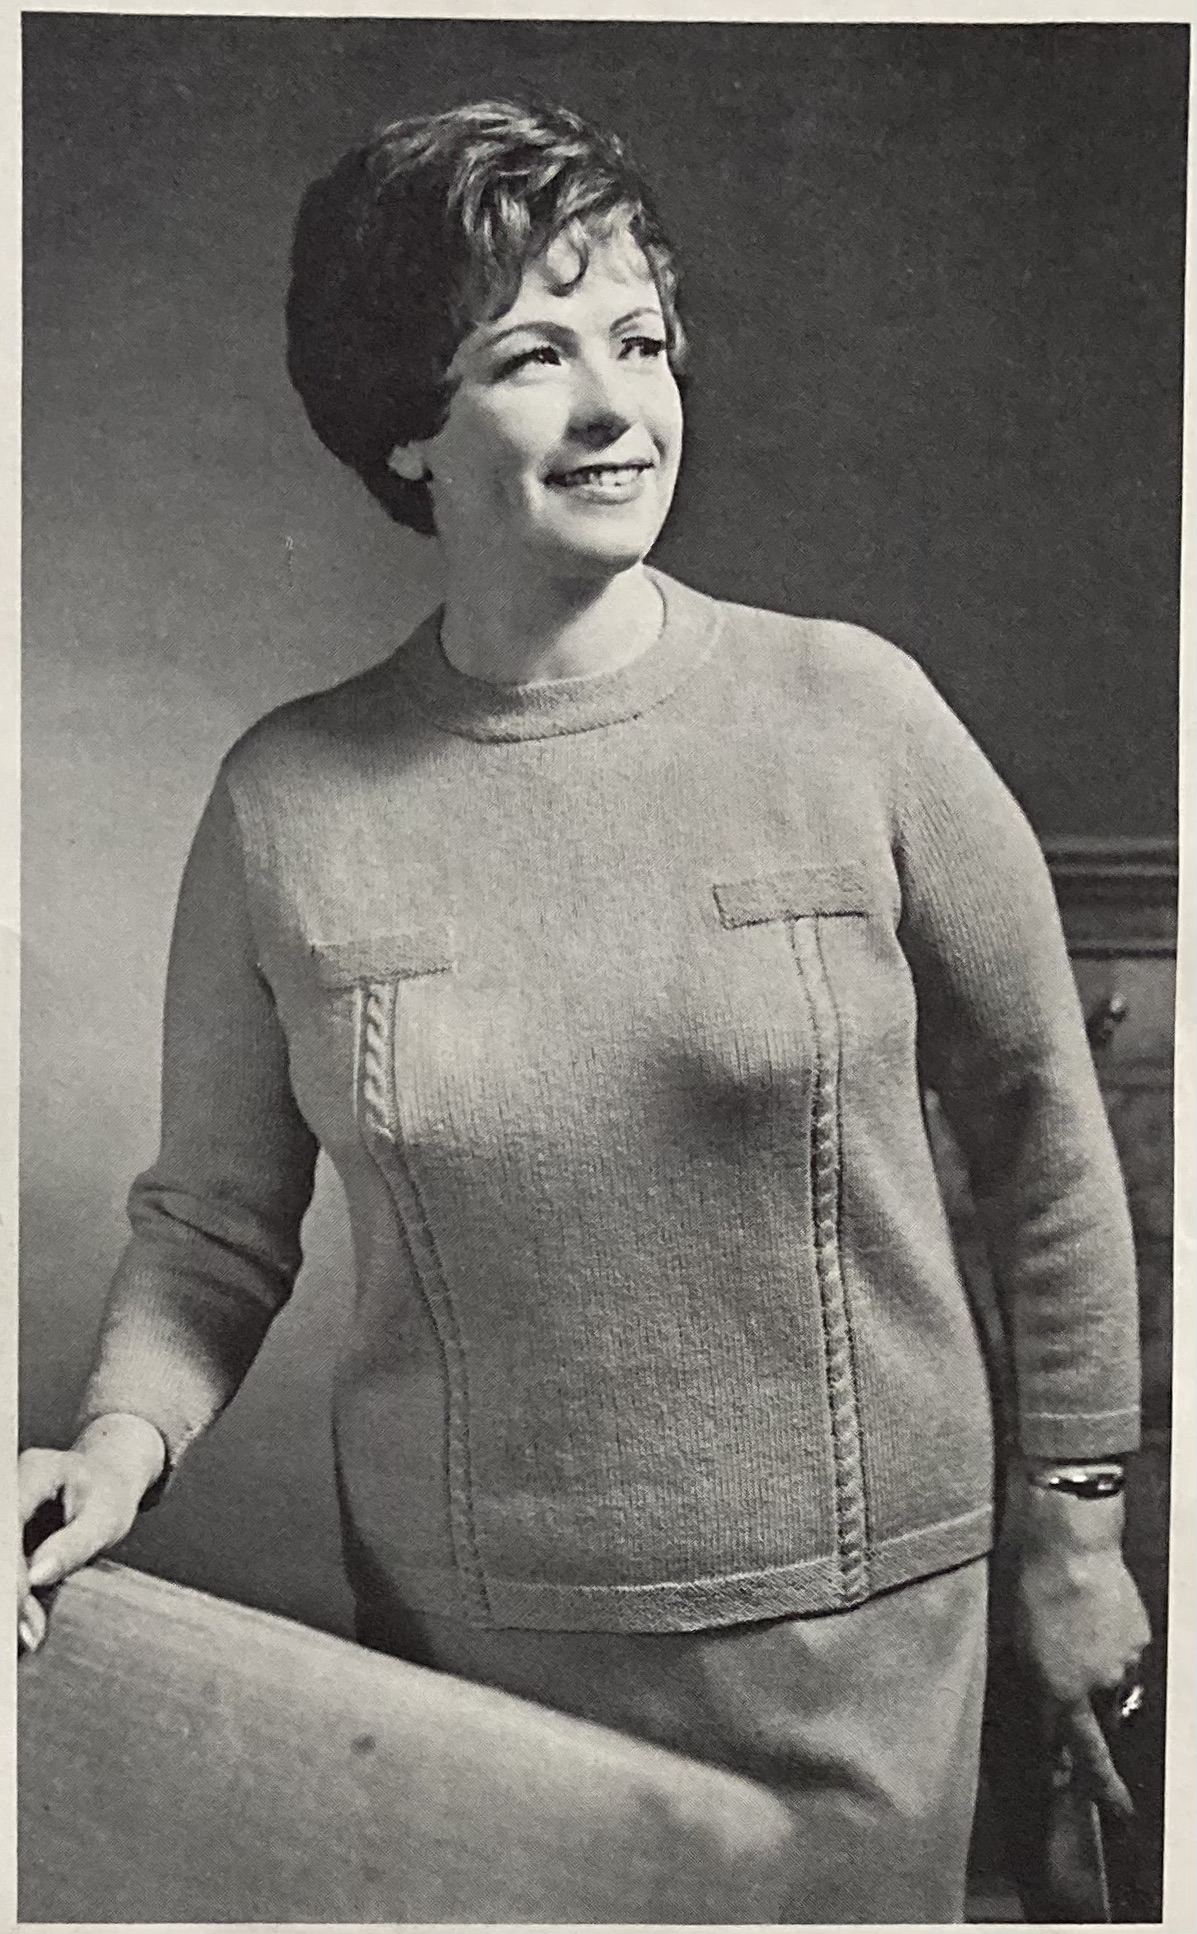
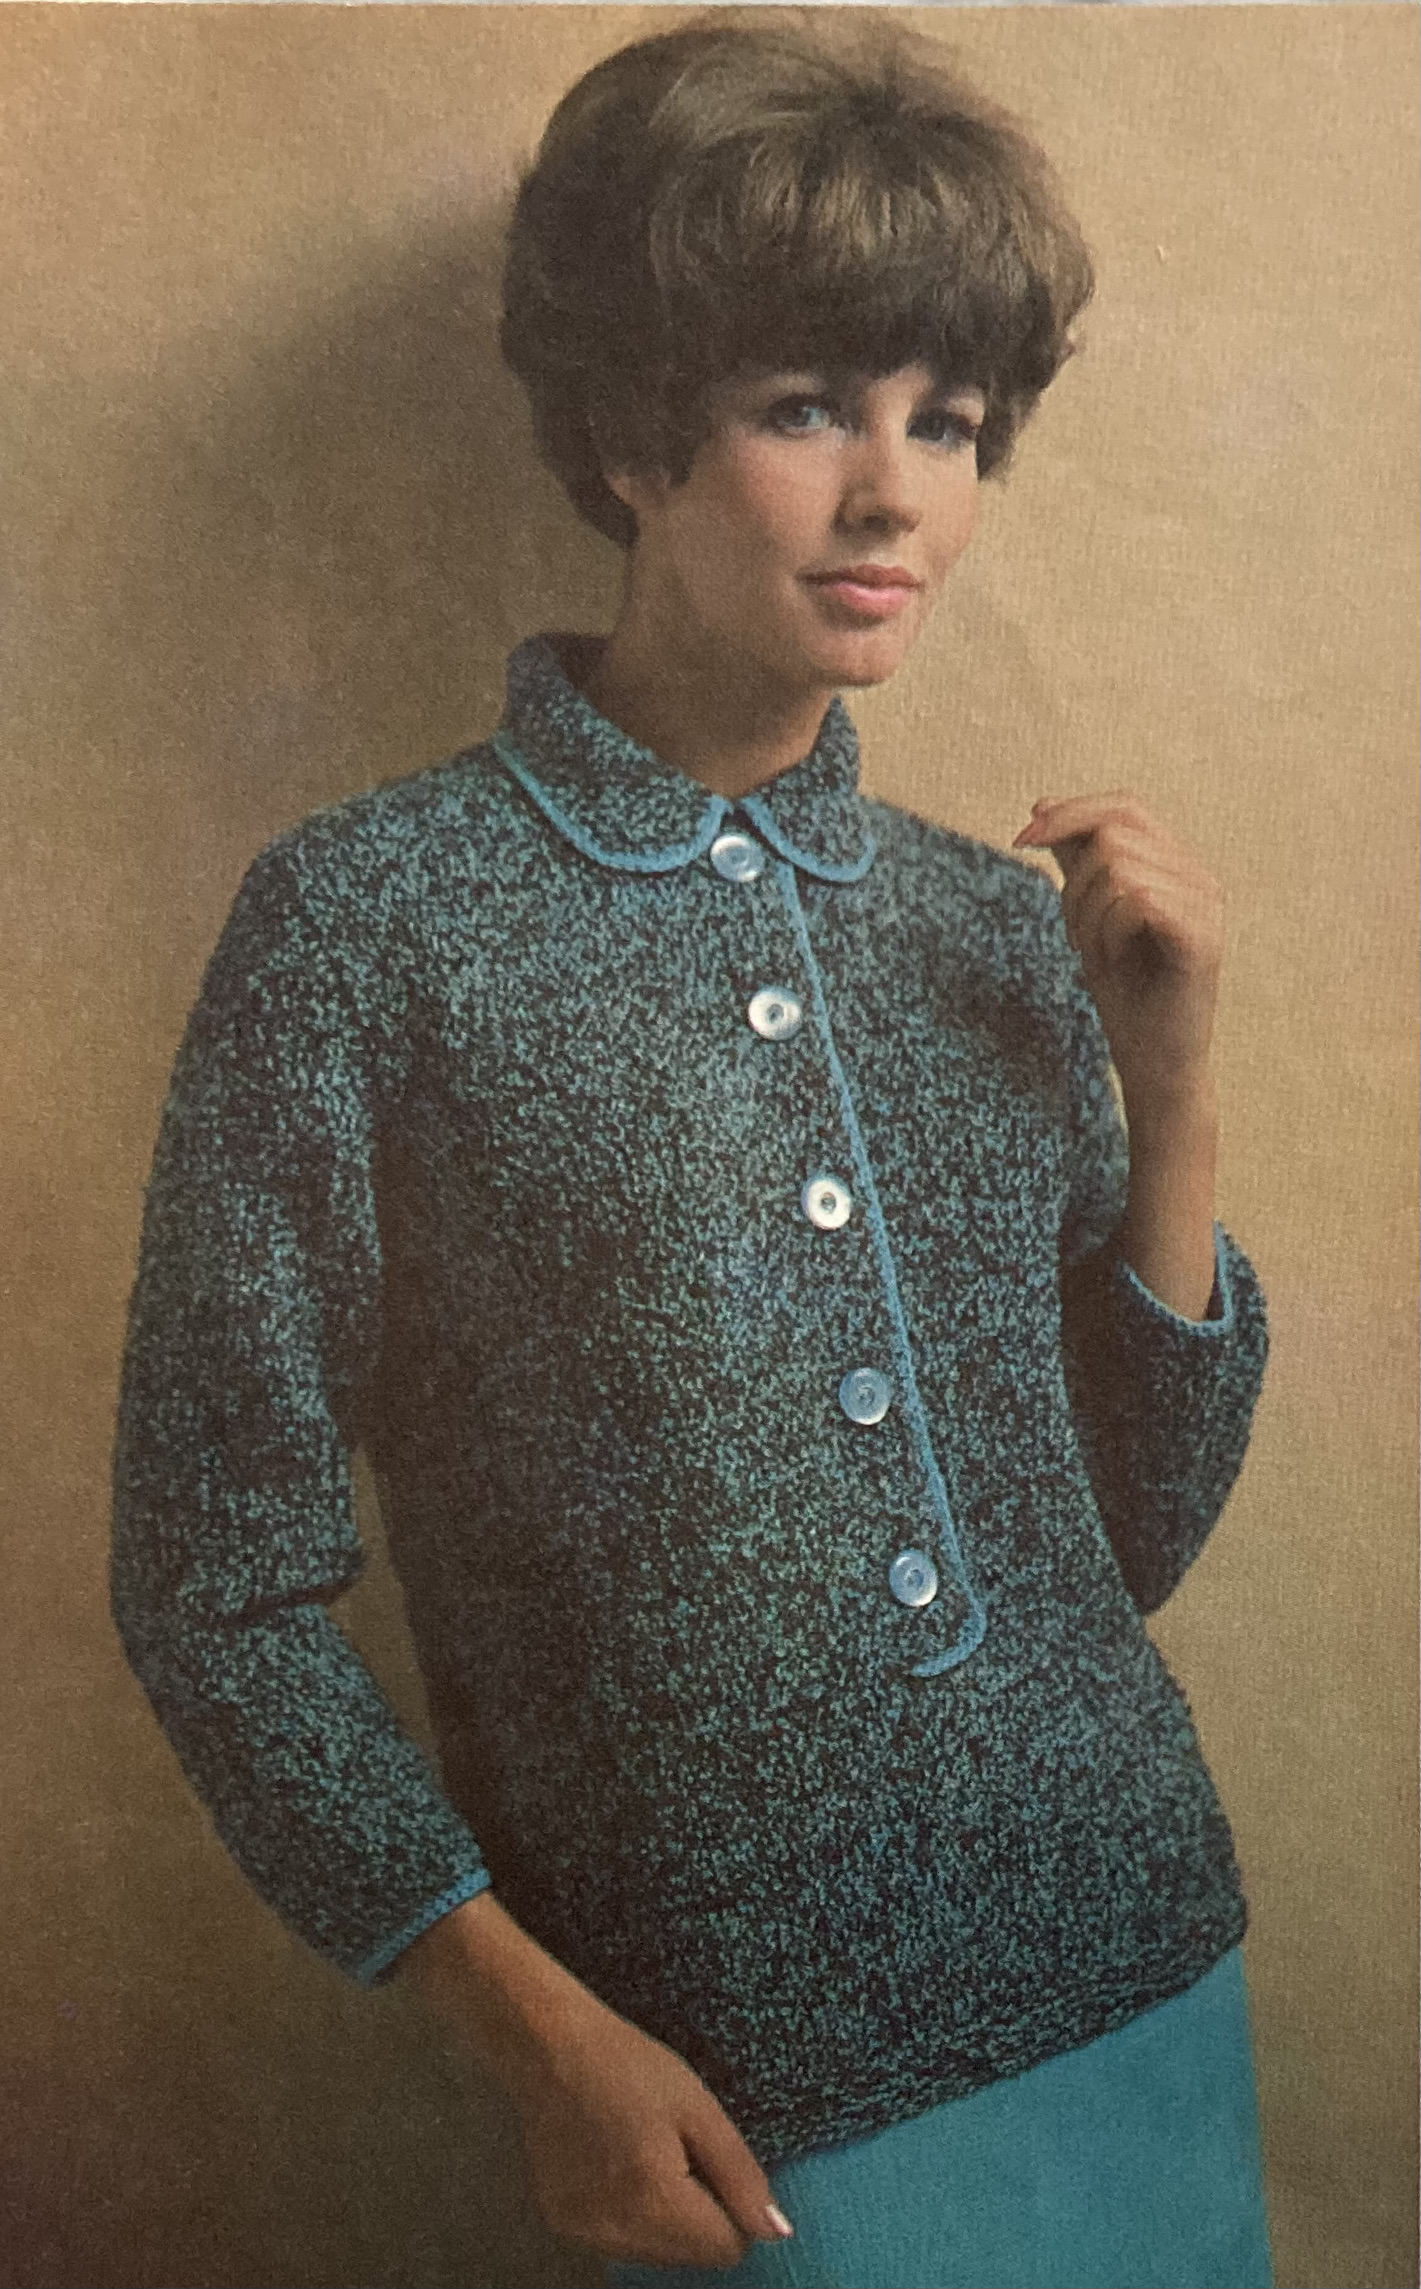
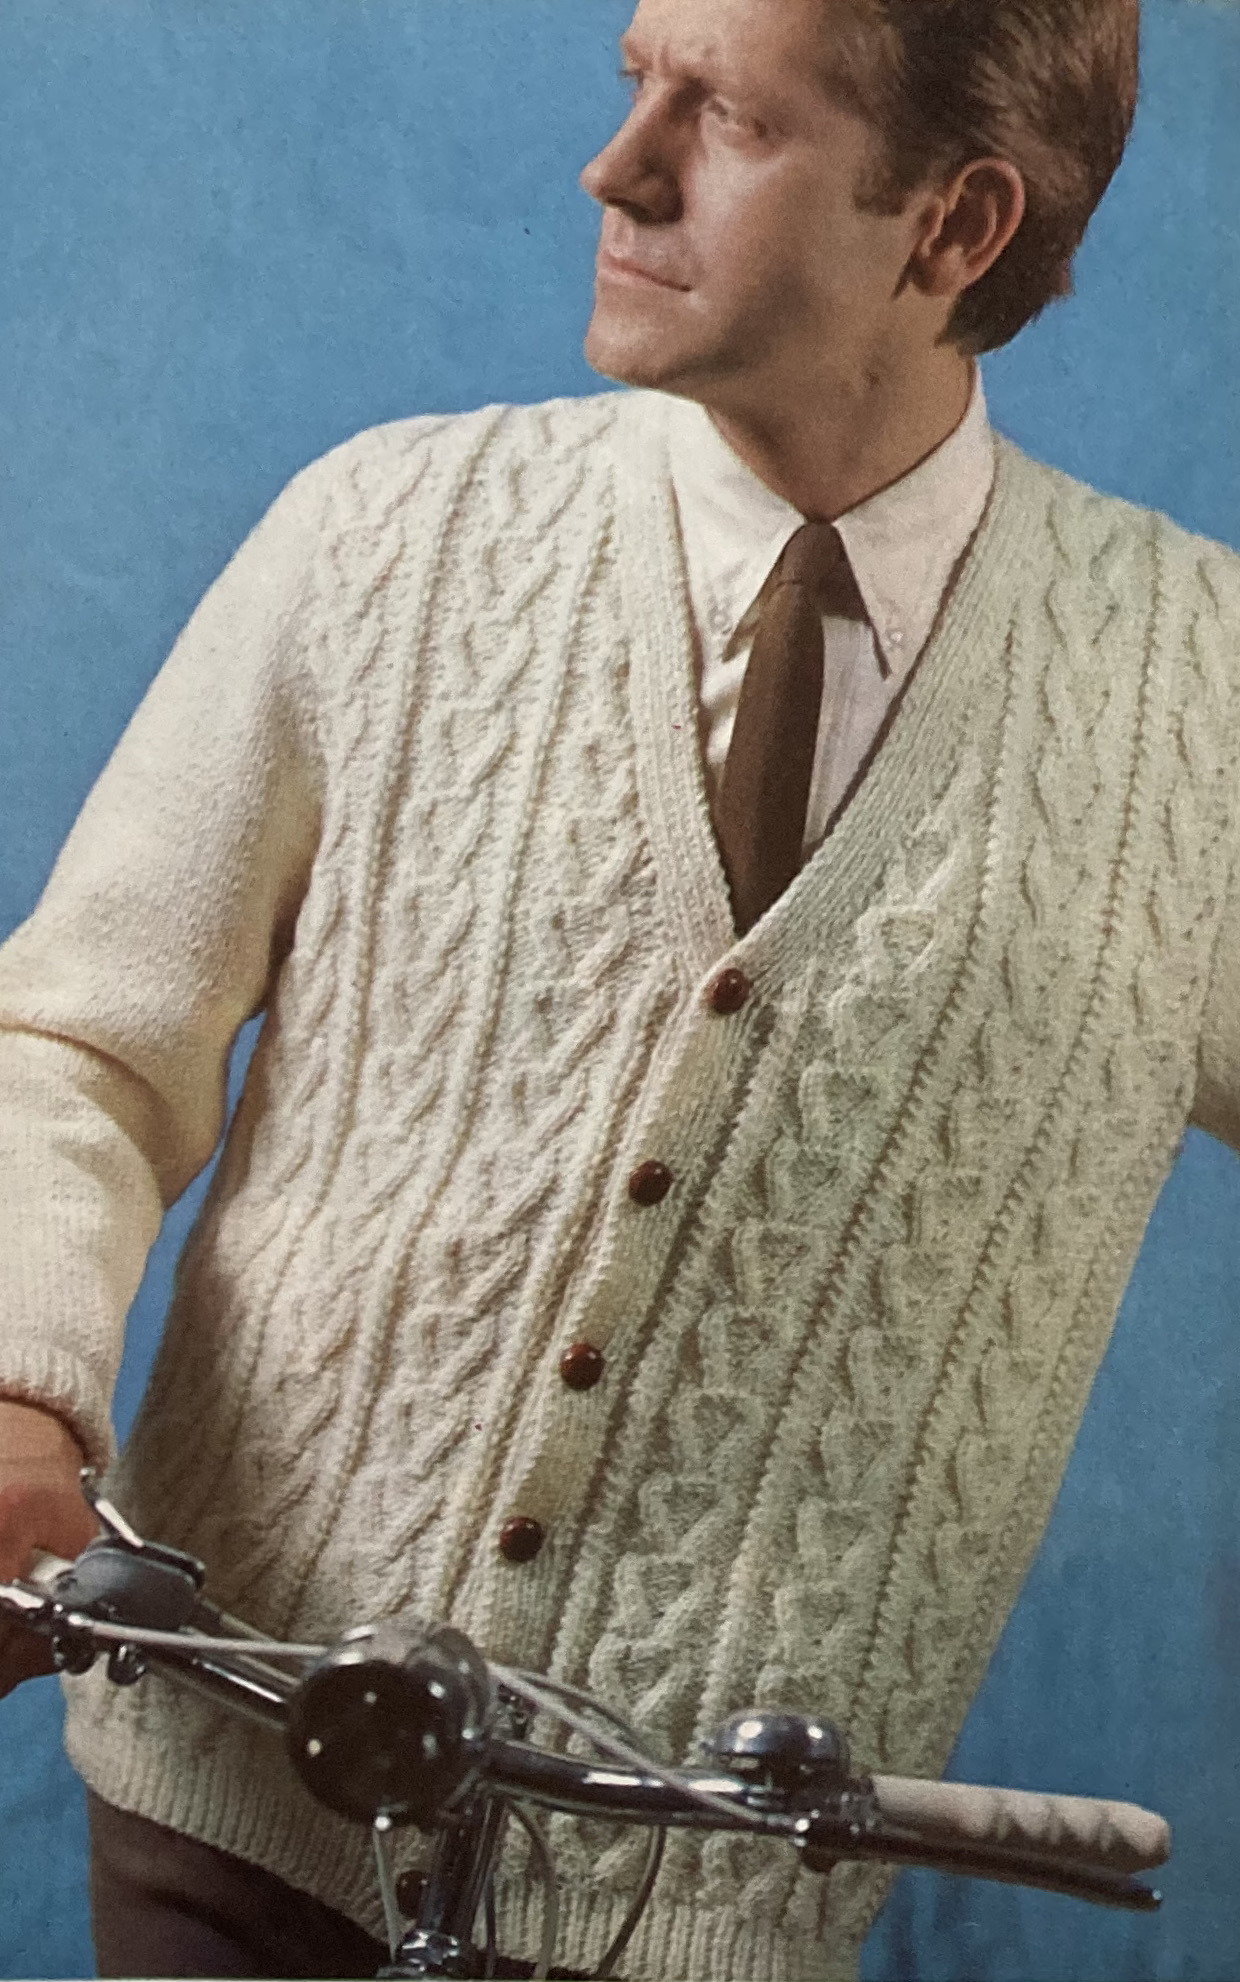
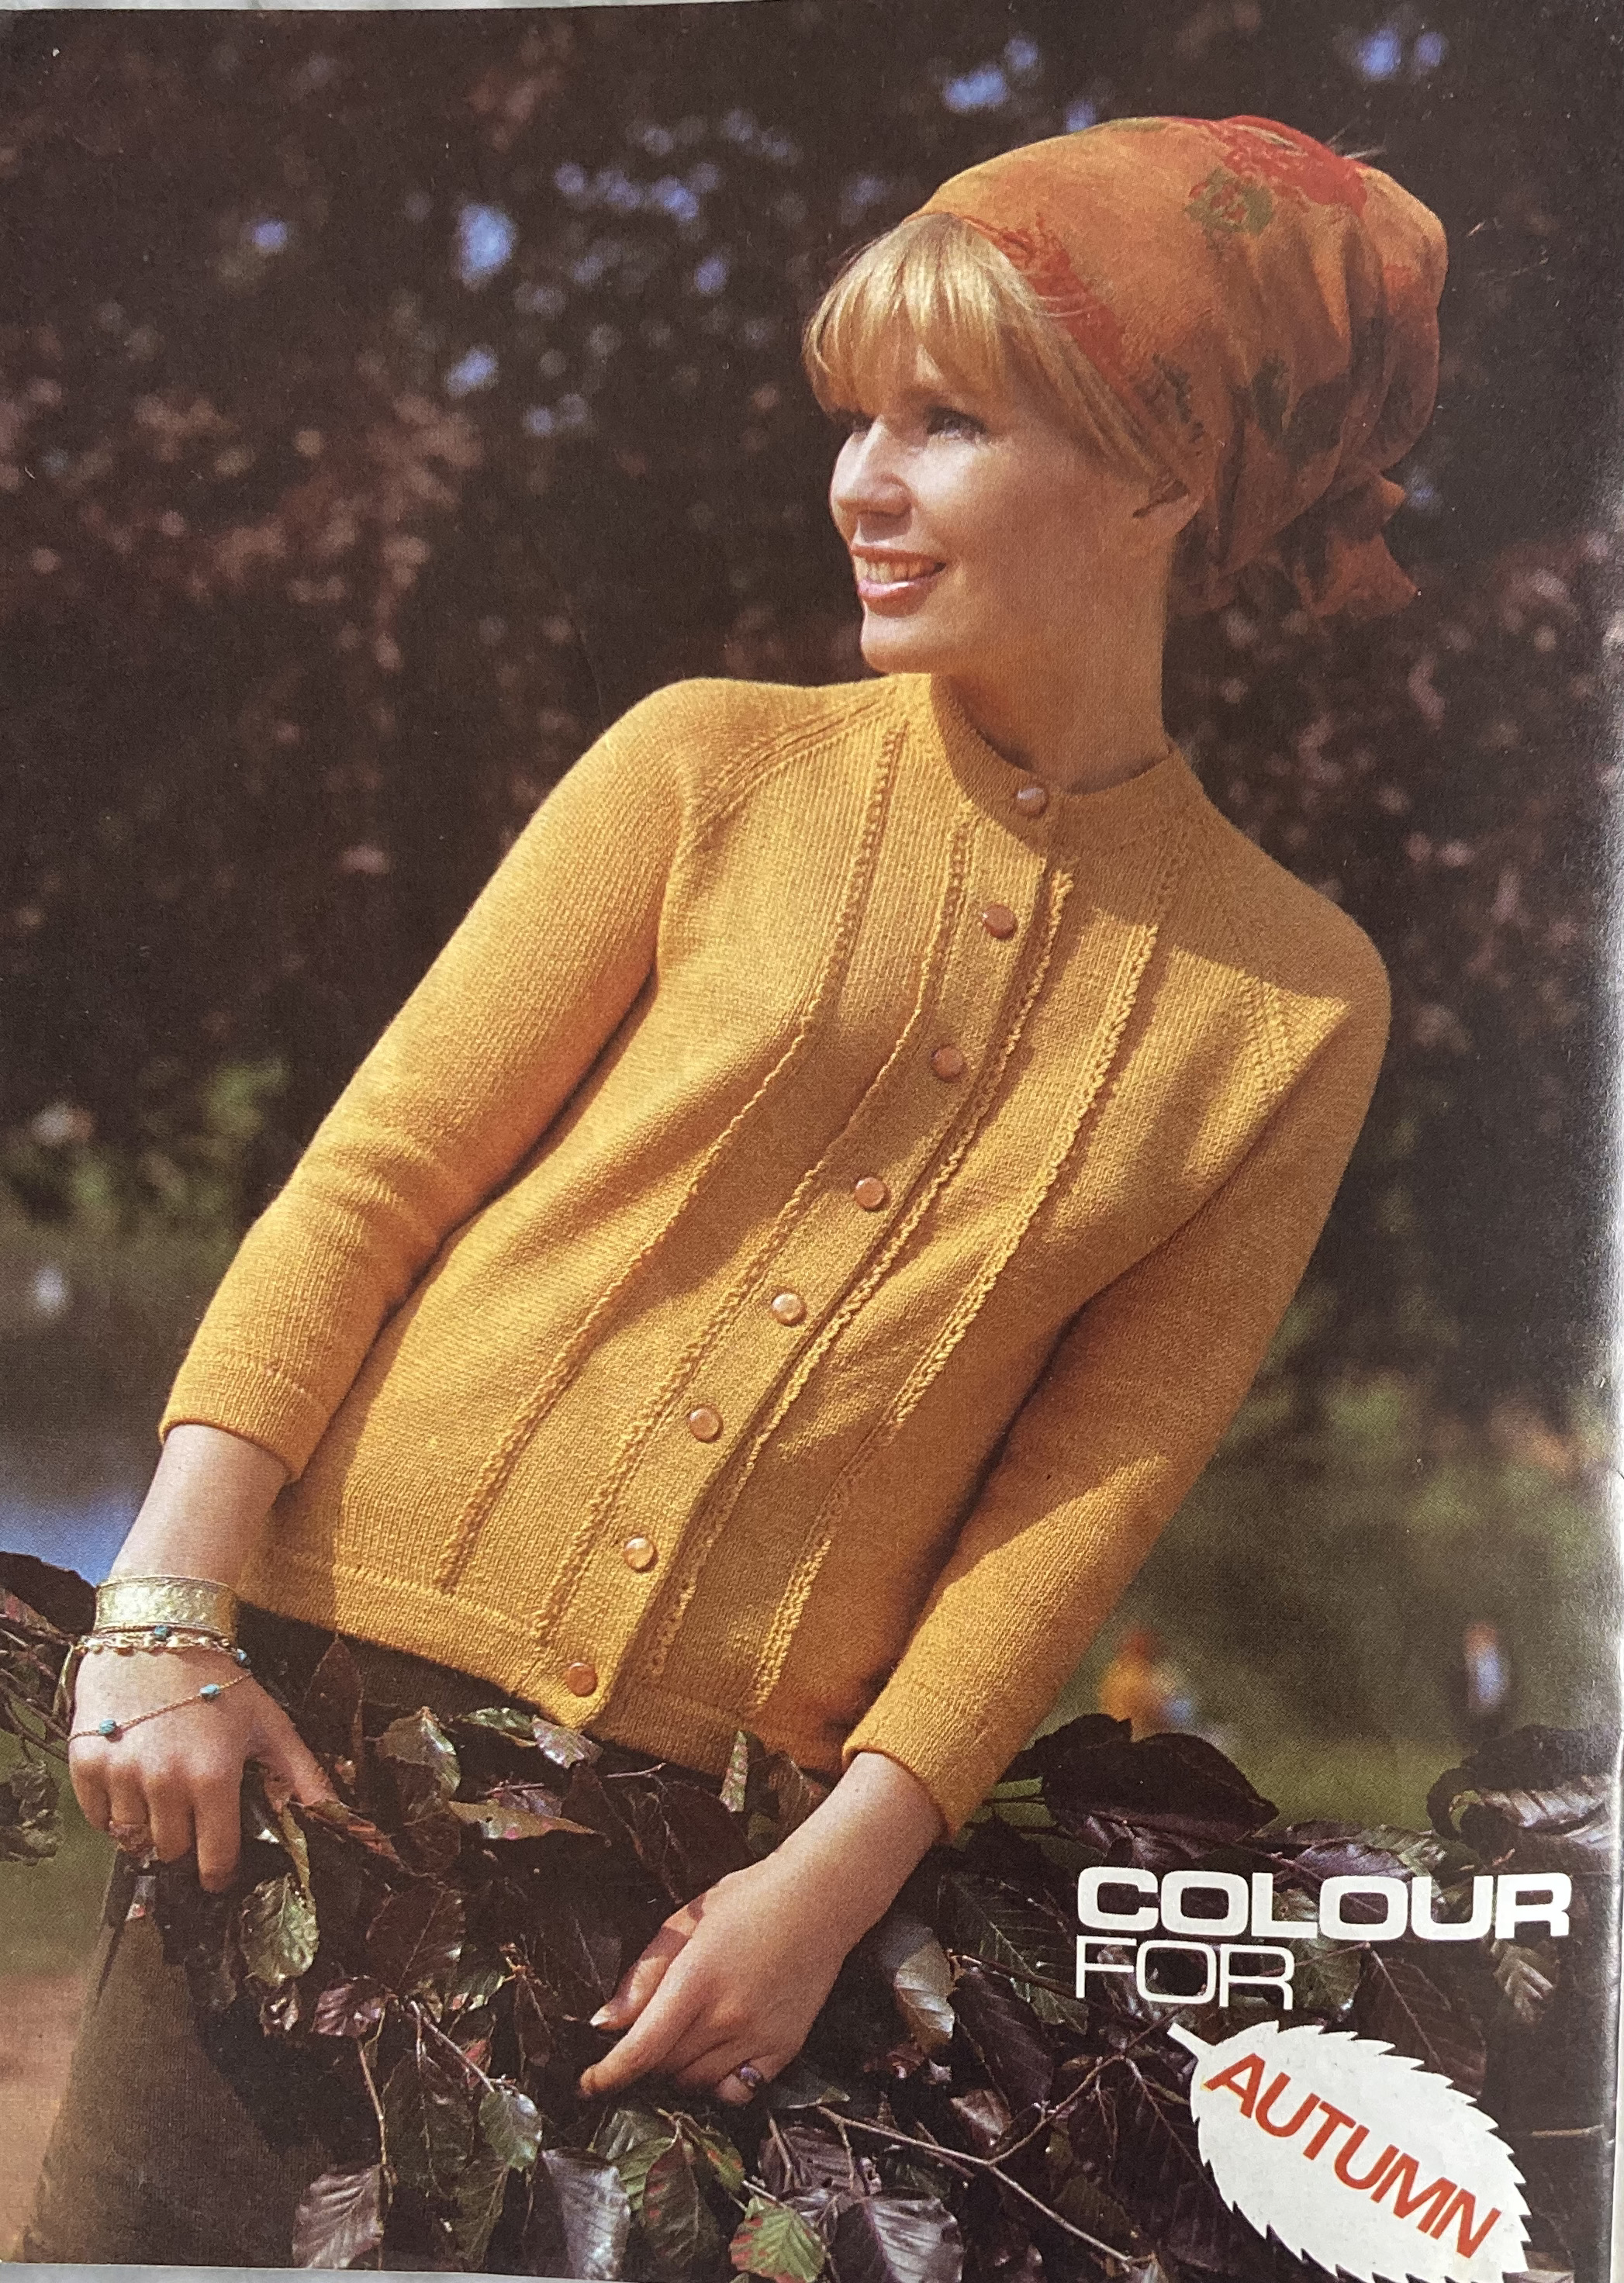
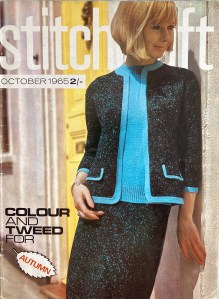
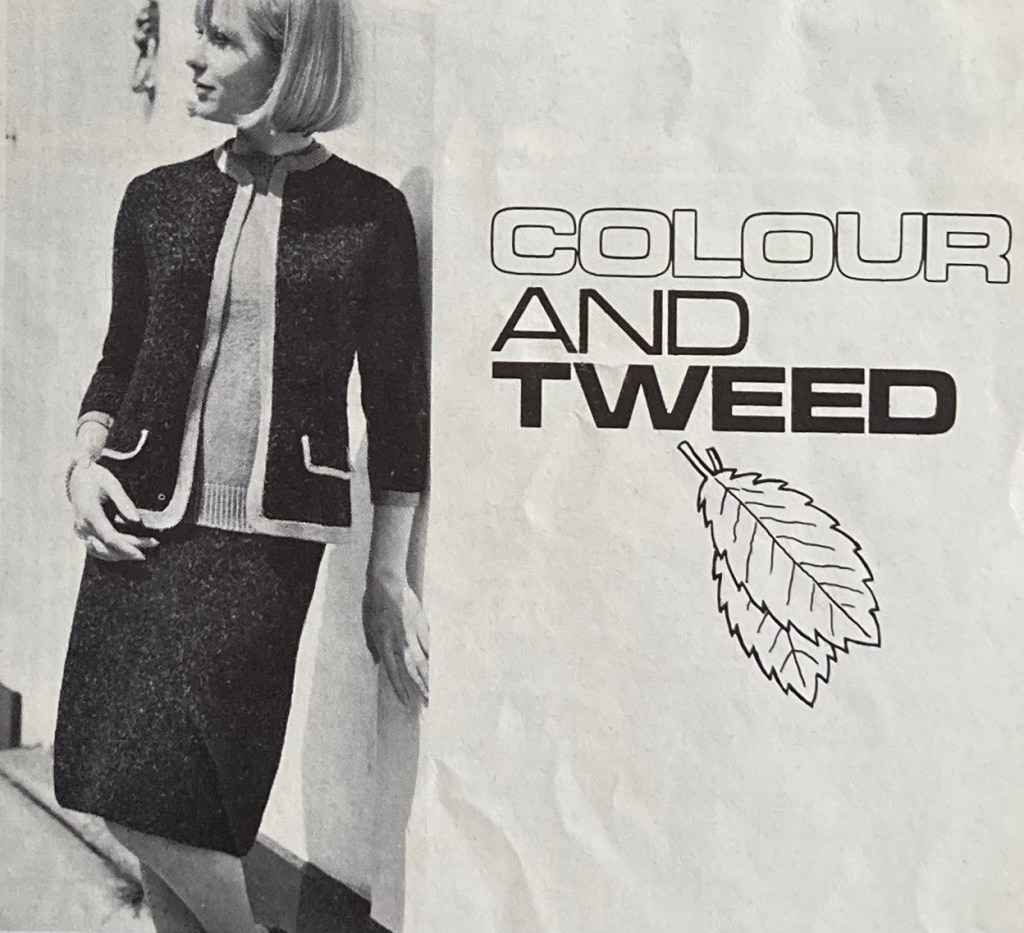
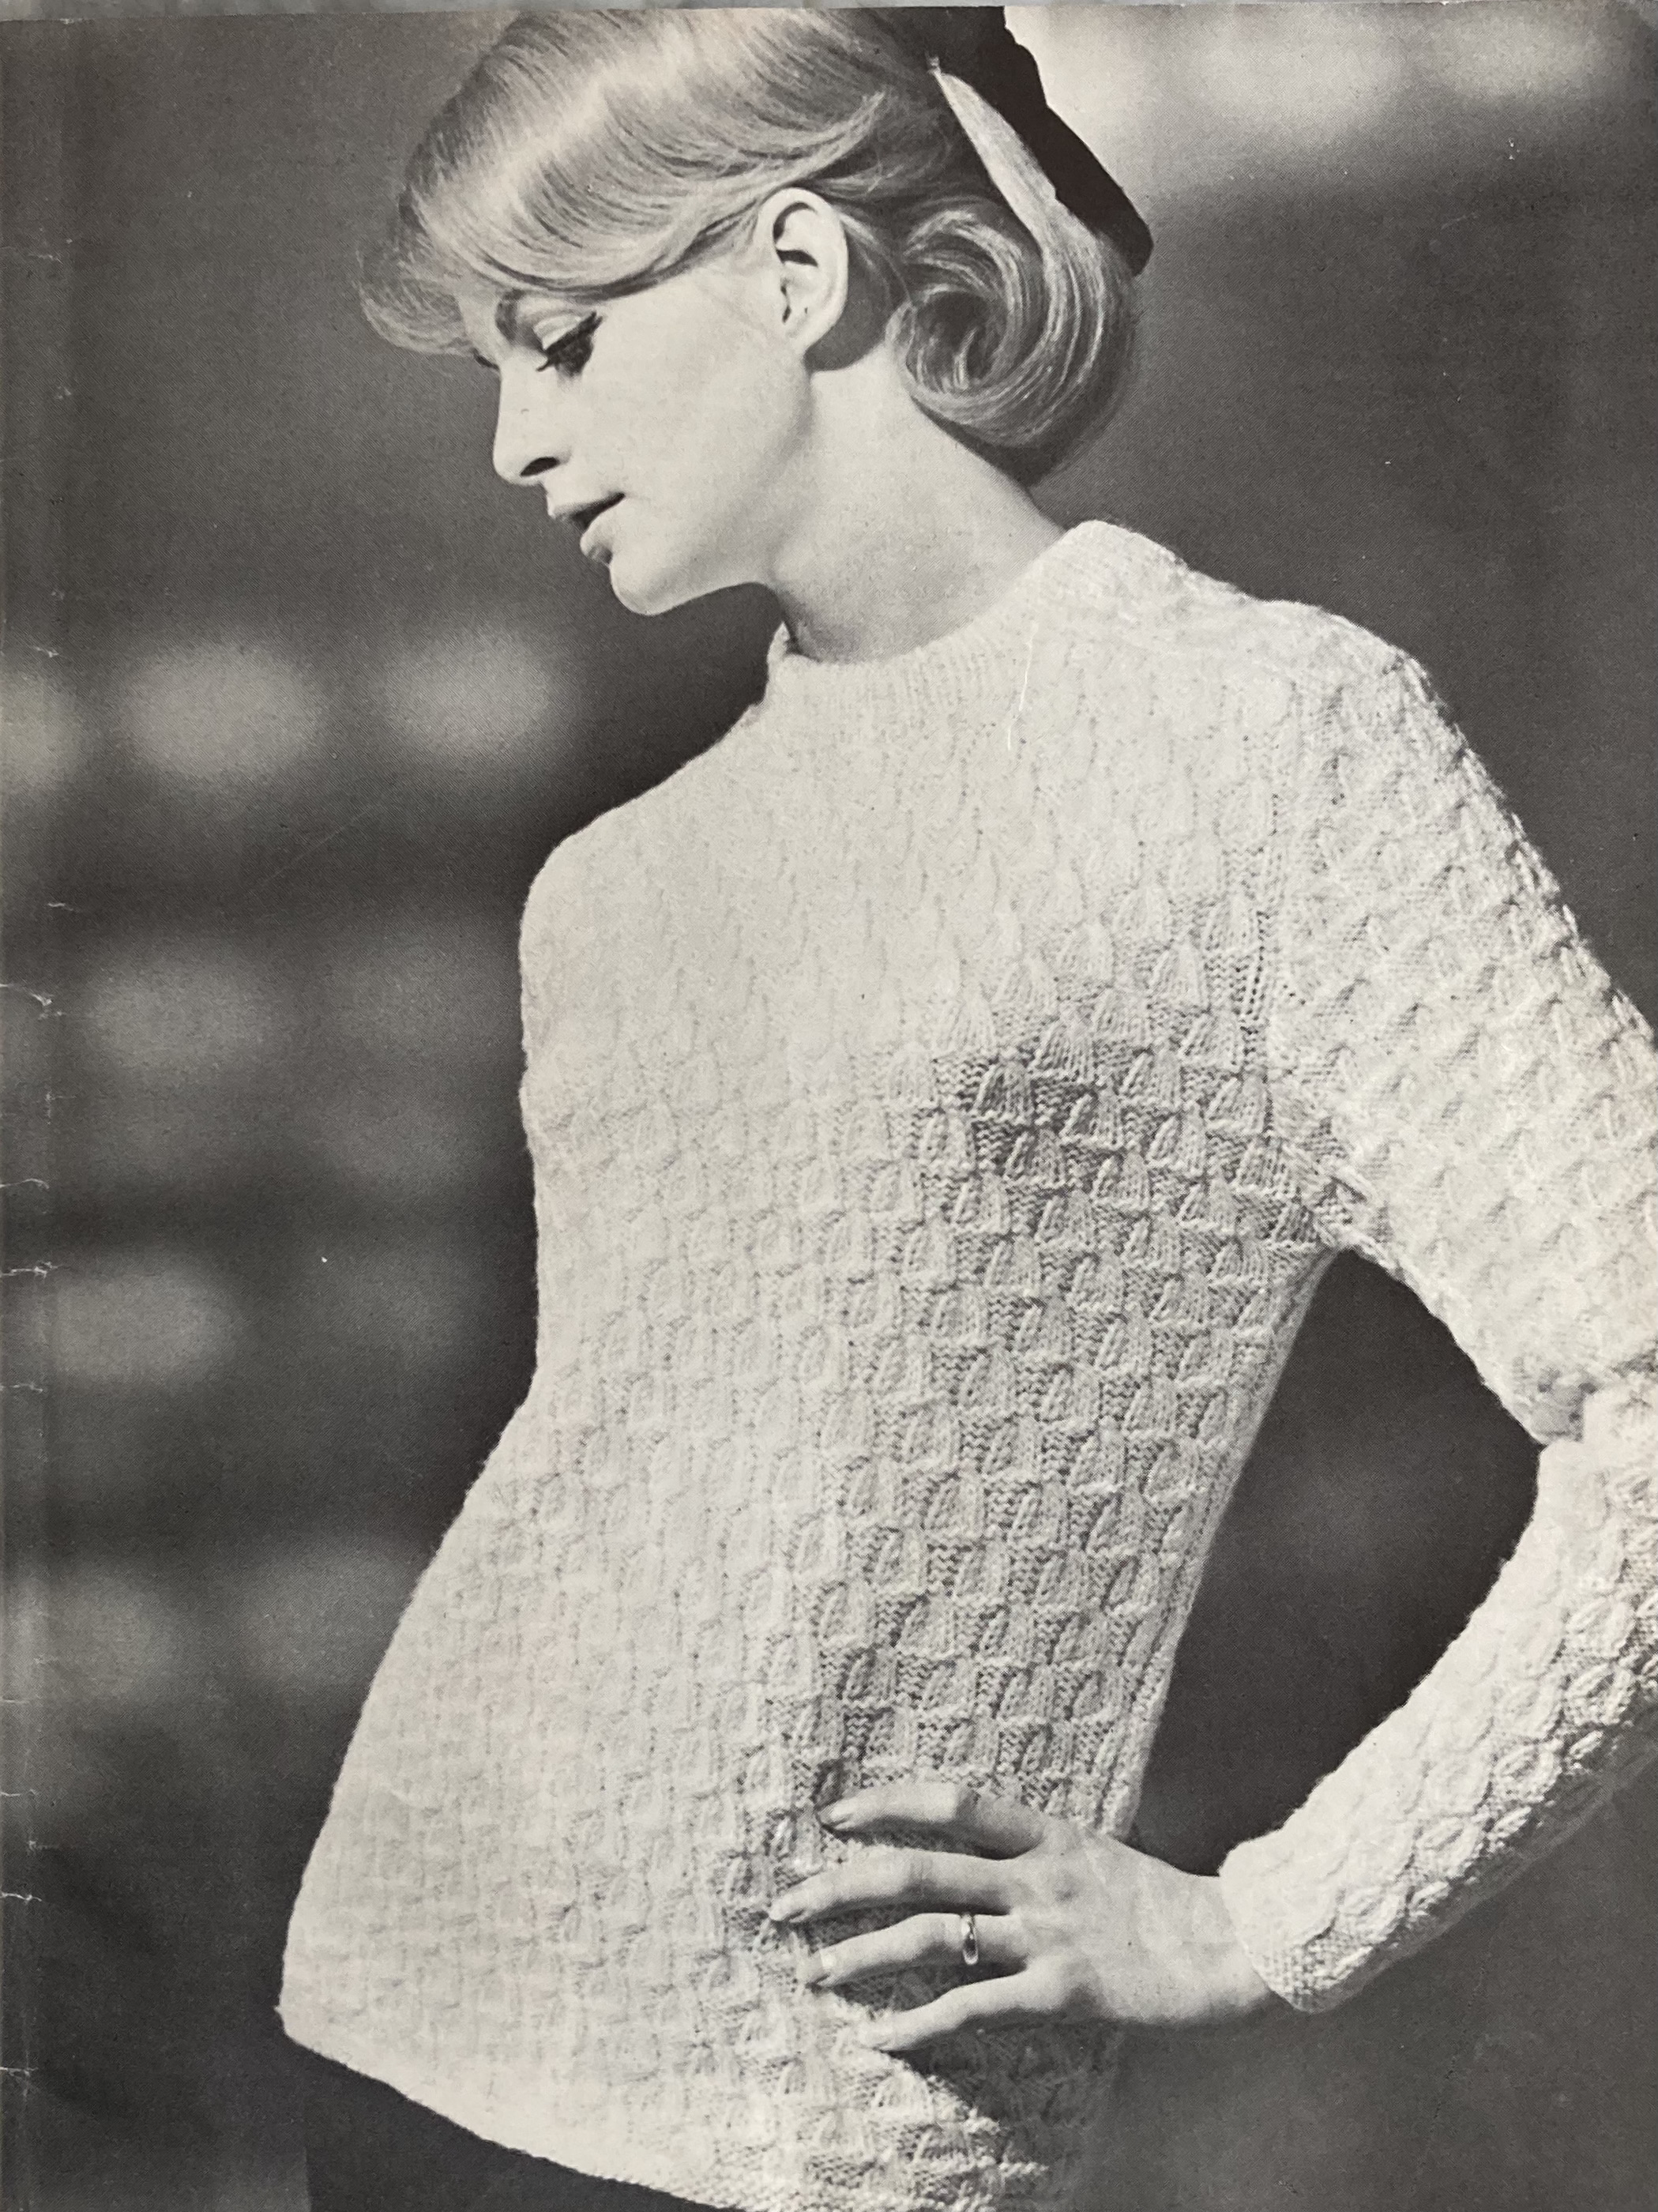
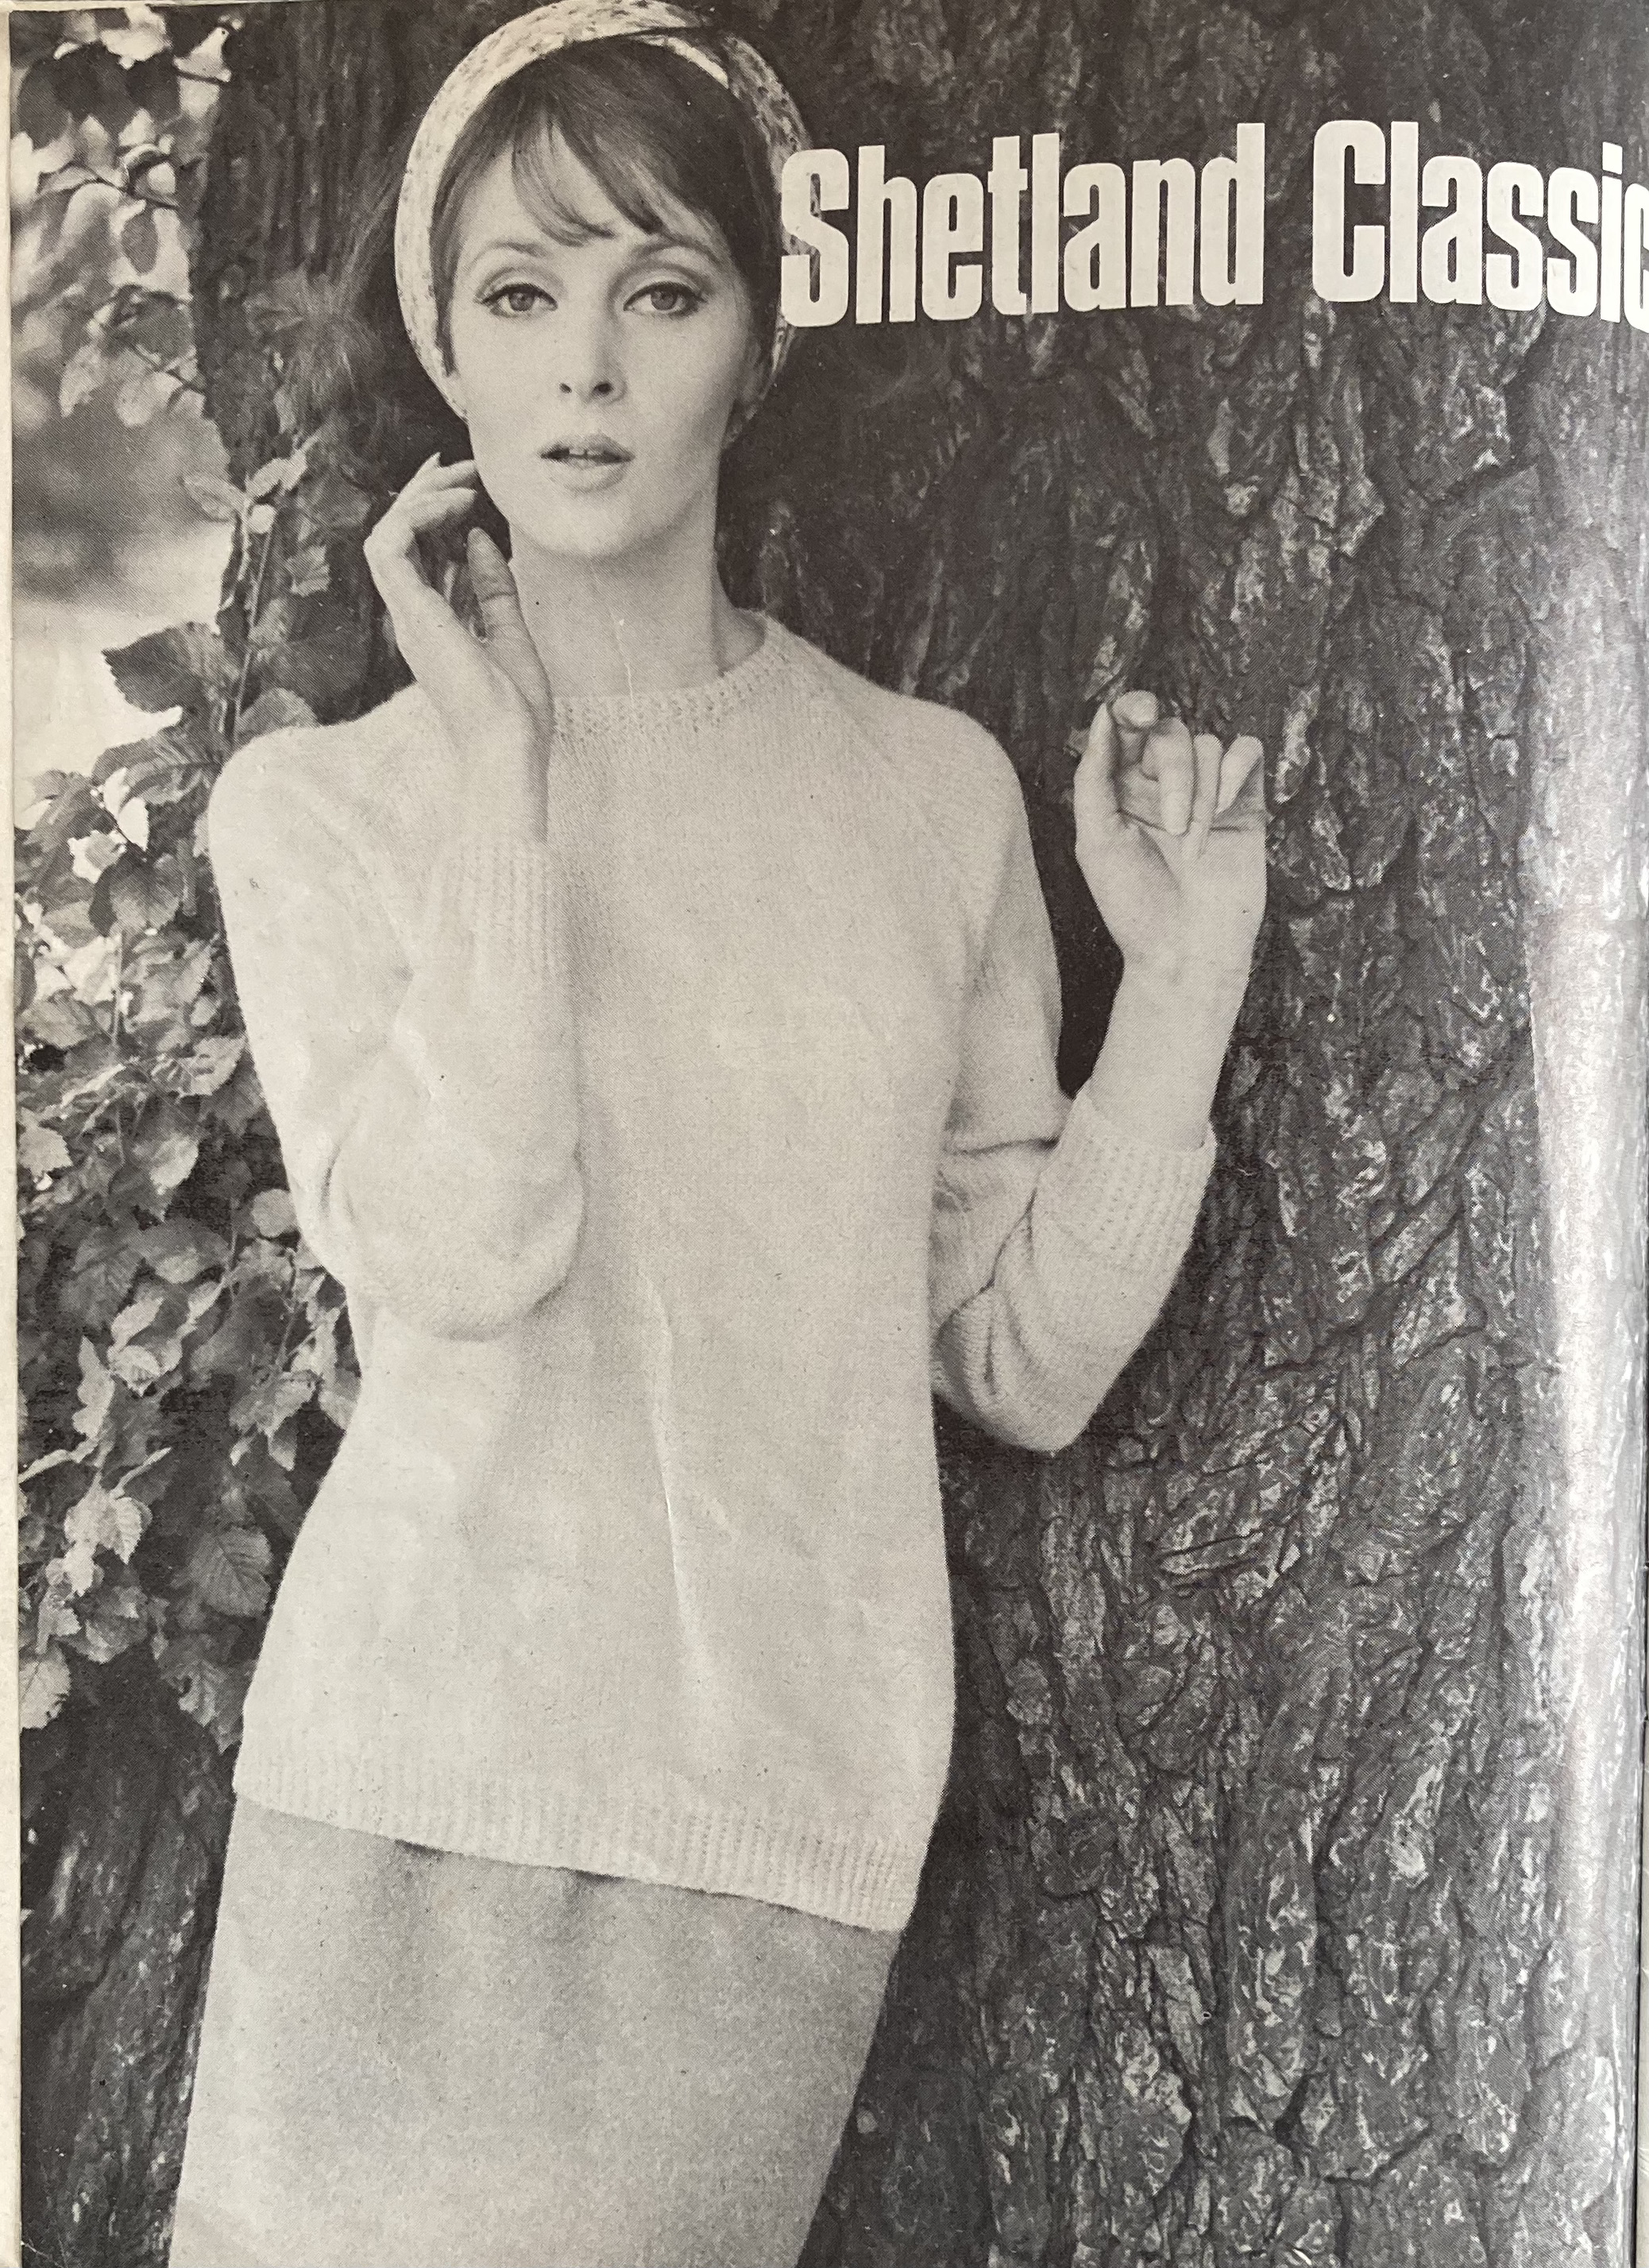
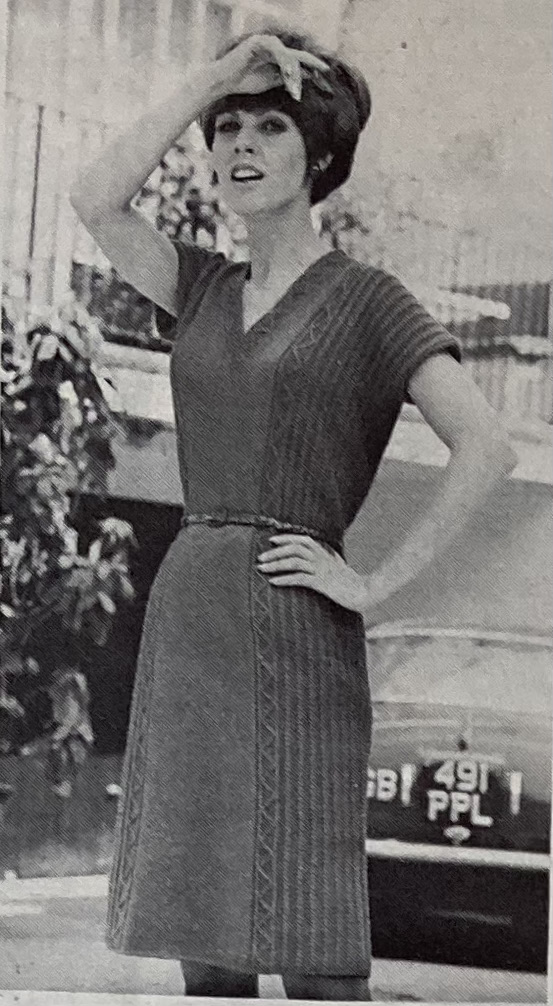
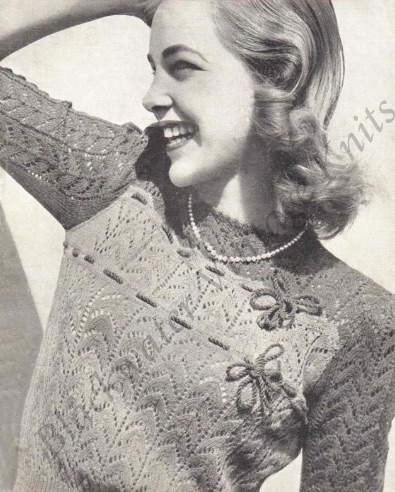
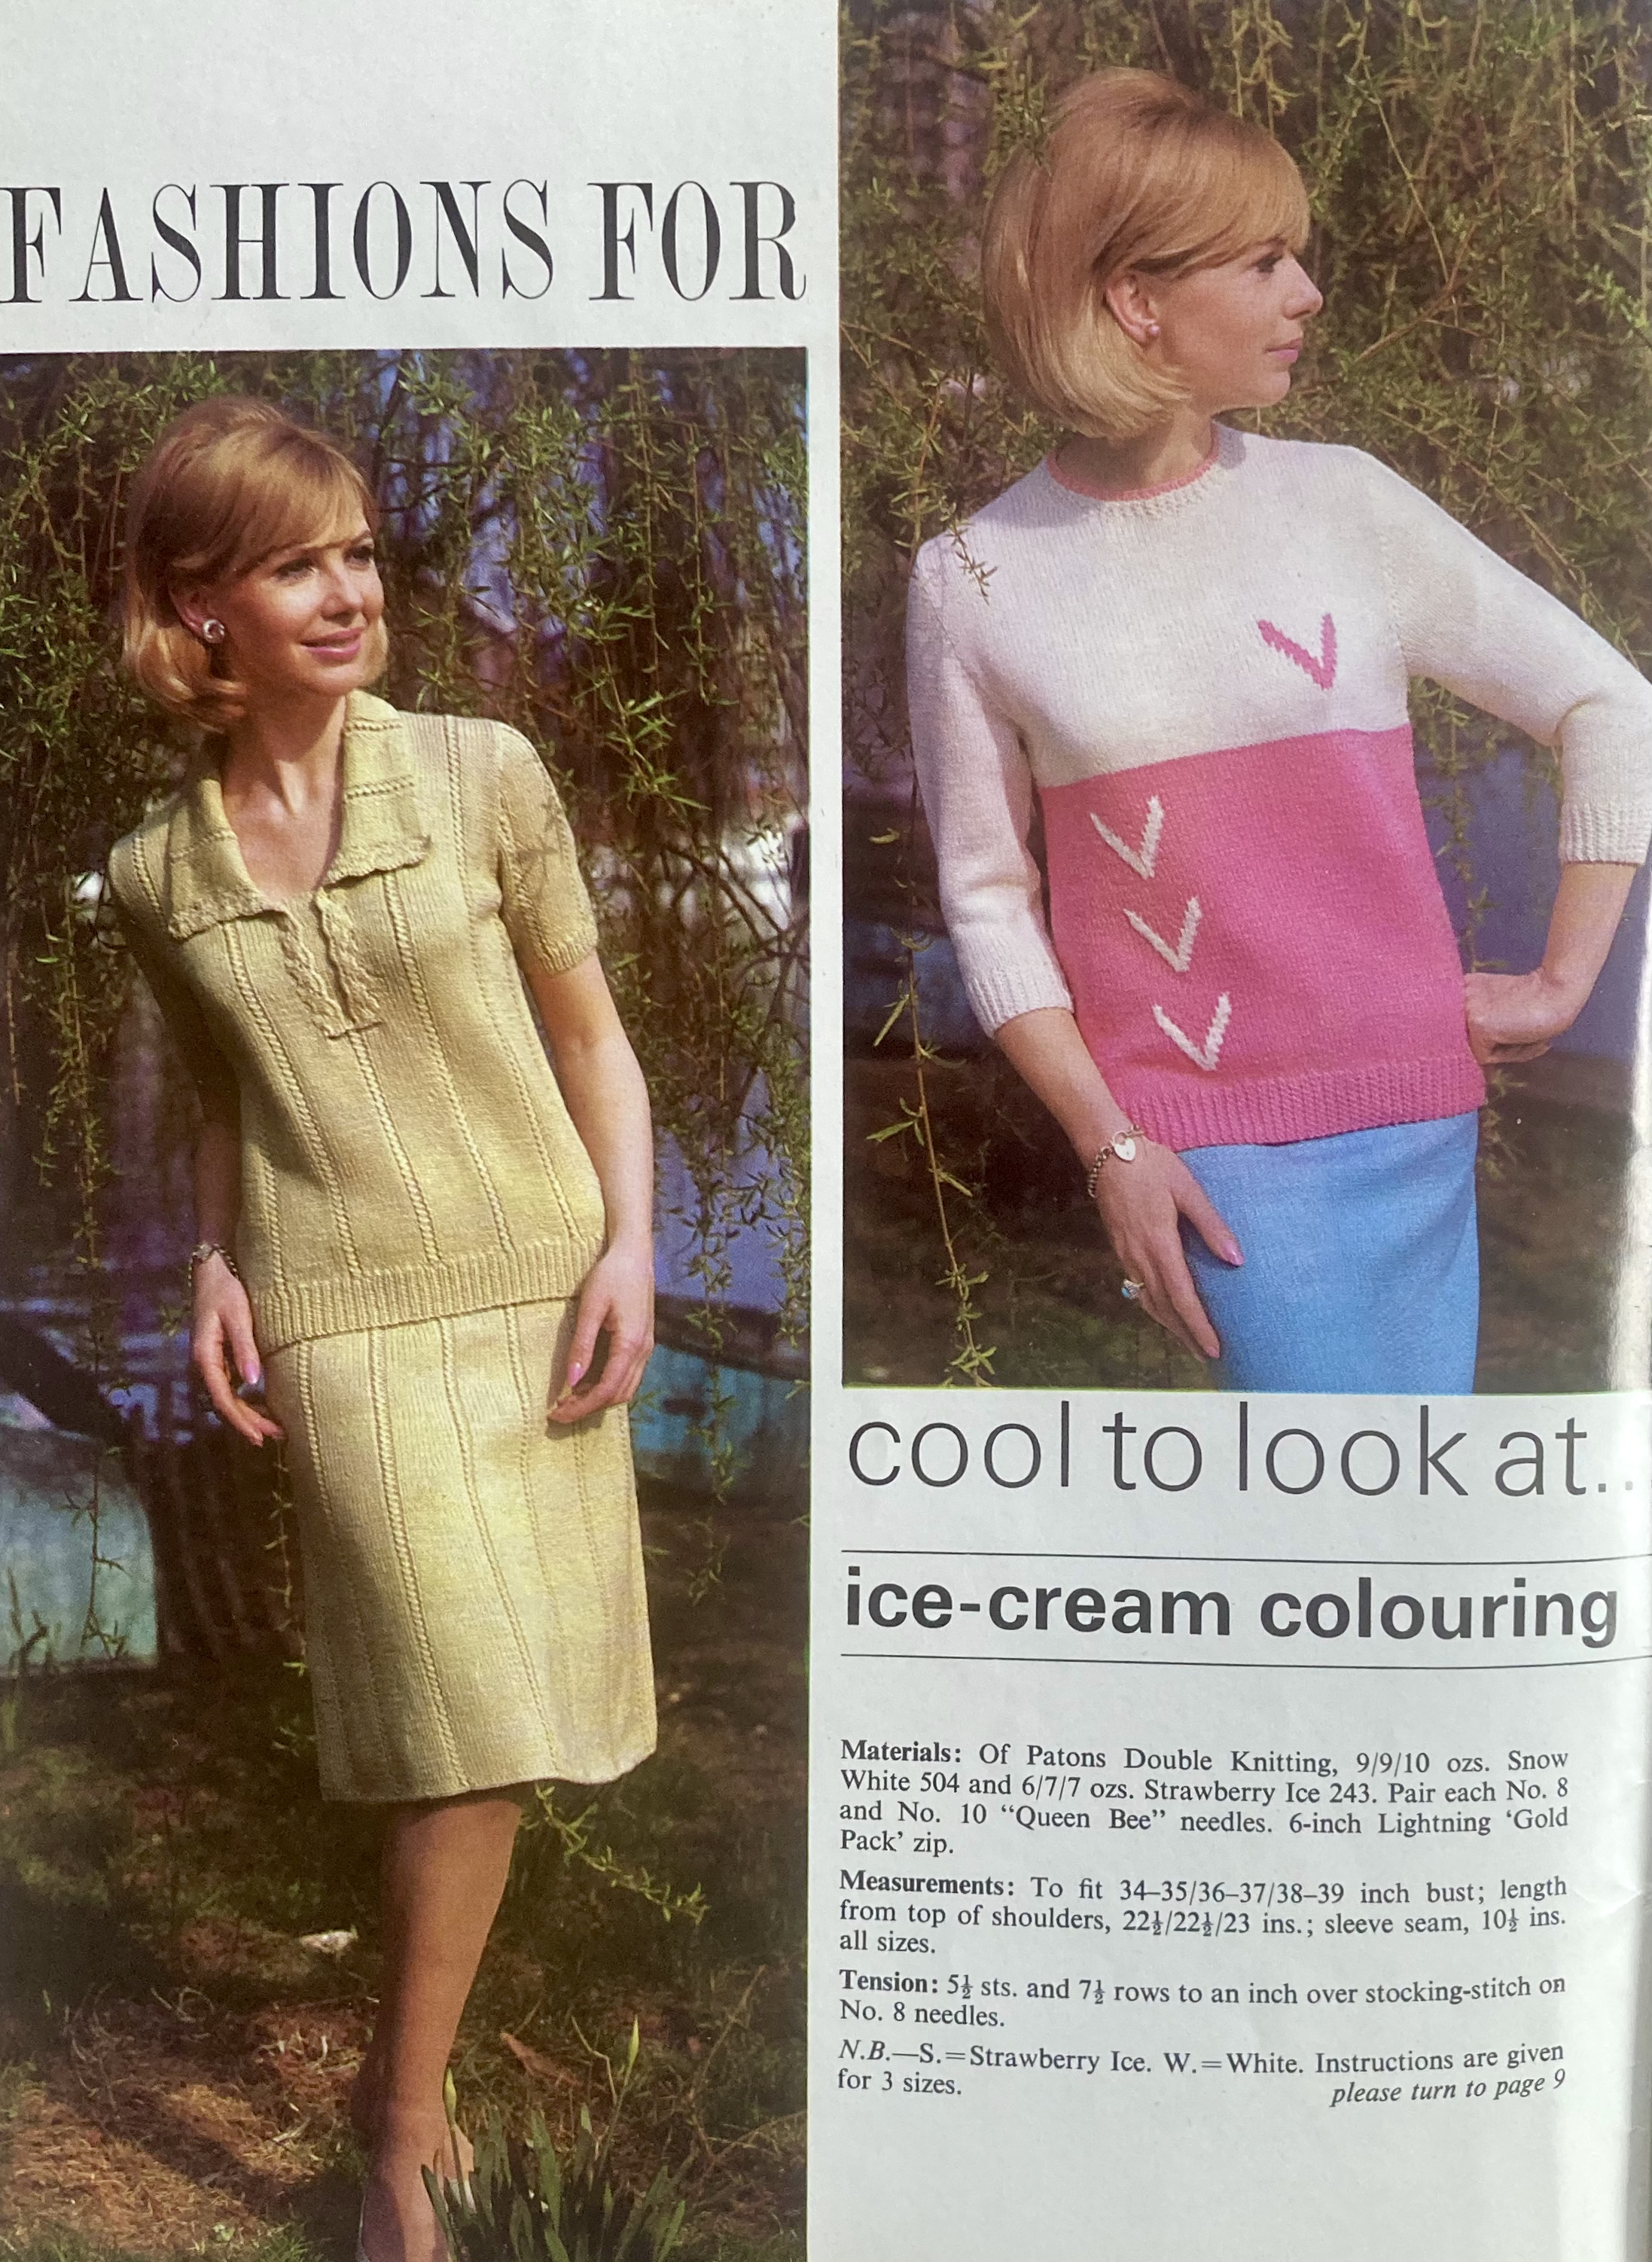
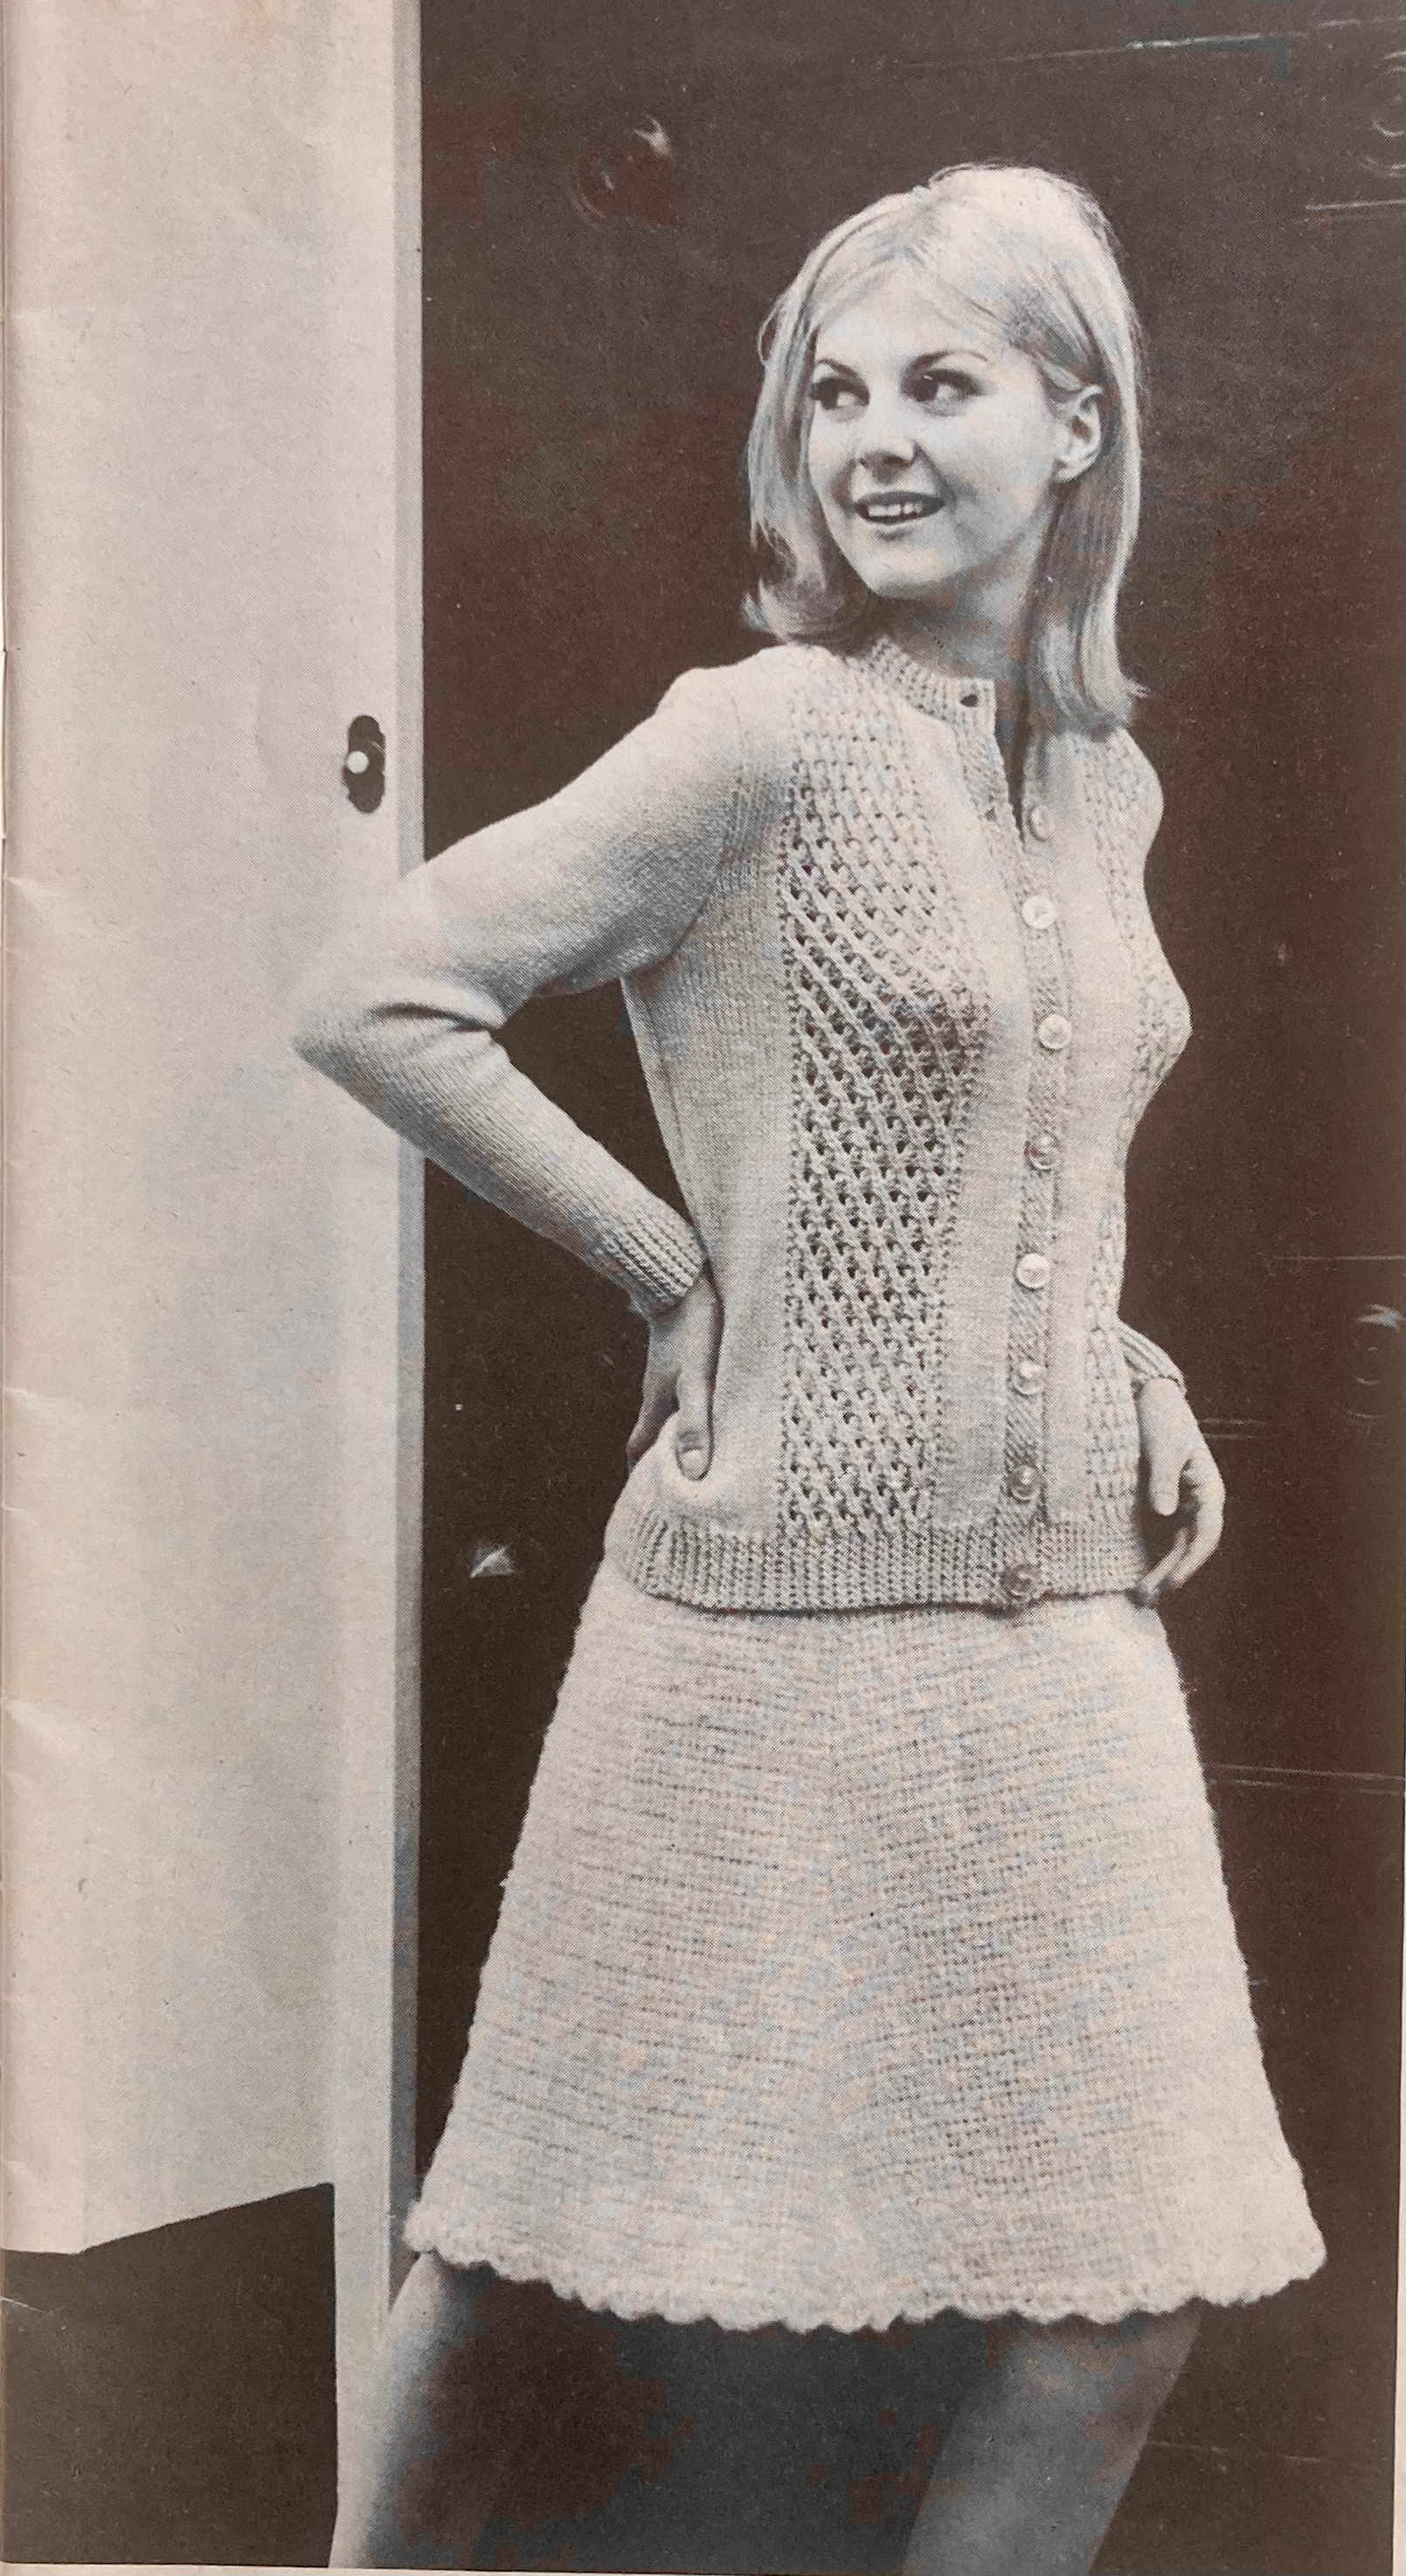
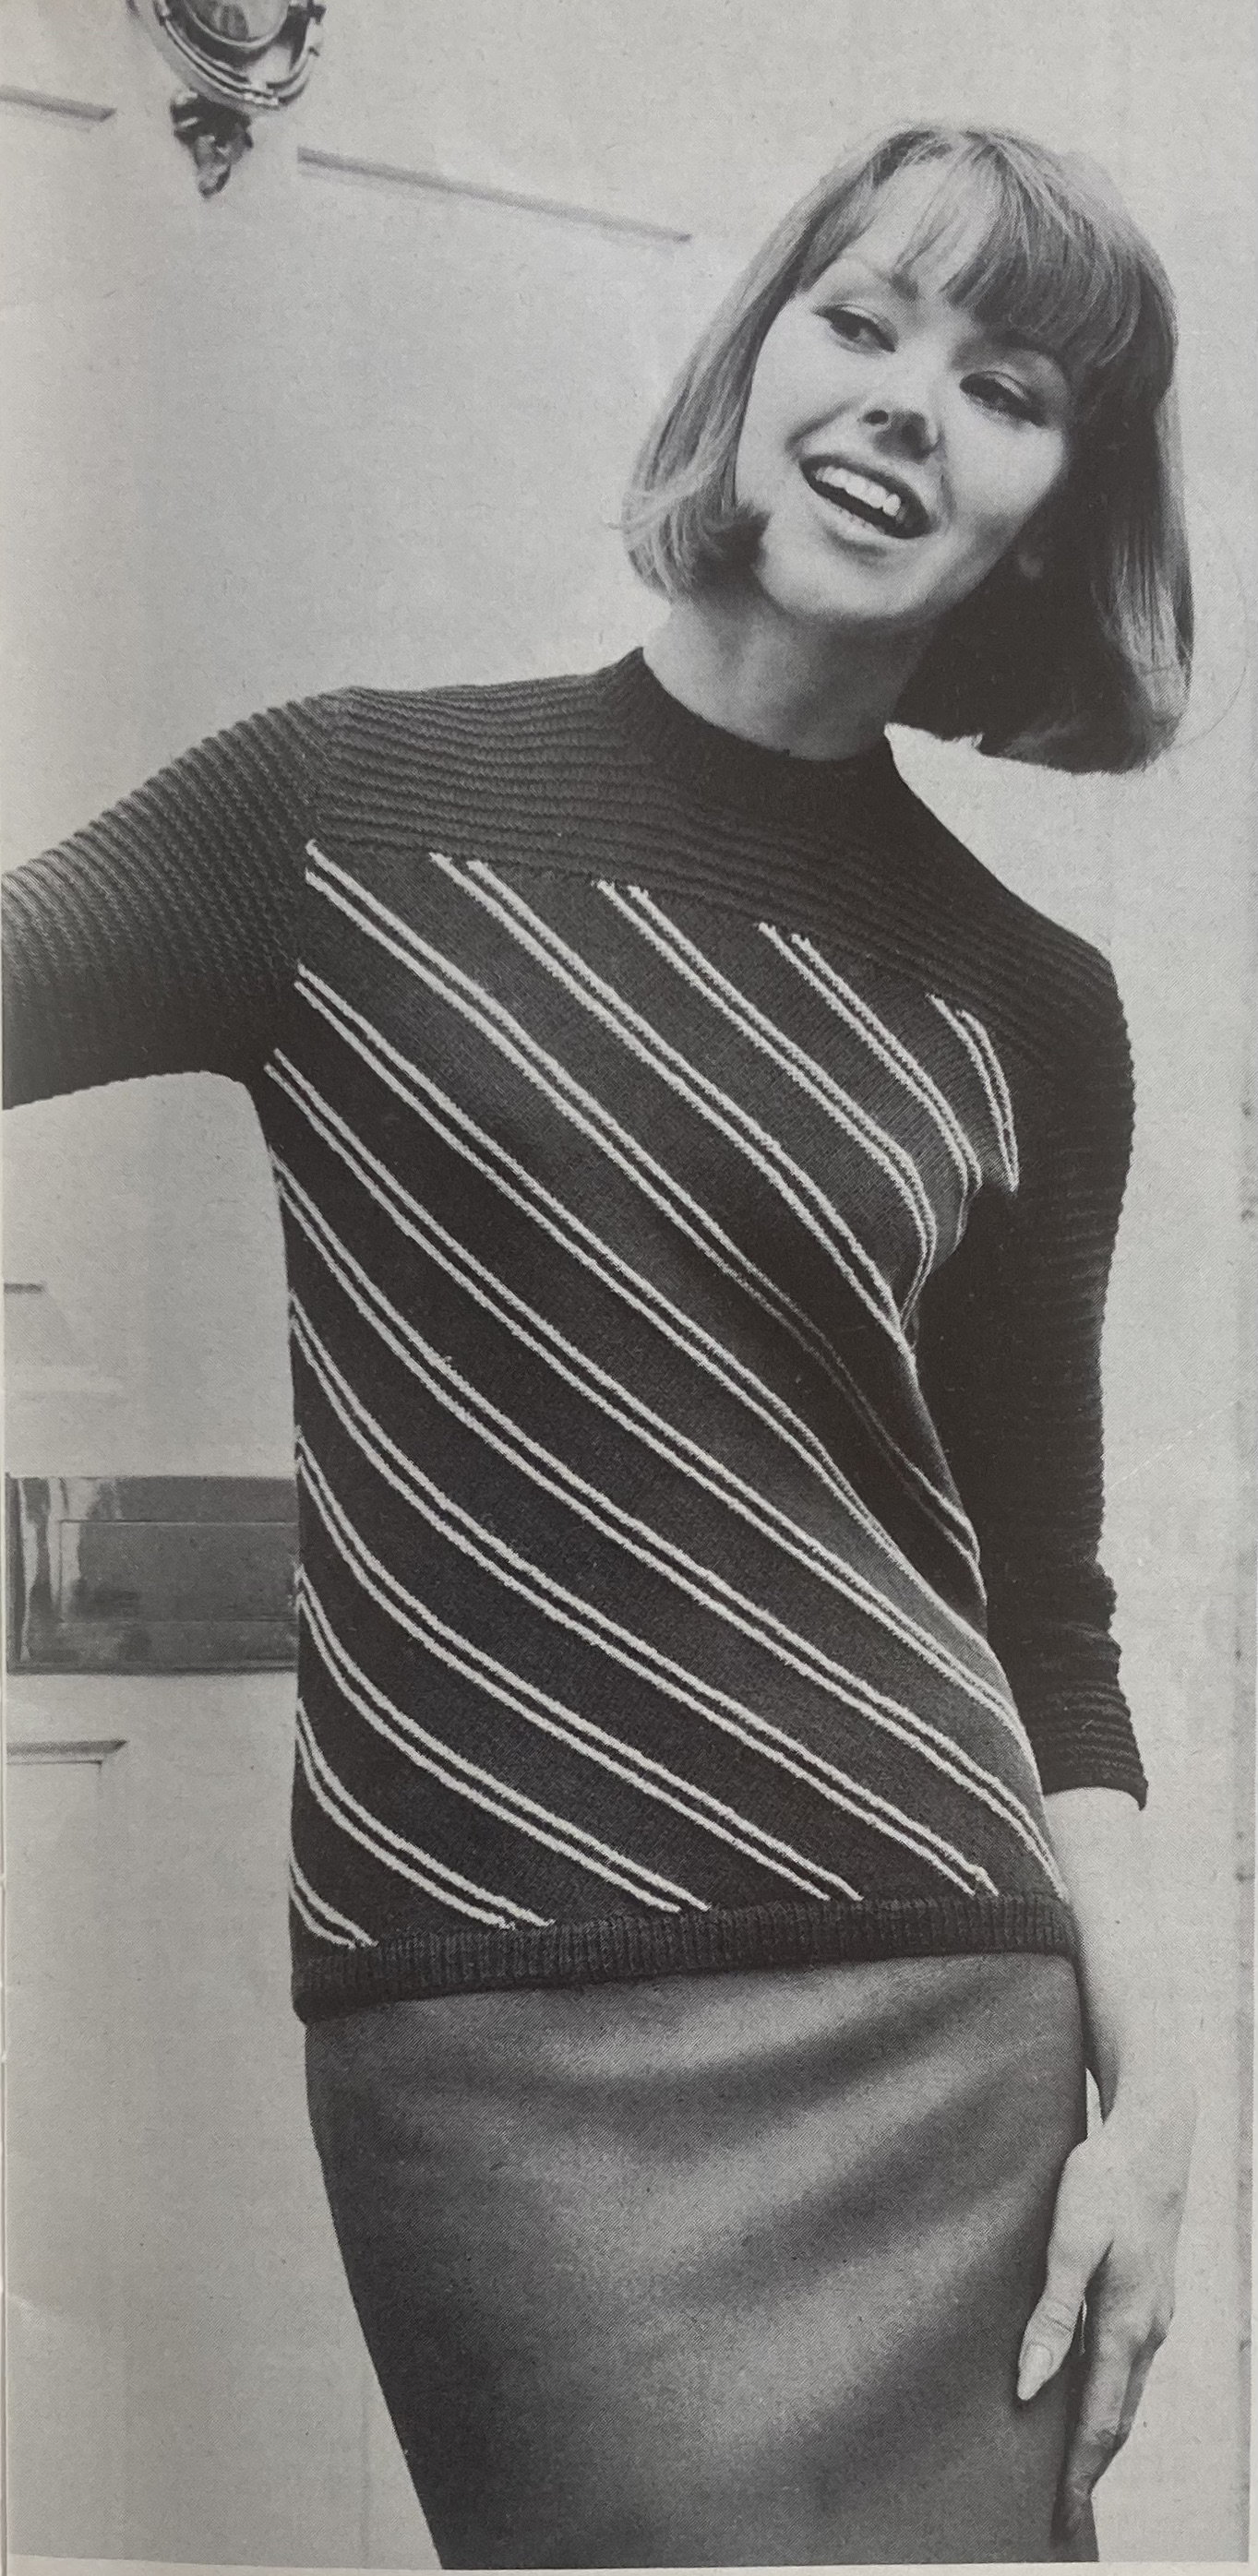
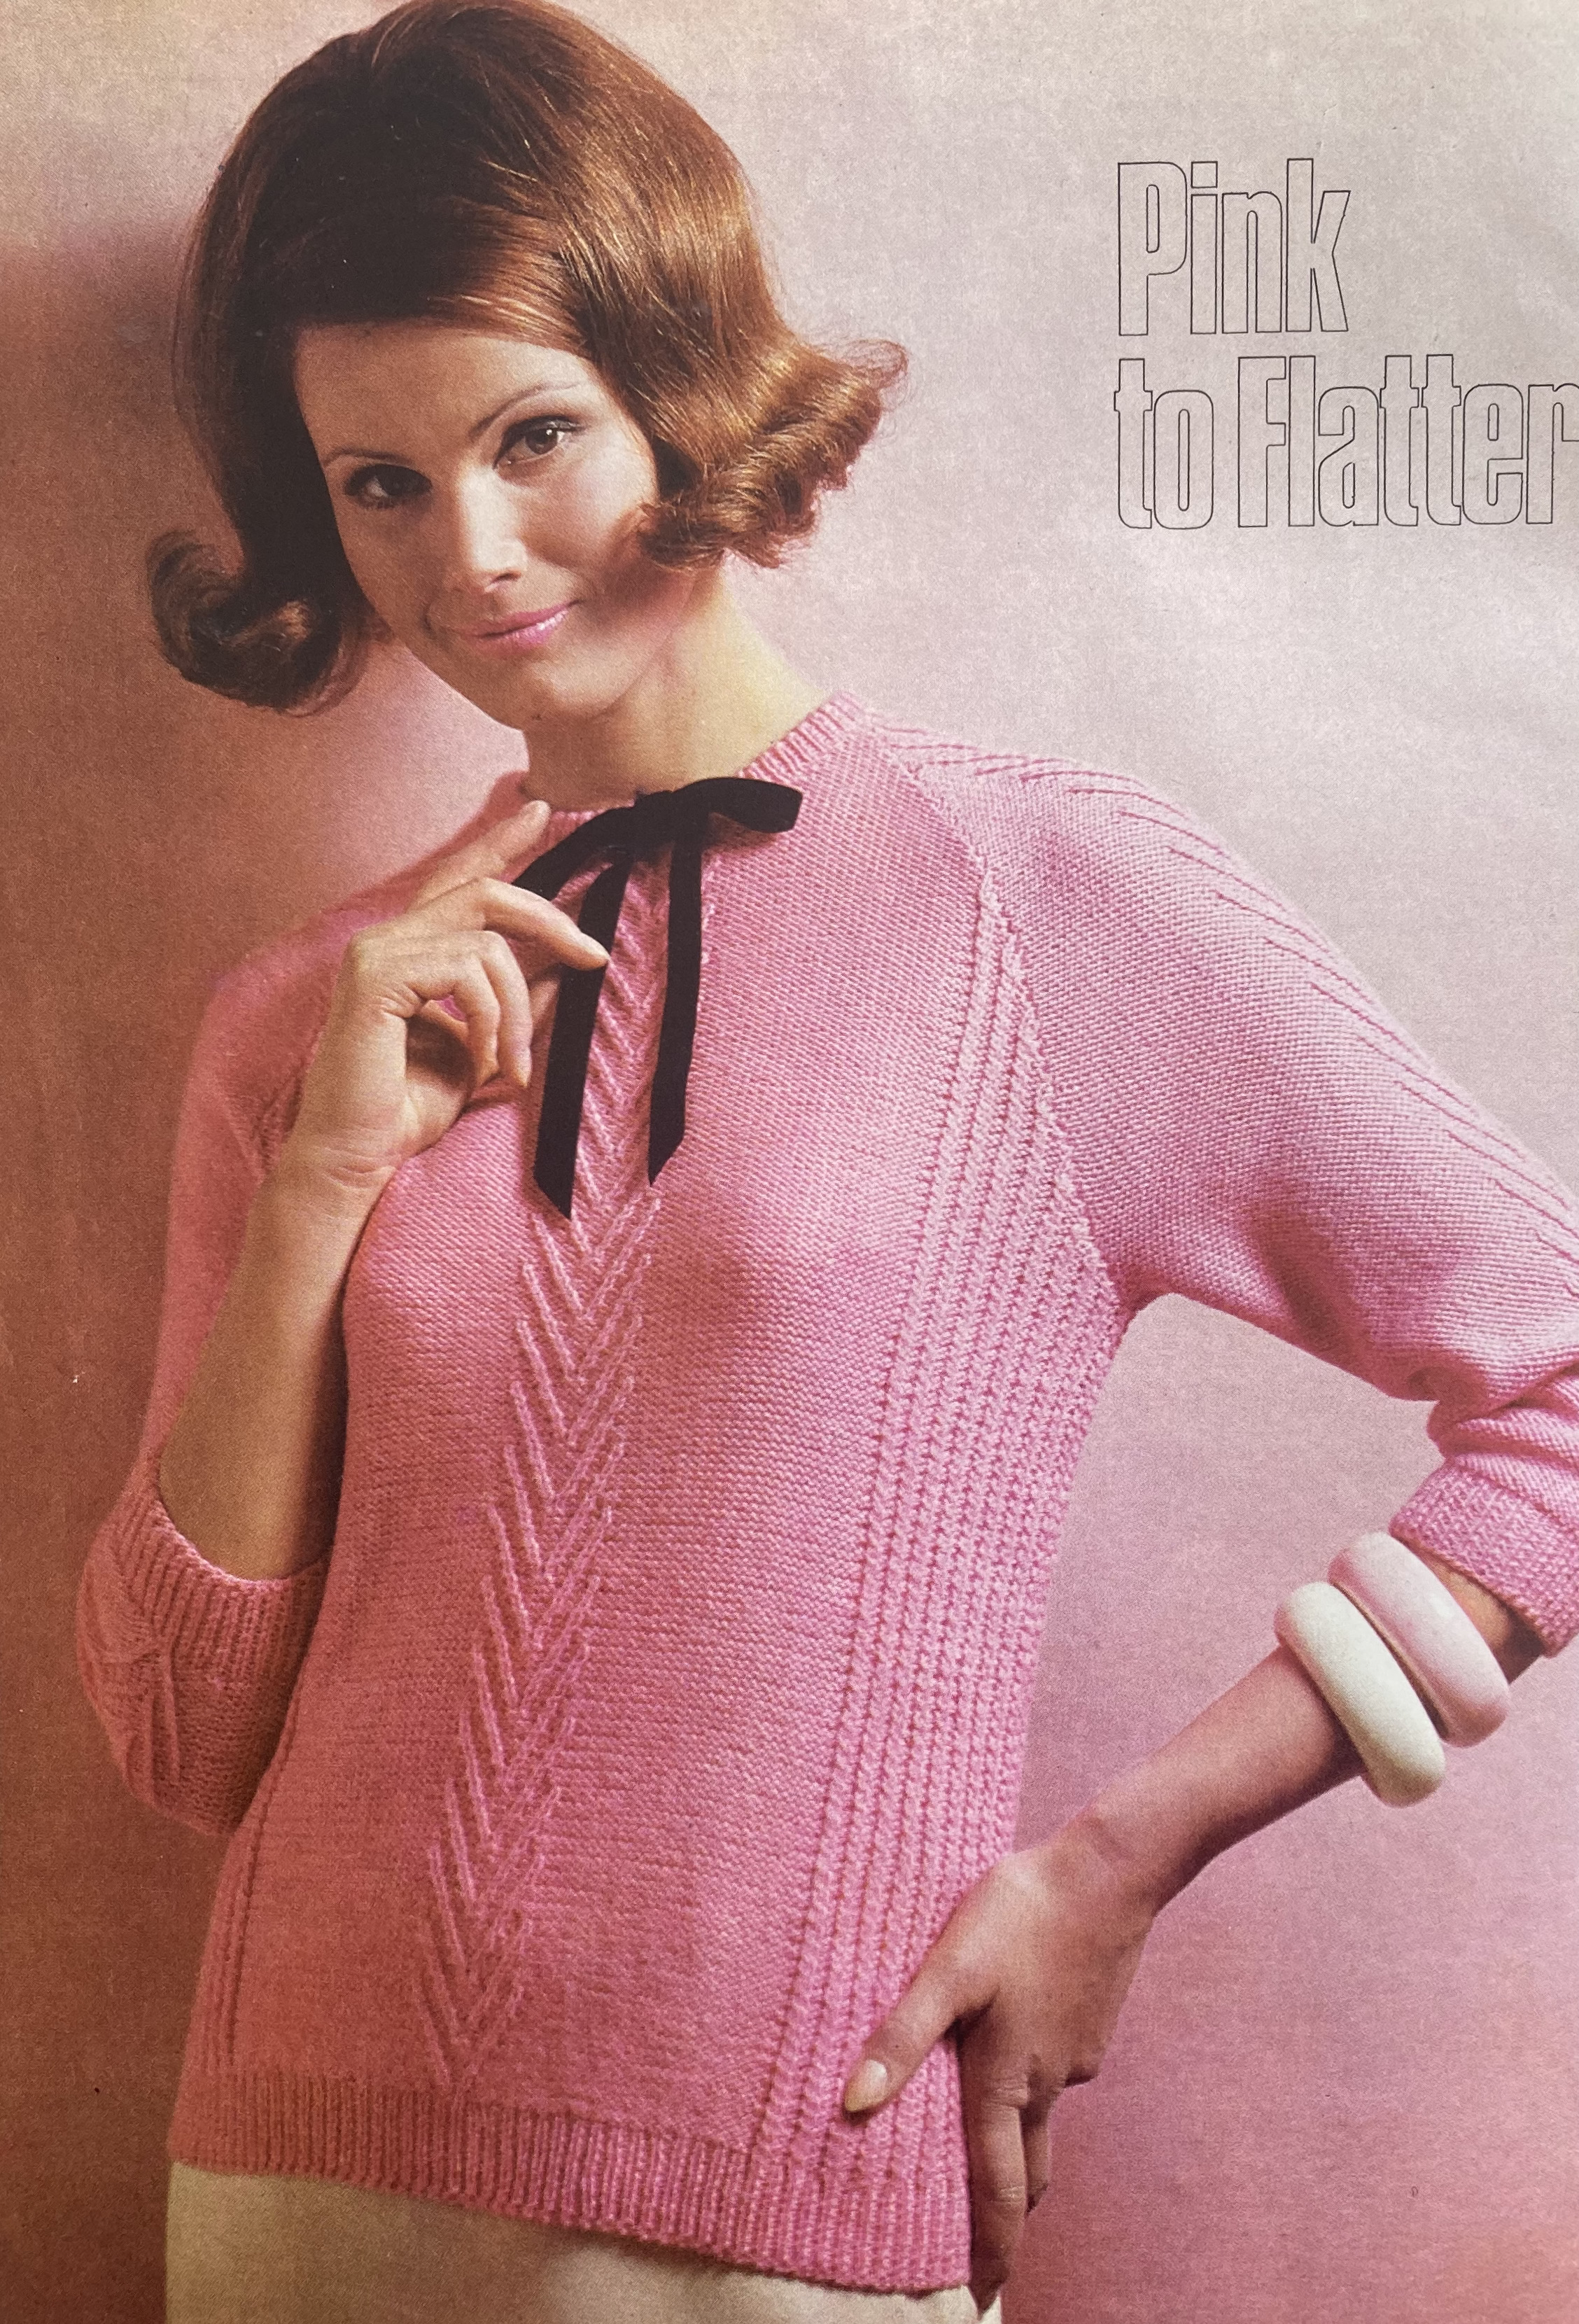
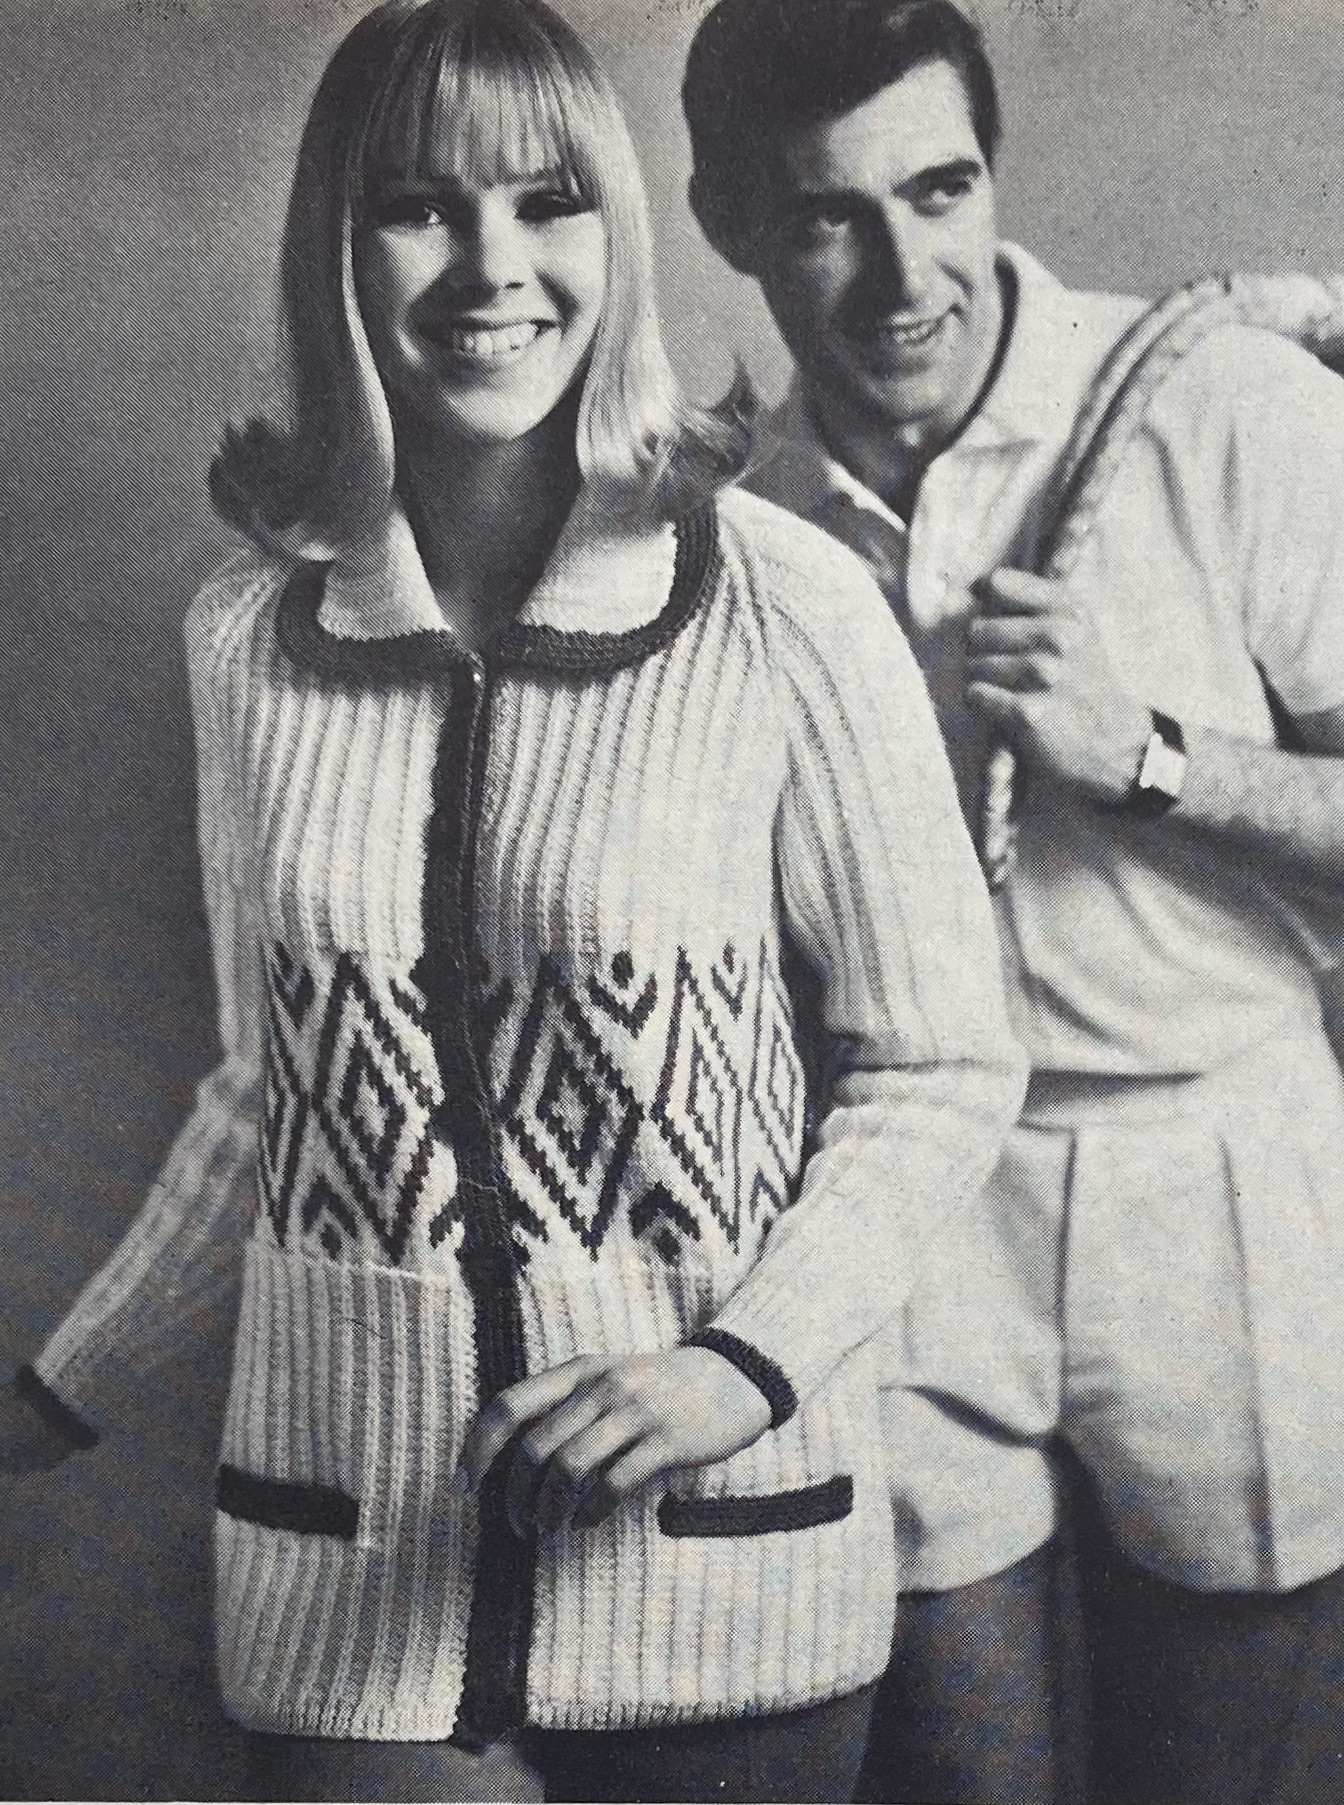
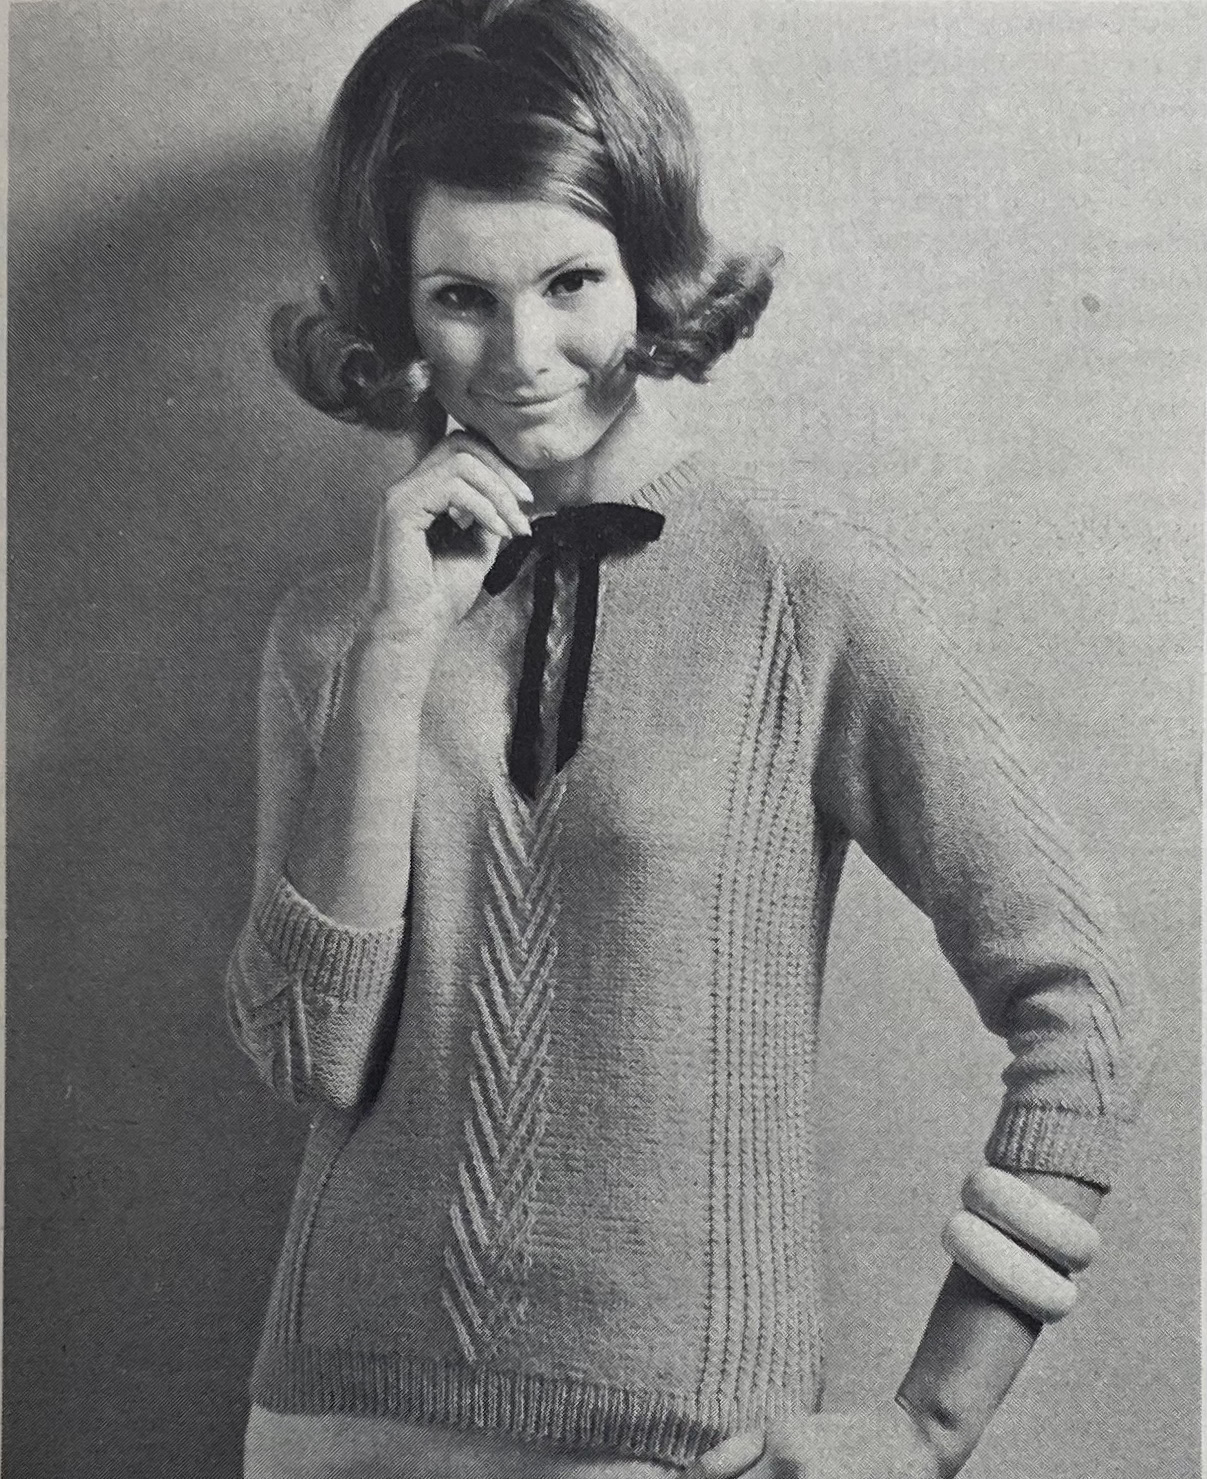
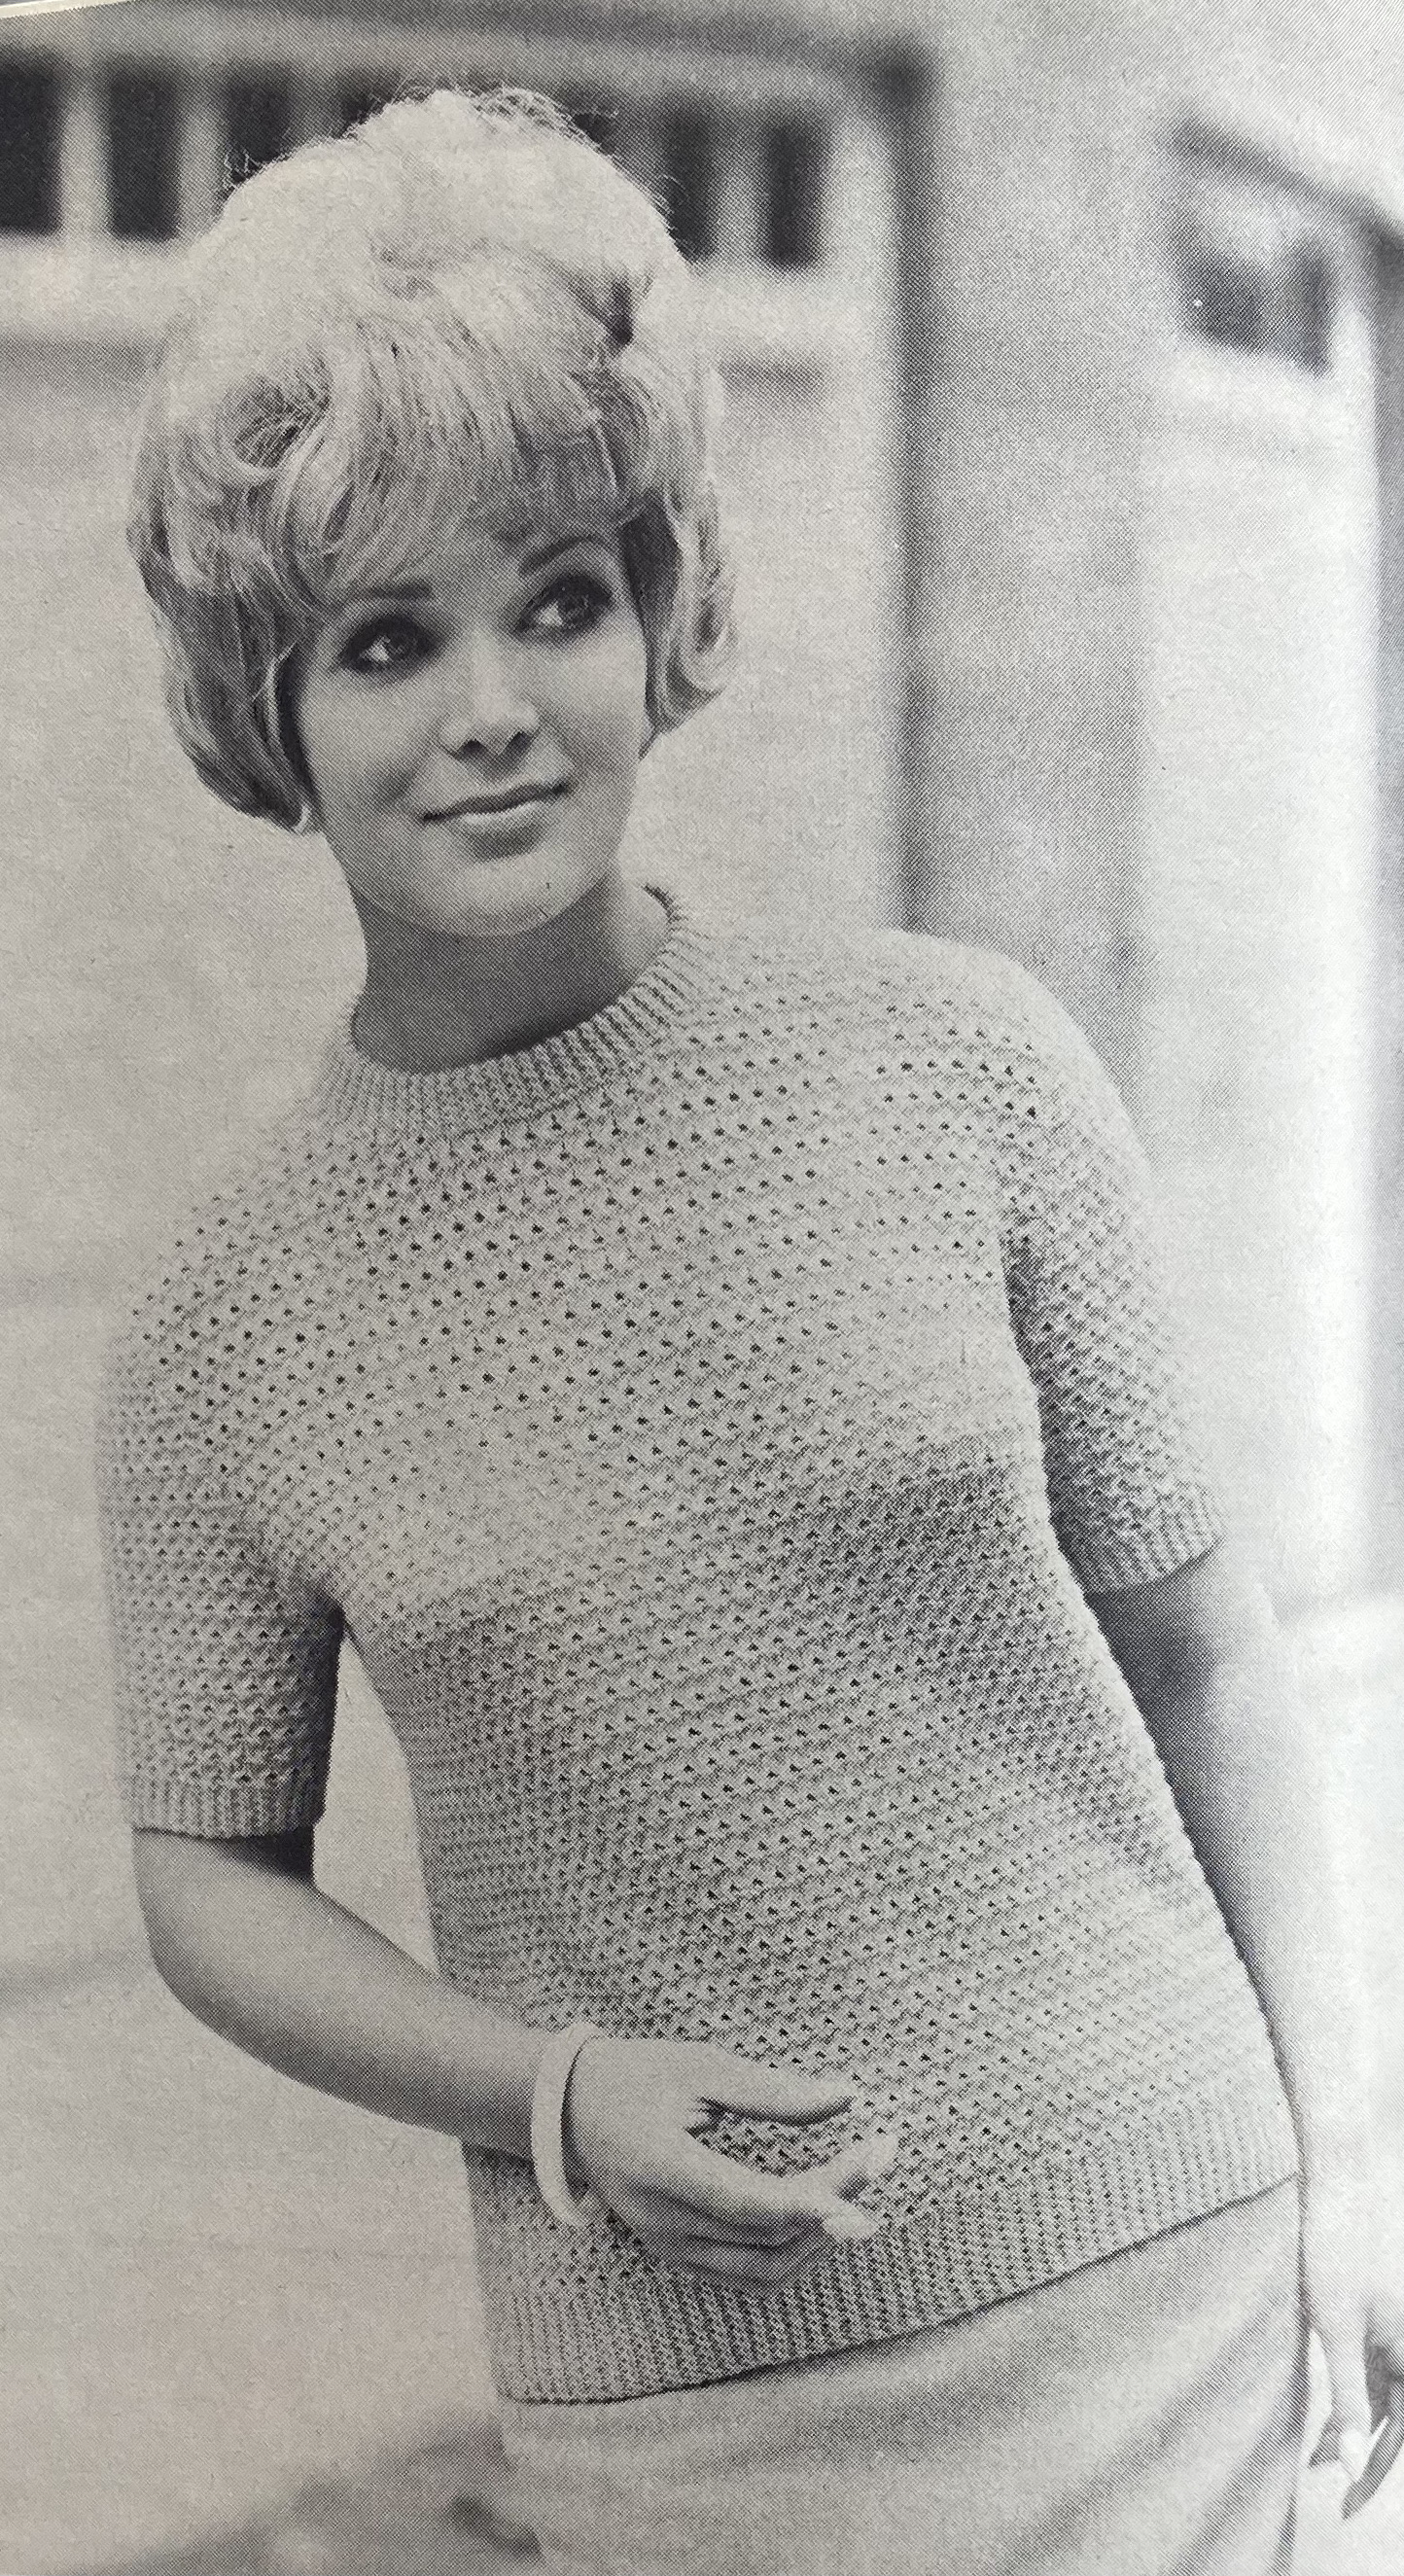
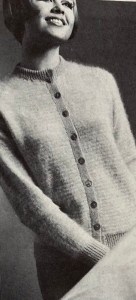
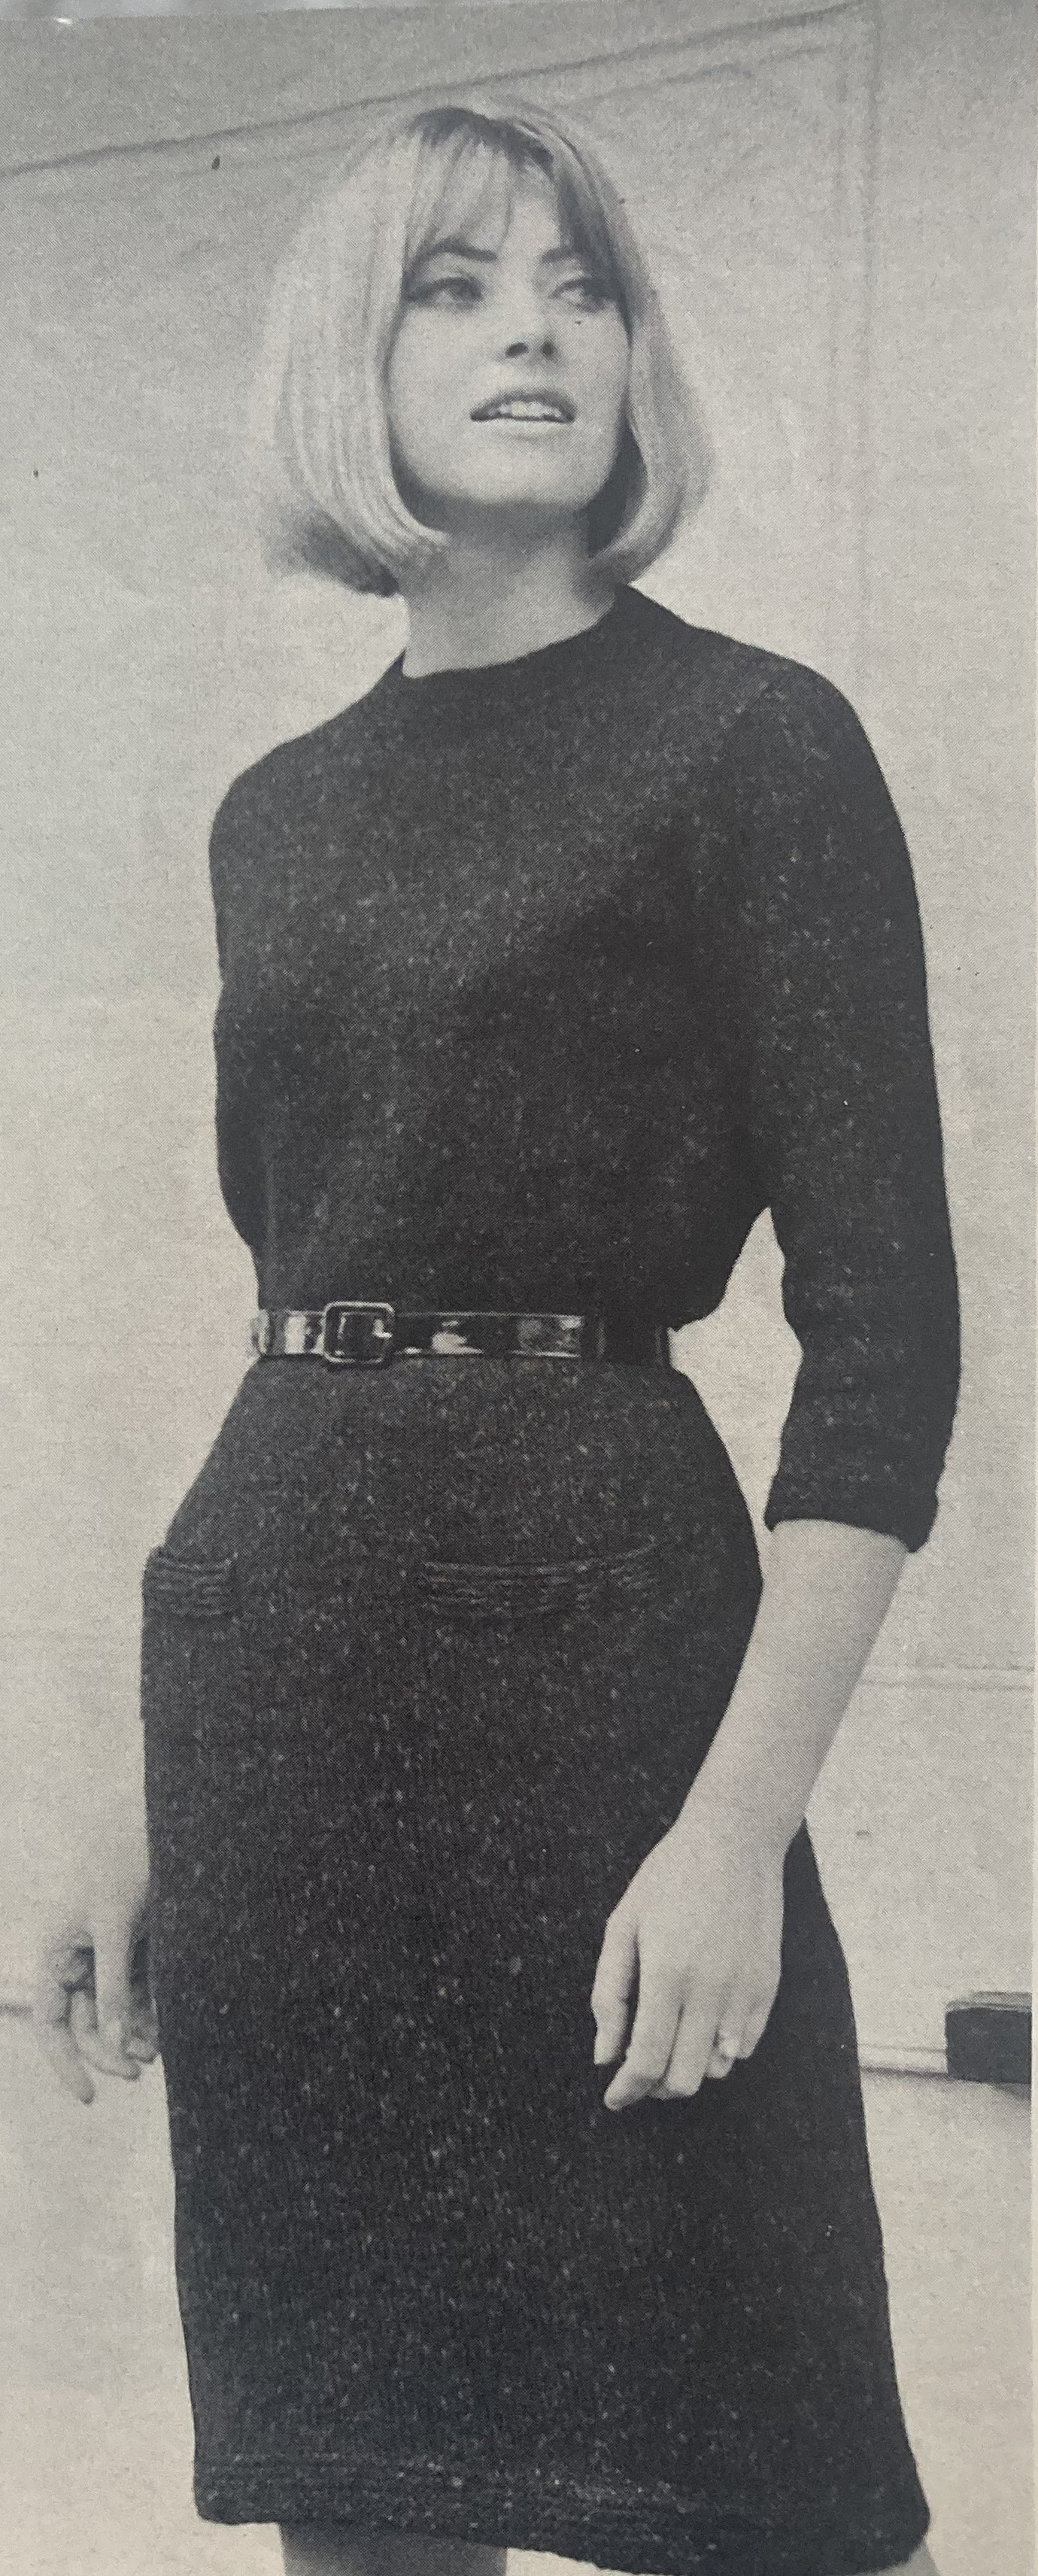
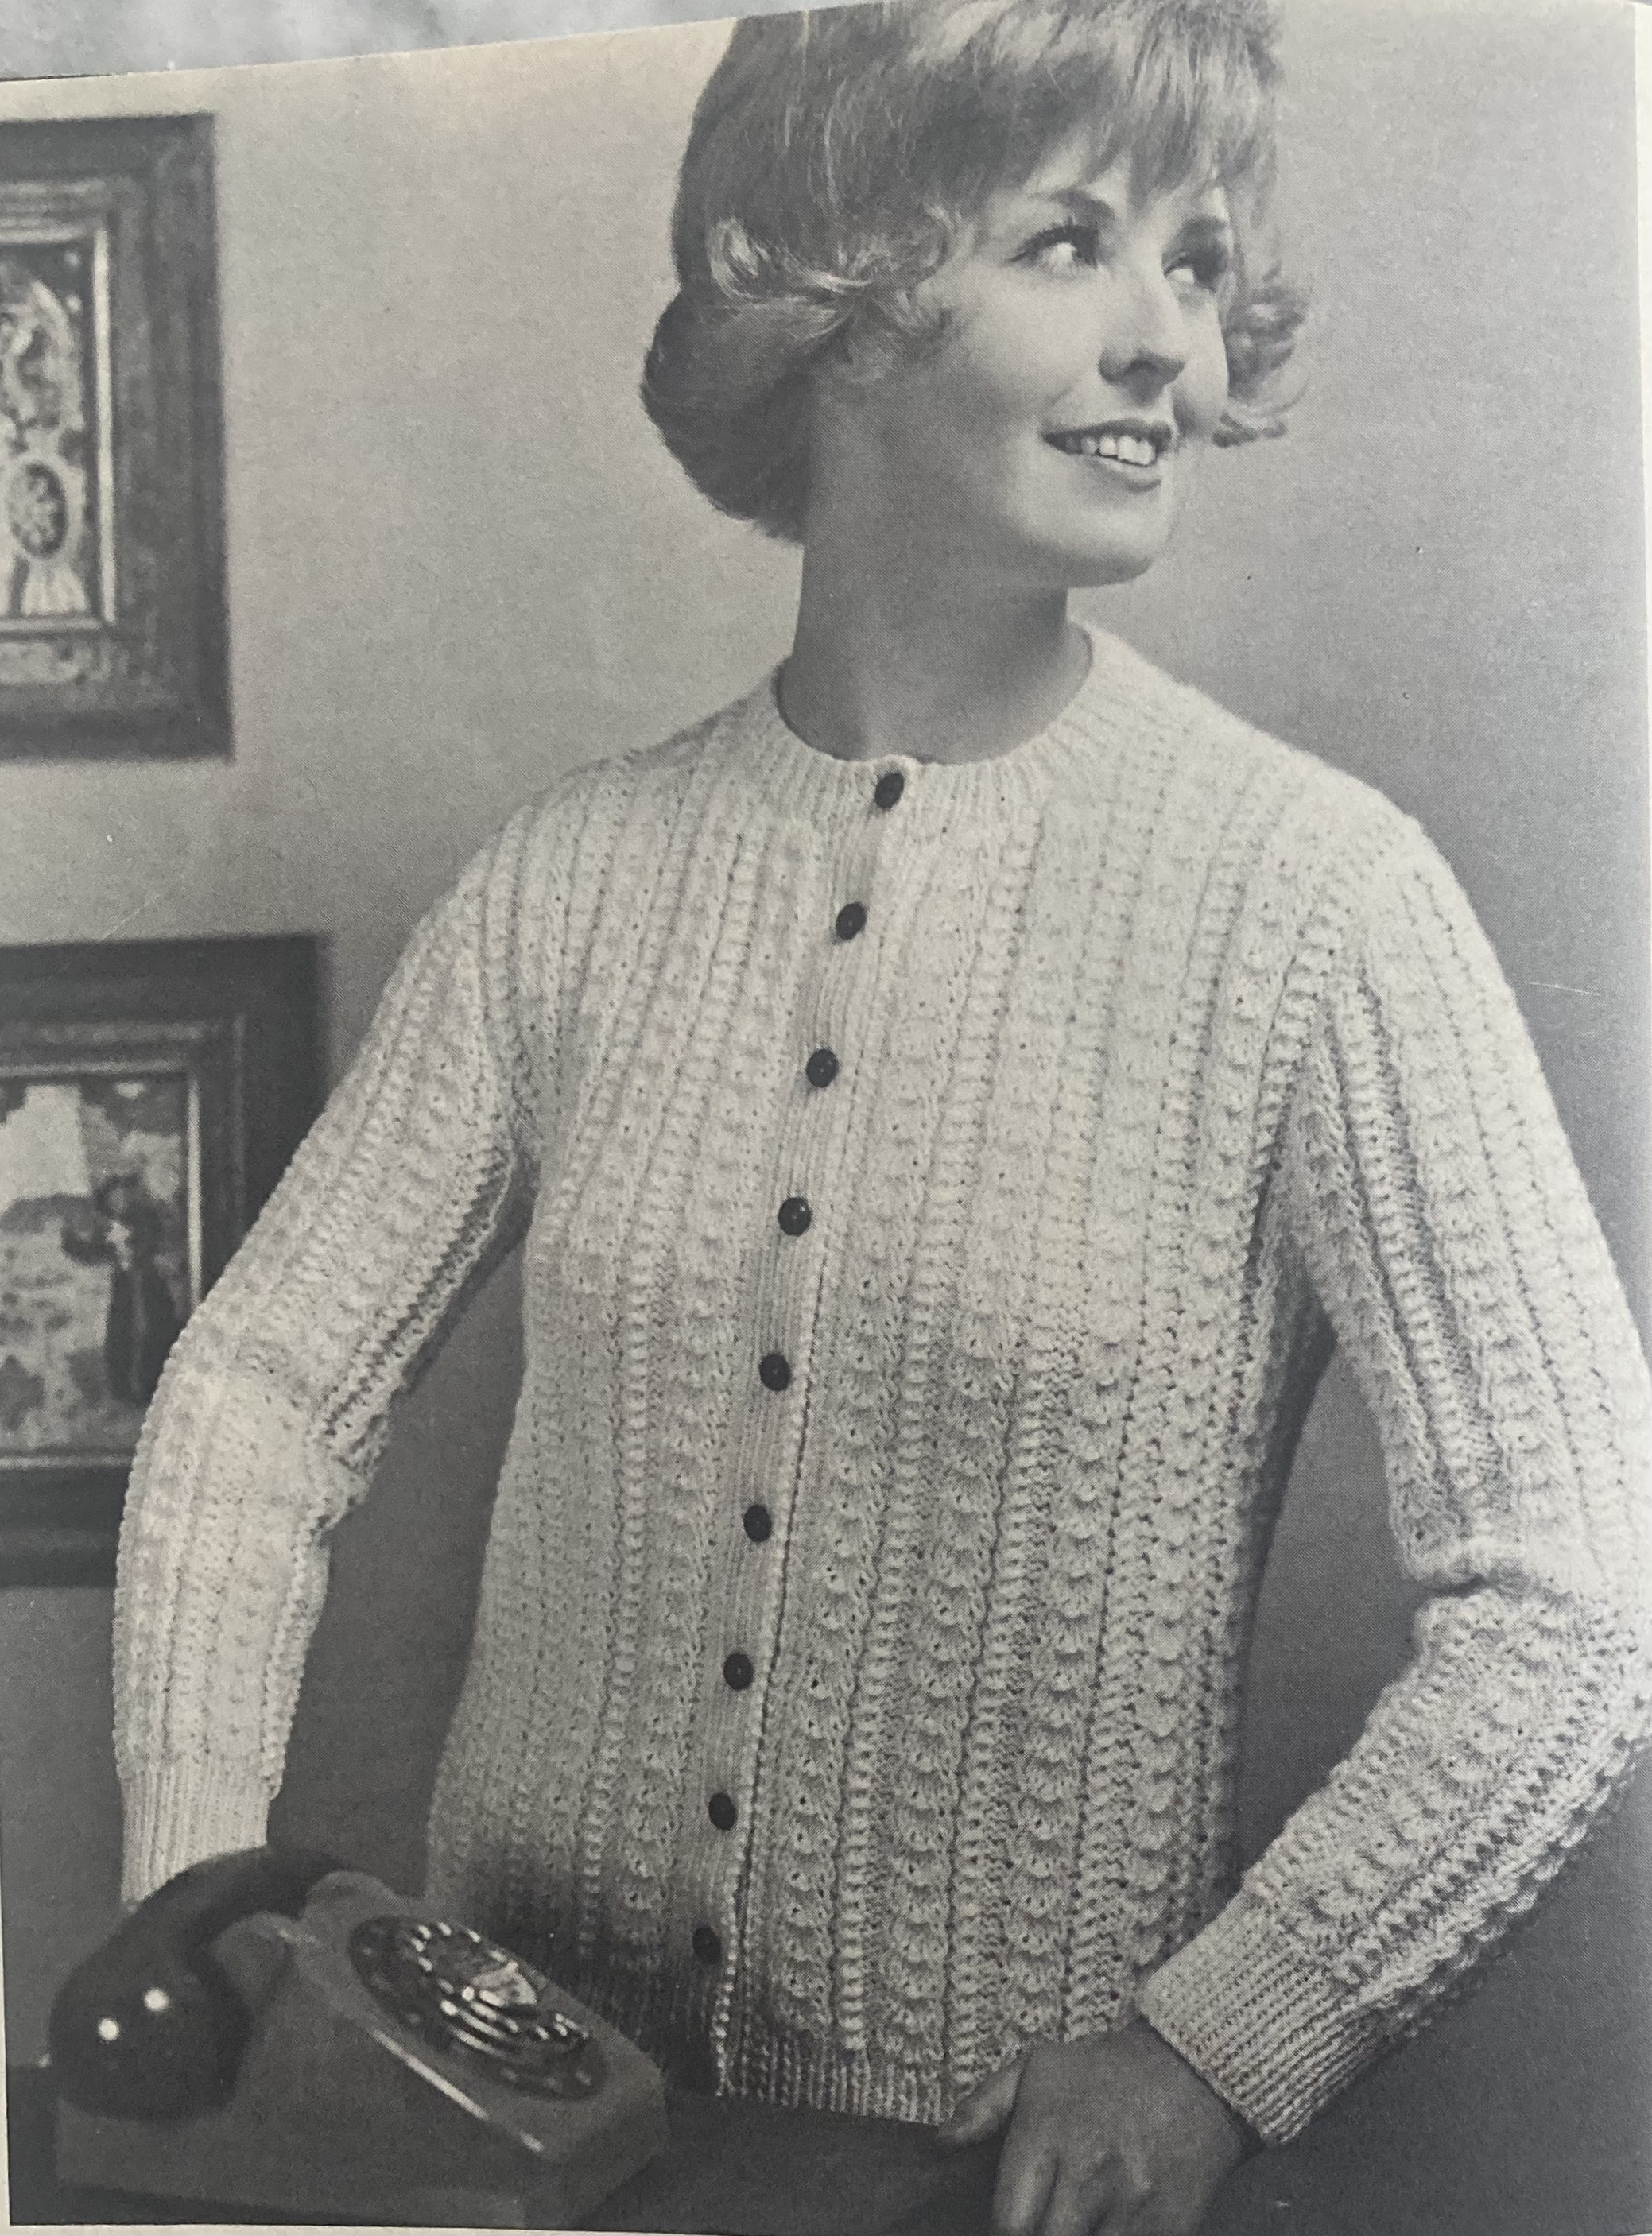
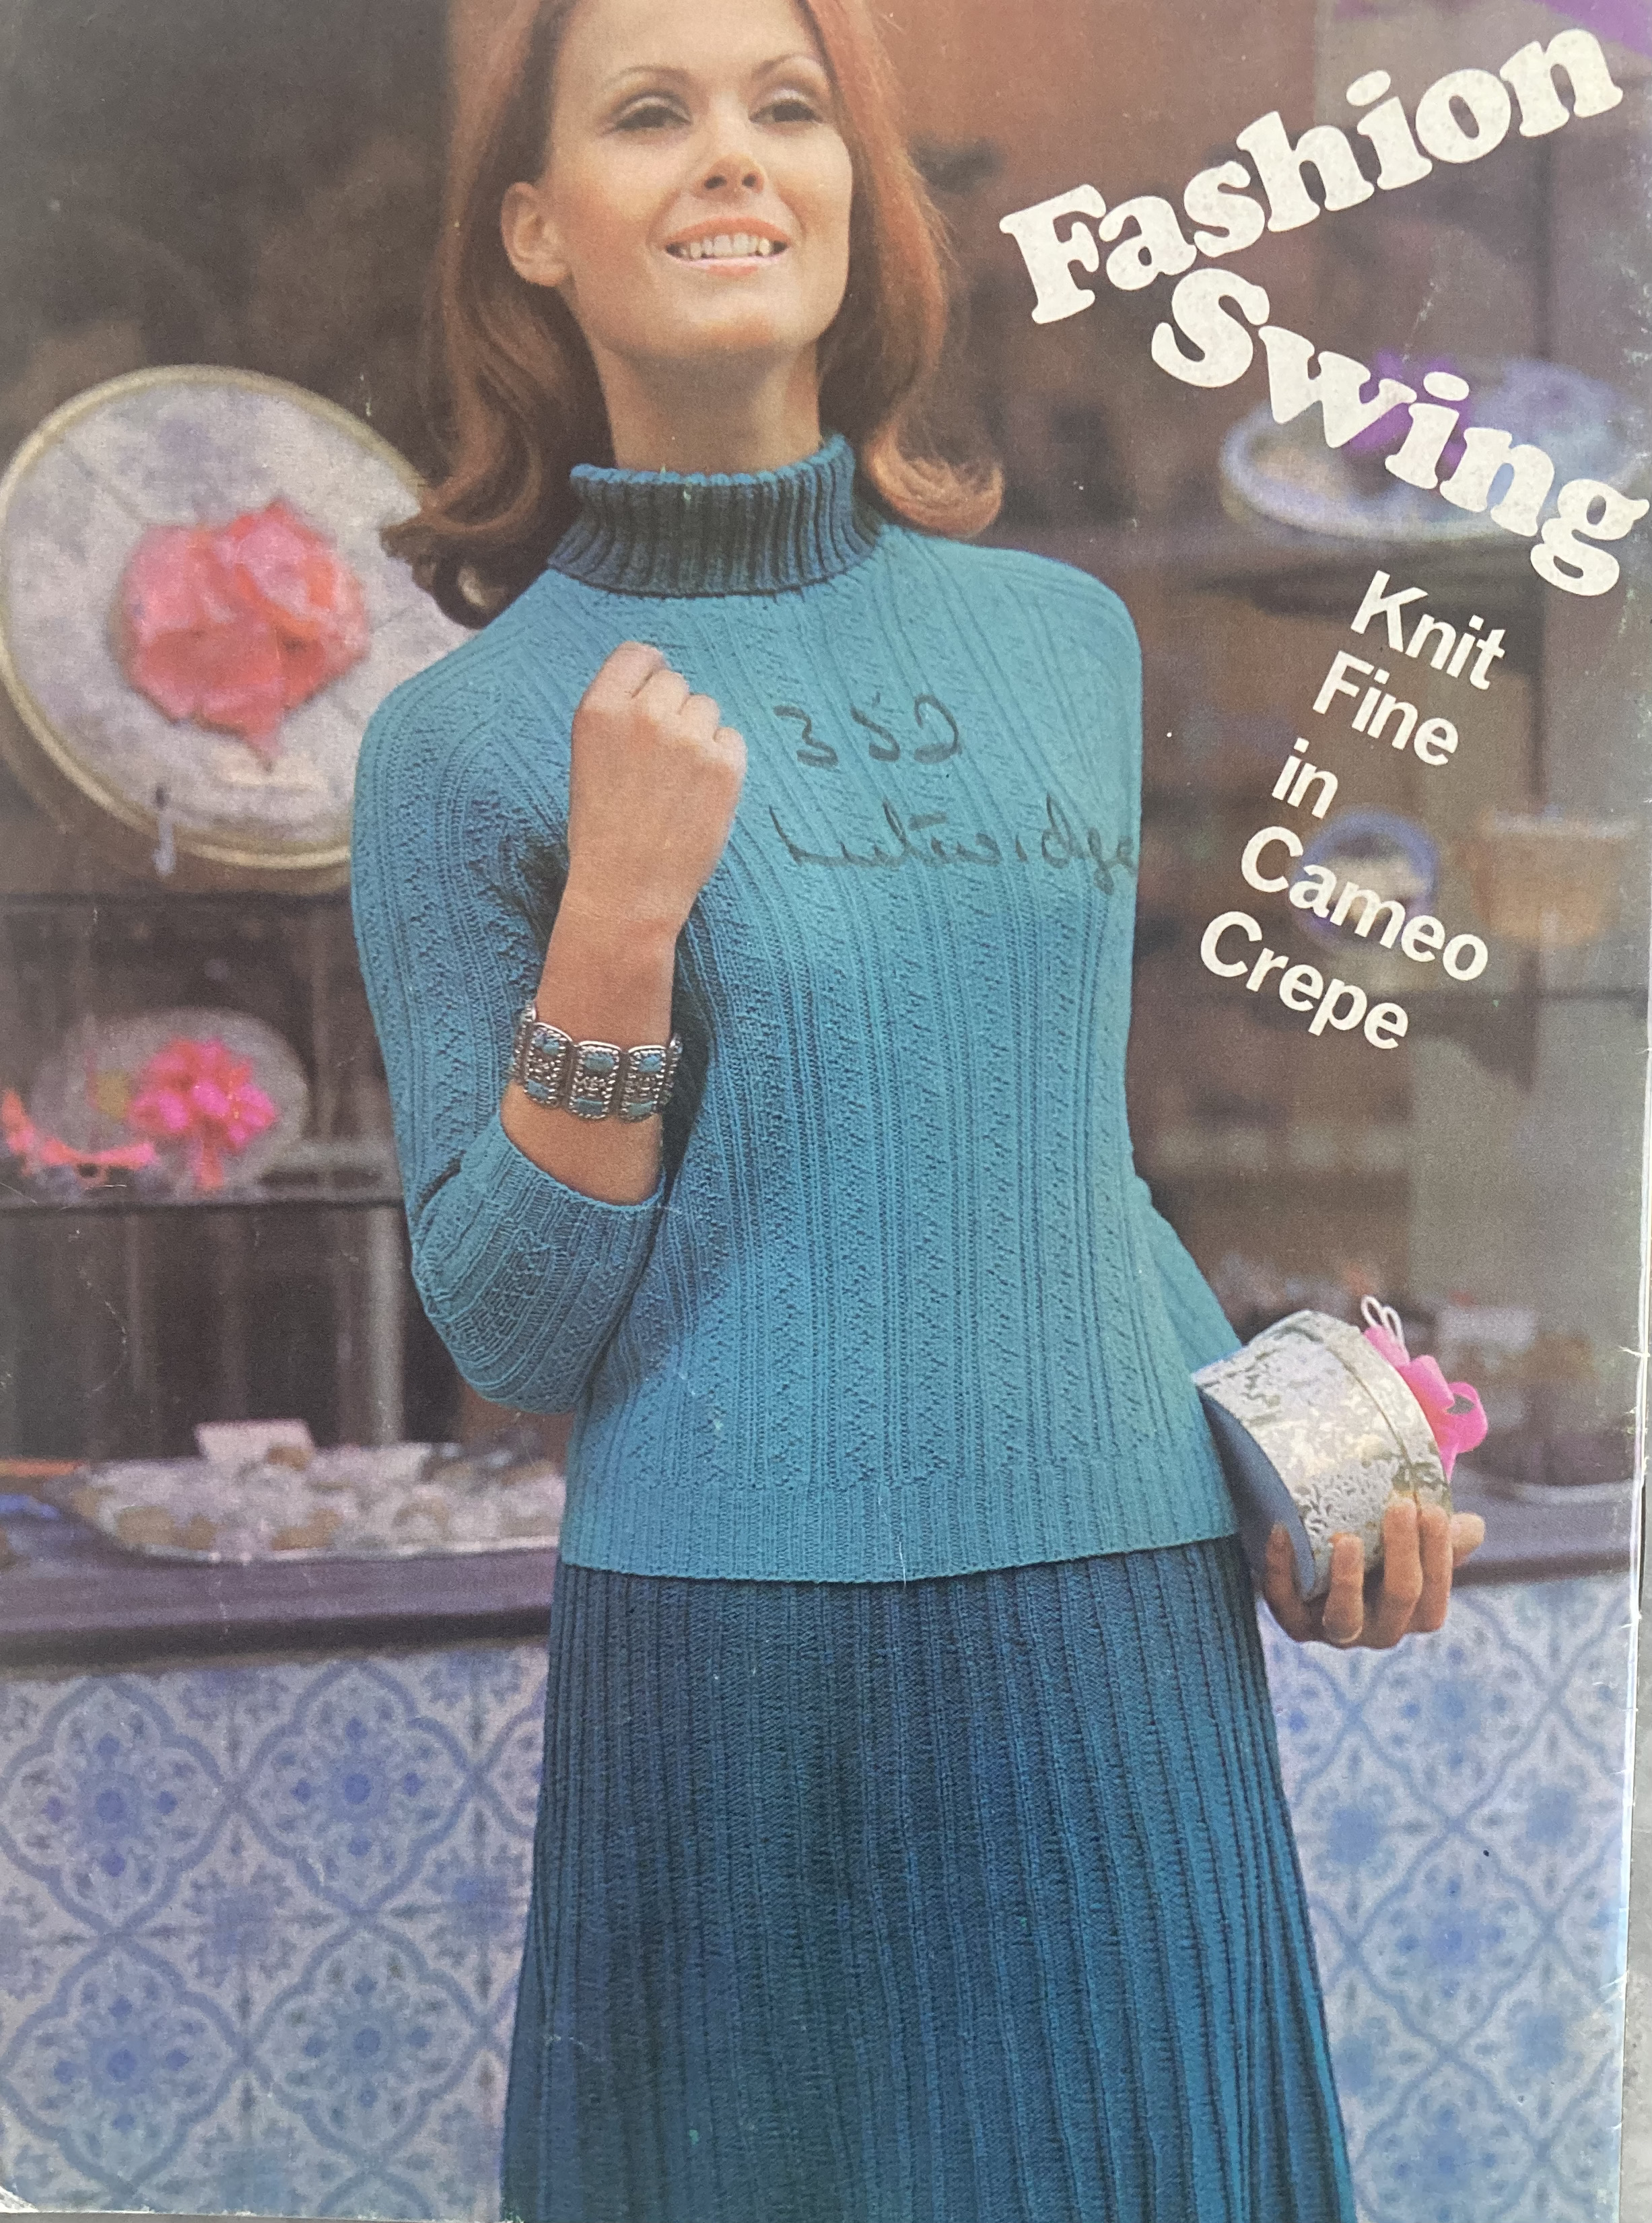
The other women’s fashions in this issue remain conservative: a warm tweed dress made in two parts sewn together at the waist (thus the obligatory belt), a cabled cardigan for larger sizes in thick, undyed “Capstan” wool, a lightweight wool jumper and swingy knee-length skirt in a “gay note” of blue or a “harlequin” pattern jumper in “bold” 1960s colours of white, gold and brown. I feel exactly the same way as the model in the colour photo when I finish a project and find that perfect gift on the same day.

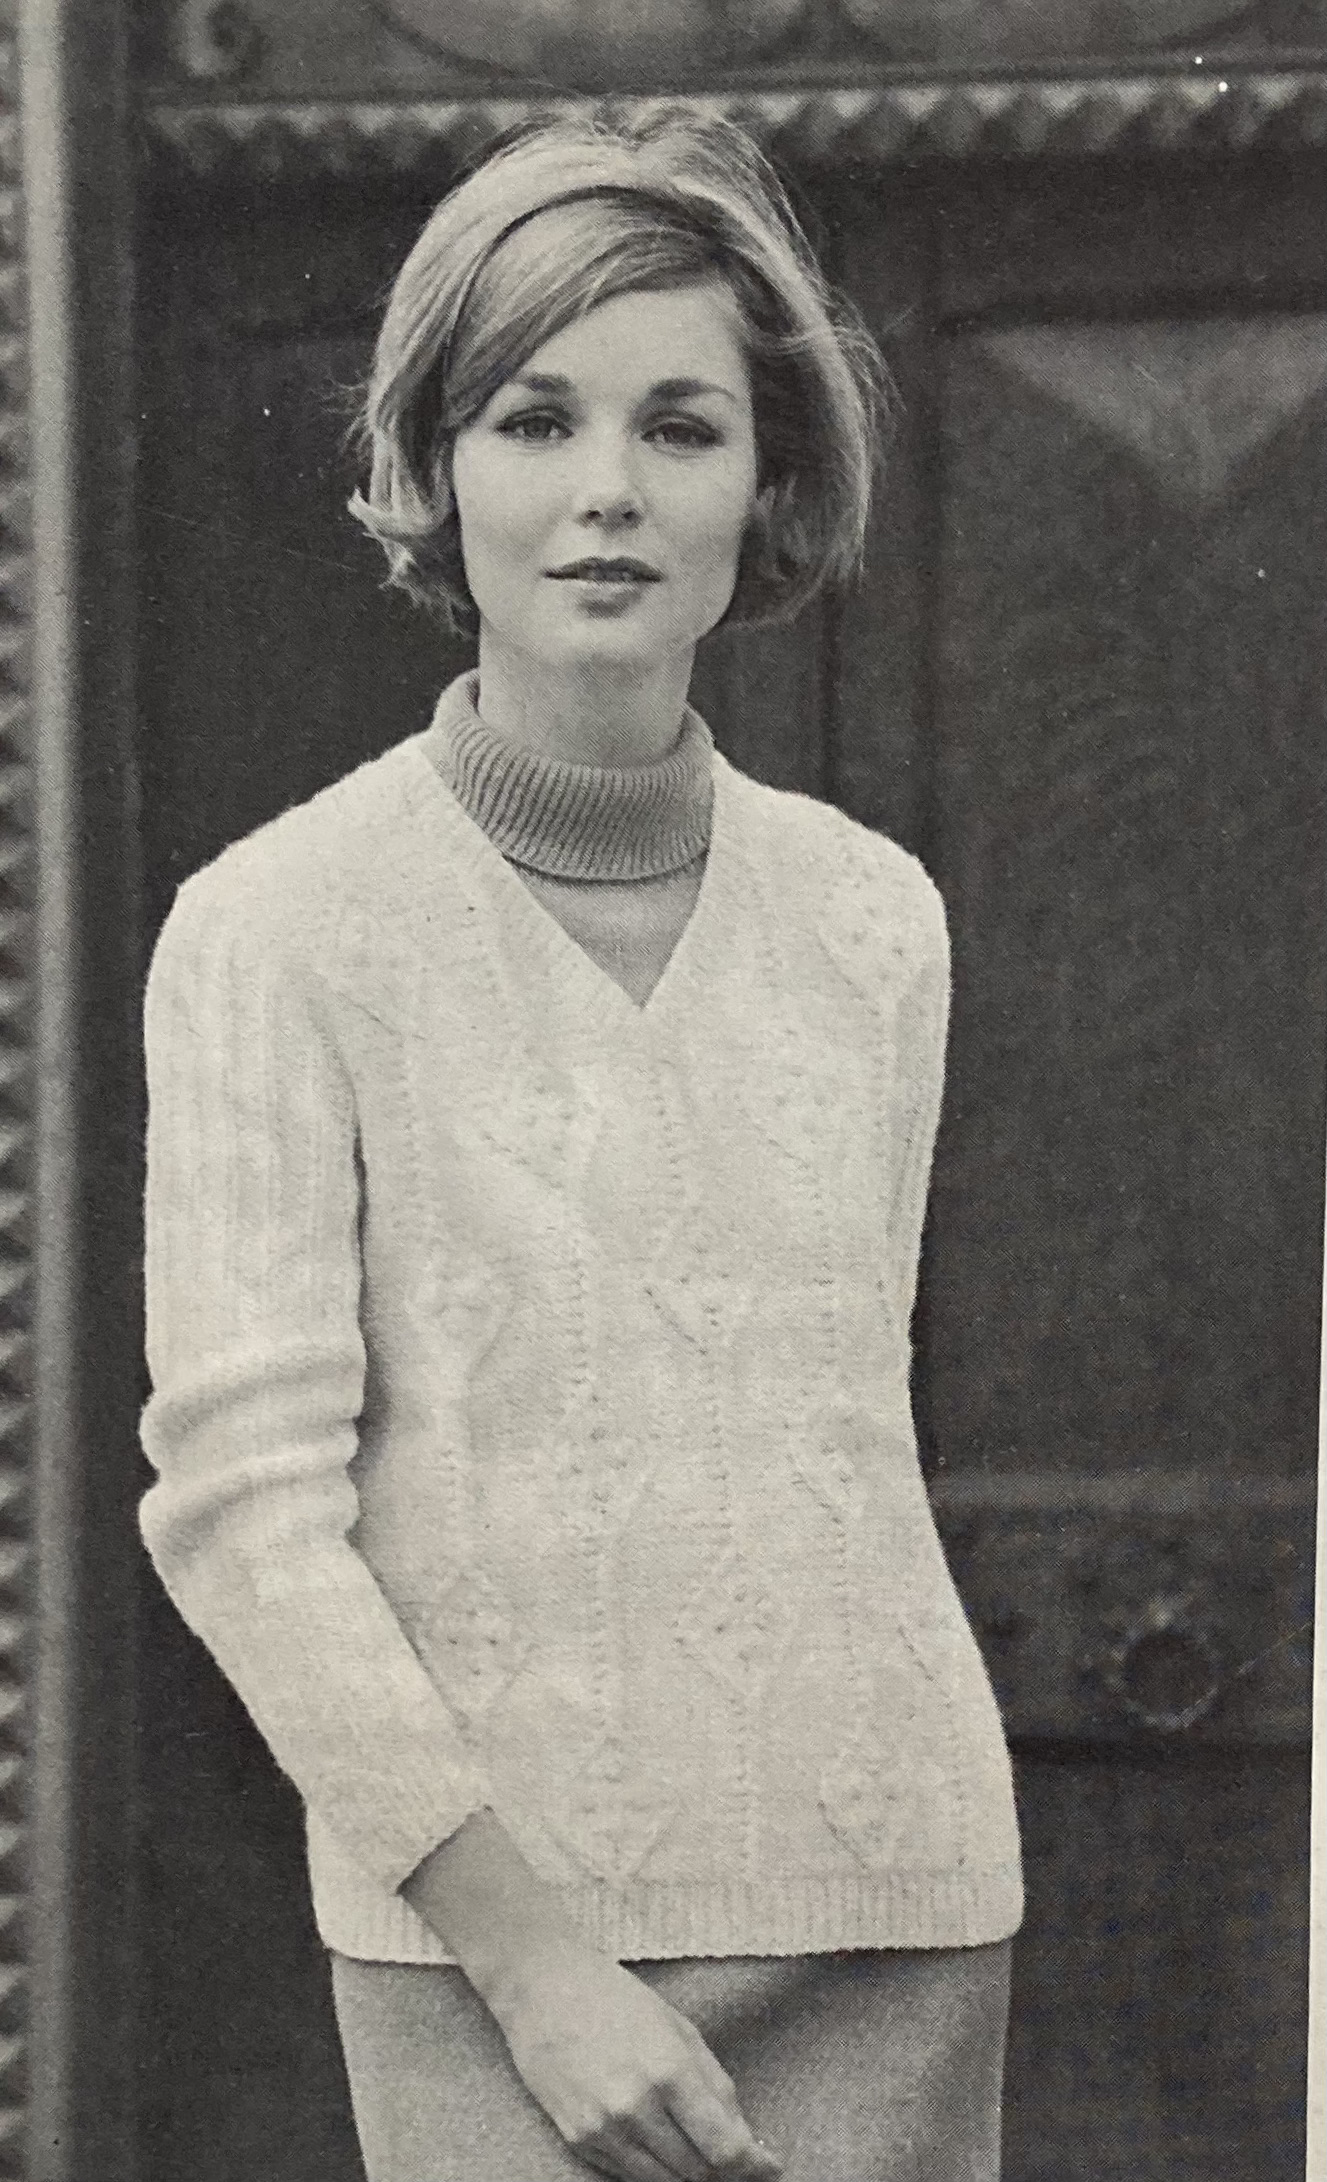
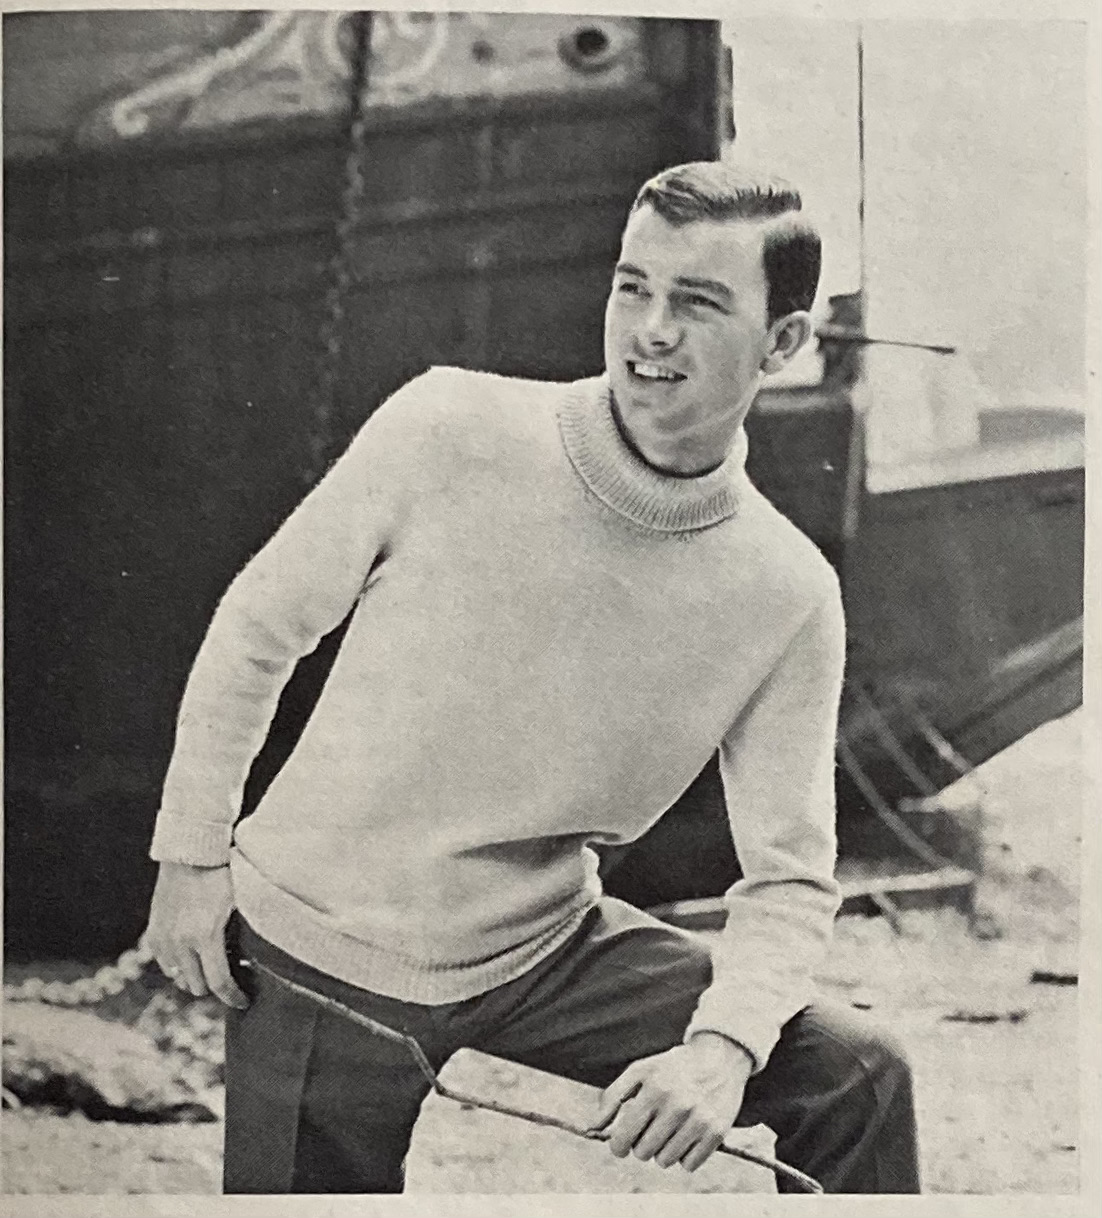
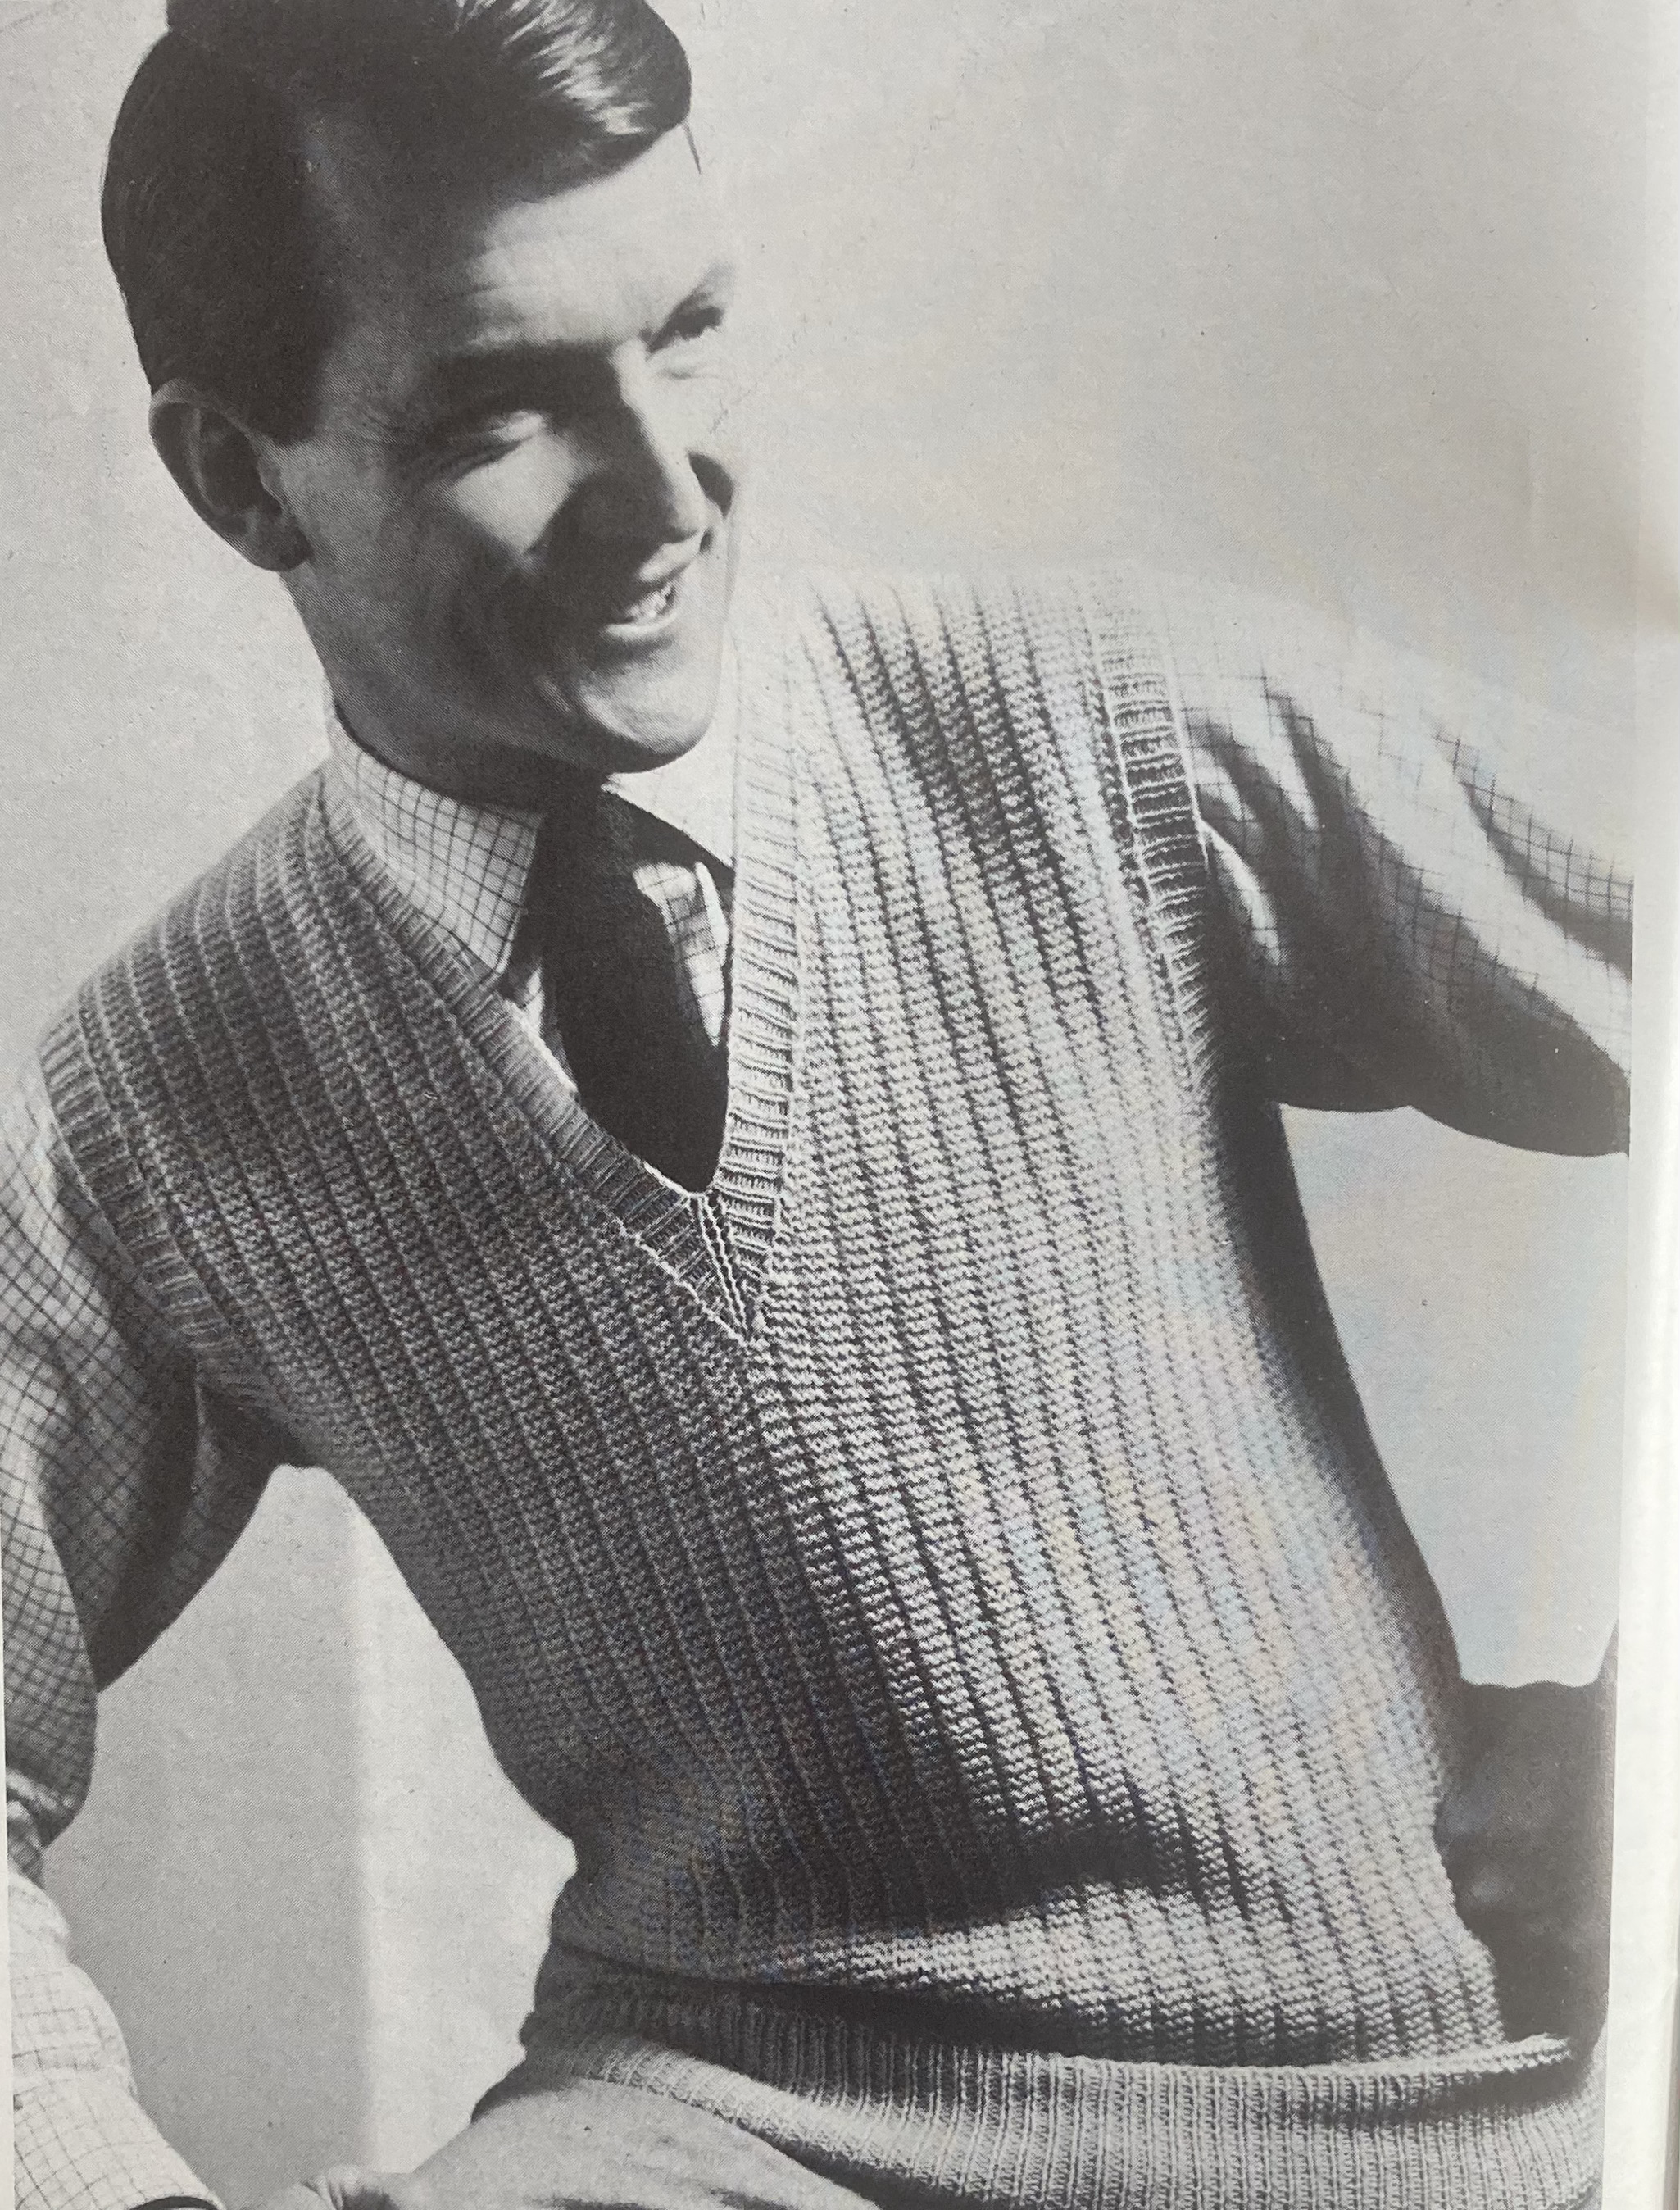
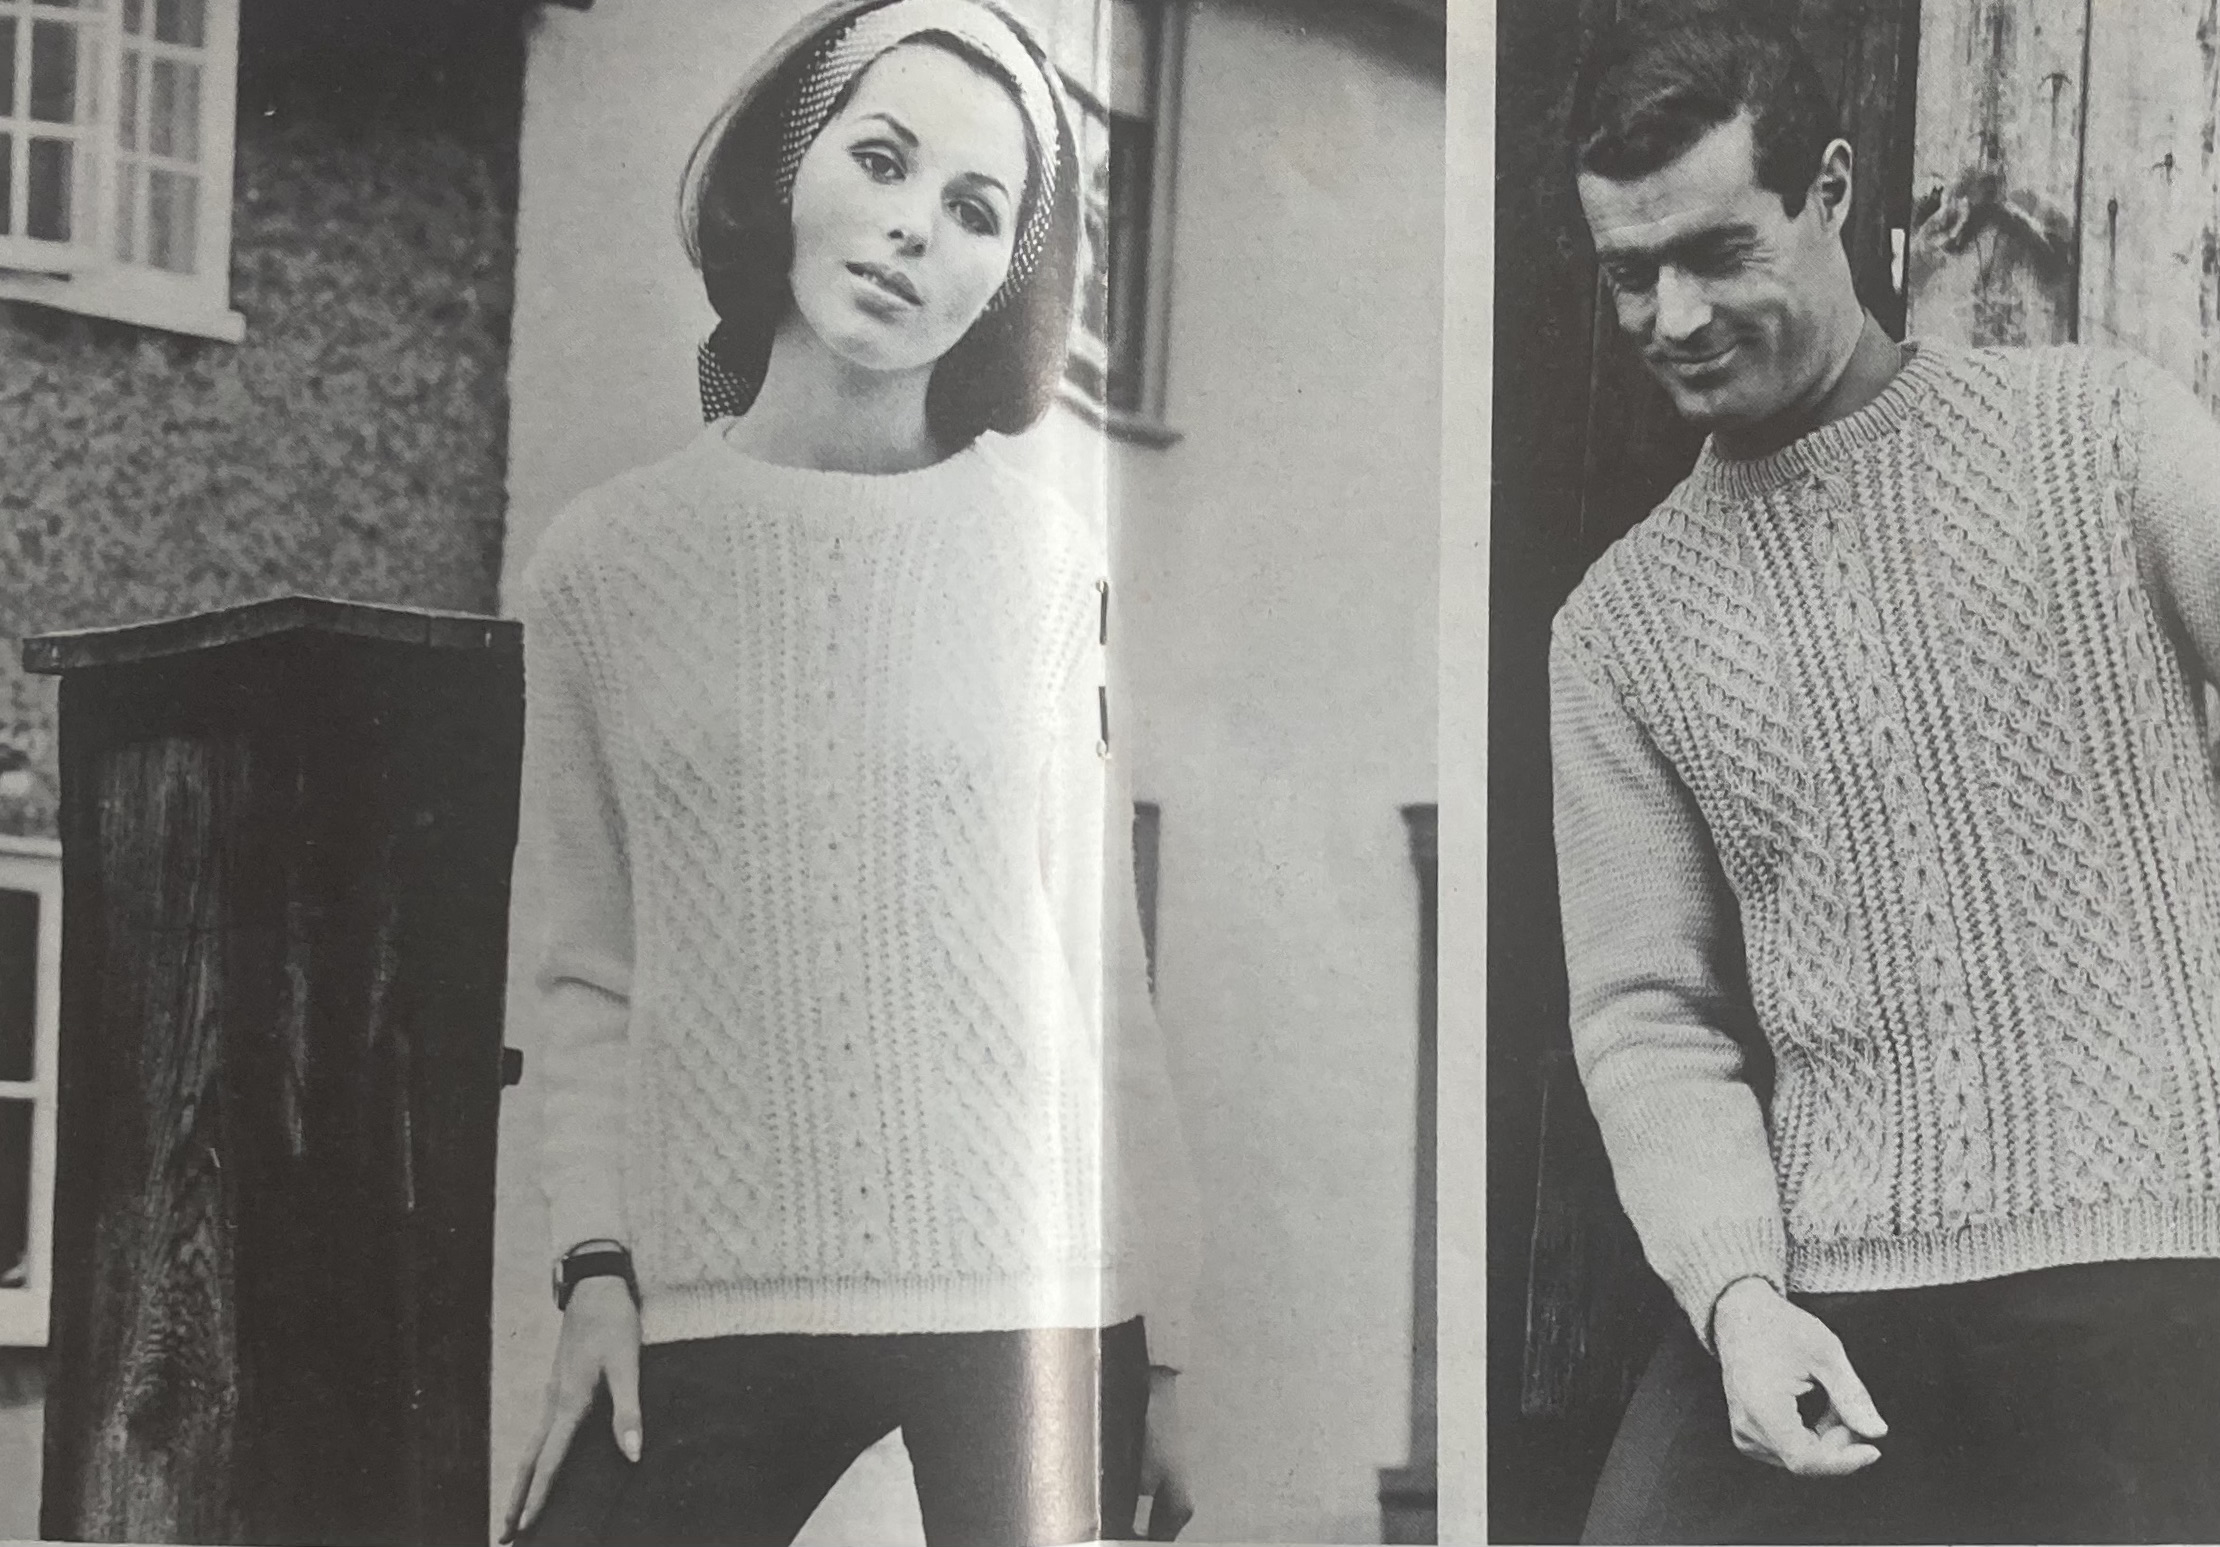
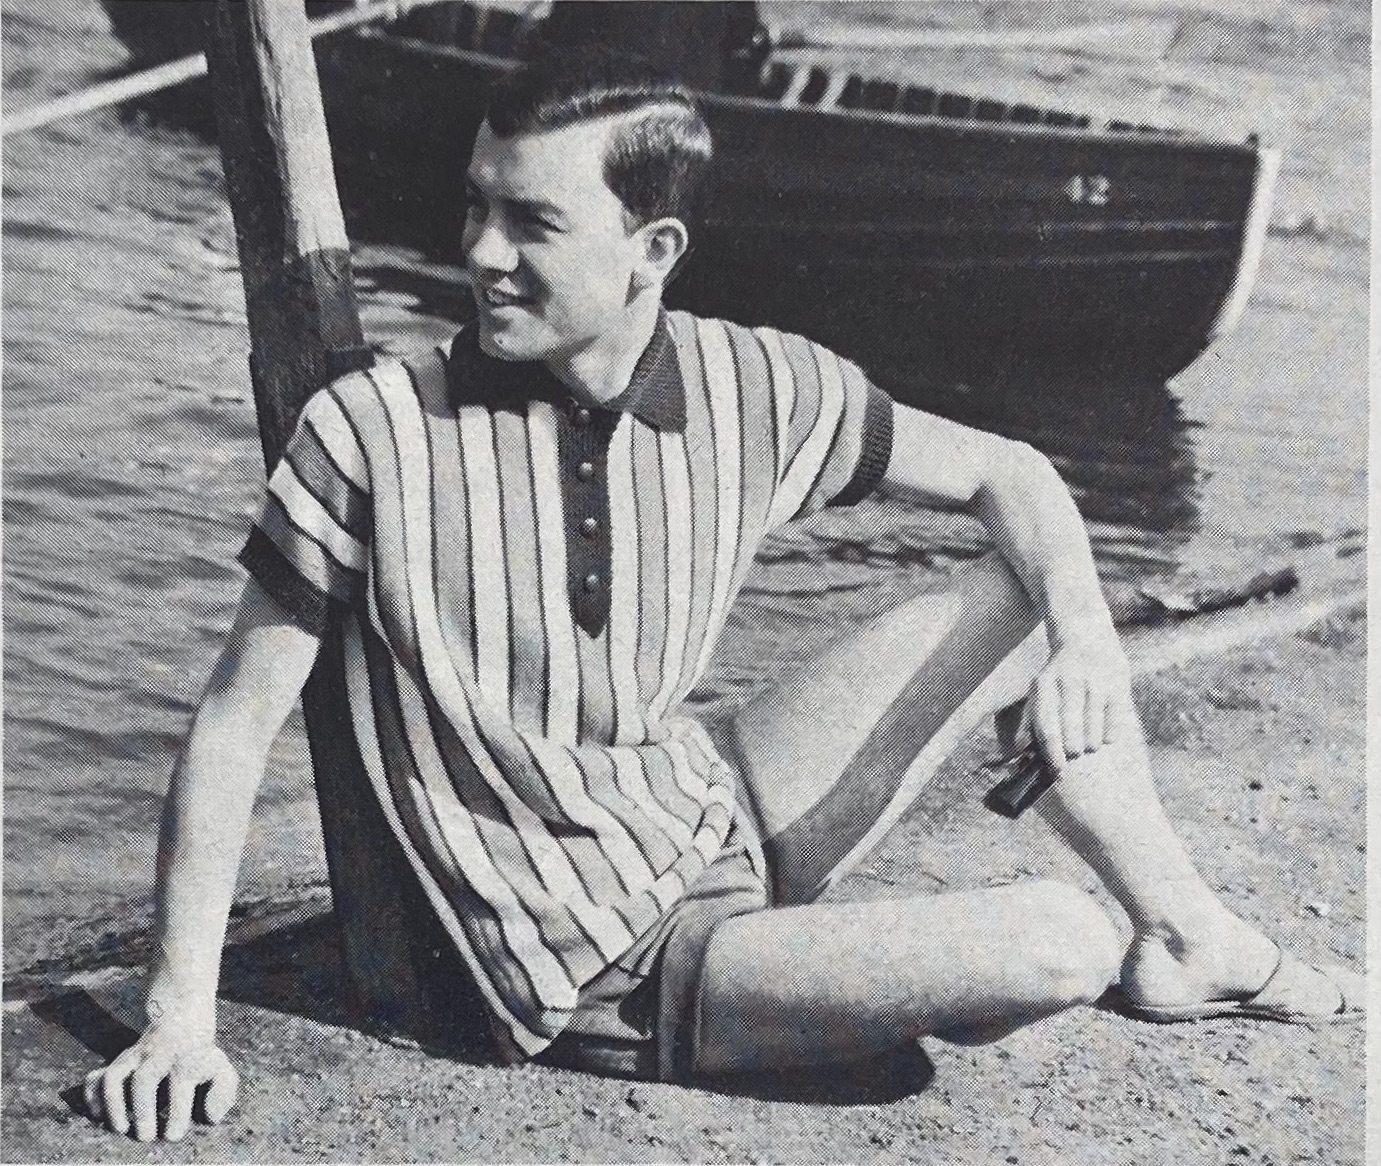
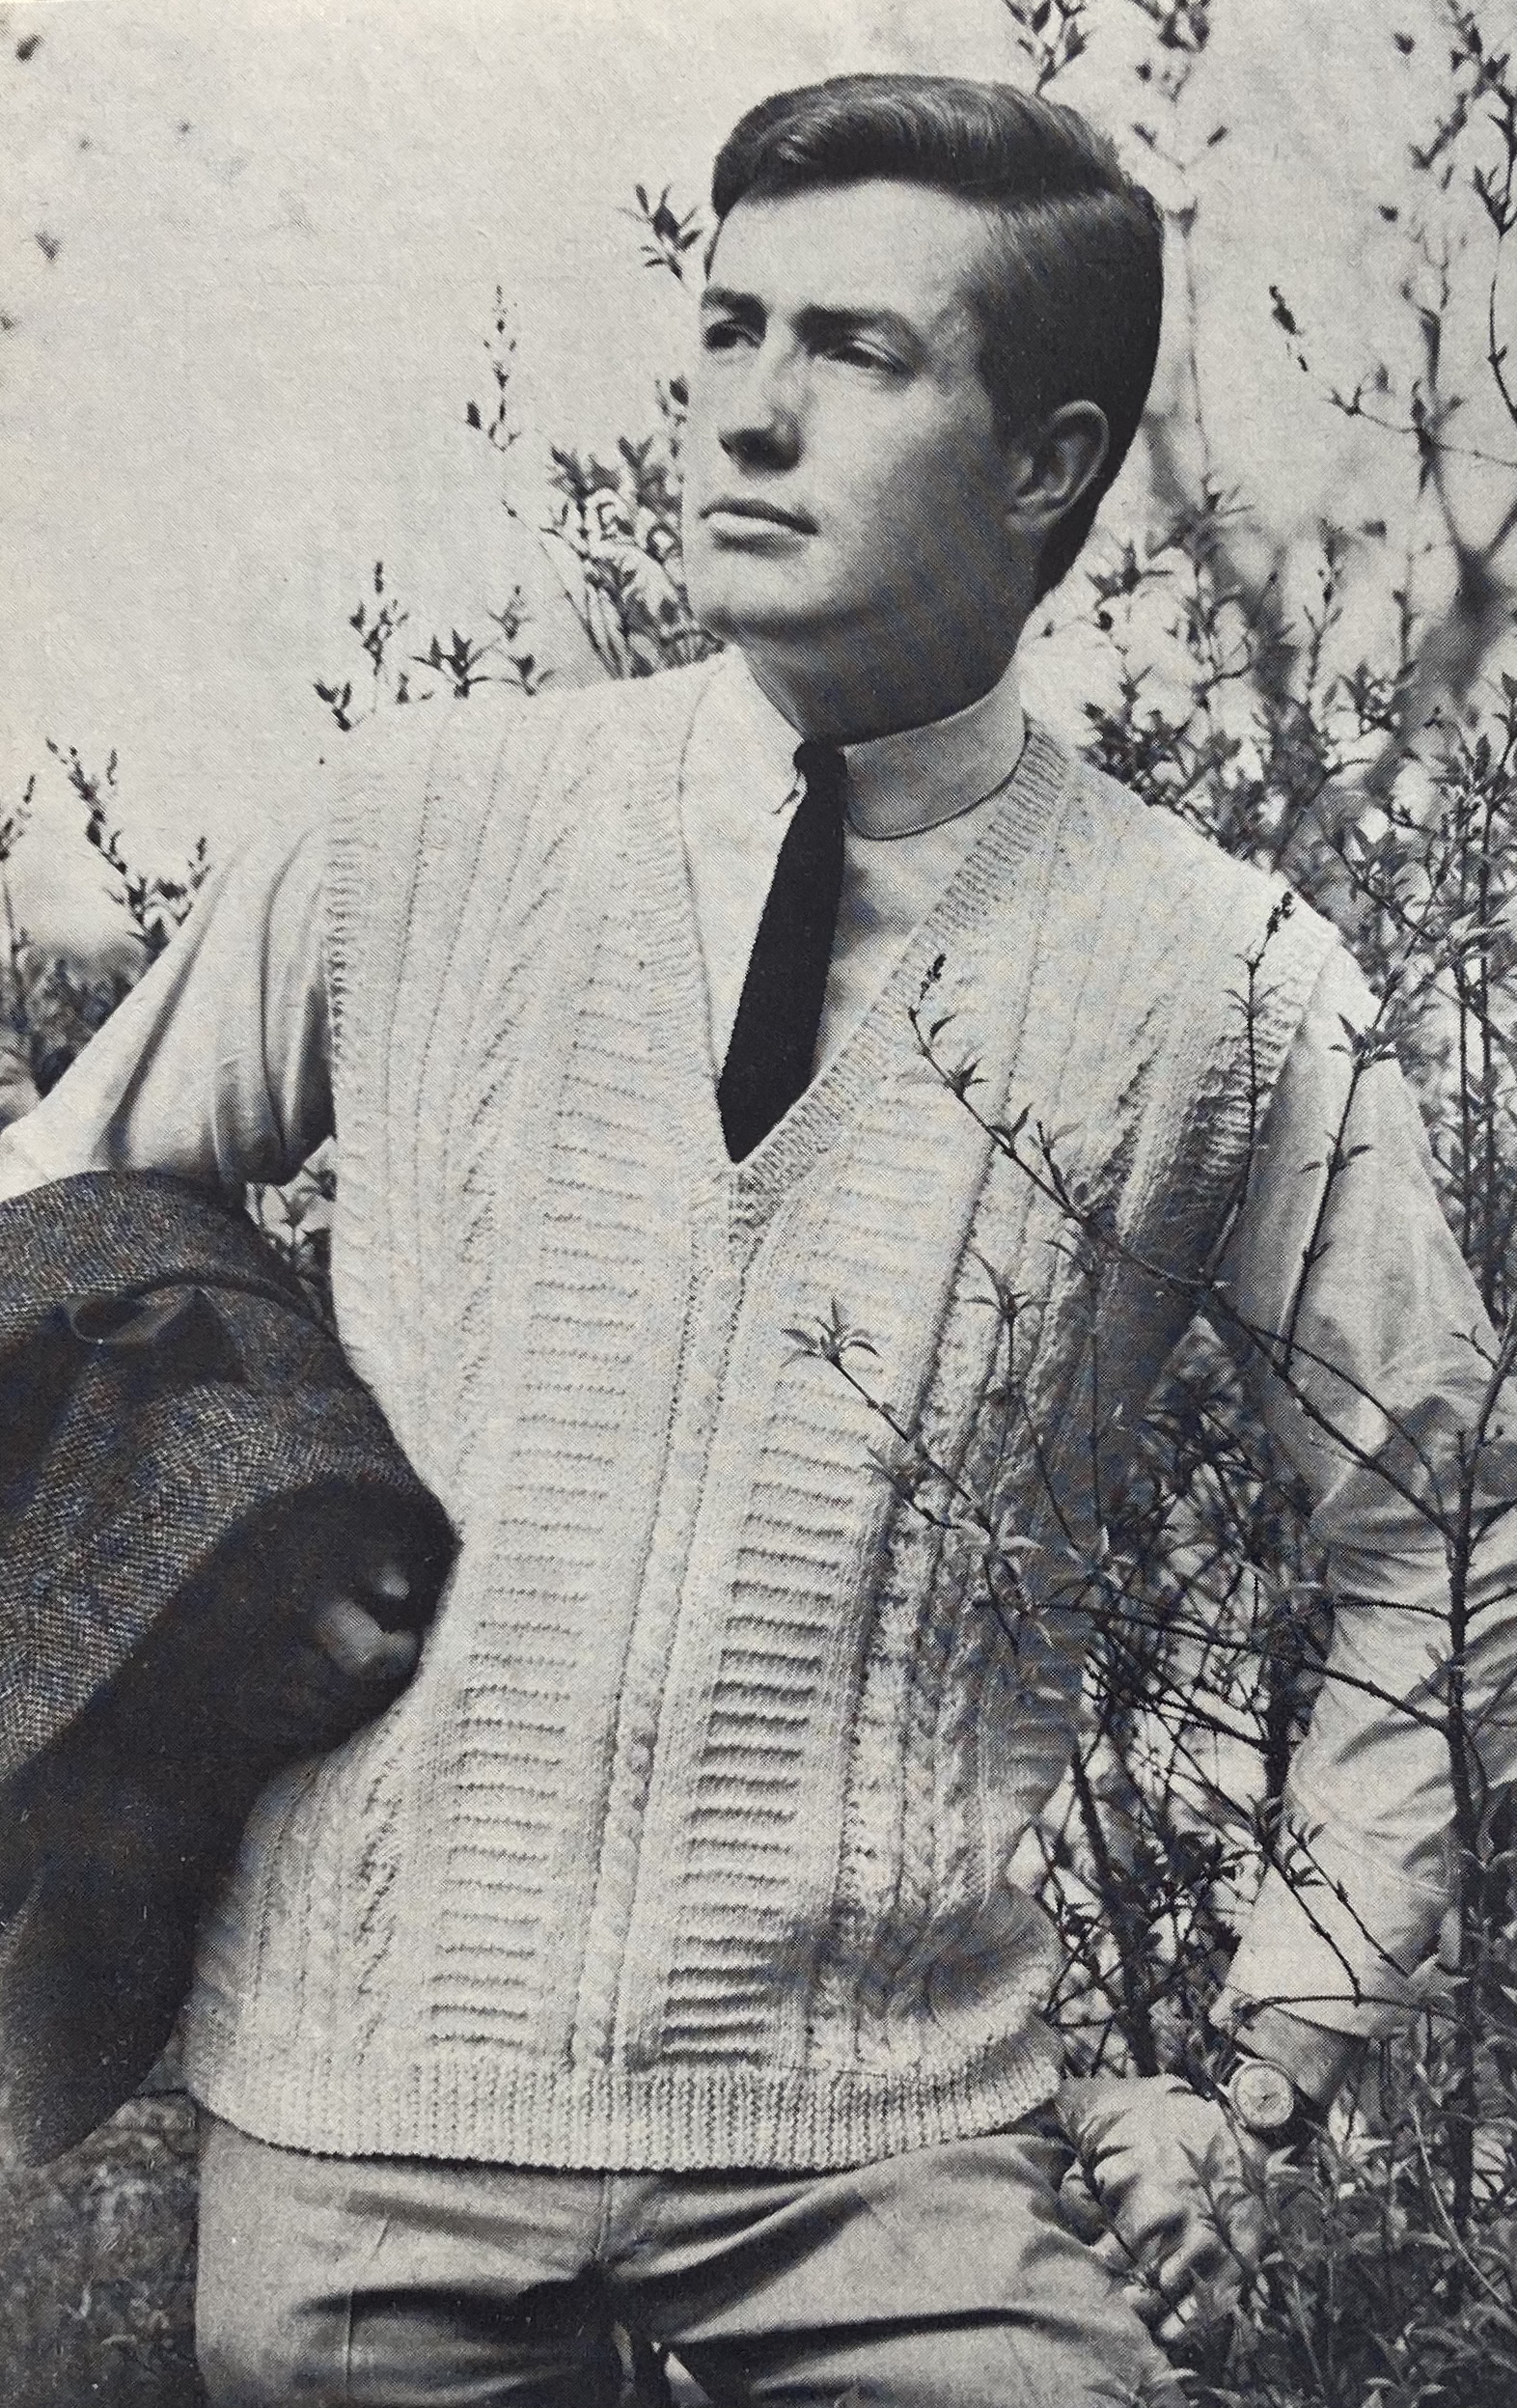
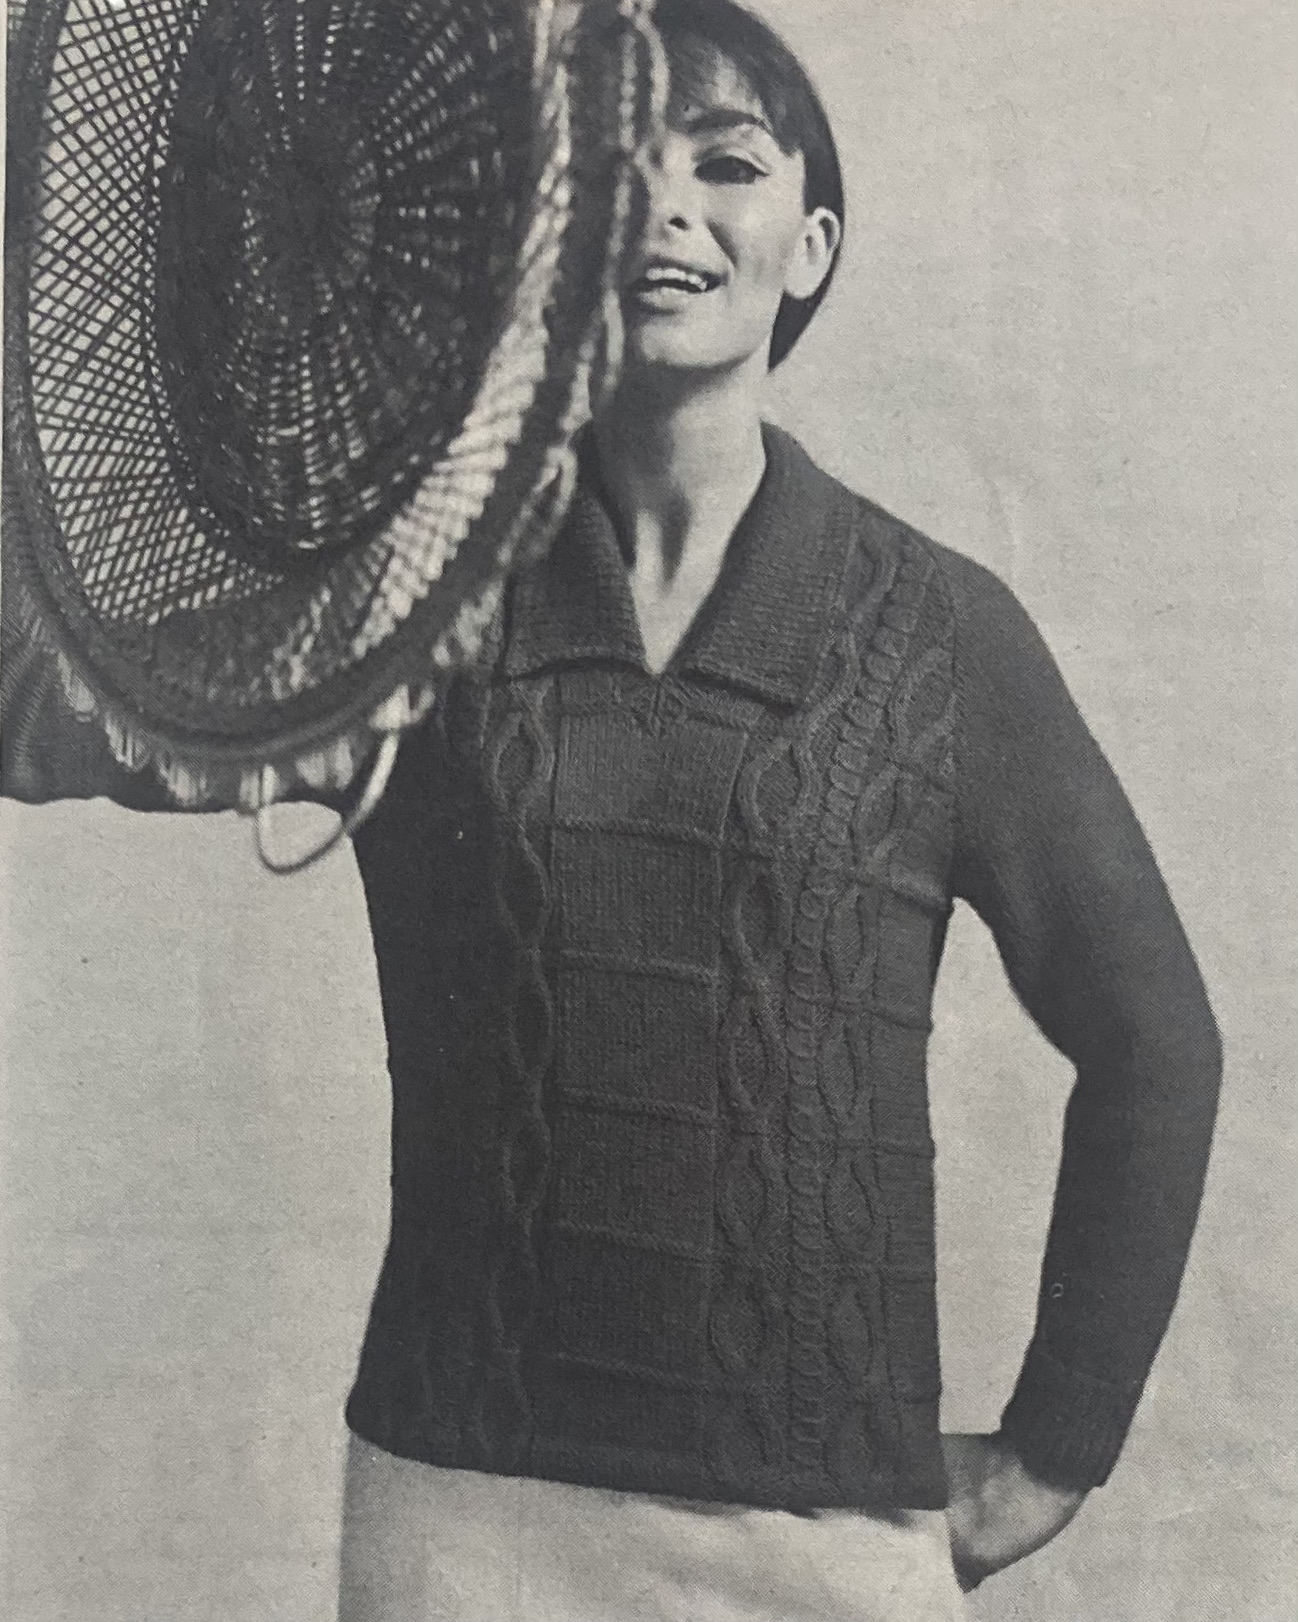
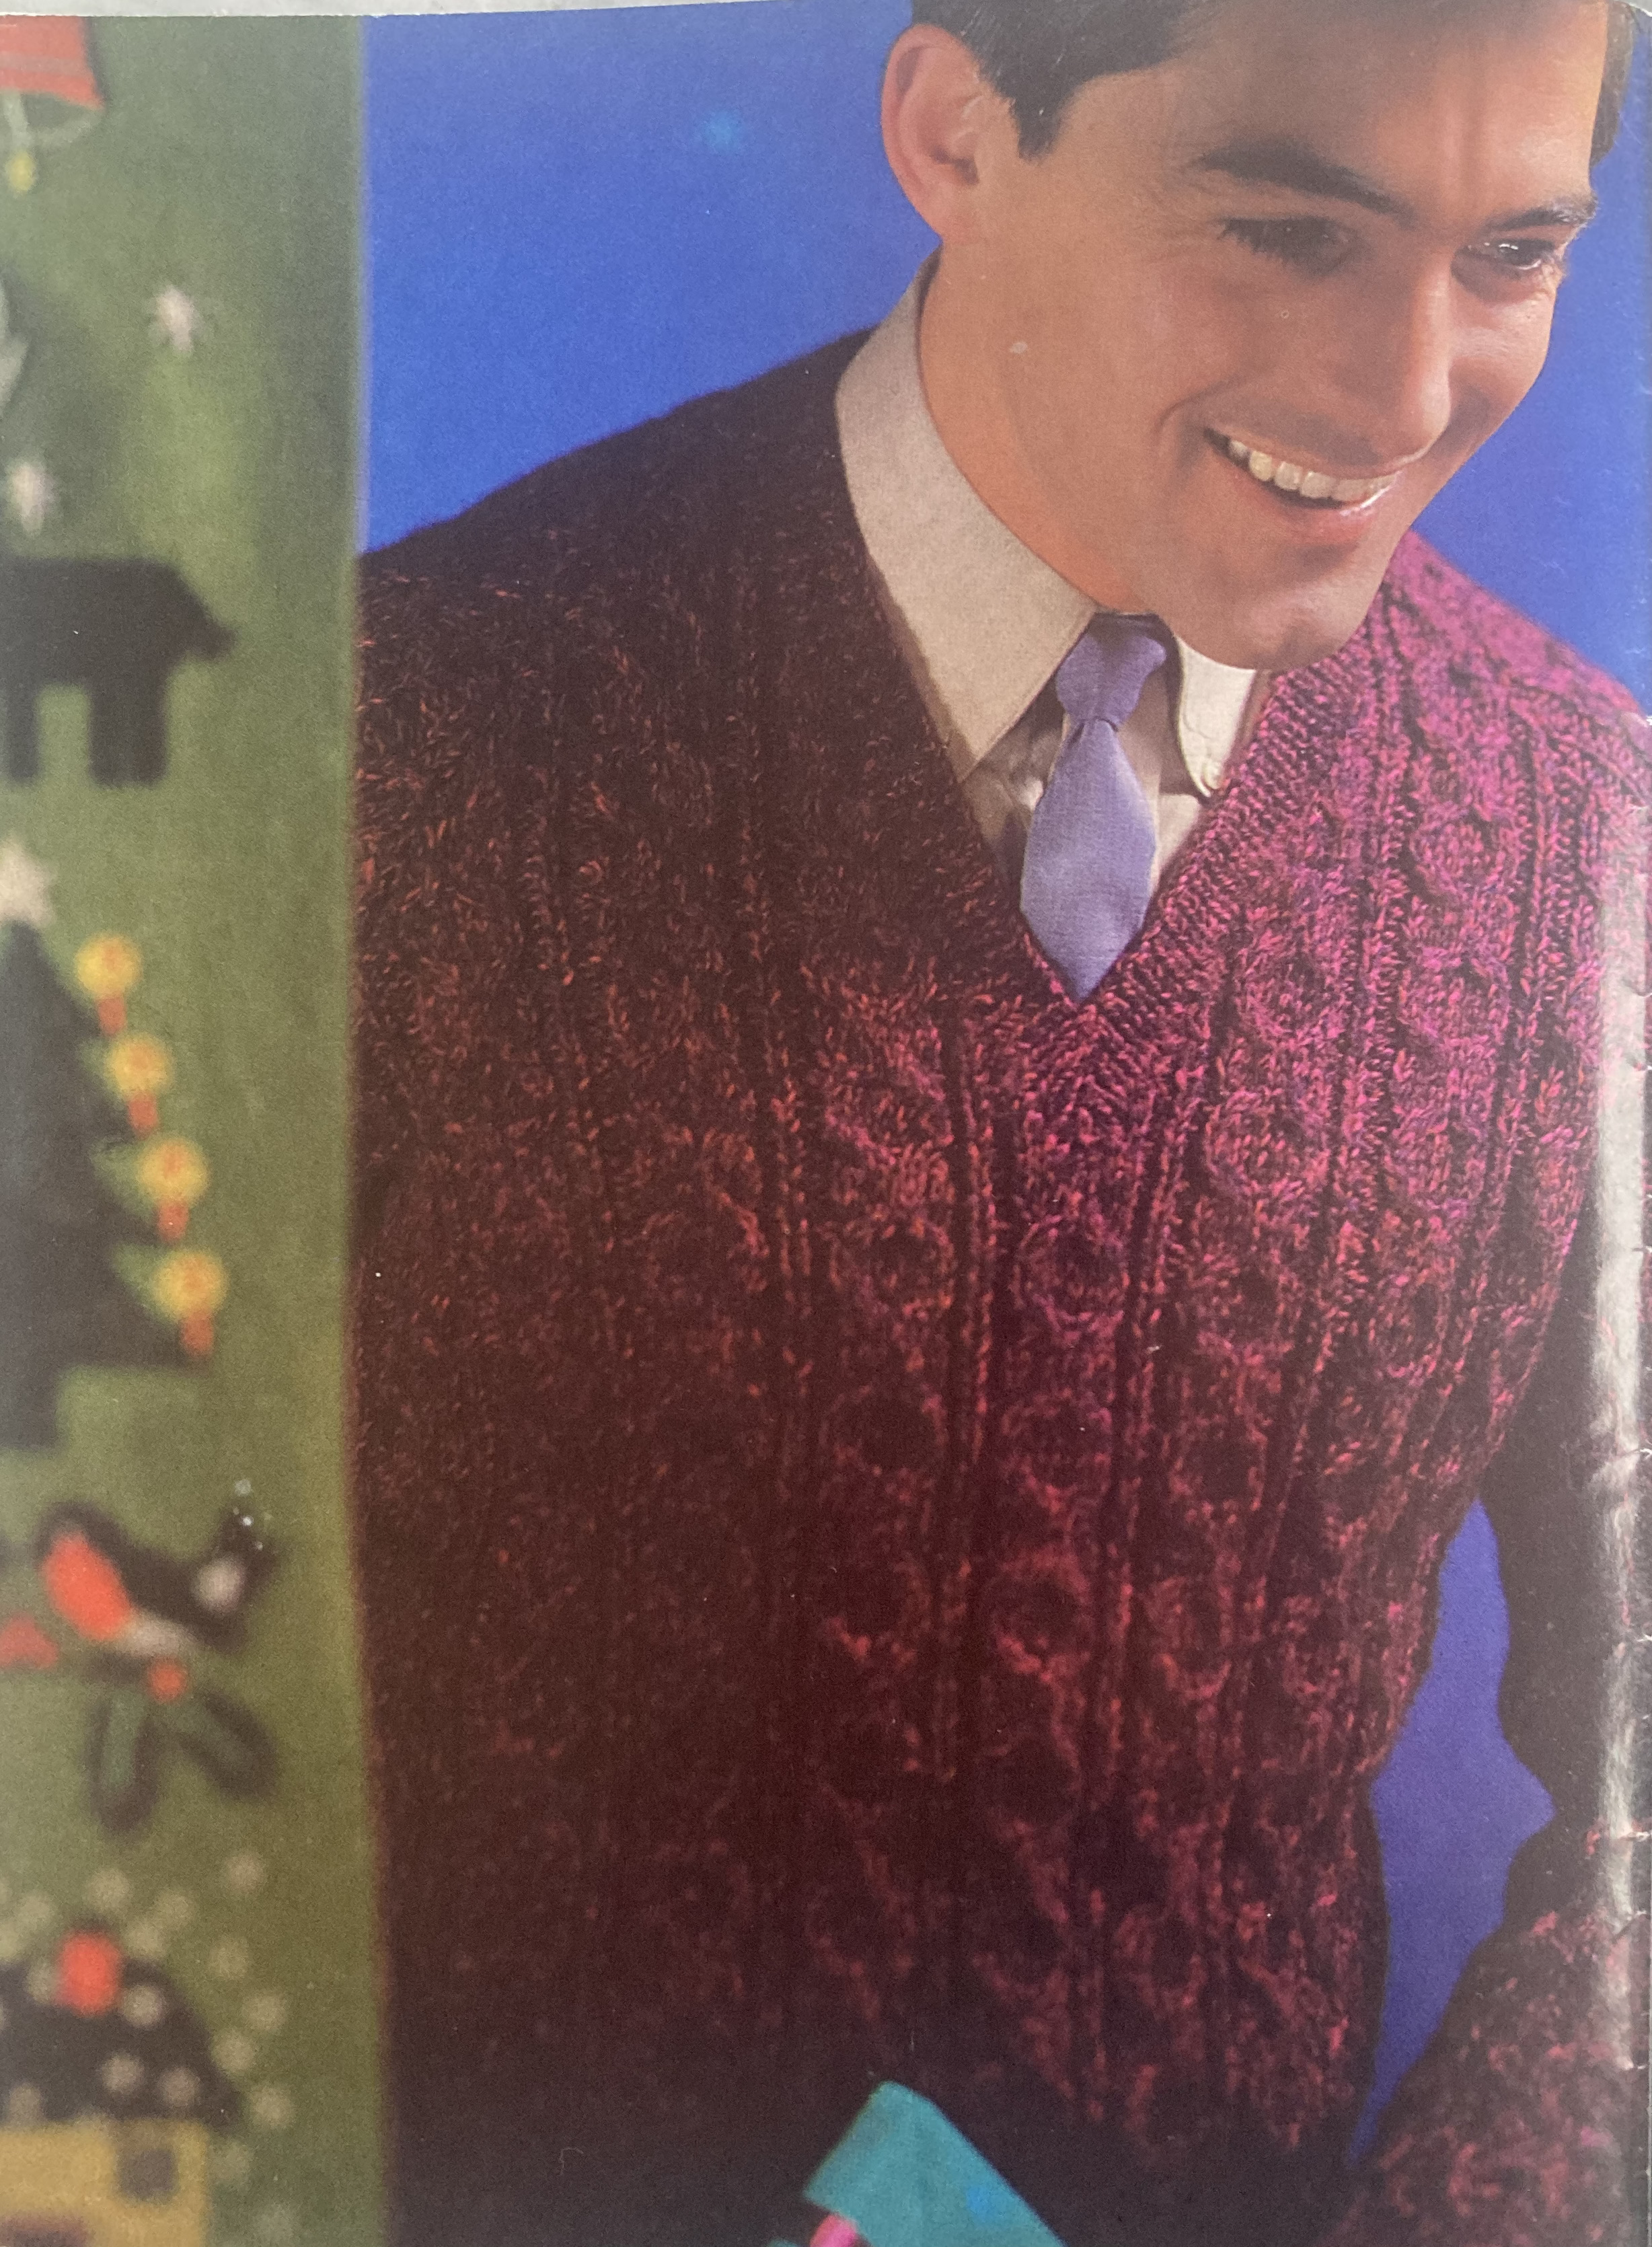
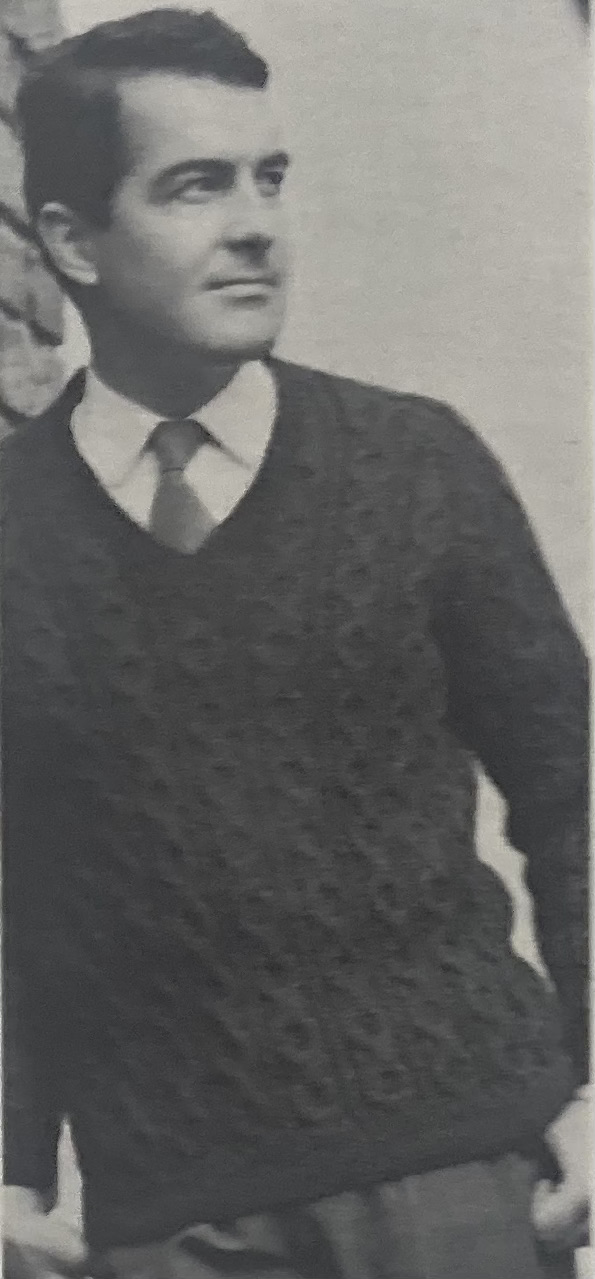
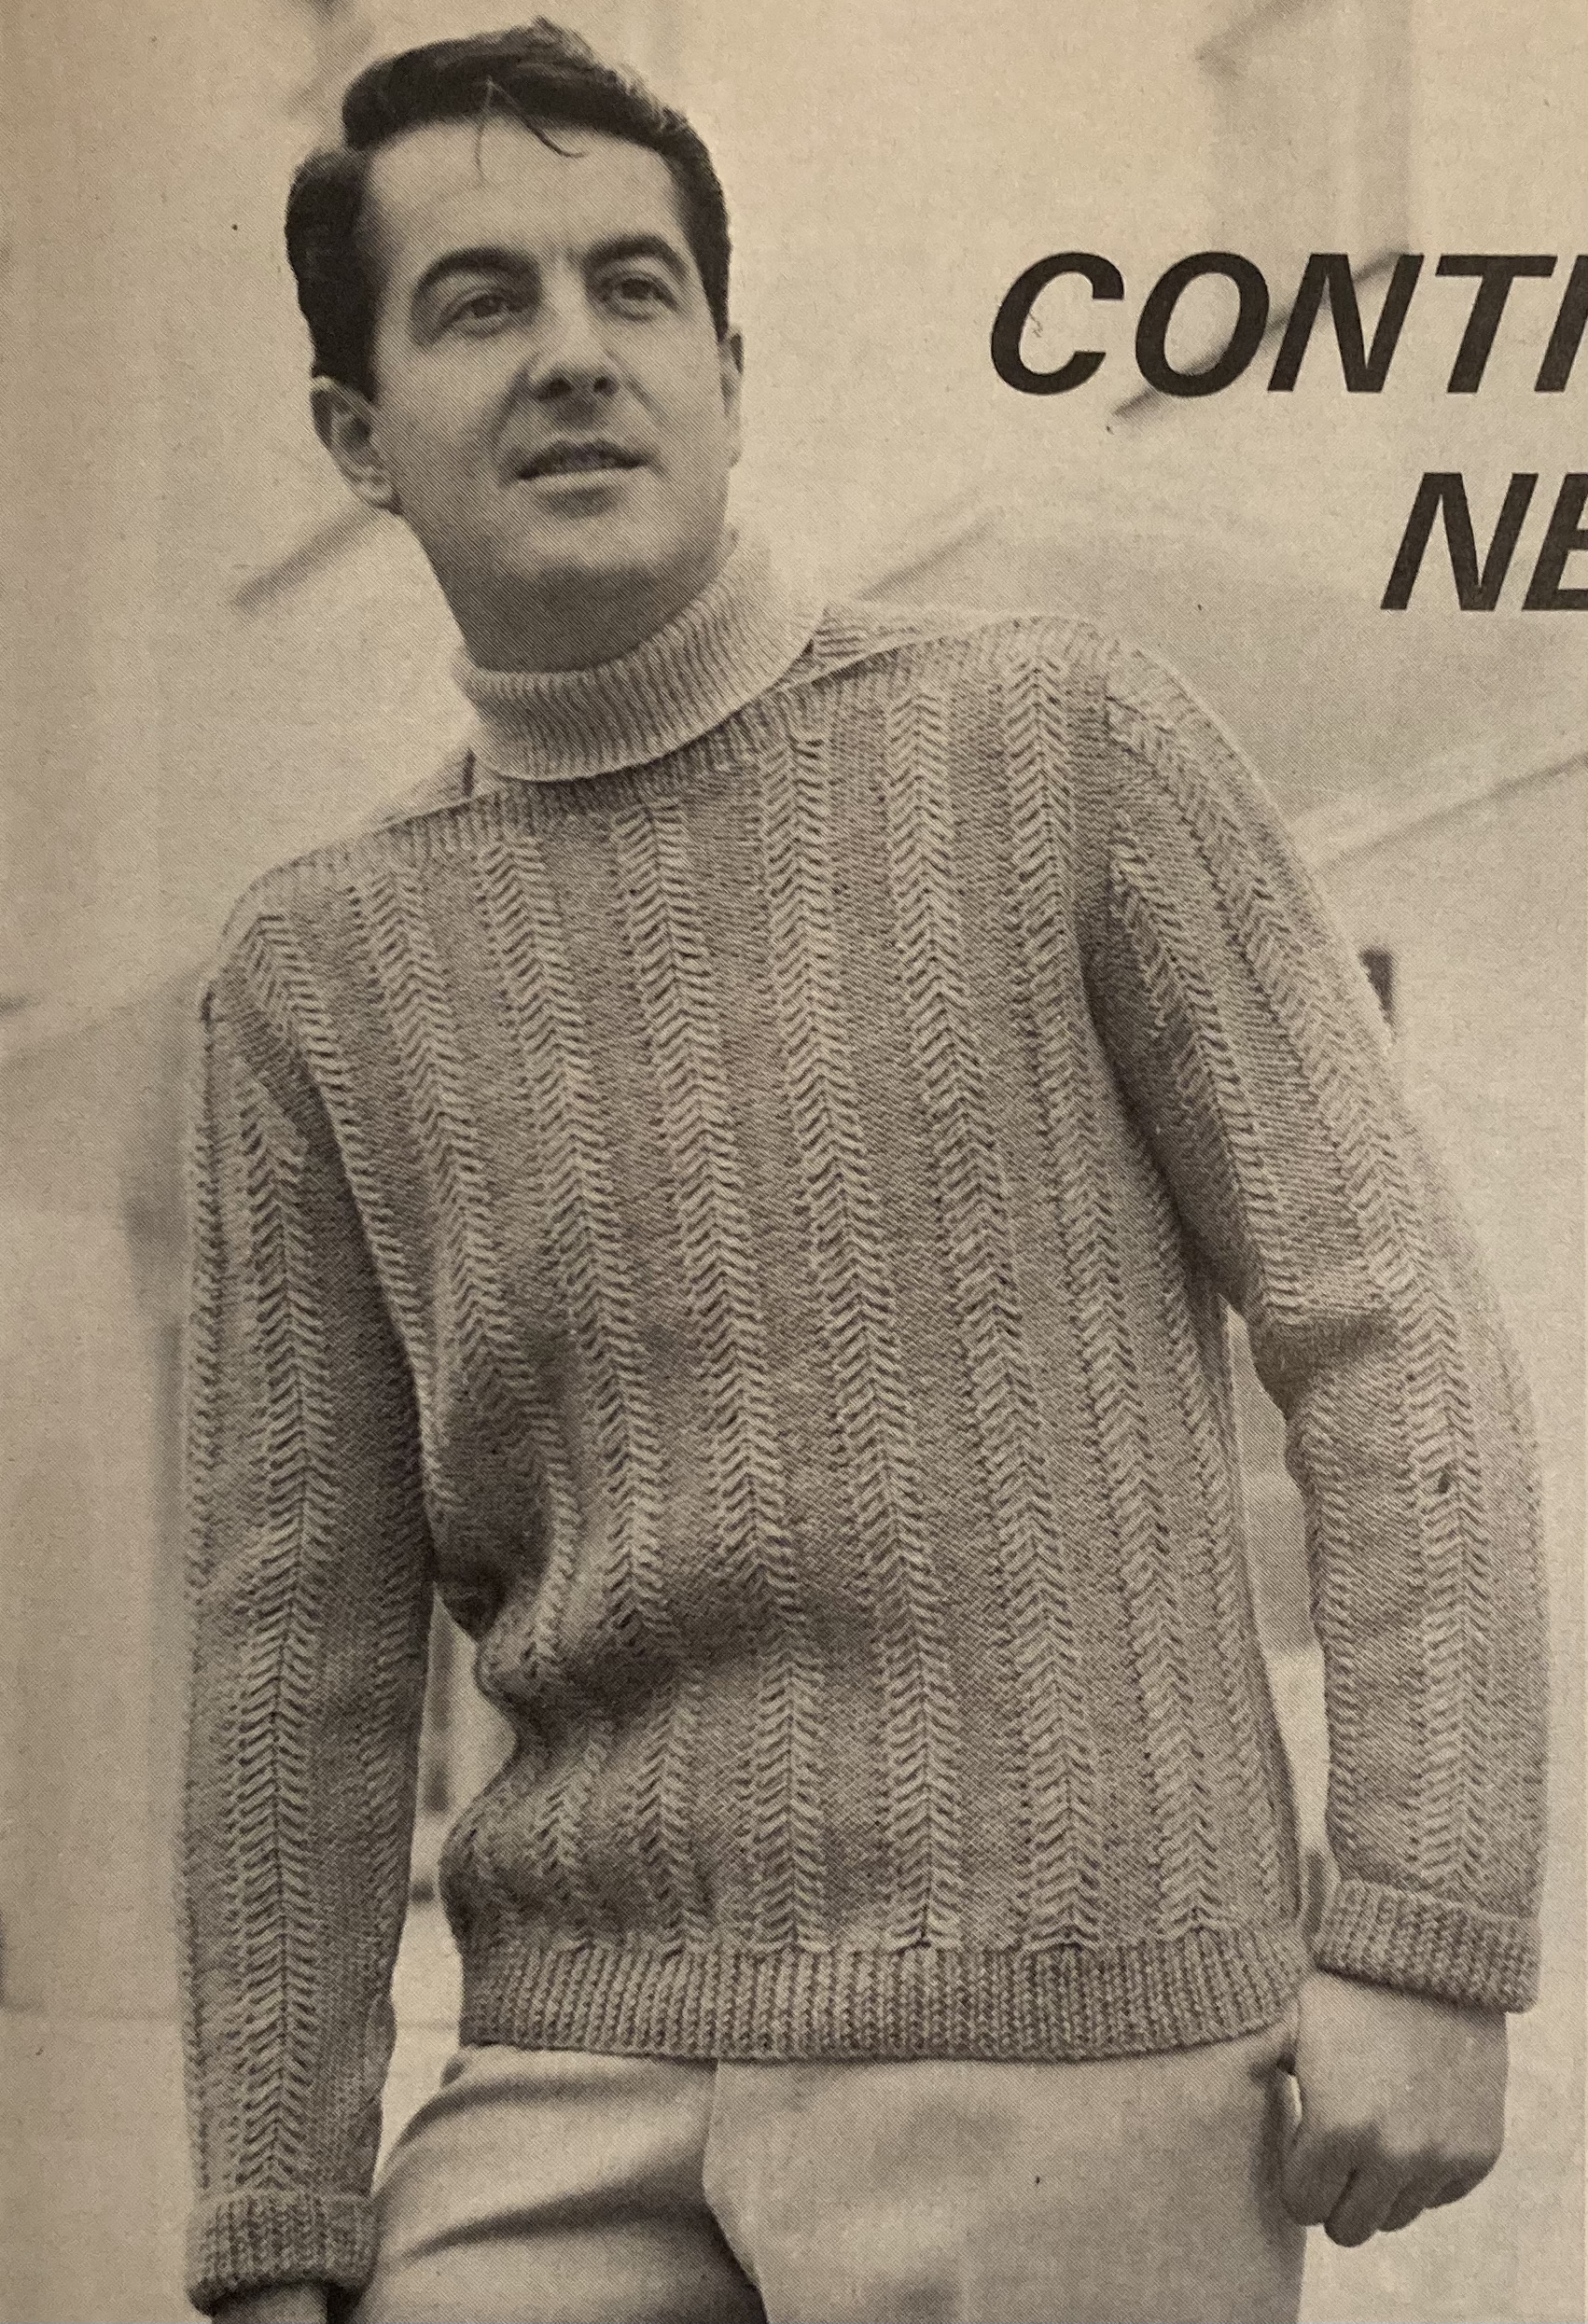
Men can get a cabled pullover in a glorious shade of purple tweed and the reassurance that cables are manly (like our model’s eyelashes, which are almost as impressive as his colleague’s with the pom-pom hat). There’s a boatneck pullover in herringbone stitch as well, meant to be worn over a simple polo- ( aka turtle-)neck jumper, for which a pattern was given in the previous issue.

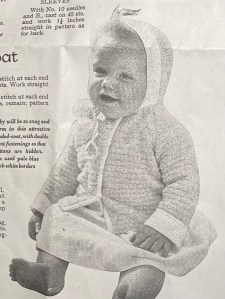
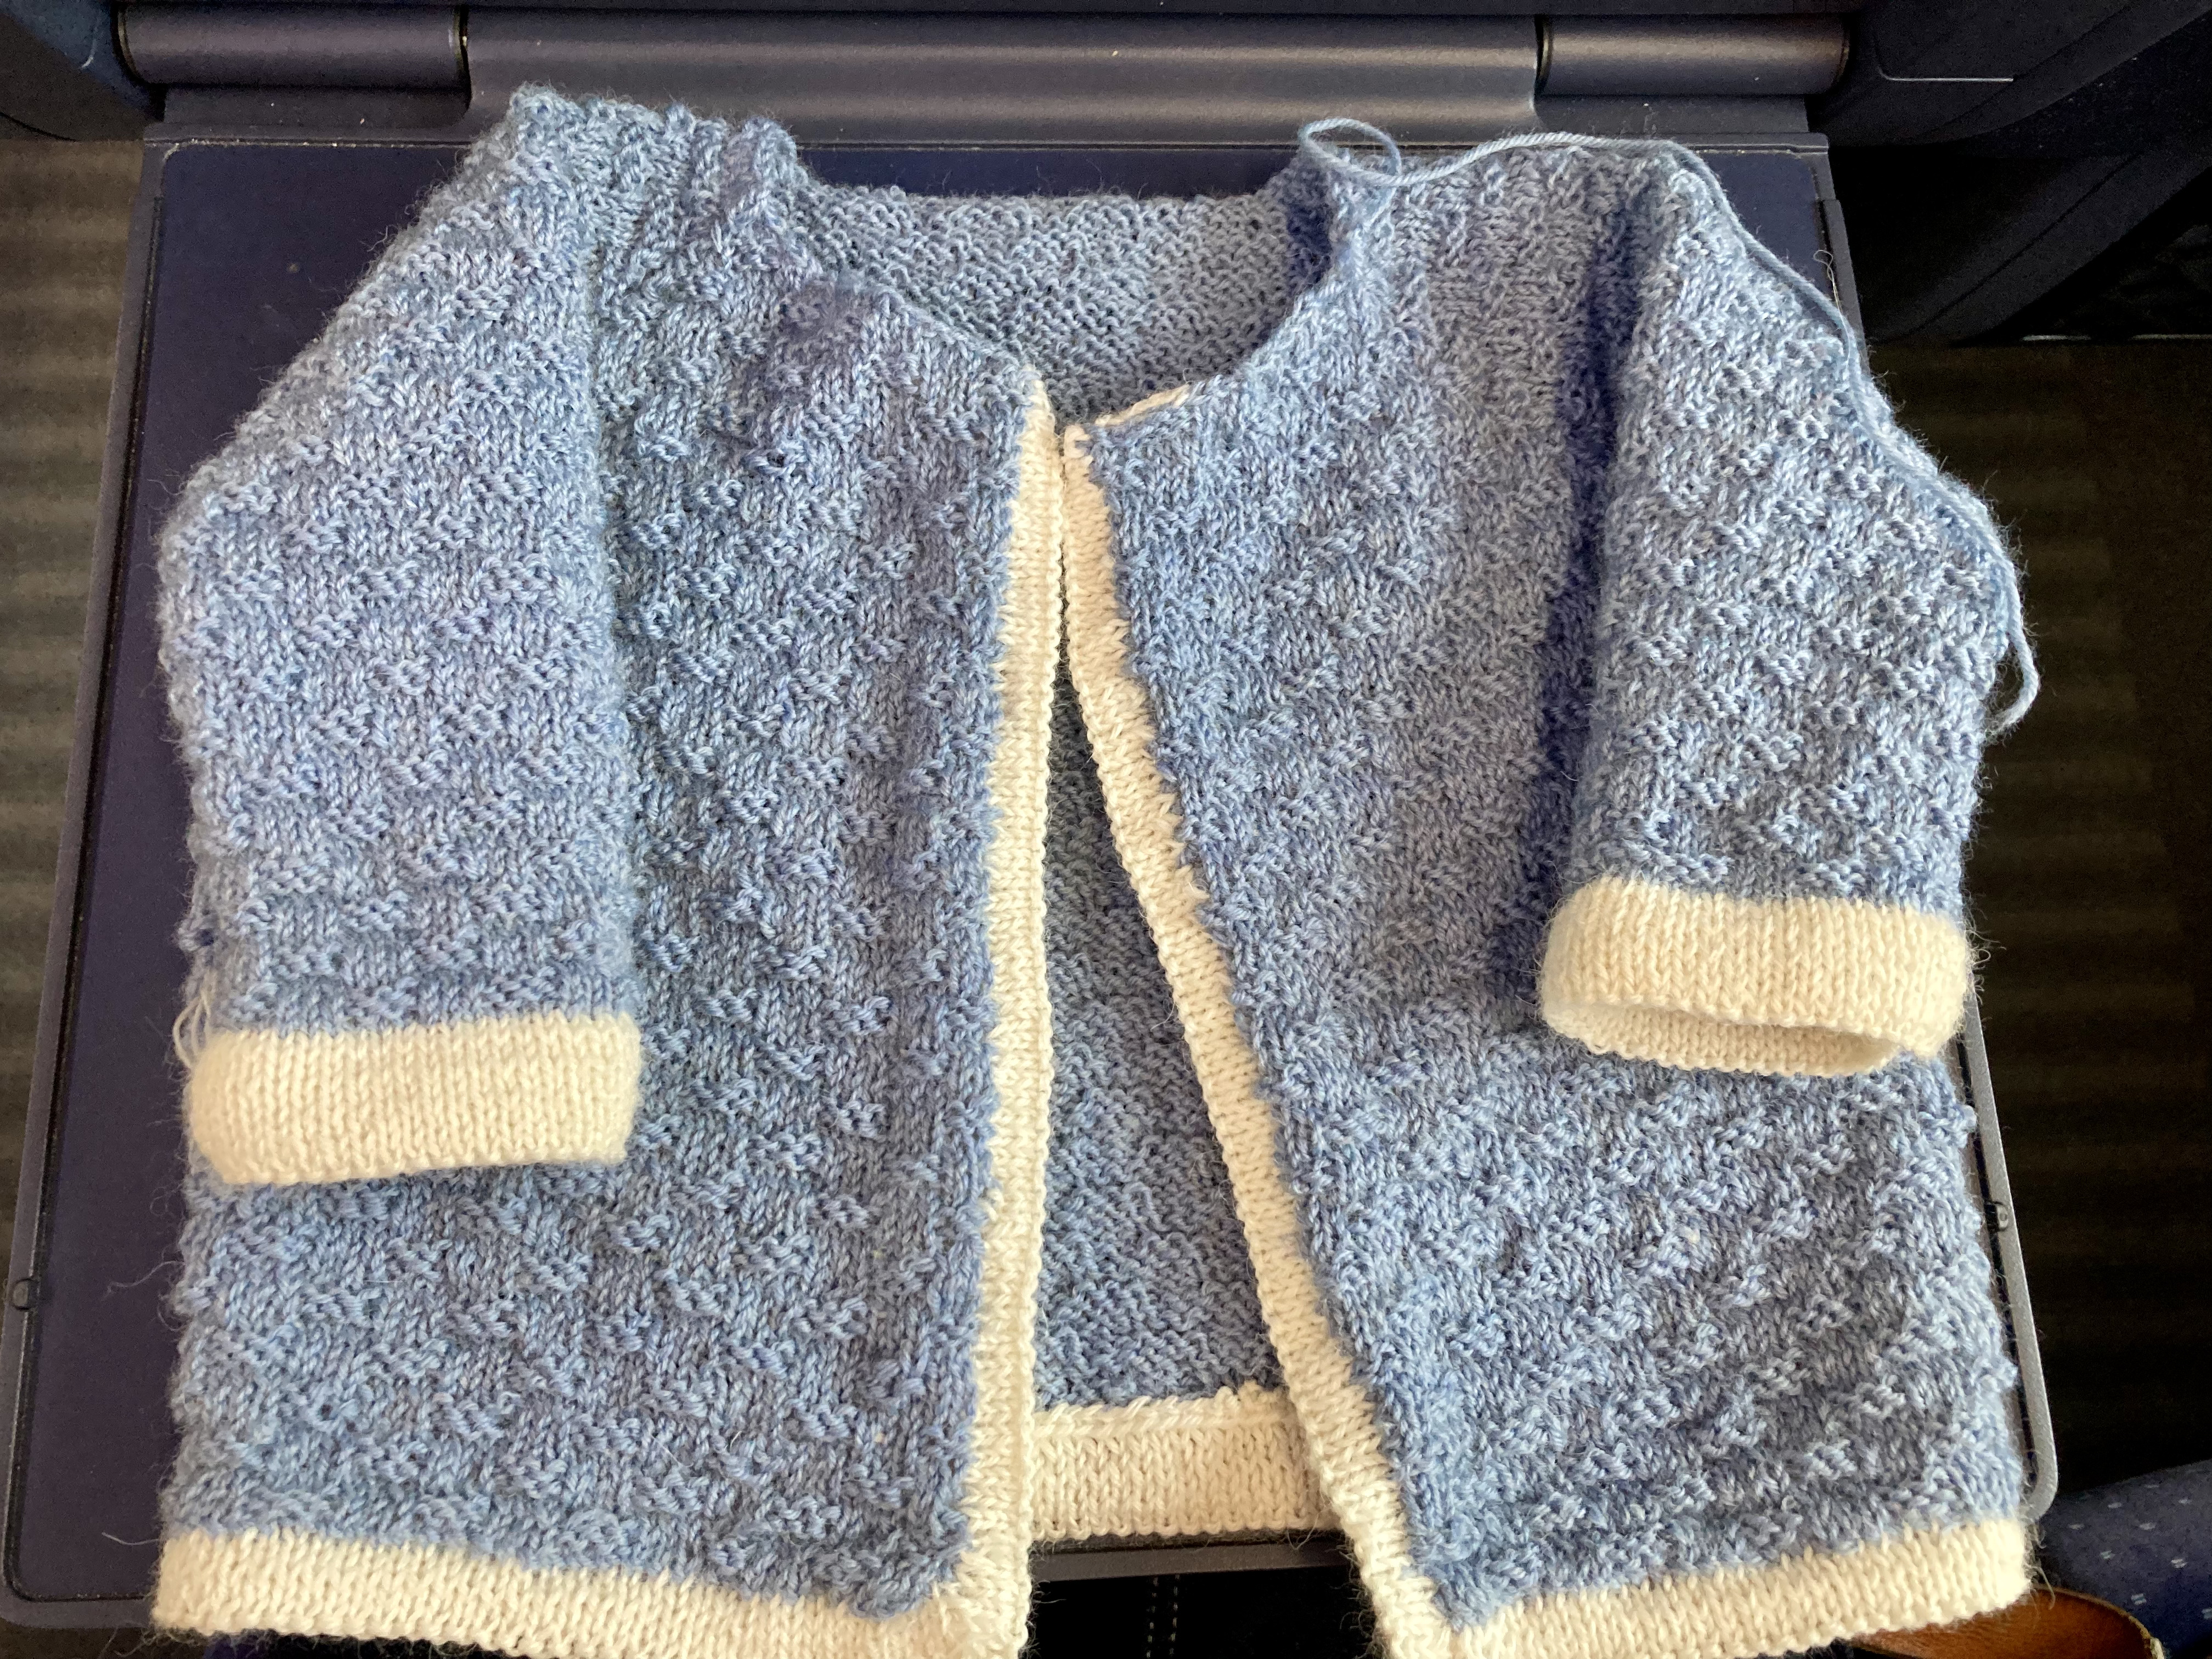
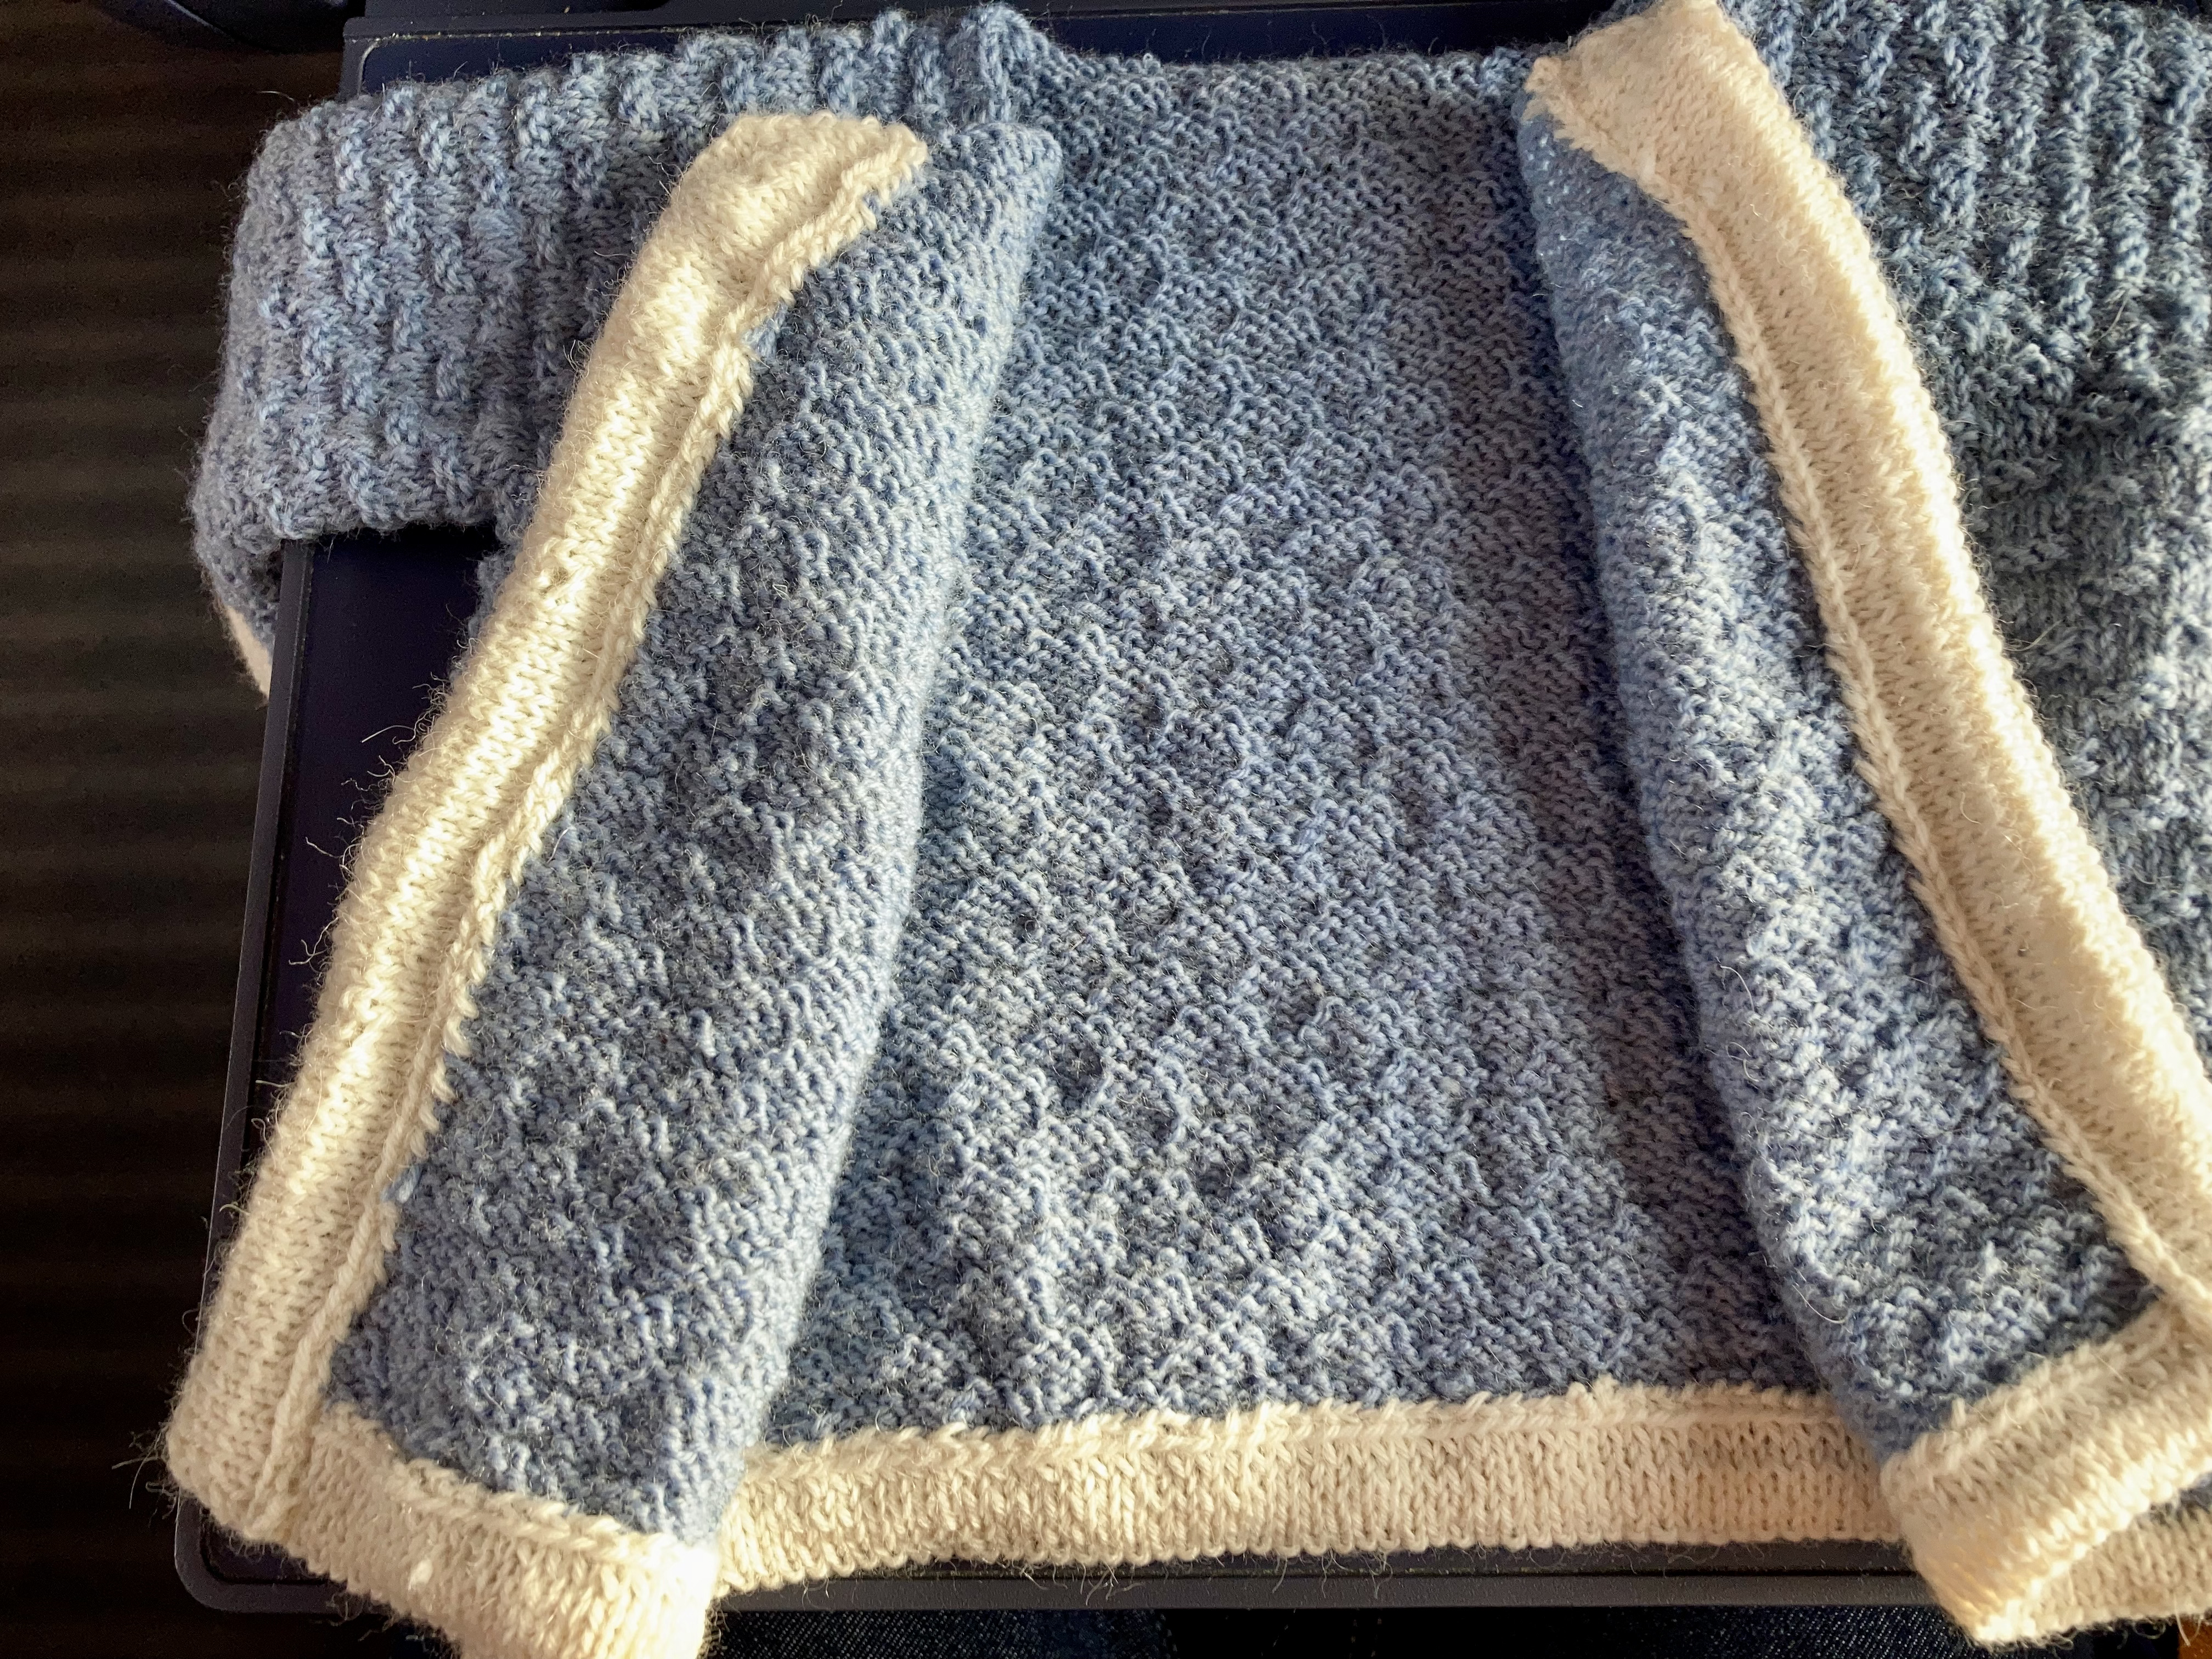
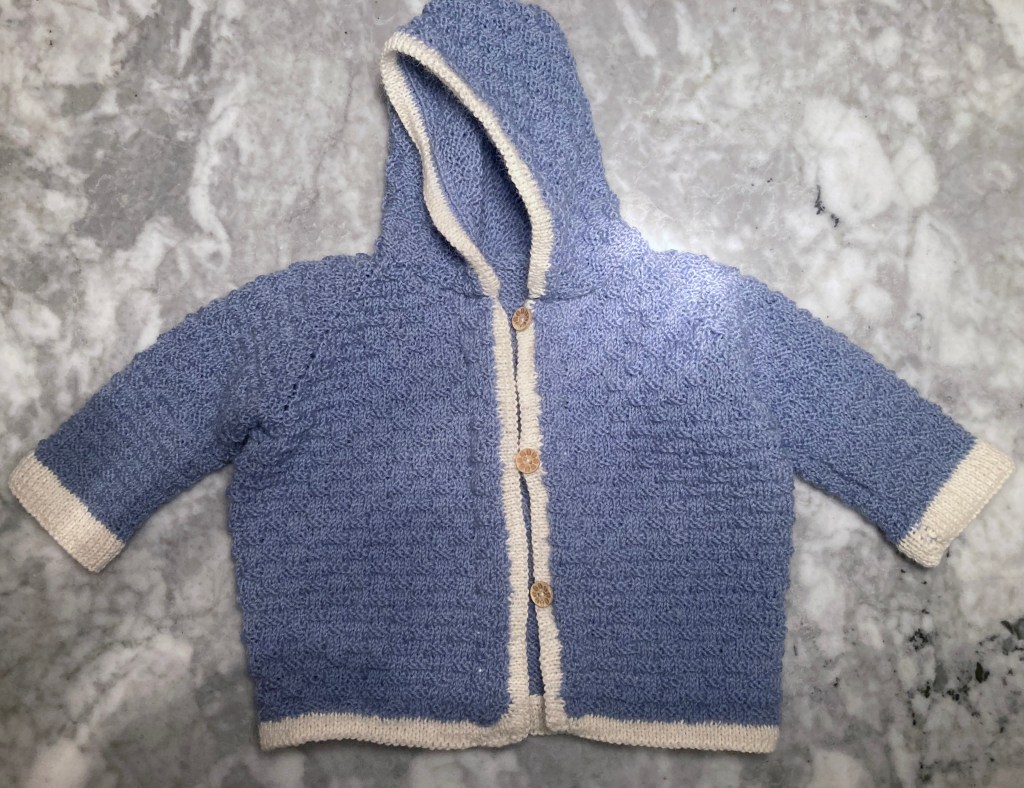
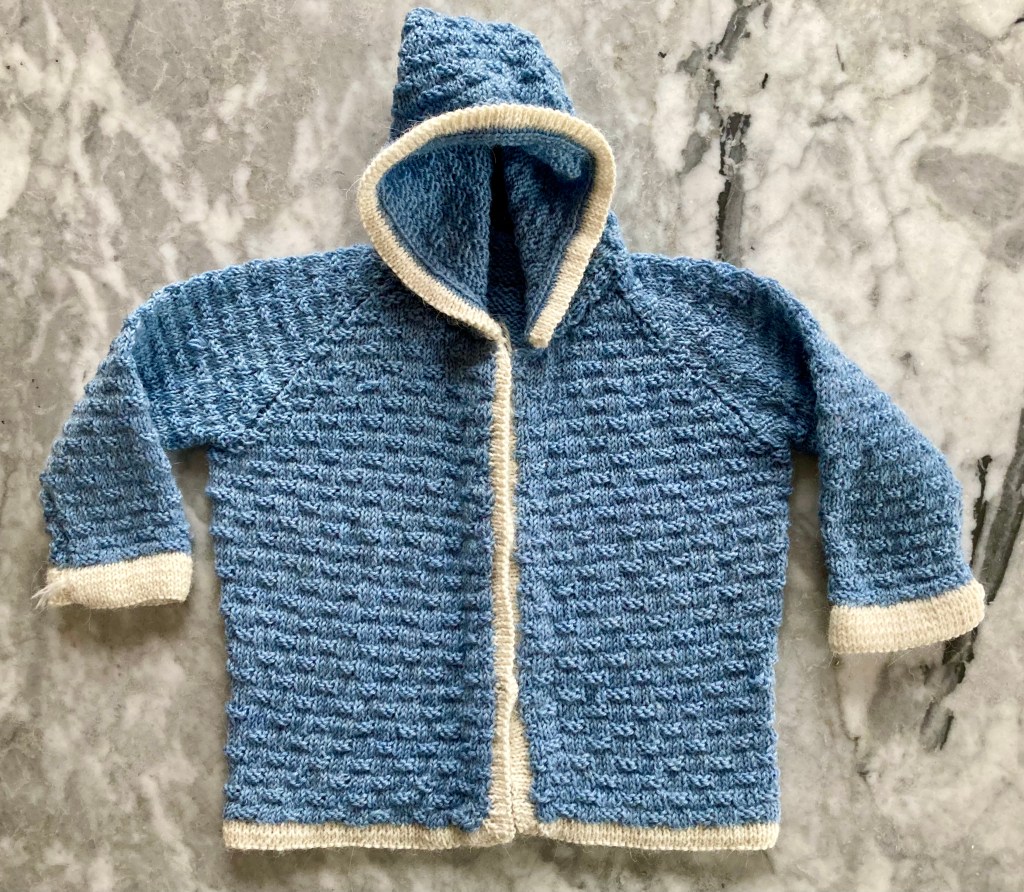
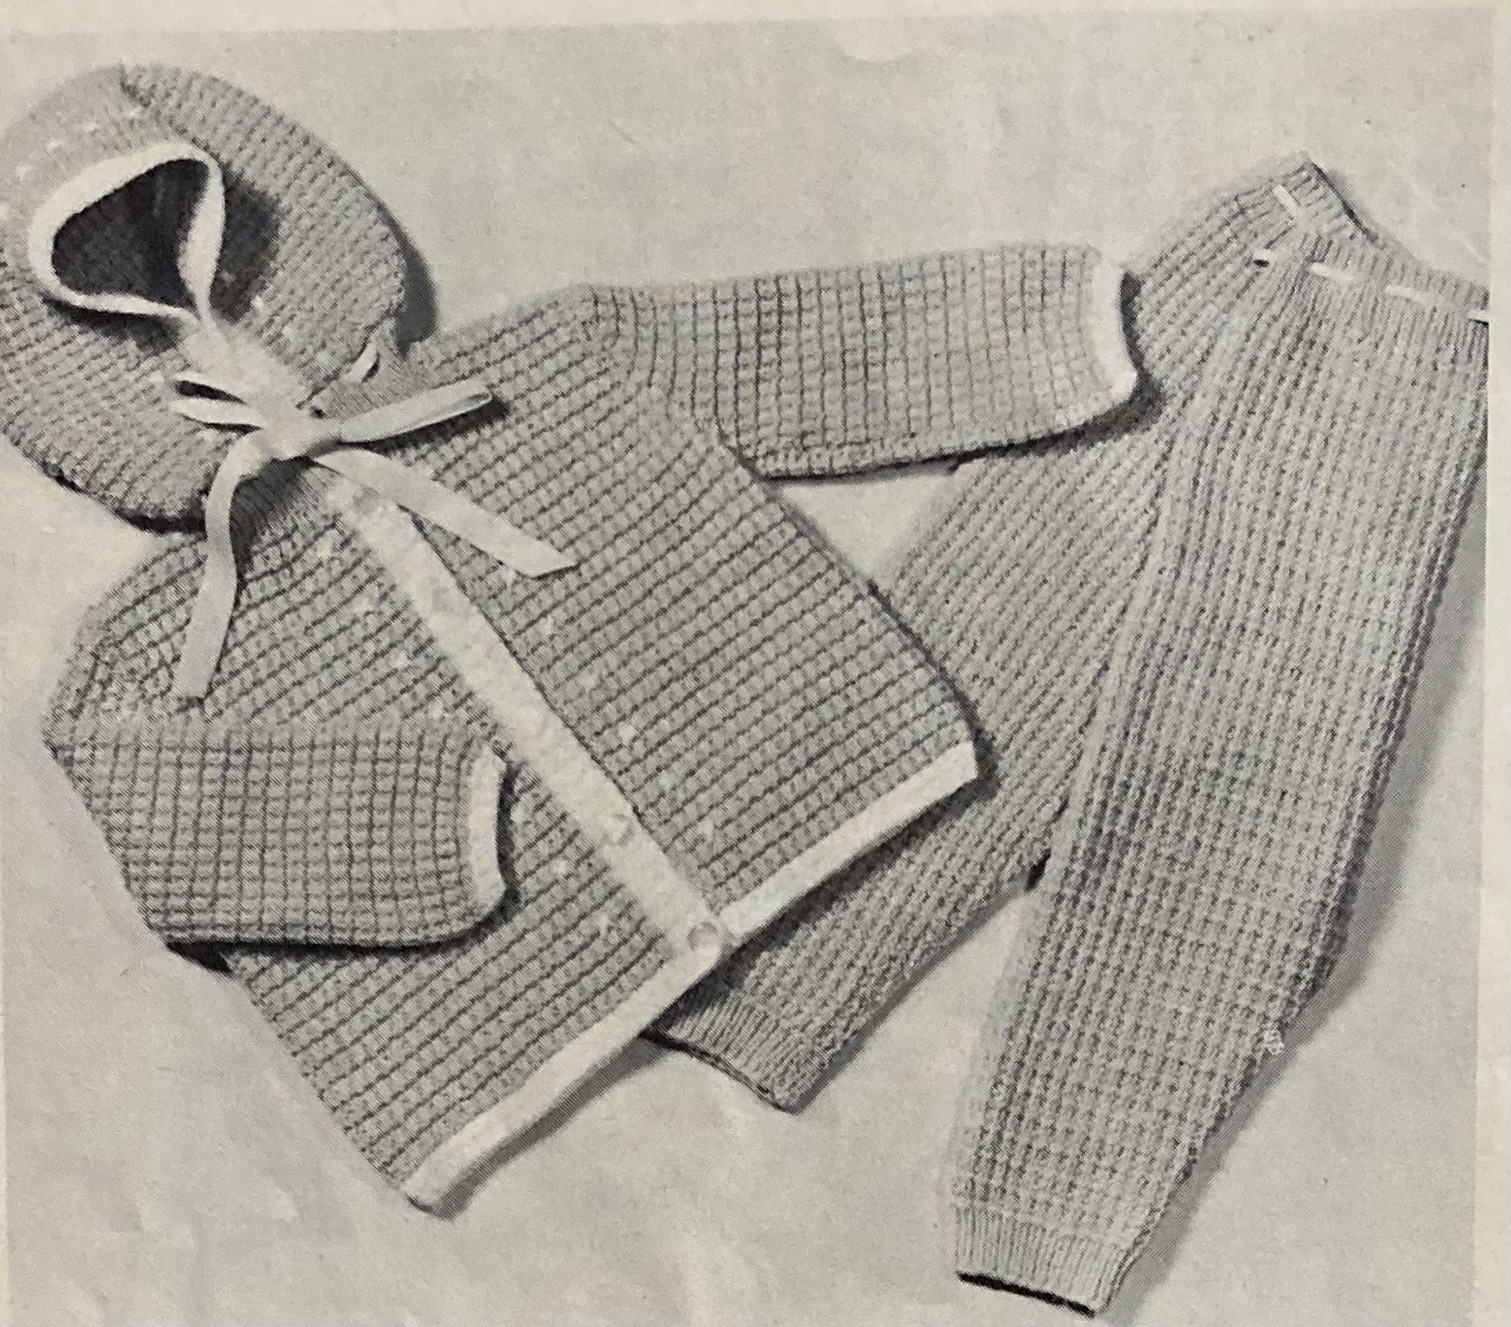
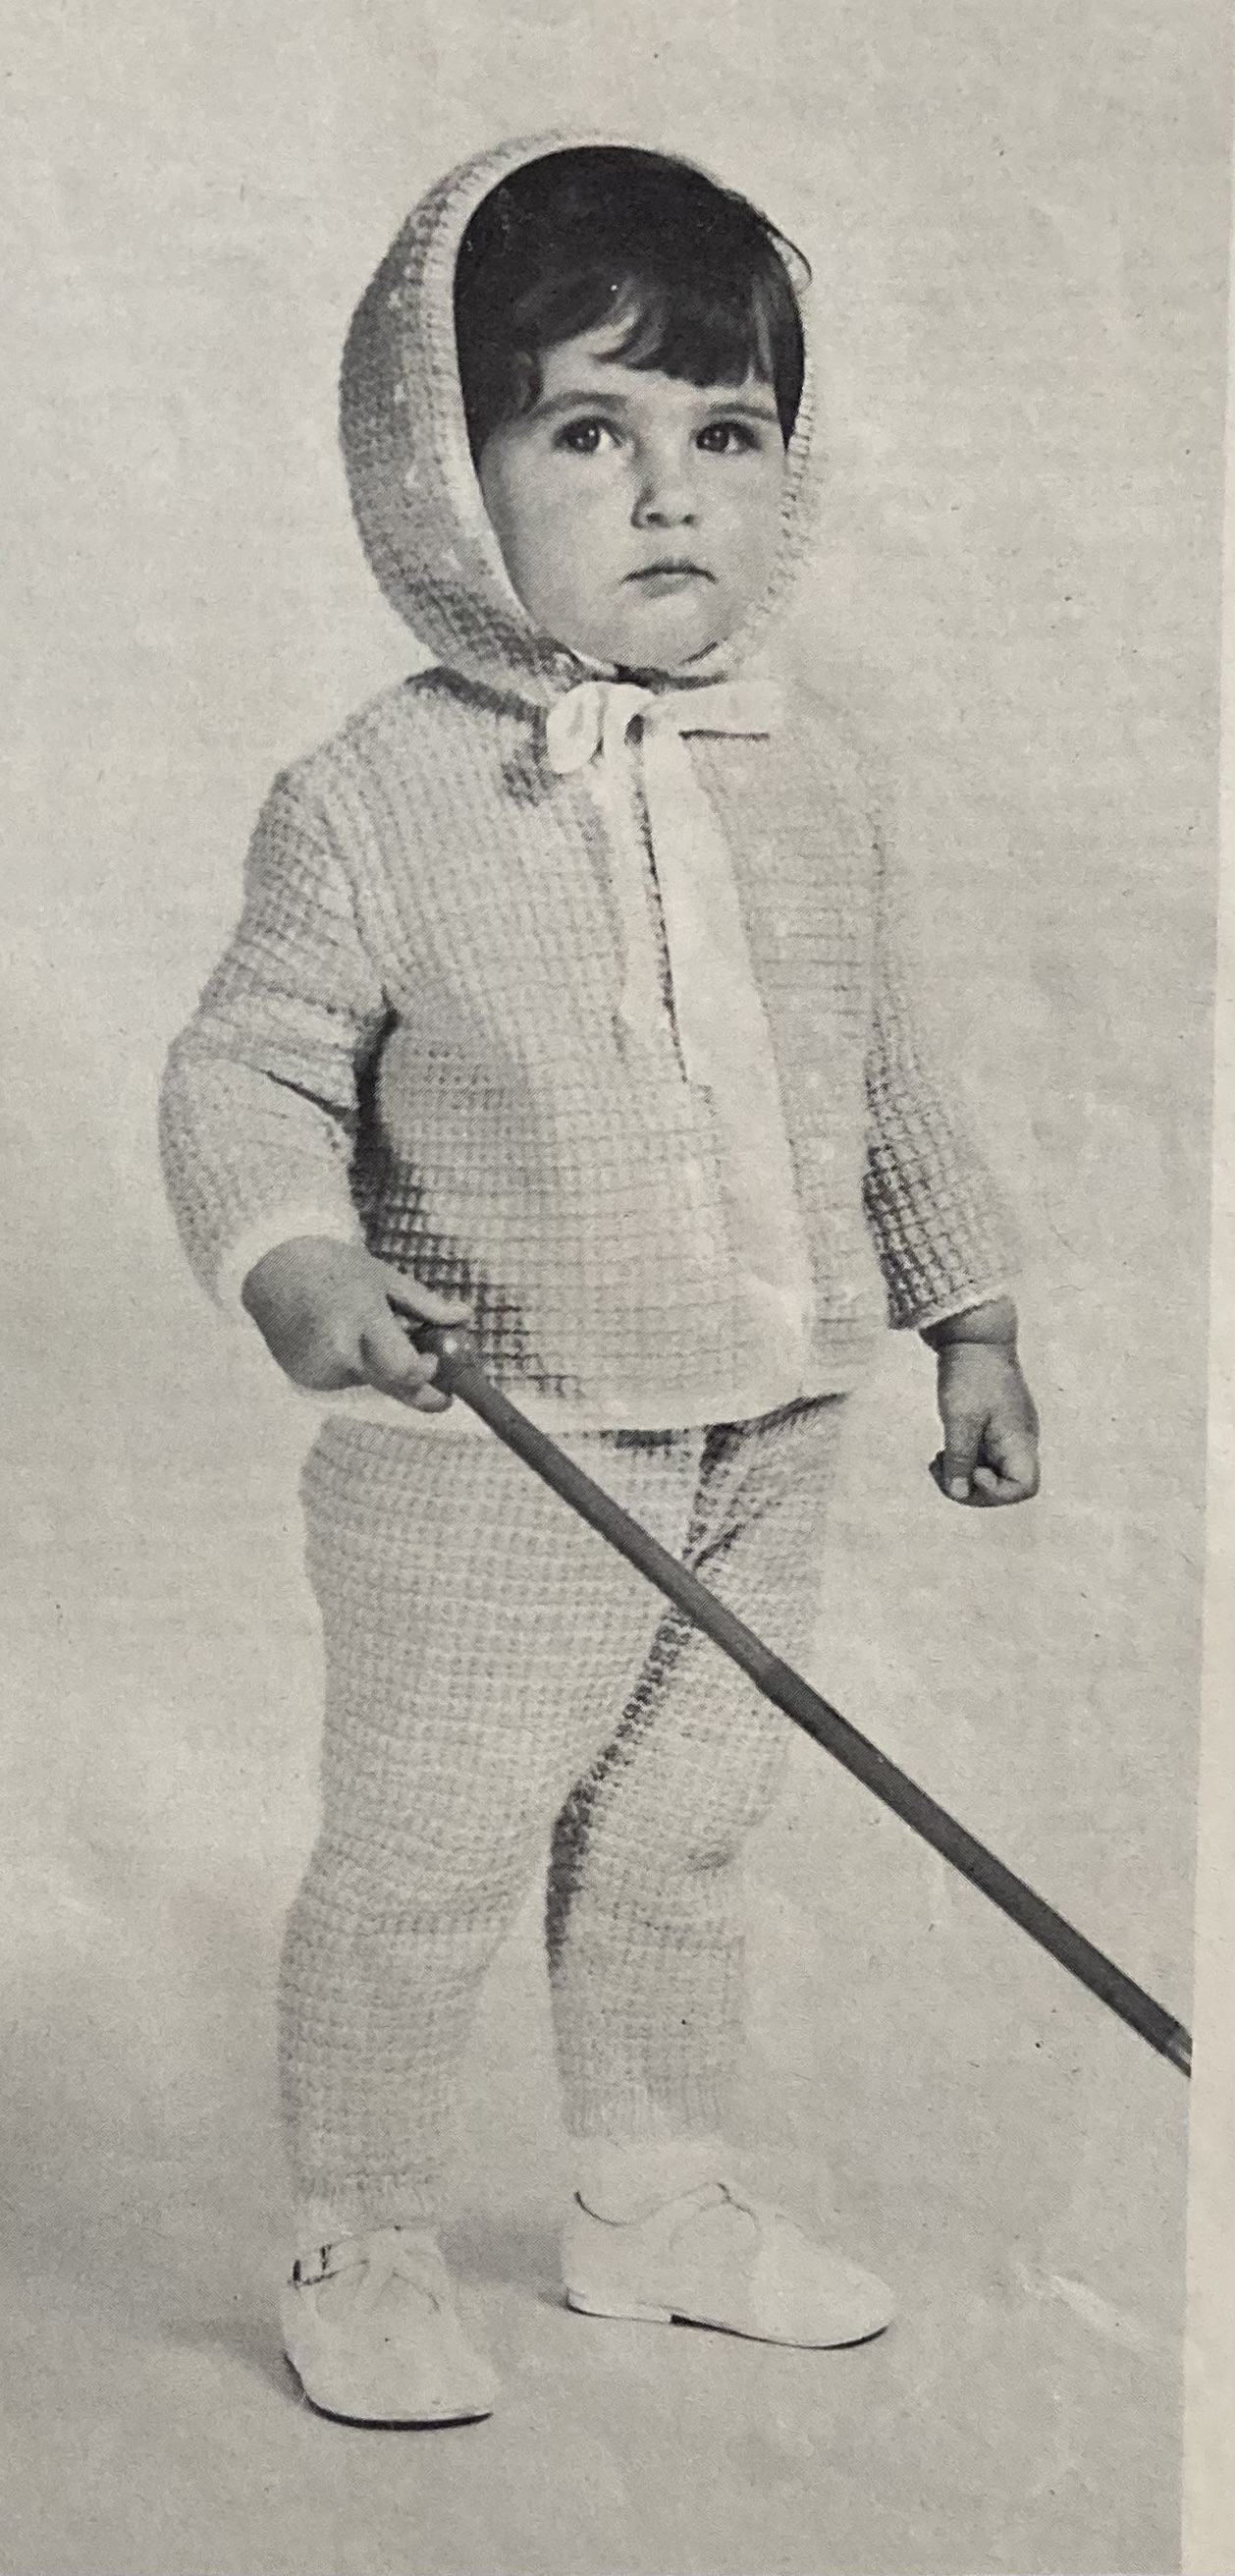
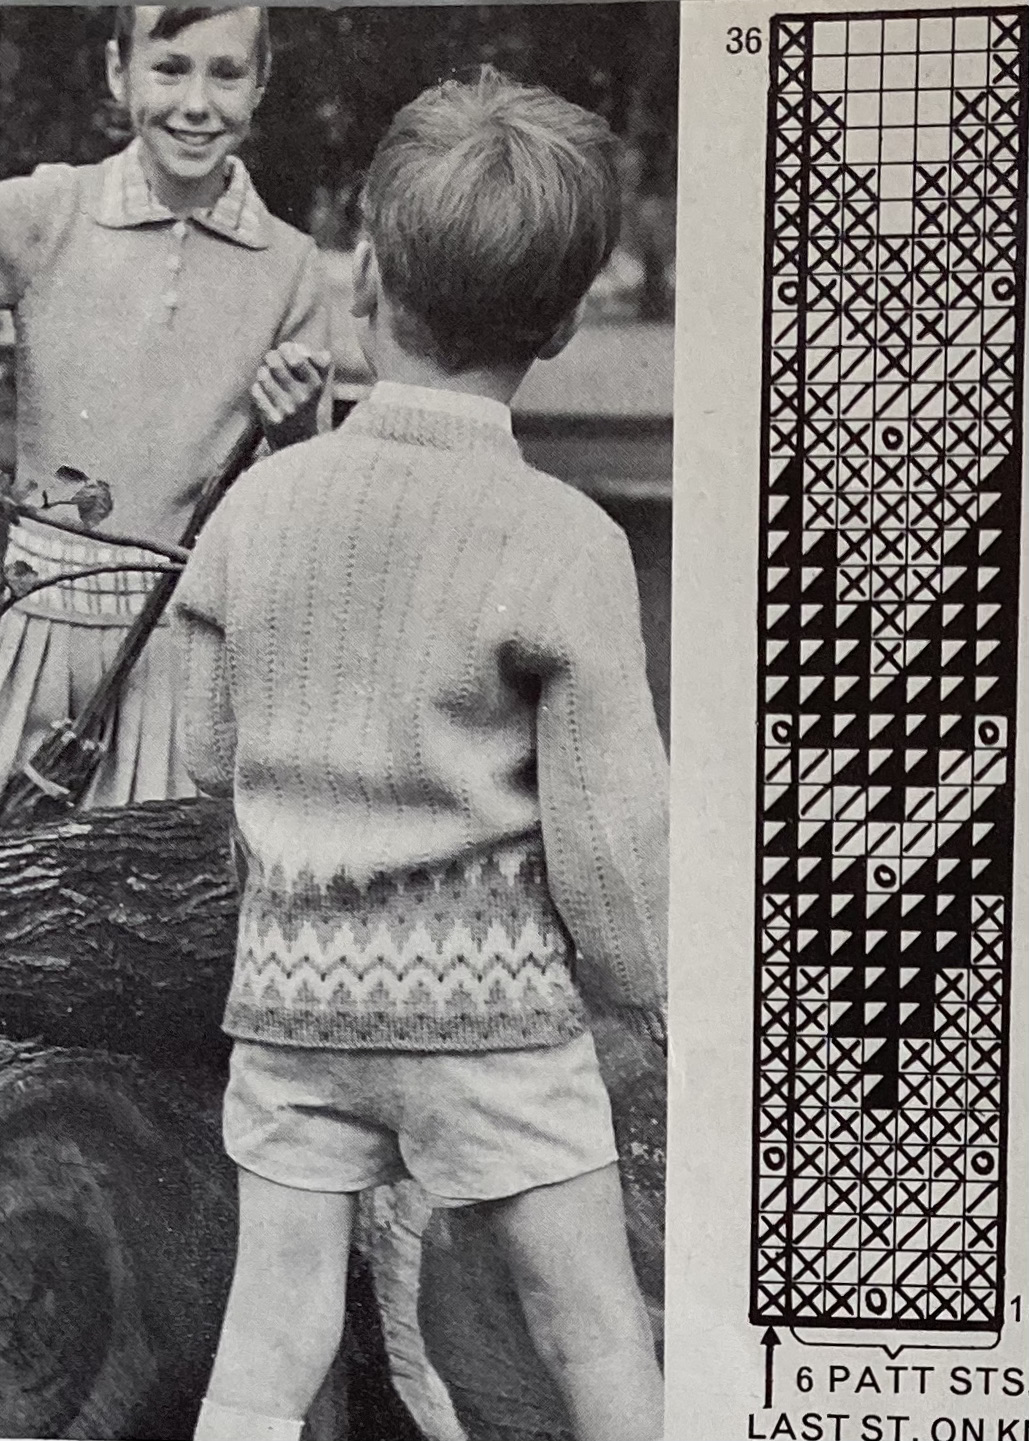
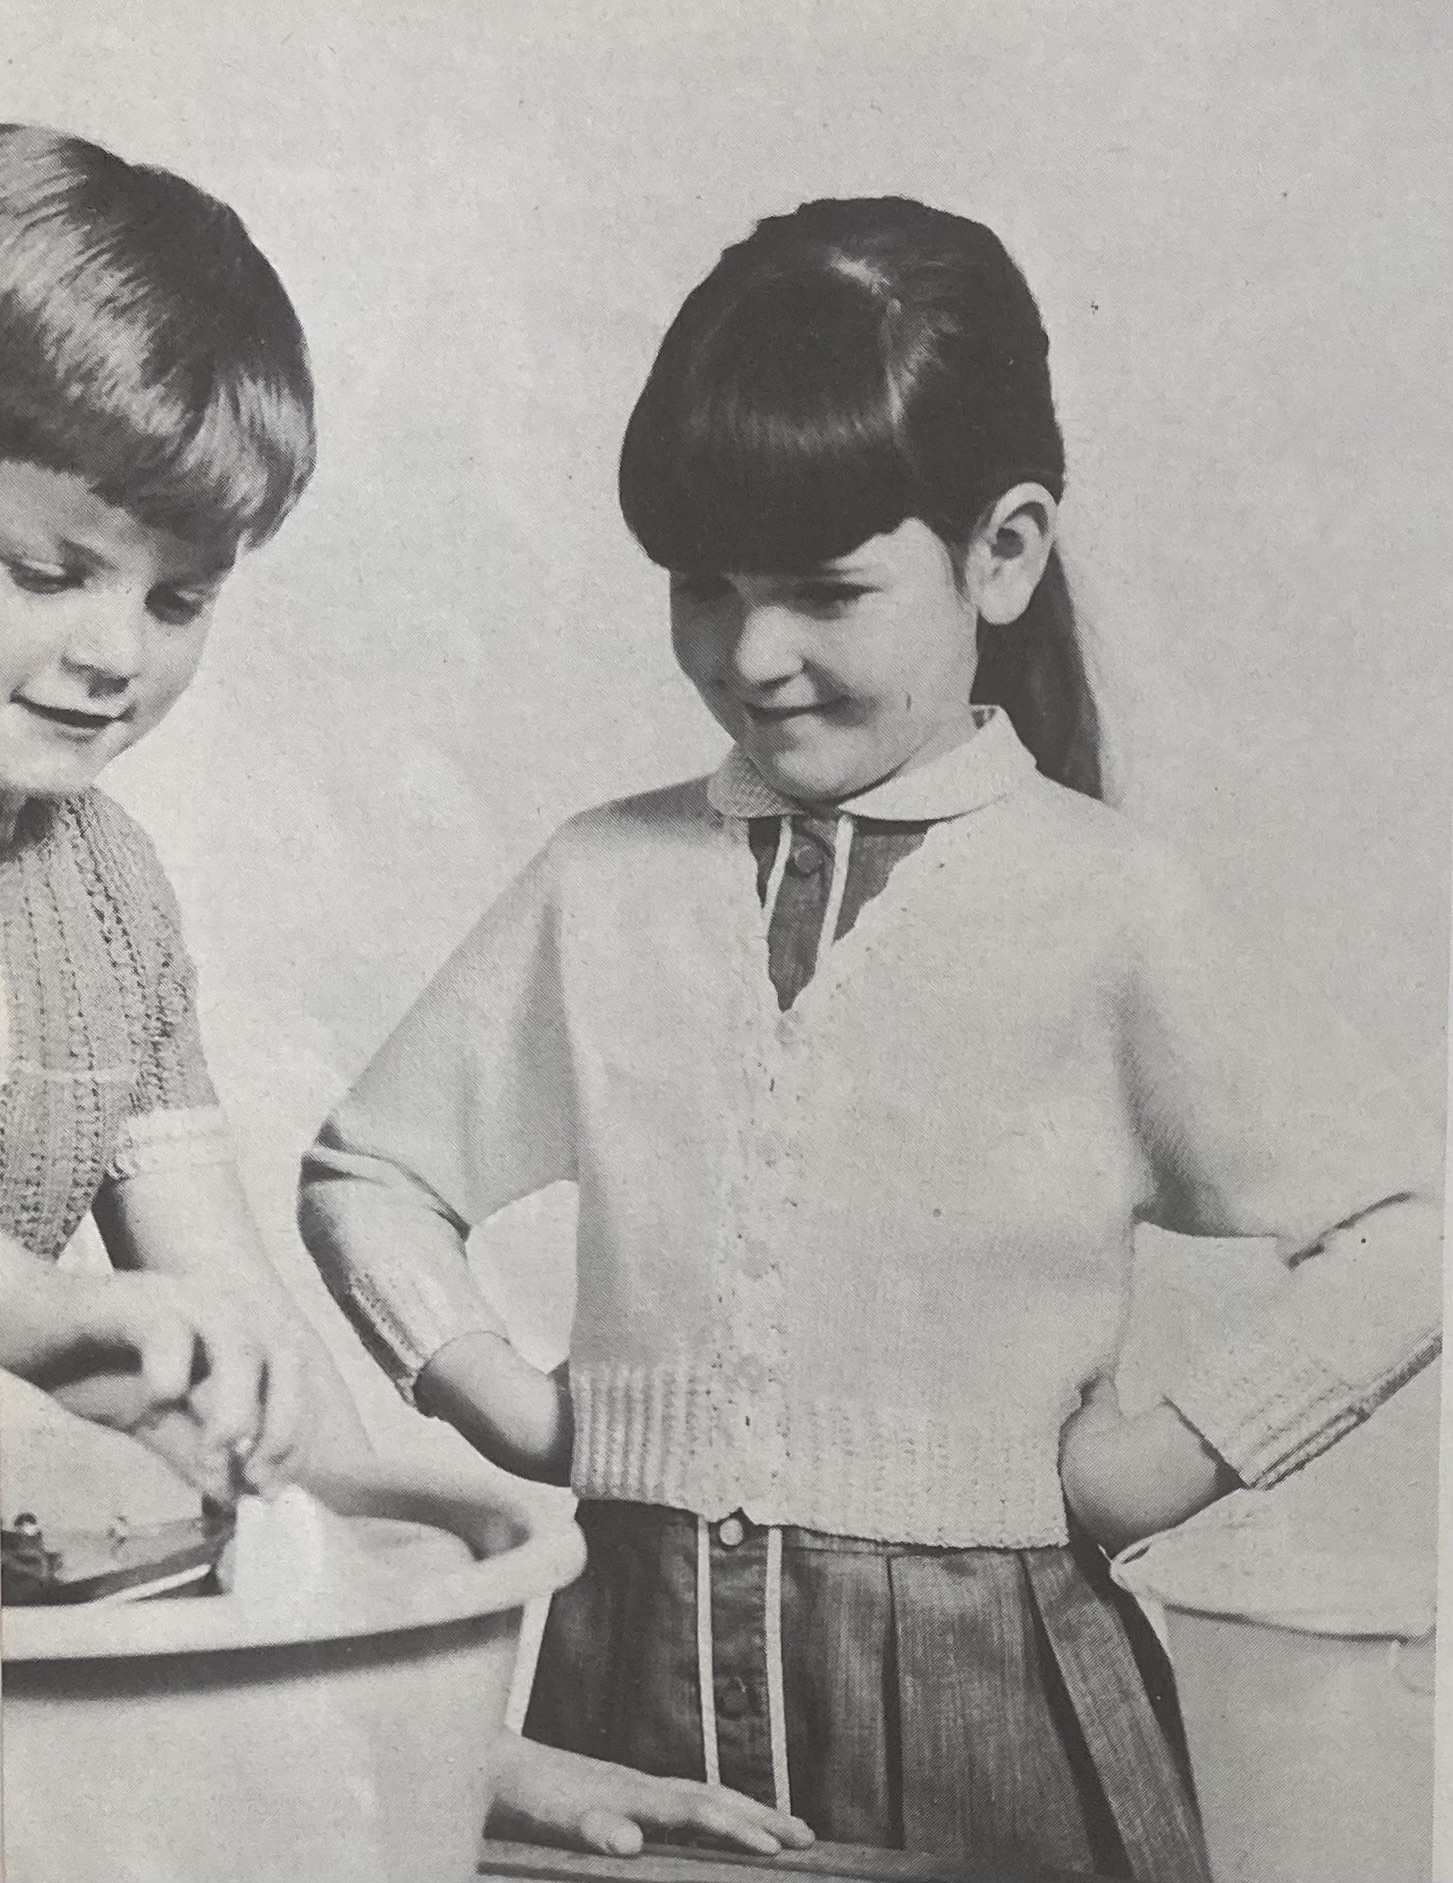
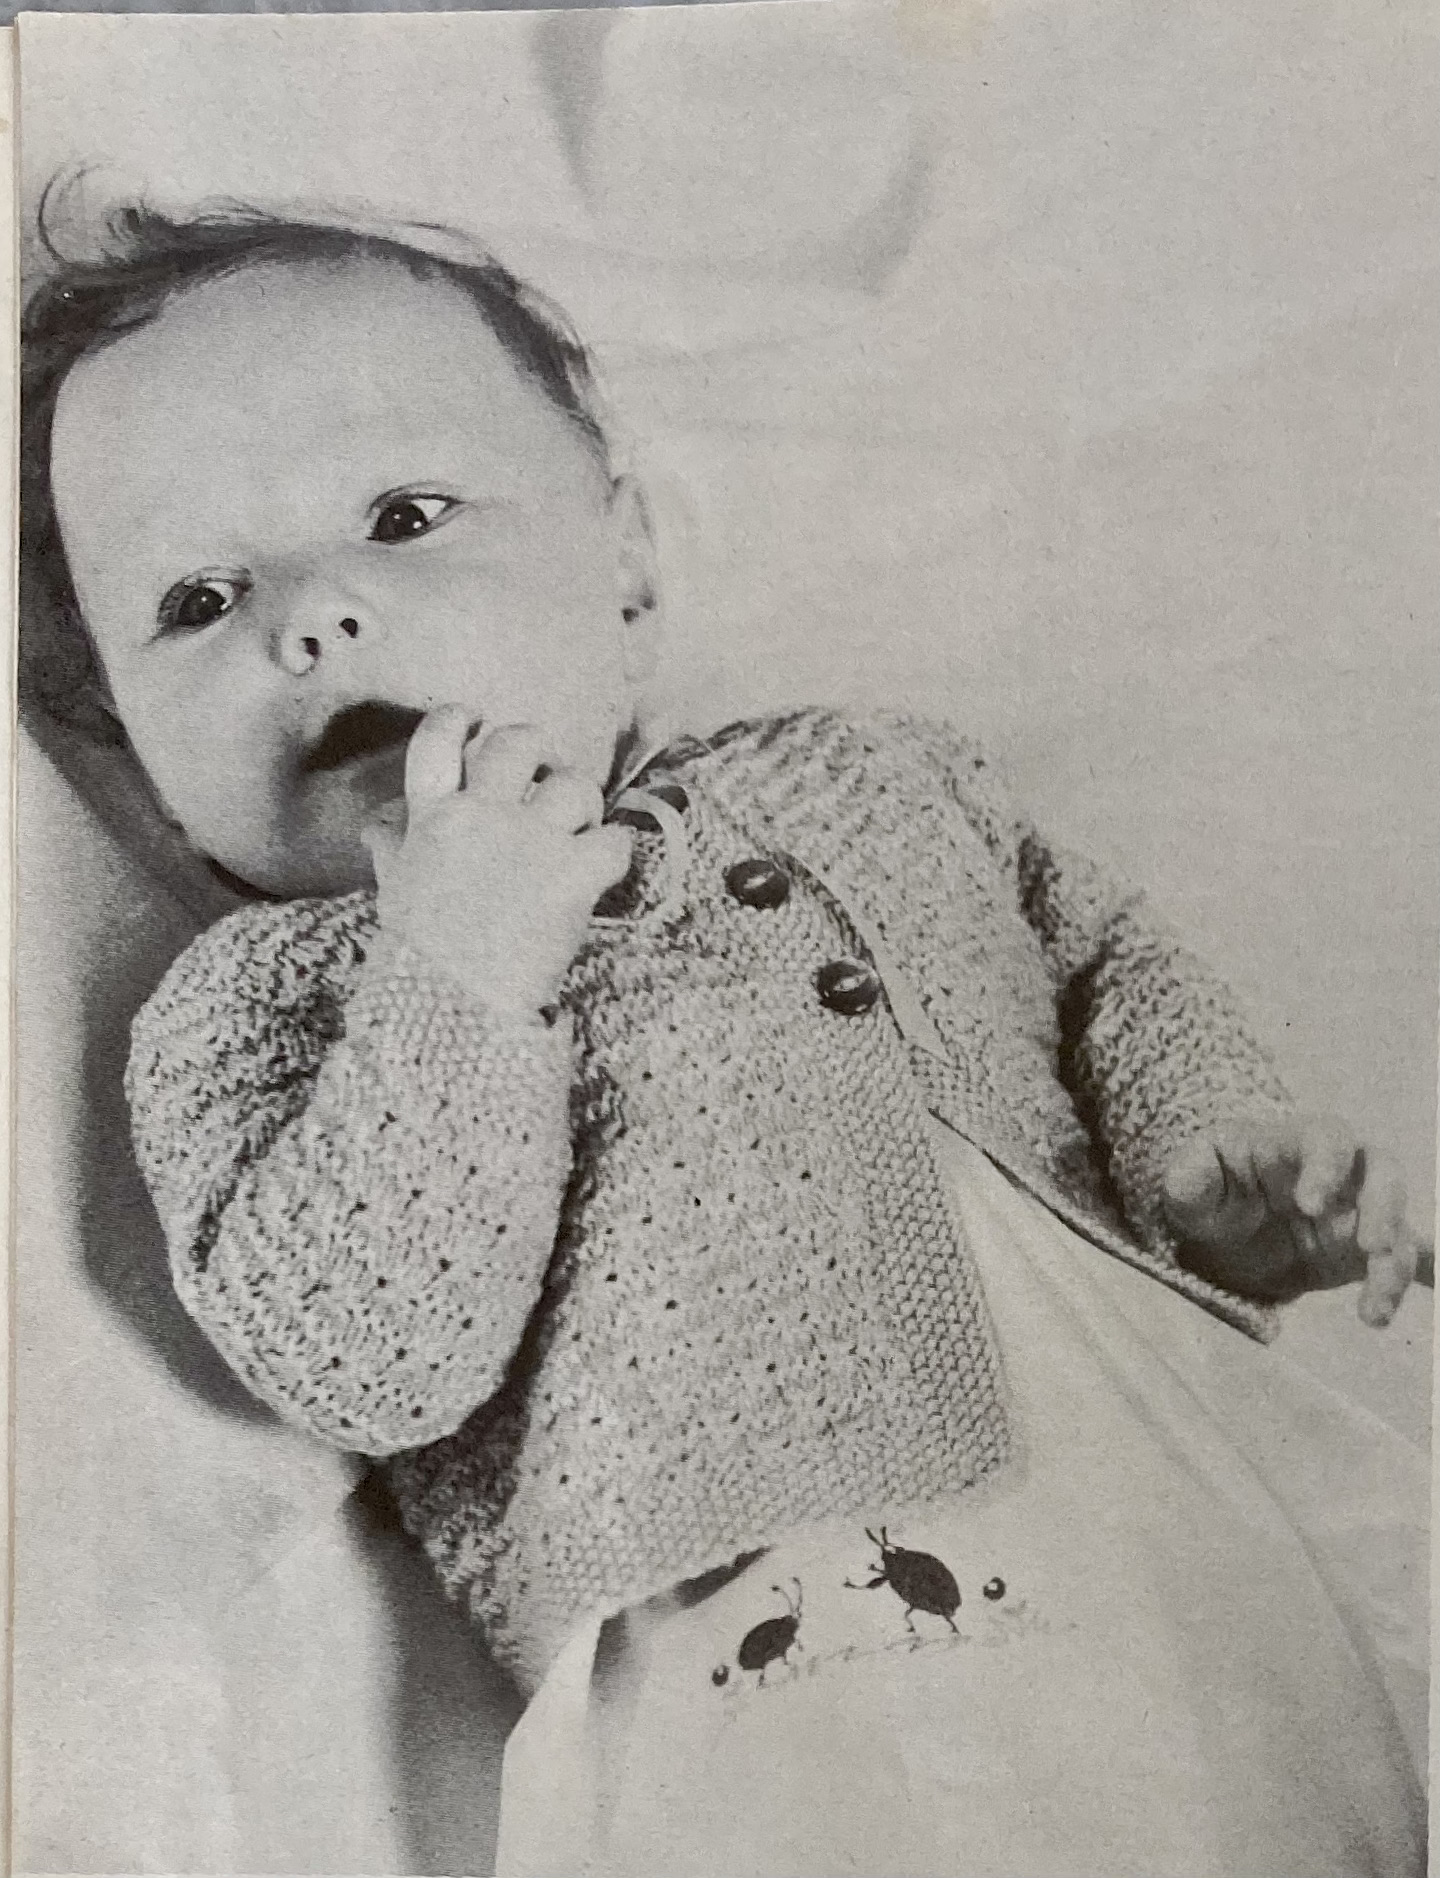
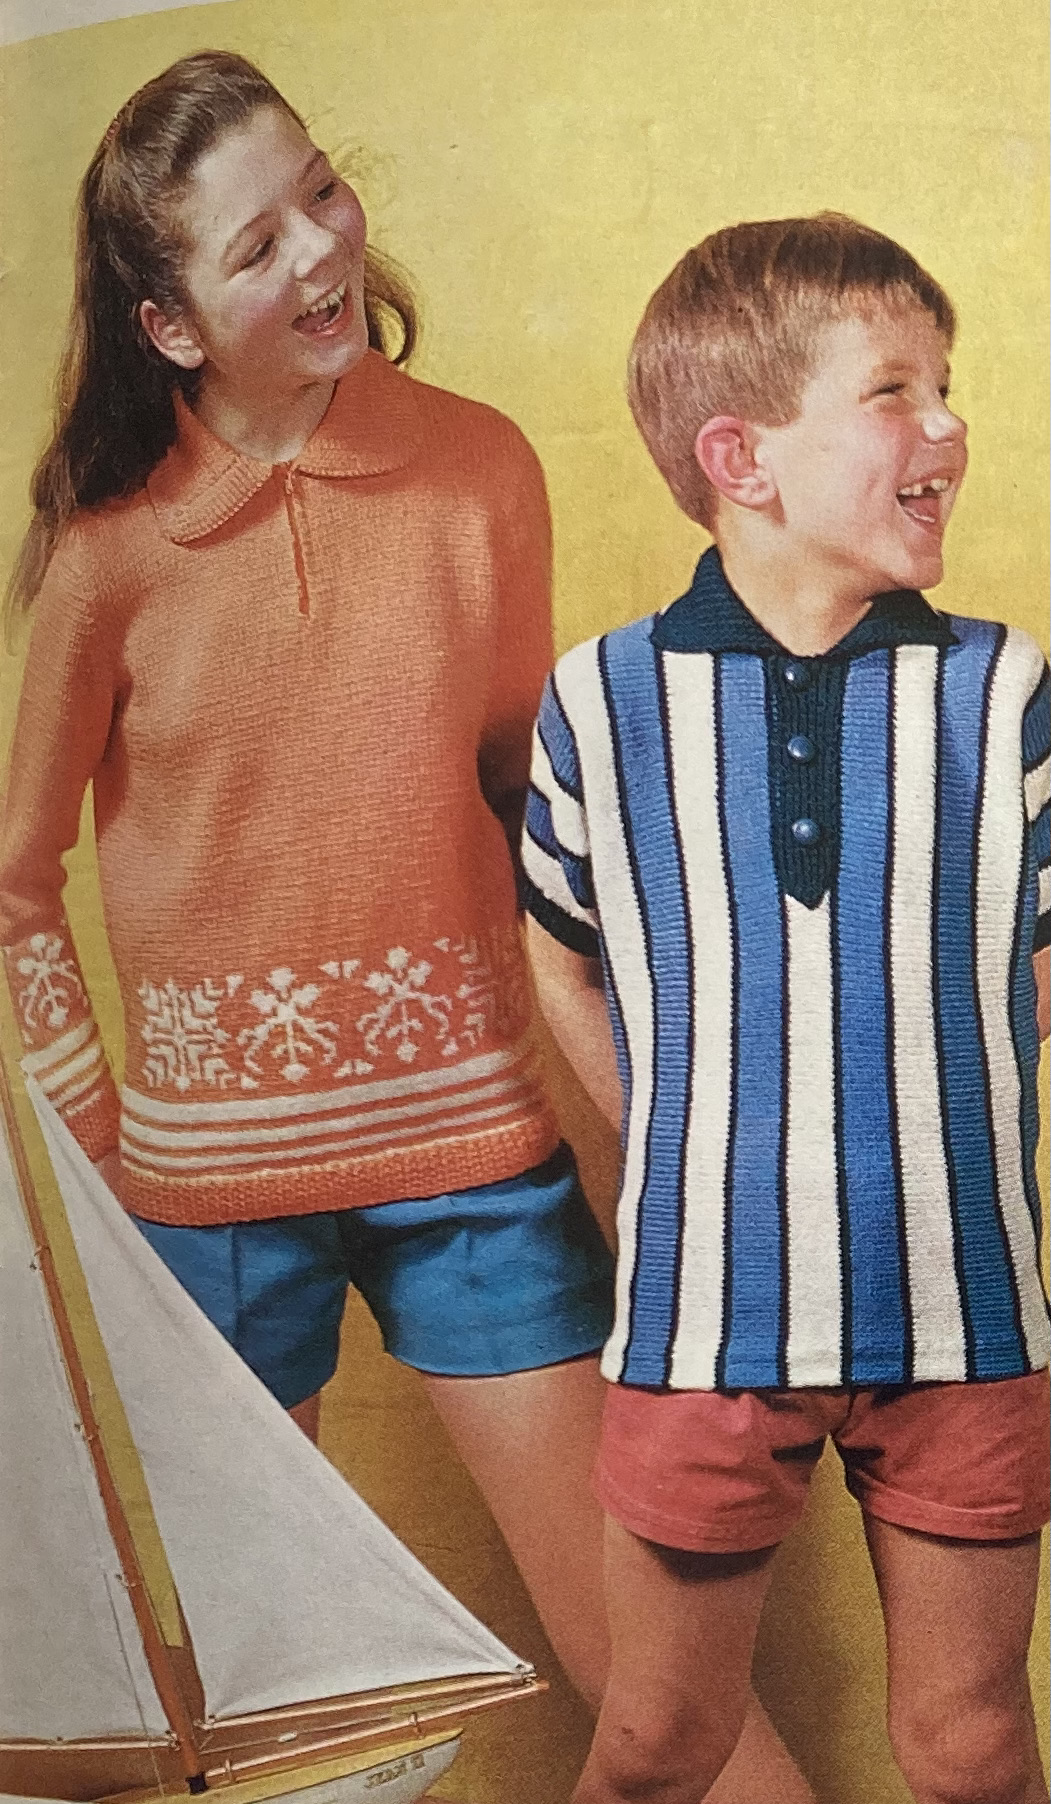
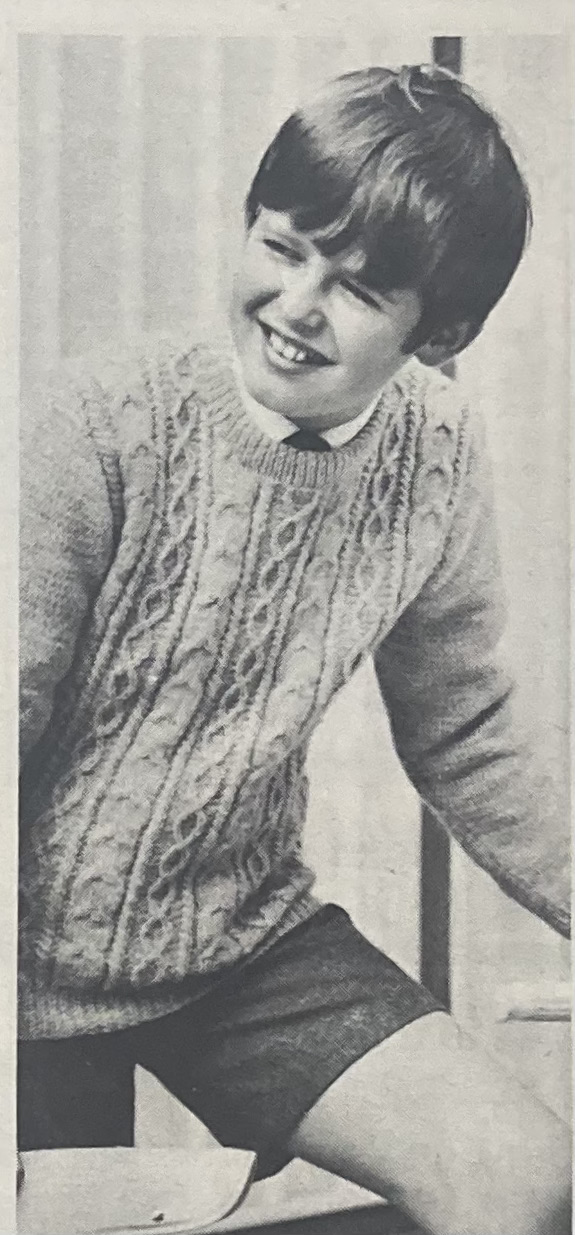
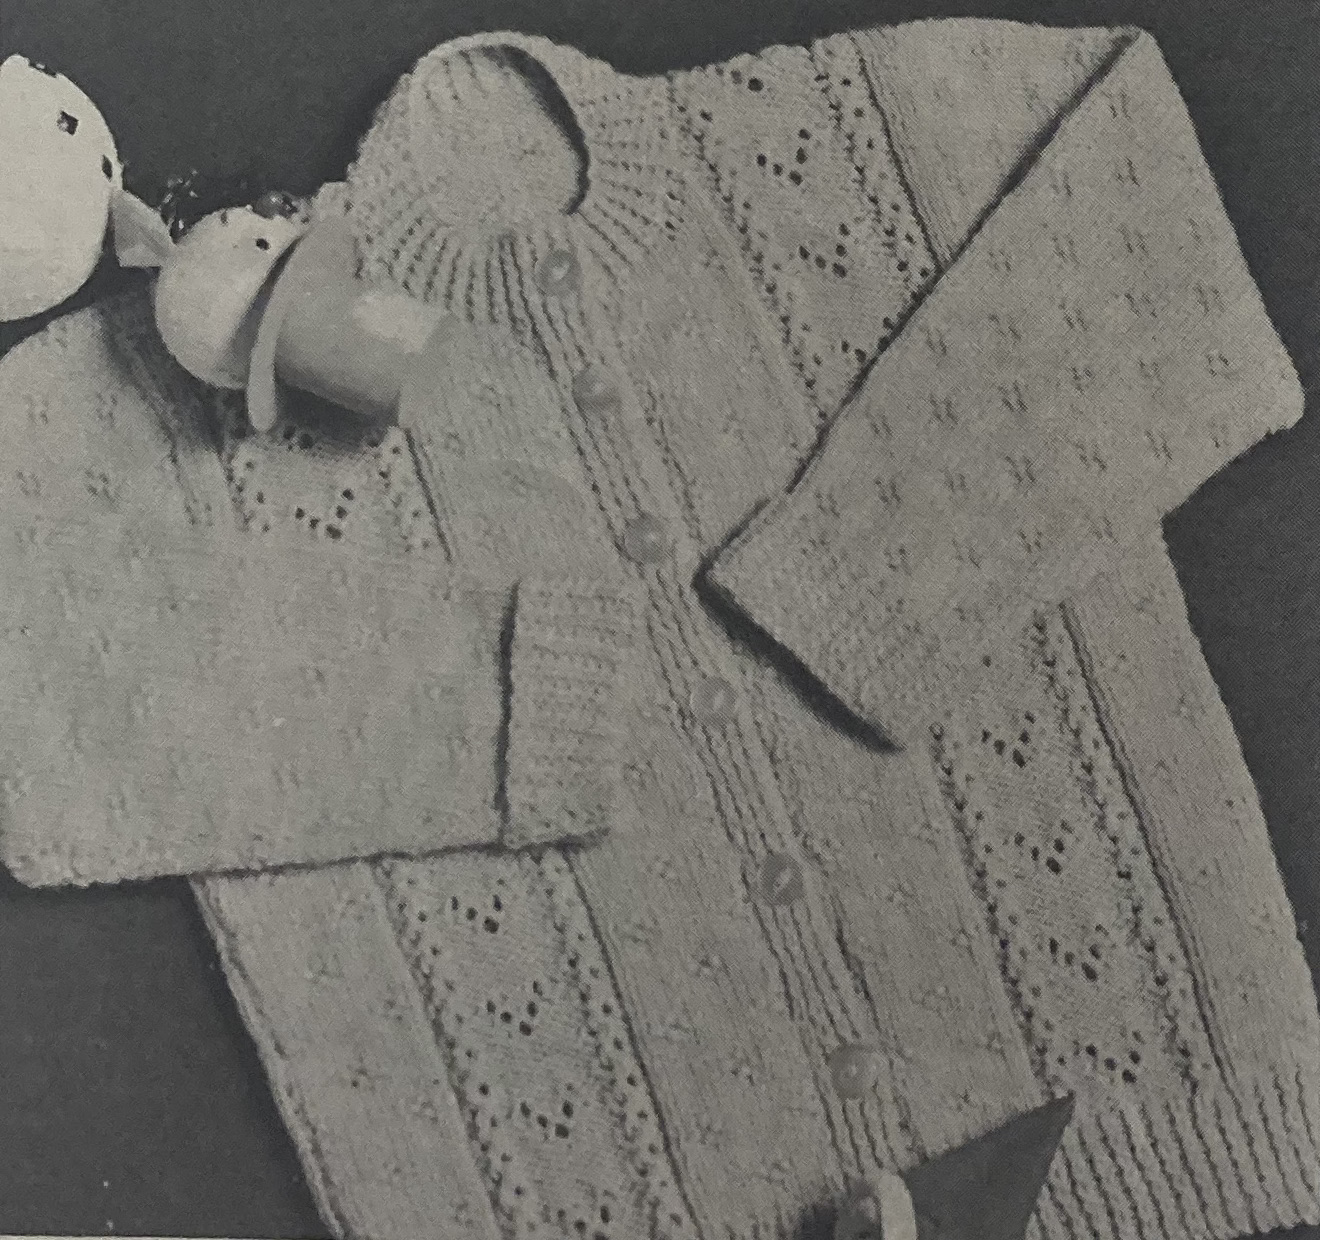
The manly-cable idea is continued on a lovely warm pullover for boys, and his younger sister can get a button-up cardigan in a frothy textured stitch pattern, made in synthetic-wool “Brilliante” for easy washing. Younger tots can enjoy warm ears with a chin-strap “helmet” hat that is guaranteed not to fall off or get lost.

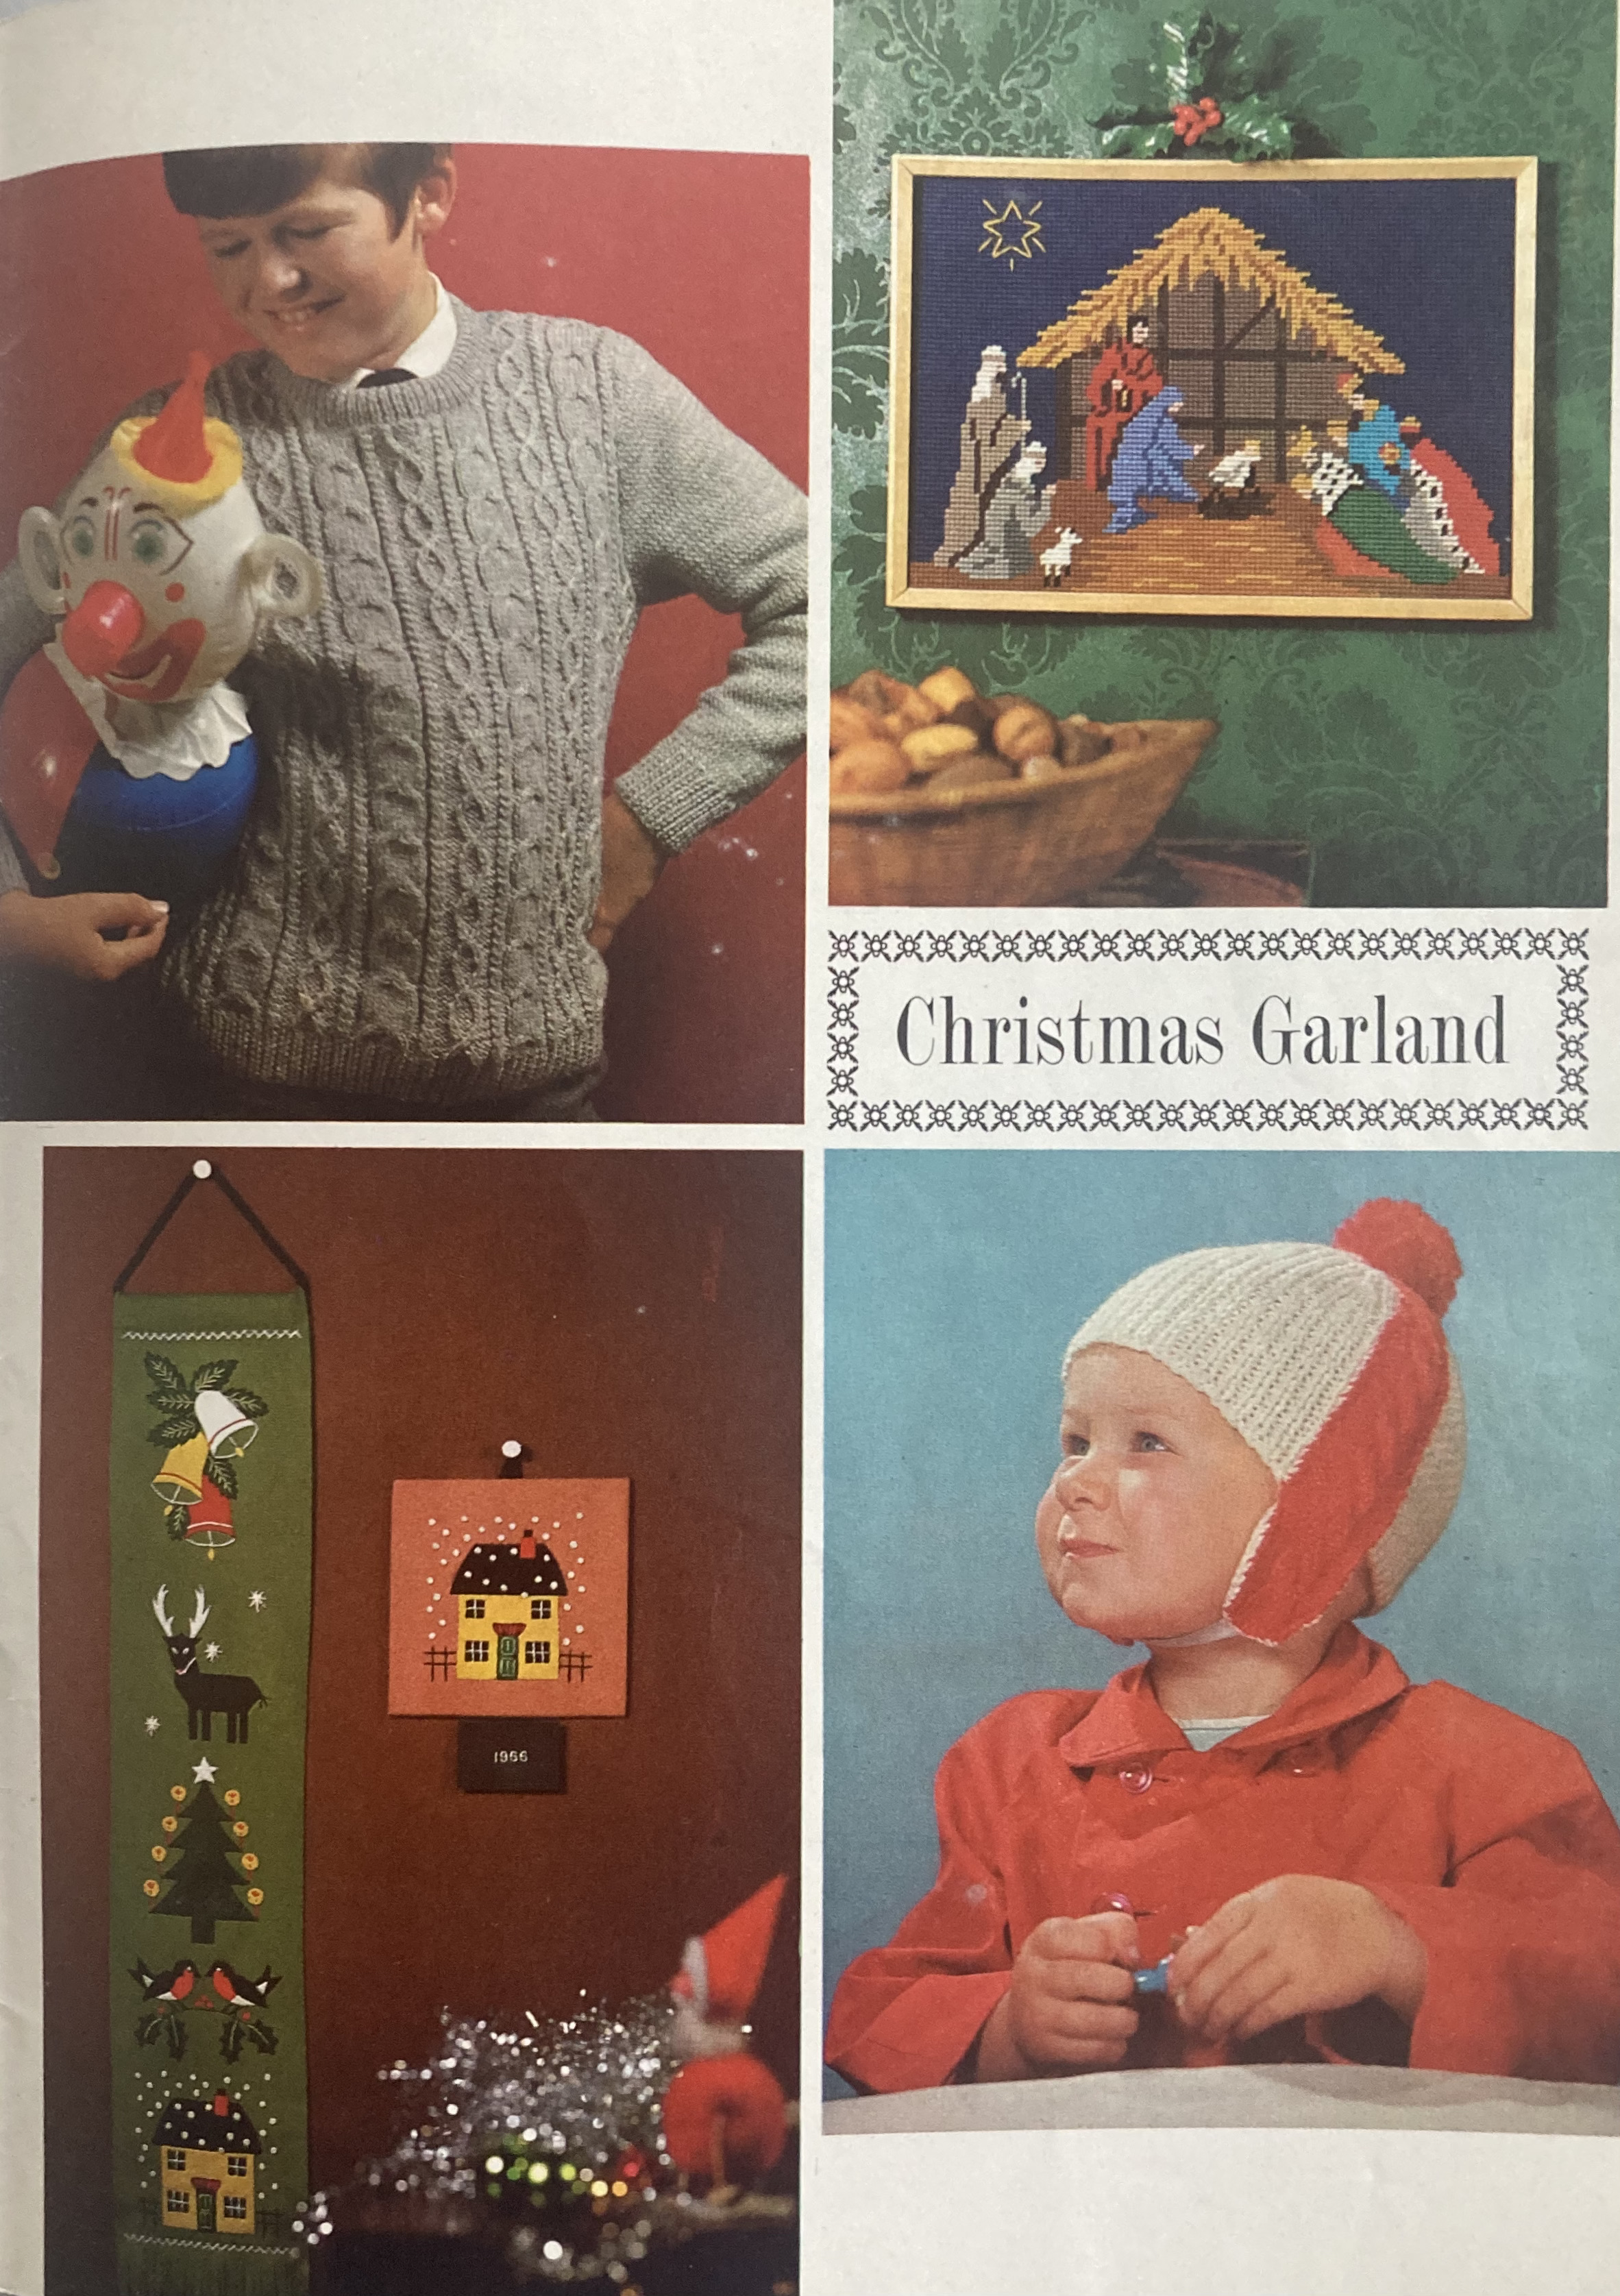
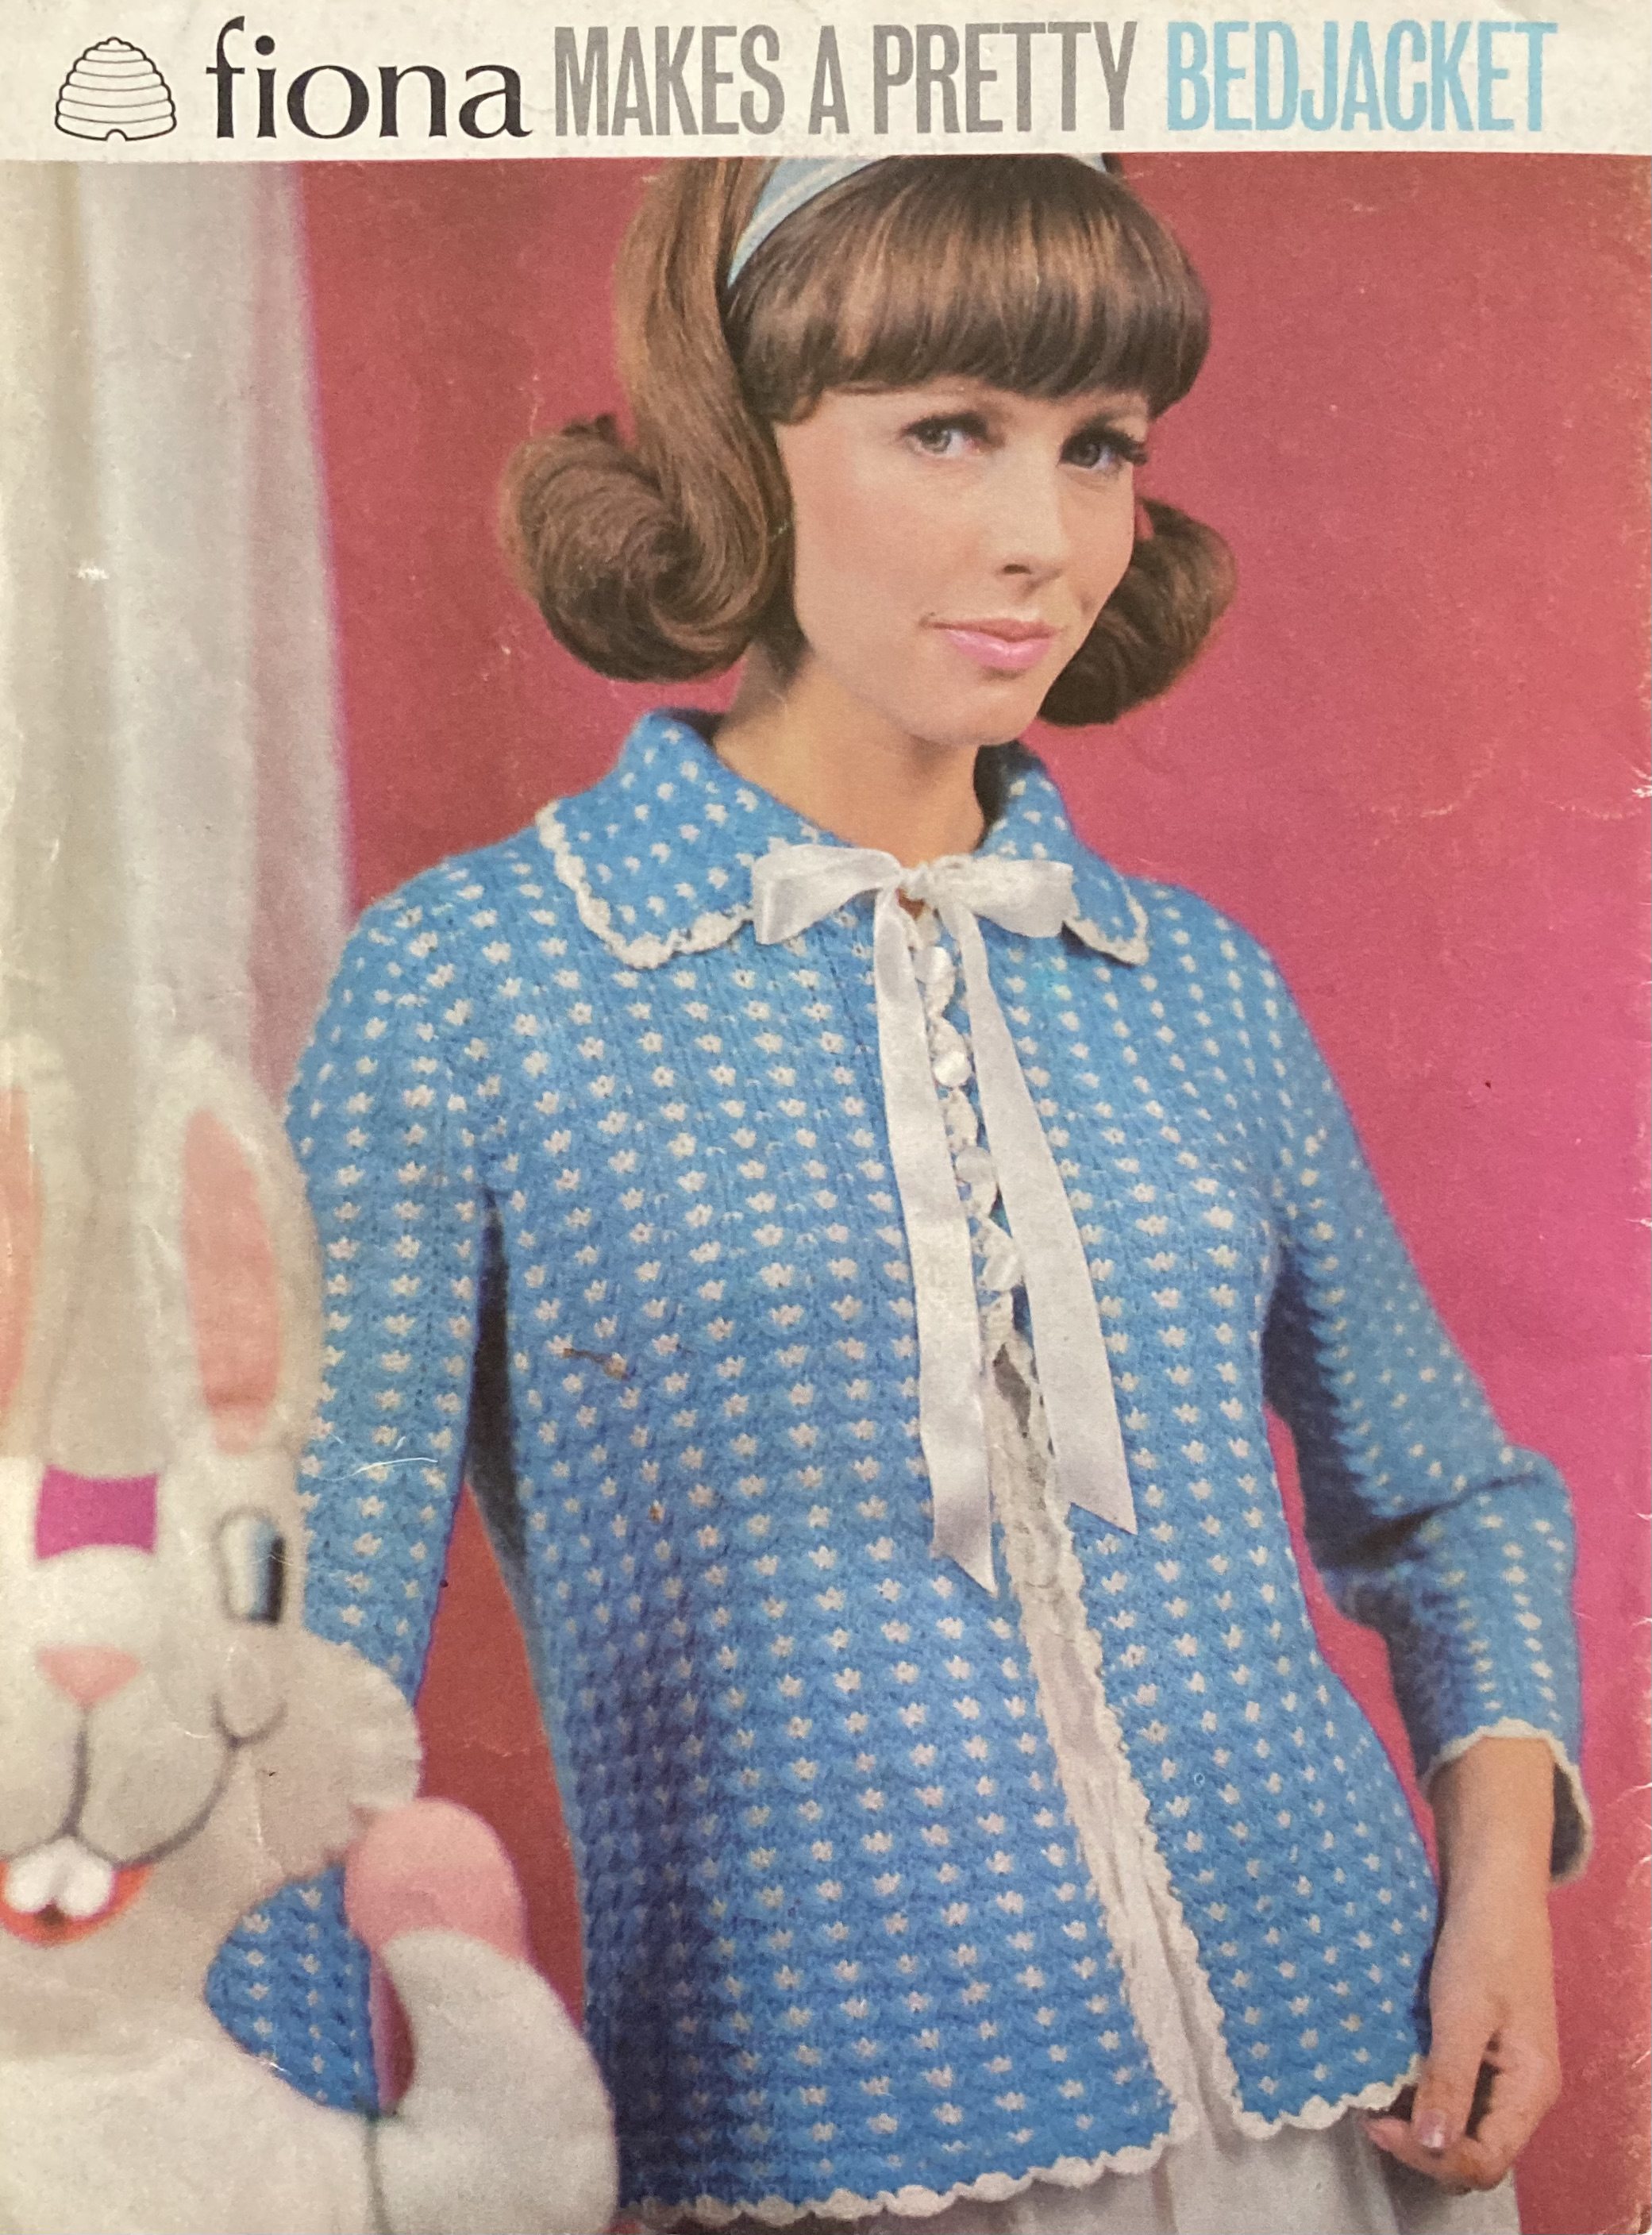
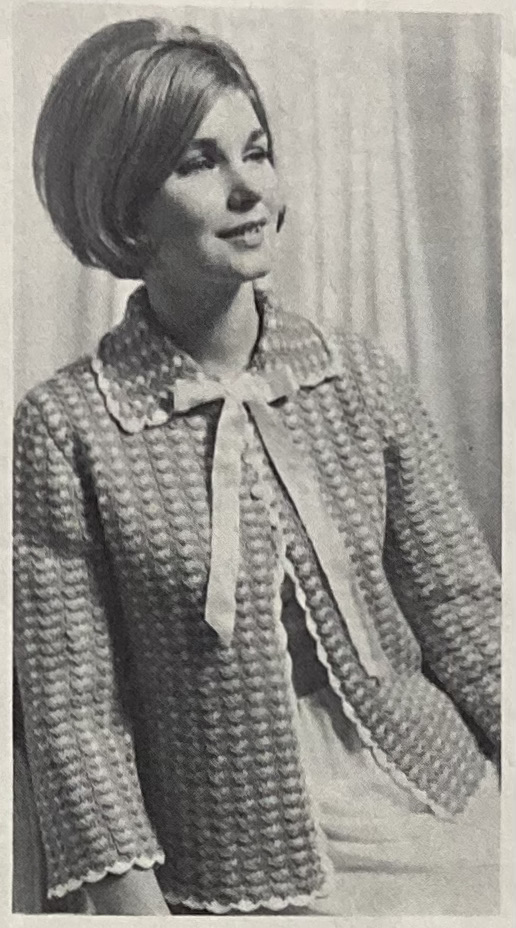
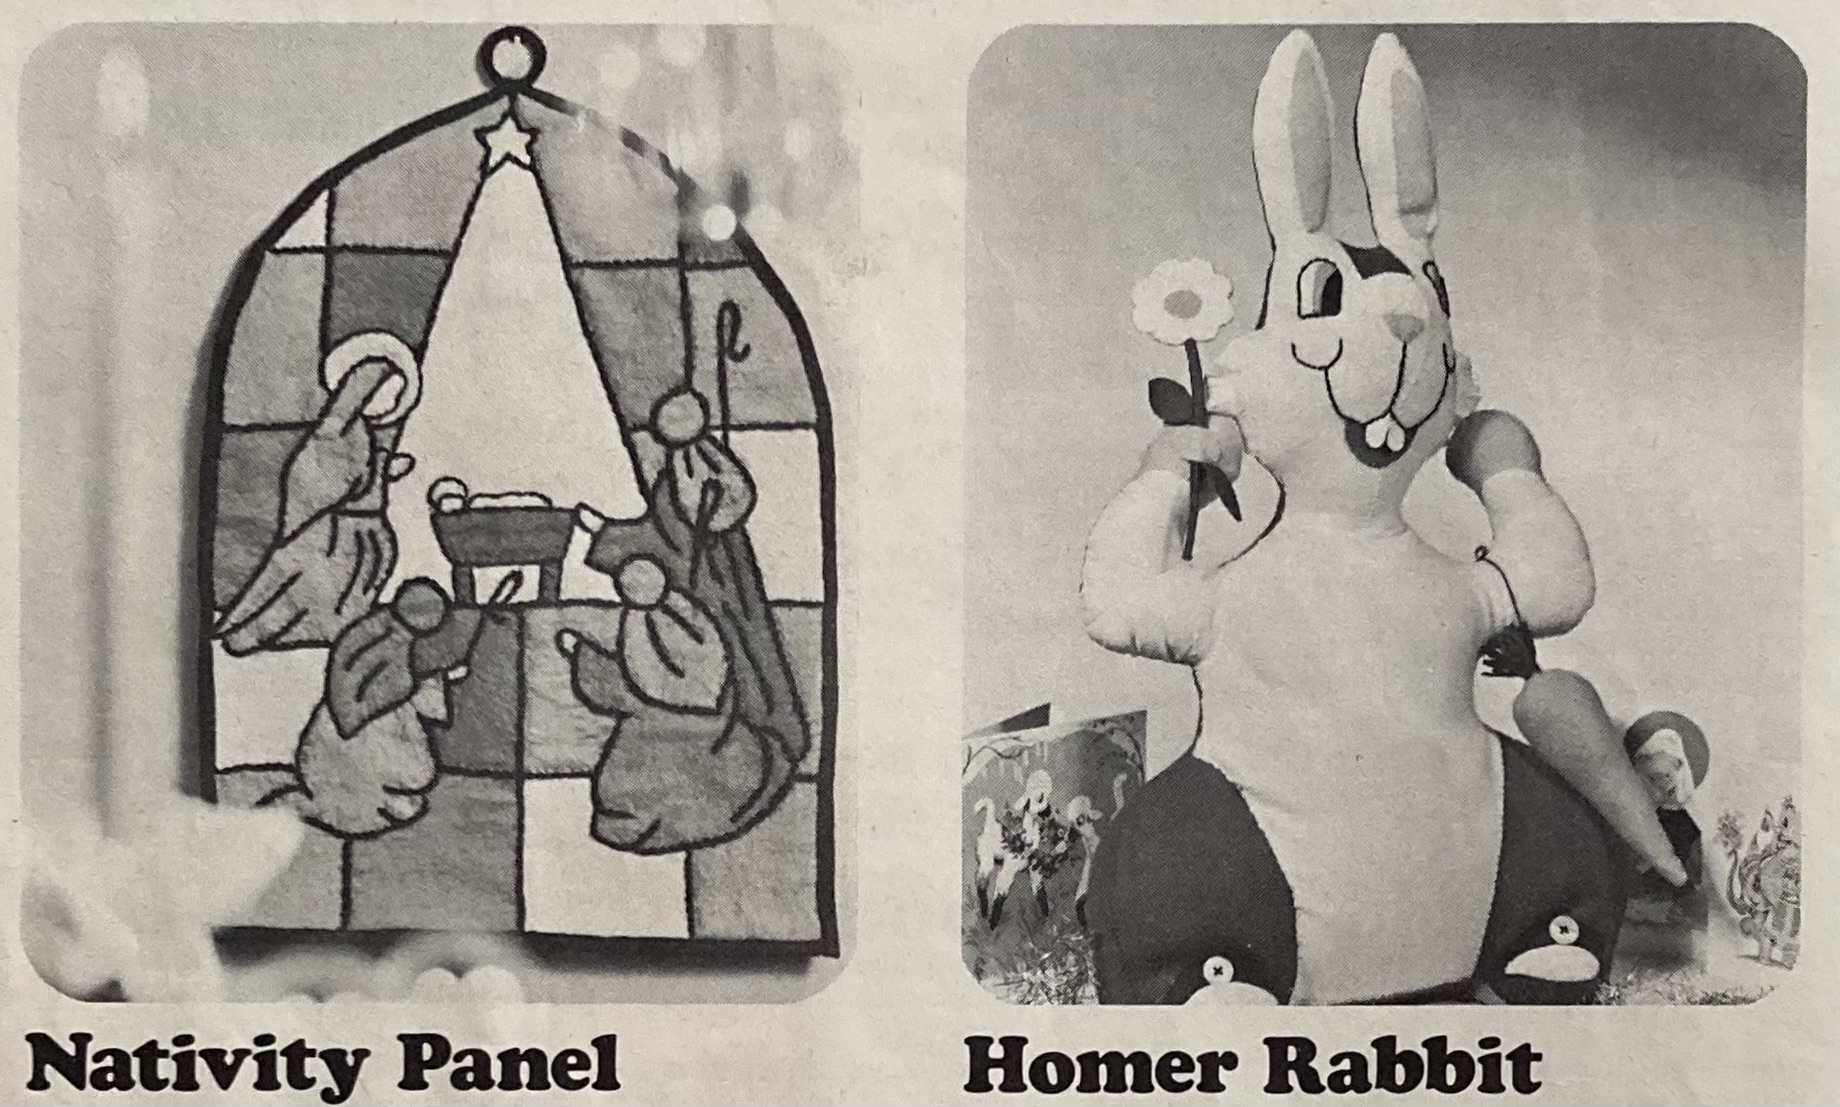
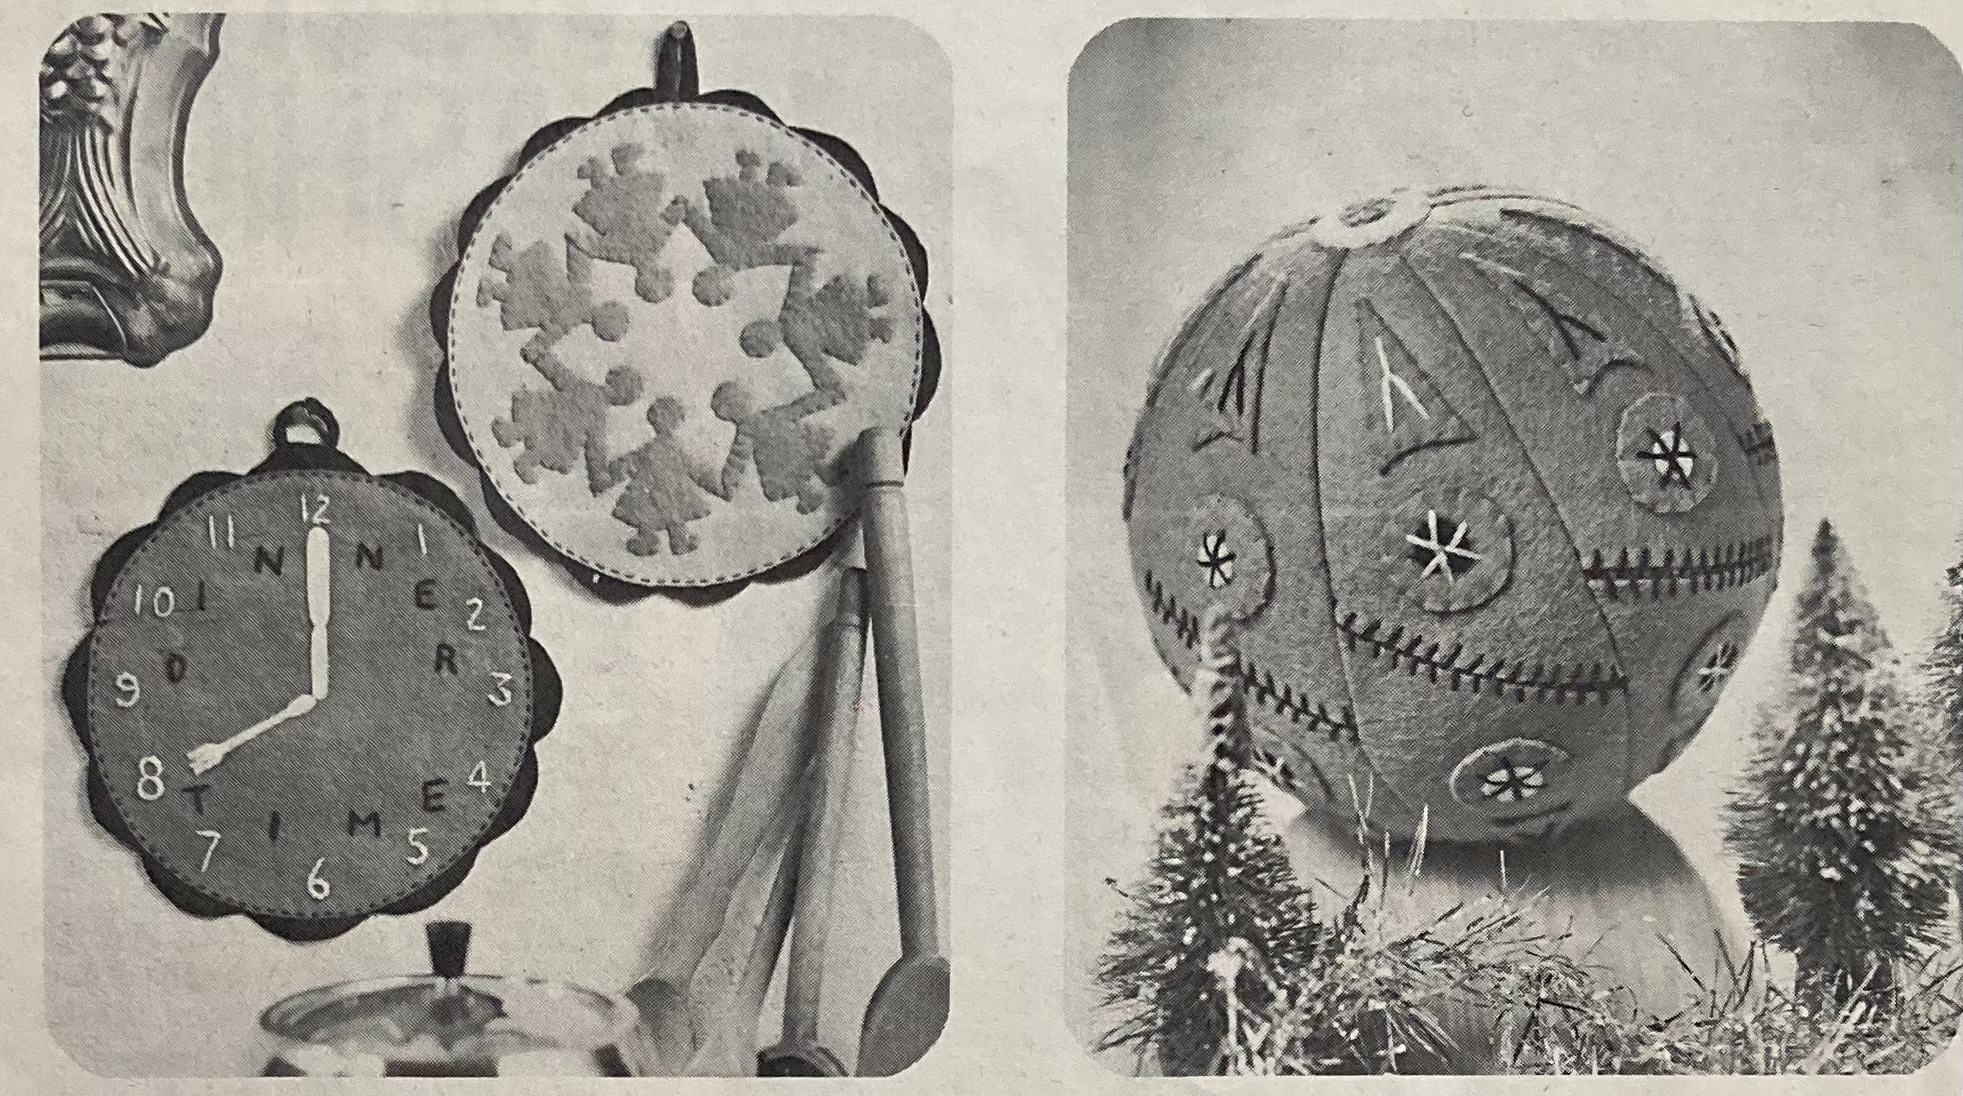
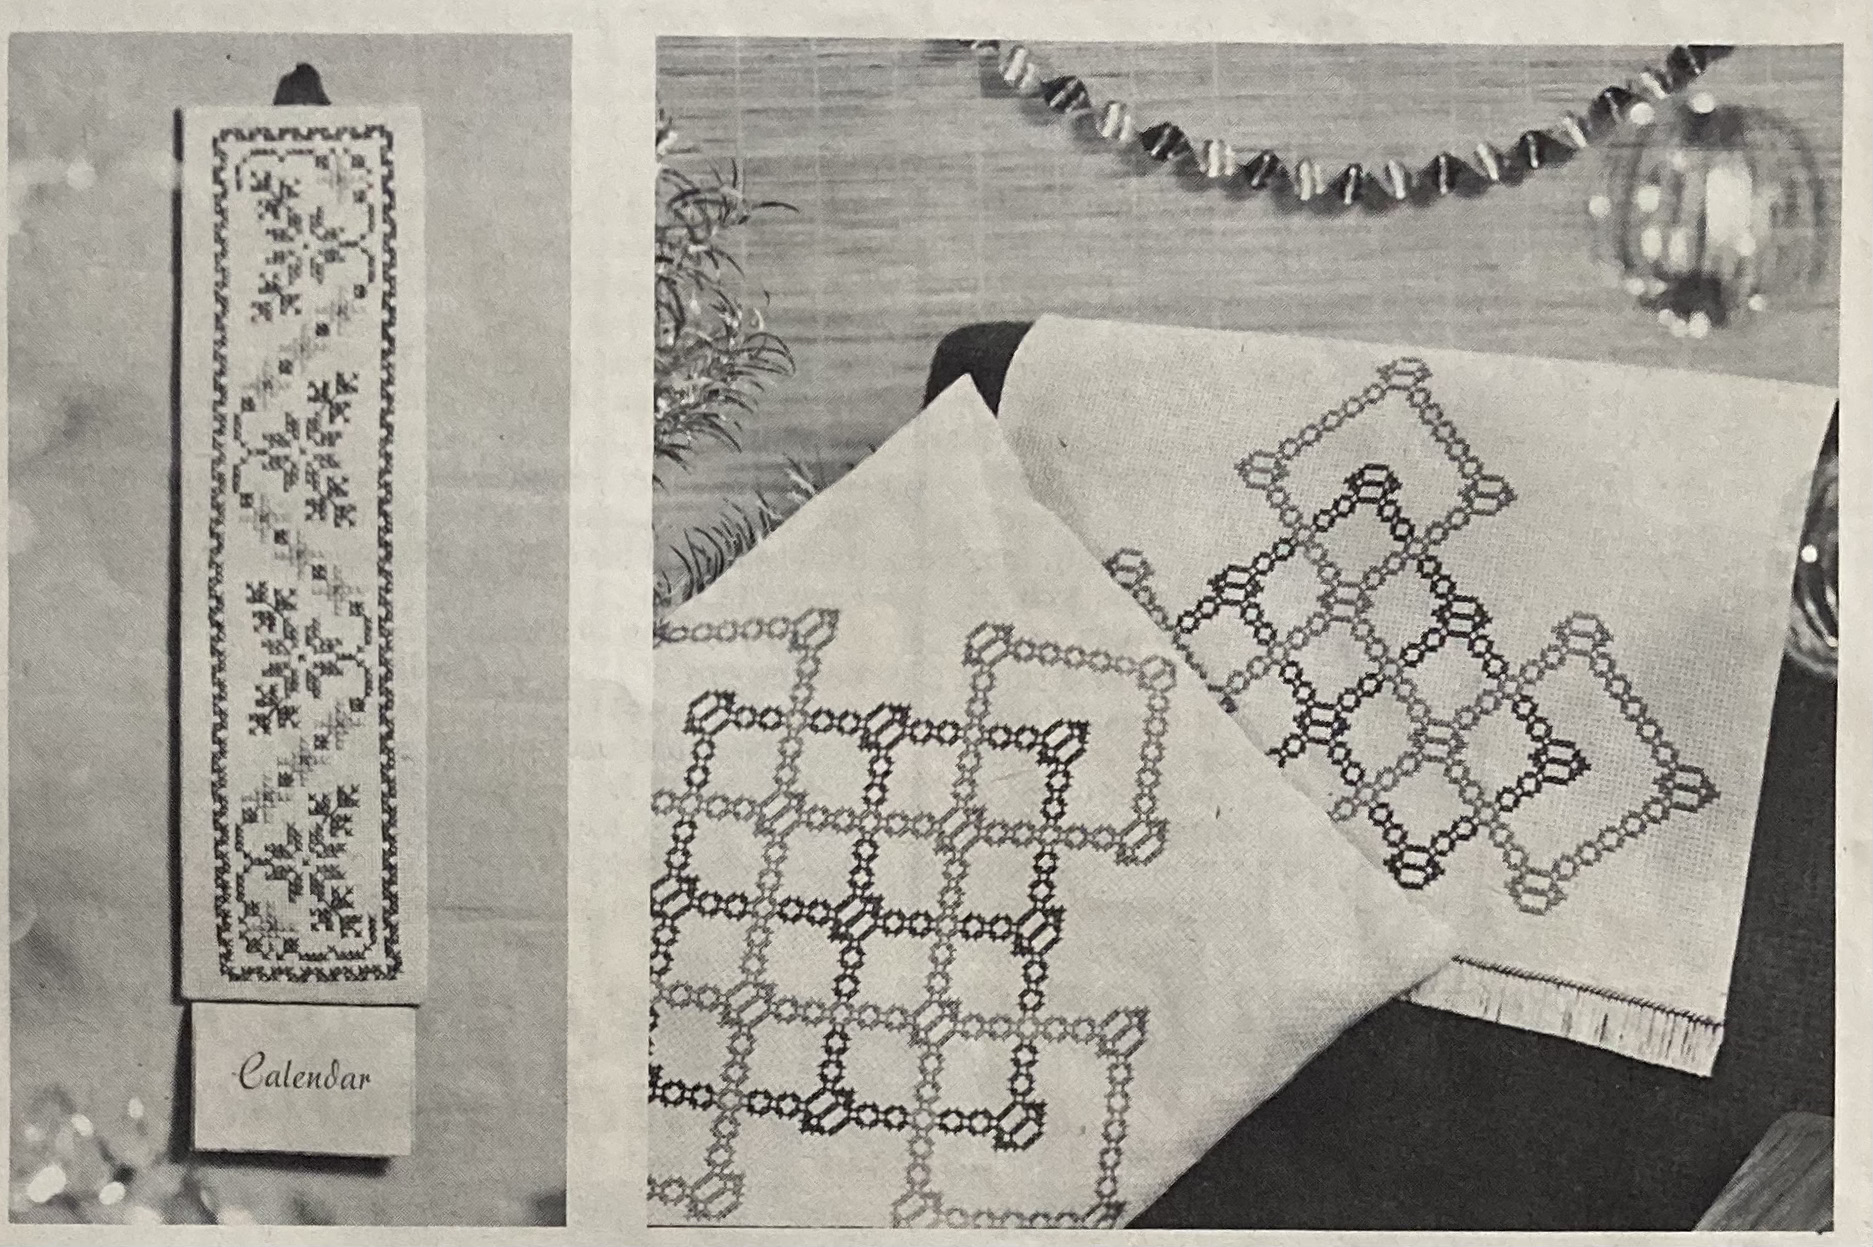
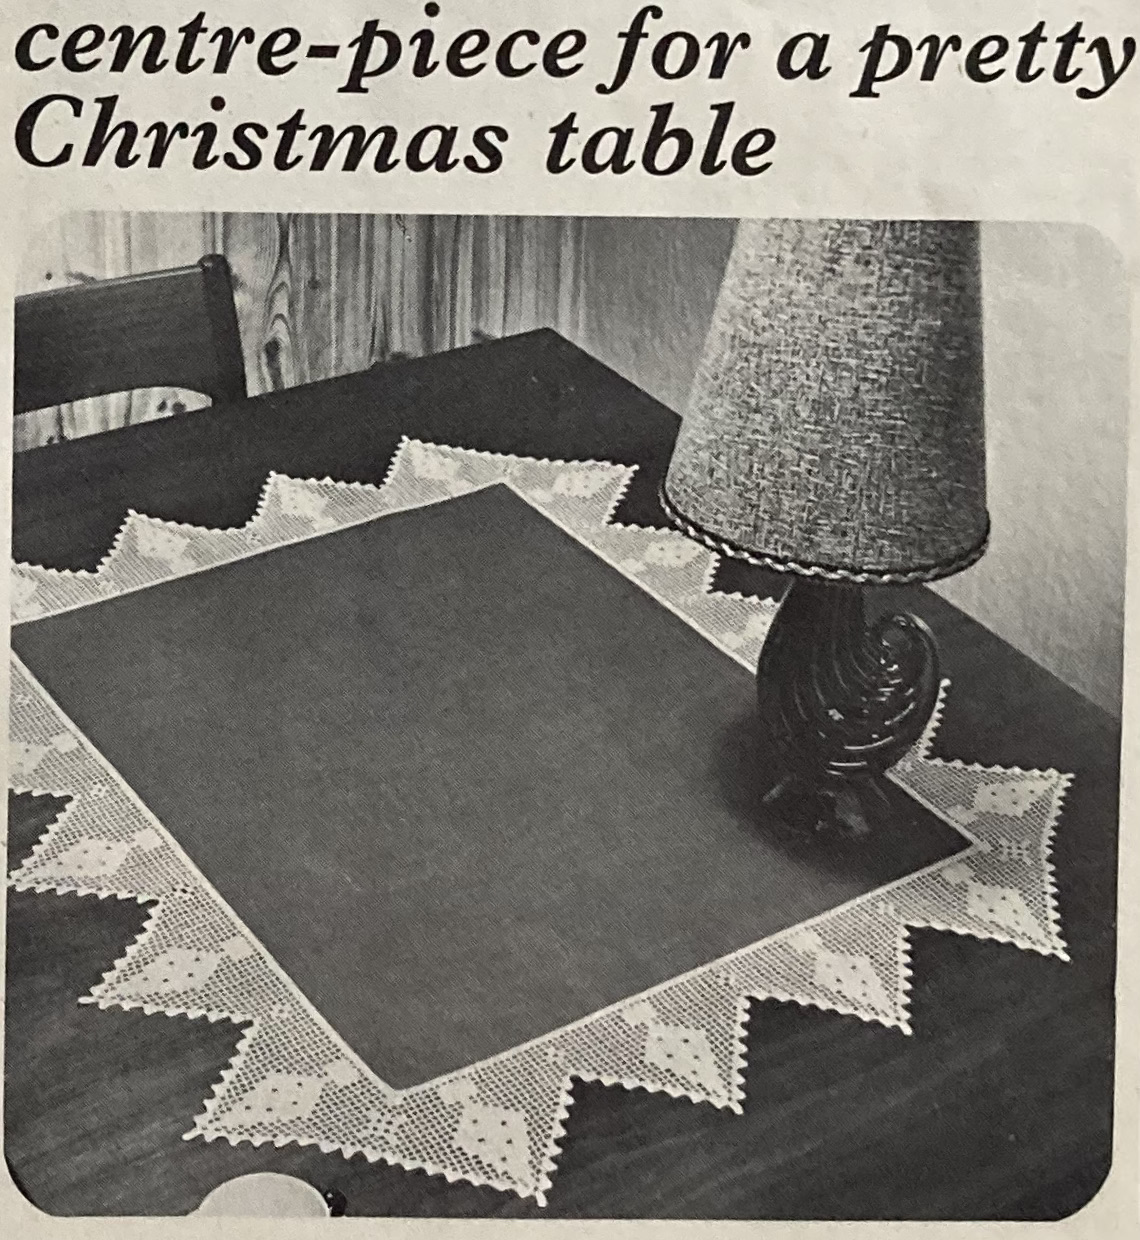
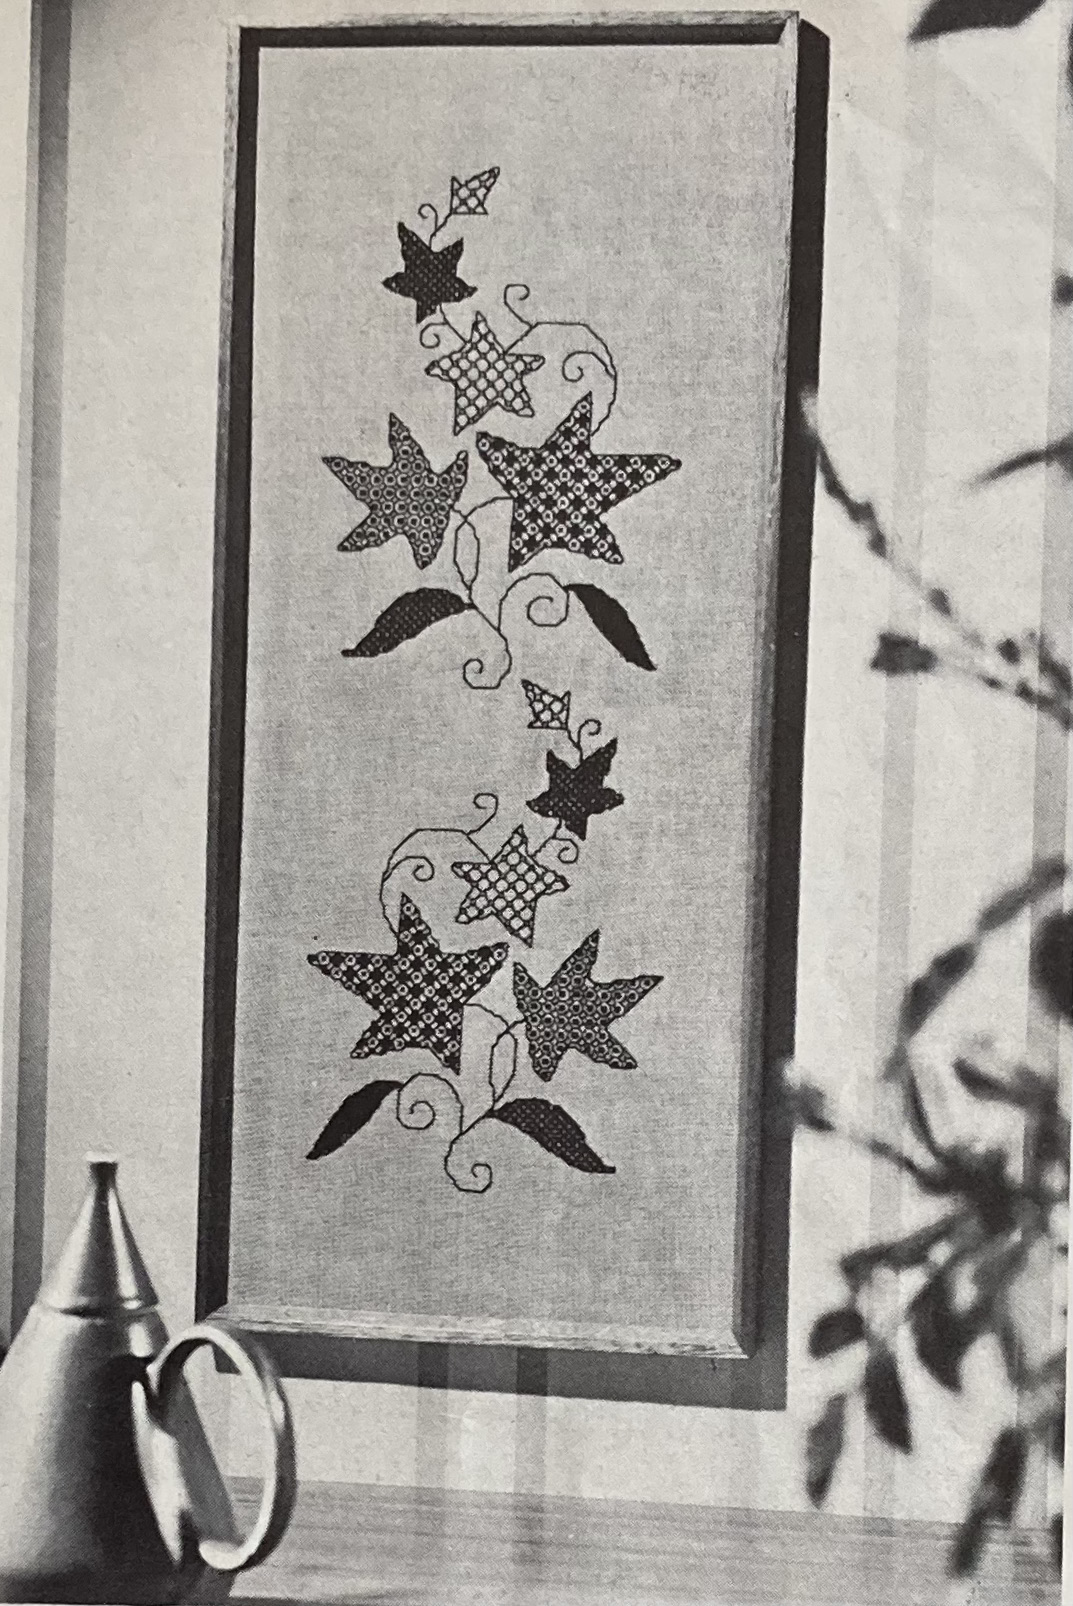
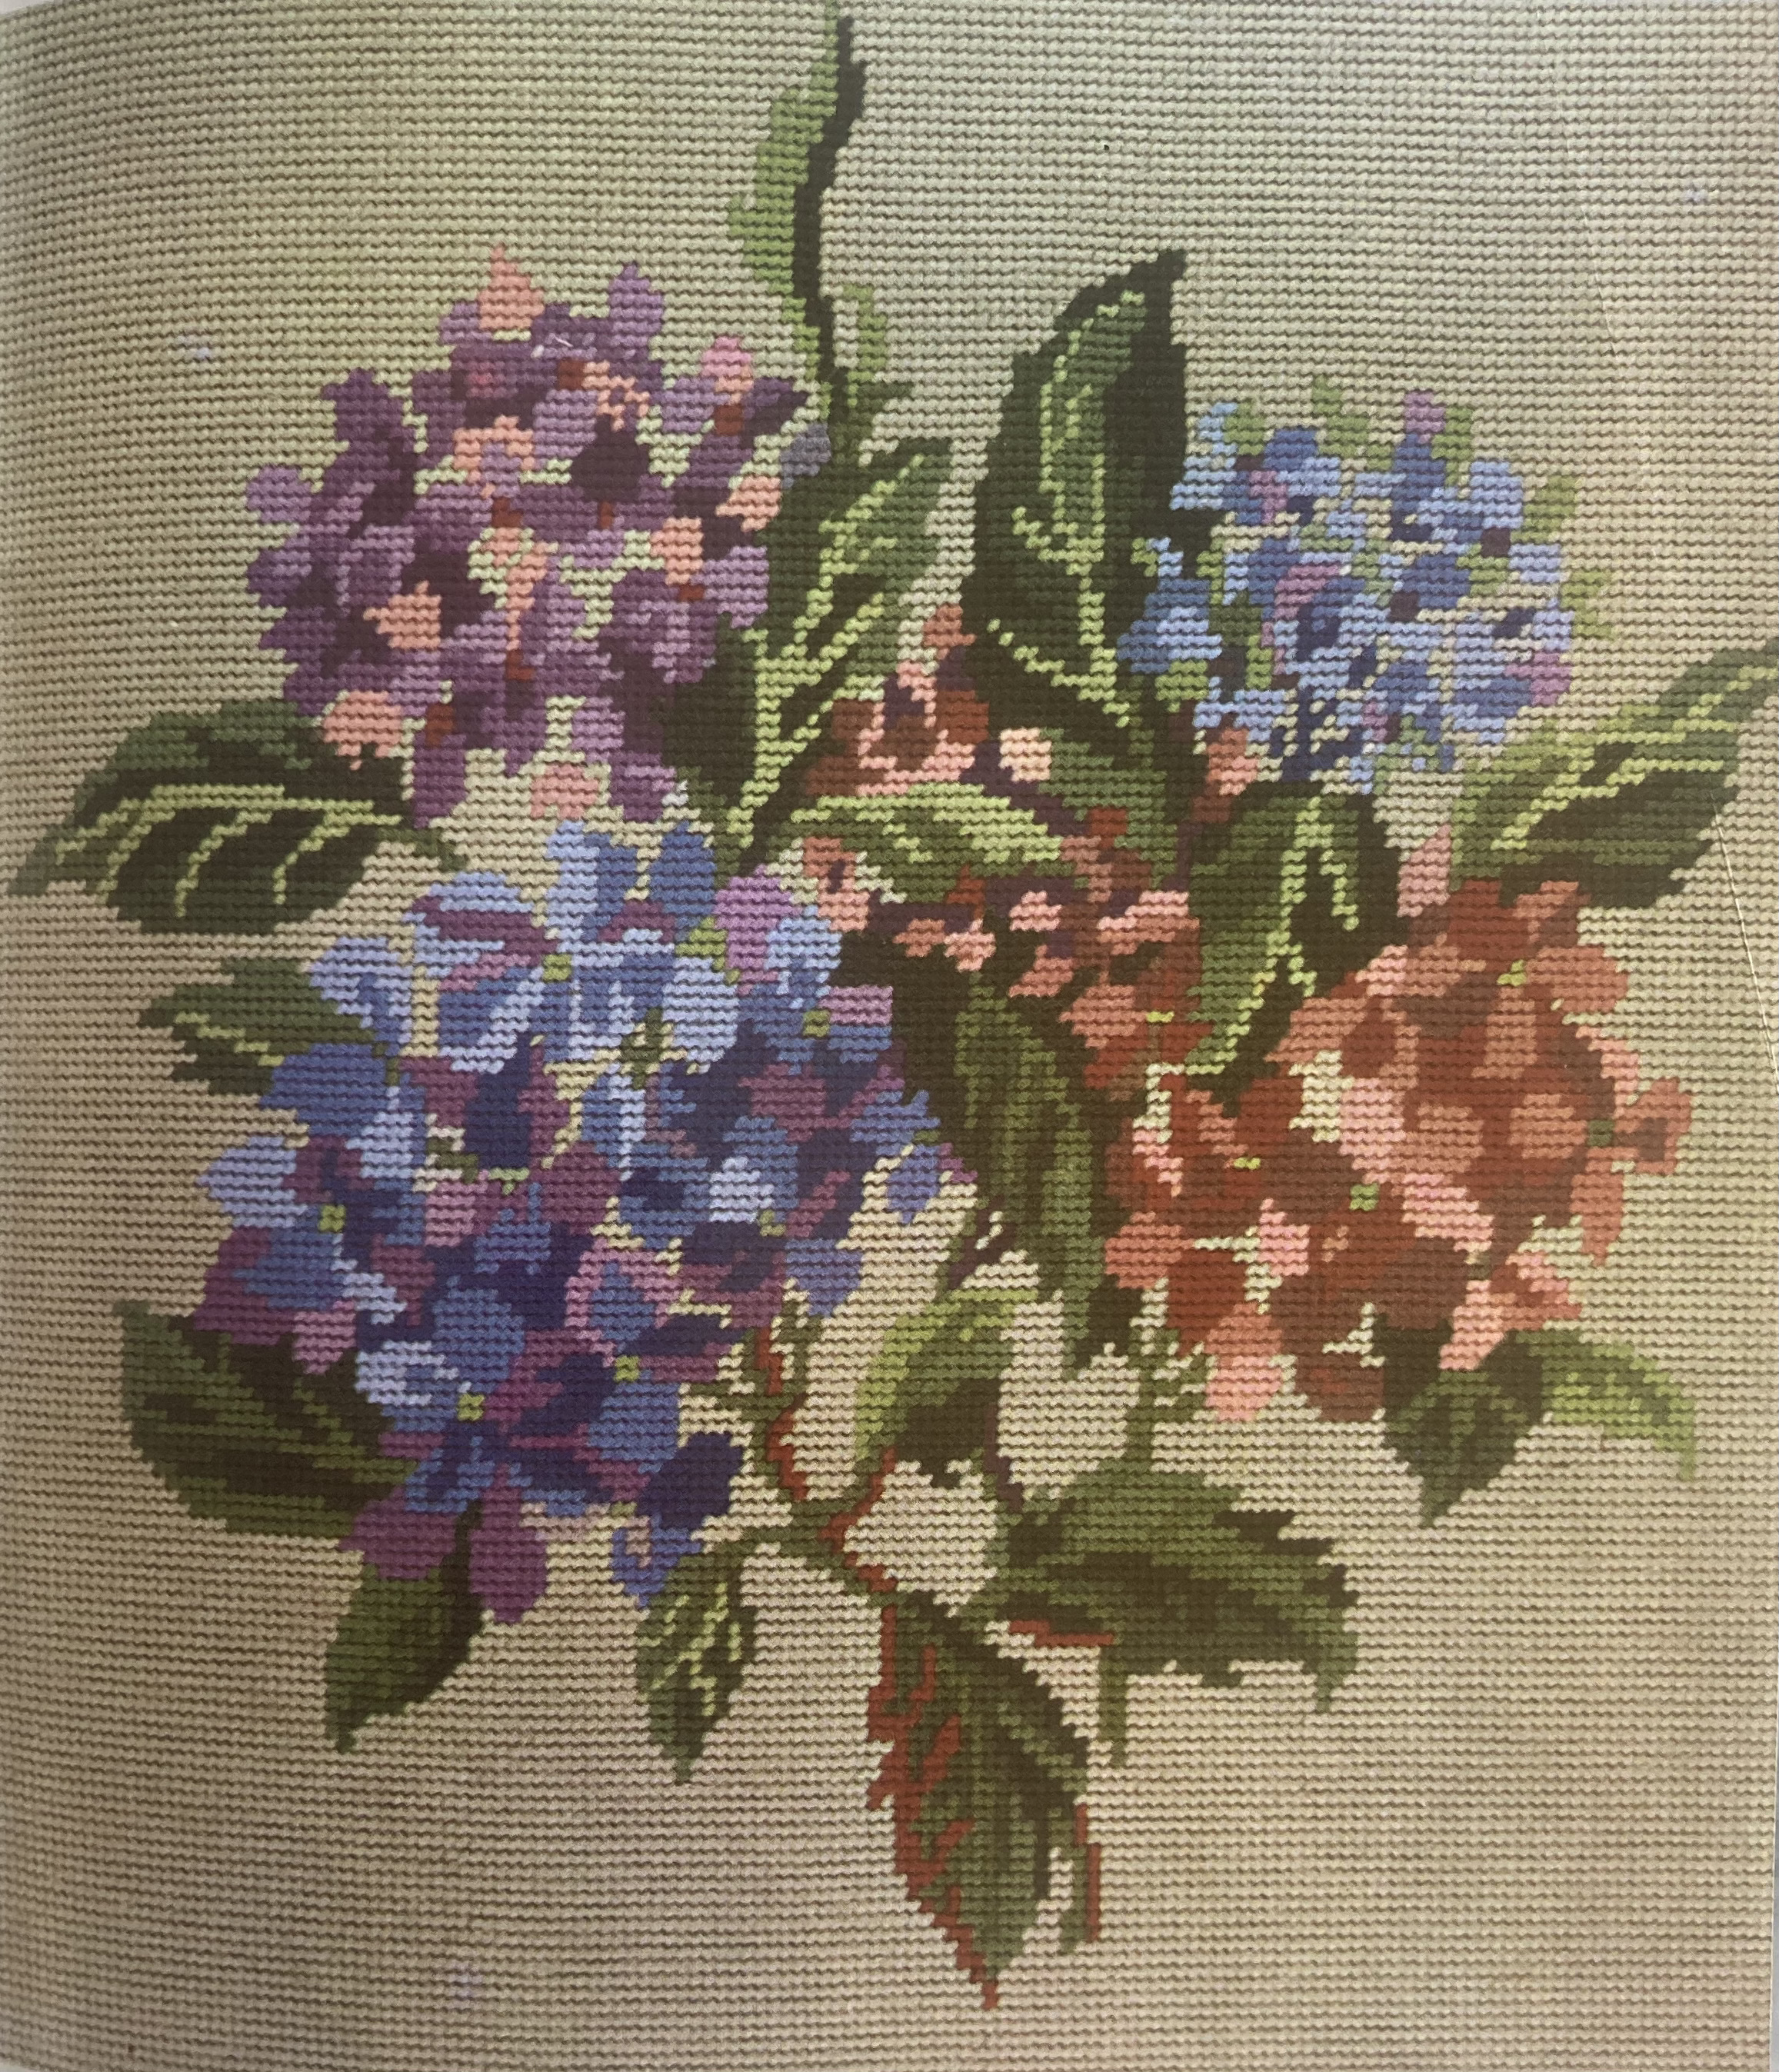
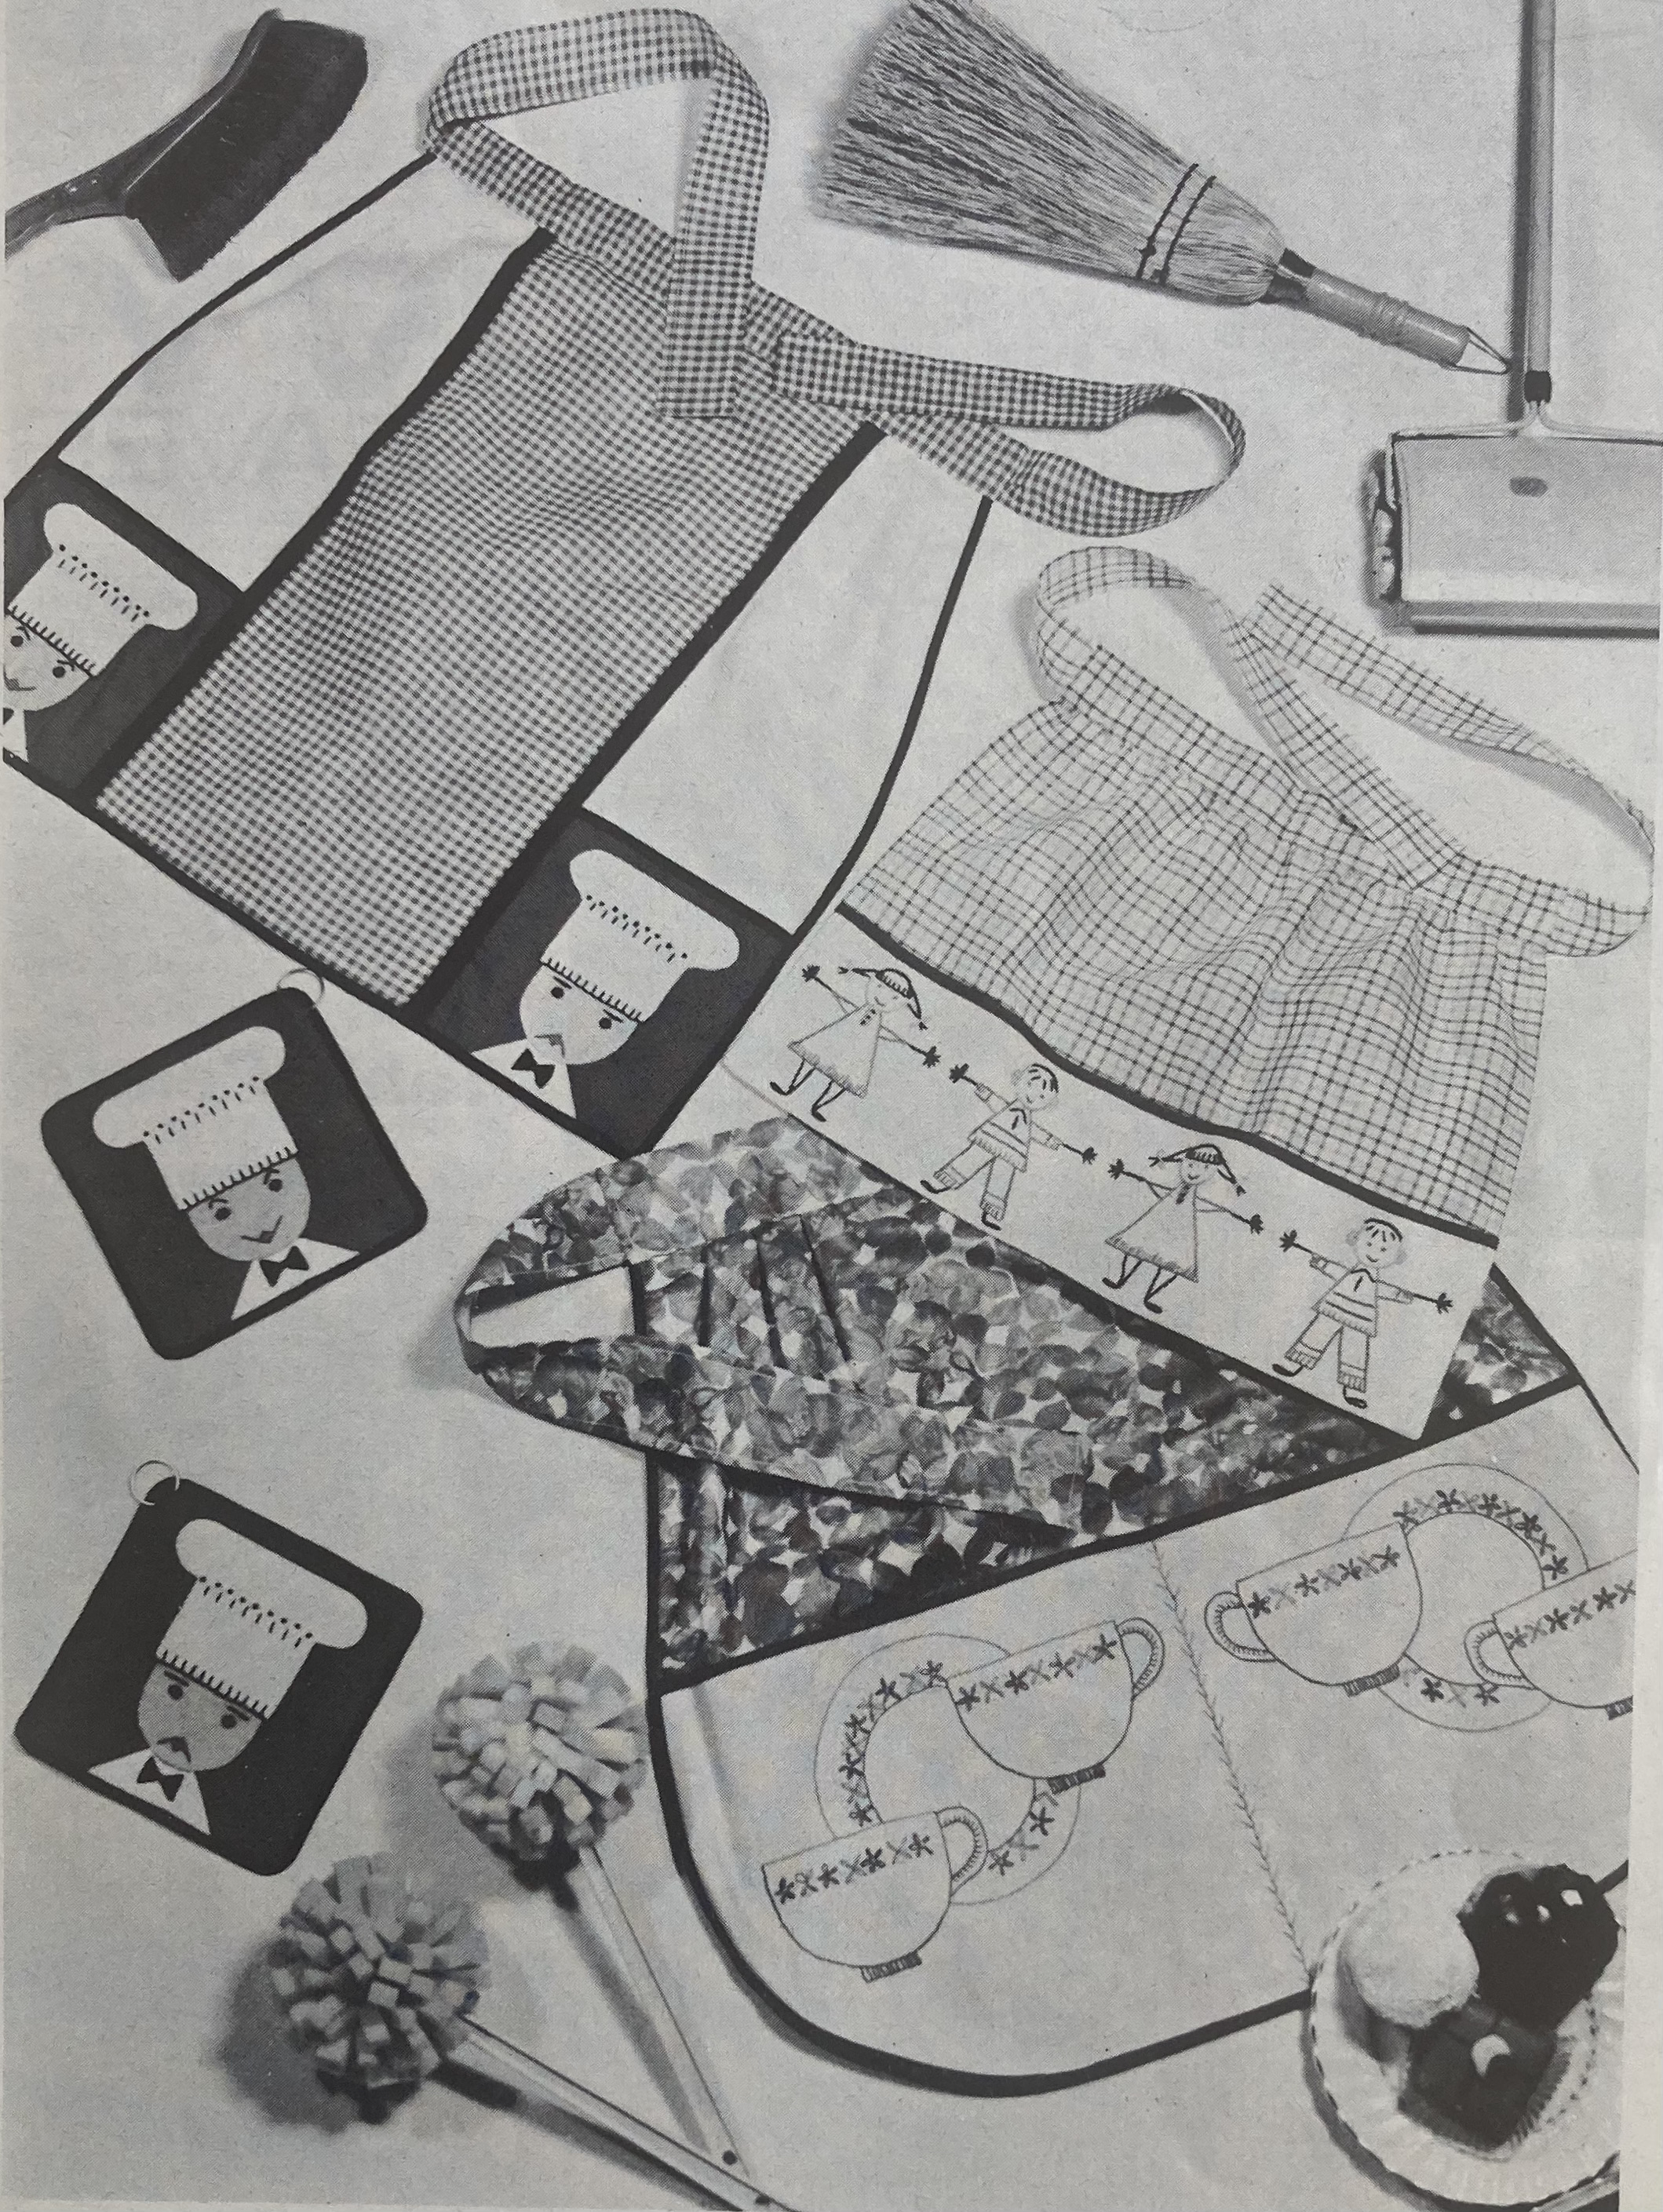
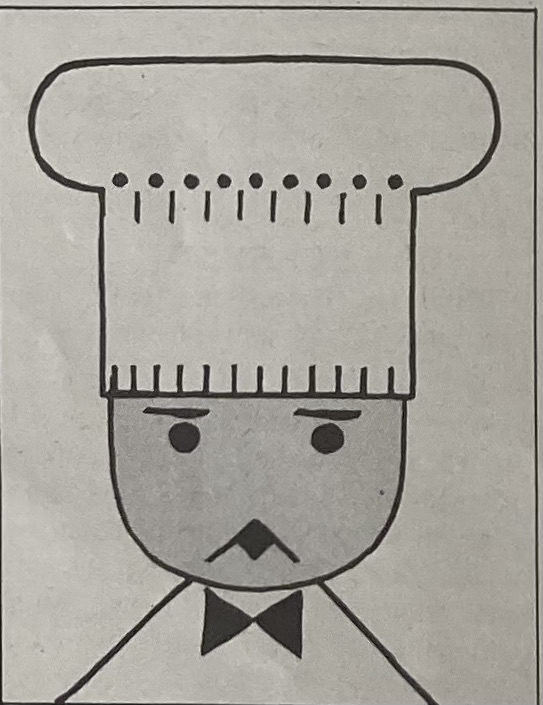
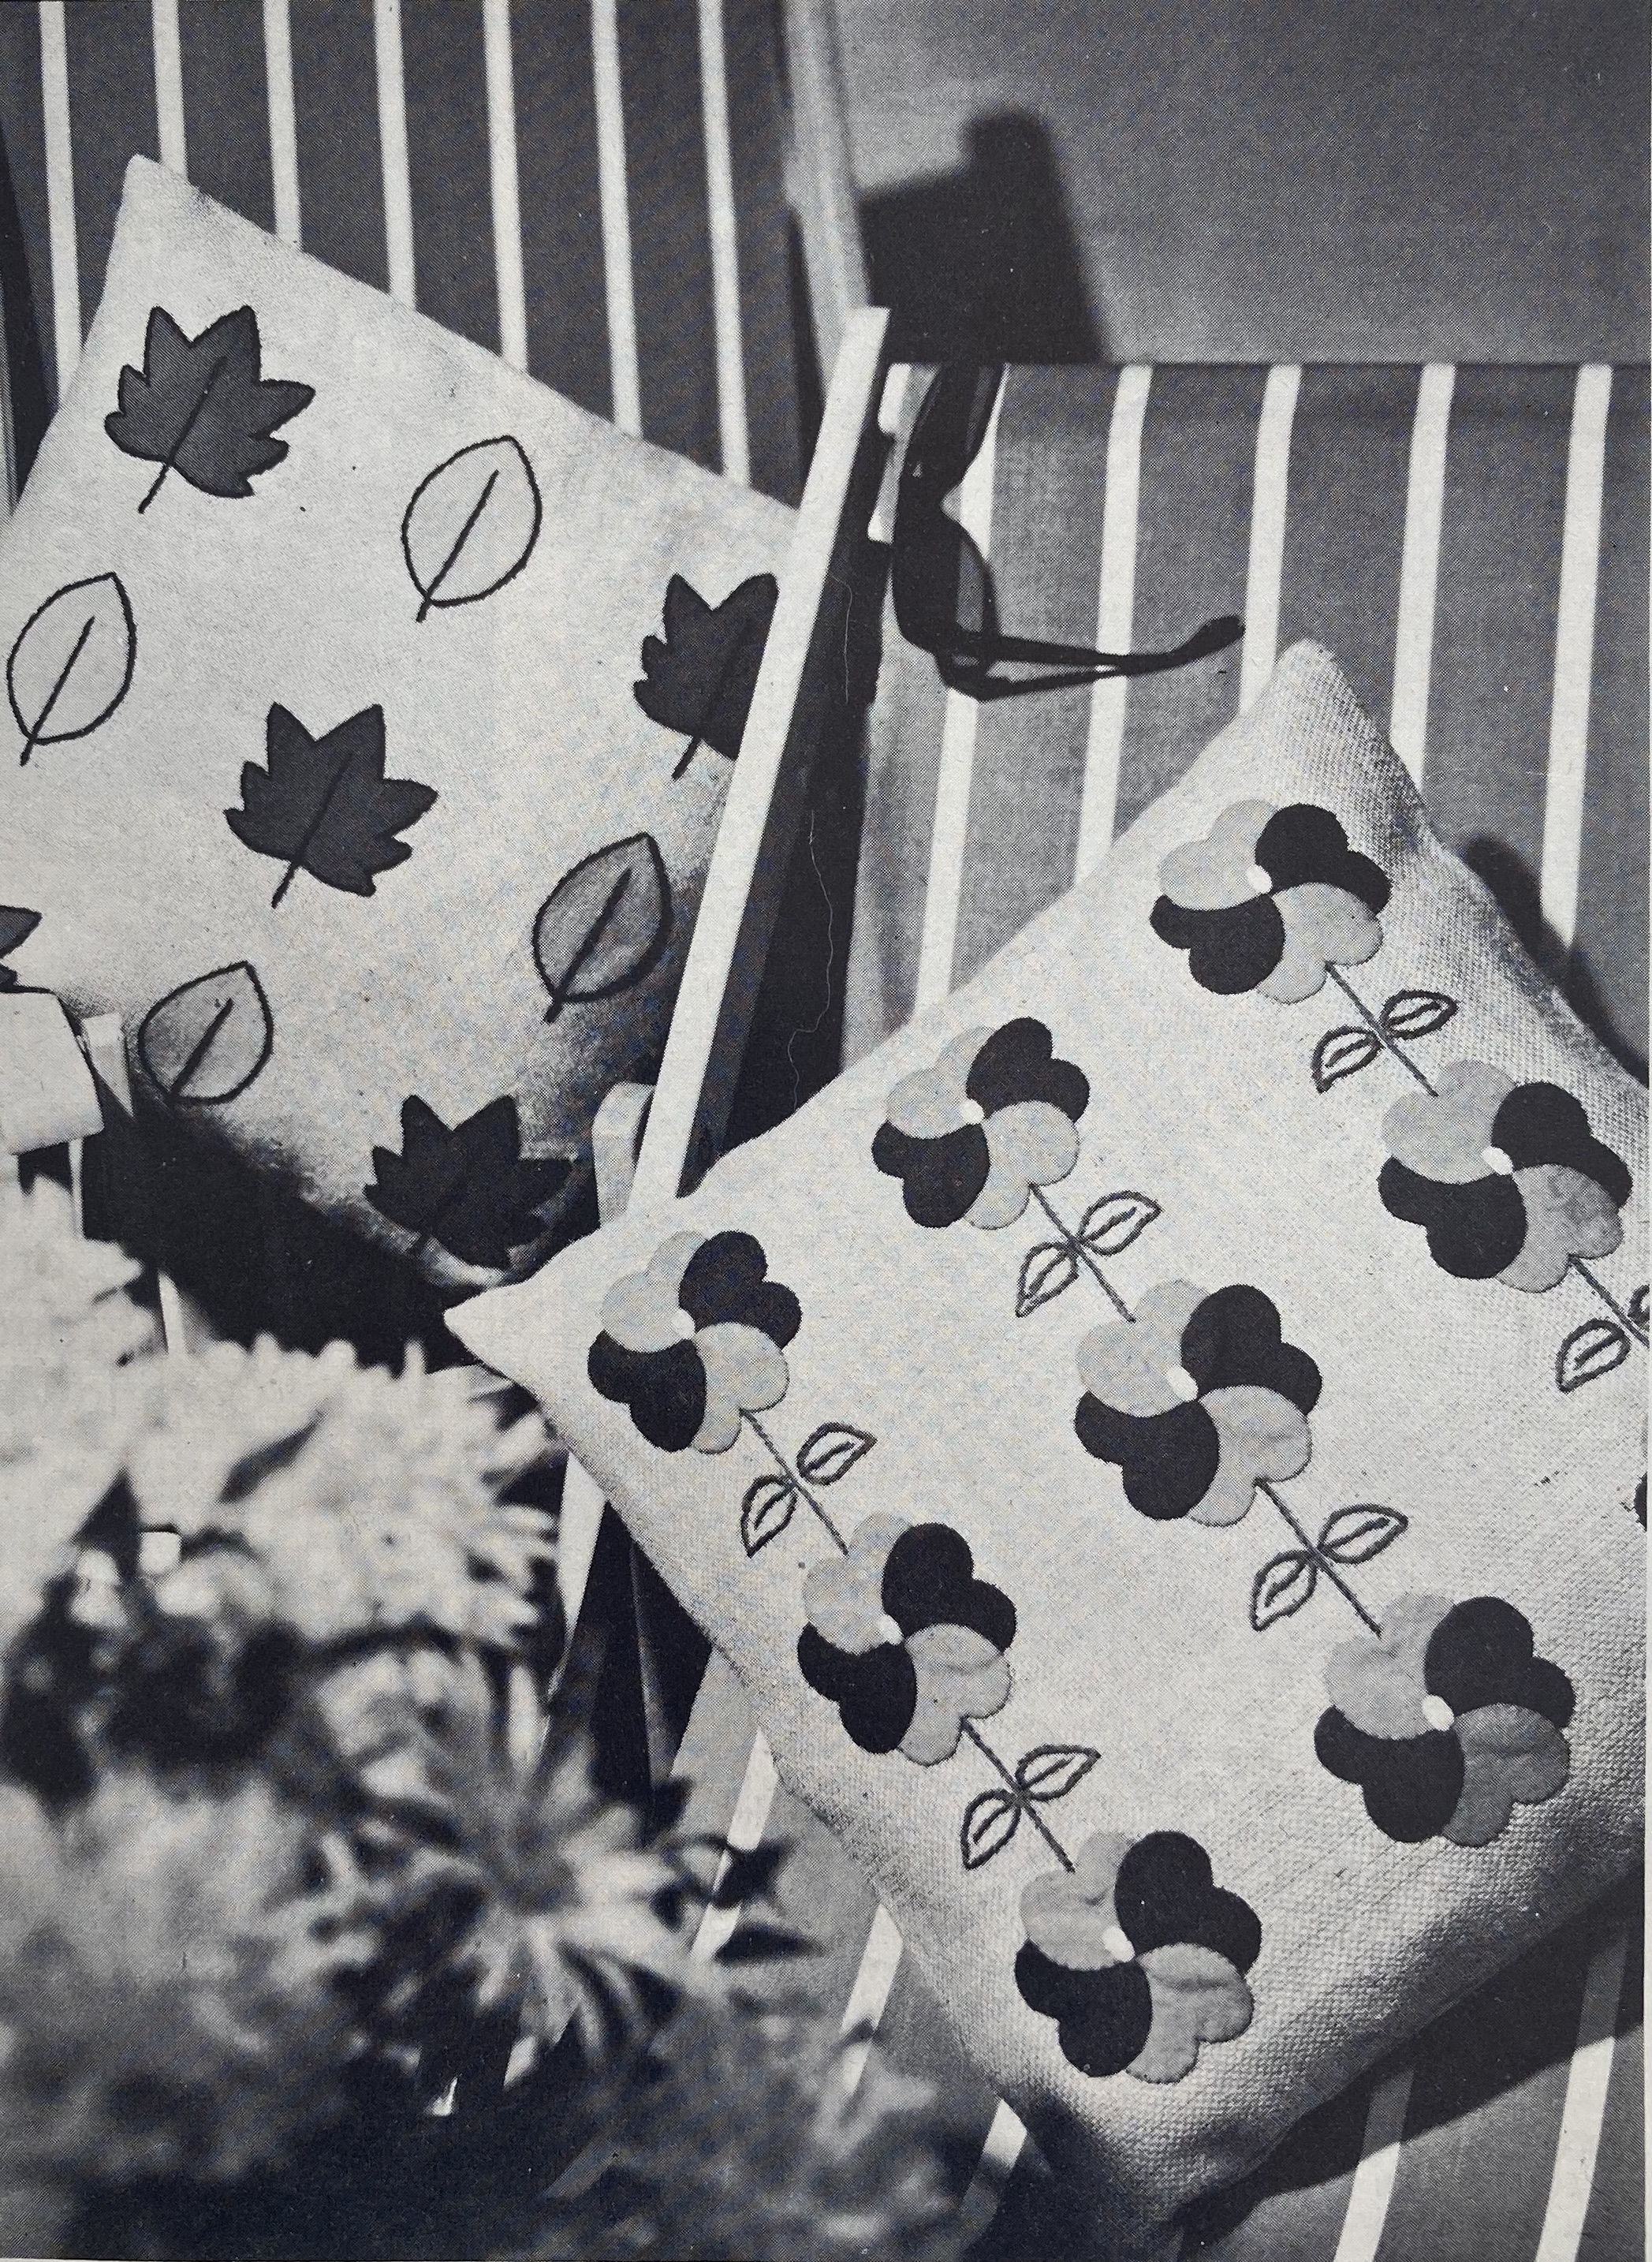
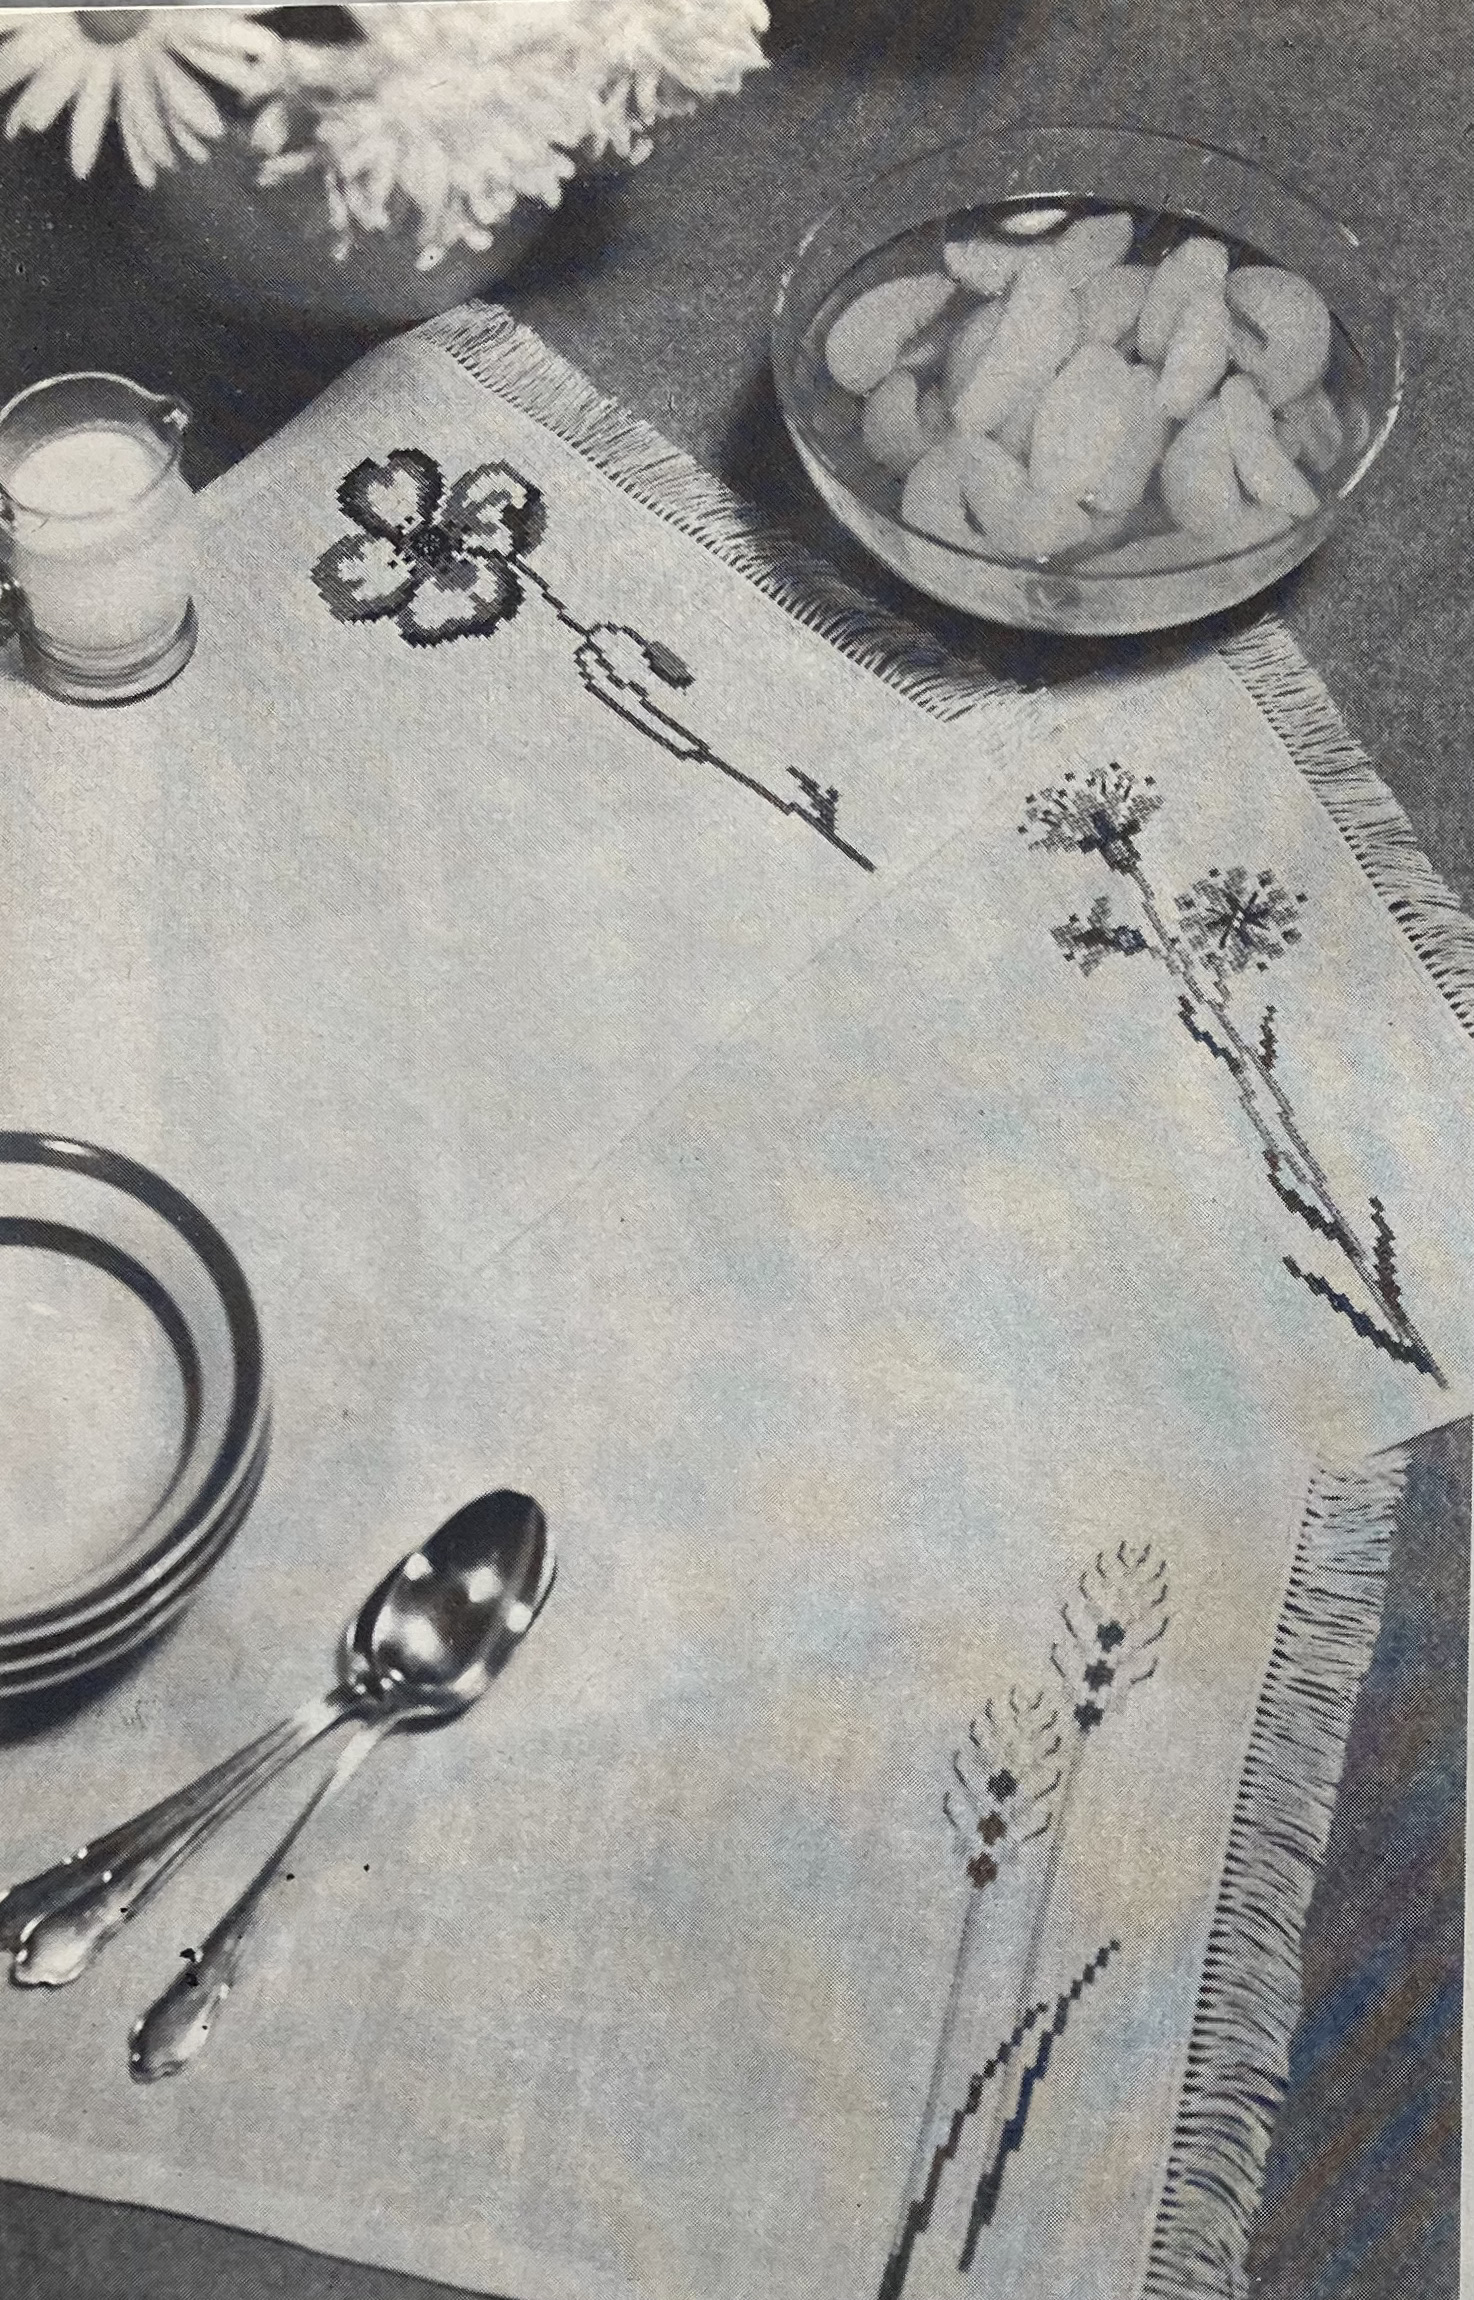
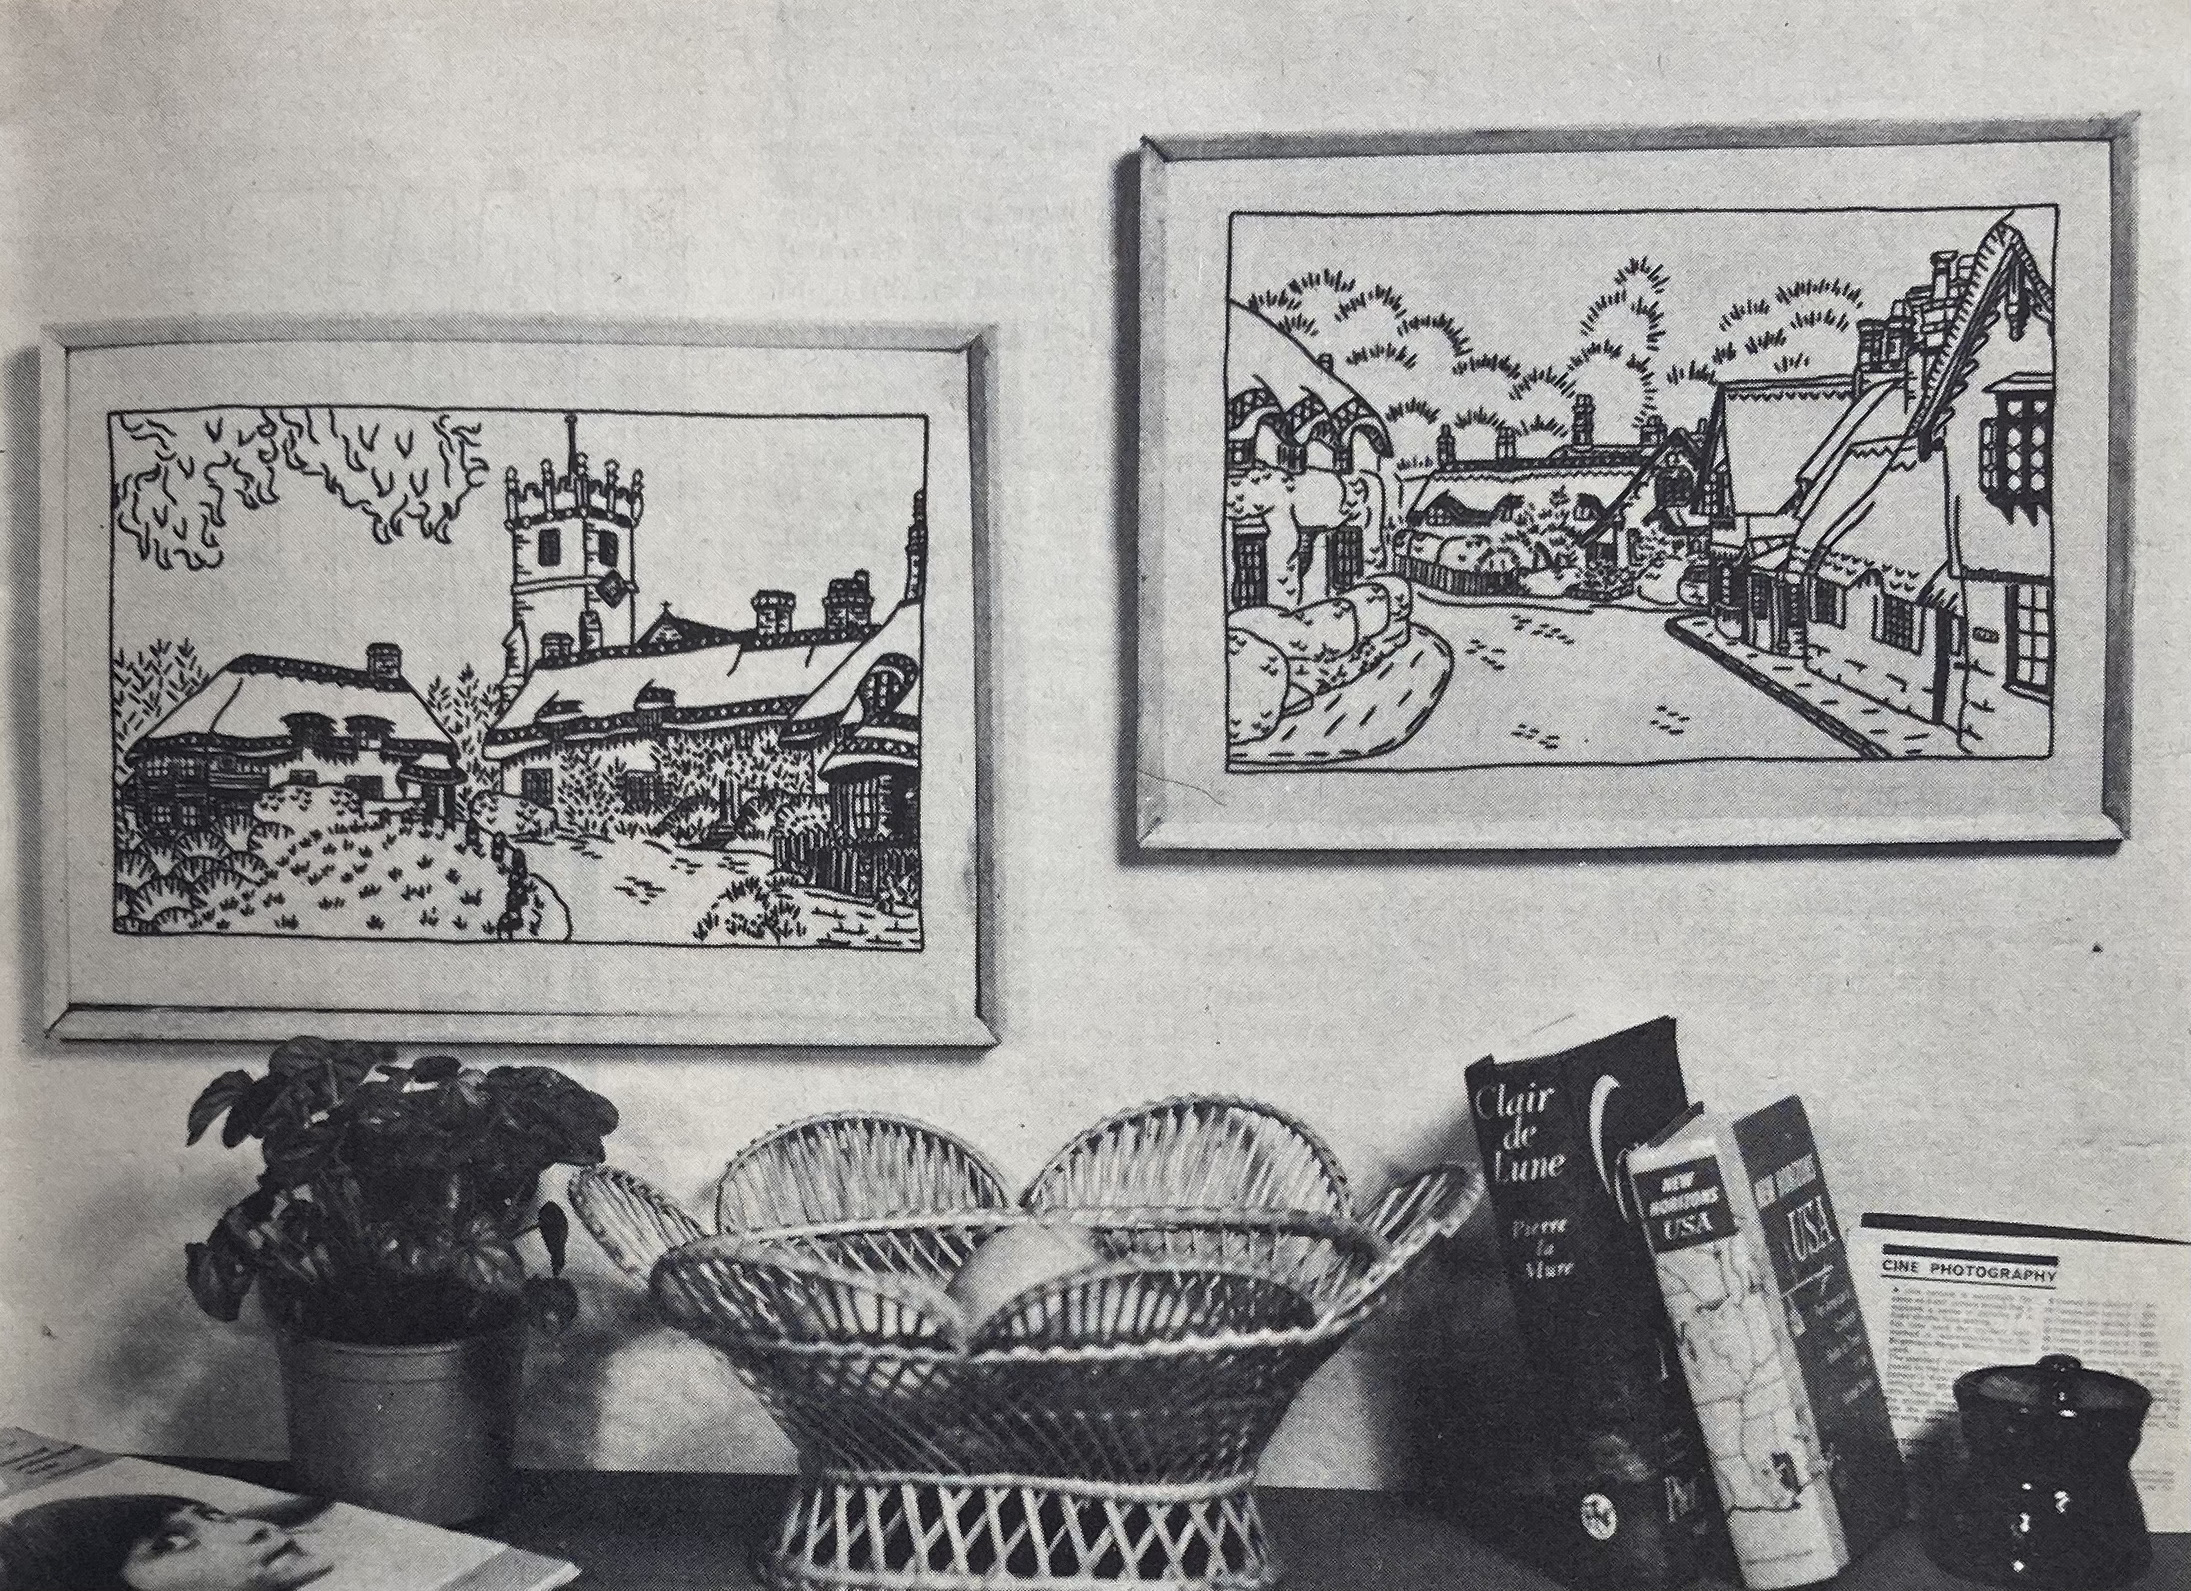
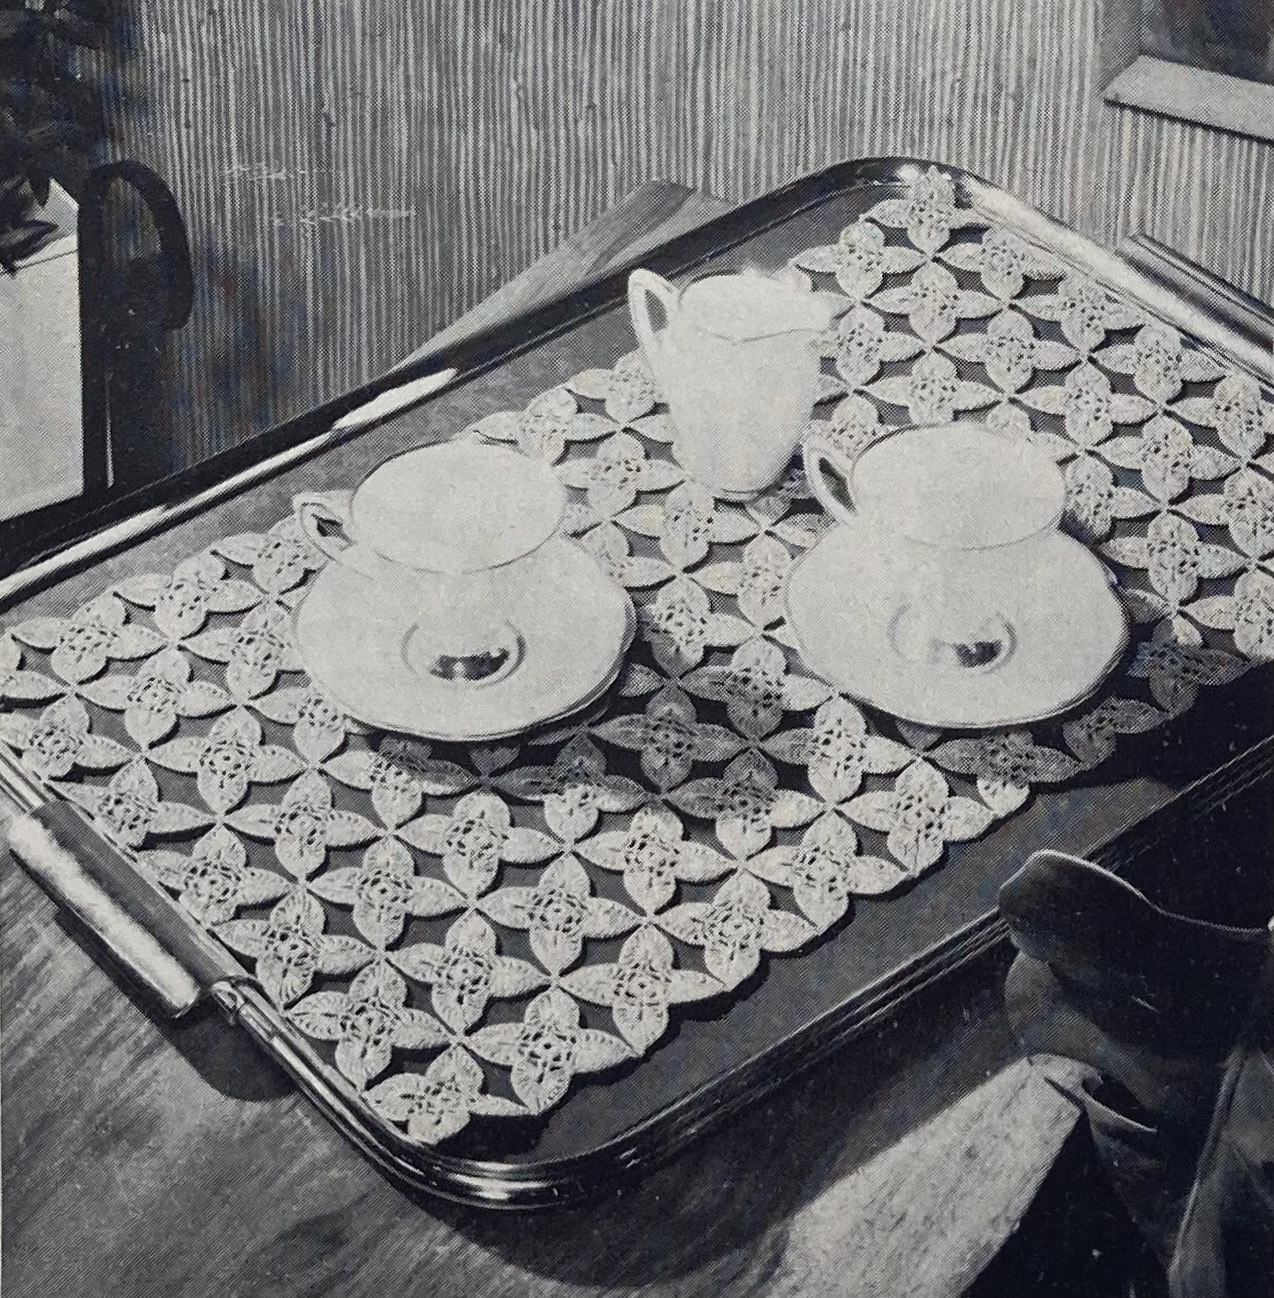
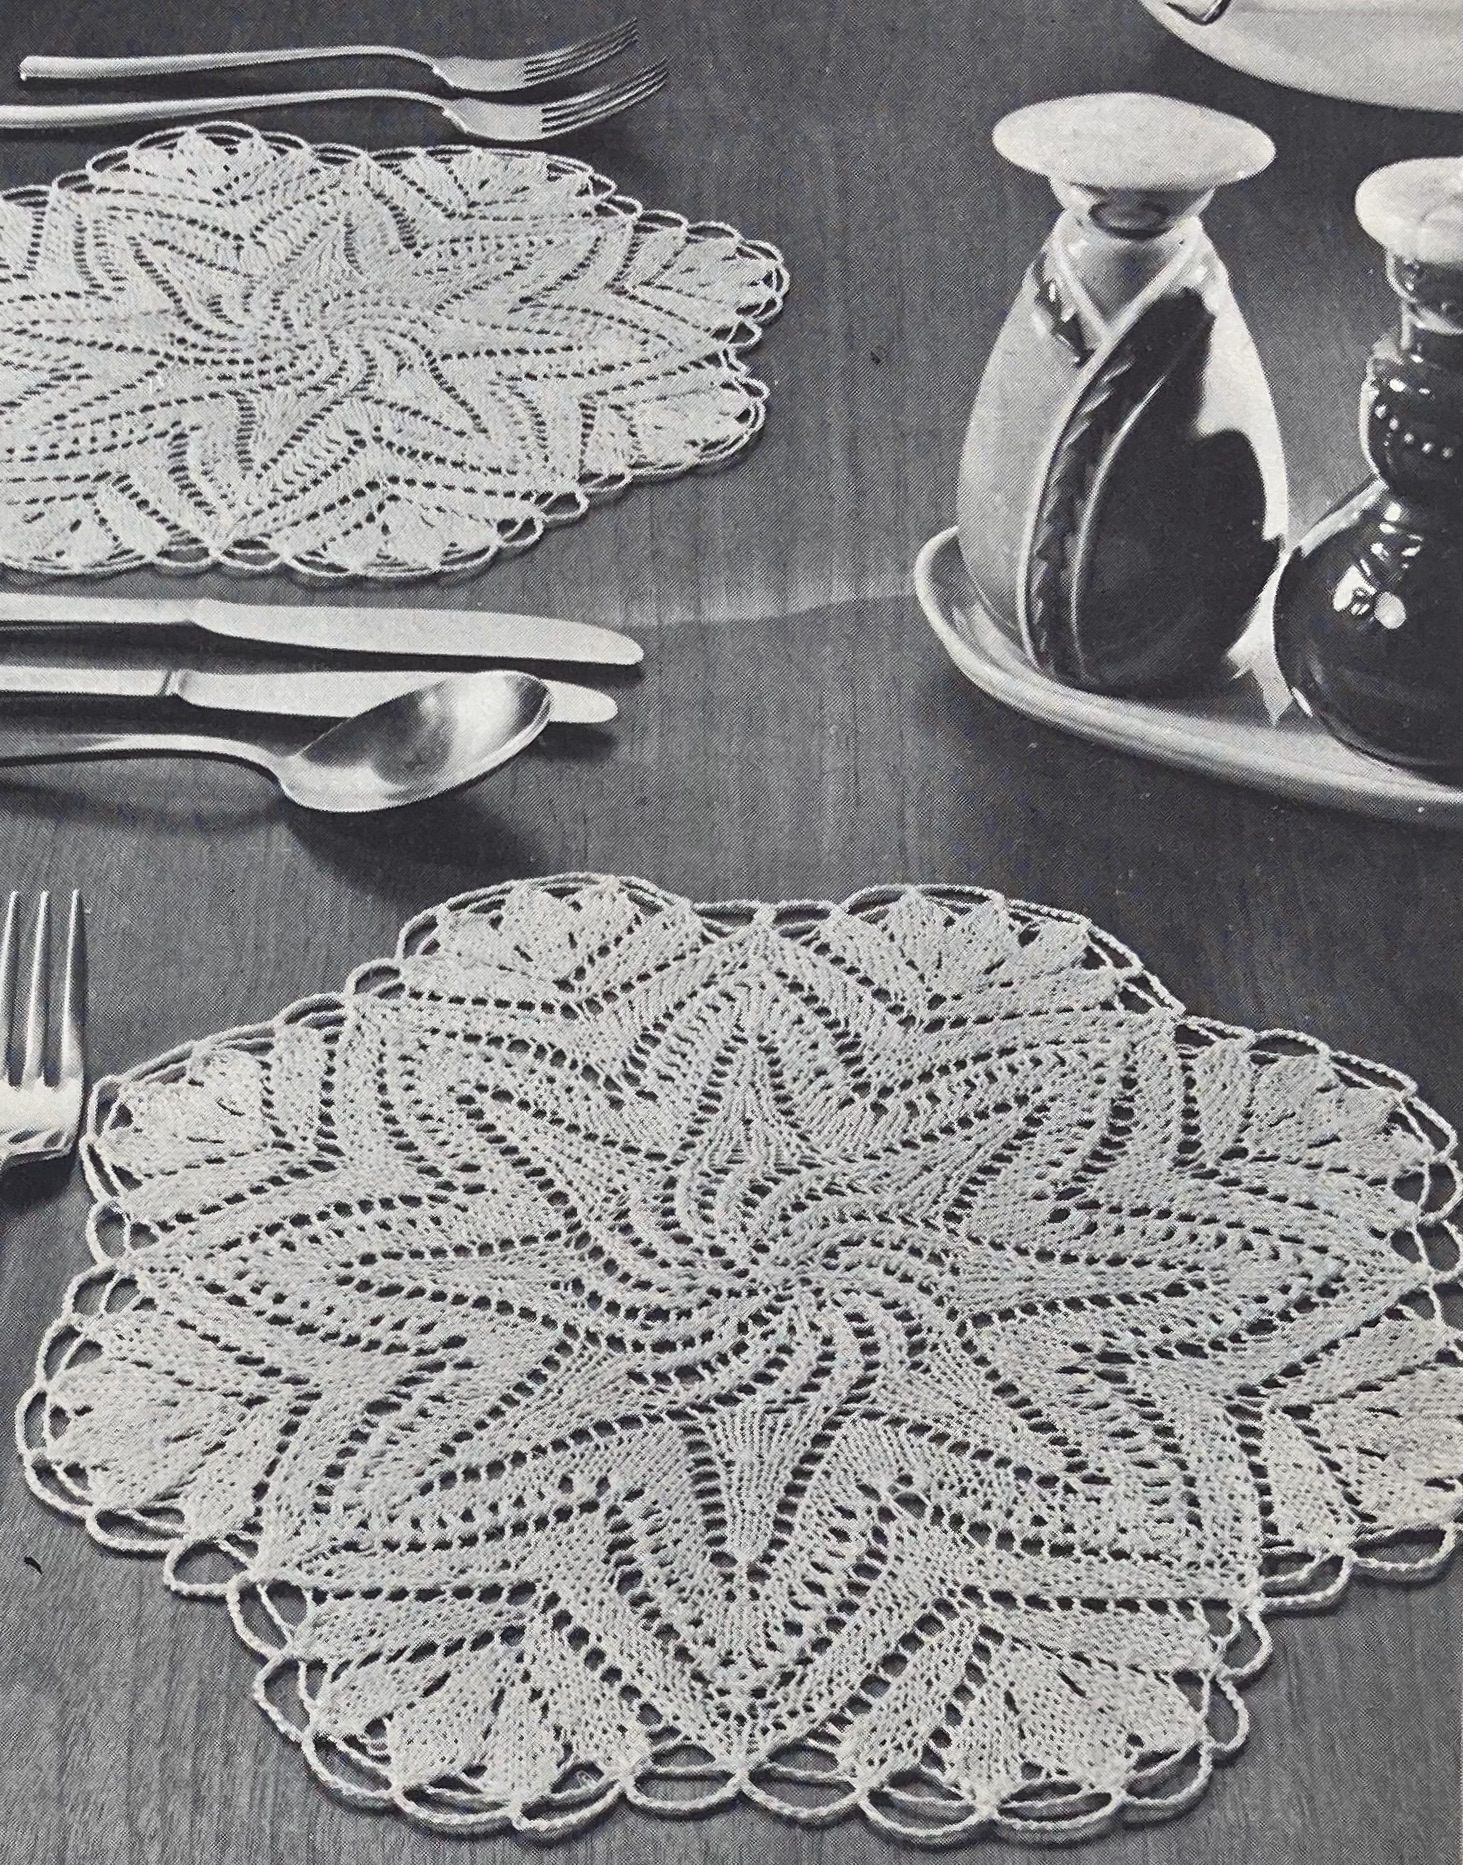
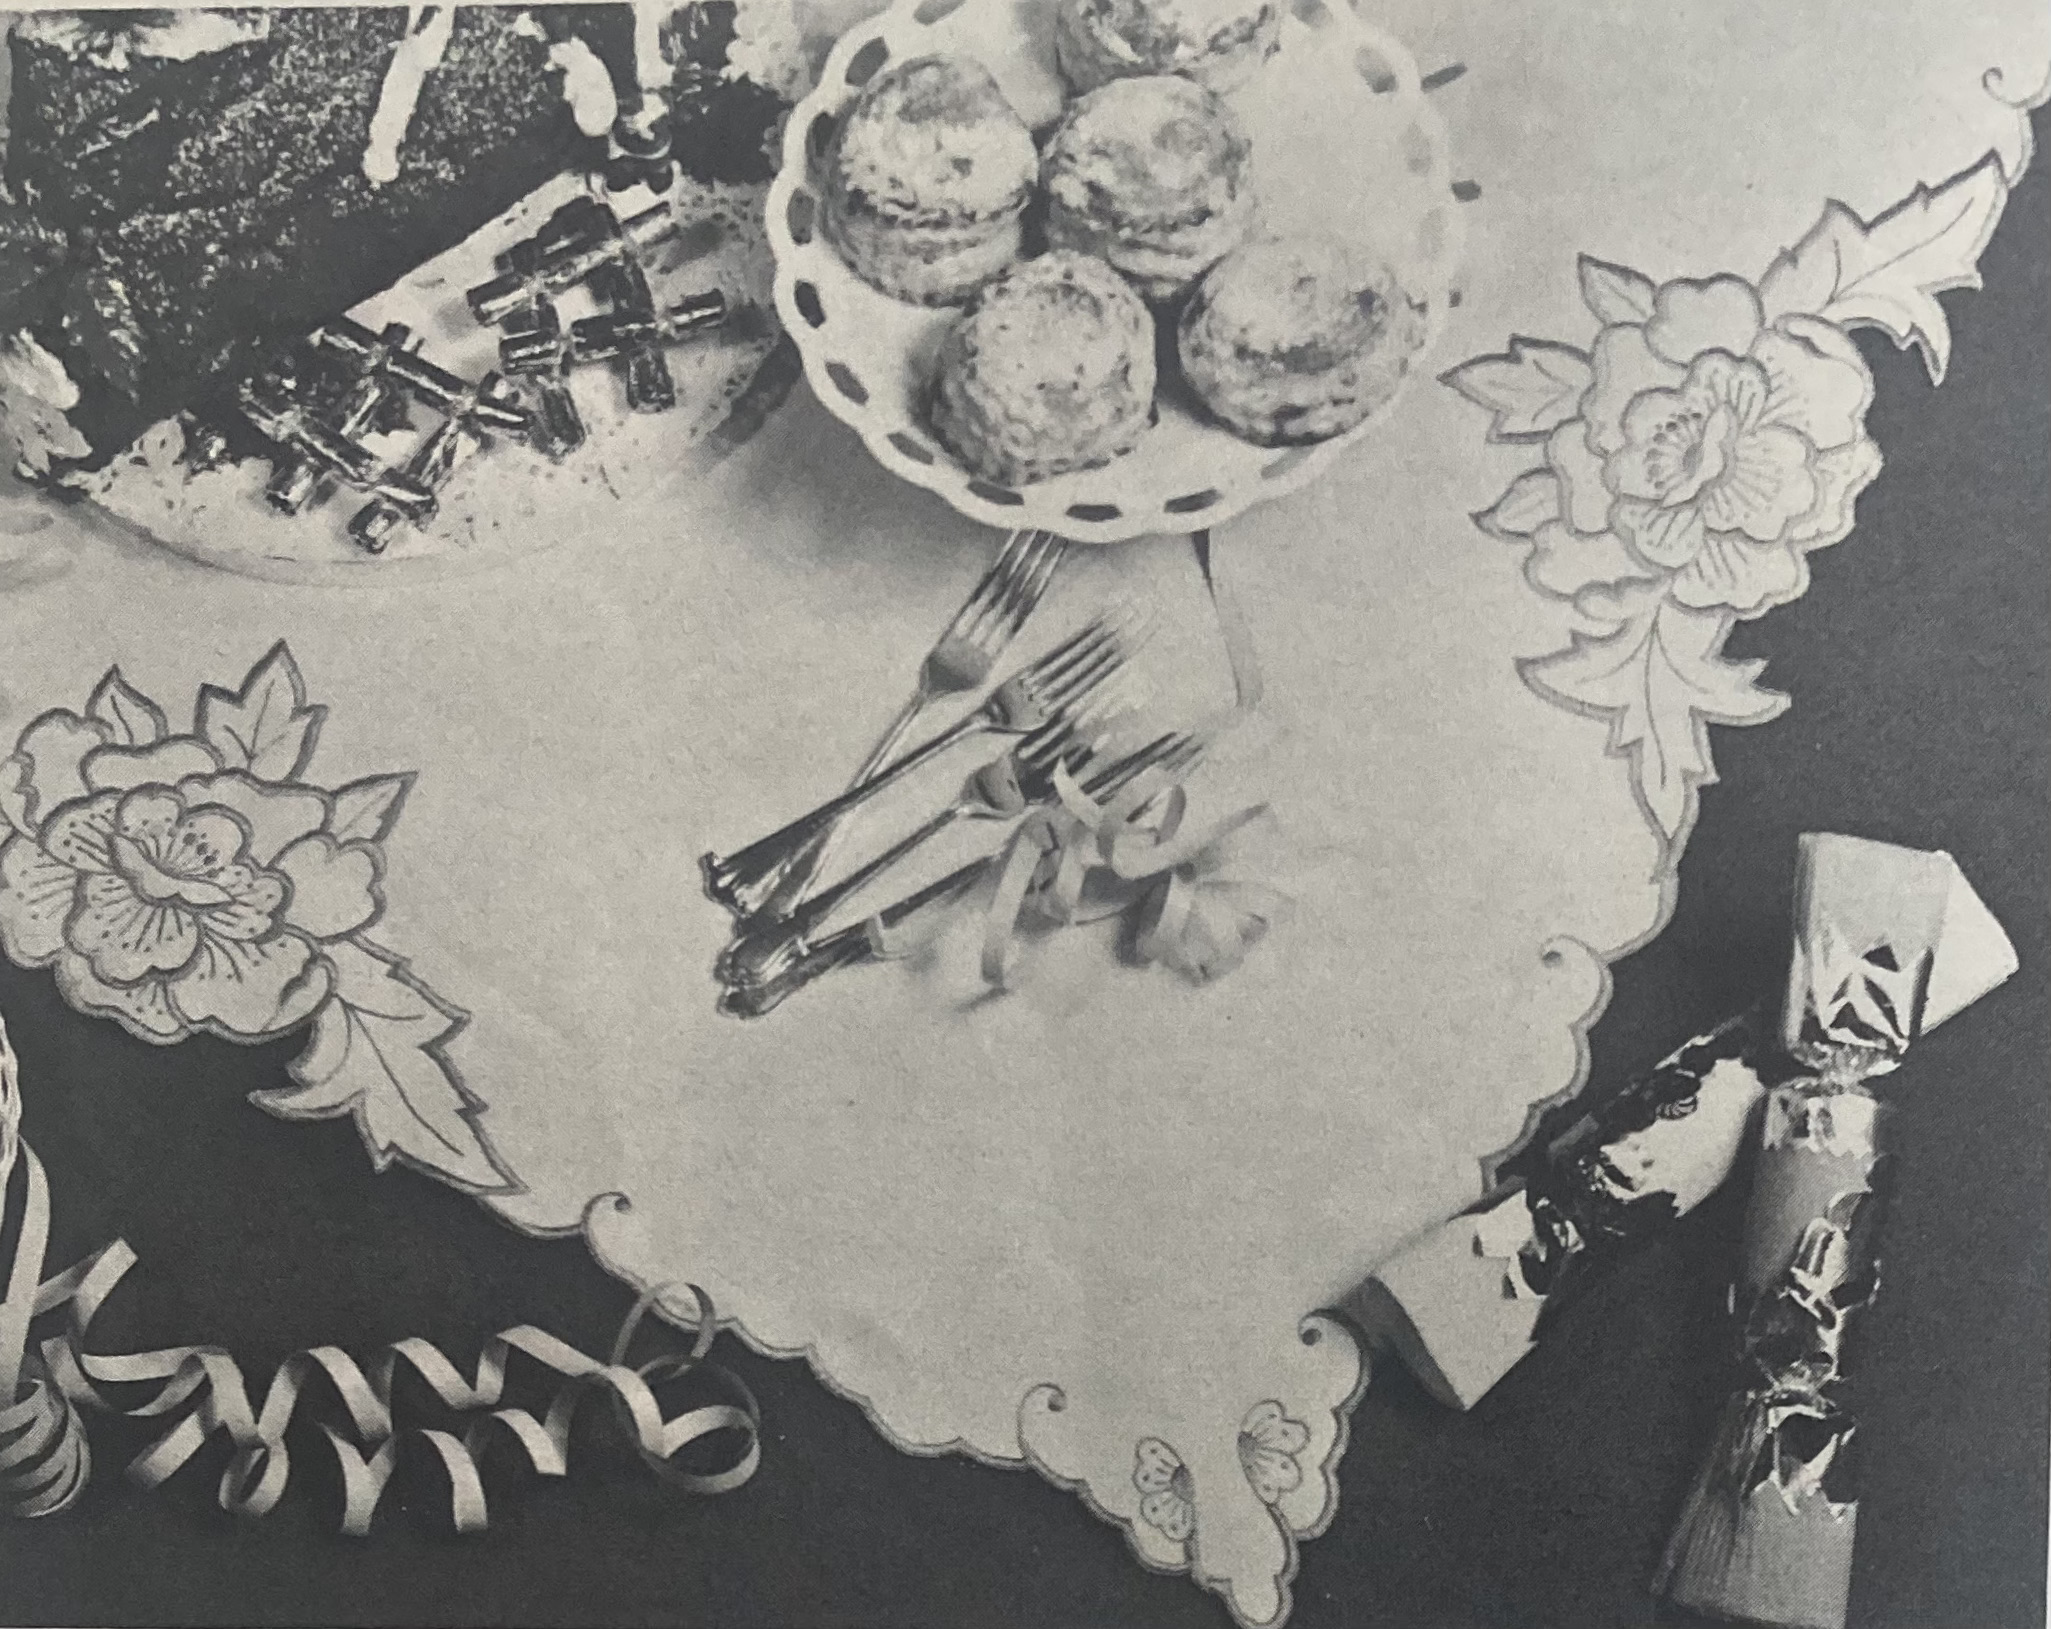
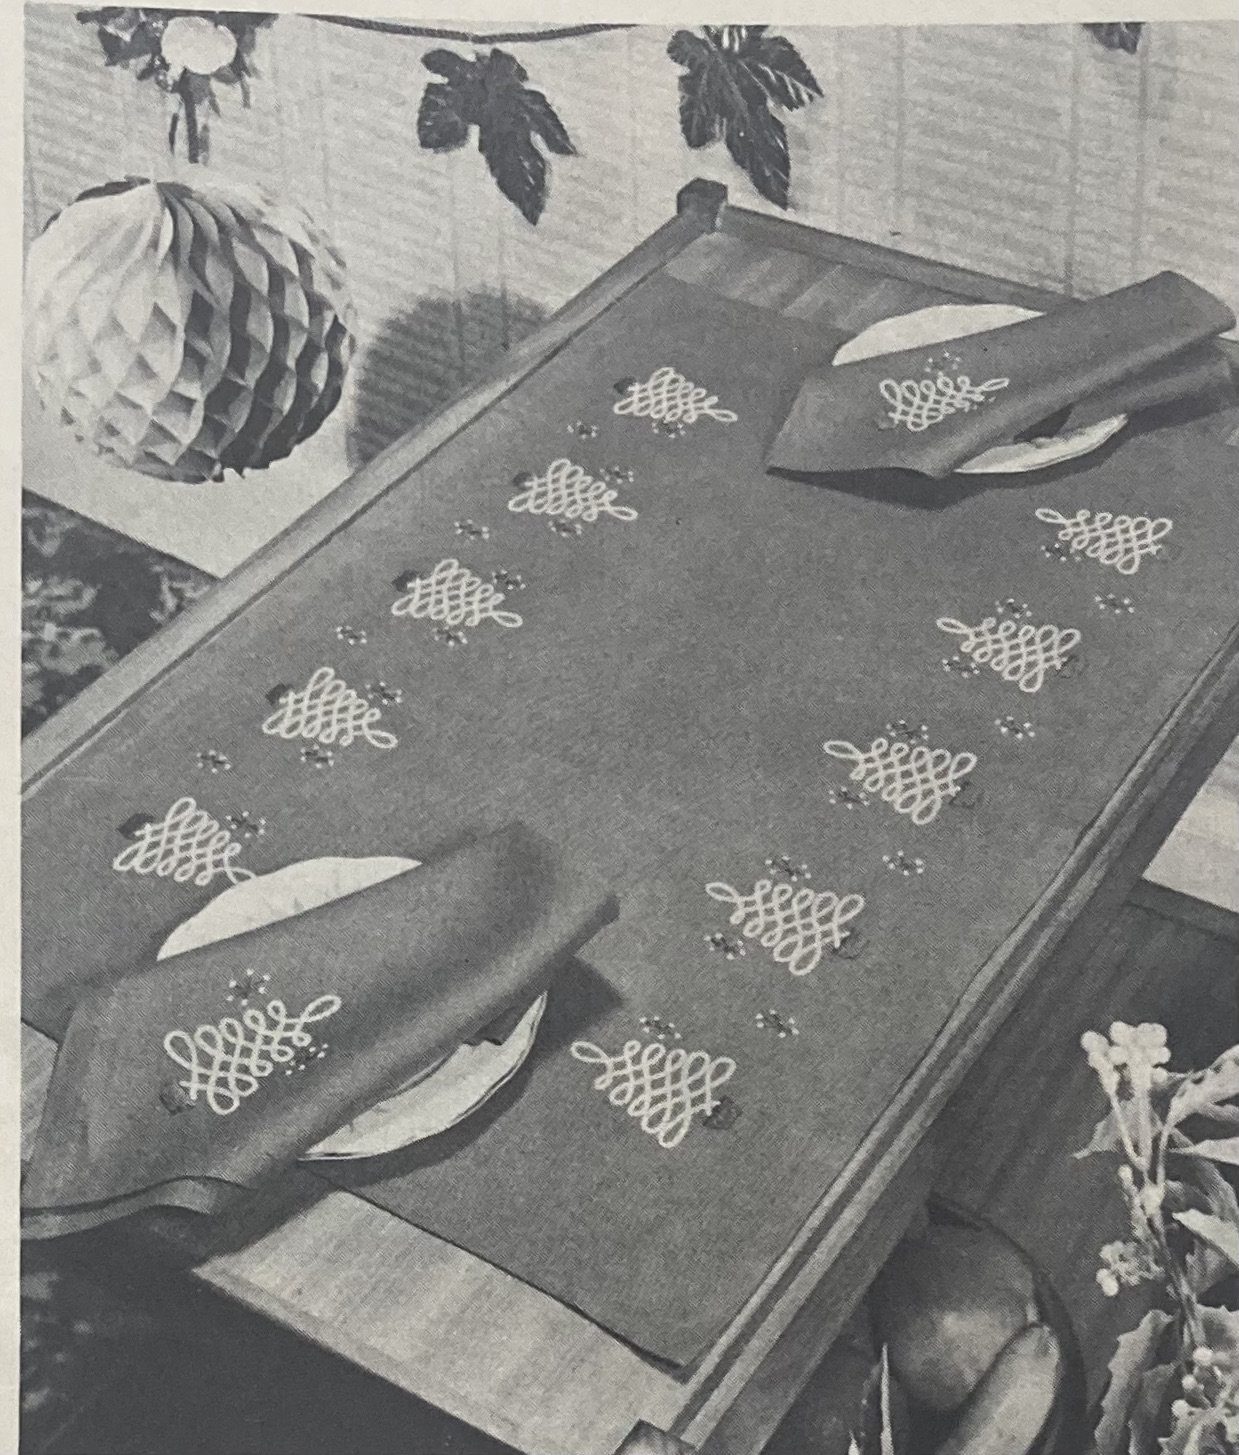
The real focus of the issue is of course, Christmas preparations. Felt appliqué makes a big appearance this year, with place mats and name cards for the holiday table as well a winter-scene wall hanging. The appliqués are quite simple and designed to be used with scraps, and the instructions give ideas on alternate uses such as glueing the felt pieces onto paper for home-made Christmas cards. The place markers have a butterfly motif, making them appropriate for any time of year. Cutwork and embroidery fans can make a tablecloth with peonies, or a Christmas-tree-themed trolley cloth and napkins embroidered in simple chain-stitch. More religiously-minded readers can make a tapestry wall hanging of a Nativity scene (colour photo on inside back cover).


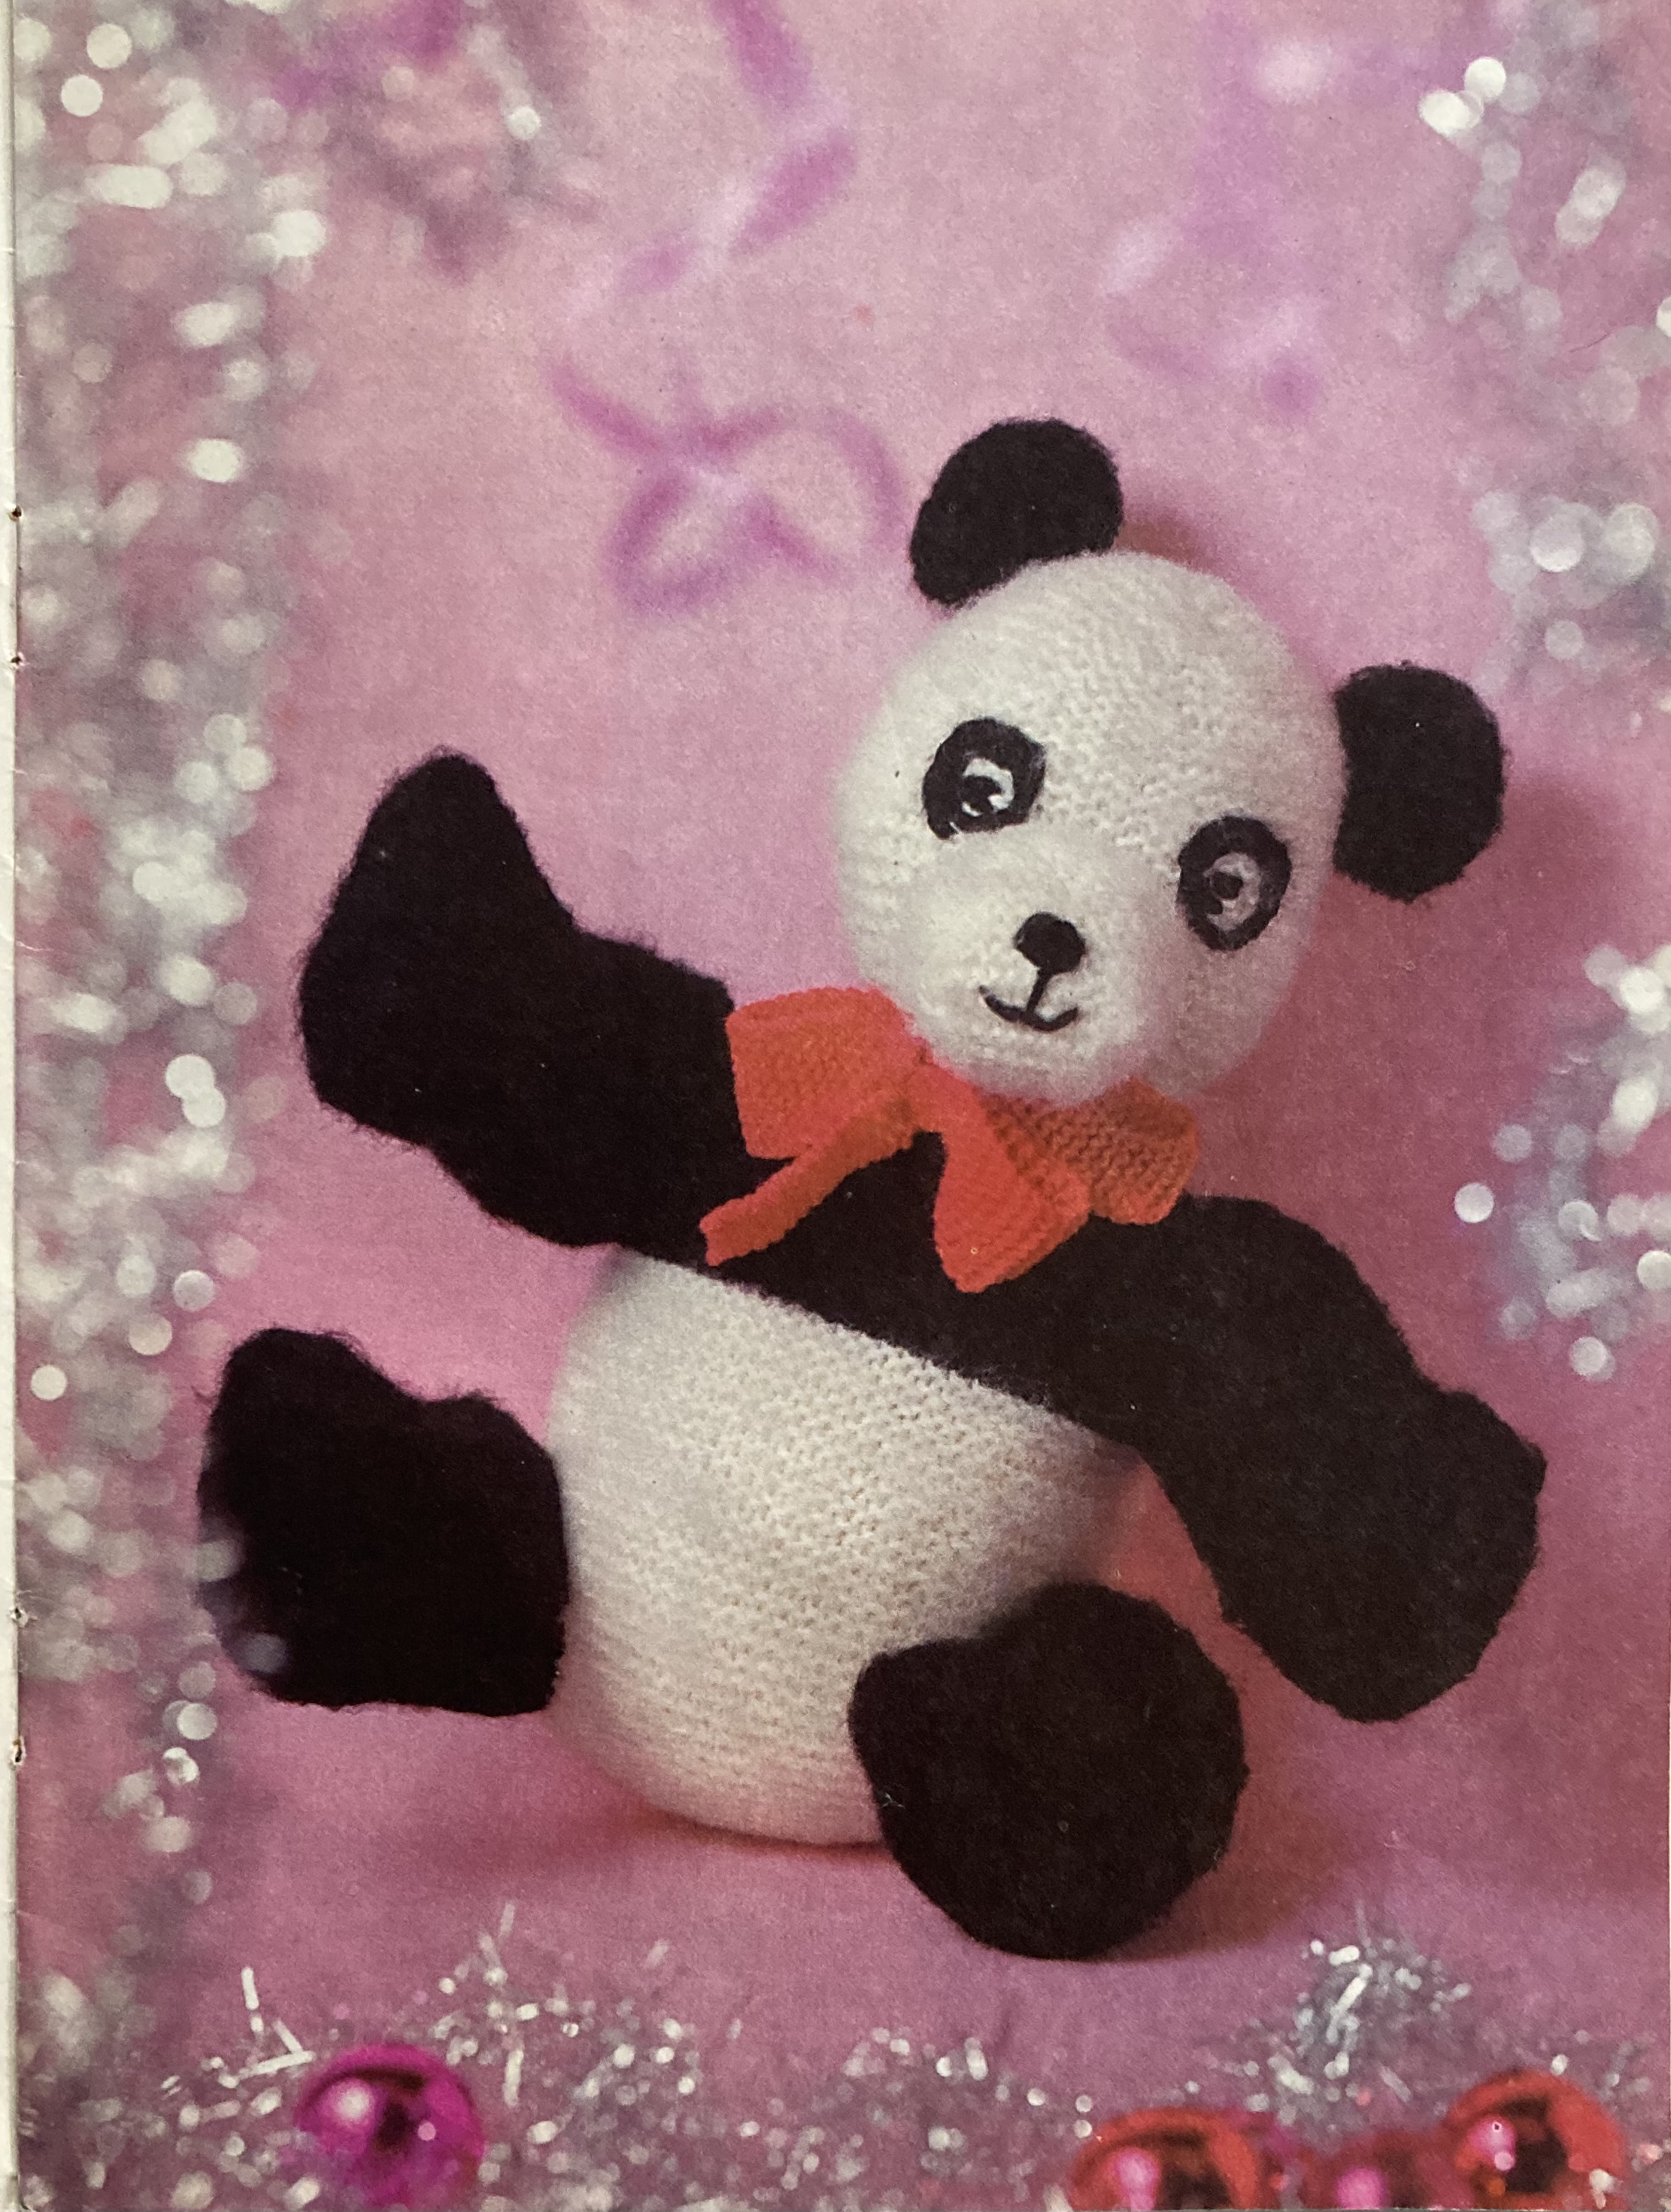
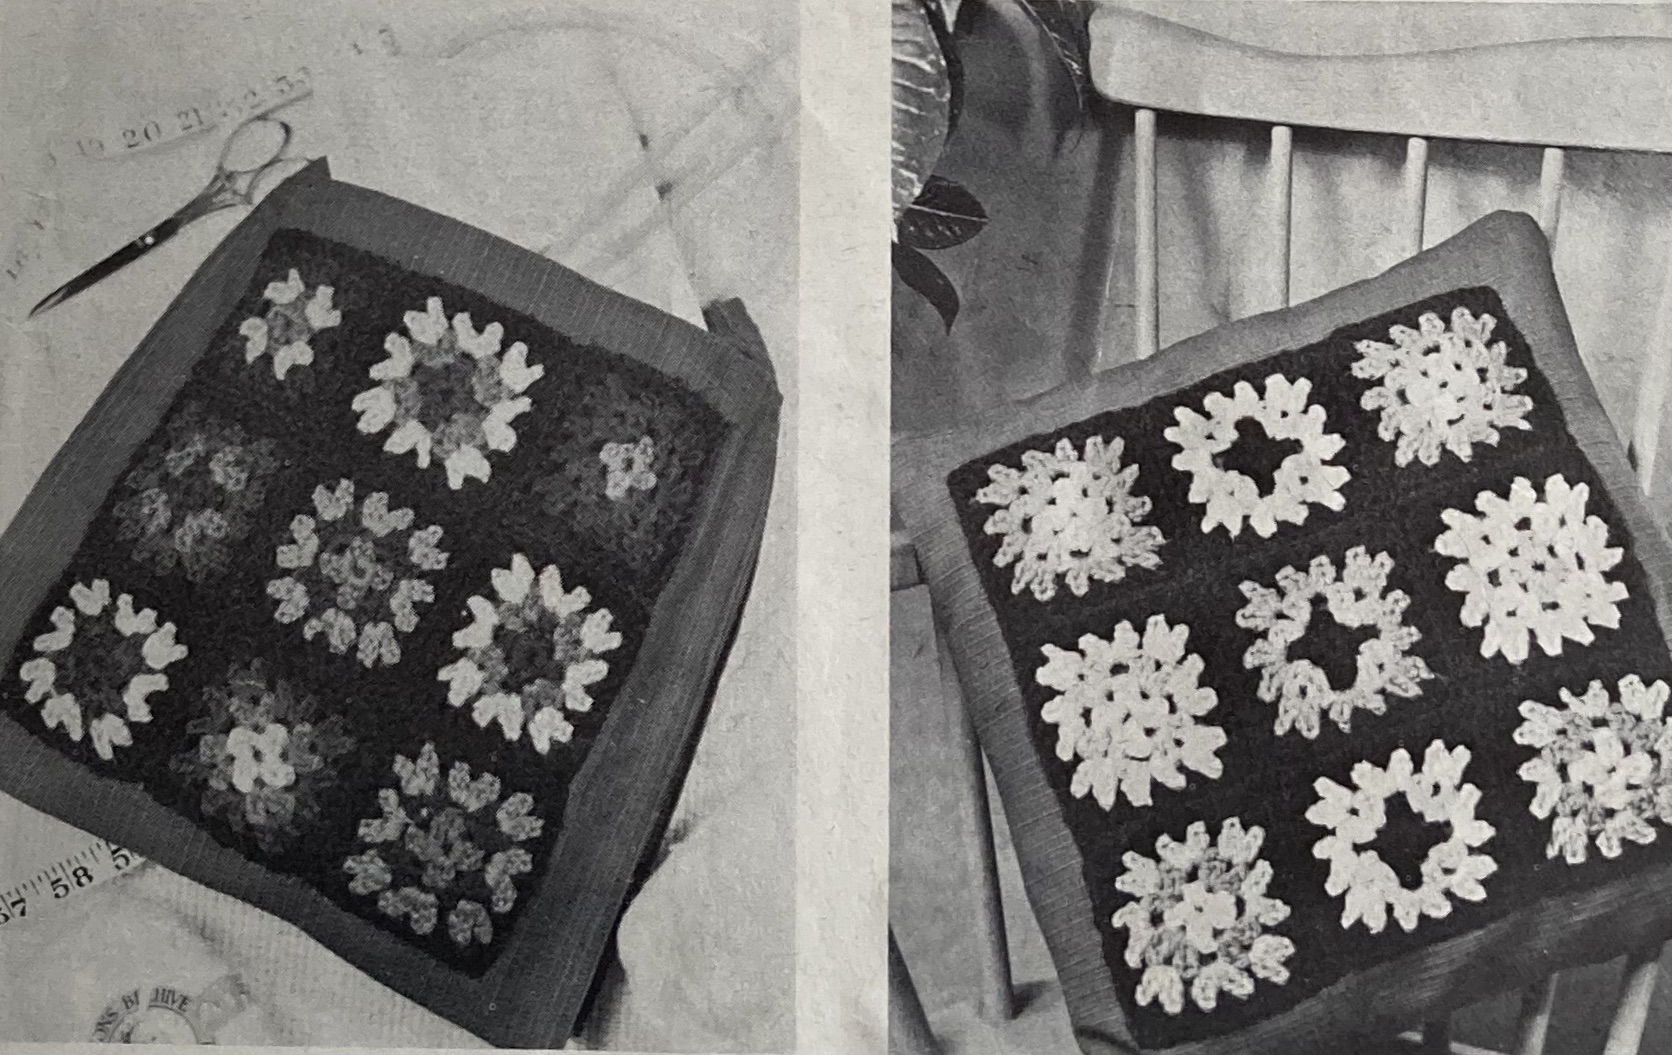
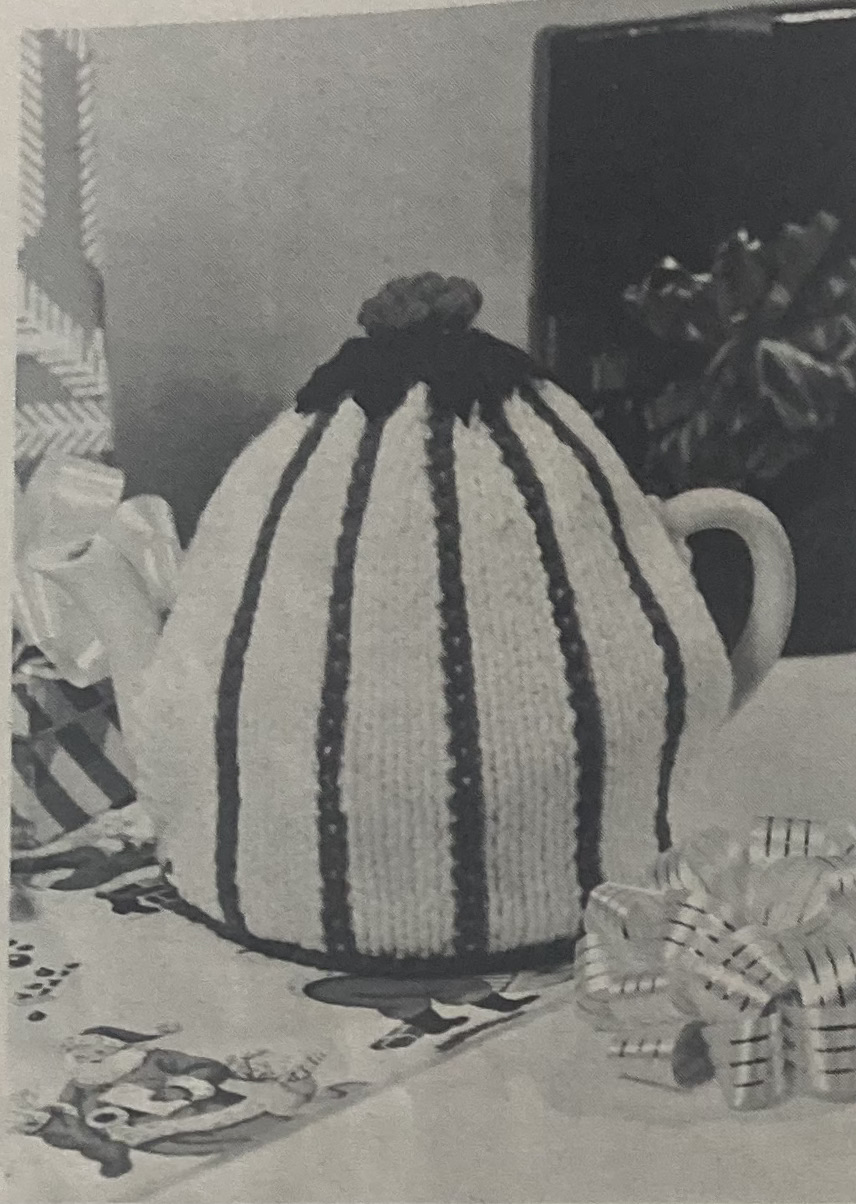
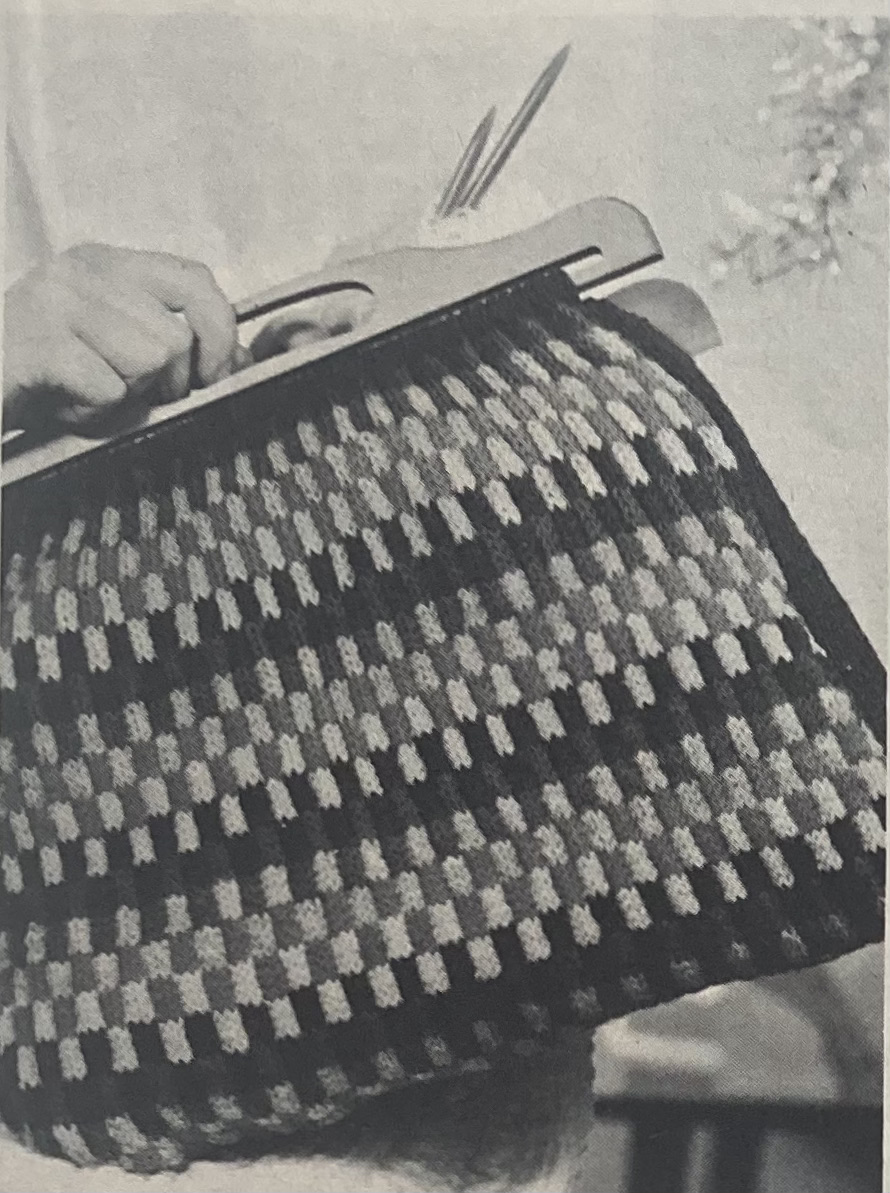
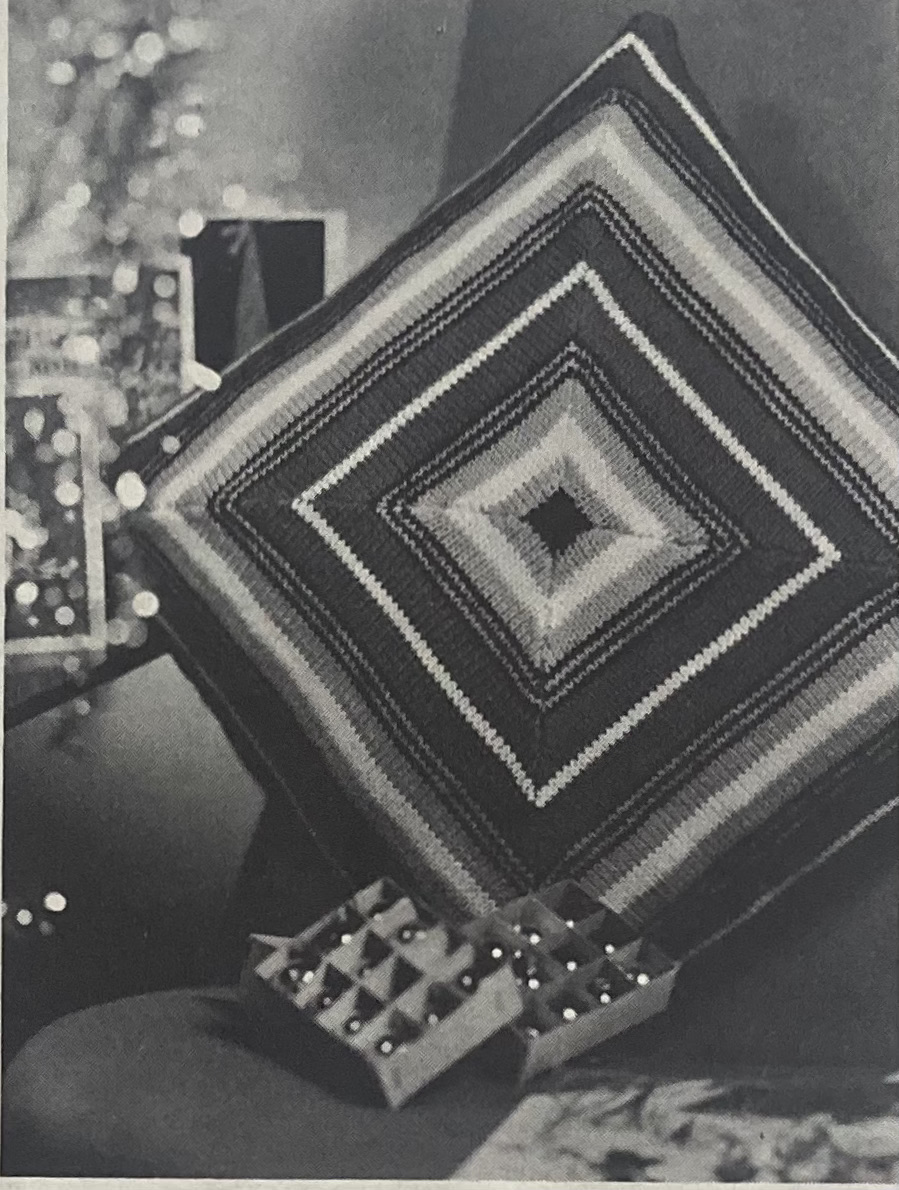
After dinner, it’s on to the gifts! The knitted tea cosy is supposed to represent a holly plant. The “workbag for a friend” is a fun way to use up leftover wool and I made one a couple of years ago. The “cushion for Granny” is a similar stash-buster. One would think it would be made in two squares either fron the center outwards or the edge inwards with raglan-type shaping, but no, you are supposed to make 4 identical triangle pieces for each side of the cushion and sew them together.
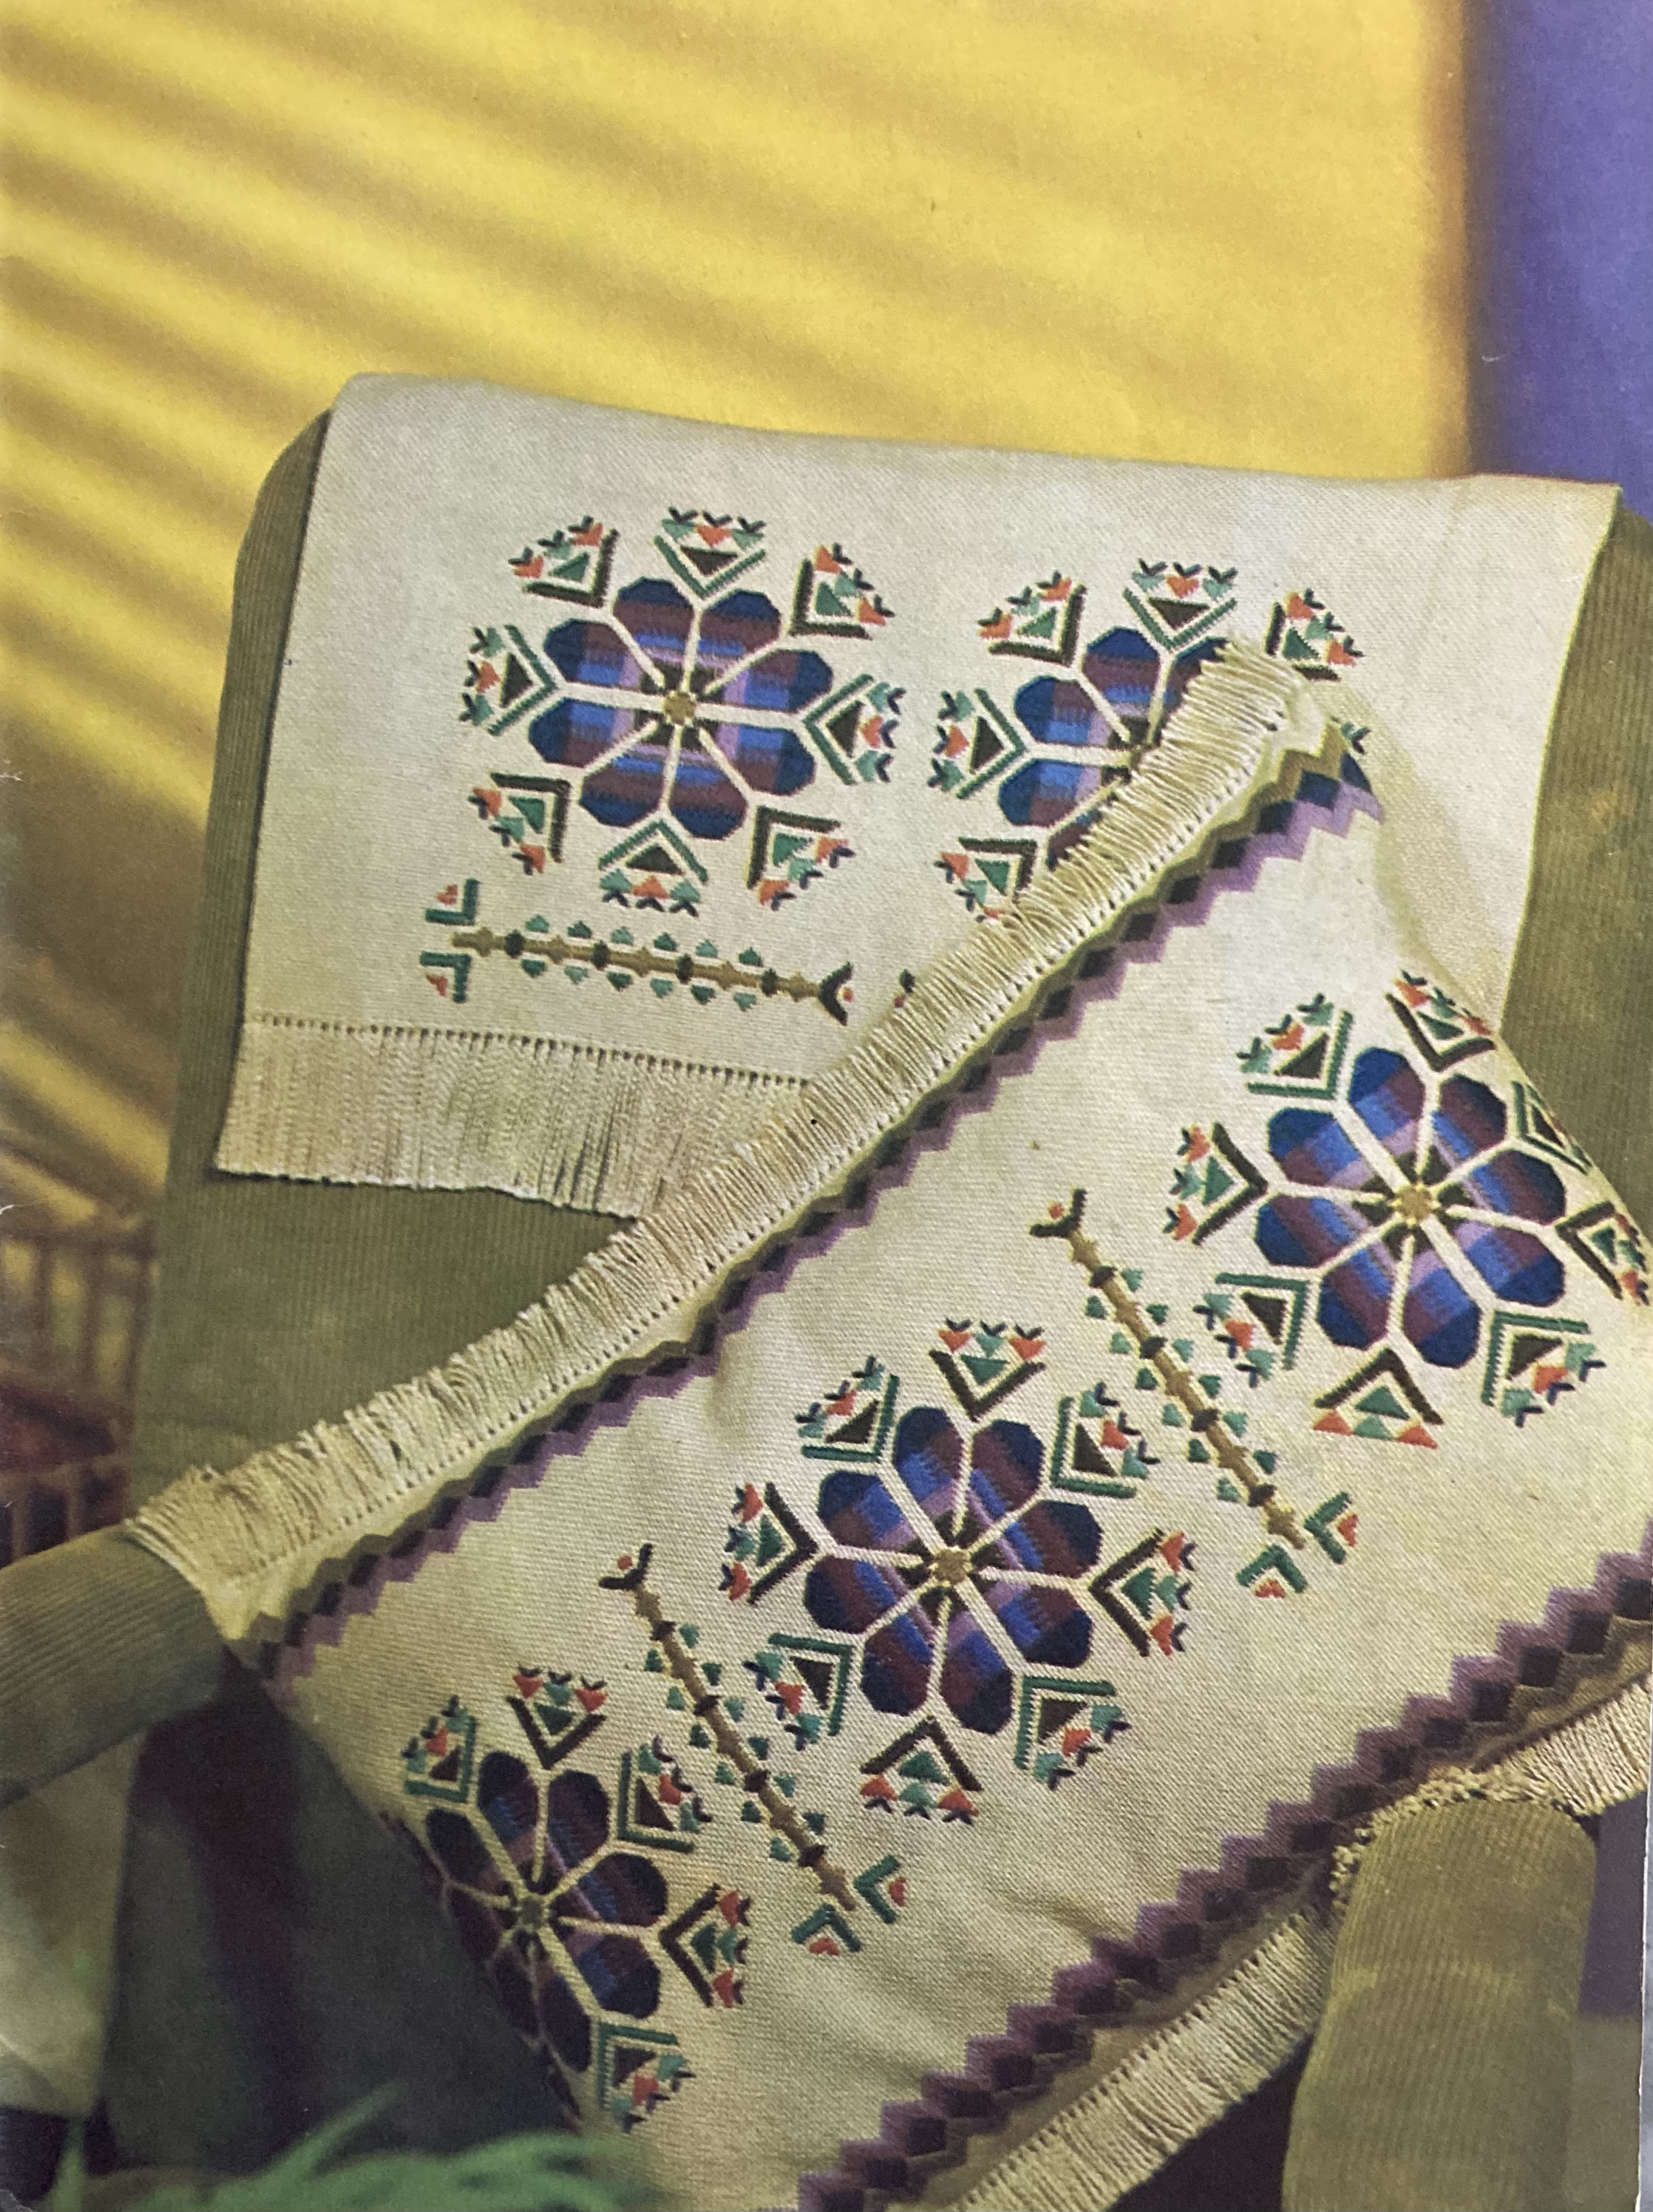
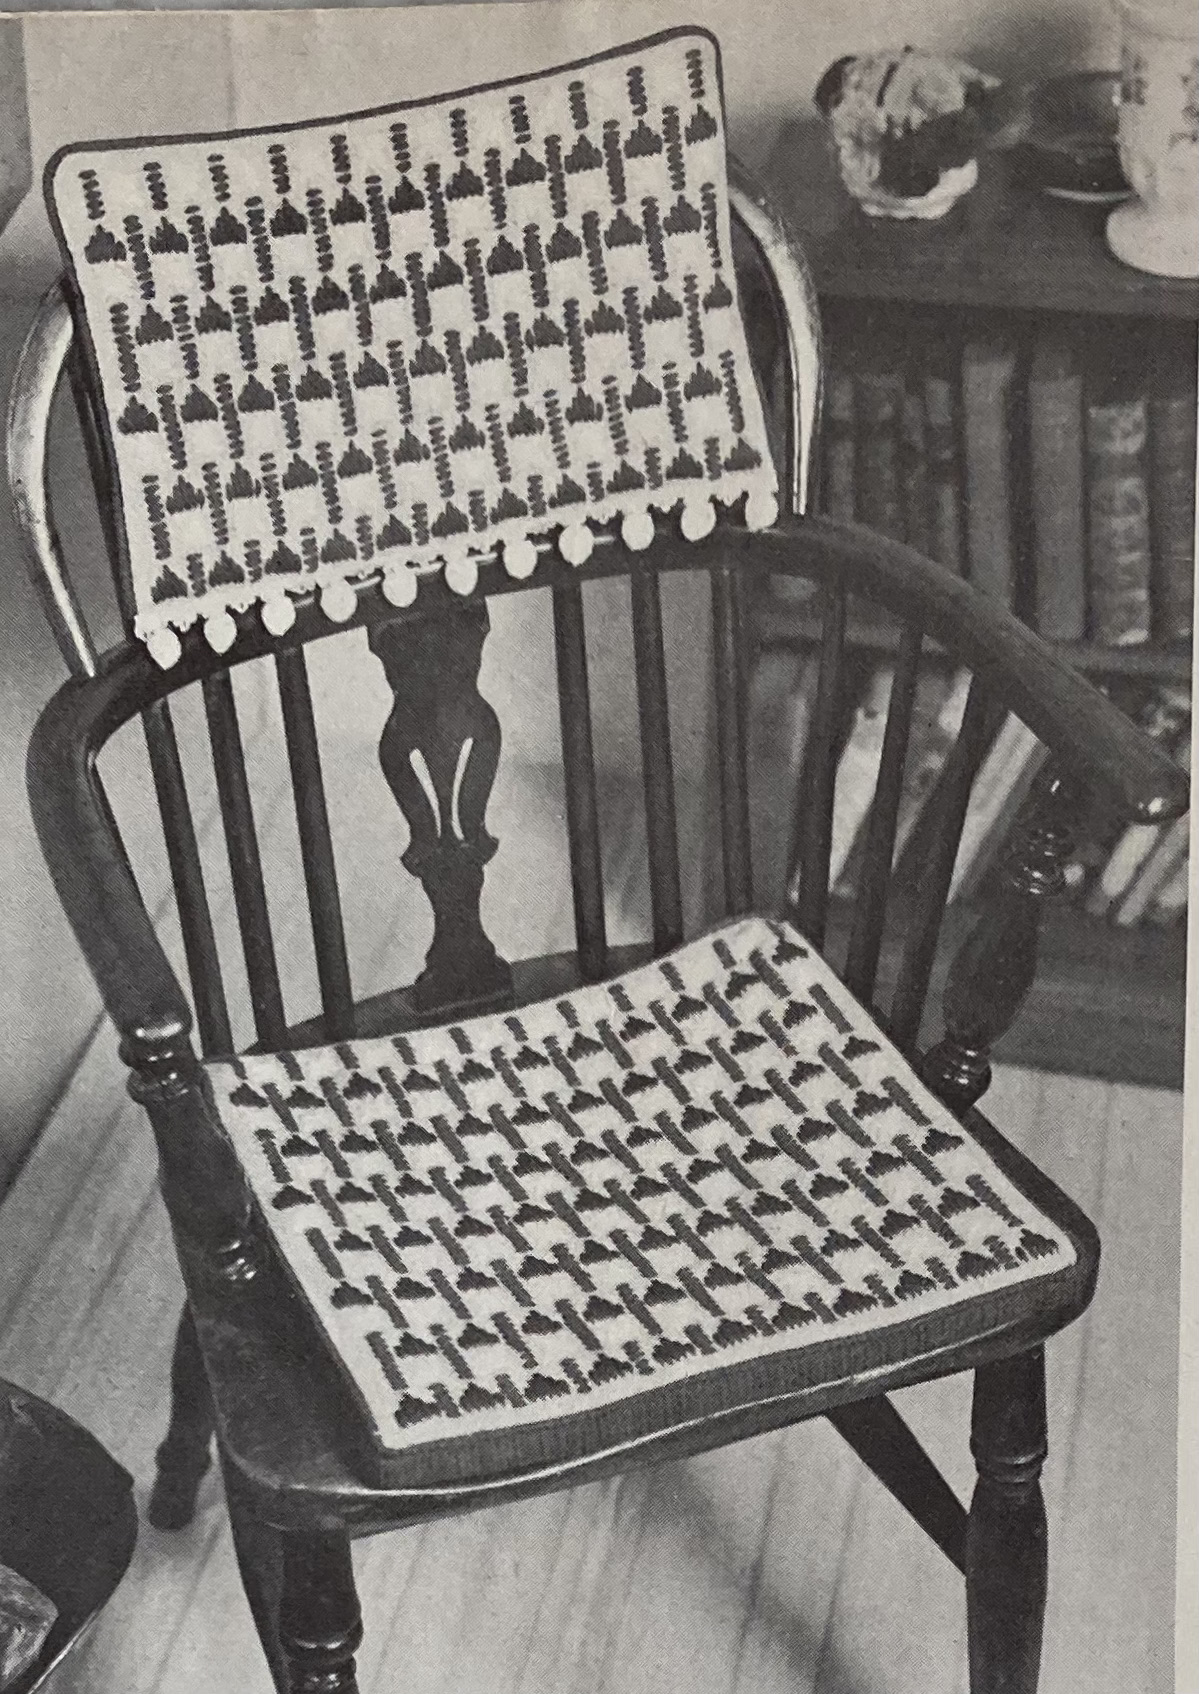
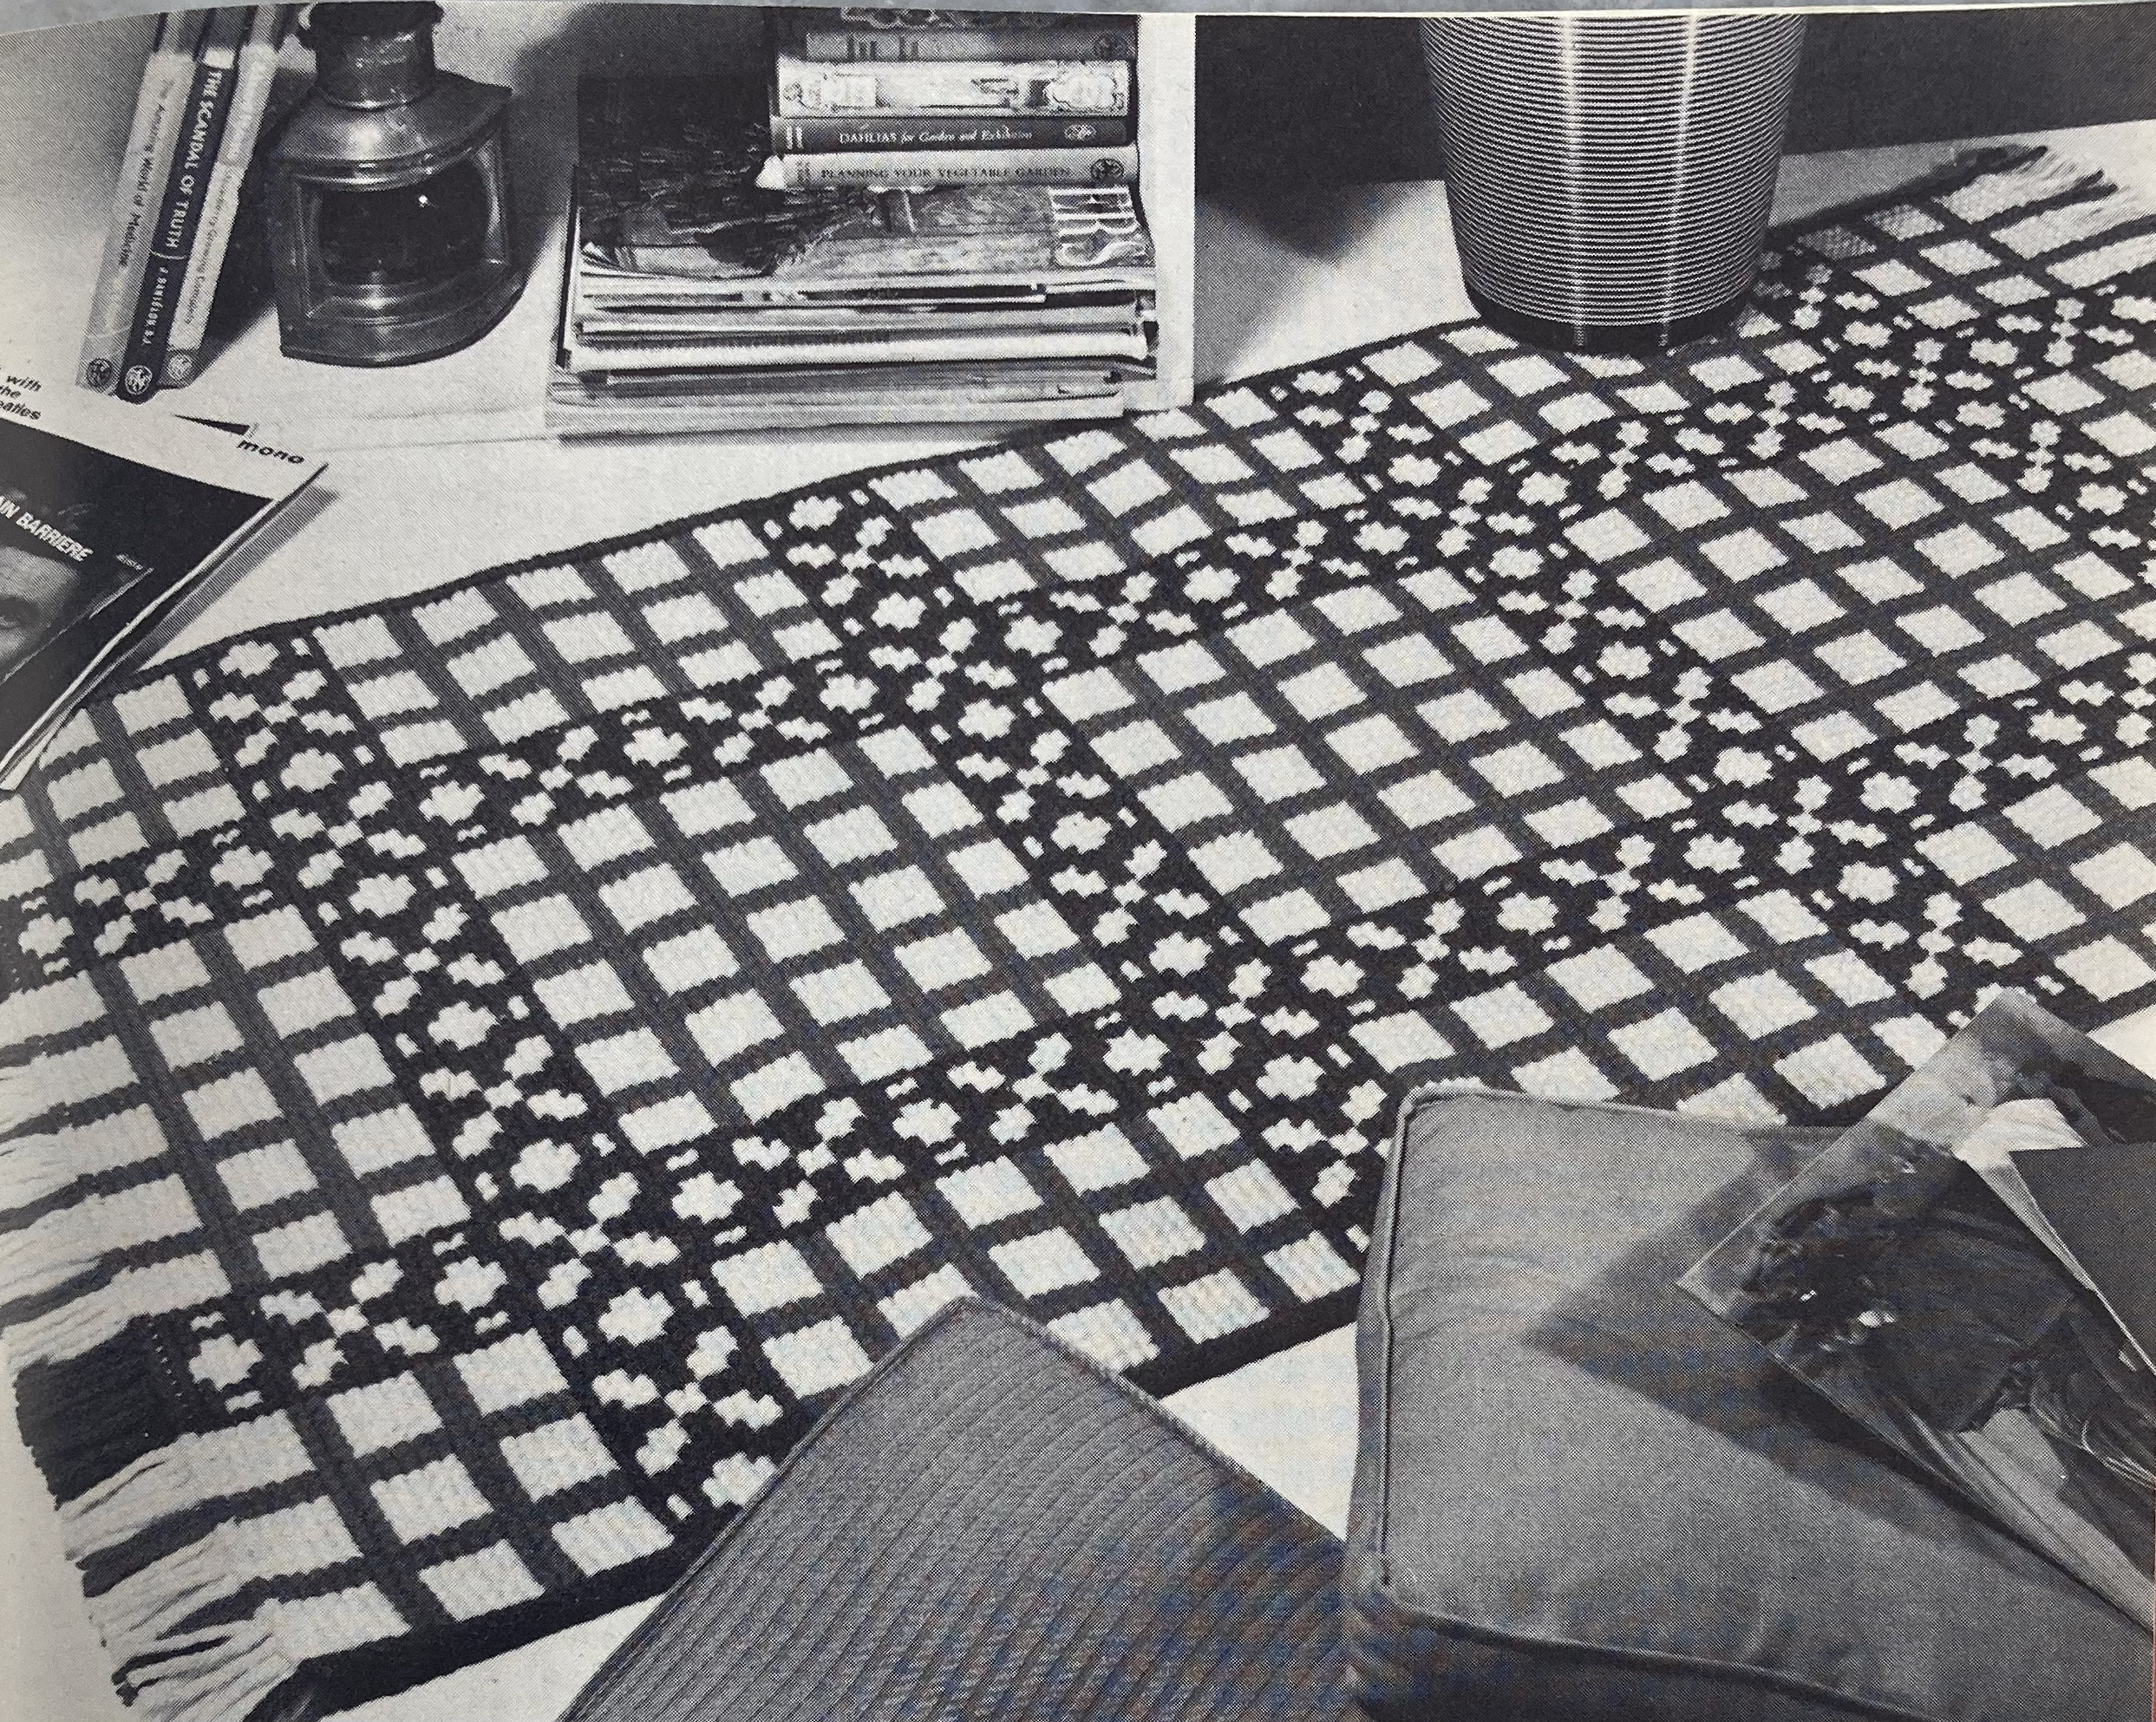
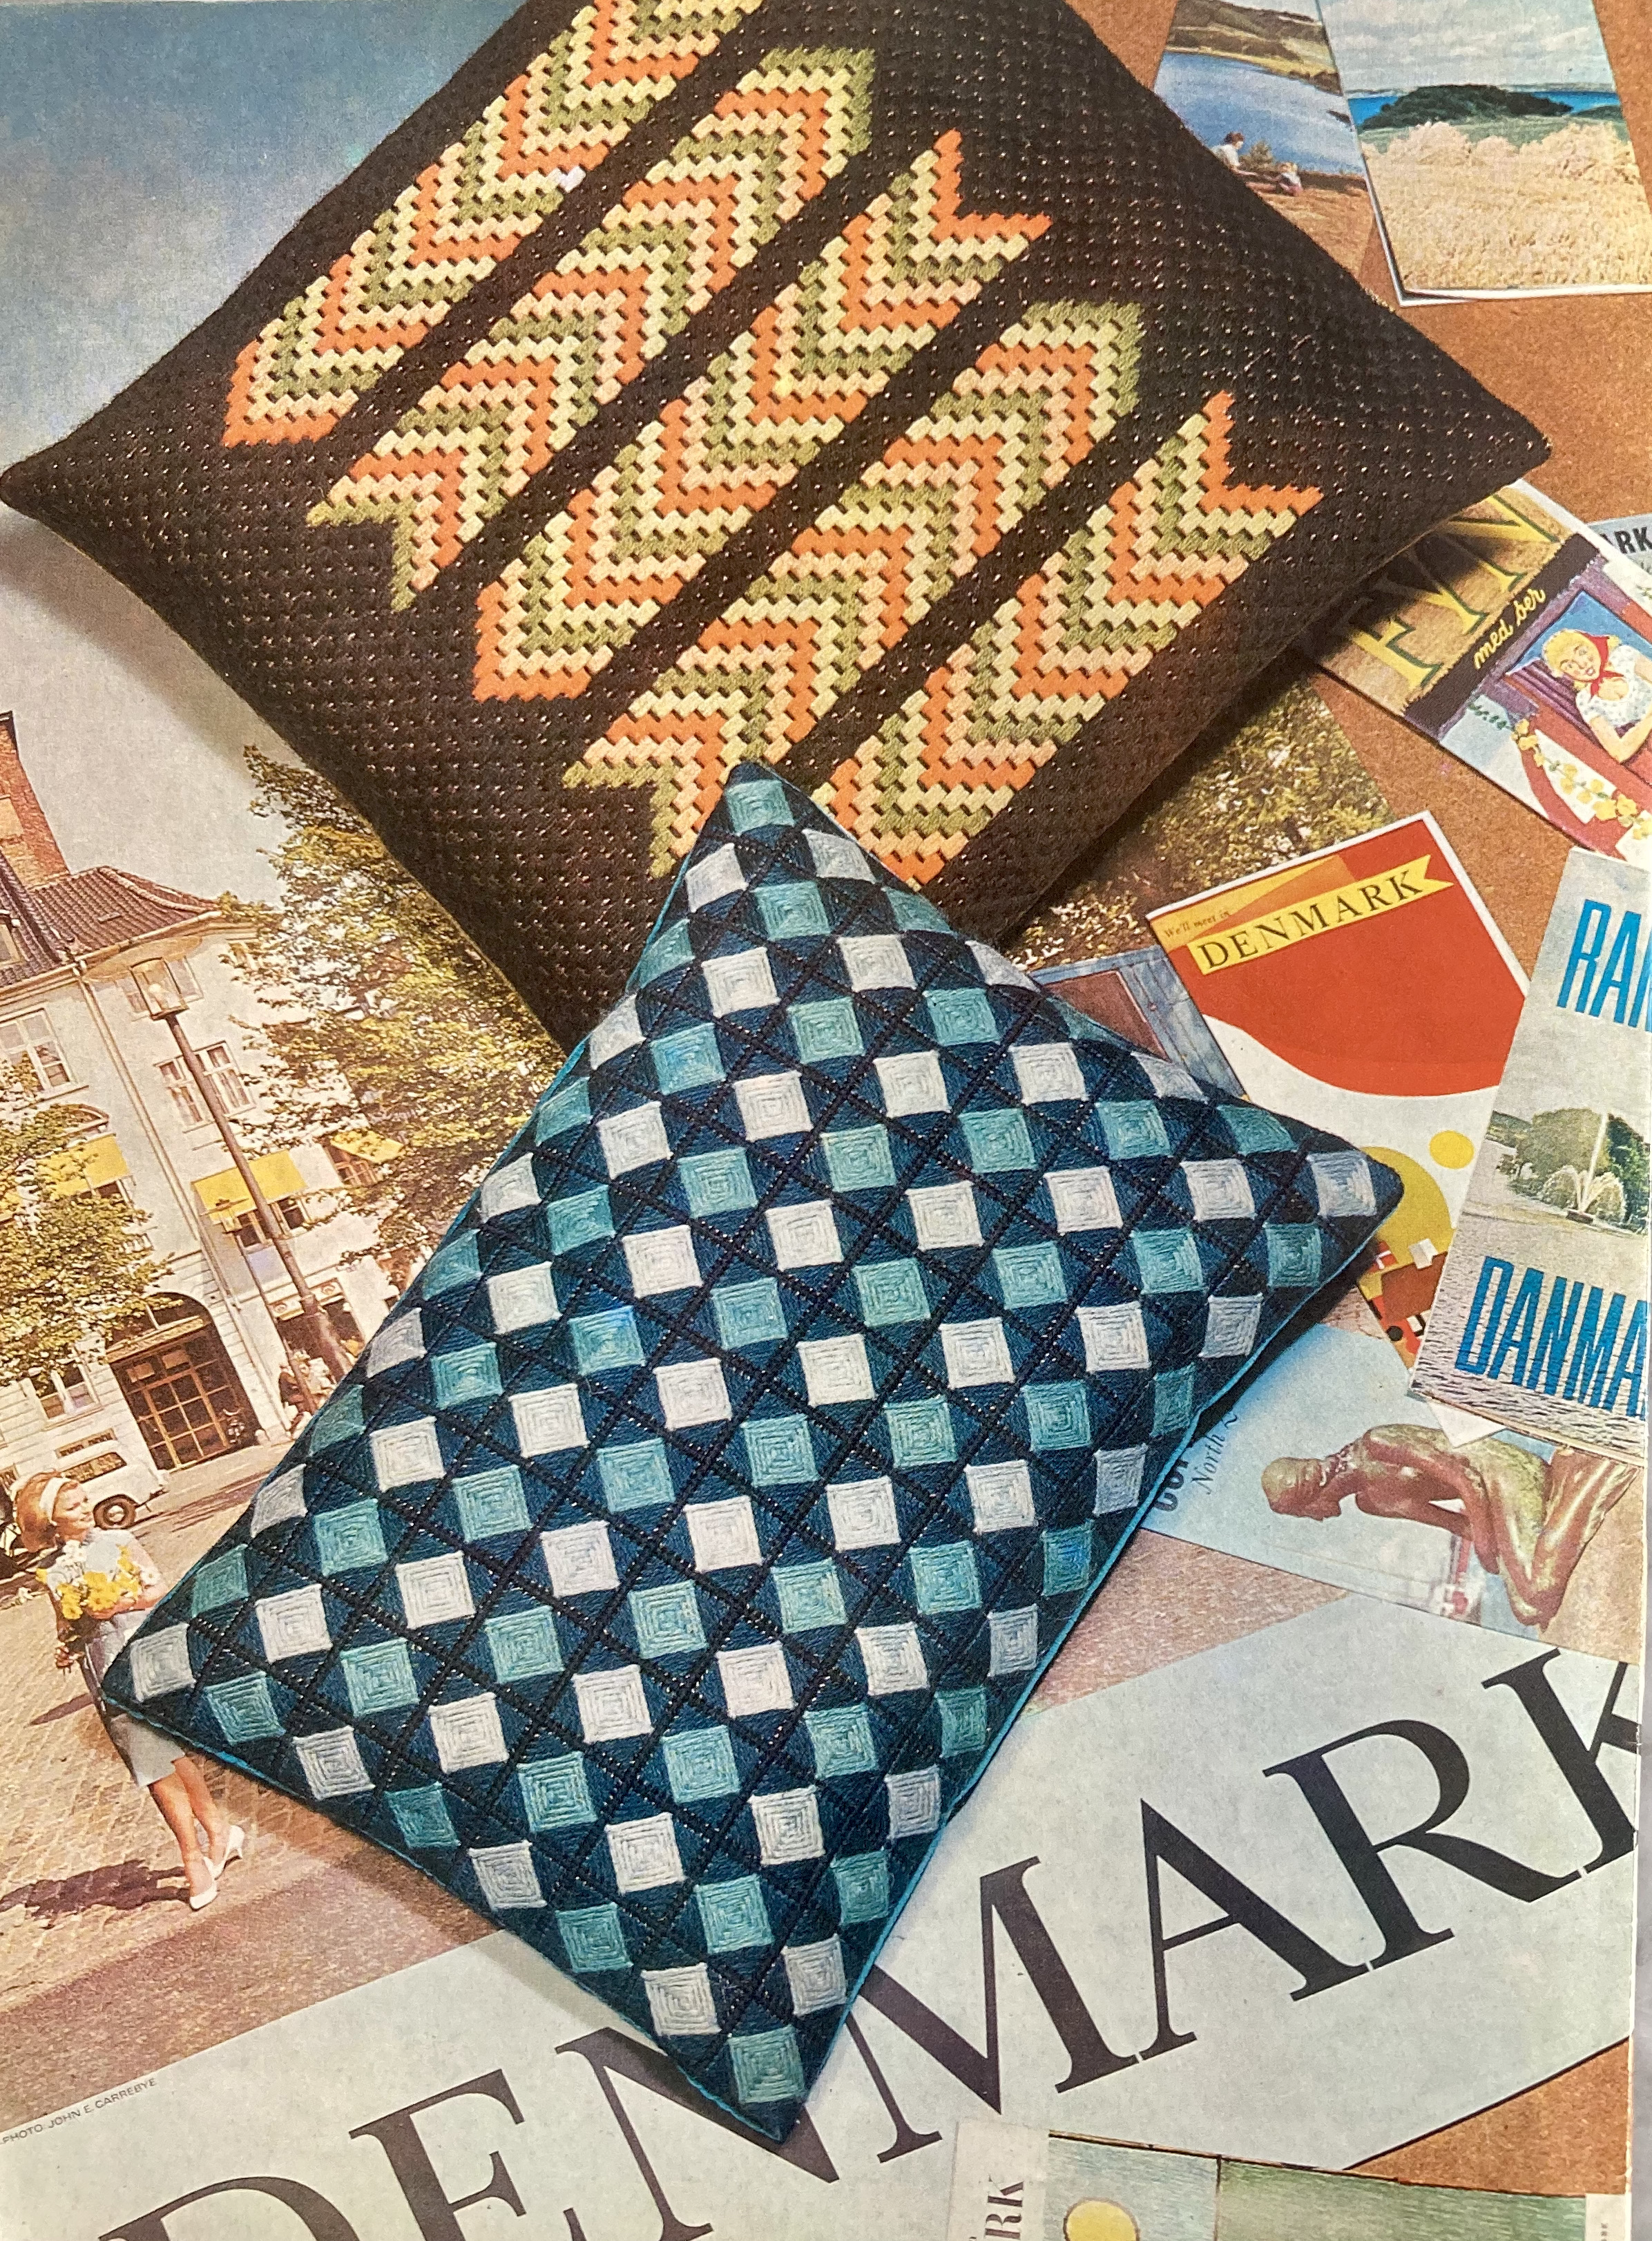
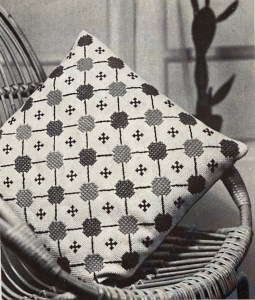
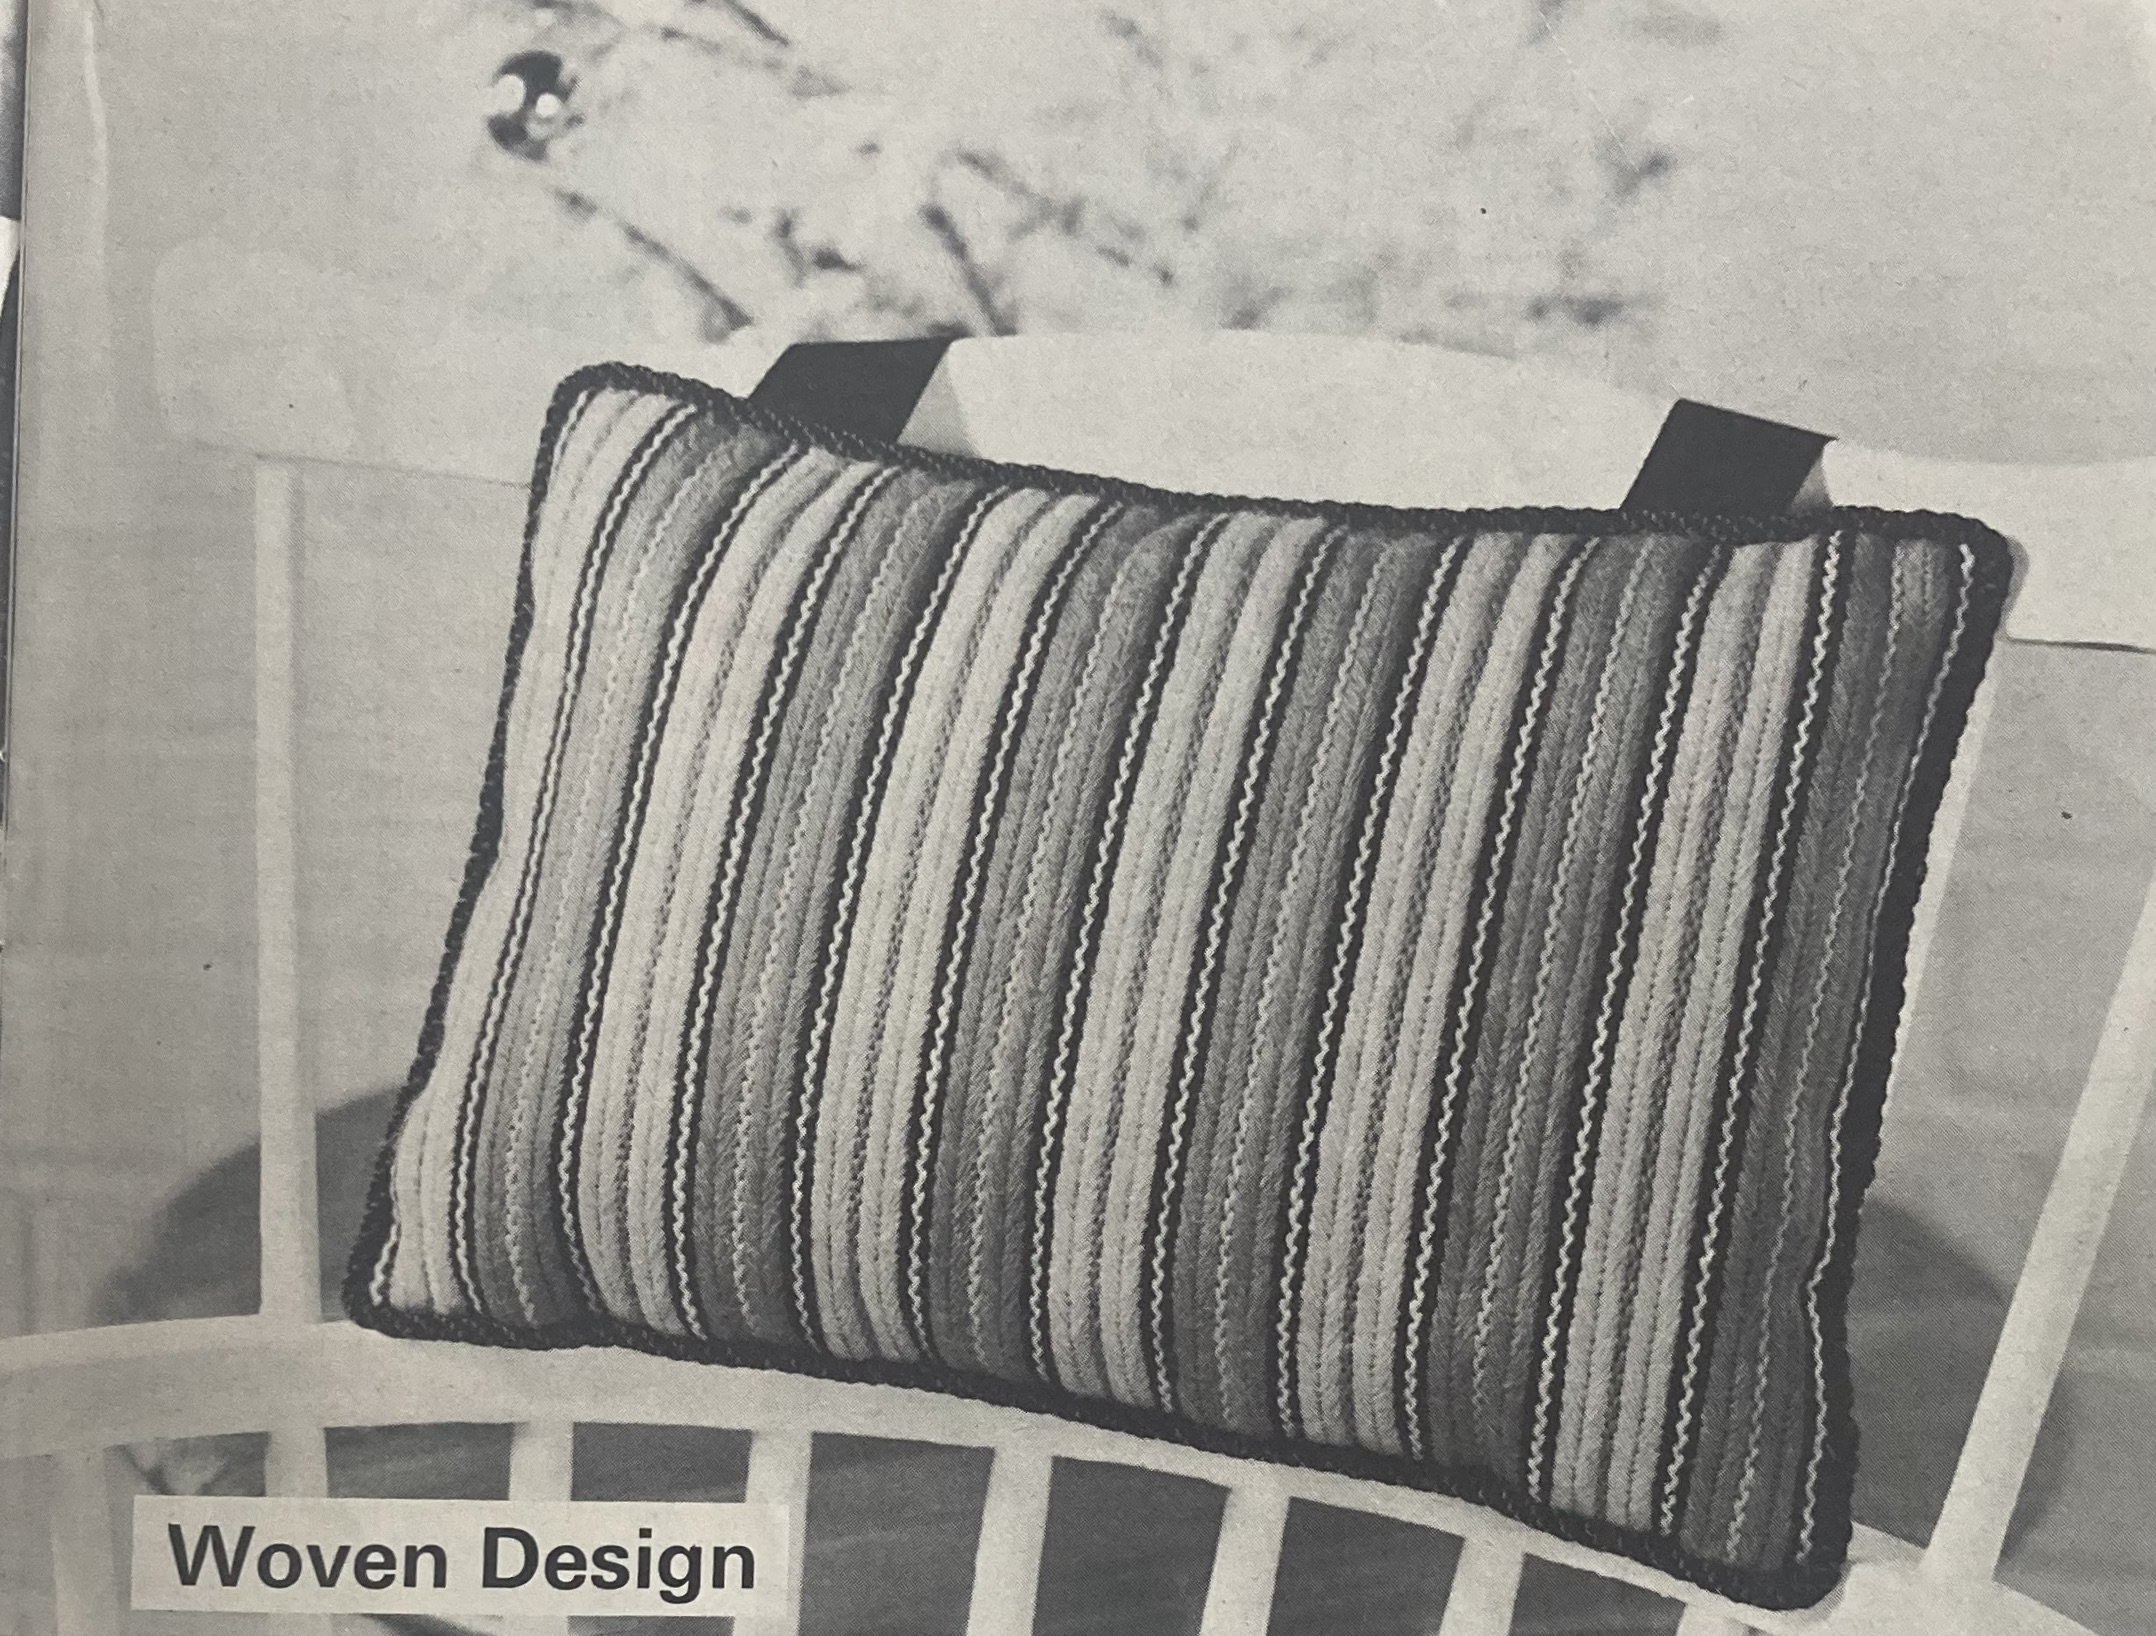
And let us not forget the other cushions: a simple cross-stitch number with a woodland design and a tough woven-tapestry chairback cushion in soumak and herringbone stitch. The colour scheme is brown with brown, with touches of orange and lime green for contrast. In the “just for fun” category, you can knit cosies for golf clubs.


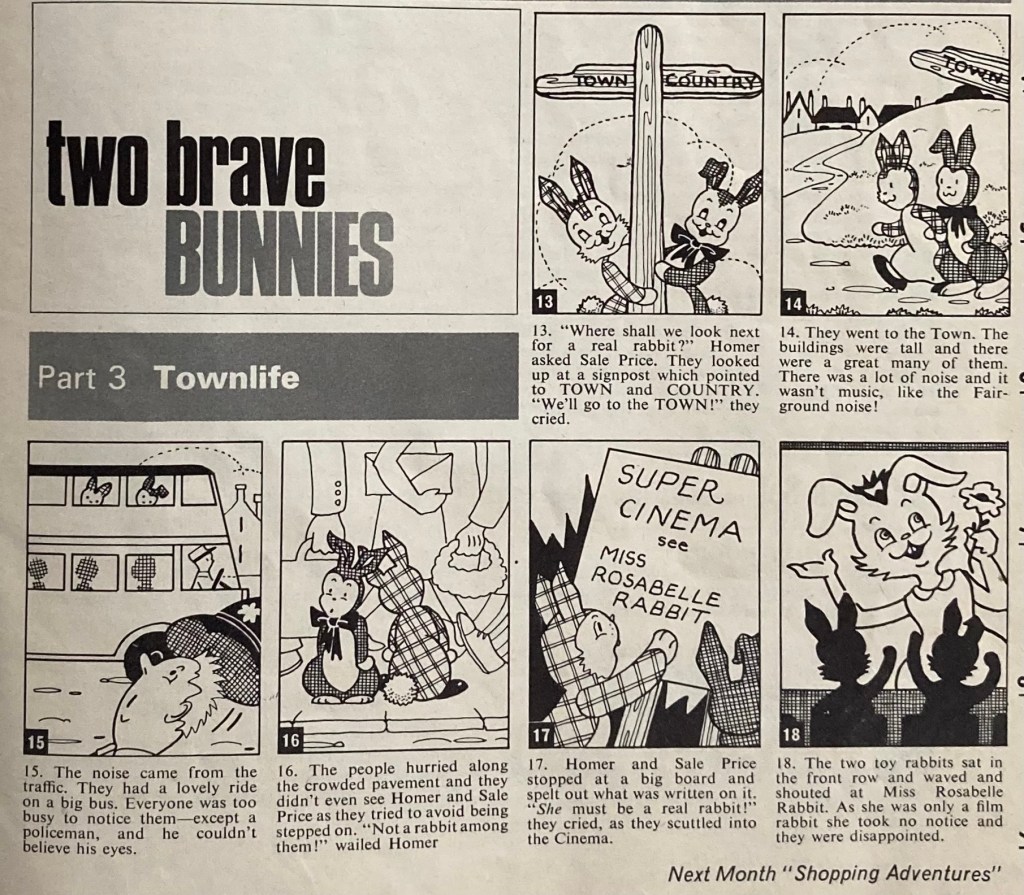
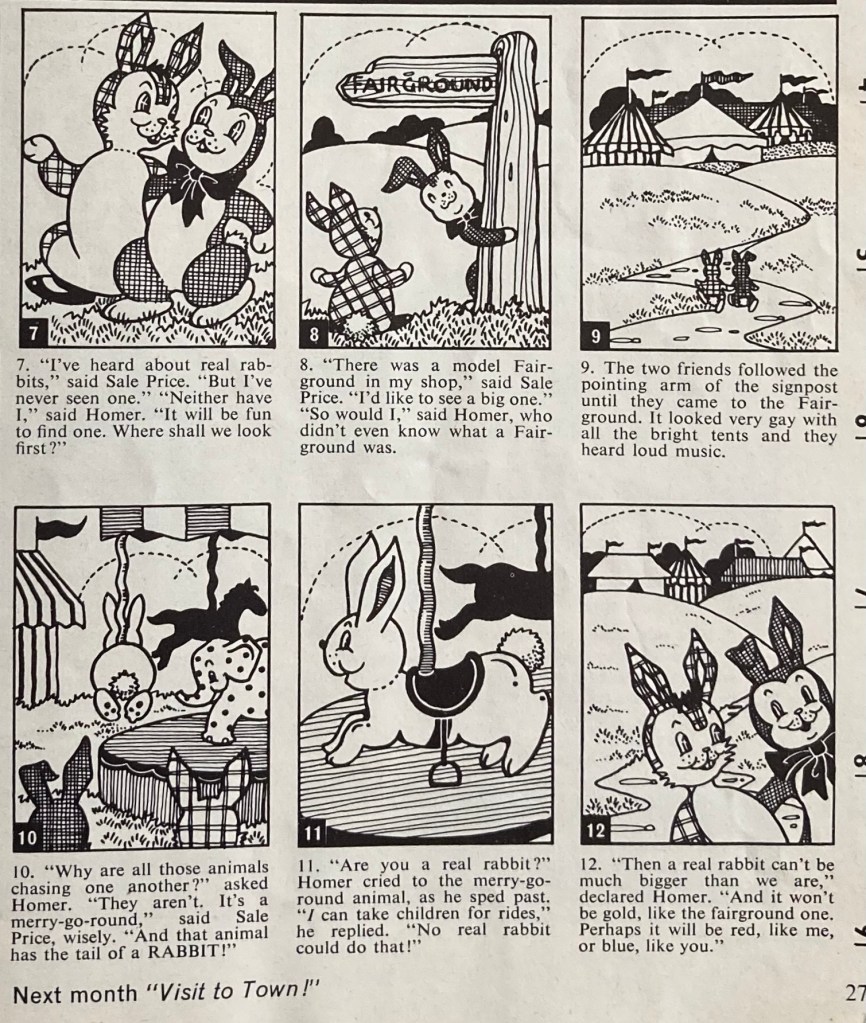
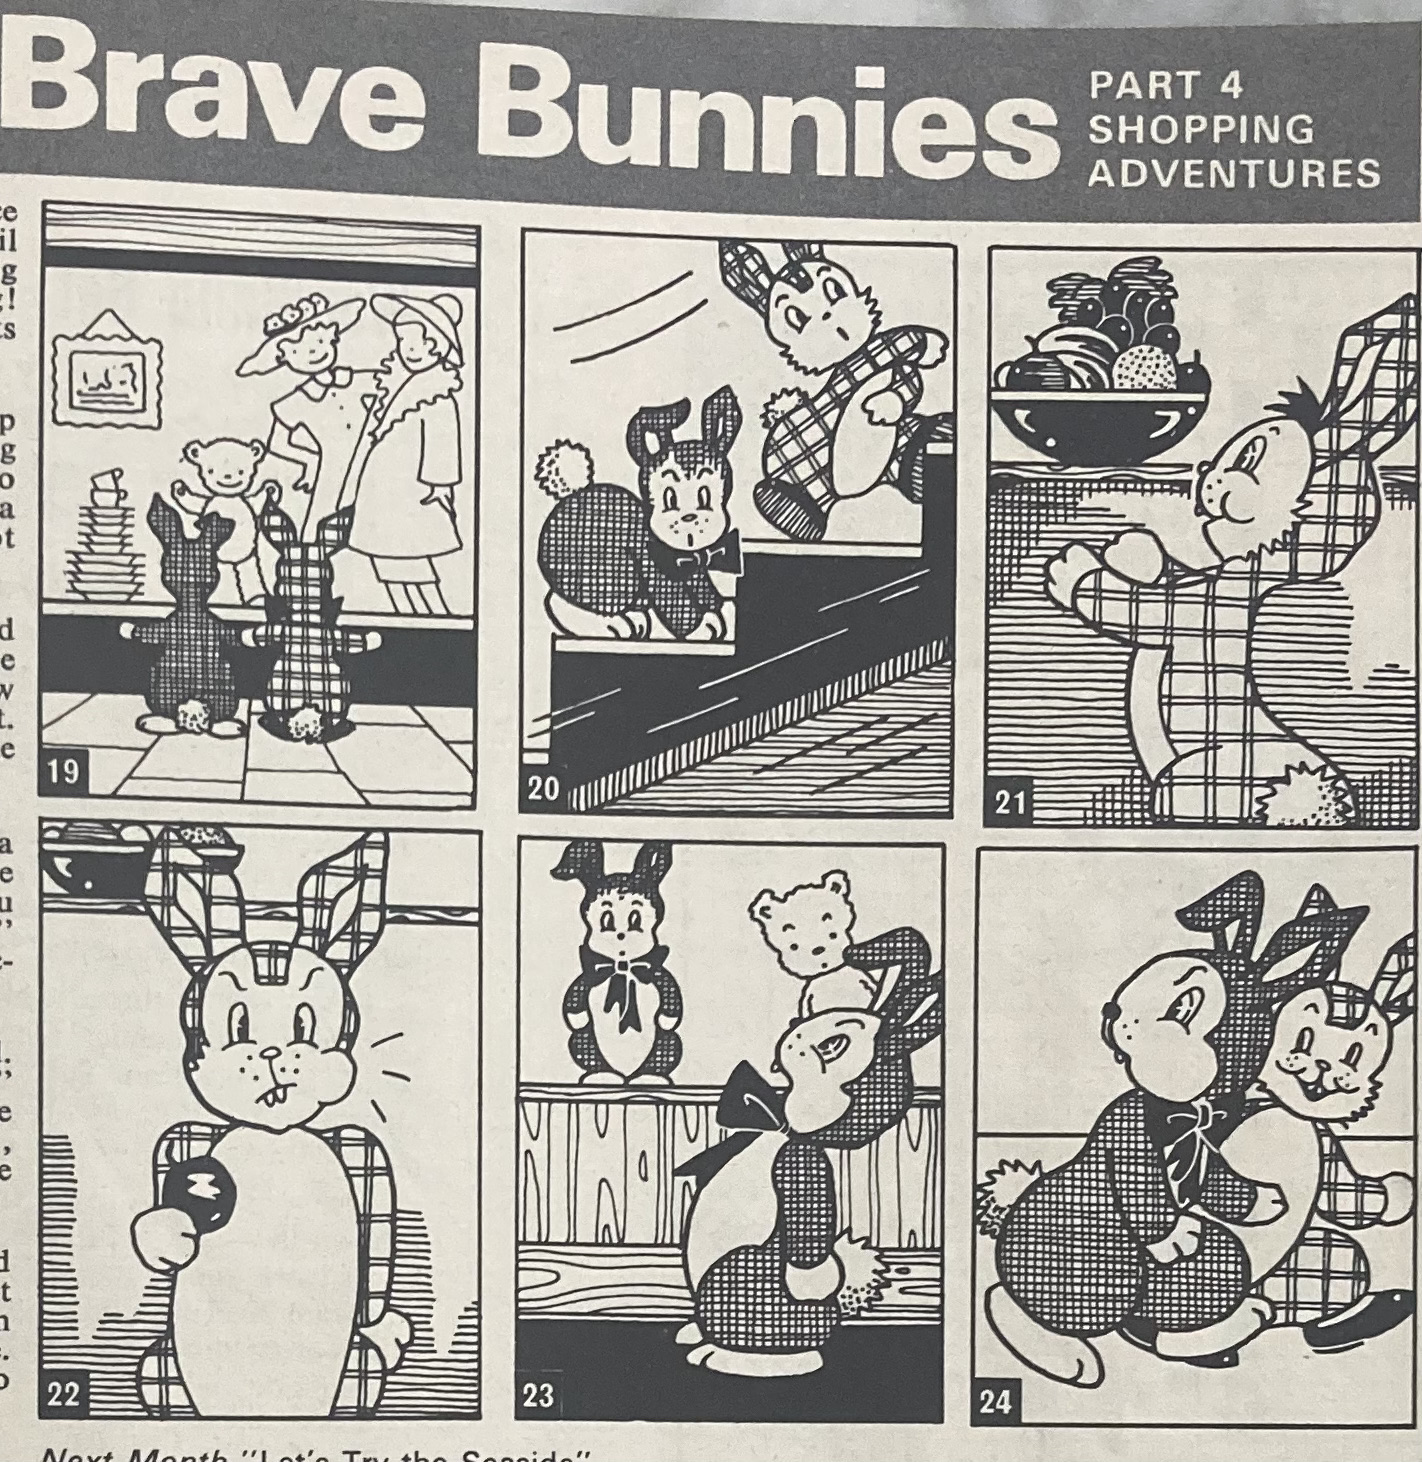
Our two brave bunnies from the Readers Pages are still on their quest to find a real live rabbit. Thinking they might find one in a department store (why not), they get stuck on a moving staircase, try to eat a plastic apple, and find a stuffed rabbit who, unlike our co-protagonist Sale Price (also a stuffed rabbit), sadly cannot talk. Next month, they will try the seaside, which is not known for being home to very many rabbits, but I suppose a better chance than a department store, a movie theatre or a merry-go-round. Of course, around Christmas time, one of the surest places to find a real rabbit would be on the dinner table, ha ha. I guess that storyline might be considered inappropriate for a light-hearted children’s comic. At least our two toy rabbit protagonists aren’t in danger of being eaten.
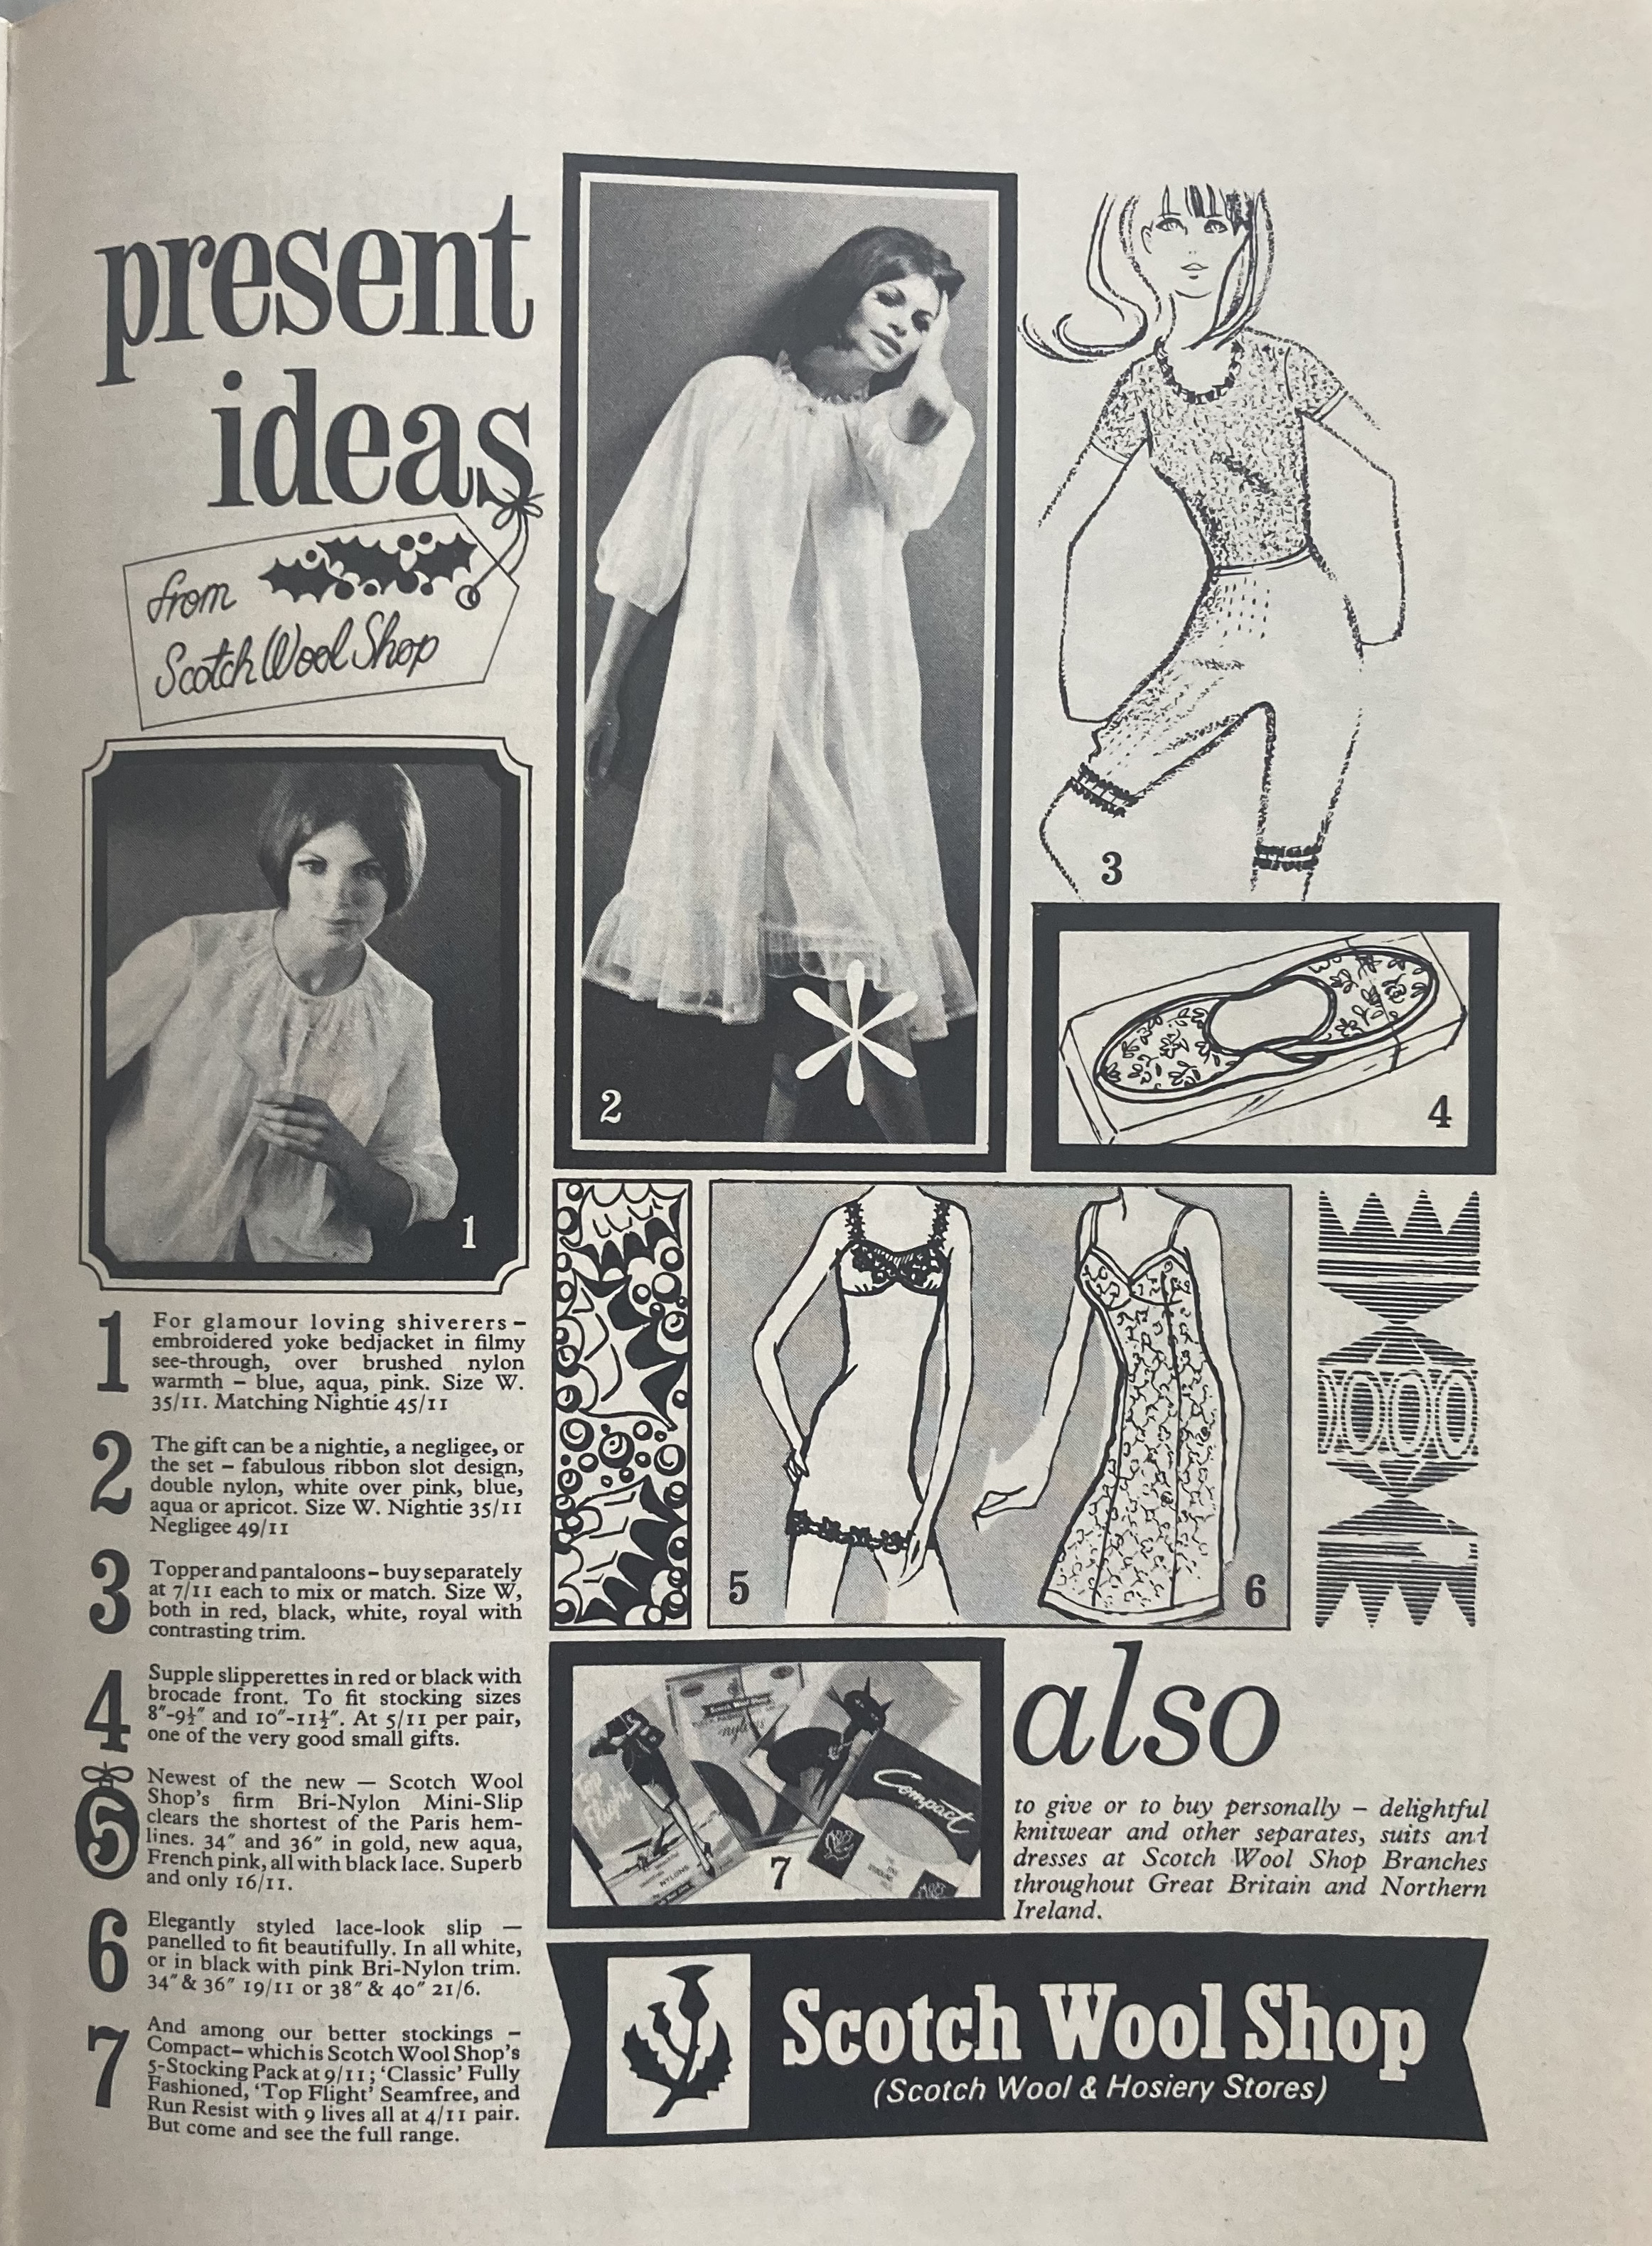
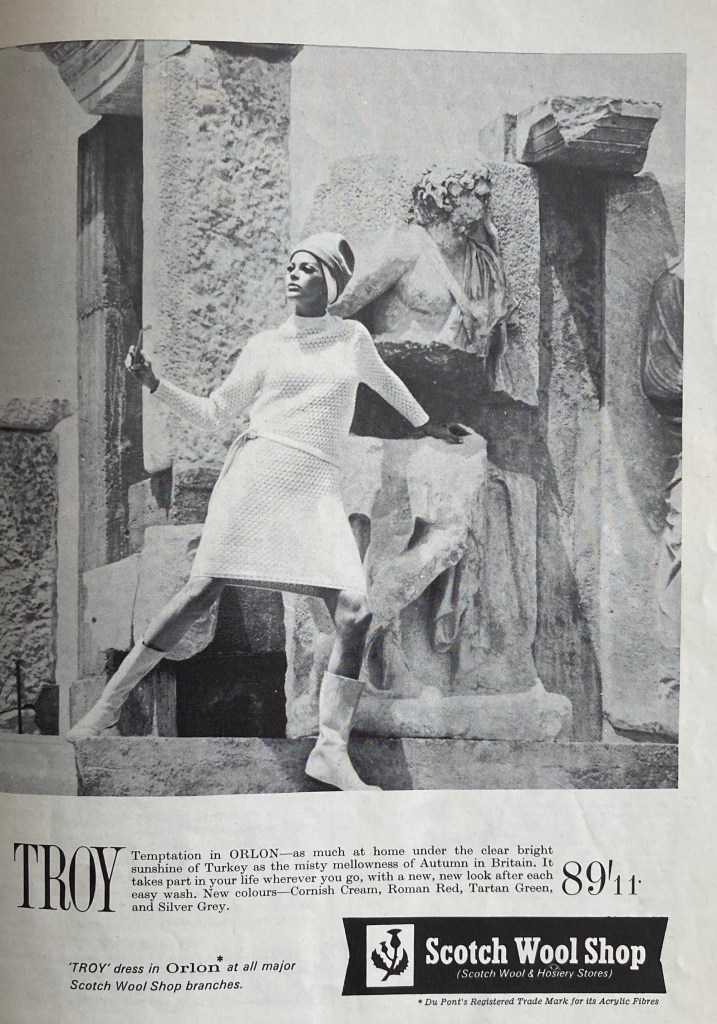
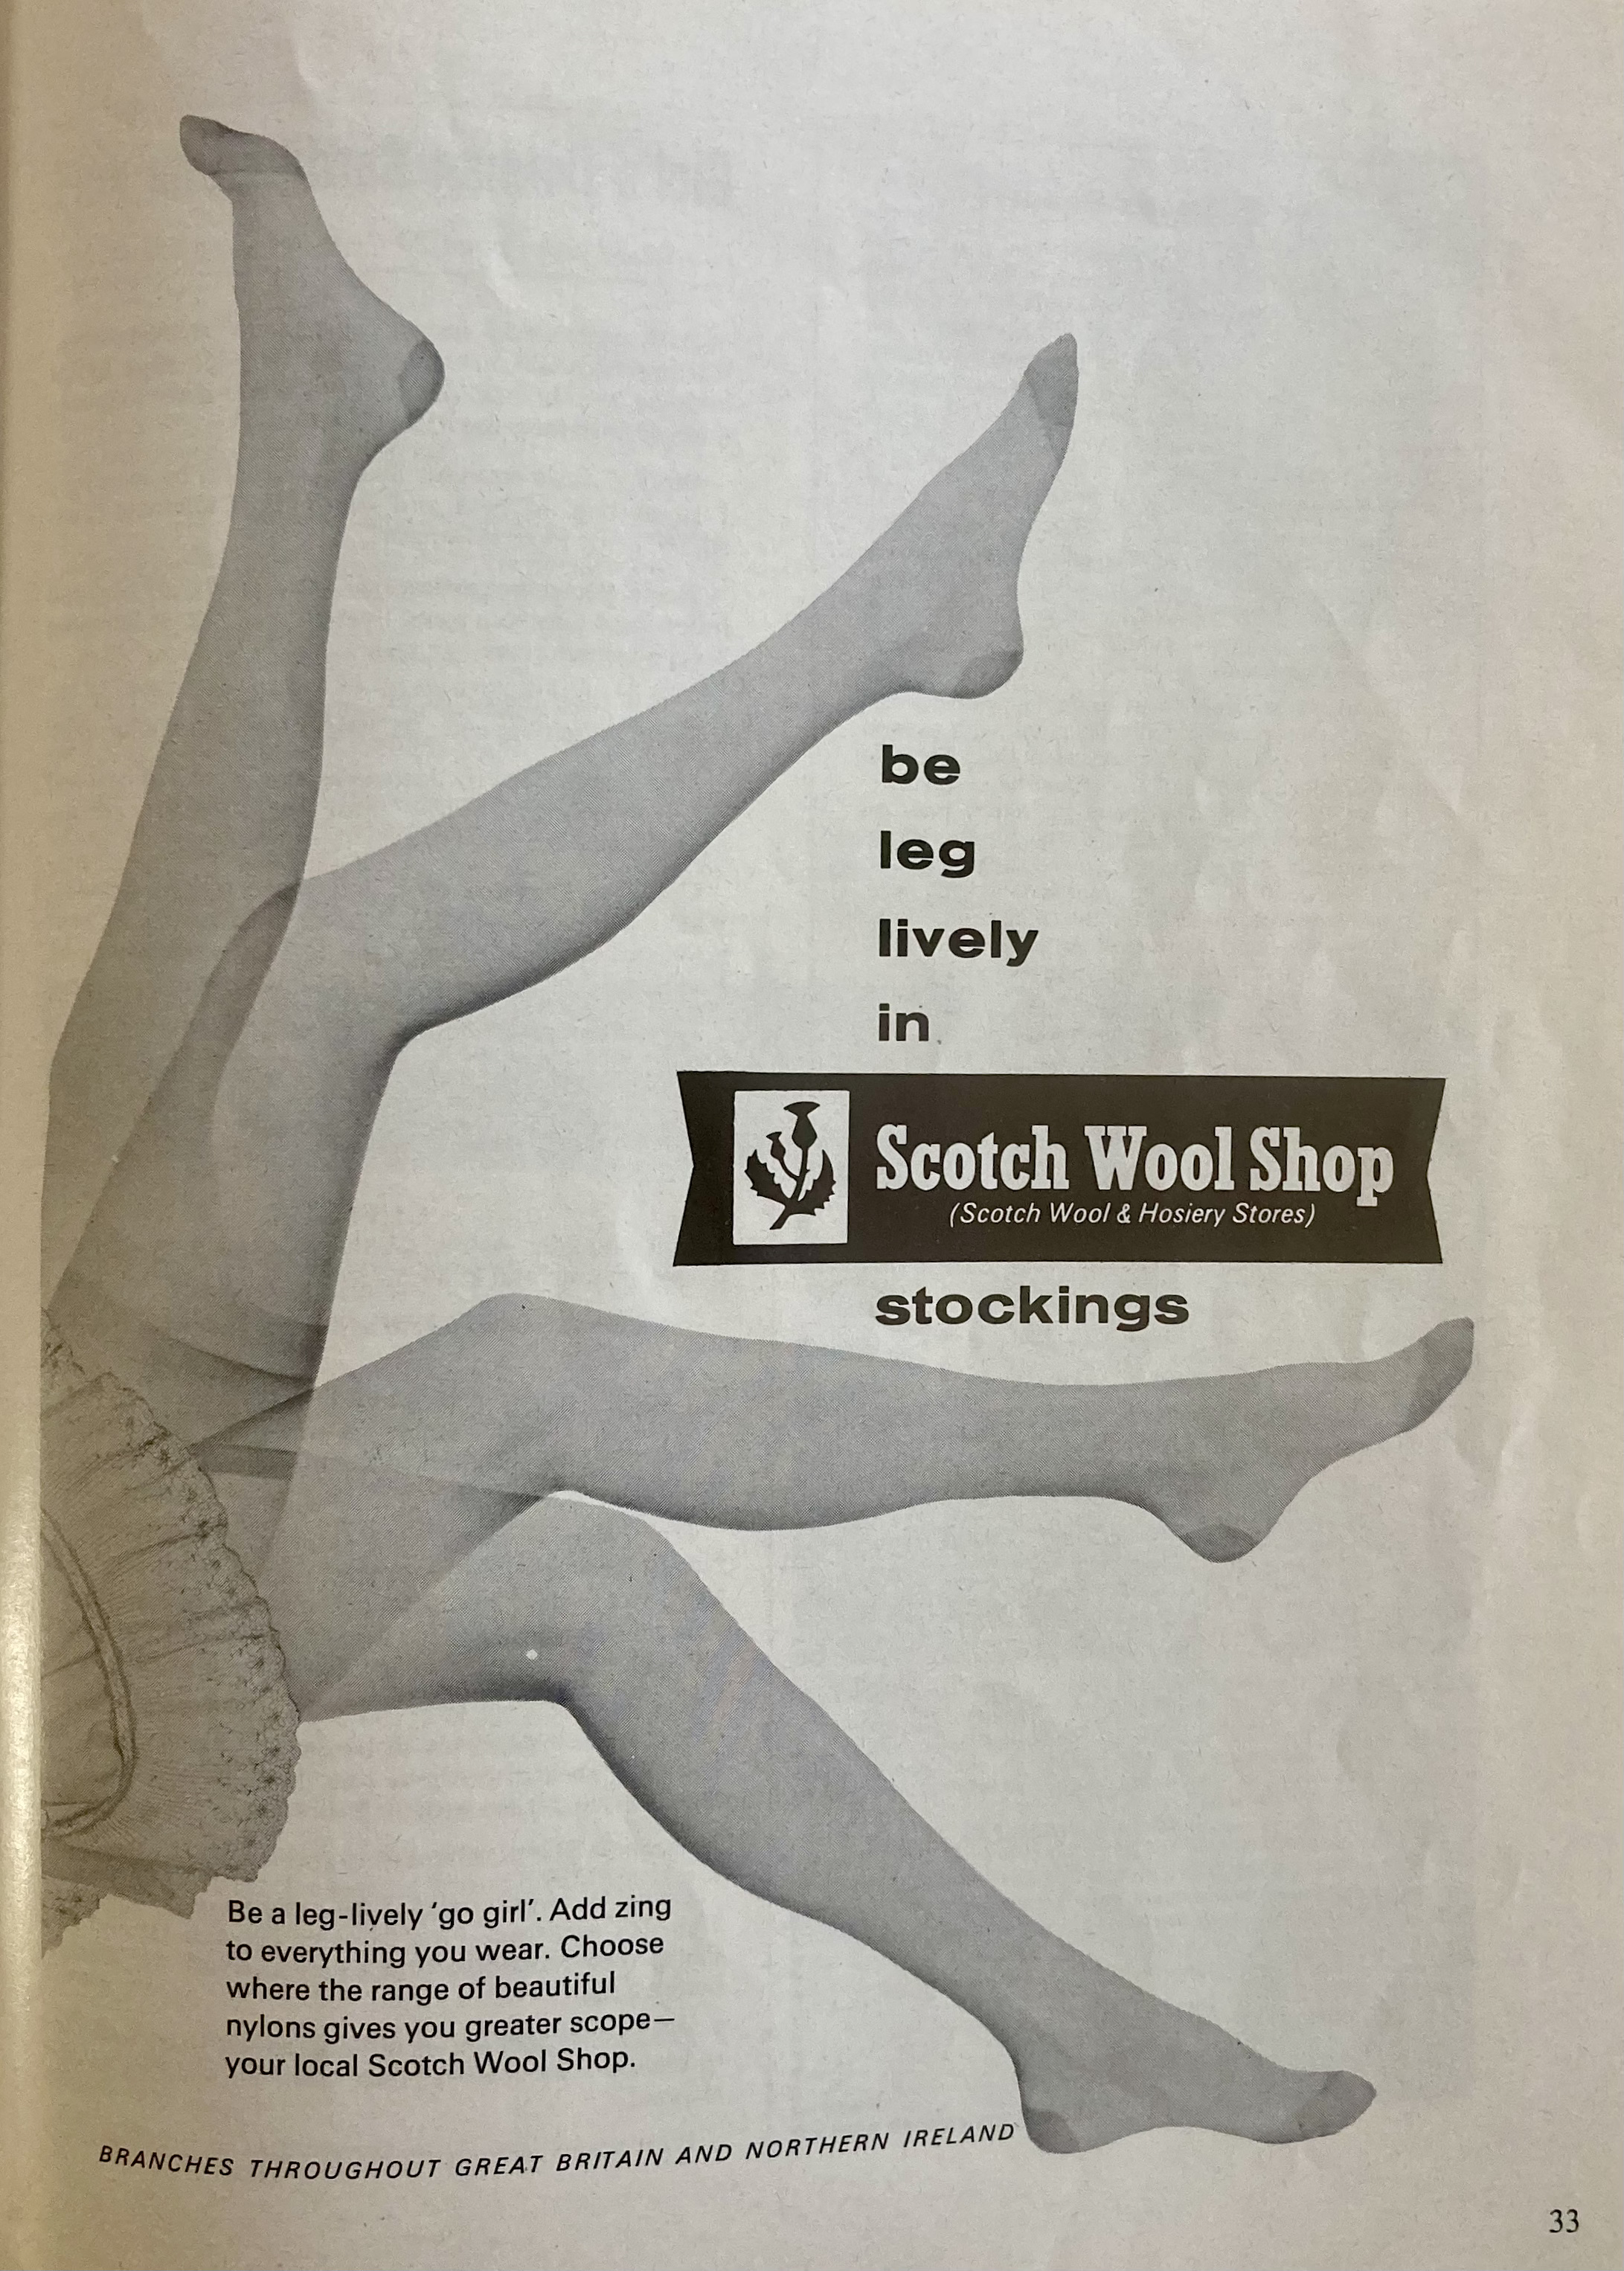
Finally, there’s another wonderful advertisement from my favourite Stitchcraft-ad store, the Scotch Wool Shop. Here is a nice little article about a knitting book produced by the Fleming, Reid company, proprietors of the chain of shops. The ads always make me want to go out and buy things from the stores… which, sadly, no longer exist. These little gift ideas are marvellous.
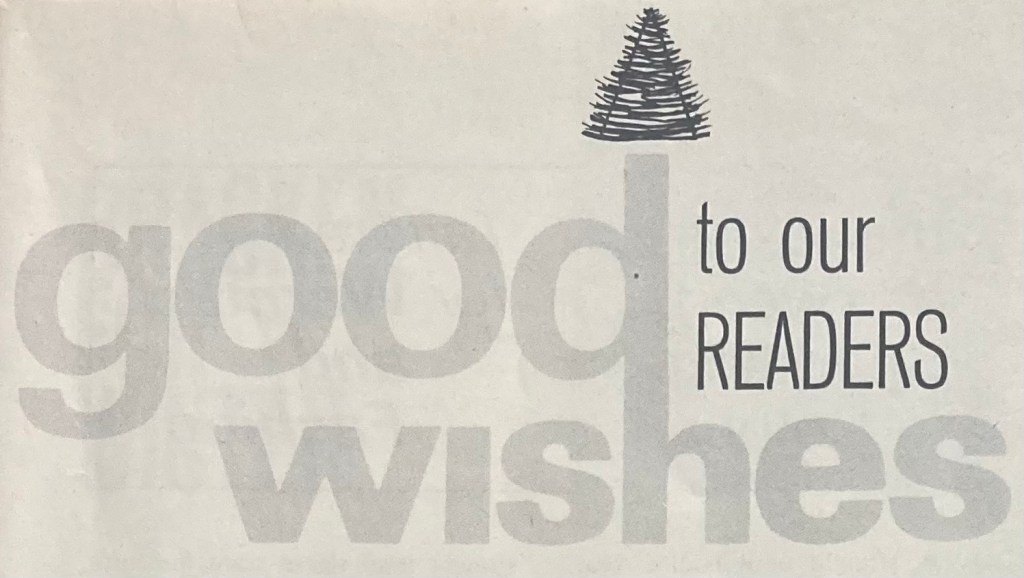
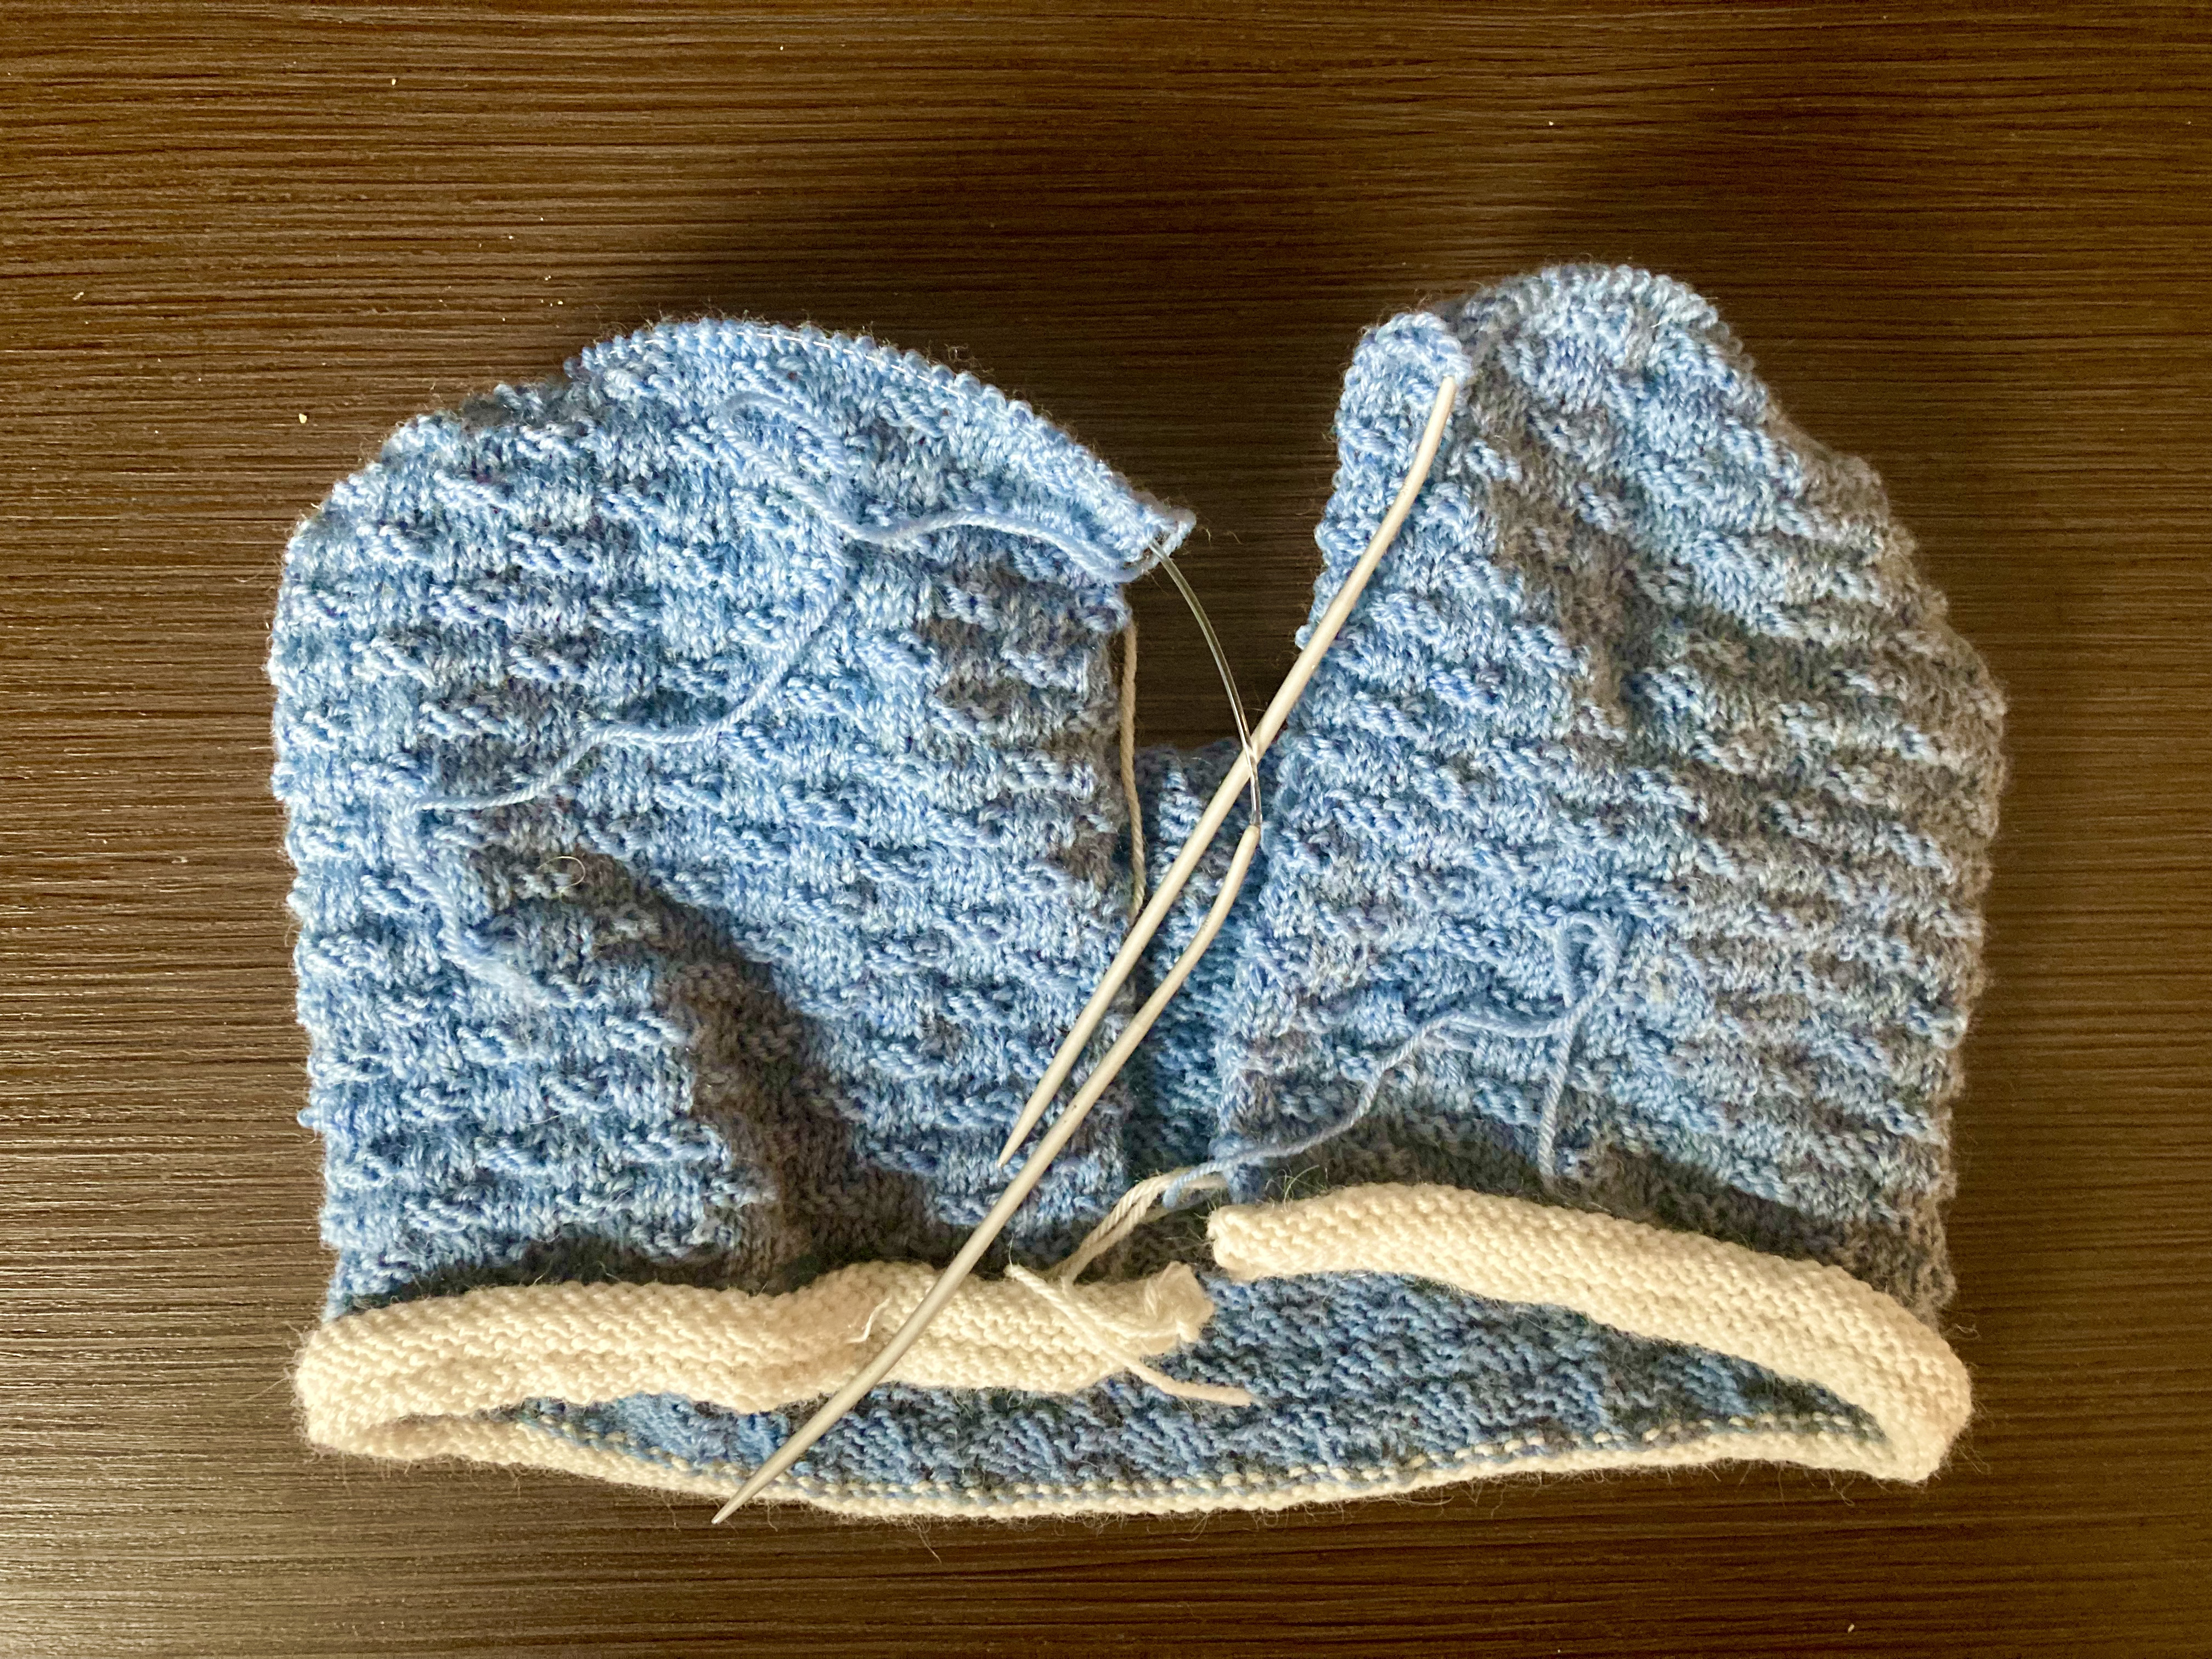
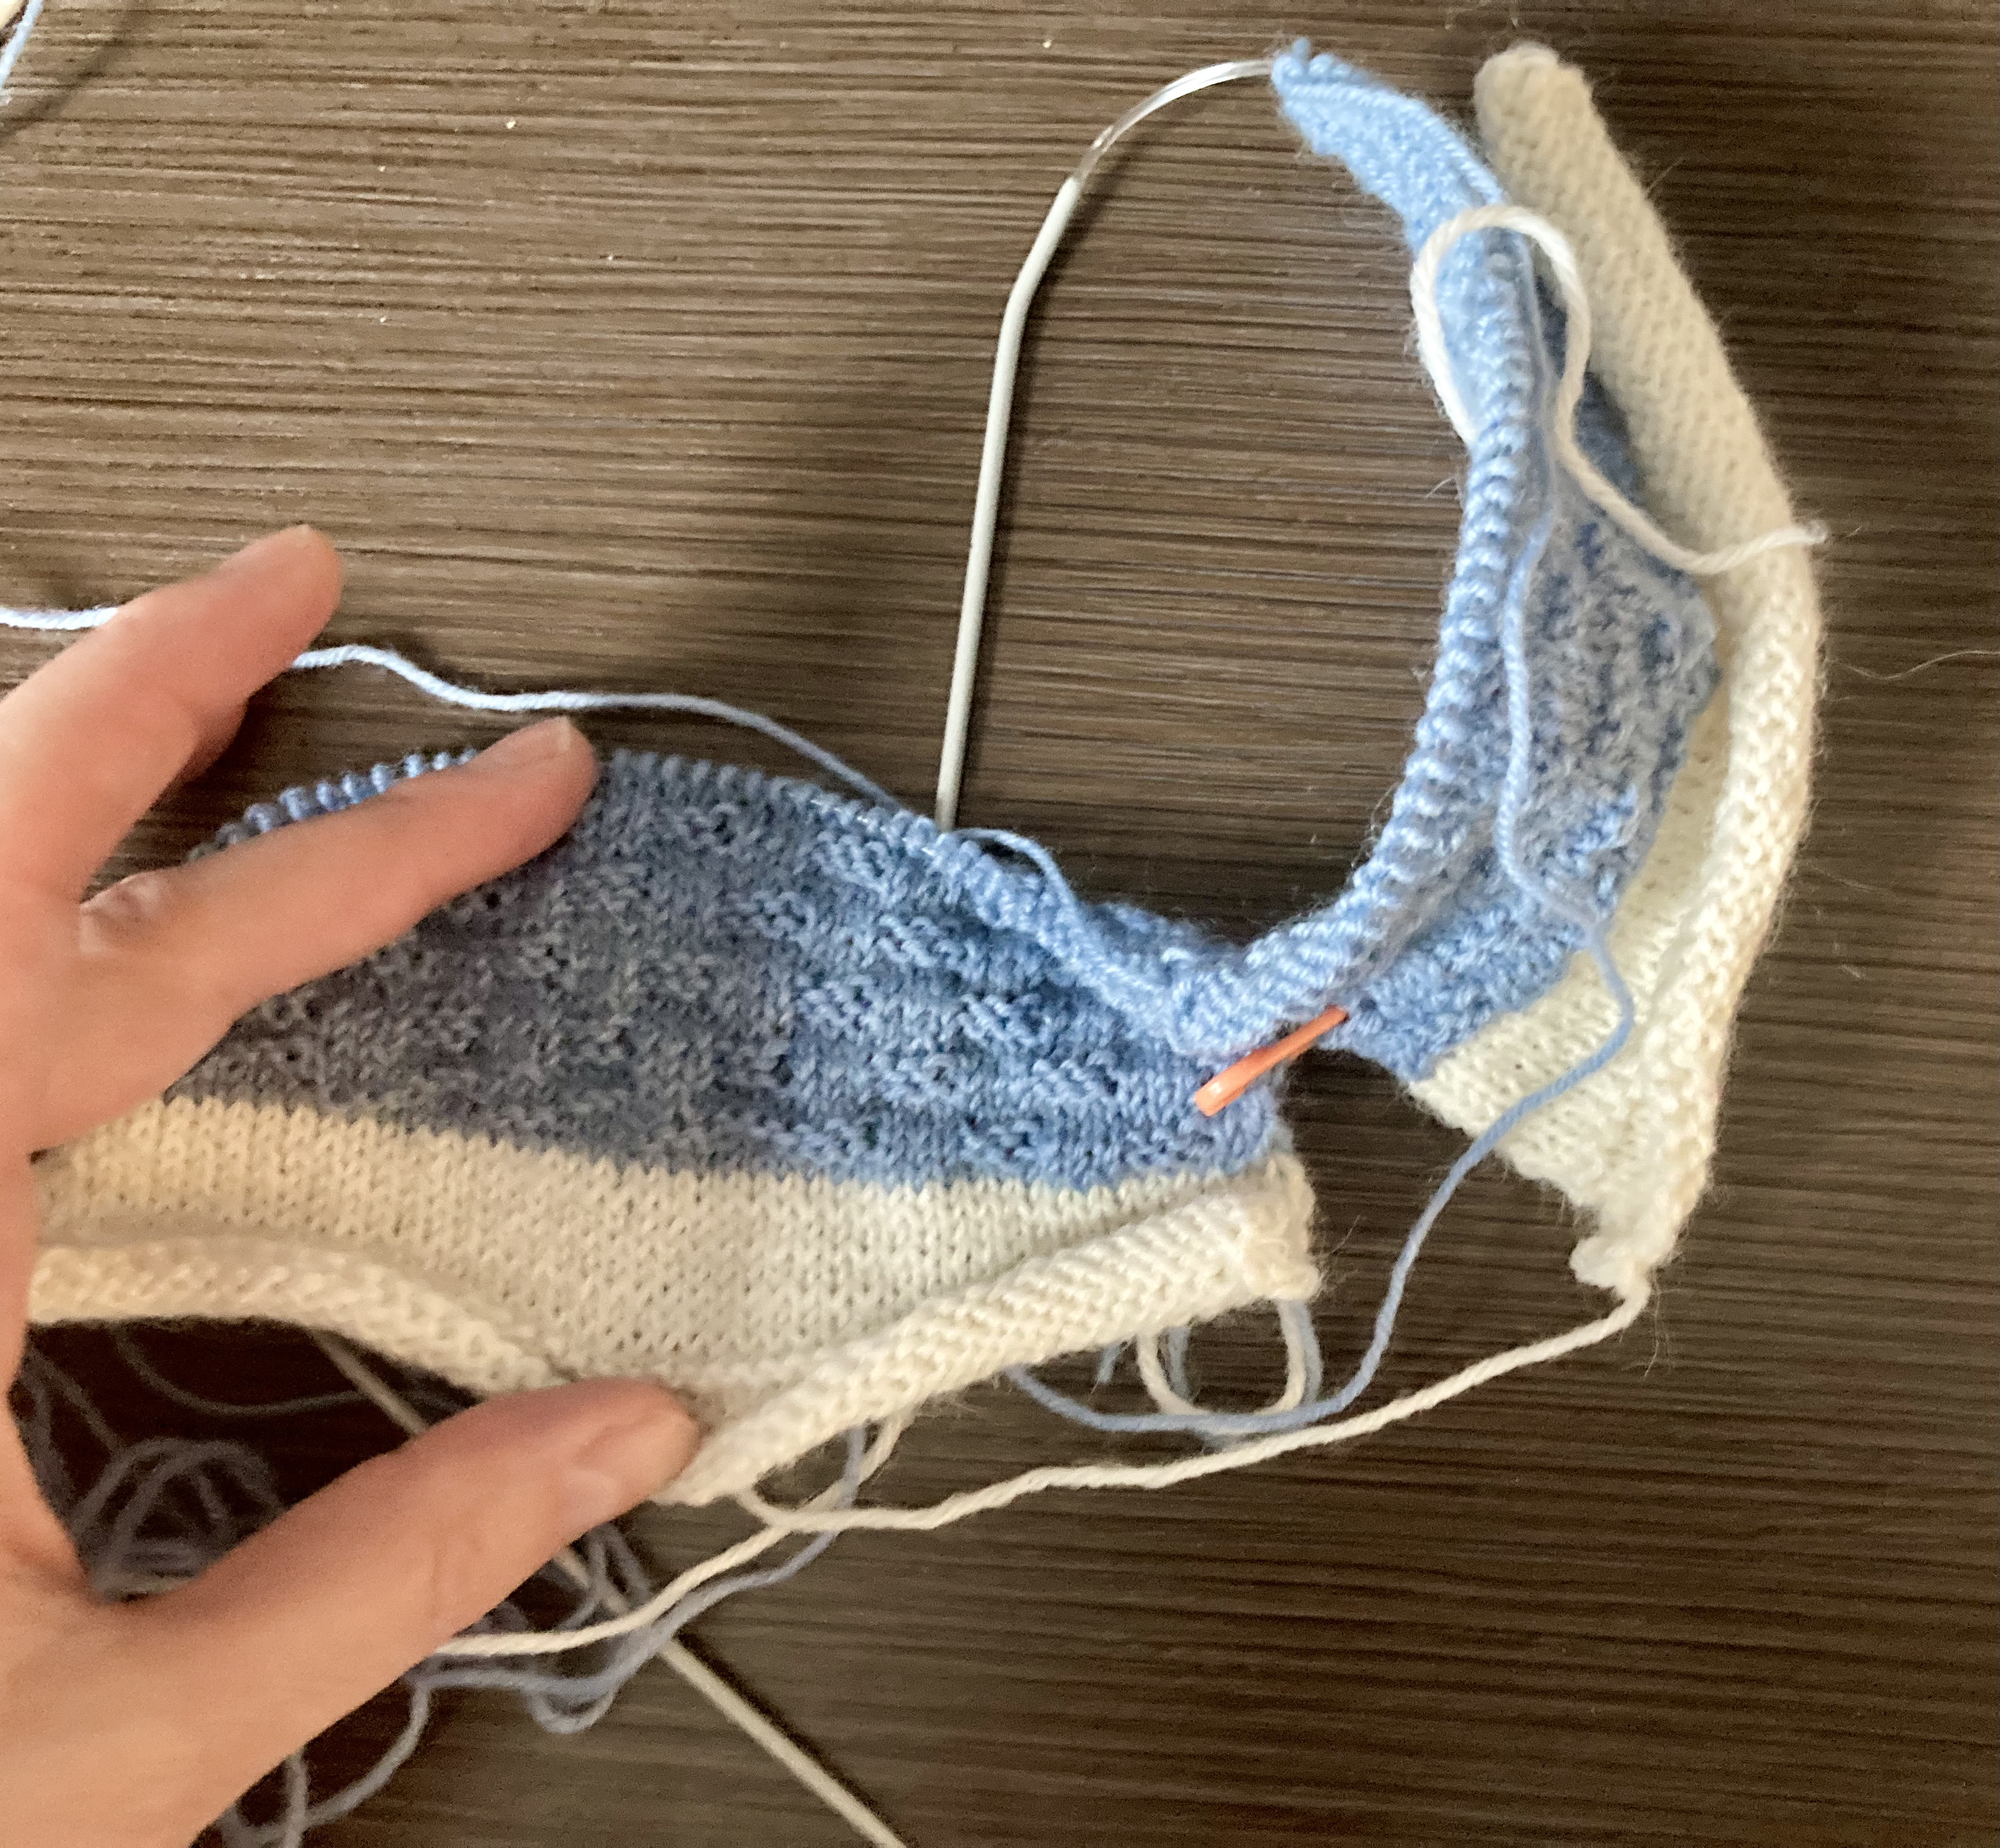
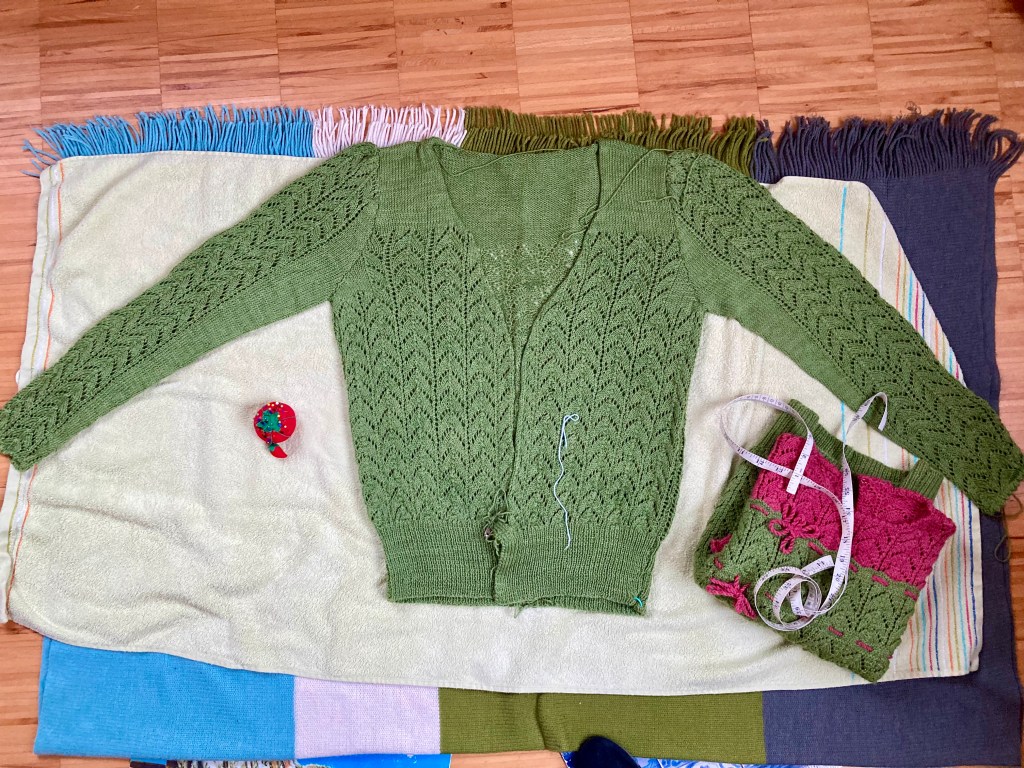
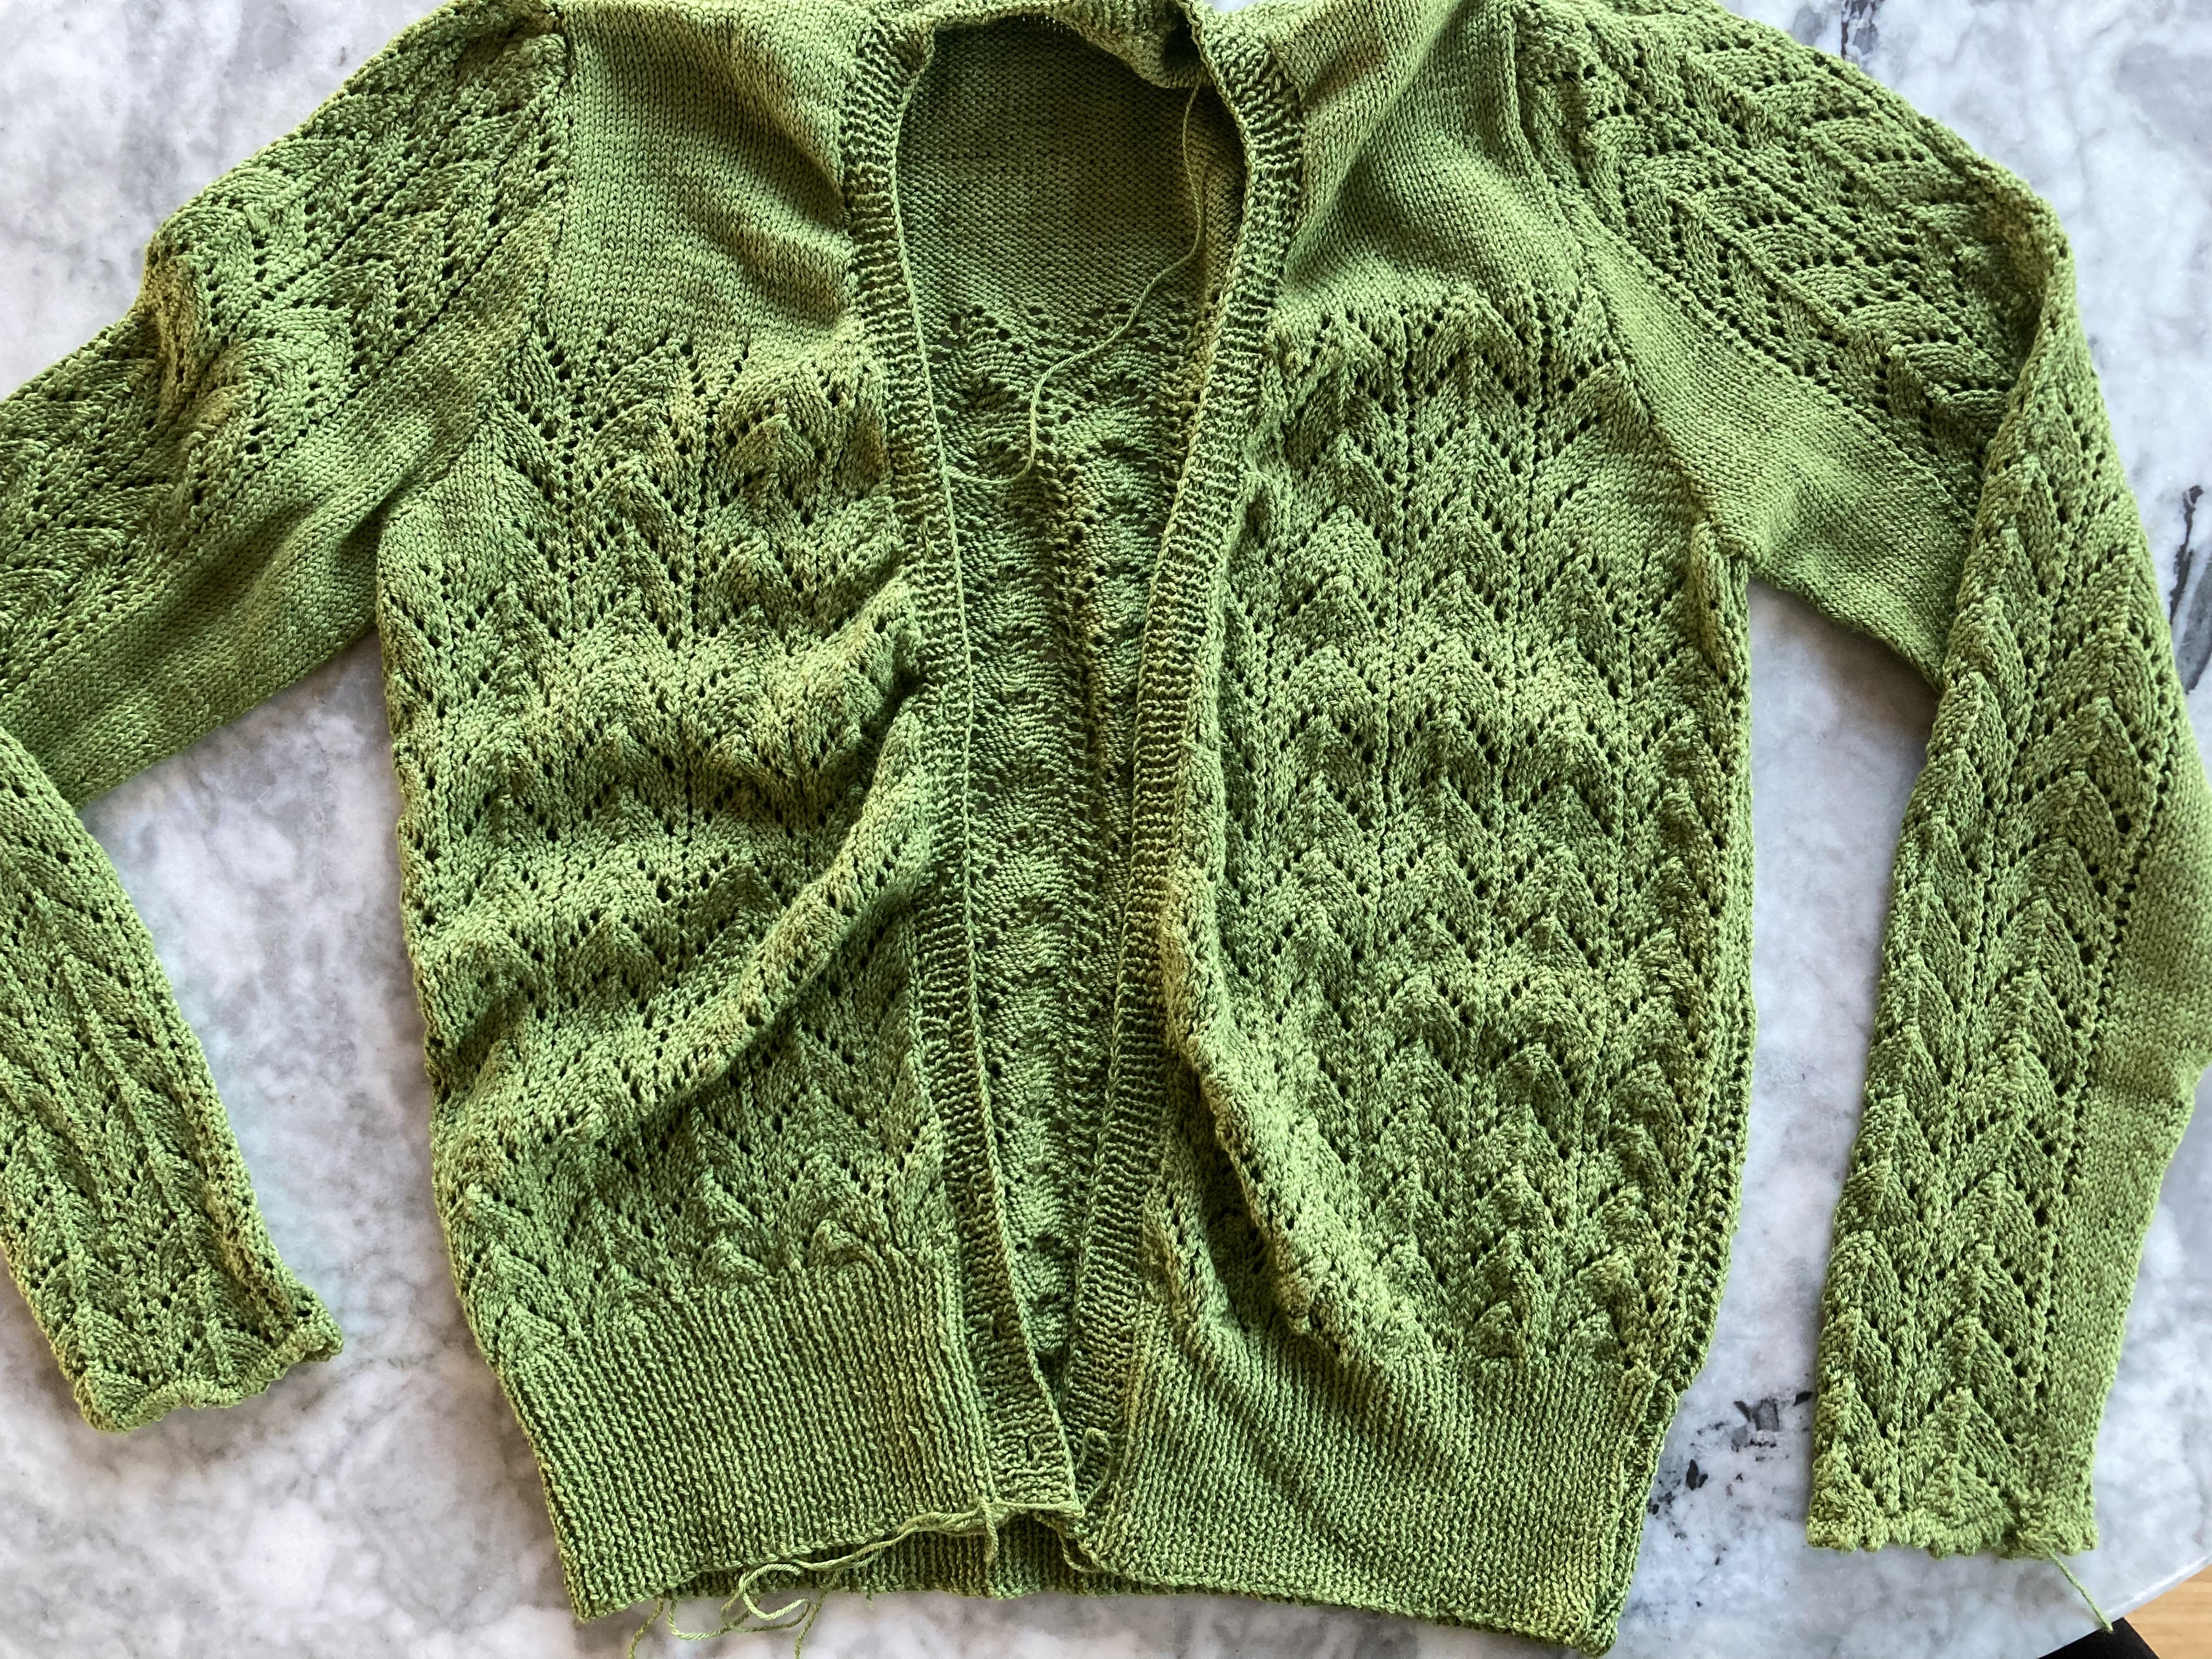
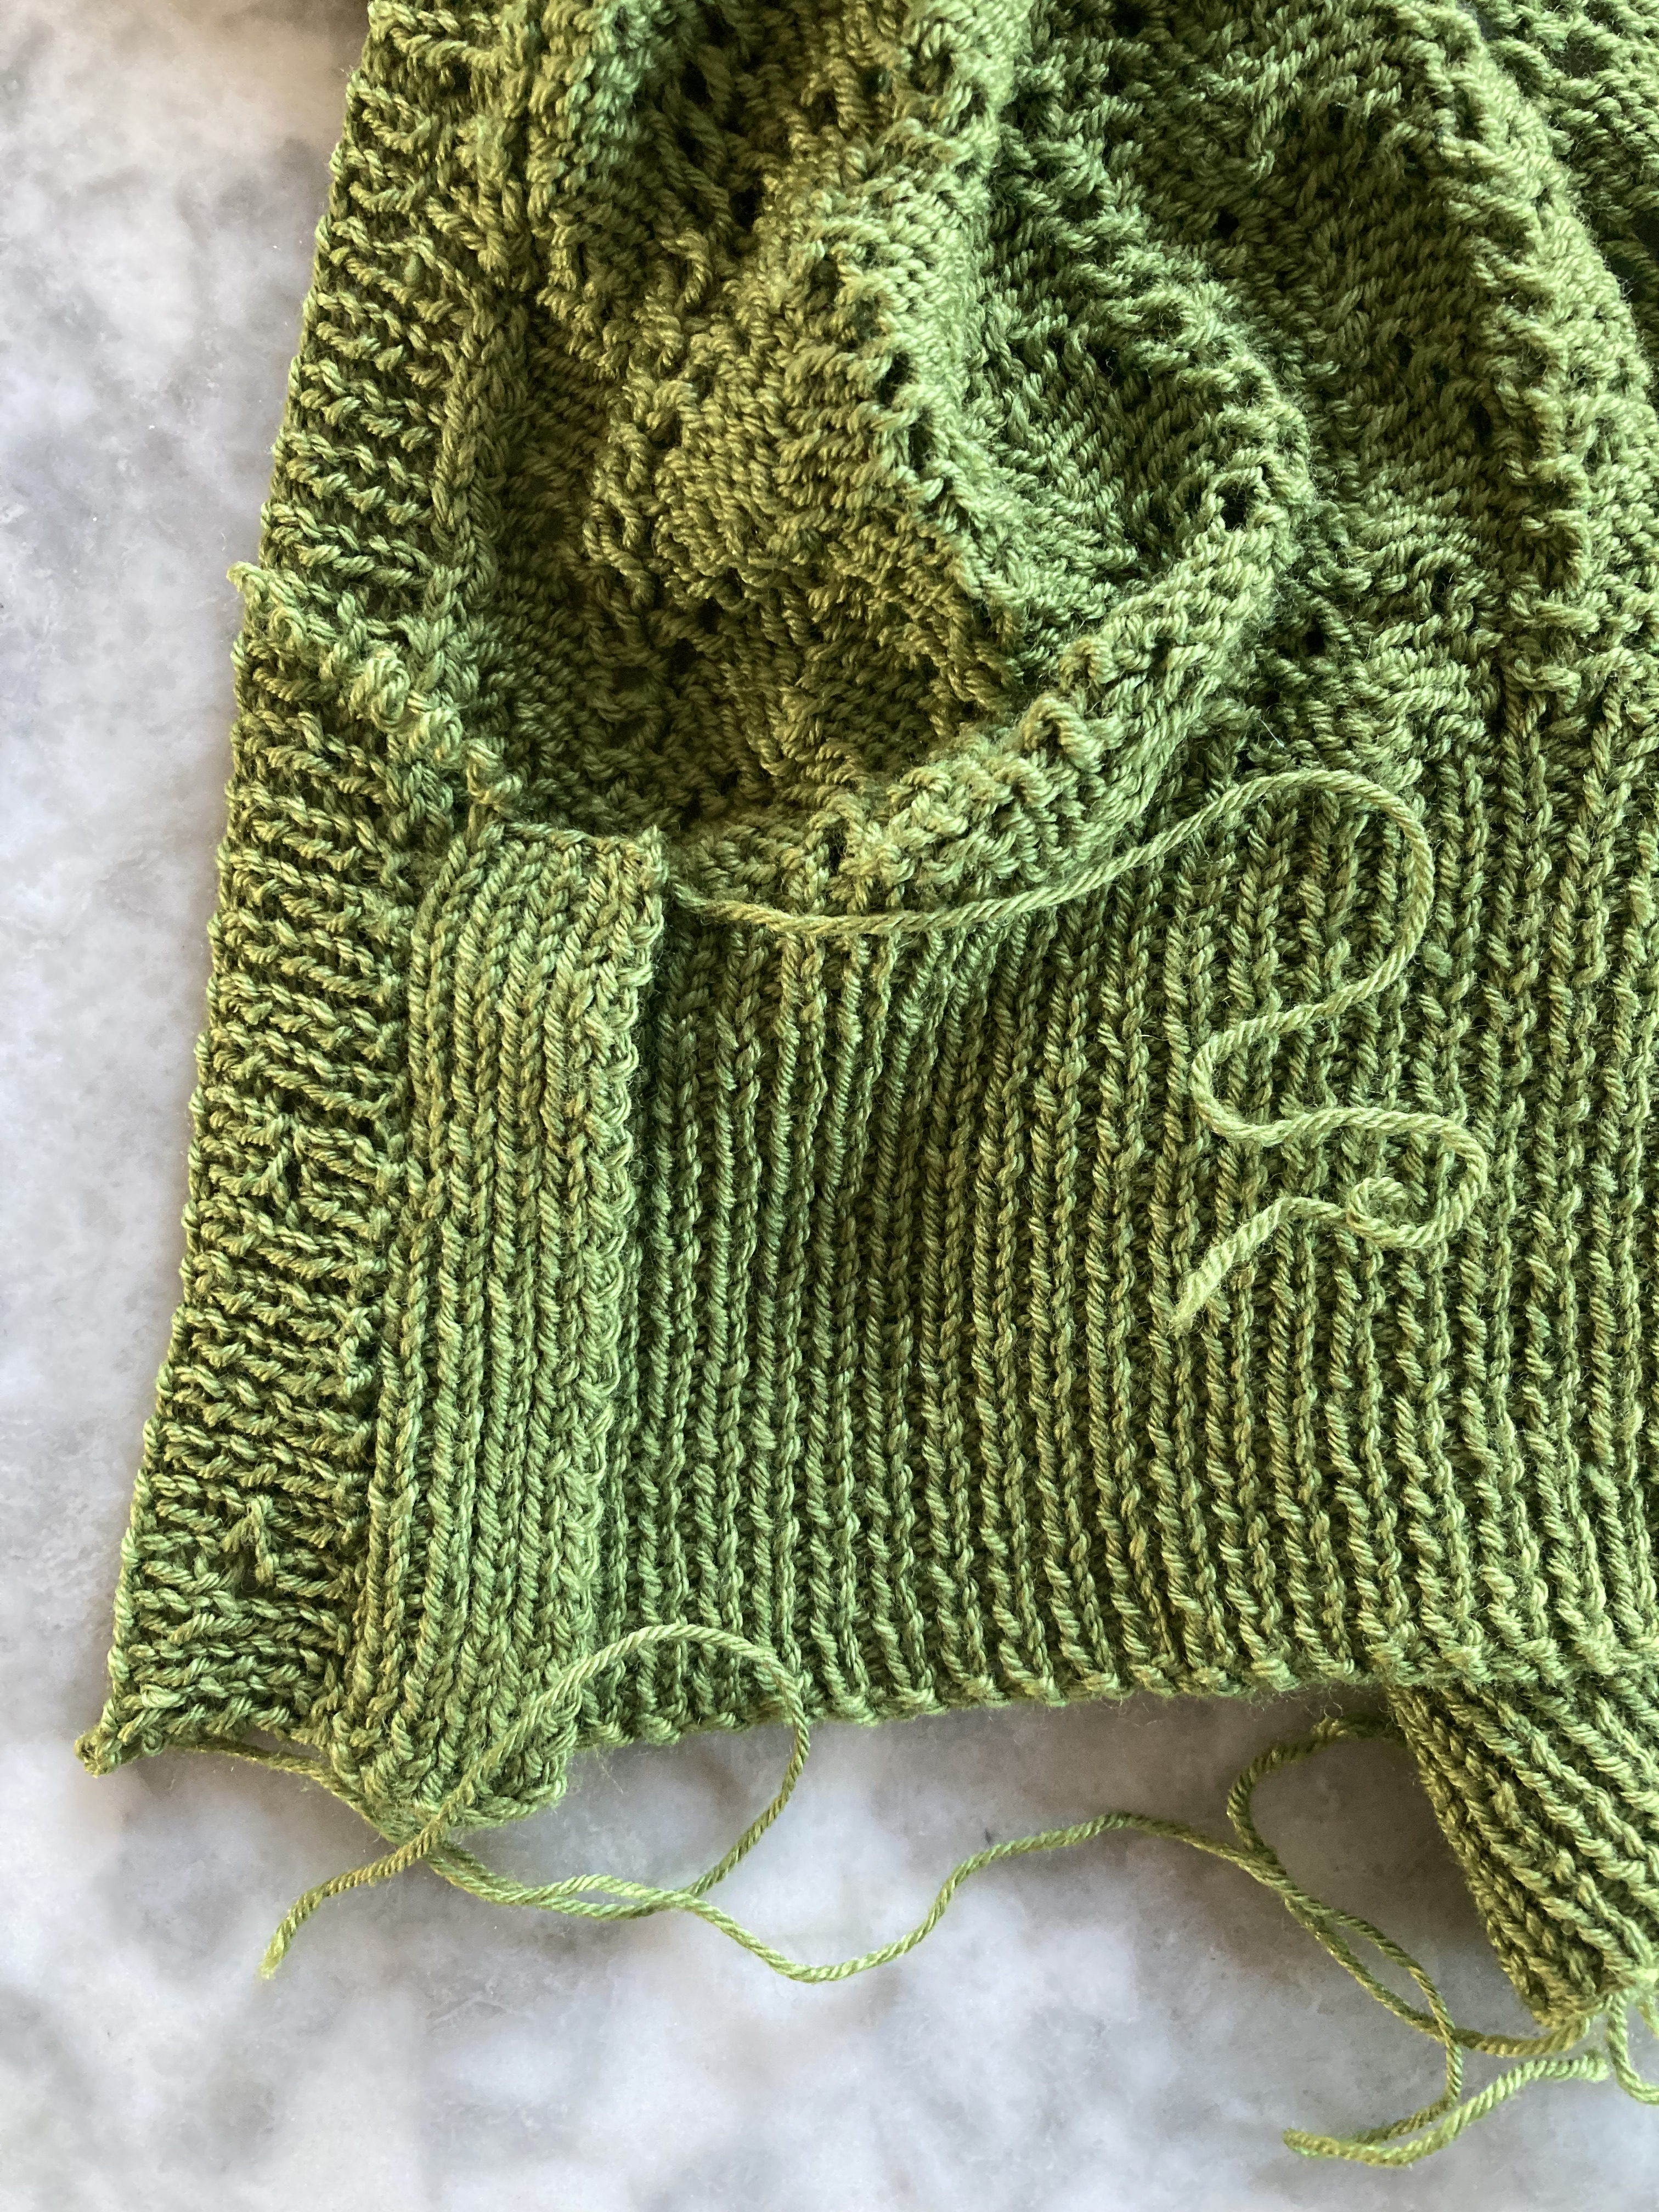
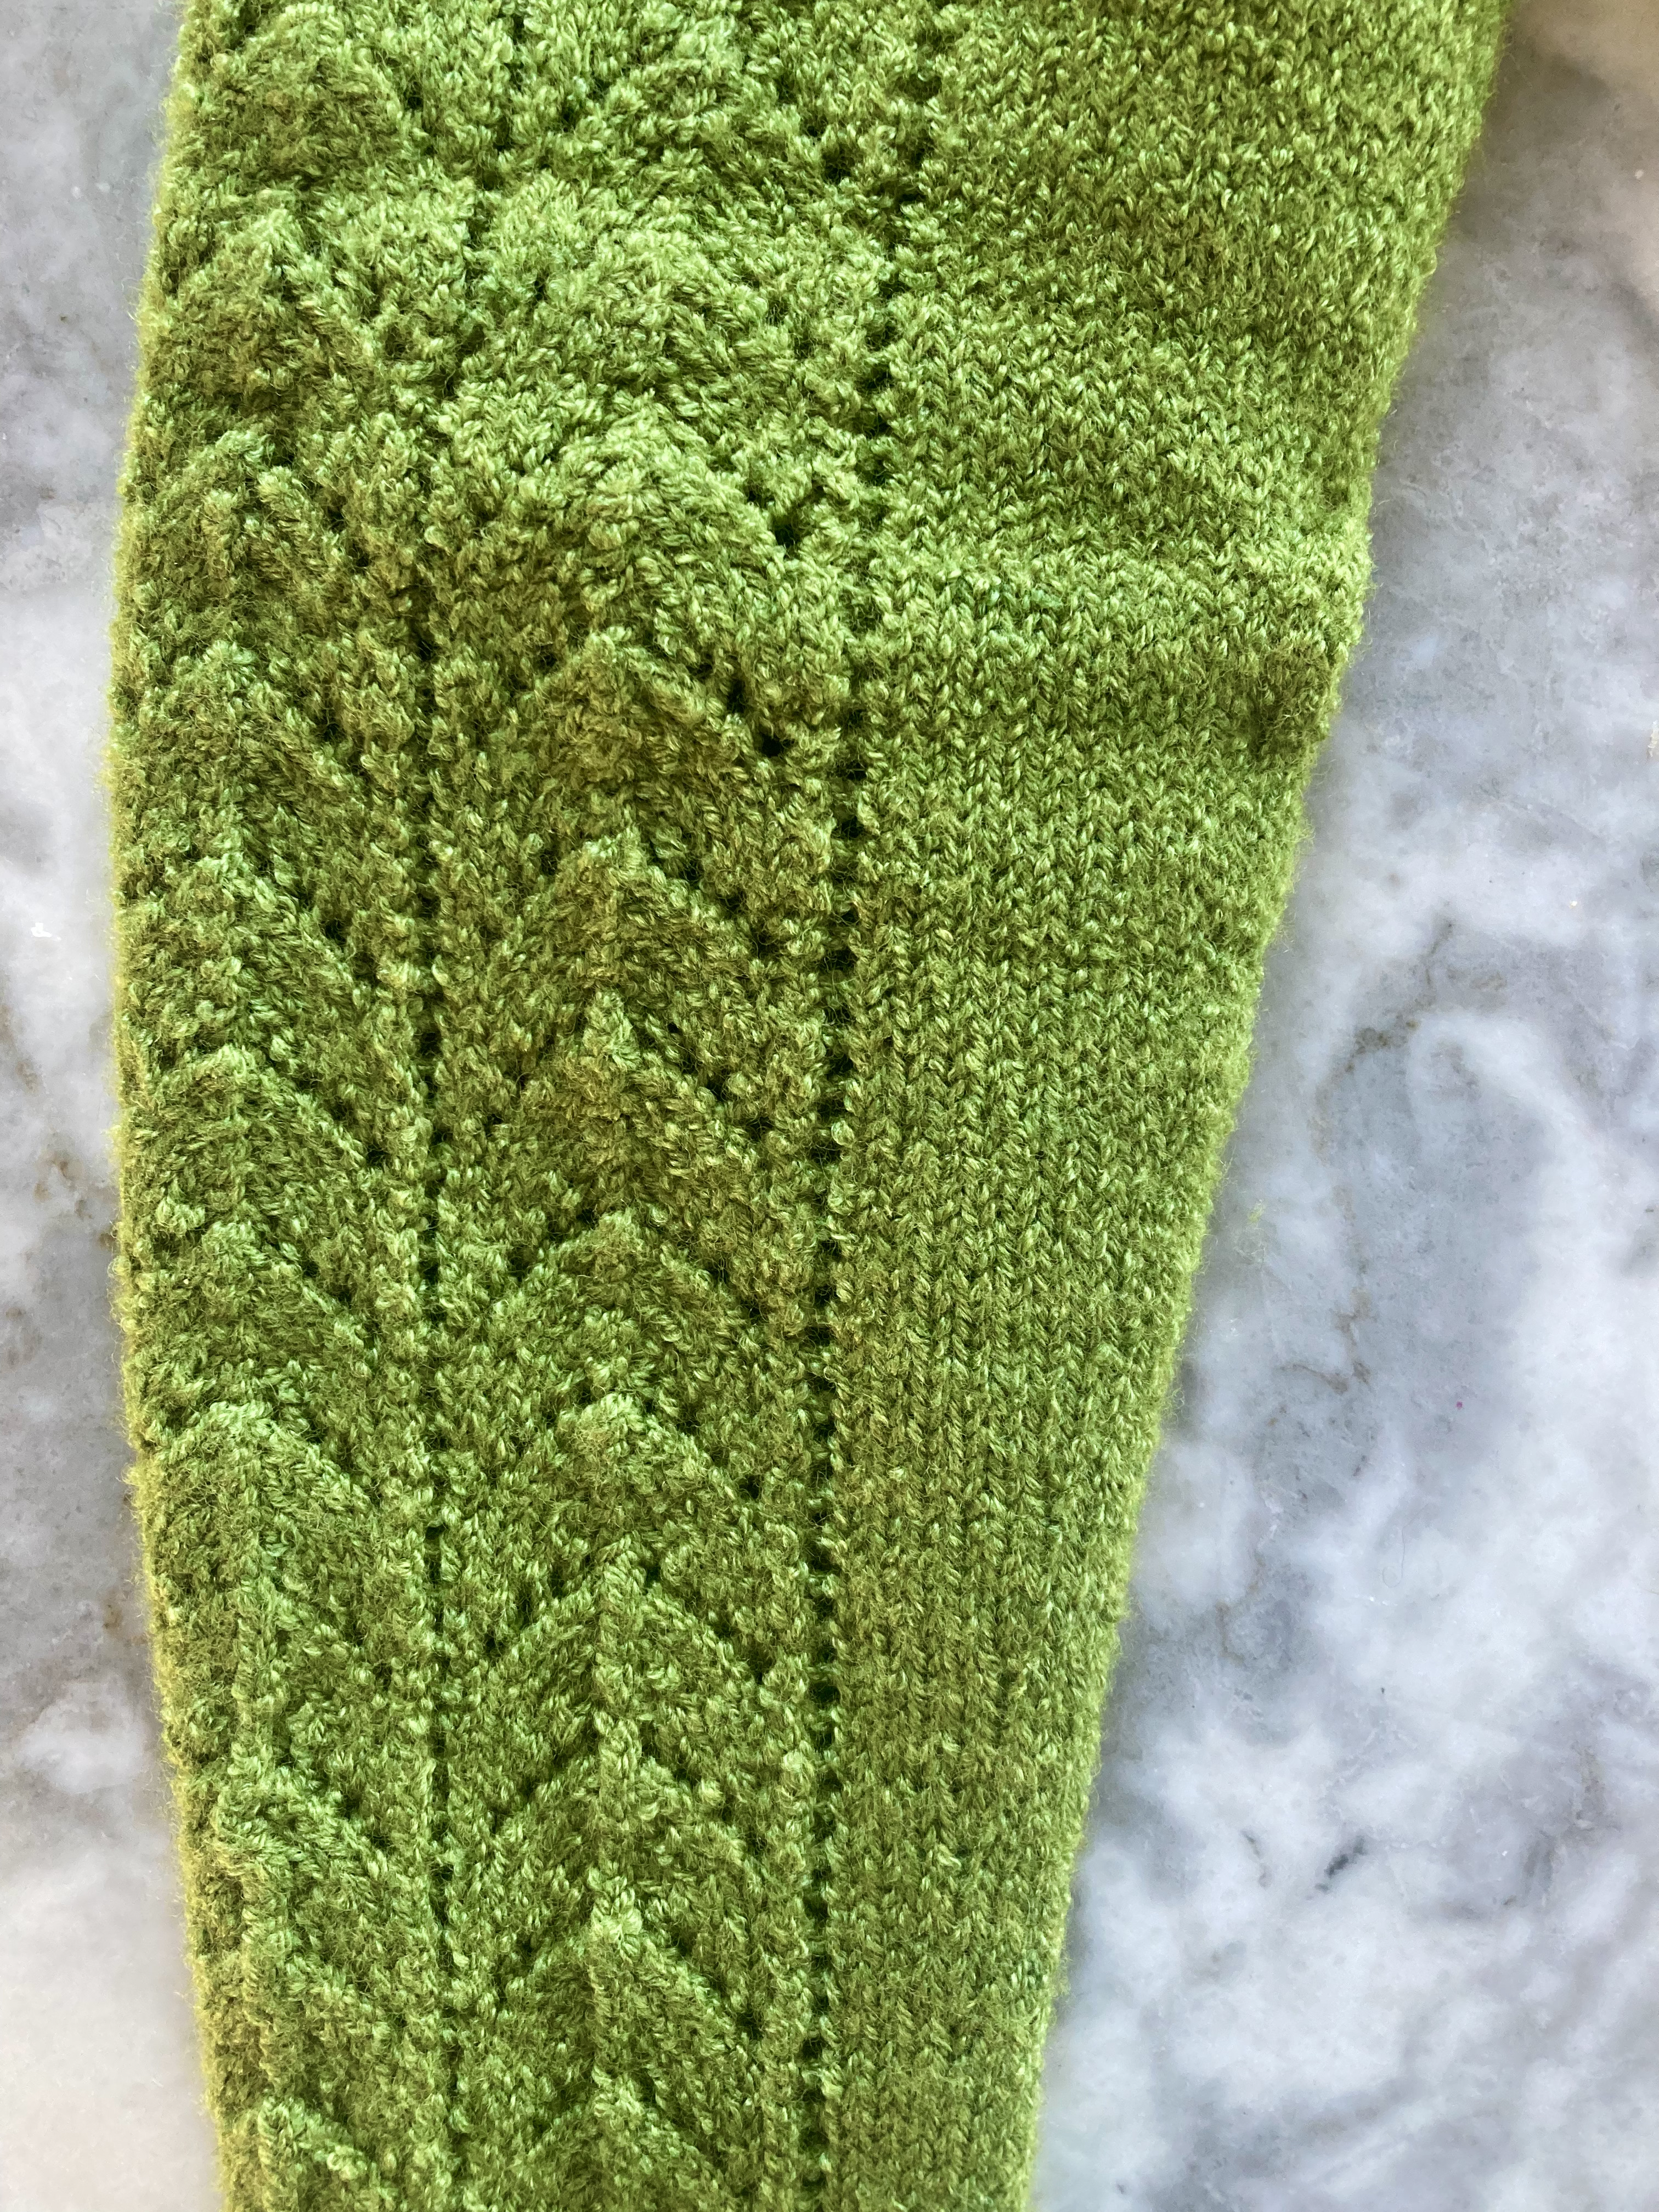
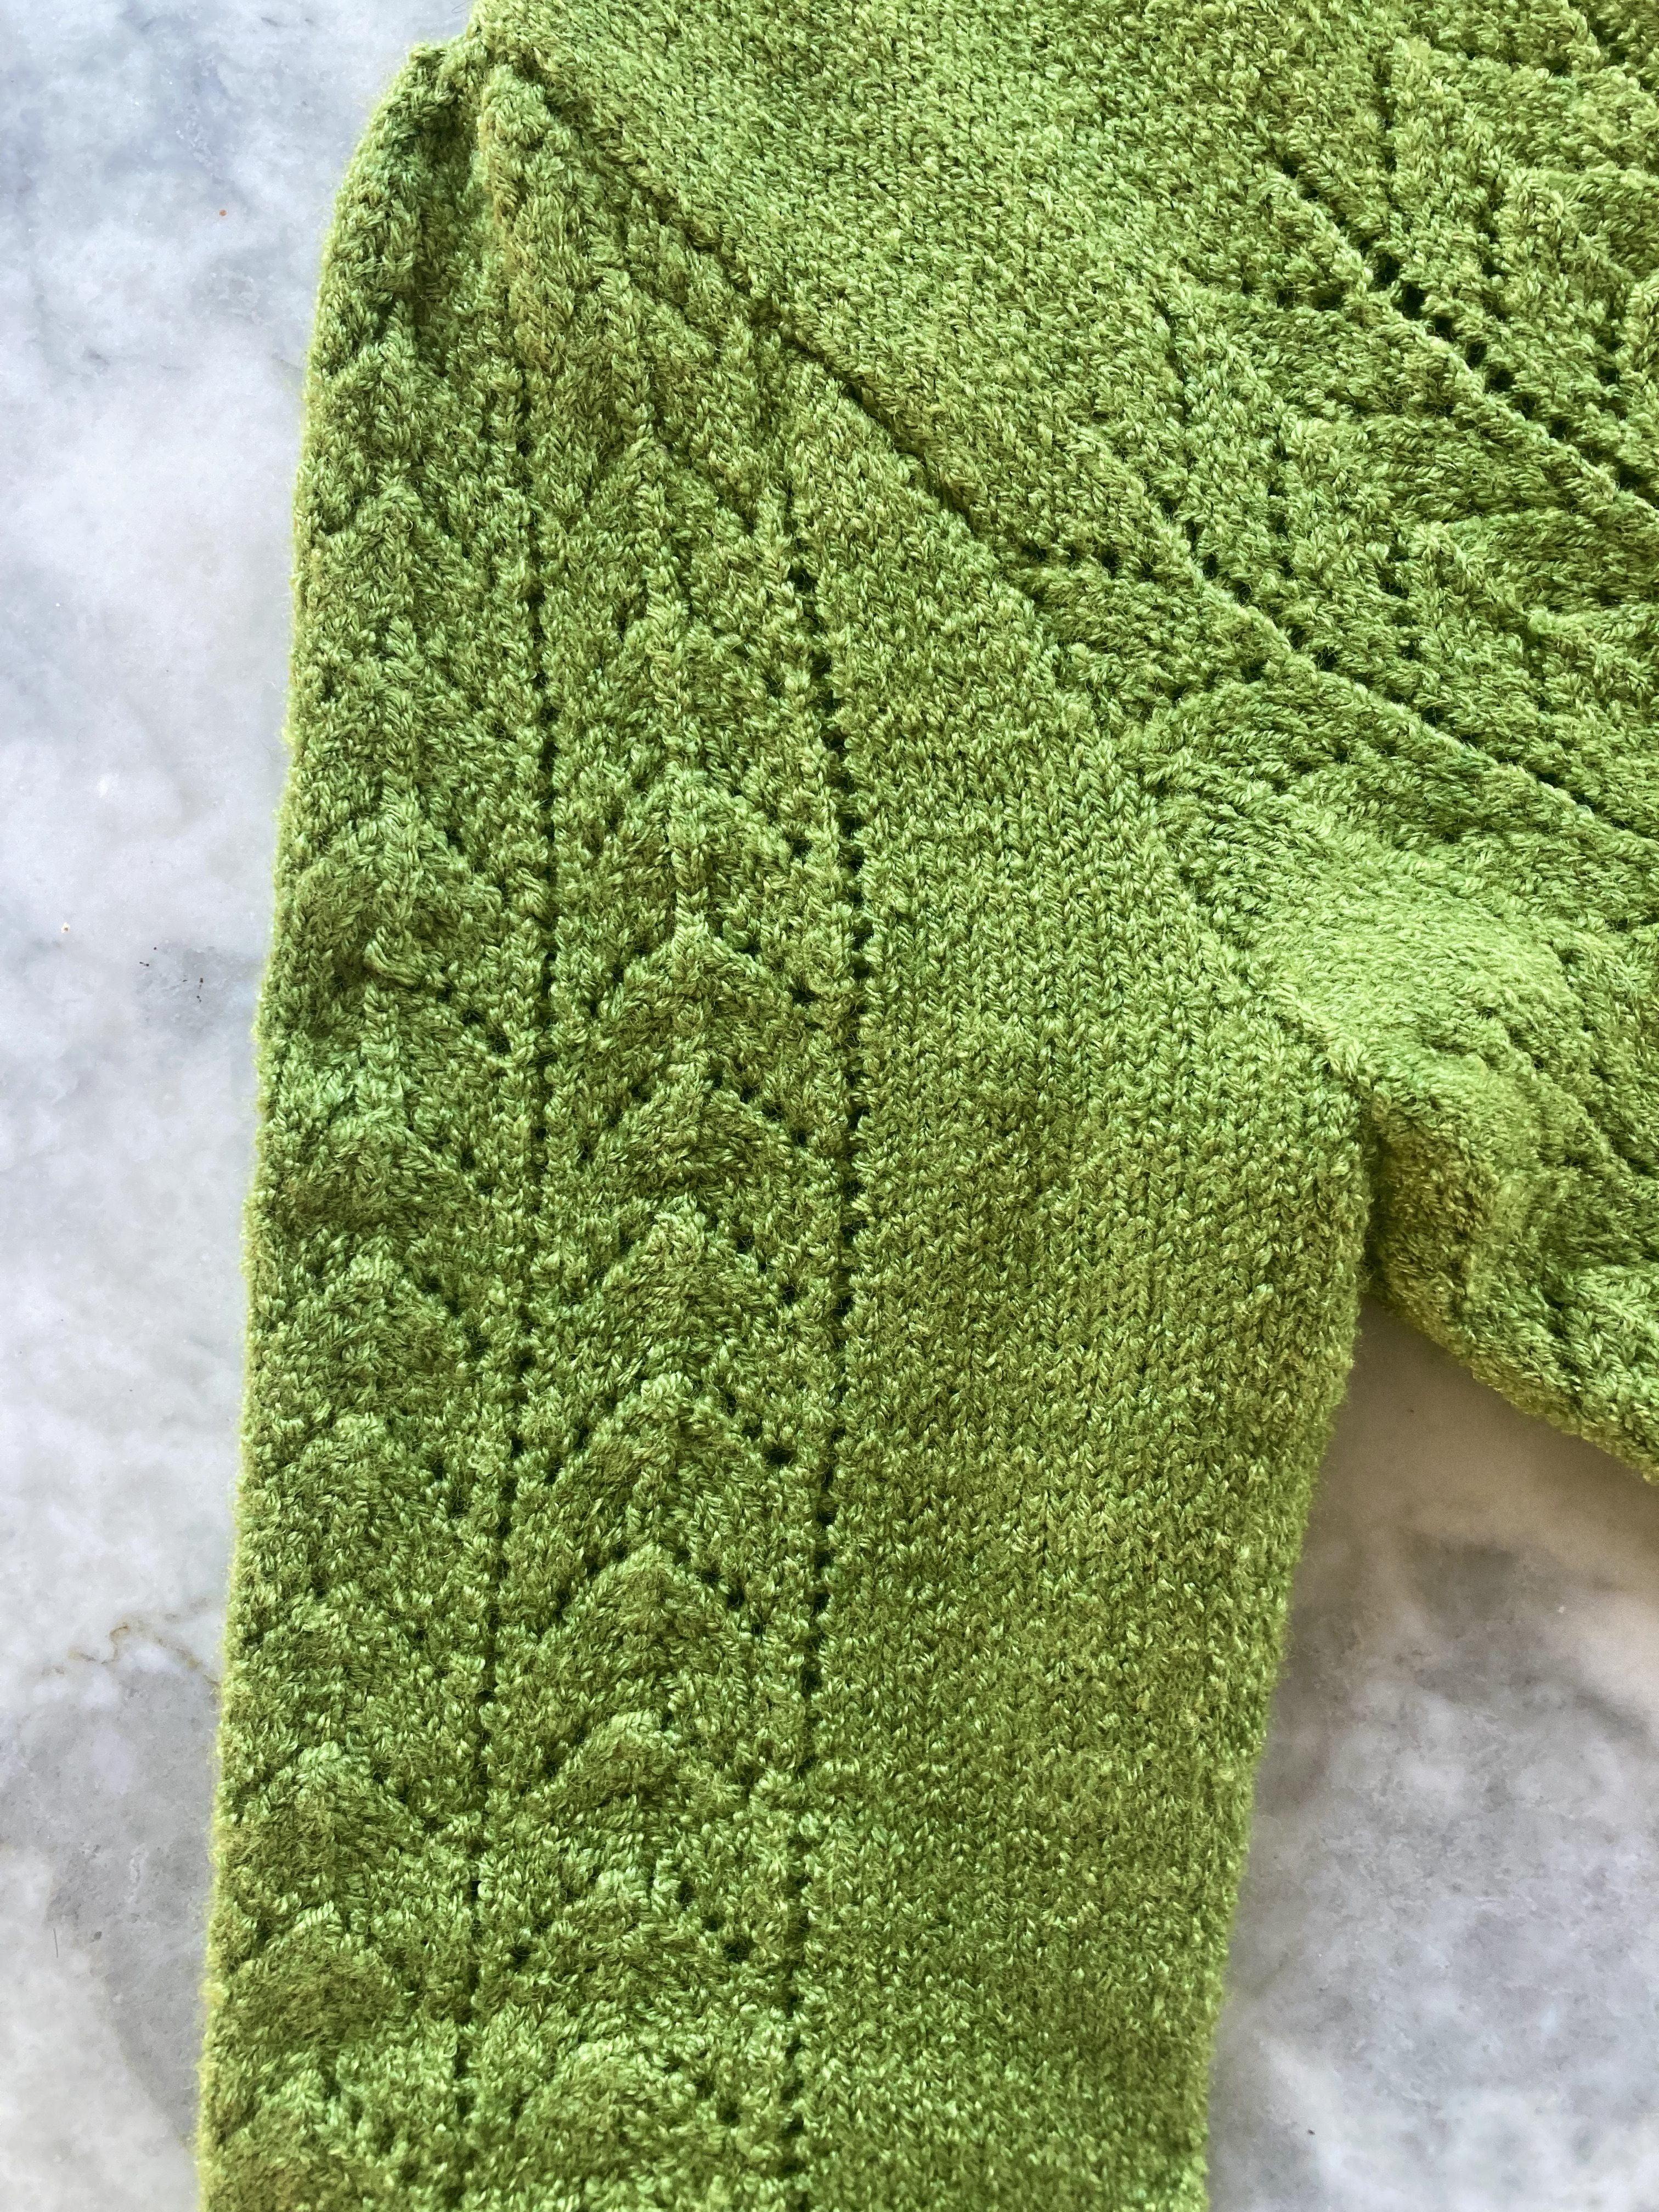
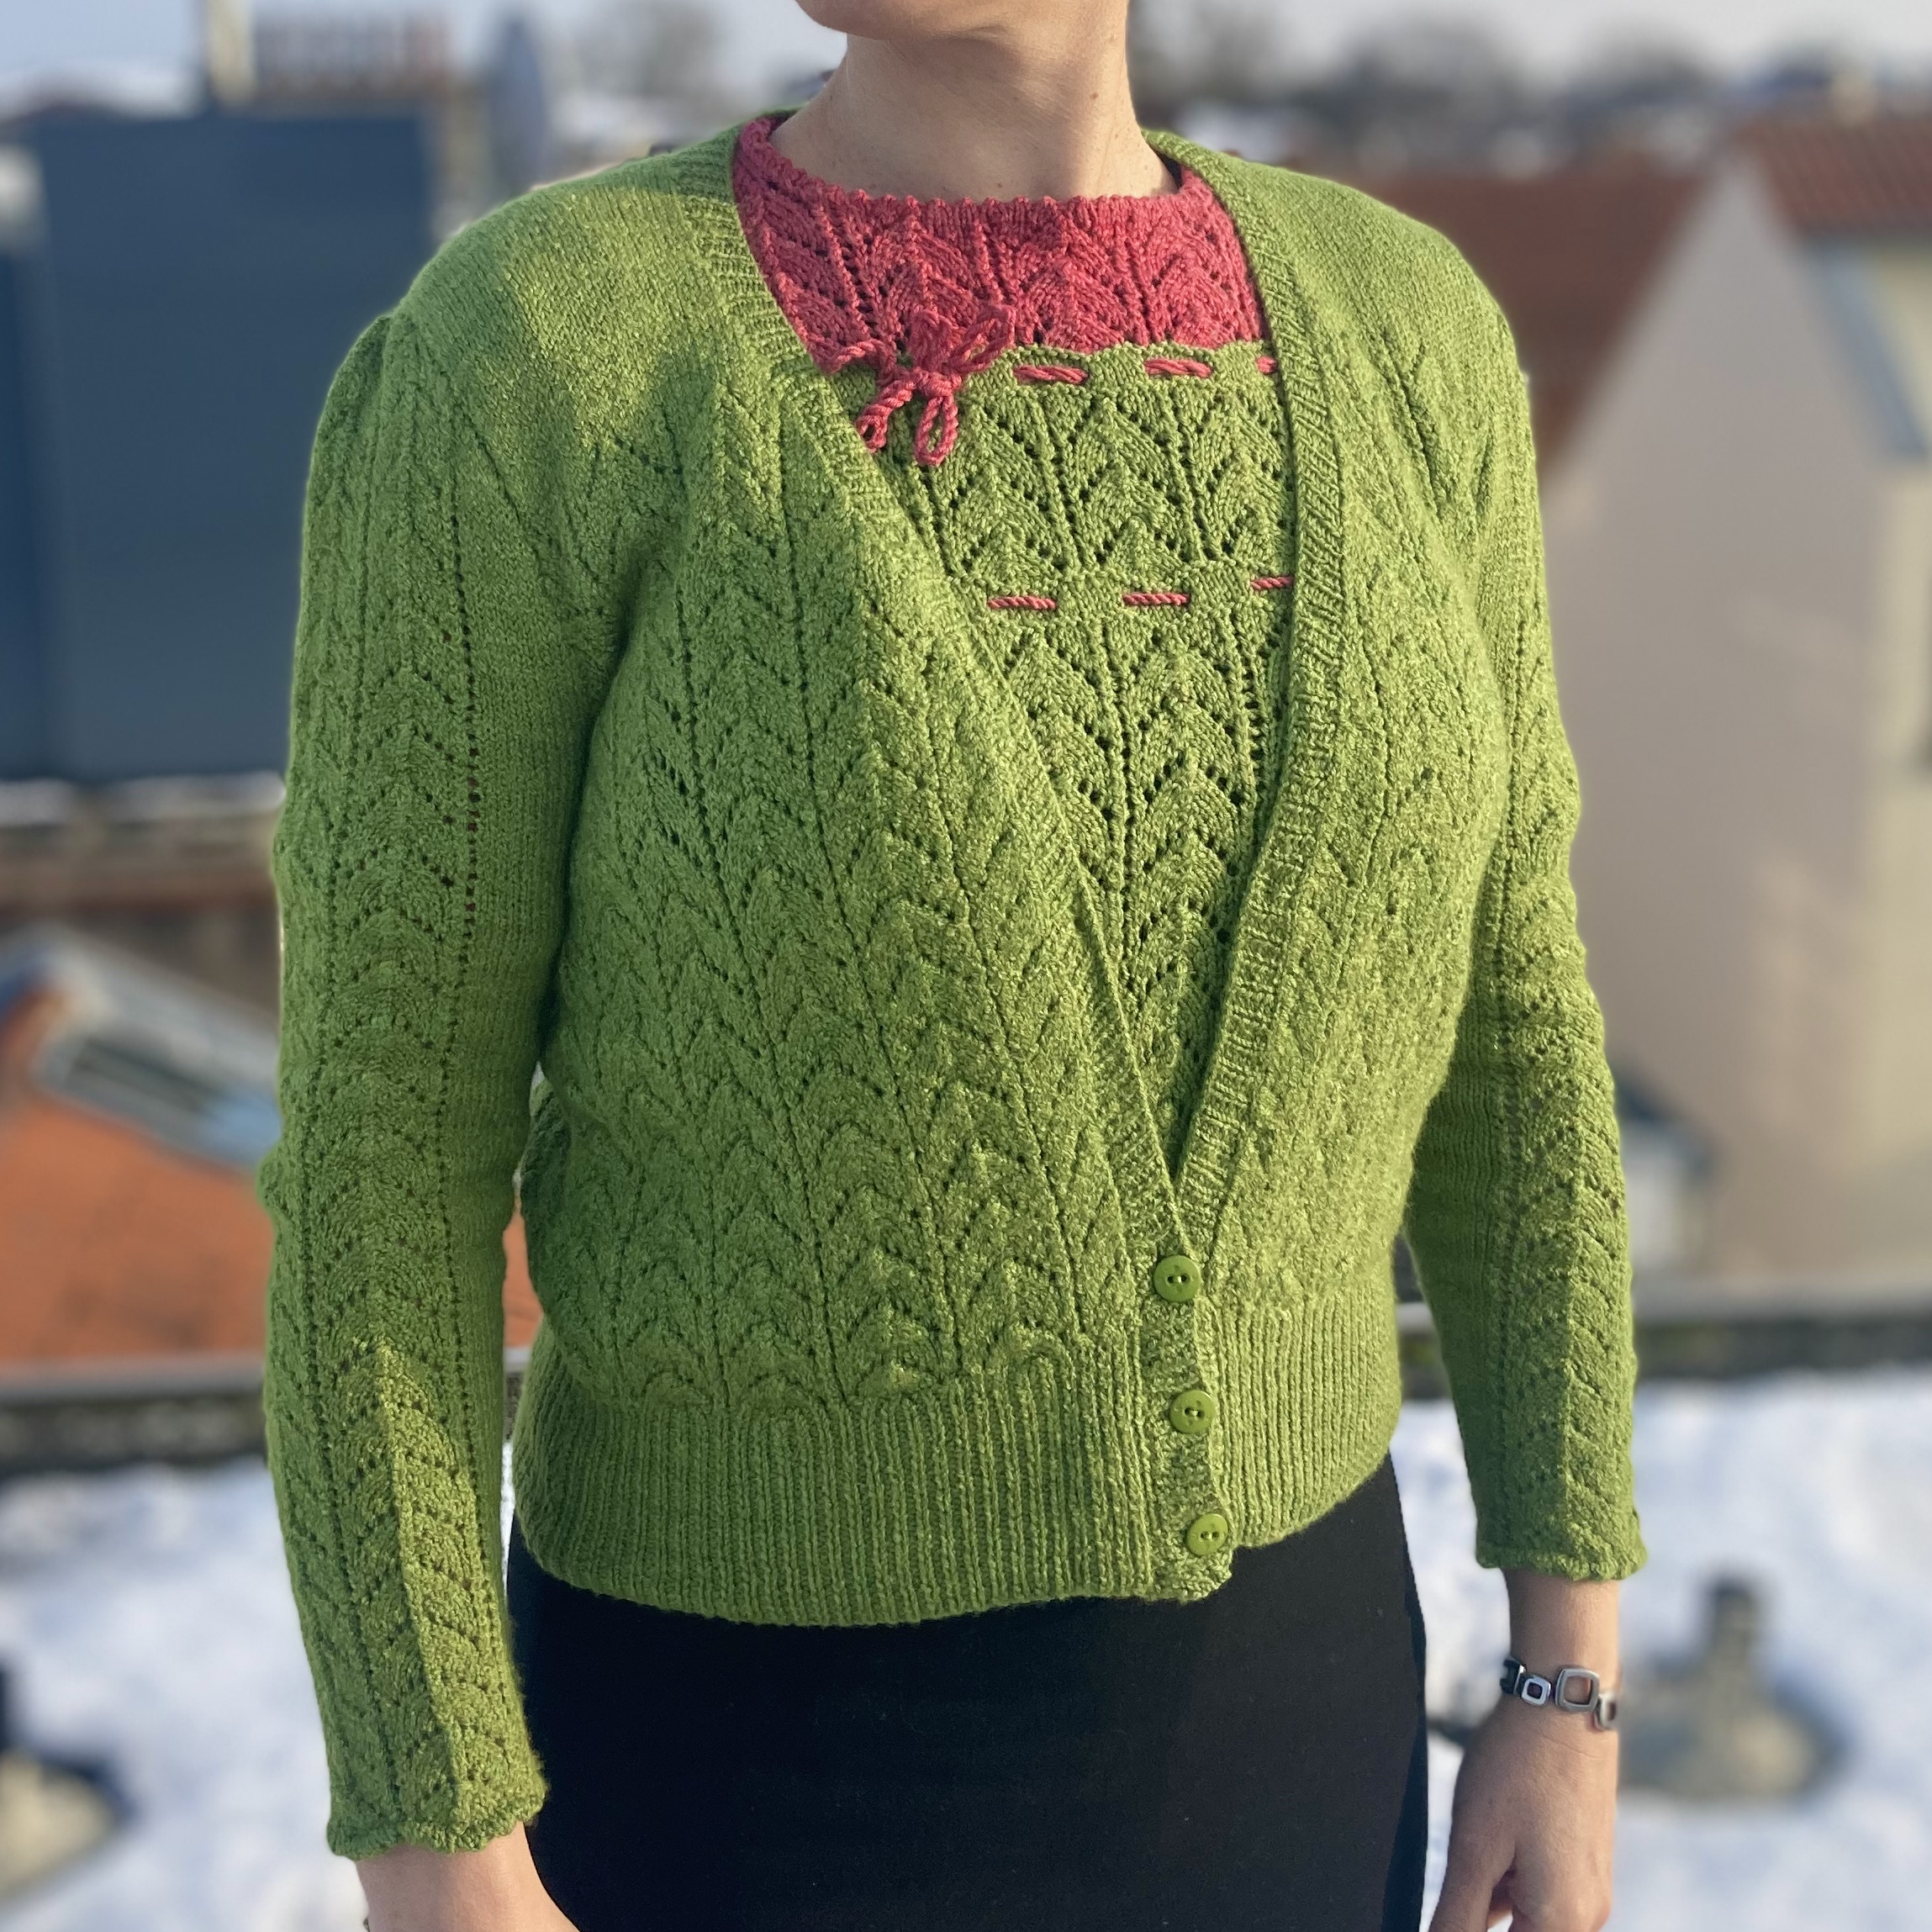
That’s all for this issue — and this year! I don’t know what I will make from this issue, or if I will just write a post about the knitted workbag that I already made a while ago. I quite like the ribbed skirt, and could use one, but one look at the gigantic WIP pile discourages me from starting any long and boring project. Hopefully I’ll get a couple of those WIPs finished and can write about that for a 1965 / 2023 wrap-up. Until then, I leave you with this graphic from the December 1965 issue. Happy Holidays!