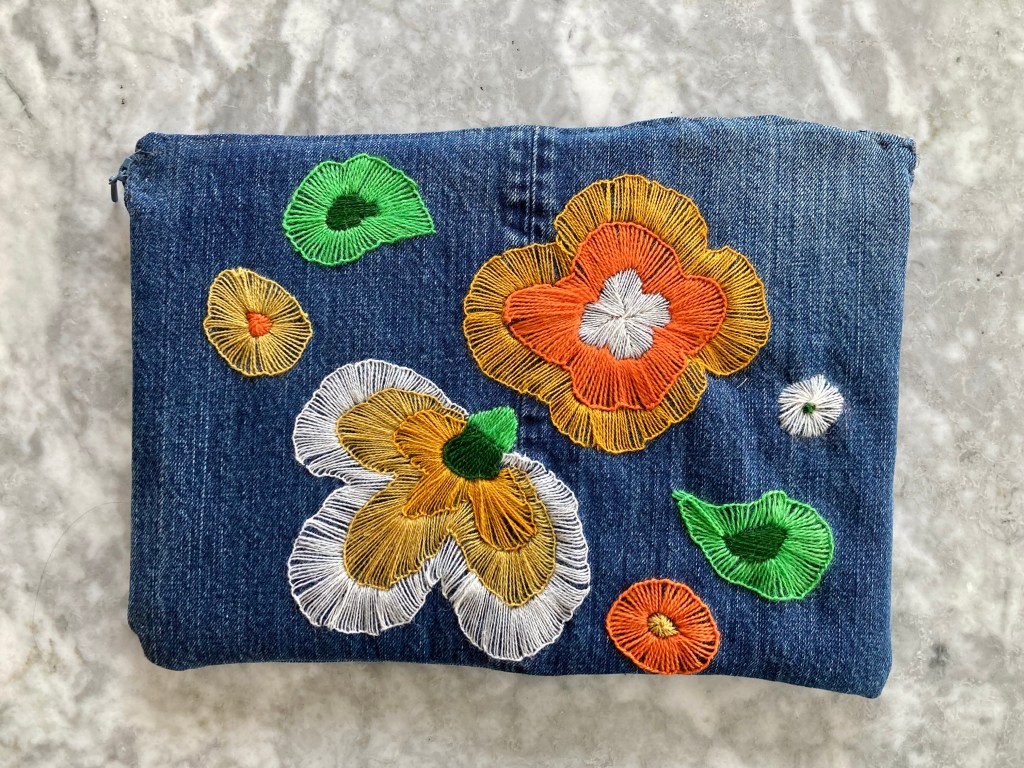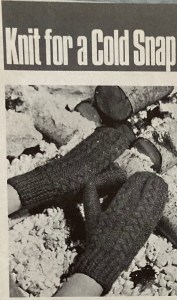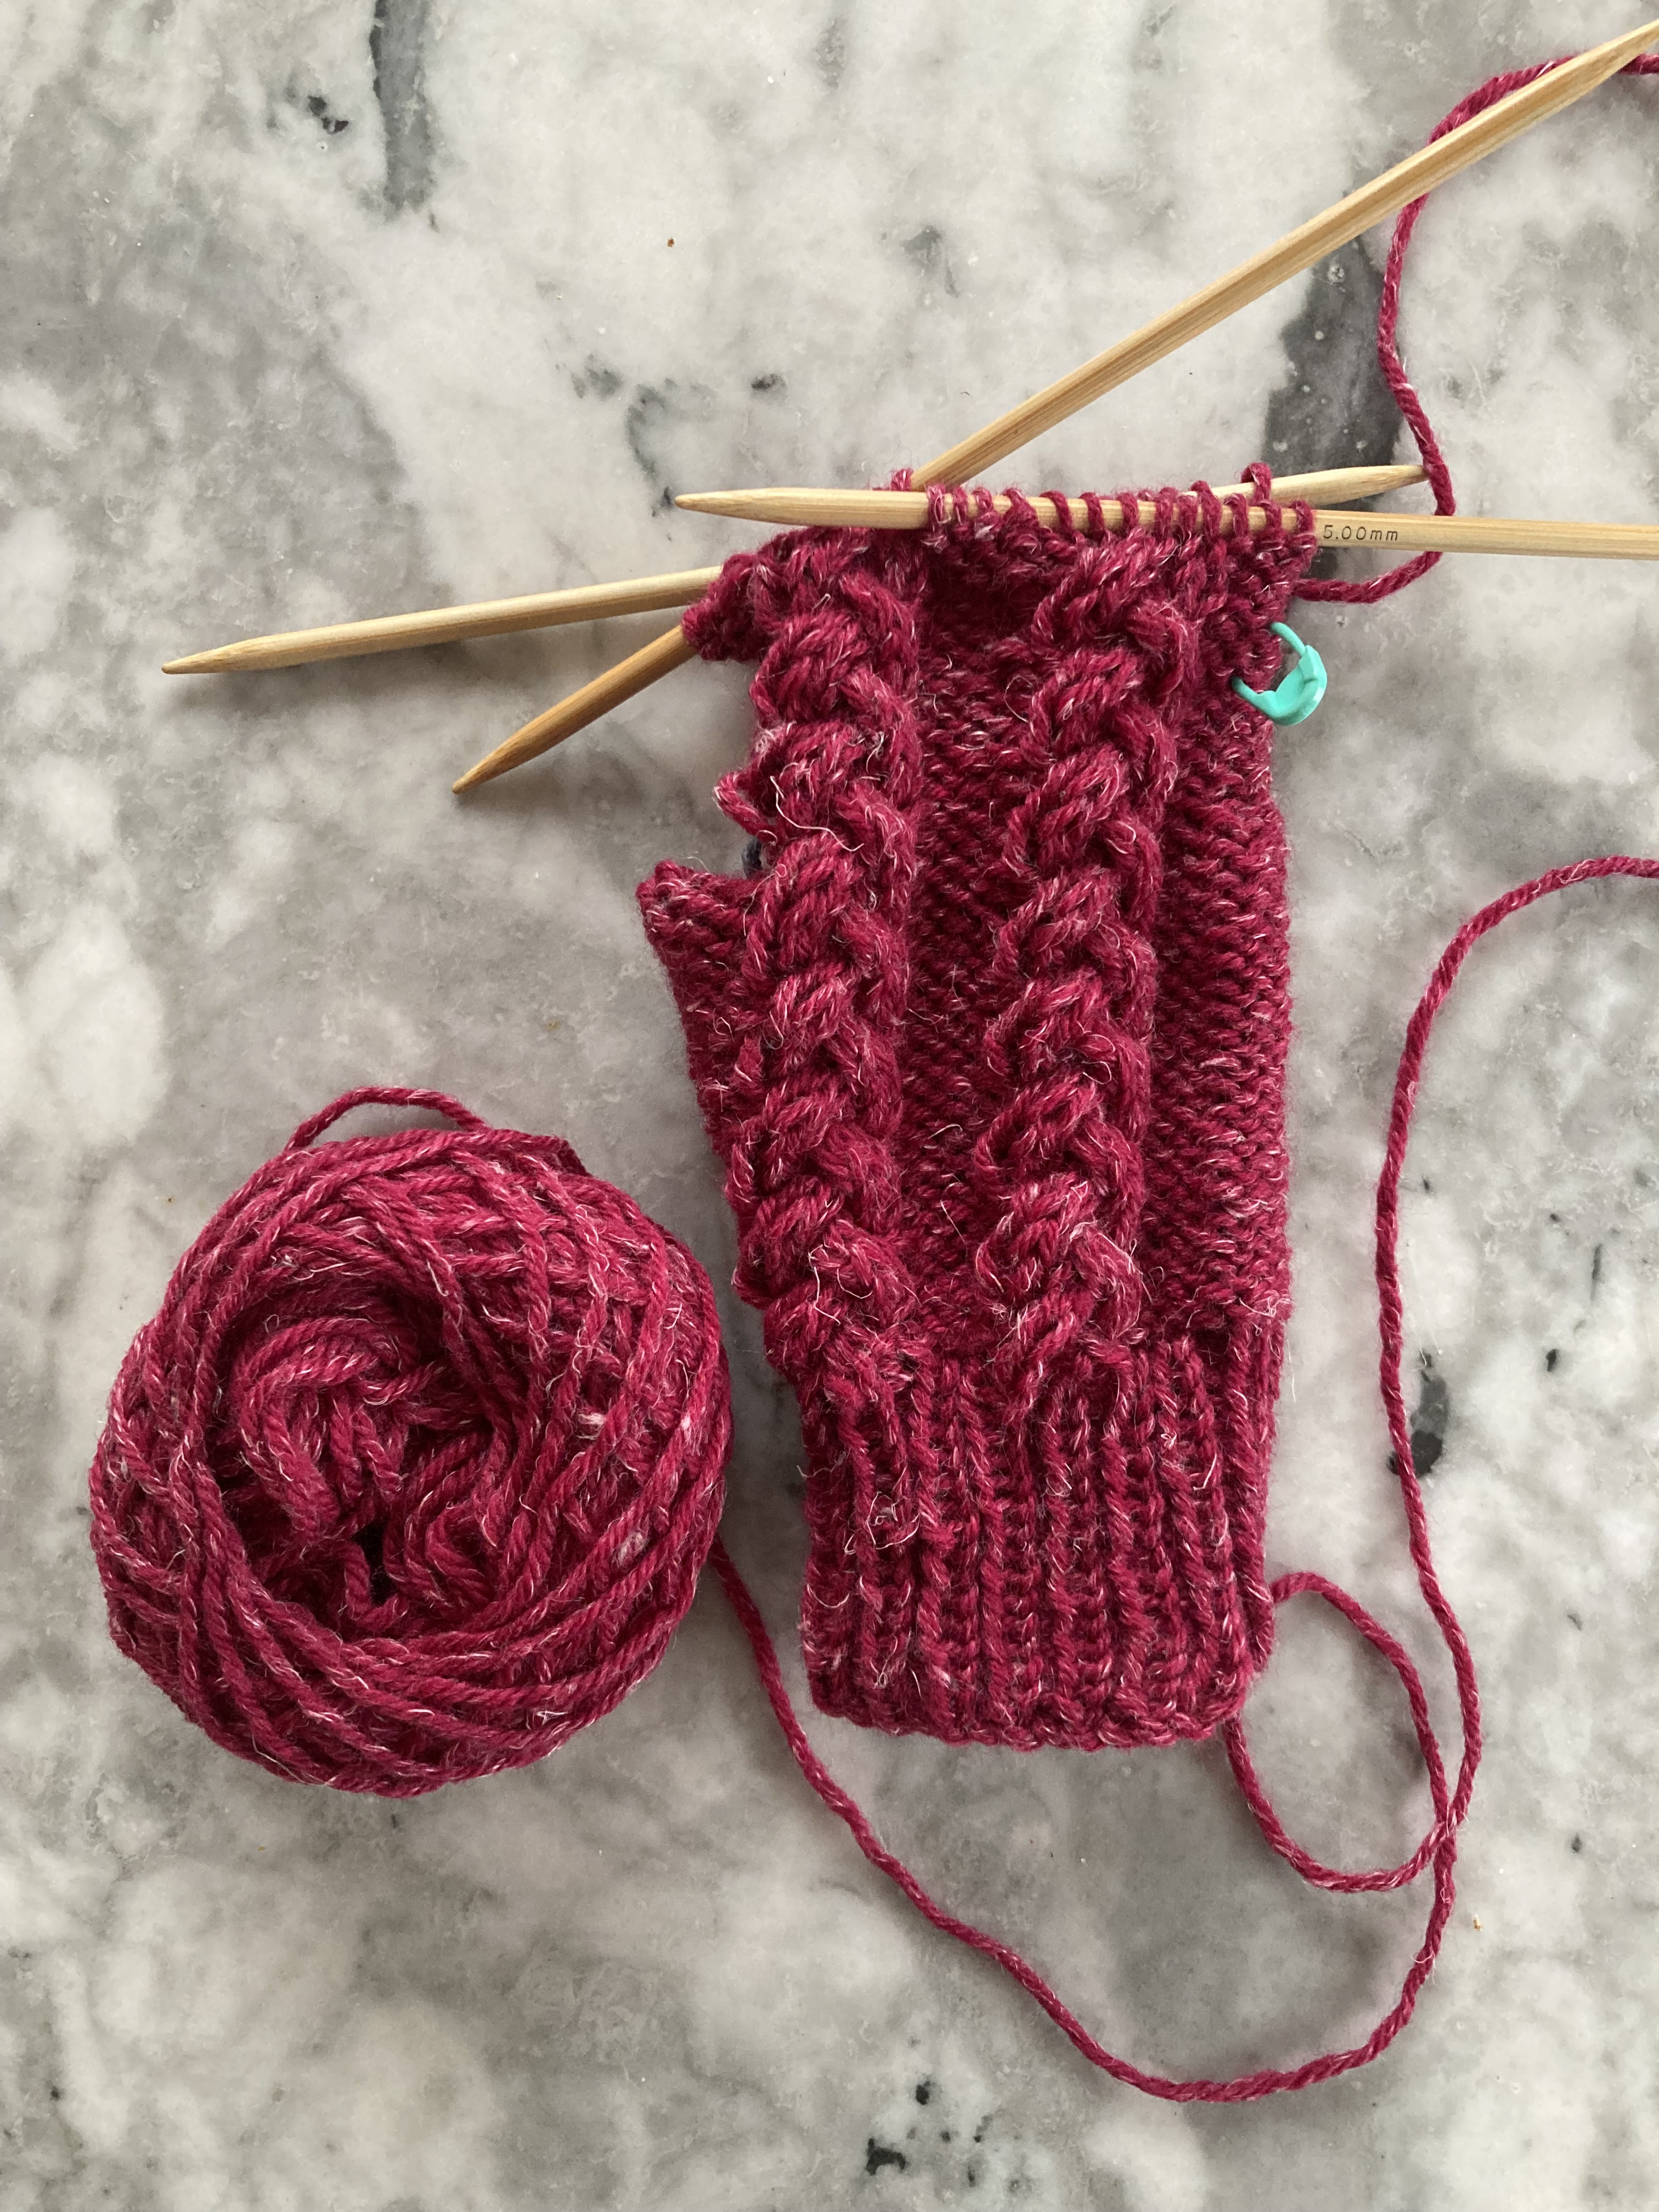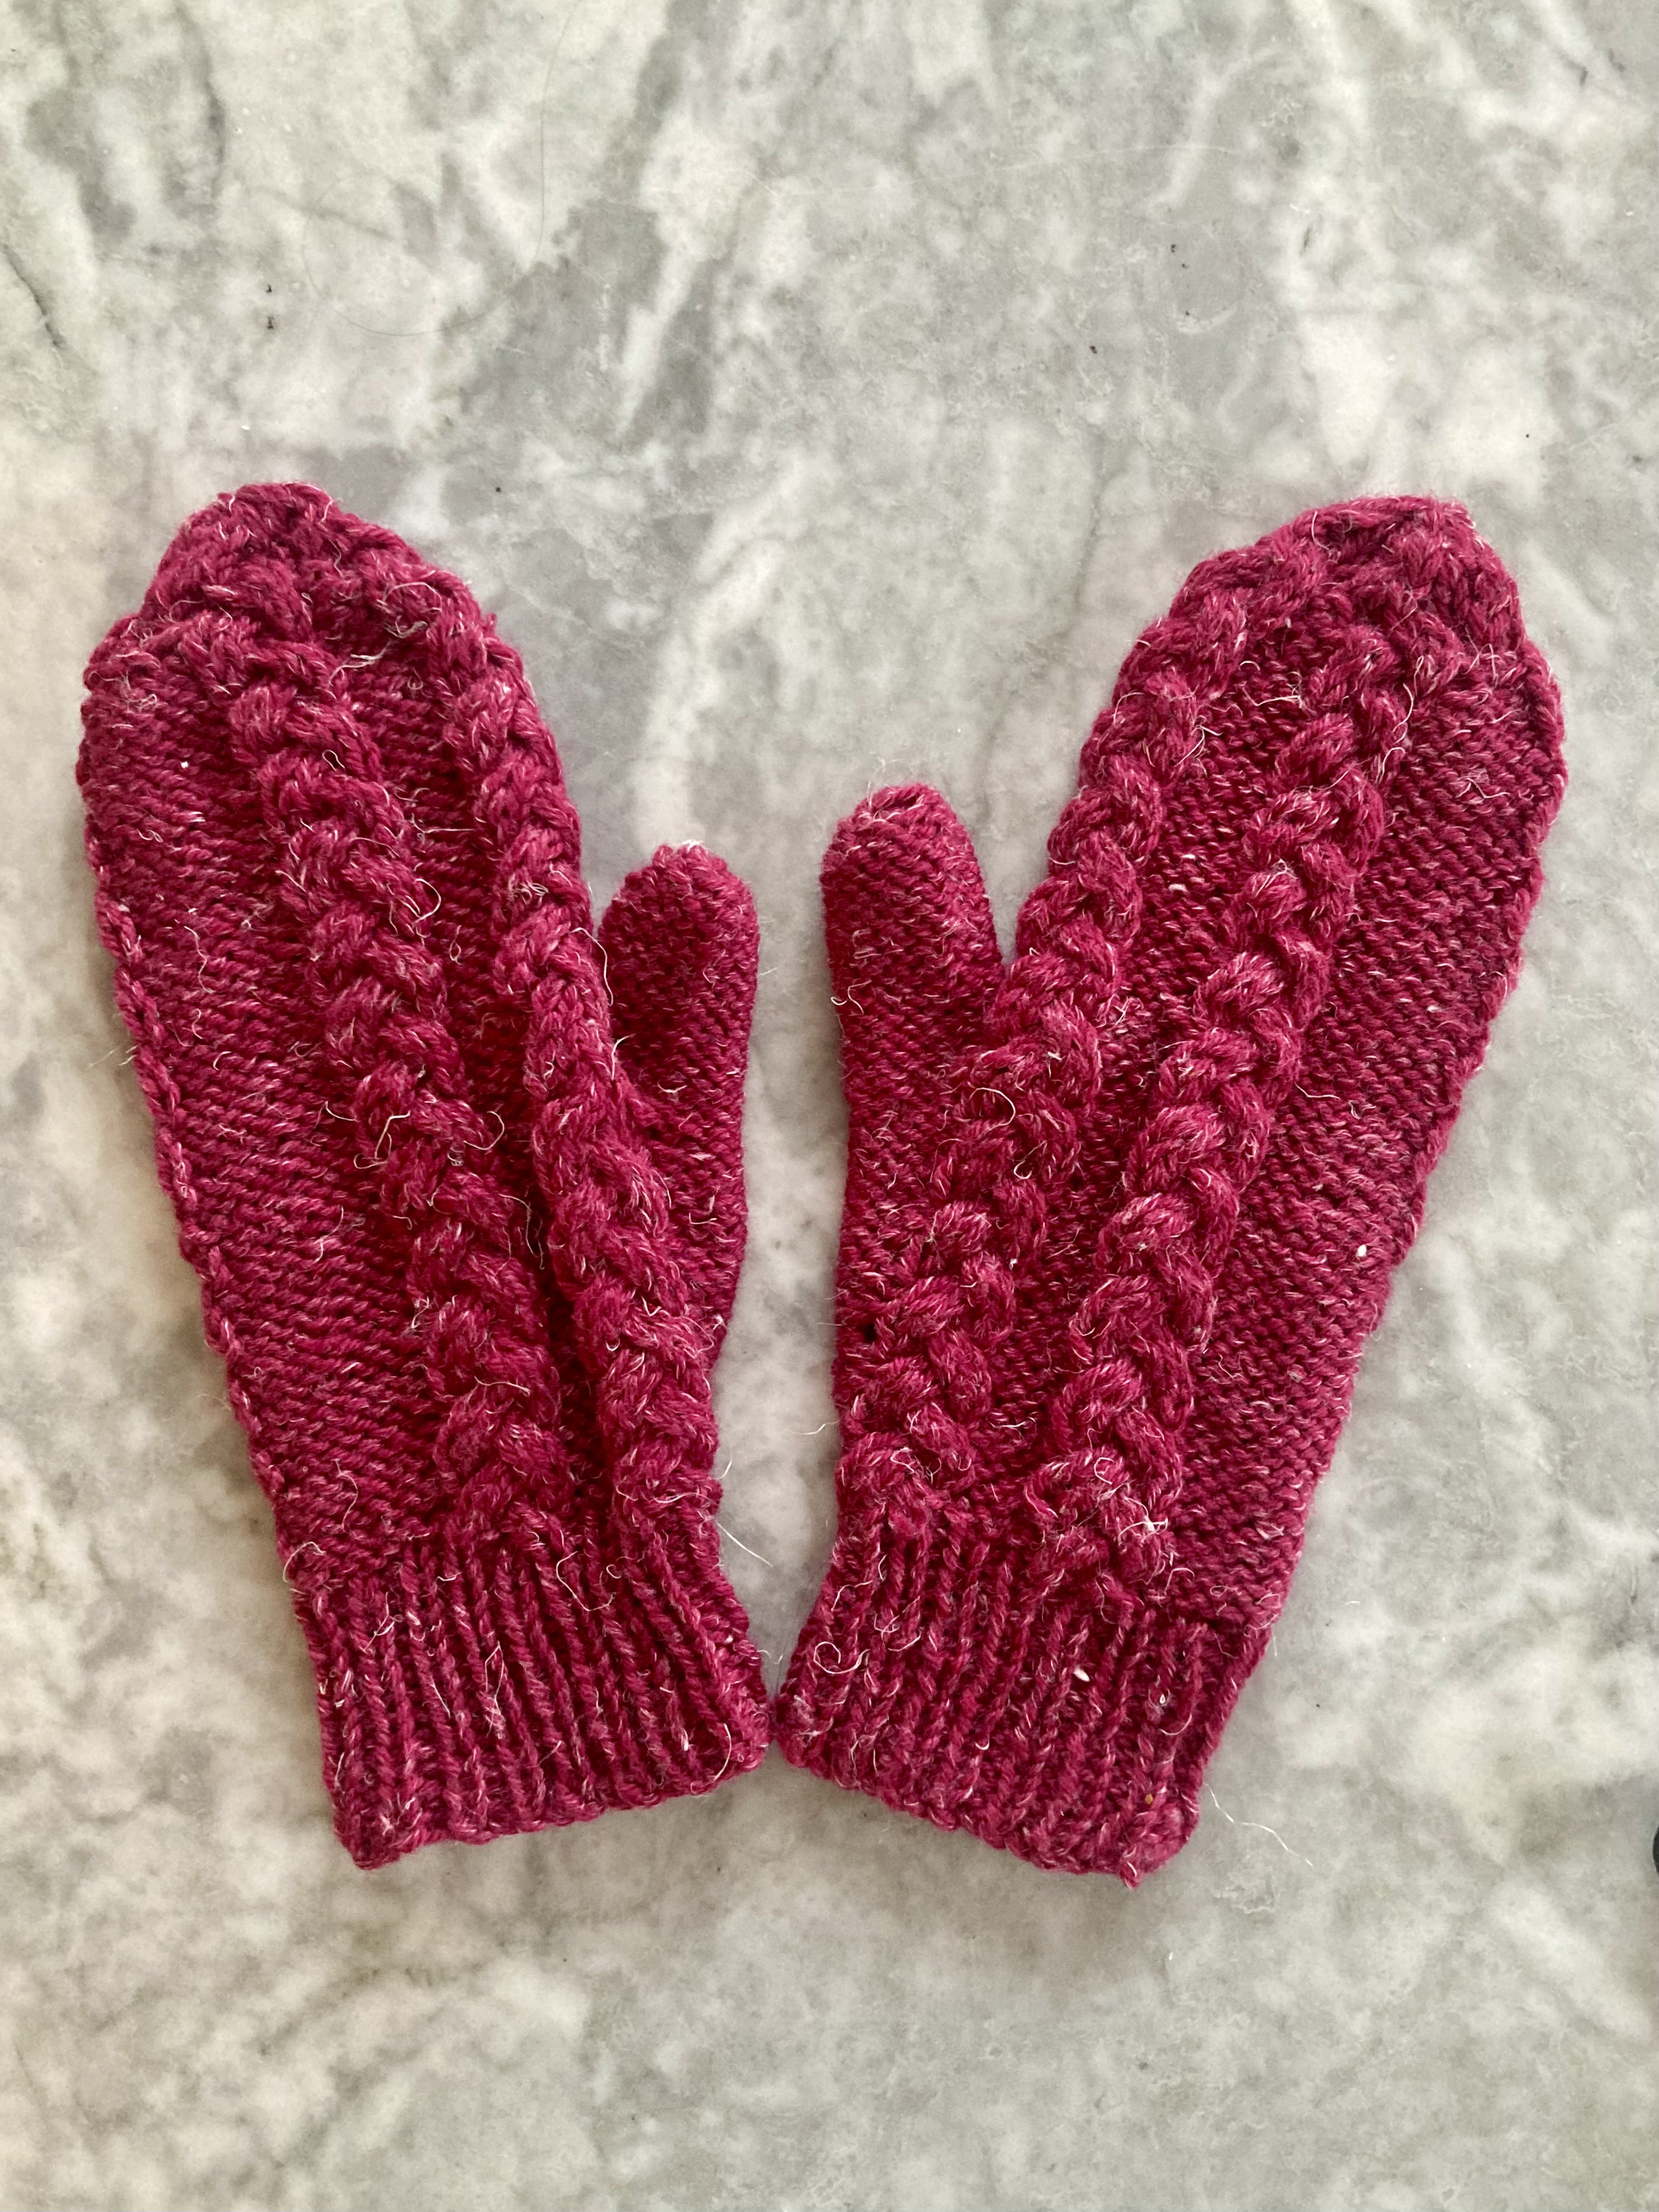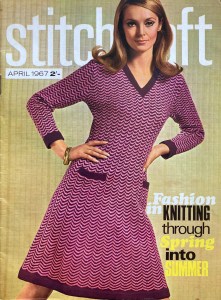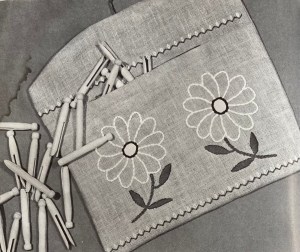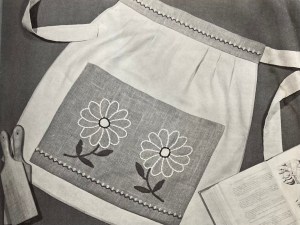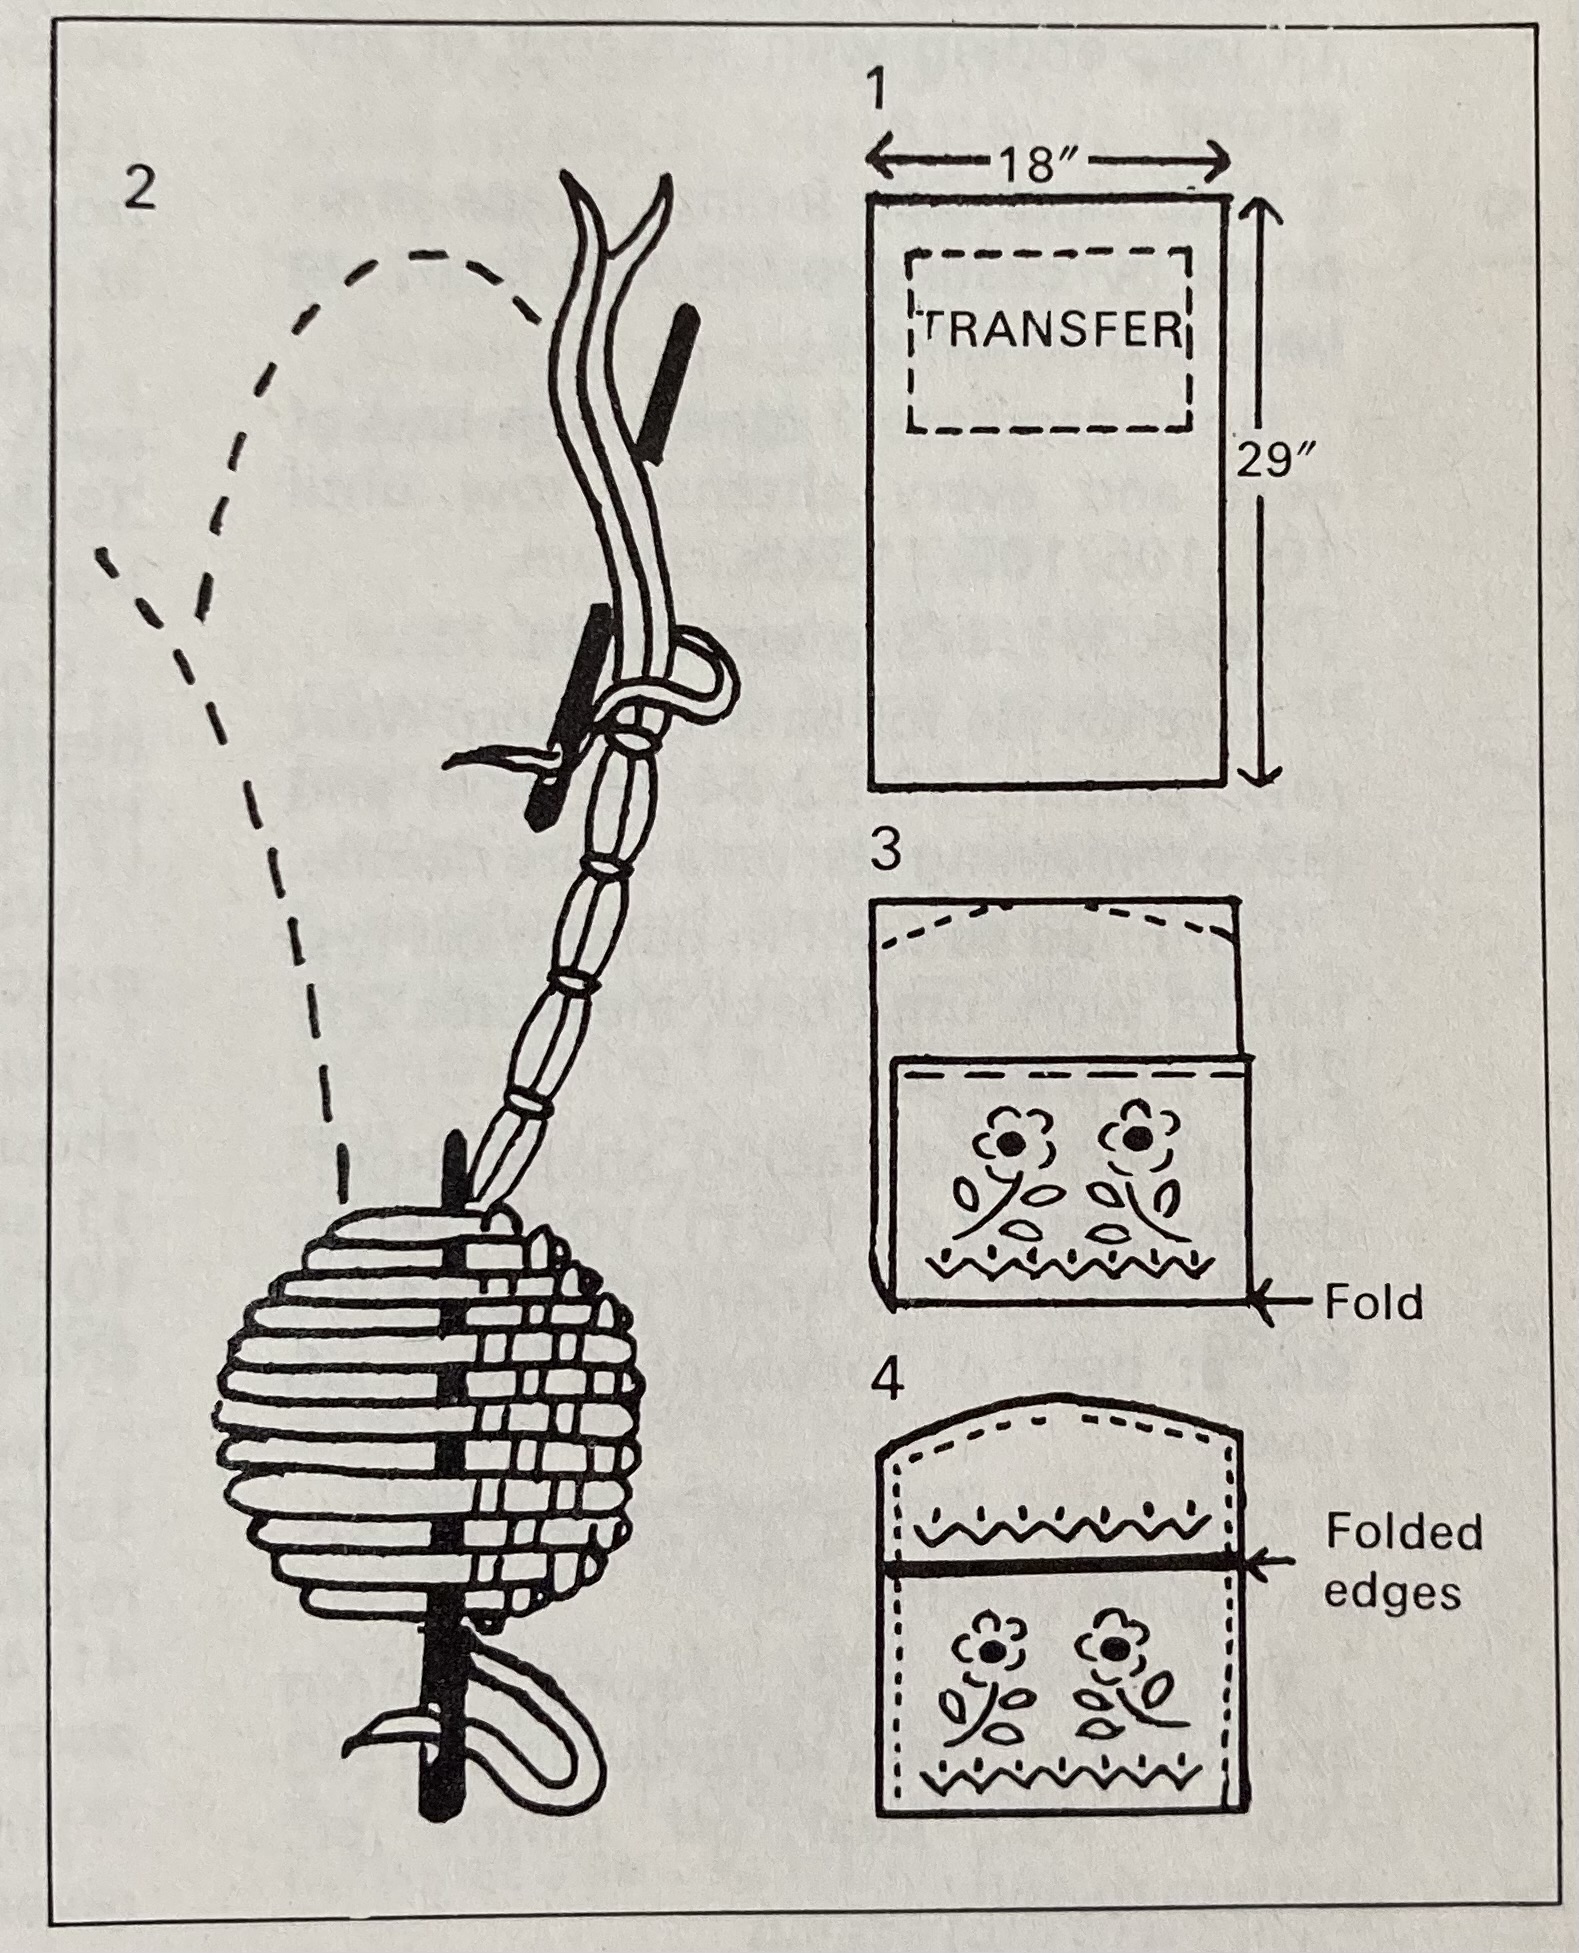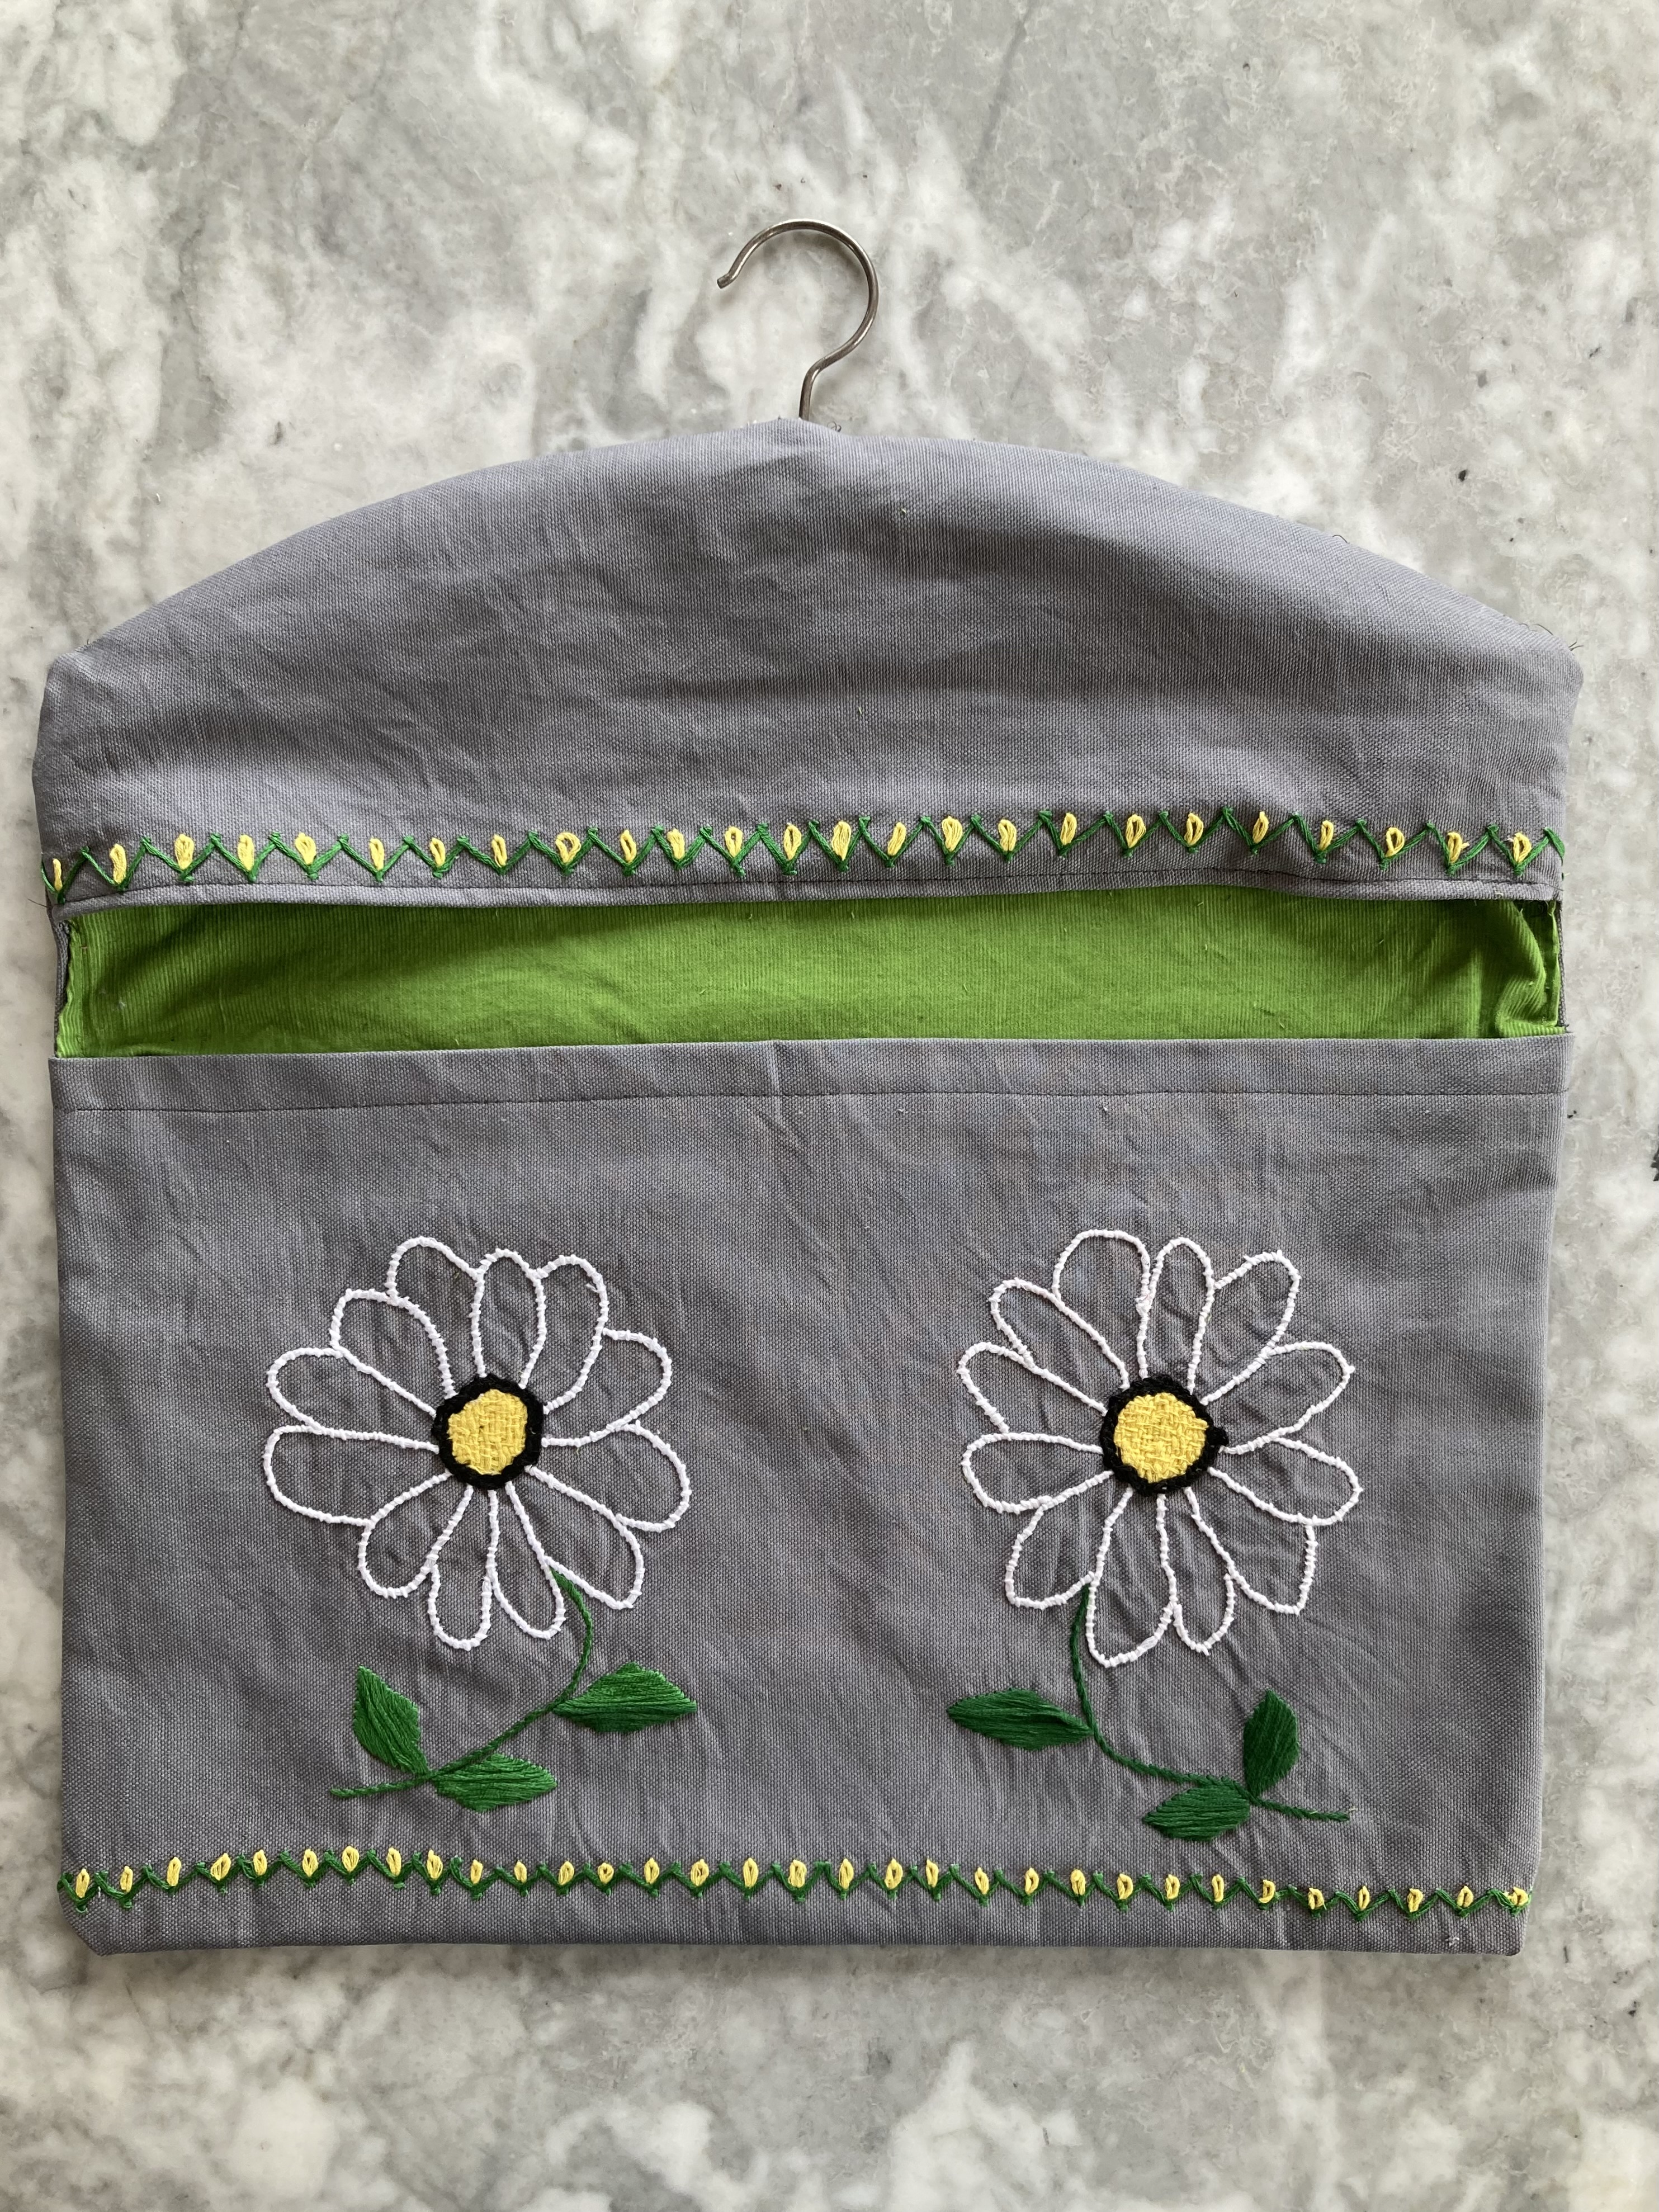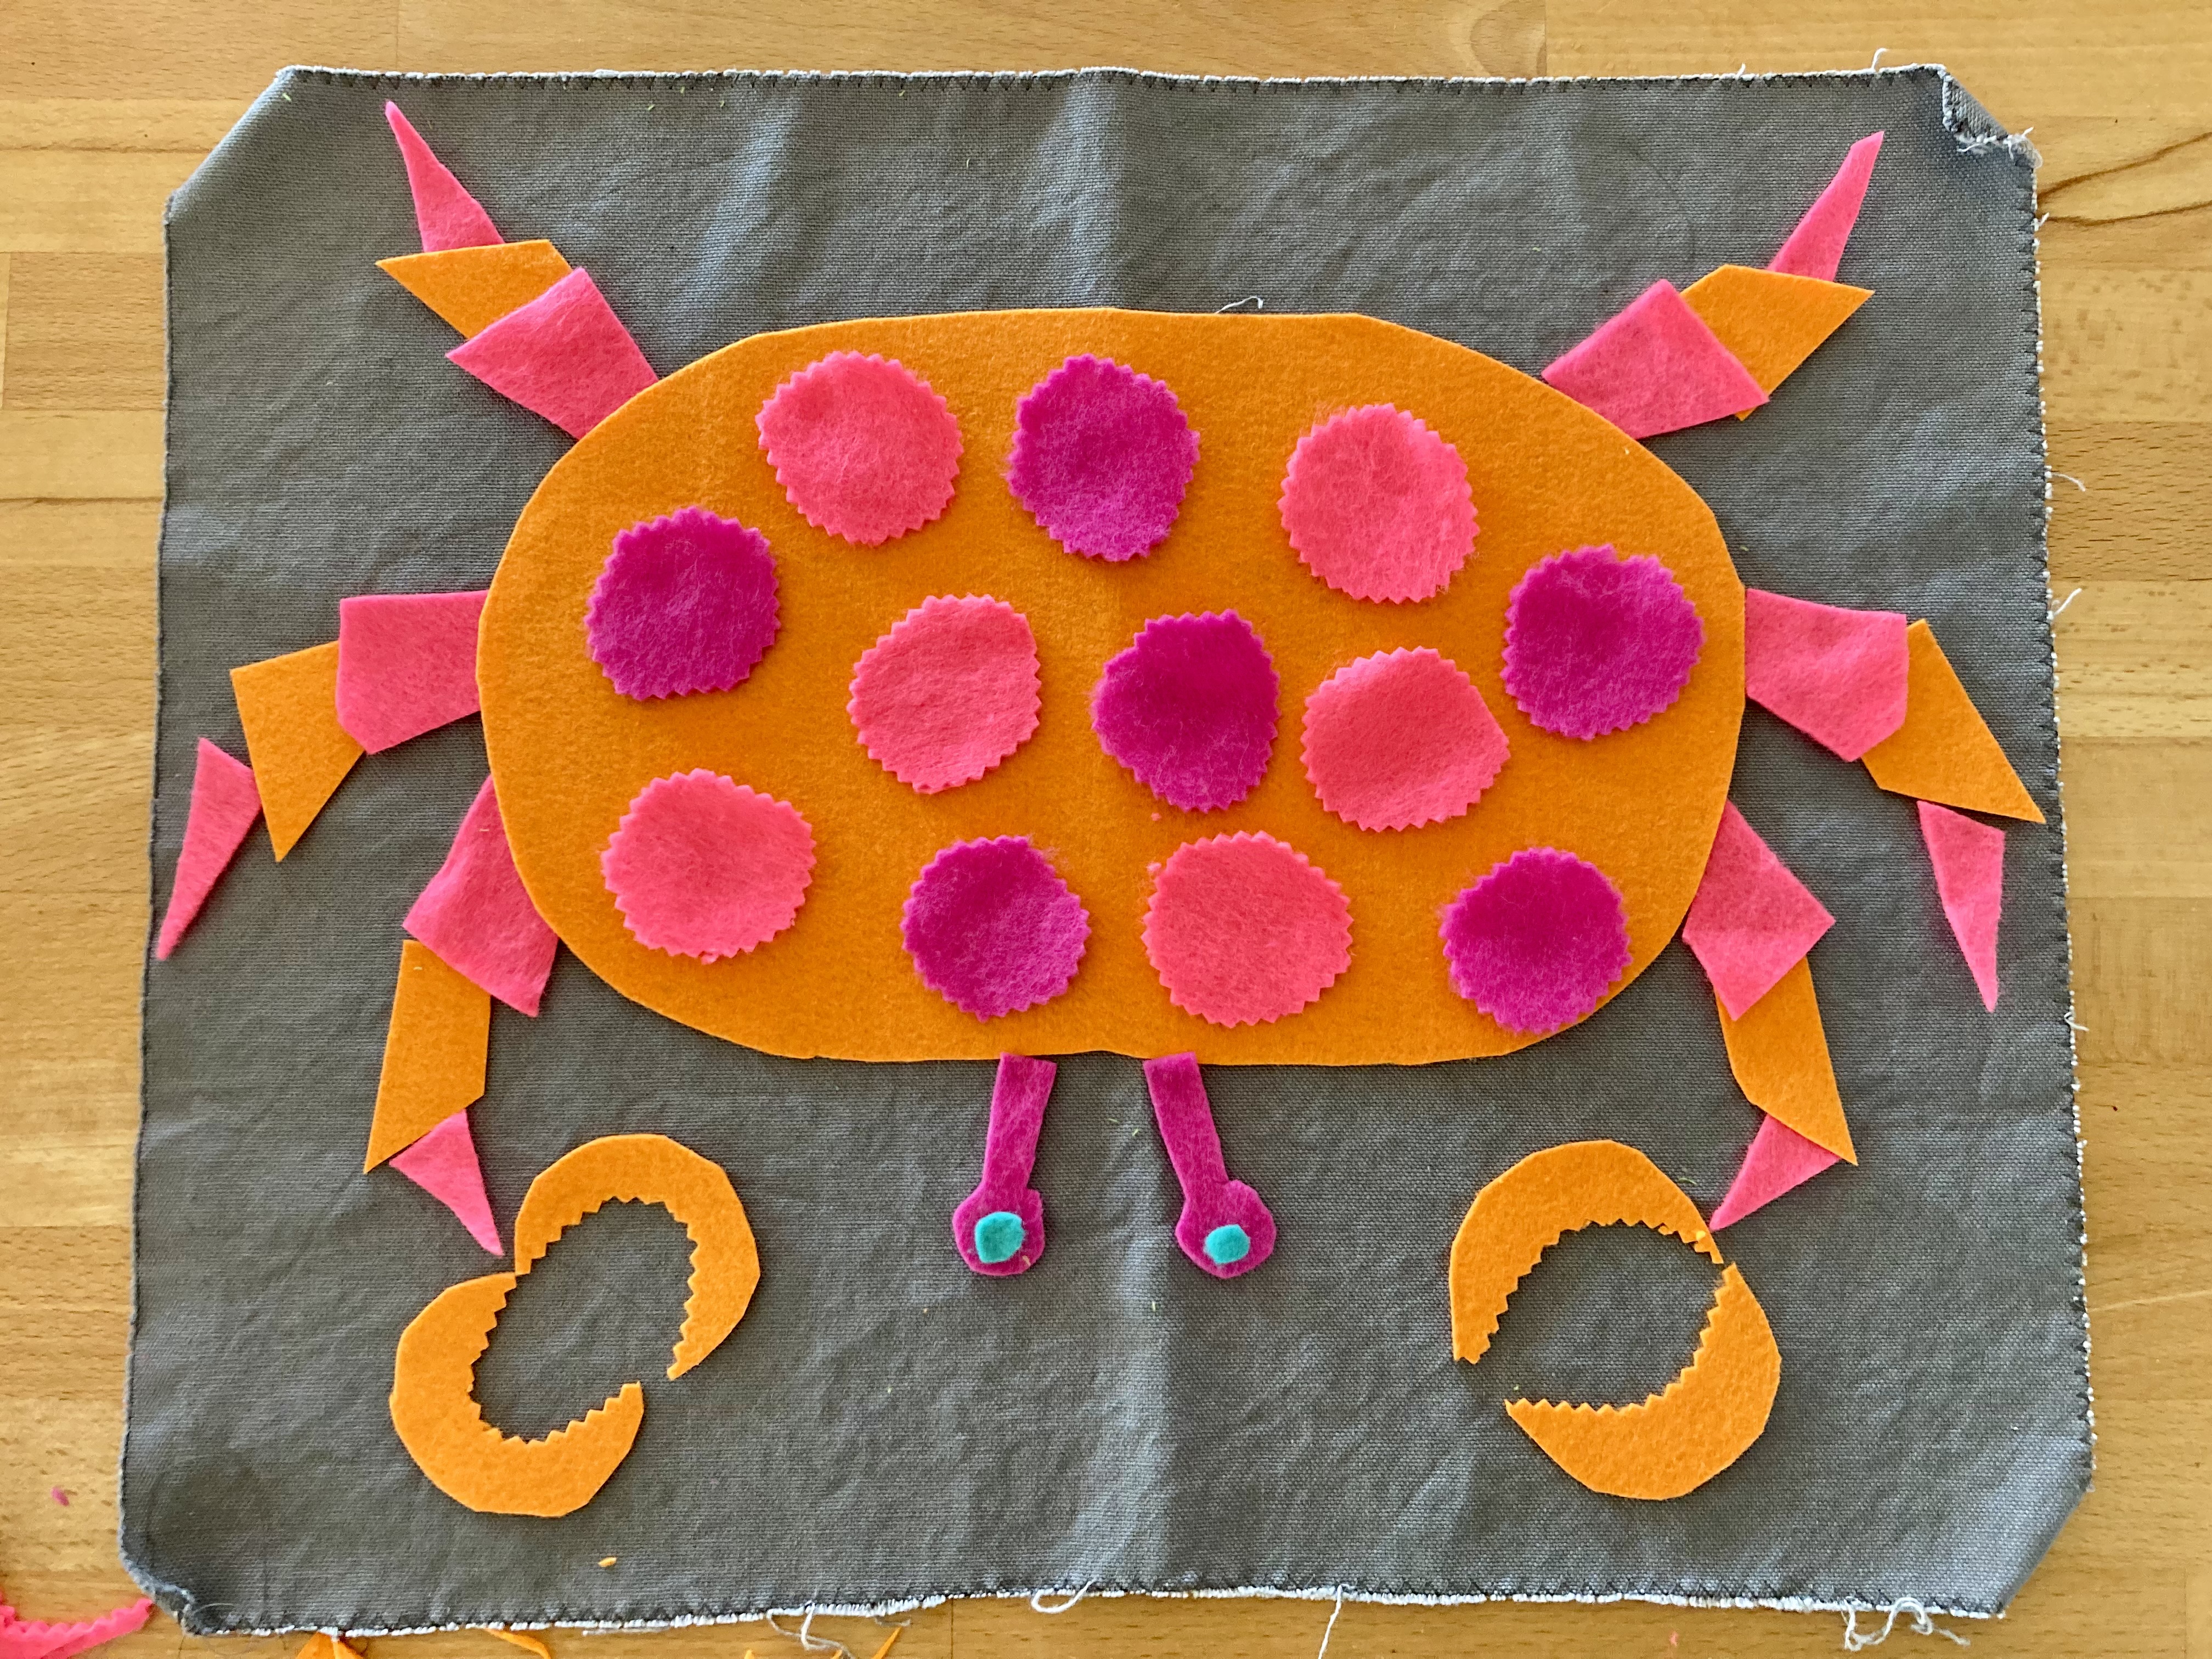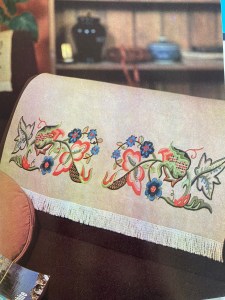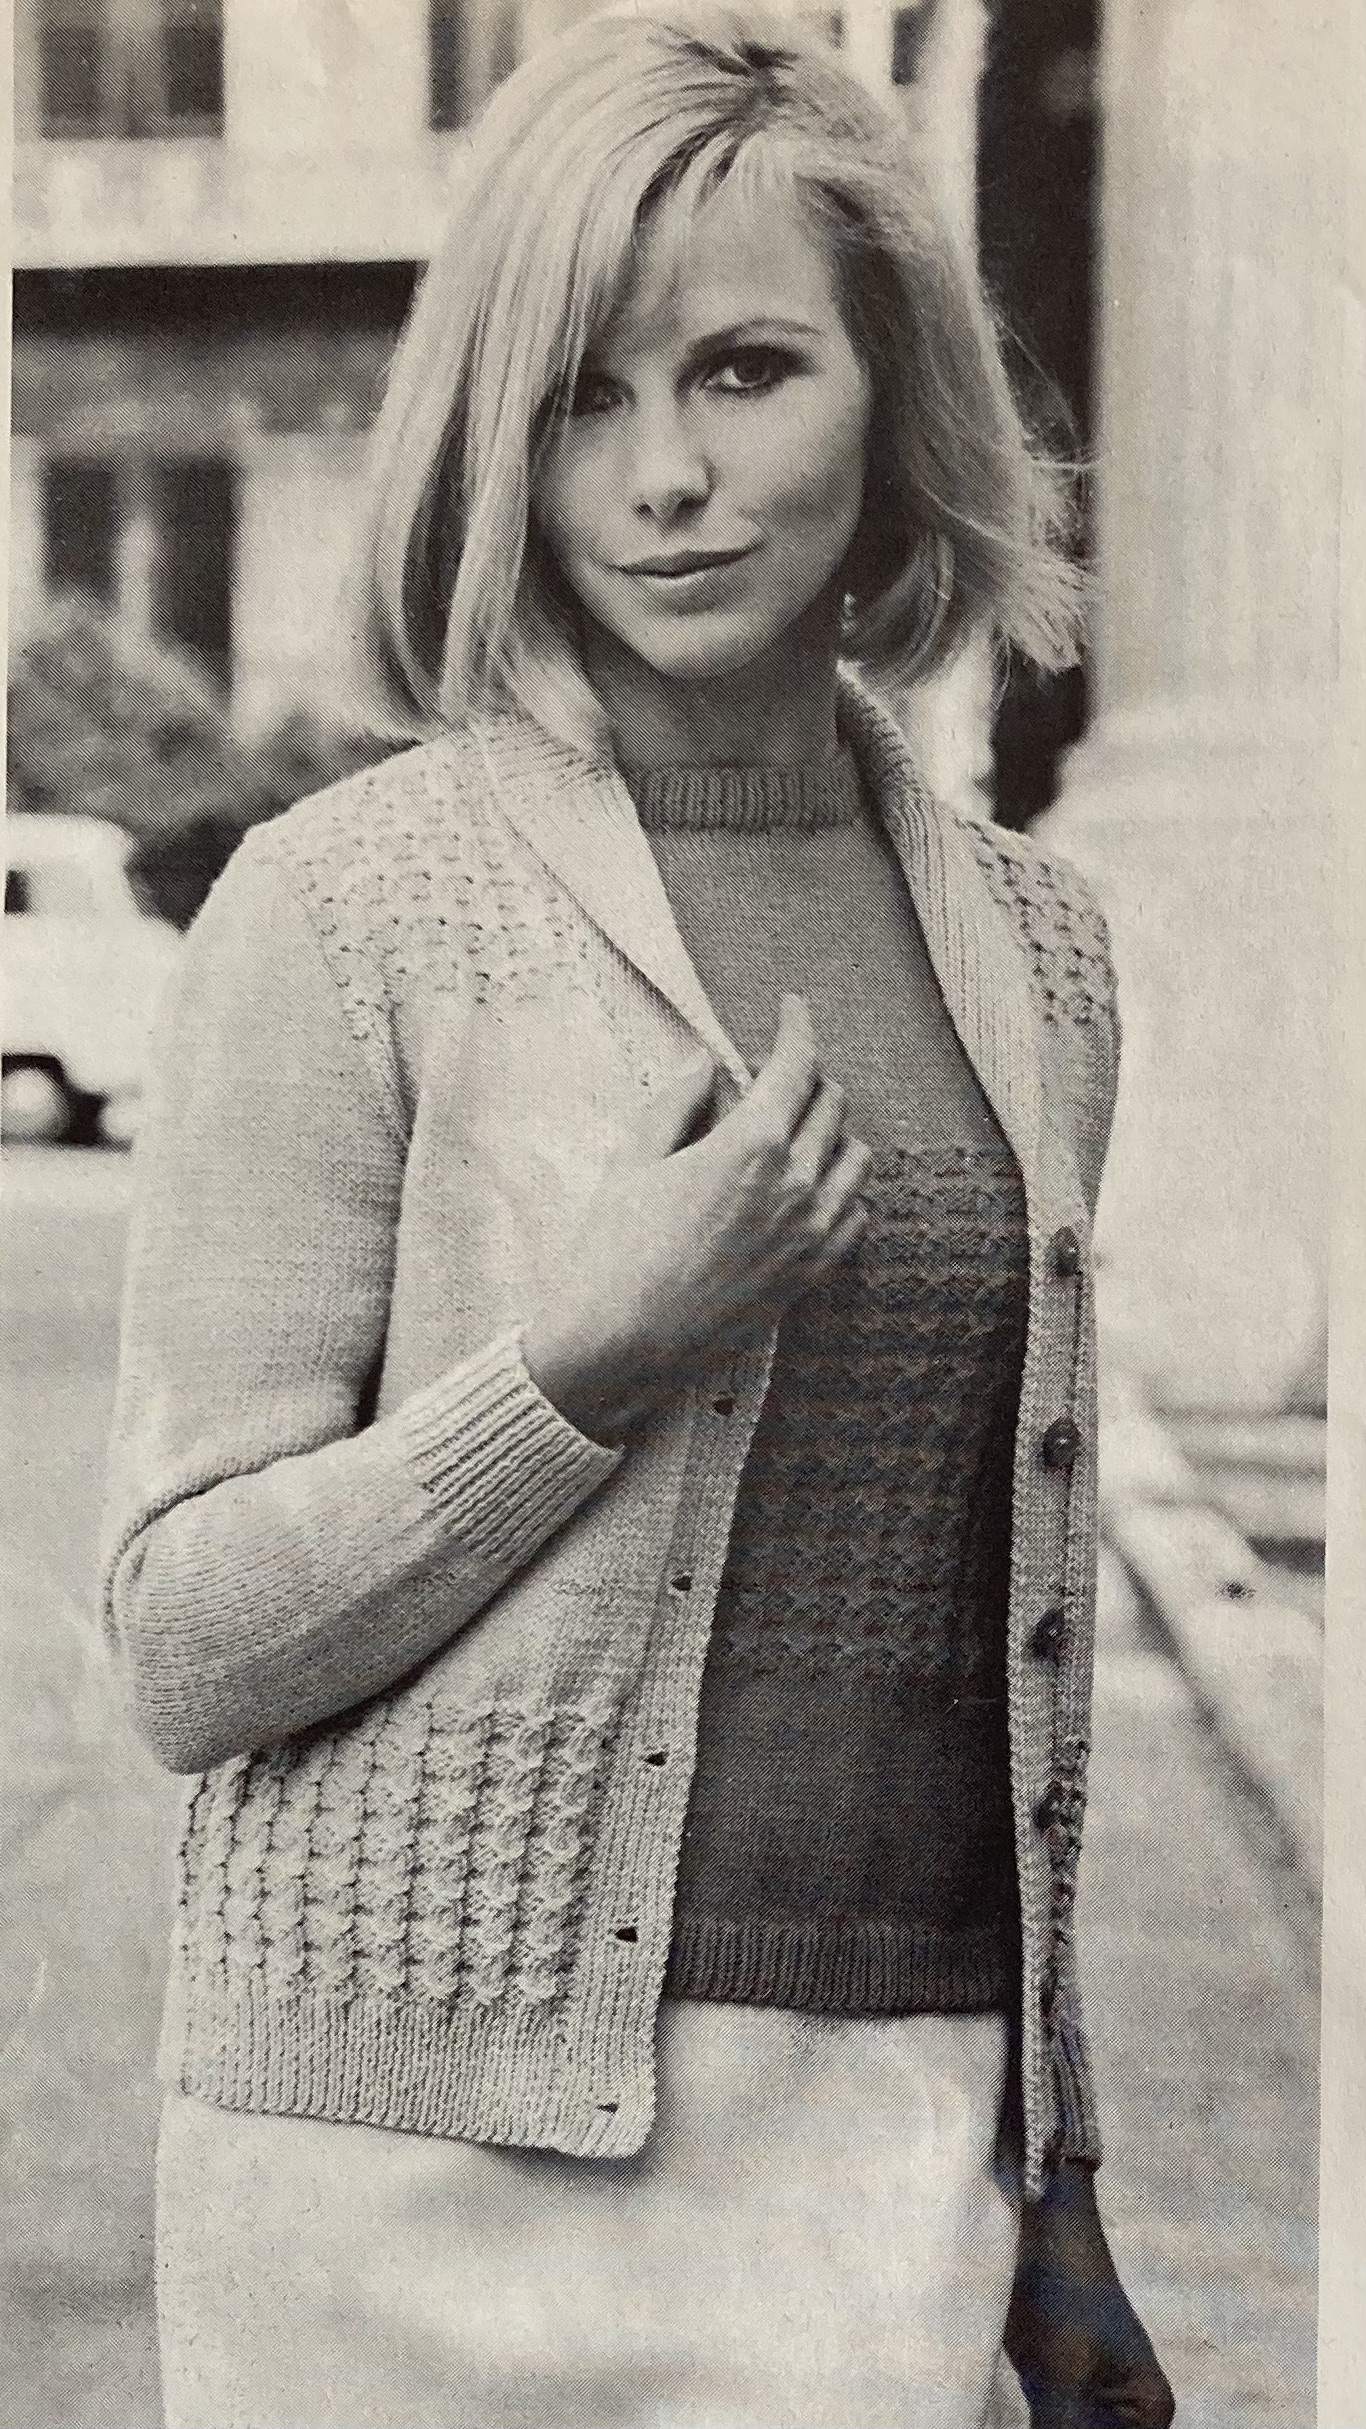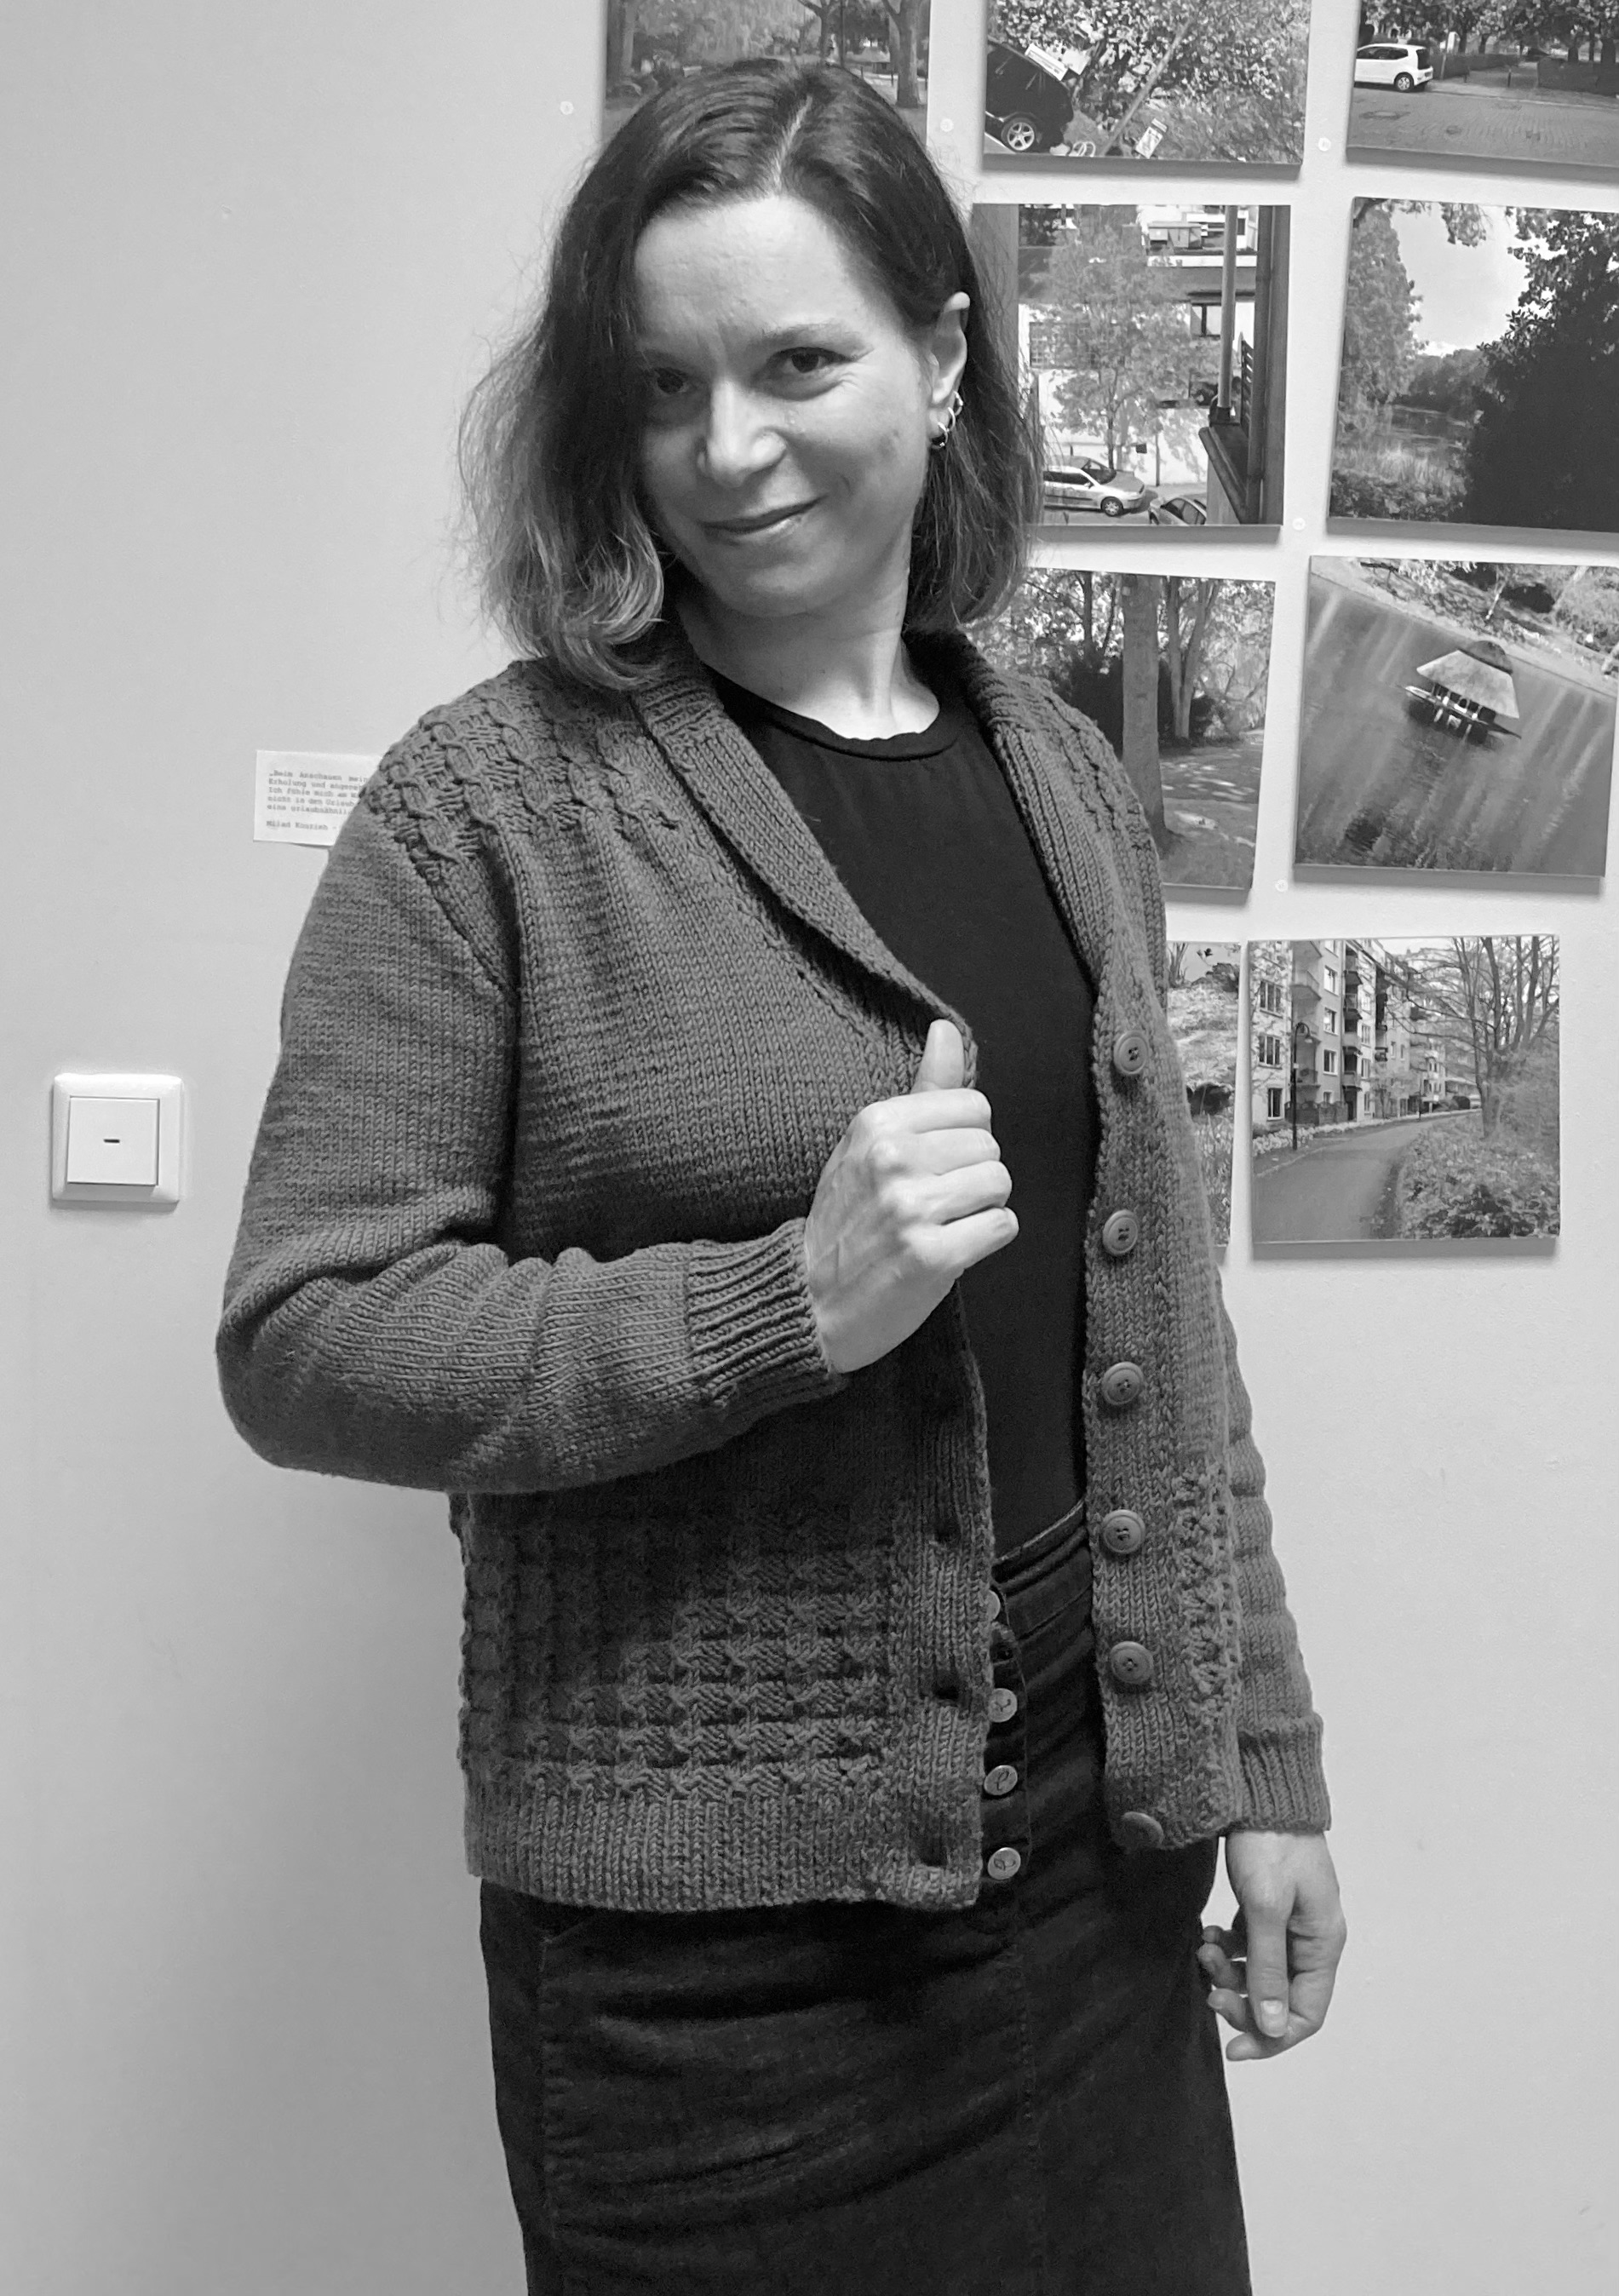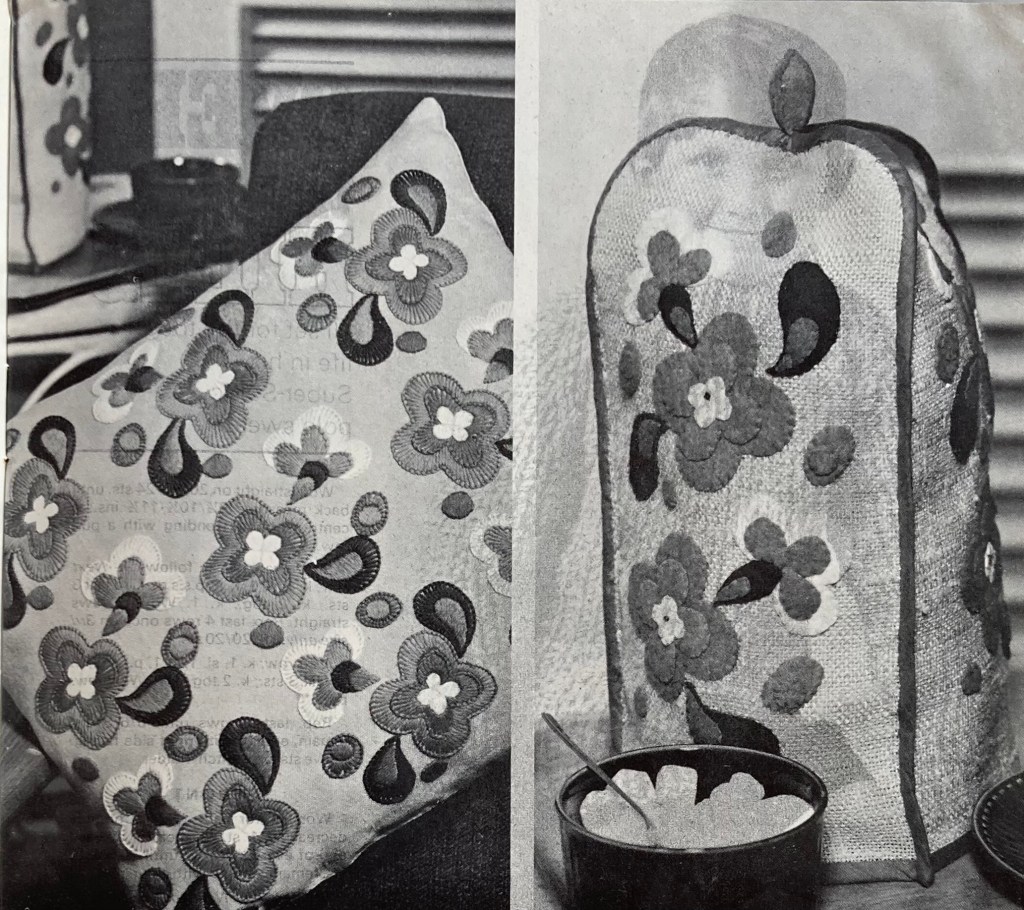
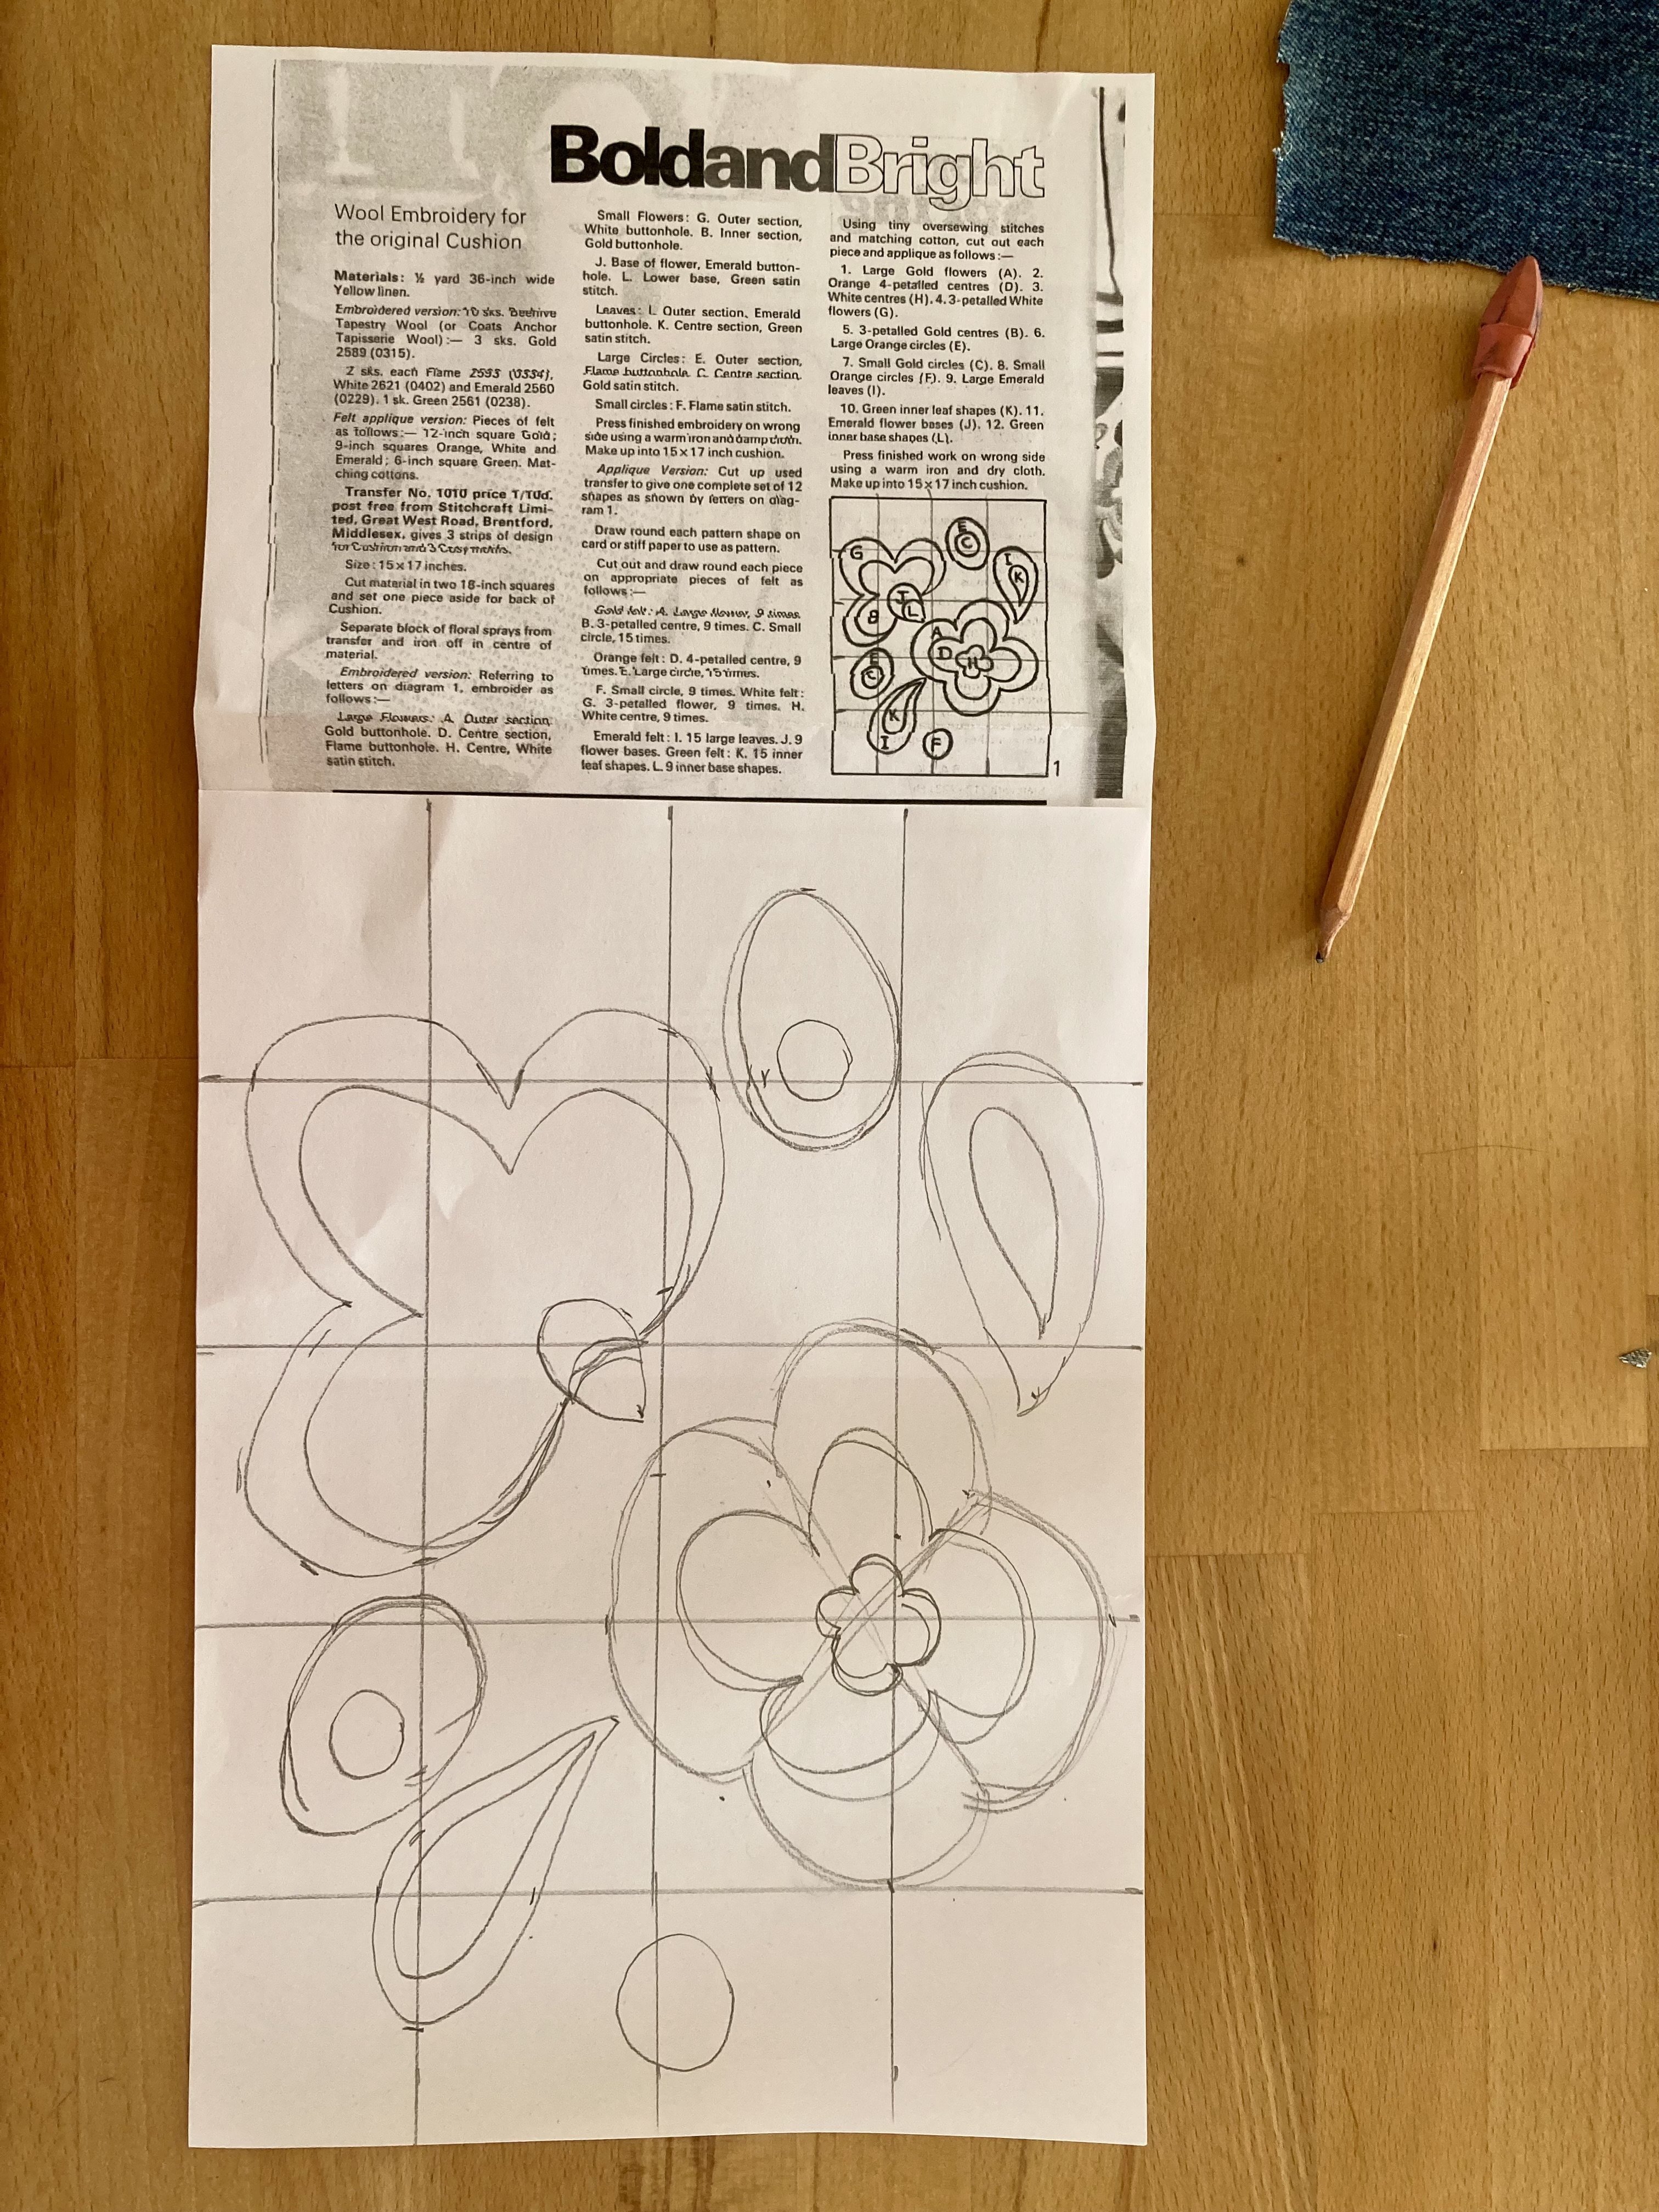
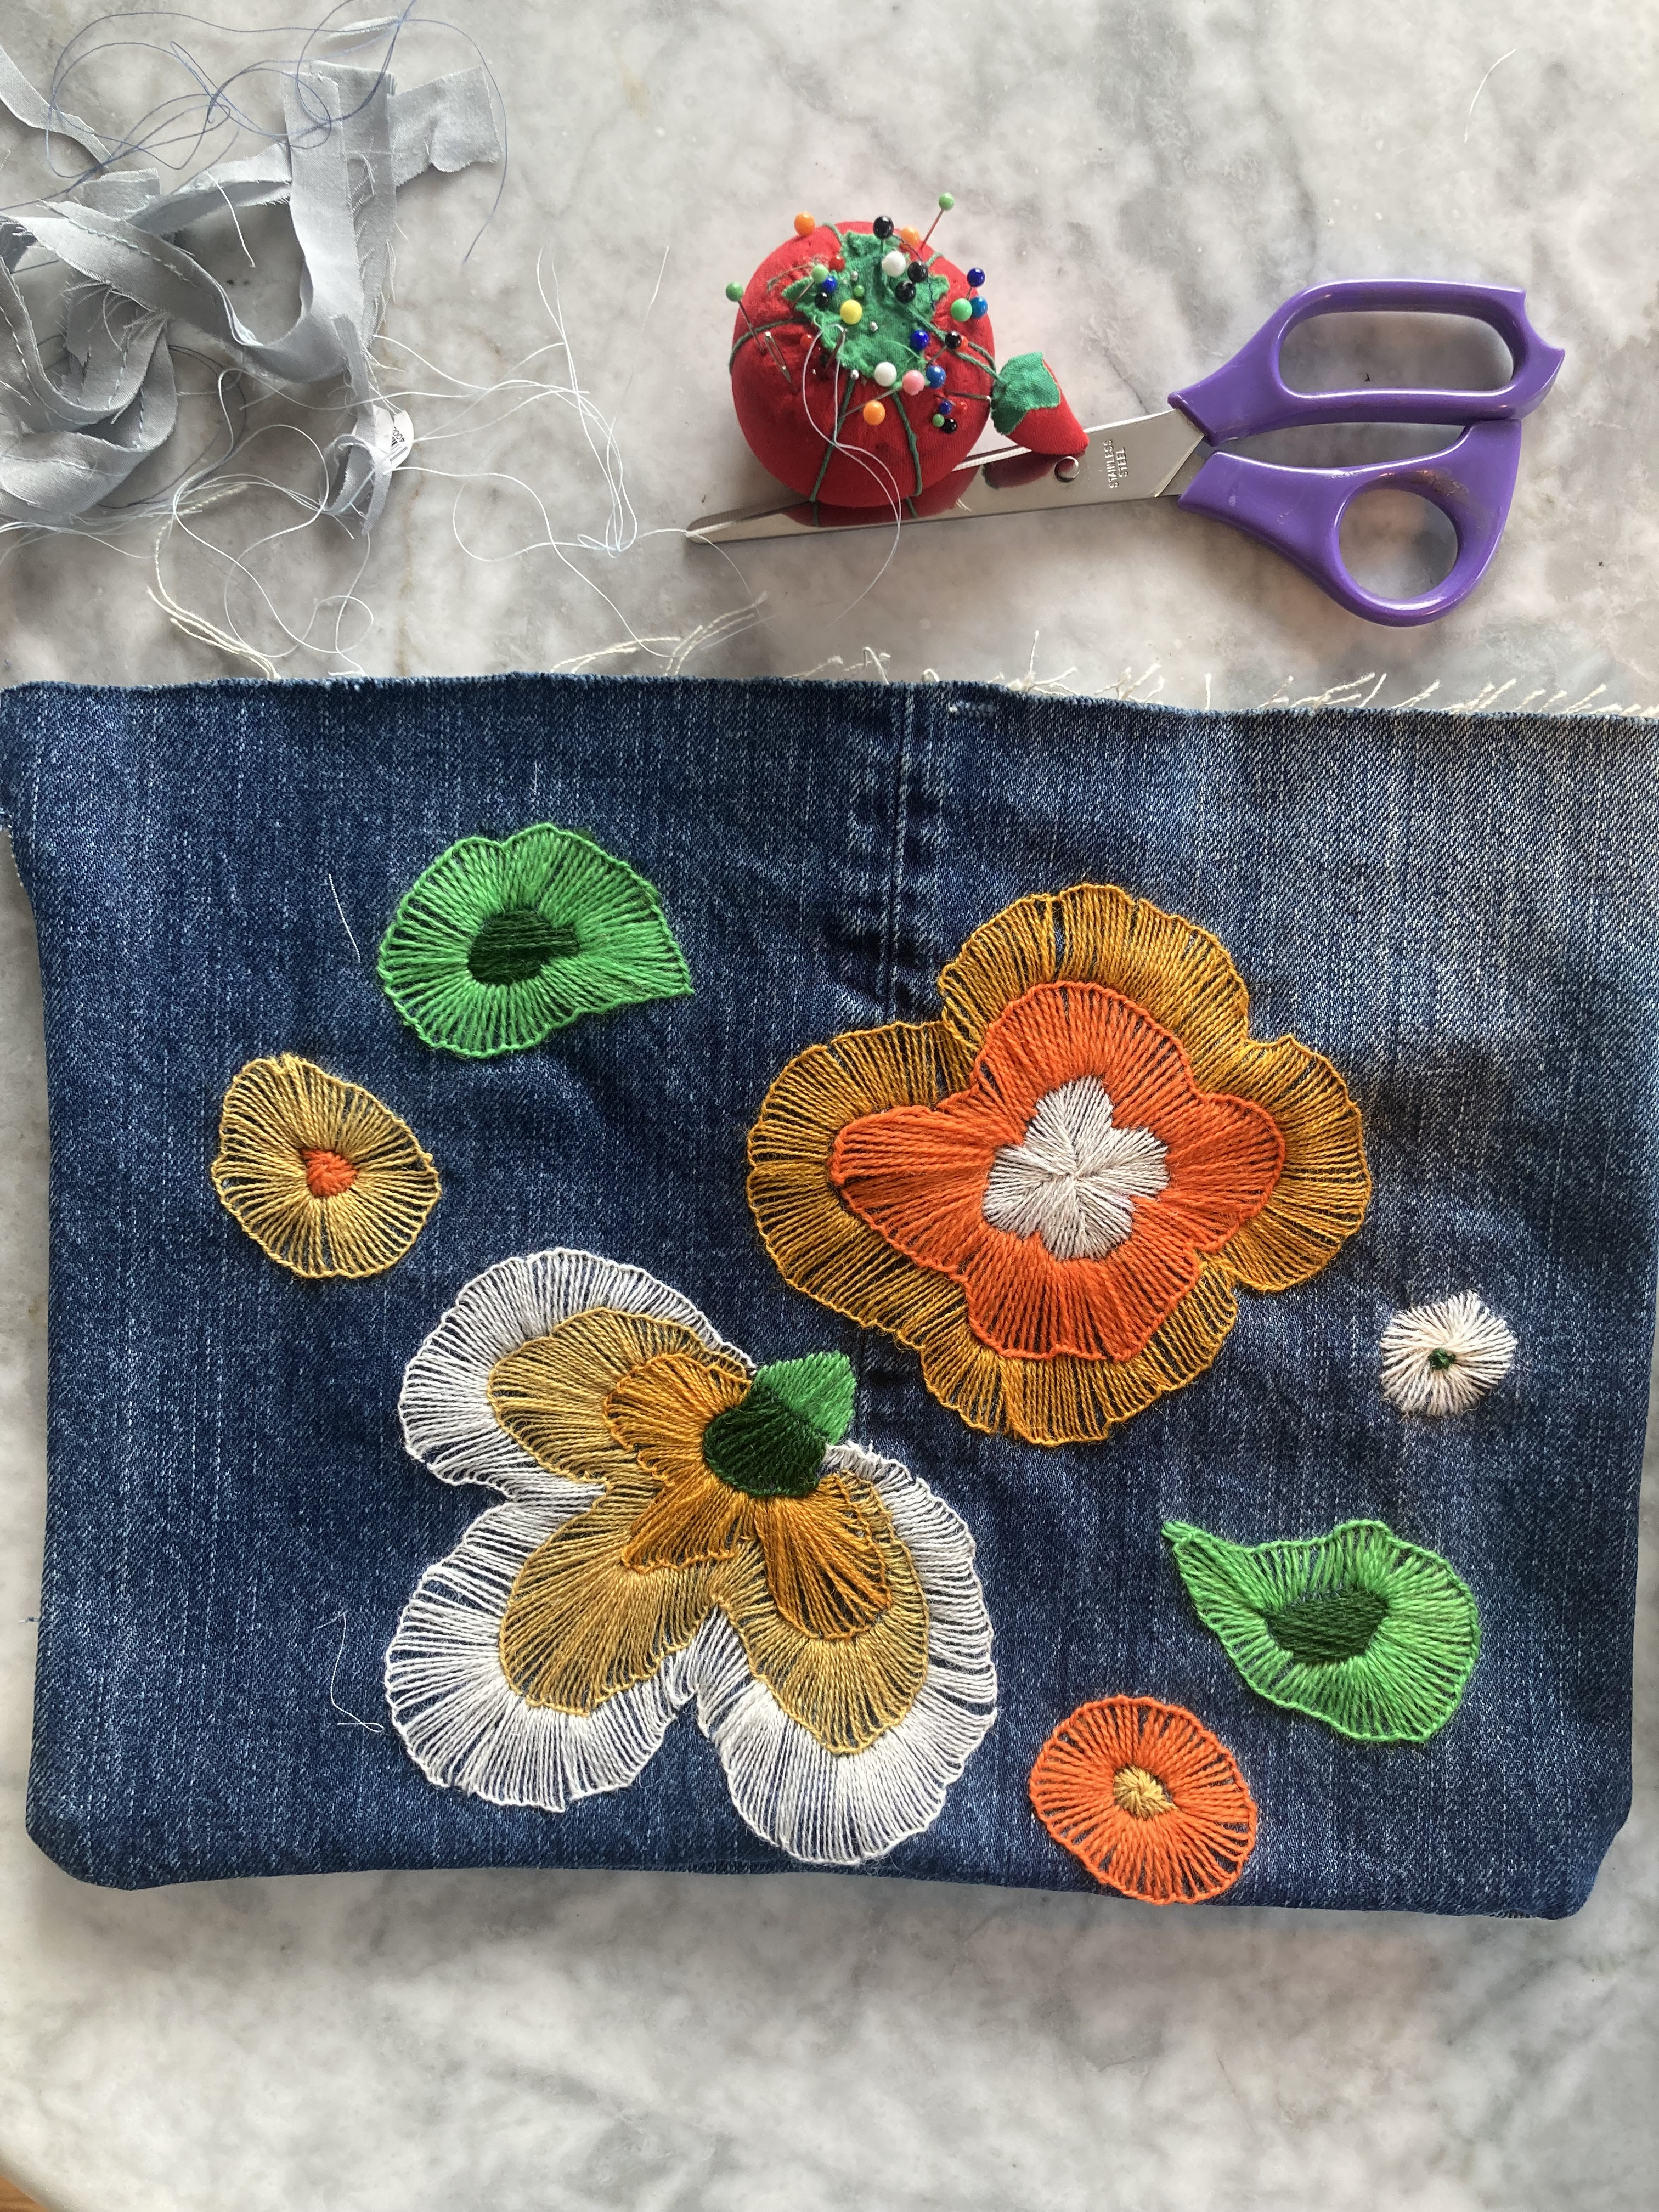
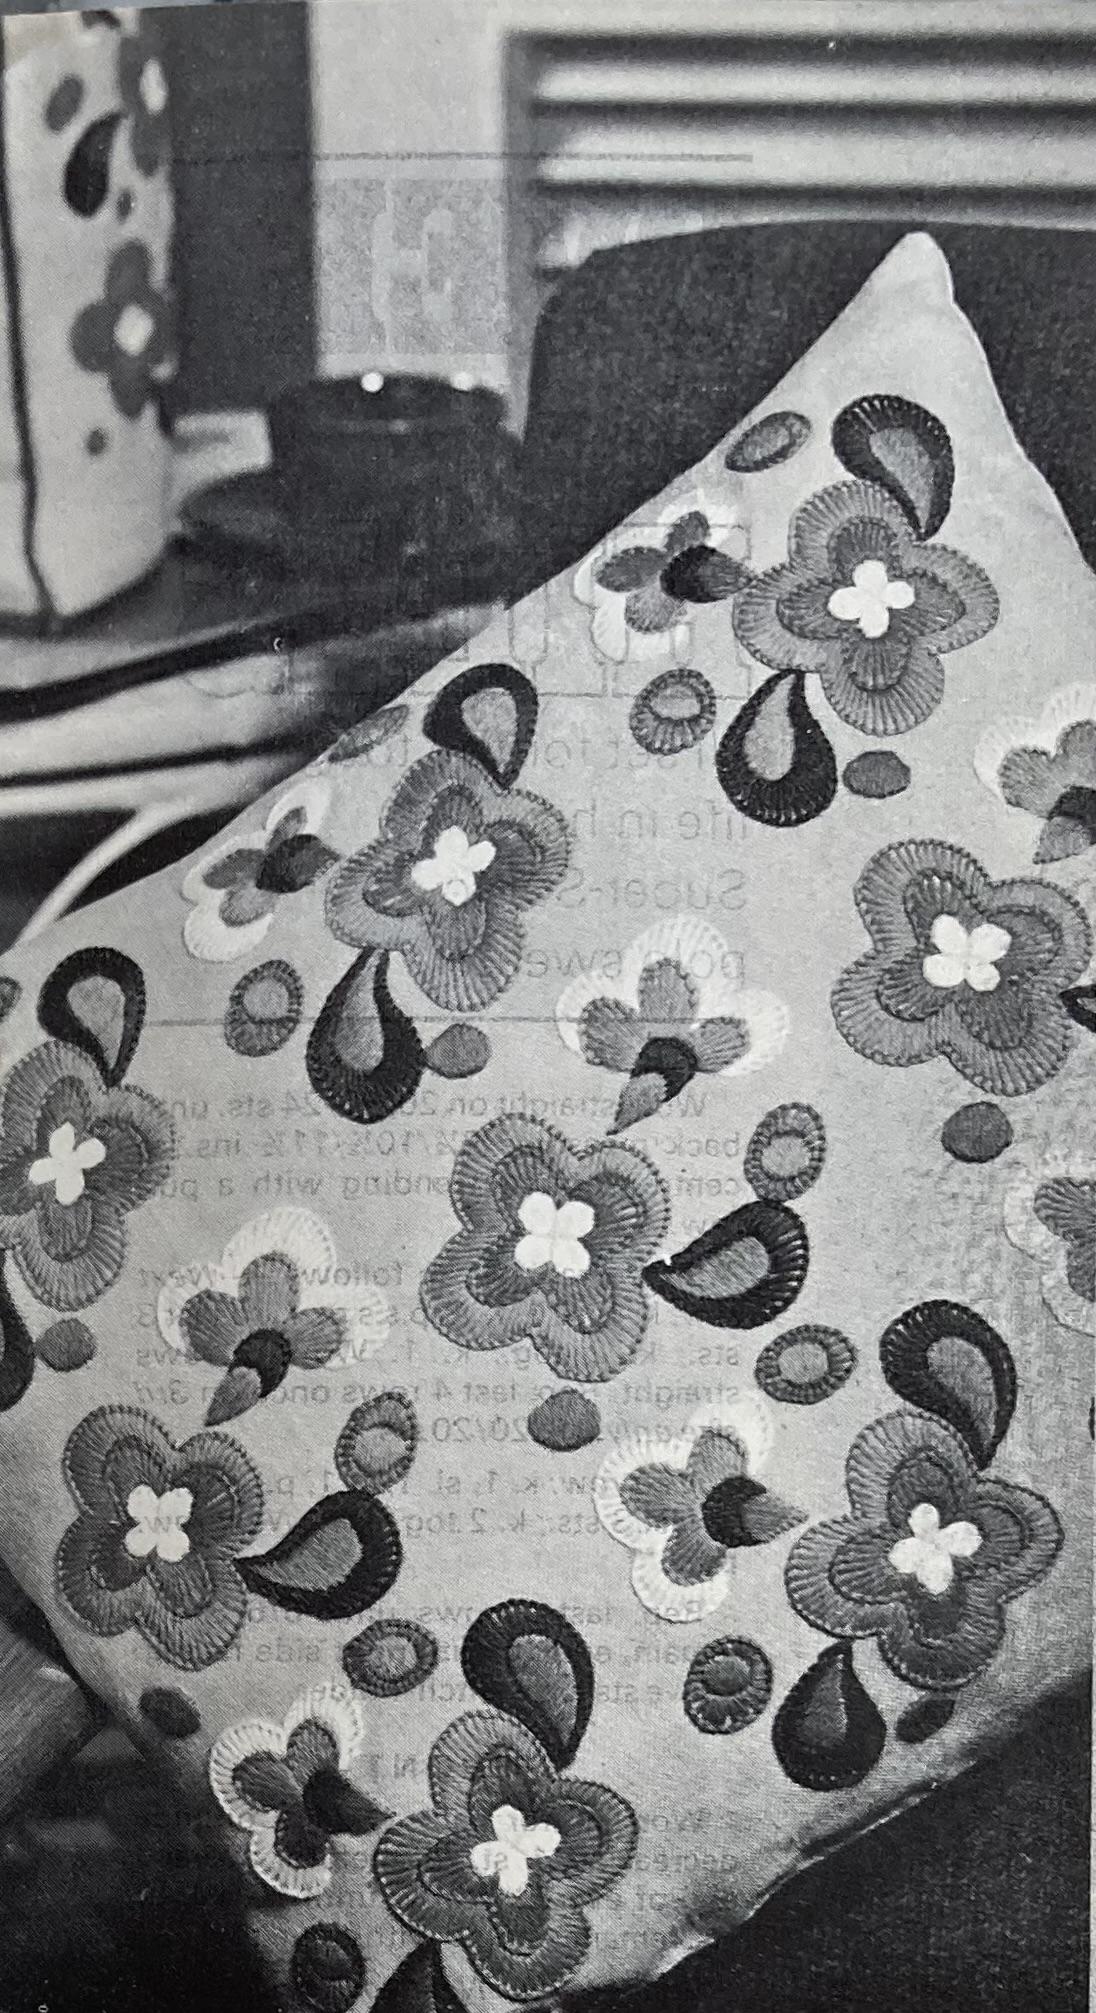
There were some nice knitting designs in the March 1968 issue of Stitchcraft as well as a very 1960s “bold and bright” embroidery/appliqué design. Captioned “The Modern Look for Embroidery”, it featured flower motifs in a sort of, I don’t know the word — cartoon style? The opposite of delicate and ornate. You could embroider them onto a cushion or appliqué them onto a coffee cosy. I have more cushions than sofas and do not need a coffee cosy, but a new laptop case would be useful and pretty.
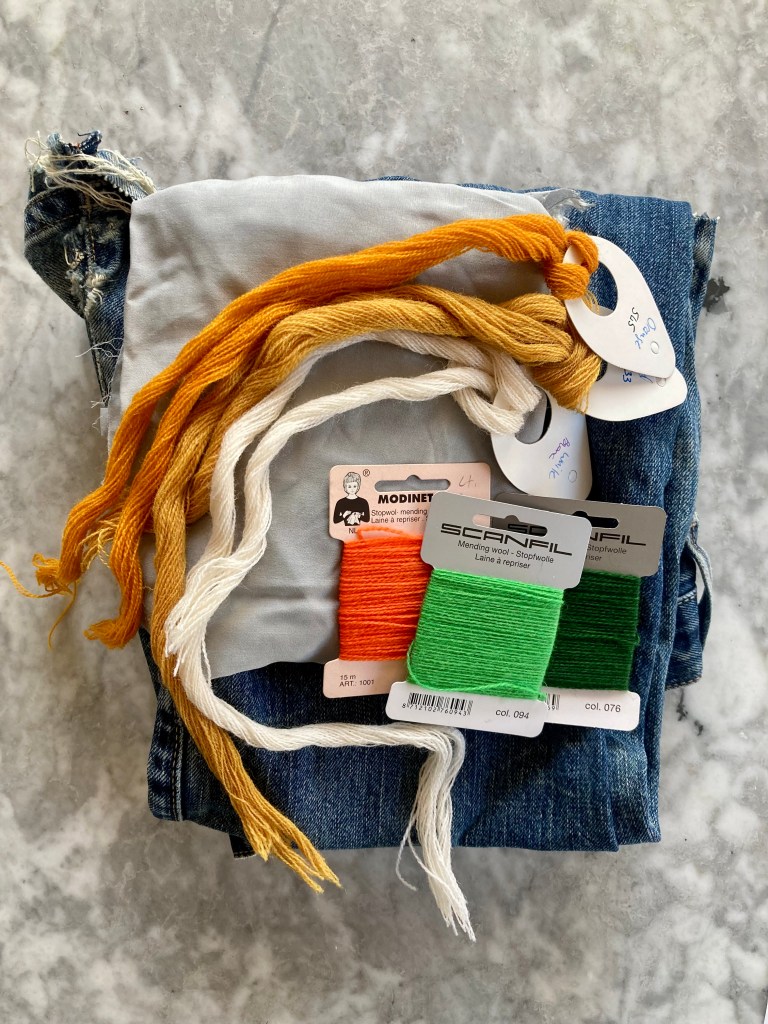
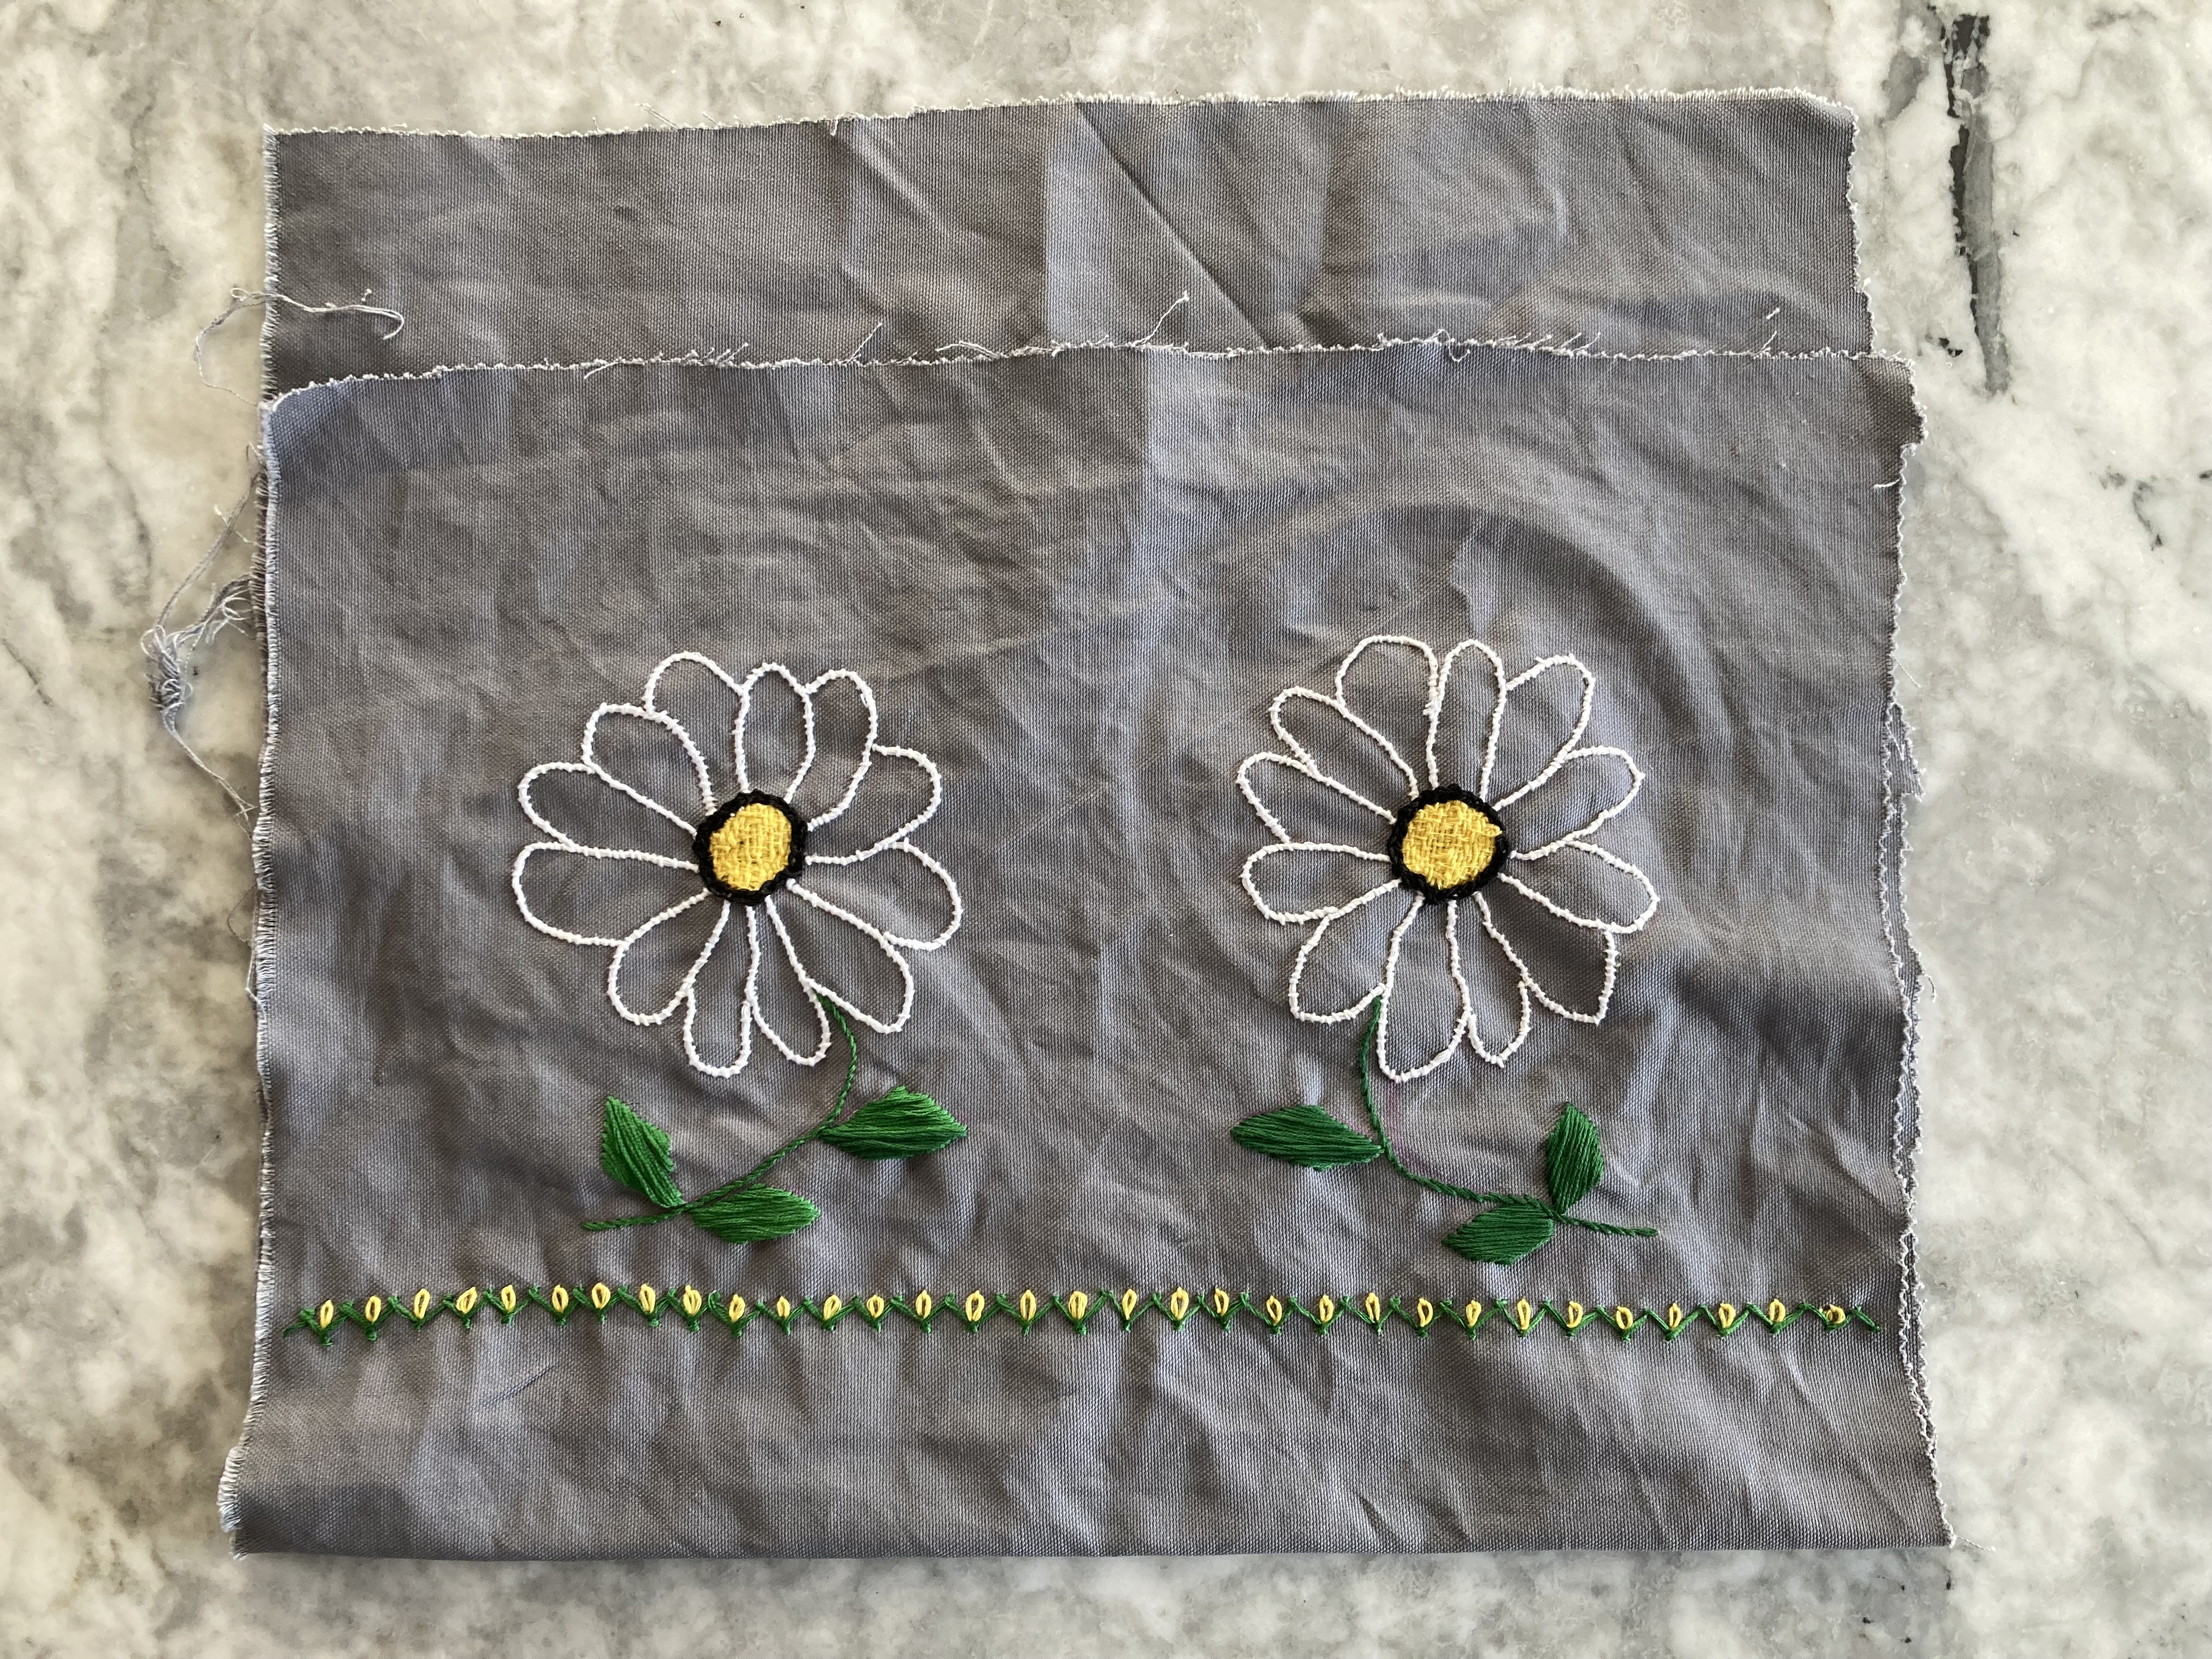
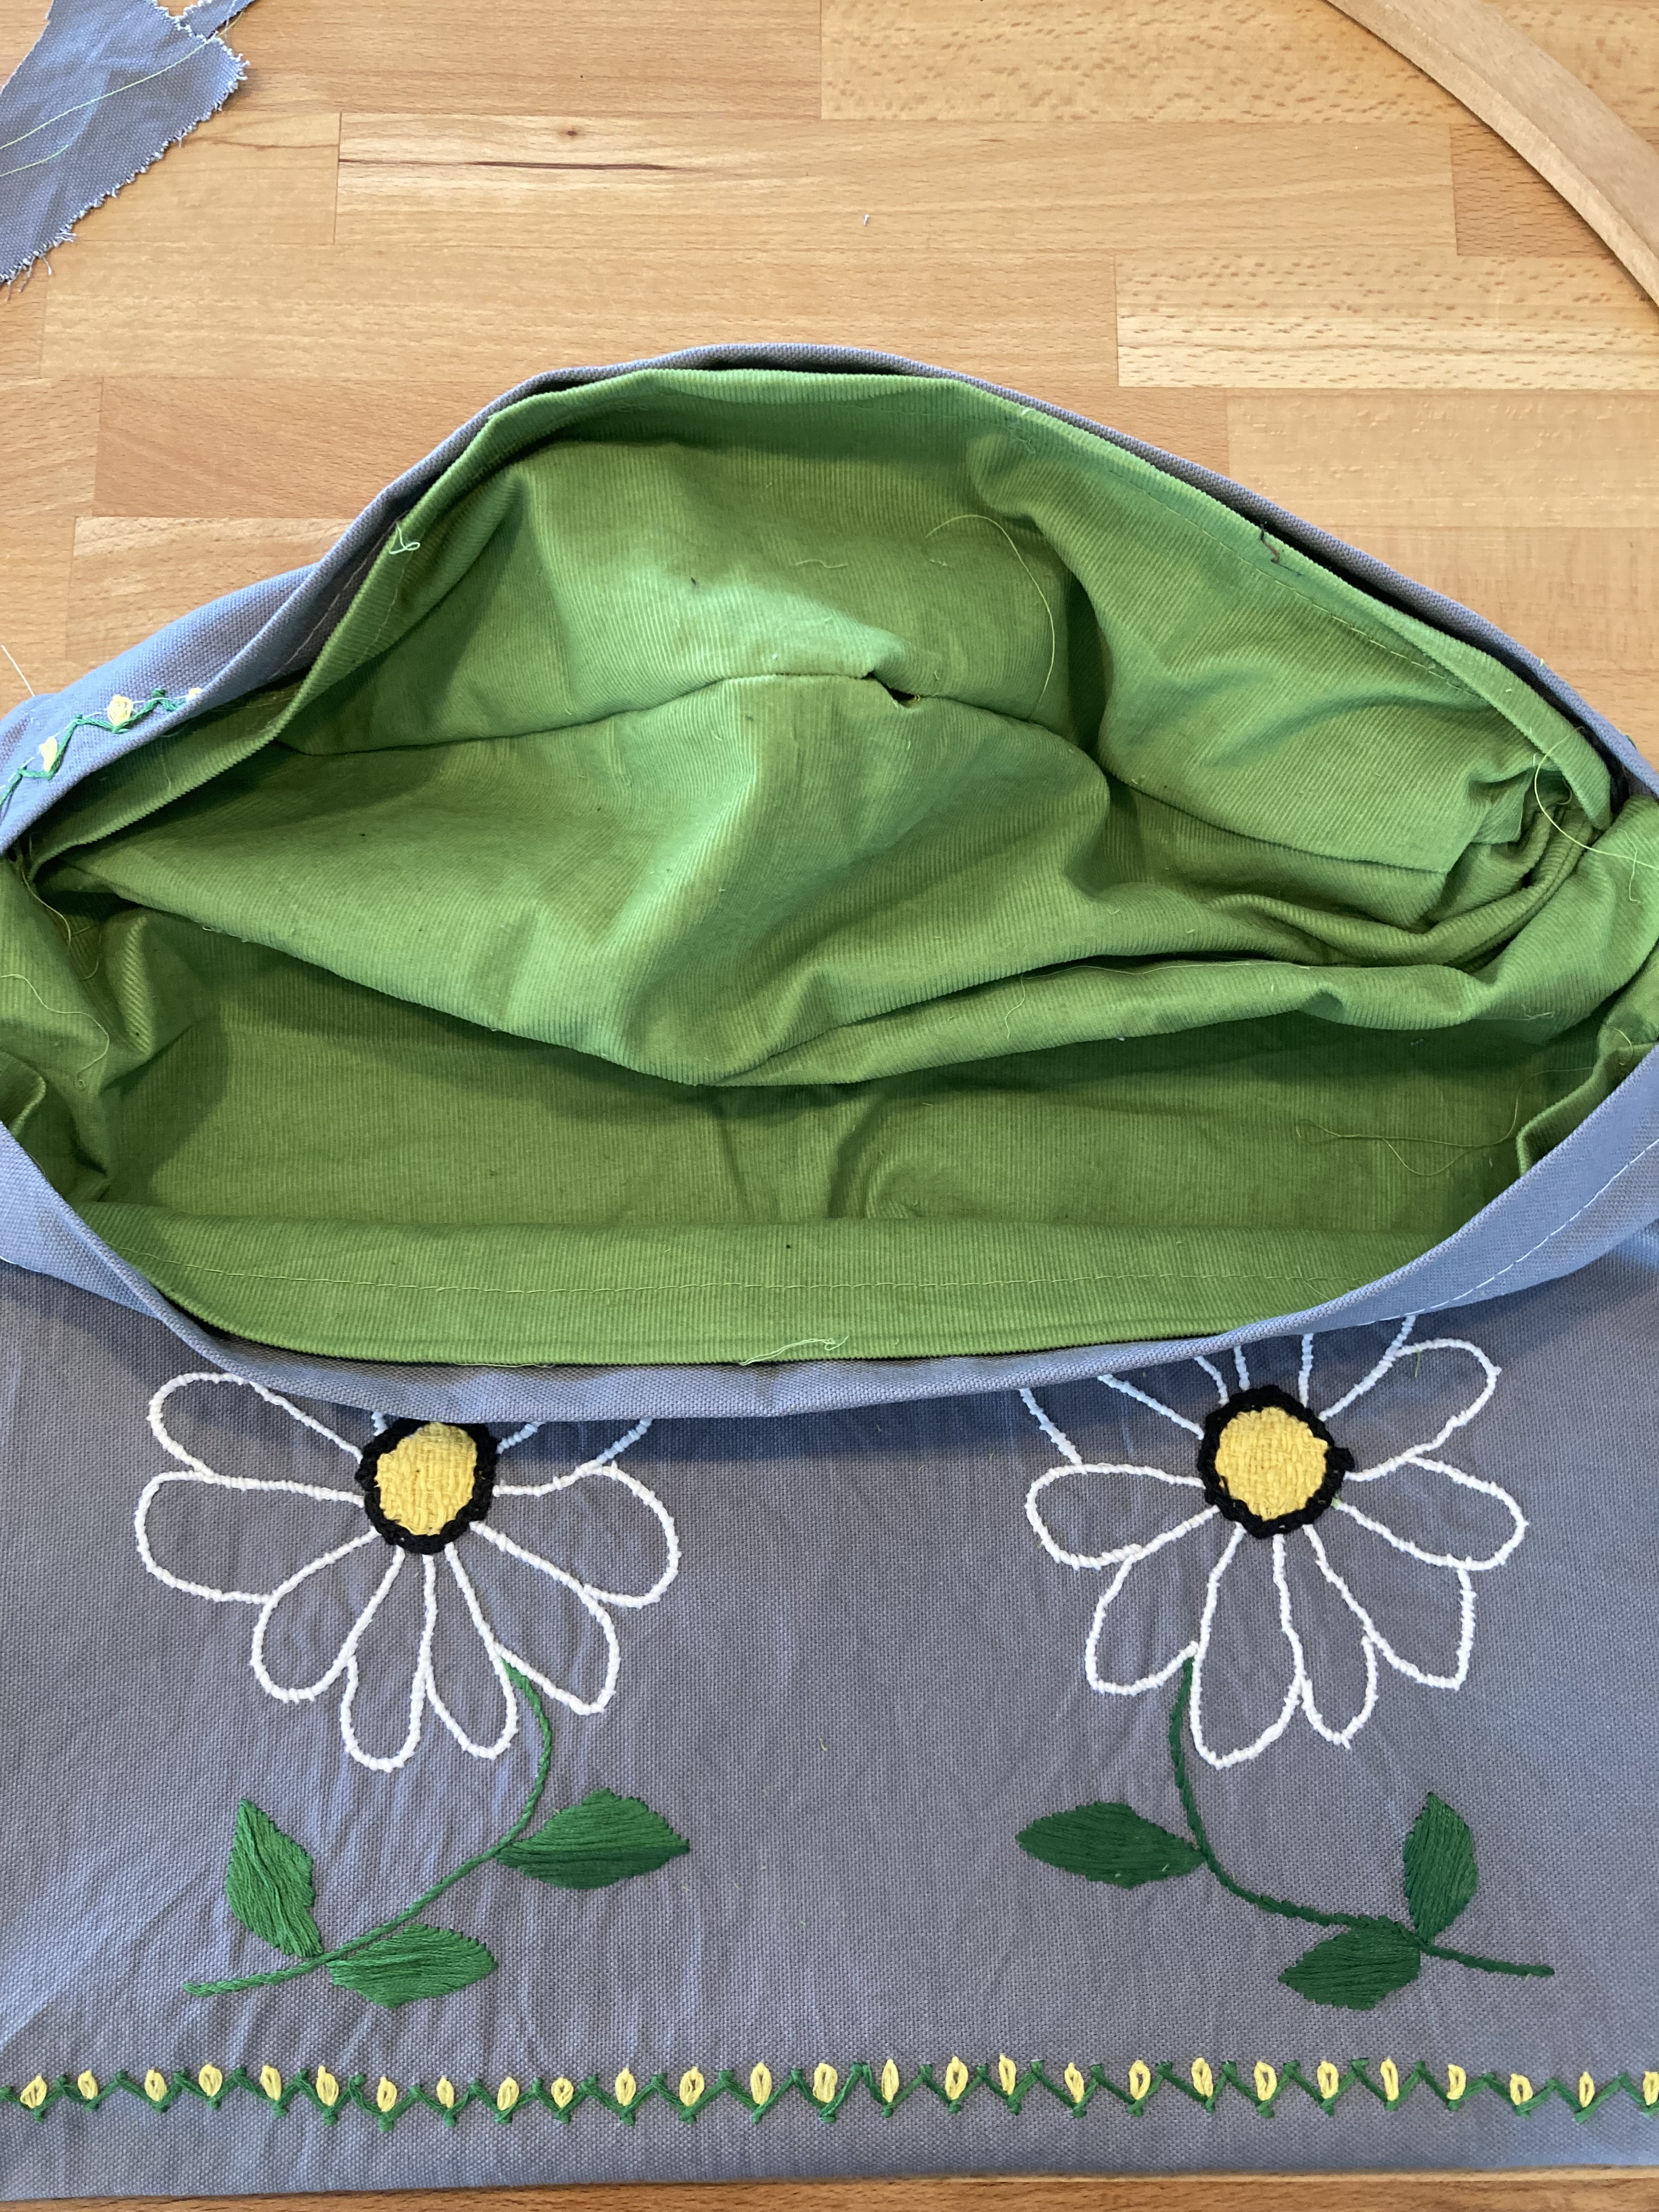
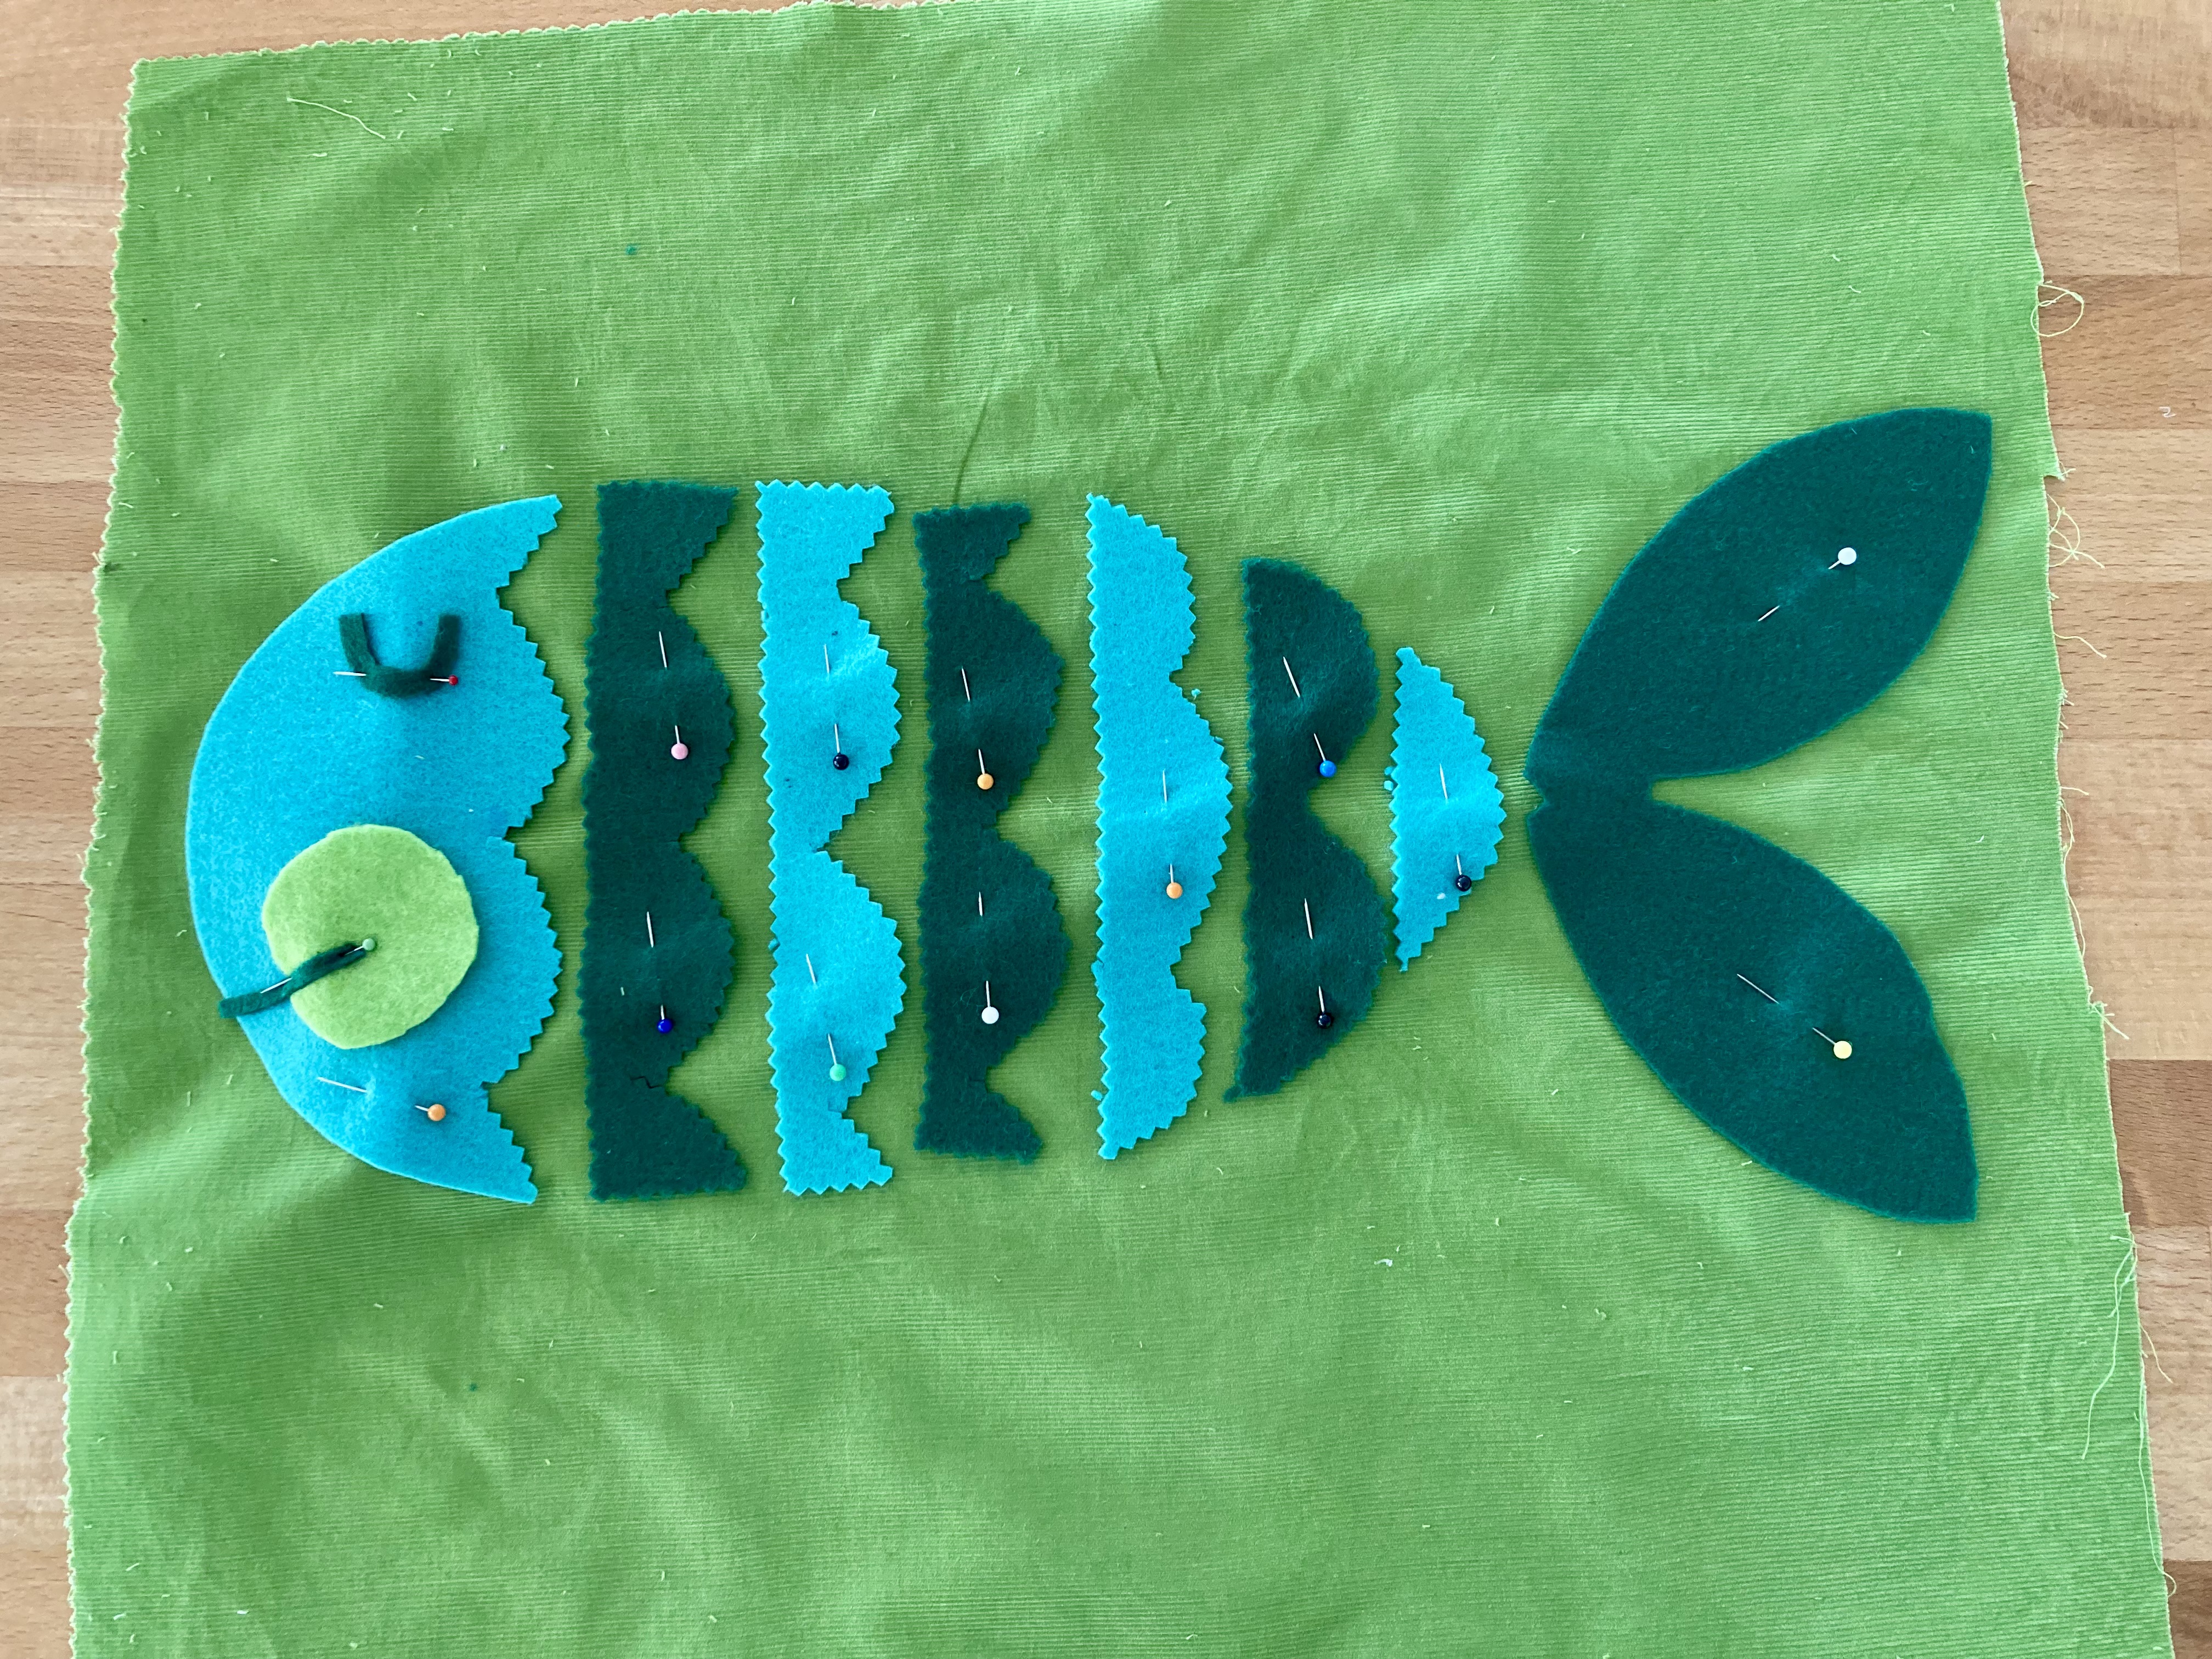
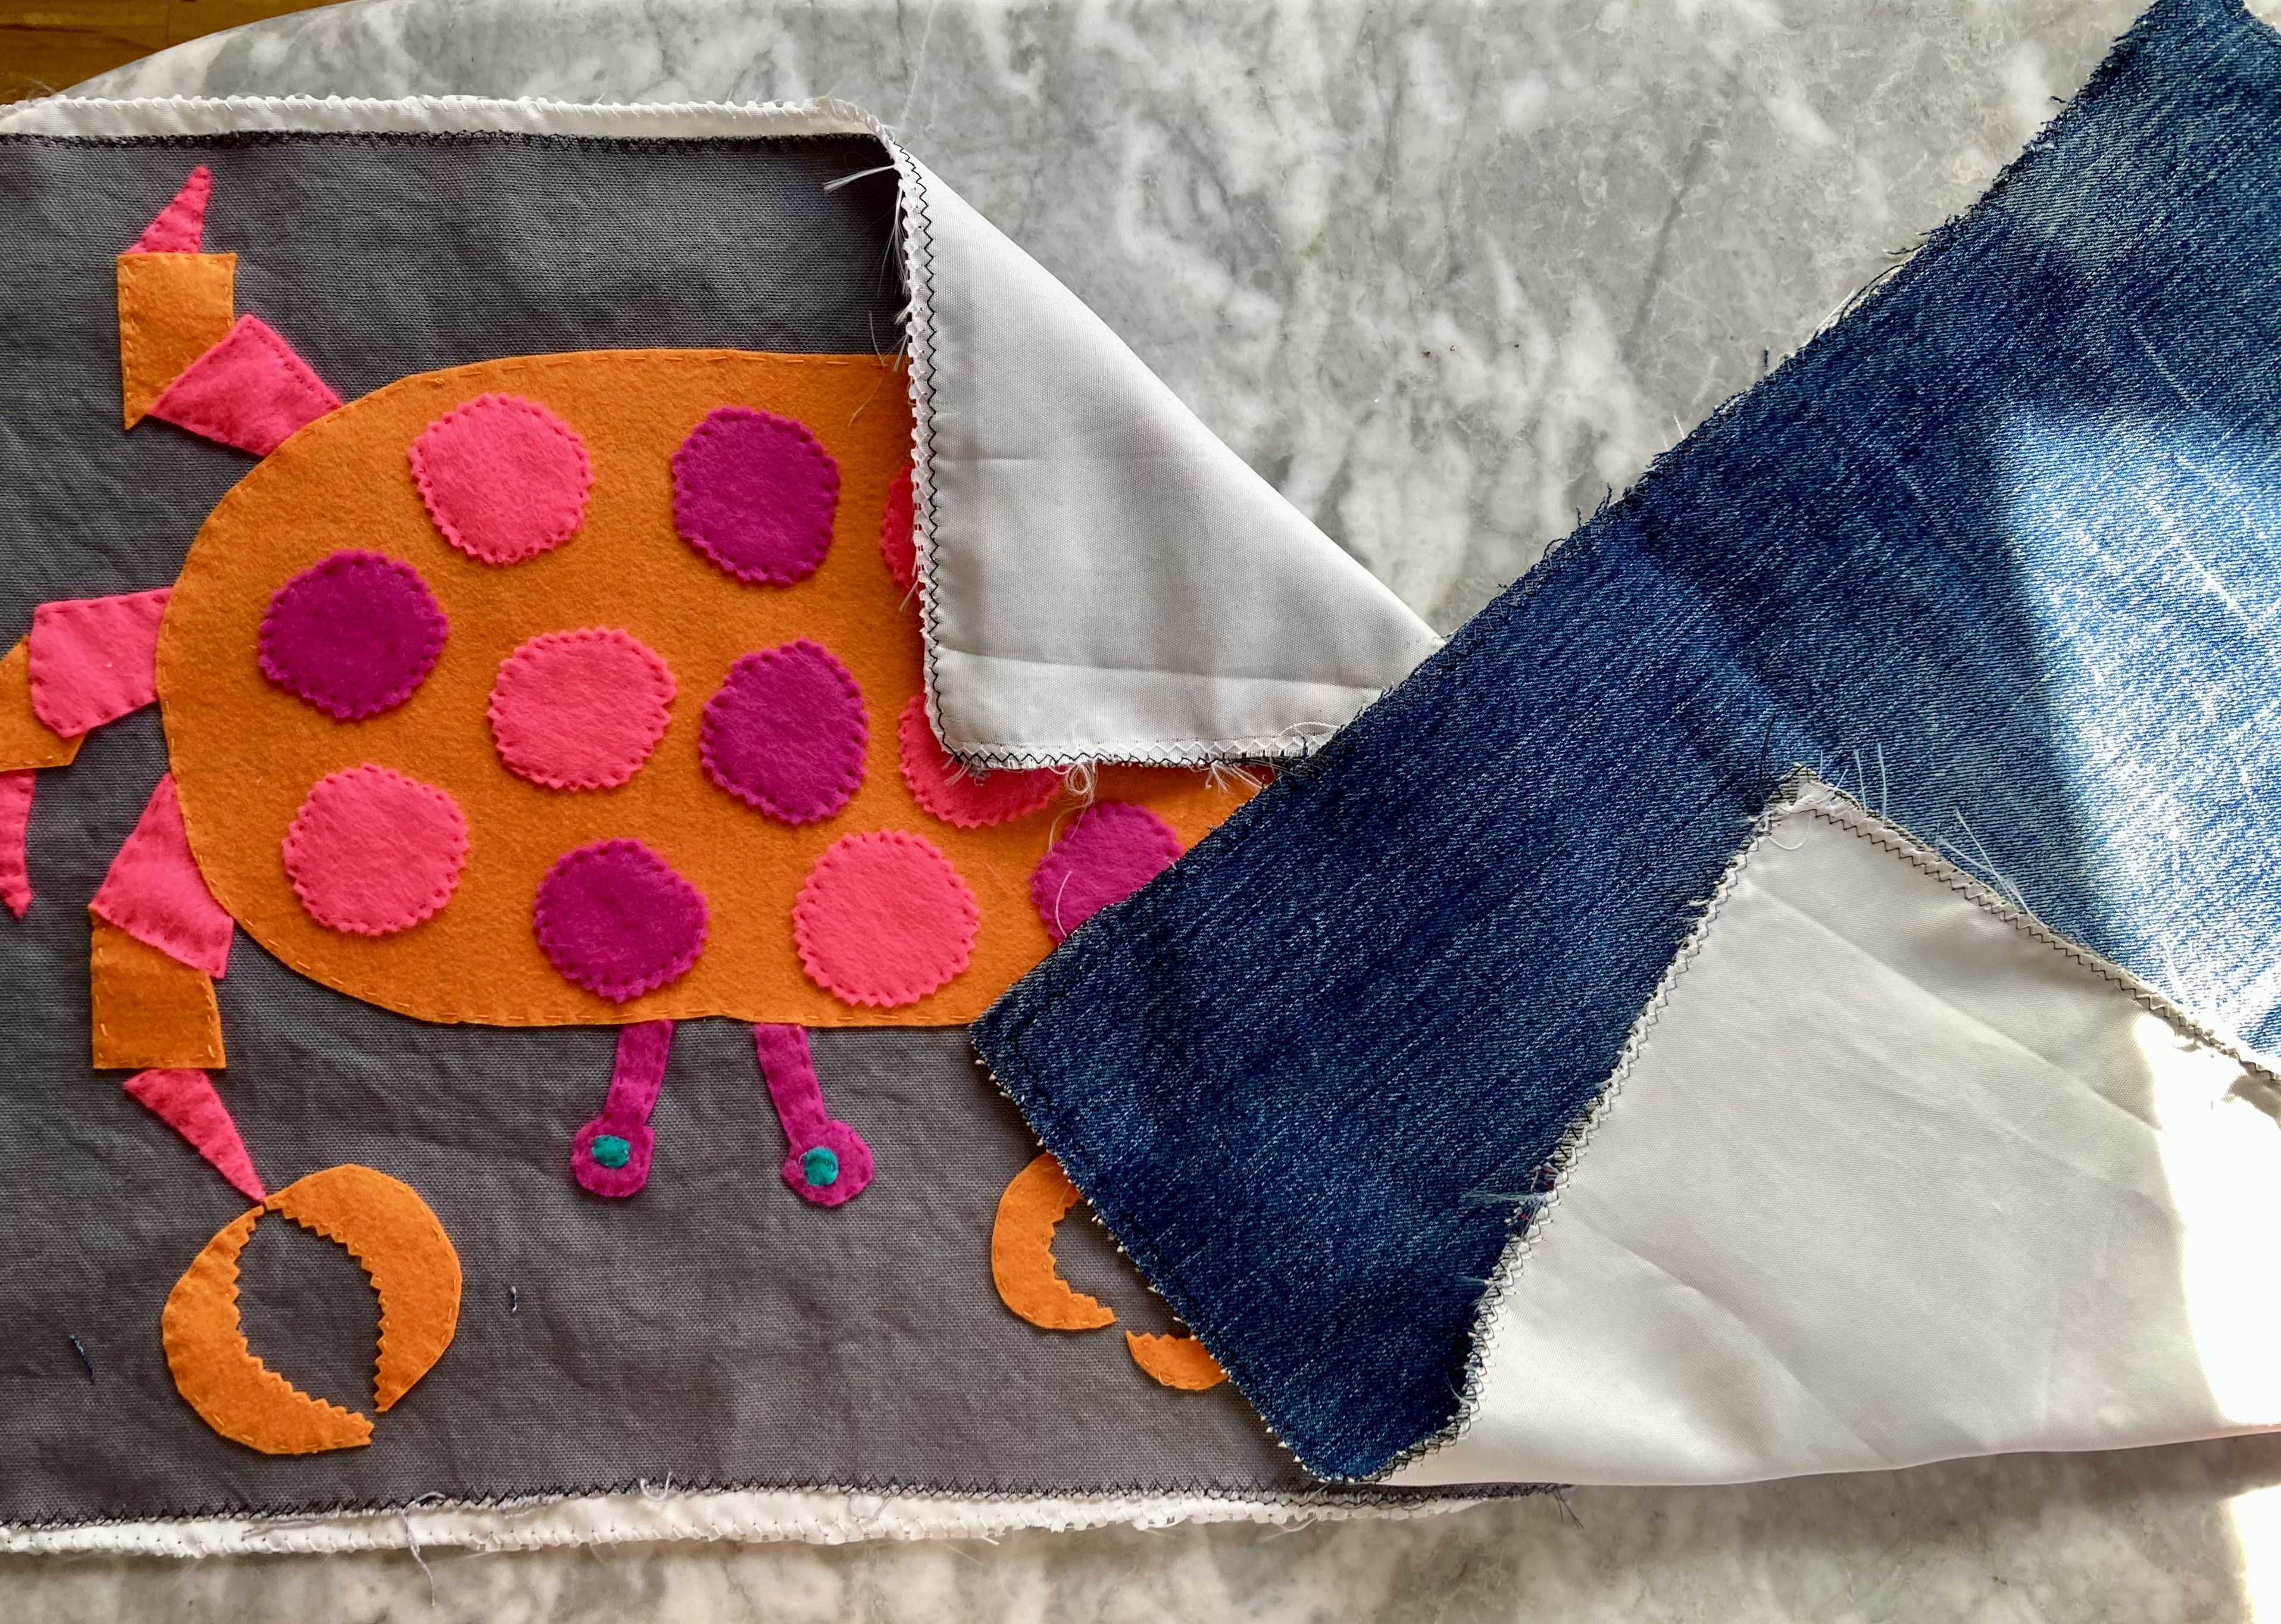
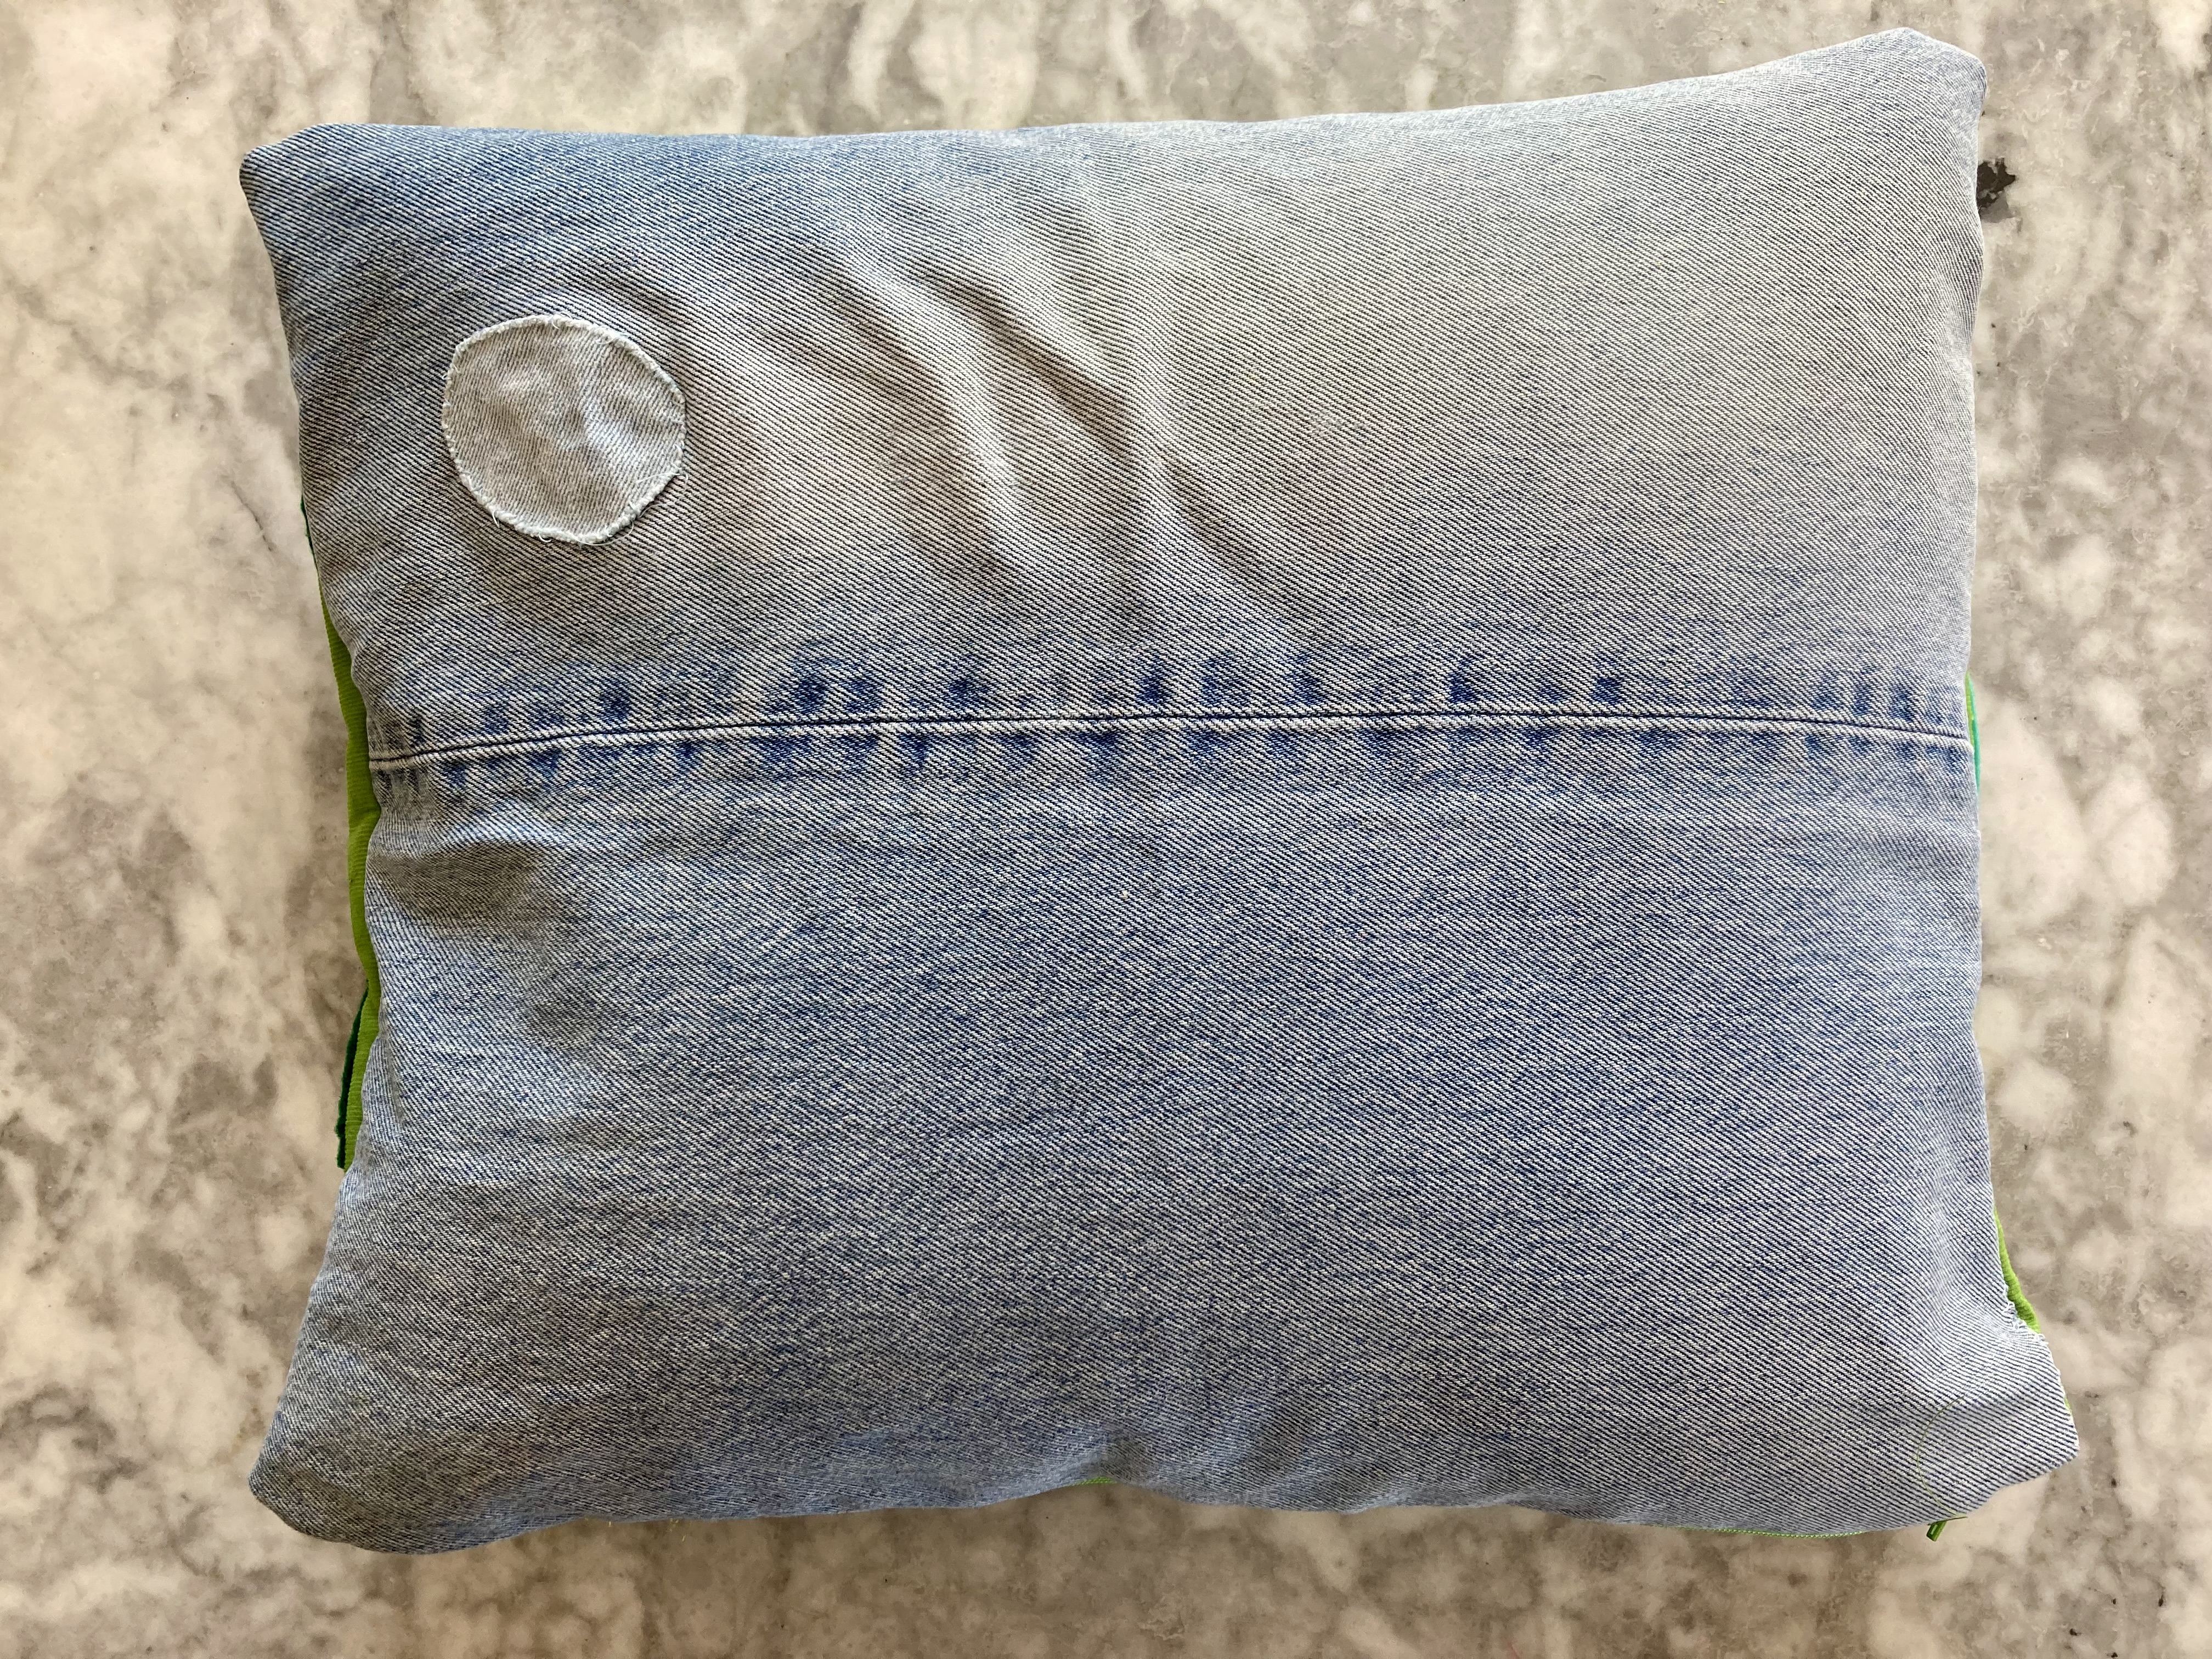
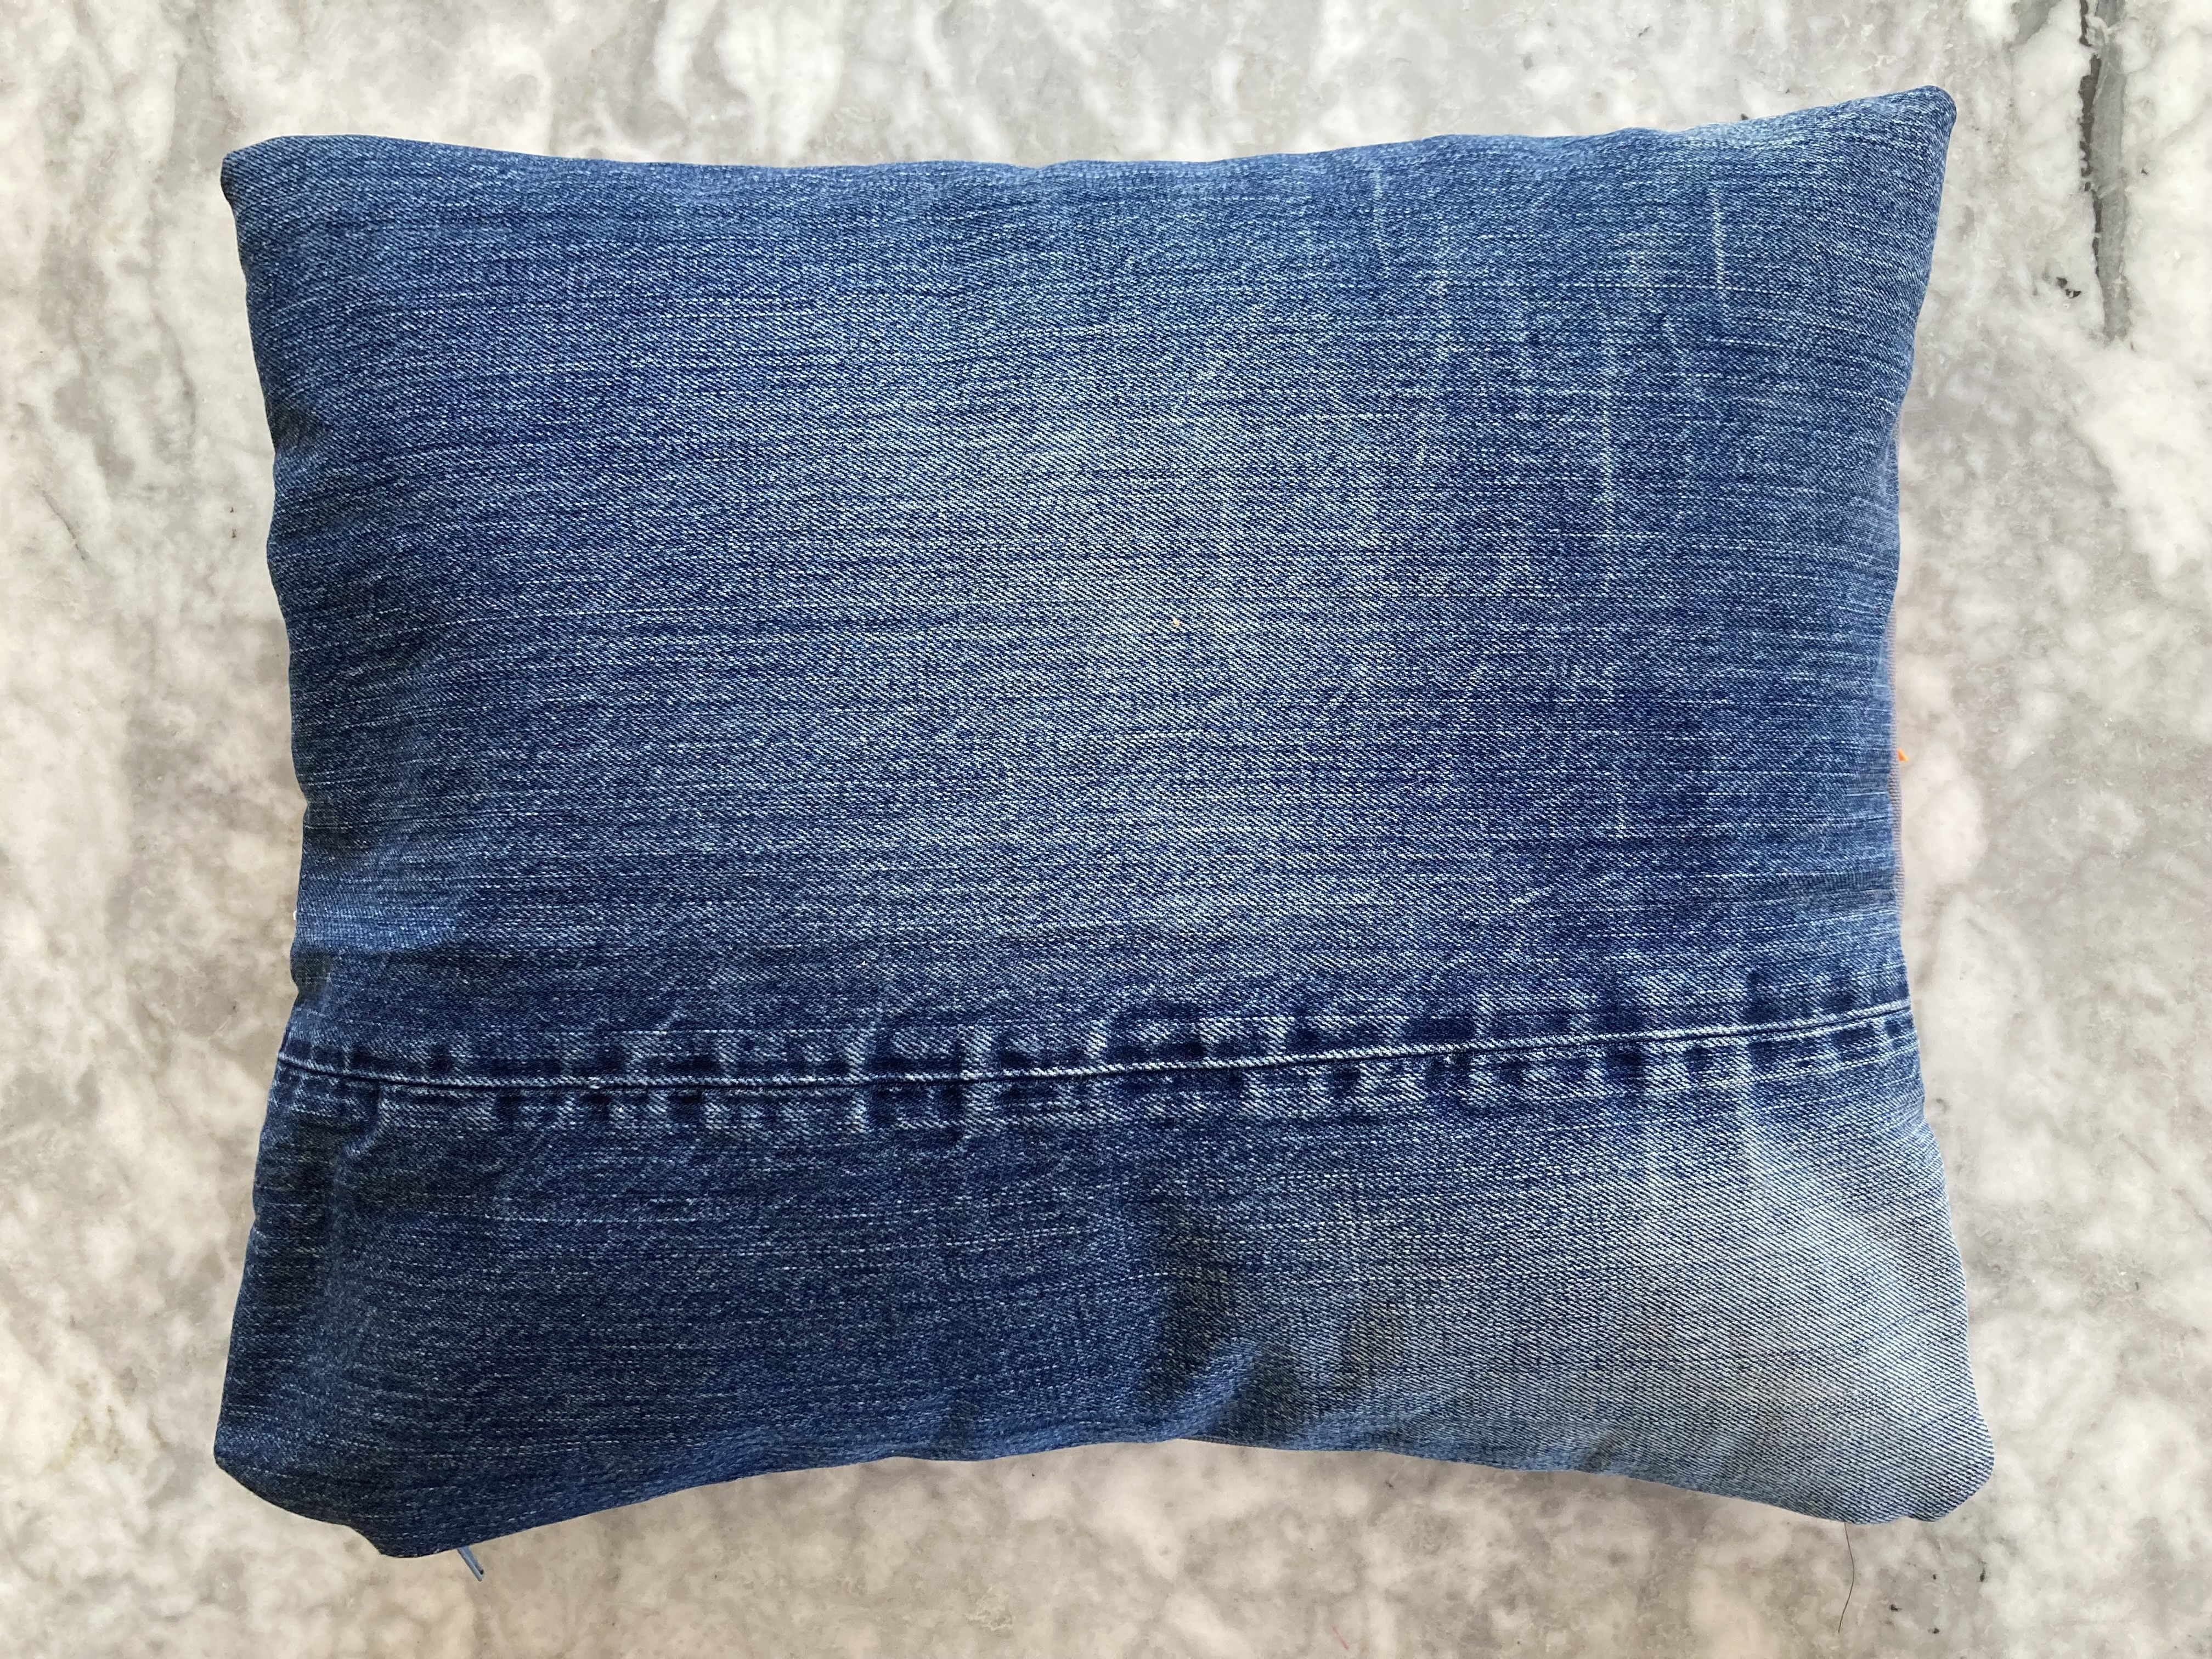
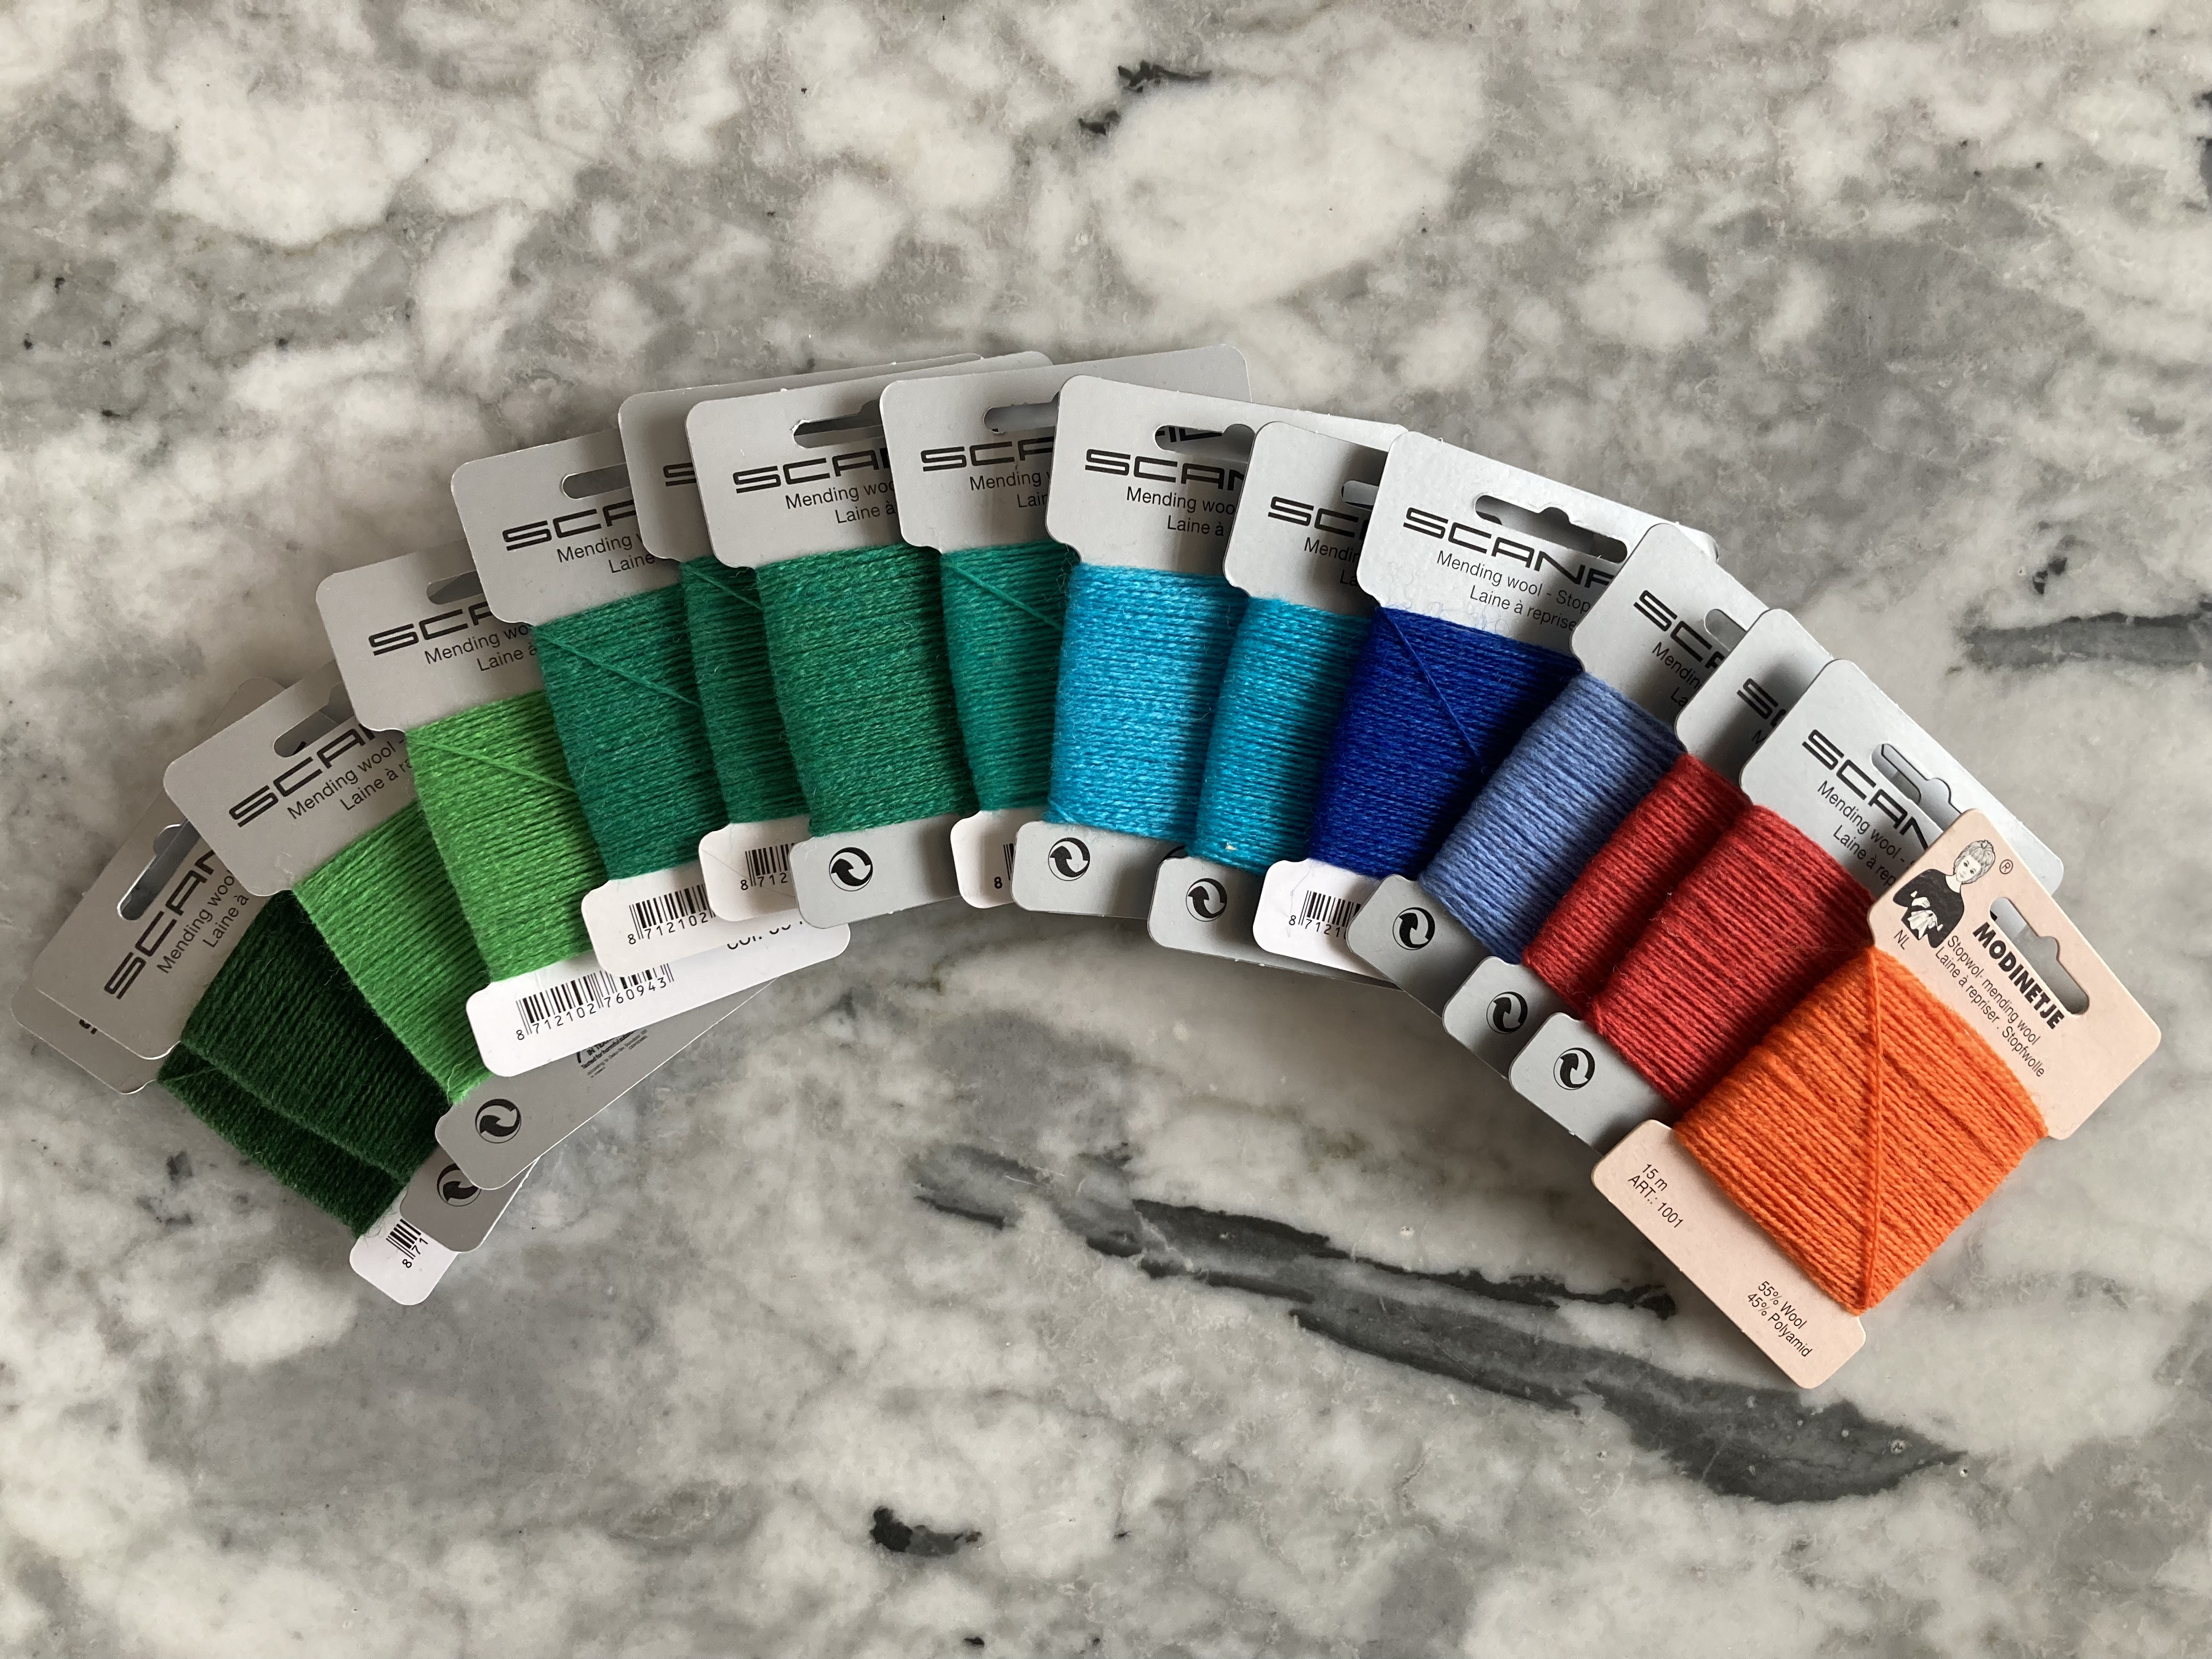
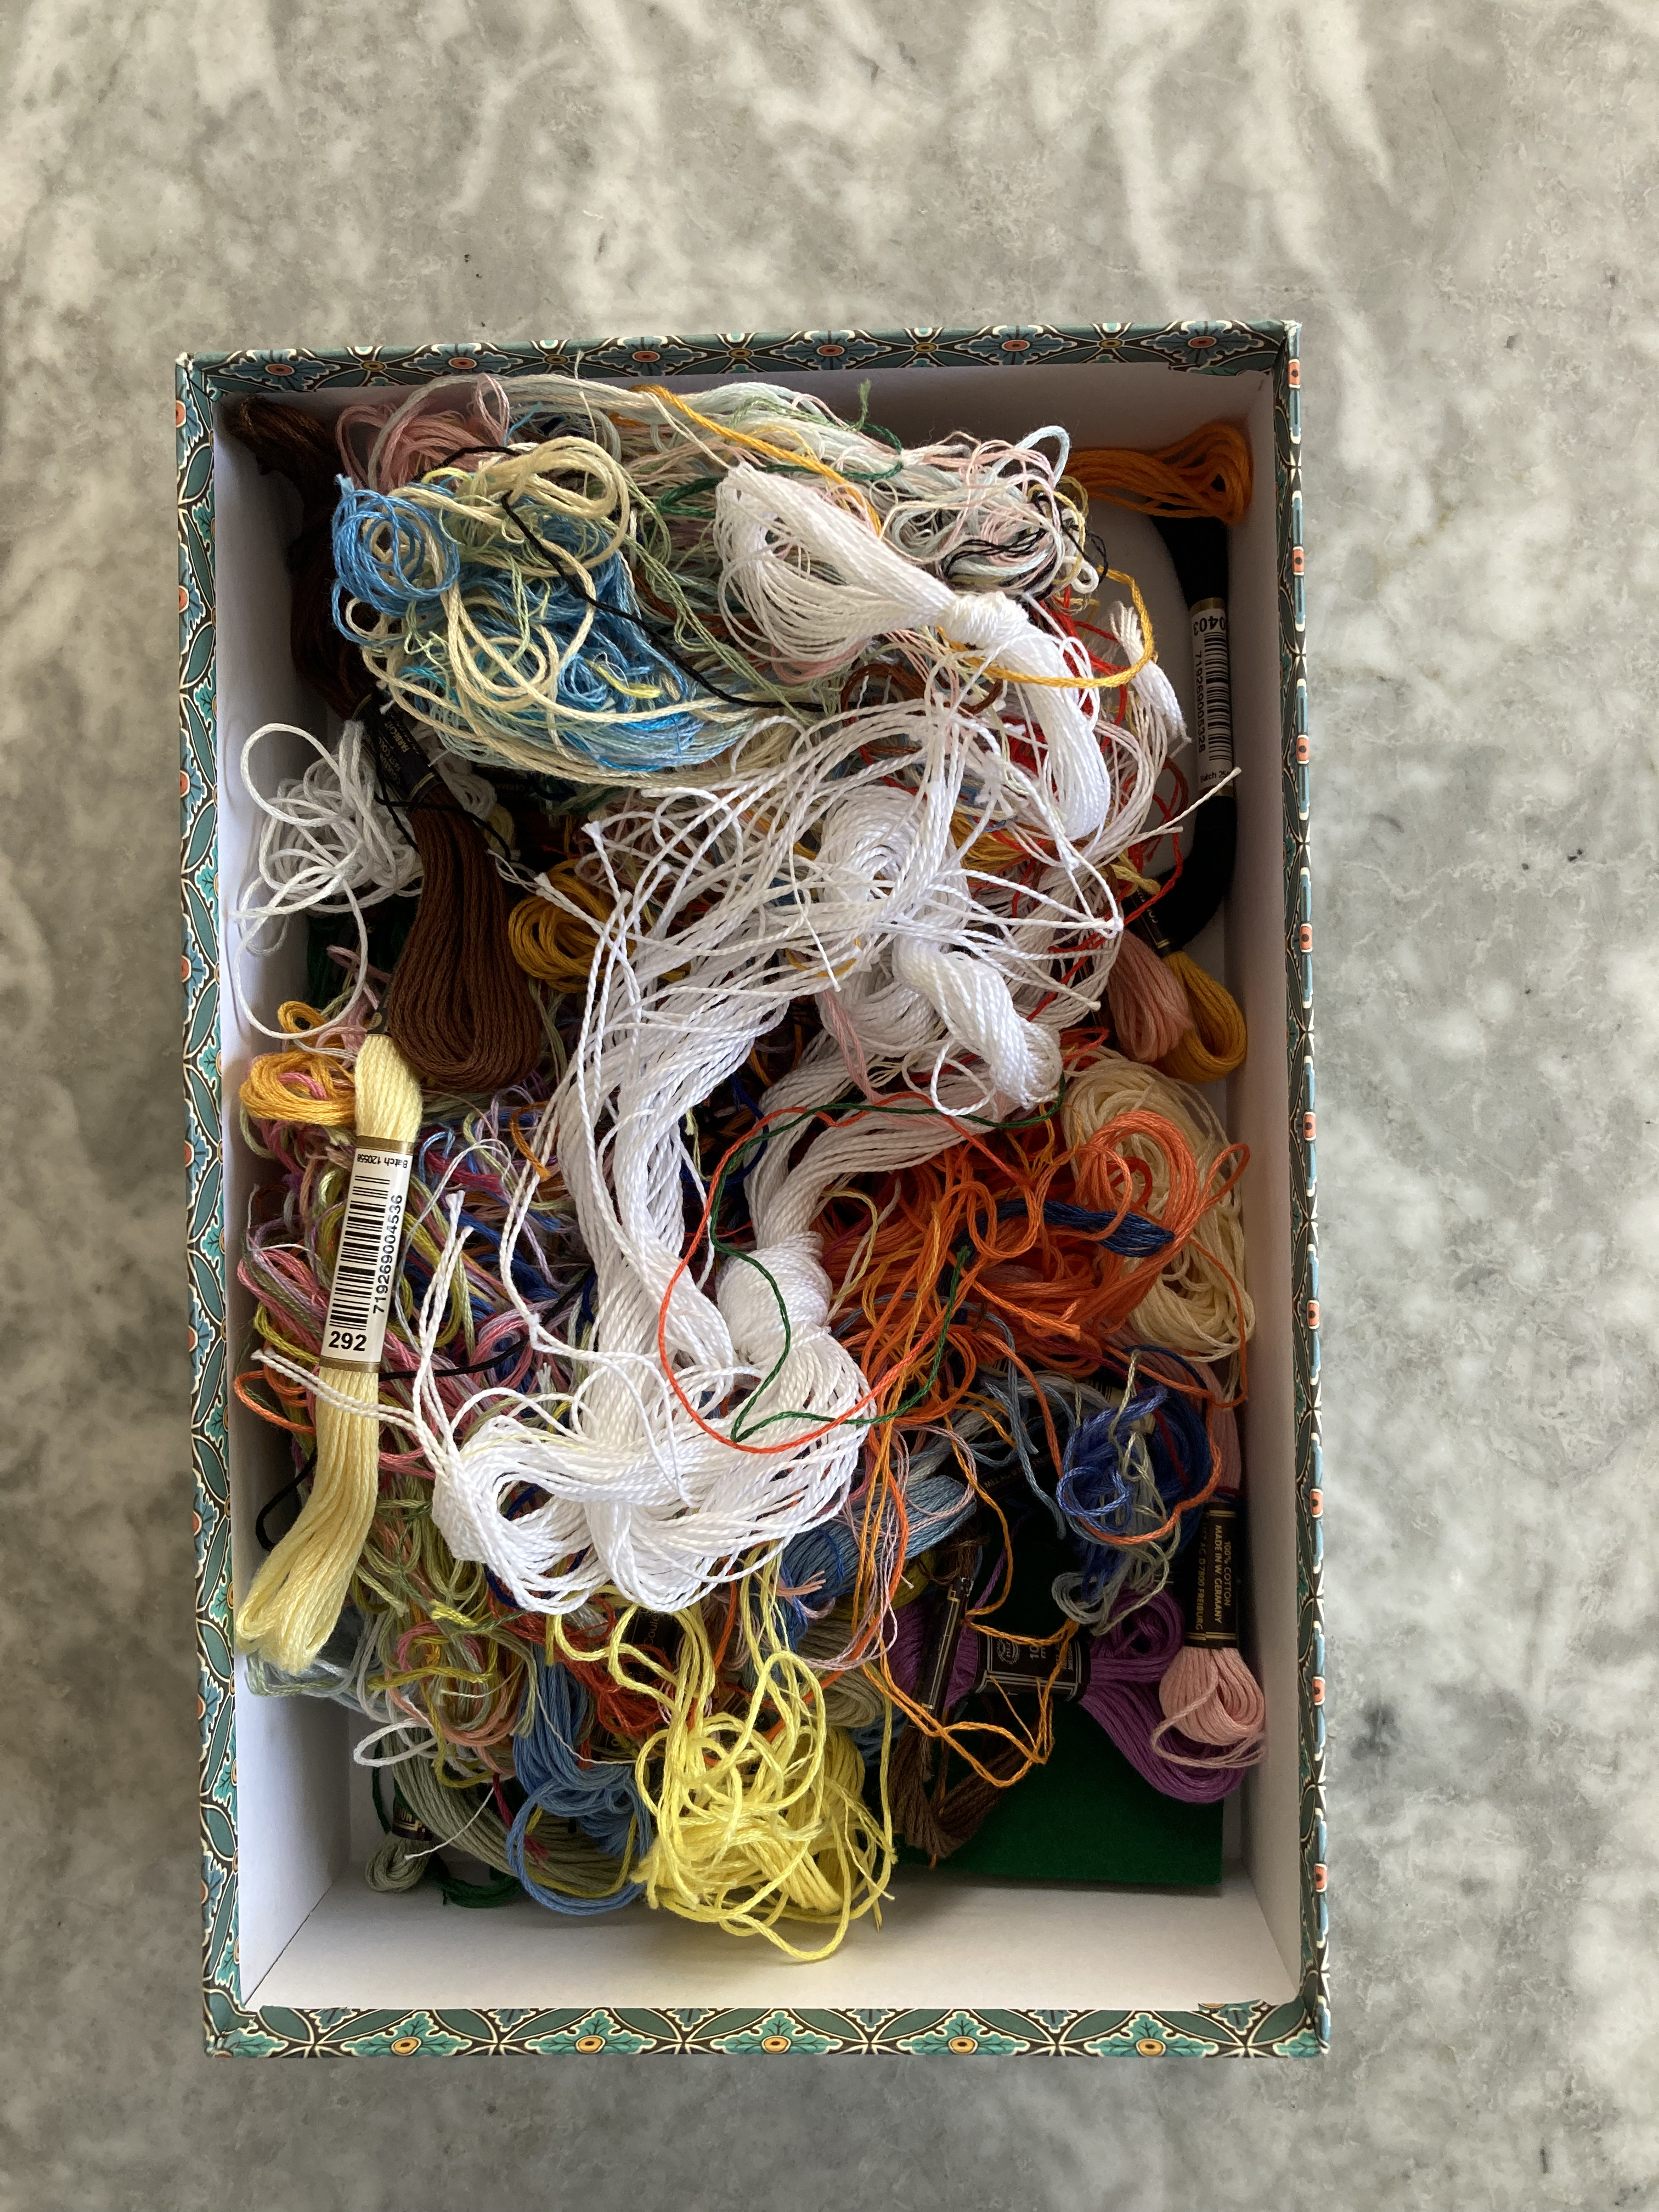
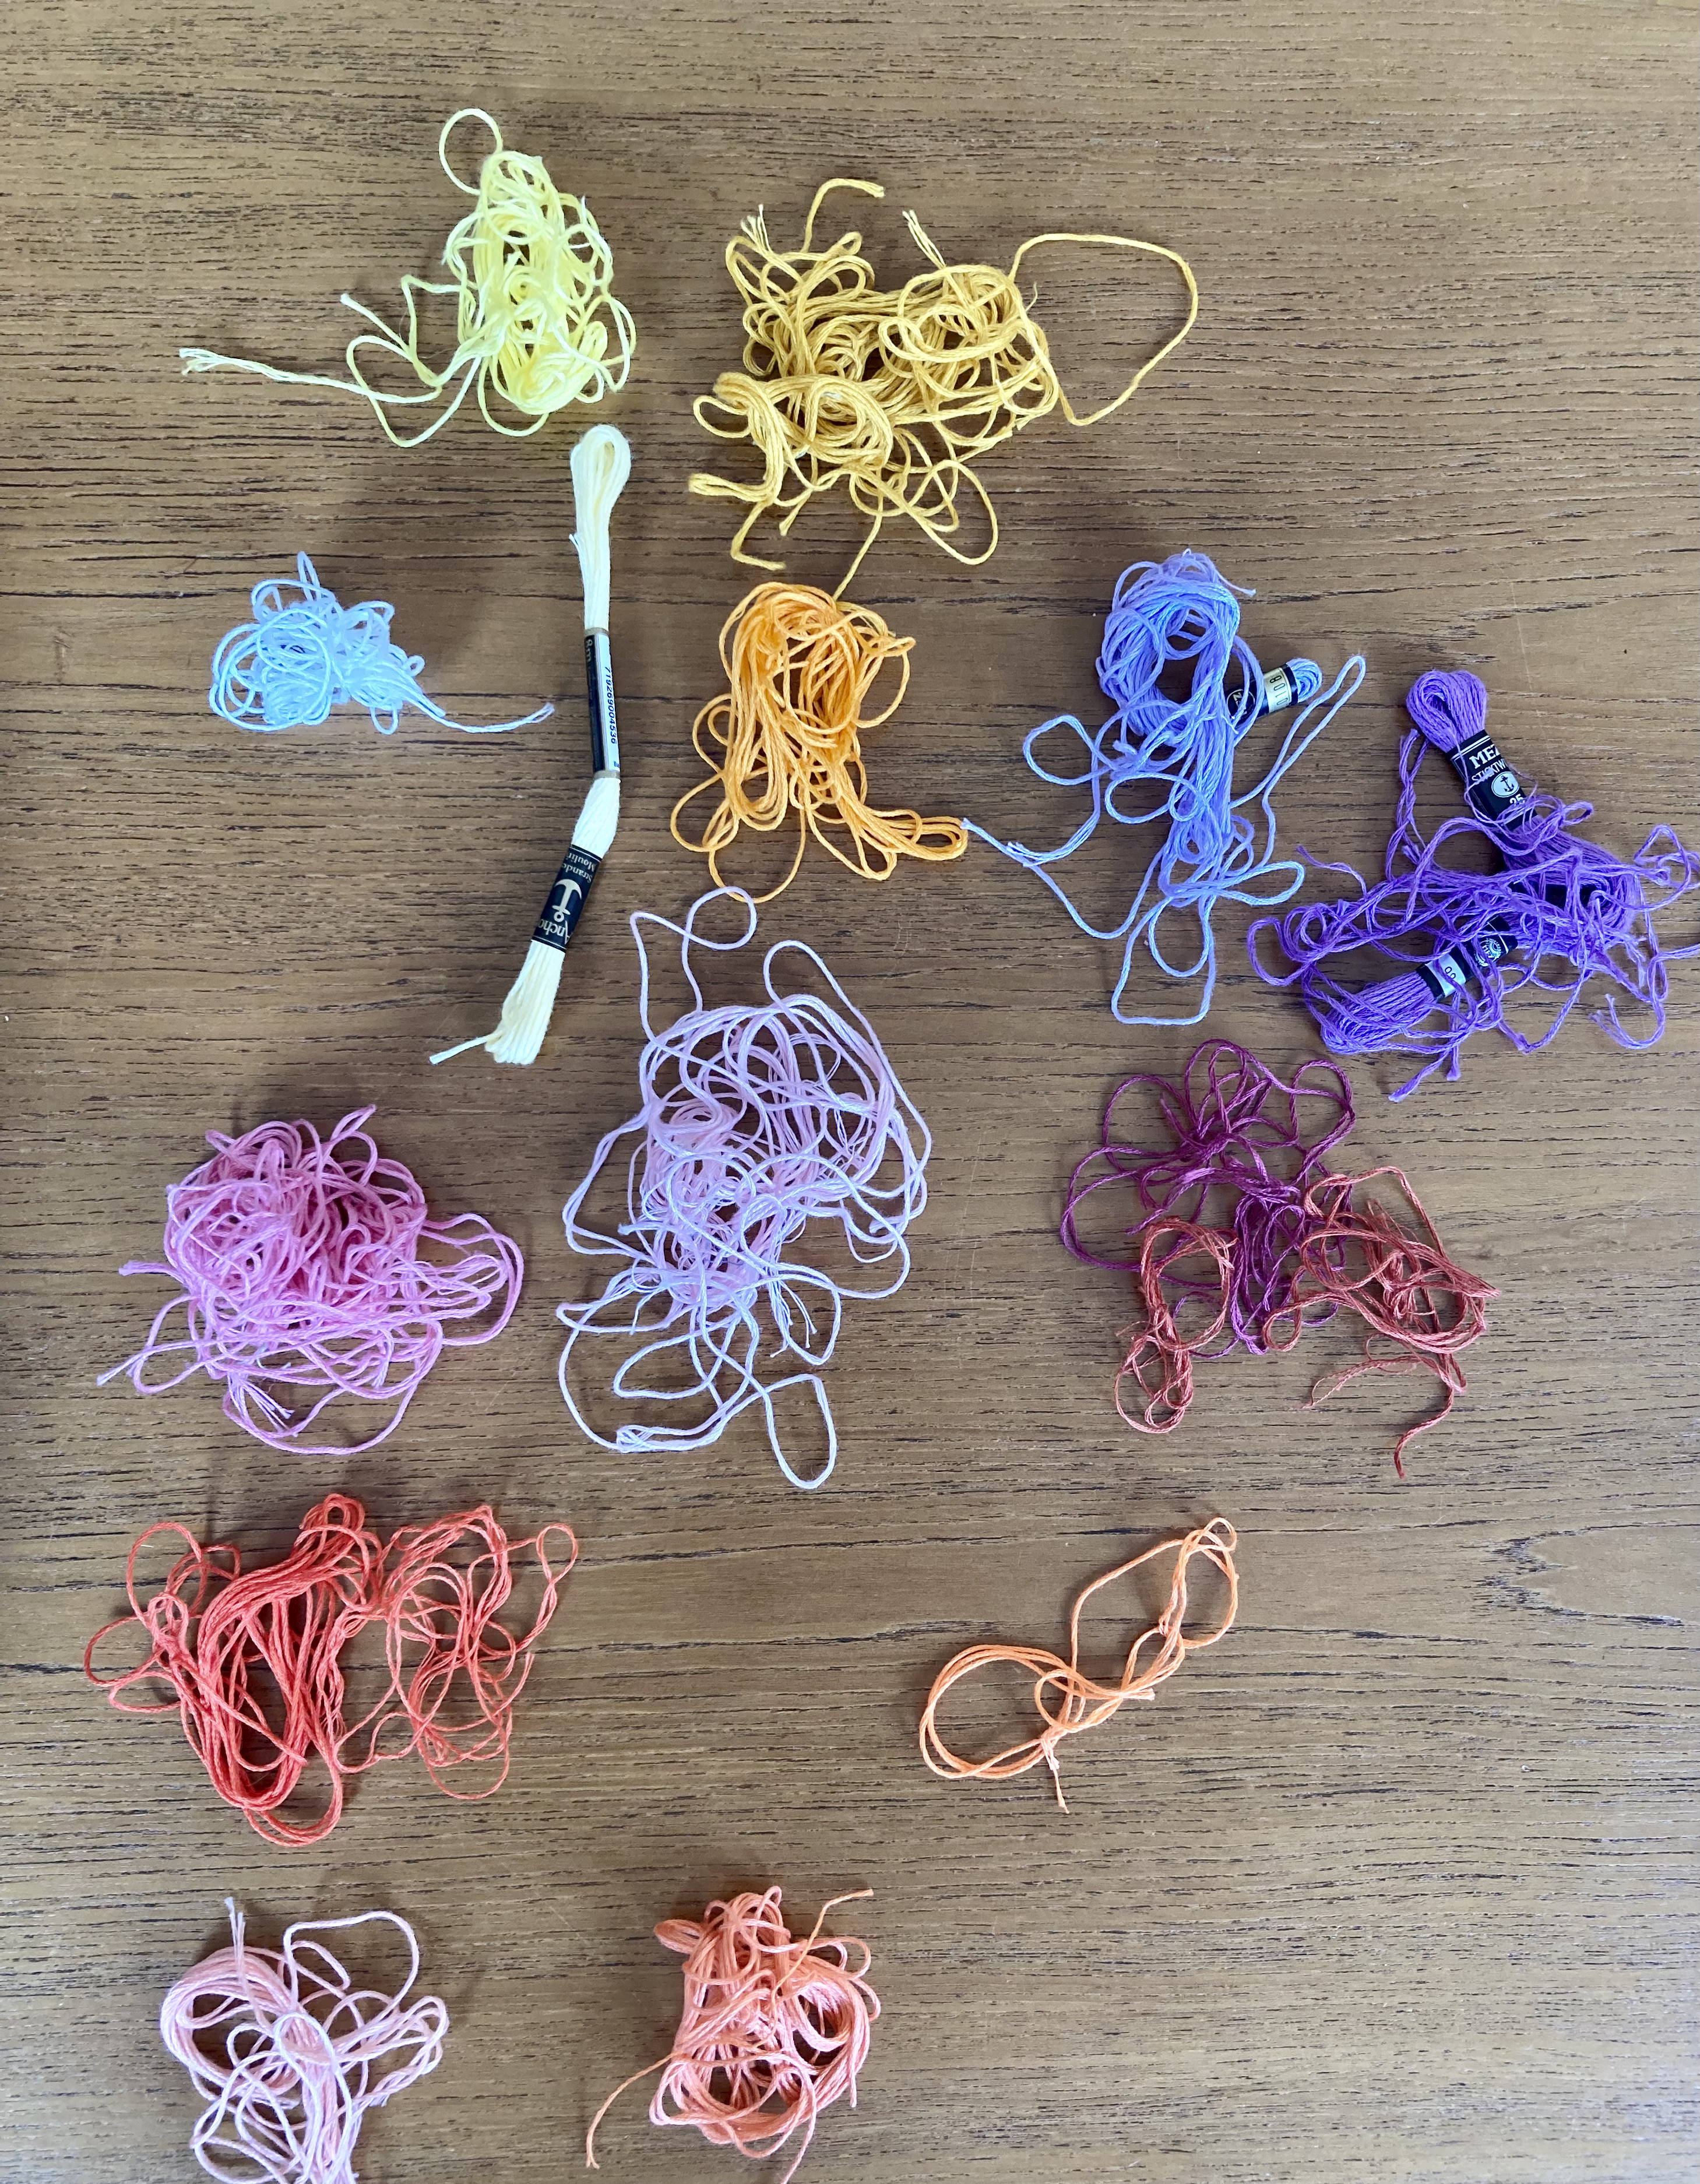
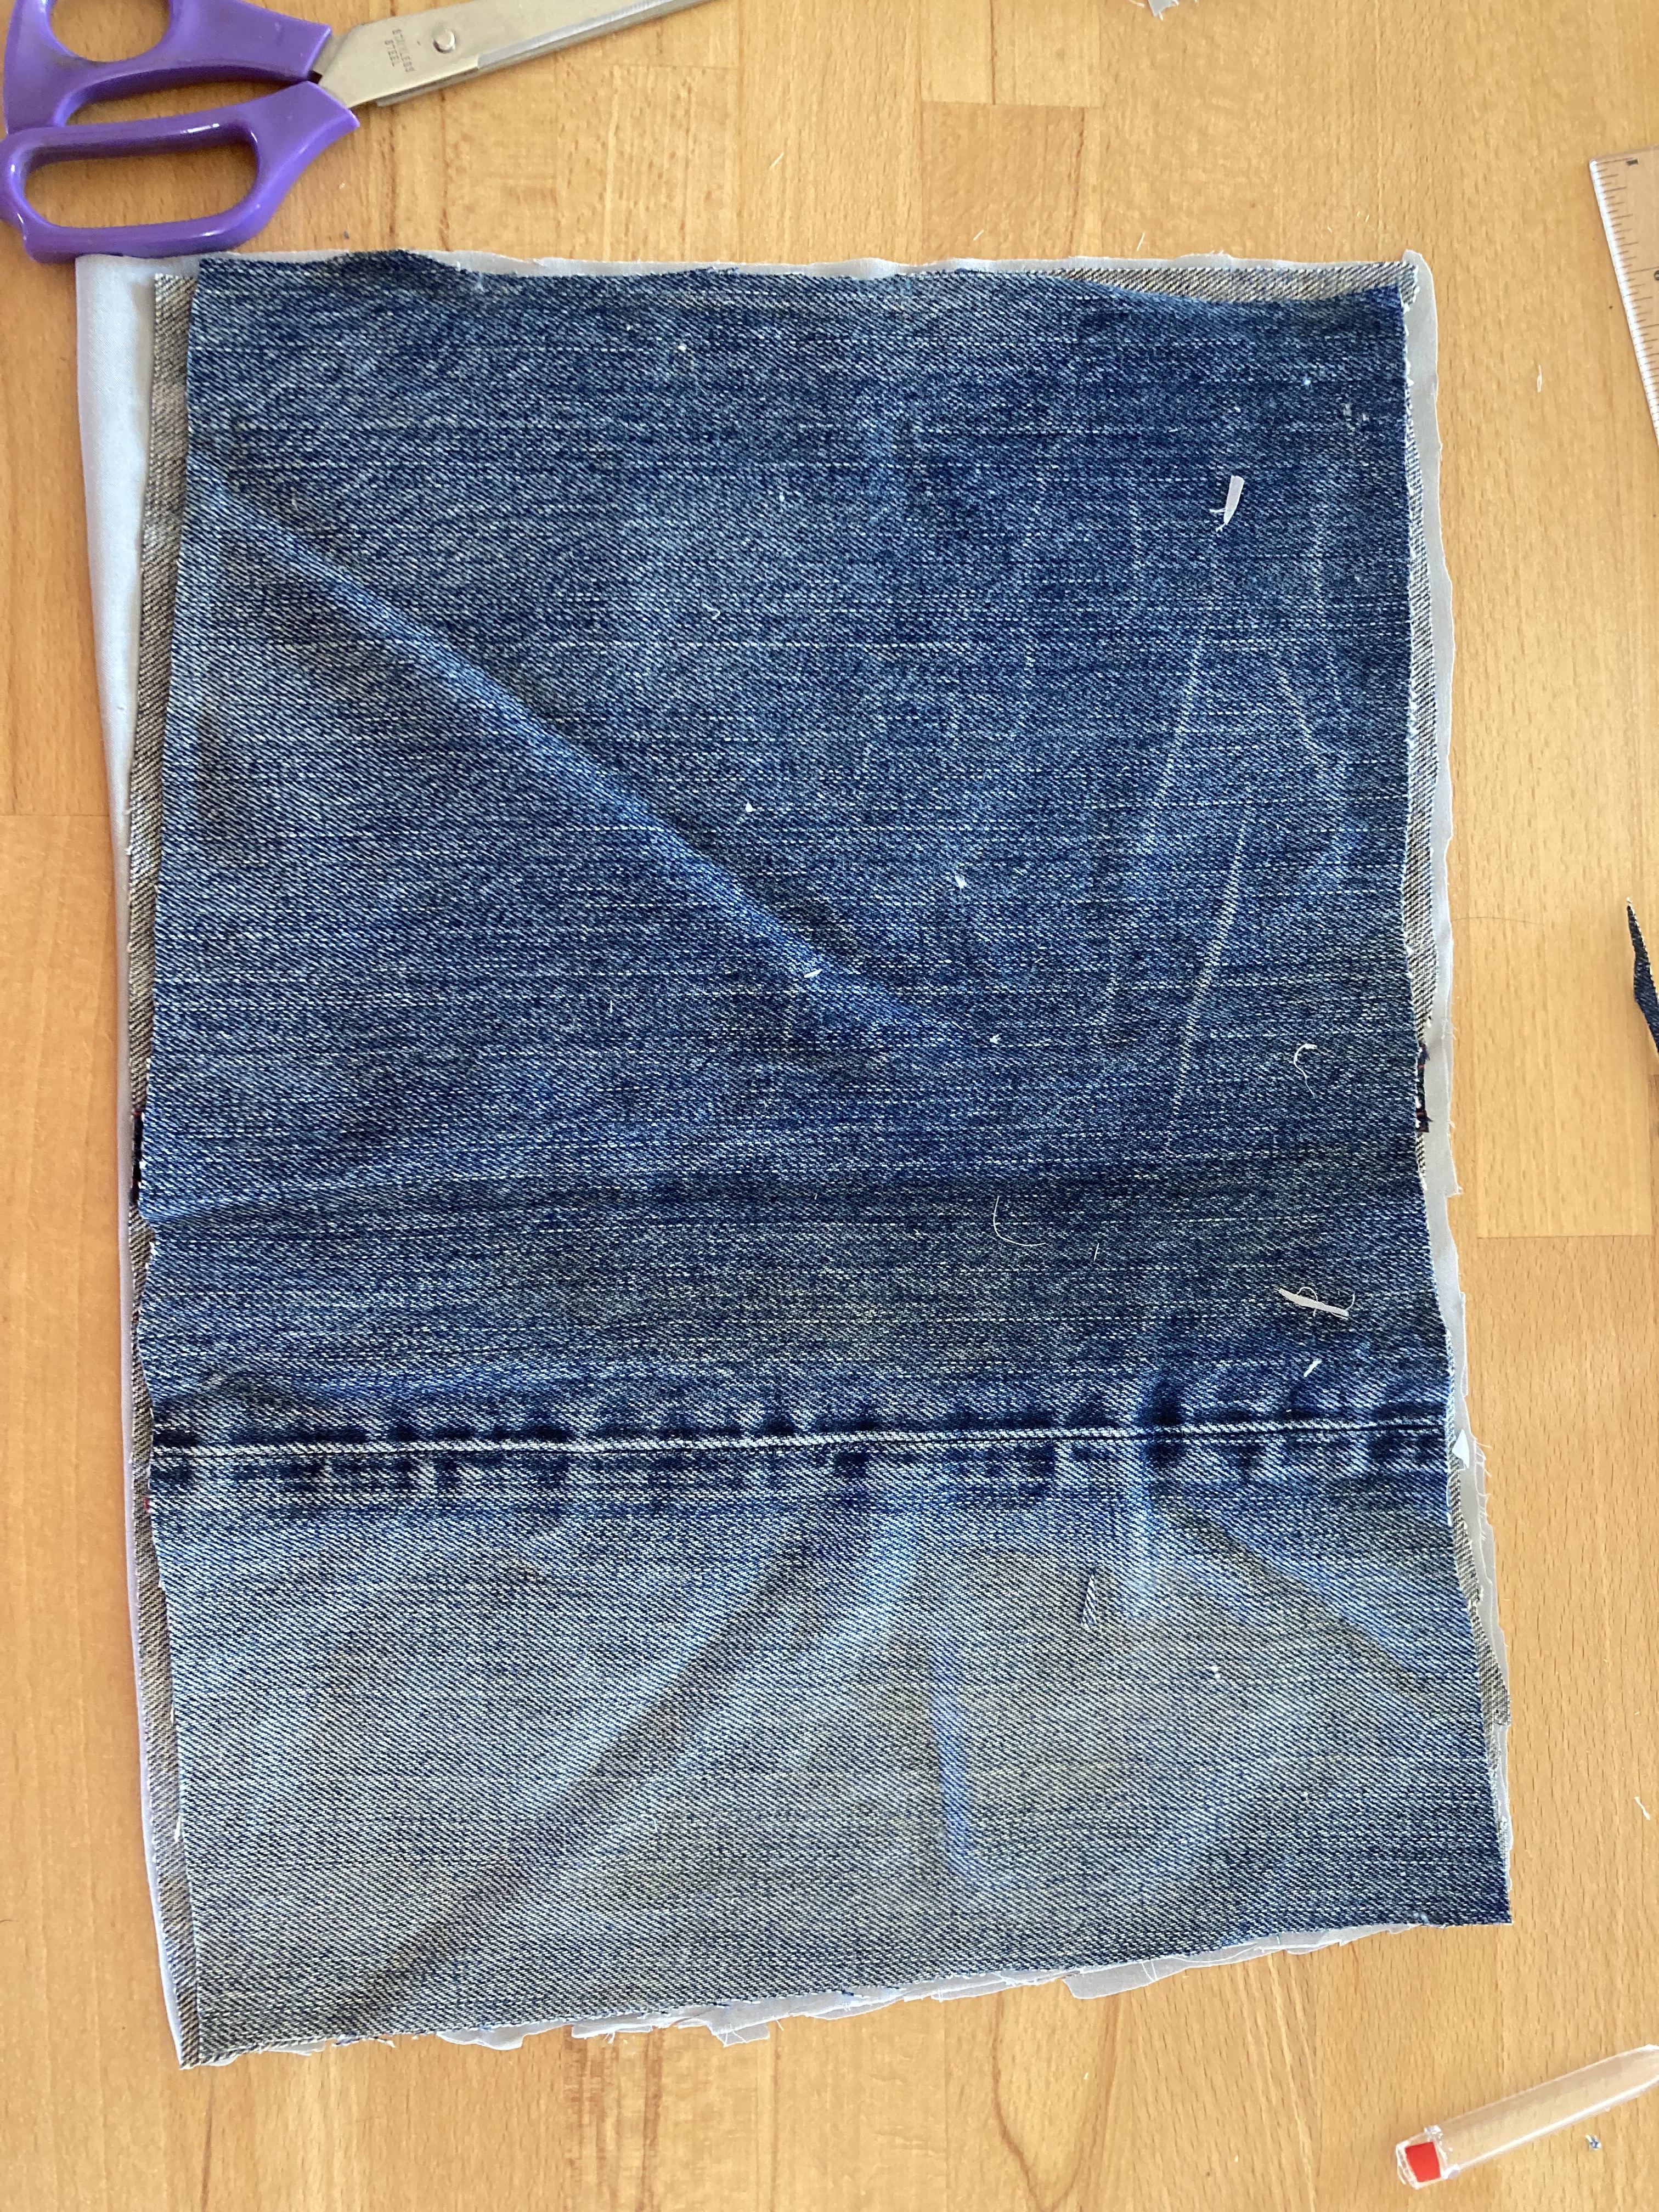
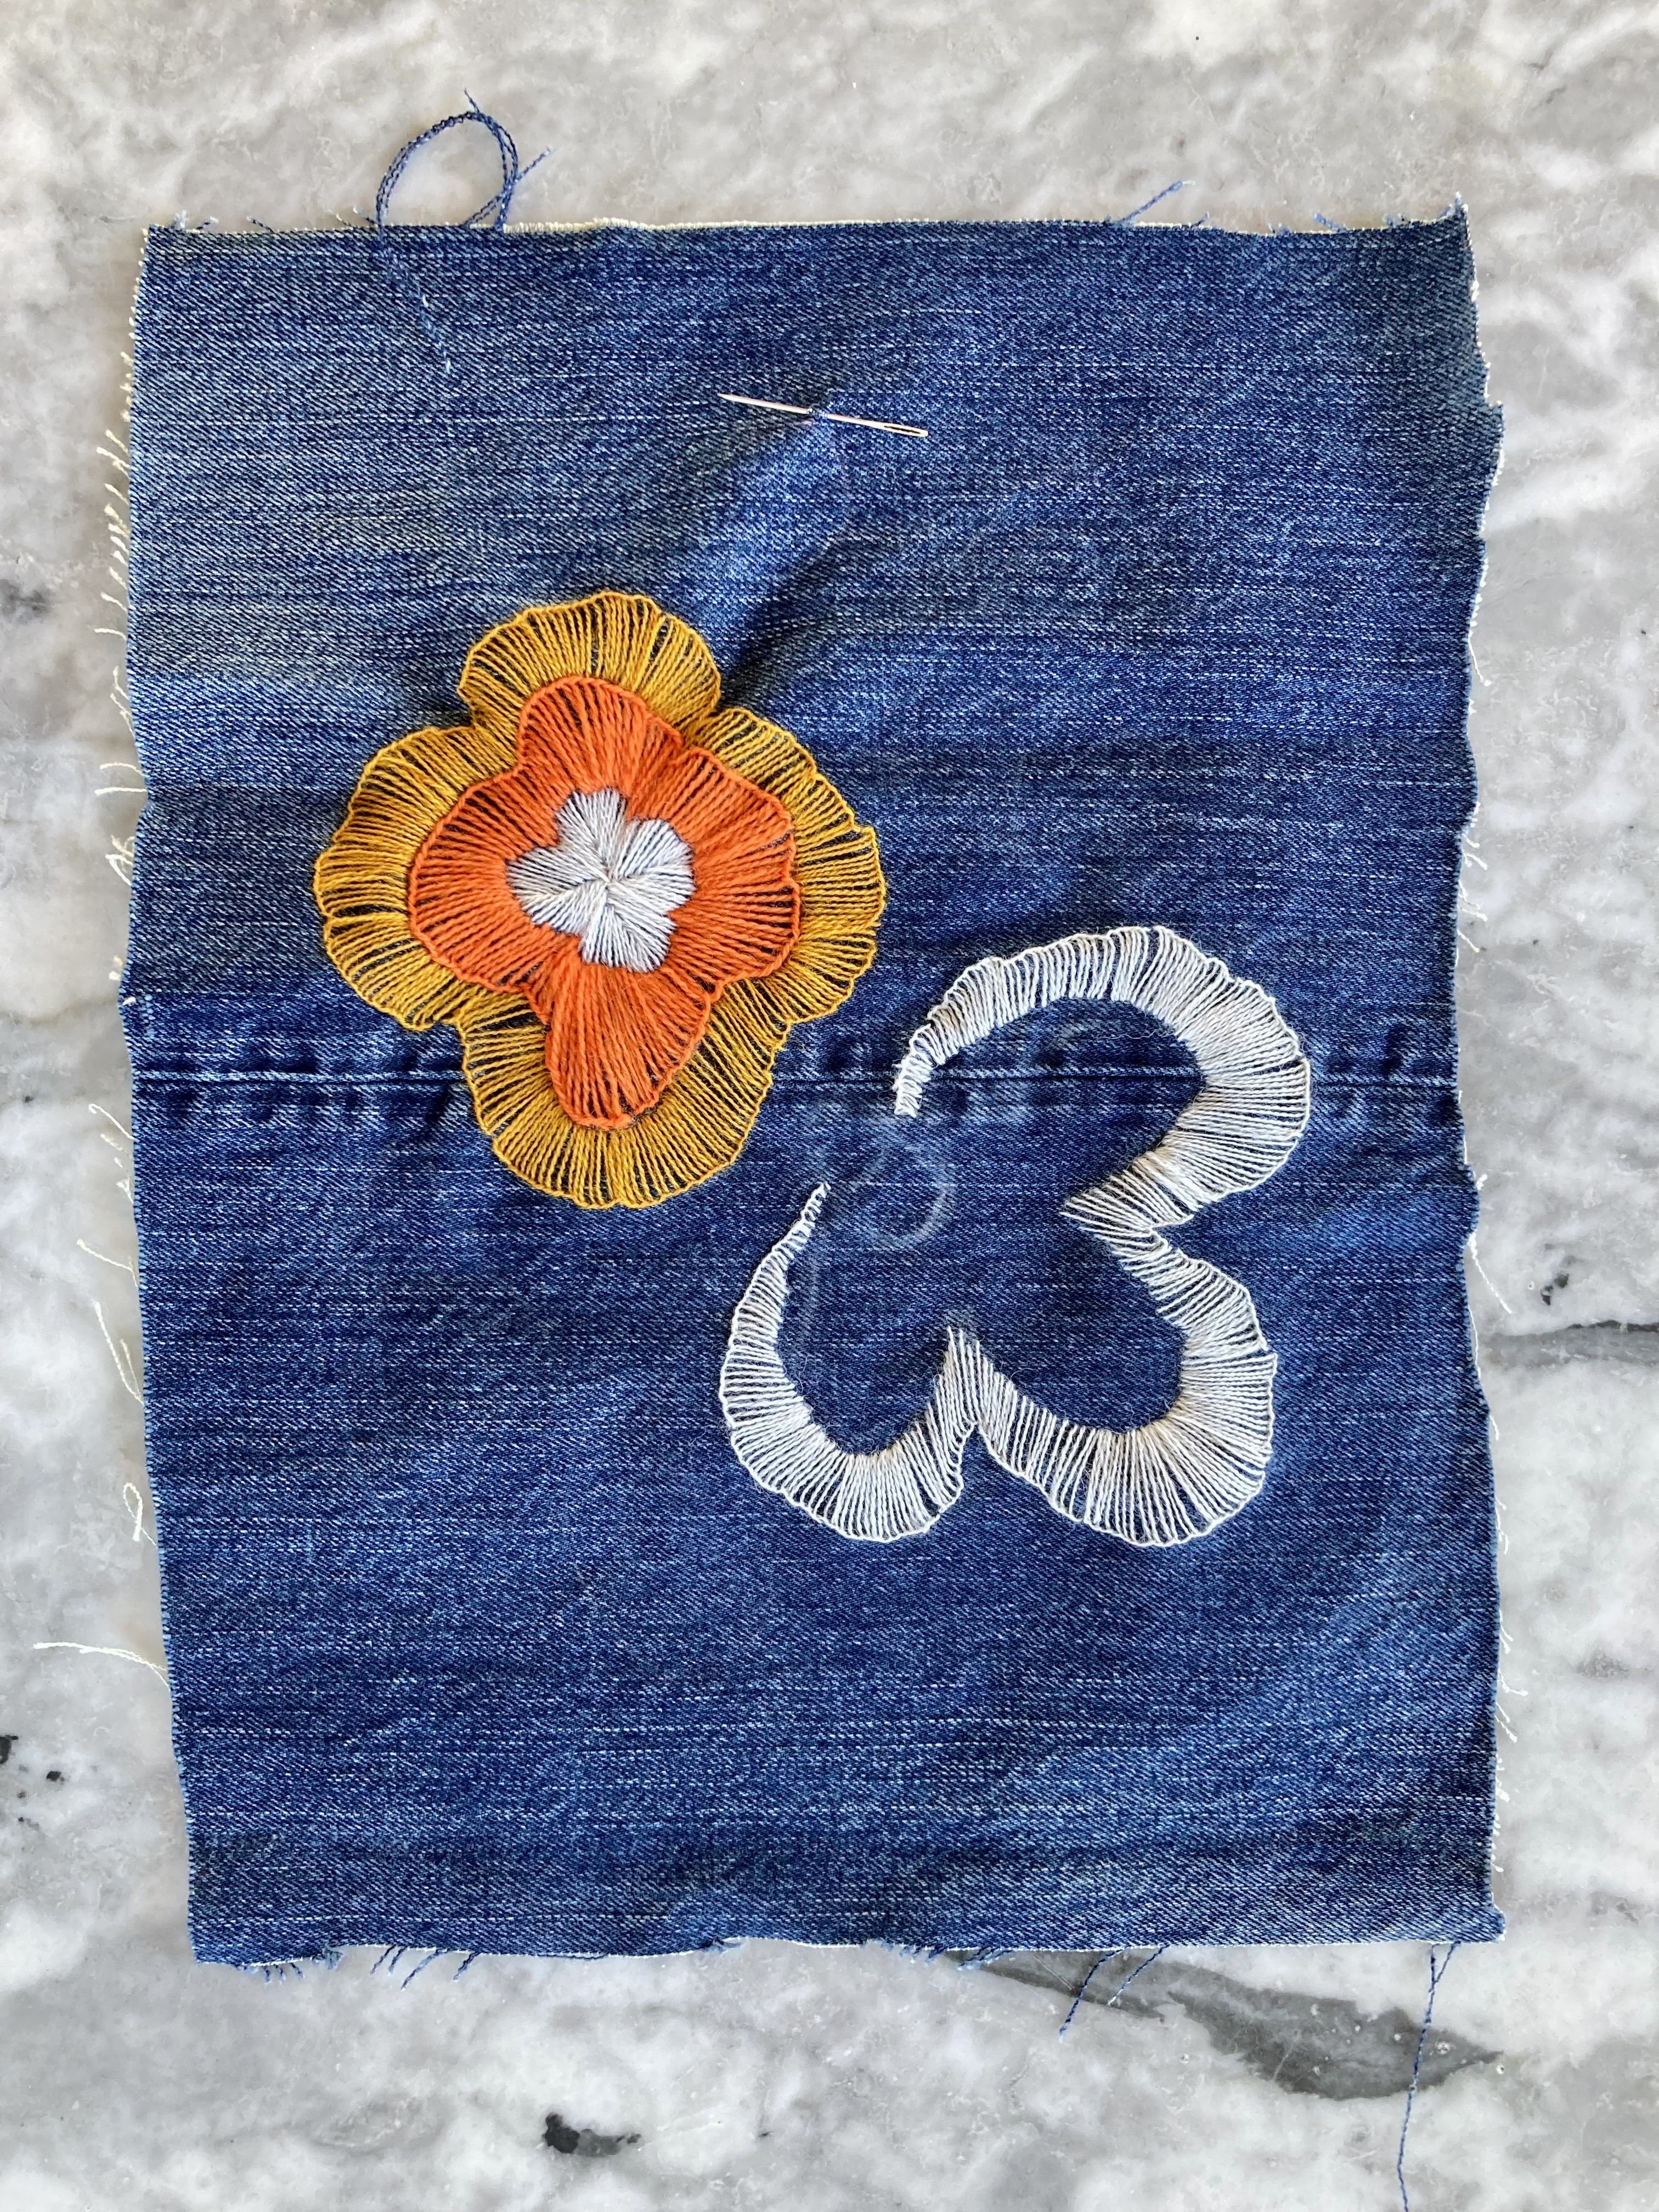
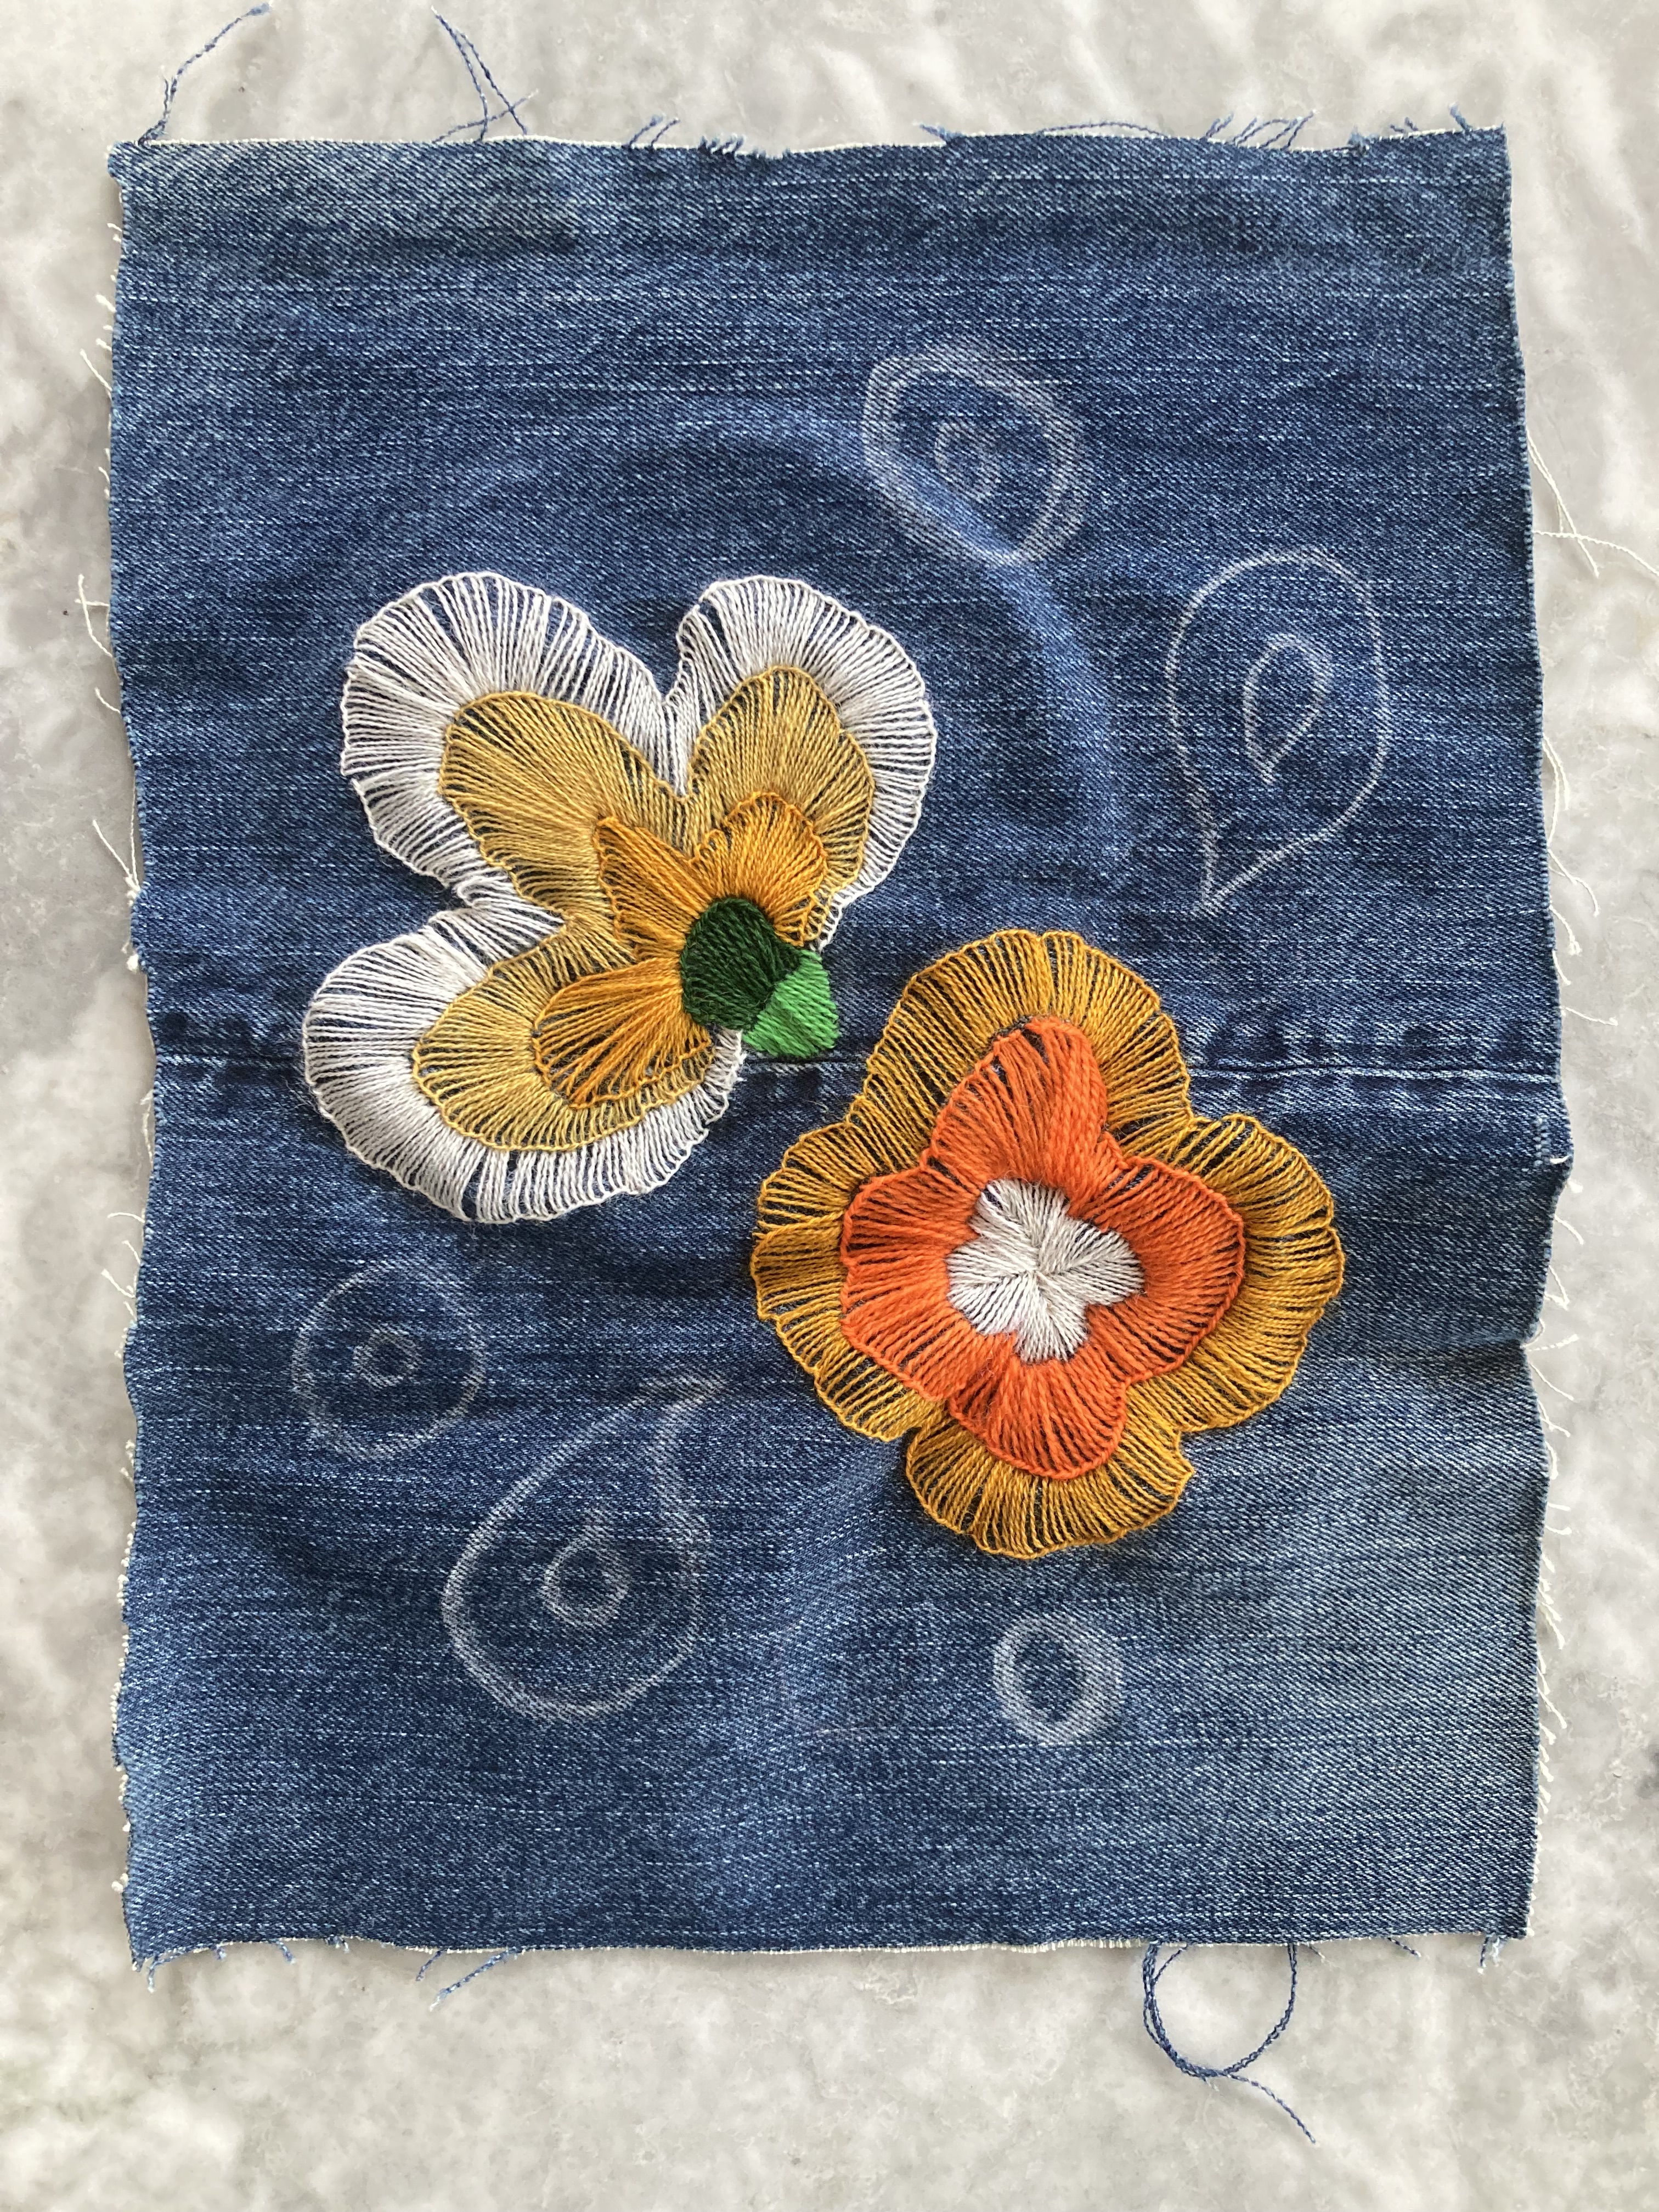
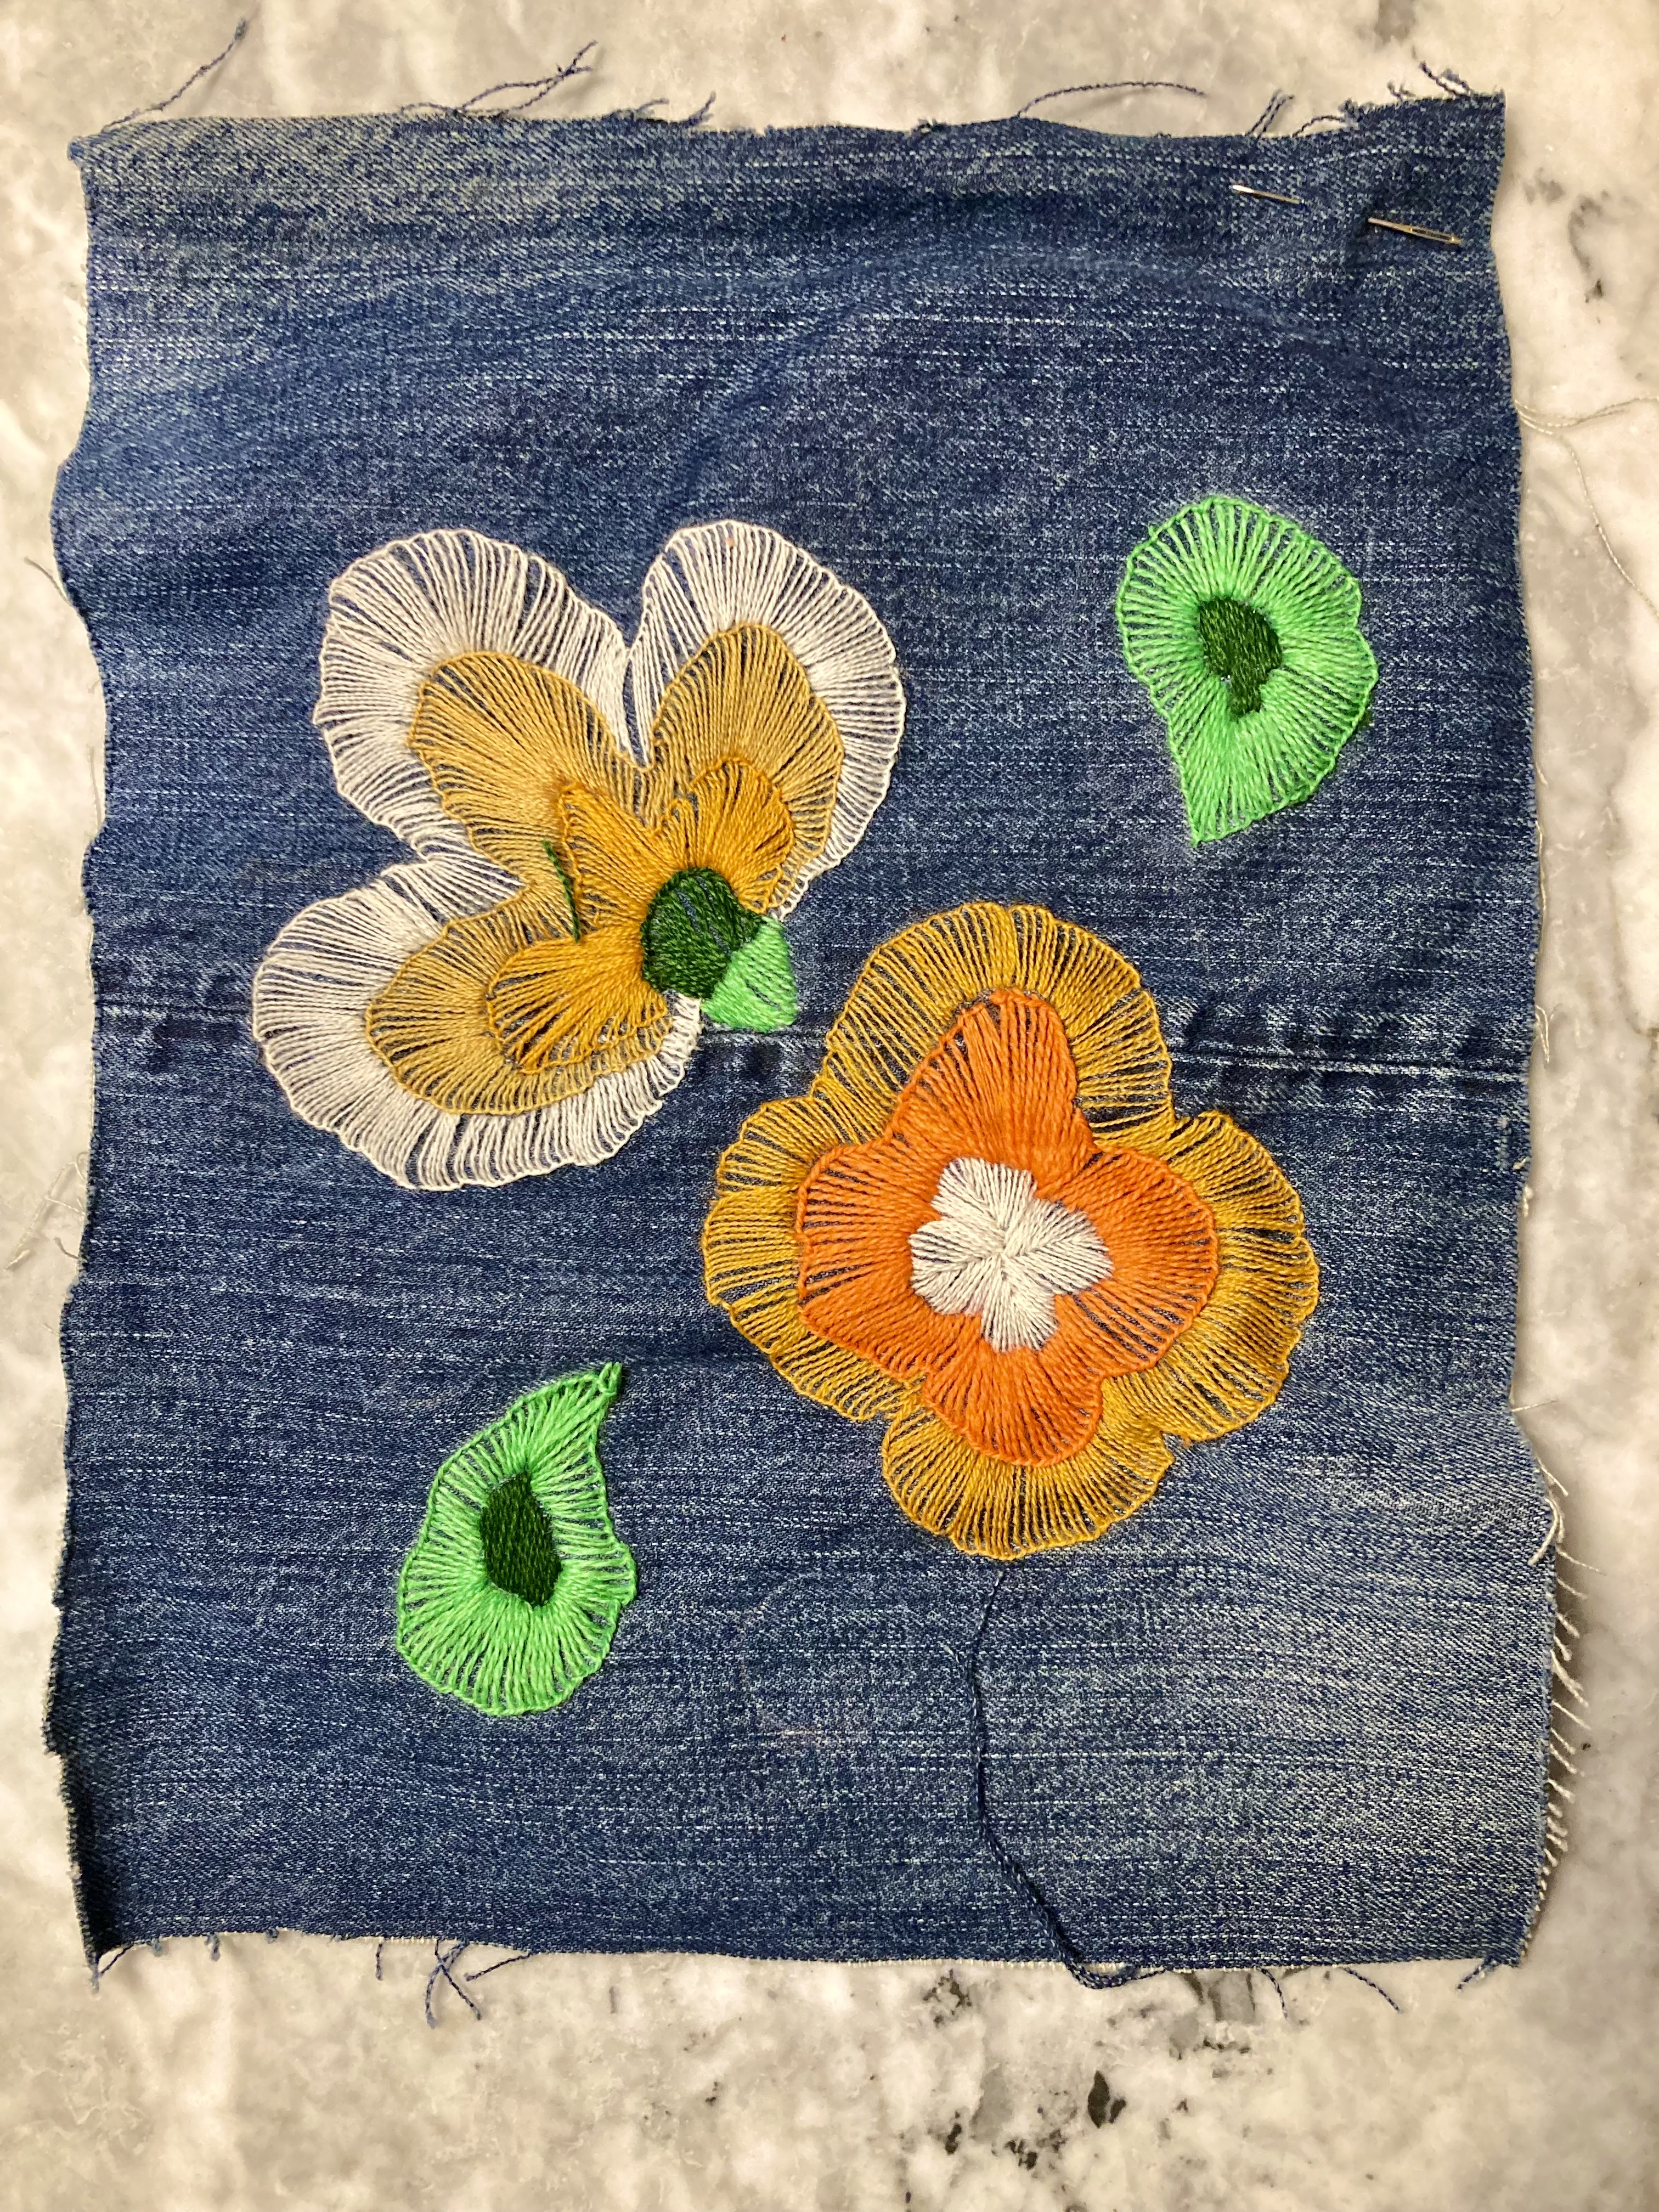
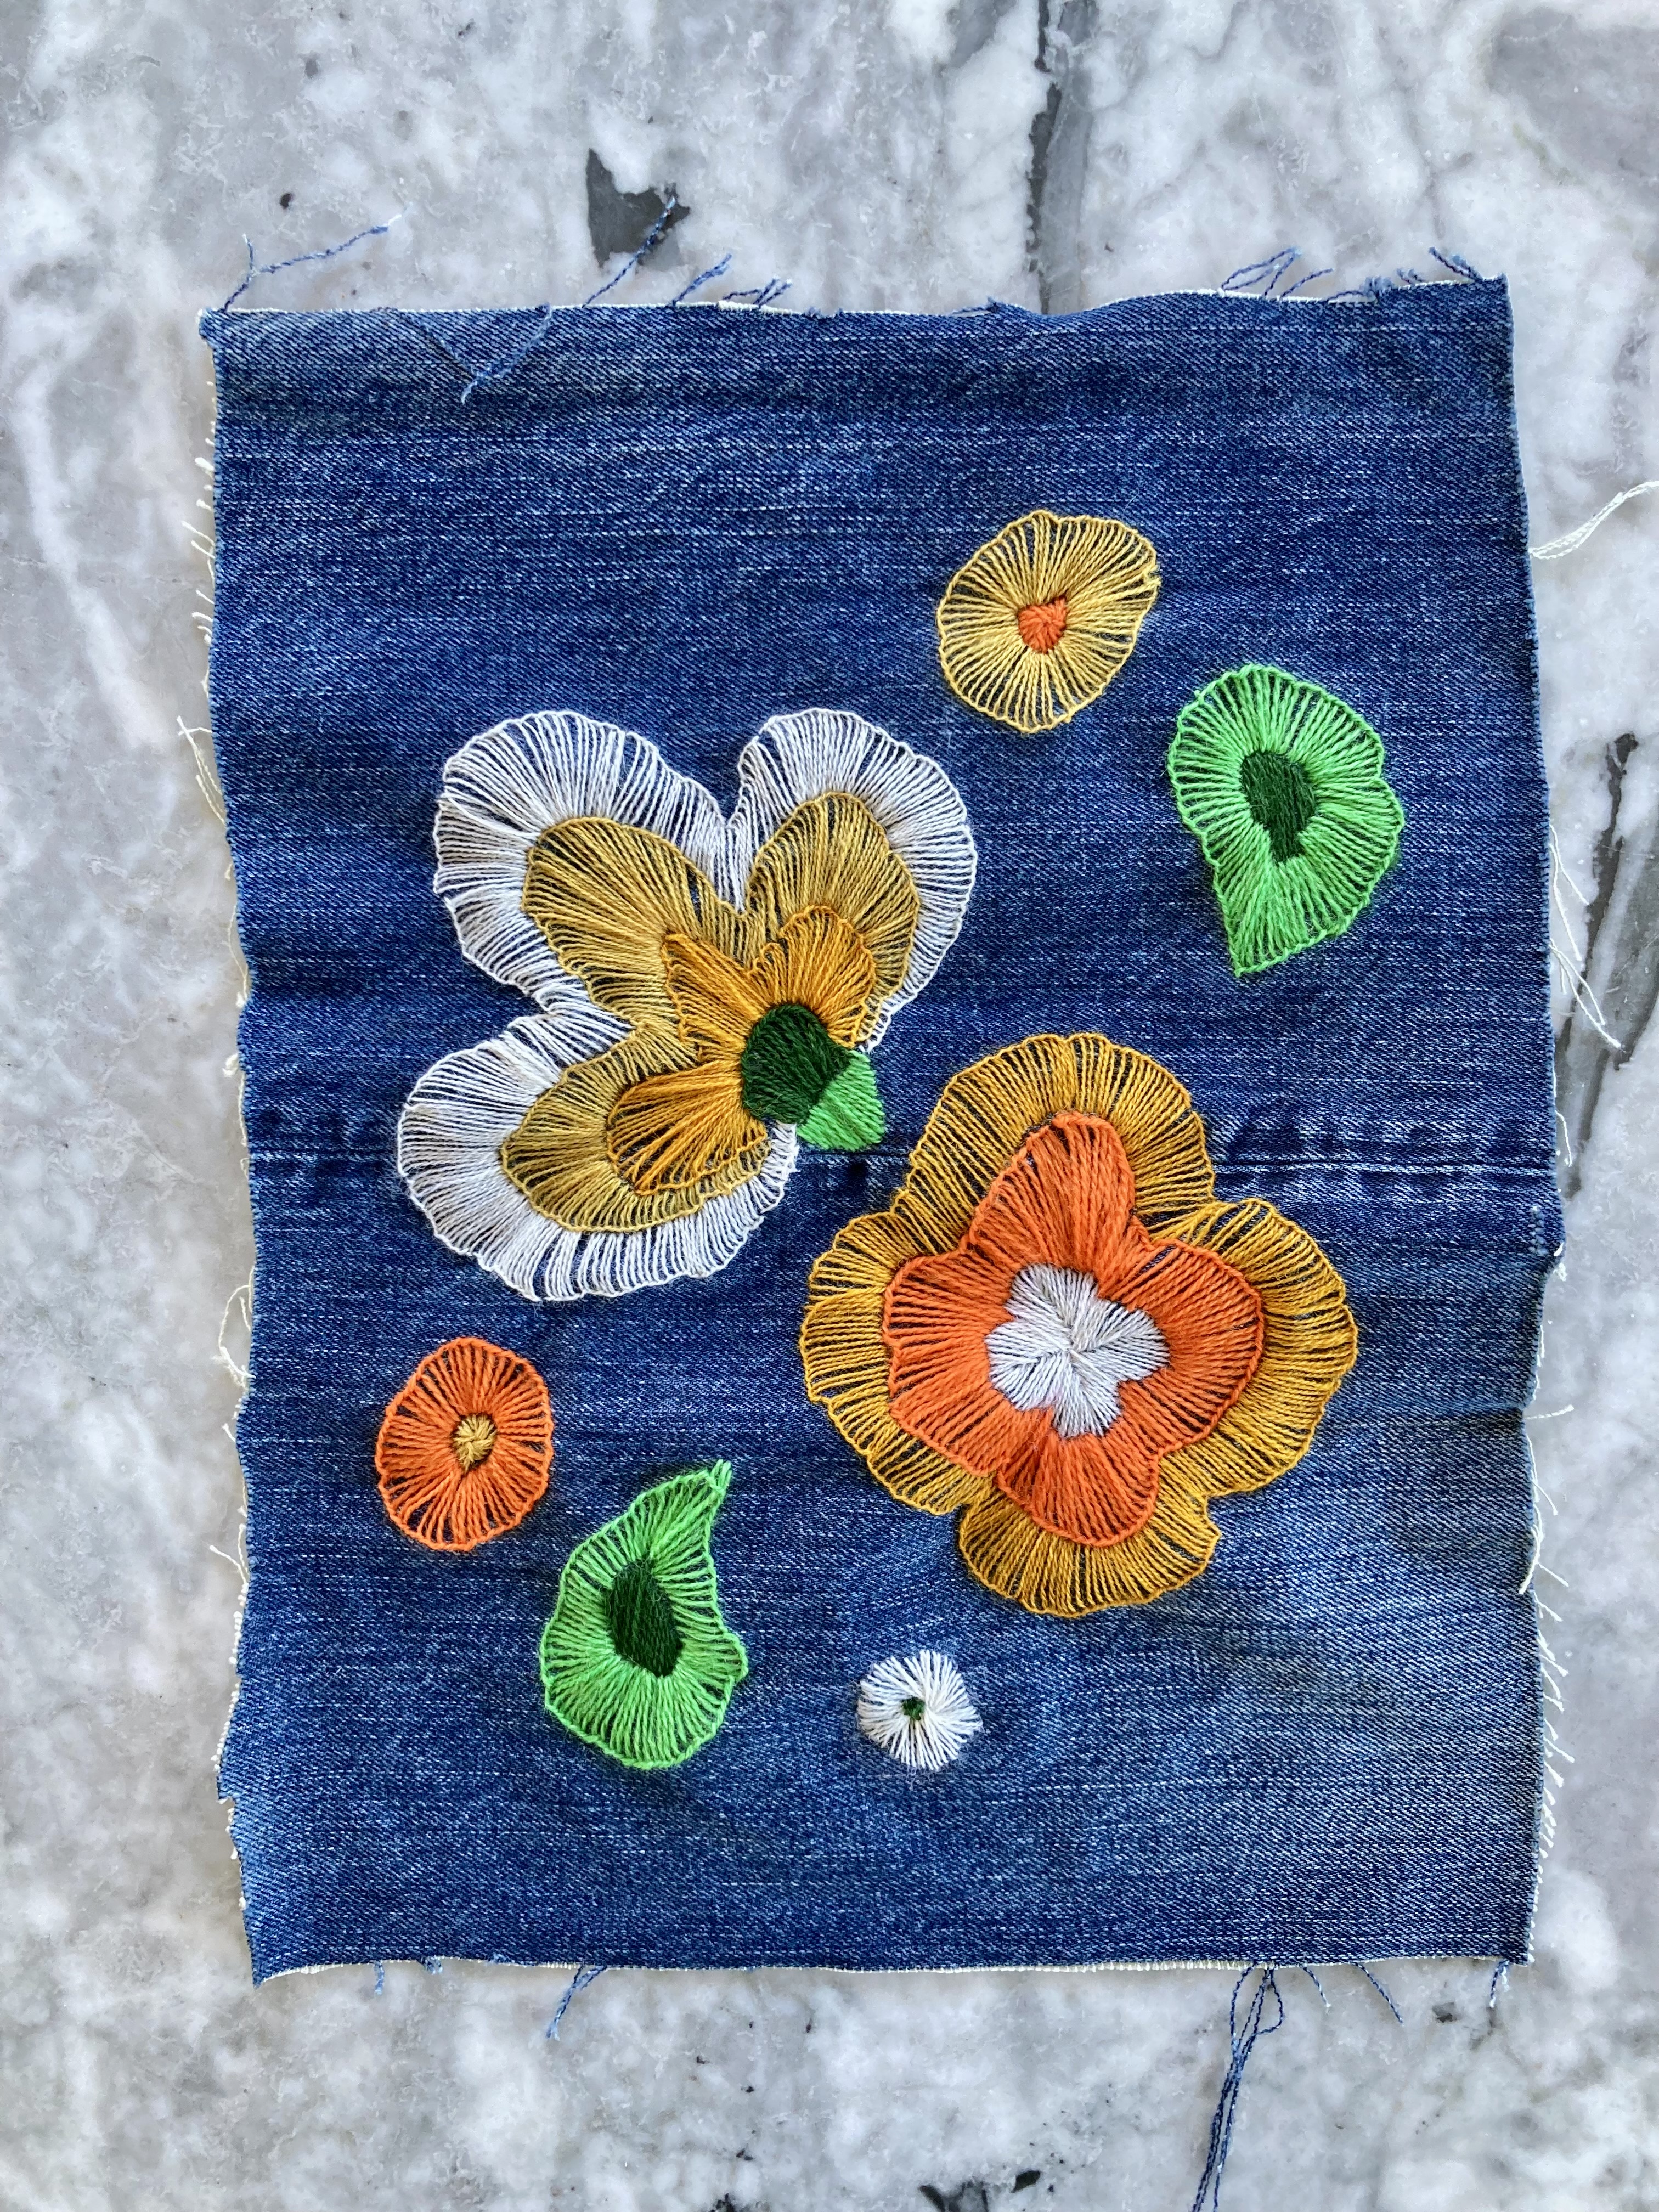
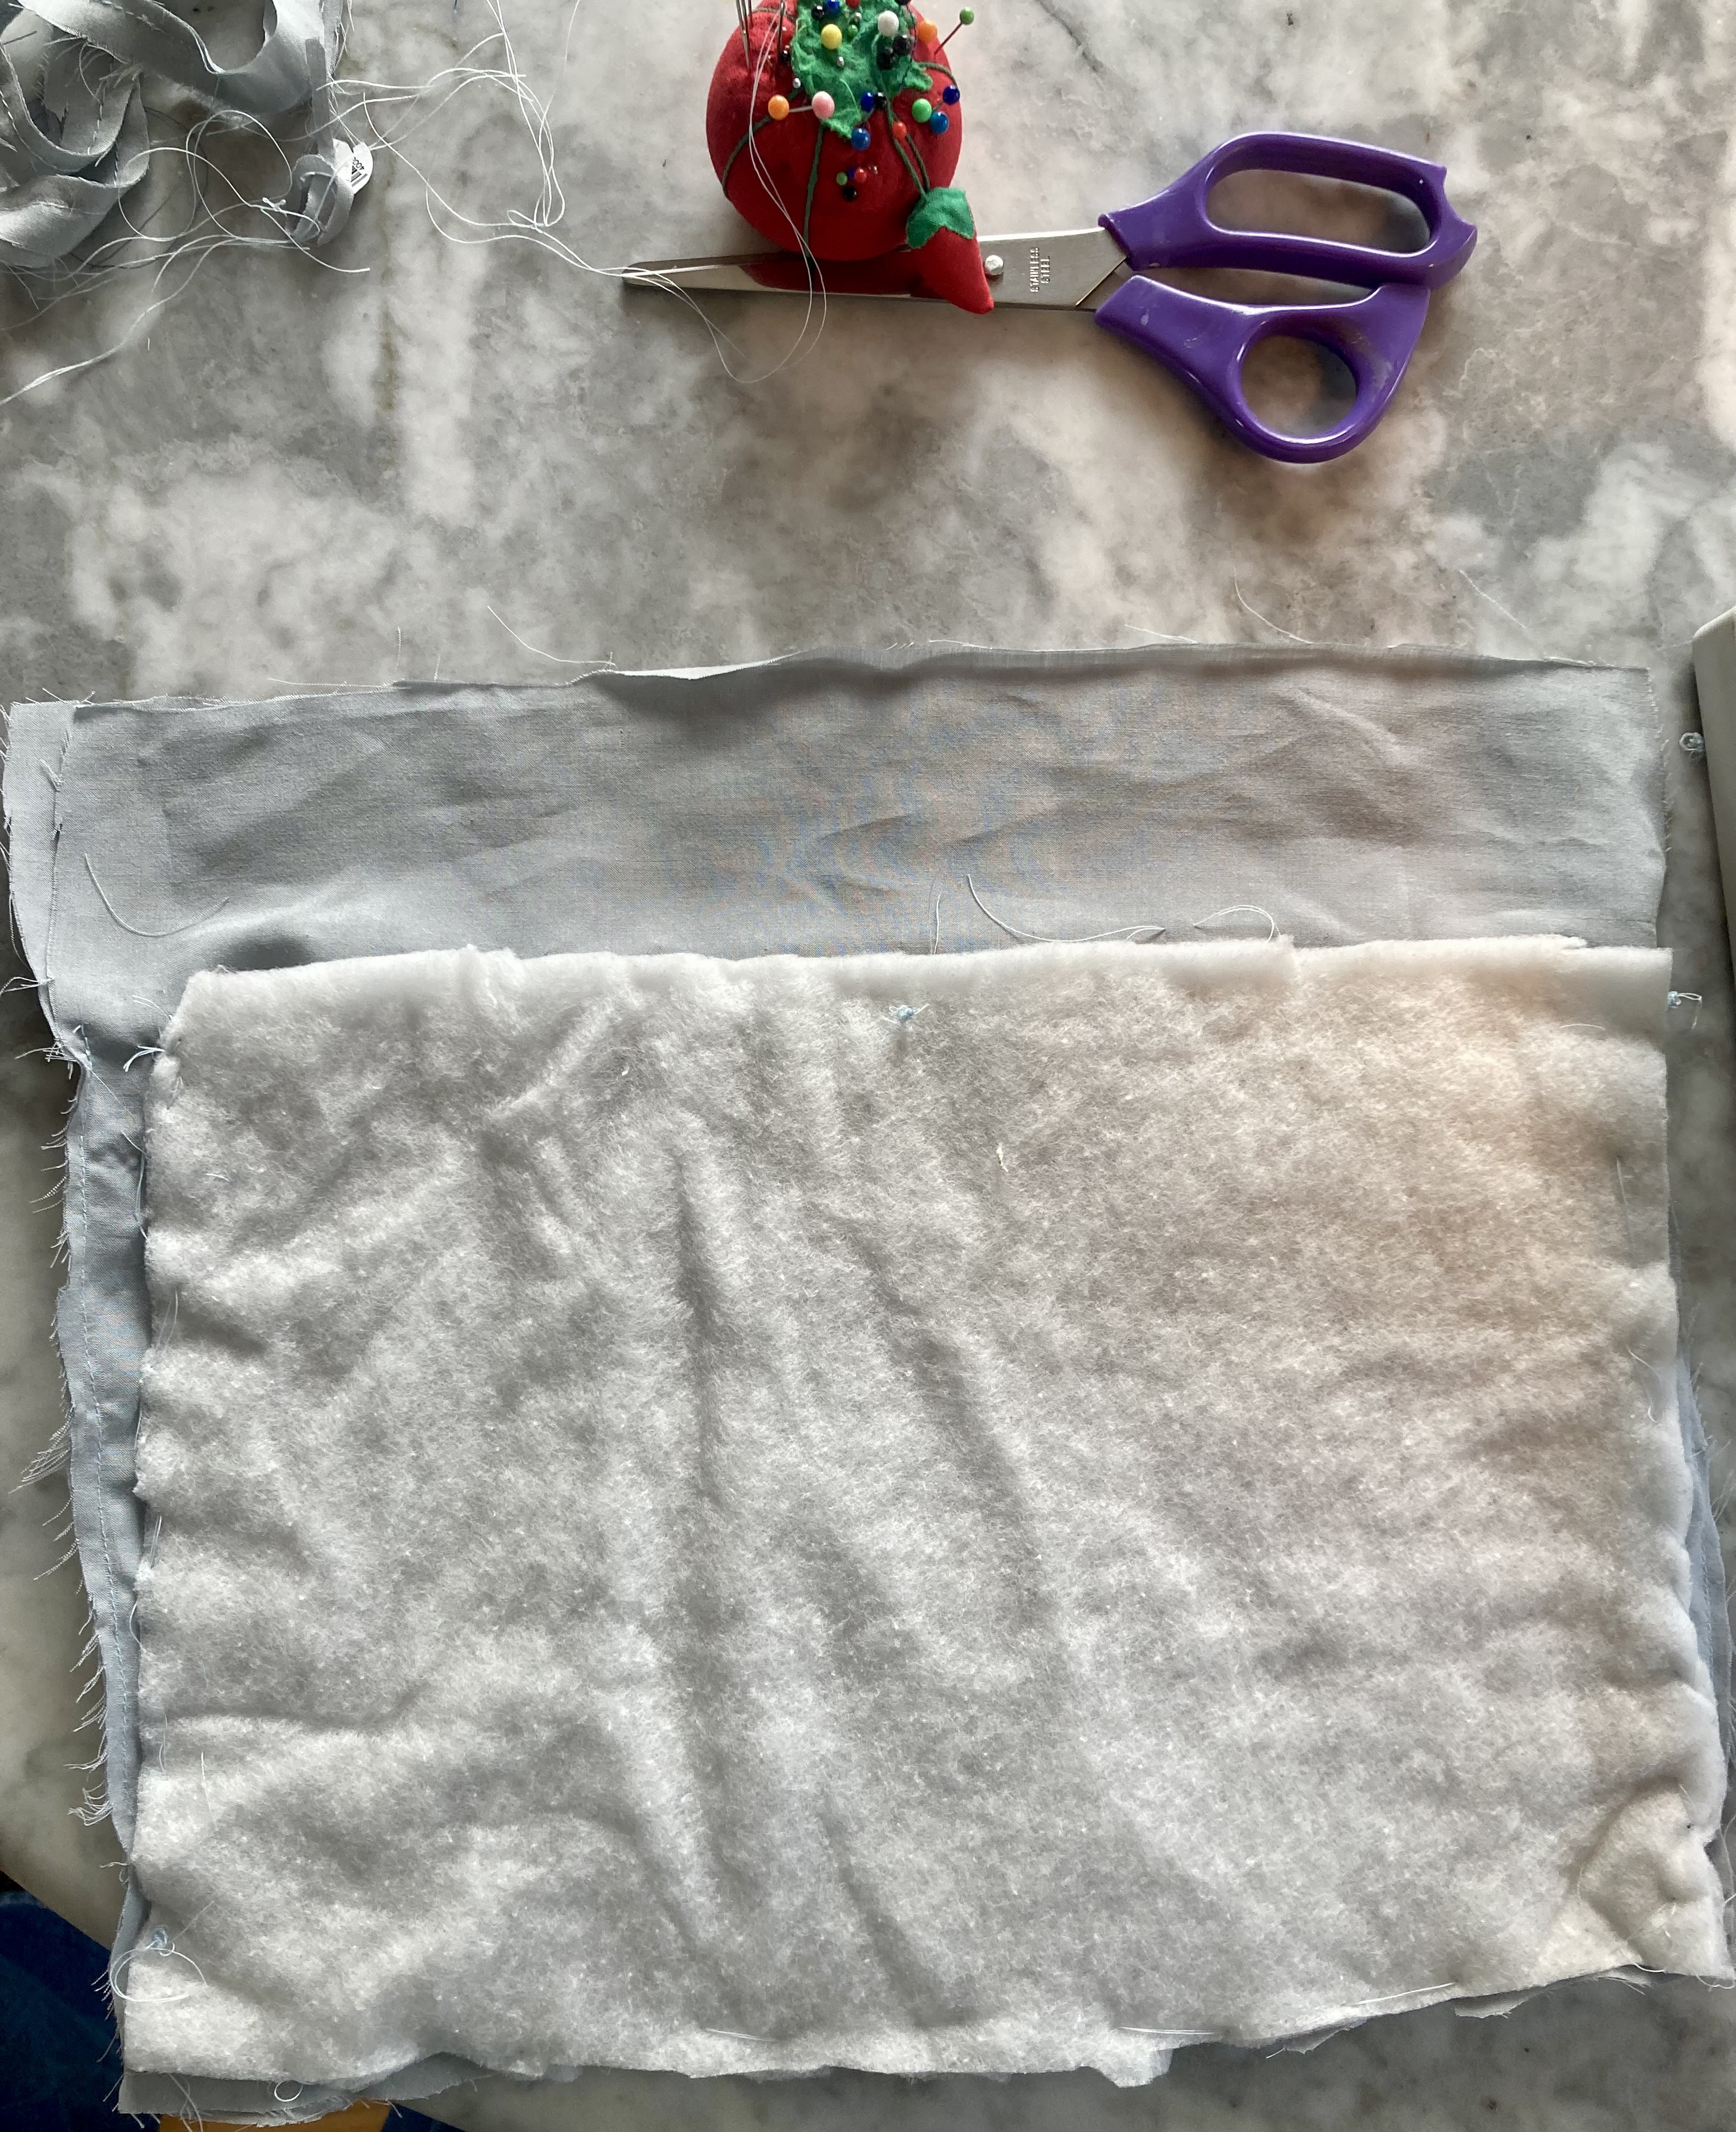
In keeping with the spirit of upcycling / using up scraps before buying new products, I decided to make the embroidered version, since I had some wool embroidery thread in the appropriate colours (gold, orange, white and two shades of green) left over from other projects. I had lots of appliqué felt too, but not the right colour scheme. Still had plenty of denim from an upcycled pair of jeans (original would have been yellow furnishing linen), lining fabric from the fabric drawer and quilt interlining for padding. All I needed to buy was a spool of thread and a zipper.
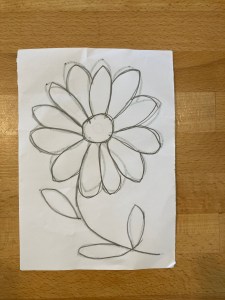
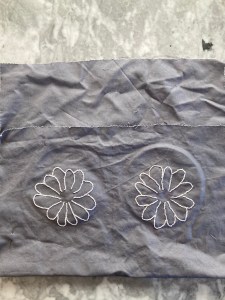
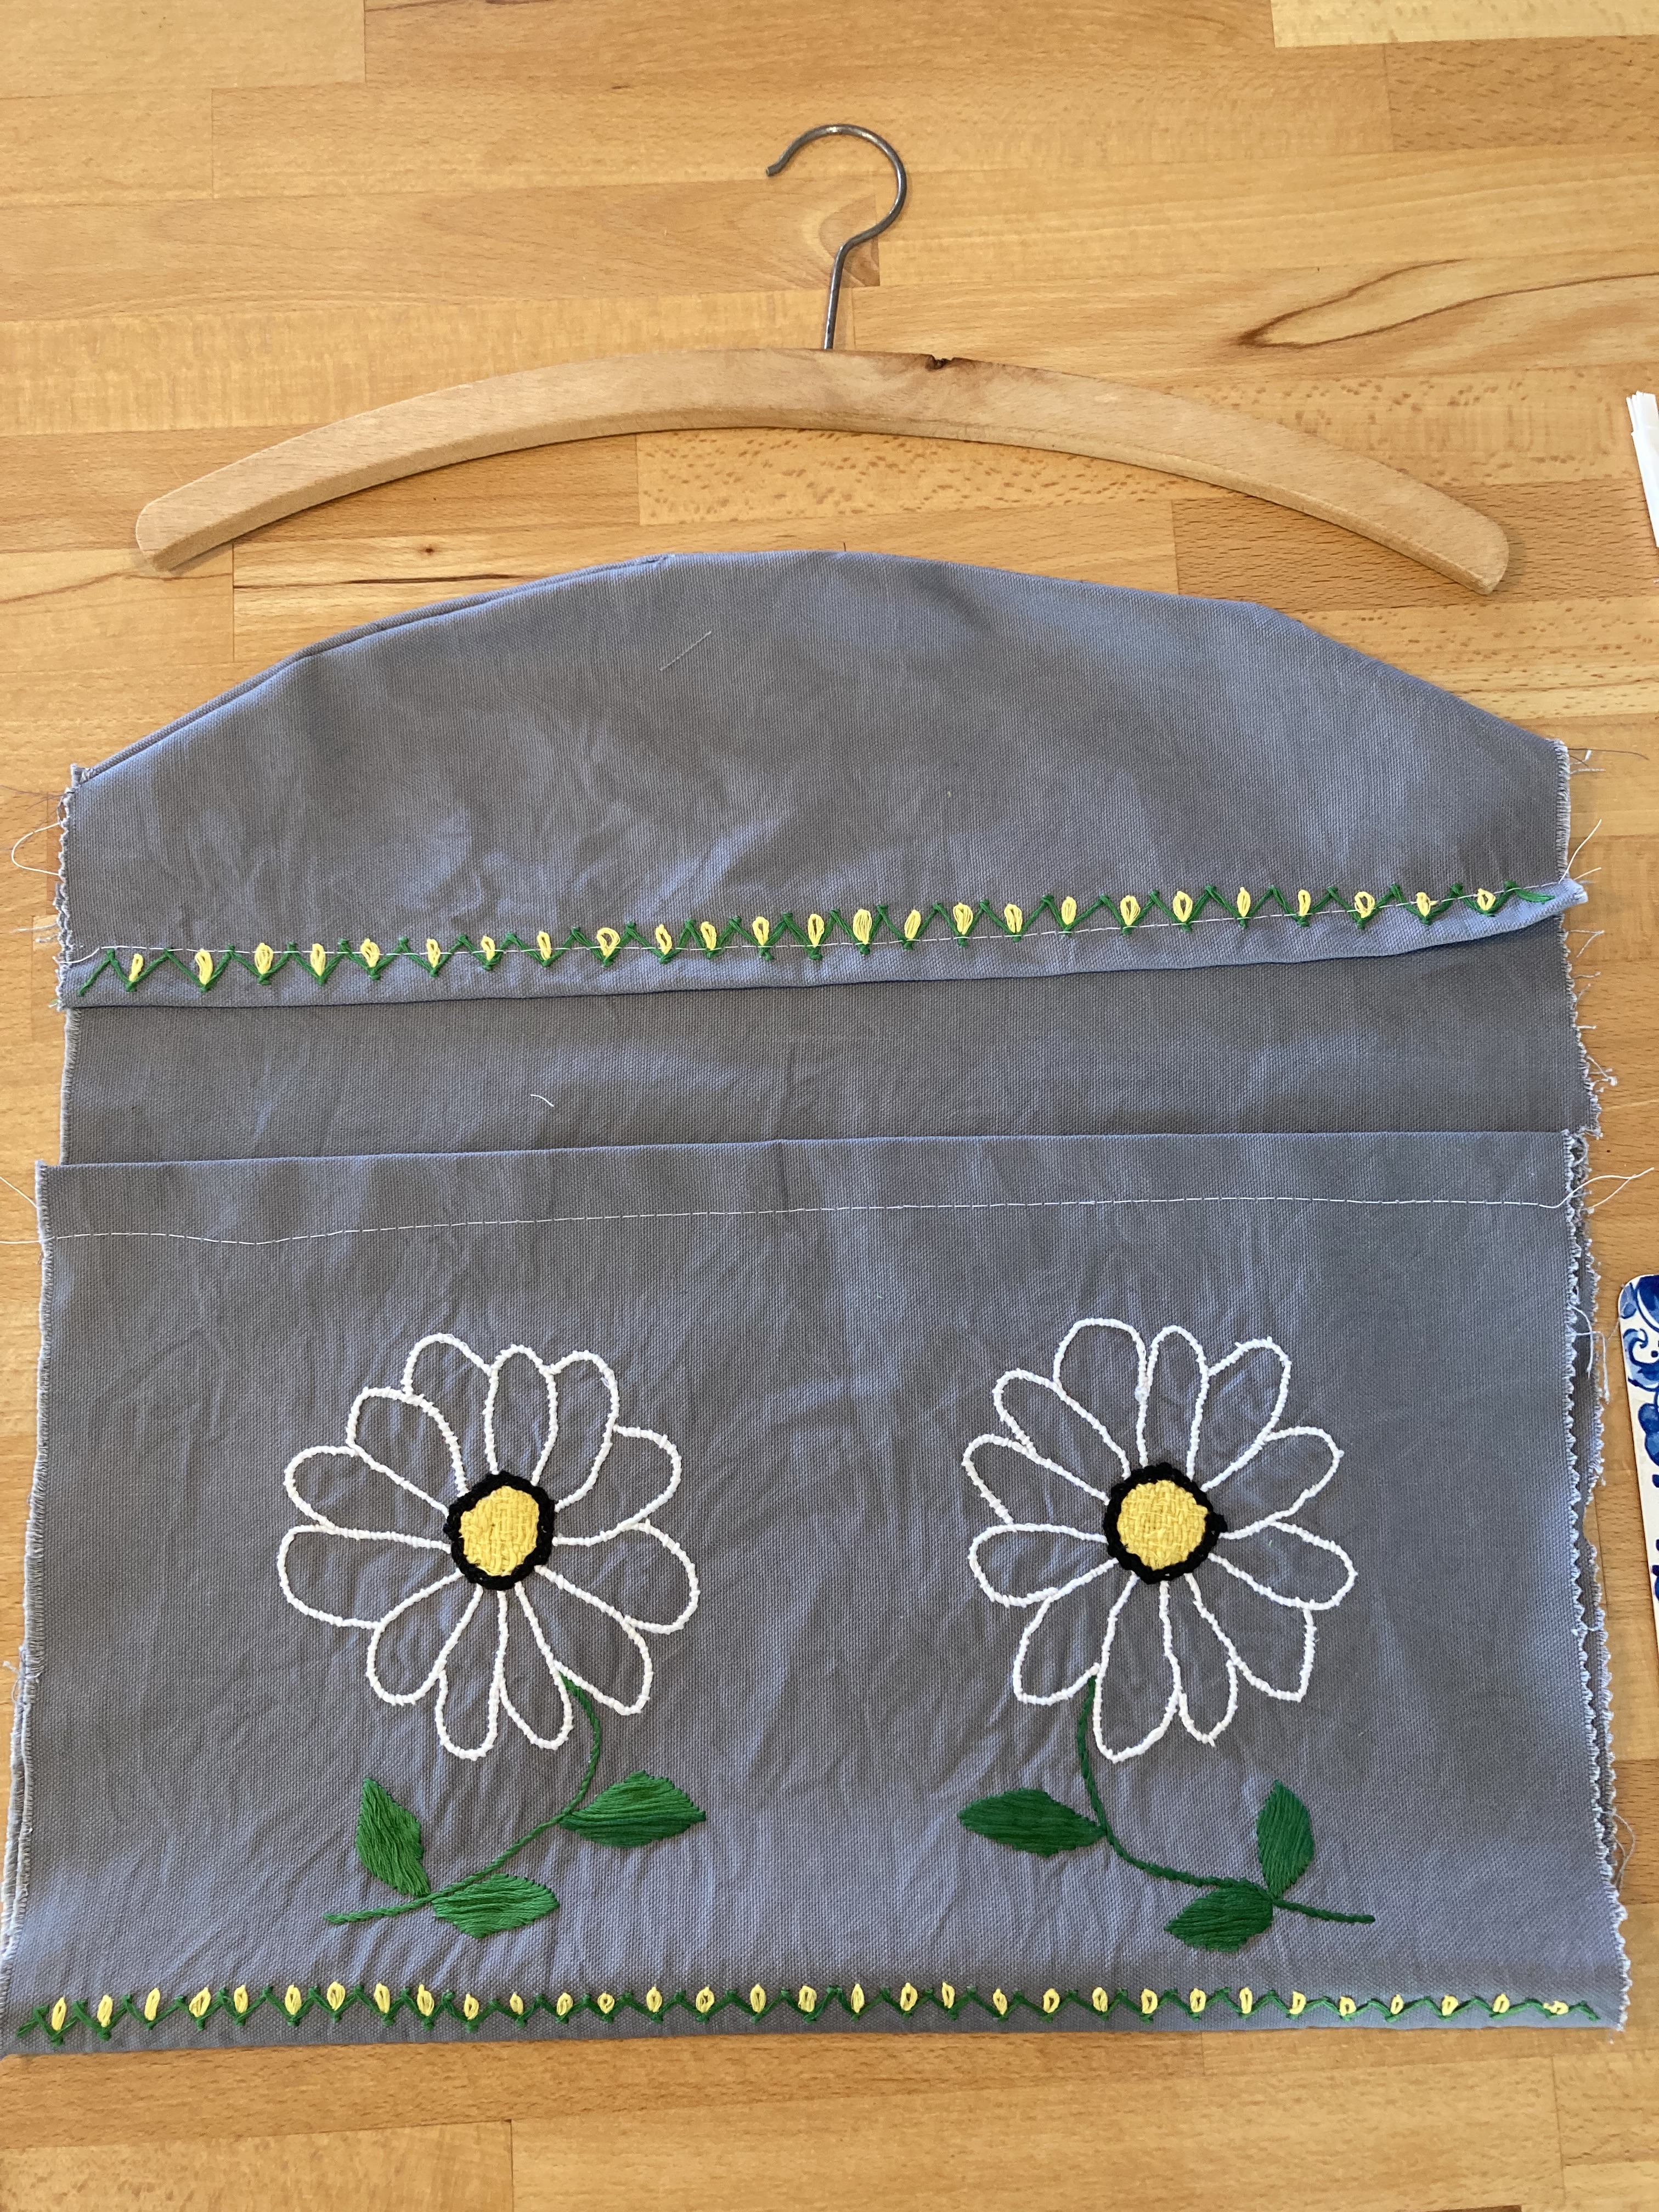
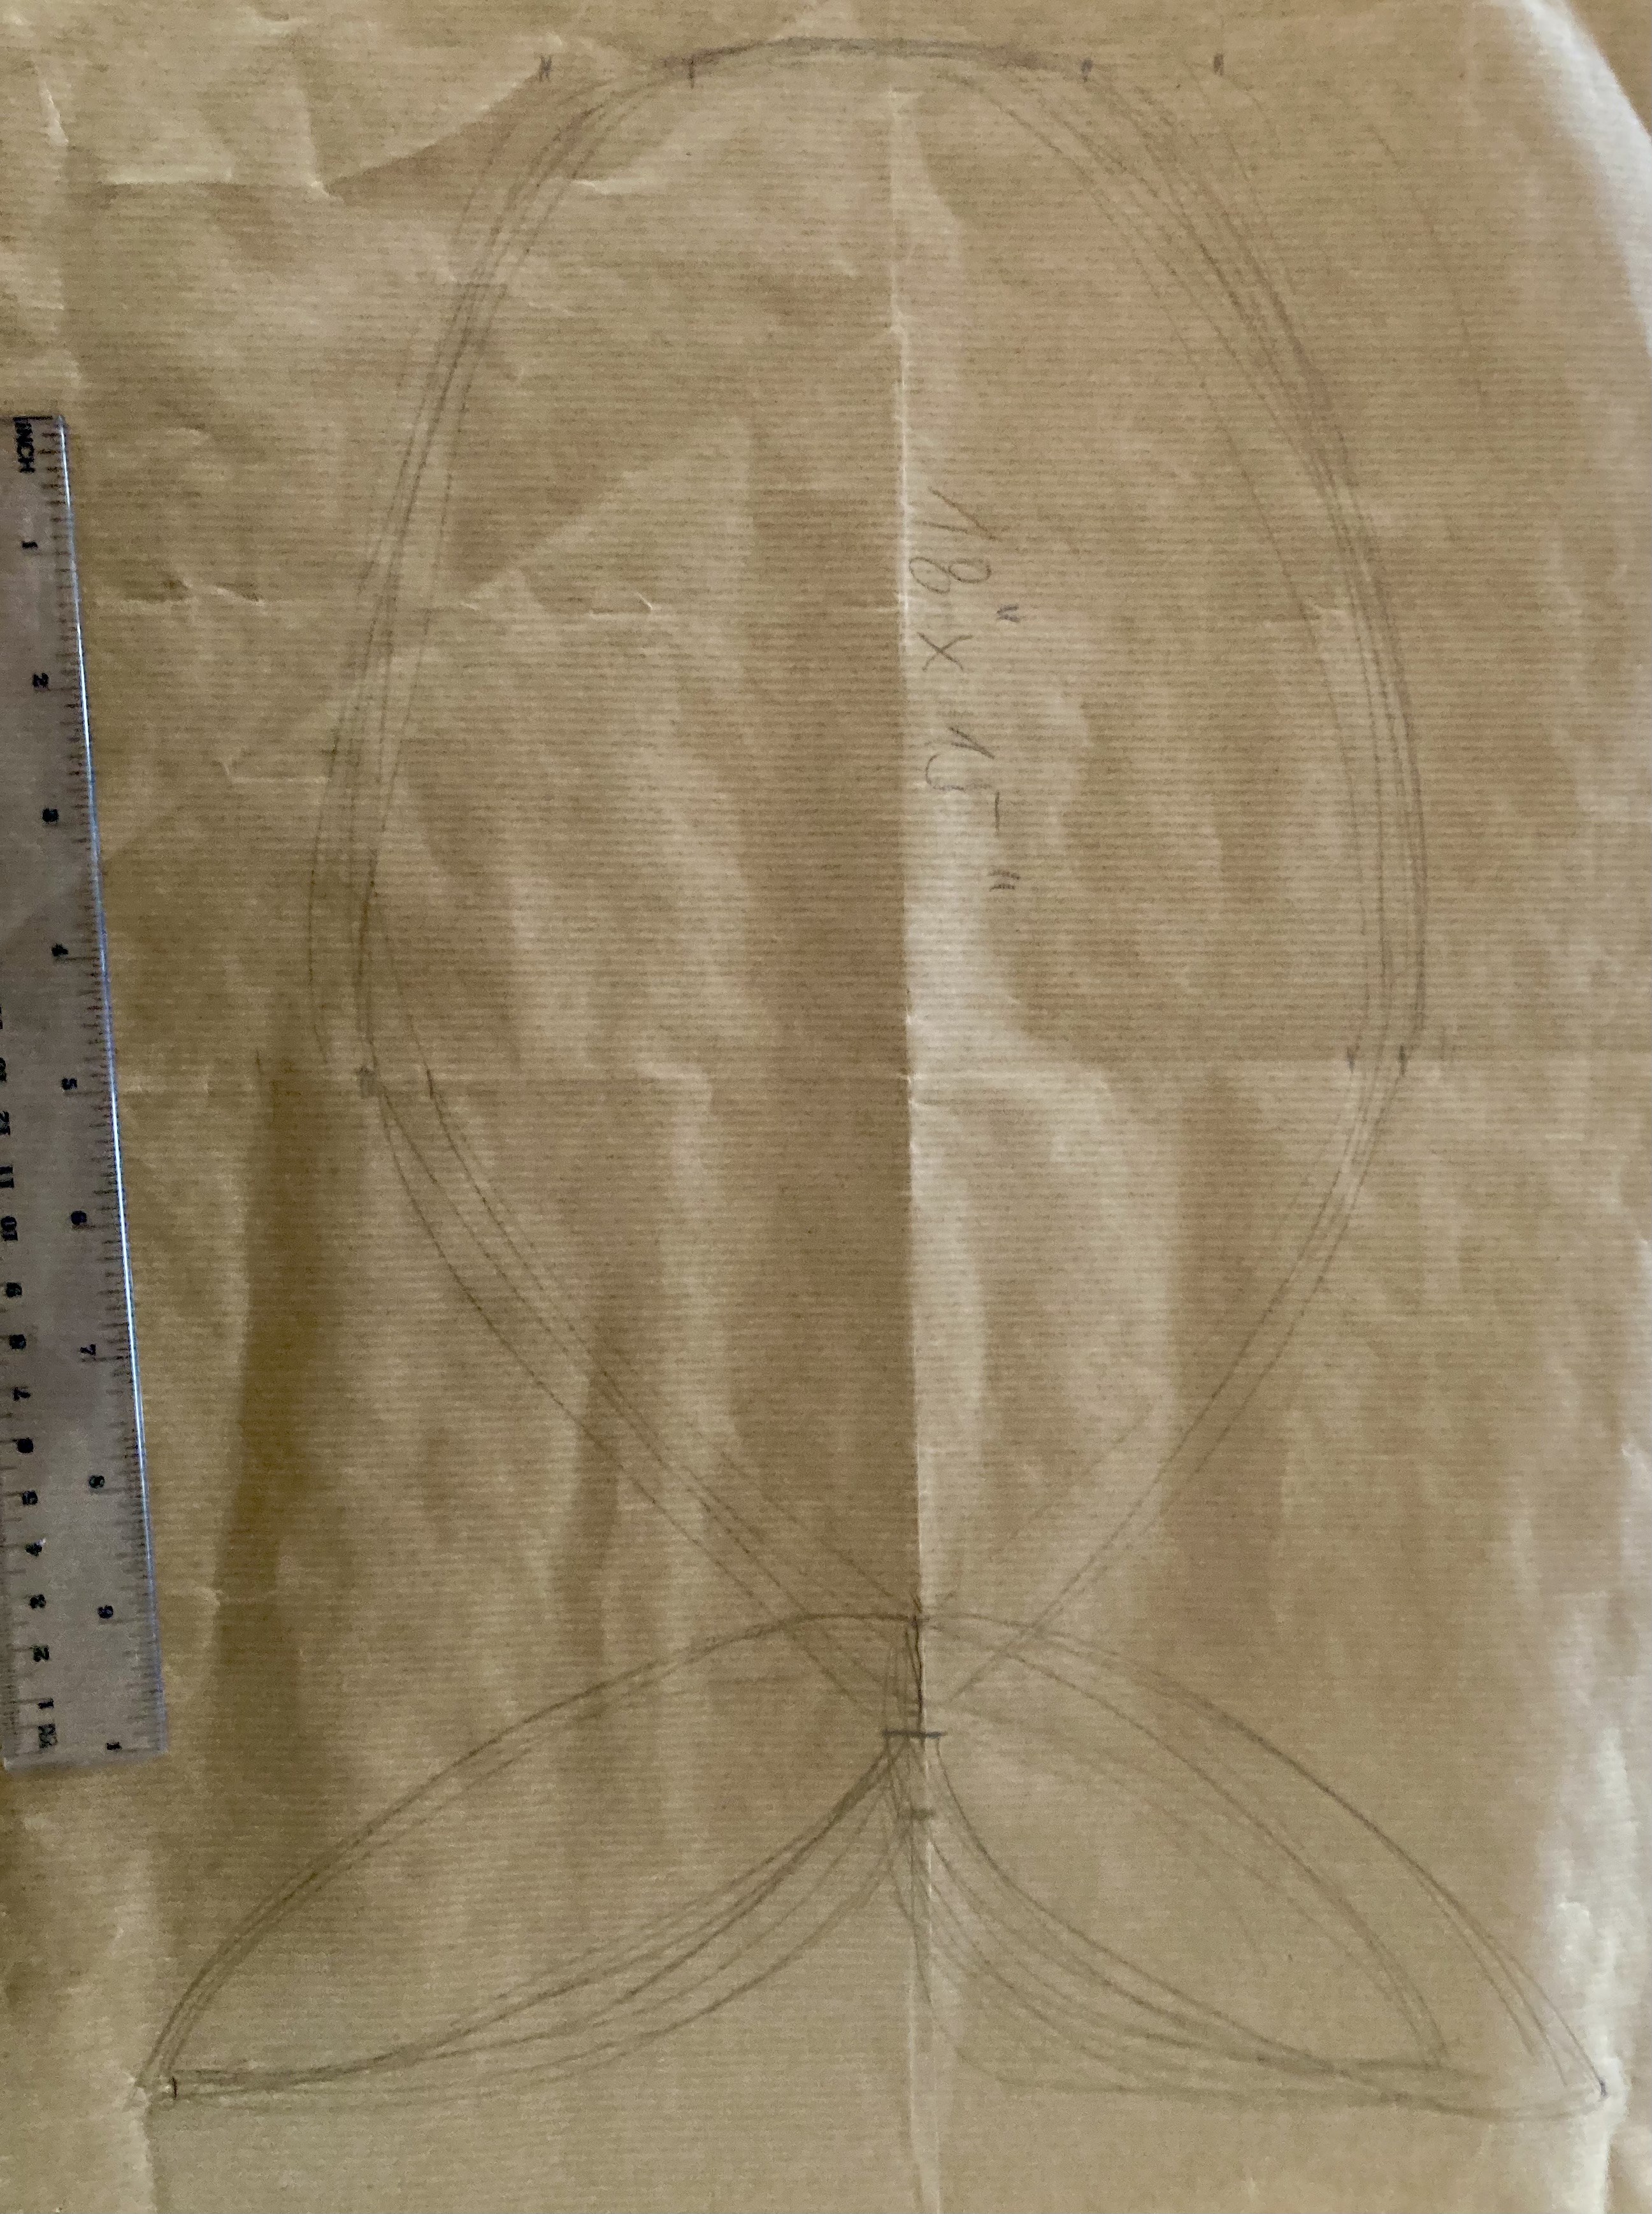
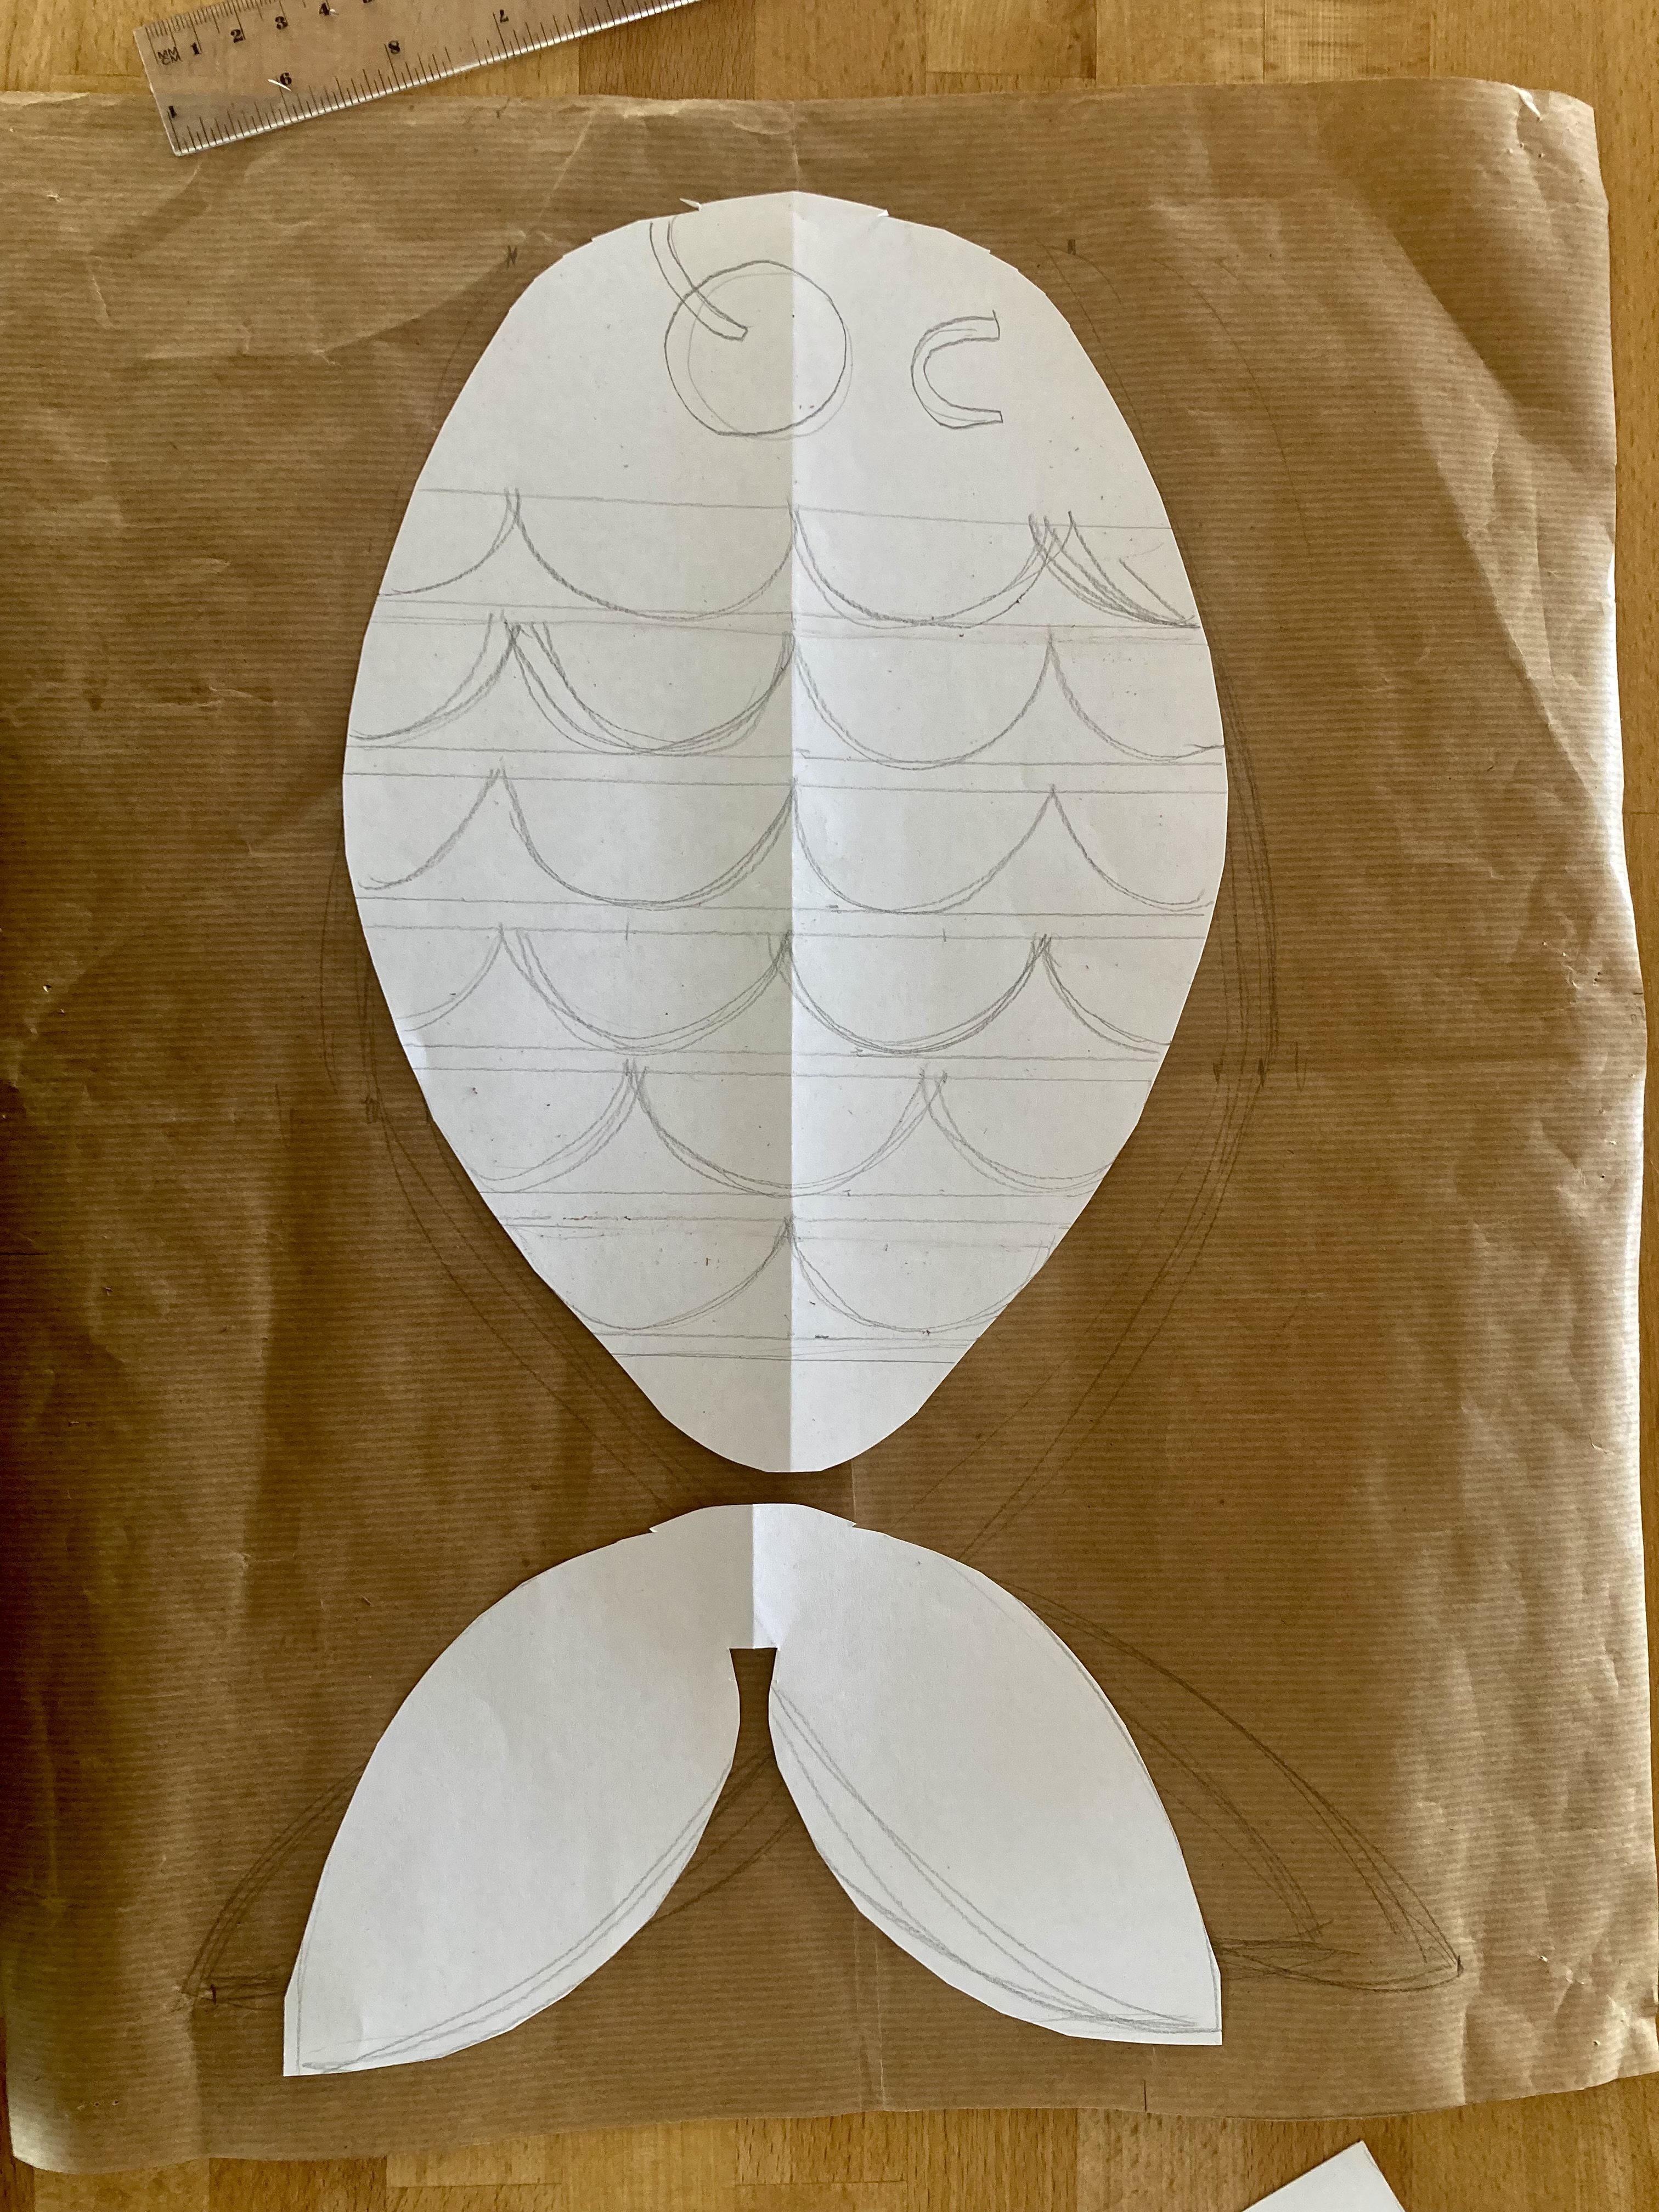
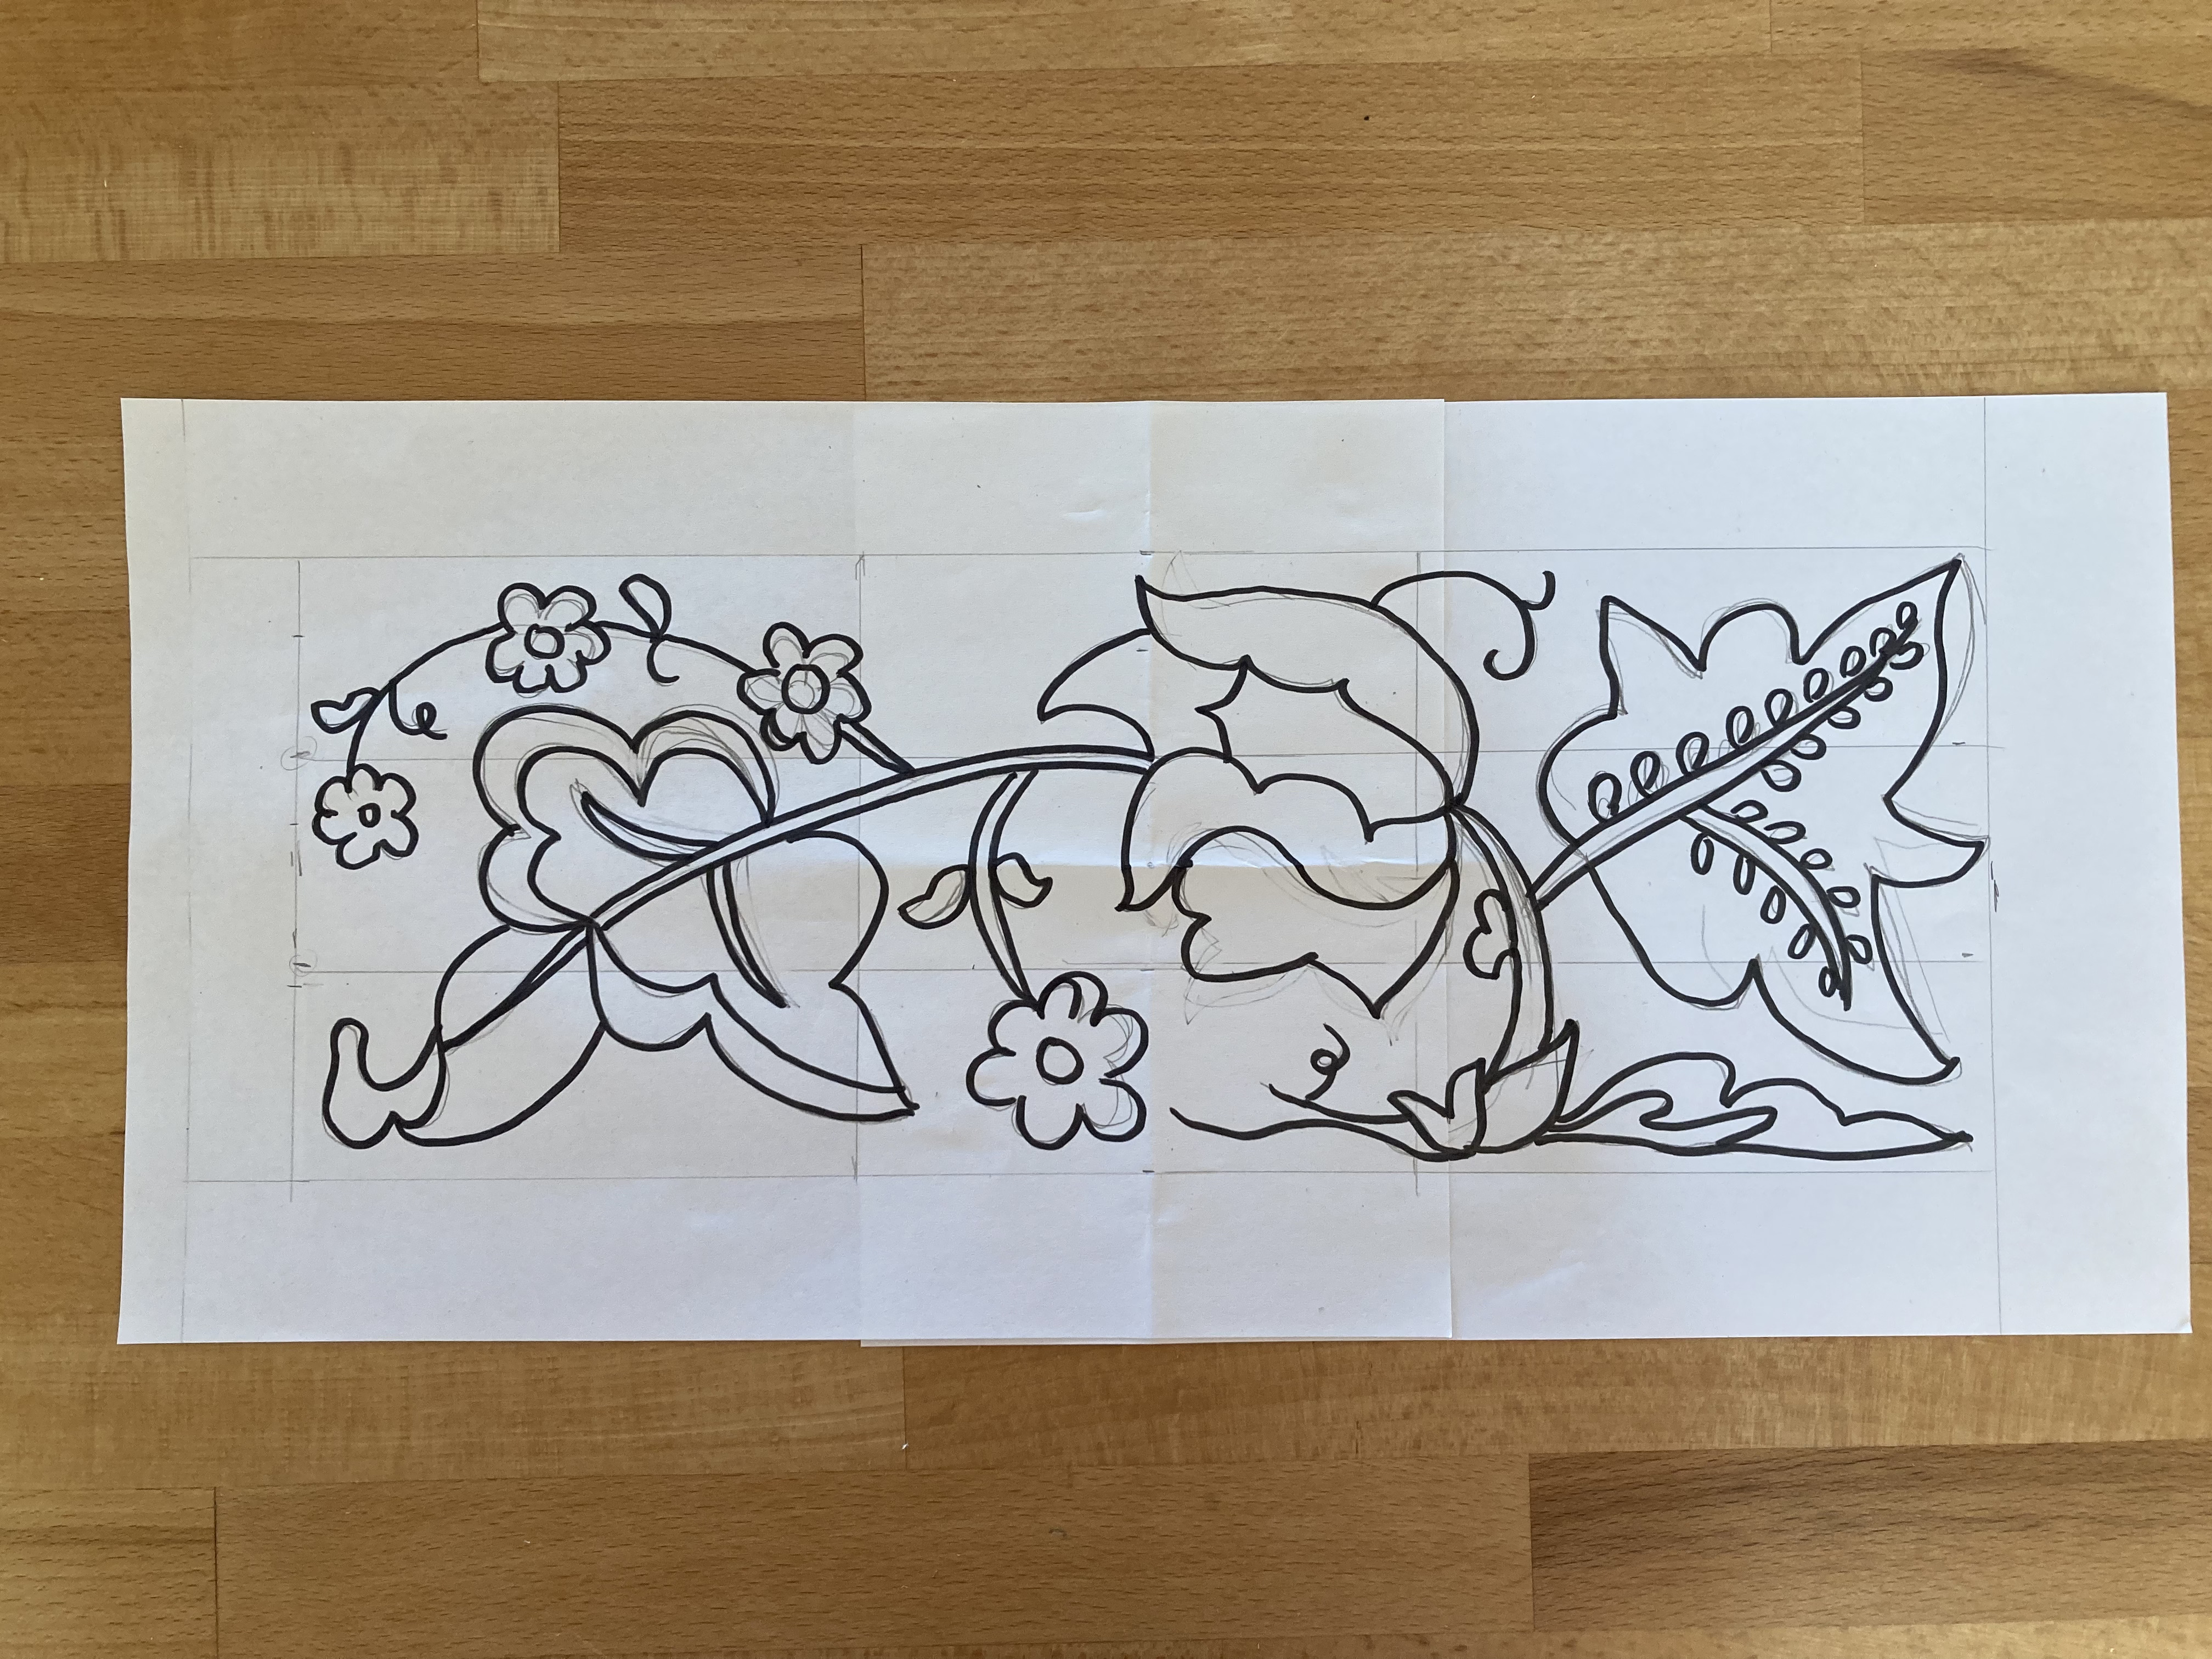
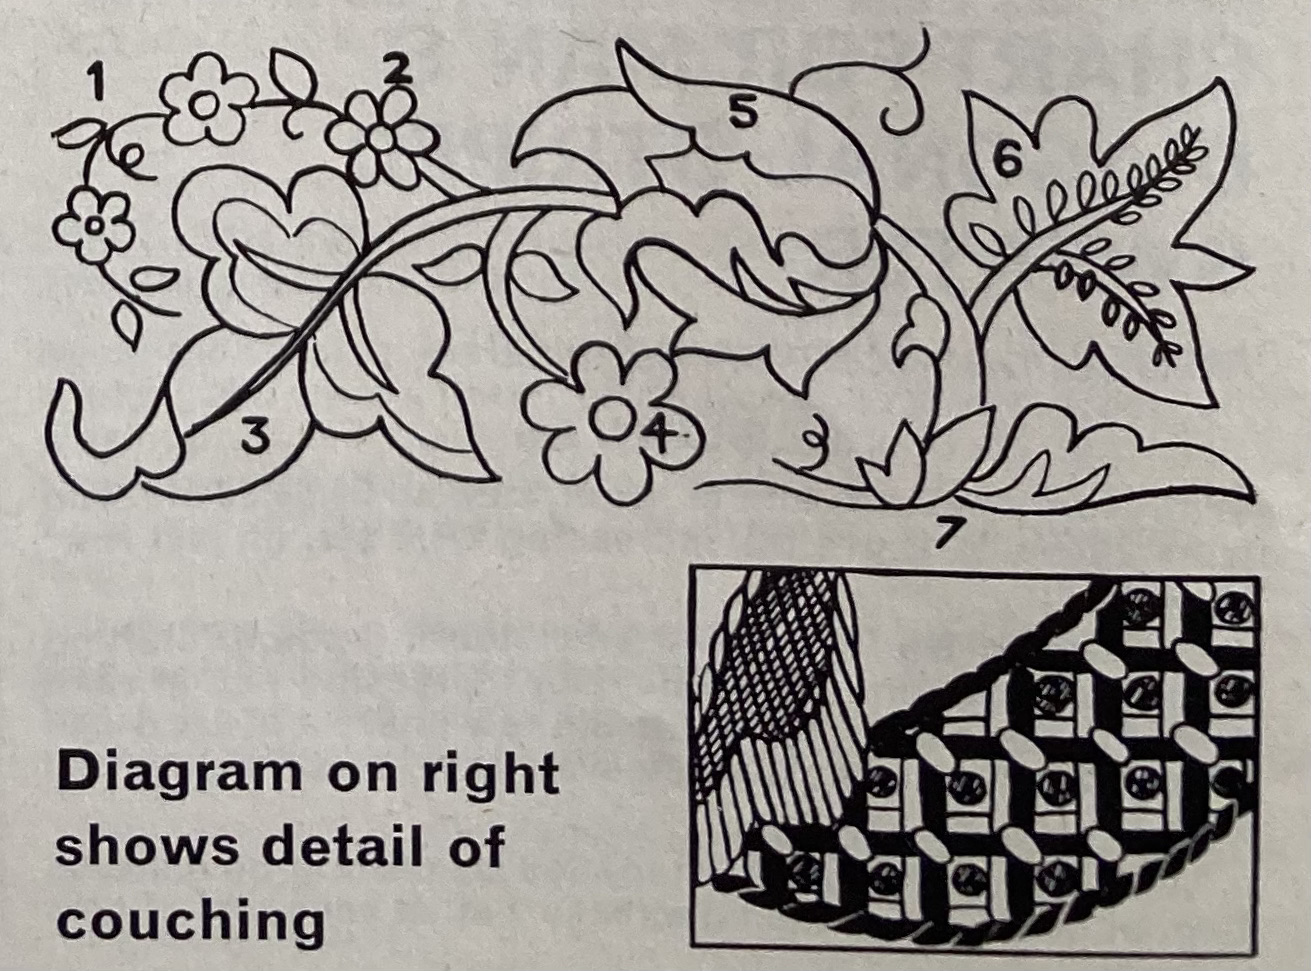
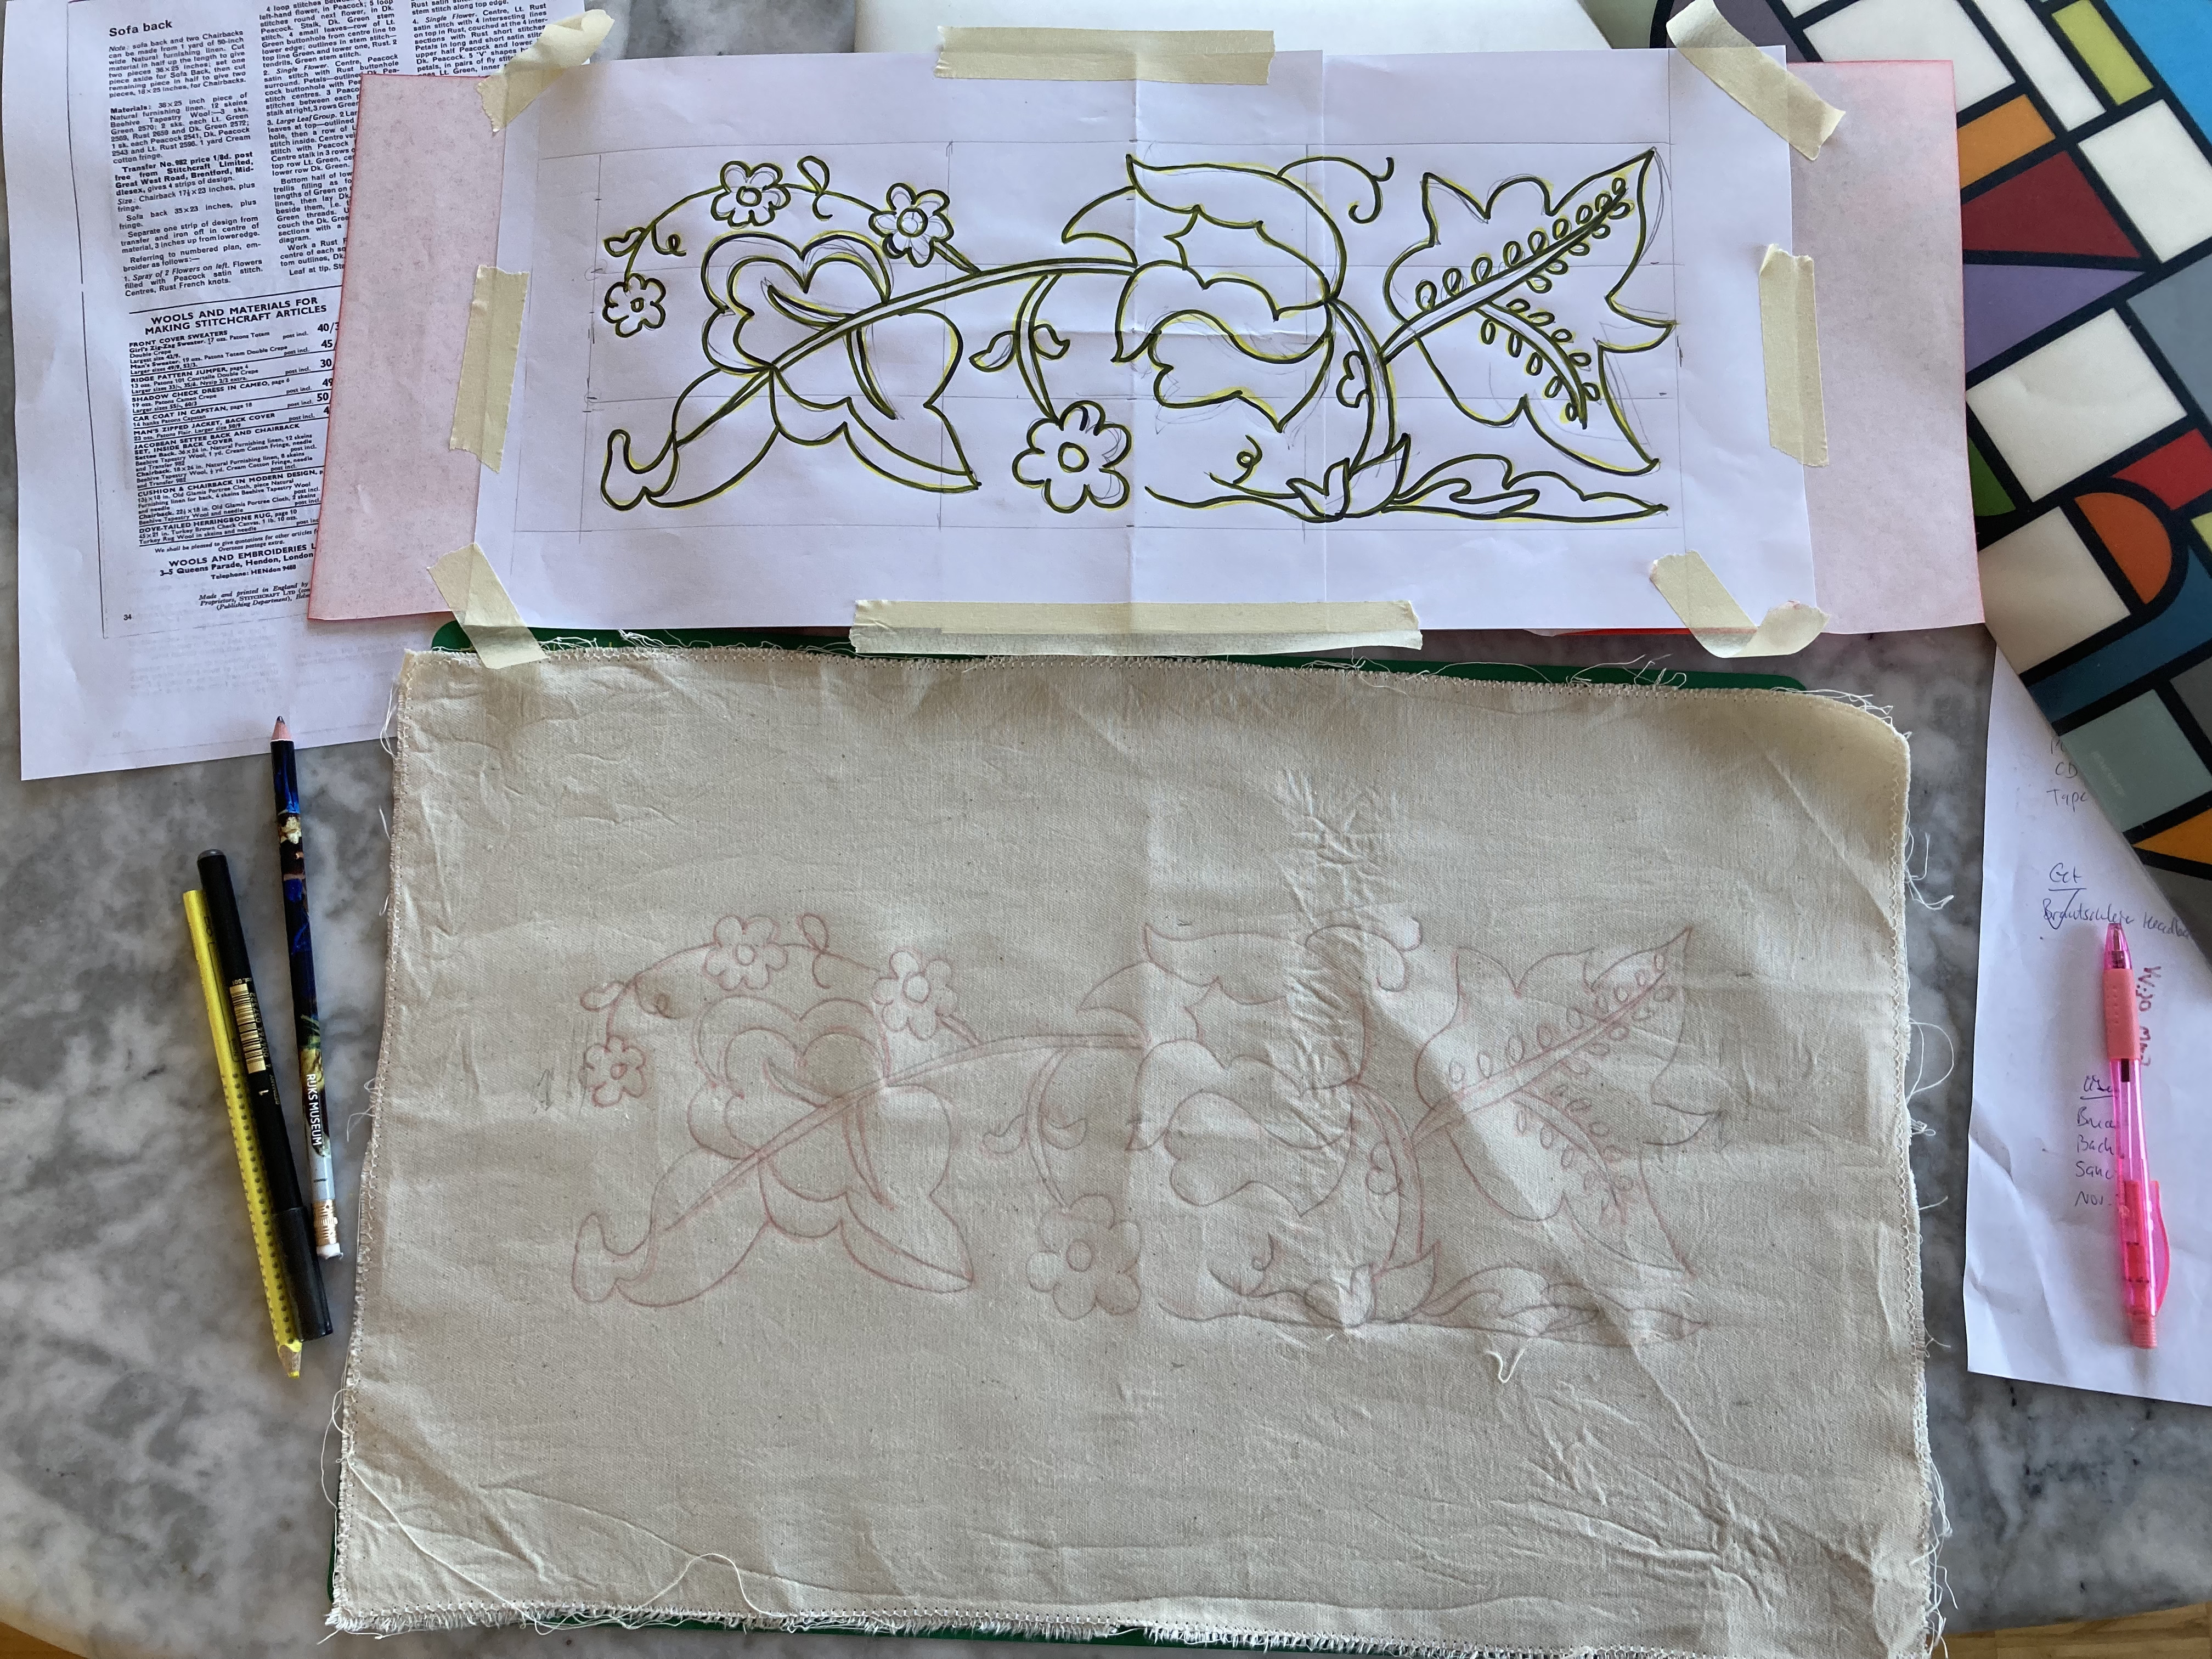
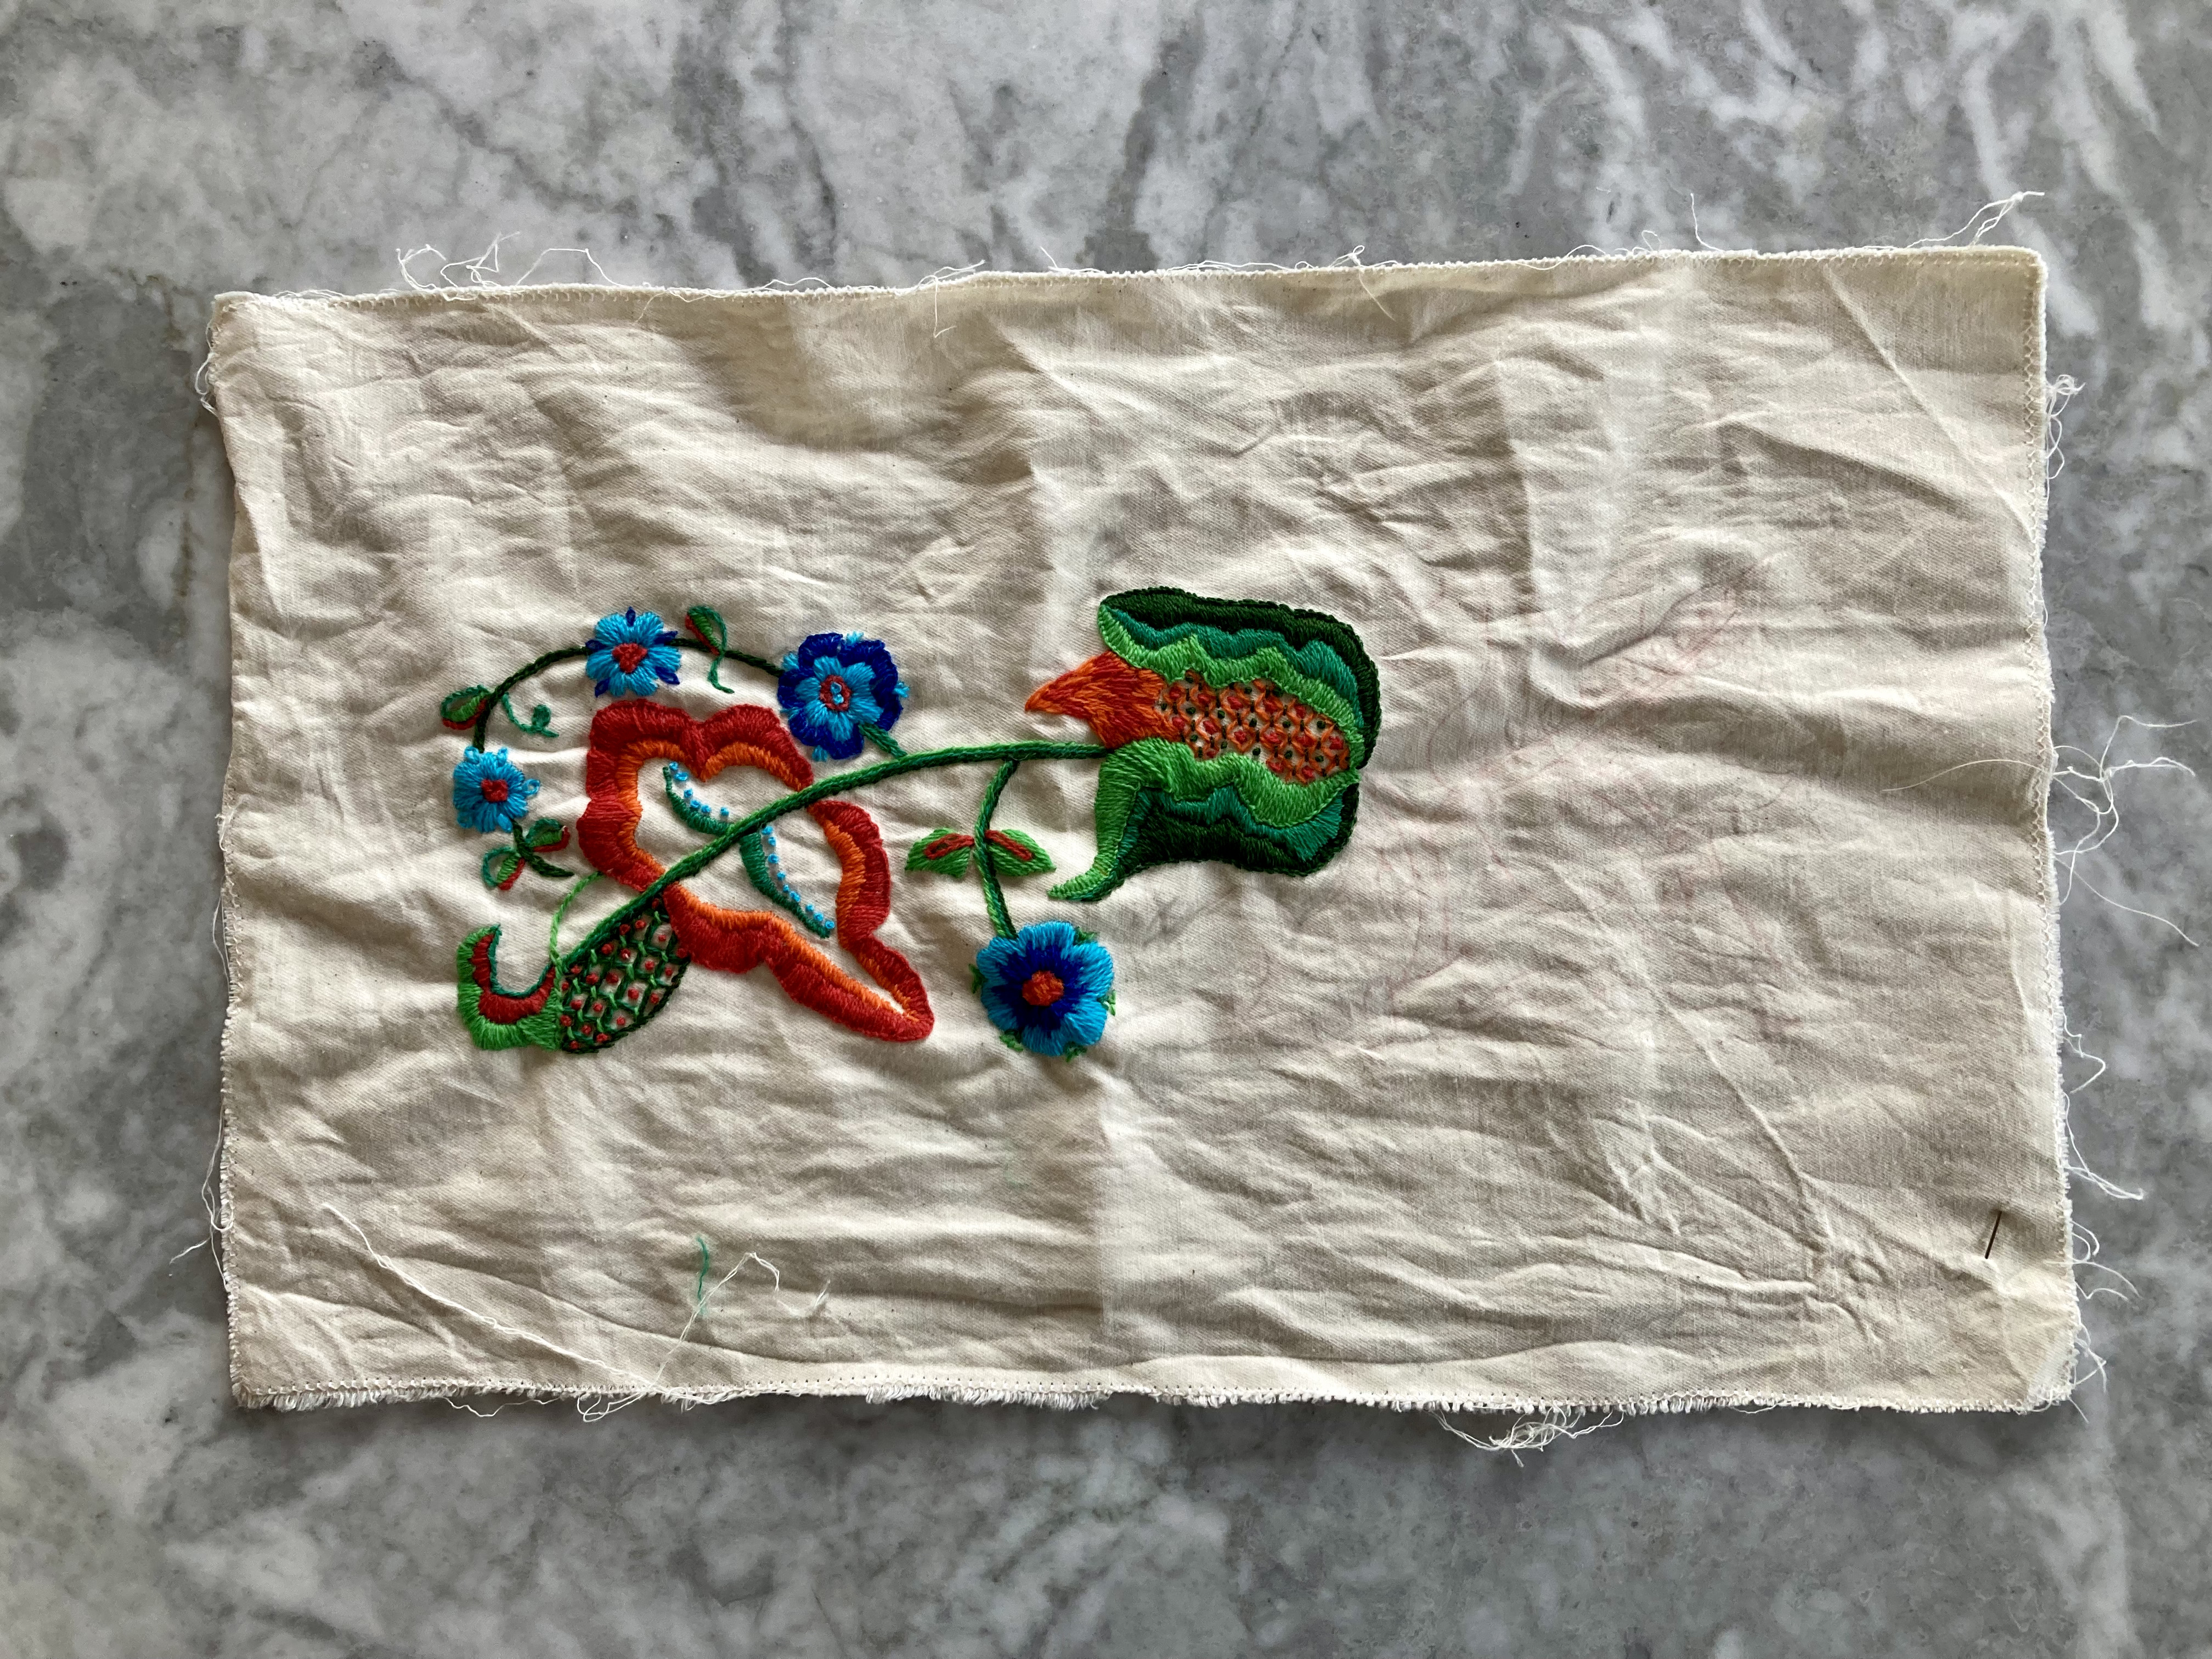
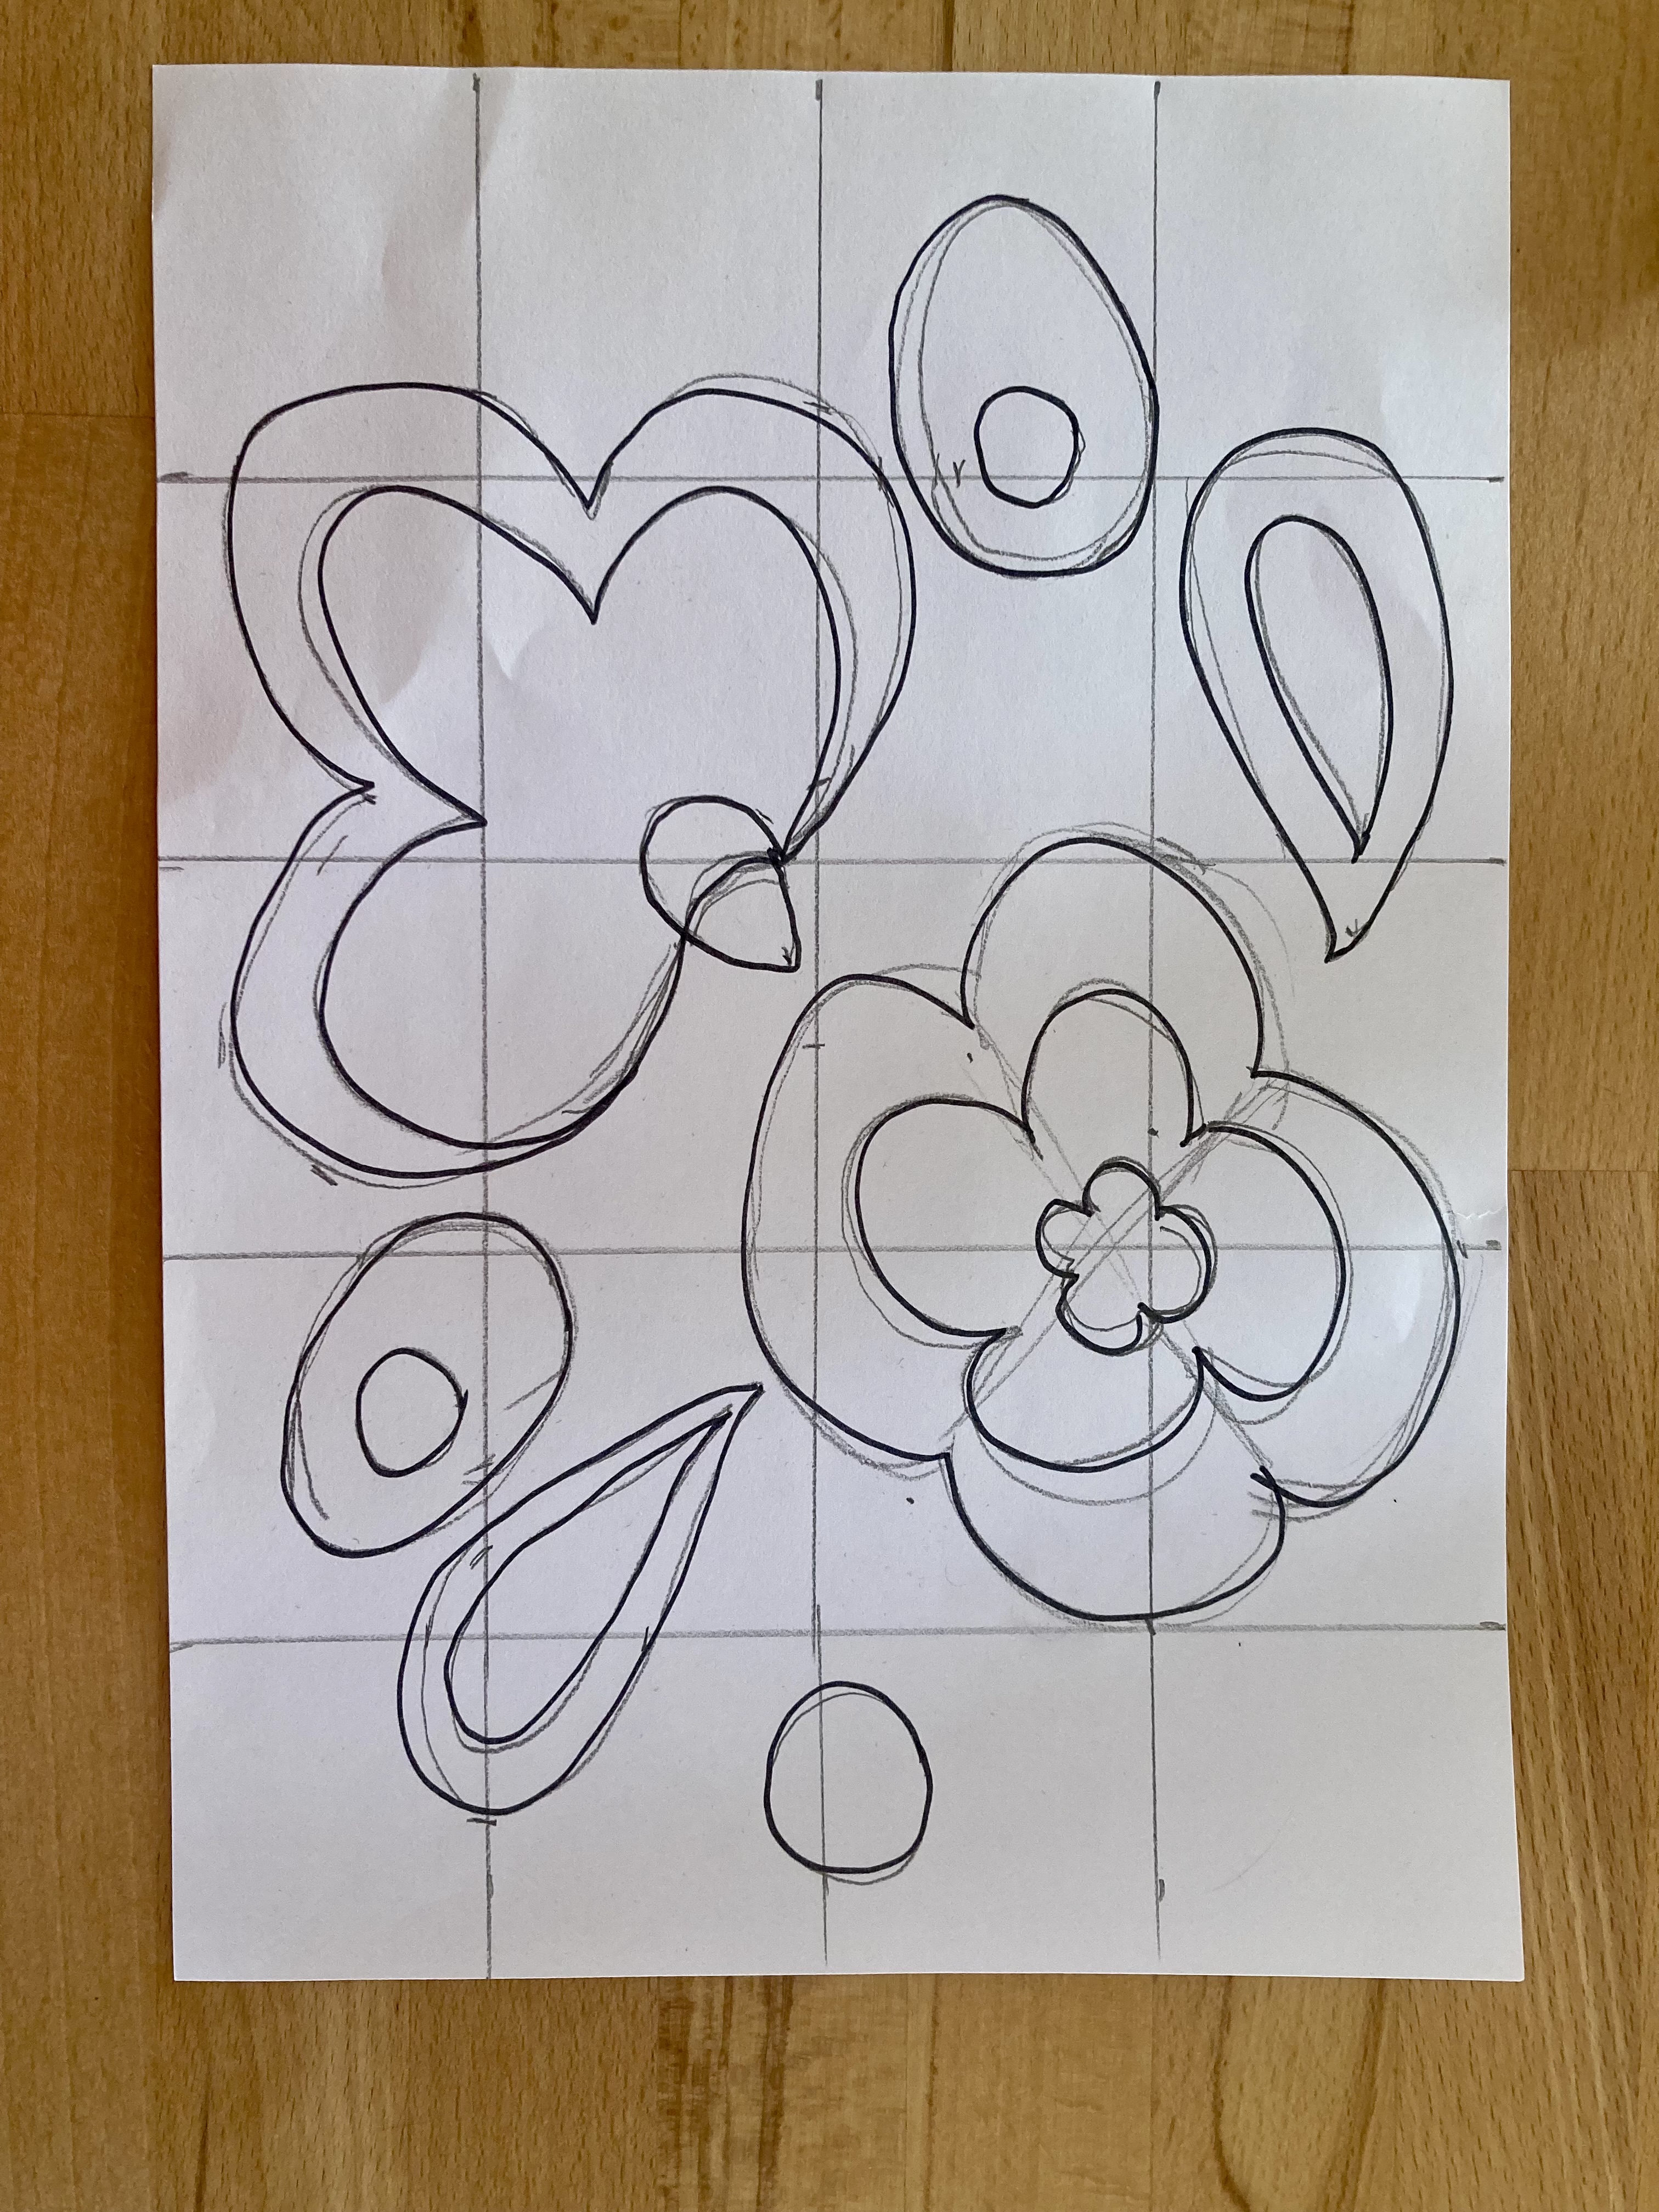
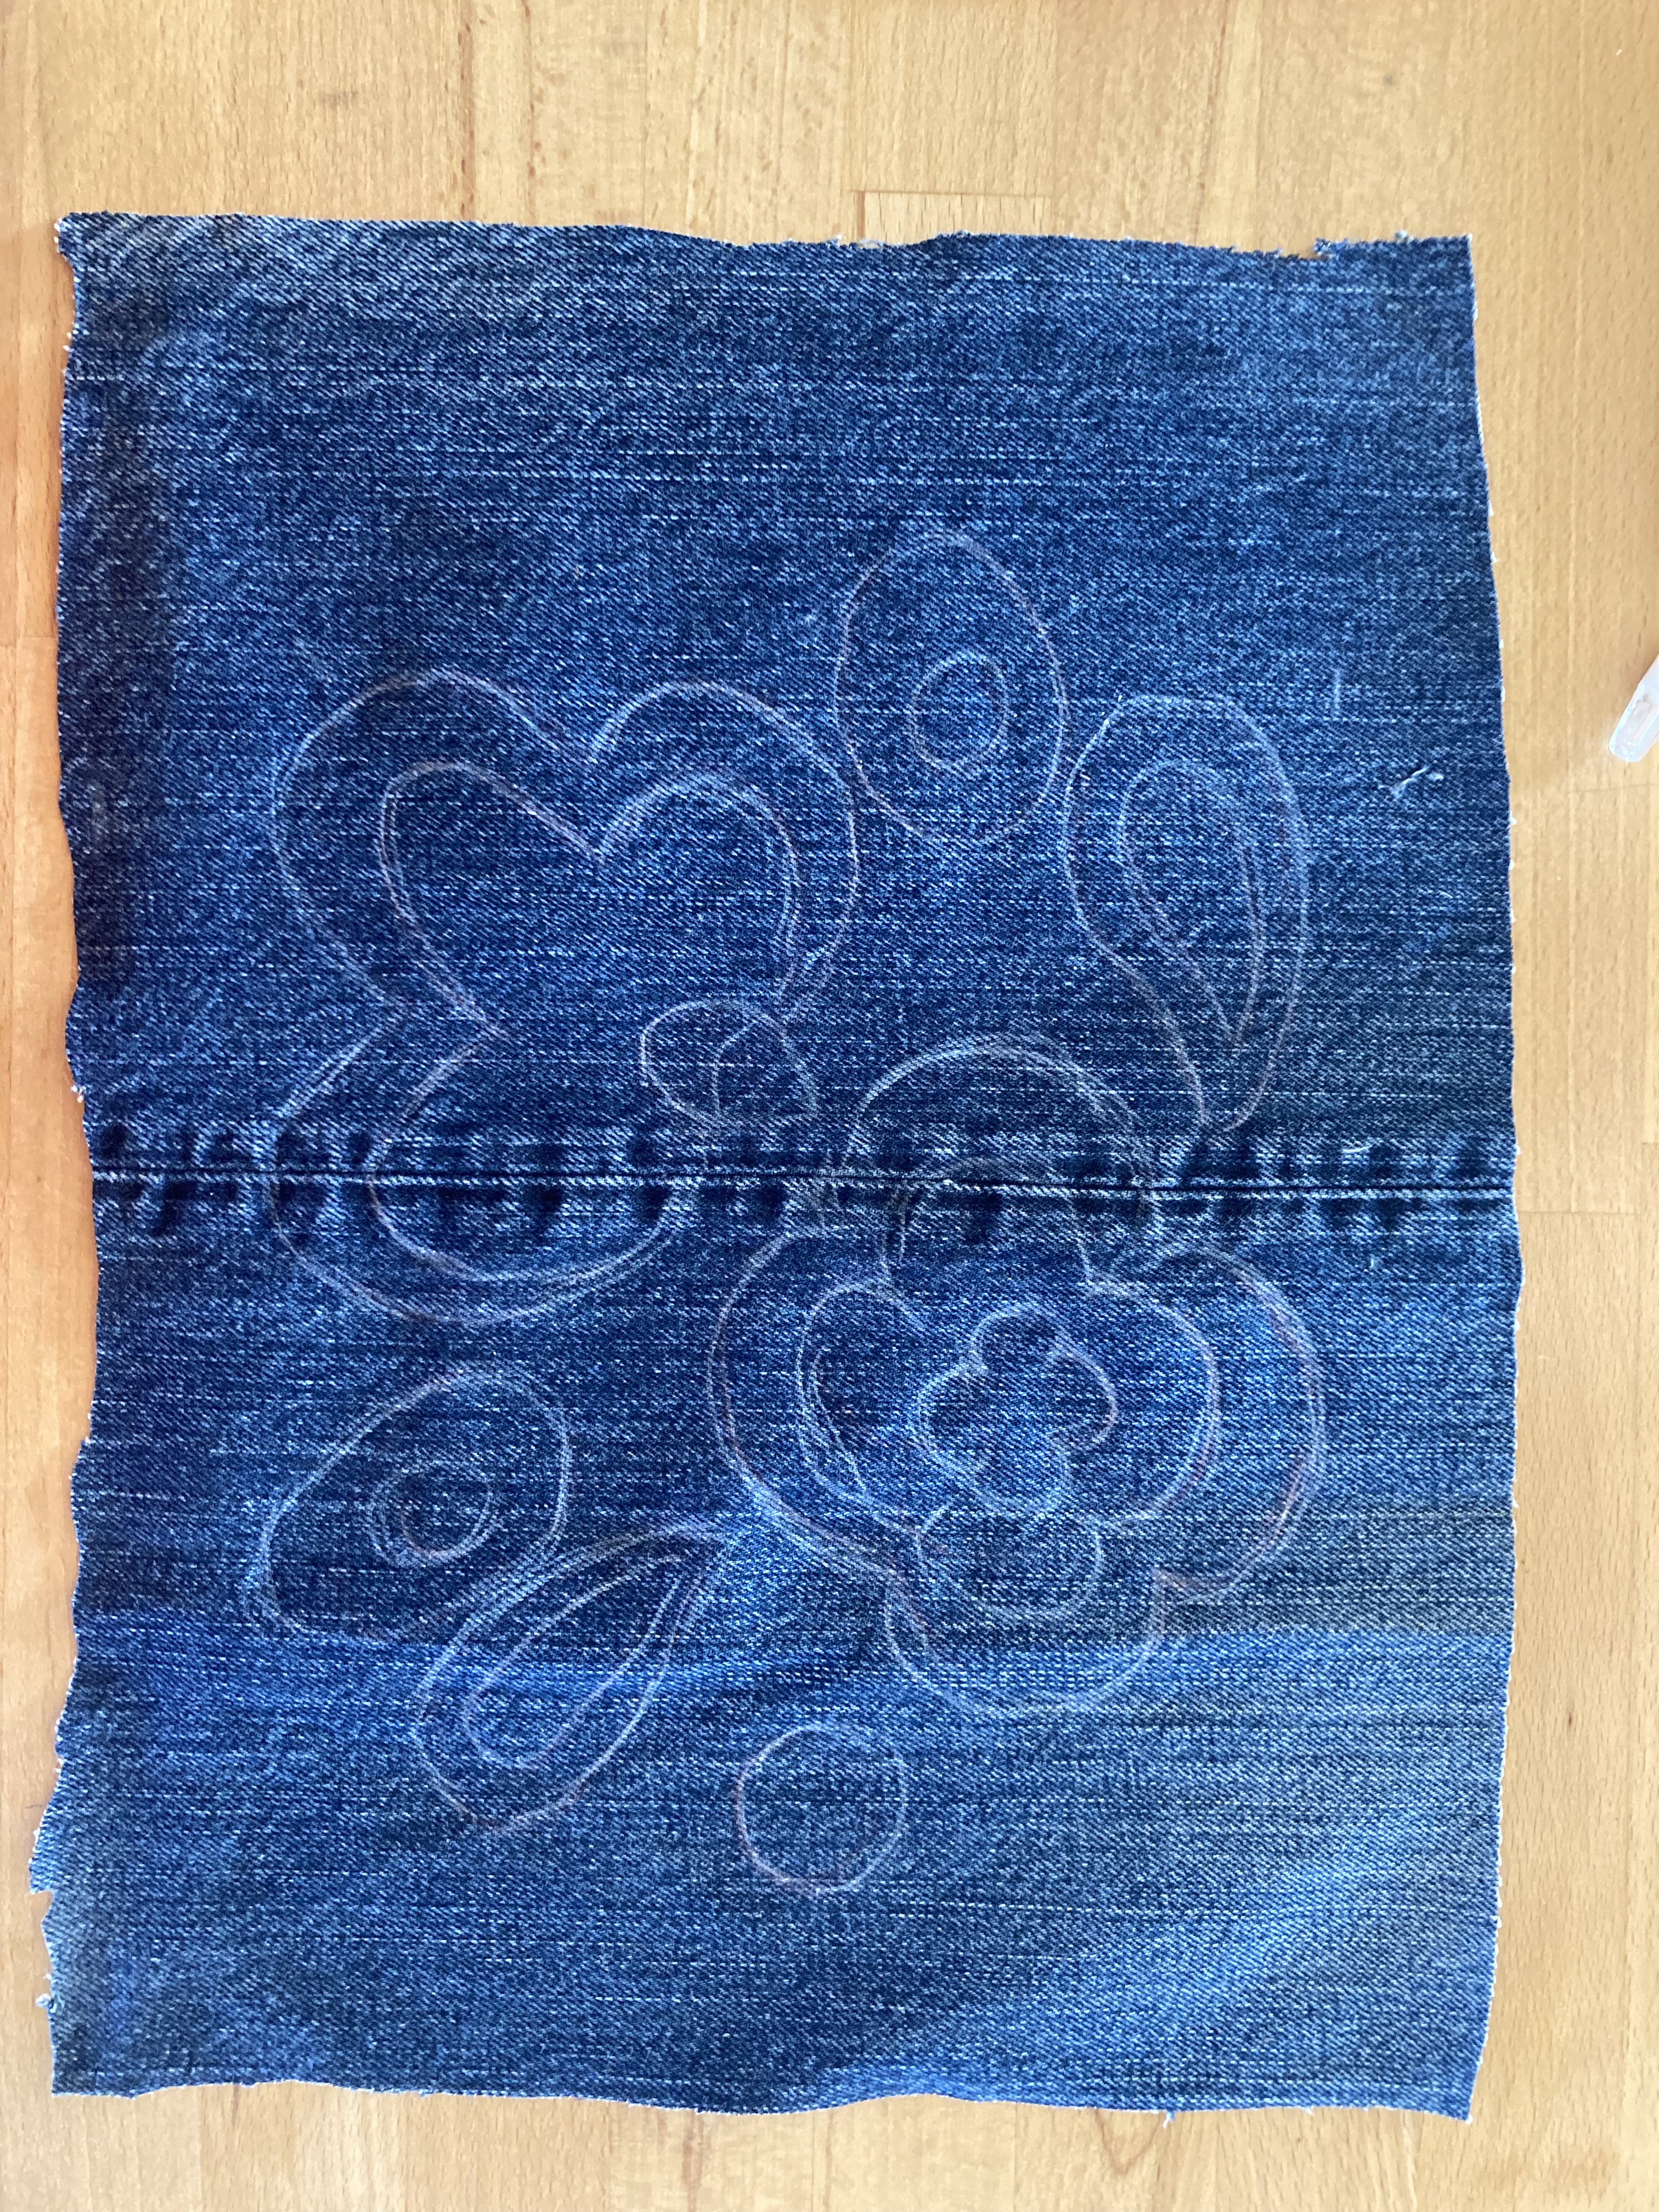
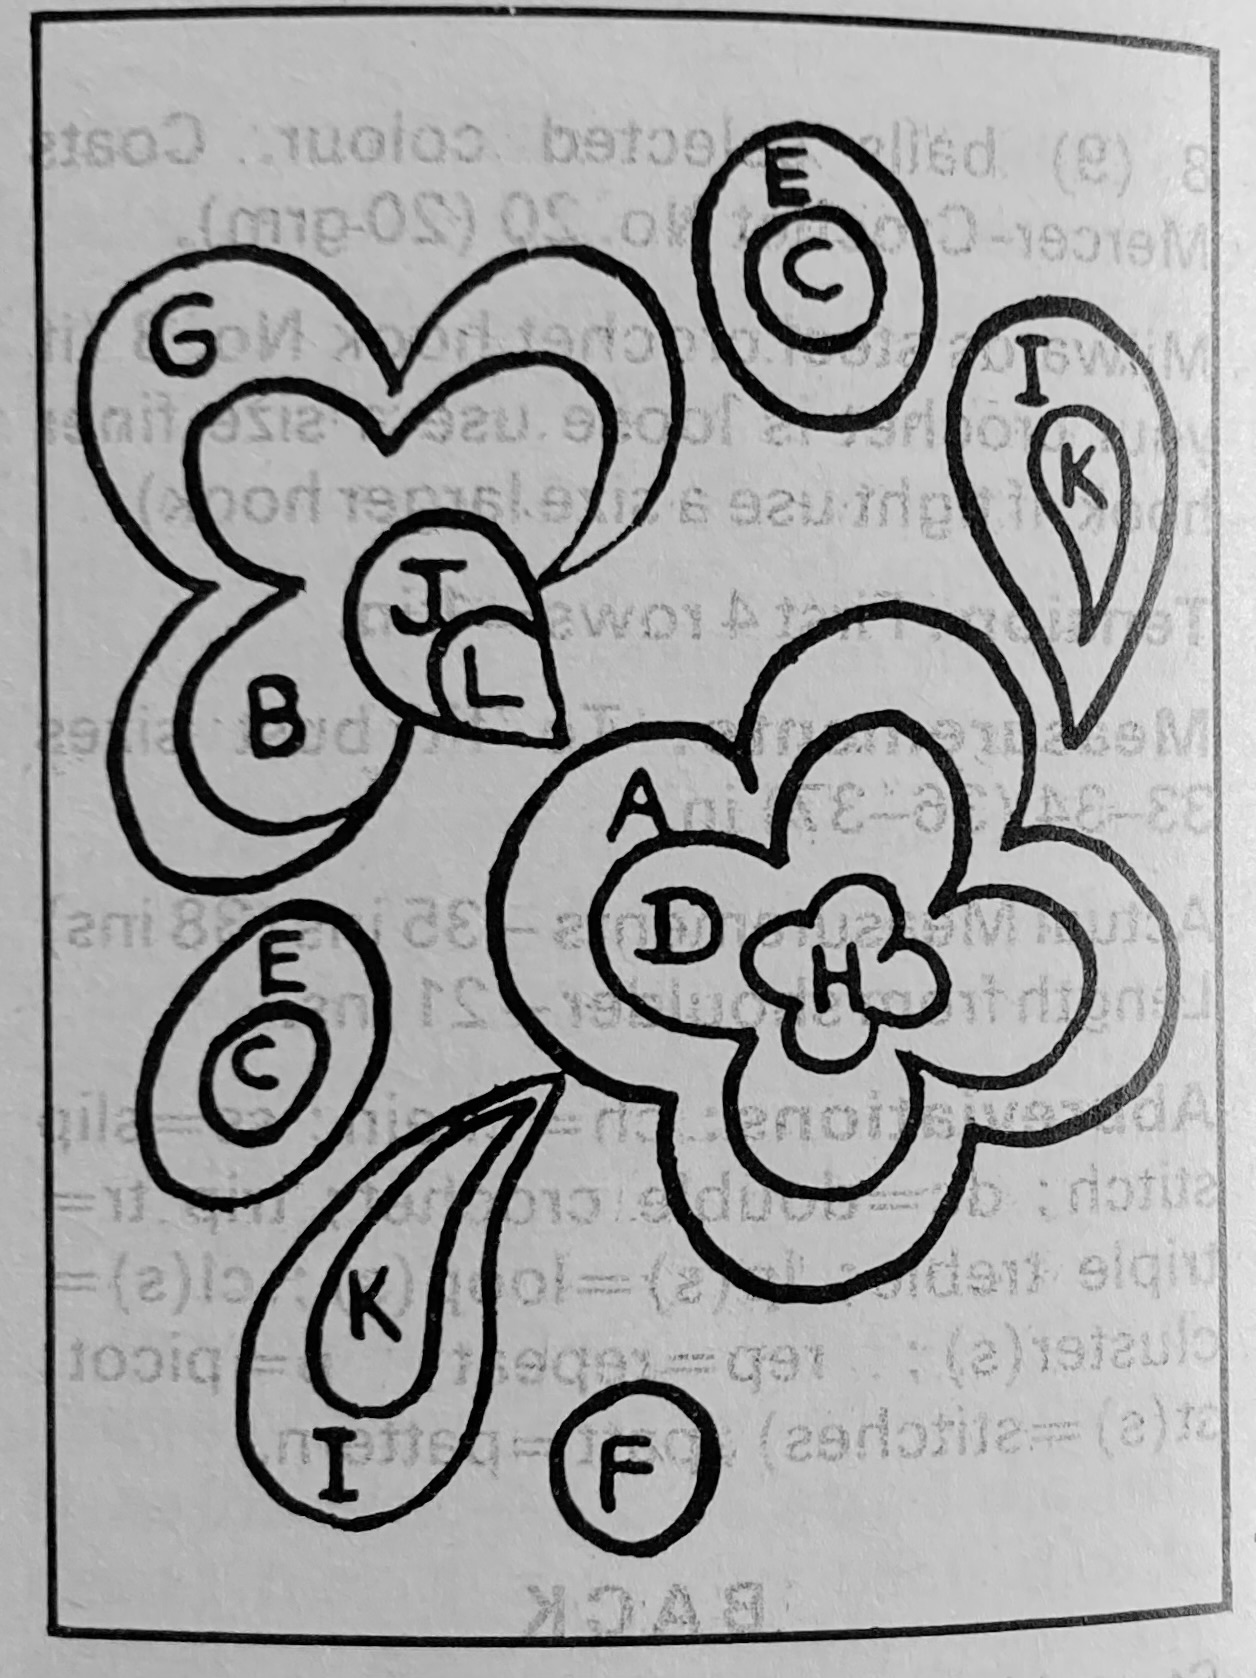
Als always, I would have had to send away for the transfer in 1968, but there was a helpful schematic in the magazine which I transfered over to paper and then onto the denim, sizing it up to fit. Transfering the design to the denim was hard, even with a white tracing pencil. I had to go over it with chalk and then of course keep going over it again and again because the chalk wiped off during the embroidery. One of these days I will try using solvent paper.
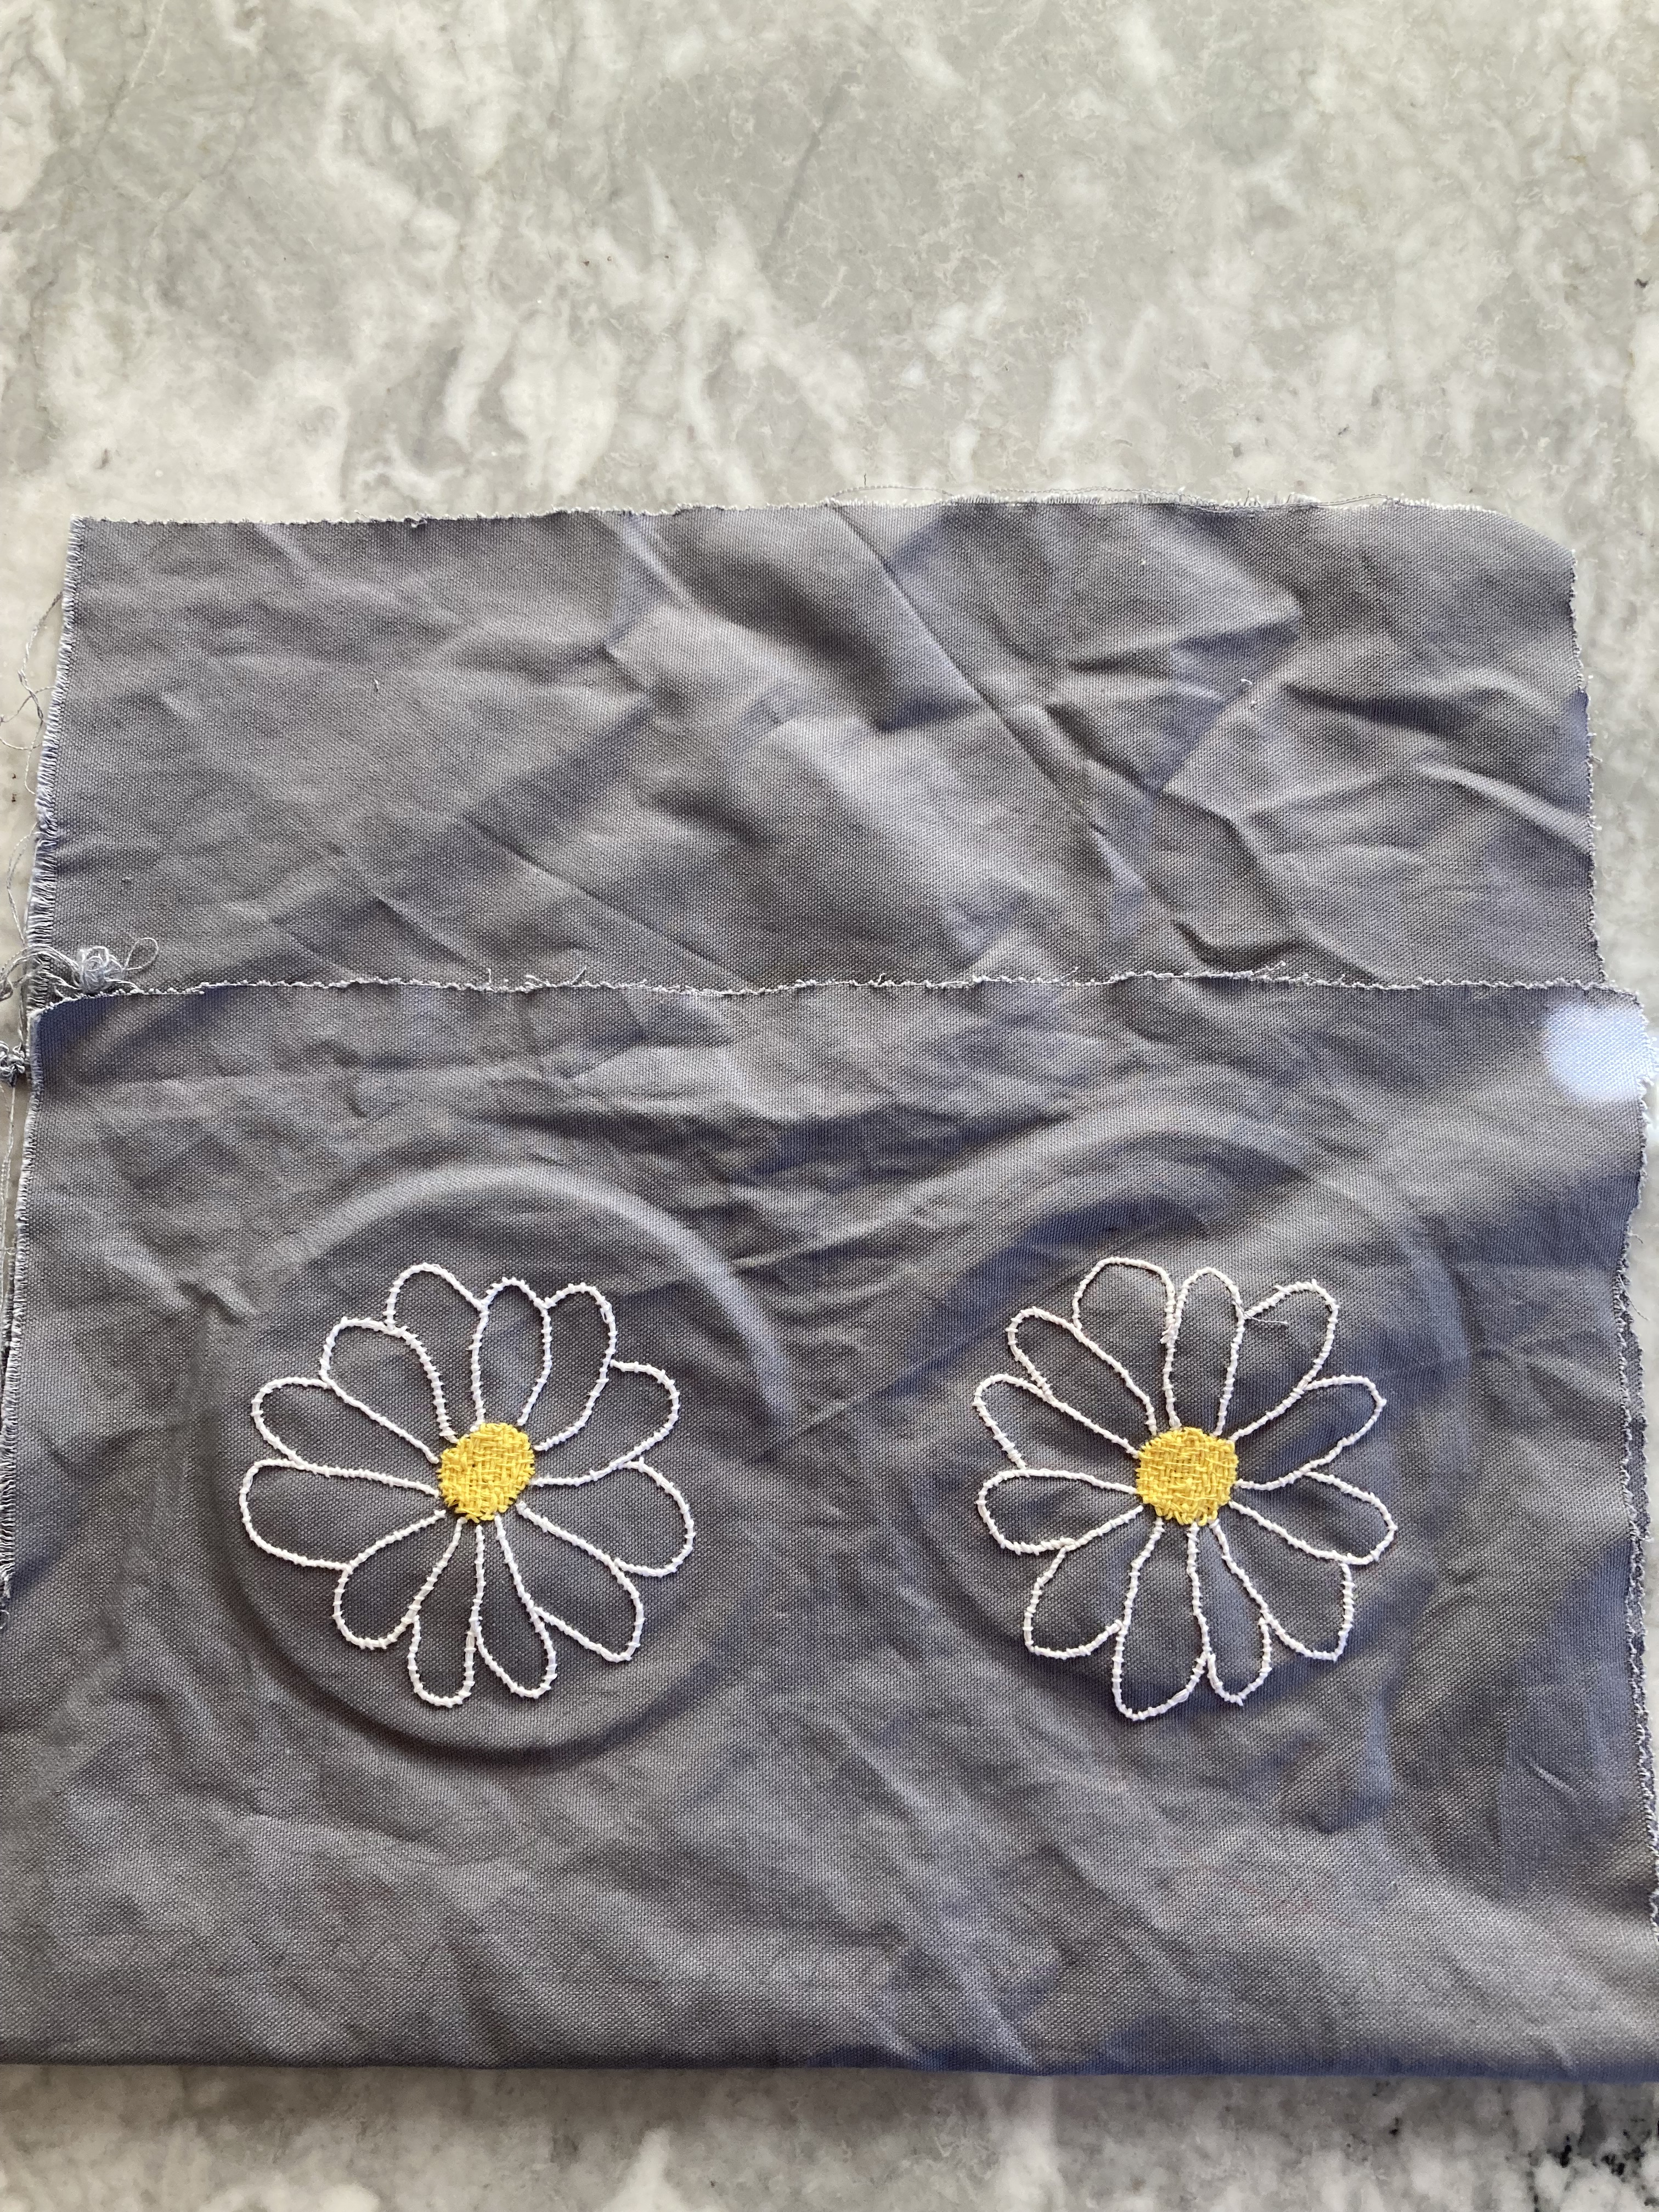
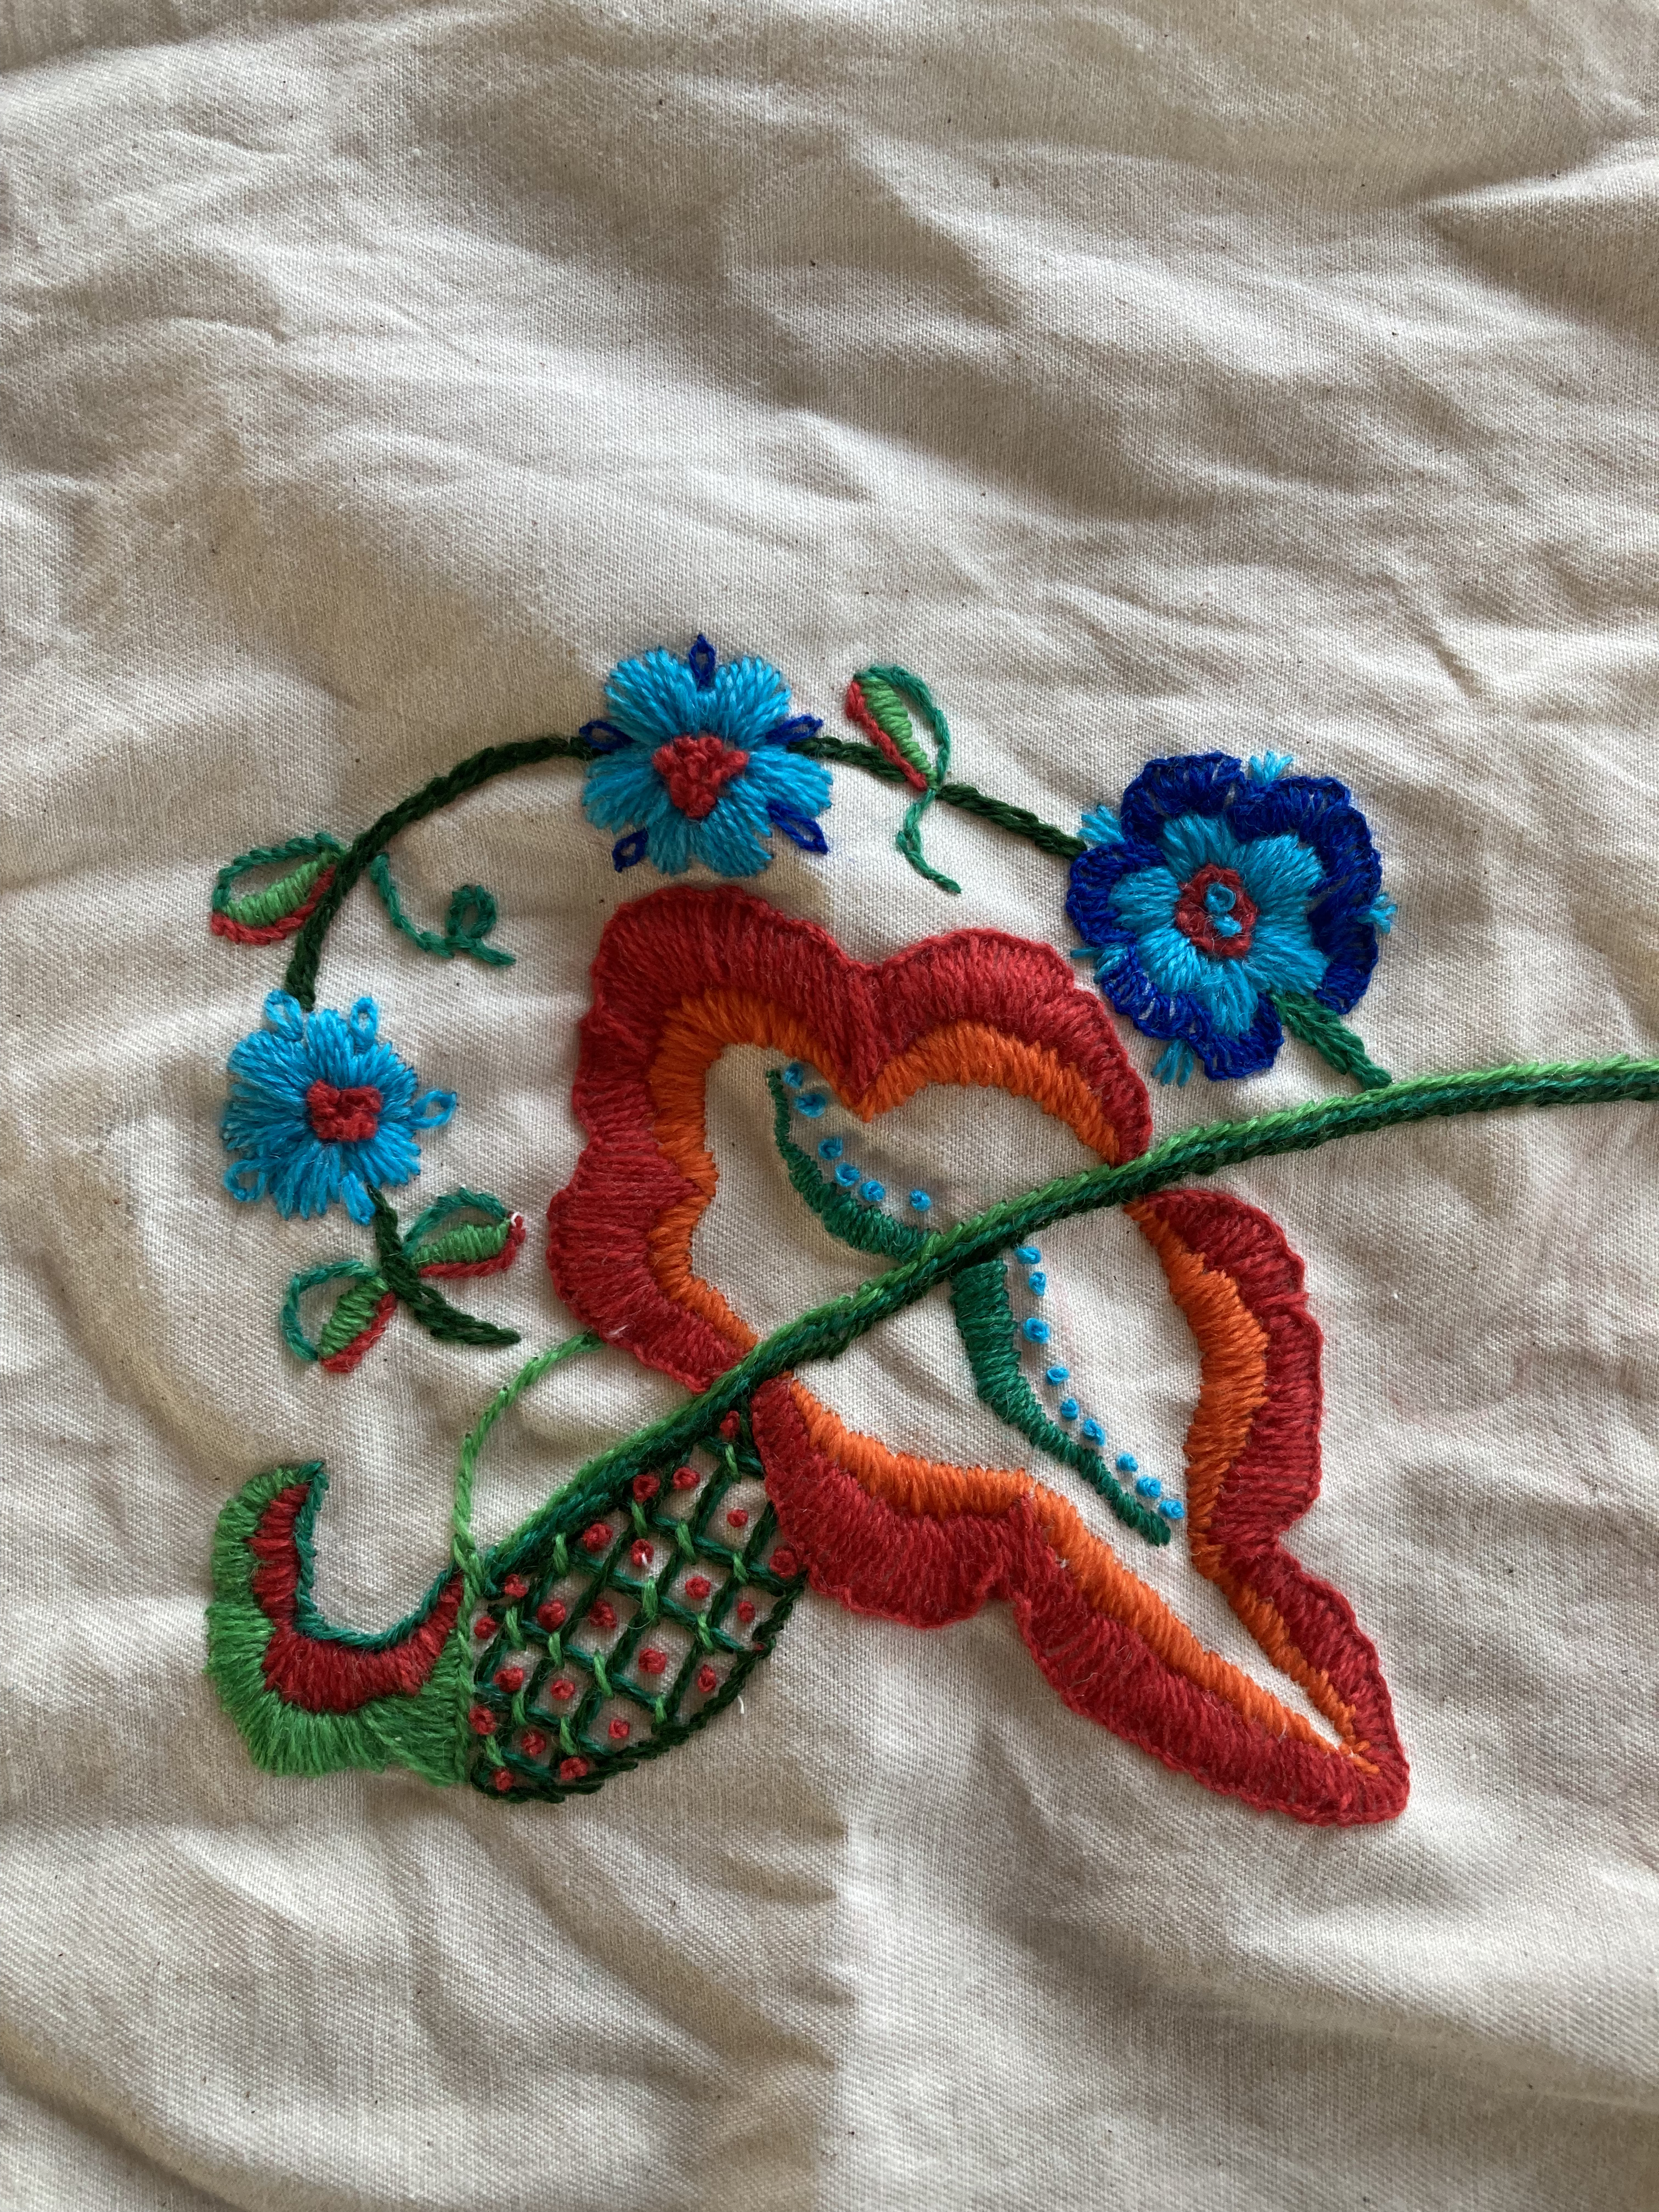
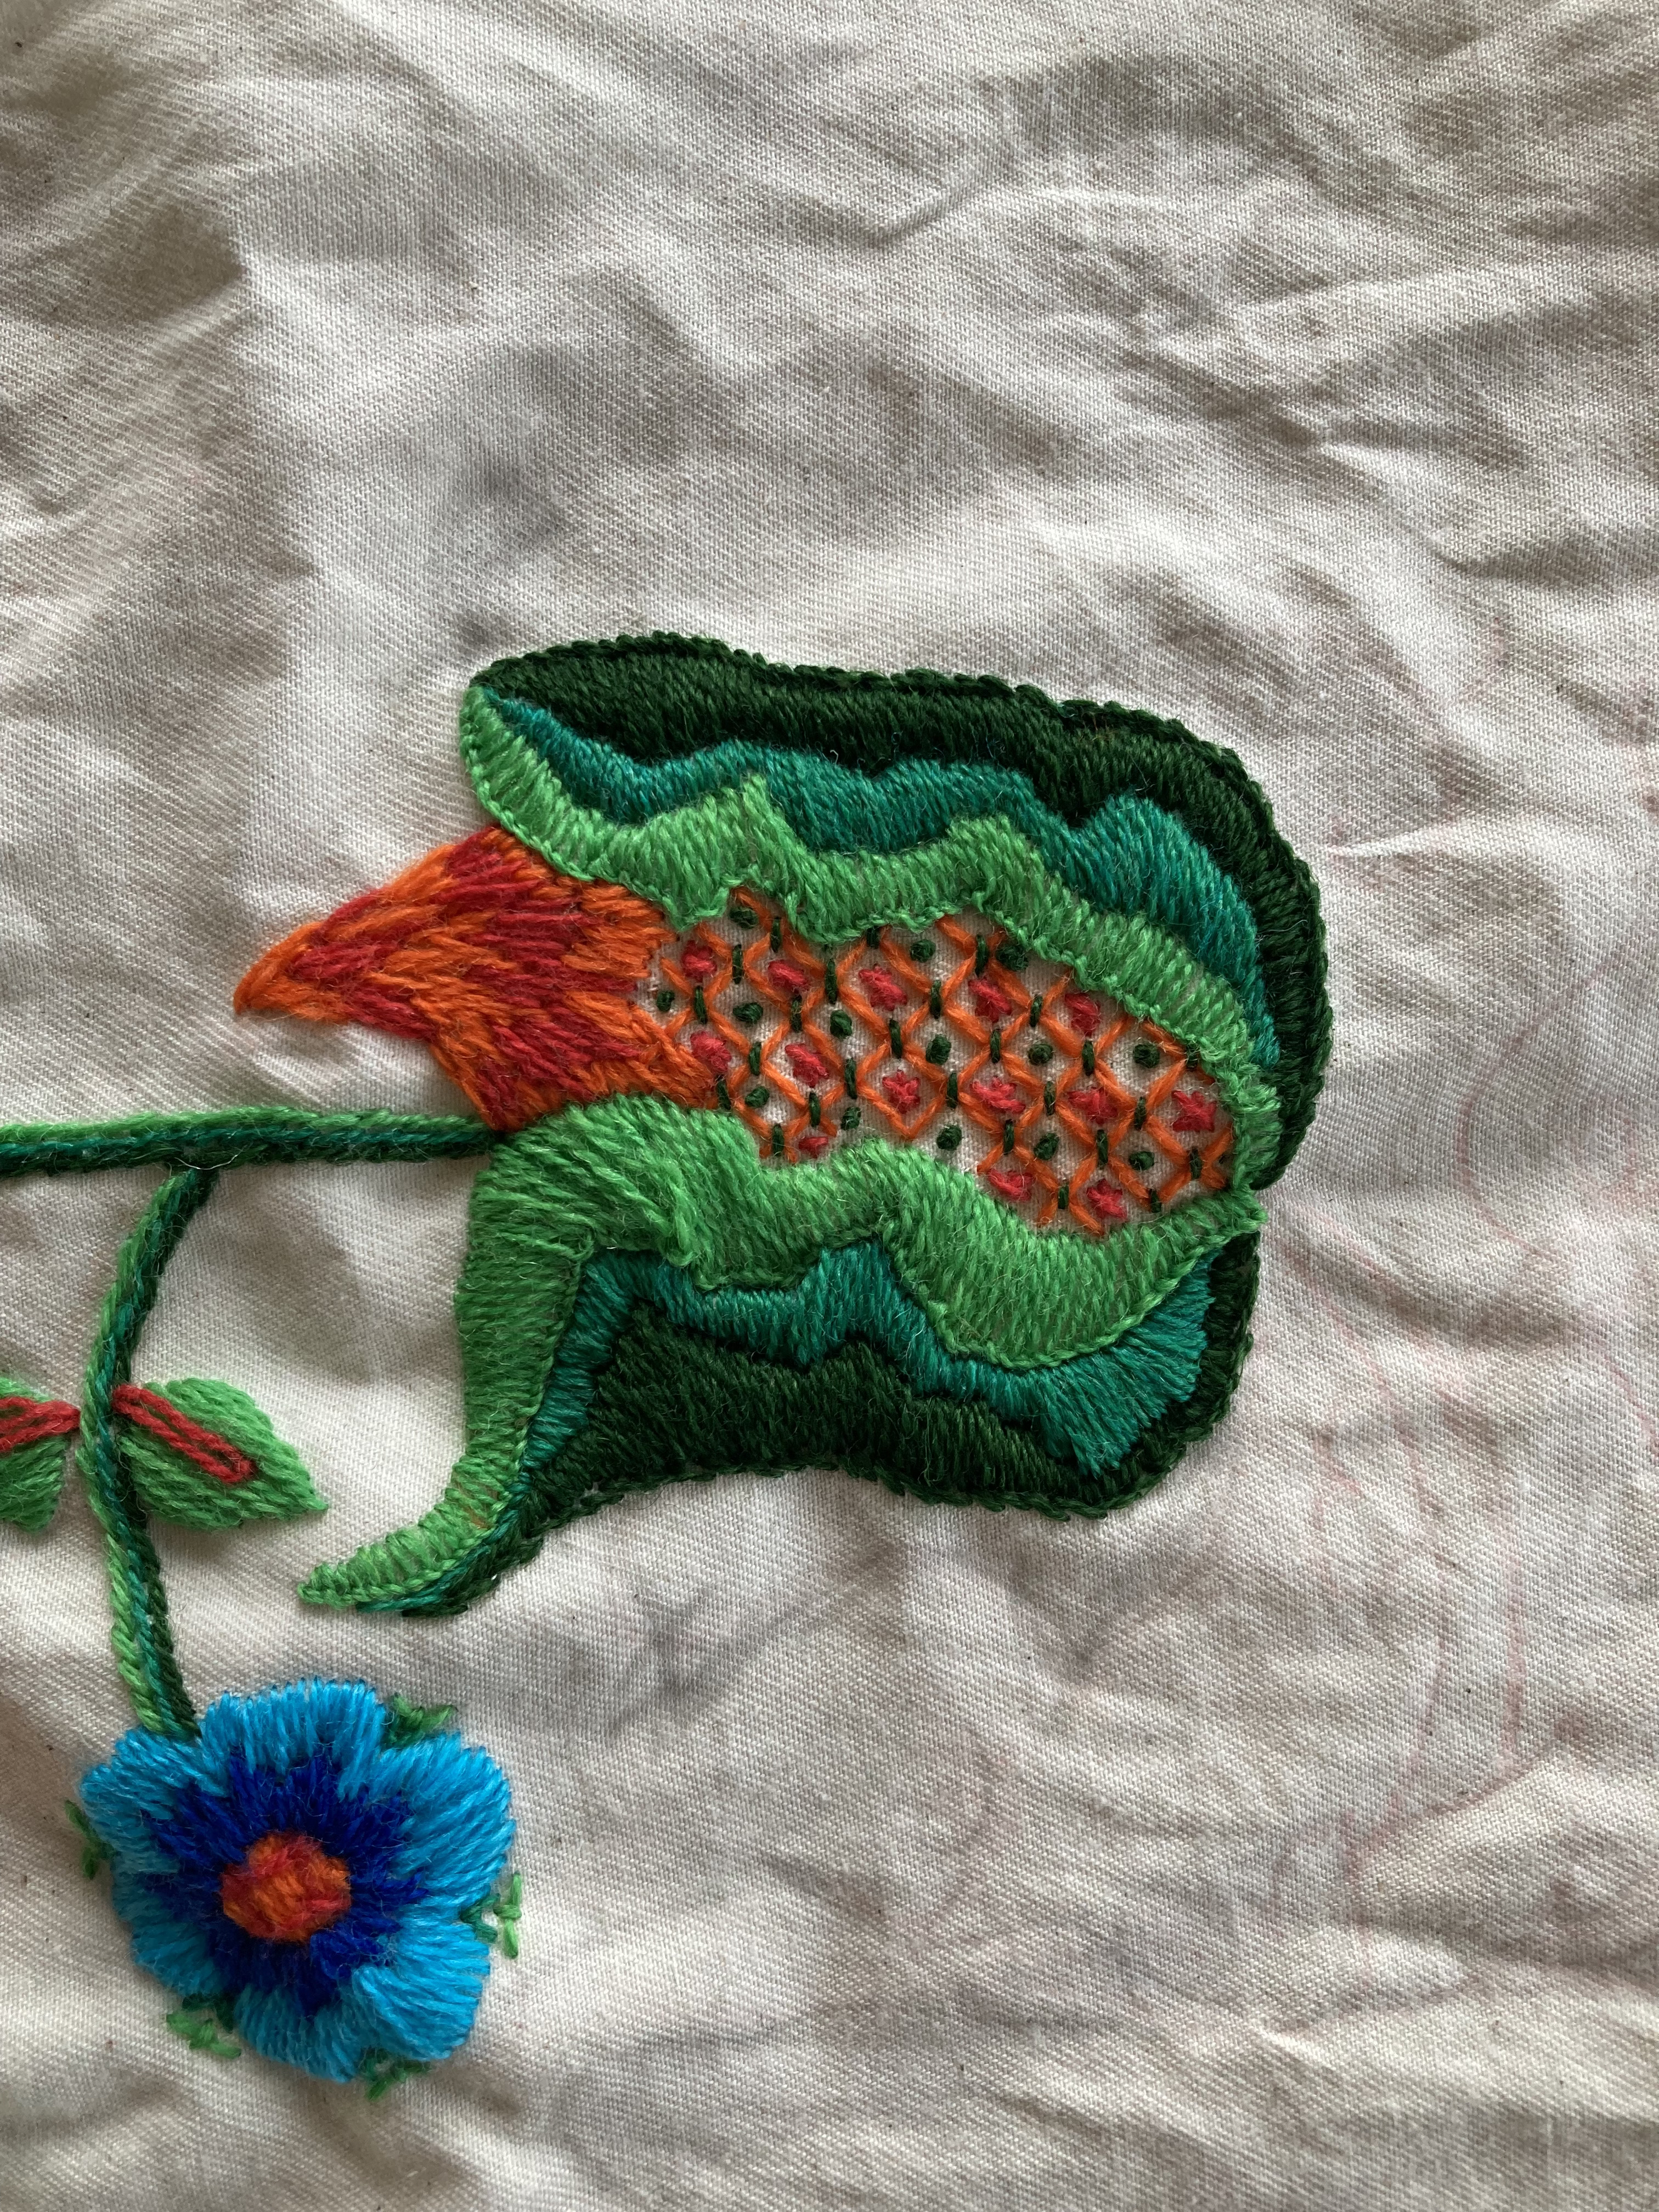
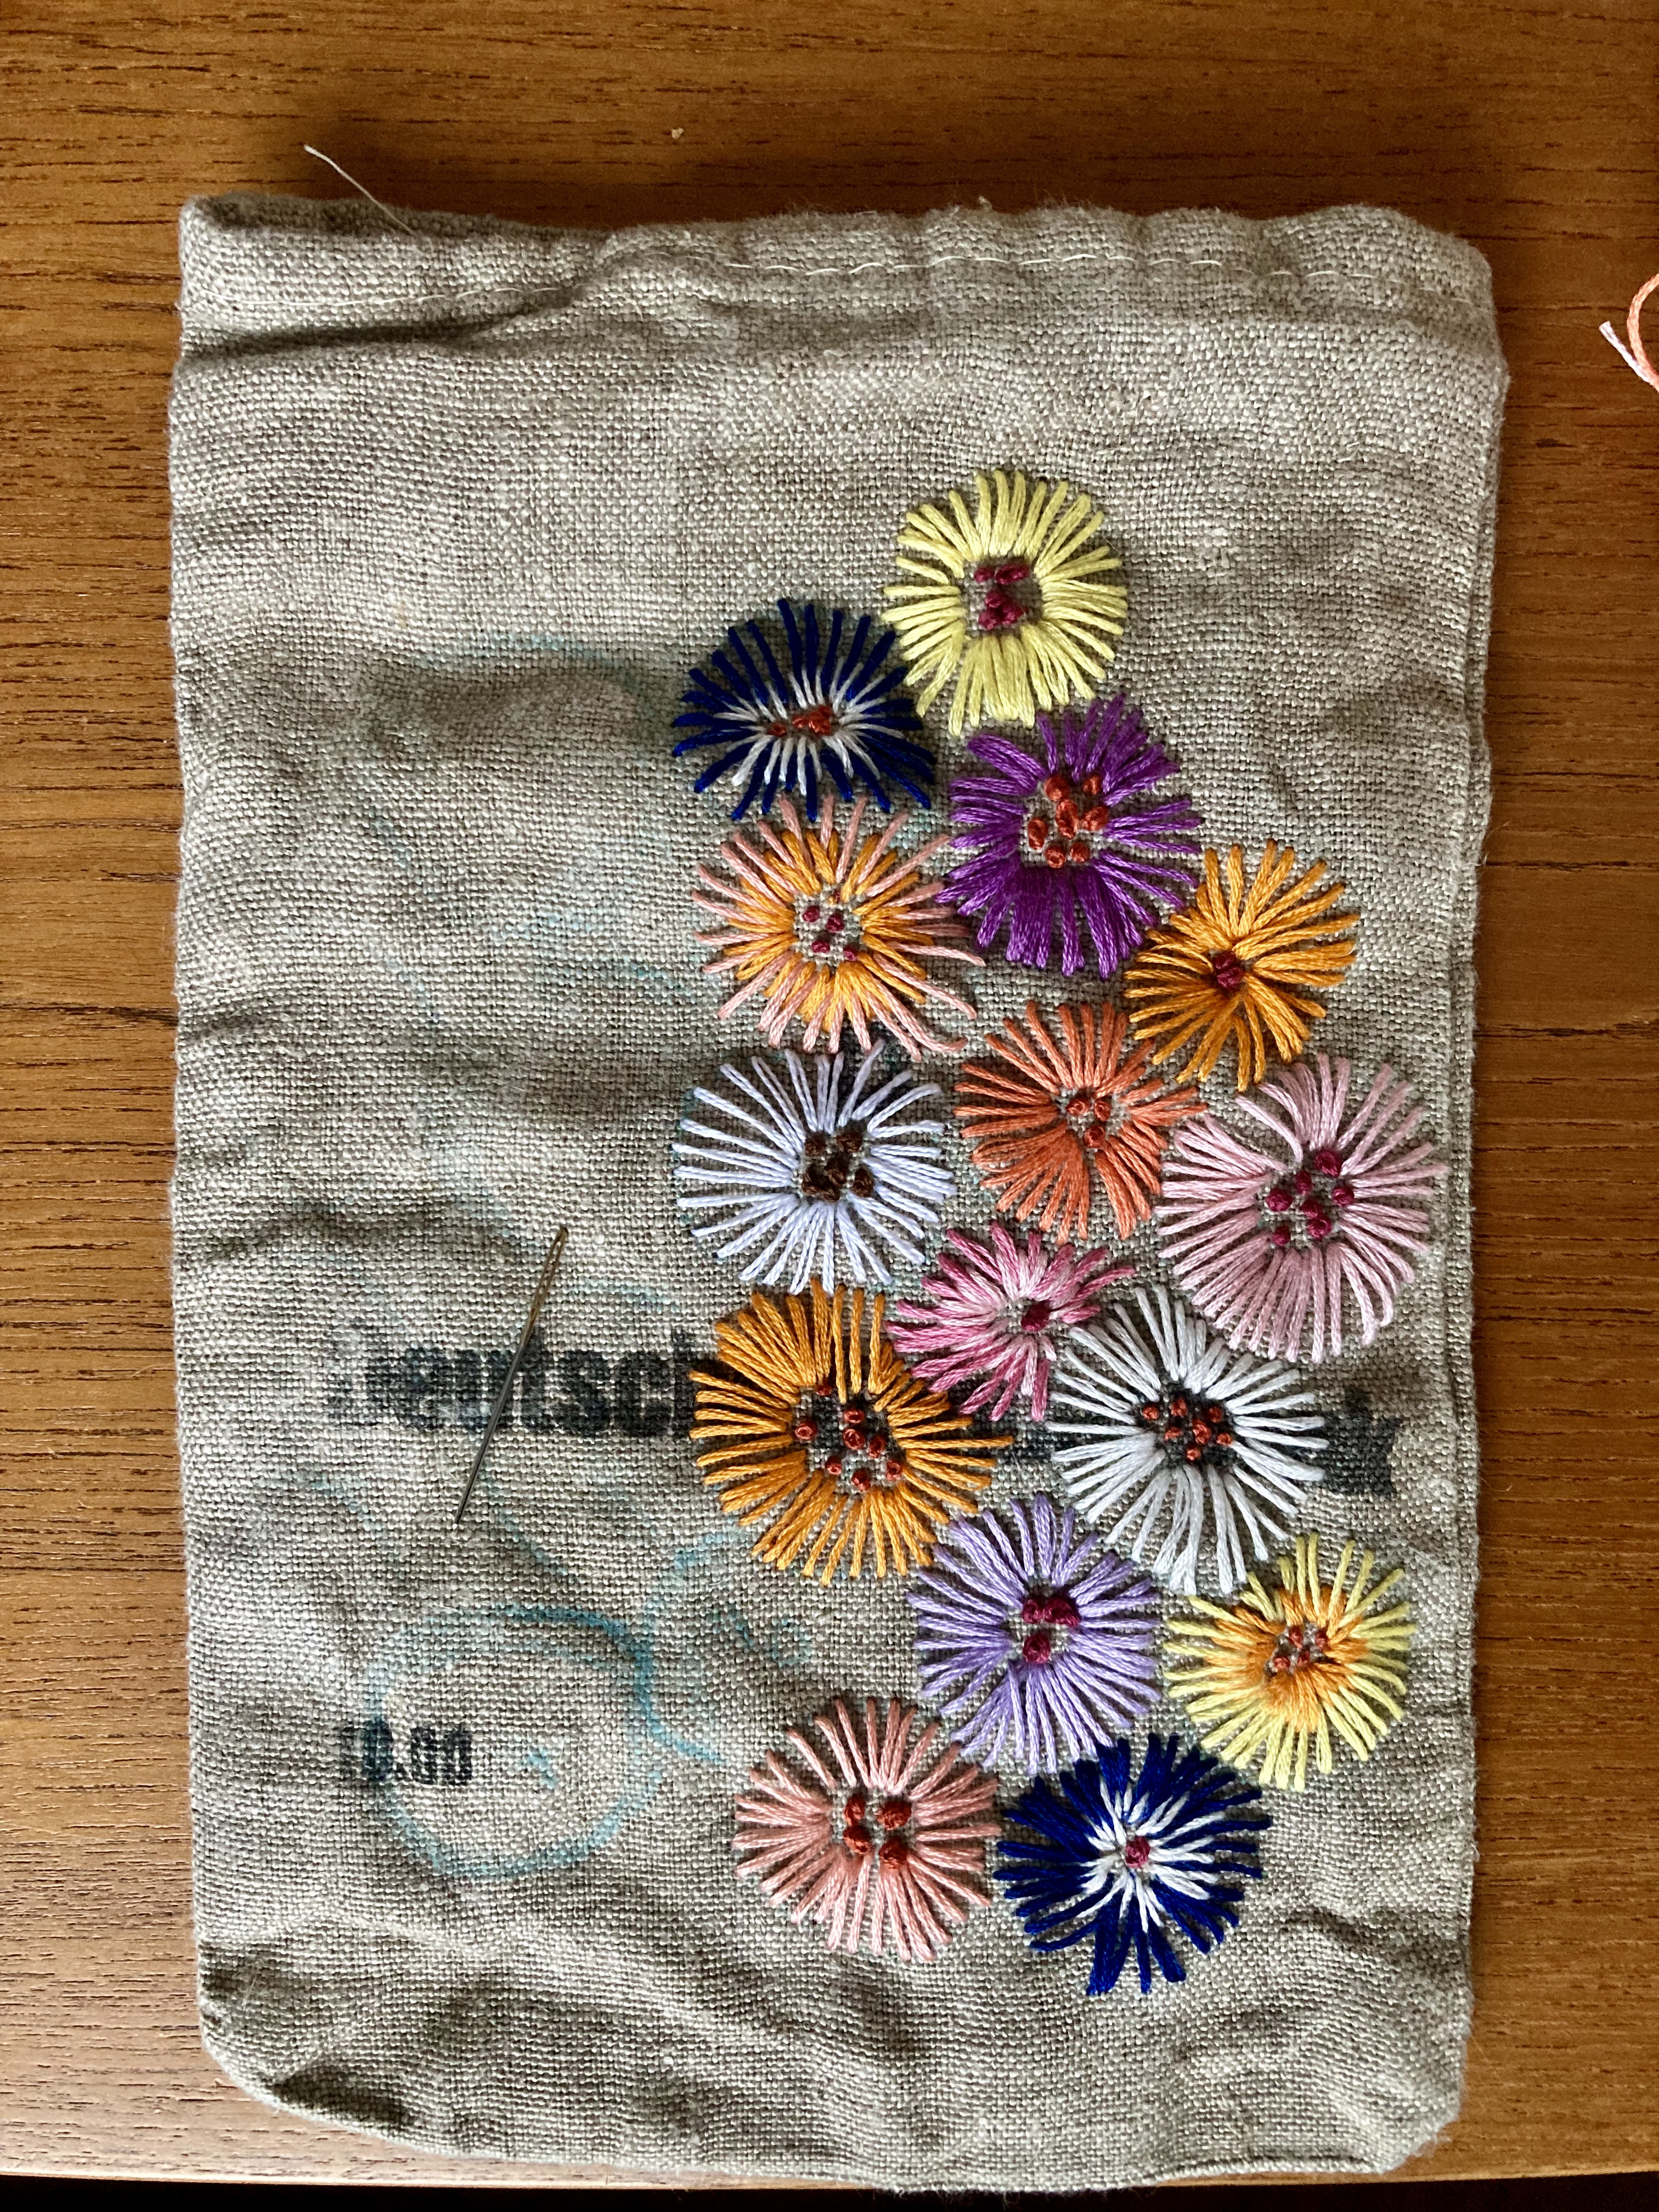
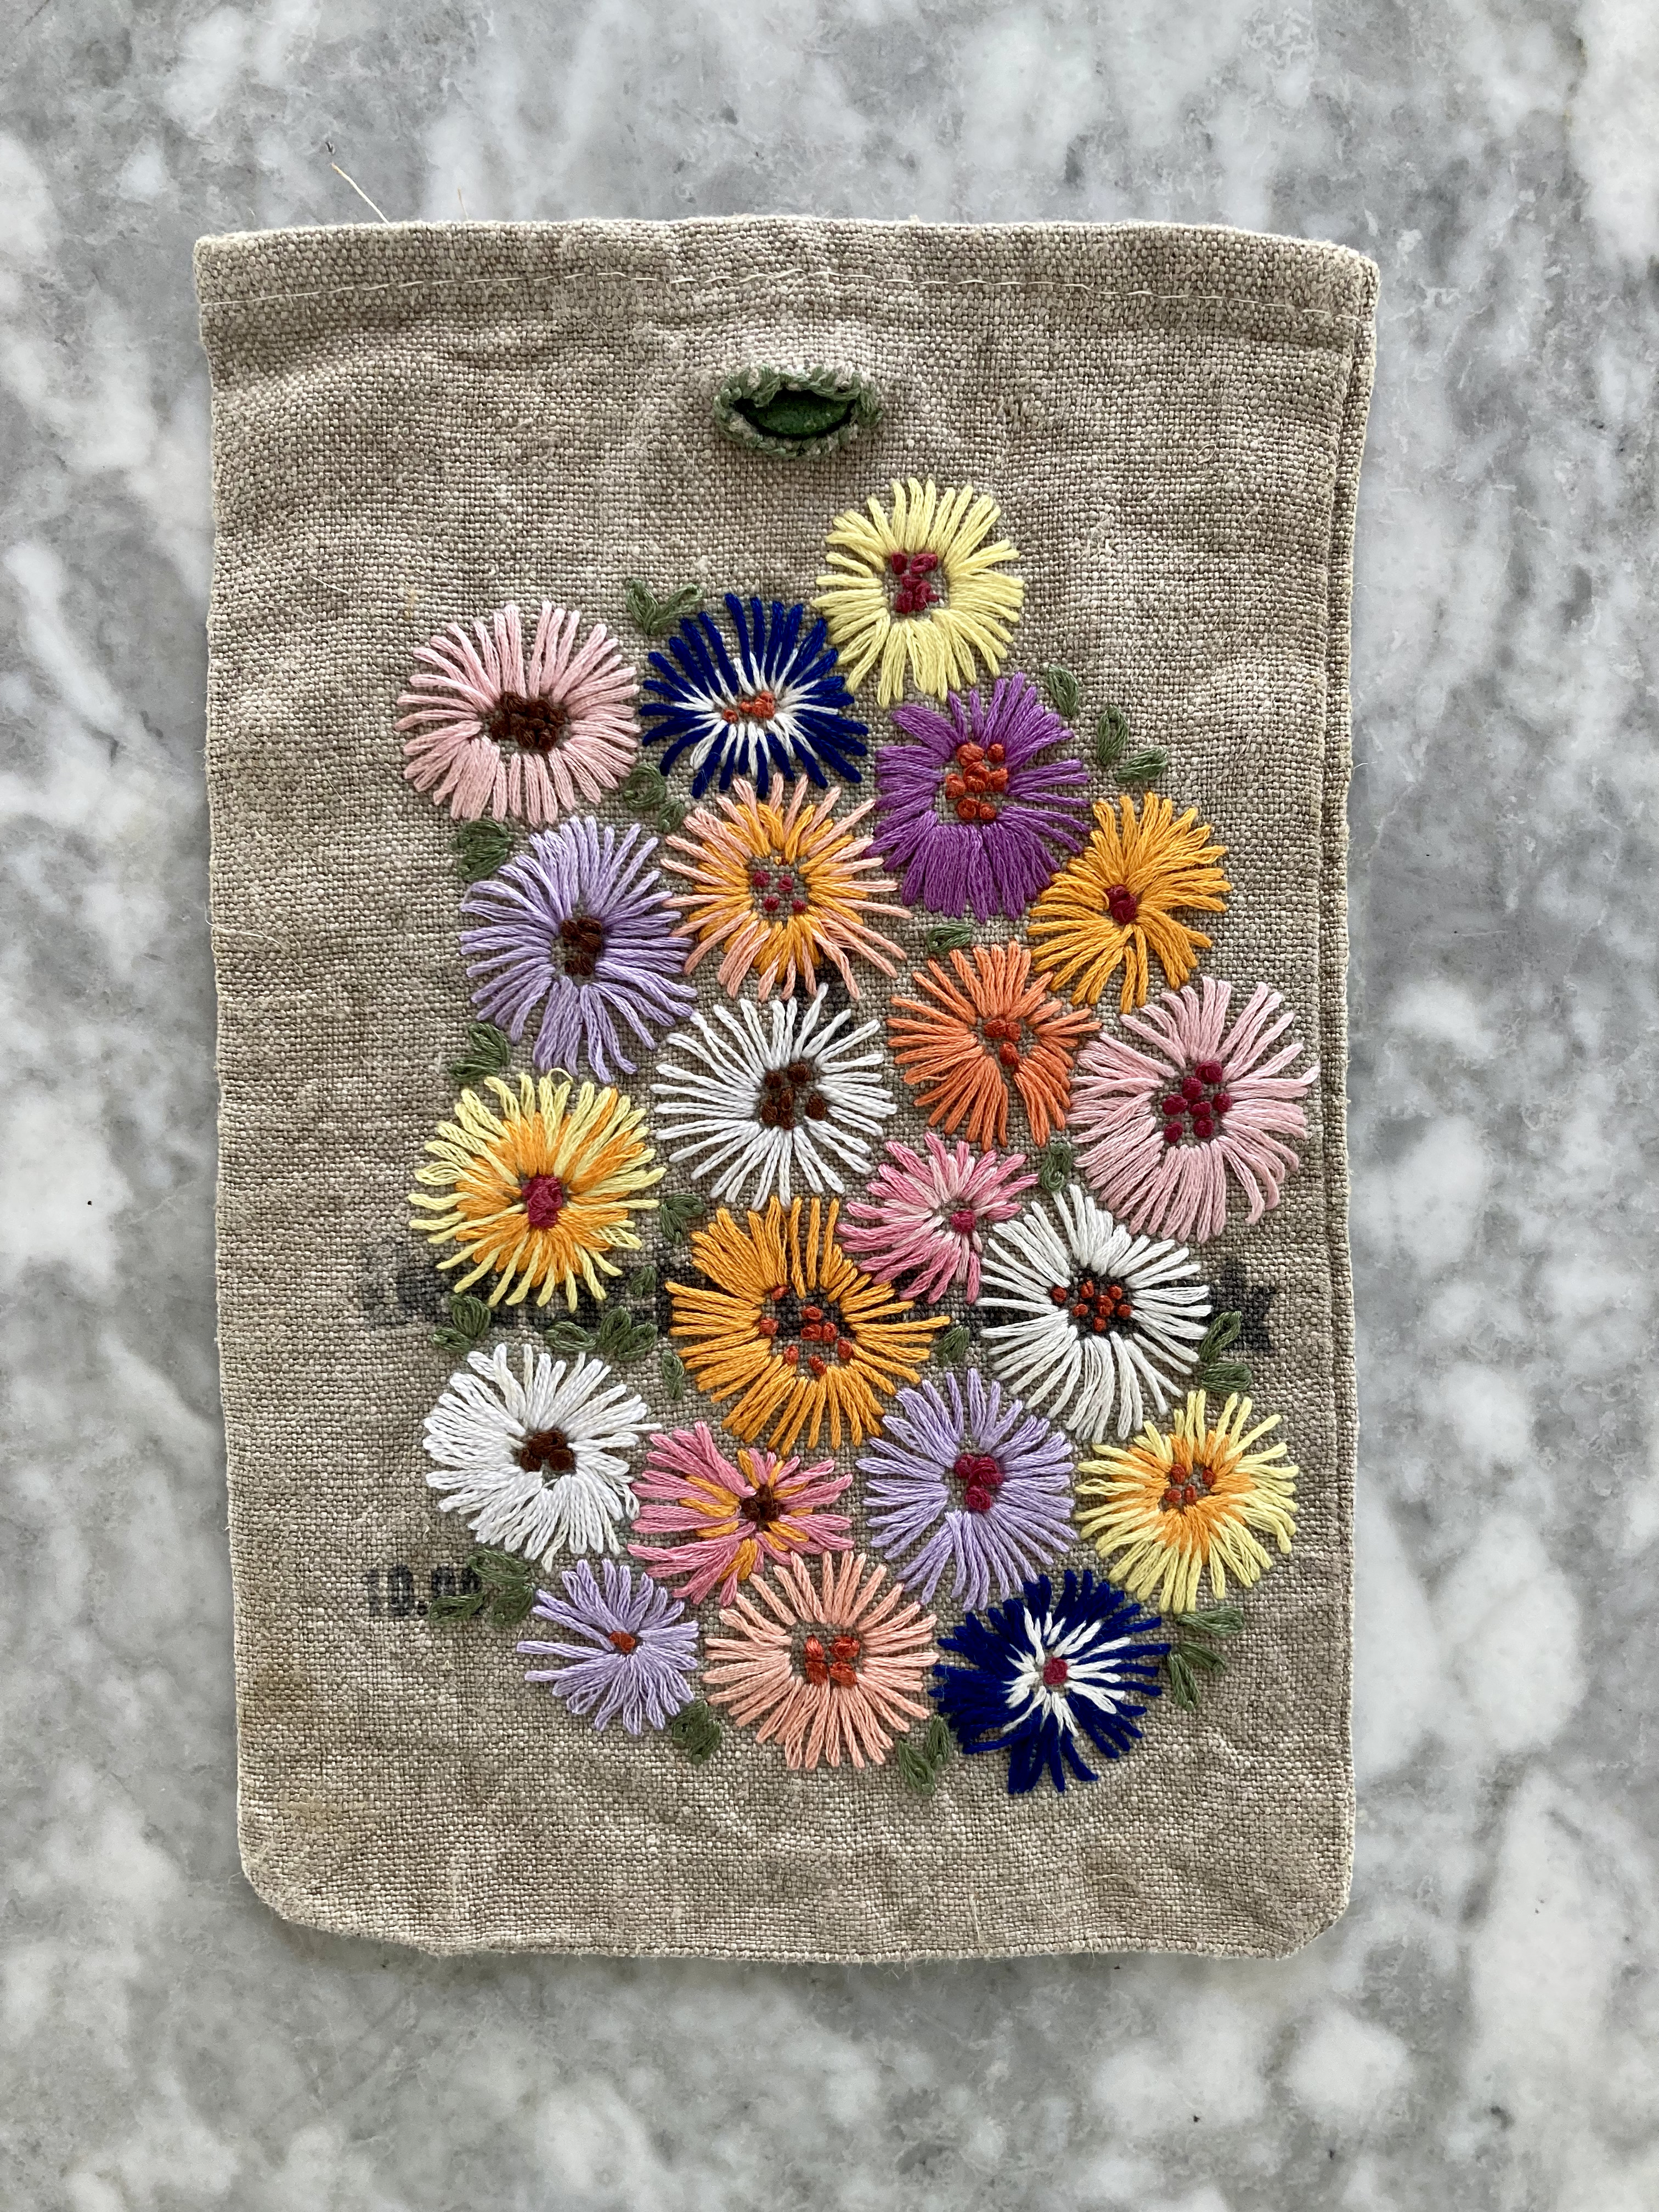
The embroidery itself was not hard, but lots and lots of buttonhole stitch over a large area. I had two kinds of embroidery wool and one kind (the two shades of gold and the white) was very fine and thin. There would have been no way to make a proper buttonhole stitch where the threads like right next to each other. So it came out somewhere between buttonhole and blanket stitch.
The hardest part, as always, was setting in the zipper. I try not to use profanity on this blog, so I will just say that I was greatly frustrated. Also, why am I utterly incapable of cutting or sewing a straight line? It is a rectangle…. it is not difficult… I measured constantly in all directions … I have one of those quilting mats with measuring lines on it… I don’t know what my problem is. In the end, I just sewed the zipper in by hand, which was far neater and easier than doing it on the machine. I tacked the lining on by hand as well.

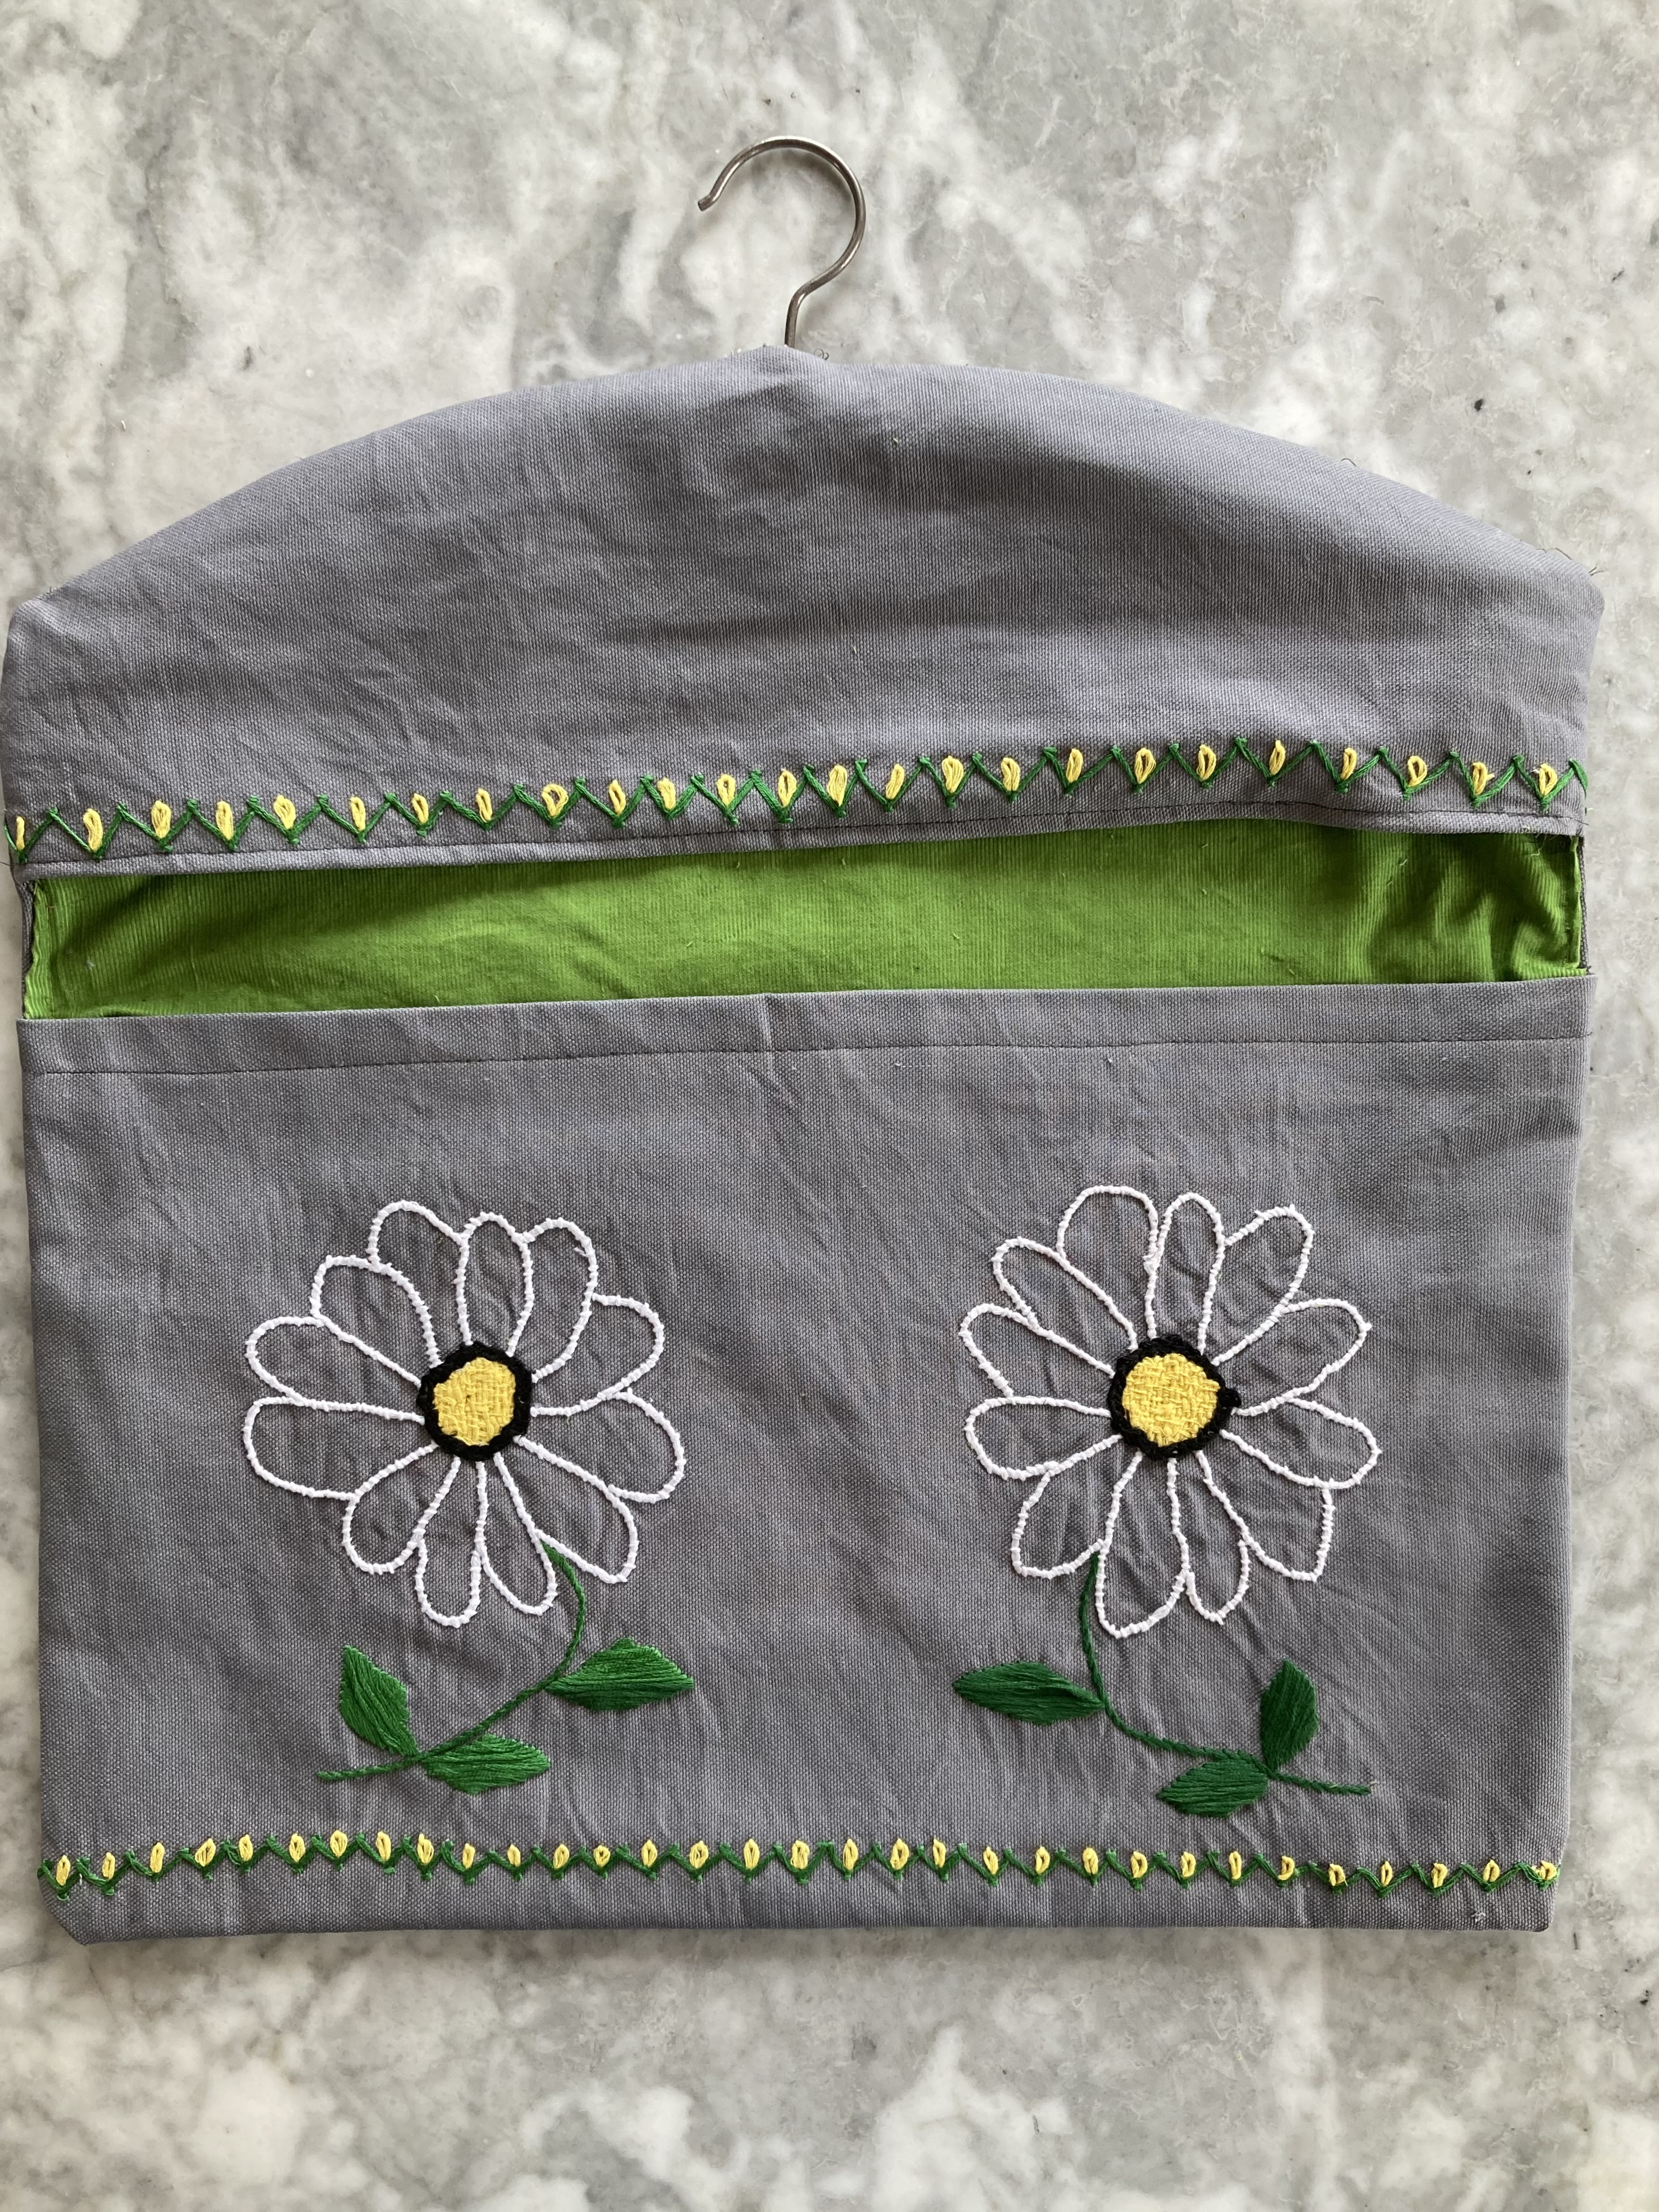
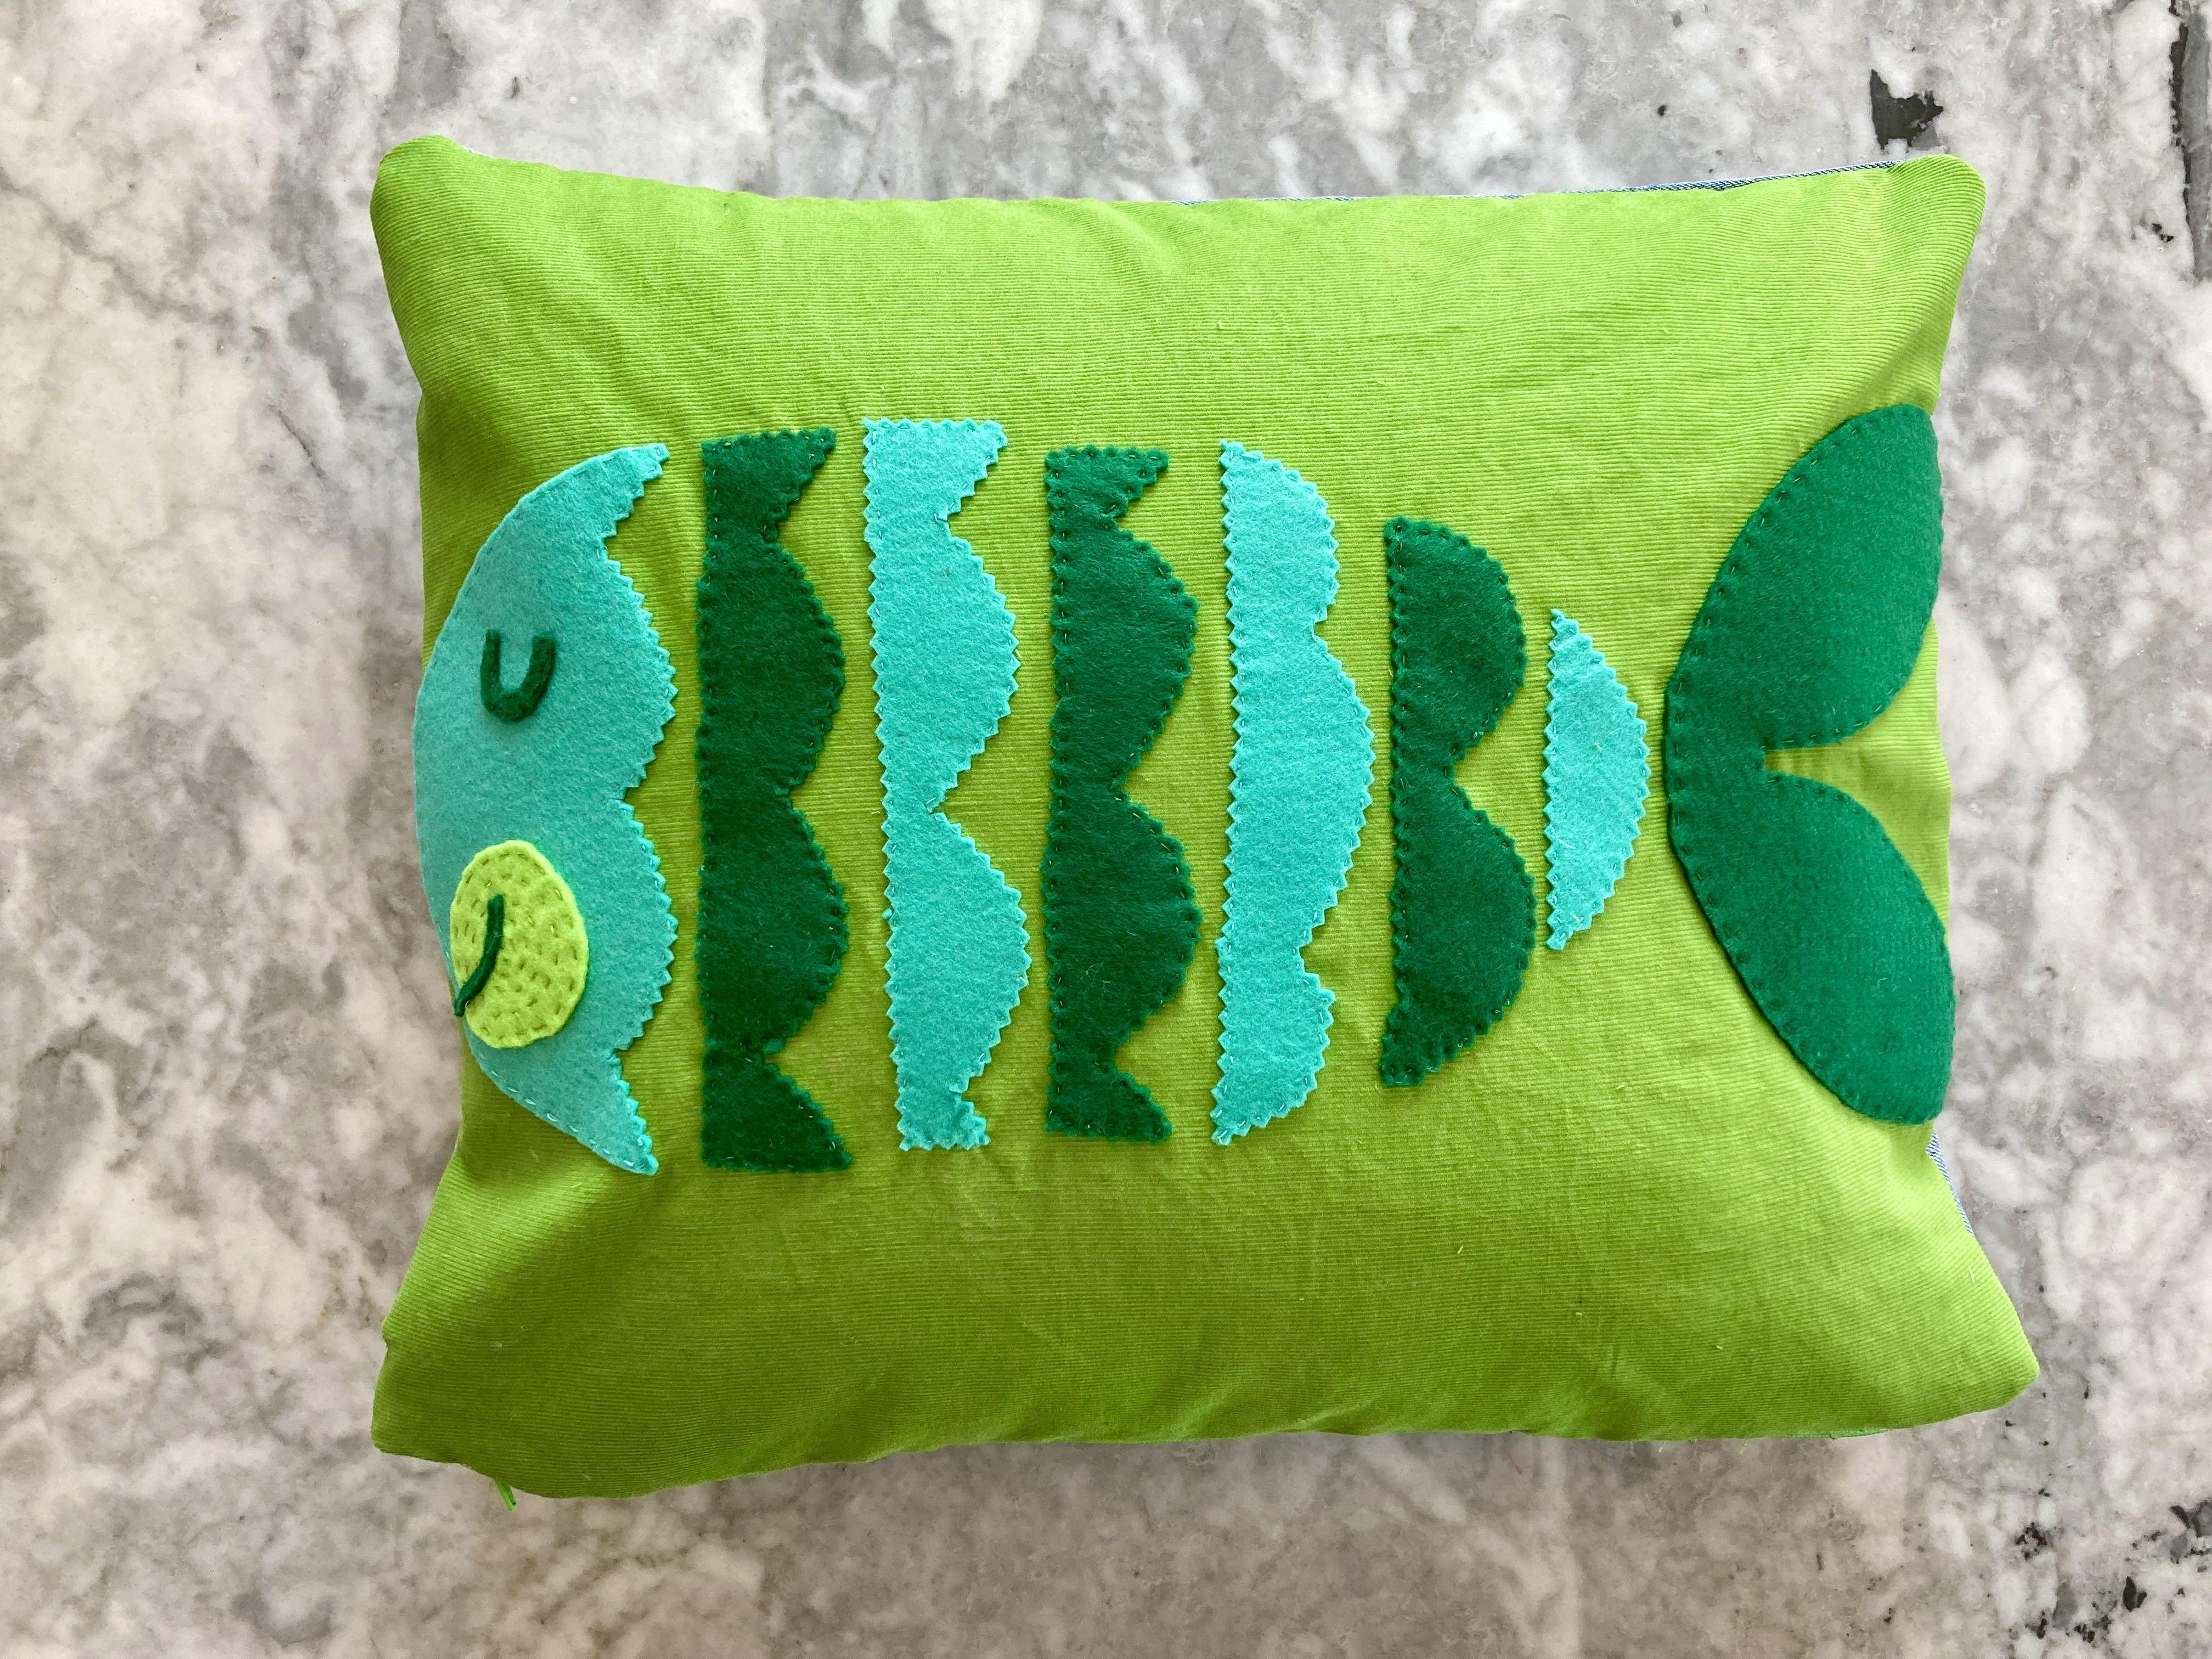
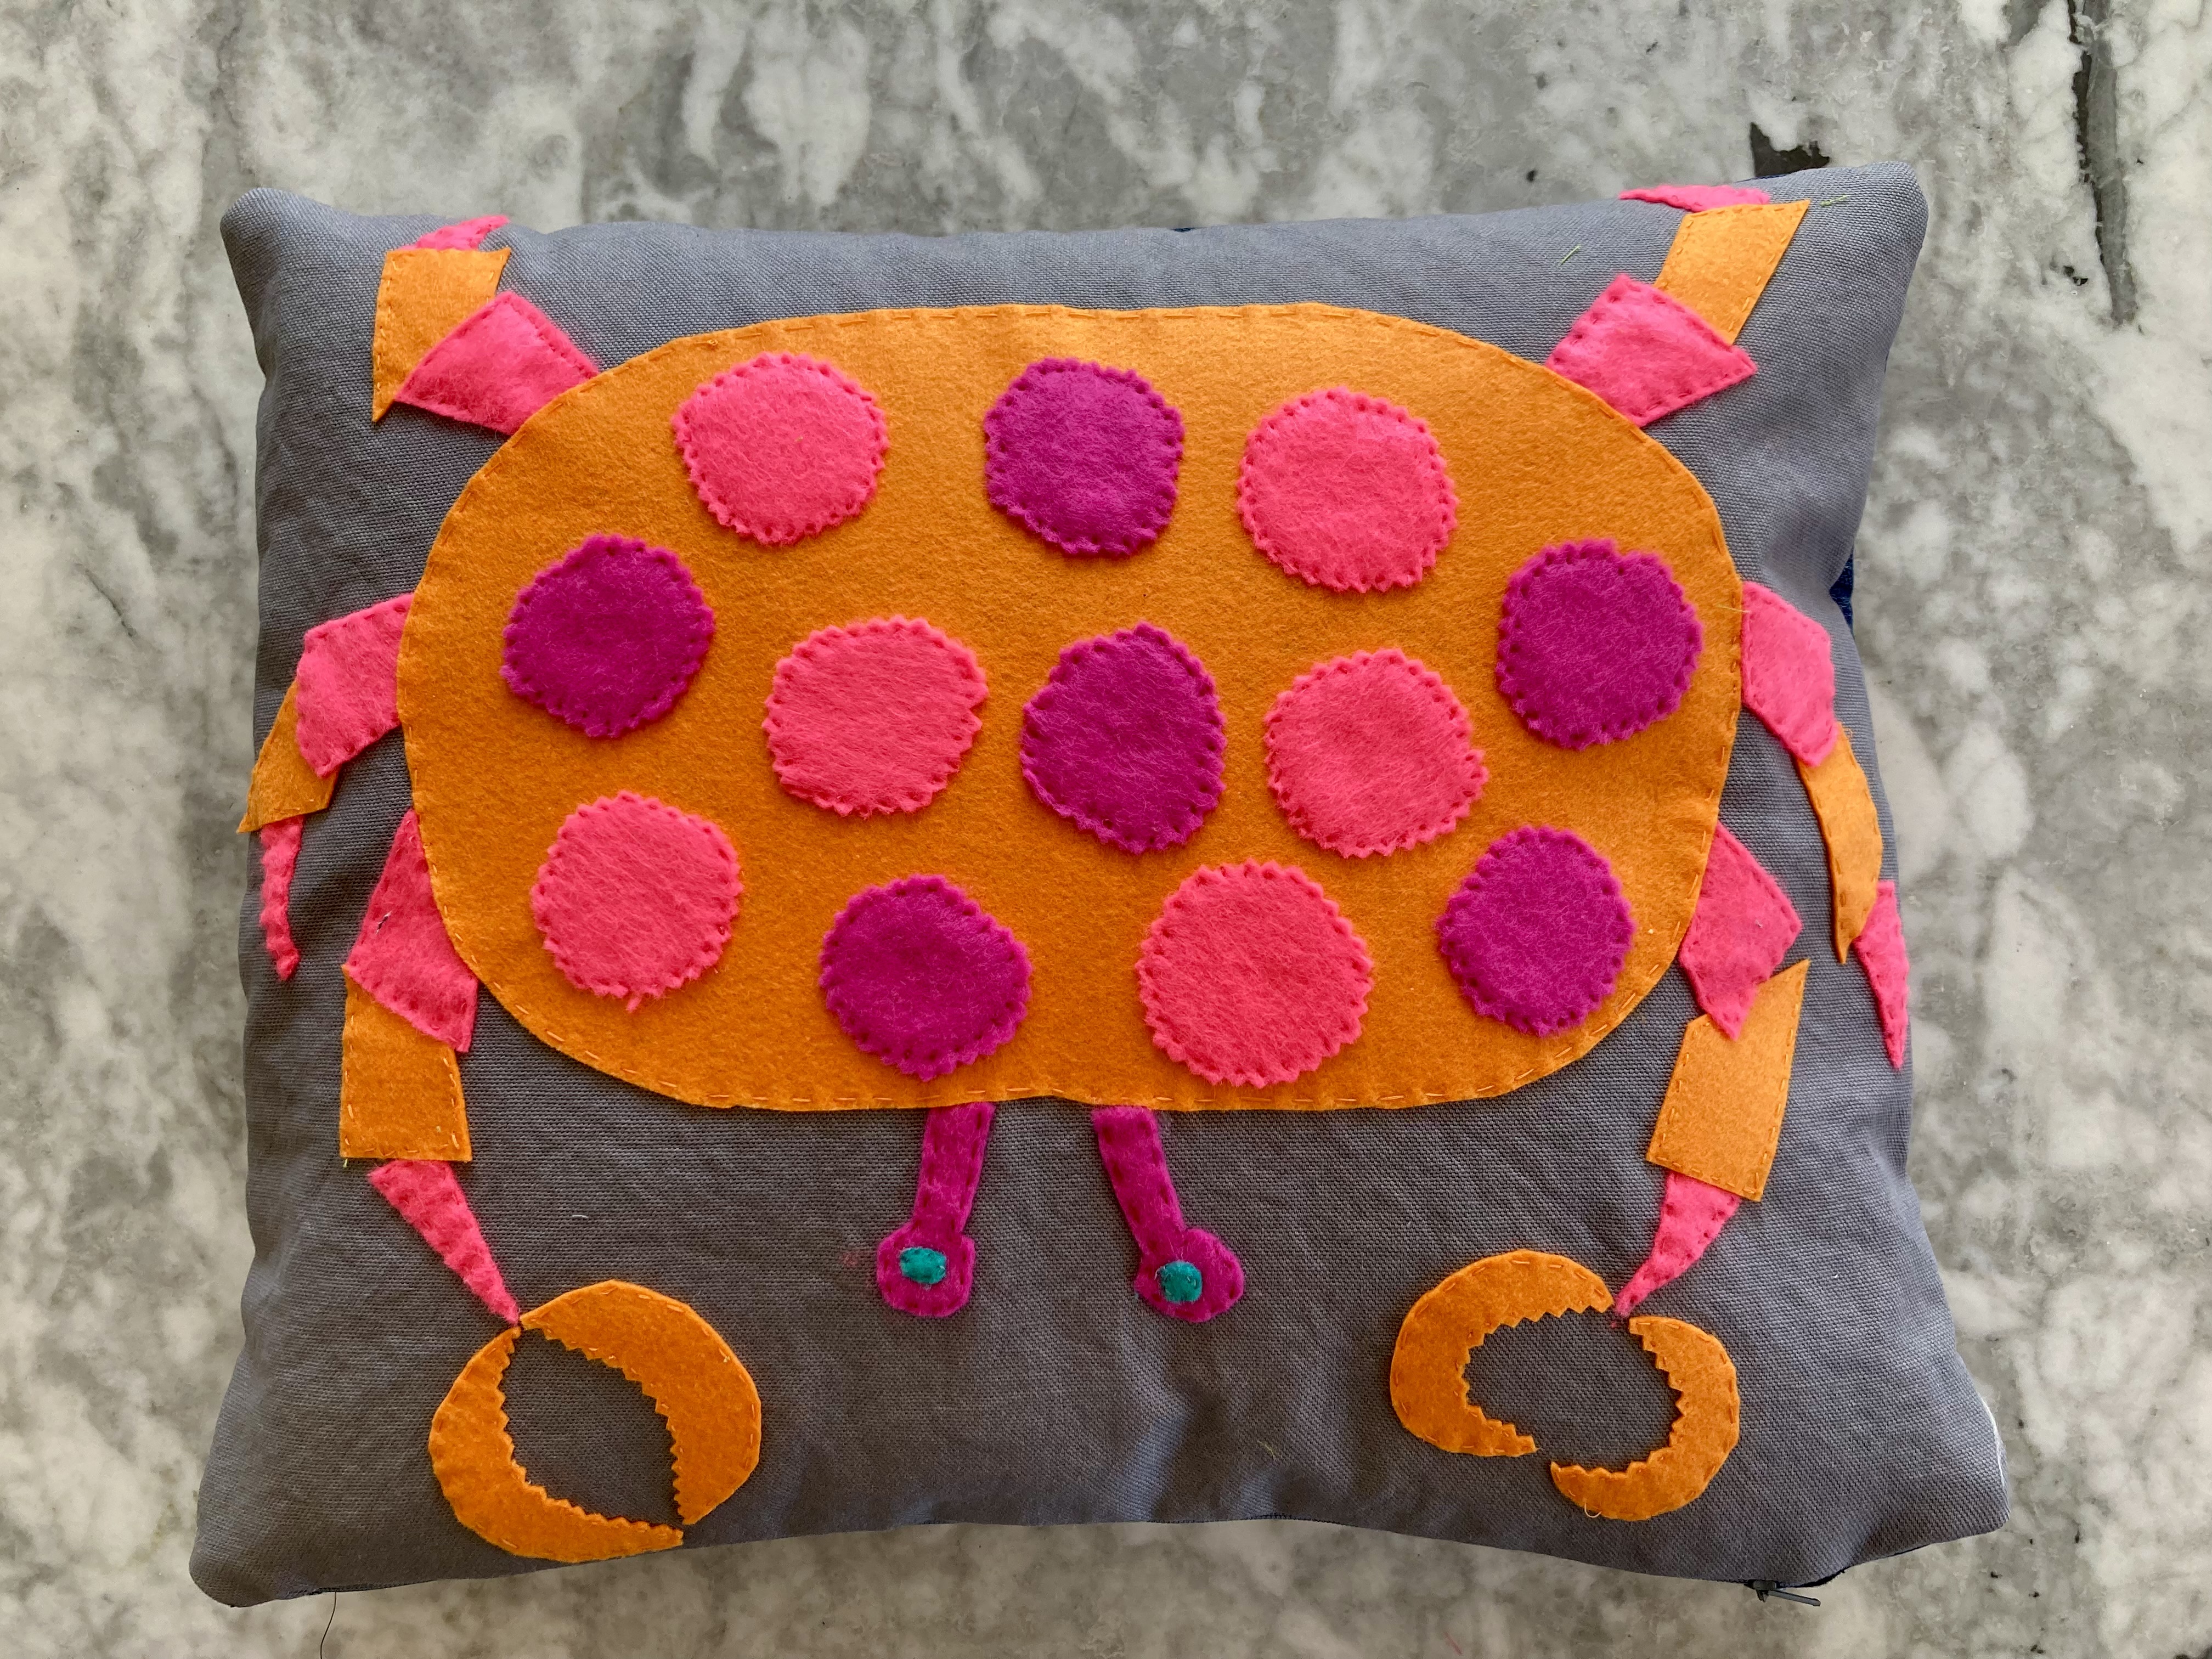
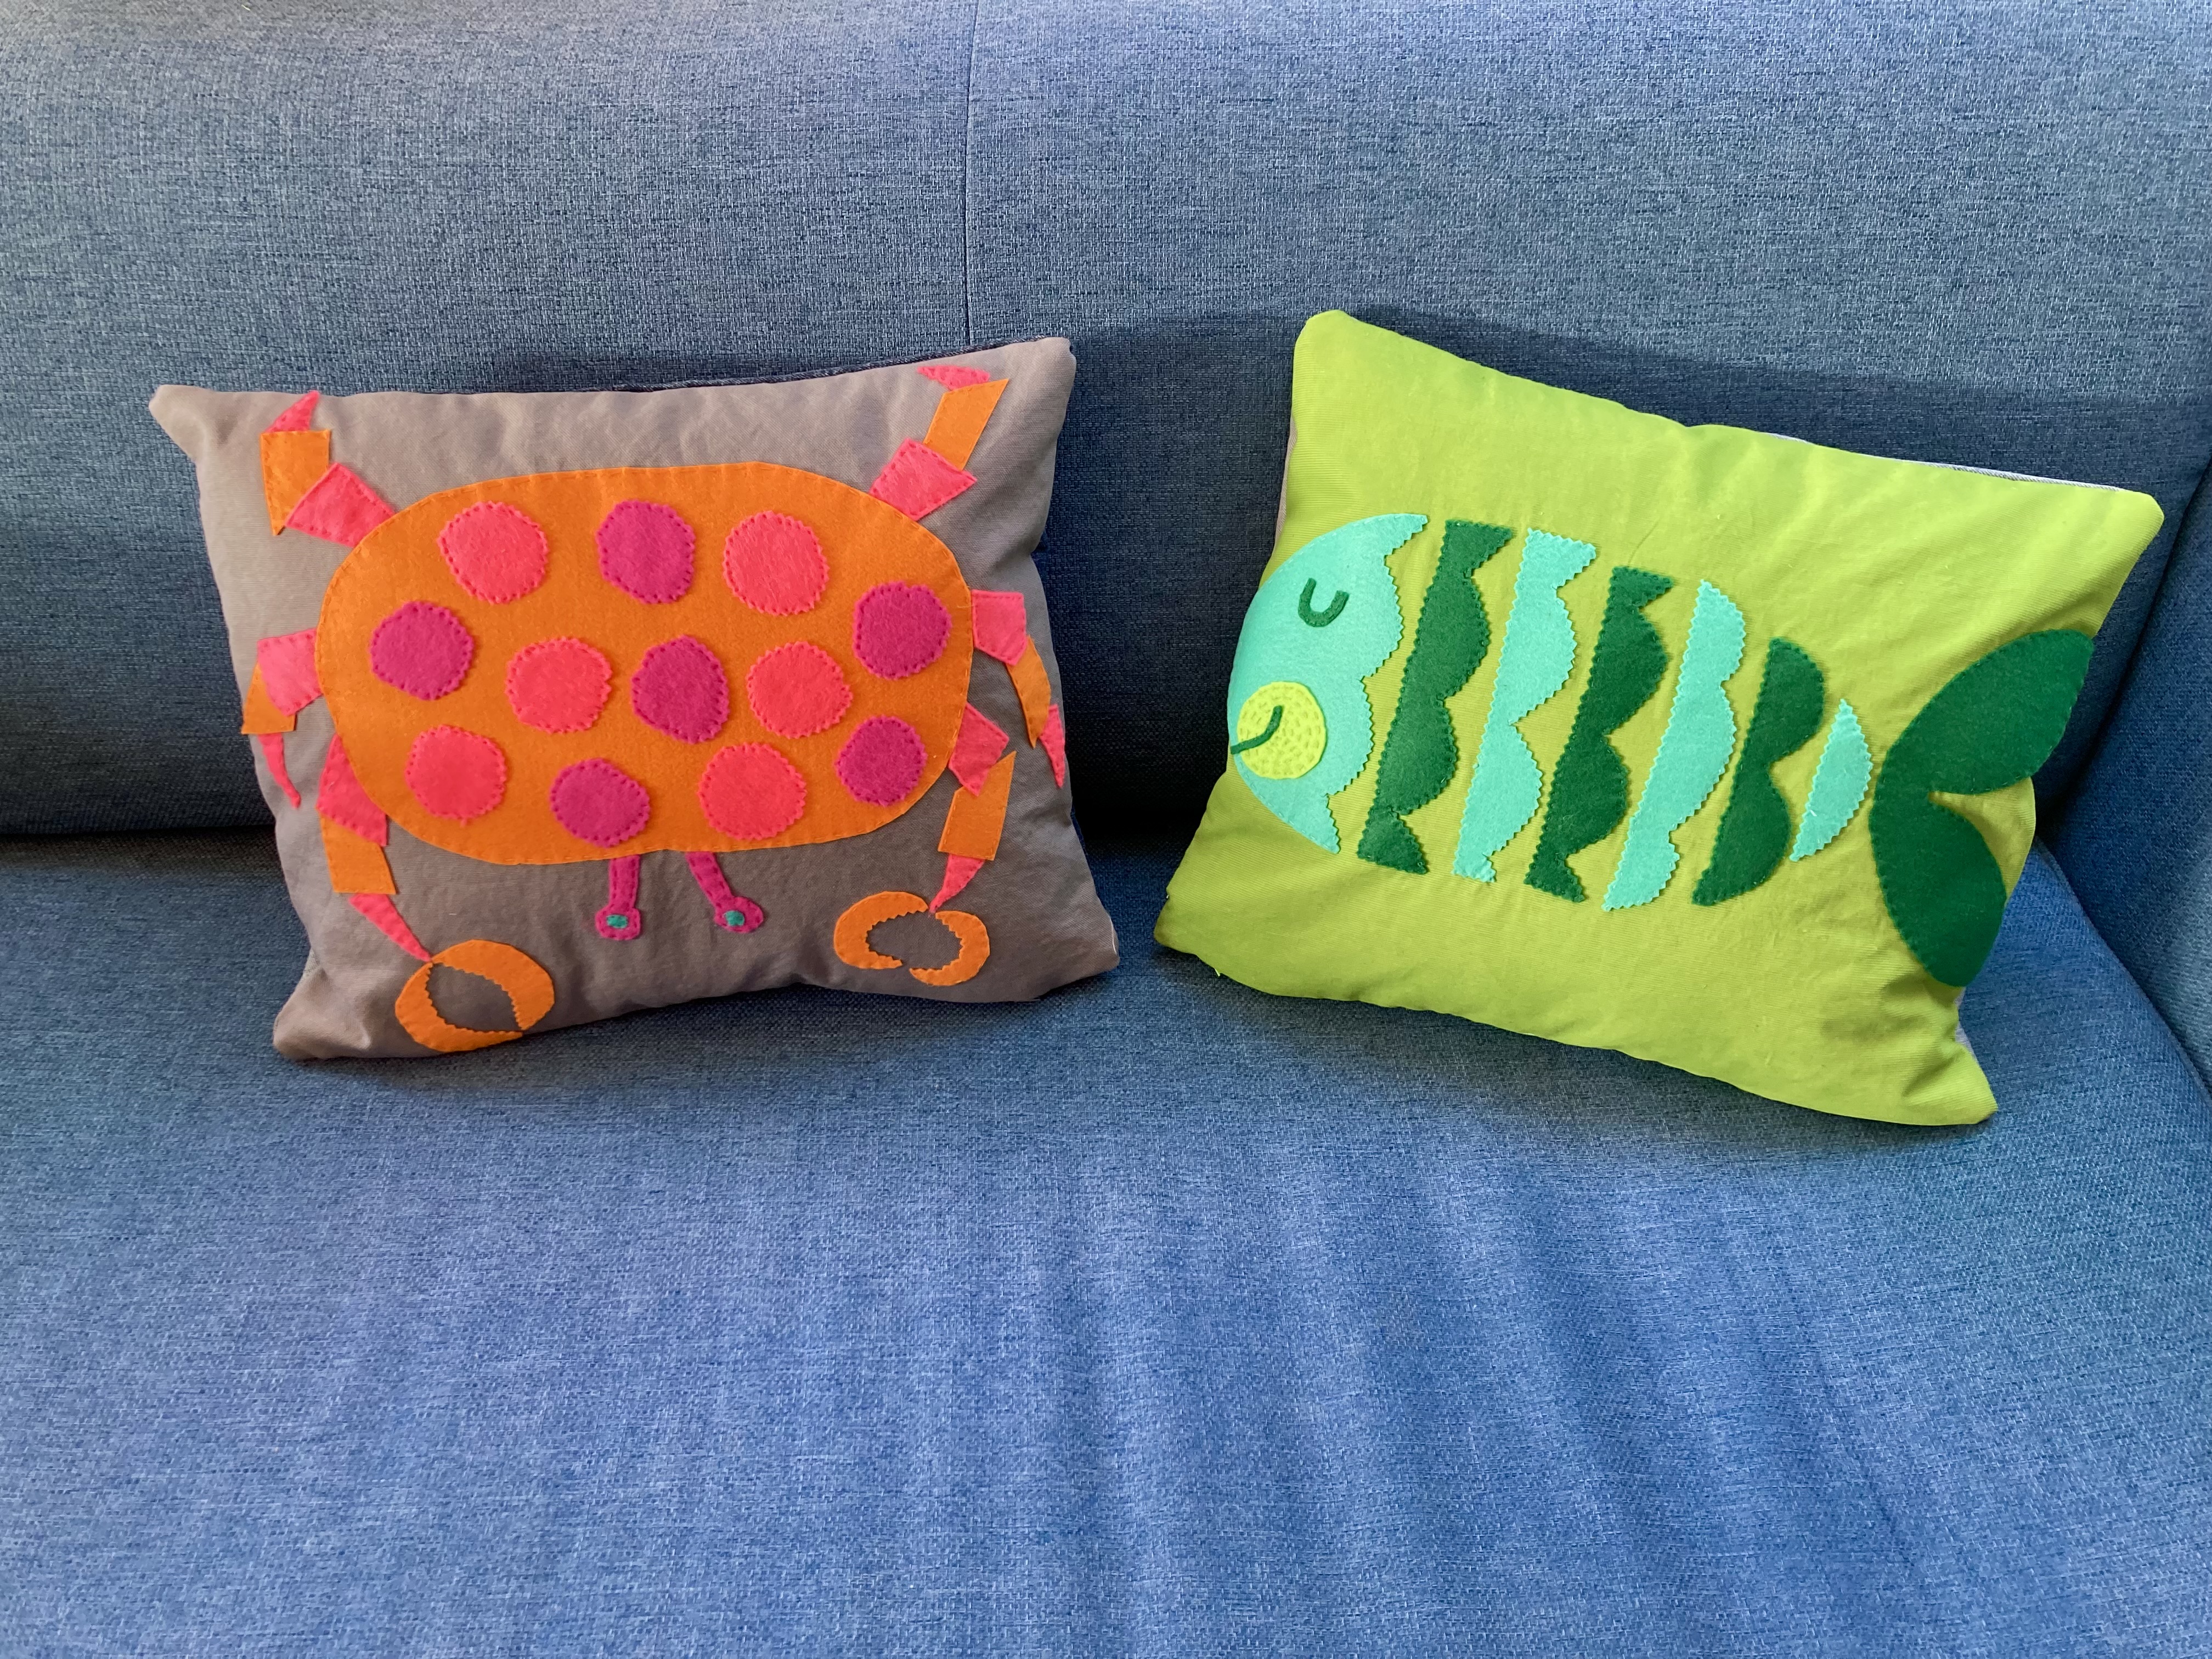
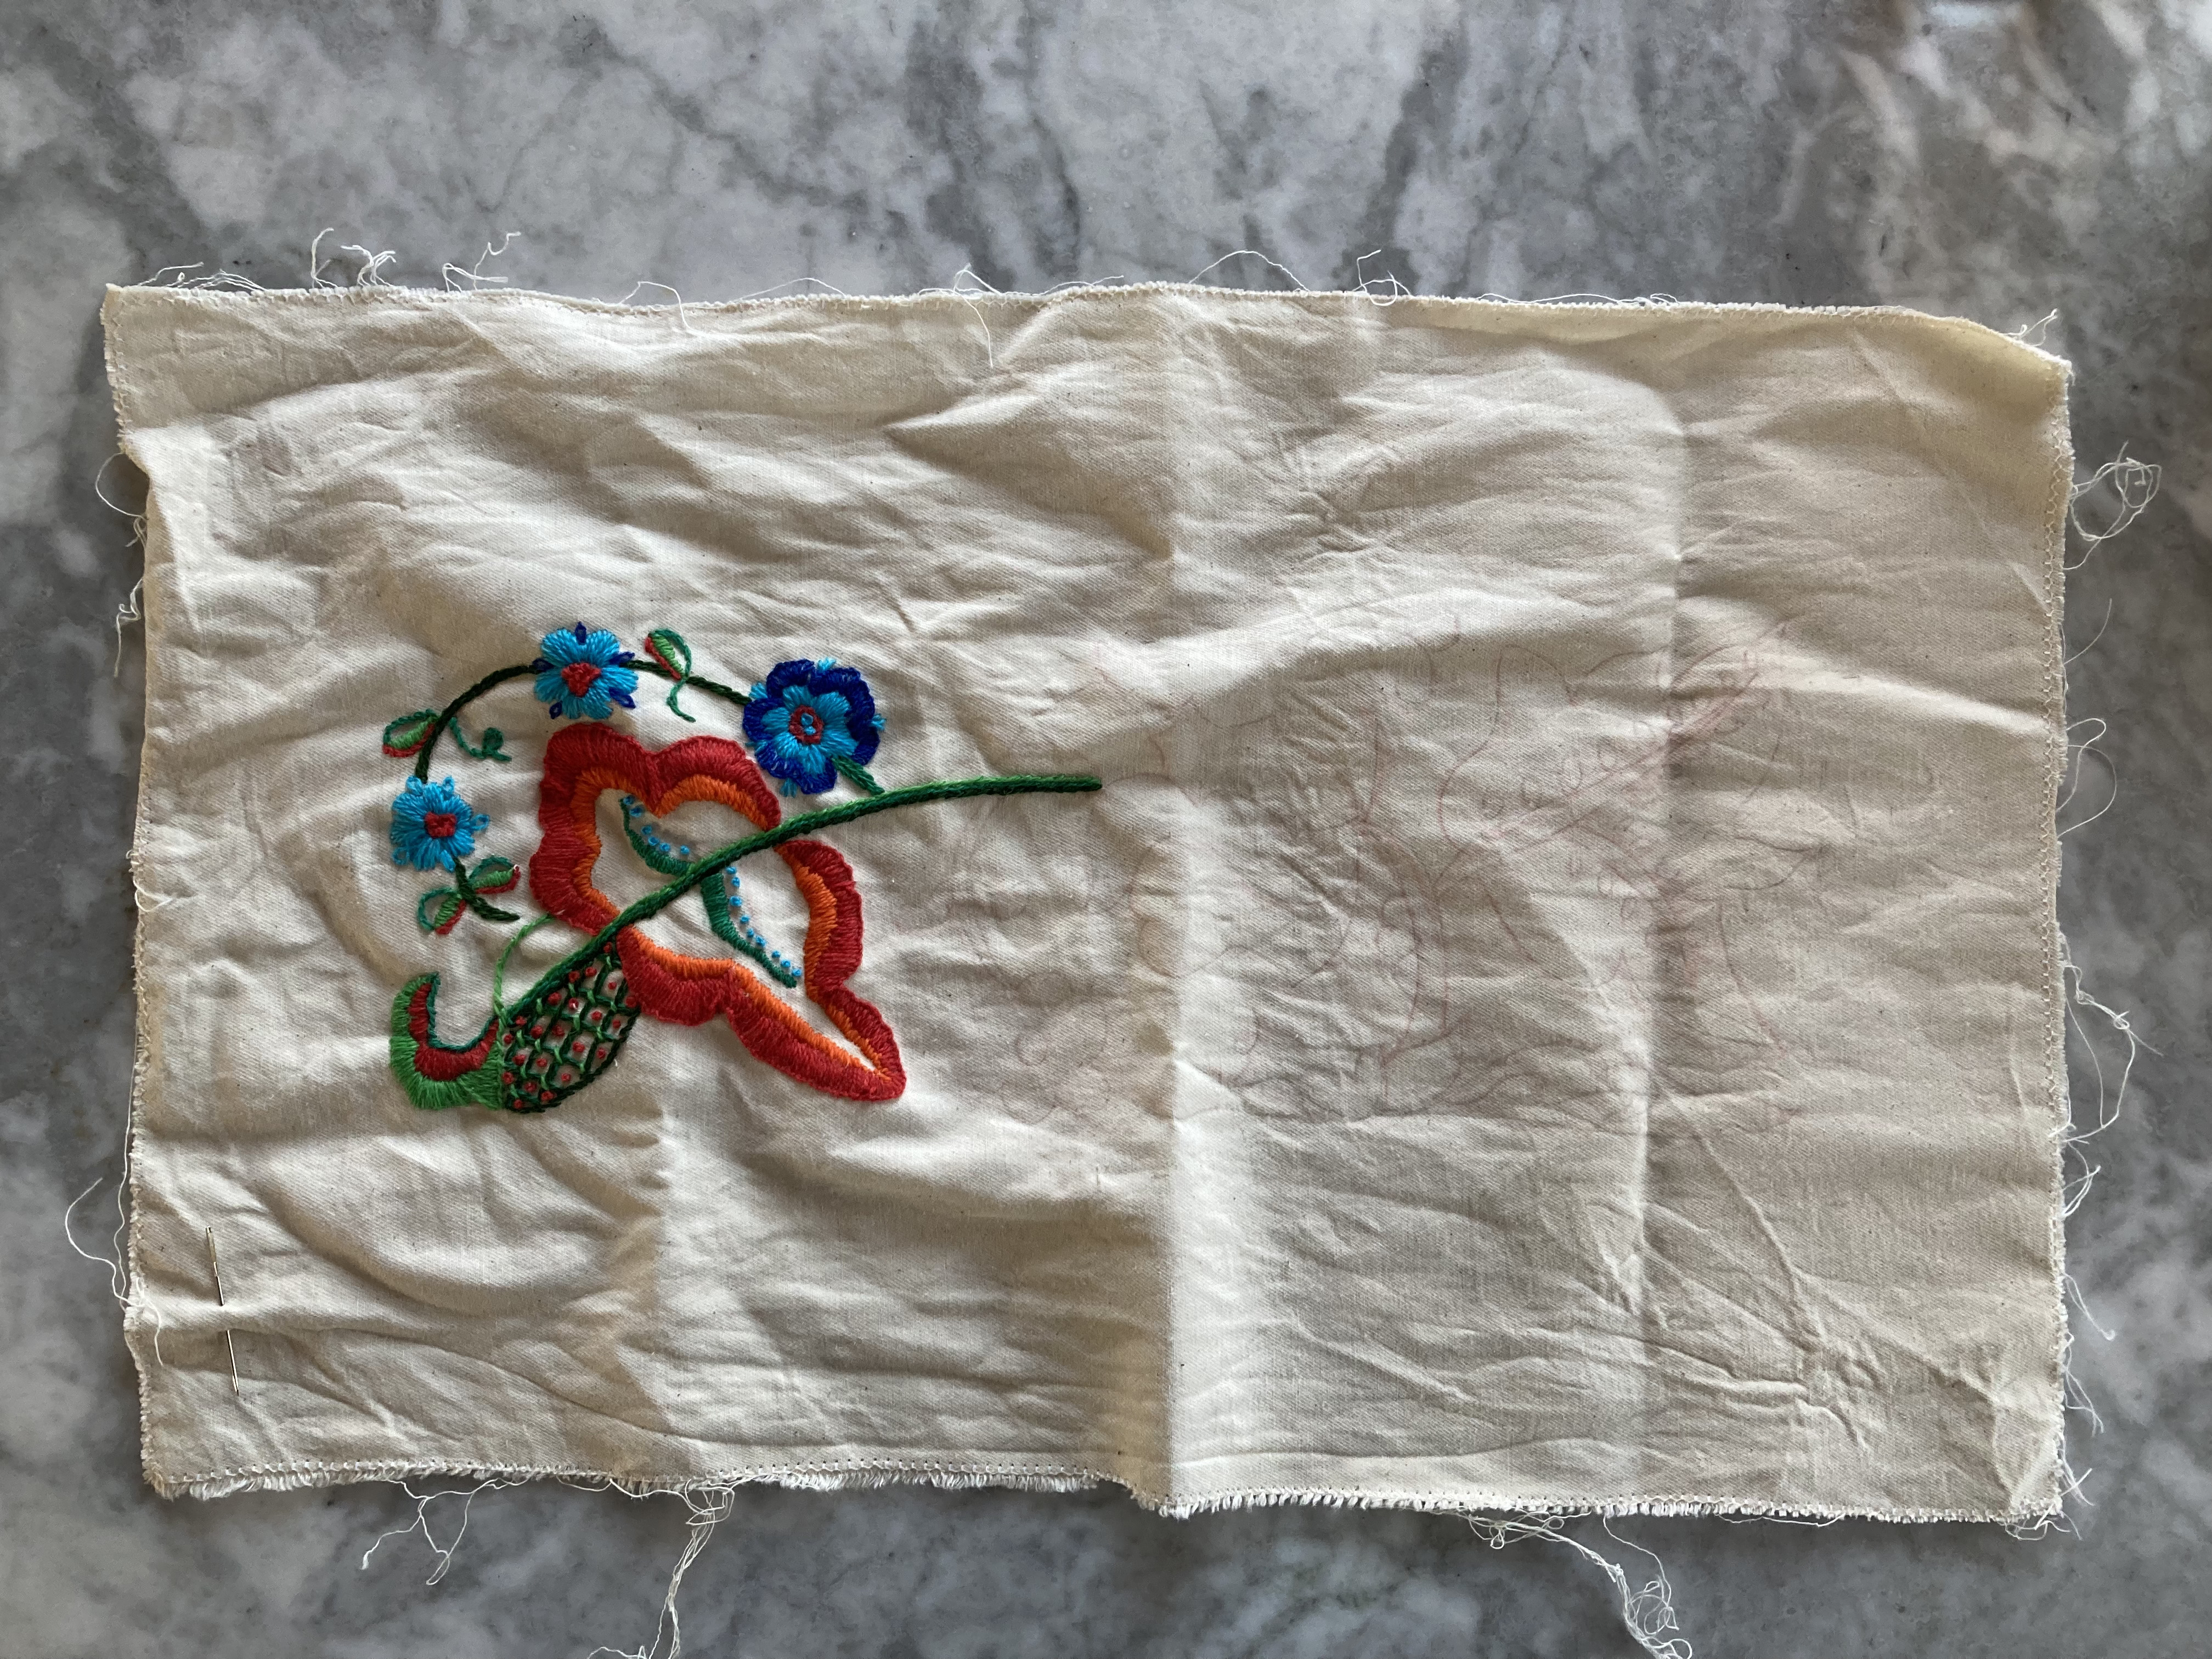
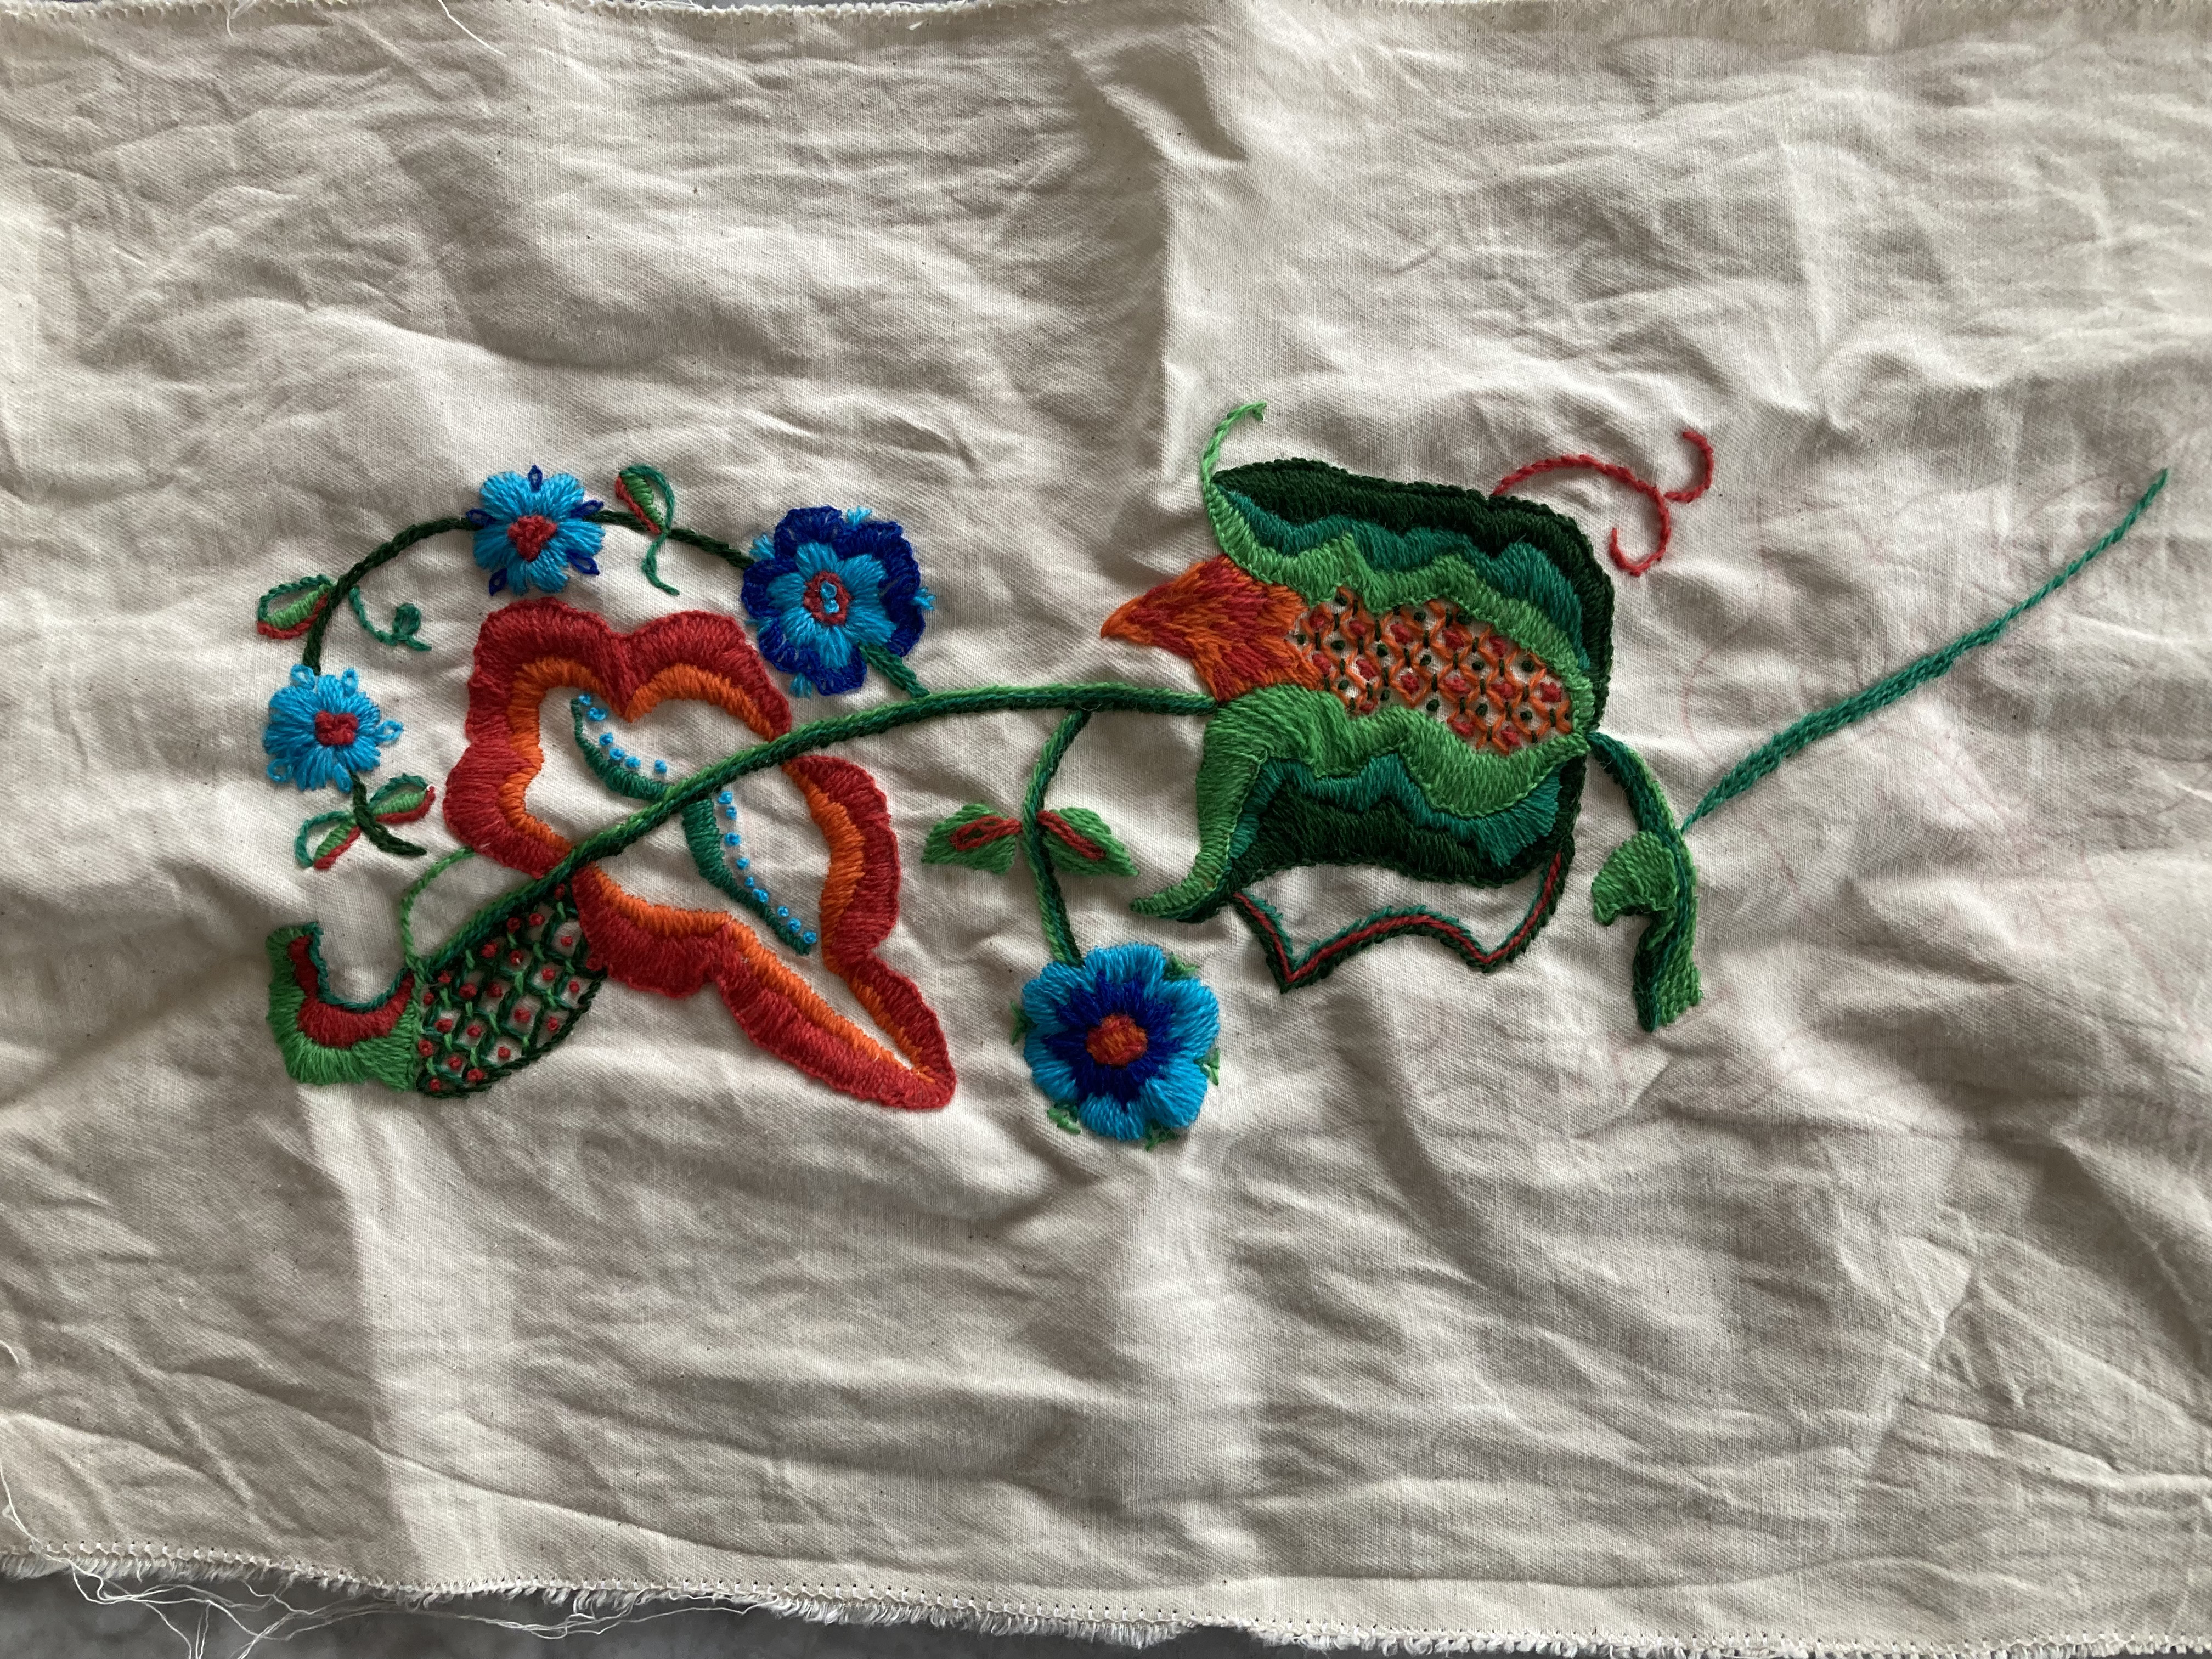
When it was finally finished and I had successfully managed to not throw either the project or my sewing machine out of the window, I realised two things: 1) in spite of the deep frustration and the hours (yes, plural) spent trying to get the zipper in, the upper edge (zipper edge, of course) was totally crooked and 2) the motif was actually meant to be repeated smaller and multiple times across the fabric, not just once and big. No wonder the buttonhole stitch was so hard to do correctly… Yes, there is a photo of both cushion and cosy in the magazine. No, it somehow didn’t dawn on me in spite of consulting the pattern frequently. No, I don’t know what my problem is.
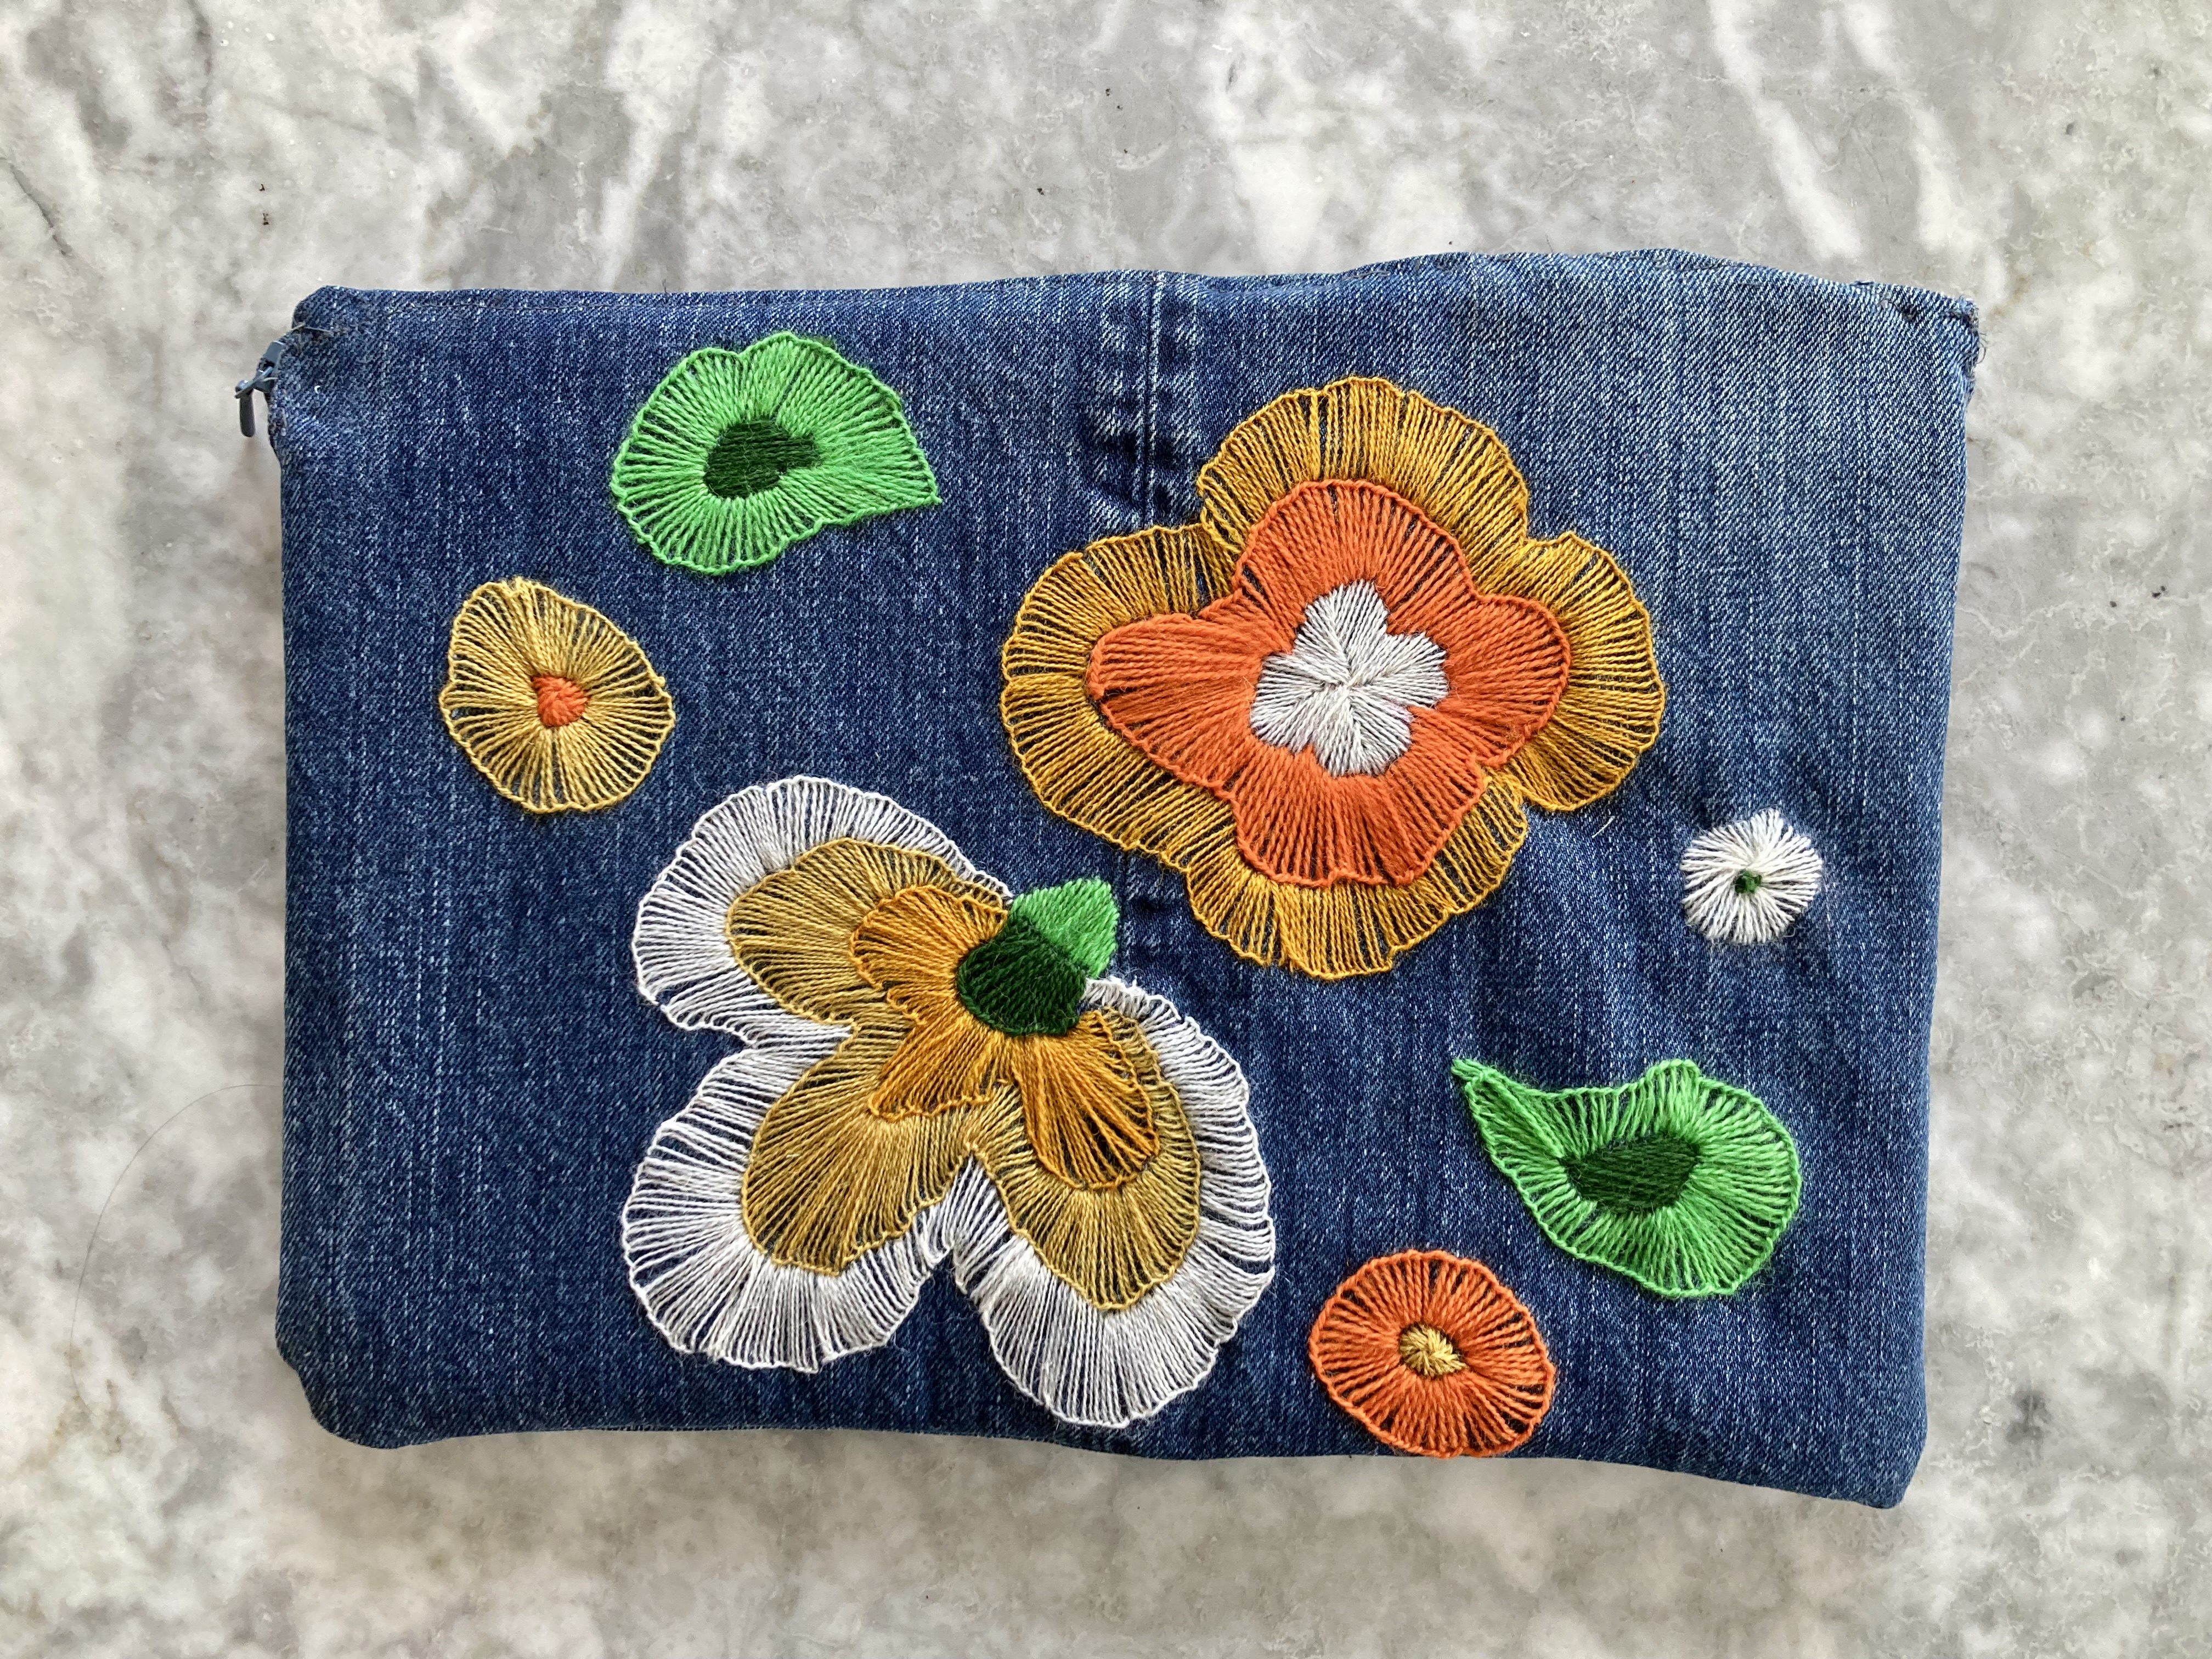
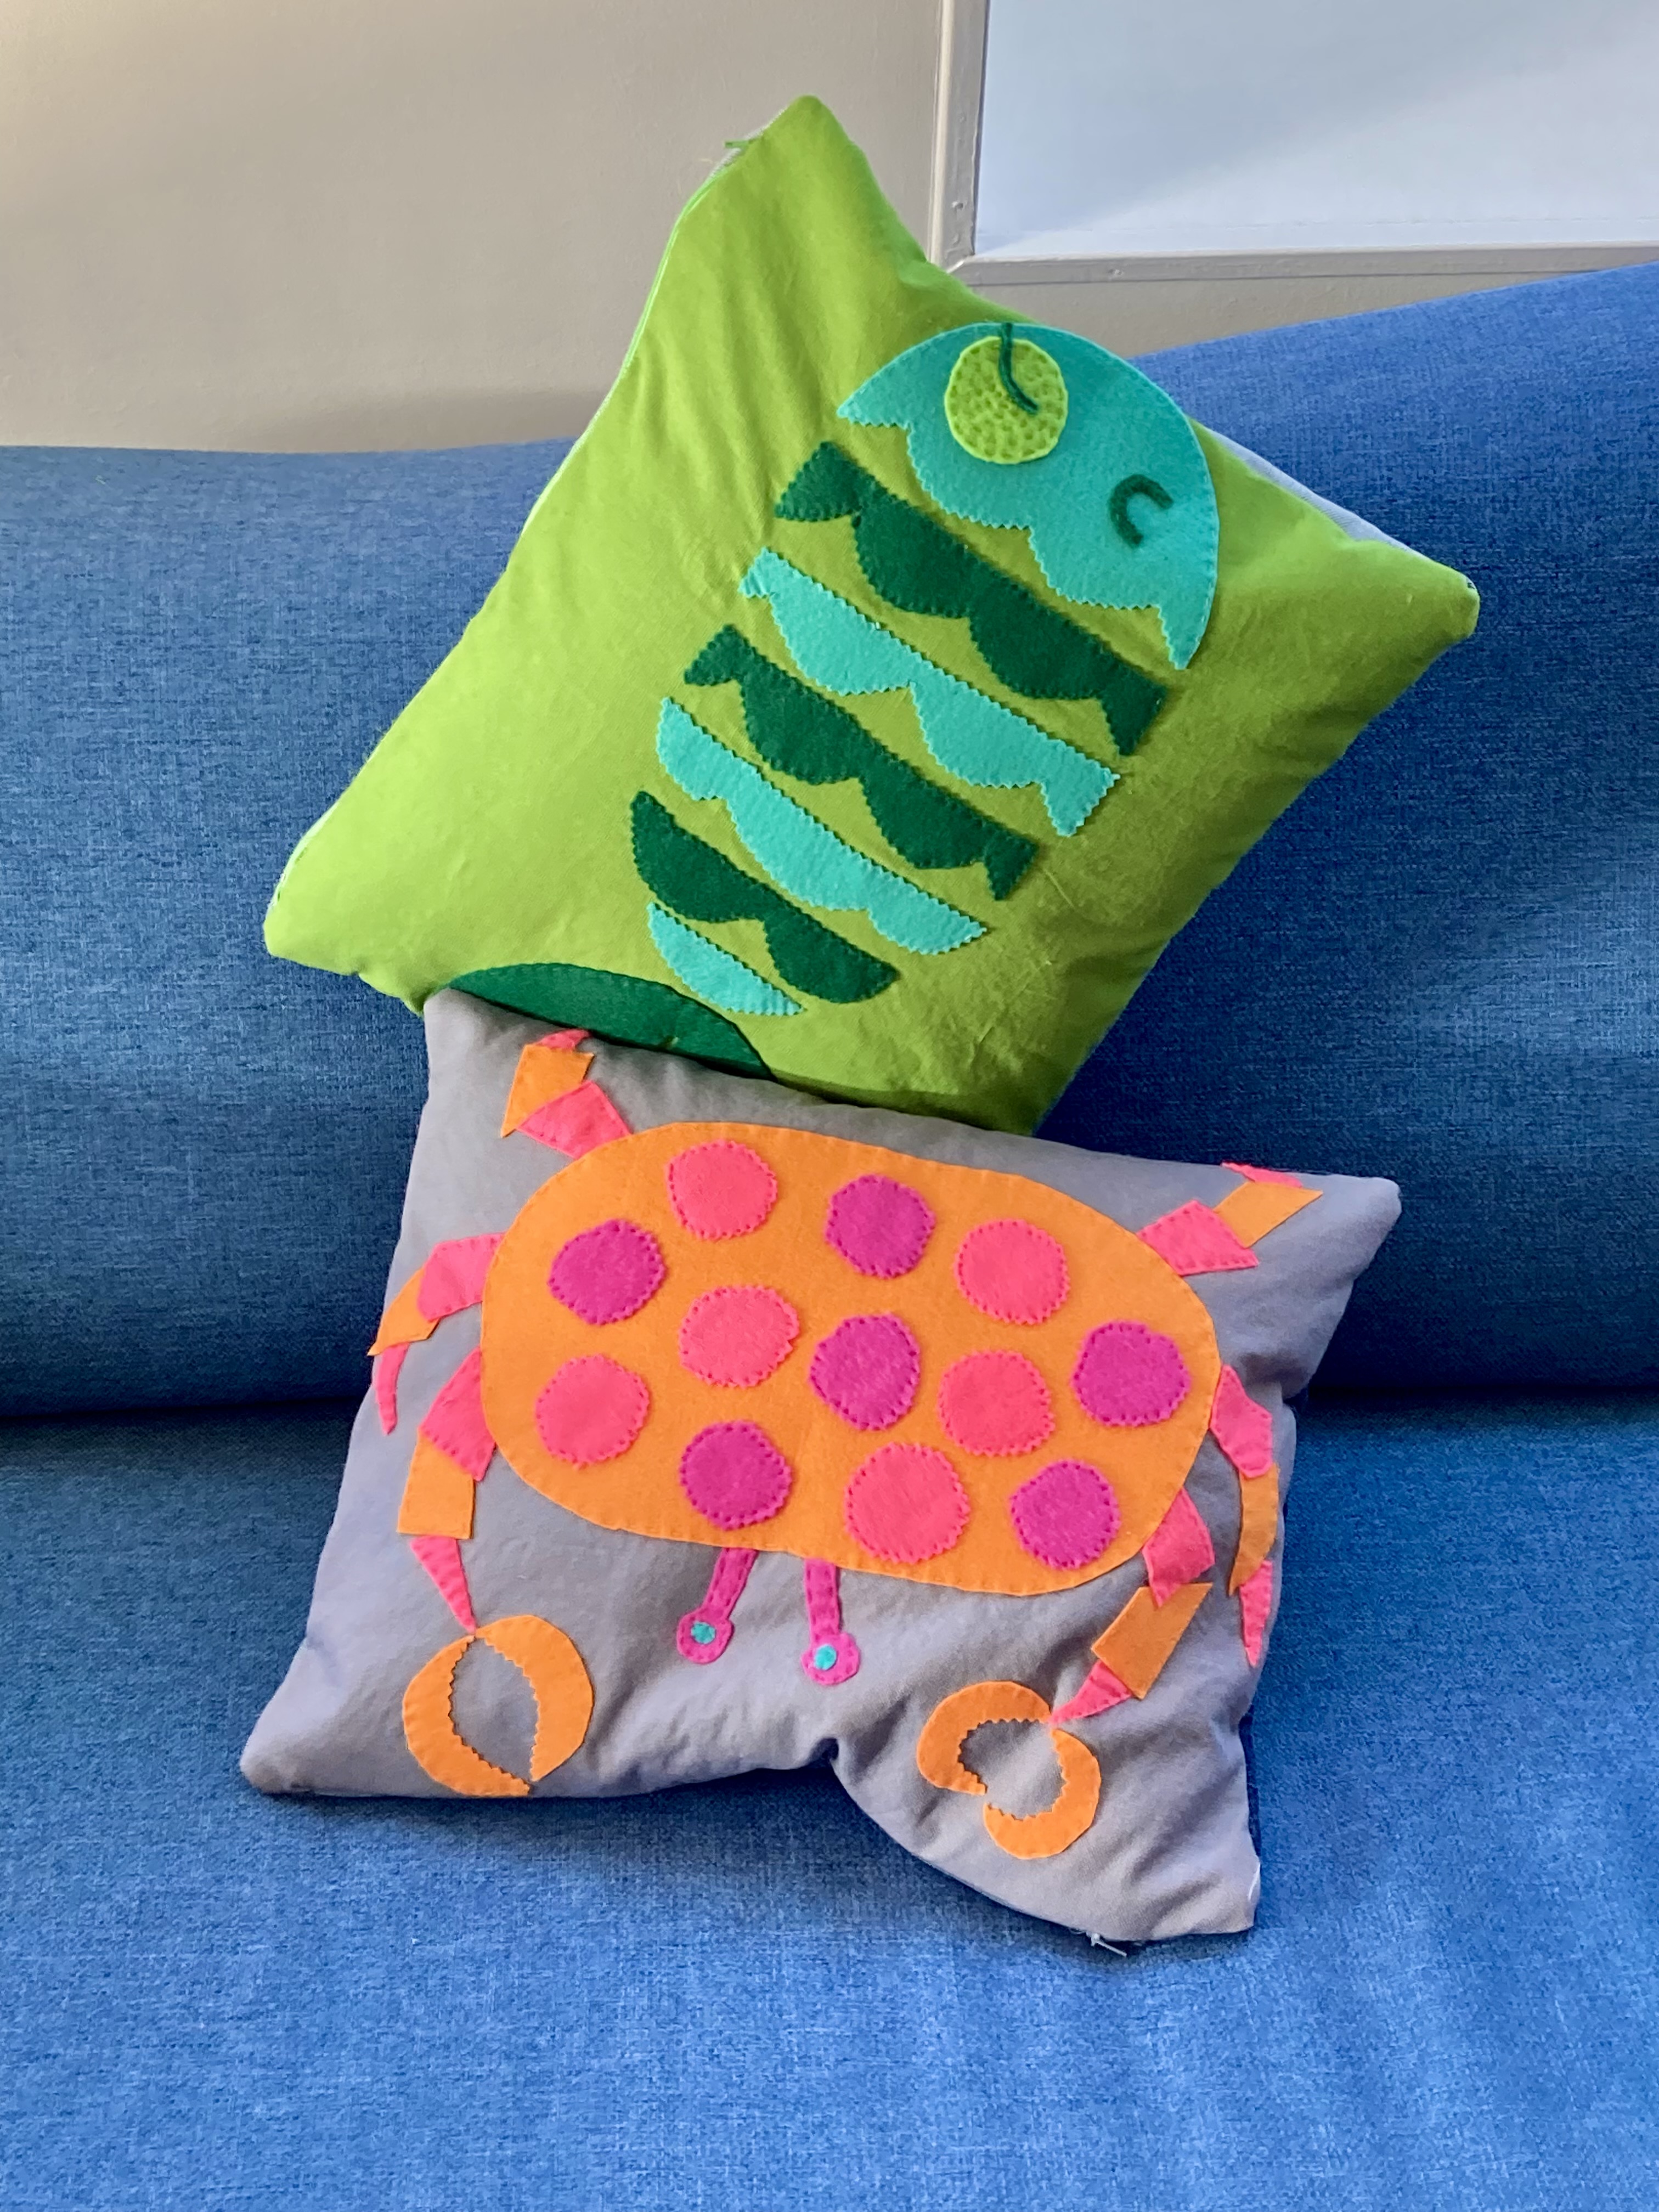
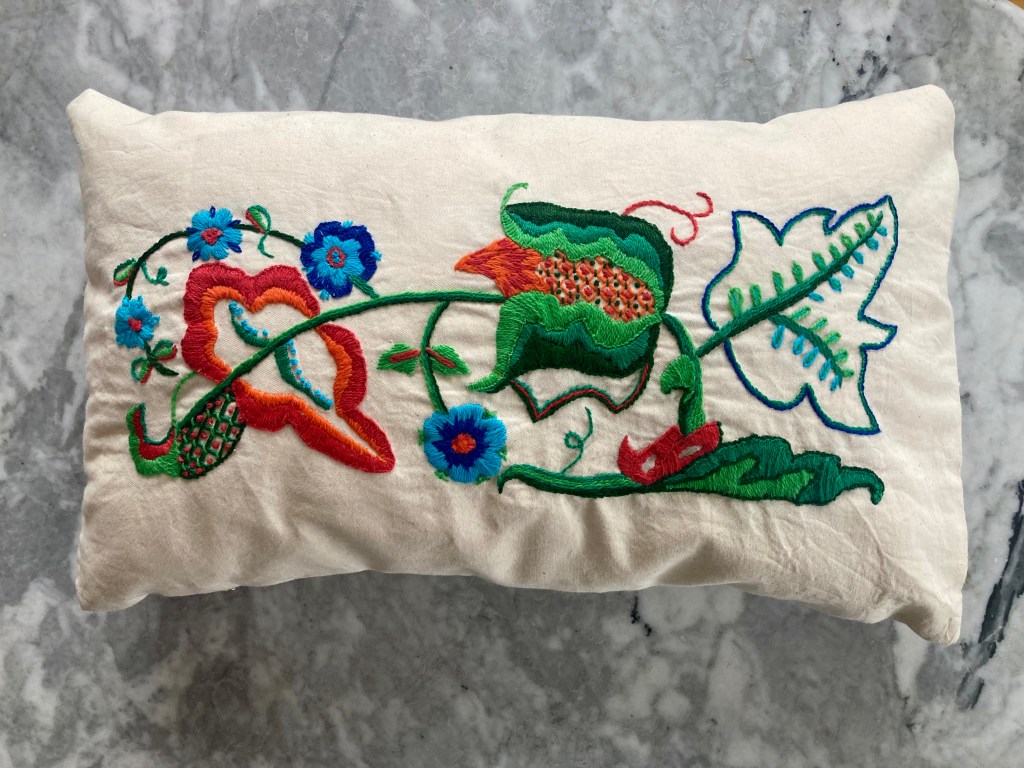
In spite of that, it’s…. not bad? I mean, functionally it’s fine. My laptop fits in it perfectly, the zipper works (hallelujah), the padding is a good thickness, and denim is a good, tough, washable fabric for laptop cases. The design is indeed bold and bright, and quite cheerful. The crooked edge annoys me, but I could re-do it. Still, somehow I feel this project is not quite right. Maybe I will fix the crooked edge and try to sell it? Give it as a gift to someone with the same size laptop? Keep it and let it grow on me? We’ll see.