November 1965: Overview

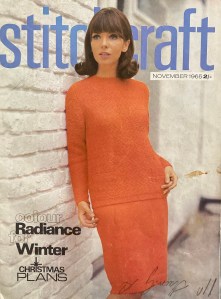
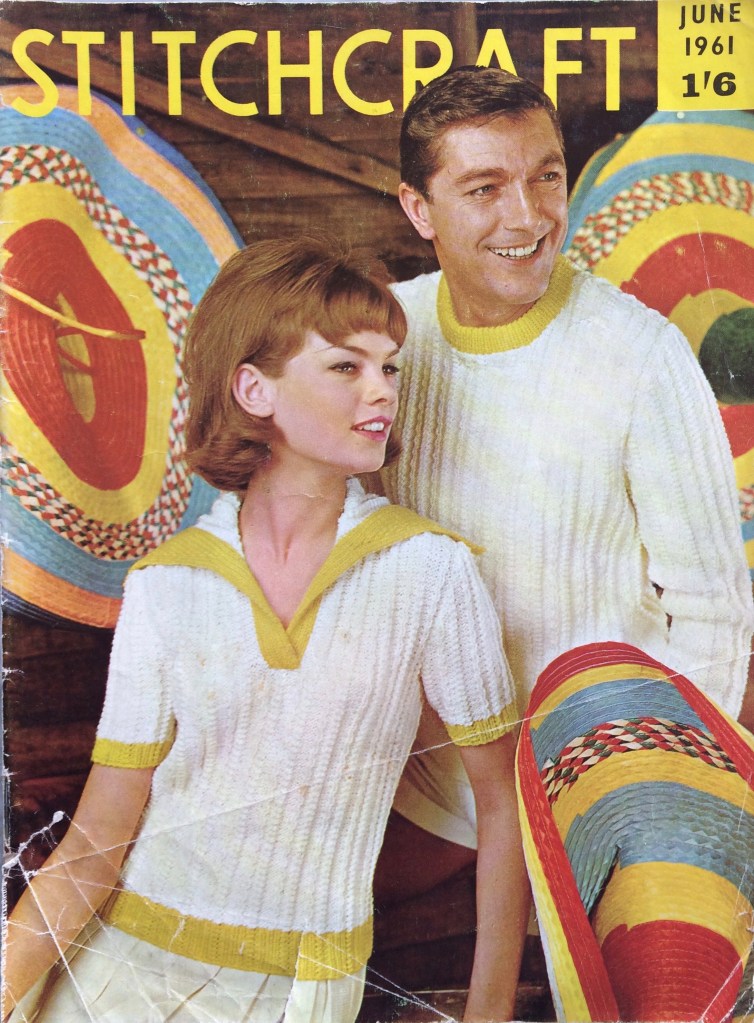
Colour Radiance for Winter and Christmas Plans! At Stitchcraft, it’s generally either preparing-for-Christmas time or spring-summer holidays. This month, they countered the cold, grey days of November with bright, cheerful colours and easy homewares. Let the festive preparation begin.

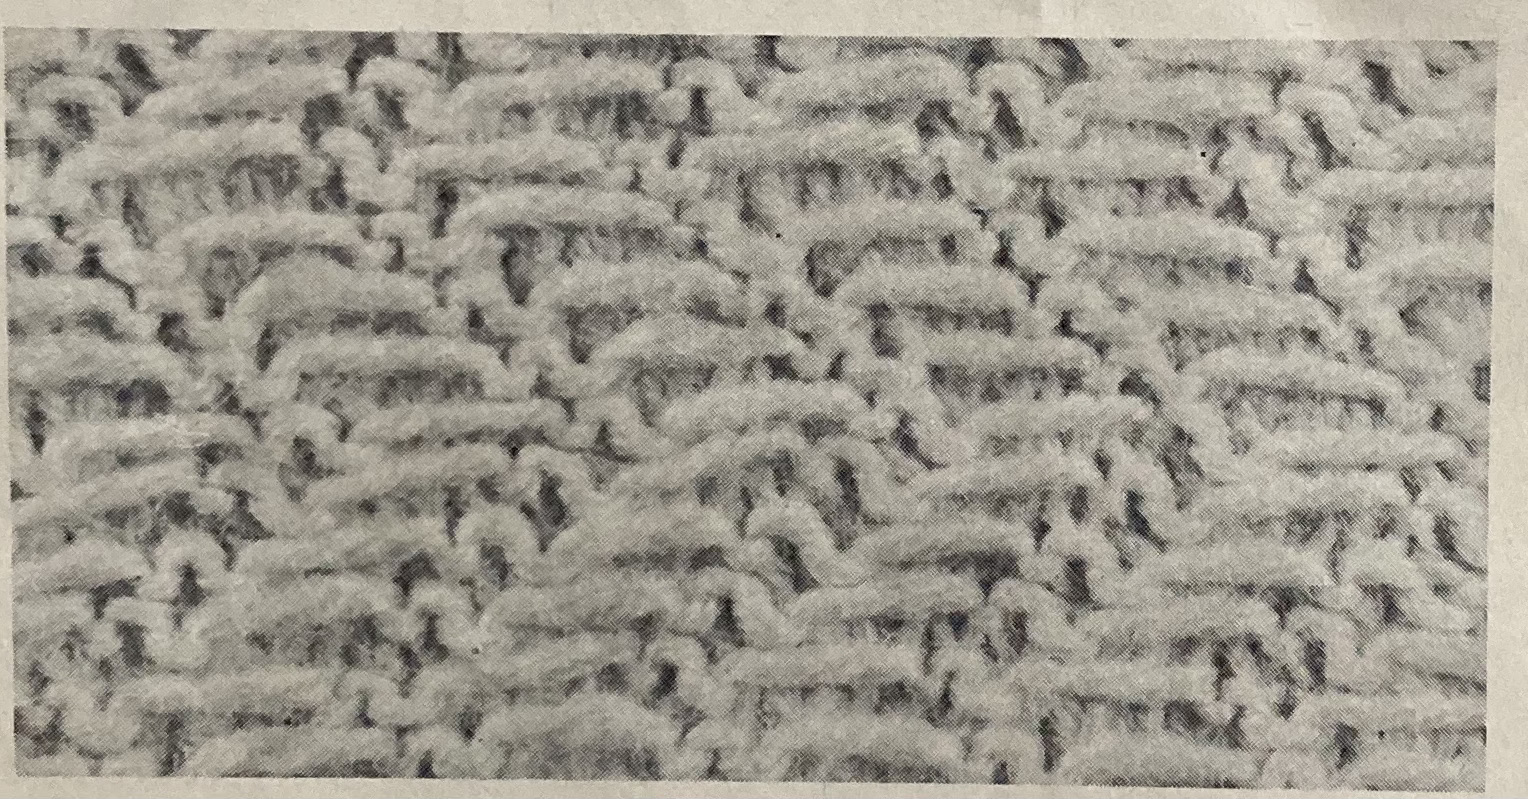
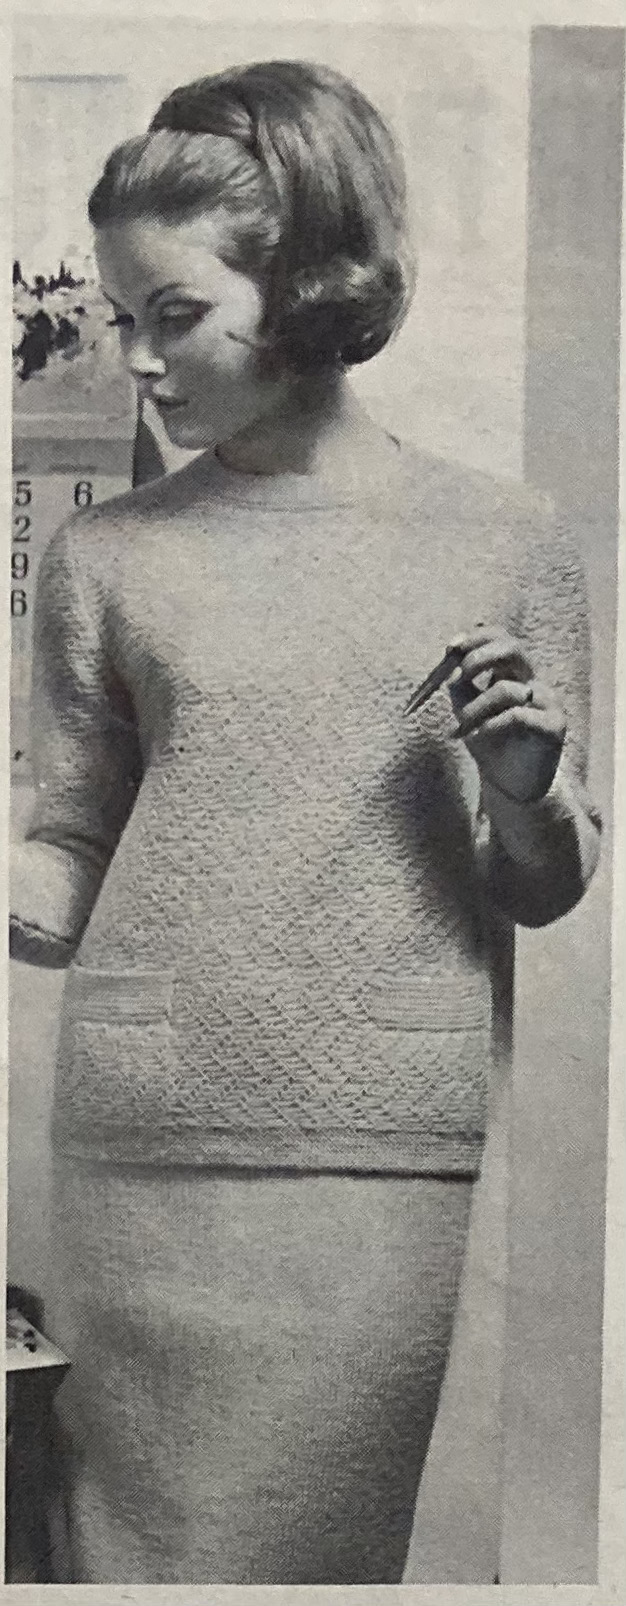
The knitted sweater suit on the cover is made in an intriguing pattern stitch designed to give “the look of woven texture.” There’s a helpful close-up photo of the stitch pattern as well. Essentially, it’s made by making a wool-forward (yarn over) on the right-side row and then slipping that stitch over a garter-stitch base to make a horizontal “line”. The placement of the slipped stitch is staggered, to make a diagonal herringbone-type effect. Made in DK wool, I’m guessing the finished result is quite warm. The matching skirt is made in plain stocking-stitch. Note that the mini-skirt, or even anything-above-knee-length skirt, still hasn’t caught on with Stitchcraft’s more conservative readership.

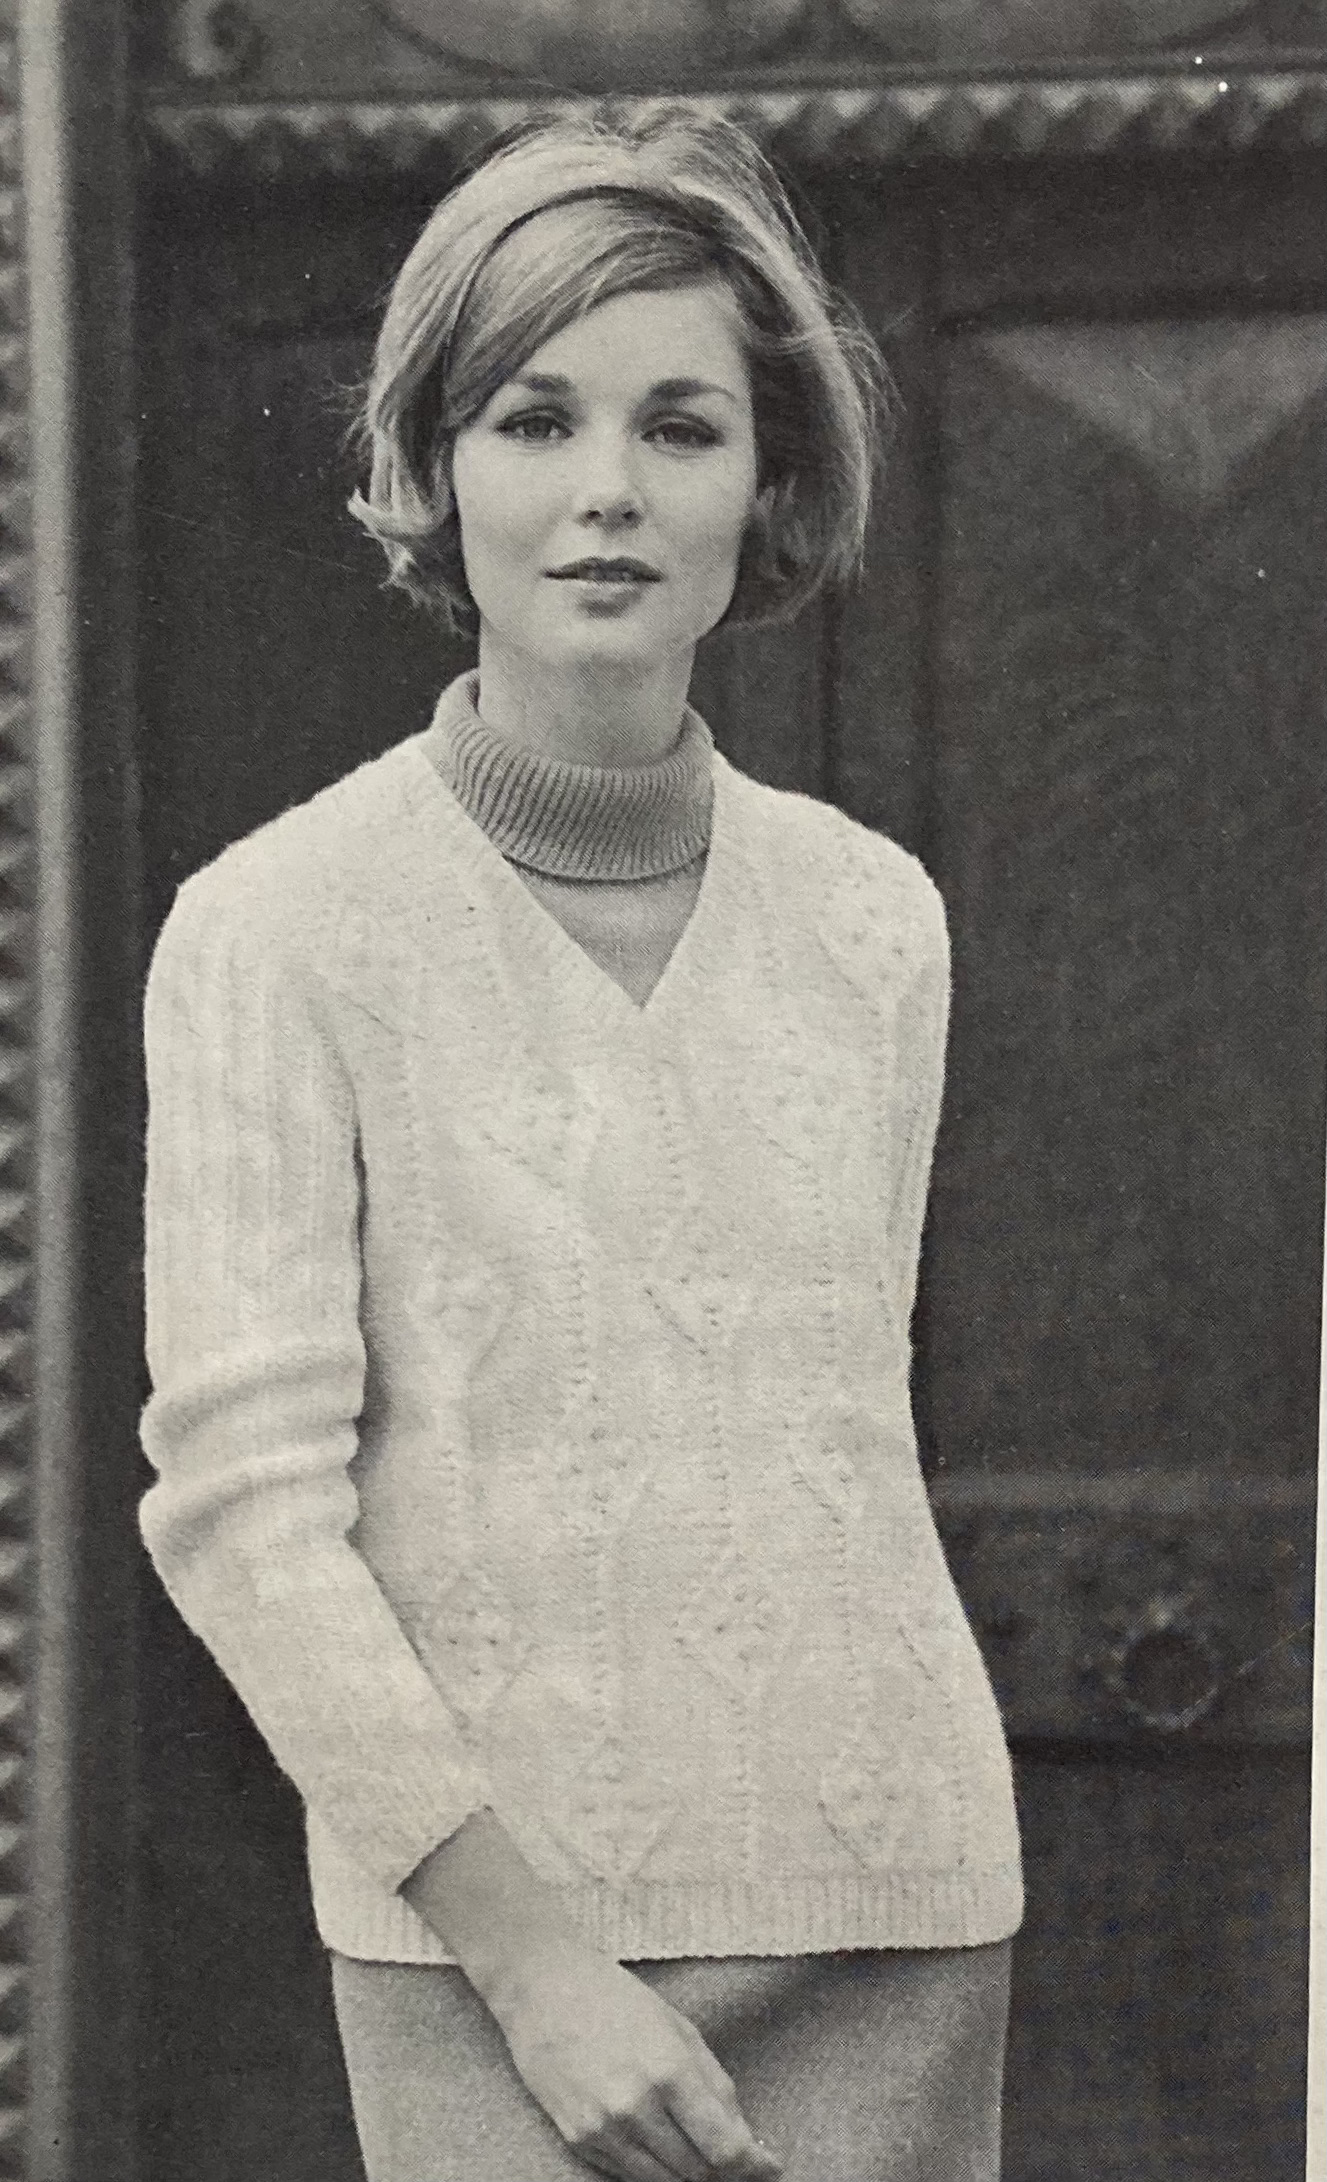
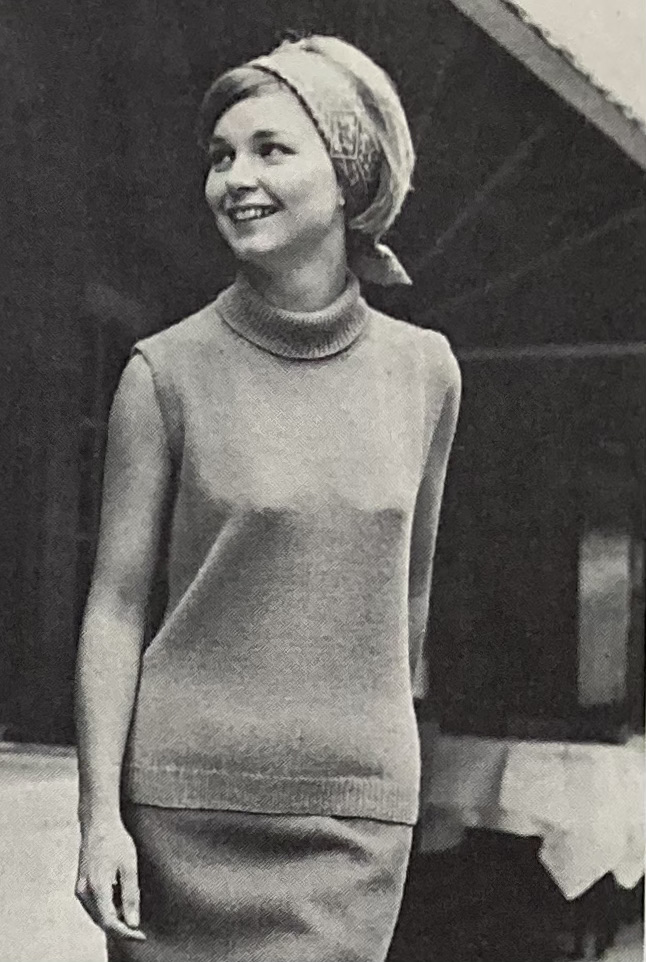
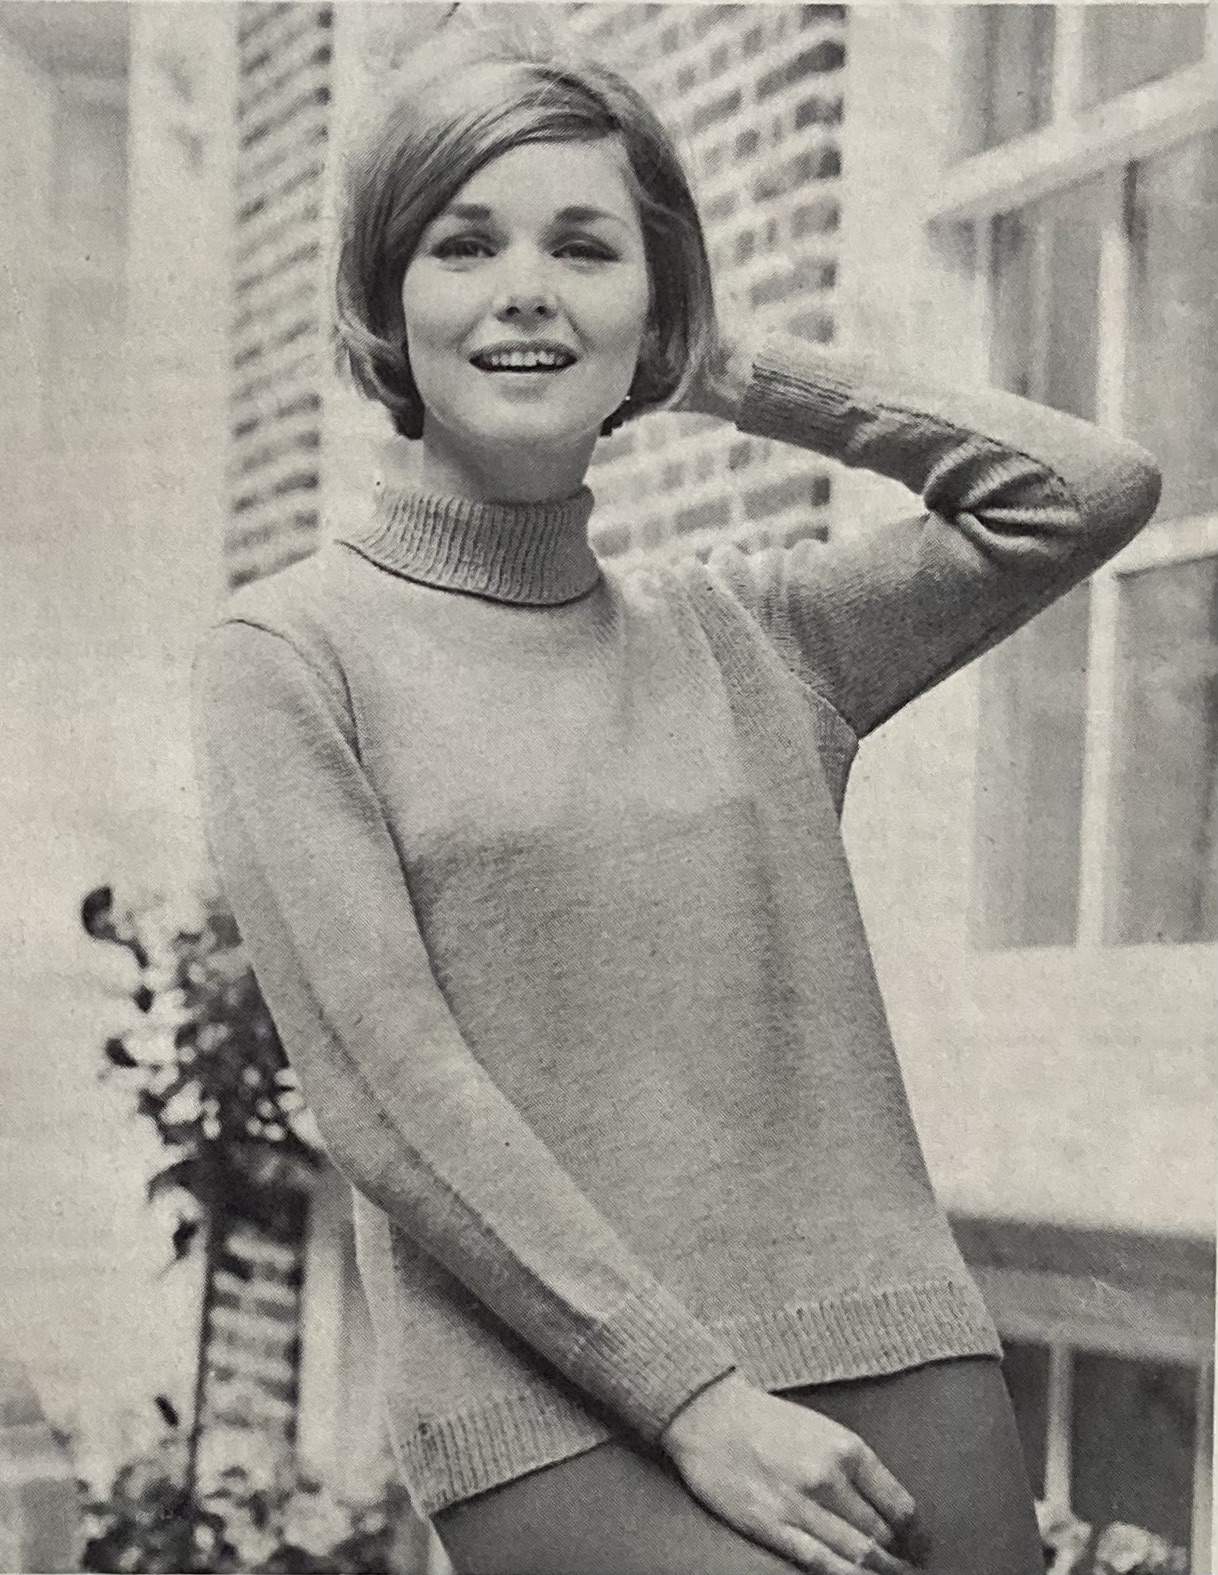
Other women’s fashions include a bobbly-cabley “overpull” in undyed “Capstan” wool, made to be worn over a roll-neck knitted underblouse with or without sleeves. The underblouse keeps up the warm colour trend with the suggested colour of “Old Gold”. I love the model’s hairstyle!

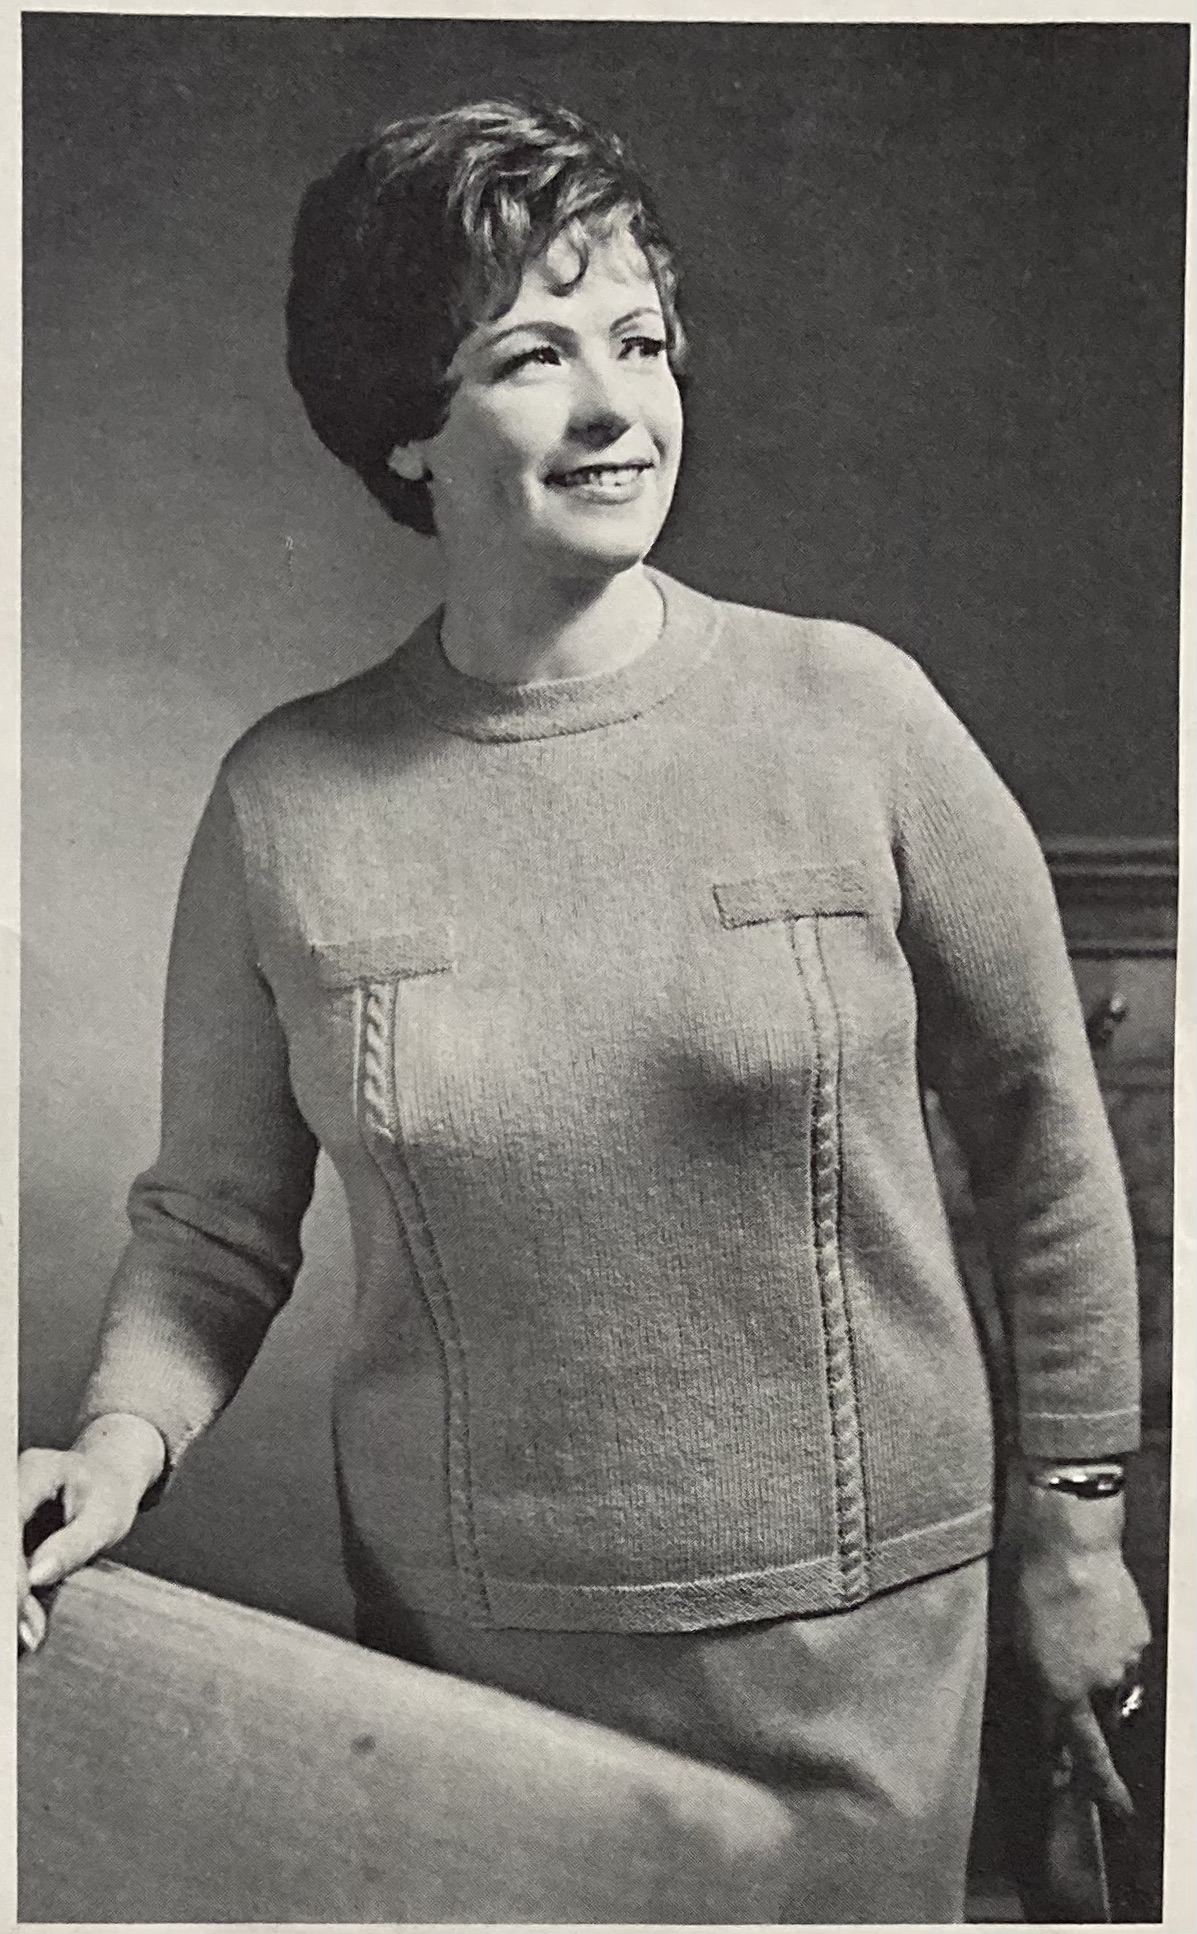
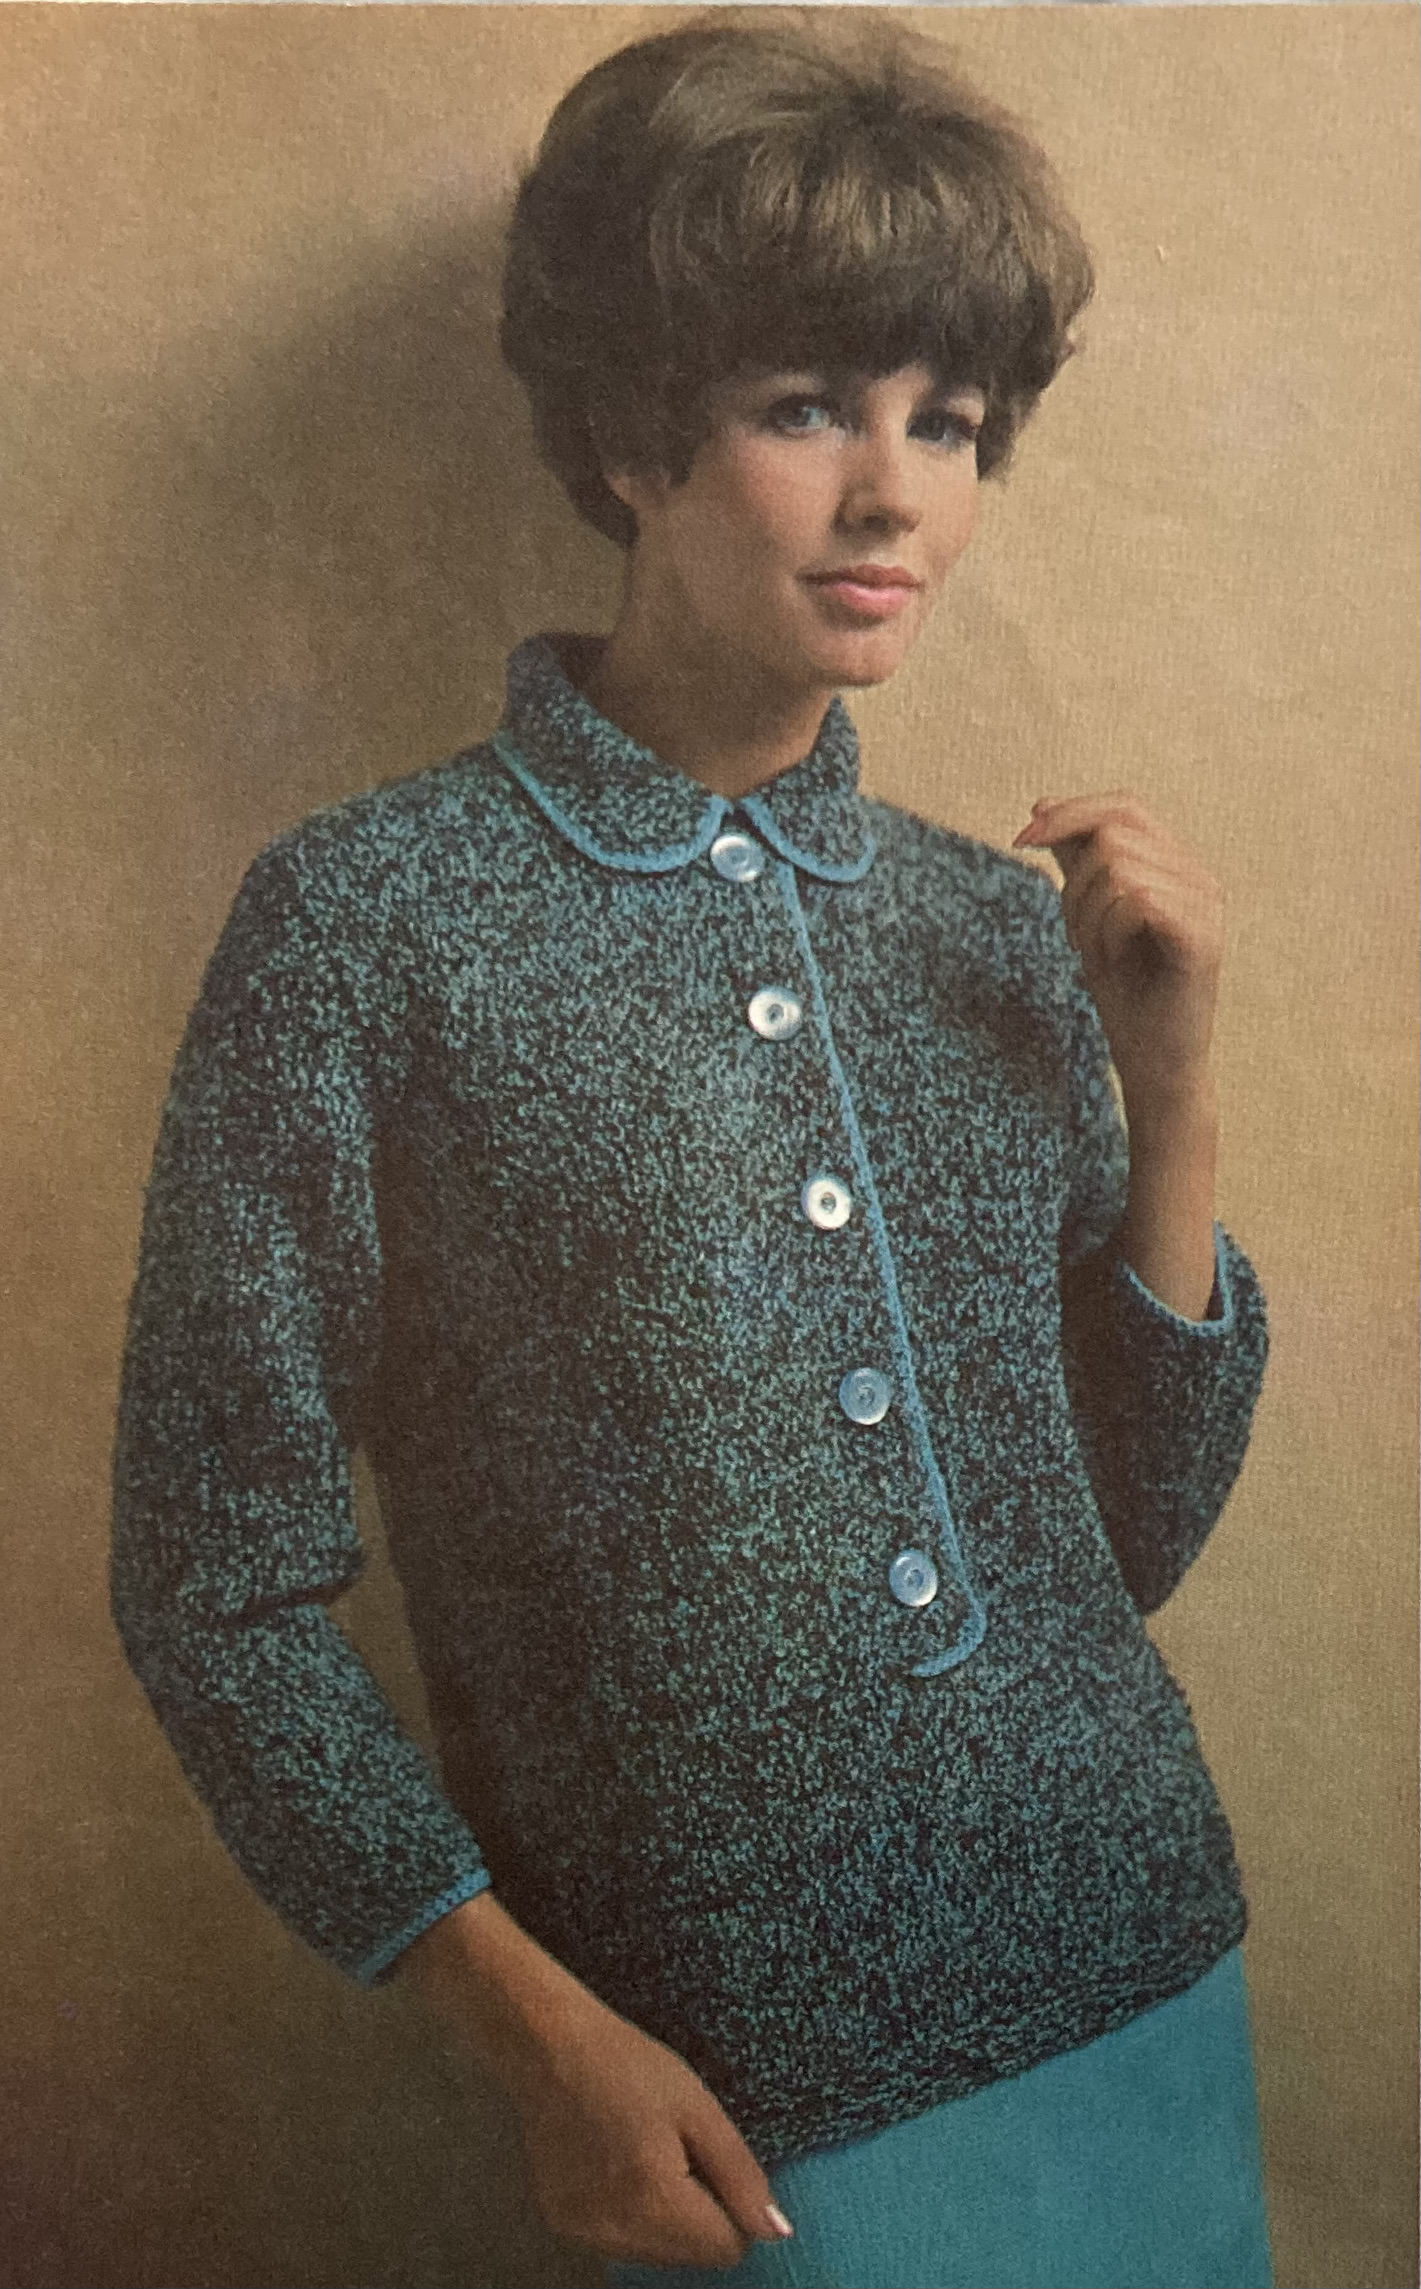
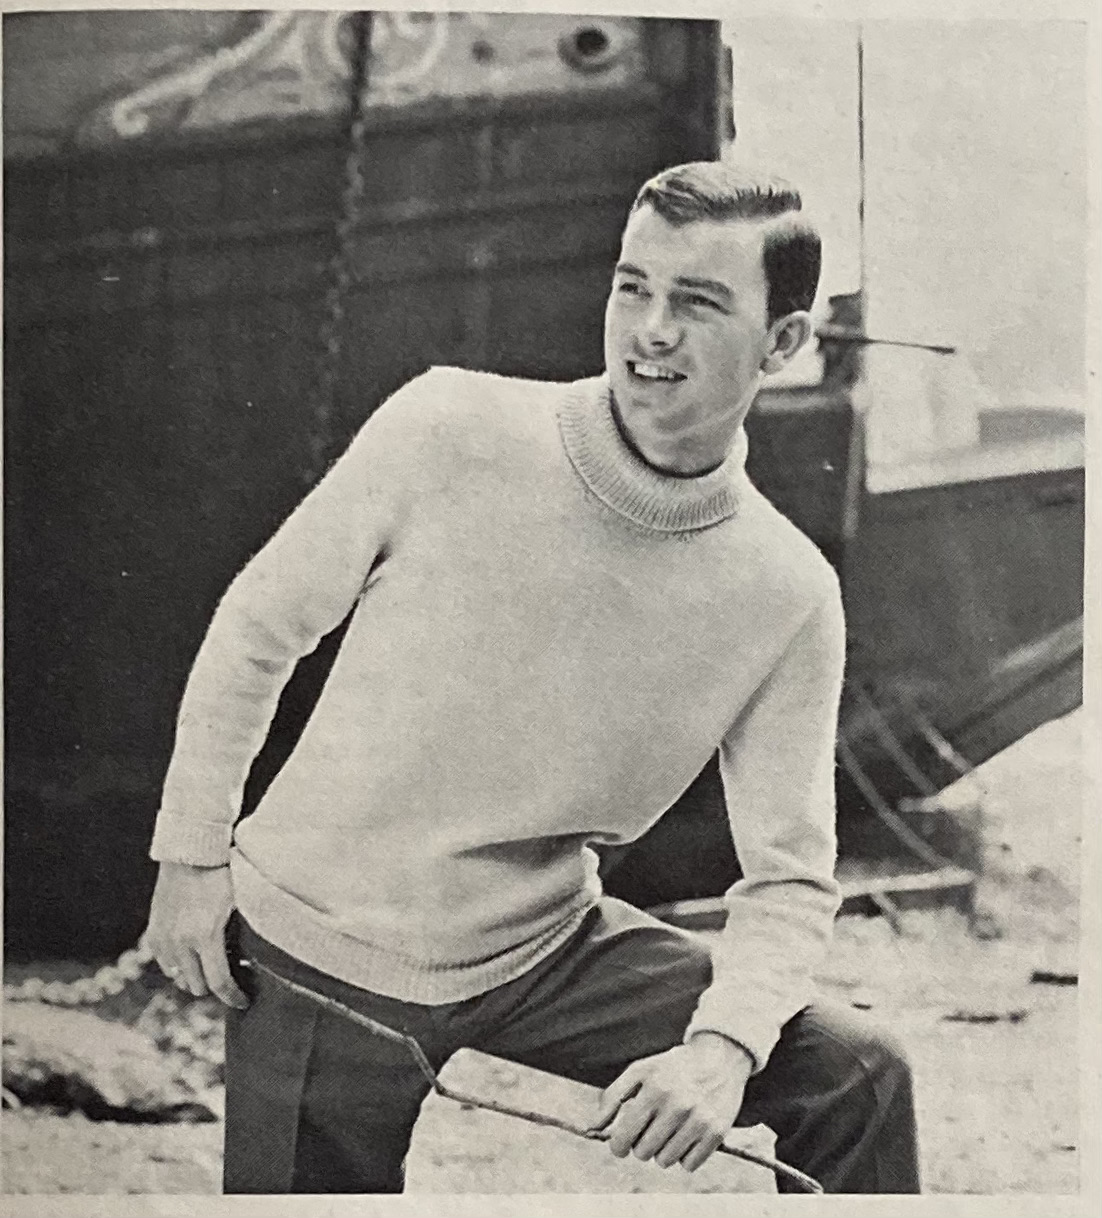
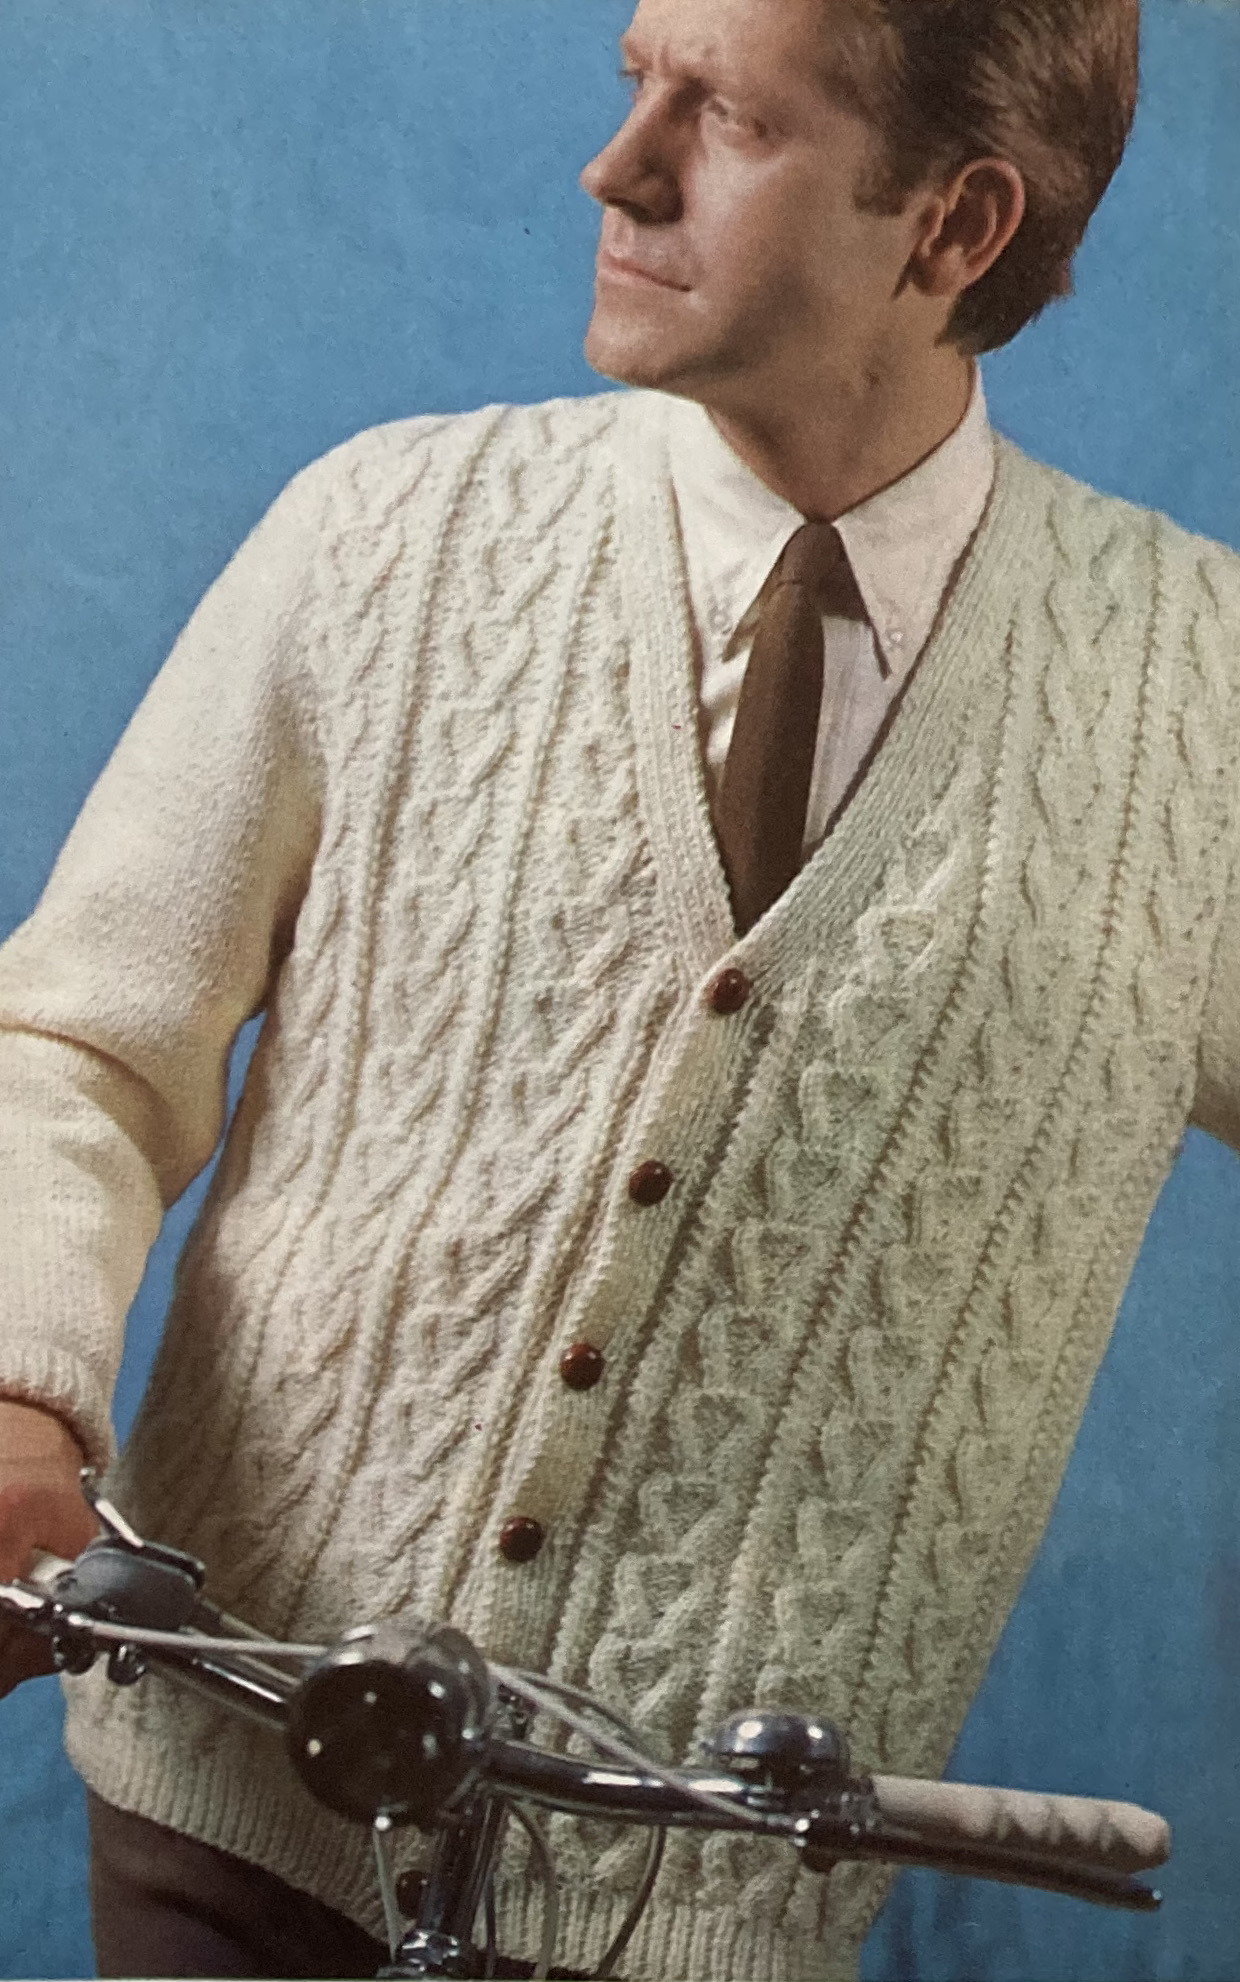
There’s also a jumper for larger sizes with very ill-thought-out decorations going right over the bust, and a collared almost-cardigan with a deep placket and Peter Pan collar. The collared number is made in tweedy “Glenora”, one of the multicolour wools gaining popularity at the time. Men get a corollary set to the women’s “overpull” and “underblouse” with a slightly oversized bobbly-cabley cardigan and a 4-ply polo-neck in the same “Nylox” wool as the ladies’ underblouse. The “colour radiance” theme apparently does not extend to the men’s garments, being made in undyed Capstan and “Oystershell” off-white, respectively. The photo backgrounds colours are nicely chosen, though, to set off the diagonal poses and camera angles.

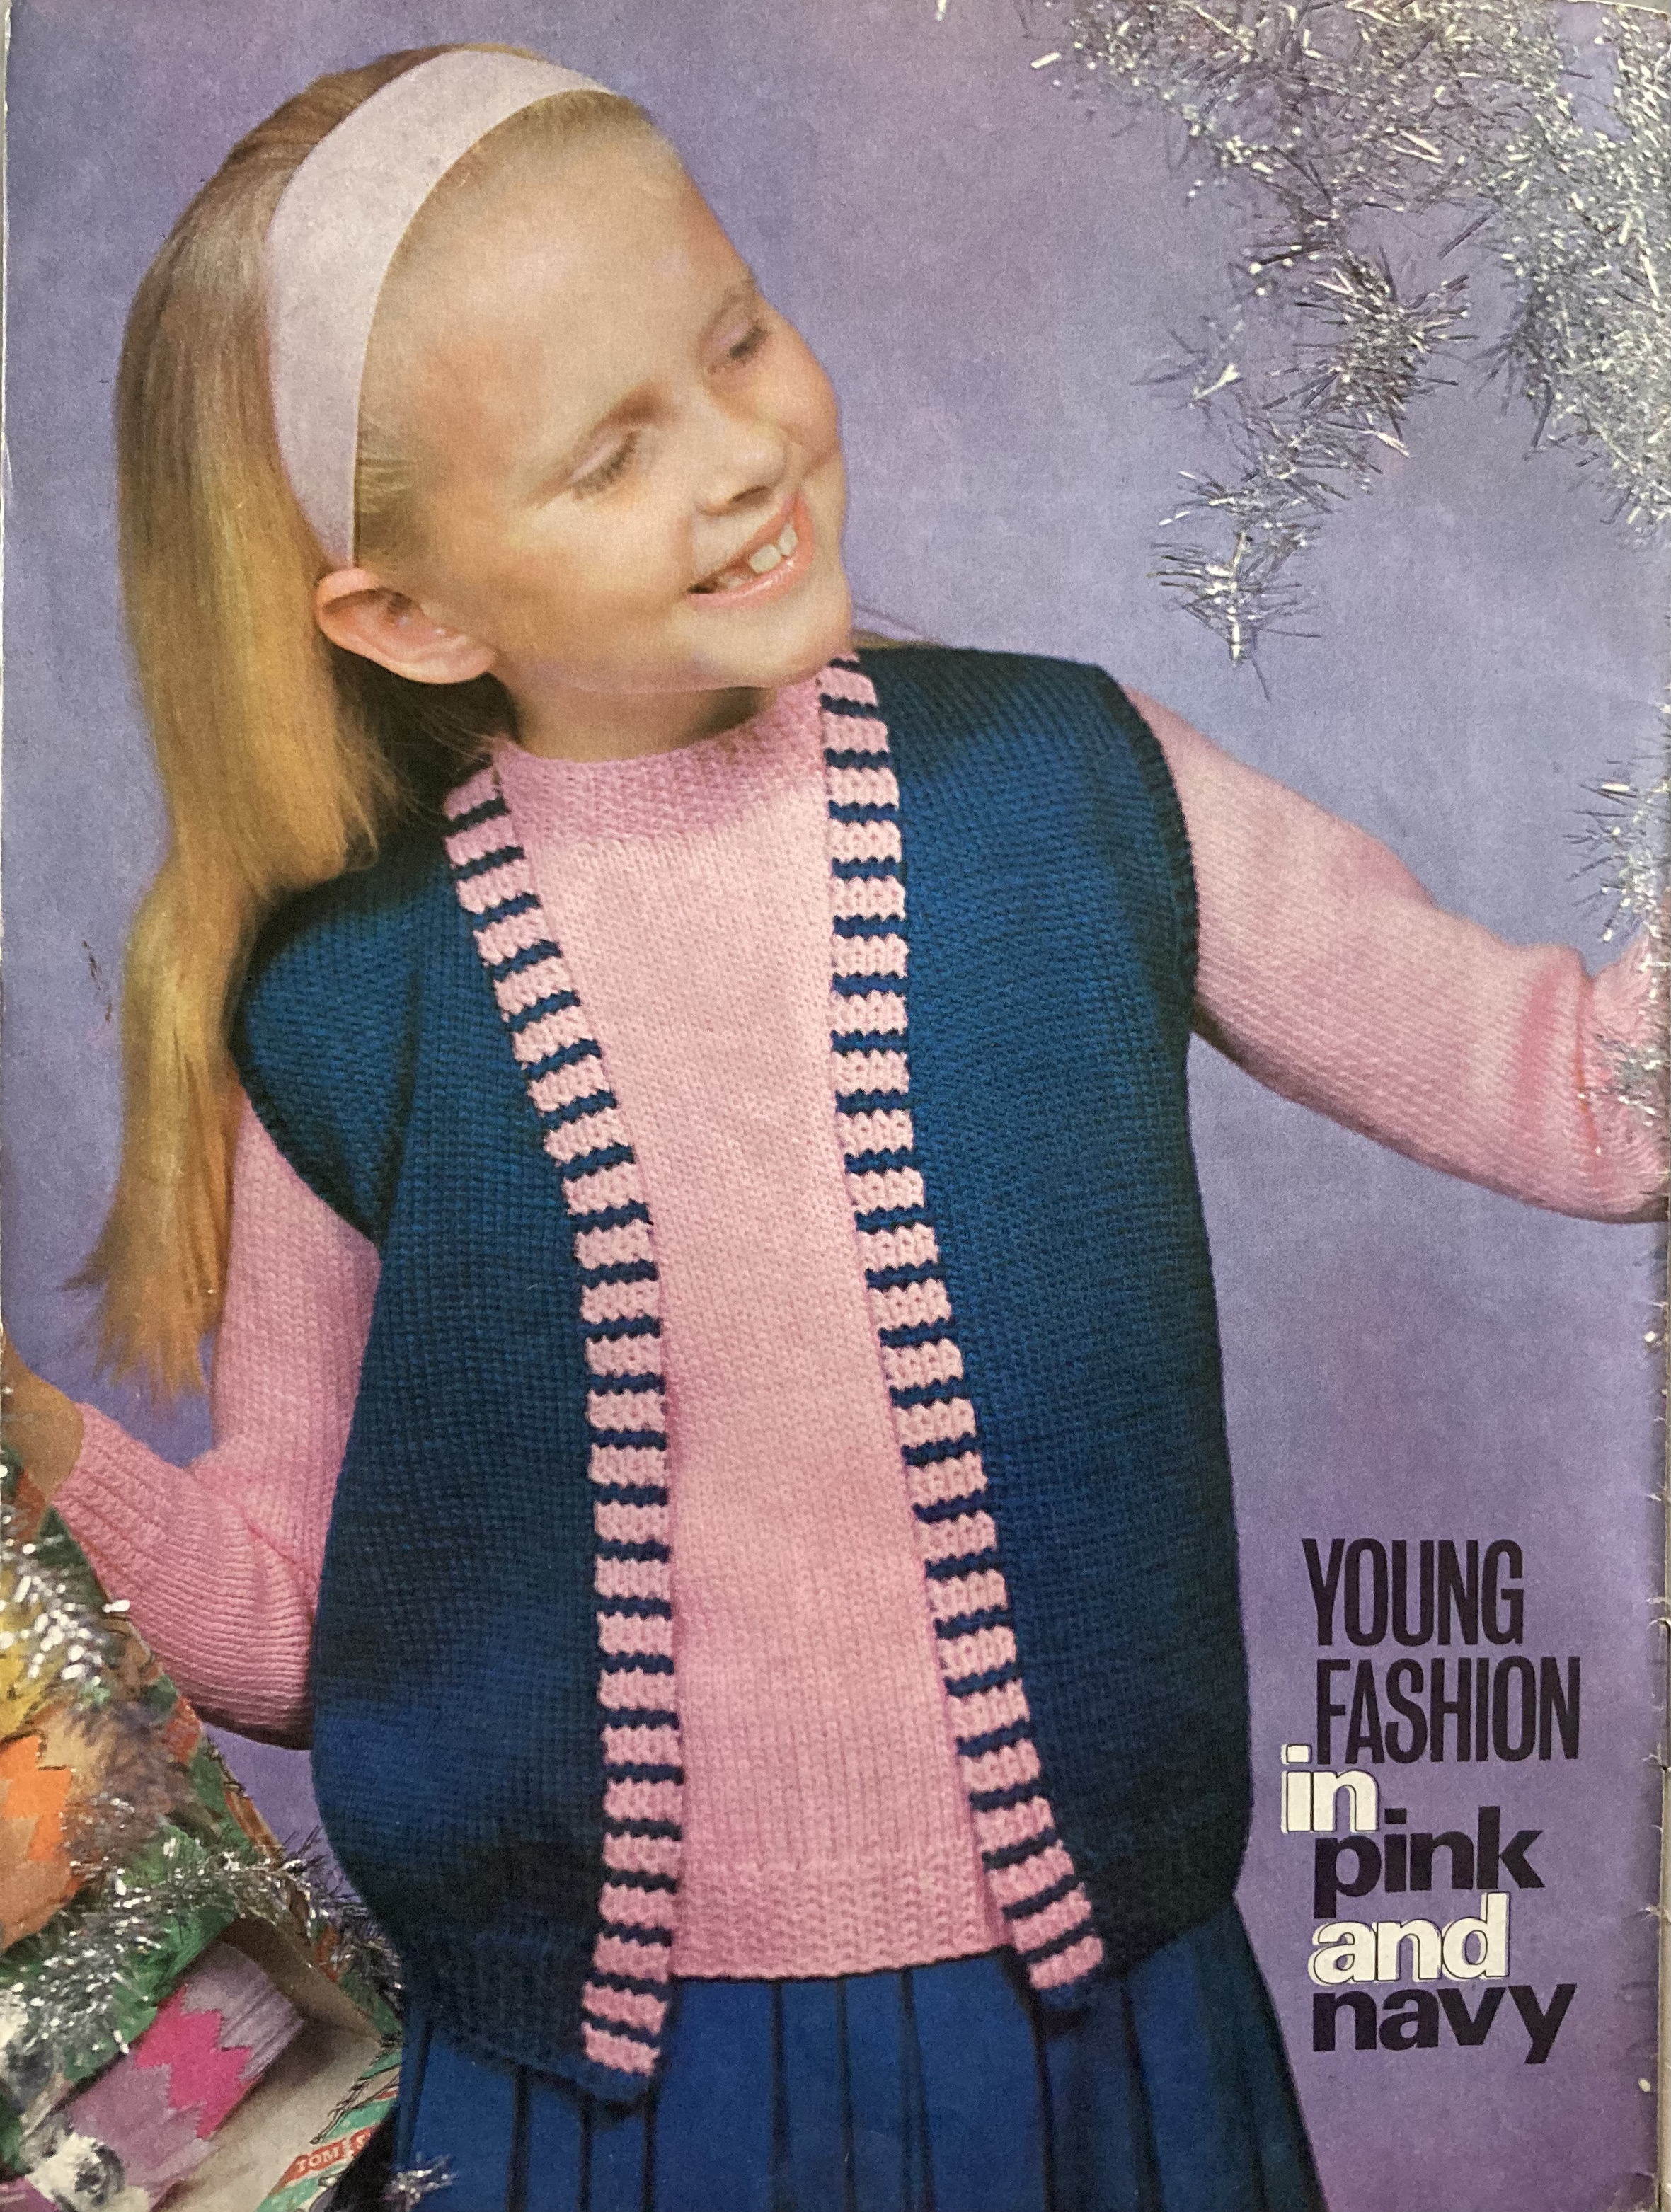
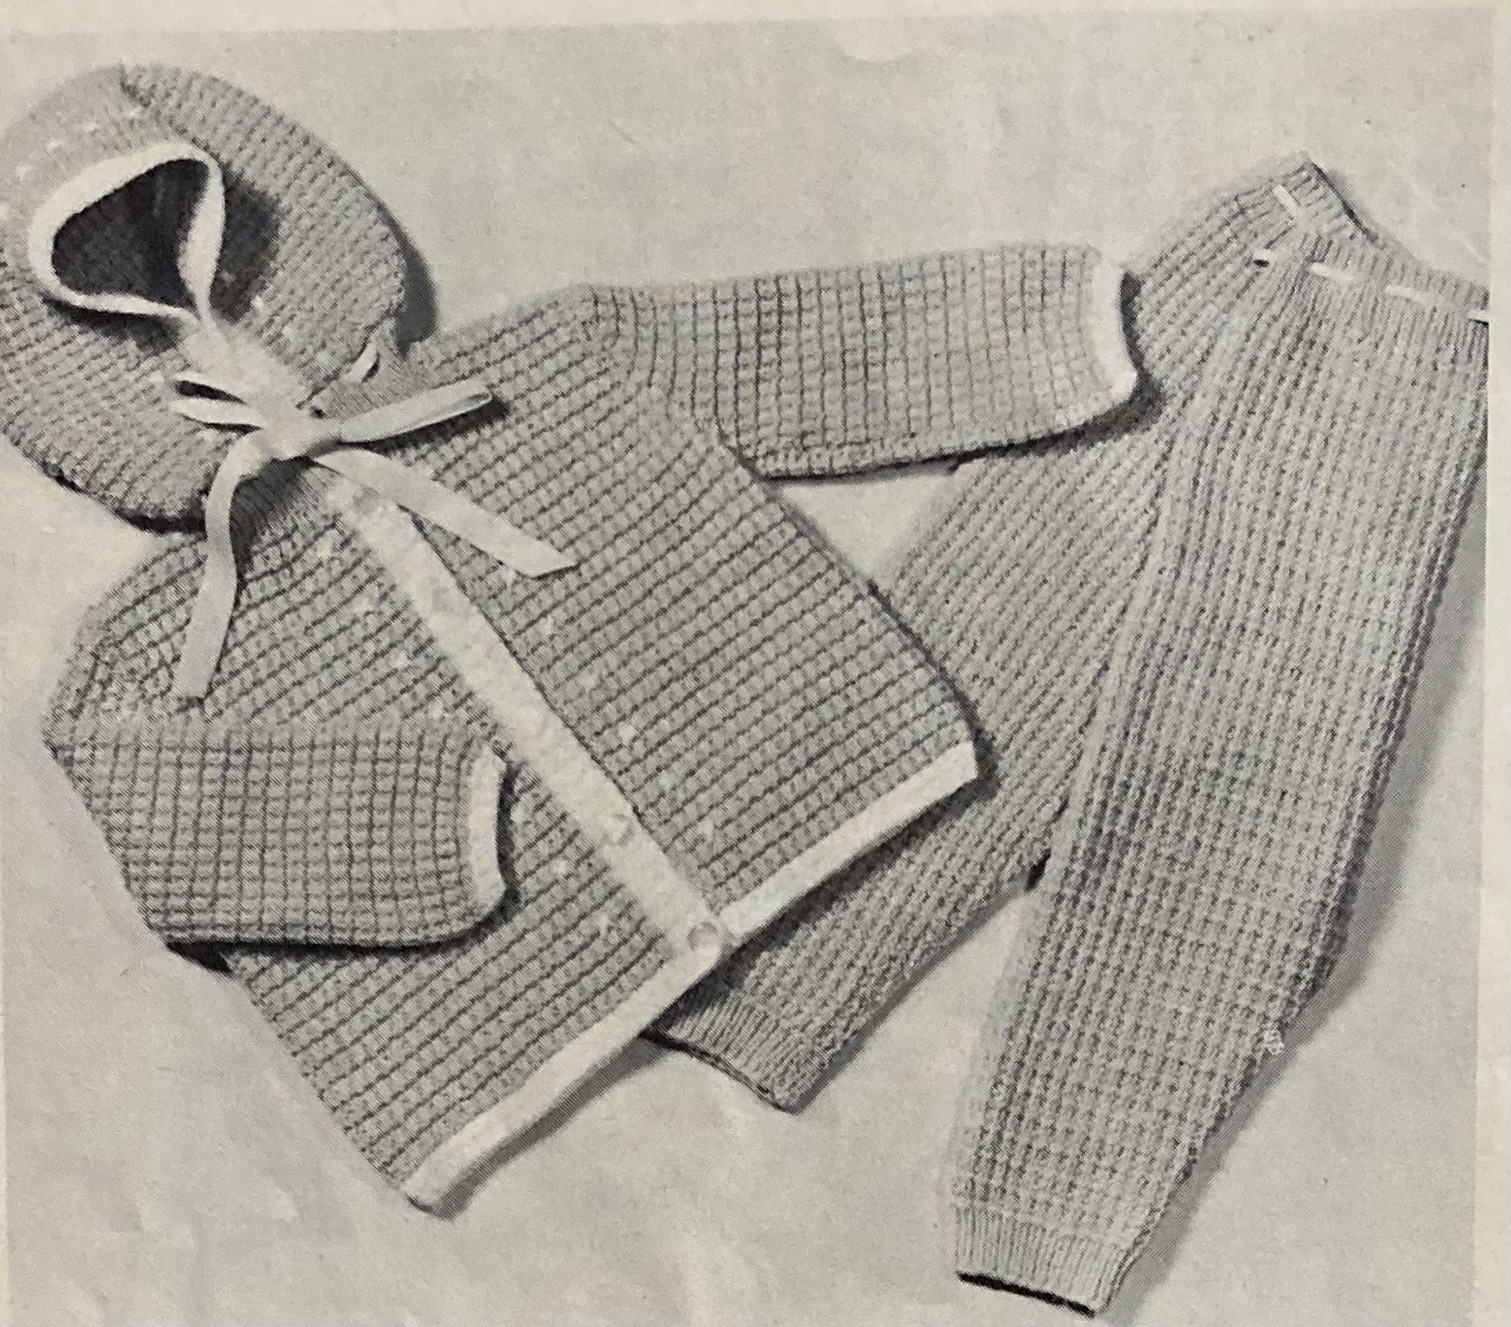
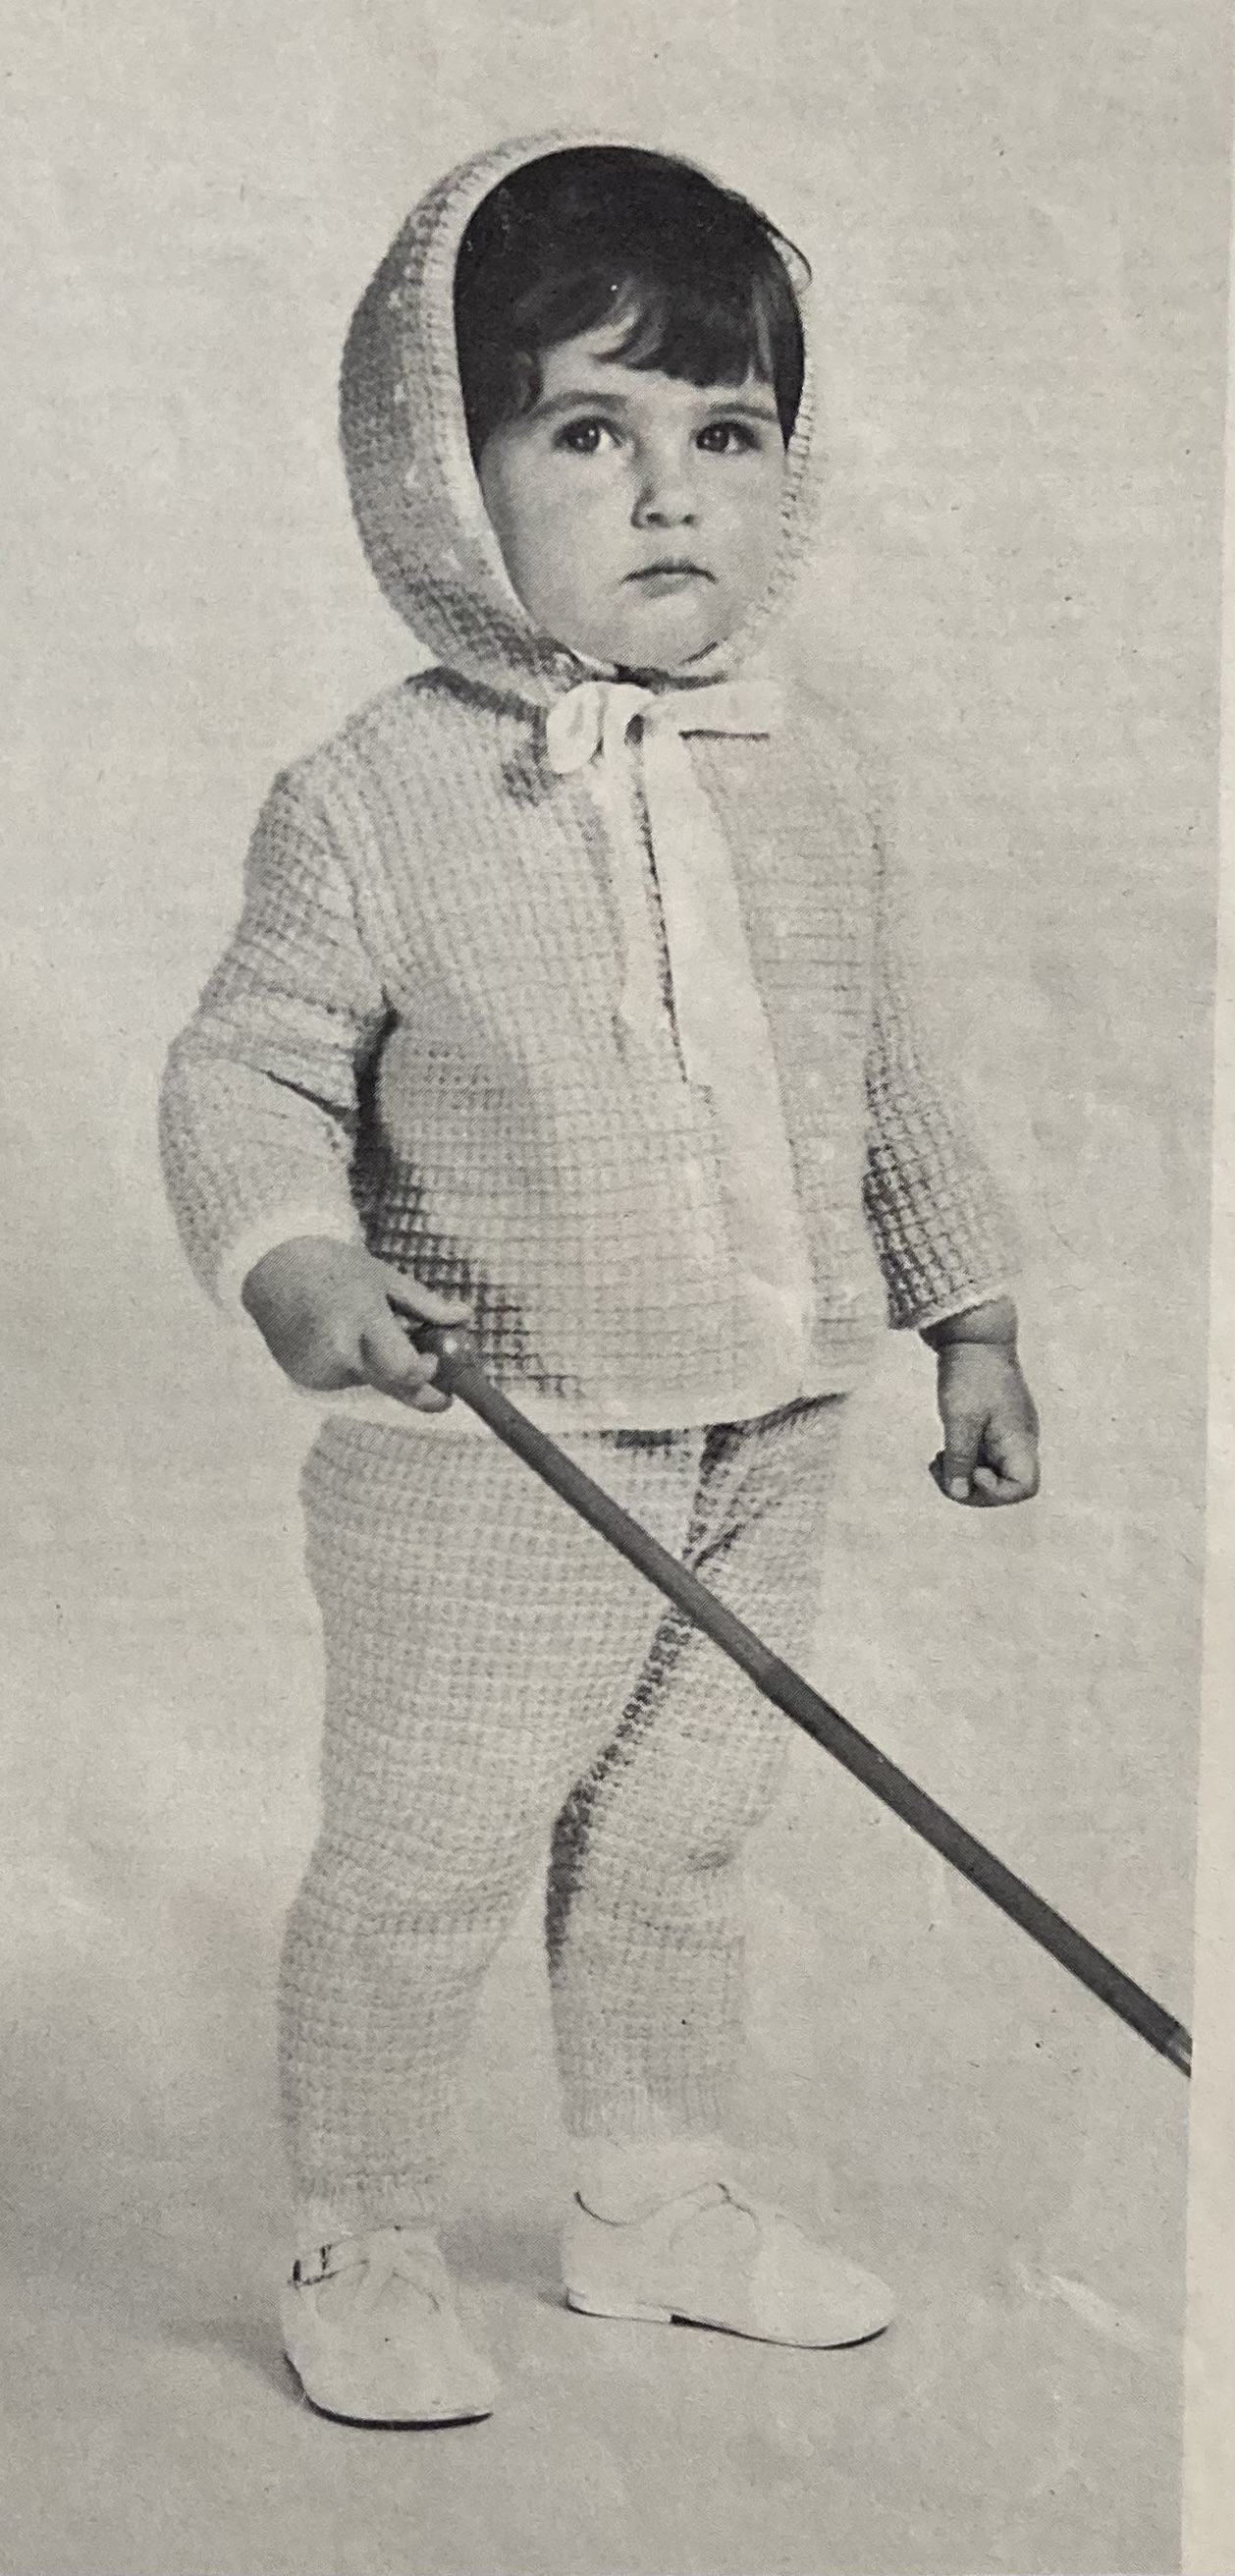
The photo of the girl’s twin set in the inside front cover photo also does a great job of harmonising the backdrop to the subject. Her set consists of a pullover with unbuttoned waistcoat in cheerful pink and blue. Her little brother or sister can go out in the pram or “toddling” in a warm set of hooded jacket and leggings. The child in the photo looks somewhat apprehensive, but the set looks quite snuggly.

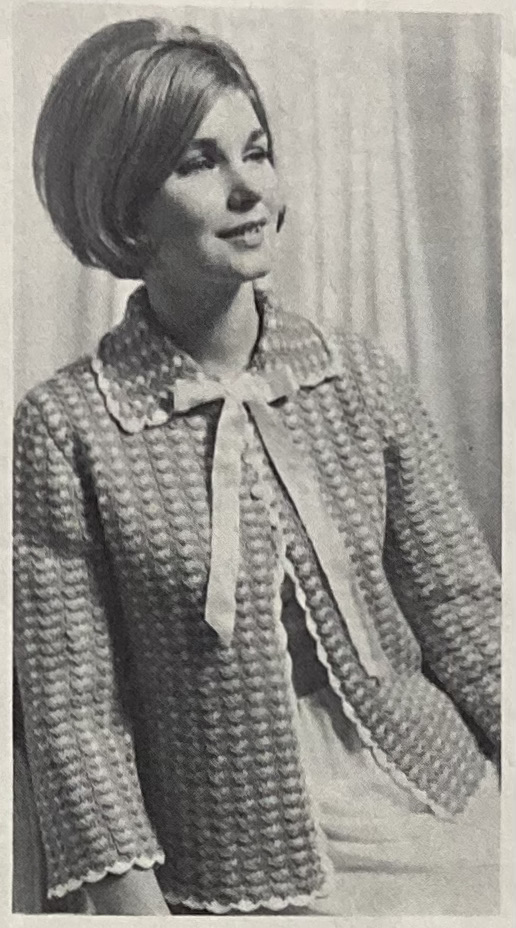
And can we have a moment of appreciation for this “special gift” of a bedjacket? I love it! I would make it without the ribbon at the neck and wear it as a normal cardigan. The two-colour pattern is made by working and then dropping yo’s to make a “long” stitch, which is then carried up through the slip-stitch background. I am guessing it is quite spongy and squishy, and was also nice and warm in those unheated 1960s bedrooms. Love the hairstyle in the colour photo, too!

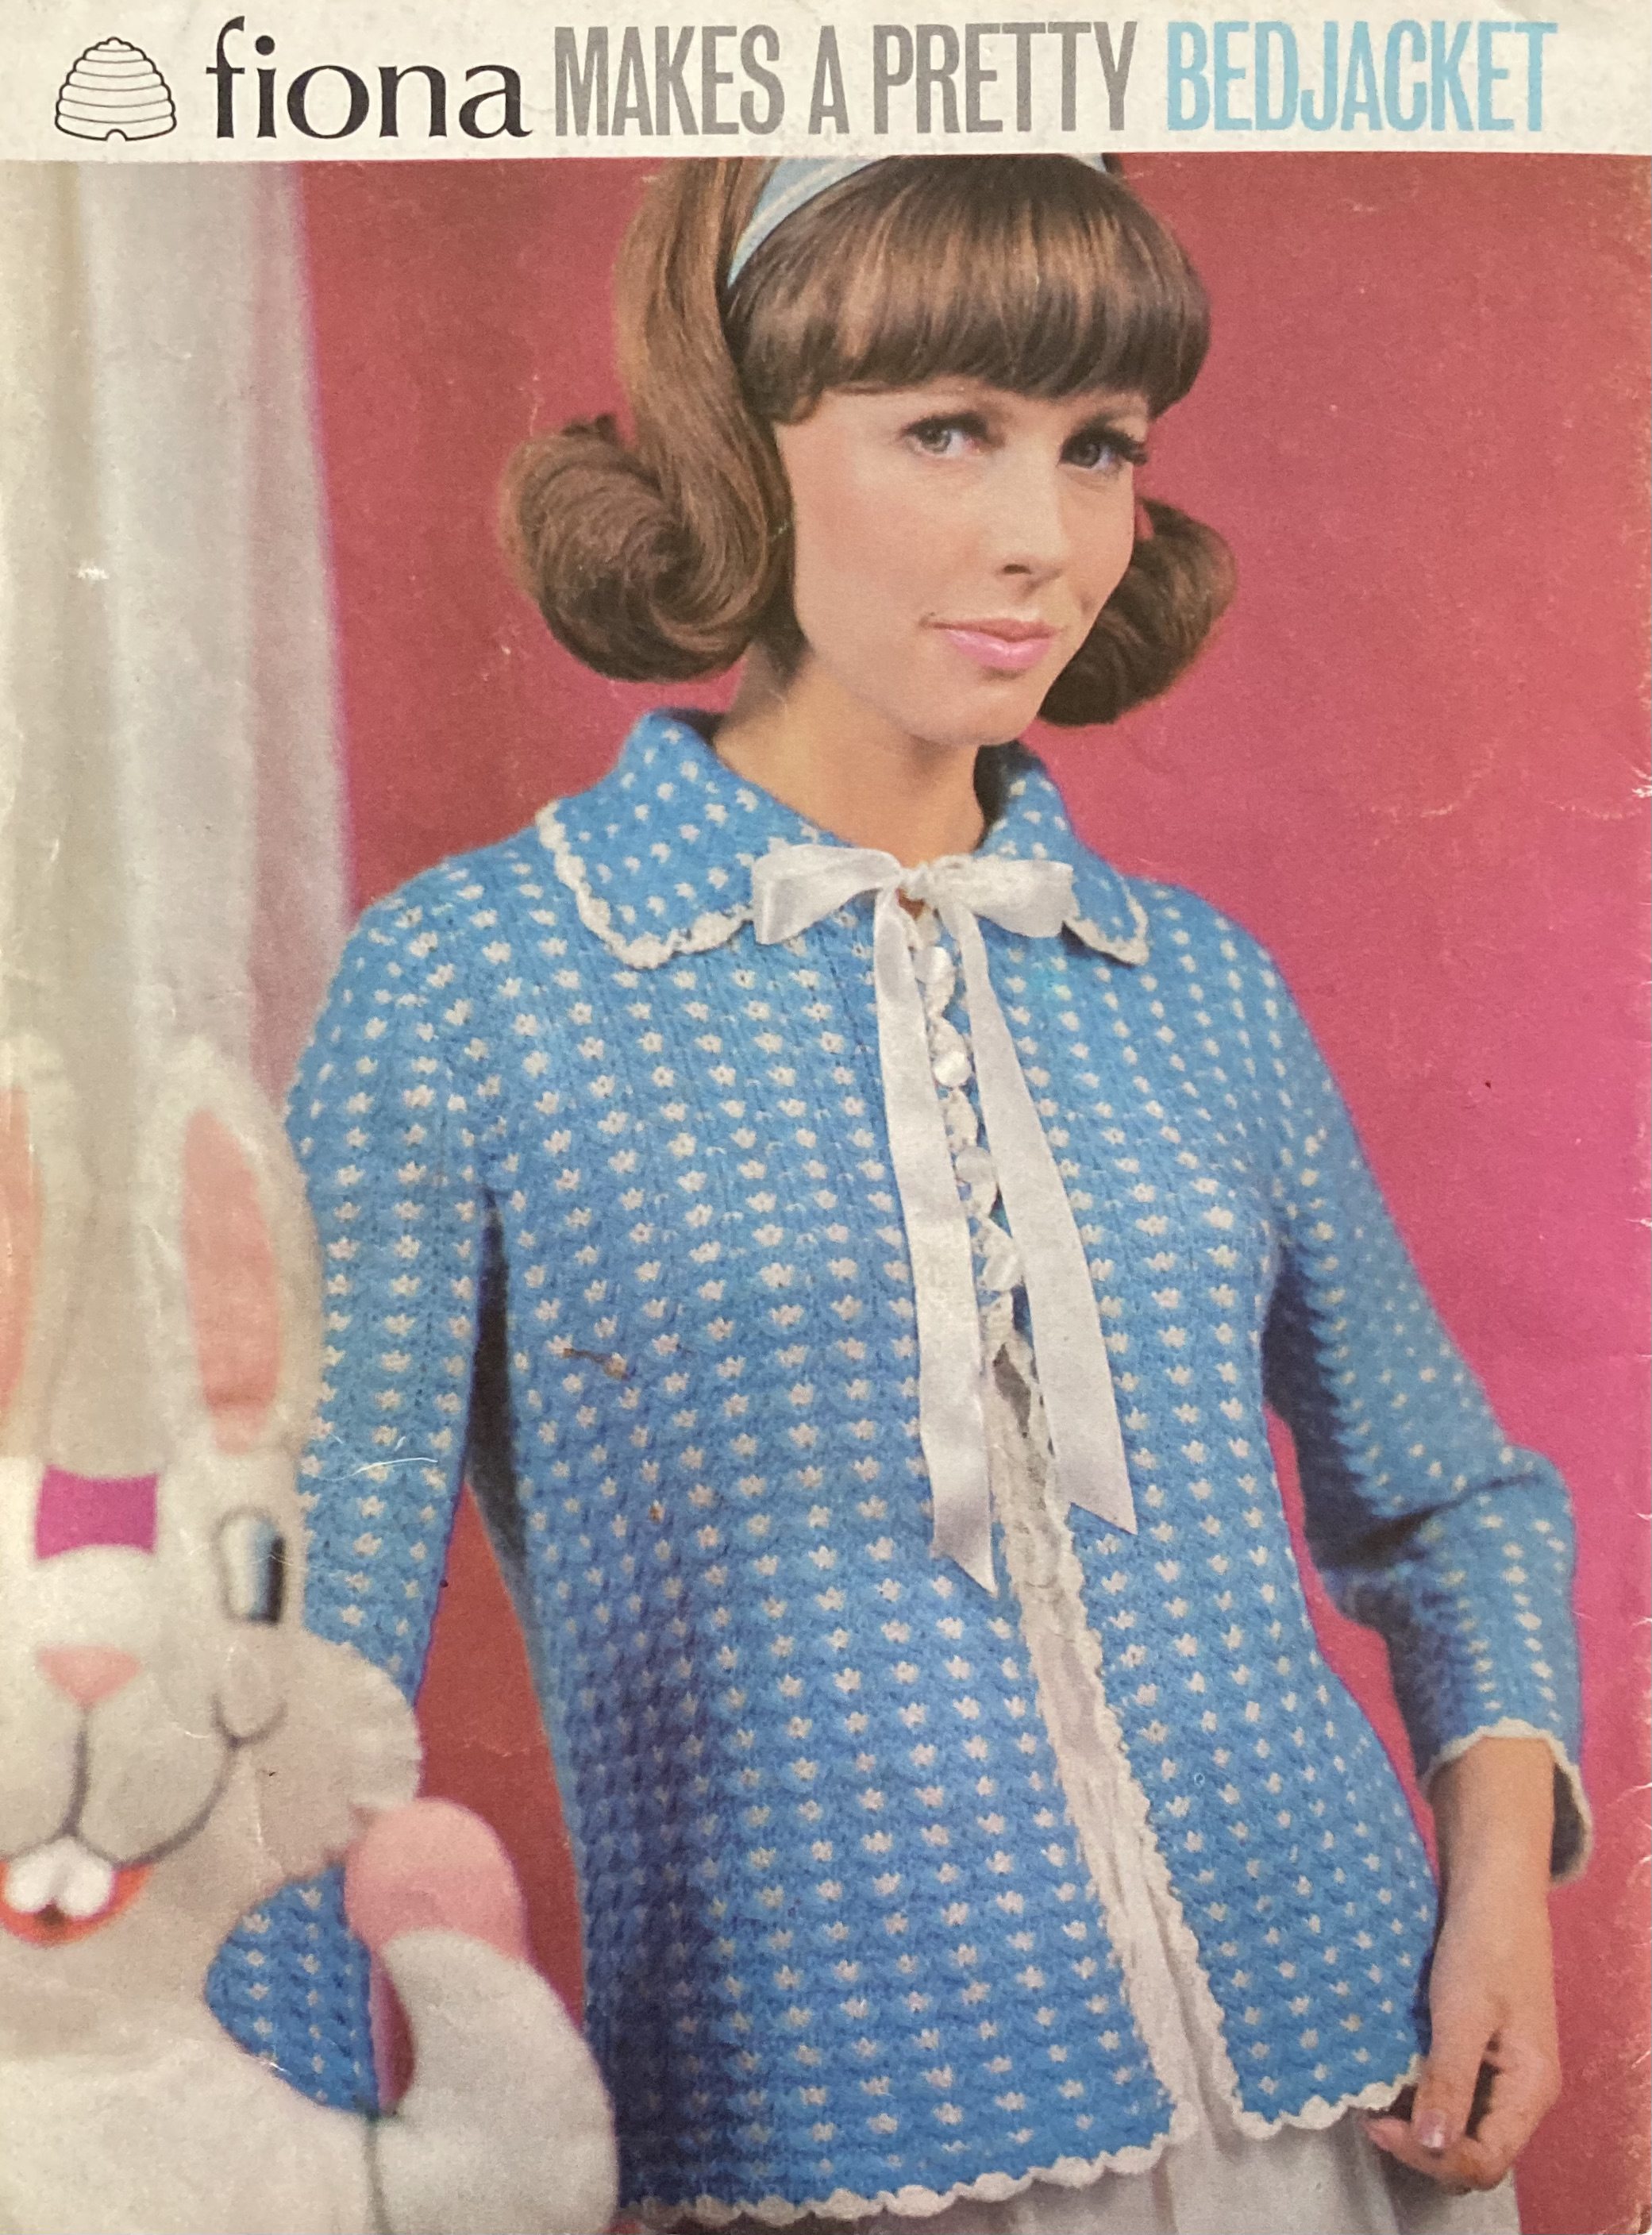
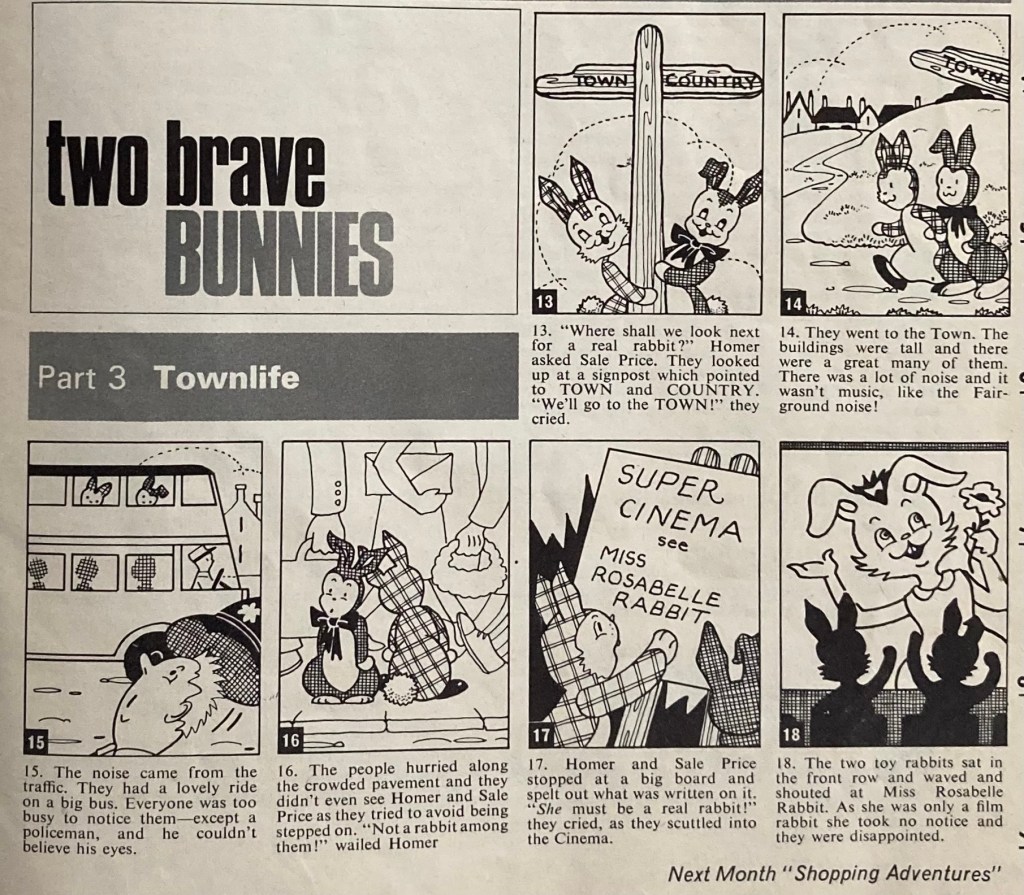
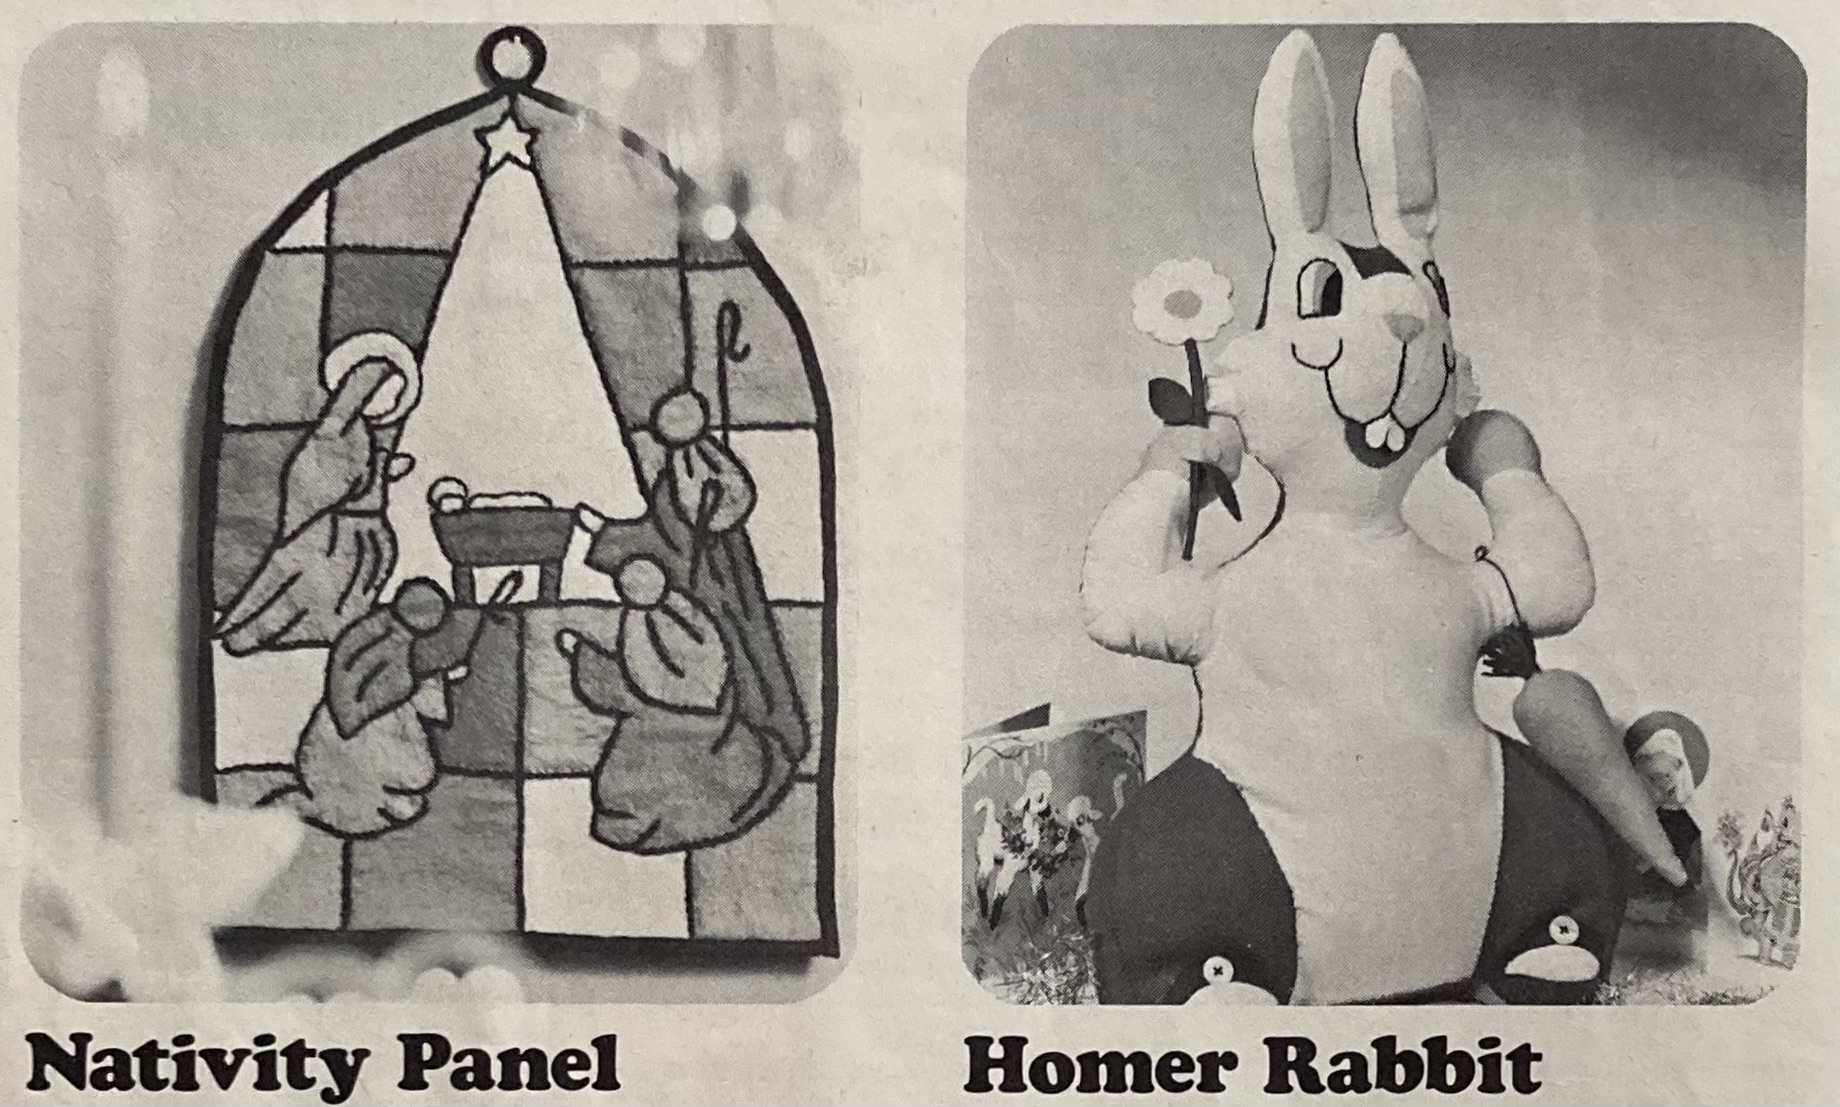
If the model on the left is looking a little suspicious, it’s probably because she was photo-bombed by Homer the Rabbit, star of our current children’s serial comic, “Two Brave Bunnies.” For the uninitiated: Homer (a home-made stuffed rabbit) and Sale Price (a store-bought stuffed rabbit) are on a quest to find a real live rabbit friend. So far, they have only met a merry-go-round rabbit, who assured them that he was not real, as he could carry children on his back. In this month’s episode, our two brave bunnies head to the Town, where they are eager to see “Miss Rosabelle Rabbit” on the cinema screen. Alas, she is only a film rabbit, so cannot communicate with our friends. No matter — they will persevere! Oh, right — and this month’s issue includes instructions on how to make your very own home-made Homer doll from felts.

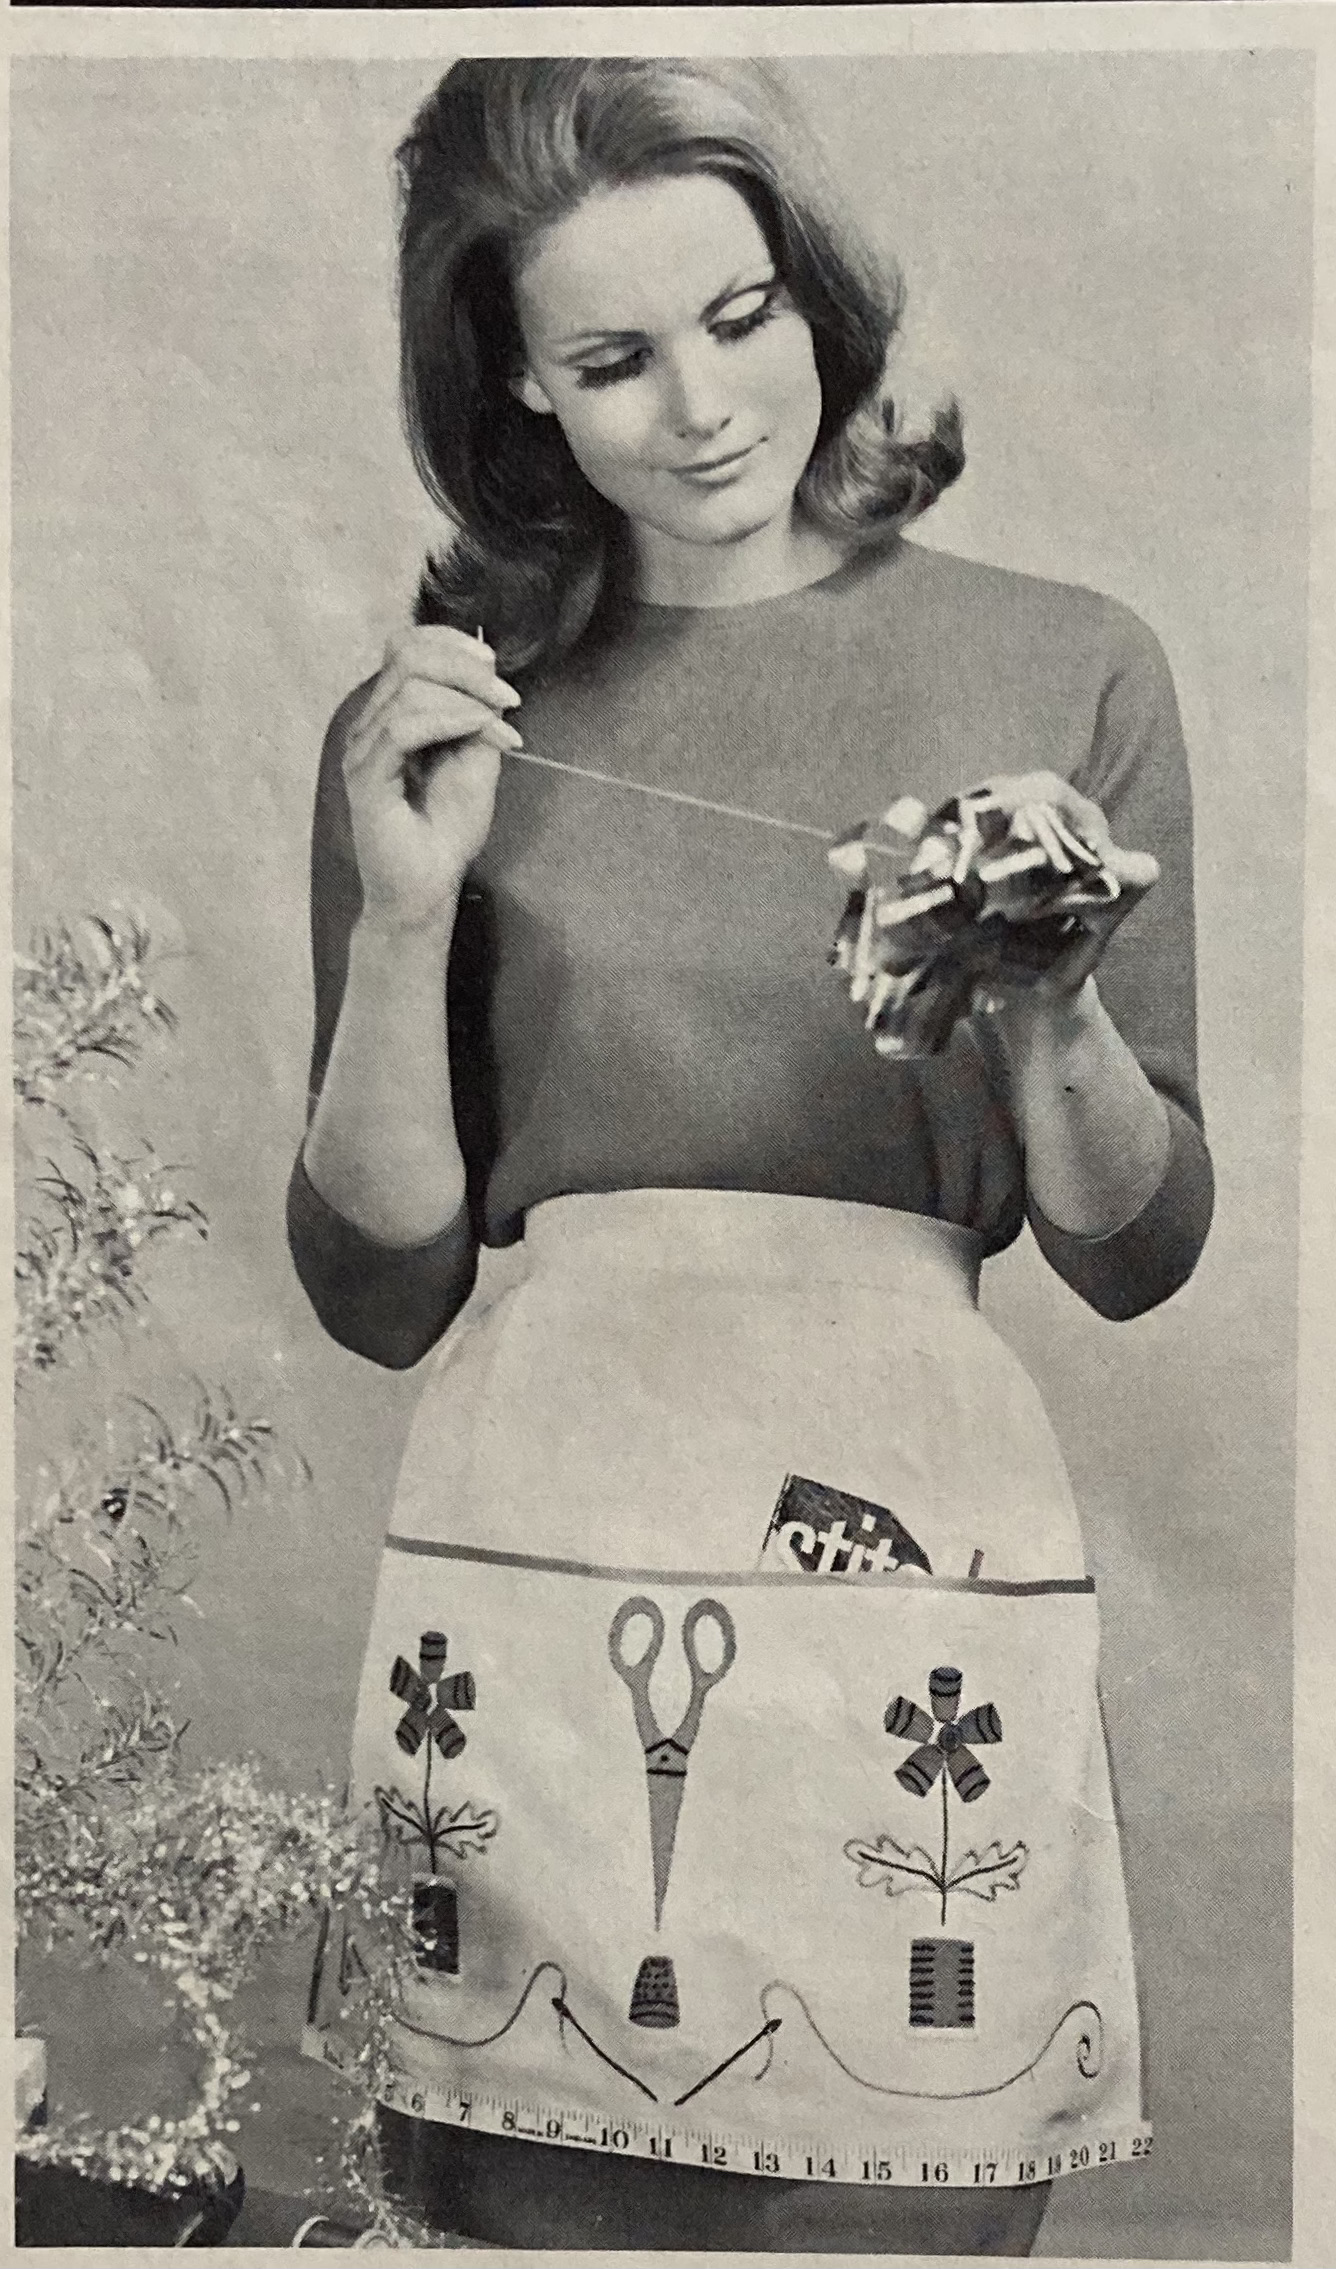
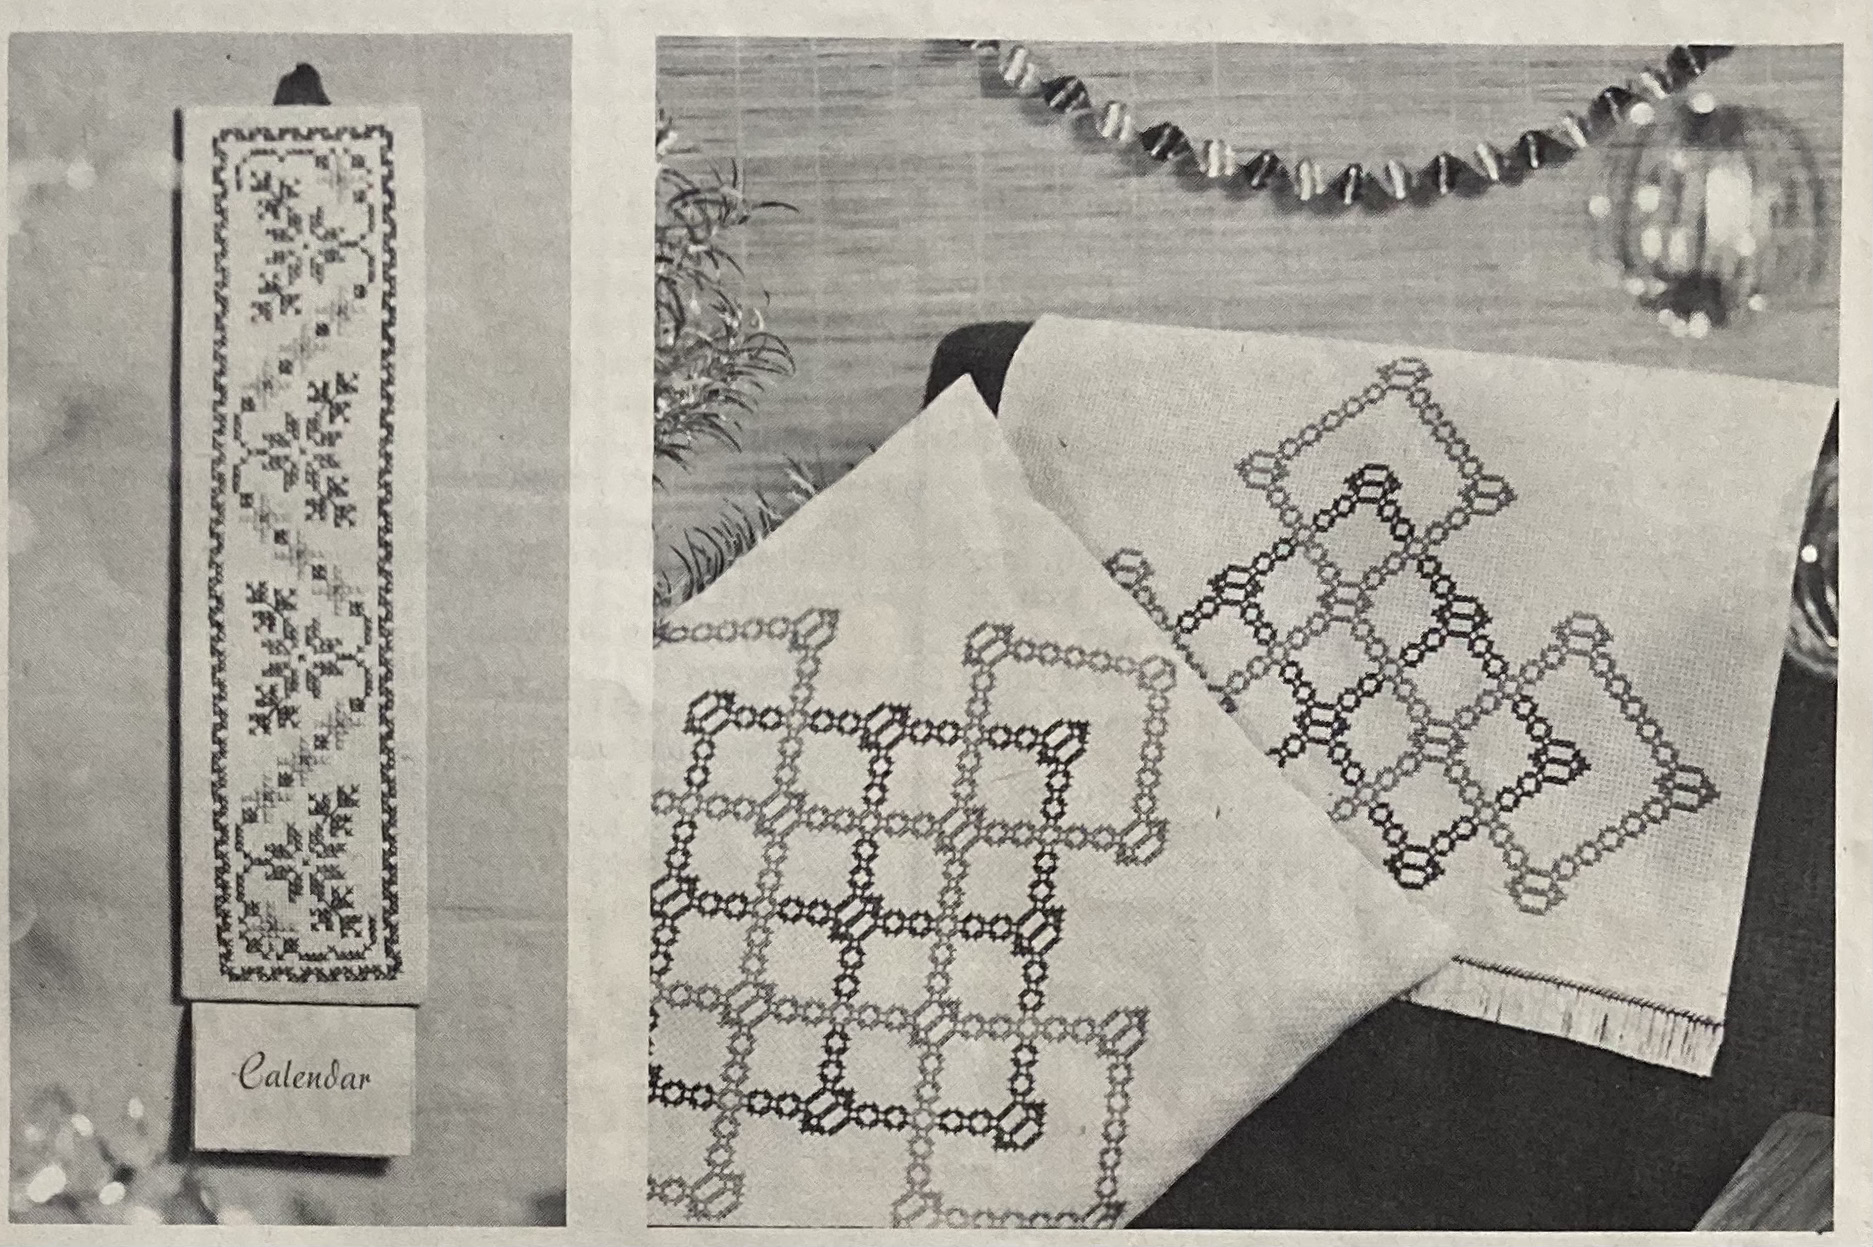
Home-made Homer is one of this issue’s many small, fun “colour novelty” gift and decoration ideas, along with a felt Nativity panel mimicking stained glass, a couple of pot holders and a colourful ball to use as decoration or a baby’s toy. Embroidered gift ideas include a whimsical sewing apron and a cross-stitch calendar and chairset. I don’t really understand the calendar — it seems to be just a vertical wall panel that you attach the (tear-off?) small calendar onto. OK, I guess, but maybe not necessary?

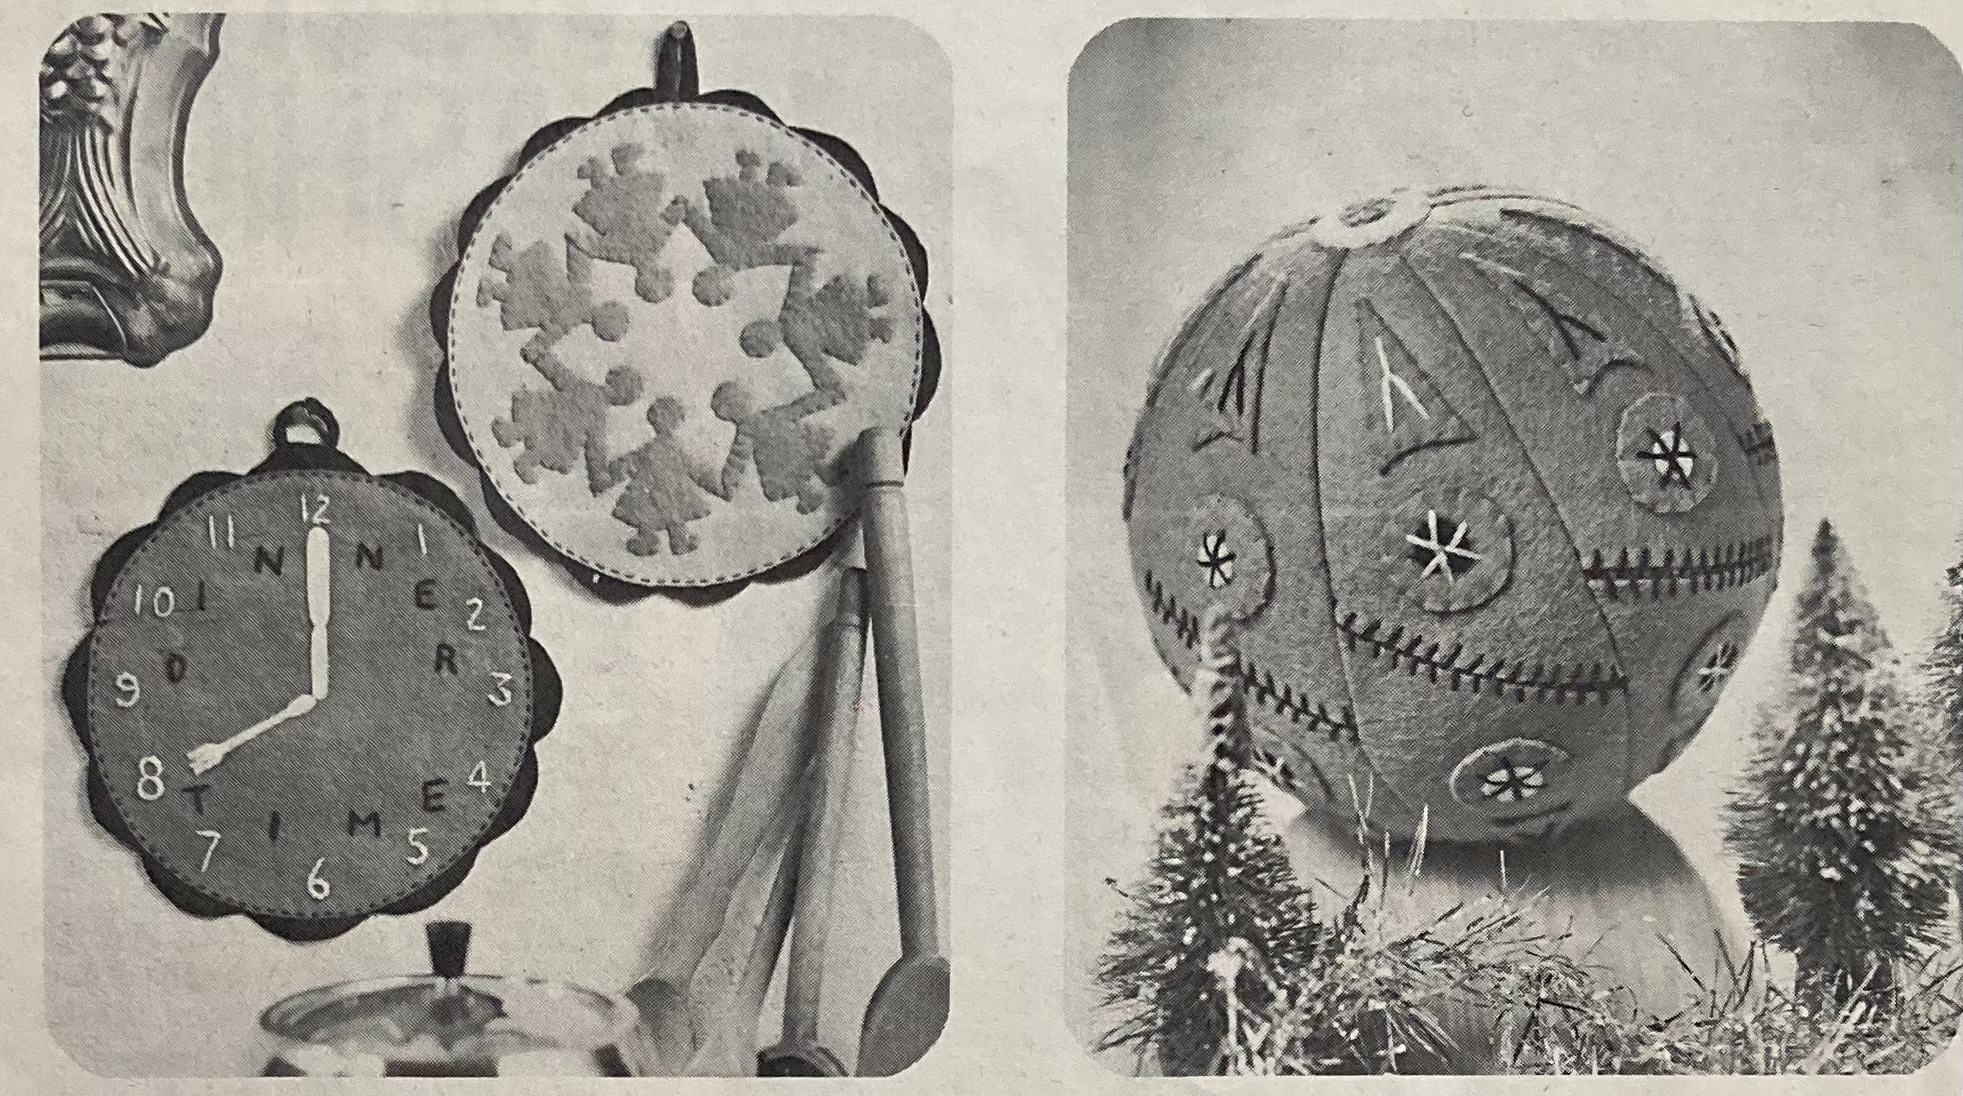
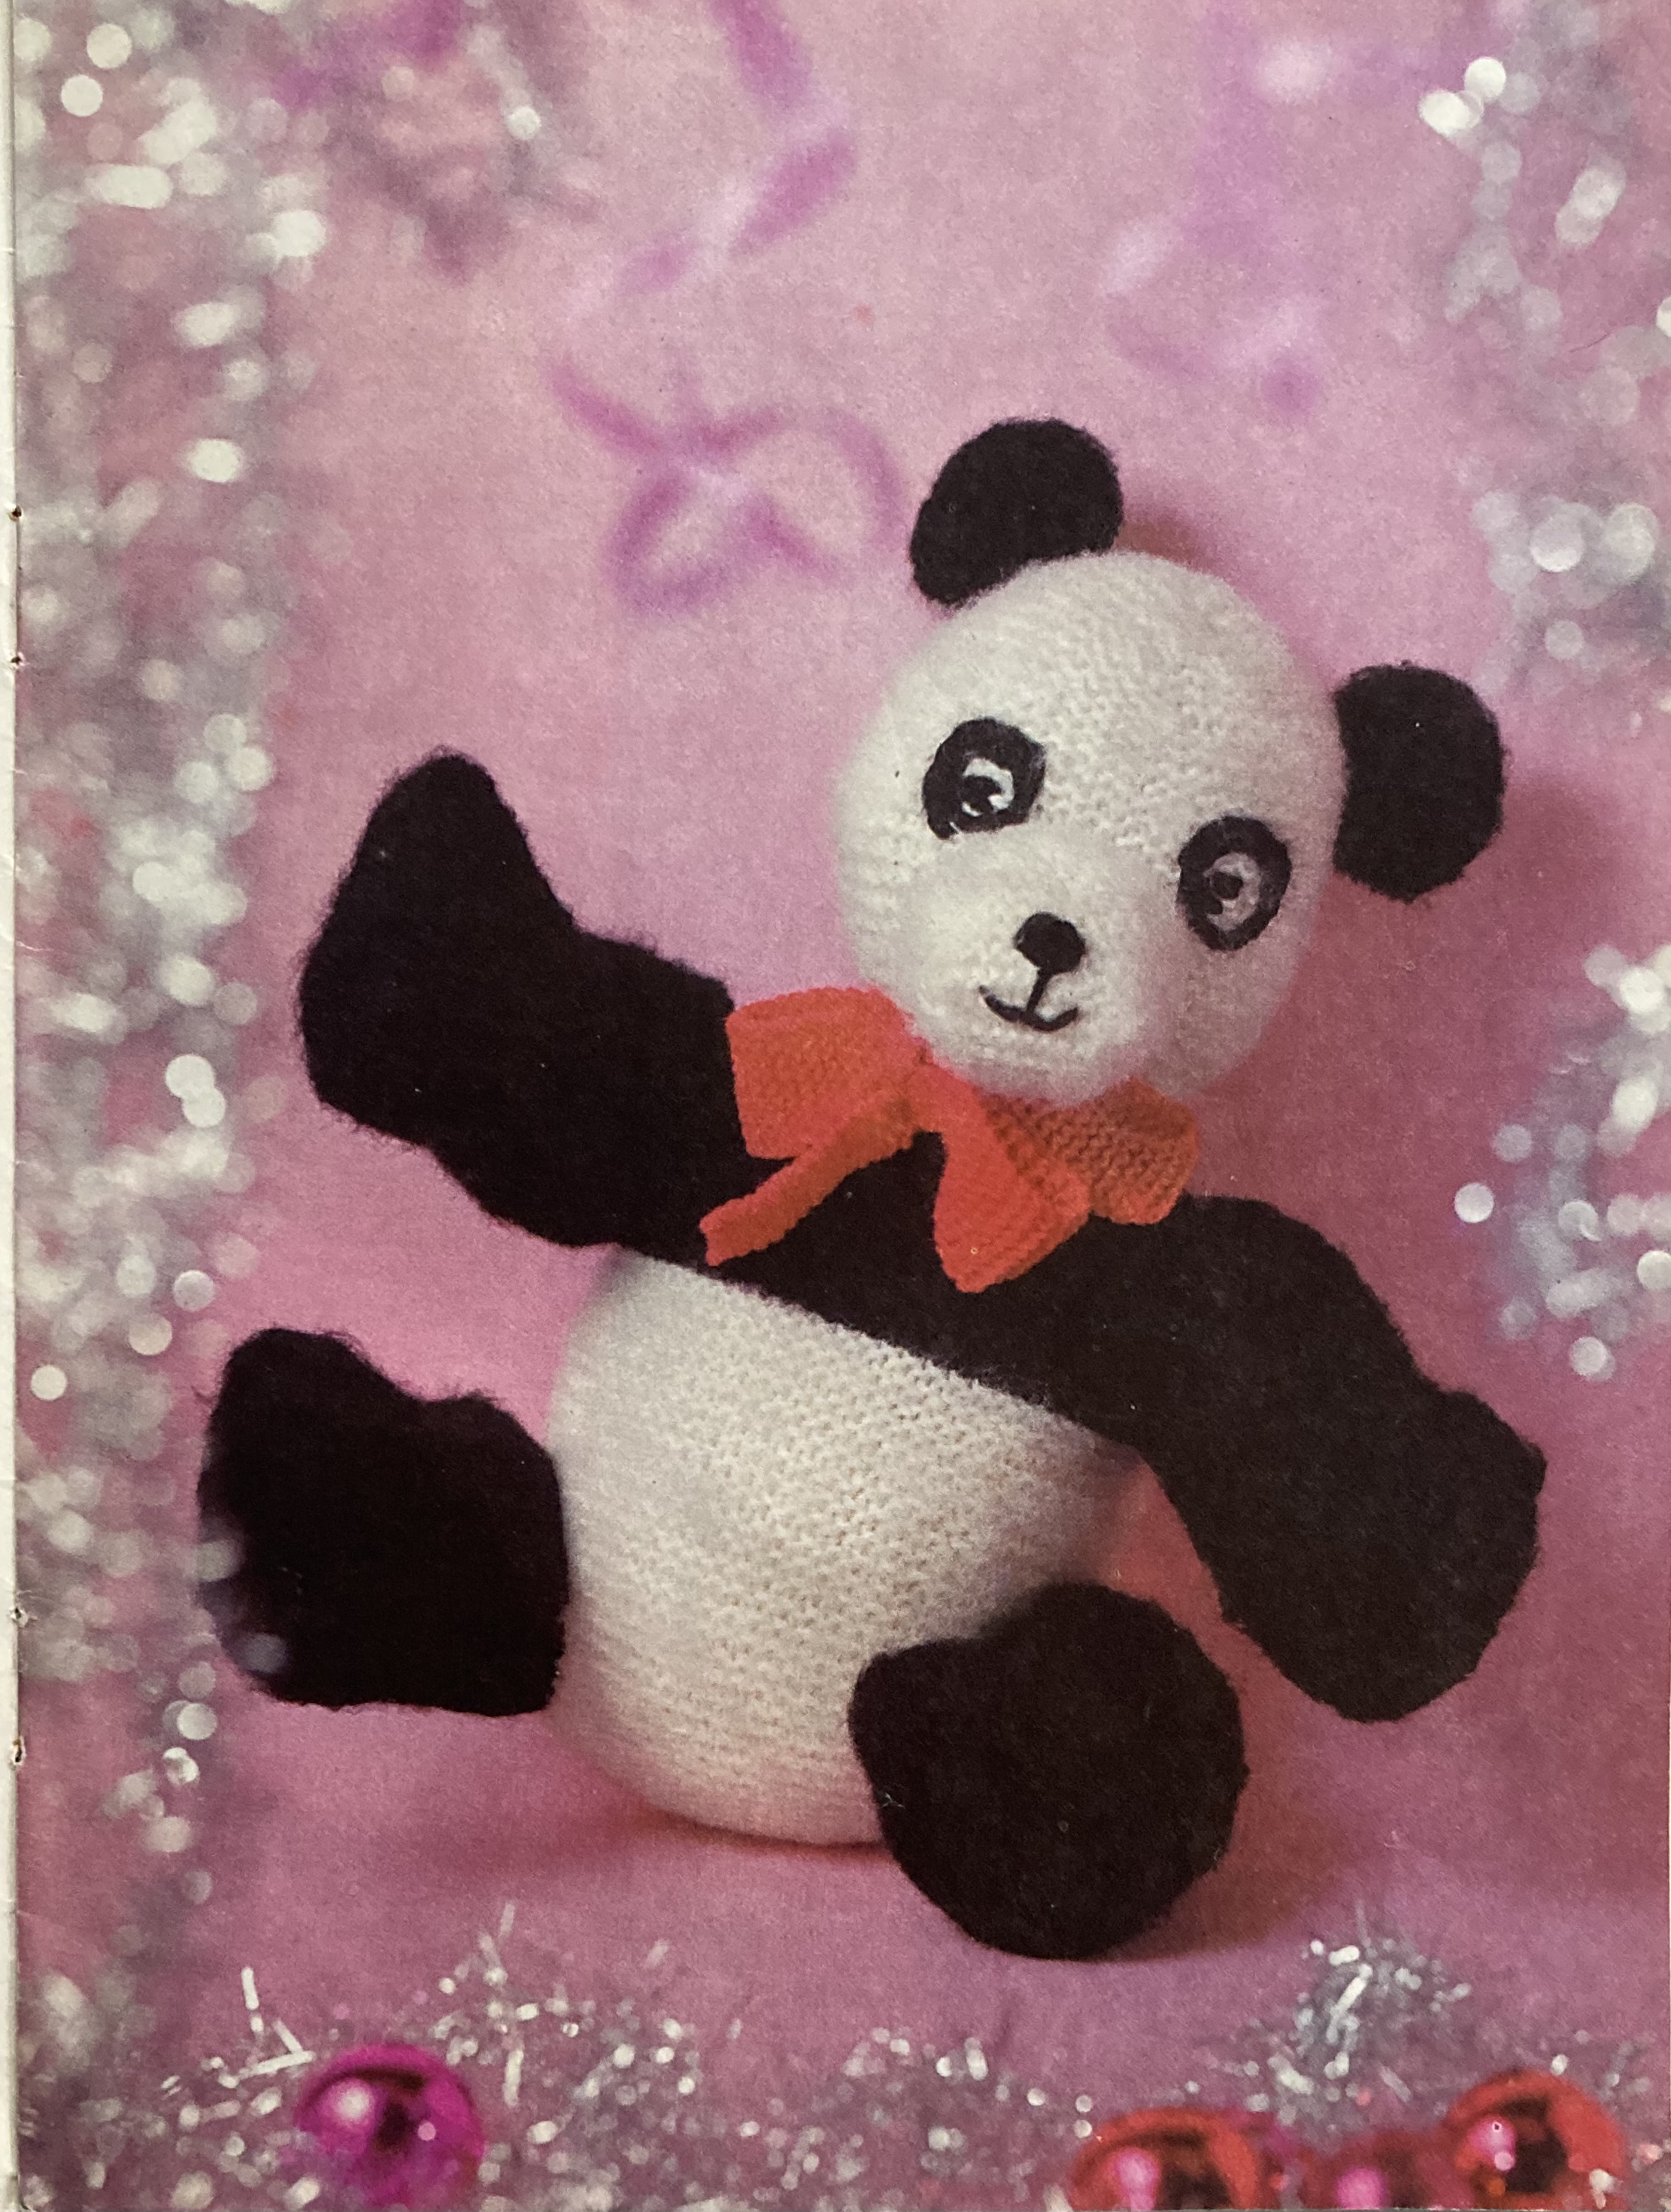
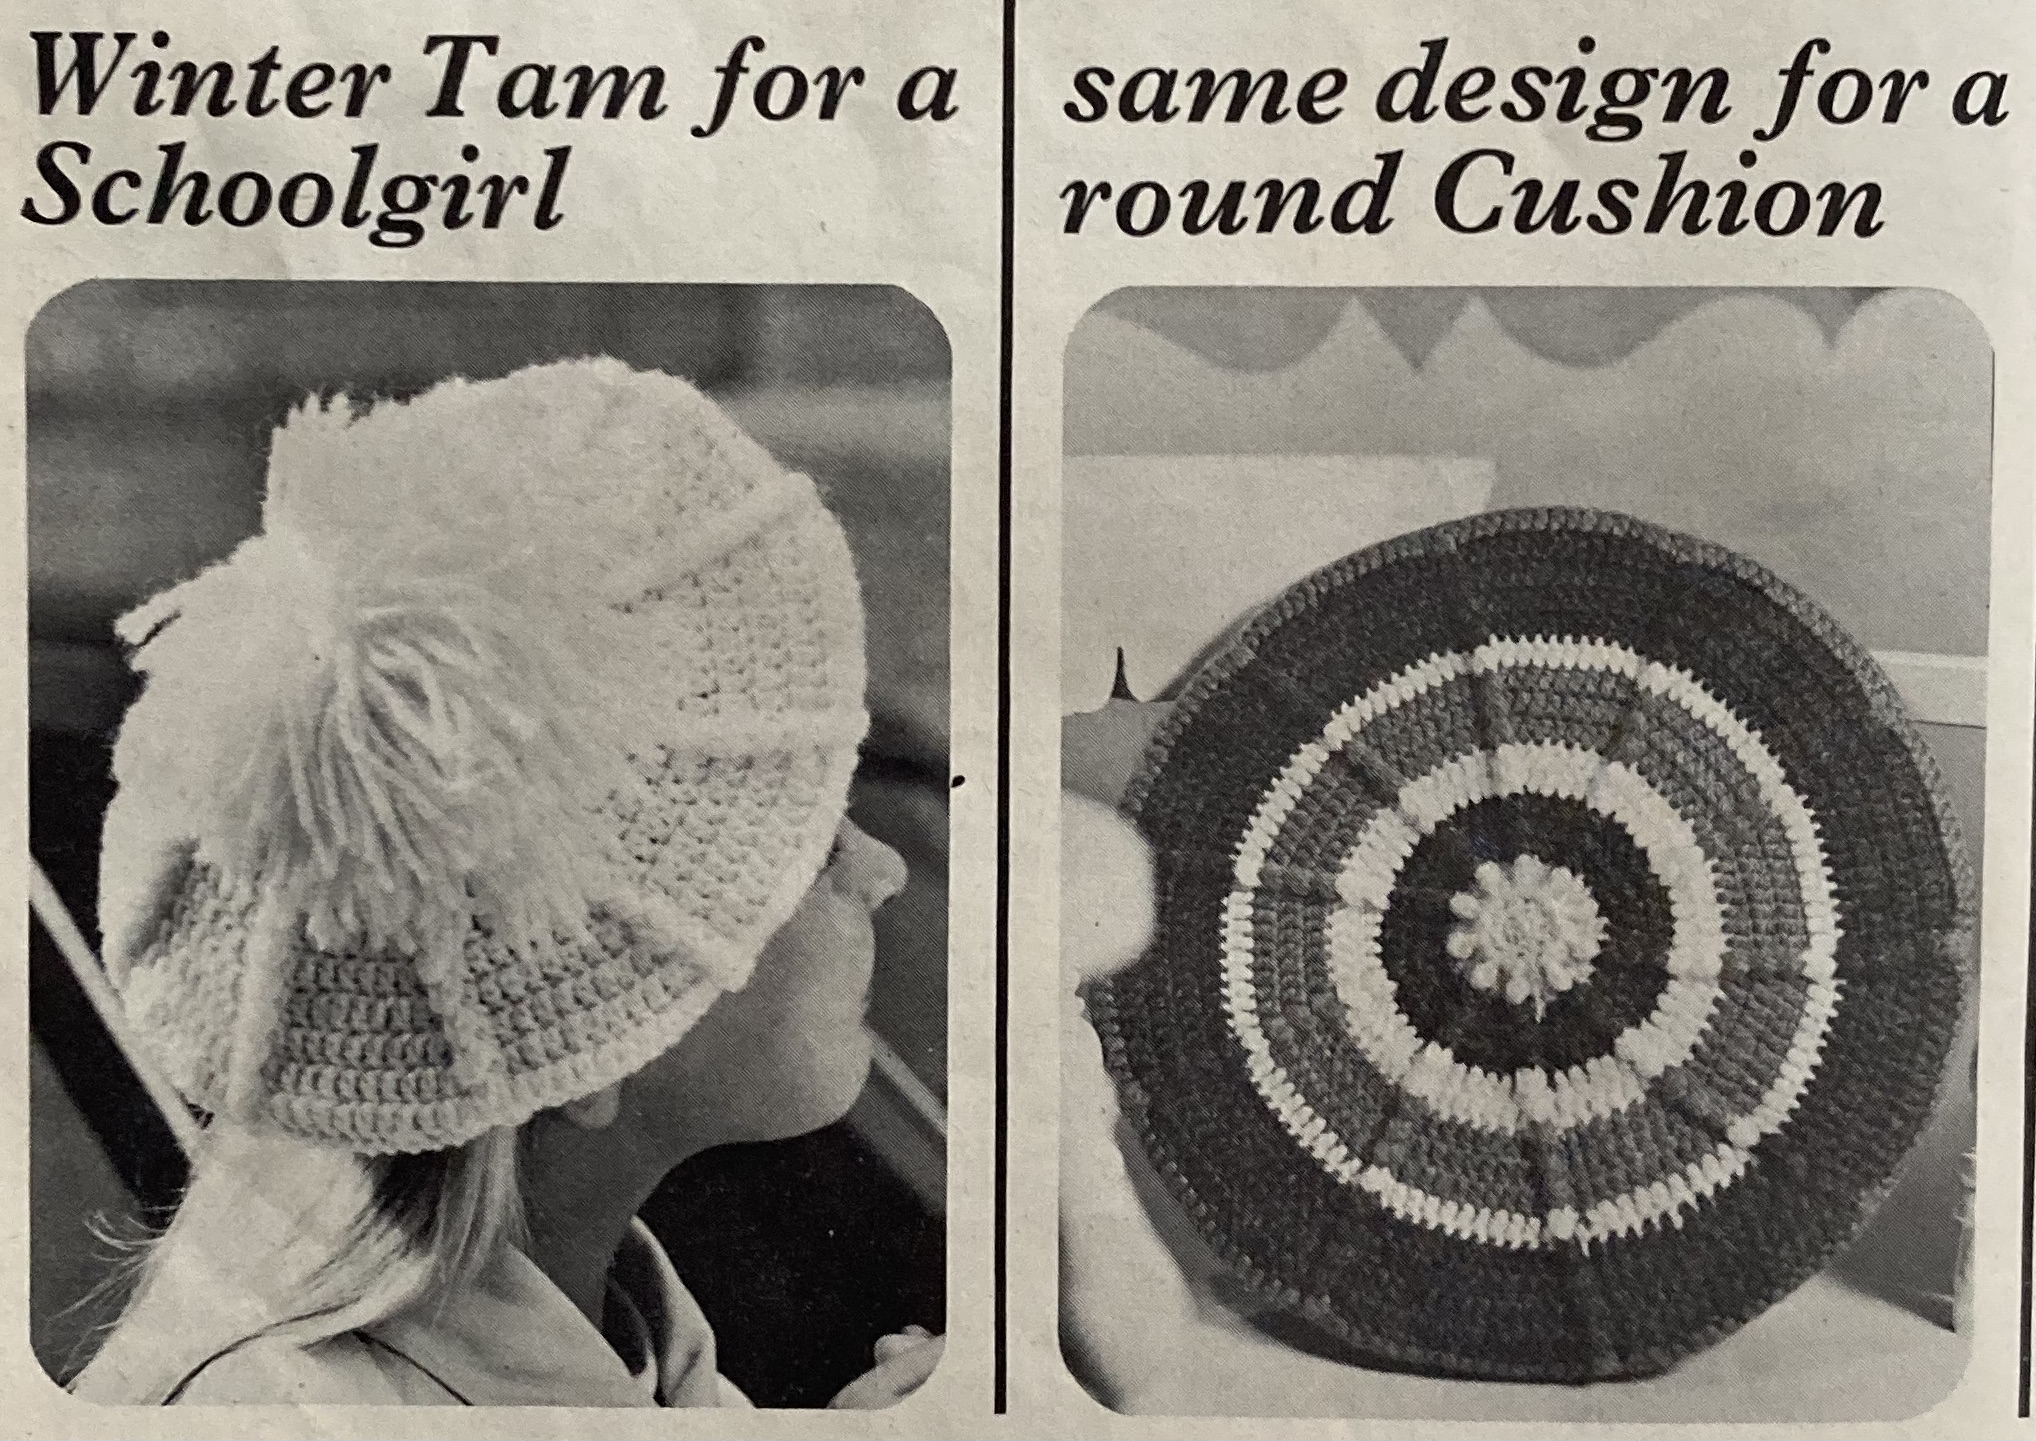
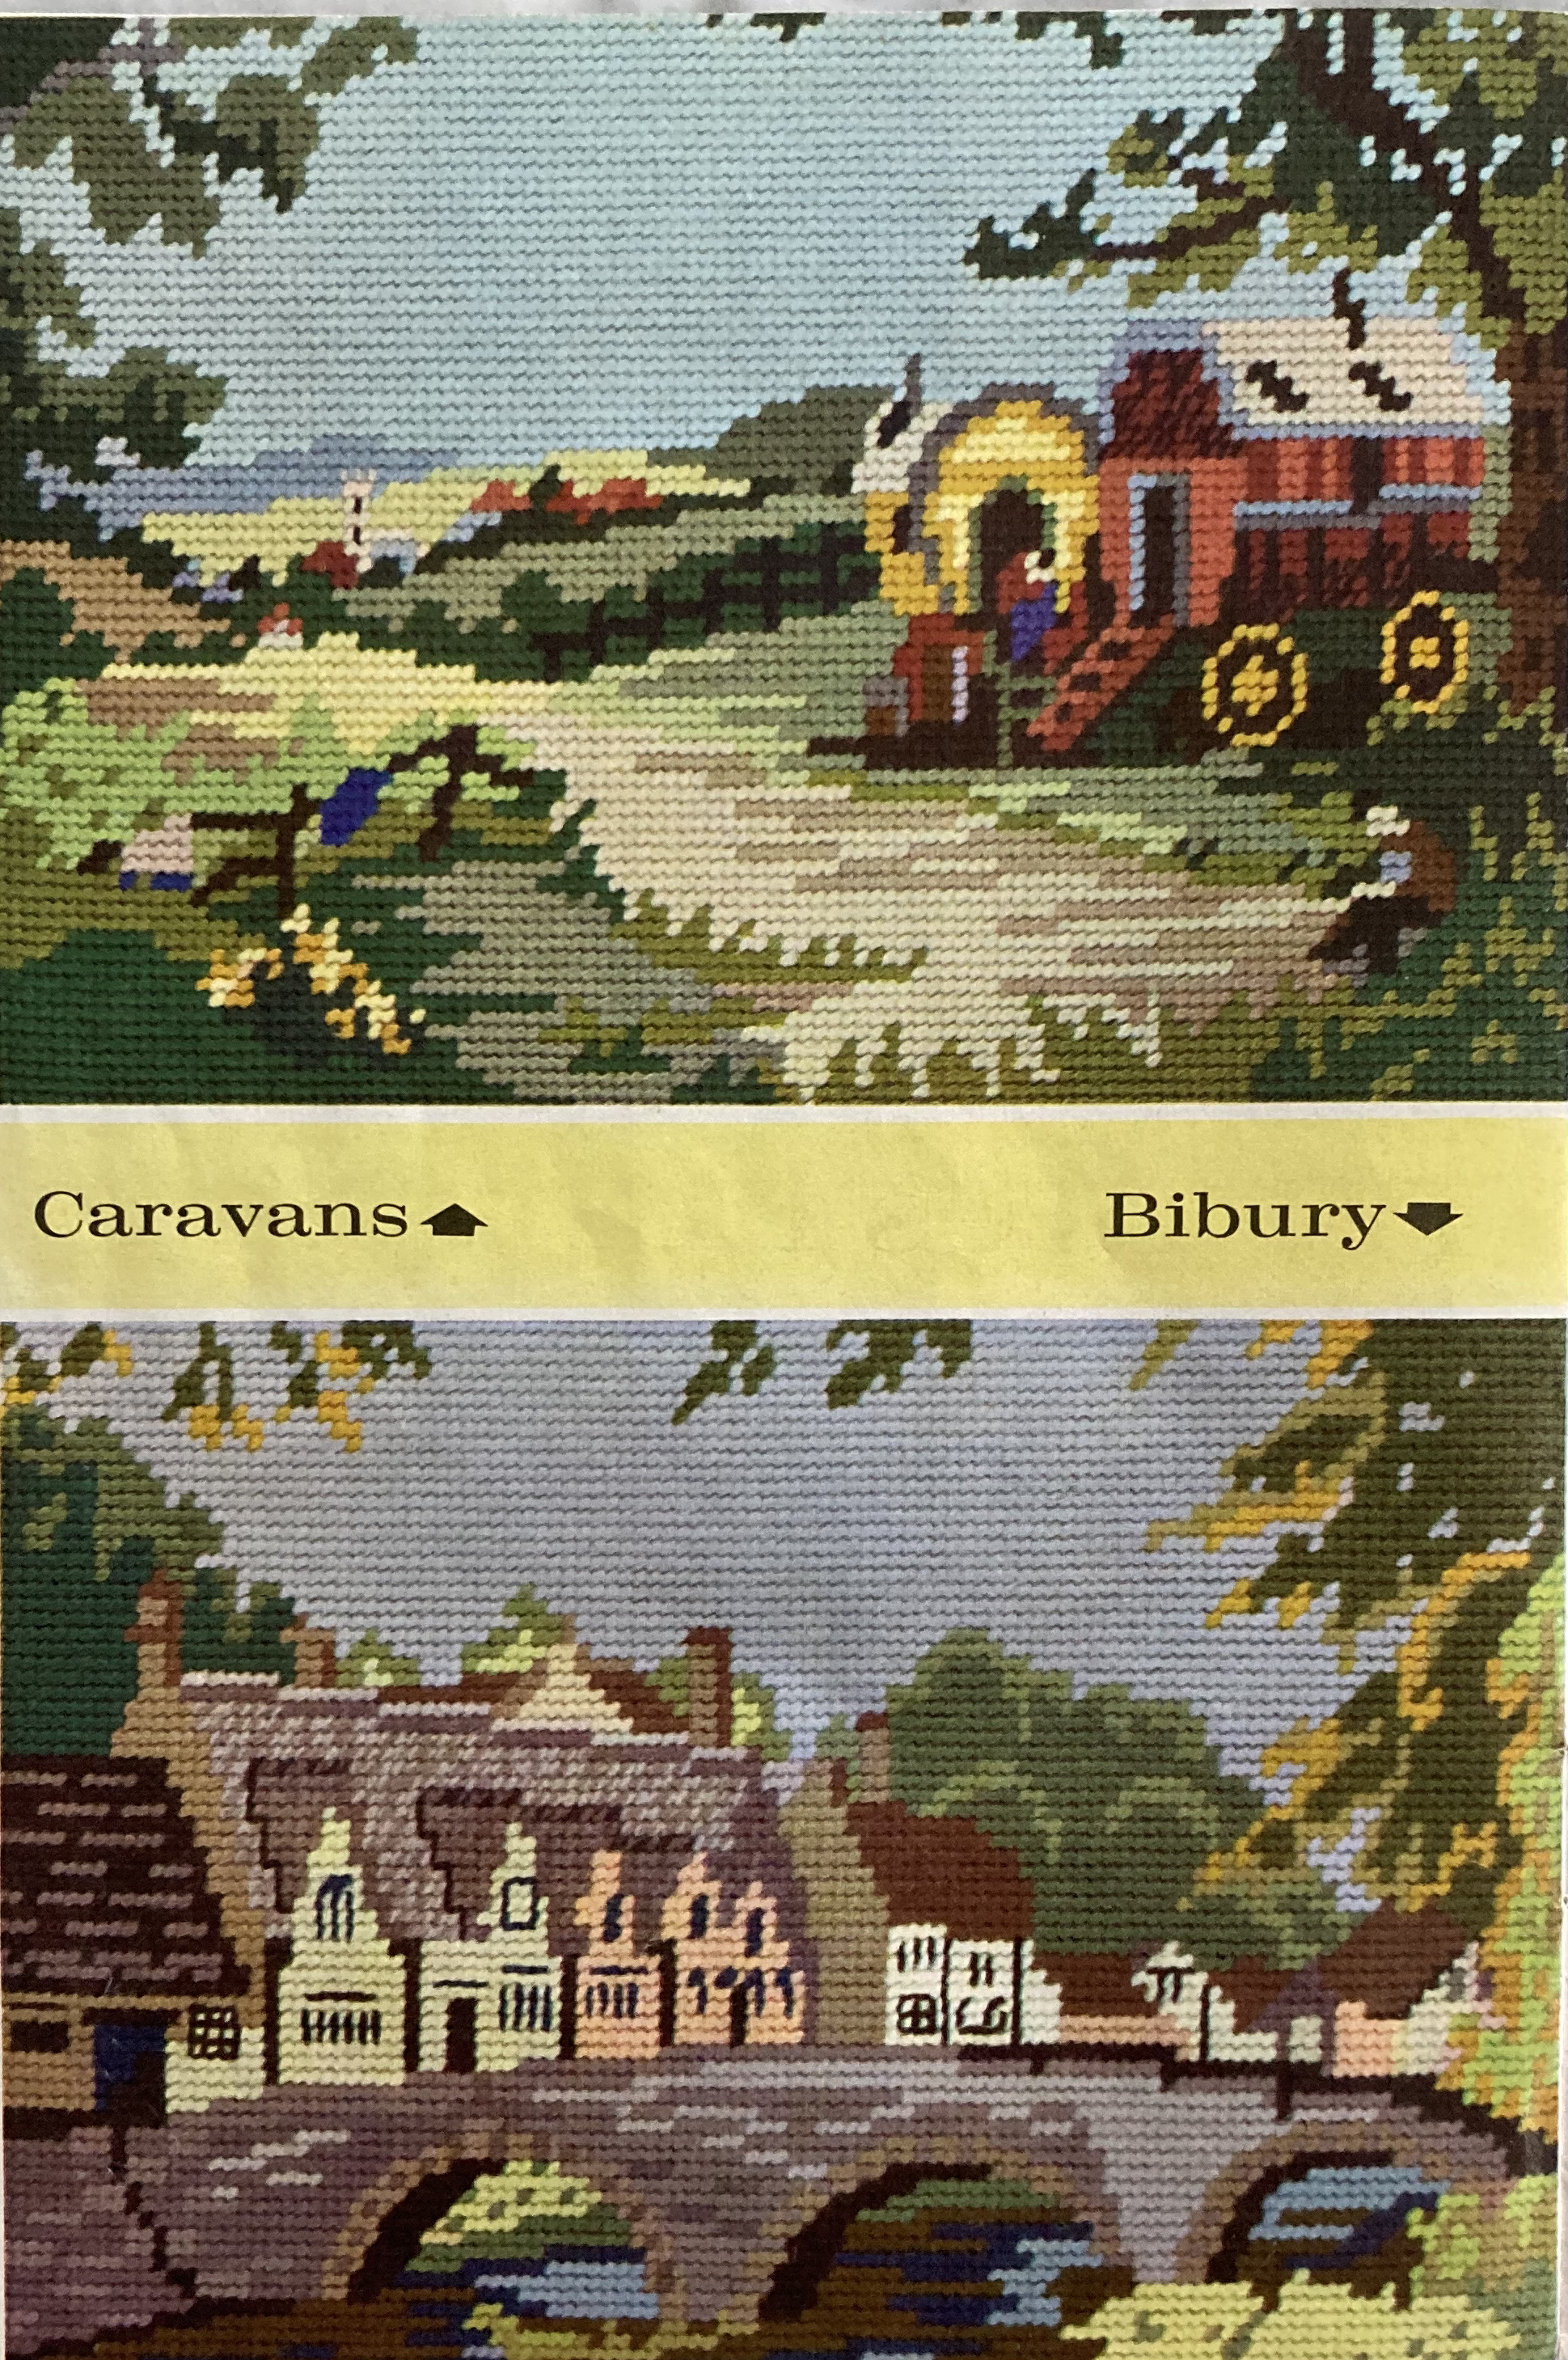
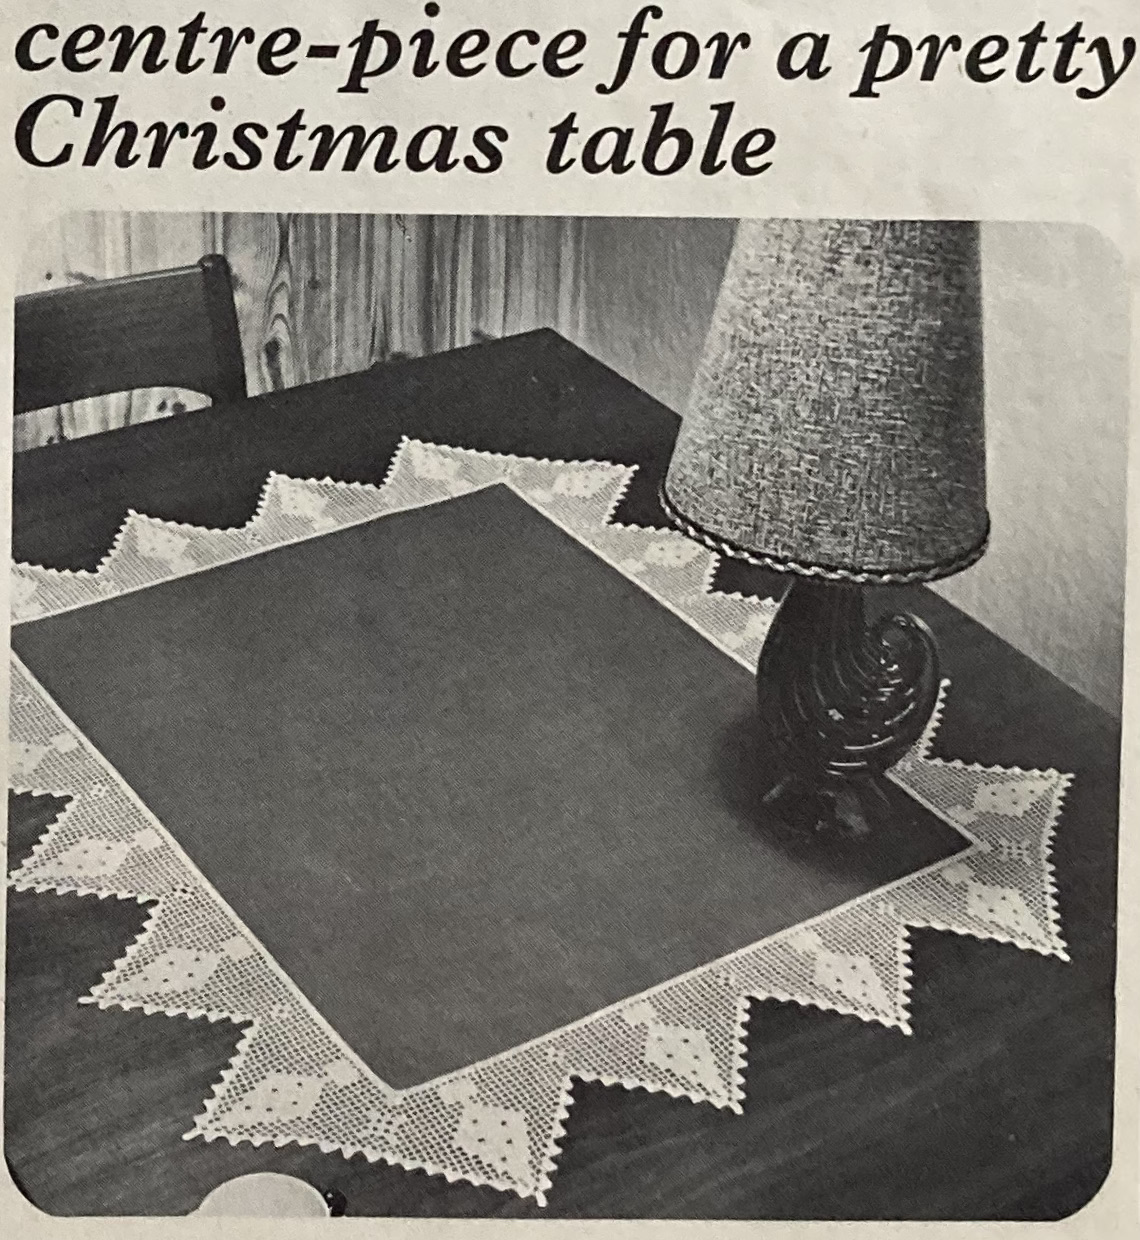
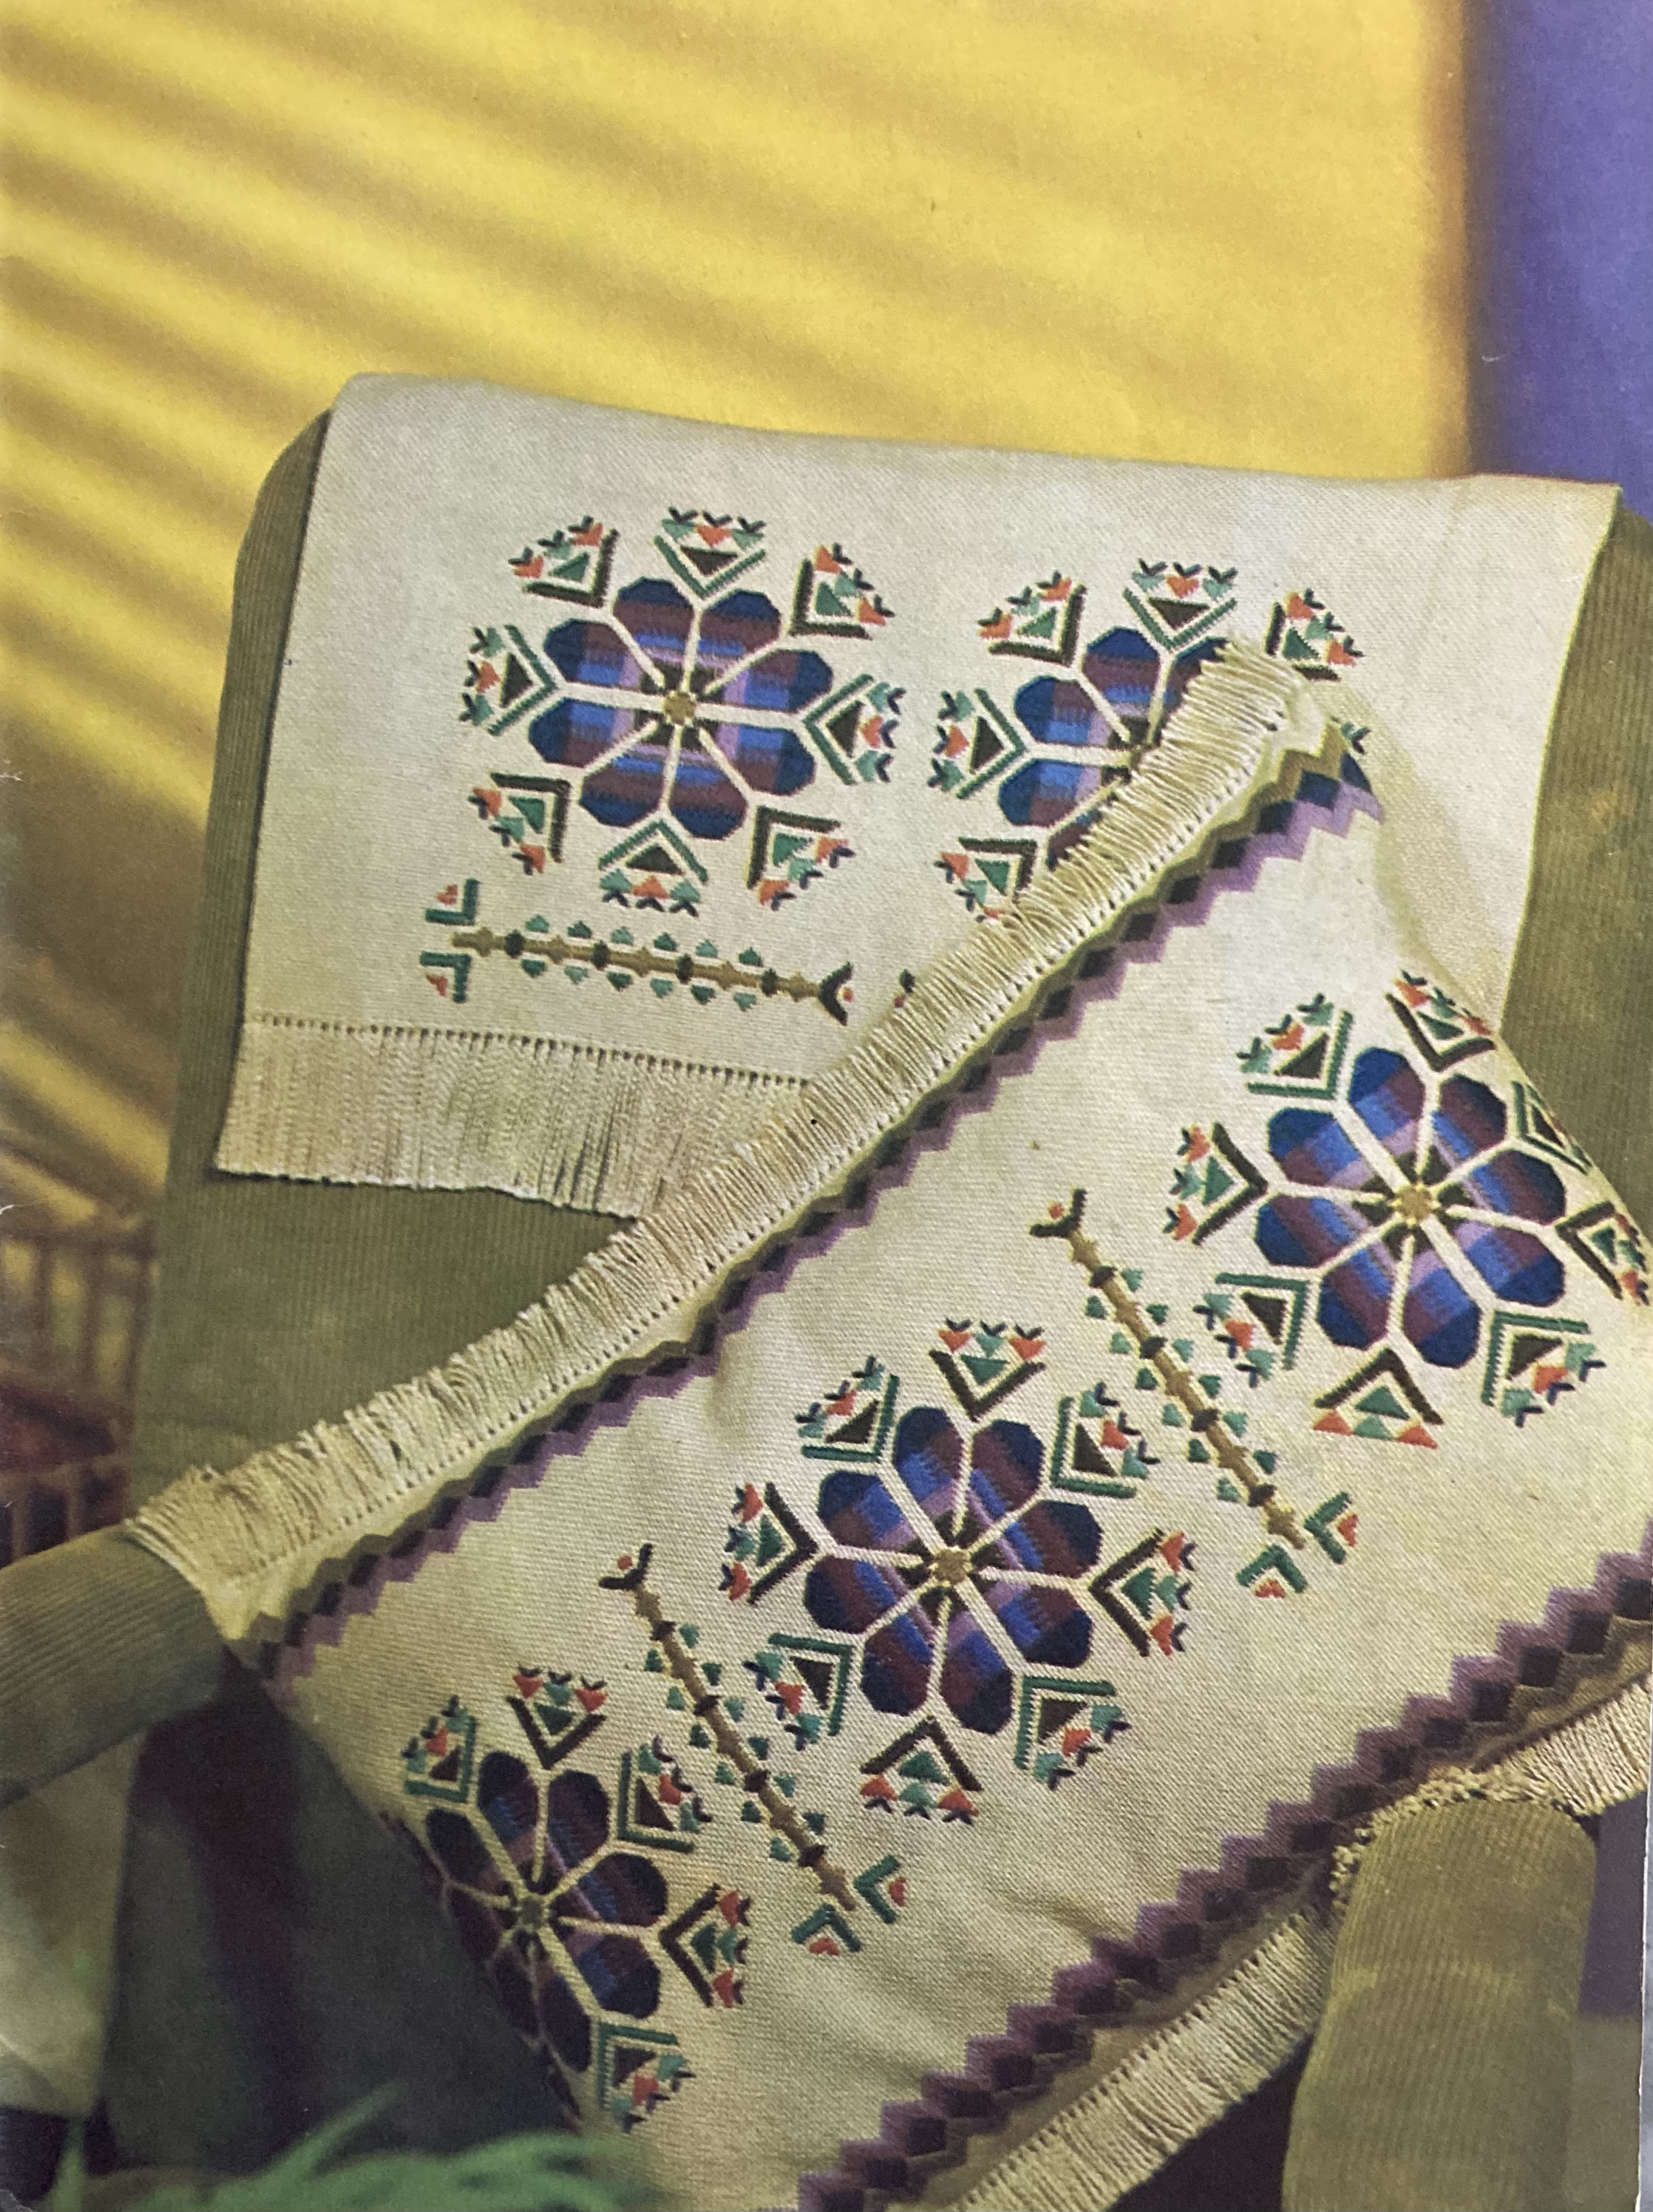
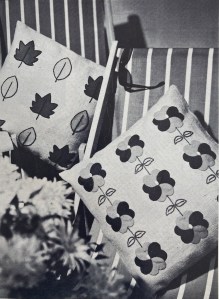
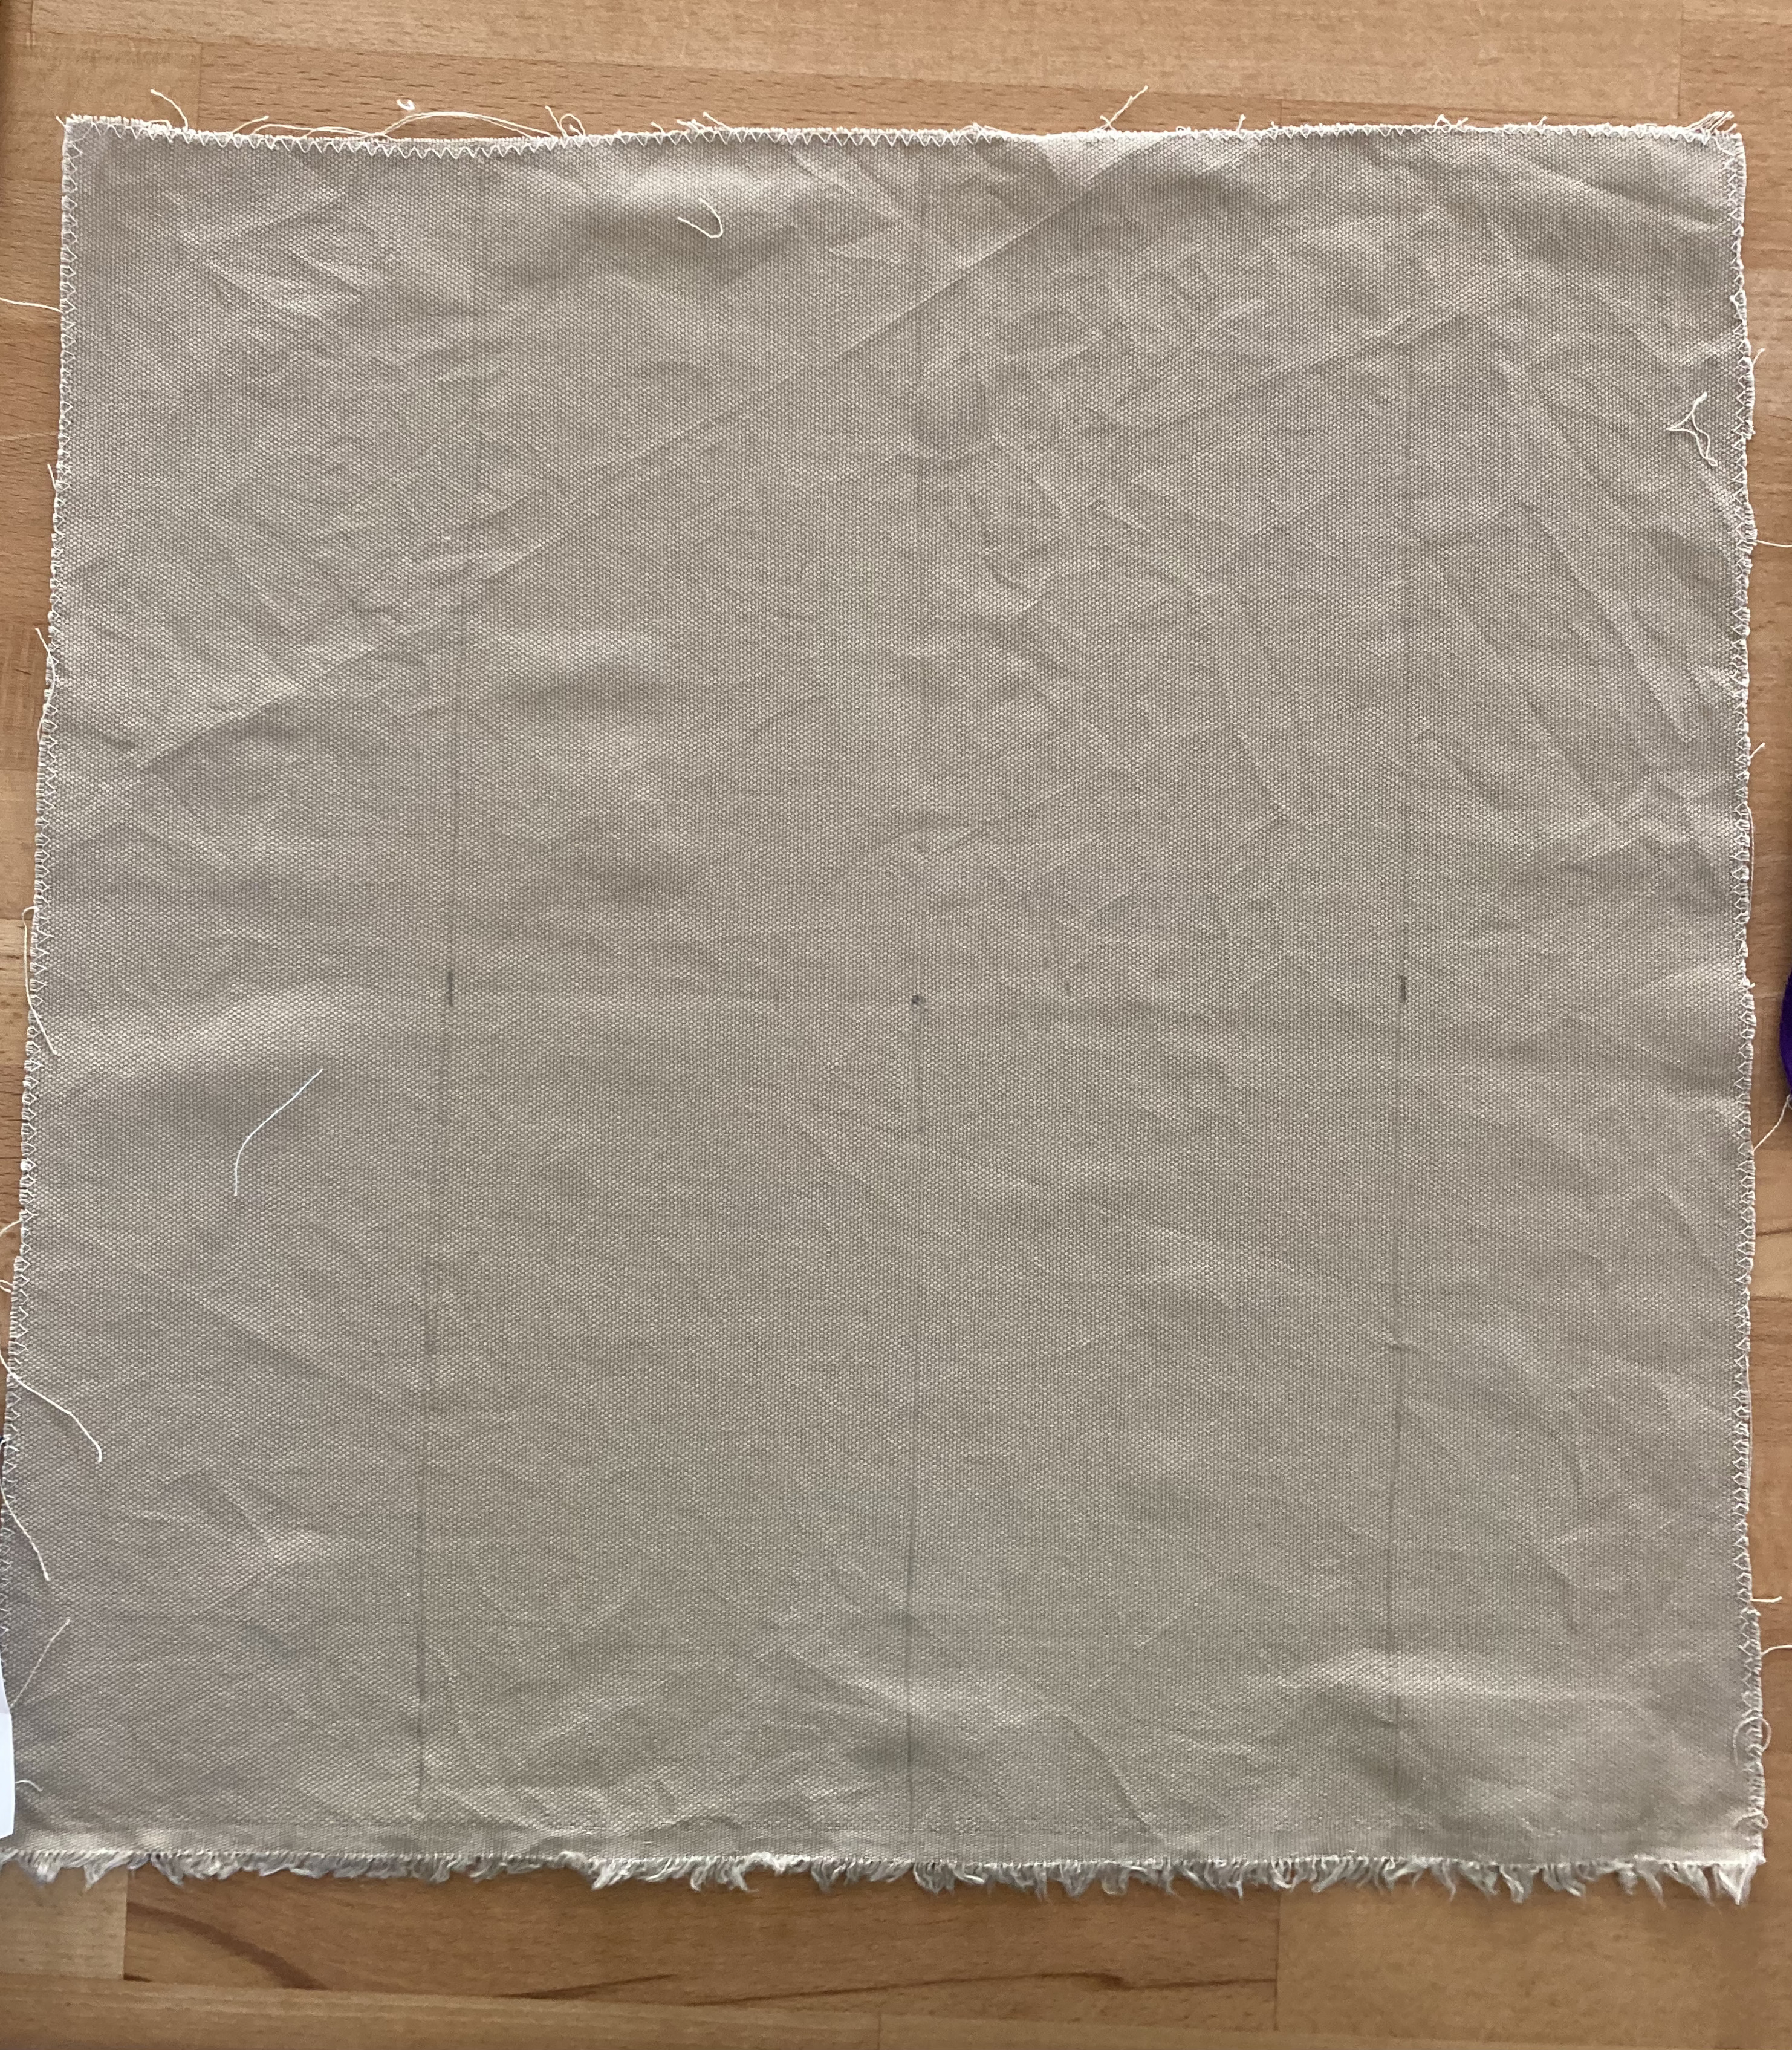
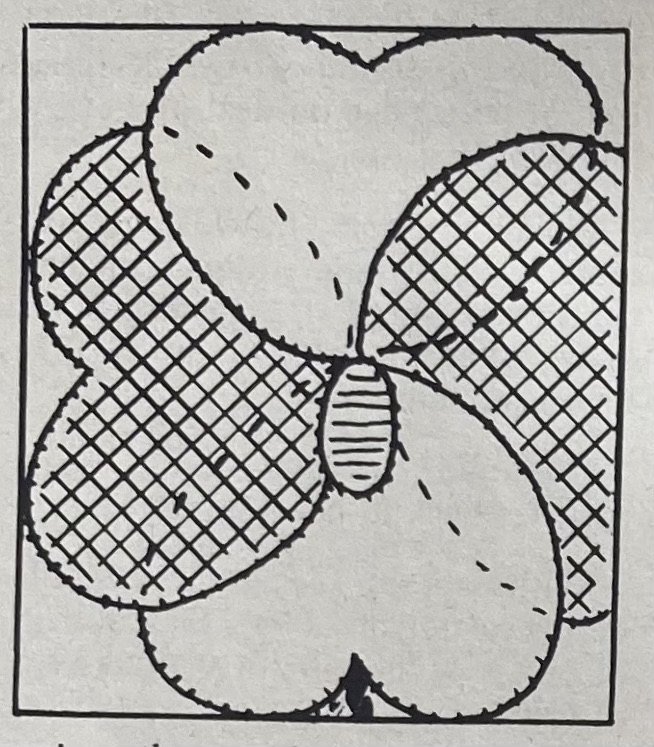
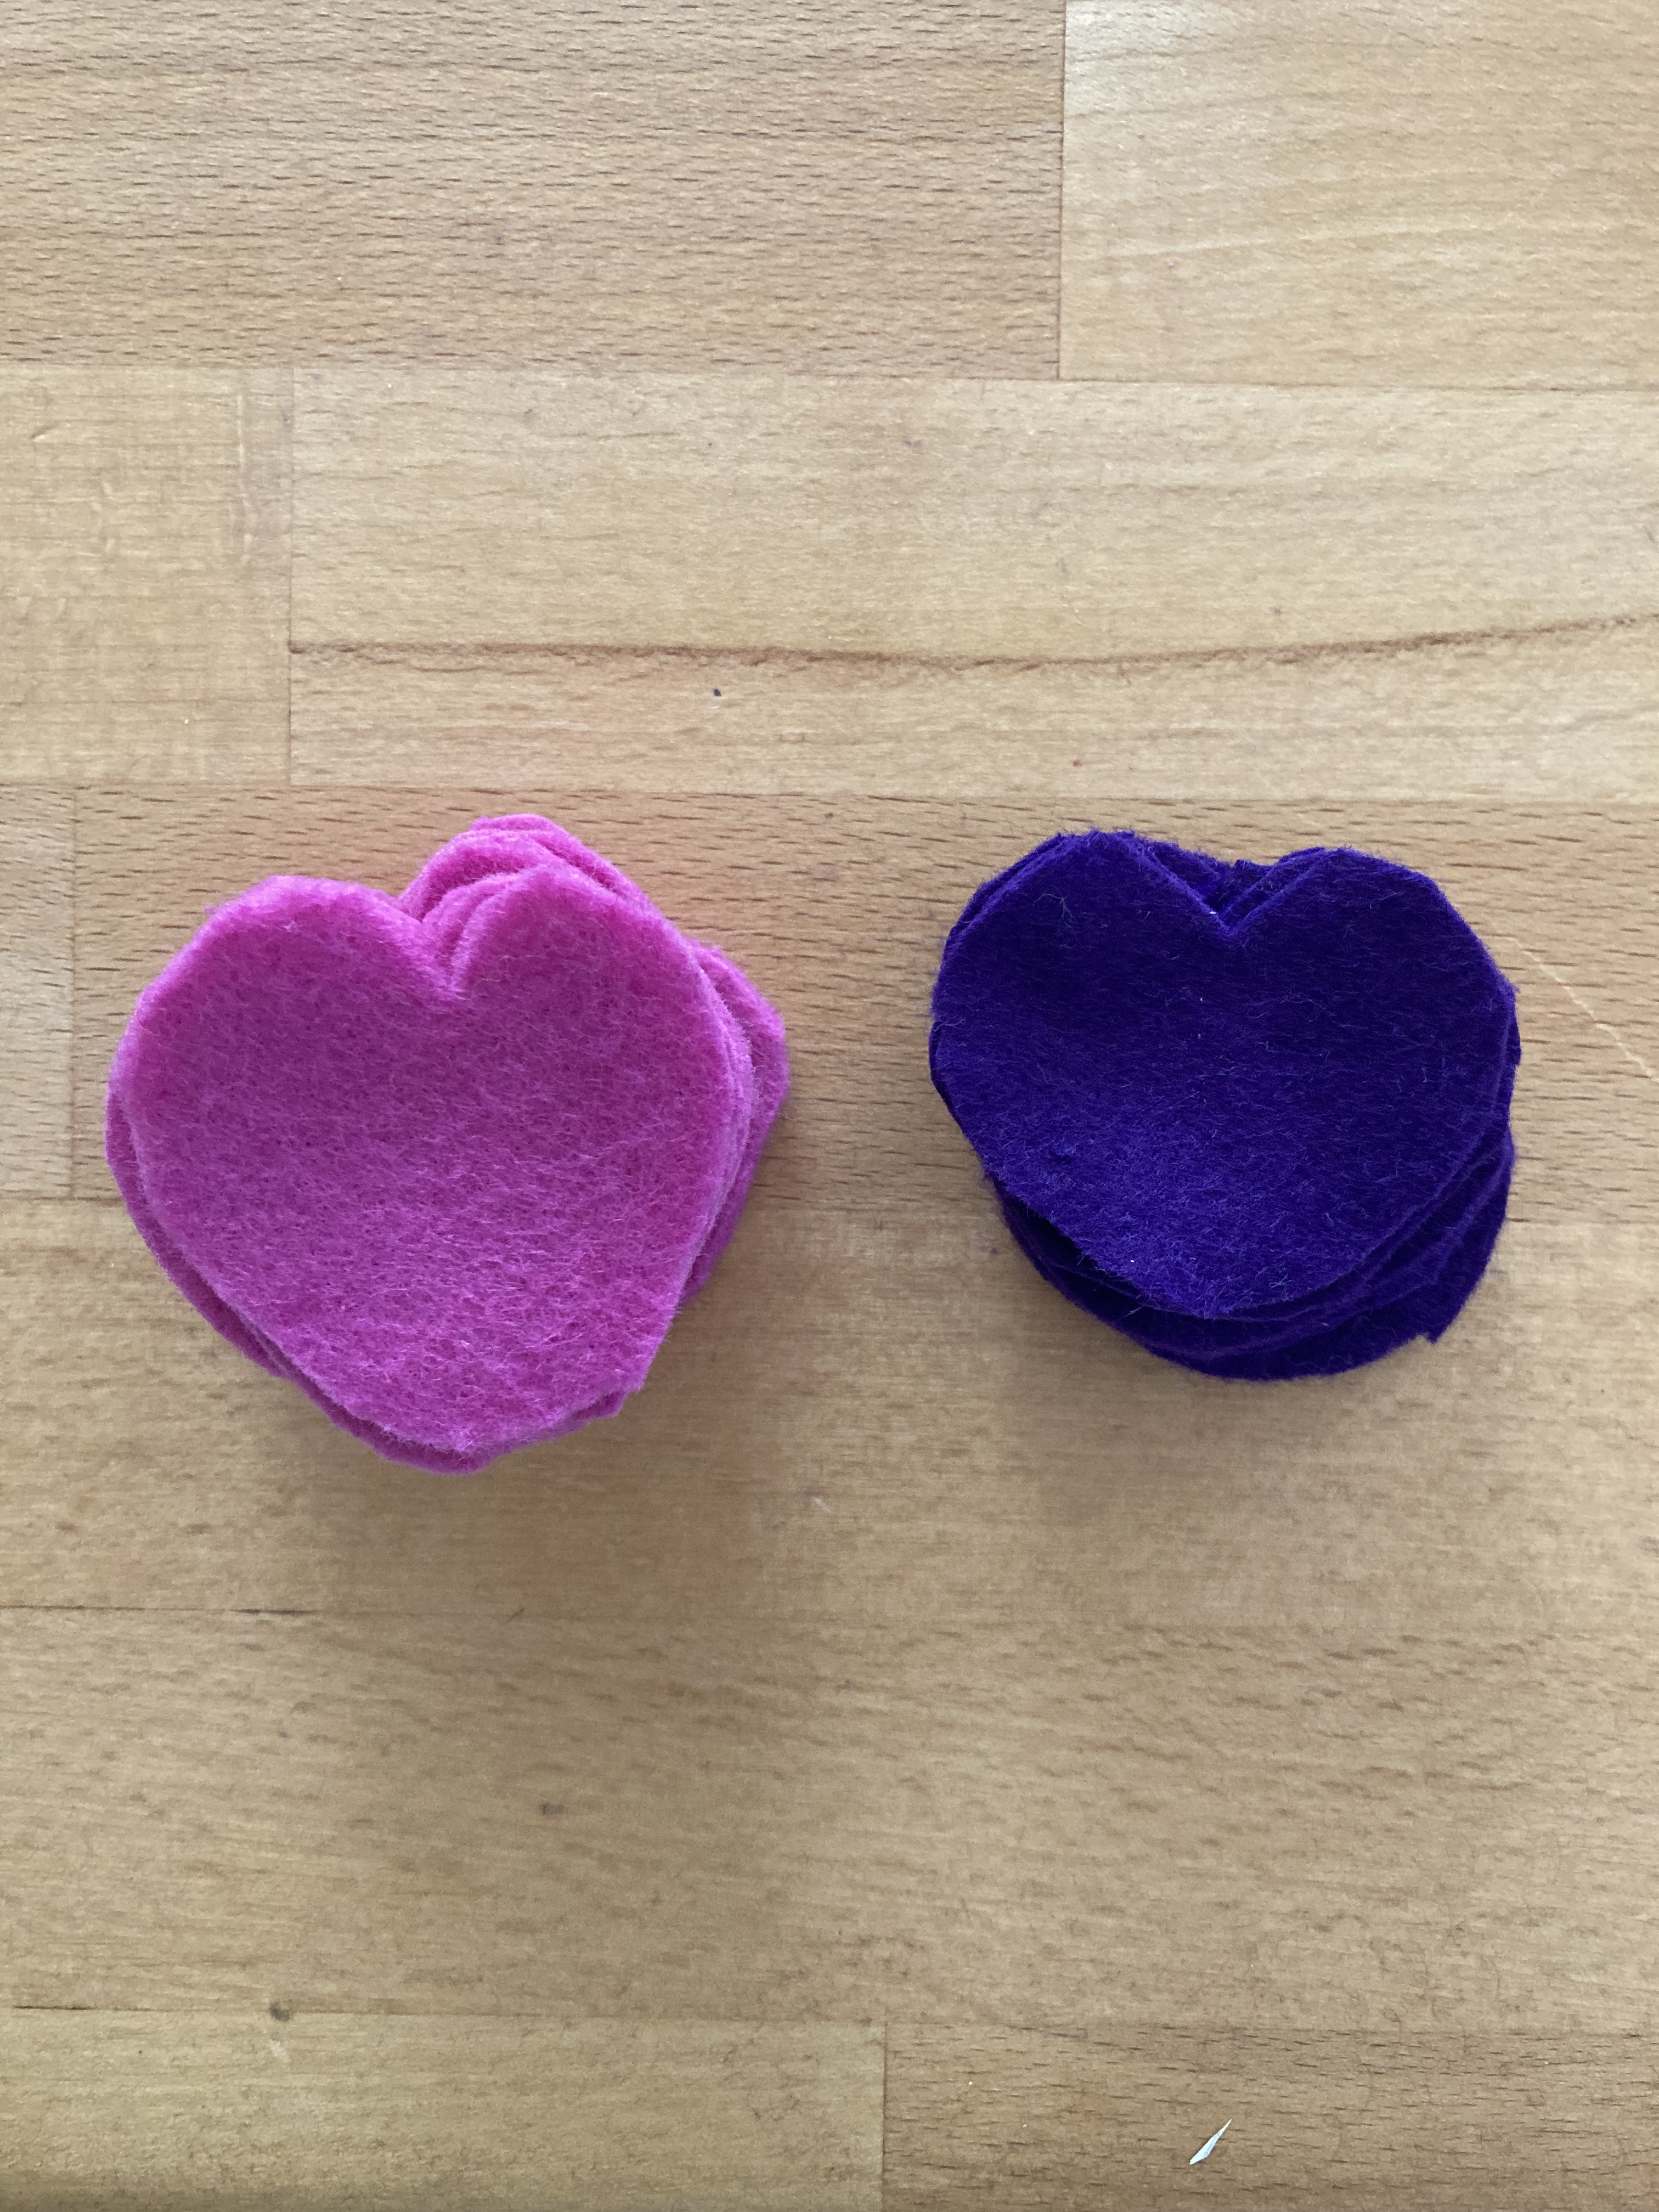
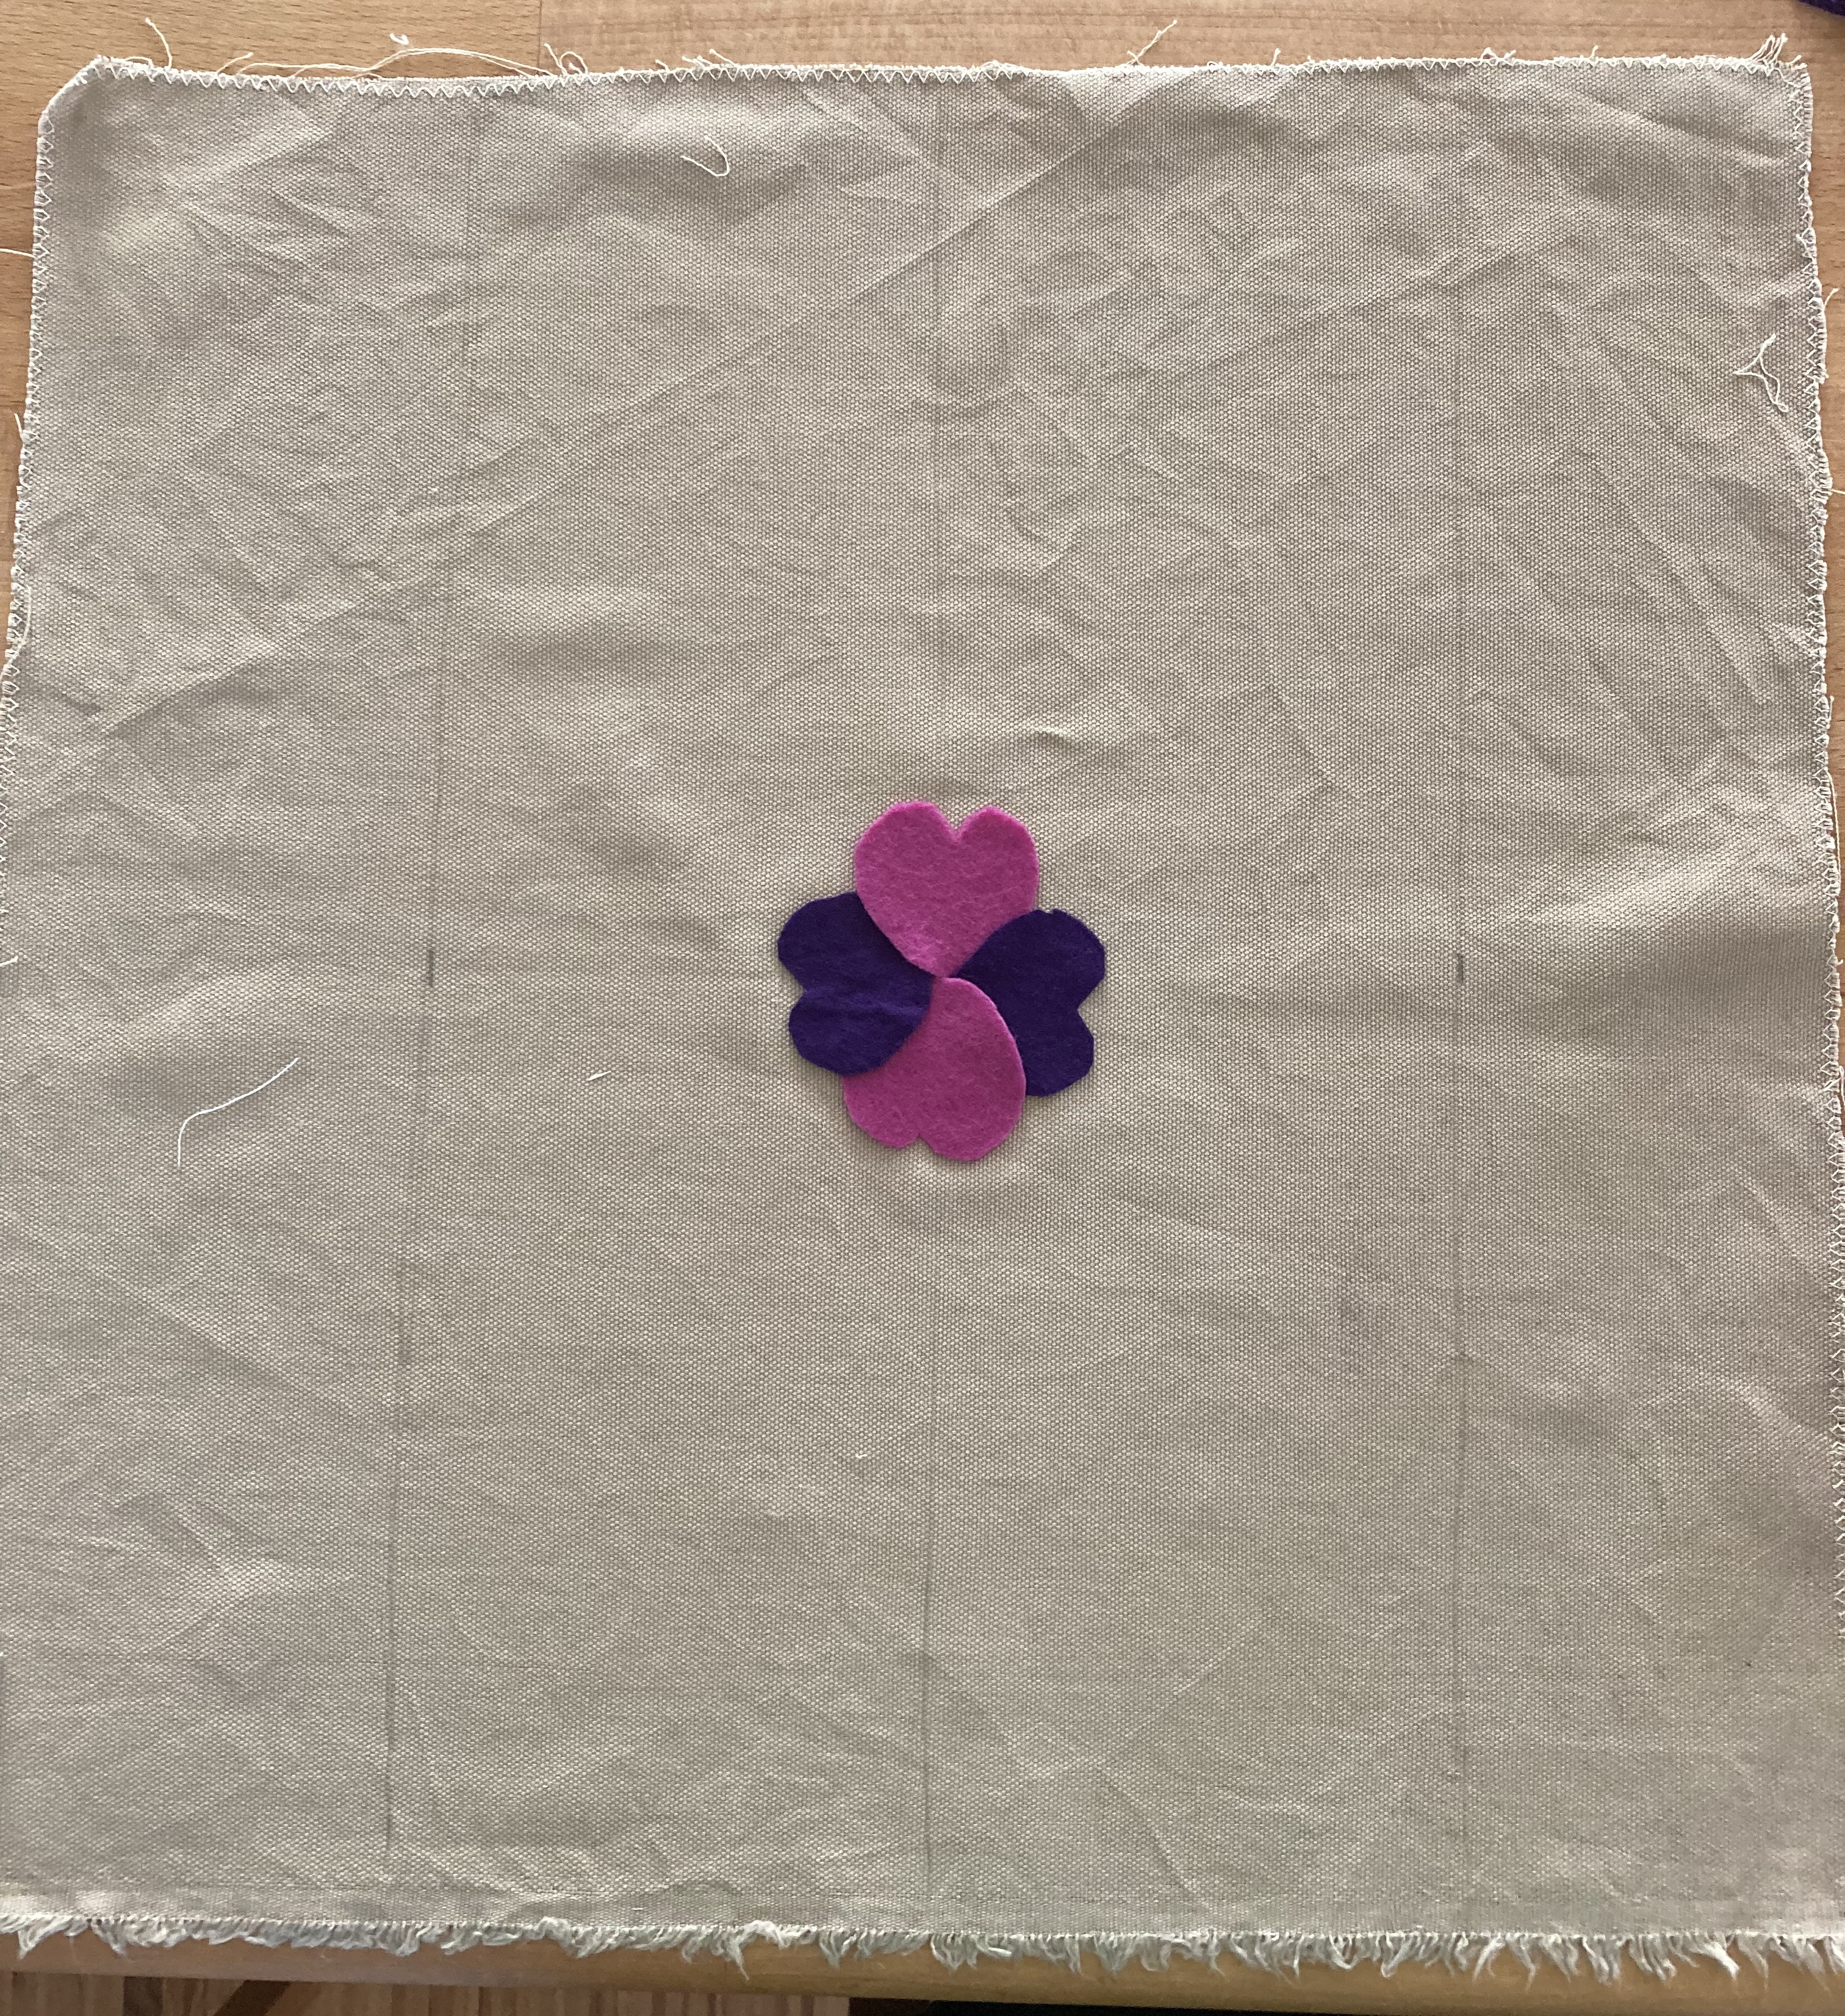
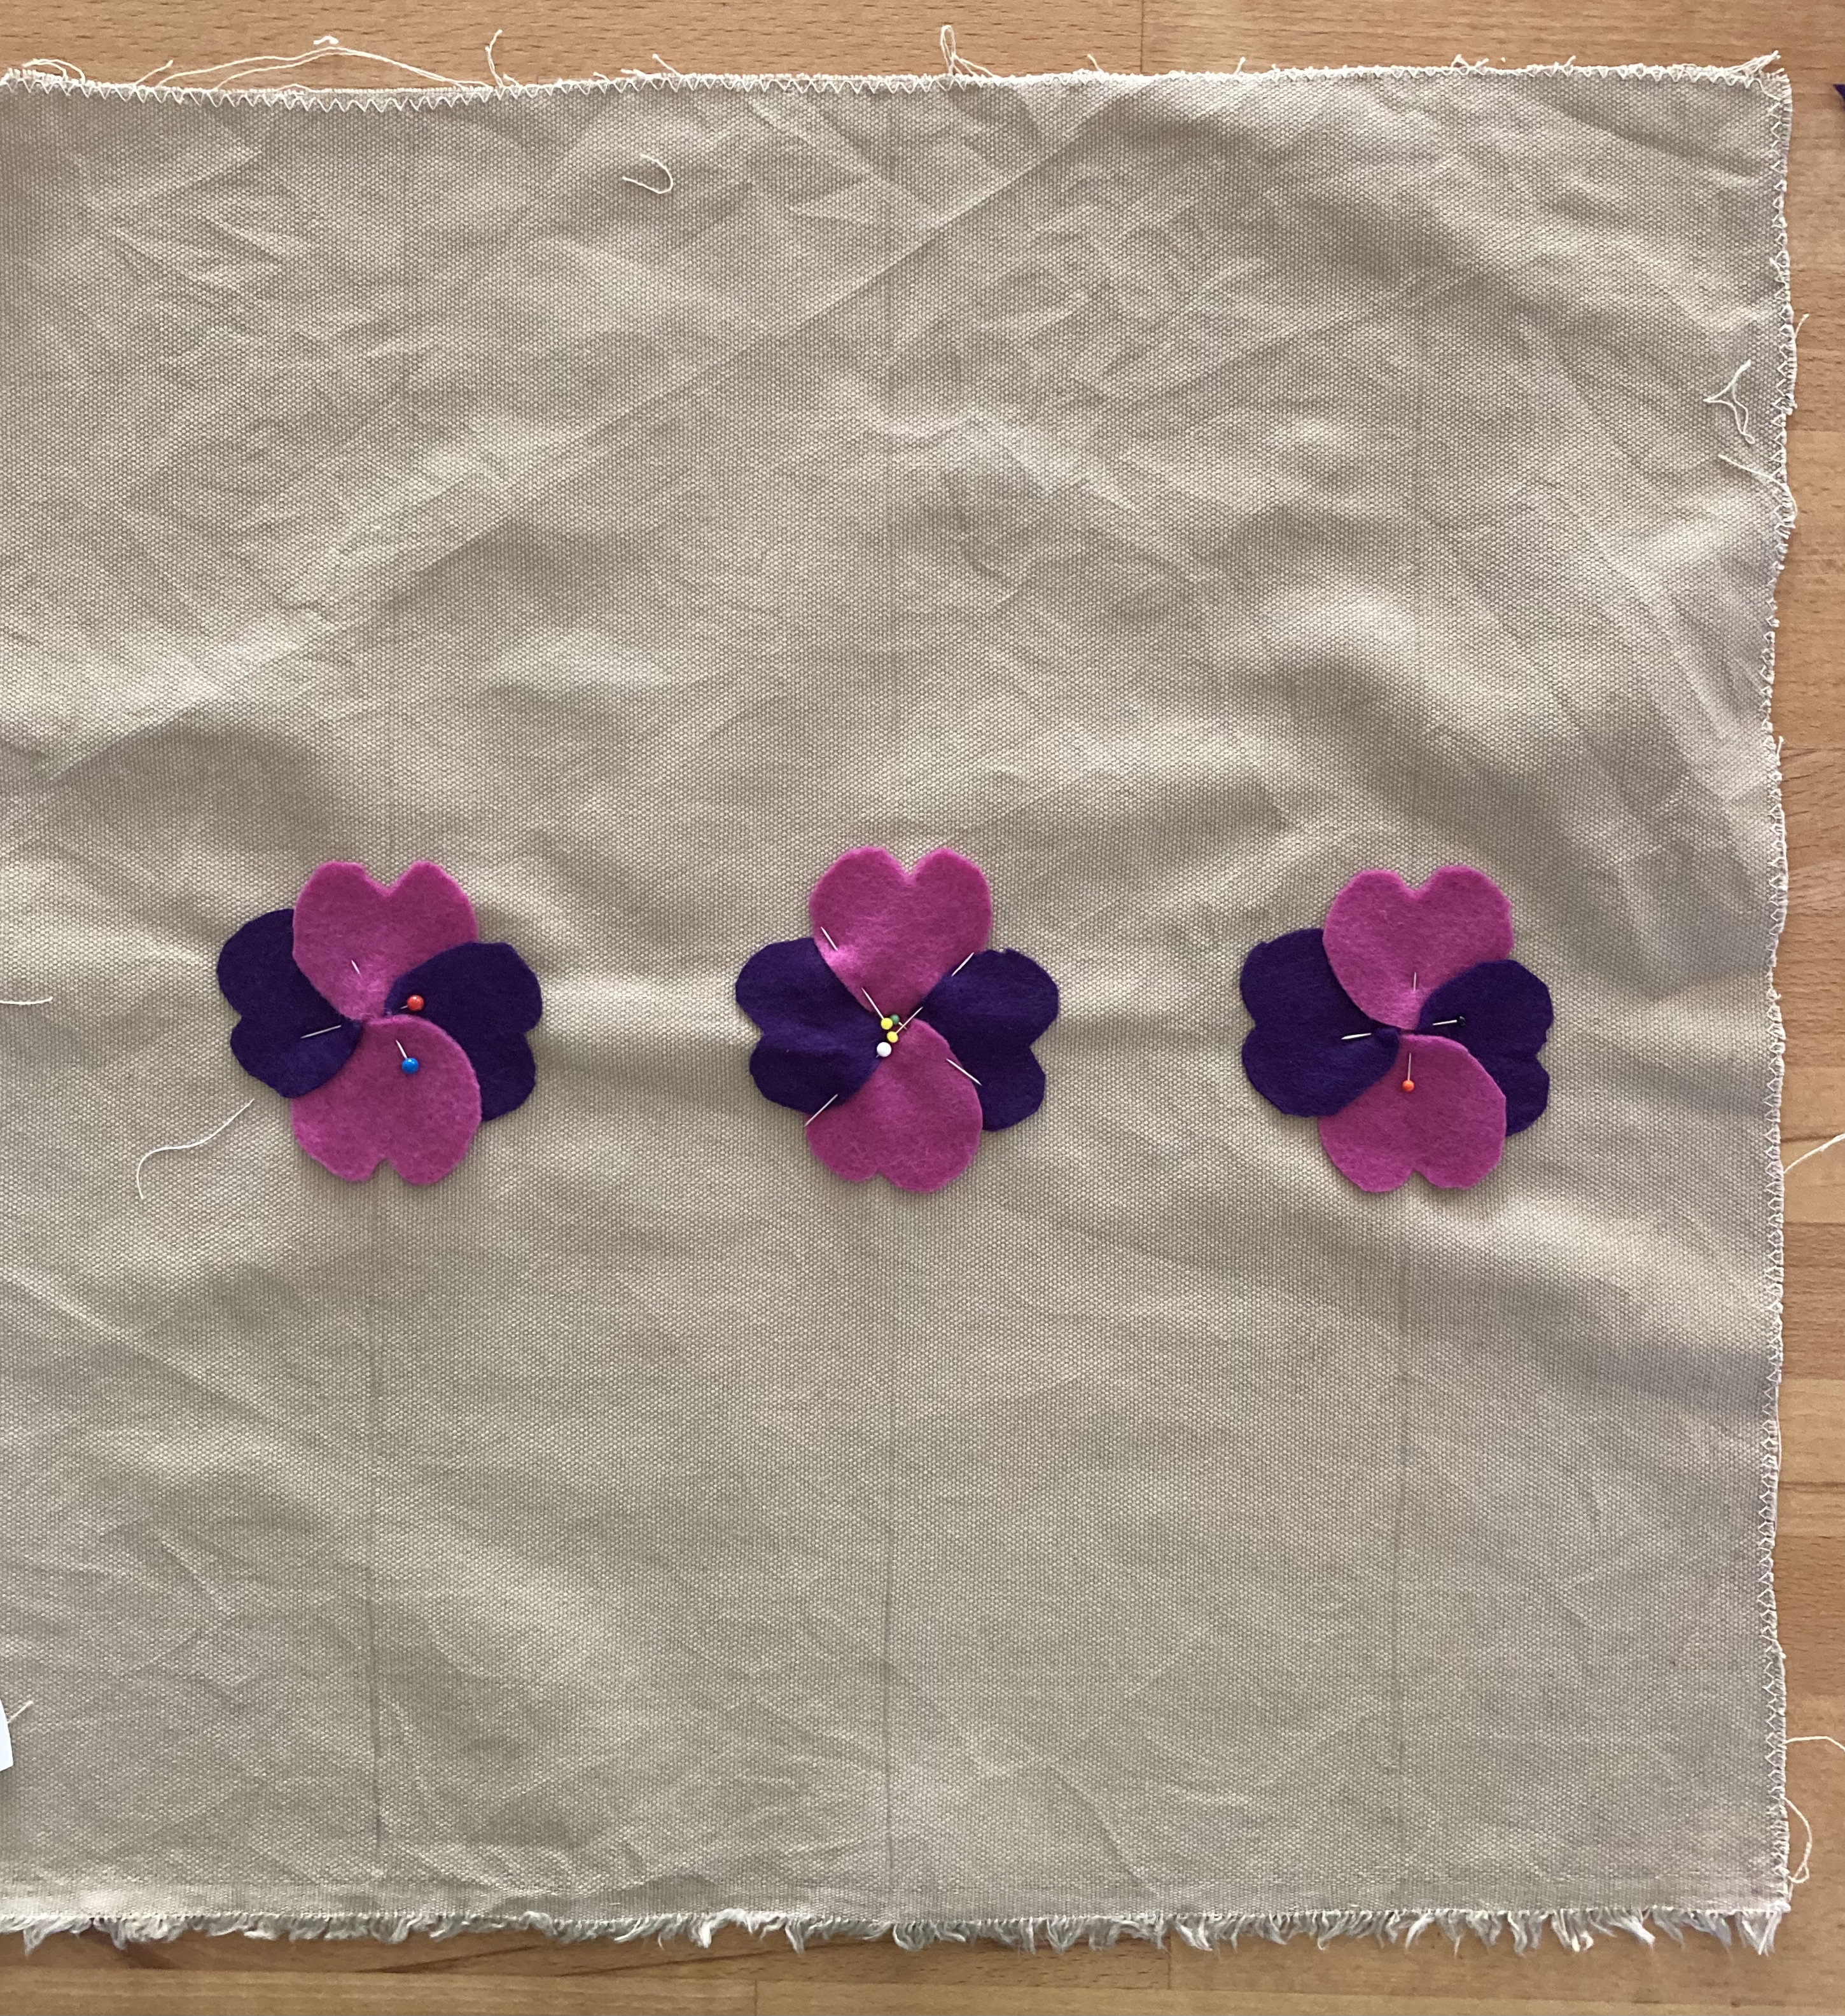
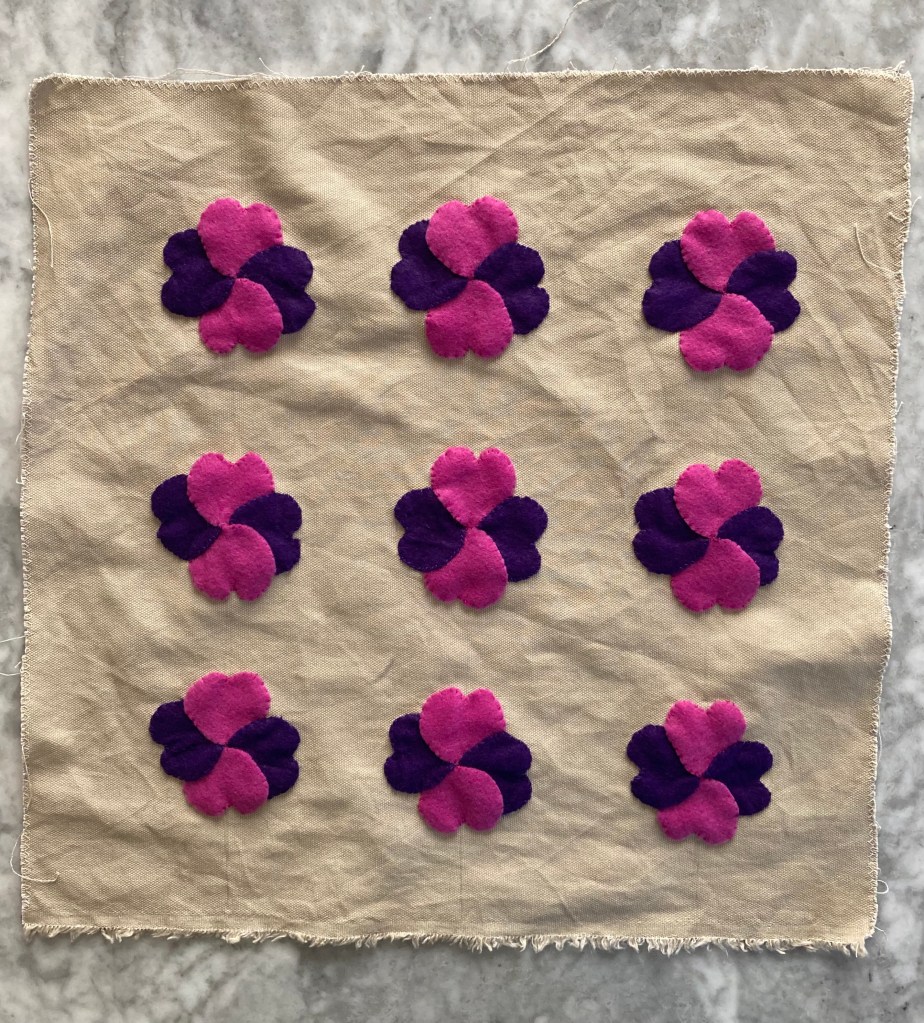
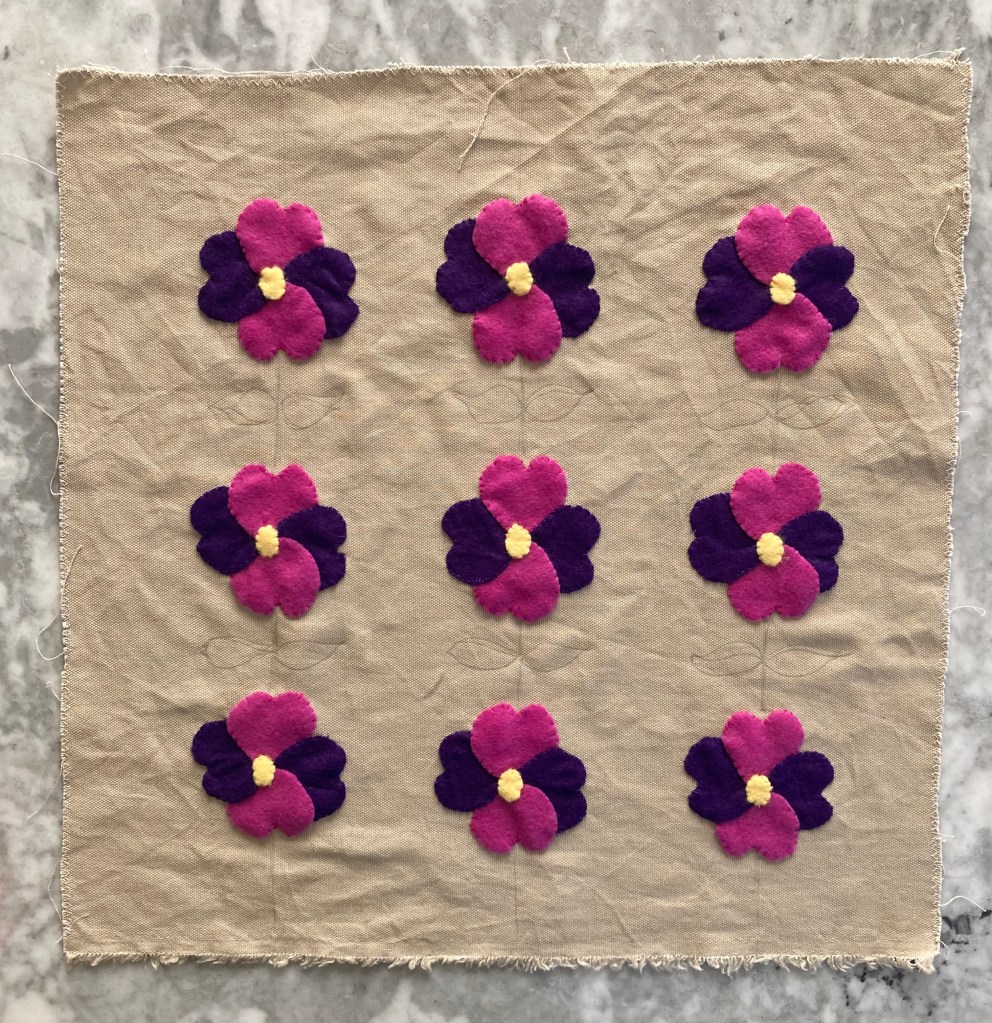
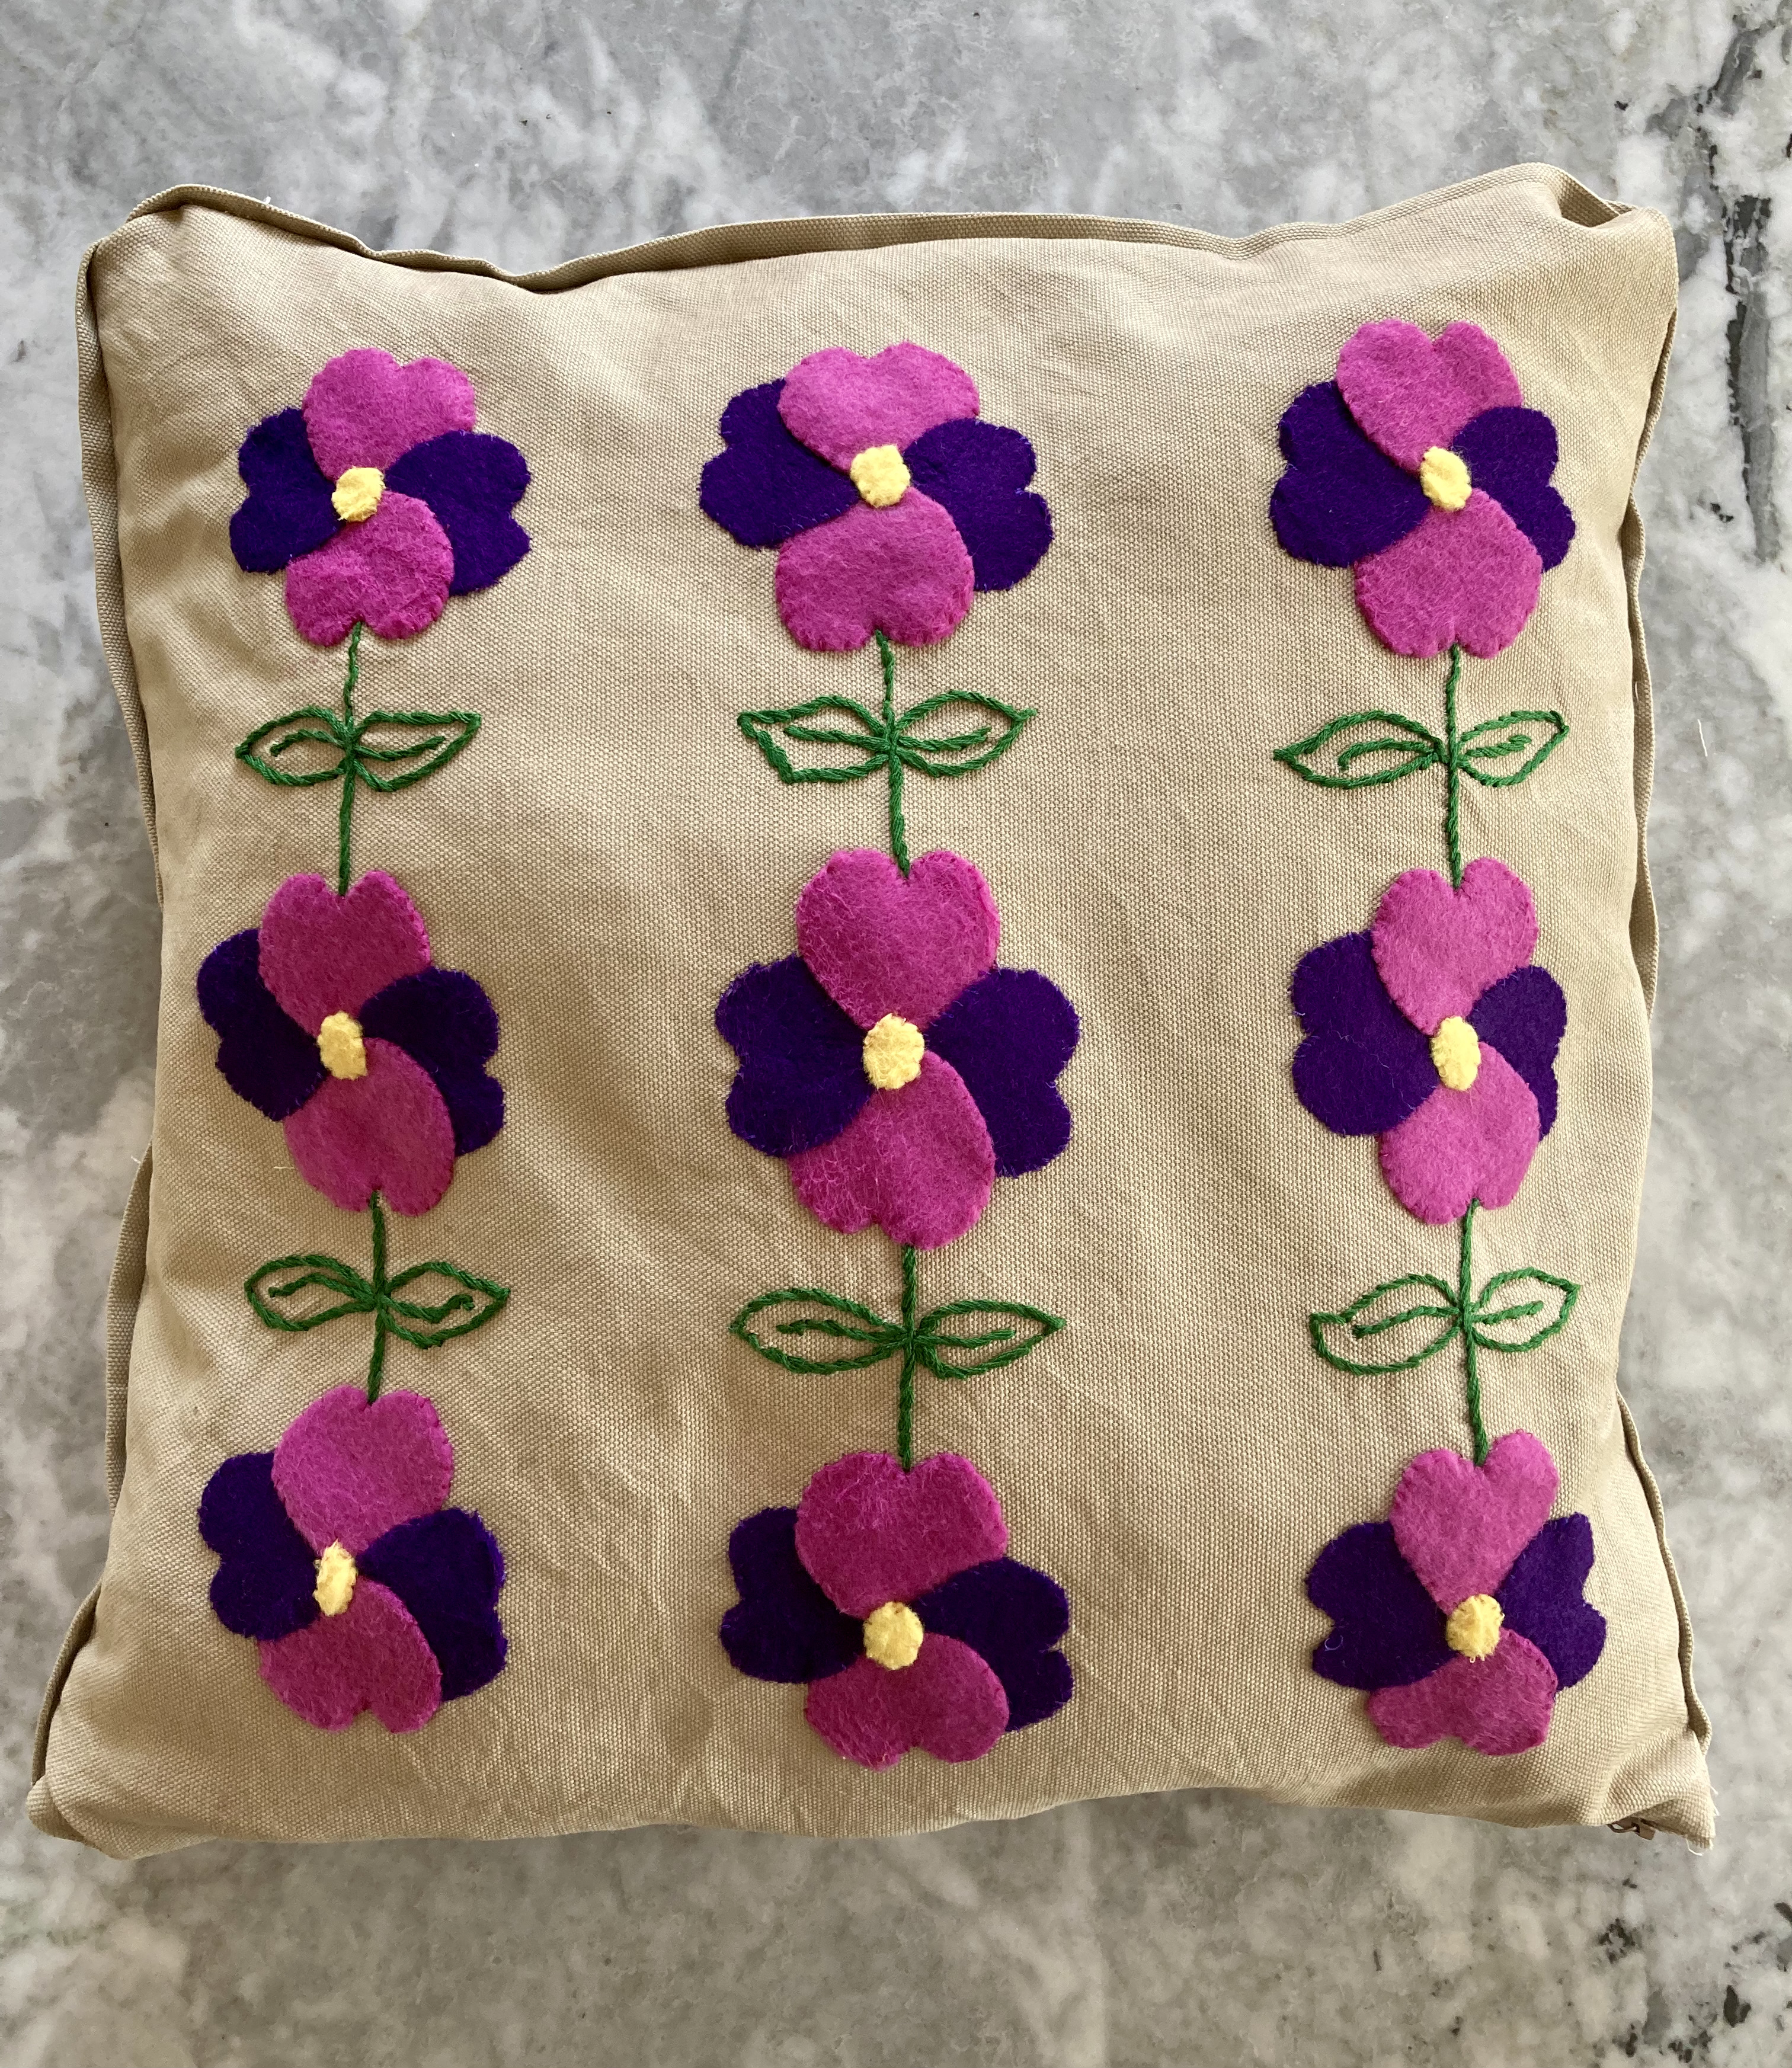
You can also knit a stuffed panda bear, a snowman, or a garter-stitch blanket rug, or crochet a round disc to be adapted into either a girl’s beret or a round cushion. There’s a filet crochet table centerpiece and tapestry wall pictures of caravans or Bibury. Last but not least, there’s a counted-embroidery cushion-and-chairback set with a vivid purple flower design.

I don’t know about you, but I feel cosier already. My design for this month will be the bedjacket! The October 1965 cardigan blouse is almost finished, too, and I’ll update that post soon.

July 1965: “Pansies” Garden Cushion

This month’s project was an appliquéd and embroidered cushion. Or, as the description in the magazine put it:

Attractive appliqué cushions in hardwearing hessian add a gay touch for garden lounging — ideal for deckchair comfort or to use on the lawn. Children will love them too, and they are tough enough to stand up to the rough-and-tumble of garden play.

Two cushion designs are given, one with autumn leaves and one with pink and purple pansies. I chose the pansies, which were bright and fun and very 1960s. As luck would have it, I had exactly the right amount of pink and purple felt in stash, and almost enough green embroidery thread for the stems and leaves, so I didn’t have to buy many materials and could use the project to de-stash. I did have to buy the backing fabric, and decided on a tough decorating/upholstery cotton instead of real Hessian fabric (aka burlap, jute, gunny-sack), since I don’t think this cushion will be subjected to any “rough-and-tumble of garden play” on my friend’s balcony.

Since I didn’t have a transfer, I made a little paper pattern for the felt petals, estimating the size based on the amount of felt and the size of the background fabric. One modern “standard size” piece of decorating felt made exactly 18 petals and I think it came very close to whatever size the original transfer pattern was. I overlapped the leaves in a sort of pinwheel layer (following the helpful illustration), using a little bit of stick glue to help keep them in place, and then secured them with pins. For placement, I simply folded the background fabric in quarters and used the fold lines for the two middle axes, then measured evenly from there for the corner flowers.

I sewed the flowers down with matching thread and added the yellow centres. The diagram shows them a bit above or below the actual centre of the petals, but I like symmetry, so I made the yellow pieces more round and put them right on the centre. (The layers of felt weren’t too heavy.)

All that was left to do after that was the leaf and stem embroidery, which was done in easy stem-stitch in green thread. The pattern didn’t say how many strands of thread to use, but seeing as it was a bold design, I used all six threads together and ran out of thread. (Up until this point, I had done all of the work in one day, but alas, I had to pause because it was Saturday late afternoon and the shops wouldn’t open again until Monday.)

Monday came, I bought more thread and finished the surface of the cushion. Sewing it up was easy enough. I had enough muslin in stash to make up one half of the inner cushion pad (pro tip: the inner cushion should always be a little bit larger than the outer cover, to prevent sagging) and enough of the beige cotton to make the other half. I did not, as suggested in the pattern, line the pad with plastic to make it waterproof “for use on the grass”. After making the pad, I had exactly enough beige fabric left to make strips for “piping”, so added that as well (not part of the original design). It was not “real” piping, which is made on a bias strip, and thus came out a bit uneven. Oh well. At least the zipper was no problem this time.

And that was that! I stuffed the inner cushion with fluff, sewed it up, zipped it into the cover and voilà. I have no garden, no balcony and too many cushions already, so this will be a gift for a friend.

Out of Order: Felt Stars, December 1963

2020 has been a bad year for many things, but a good year for little home-made presents made from stash. I used a lot of cotton fabric for pandemic masks (with an added inner layer of fabric cut from an upcycled duvet cover made of special hypoallergenic tight-weave, dust-mite-proof fabric) and a big piece of green felt went to this iPad cosy, but I still had plenty of large scraps of all kinds of materials and the usual box full of odd buttons and leftover embroidery floss. Meanwhile, the holiday season was upon us, all the stores were closed and I wanted to be frugal with money but still be able to leave some mini-presents in friends’ mailboxes with a card and some cookies. These little felt stars from the December 1963 issue of Stitchcraft were the perfect choice.

There was a life-size transfer in the magazine to trace (or photocopy and cut out — I’m lucky to have a printer at home that is also a scanner and single-page copier) with samples of the three star designs to copy onto the points of the star. I traced it onto the felt with chalk, cut out two stars, picked my favourite design, and embroidered away. (Technically I should have first traced the design onto the fabric, then embroidered it and then cut out the stars, but it worked anyway.)

I had neither sequins nor pearls, so I just did everything in embroidery and added a button for the center on one side. I overstitched the edges to make a little cushion, added a loop for hanging on a tree and stuffed it with polyester fluff. Wonderful! The first star went to a fellow knitter from my now-online knitting meetup — we did a Zoom version of our usual “secret Santa” wool gifting party — and by then I was so involved in getting people’s knitted gifts finished that I ended up not making any more this year. Now that I know how it works, and that it works, I can make more next time.

Merry Christmas, if that’s your holiday, and happy New Year to all of you.

November 1962: Star Motif Embroidery

The November 1962 issue had so many exciting projects that I wanted to make, but as I am woefully behind on so many other projects, I settled for a modern version of the cute embroidered tea cosy from this “star motif” cosy-and-tray-cloth set. The star design only really comes out on the tray cloth, where flowers with spiky leaf bases are embroidered in circles. The tea cosy has the flowers arranged individually in lines.

Since I don’t use tea cosies, I adapted the design as an iPad / tablet cosy, like I did with the “Gay Goslings” design from April 1960 and the “Posies for Cosies” from March 1961. I had plenty of green felt left over from the not-so-successful October 1960 “No Fun Fuchsia” project and enough scraps of embroidery floss in fitting colours to make everything from stash.

Obviously I didn’t have a transfer, but luckily this design is so simple that I was able to just draw around a coin with chalk for the flower heads and add in the stems freehand. I say “simple” and “just”, but the felt material was of a nature that chalk does not stick to it for more than a minute and the colour is too dark to draw on with a pencil or embroidery marking pen. My continuing incompetence in drawing, cutting or embroidering straight lines came back to haunt me! Oh well, that’s how you know it’s handmade.

The tea cosy has three rows of flowers: three in the top row, four in the second and five in the third. Not sure exactly how to scale the design for a tablet cosy, I started by embroidering two rows of flowers with three flowers in the top row and two in the bottom row. I didn’t like the asymmetry, so I filled in the gaps with more flowers aligned upside down.

Making it up into a bag was straightforward enough (except for the not being able to cut in straight lines thing, even using a ruler and template) and I finished it off with a vintage fabric-covered button from the button box. I’m quite happy with the result, even if the design is not entirely even and the buttonhole stitch pulls to the center of some of the flowers (not sure how to correct that.) And it went so fast! I did the embroidery last night and made it up into a bag this afternoon.

It looks very 1960s!

Since I still use and love my “gay gosling” iPad cover, I will send this one to a friend as a birthday/Christmas present.

Out of Order: Contemporary Embroidery, June 1961

EDIT December 31st, 2021: FINISHED!

July 1962’s issue didn’t have anything in it that particularly interested me, so I took the time to go back to the June 1961 issue, which had so many nice projects in it that it was hard for me to decide which to make. (I ended up making this lacy top and later, this child’s tunic-dress.)

I loved the extremely complicated, heavily embroidered, faux-neo-Jacobean felt appliqué “birds in a tree” extravaganza featured in colour on the back cover, but it was too daunting. For one thing, of course I didn’t have the transfer or pattern for the appliqué pieces, since I would have had to have sent away for them via postal order in 1962. For another, there weren’t even any instructions in the magazine — the design was offered as either an embroidery or an appliqué project (see photo), and the instructions in the magazine only covered the embroidered version in any detail. The appliqué version just gave a list of materials, size of finished design, and the address where one could order the pattern and instructions. And when it comes right down to it, my appliqué and especially, embroidery skills are really not very well developed.

Oh yes, and while felt is easy enough to buy, the materials included tapestry wool for the embroidery, which is impossible to find in stores anywhere near me and even difficult to order online in the right weight (very fine)! Luckily, last year I happened to be in the one city I know that houses the one shop I know that actually specialises in tapestry and sells the right kind of wool, so I was able to get that, at least.

I decided to make it as a cushion, not a wall hanging. The background tree was easy enough. Technically, the white branches and leaves should have been made by cutting holes in the green tree felt and letting the (white/beige) background fabric show through, but since I chose a blue background fabric, I appliquéd them as well. It was predictably difficult to make and cut out my own patterns for the little bits of felt for the birds and leaves, and after making the first two birds, I realised it was easier to just cut the pieces freehand. Since there were no instructions to follow, I went from the photo and the instructions for the embroidered version, which obviously didn’t give much useful information.

Such a detailed project took forever, of course. It needed many tools and materials, so I could only work on it at home at a table, and not during the winter months, as I needed natural light for the fine work.

I made two of the birds on the left first, wasn’t really happy with them, and realised why after making the first flower on the left. I liked the way the flower turned out — it’s much simpler! The birds seemed overdone in comparison. I thought about changing the design and realised at some point that, of course, the who idea of this neo-Jacobean, embroidered and appliquéd extravaganza is that it is supposed to be over the top.

And so, slowly and painstakingly, it got done, one piece at a time. (It also spent a lot of time in the cupboard in between bursts of activity.) The embroidery directions in the magazine were often quite different from the appliqué version, so I did a lot of guesswork and adaptation based on the (rather small) colour photo on the back cover, from which the colours had changed and faded in the 50 years since its printing.

I was determined to get it done before the end of 2021, and I did (on December 31st.) It was a huge milestone for me in my appliqué / embroidery learning process, and I am really, really happy with the way it turned out.

May 1960: “Summer Song”

cosy
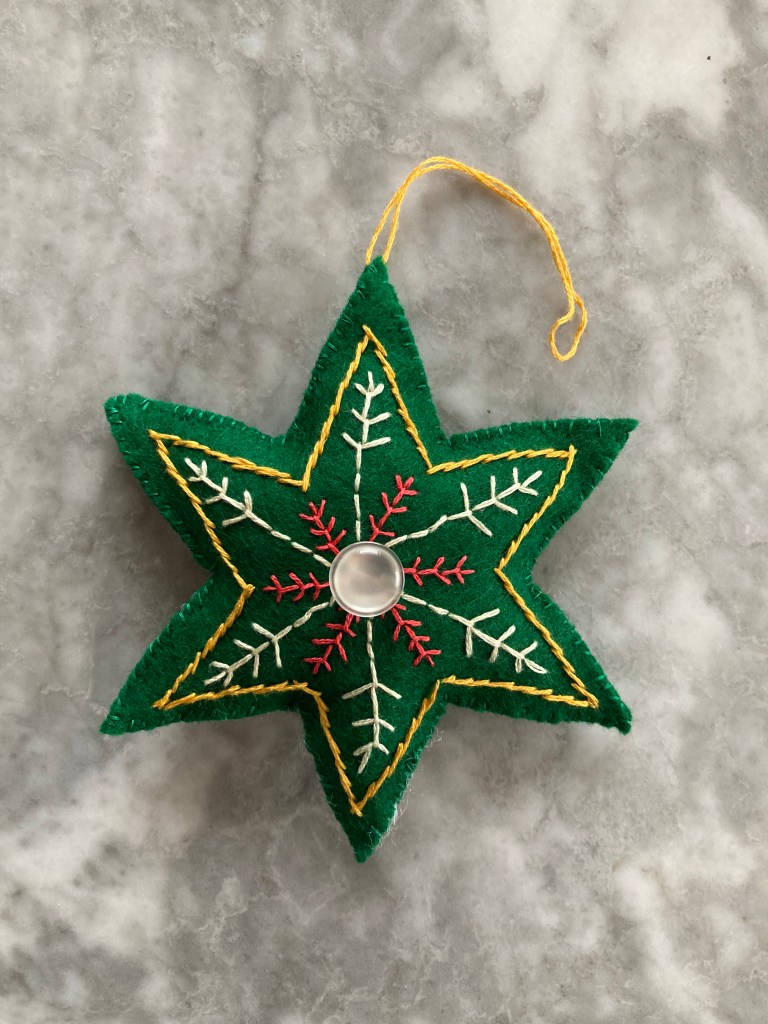
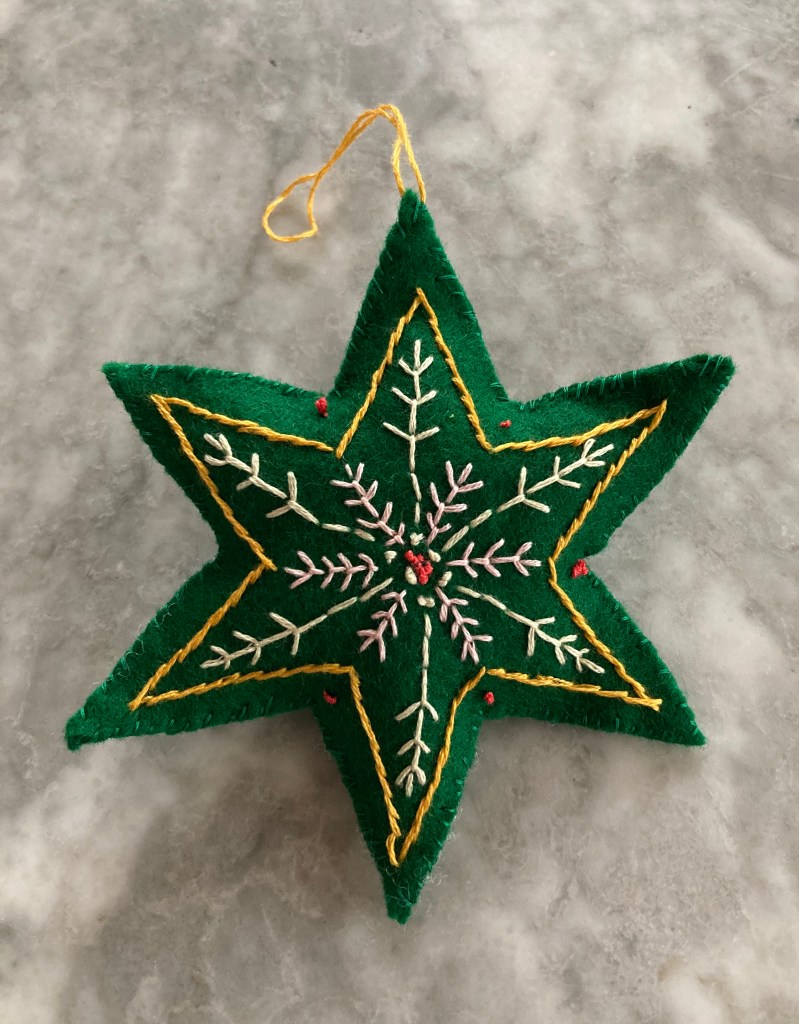
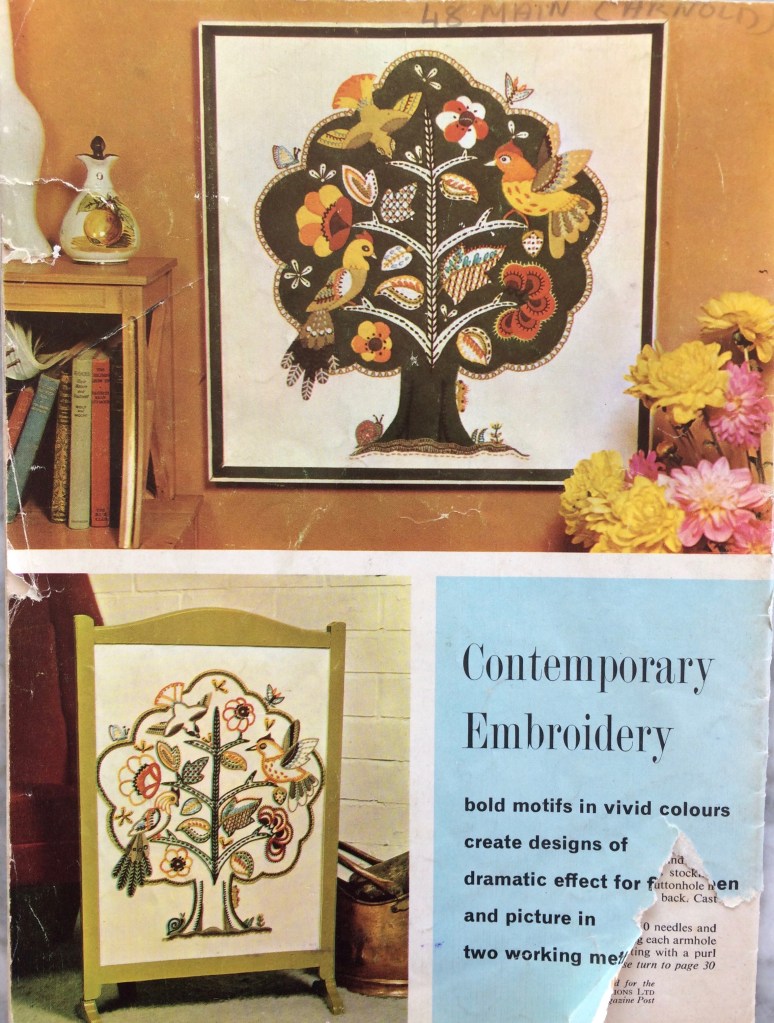
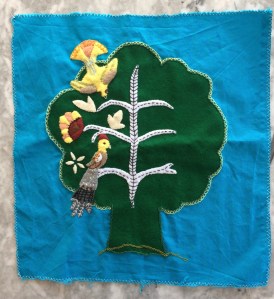
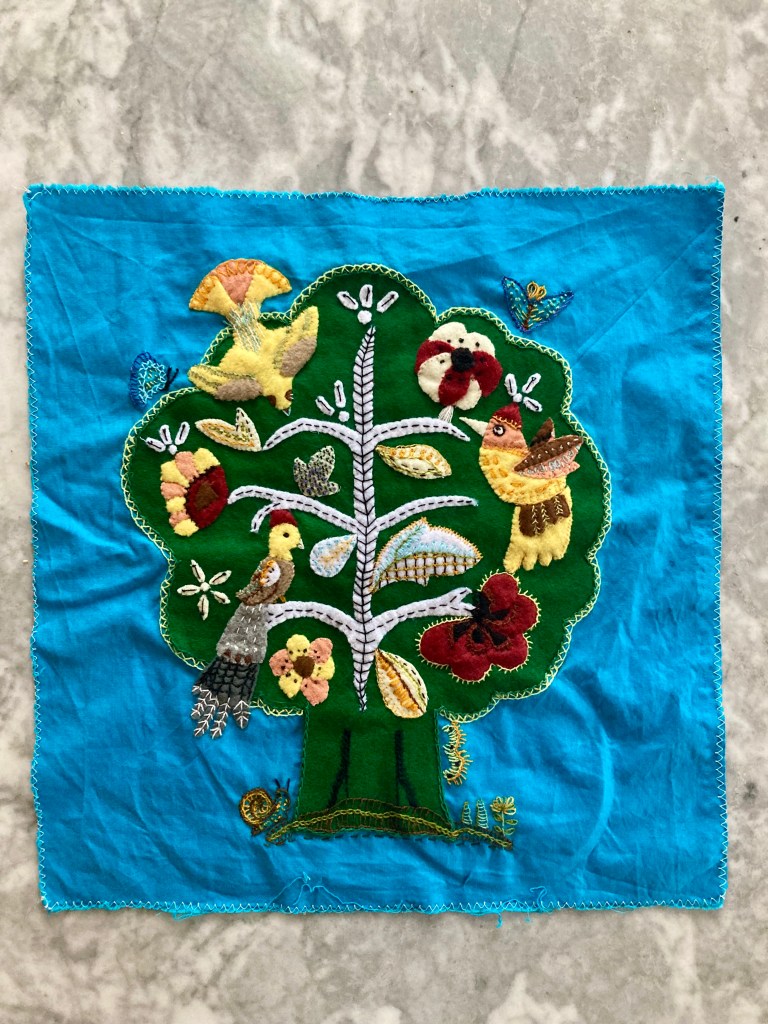
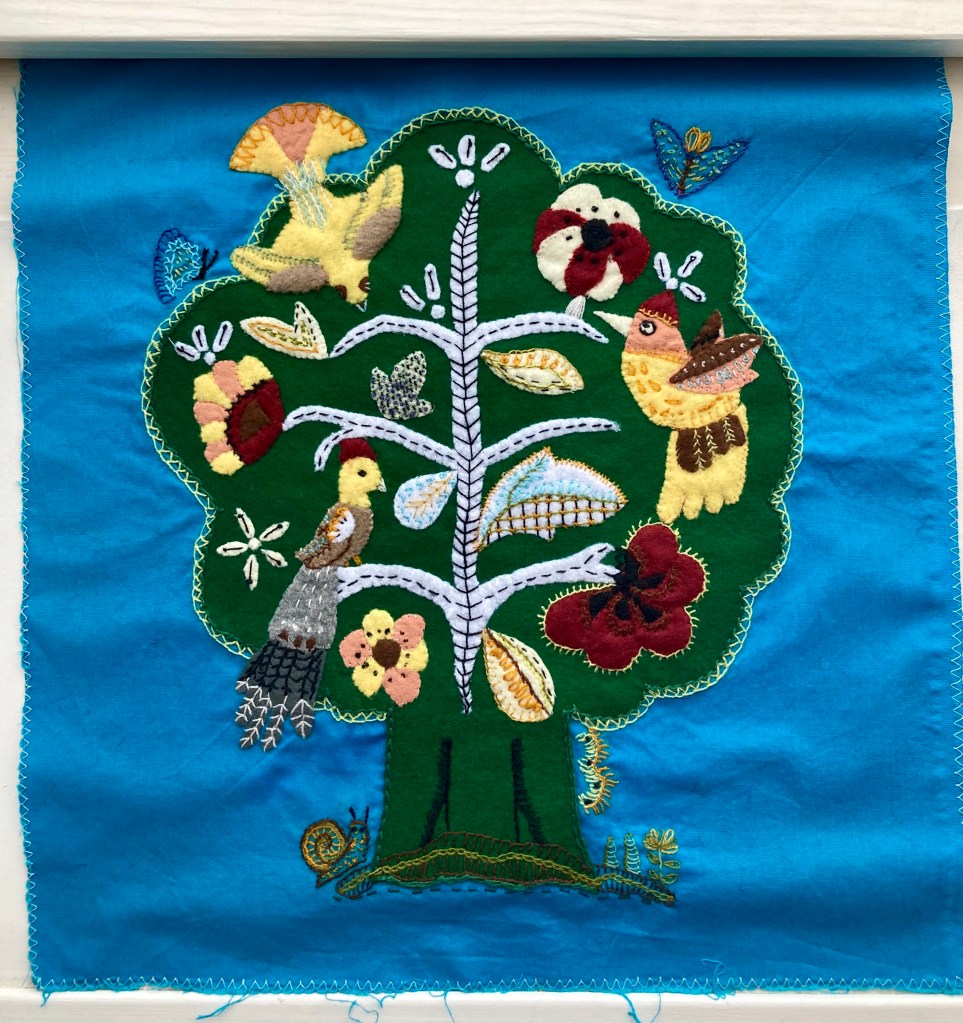
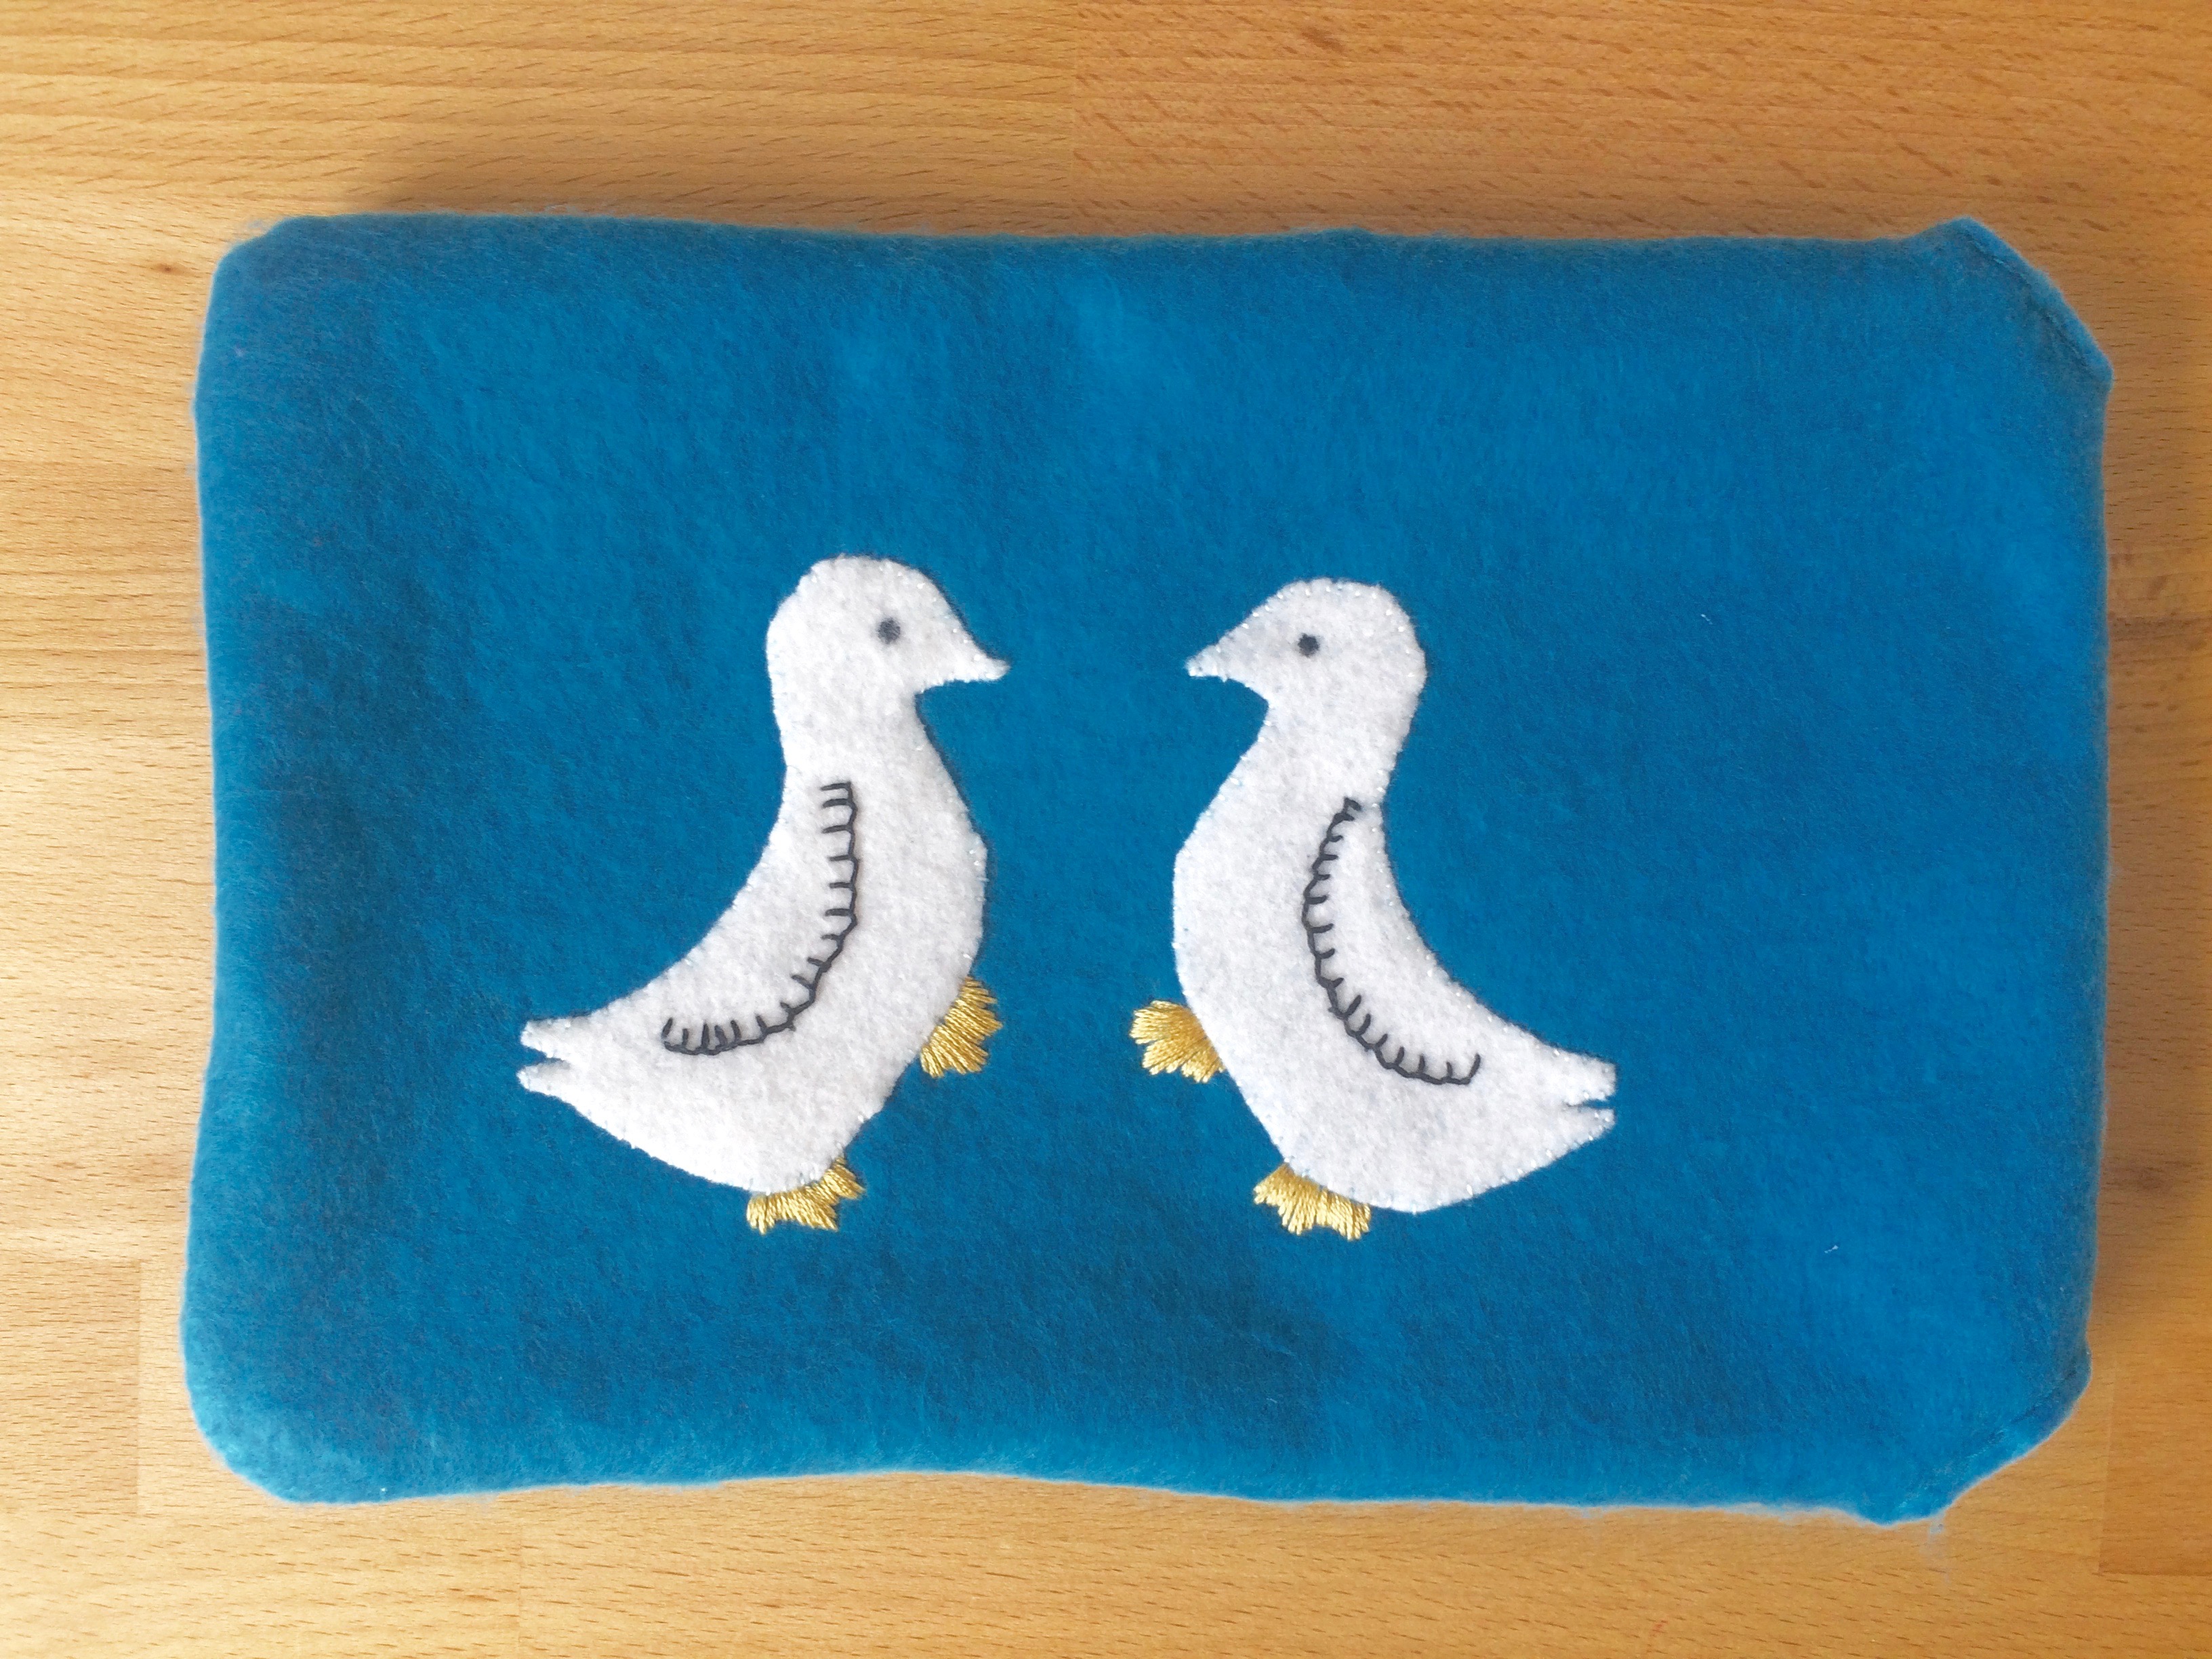
This is definitely a “cosy of unusual charm”! (Despite the ripped corner on the back cover photo.) It features appliqué and embroidery with different designs on each side and instructions to make it up into either a regular cosy to put over the teapot, or a “nest” to put the teapot into.

My version isn’t a teapot cosy of any kind, since I don’t use them or know anyone who does. Everyone needs a pretty little zippered bag or two, though, to put current projects in, or materials for crafting, or pencils or any kind of small “stuff”, so that is what this project is going to be.

I started with the “bird and strawberries” side. As always, the first question is “how to get the pattern onto the fabric and cut-out bits, since there is no existent transfer.” Remember, back in the day you had to write to Stitchcraft to get the iron-on transfer as a supplement! I used the same graph square technique previously used on the  leaf cushion  and the gay goslings. It was trickier in this case, since the only good photo was taken at an angle, but I got it to work somehow.


Then I copied the pencil sketch, cut out the individual shapes by pinning them to the felt bits, and pinned them out on the base fabric.


Stitchcraft gives pretty good instructions for the embroidery — which colours for what parts of the appliqué and how many strands. The embroidery work itself was not too difficult, using stem-stitch, Romanian stitch, loop stitches and French knots as well as a bird_straw_emb
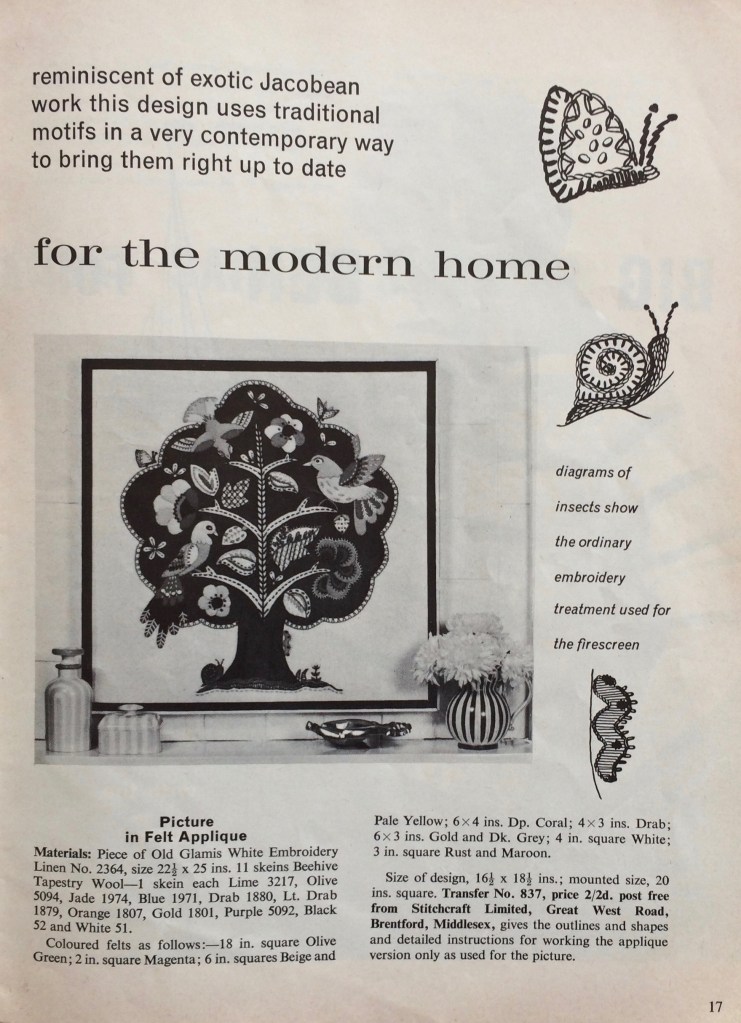
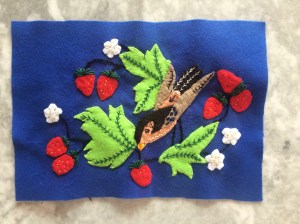
bit of herringbone and the tiny straight stitches in the strawberries. Still, it was more ambitious than any embroidery I have tried up until now. It doesn’t look quite like the picture and I did take a little bit of licence, but on the whole I was pretty satisfied… except for the legs. Oh dear, oh my, oh no, the legs. I did them three times and they still look weird. Either the angle is wrong, or the thickness, or I don’t know what, but I figured doing it again would only chew up the fabric more, so it is what it is.


Creating the template for the second side, “Bird and Blossom” presented an extra challenge, as there was only a tiny black-and-white photograph in the magazine, where the tea cosy “nest” was open and made the design appear at an angle. I am definitely getting the hang of this copy-grid-paste-and-cut method though, because it went quite quickly and easily and I think I matched the design pretty well — or at least made a decent interpretation of it.

Again, I sewed the pieces down (noticing along the way that I had forgotten one leaf, and adding it) and then did the embroidery as outlined in the instructions. Well, that was the plan at least, but the picture was so tiny and “unreadable” that I ended up doing most of the embroidery freehand. Winging it, so to speak…

Making the finished embroidered panels up into little bags should have been the easiest step, but it was oddly frustrating and nothing worked properly the first time around. The zippers are a mess. The lining of the “Bird and Blossom” catches and the ends of both zippers are not properly sewn into the top seam. Also, the embroidery is not bad considering my level of (in)experience, but I’m not as happy with it as I could have been. So I’m still deciding whether to keep both of the bags for myself, or give one or both away. What do you think? Here are the finished objects!

BirdStrawFO

BlossomFO

April 1960: Gay Goslings

Version 2
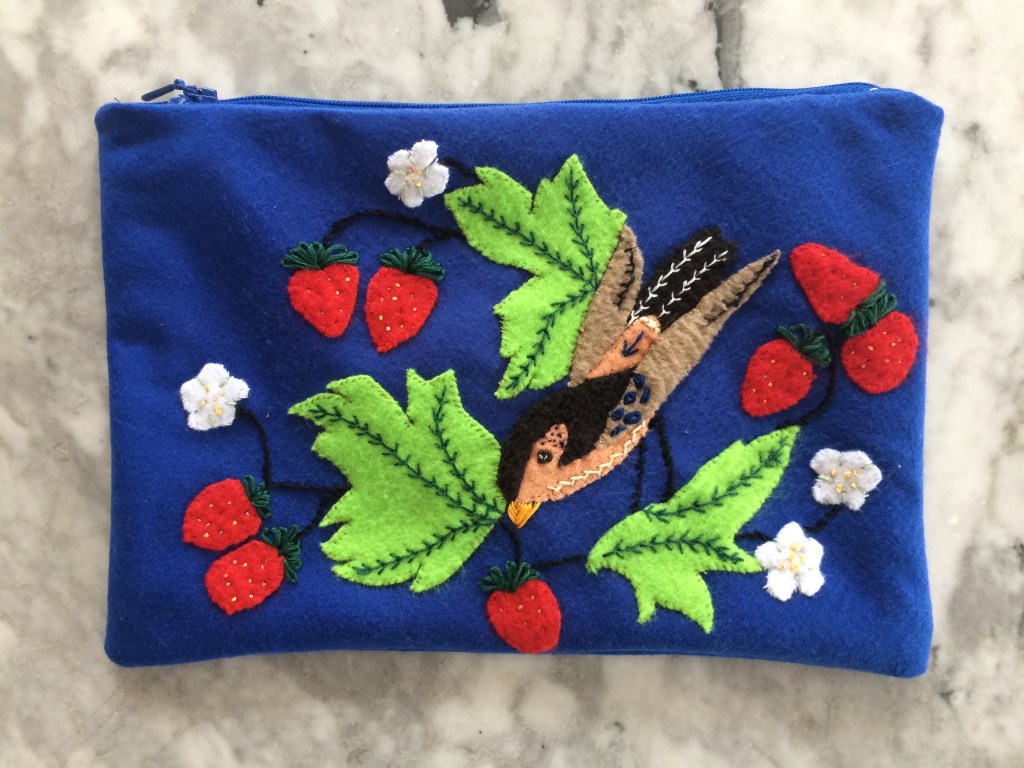
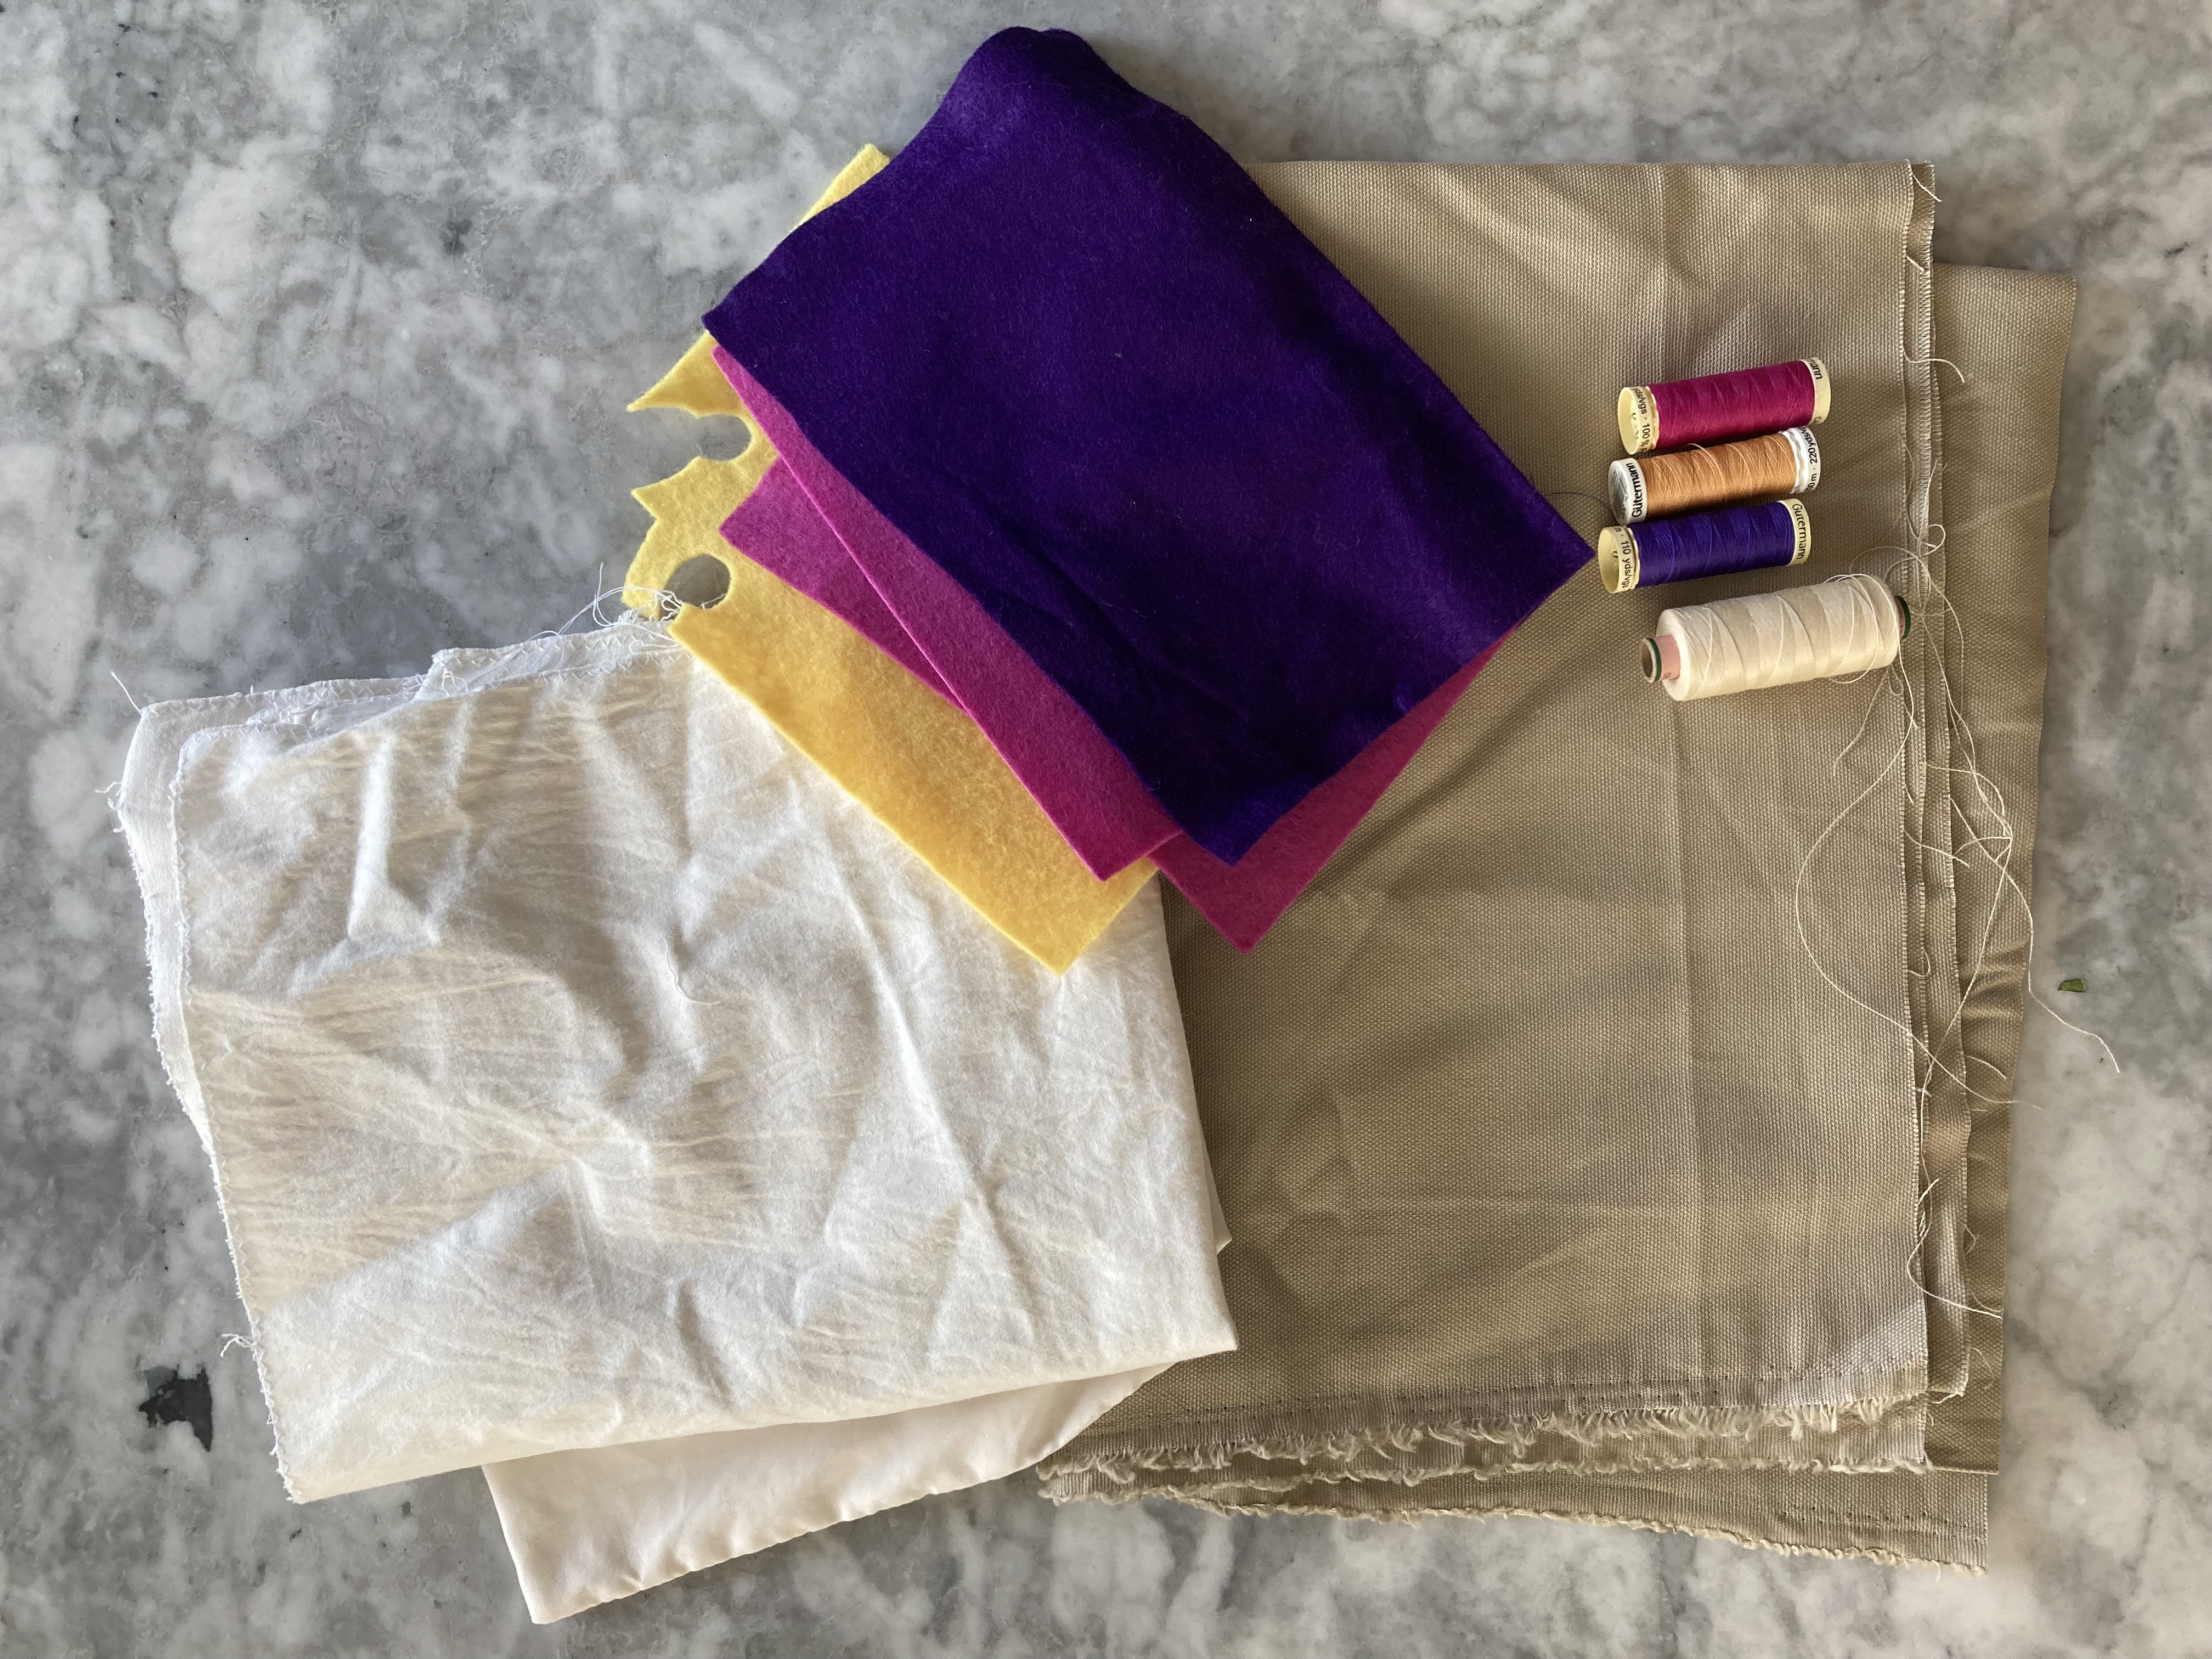
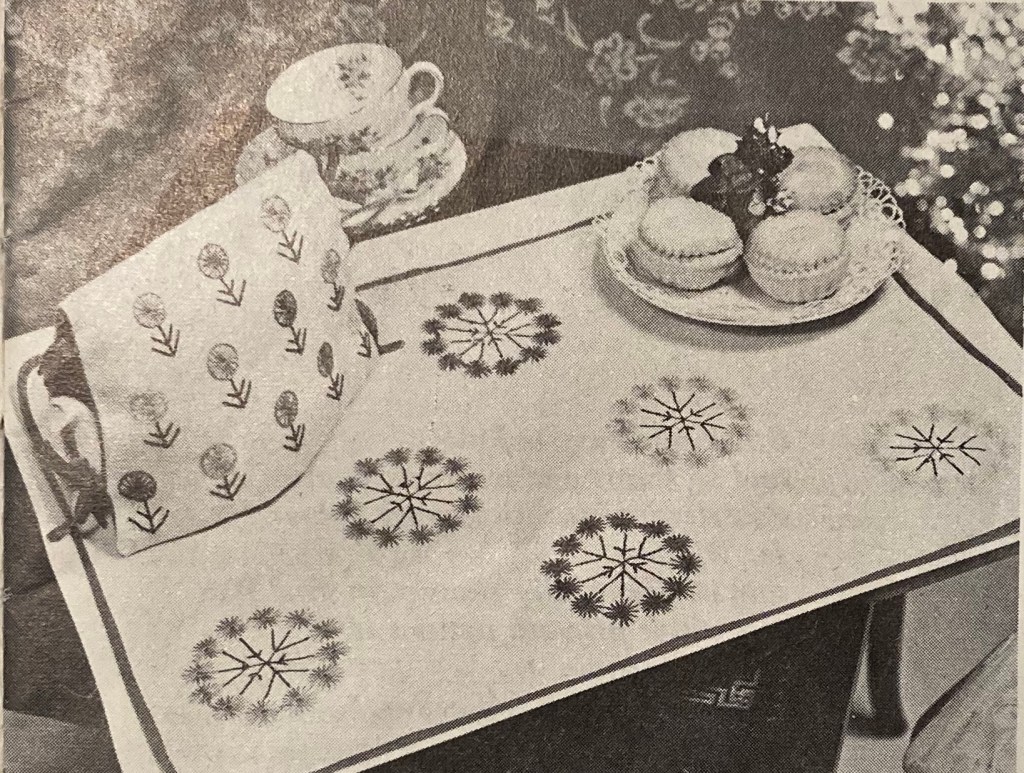
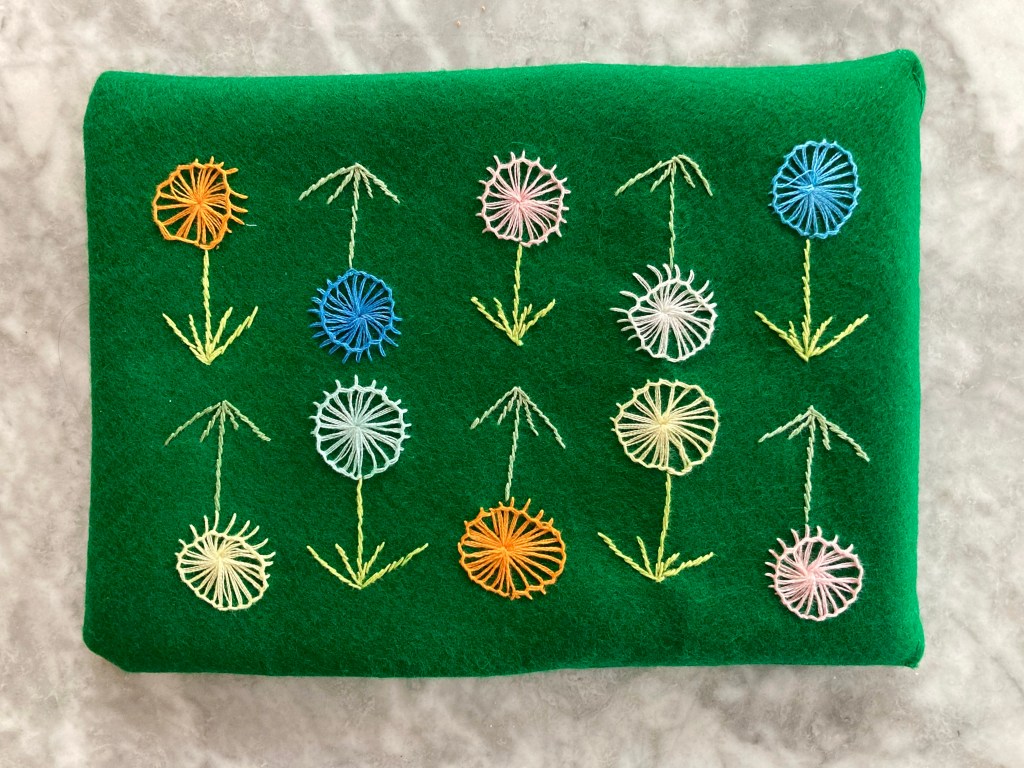
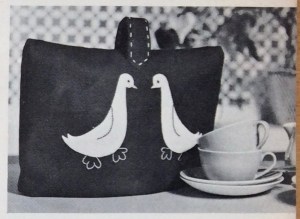
“Cheerful goslings make gay kitchen ideas” — who could resist? There are patterns for a serving glove and a felt tea cosy, neither of which I particularly needed, but the tea-cosy pattern is just about the right size for an iPad case. So this became the modern version.

As always, the pattern came from a transfer that is no longer commercially available, but since the appliqué was so simple, it wasn’t a problem. I used the good old pencil-grid-transfer method that had already worked so well with January’s leaf cushion, and it worked fine.


I had never done appliqué before, but it was really quite easy, especially with felt, so this was a great beginner project. The eyes, wings and feet are embroidered in simple satin stitch and blanket stitch. There were supposed to be yellow stem-stitch outlines around the eyes, but I tried it and it made my poor innocent gosling look kind of demonic, so I stuck with plain black dots. I made it up with a scrap of fun blue cotton print for lining (Geese… In… Space…!) and a simple closure made out of a bit of twisted yarn cord and a sparkly white button.


Everything worked great and the whole thing took only about 5 hours total to make, including sewing all the seams by hand, as I didn’t have my sewing machine on hand at the time.  Definitely a change from the never-ending John’s new pullover! Now I have the gayest, warmest, best-dressed, space-age spring fever iPad that anyone could wish for and am very happy.

goslingsfo1