
EDIT February 3rd, 2026: Finished!
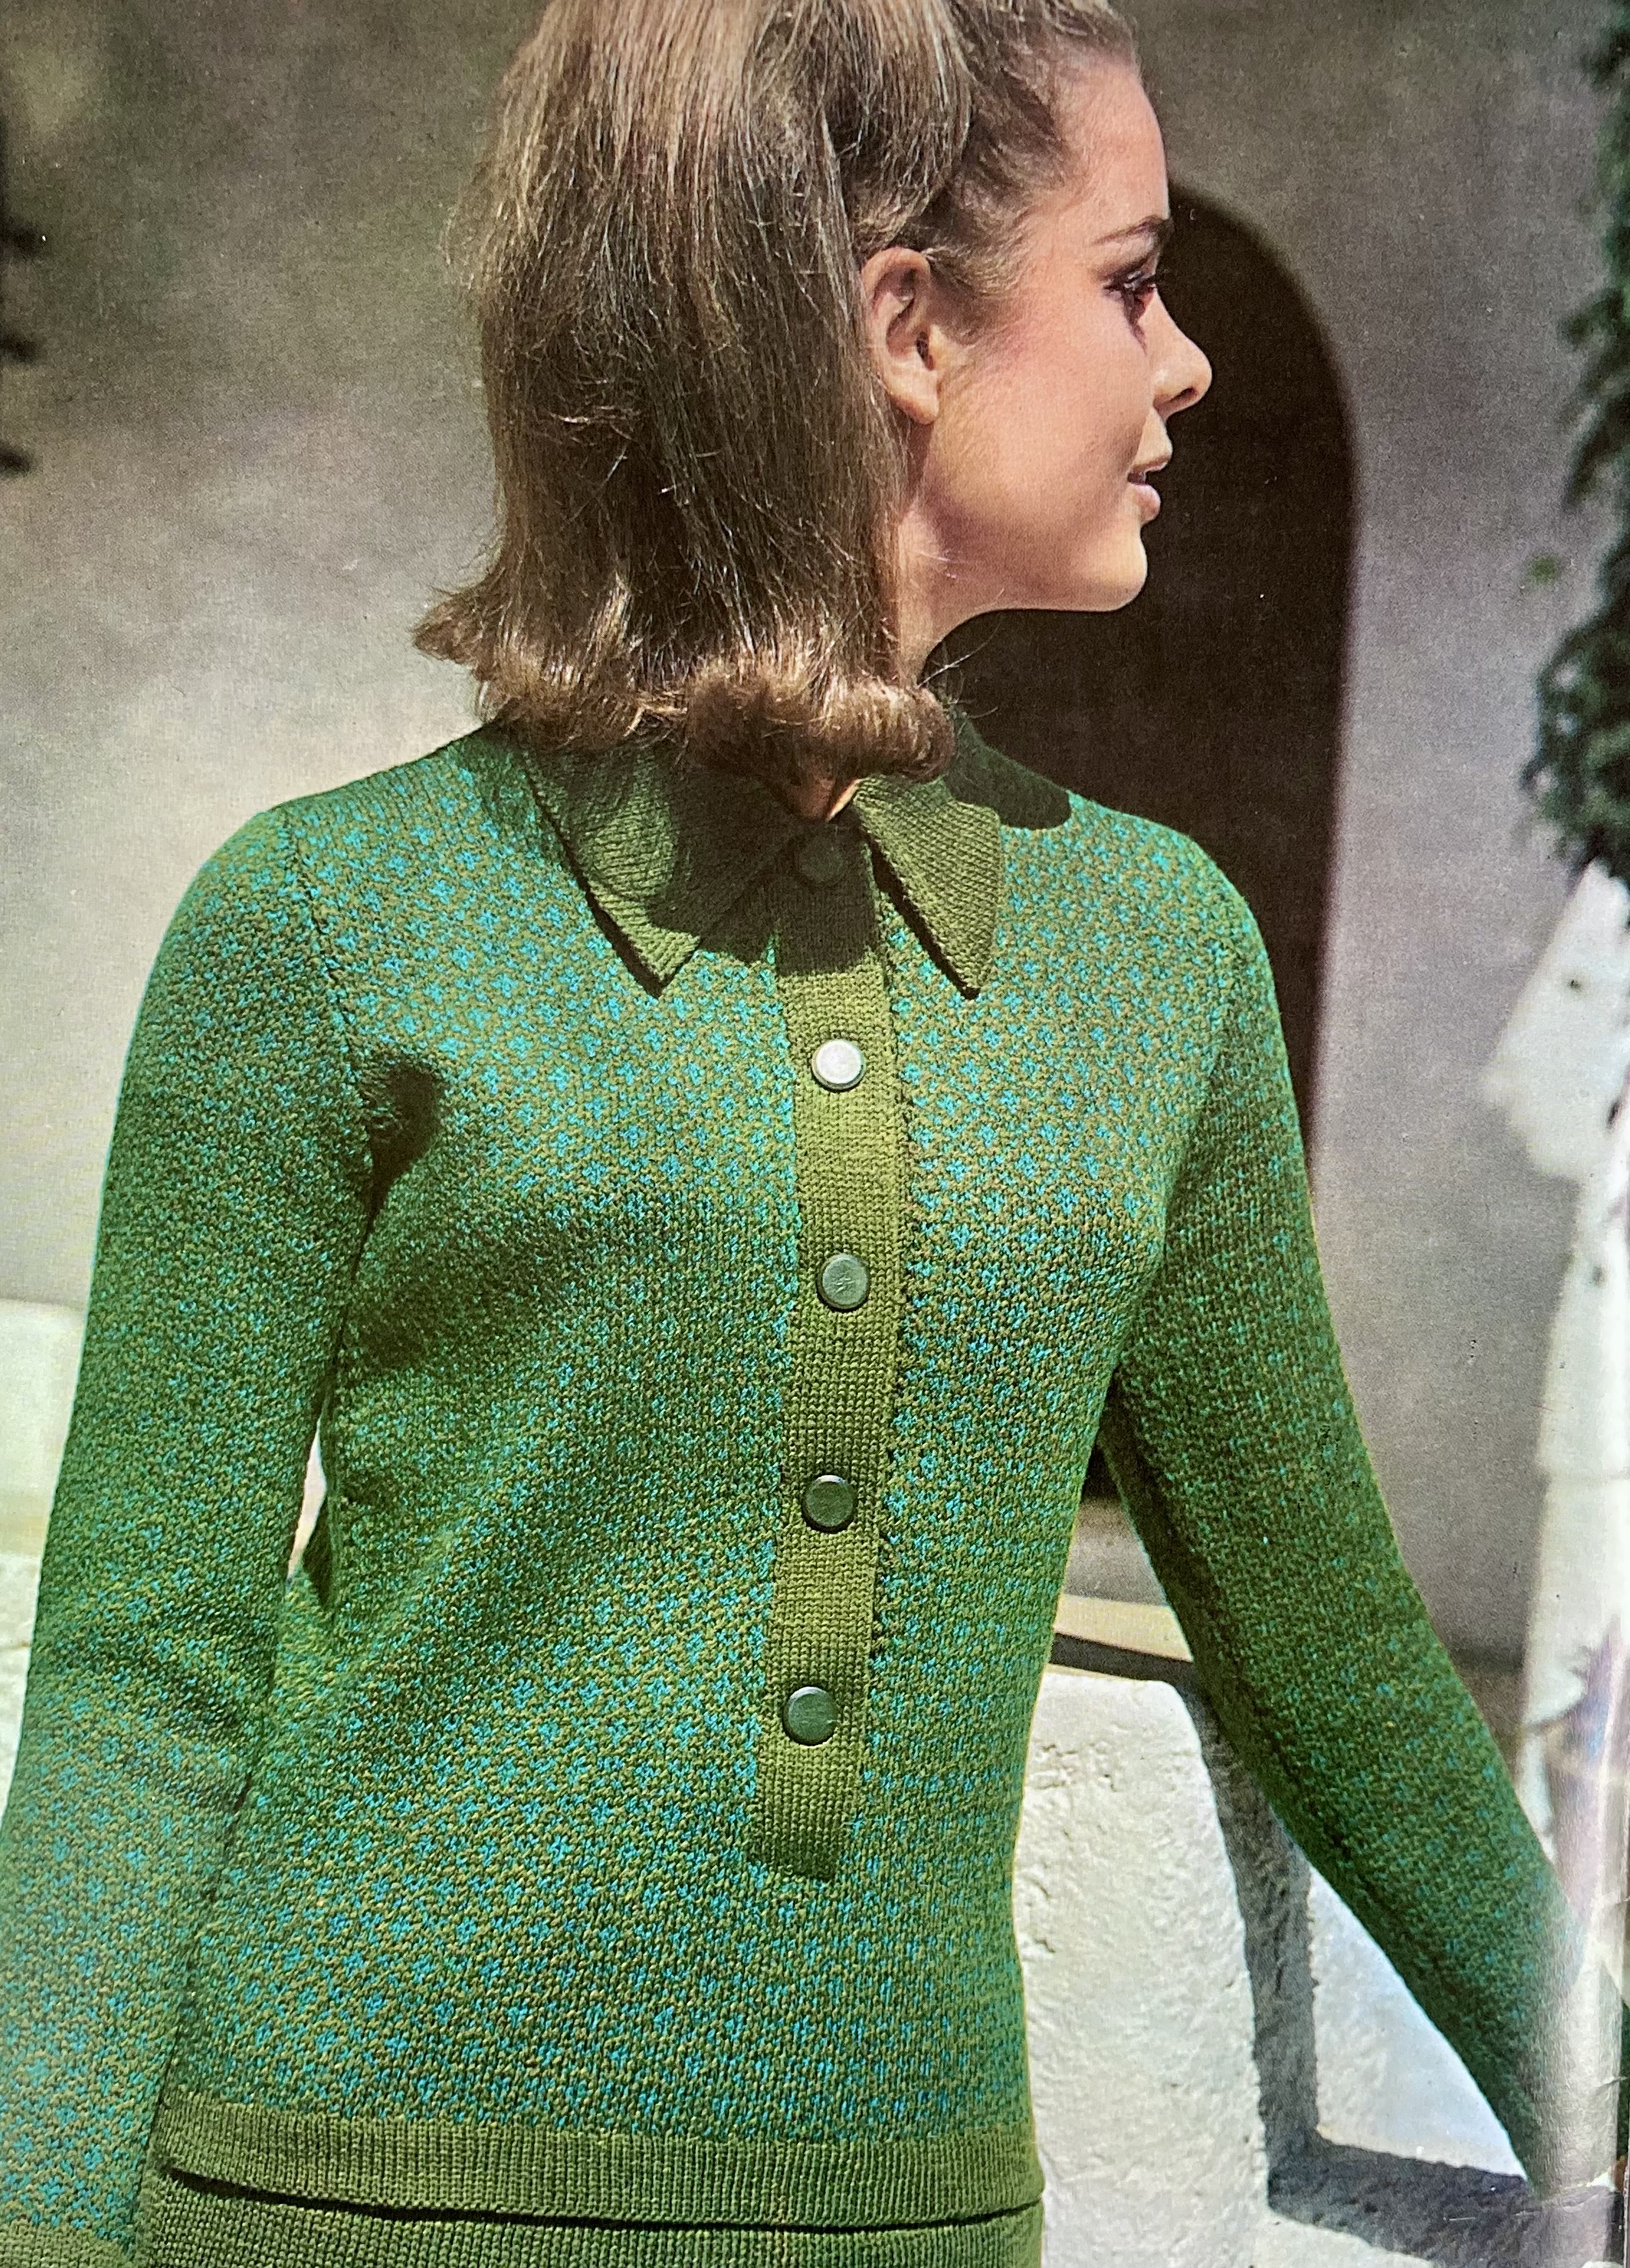
My November 2025 project was the jumper from a “Jaquard Pattern Jumper Suit” from the November 1967 issue of Stitchcraft.
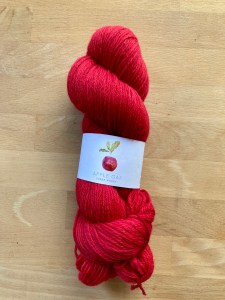
It’s written for Patons Cameo Crepe, a smooth, fine, worsted-twist wool. I decided to make my version in sock yarn, which is smooth and fine but not 100% wool — mine was Lana Grossa Meilenweit, which is 80% wool and 20% polyamide. I prefer not to use synthetic yarns for environmental reasons, but it is also surprisingly difficult to find smooth, “normal” 4ply/ fingering-weight 100% wool in a variety of colours. It’s either too bulky, too hairy, or a mixture of fibres, or variegated colours. Or baby wool, which has a limited pastel colour range.
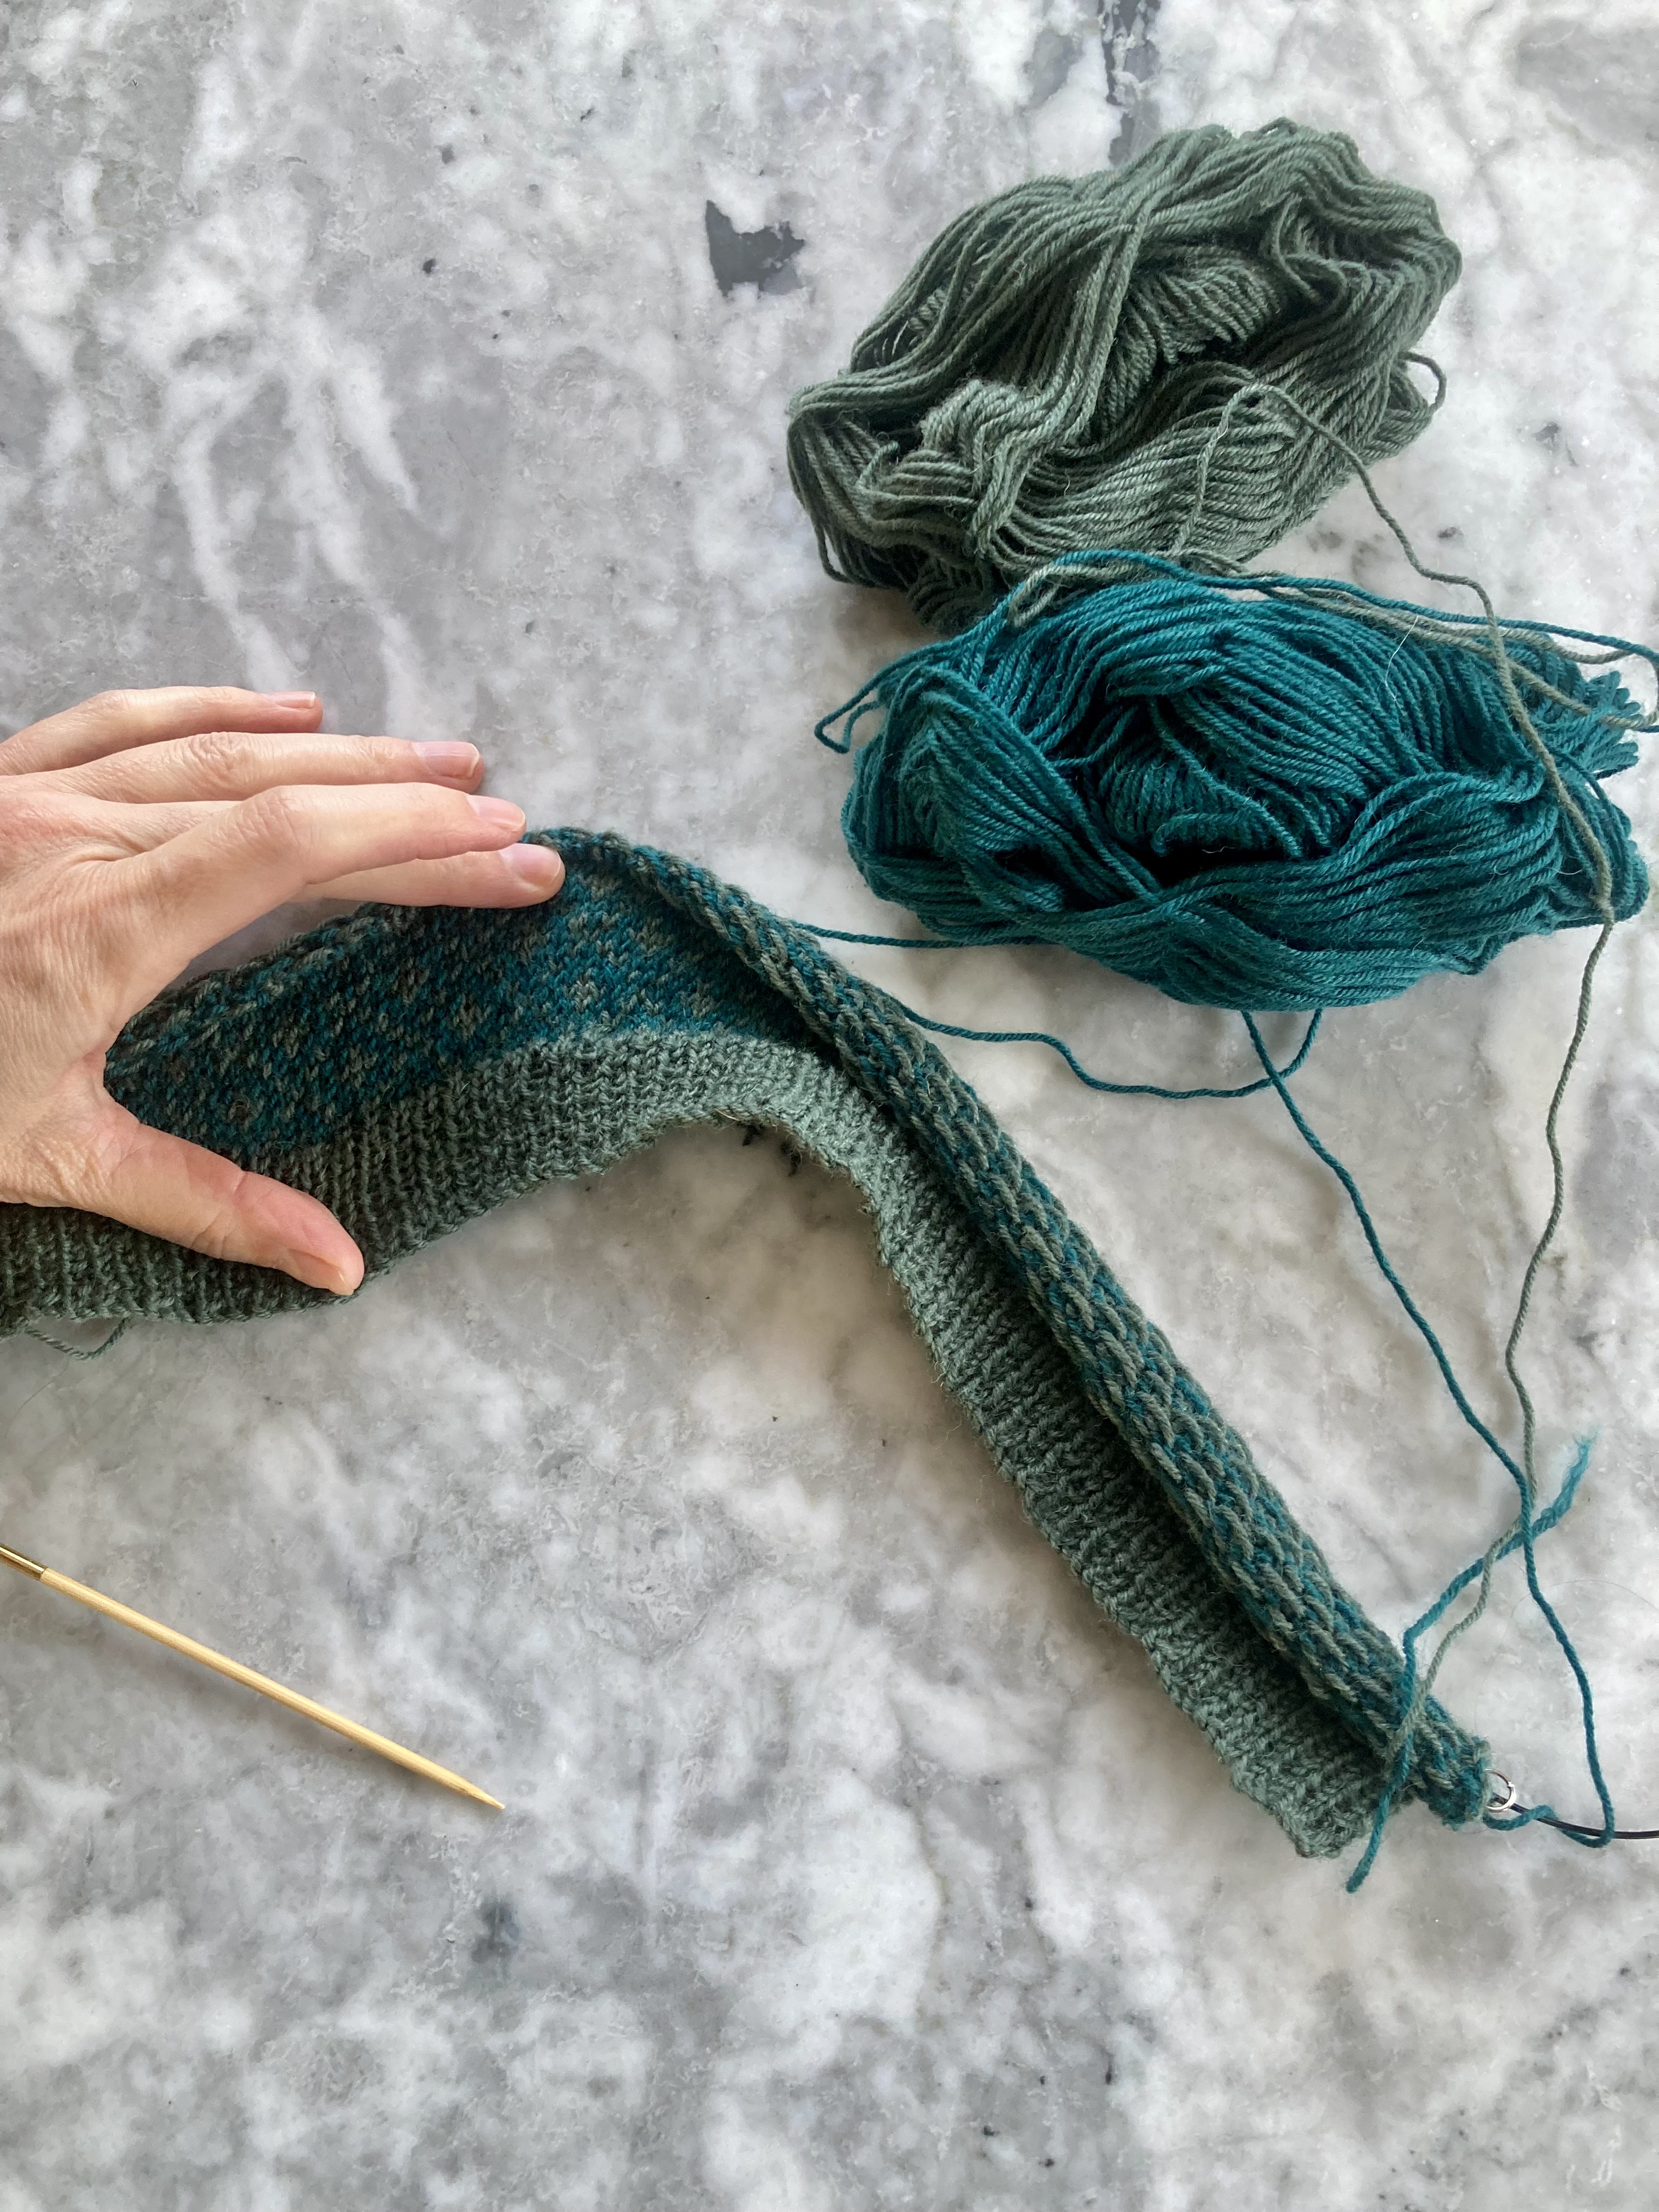
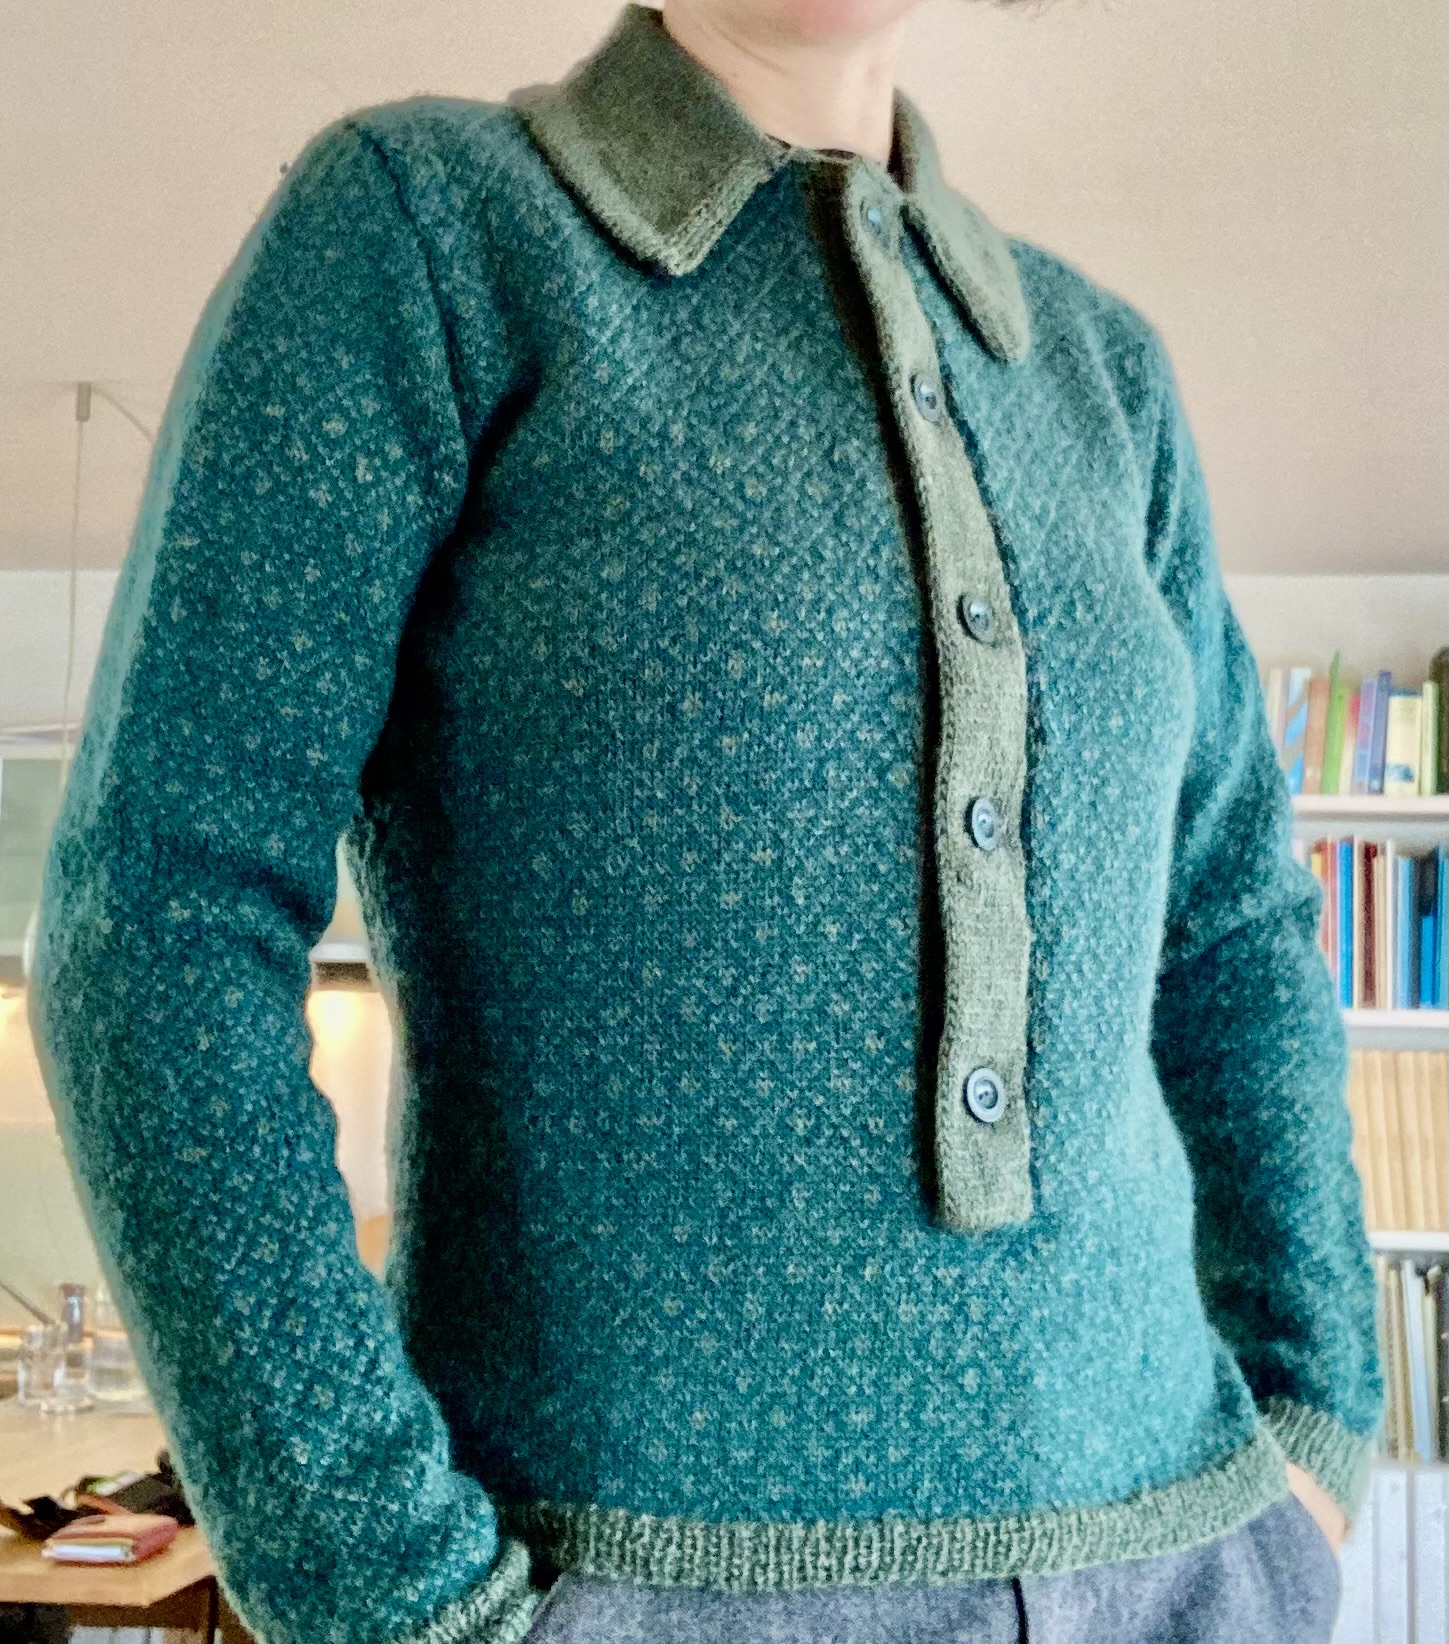
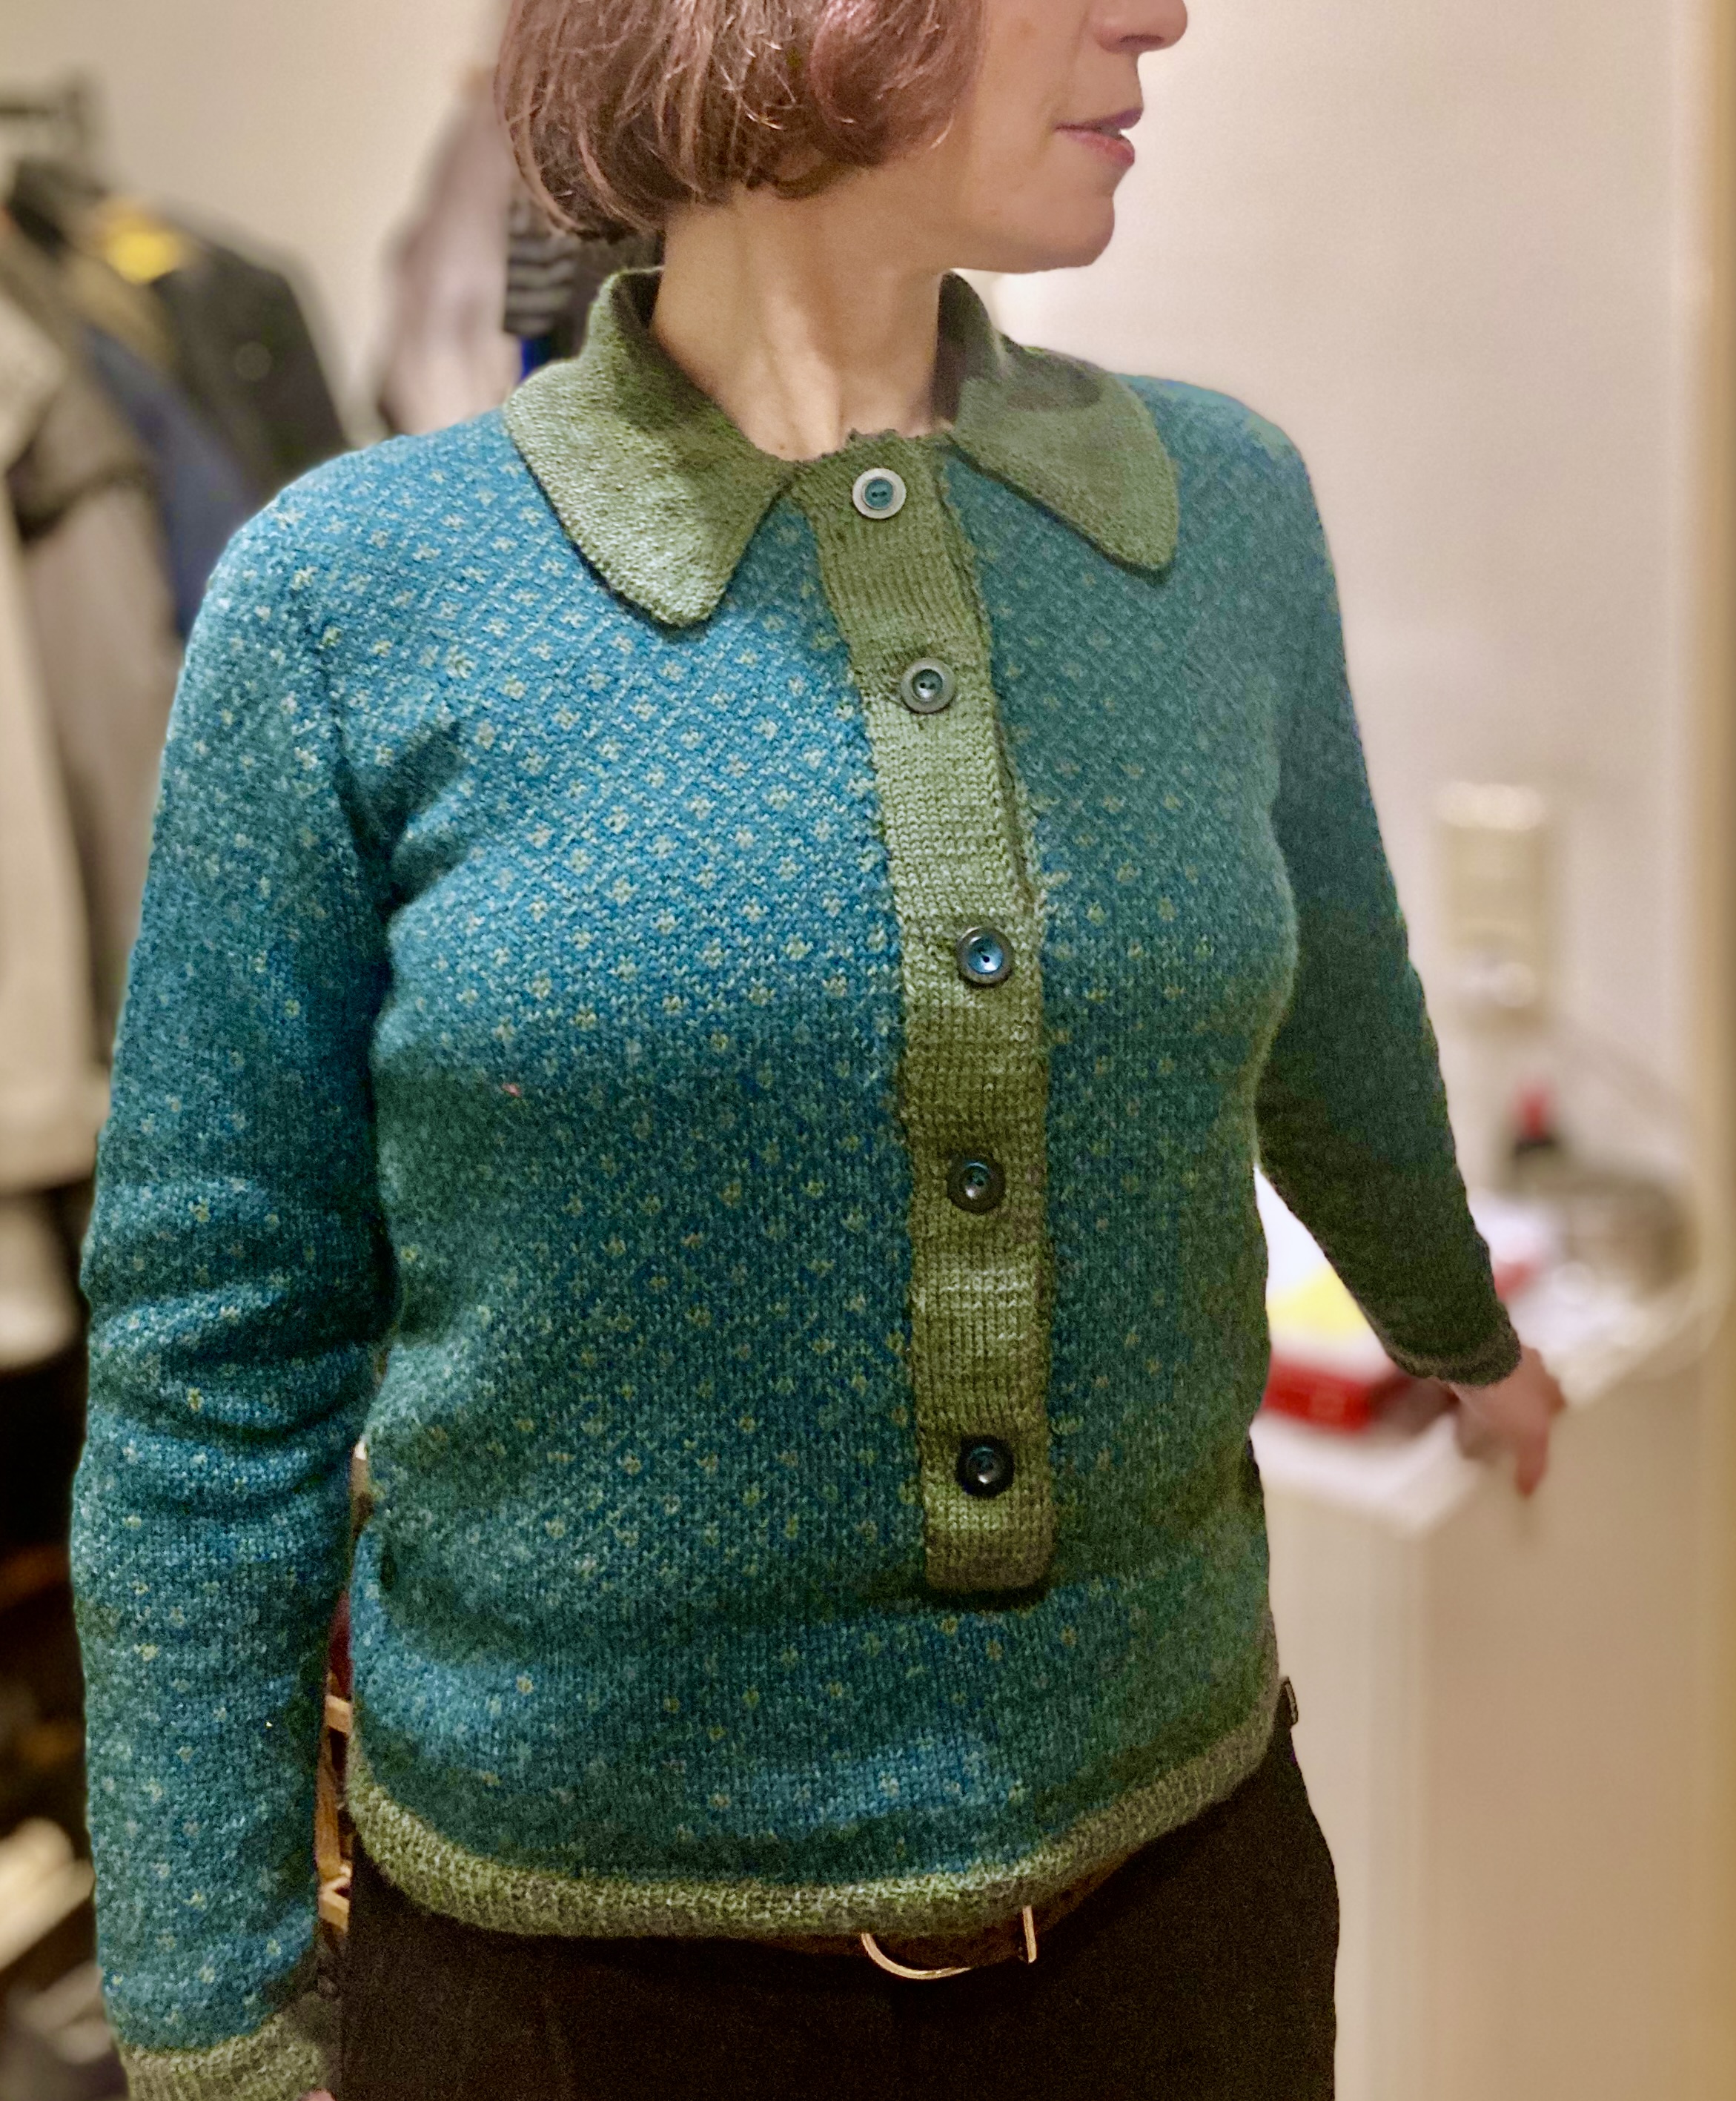
I was happy with my colour choices. My olive green was a little more grey than the Stitchcraft version, and my jade green more blue (but still a little more green than it looks in the photo). I was not prepared for how very blue it looks when knitted up in pattern, but it’s fine with me.

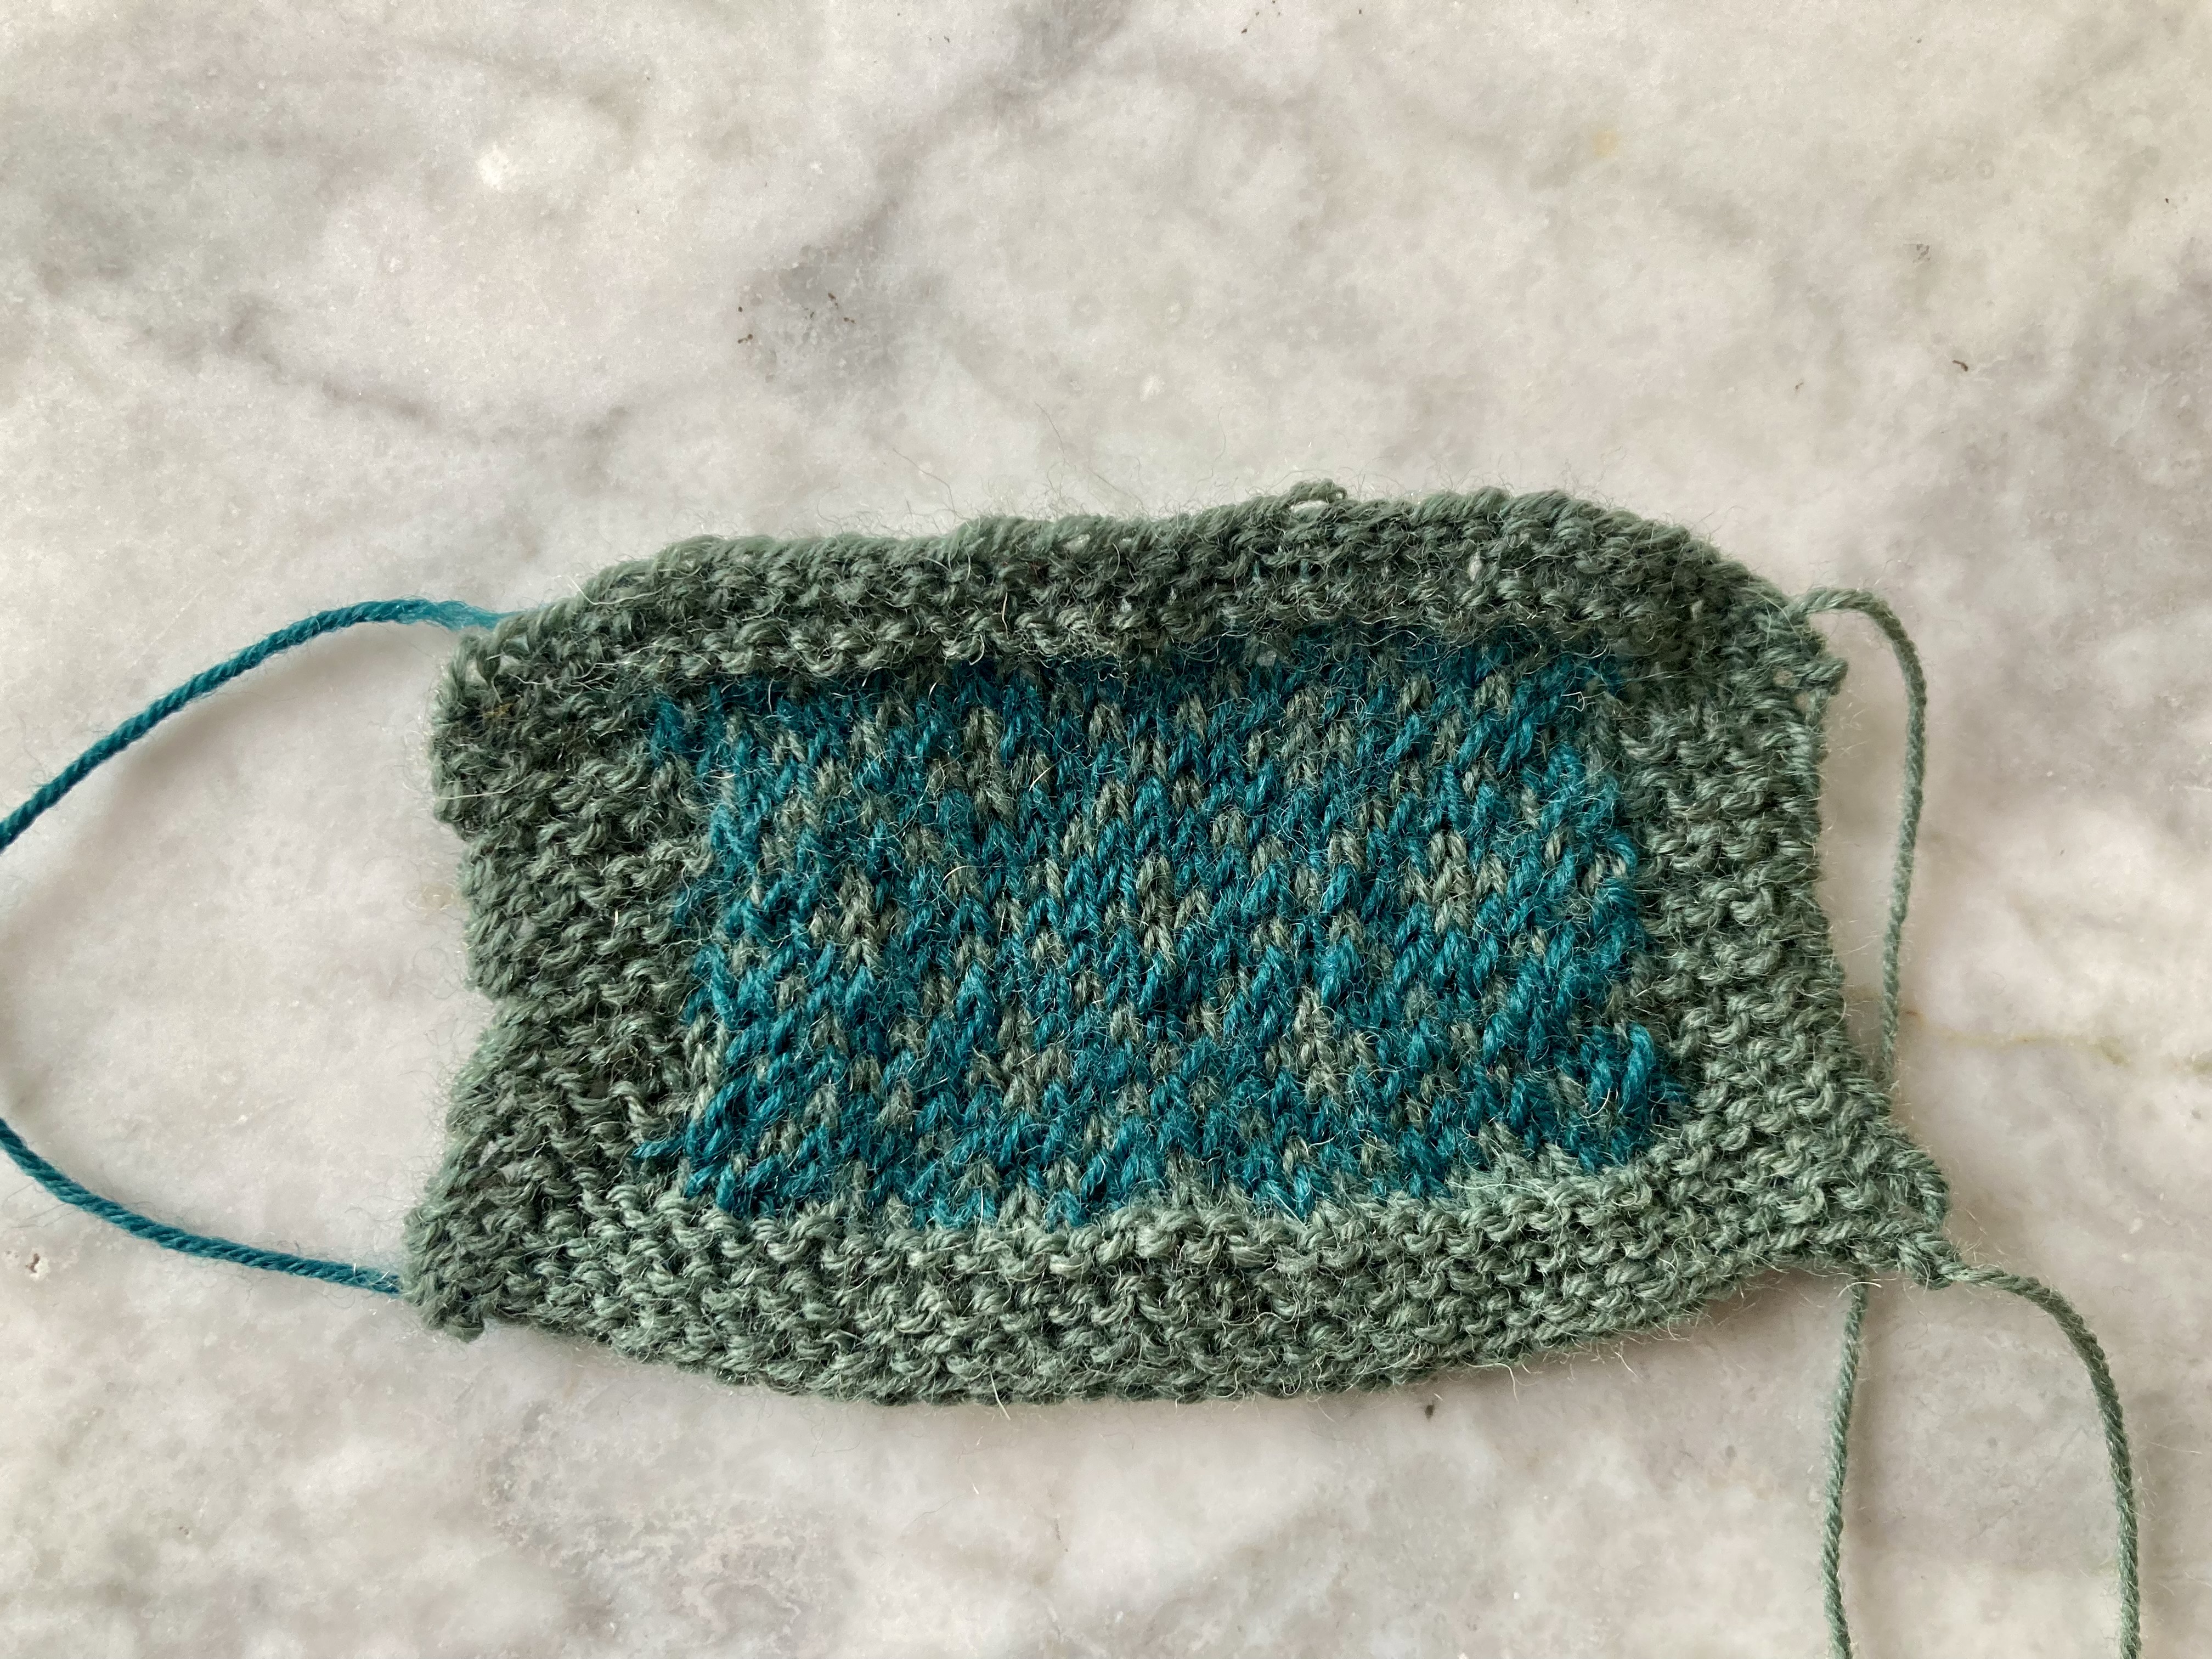
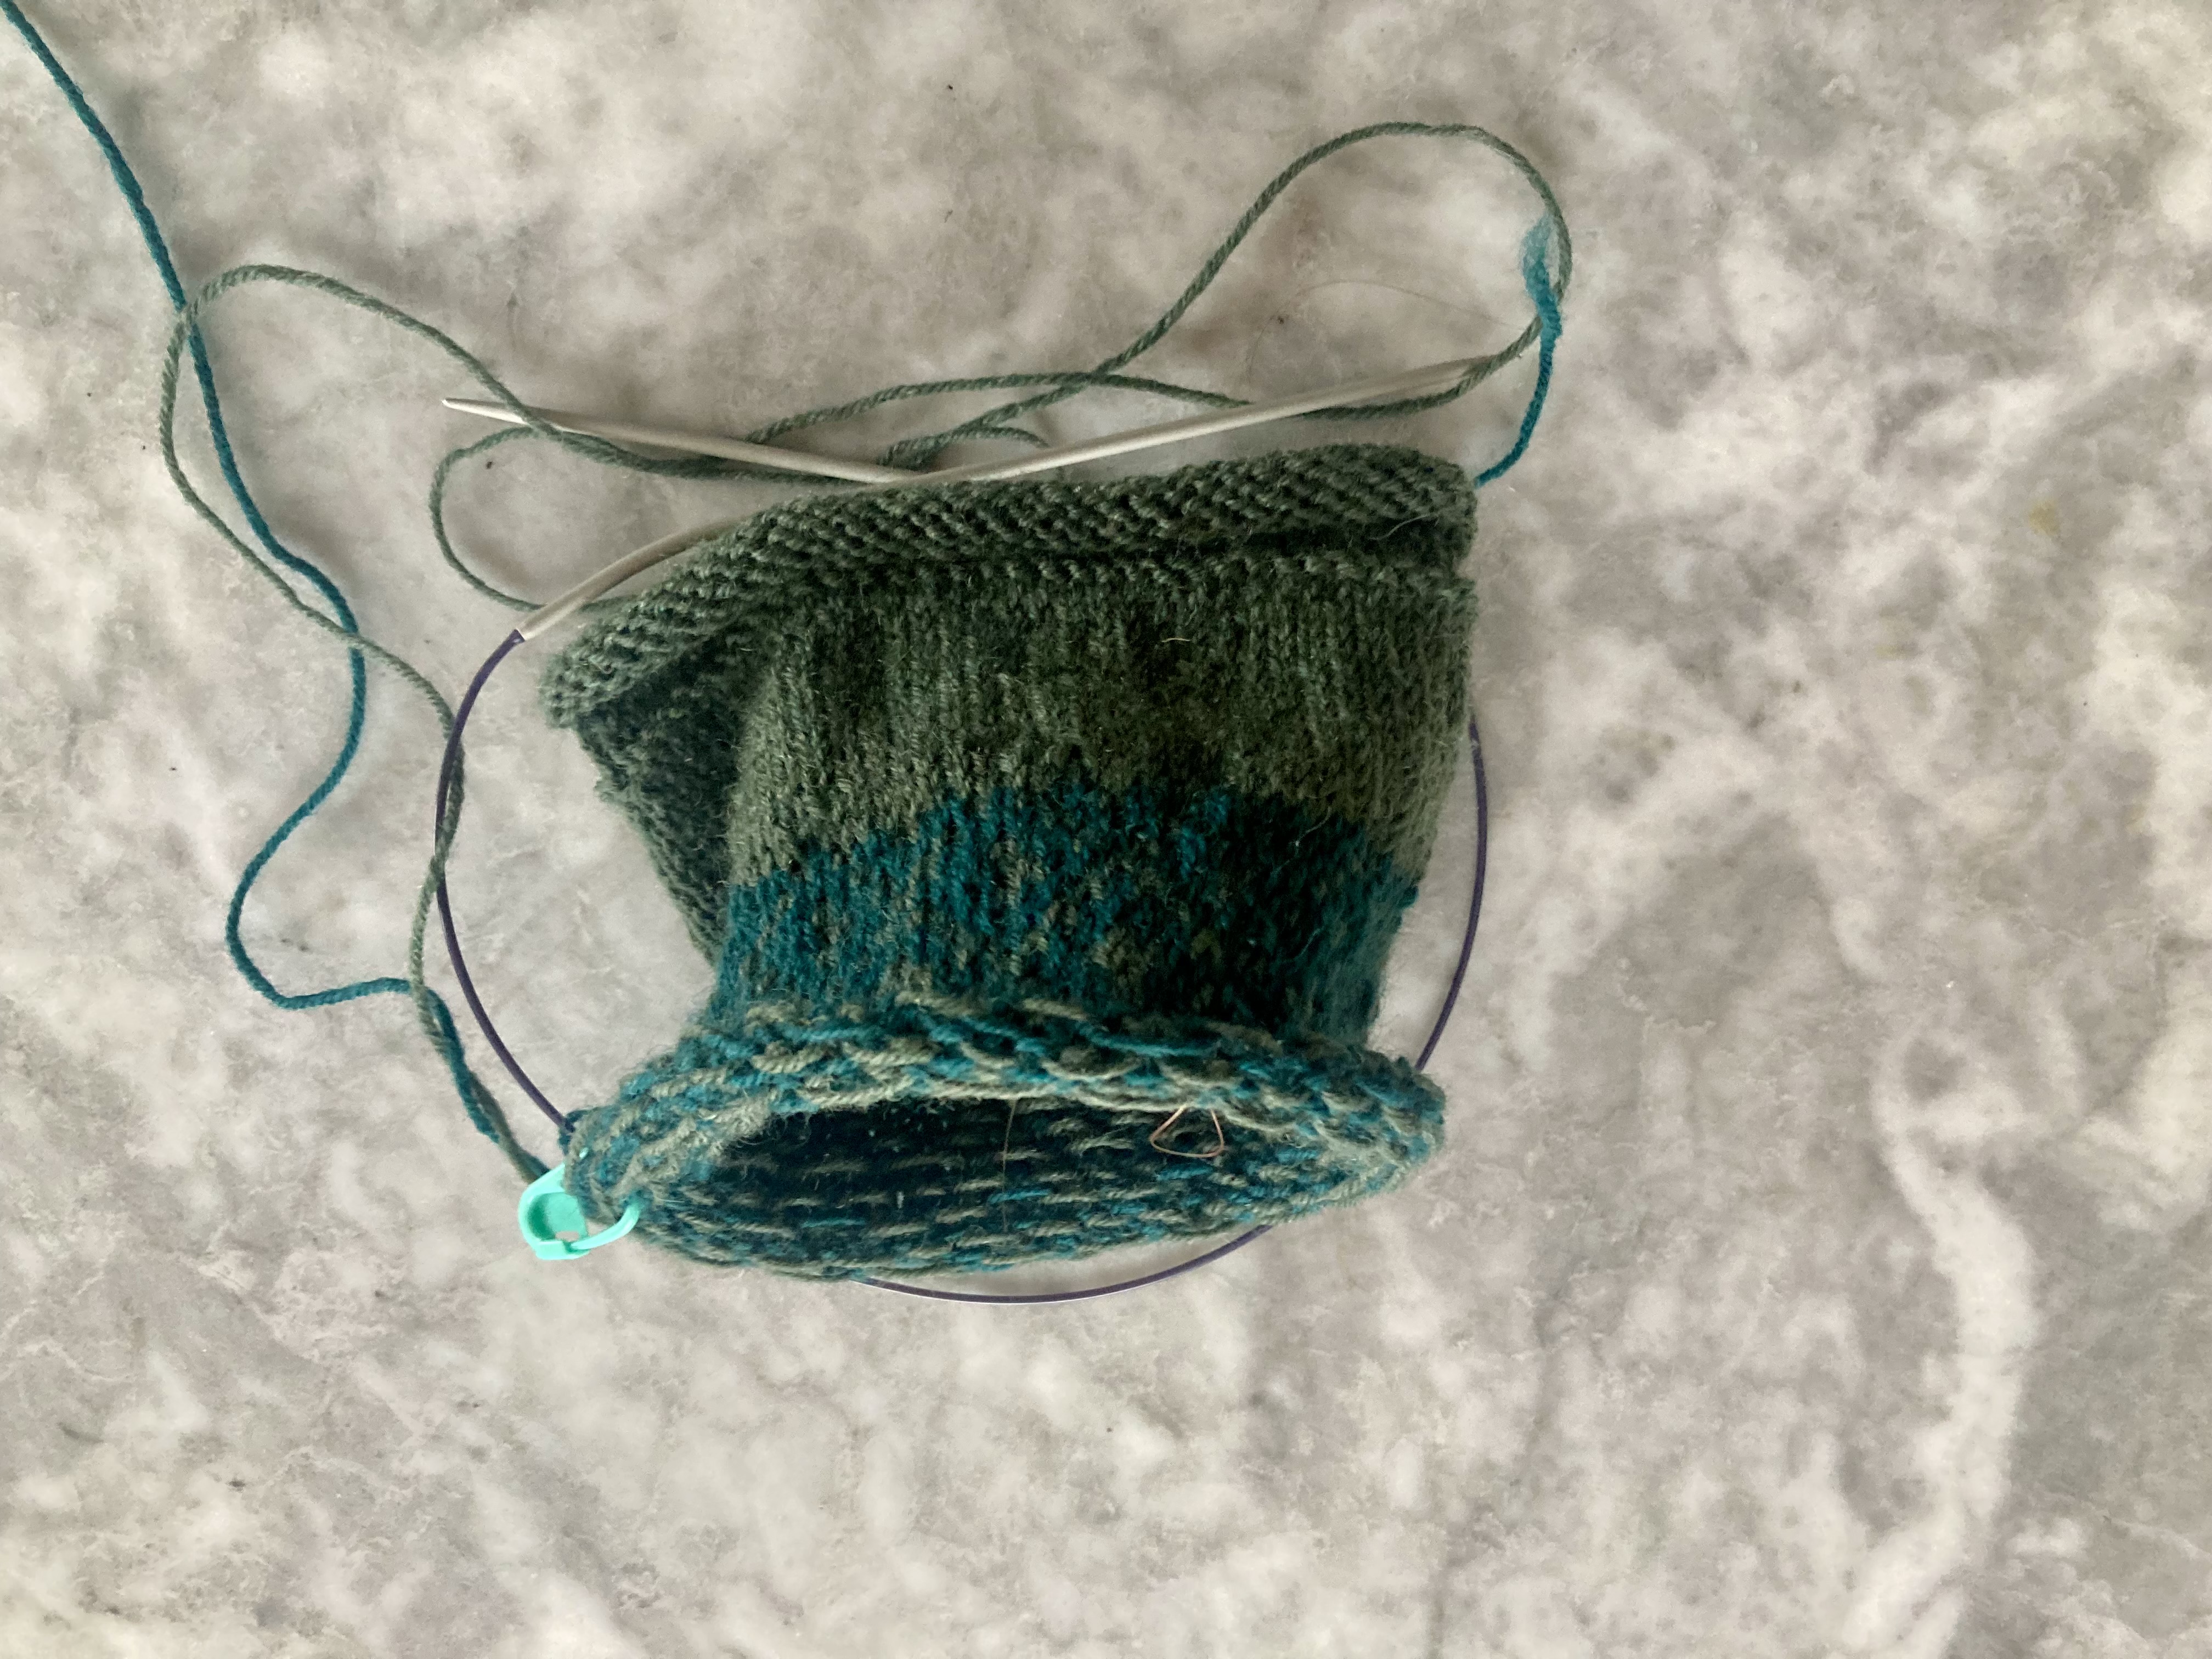
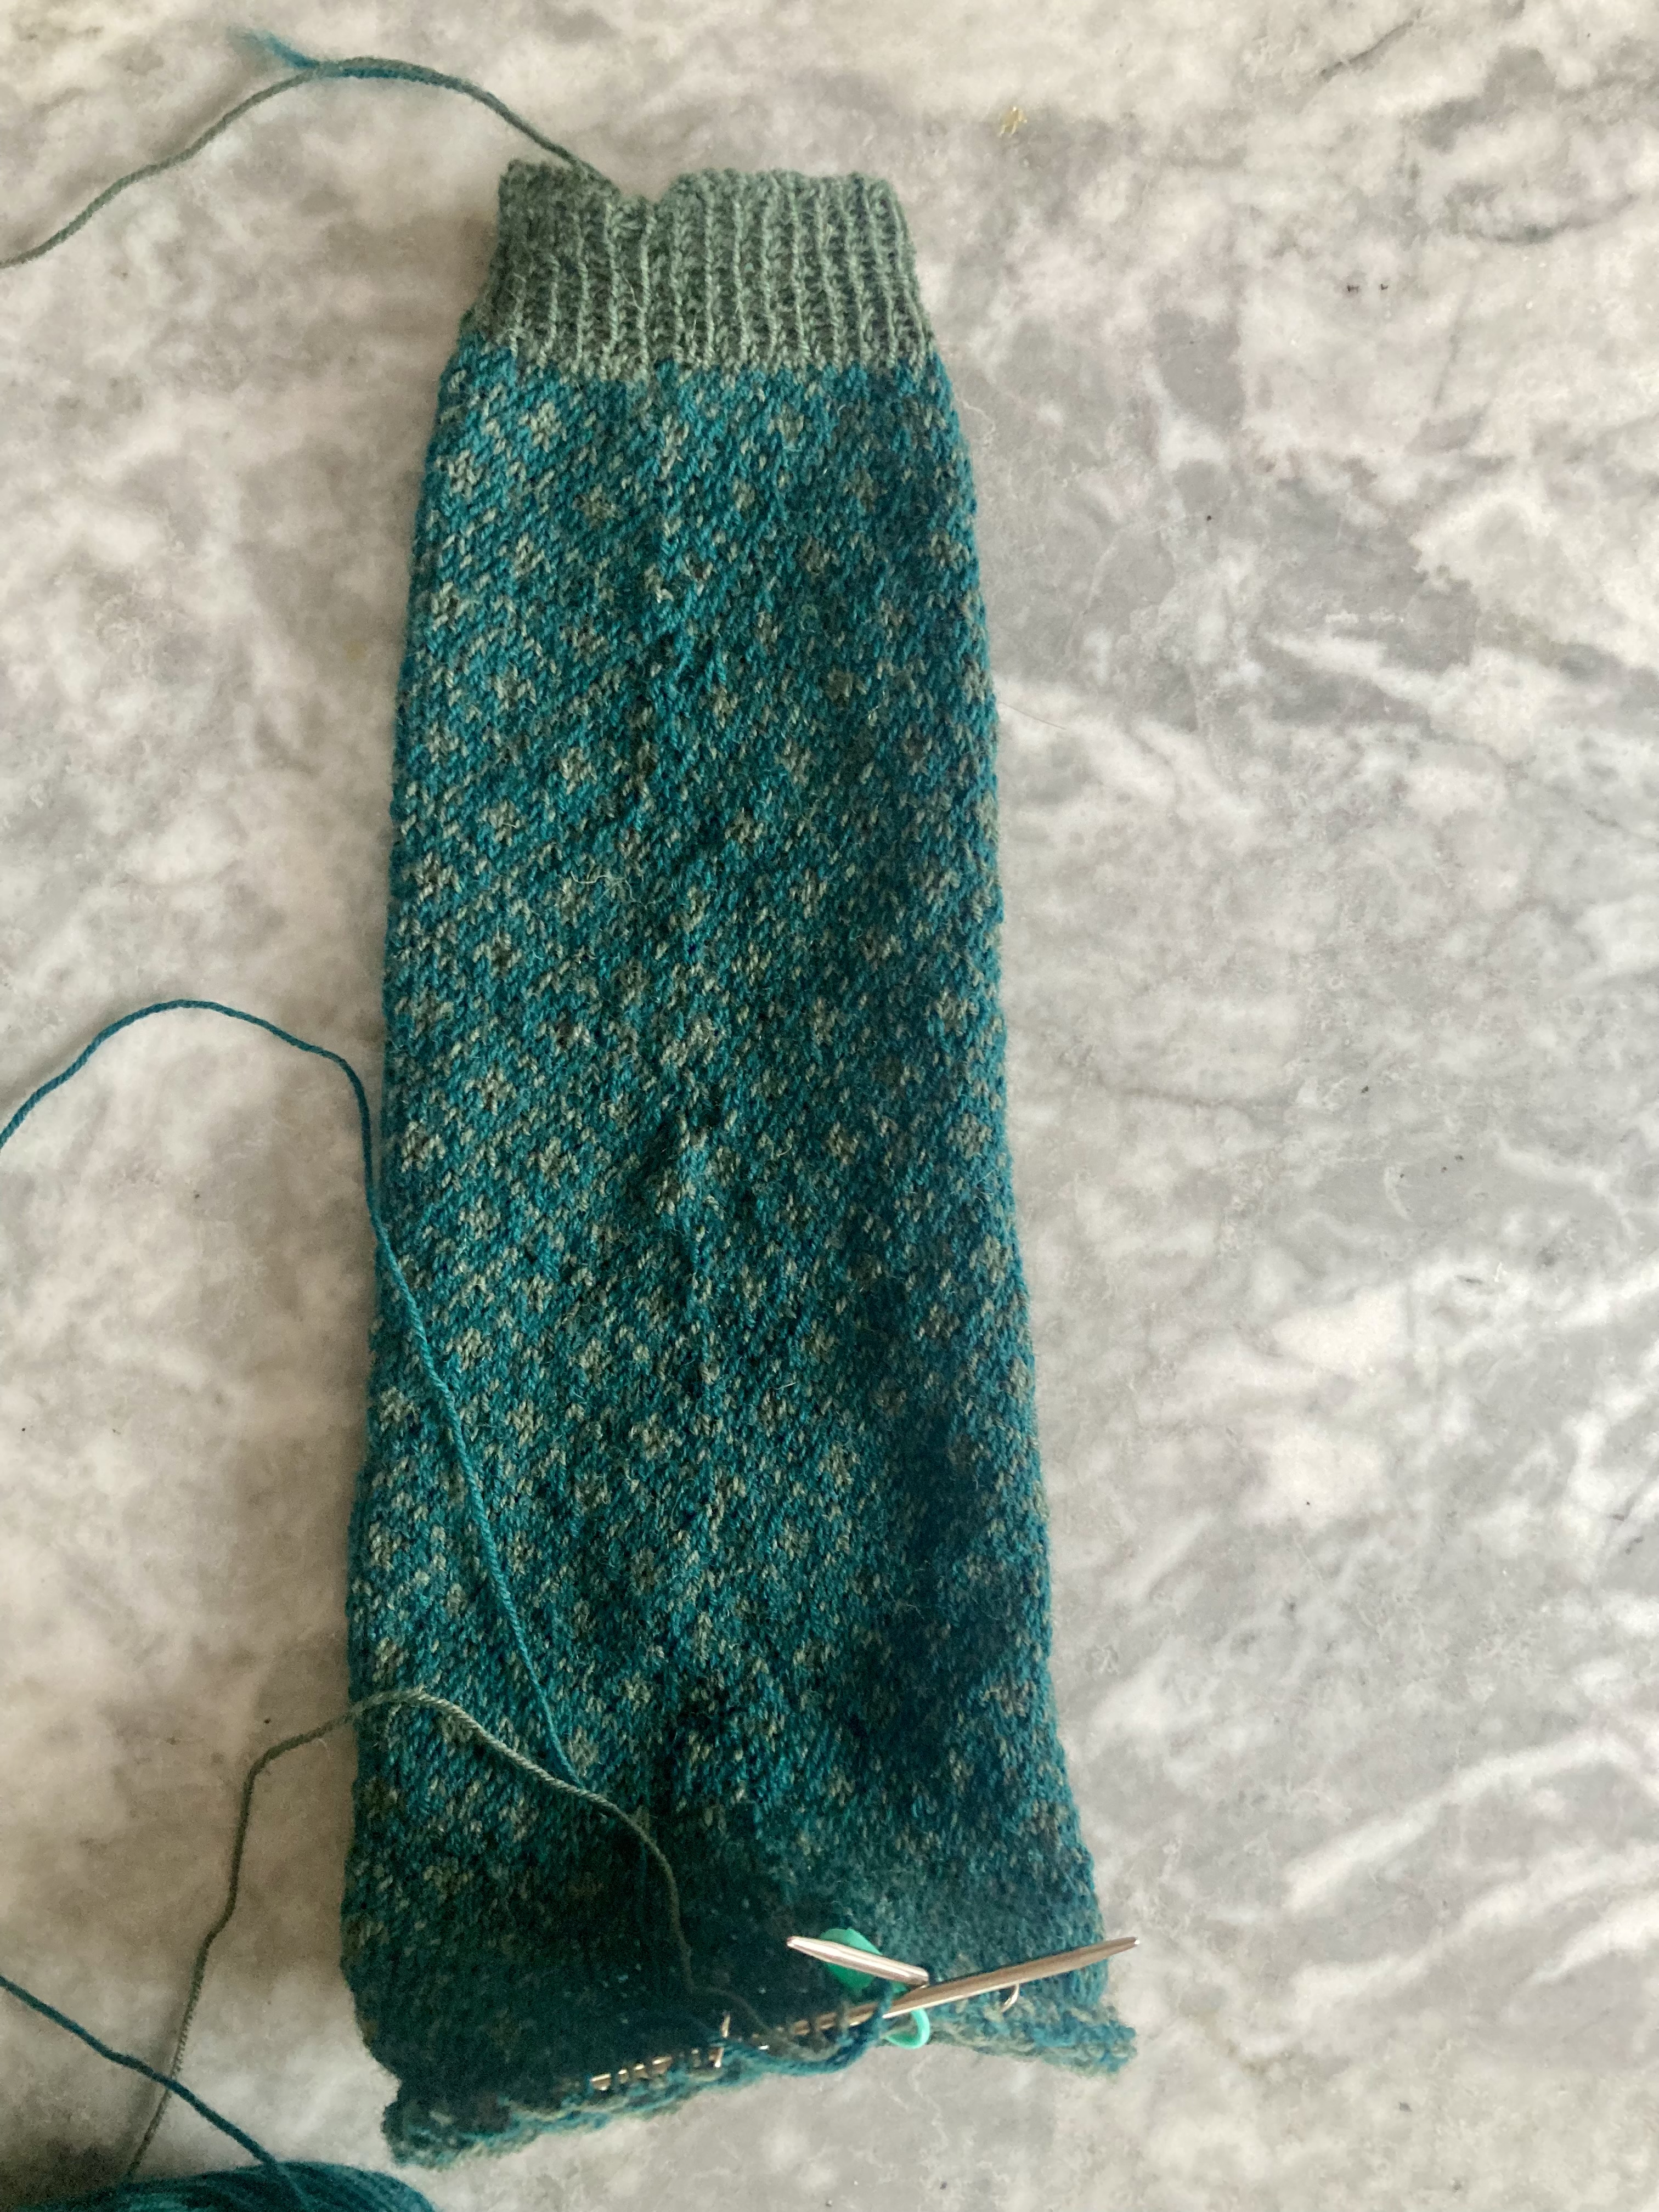
The stranded jaquard pattern is quite easy and has the advantage of having very short stretches of one colour — no more than three stitches ever — so it makes a very evenly worked wrong side and there was no need to weave in floats. It’s a subtle pattern with not much contrast, but that’s how the original looks as well. I started with the sleeves, to check for size, and made them in the round for speed and ease. I also decided to make a normal ribbed cuff instead of a hem.
I started the sleeve the first time with the hem as written, and didn’t like it — the transition from hem to pattern wasn’t smooth. I started over and got to halfway up the arm while wondering why it was so narrow. Suprise, I had been doing the increases wrong. Started over and did them right, and the fit was perfect.
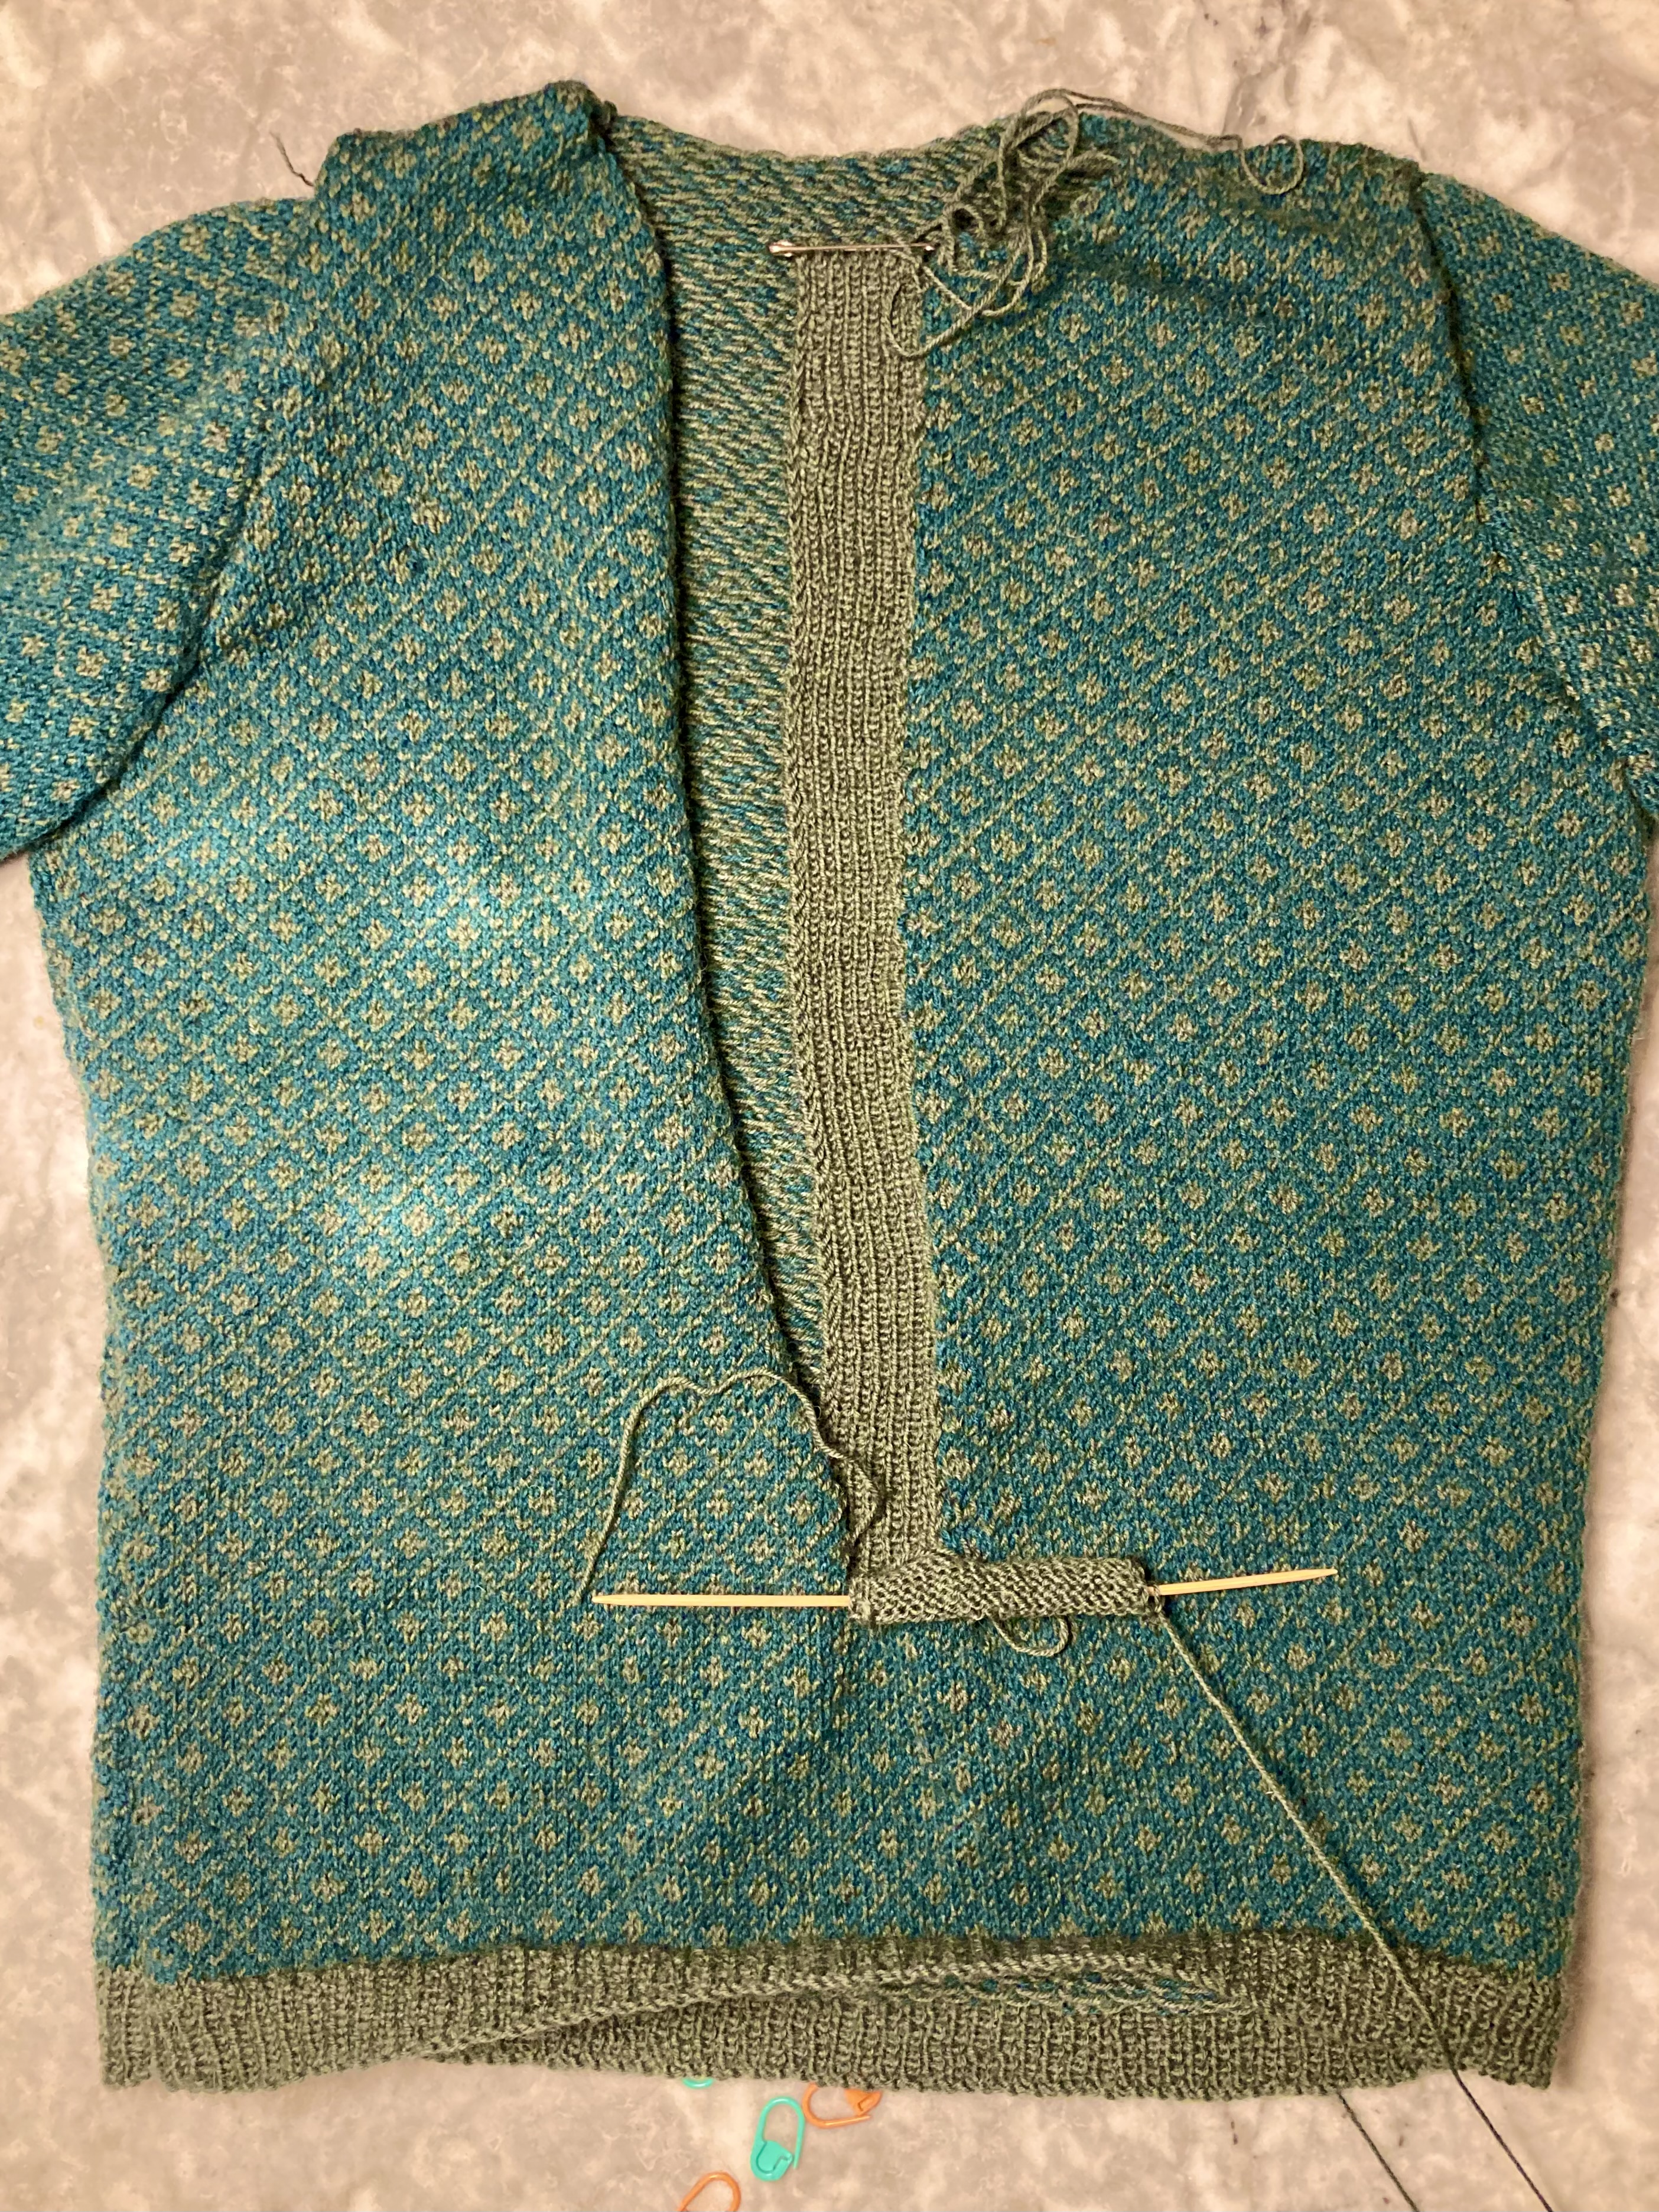
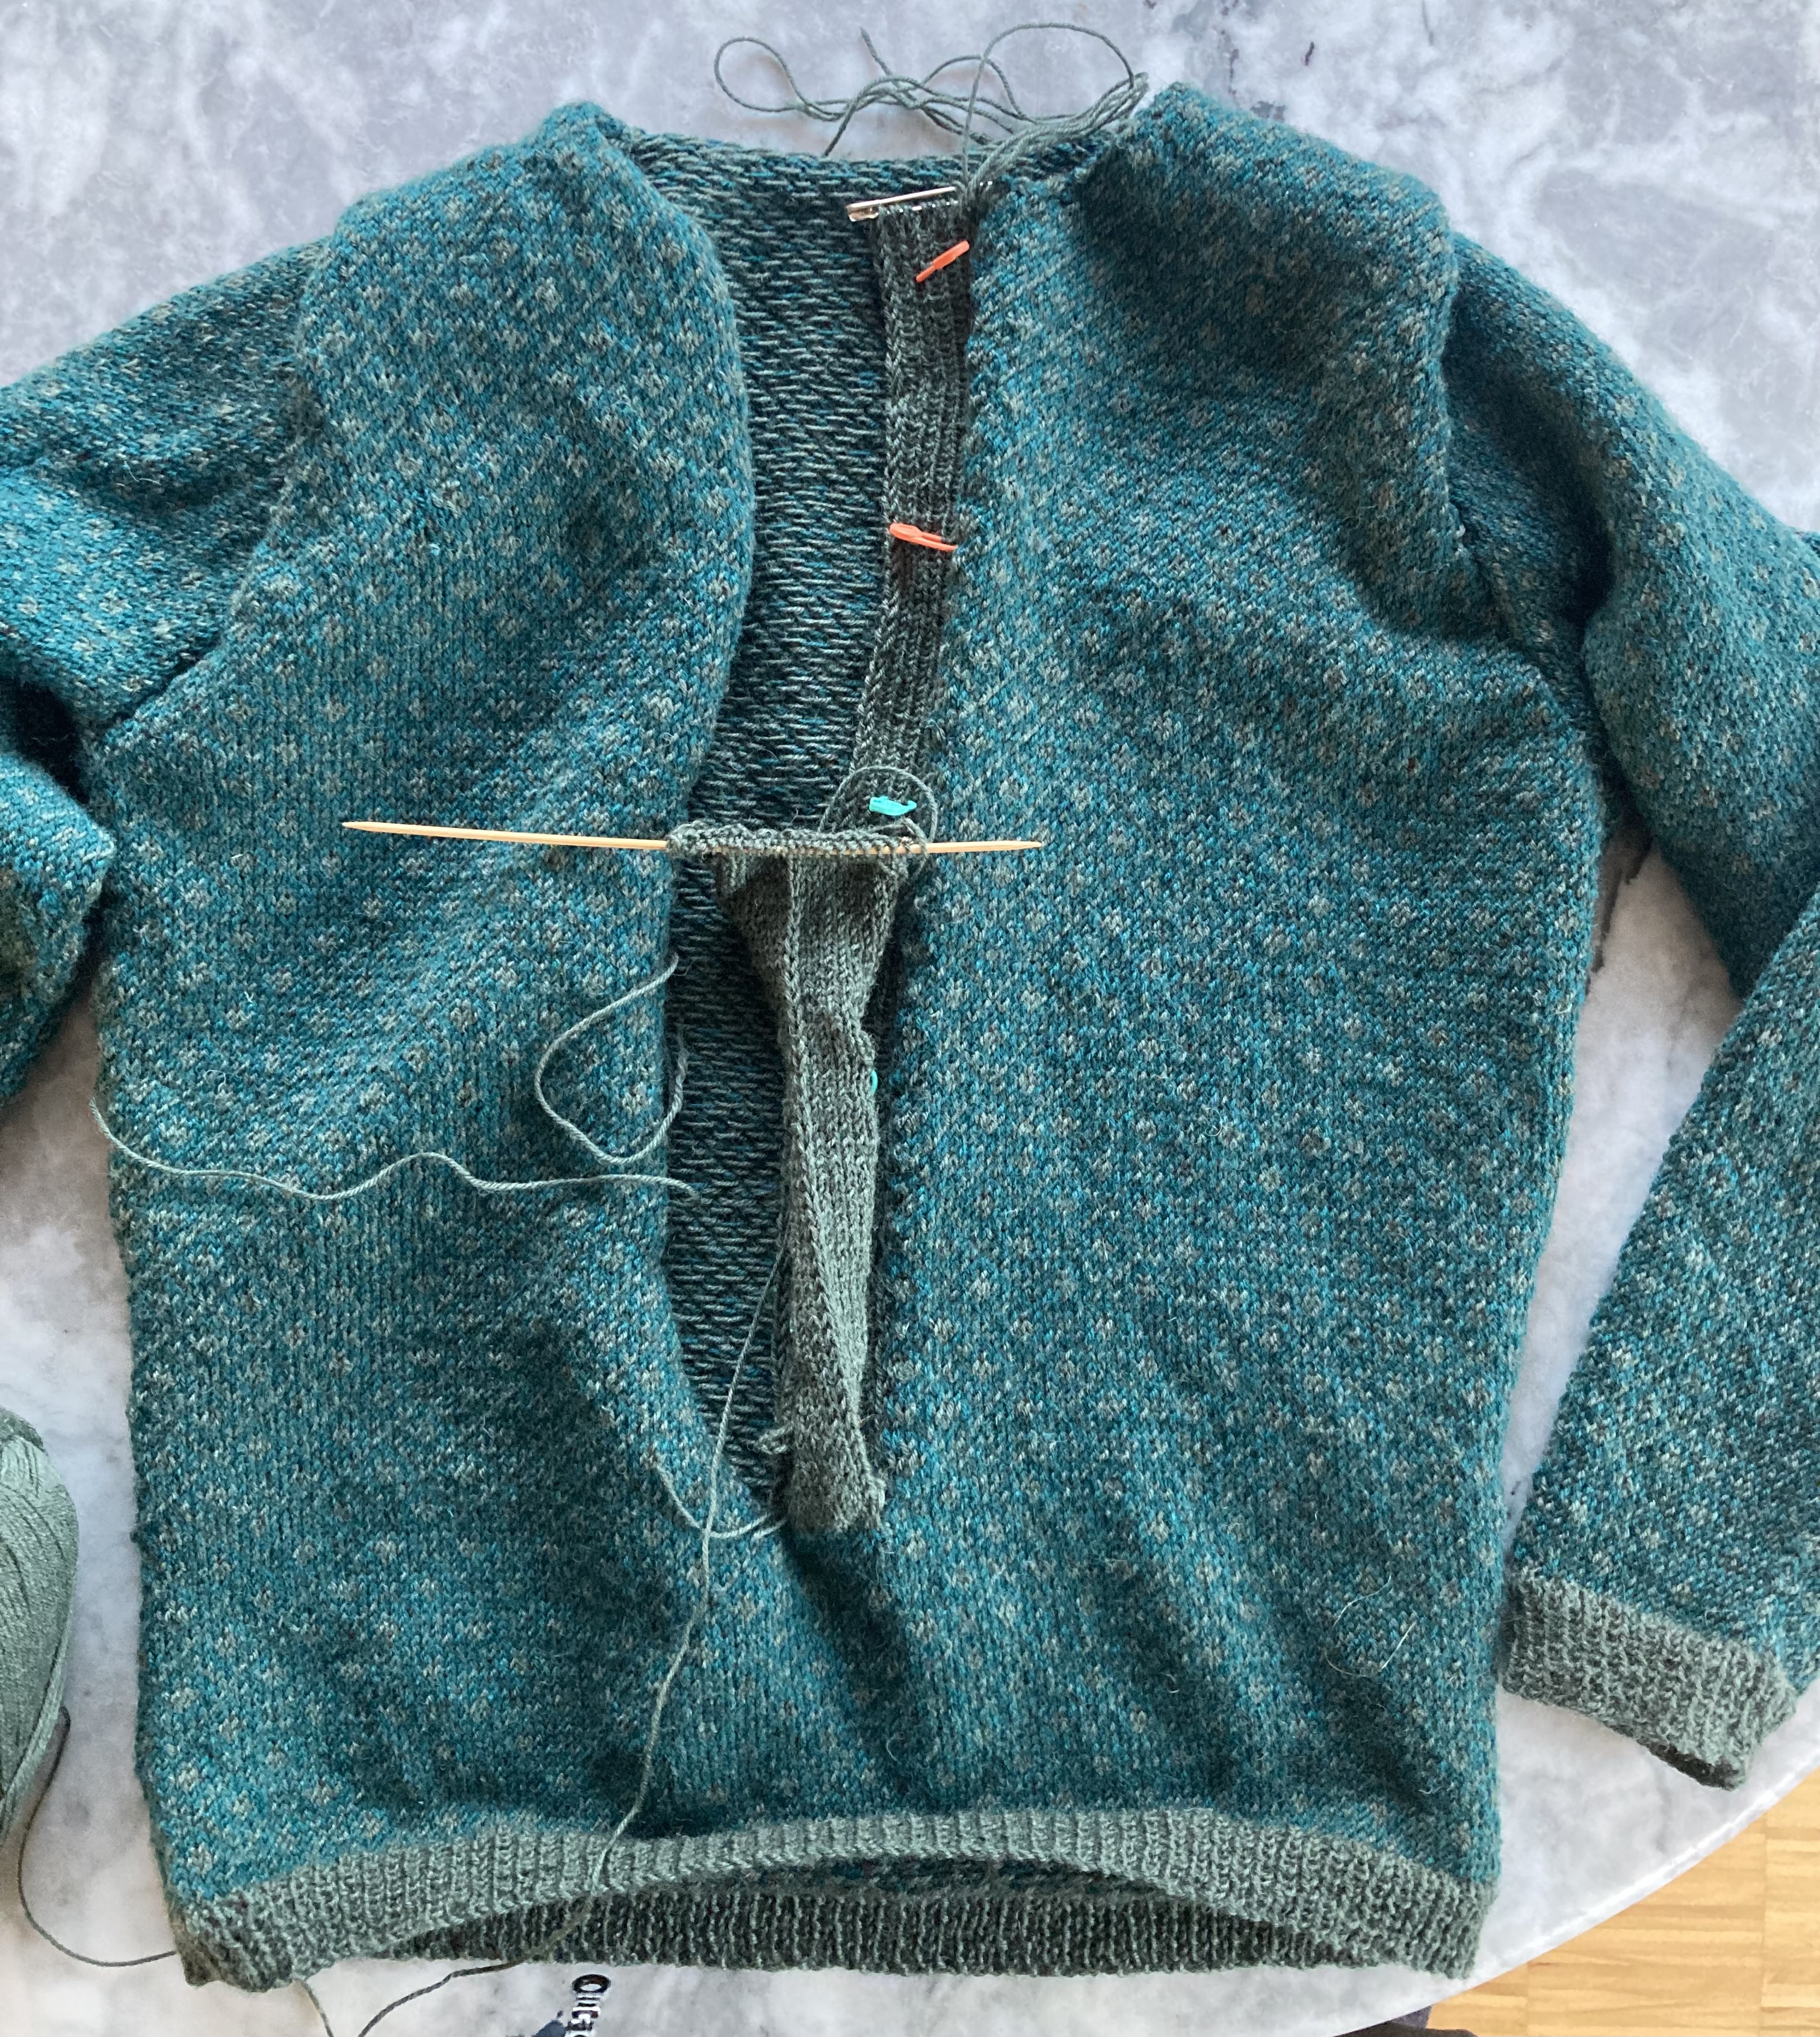
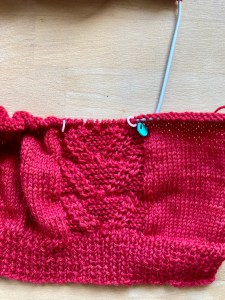
I decided to make the body with ribbing as well, and in two separate pieces worked back-and-forth instead of in the round. I thought about making it in the round with a steek for the placket, but then I thought a steek might be too bulky (the fabric is nice and flexible in spite of the close stranding) and I could adjust for fit more easily by working the back and front separately.
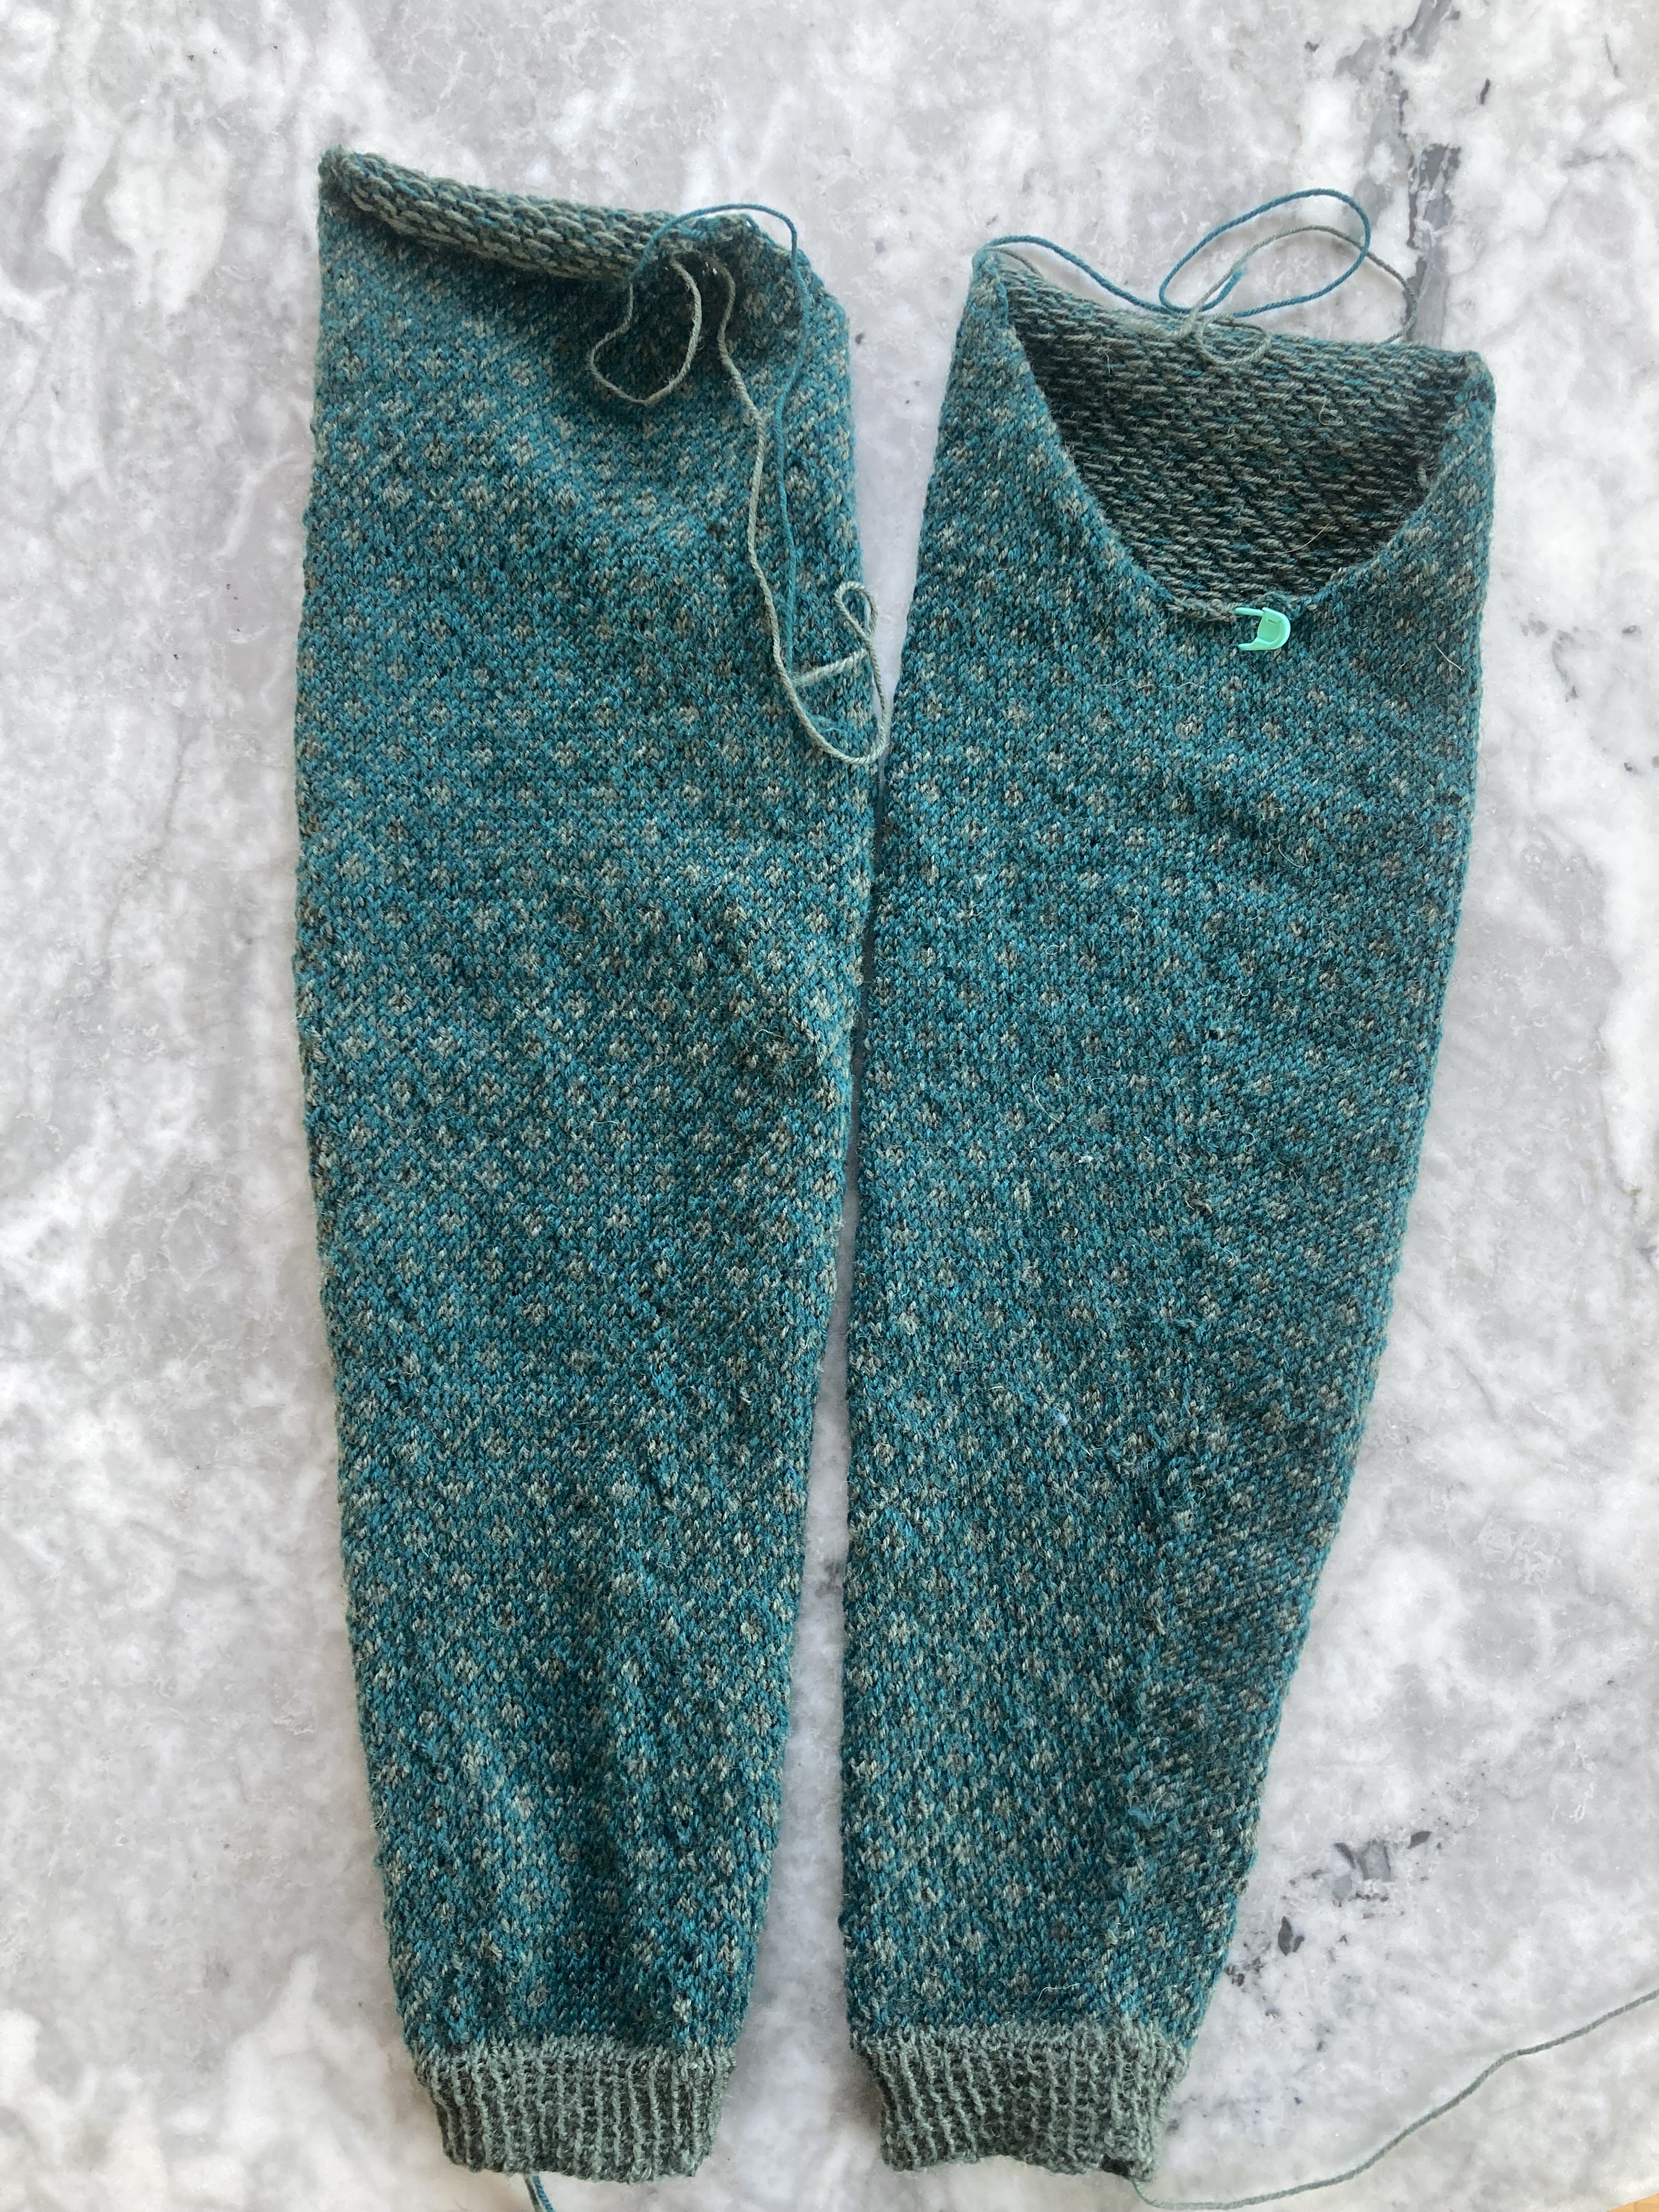
On the subject of fit, I made the sleeves in the regular second size, for 36-37 inch bust, and 17 inches to underarm instead of 16. The body of these late 60s, unshaped garments always looks well-fitted on the model in the photo, but like a huge floppy sack on me. My calculations tell me that the back piece, even knitted in the smallest size (for 34-35 inch bust) would be 19 inches wide the whole time, from hem to underarm, and anything that wide around the hip/waist area is just going to look awful on me. The question was: should I start off as in the pattern, decrease for waist shaping and then increase up to the bust, or start smaller to keeop the waist narrower from the beginning and just start increasing after the waist?
Since I had decided to make the bottom edge ribbed instead of hemmed, like the sleeves, I went for the second option. Started the back according to the first size and increased up to the second size for the back, and the second size for the front. That will give a different shape than intended, but it will look a lot better on me.
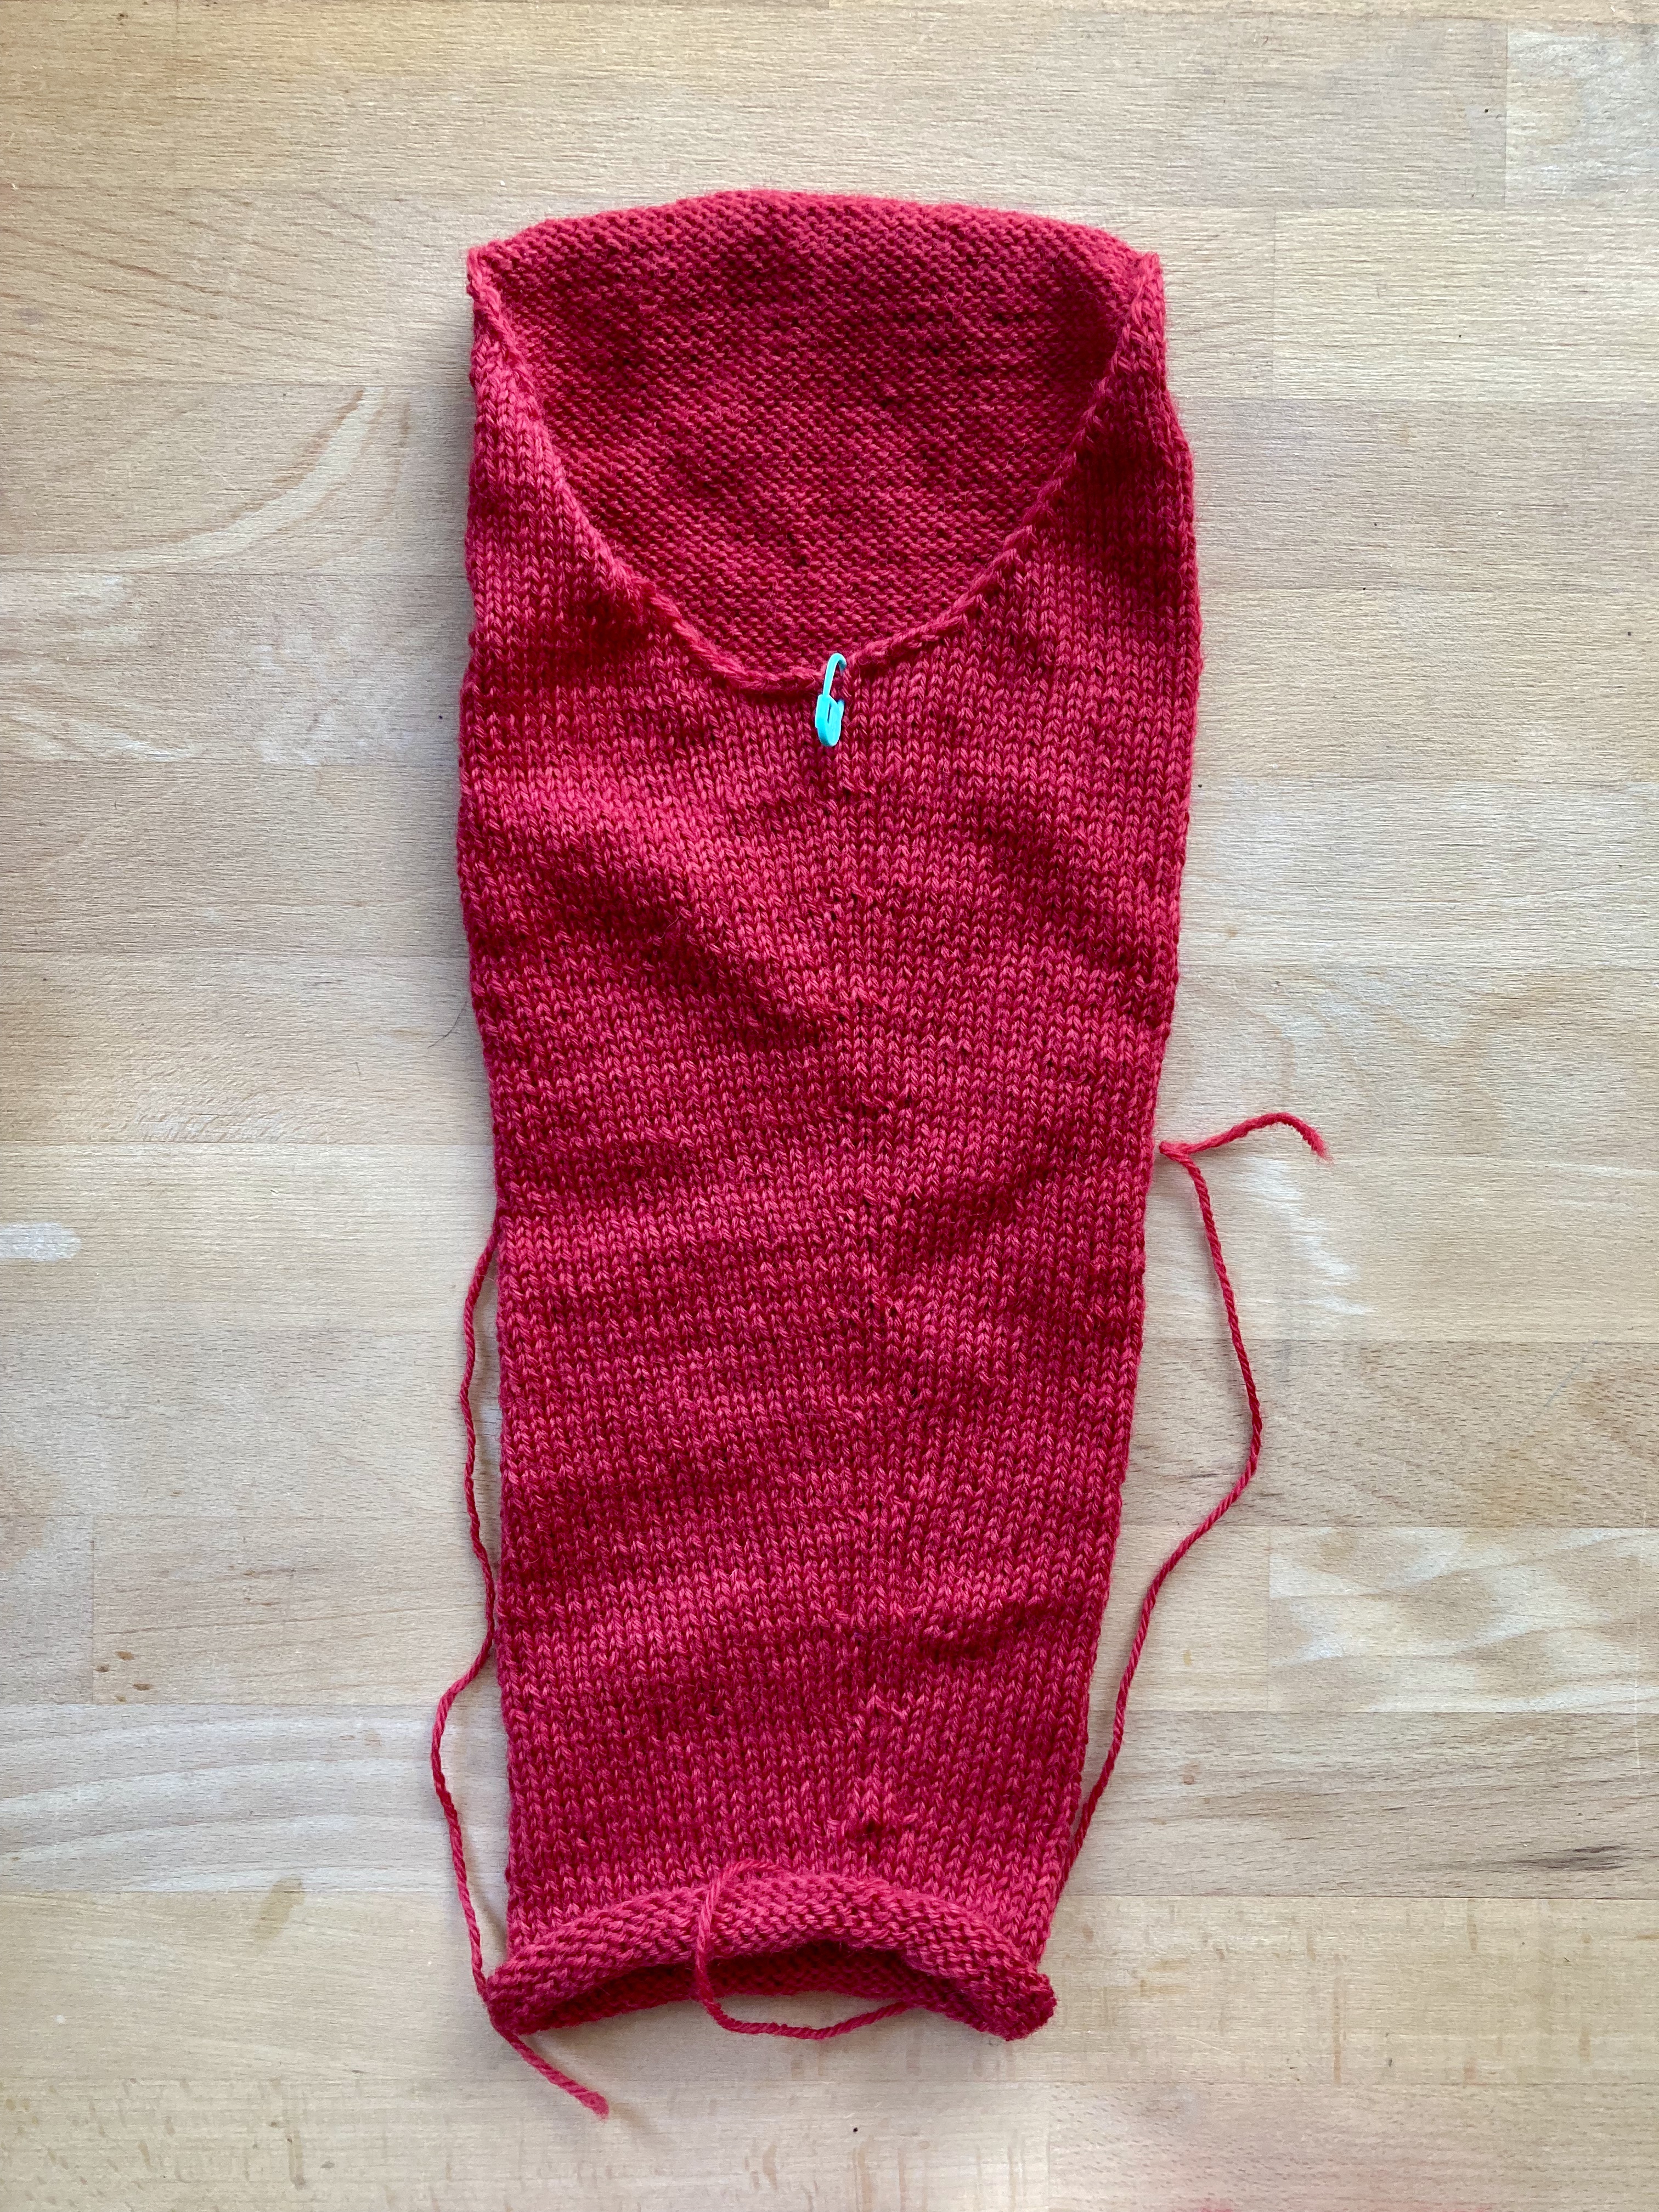
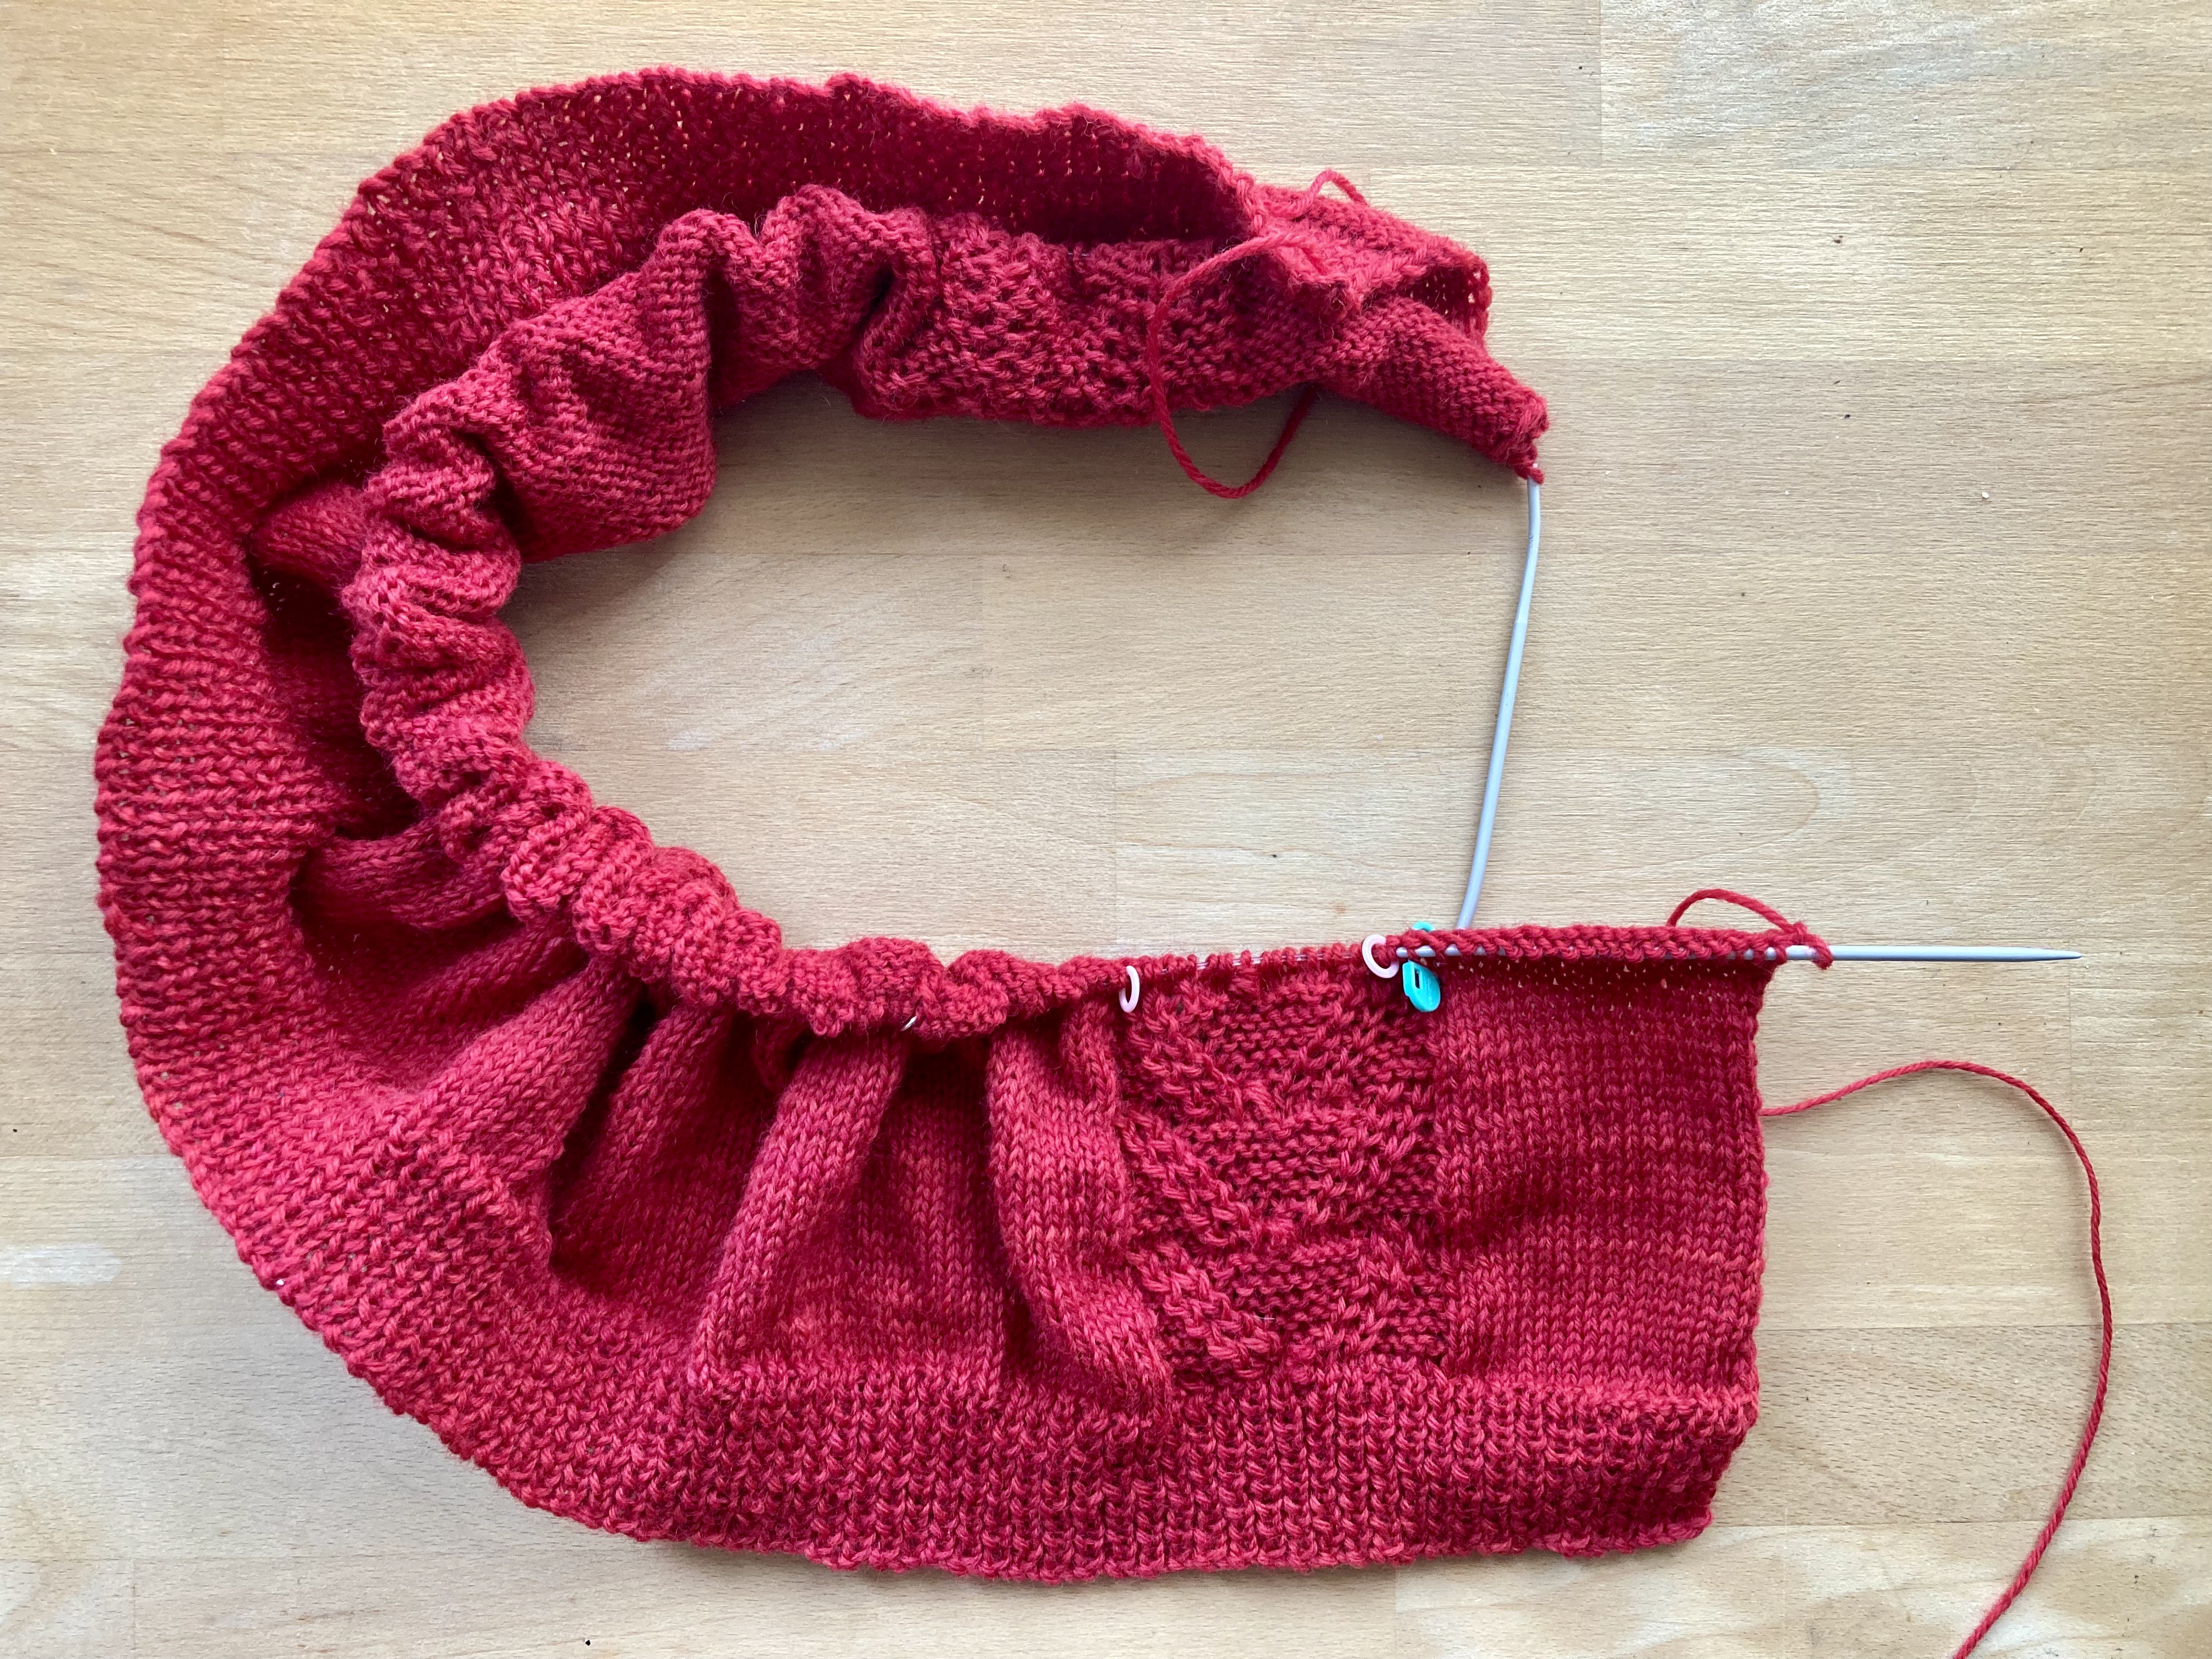
It still went very slowly, and unfortunately I was quite badly ill for much of November and December, so that on many days I didn’t even have the energy to knit. Also, the pattern, yarn and needles were all very small and fine. But eventually, it took shape. I decreased down to the first size again for the shoulders and back neck to get a nice fitted look.
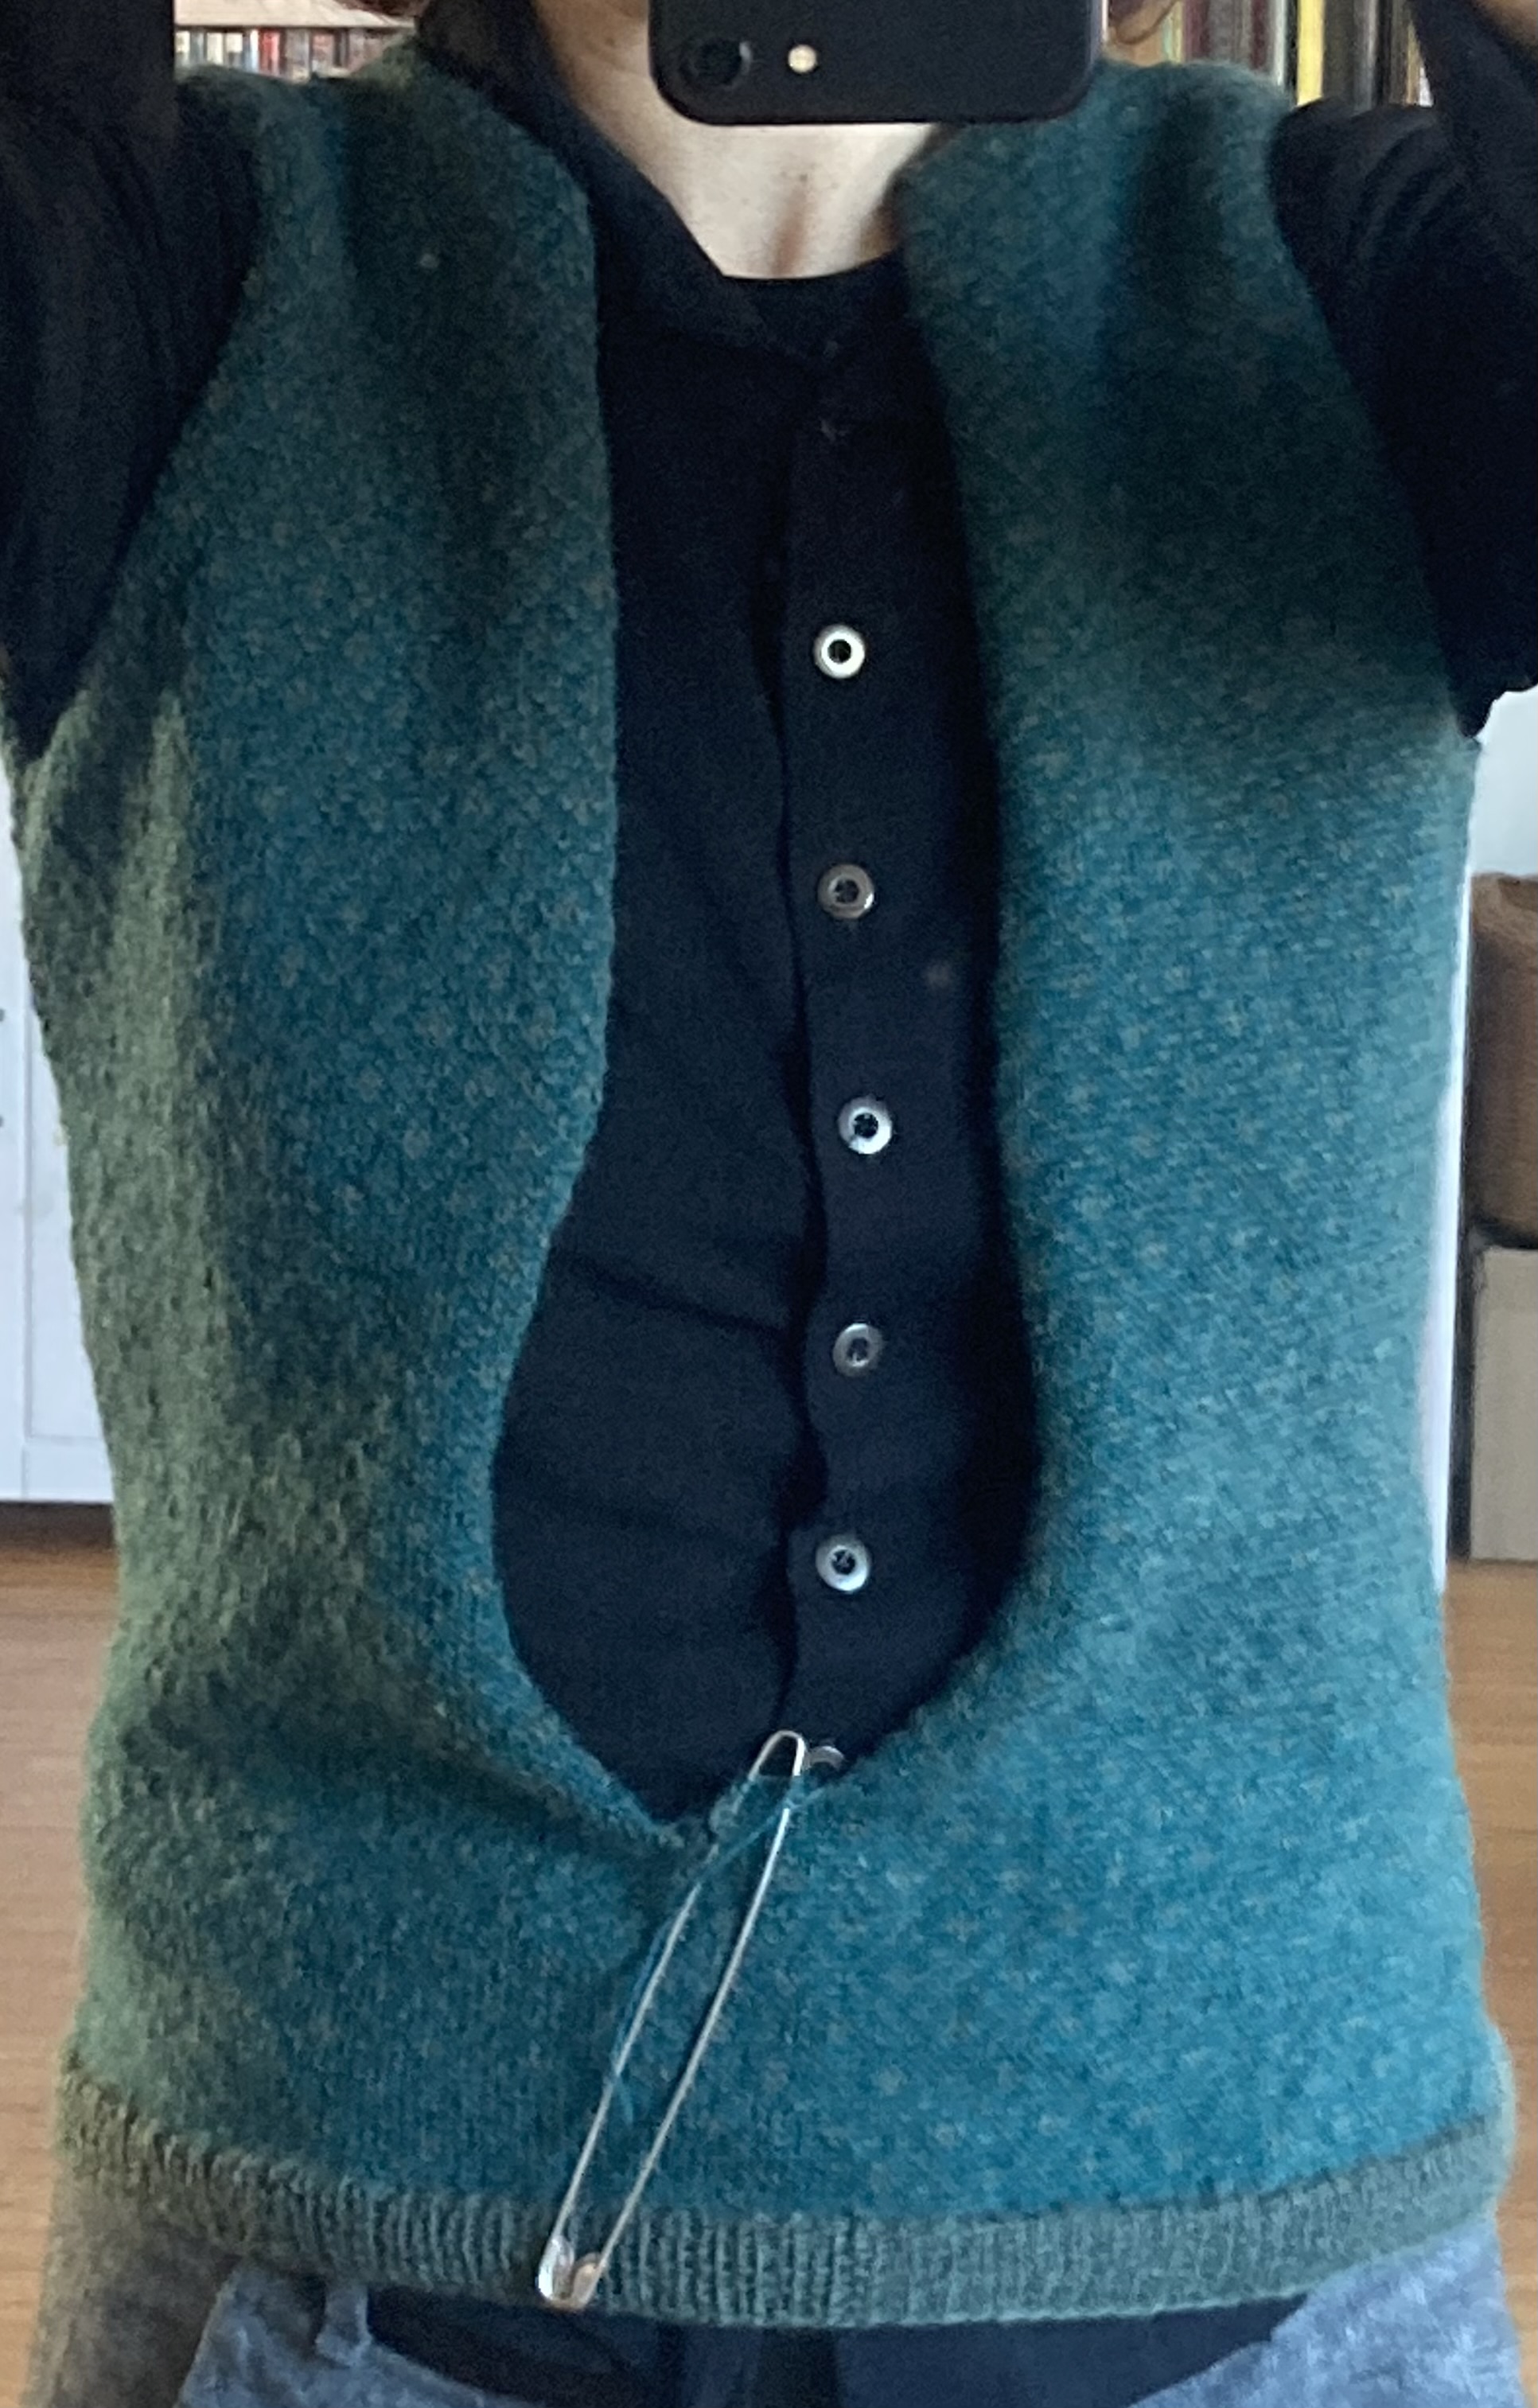
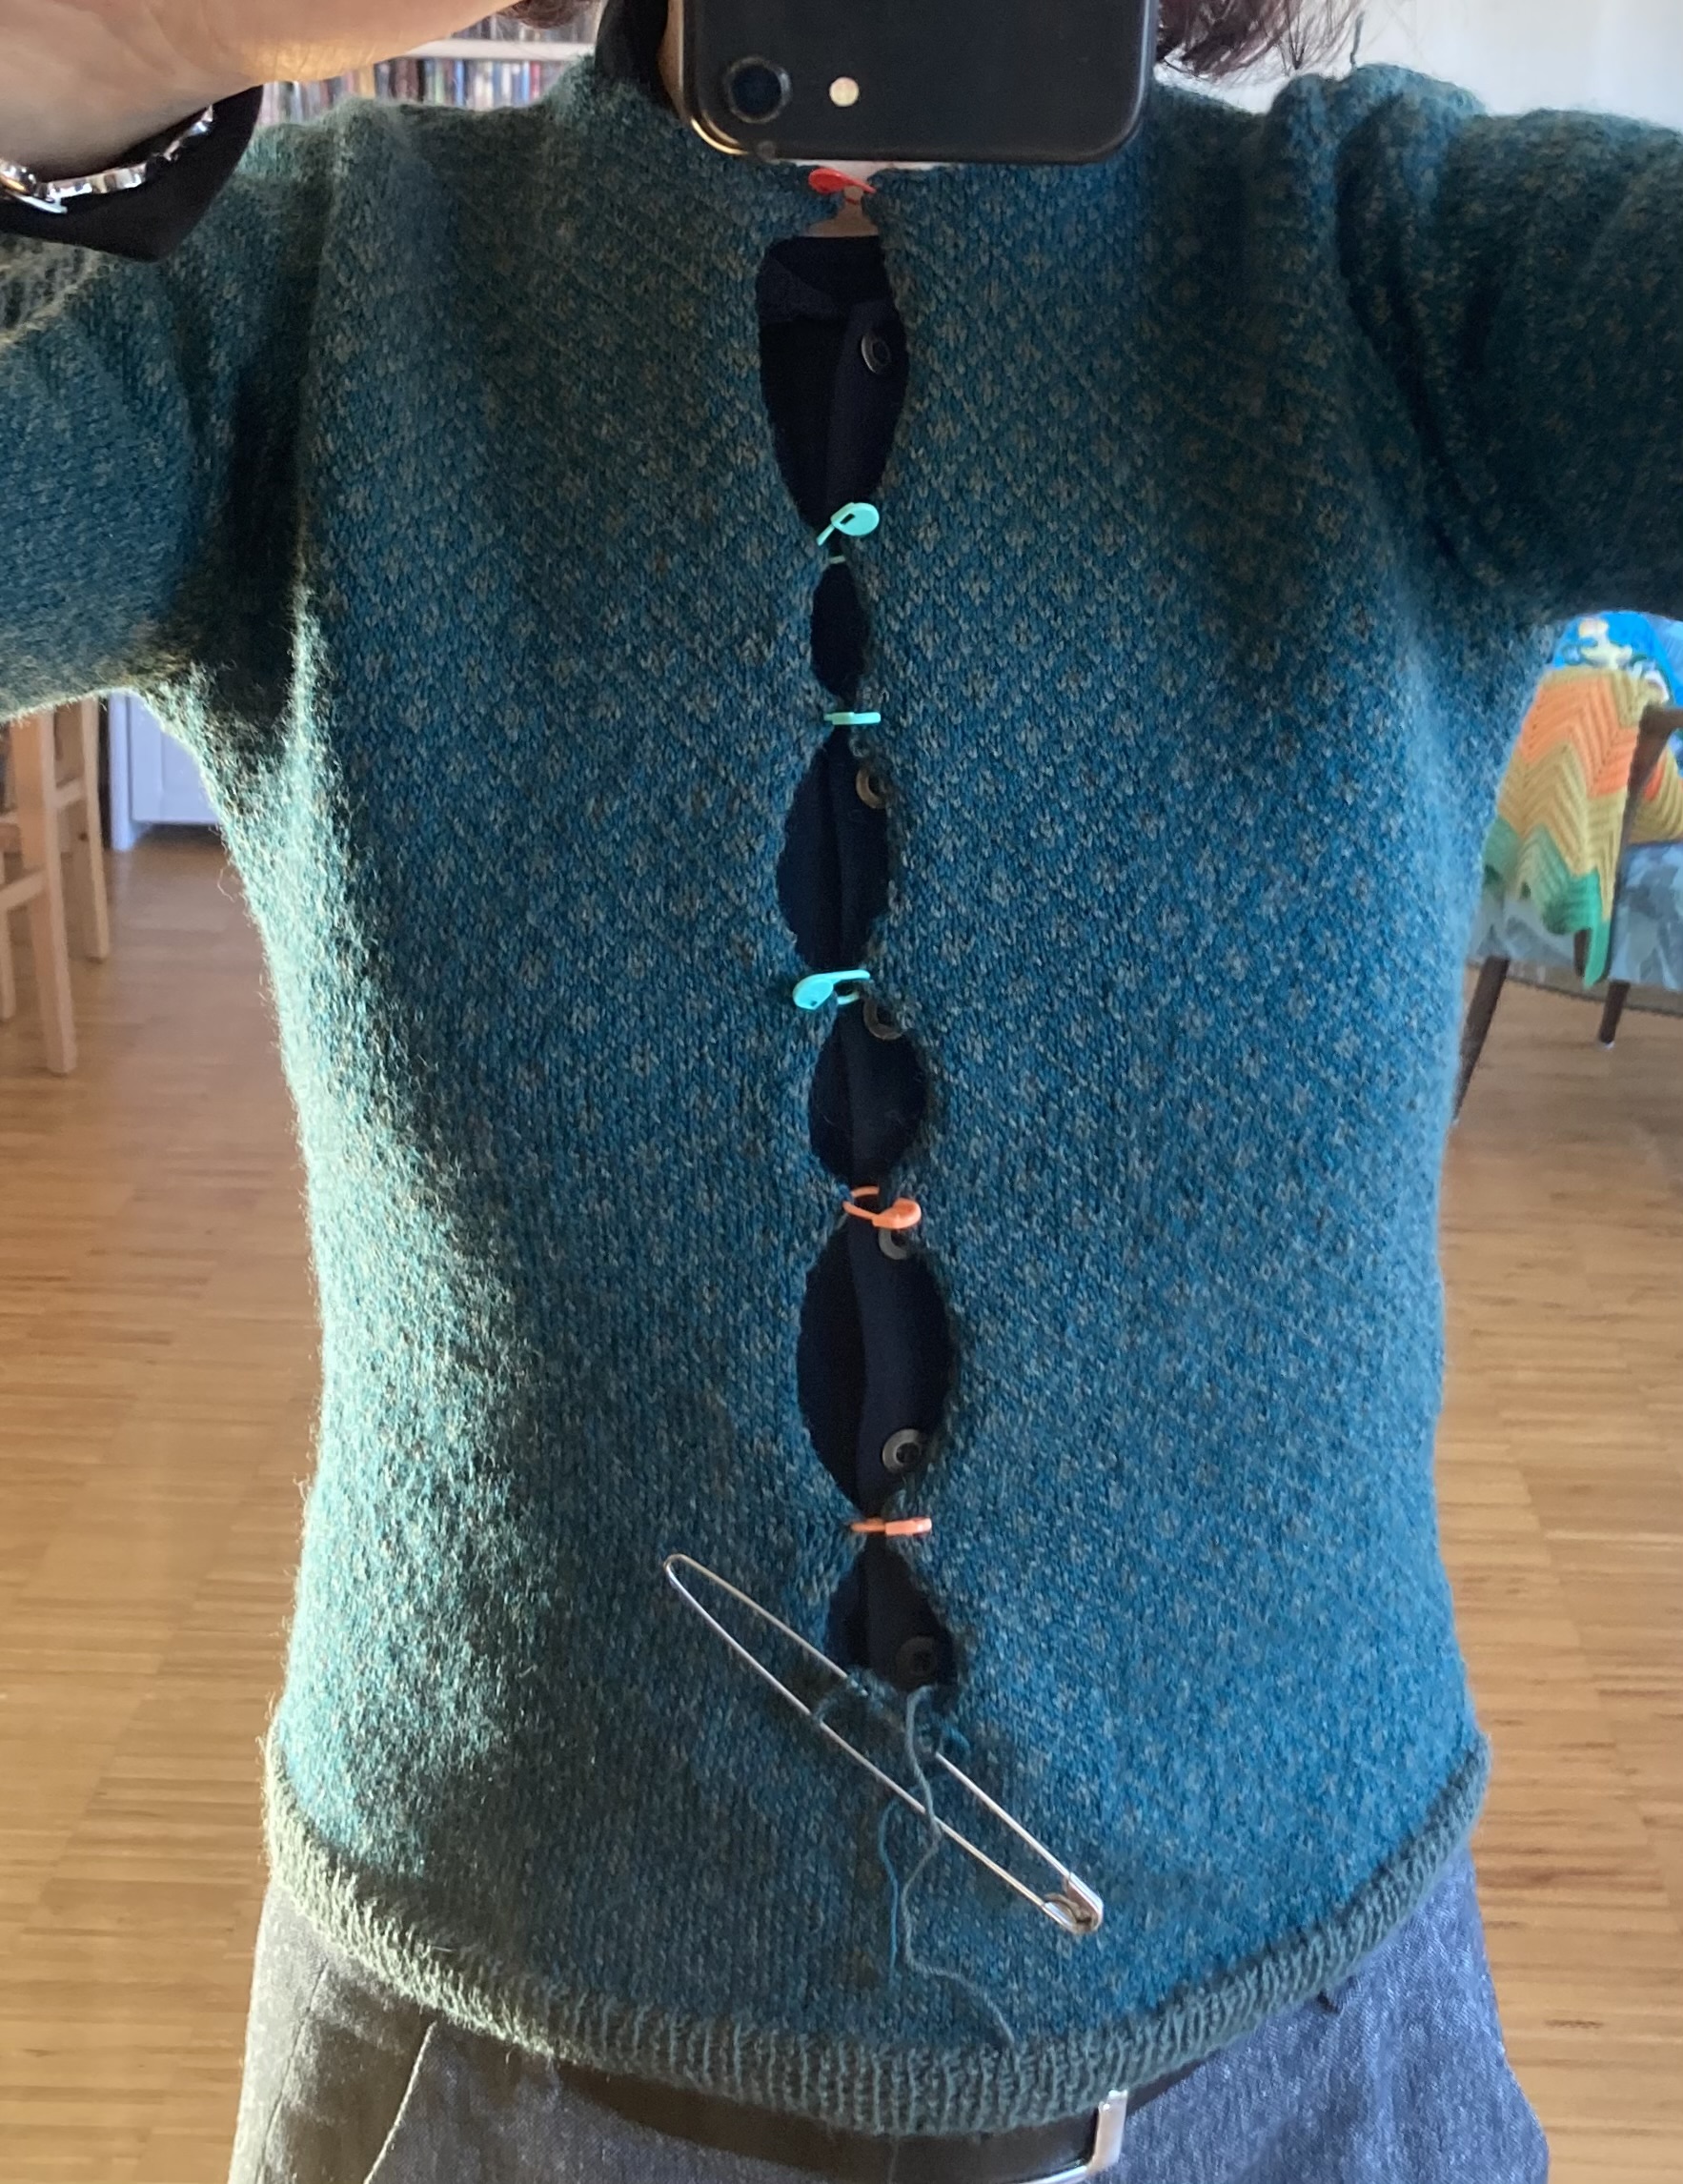
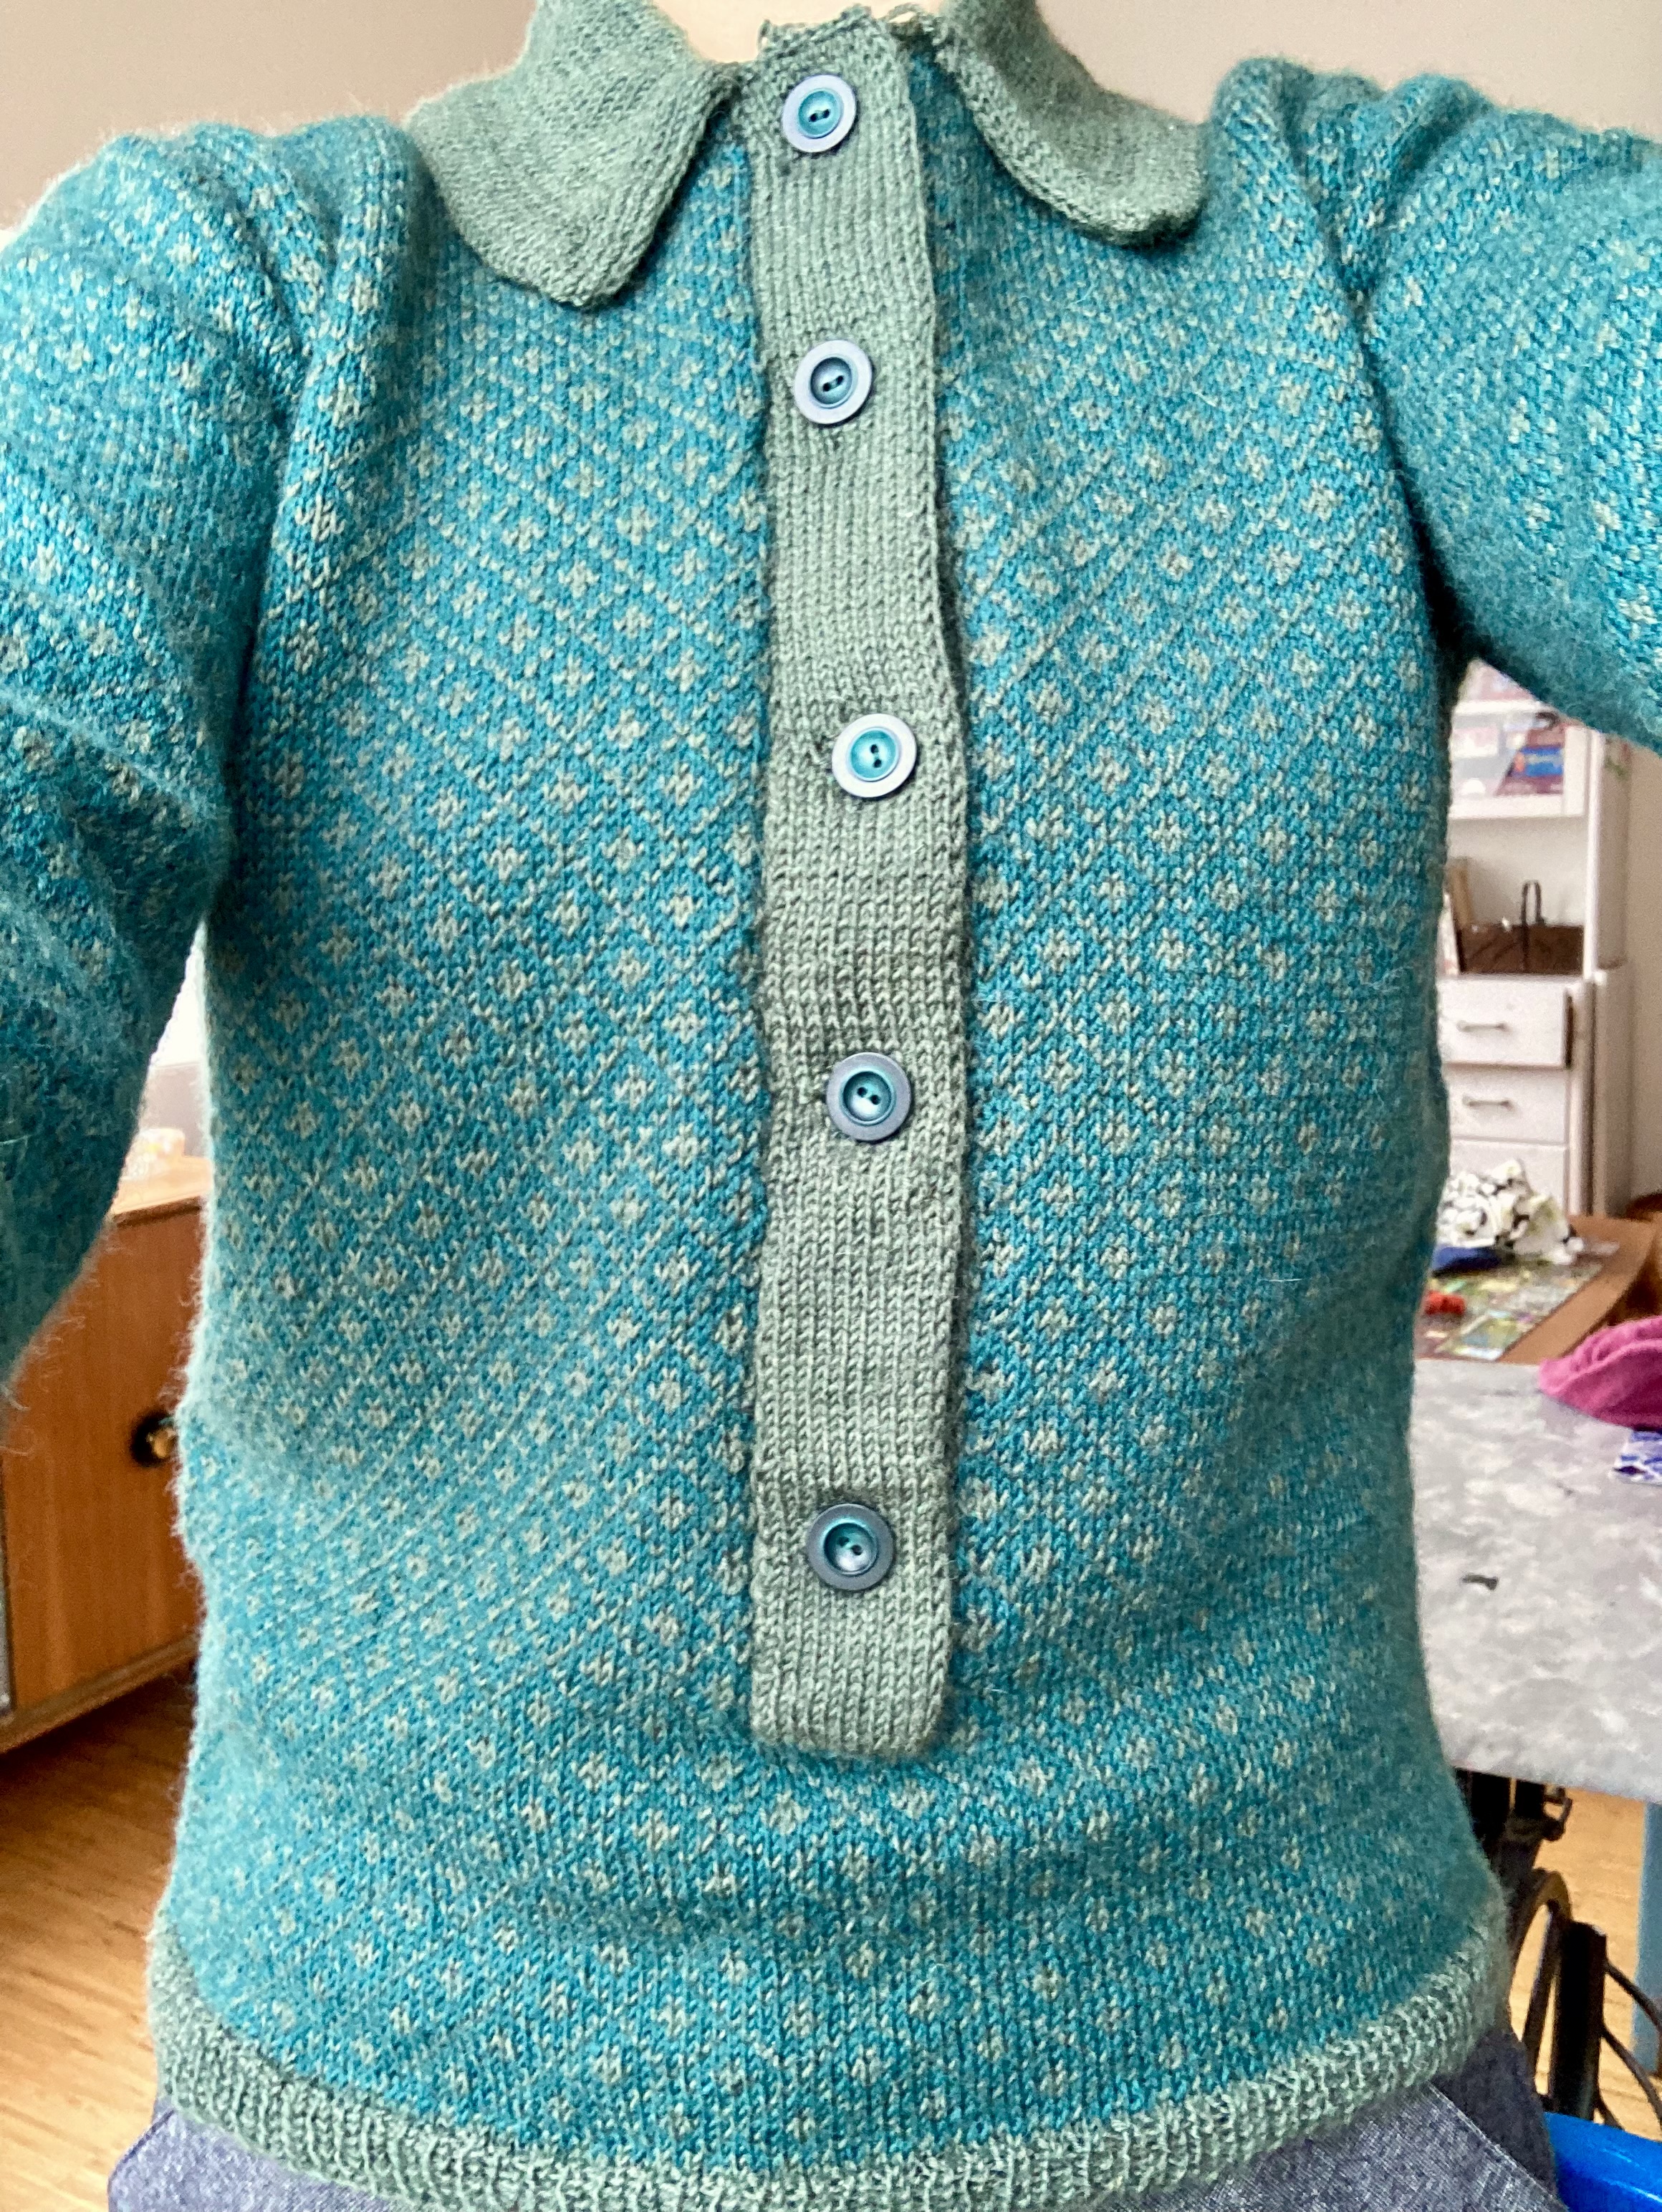
The front bands are interesting: the inside one, where the buttons are, is made in 1×1 rib, and the outside one with the buttonholes is made in stocking-stitch with a facing and double buttonholes. The collar is also made in stocking-stitch, with facings on the bottom and front edges. I thought the facings wouldn’t be enough to stop the stocking-stitch curl, but was pleasantly surprised — the collar lay perfectly. I found some nice, possibly vintage buttons in my stash.
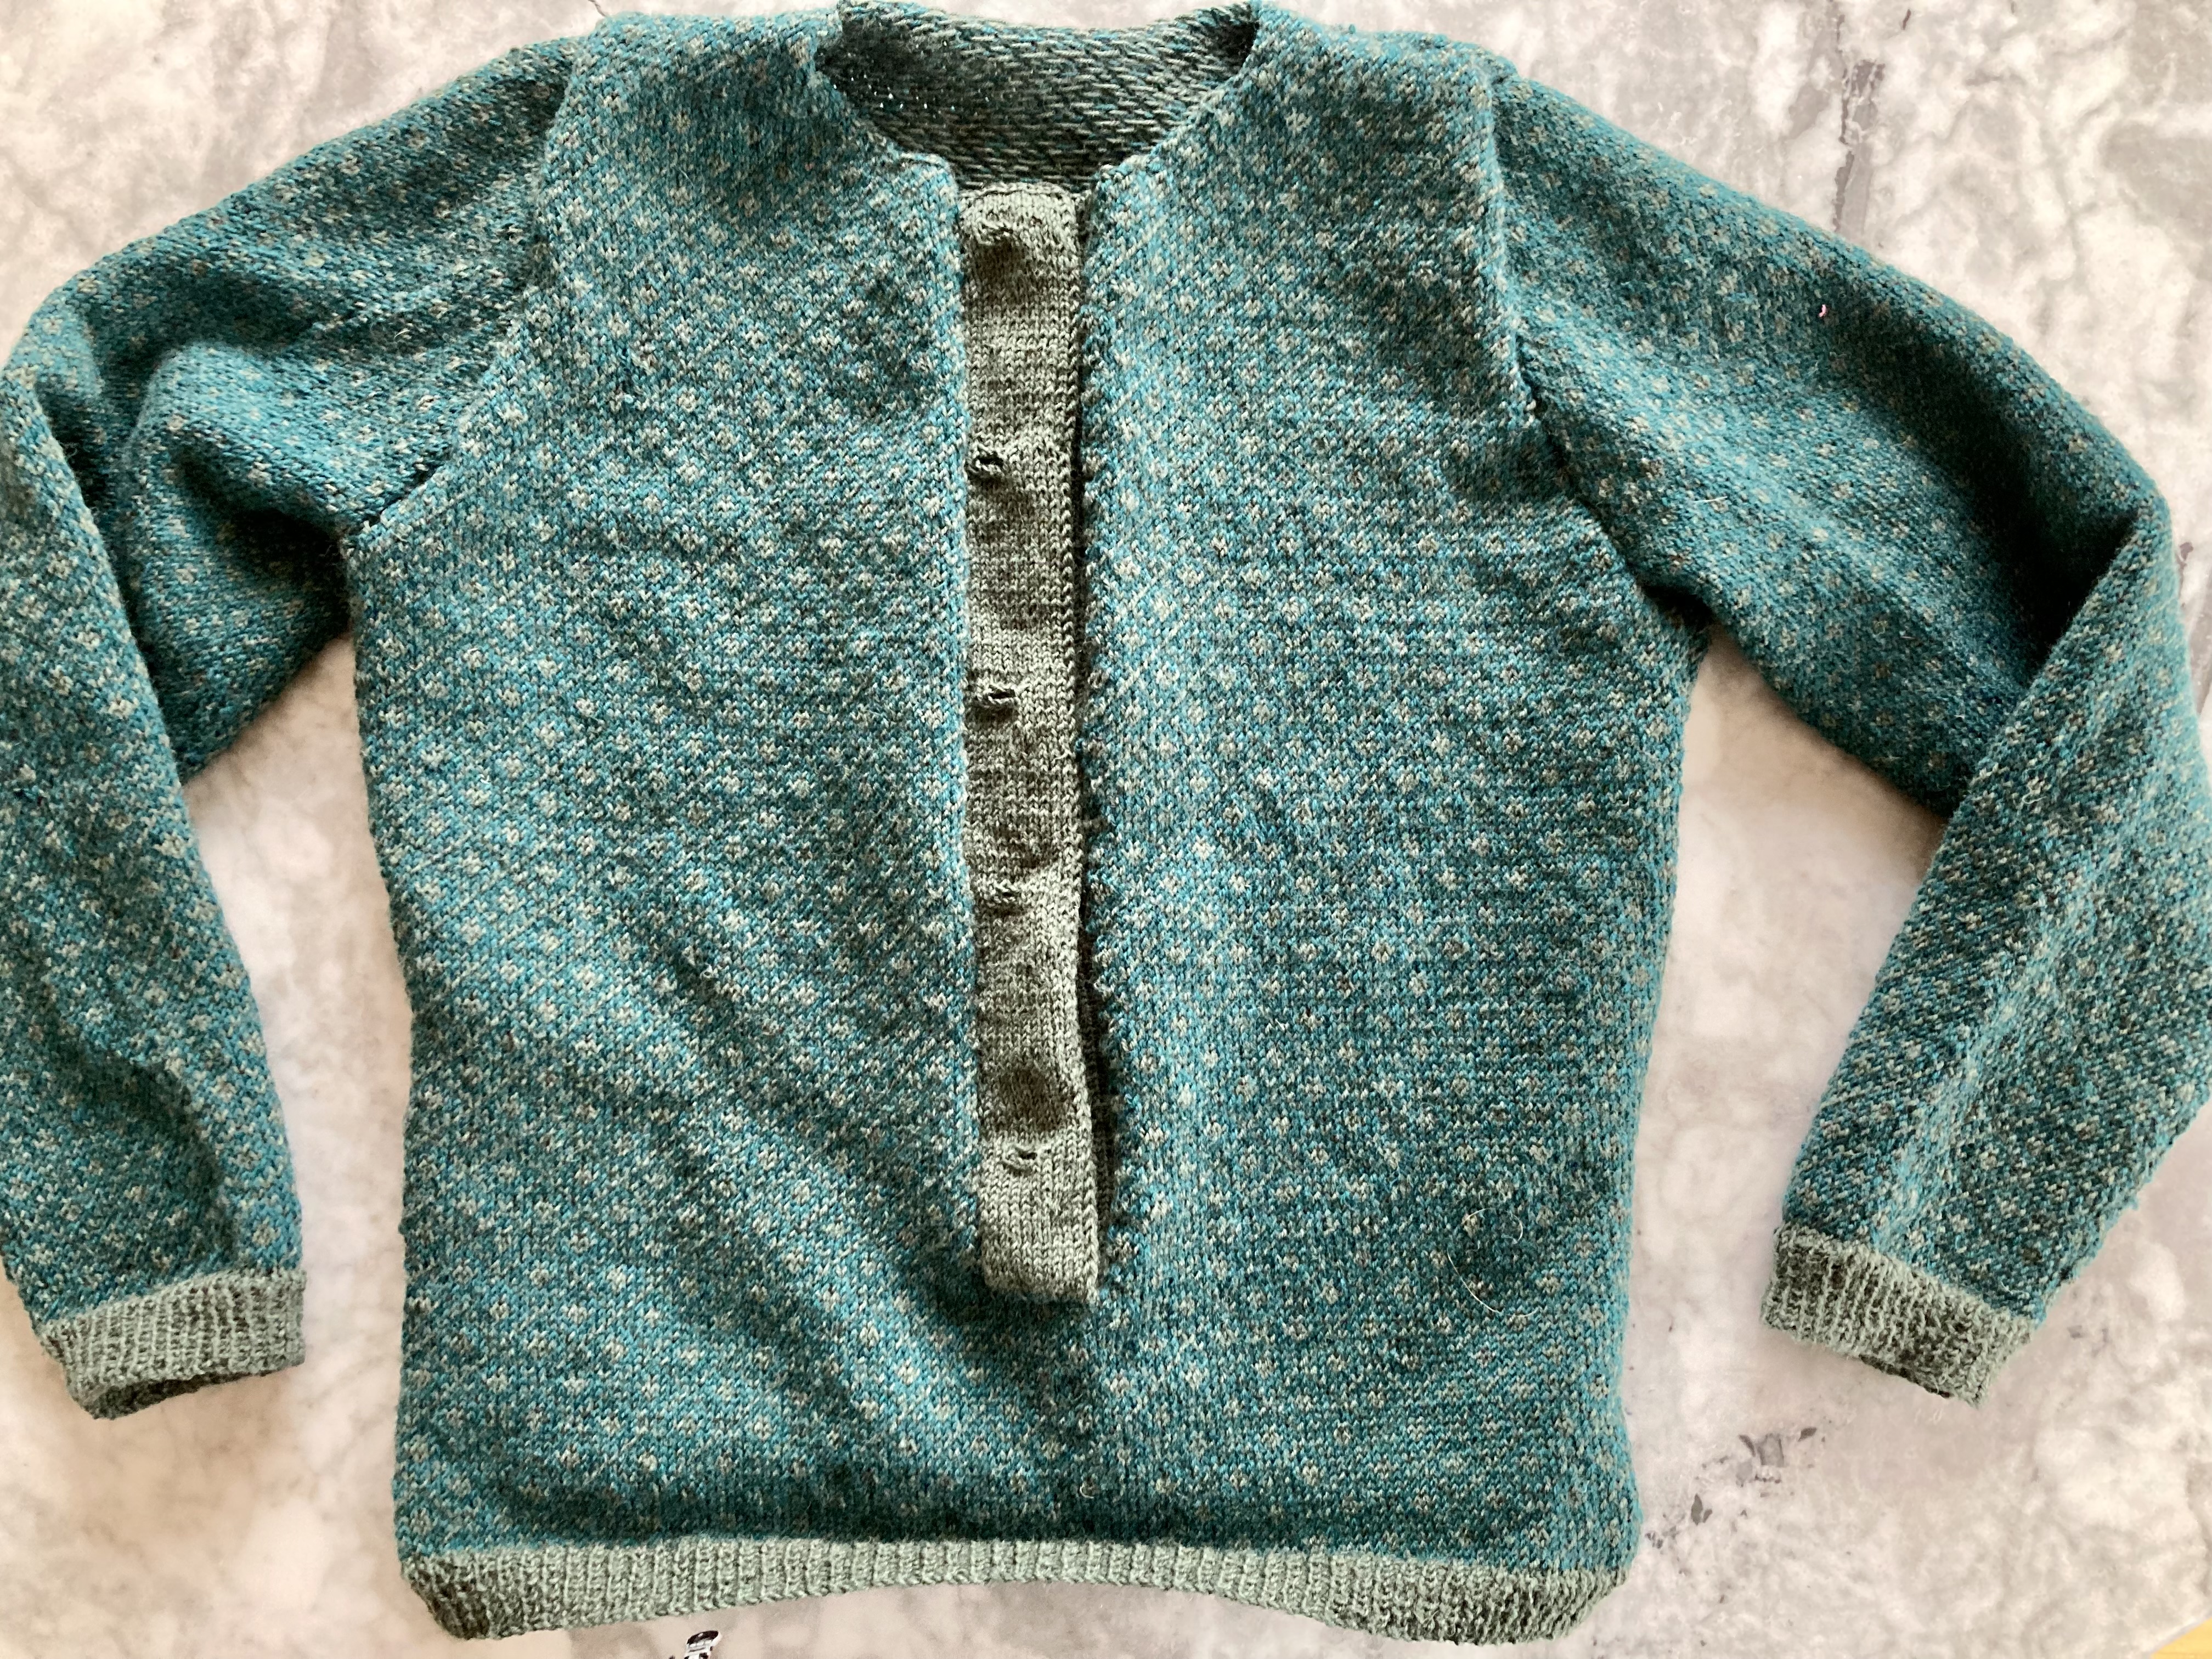
Before blocking, it was quite snug and the sleeves were a bit short (16 1/2 inches). It stretched the right amount in width with a loose block (no pins or stretching) but also stretched out so much lengthwise! I did not expect that from a jaquard pattern. The sleeves stretched from 16 1/2 to 18 1/2 inches, making them just a little bit too long, and the body stretched from 21 to 23 inches, which is about an inch too long. Next time, I’ll try washing it in the machine and putting it in the dryer on gentle cycle for at least a few minutes, which works with every other superwash wool I know.
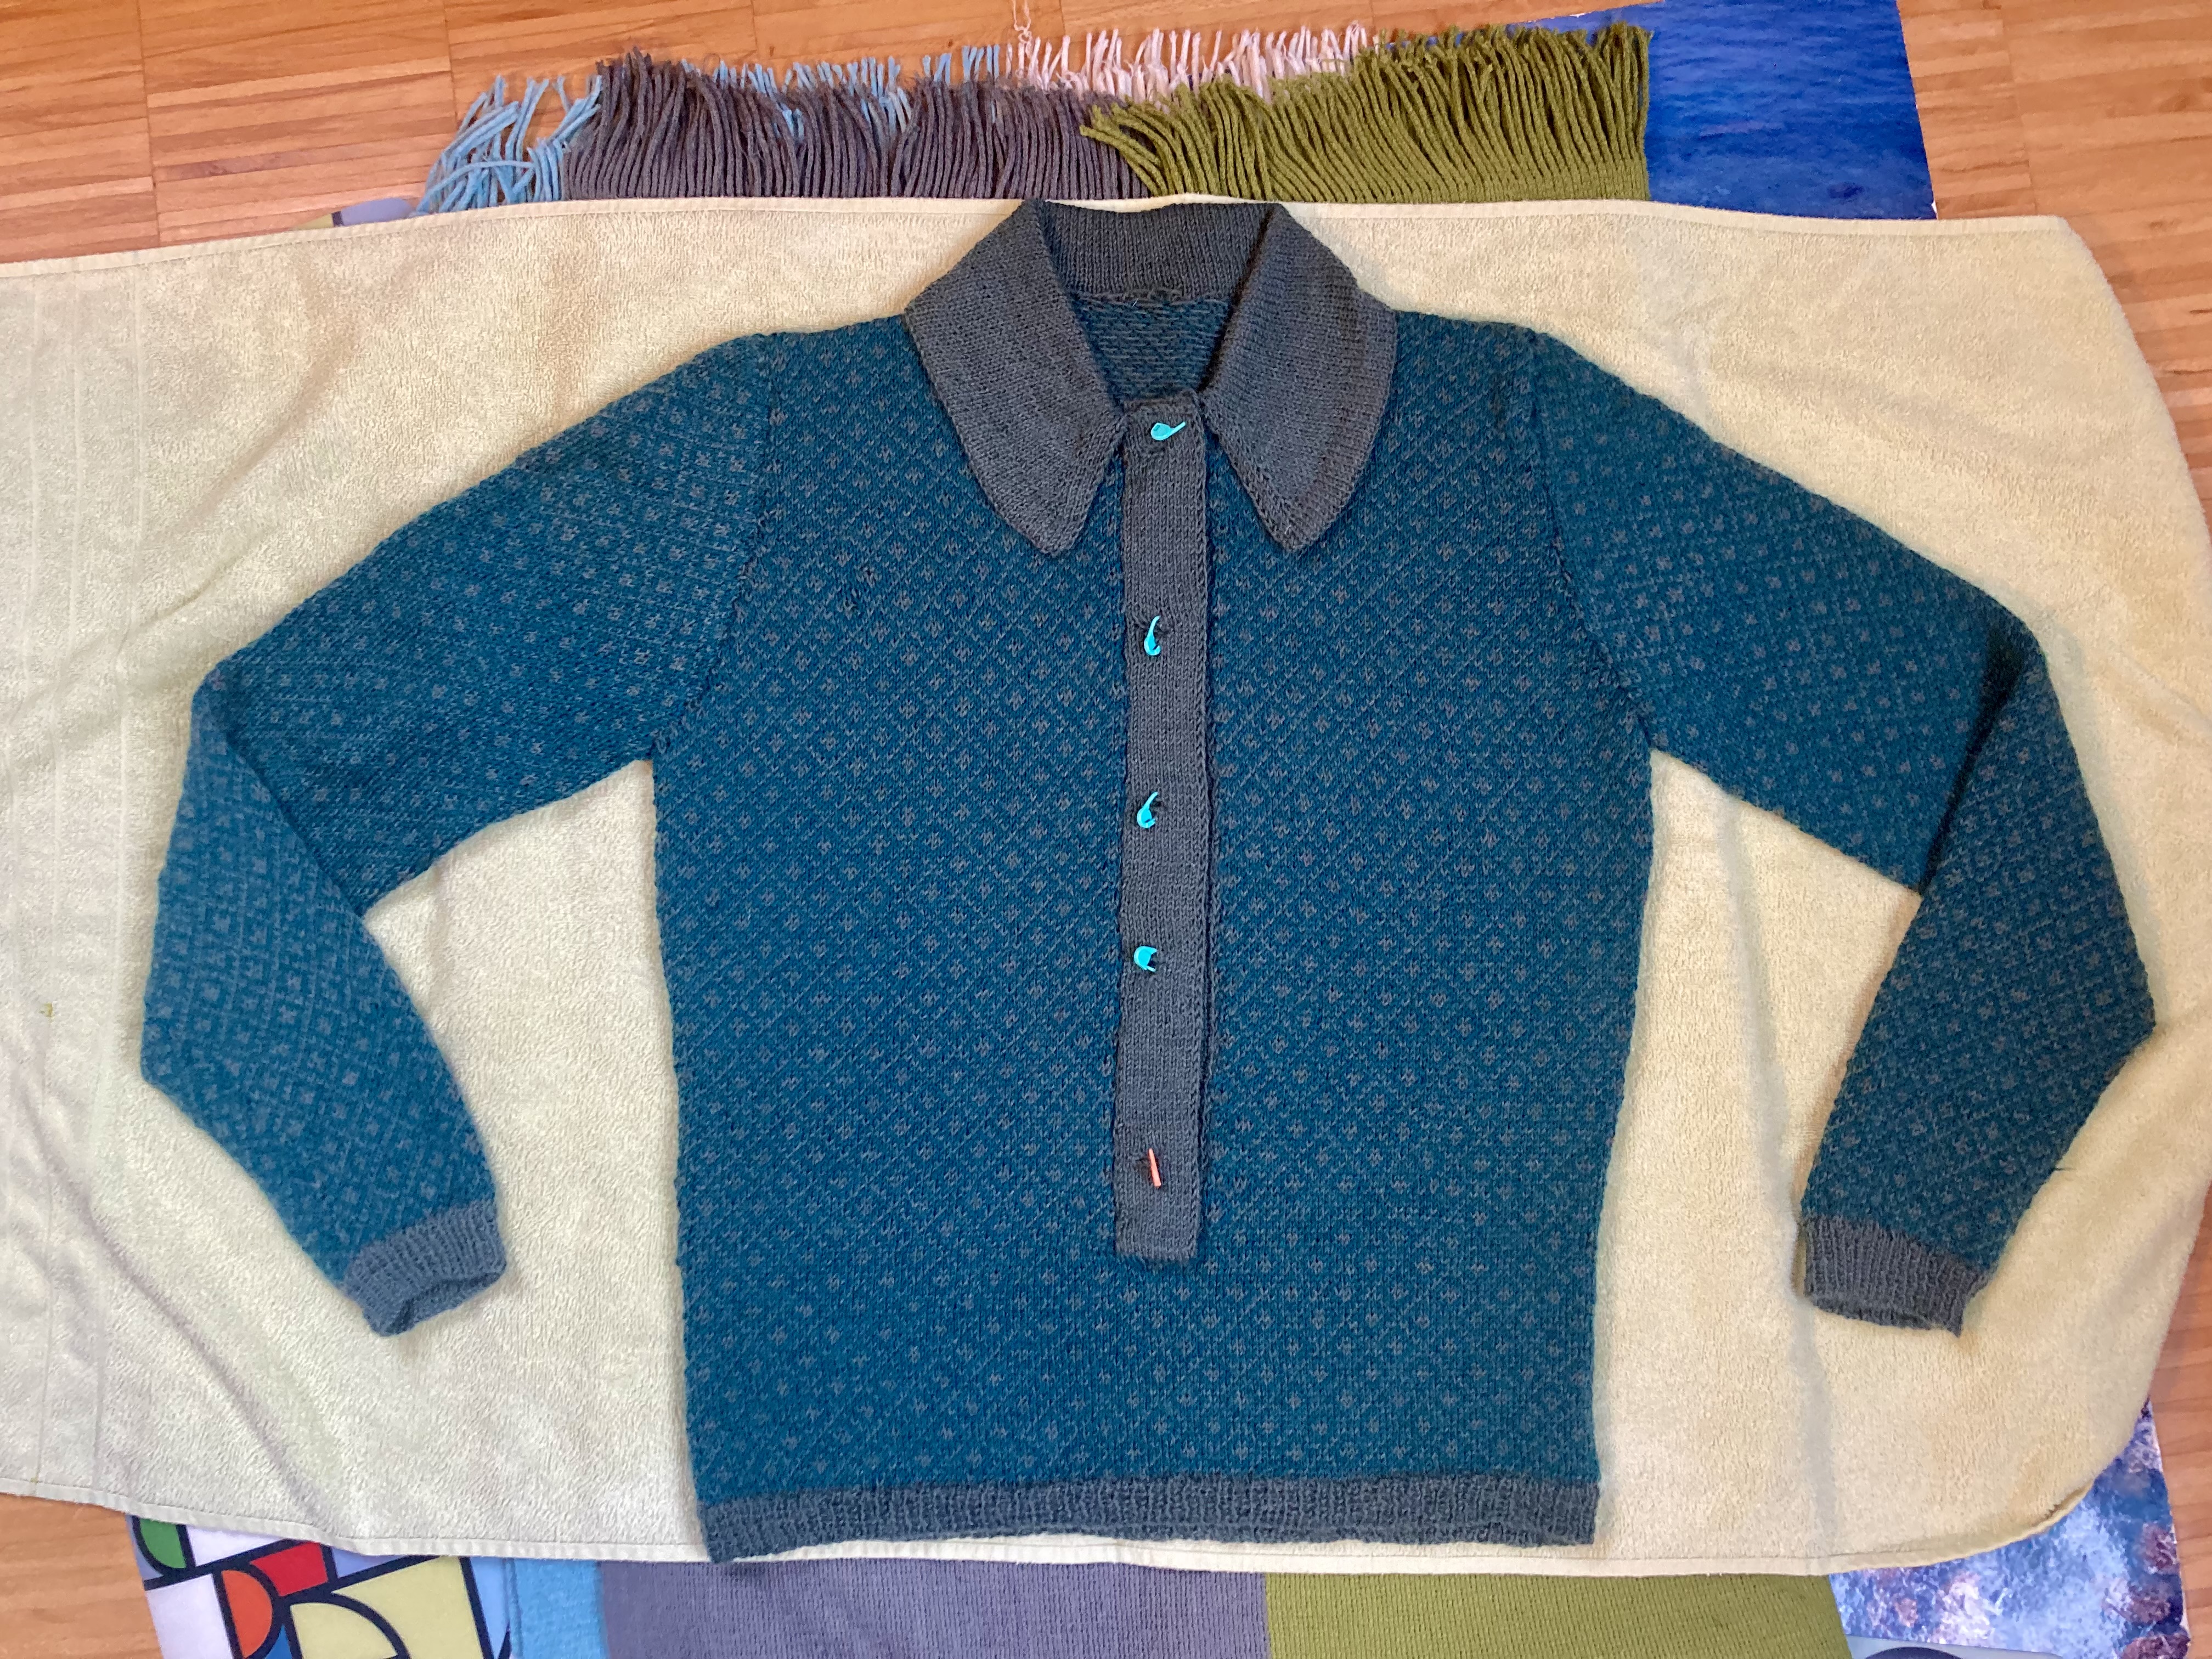
This project was worth the wait and I’m very happy with the way it turned out. The photos are suboptimal this time, since we’ve been having a lot of snow and it’s hard to get out anywhere during daylight hours where we could get a perfect re-creation of the magazine photo. This was the best light we could get at five o’clock in the evening inside! I’ll try to take some more after the jumper has been washed and blocked again and we have a little more daylight.


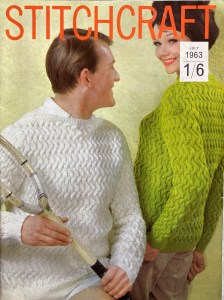


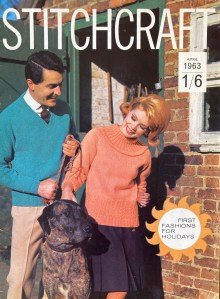


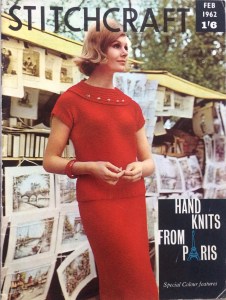 Put on your best traveling suit, pack your Aeros and have your Kodak Instamatic in hand, because it’s February 1962 and Stitchcraft is going to Paris! This month’s issue features Paris-inspired designs (whatever that means) and extra pages in colour to show off the latest knitwear against a backdrop of Parisian tourist classics.


 UPDATE AND EDIT February 25, 2020: Project finished!
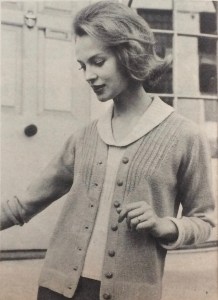 There were only two problems. Problem number one: Concept Silky Lace is only available in colours I don’t wear (shades of white and pastel) as well as orange (great, but I used it for the other project), a sort of light jeans blue (OK, but not exciting) and purple. Purple is not my best colour, but given the limited choice and the fact that I really wanted to use this specific yarn, I went with it. That led to problem number two: there were only two balls of it in the store and they had to order more. Unsure whether the two additional balls I ordered would be from the same dye lot or if it would make a difference if they weren’t, I started by making the sleeves with the yarn I had, and waited.
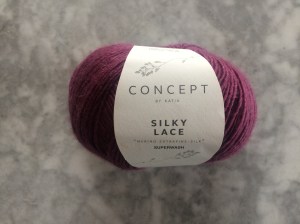 It took more than two weeks for the yarn to arrive, so I was woefully behind. Also, the yarn that arrived was from a different dye lot, so I wasn’t sure how to camouflage the colour changes or if I even had to. After making the ribbing for the body in the “old” yarn and the body (stockinette stitch, and I decided to do it in rounds to go faster) with the new yarn and not noticing any difference, I just used up the old yarn and moved onto the new in the fancy-yoke part. It worked fine and didn’t make a stripe — thank you Katia for your excellent colour-match dye work.
 Once the project got started, it was finished very quickly. I was worried about the size, as it seemed to stretch quite a lot width-wise and I though it would be too wide and baggy. Once it was bound off and sewn, it was fine. I made it an inch longer in the body than it said to make it in the pattern, but I could have made it even longer — people were really short fifty years ago!?! Blocking helped stretch out the length.


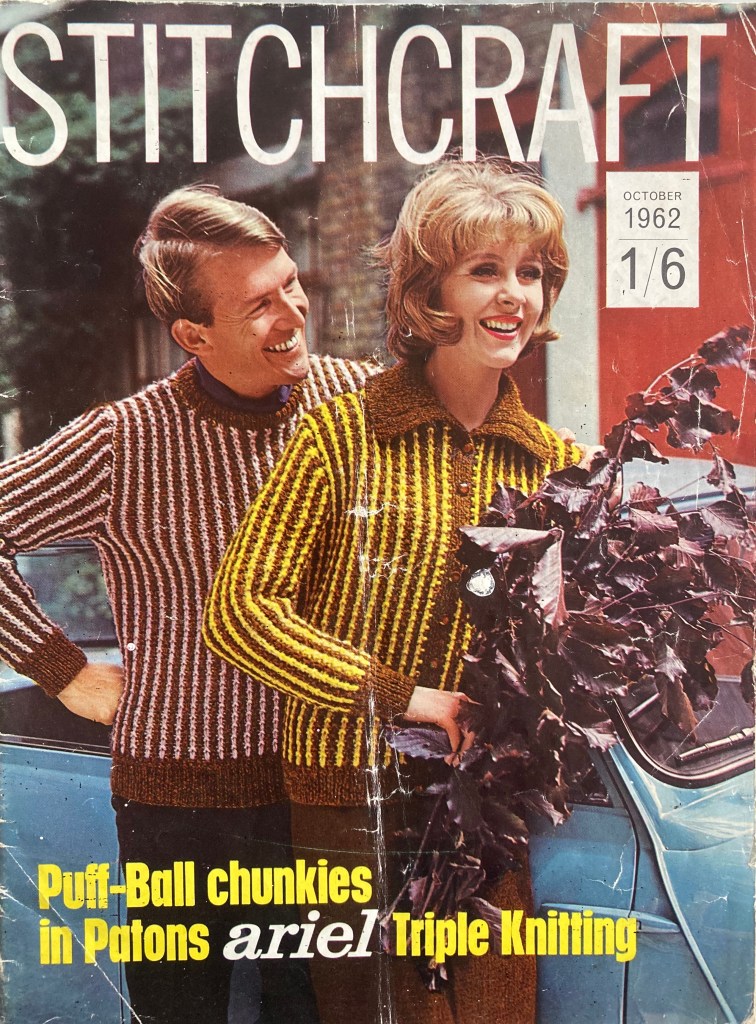
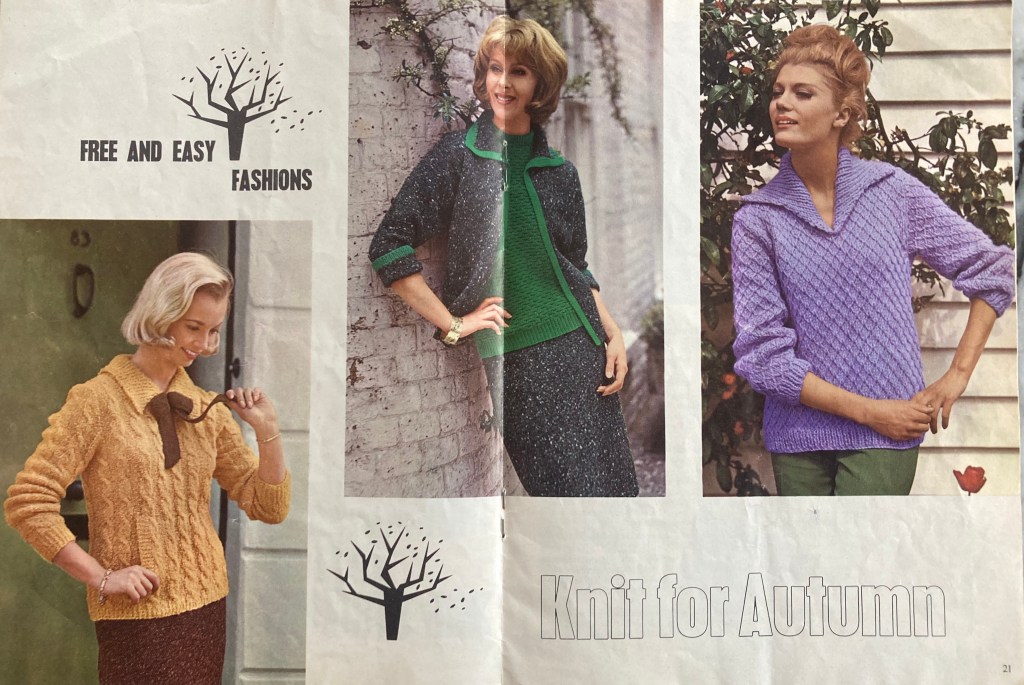
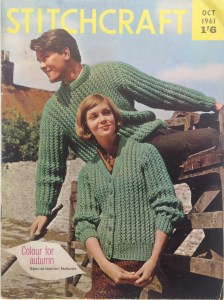 October 1961 gives us “Colour for autumn” with “special fashion features” and a great center spread with colour photos. “I always think October is a nice friendly month,” writes “editress” Patience Horne on the facing page, and I have to agree.
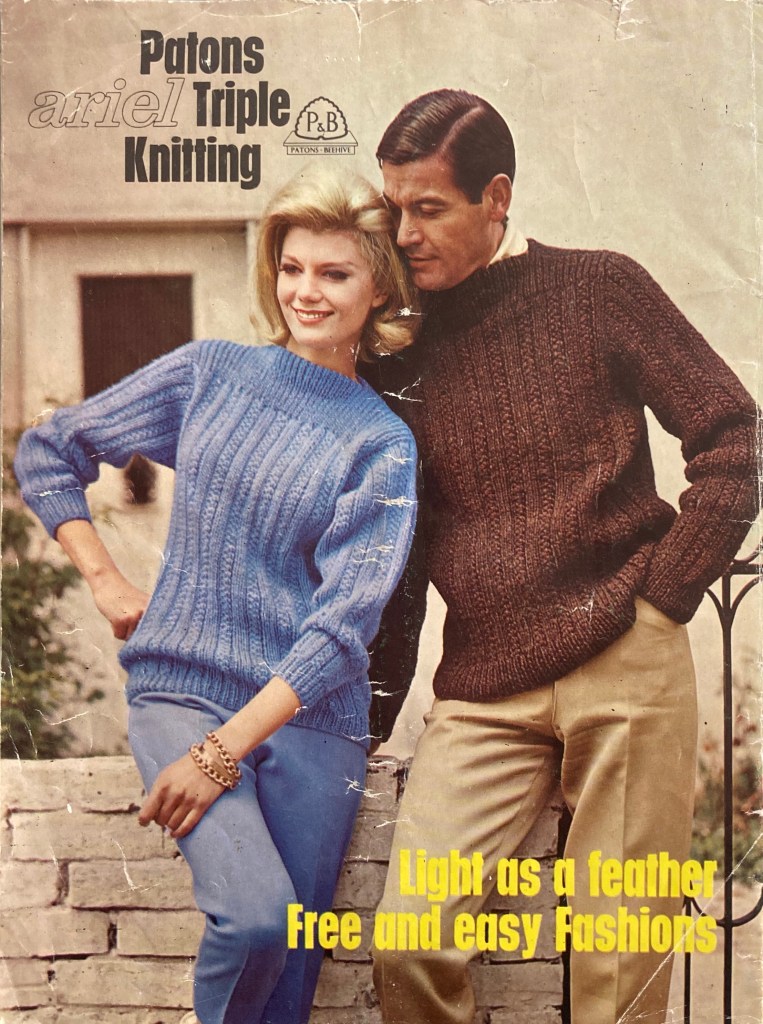
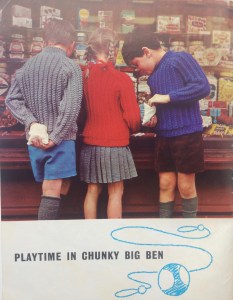 stitches play a prominent role in this month’s issue, starting with the partner-look pullover and cardigan on the front cover. Both are made in the same drop-stitch rib pattern — basically 2×2 ribbing, but you drop a stitch down 3 rows every 4th row and pick it up again in the next row to make a long vertical rib. Children get twisted-rib raglan pullovers to keep their upper bodies nice and warm while their legs freeze in tiny shorts and mini-skirts, typical for the era.


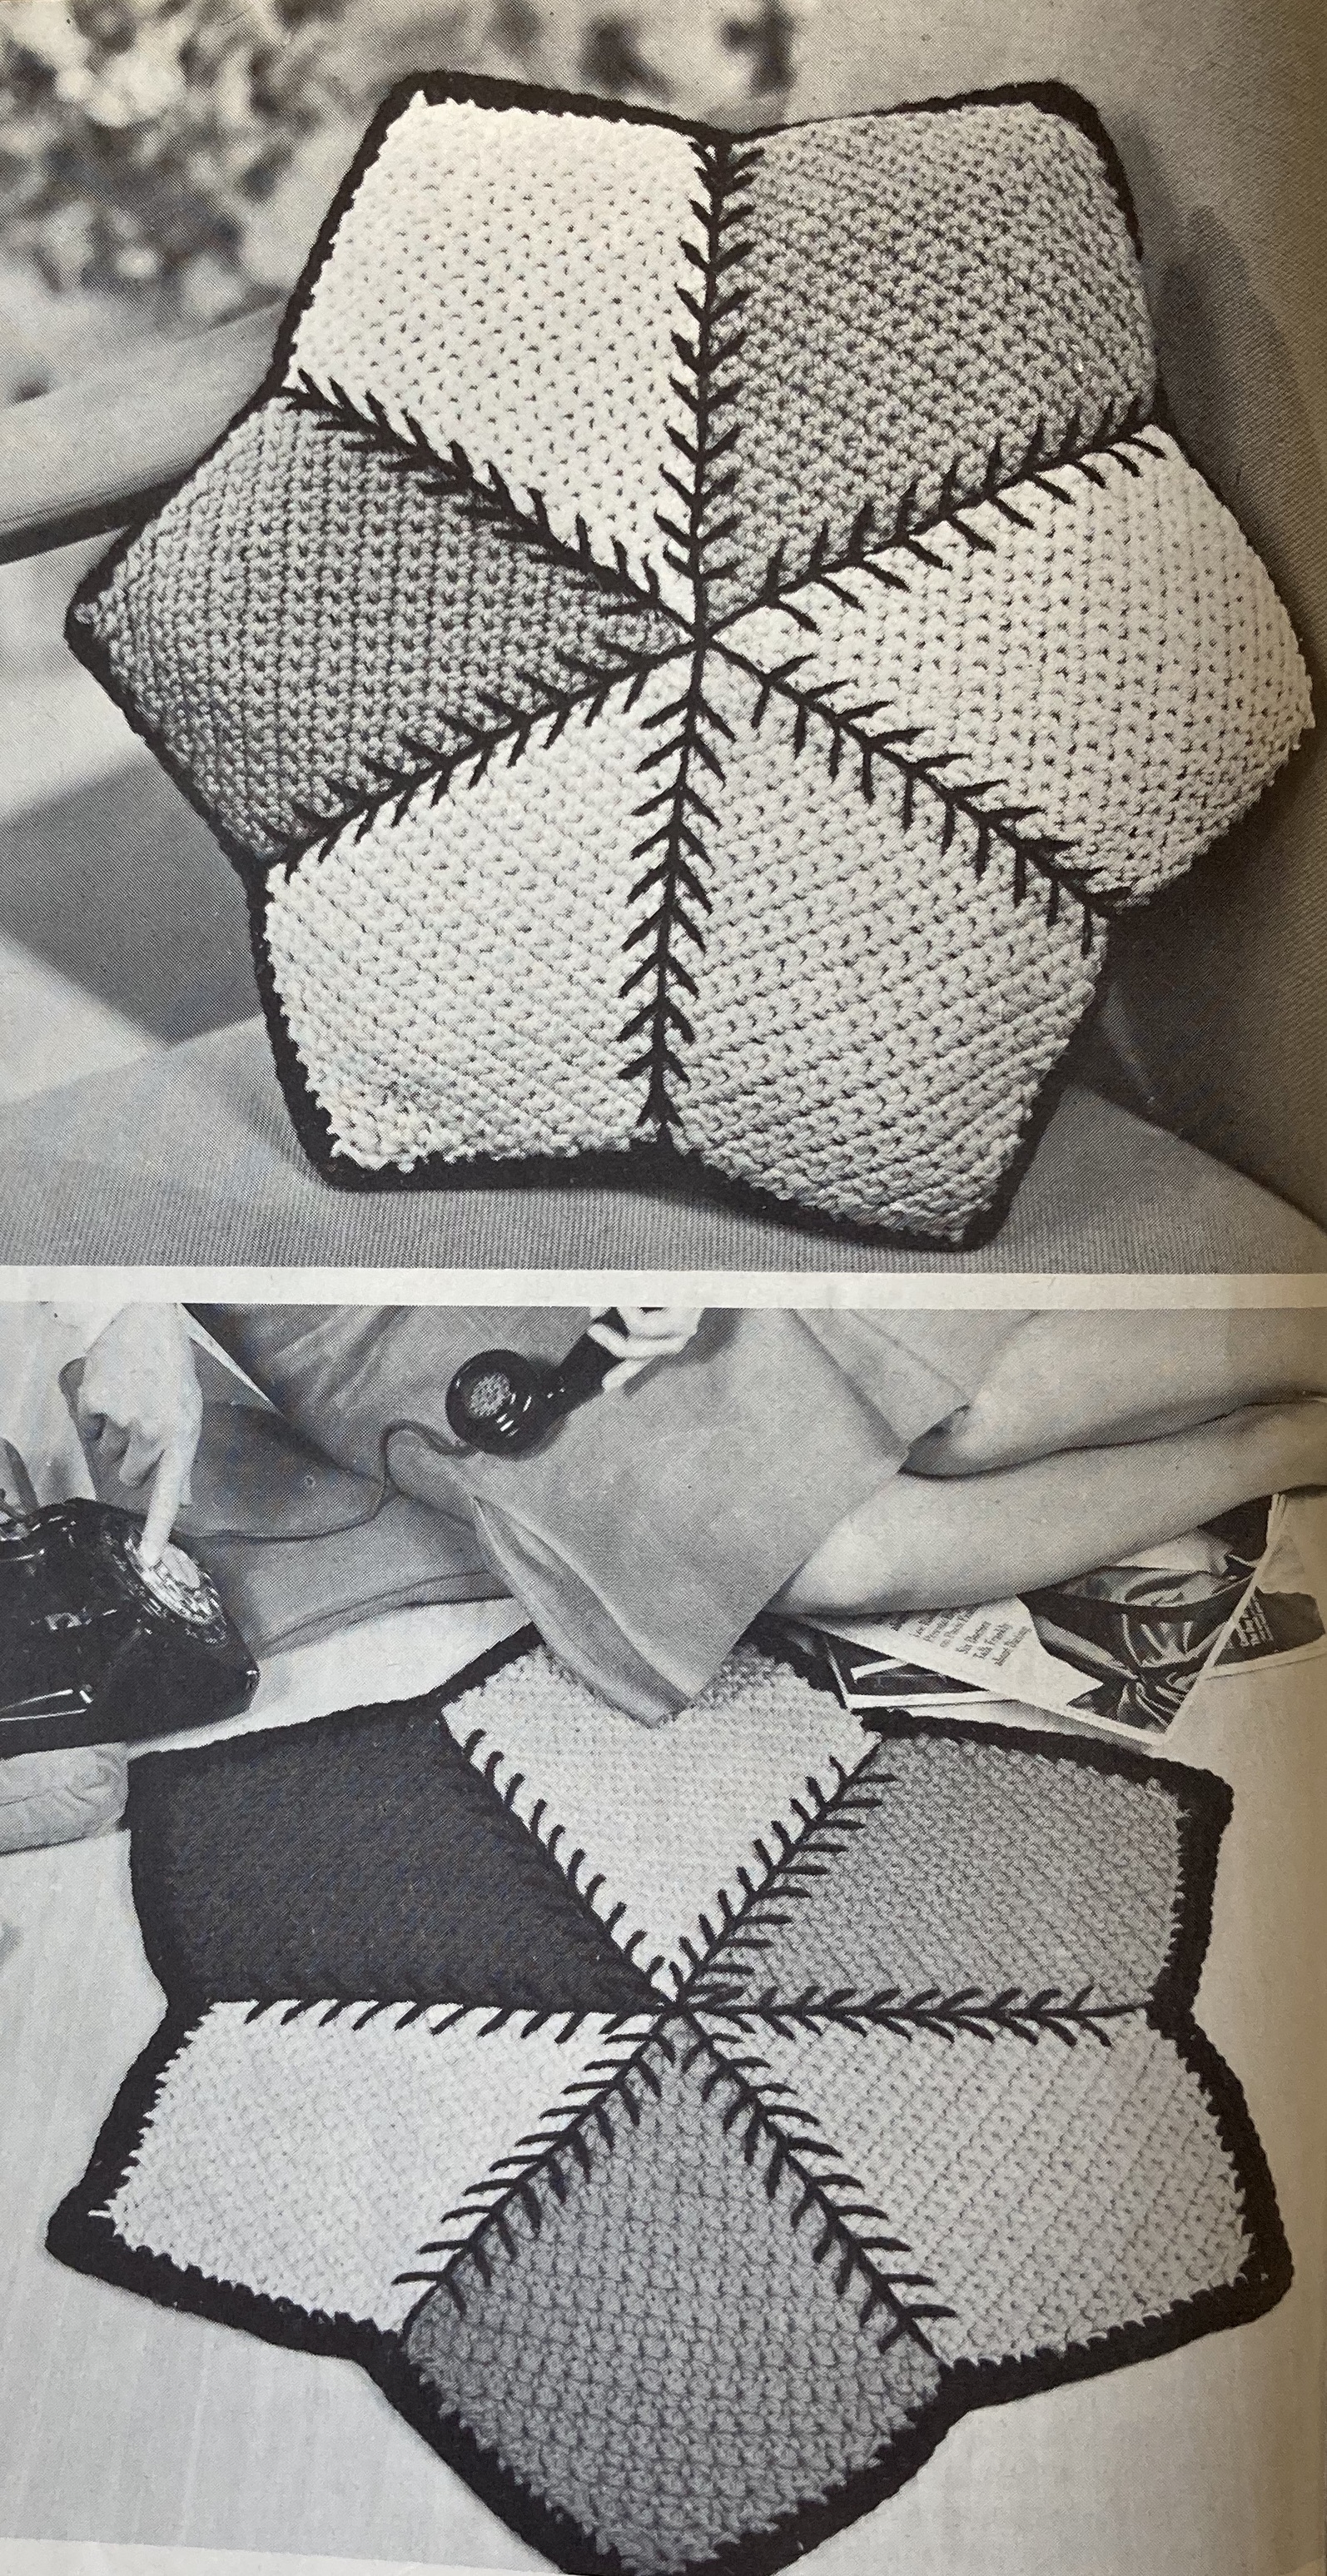
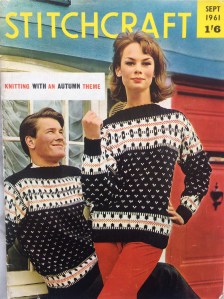 “Knitting with an Autumn Theme” is the motto of this month’s Stitchcraft from September, 1961. Knowing that September is the month where many knitters take up their needles again after not wanting to handle wool in the hot summer, I would have expected a “bumper issue” with extra ideas, new fashions from Paris, more colour photographs and so on. Not the case! It has more or less the same mix of “chunky”, bulky garments and easy homewares that we saw in the summer issues.
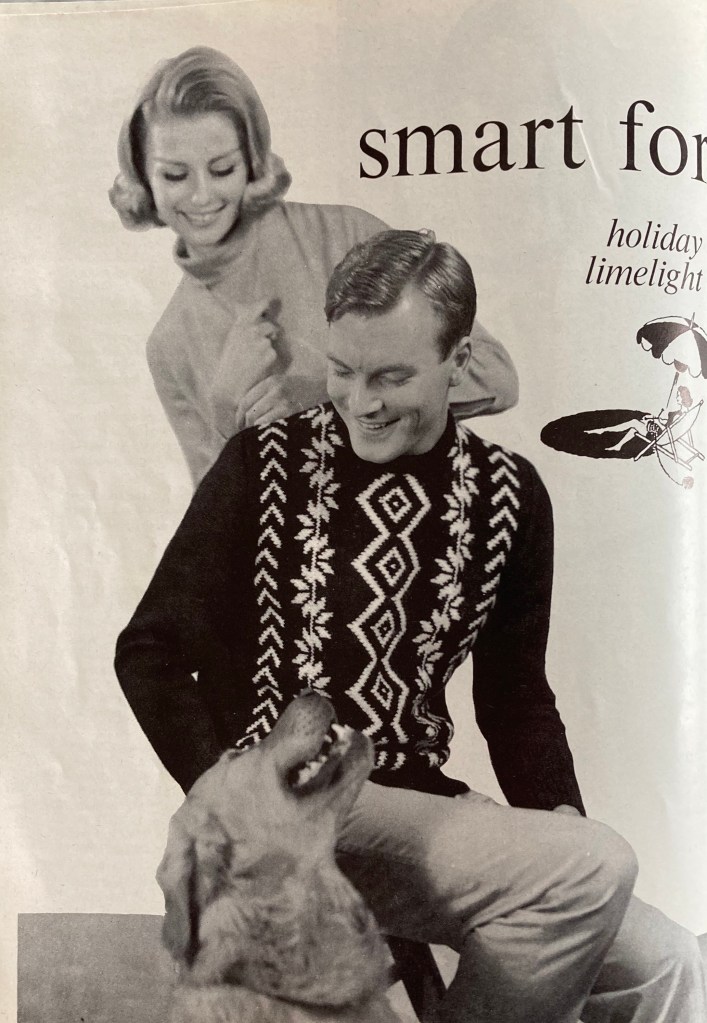
 probably will never be my style). The kid’s coat looks cosy and fun to wear, and the “gay sweaters for him and her” in a Norwegian-style pattern are warm, practical and unisex. I imagine the boatneck collar on an unshaped front must scratch horribly across the neck, though.
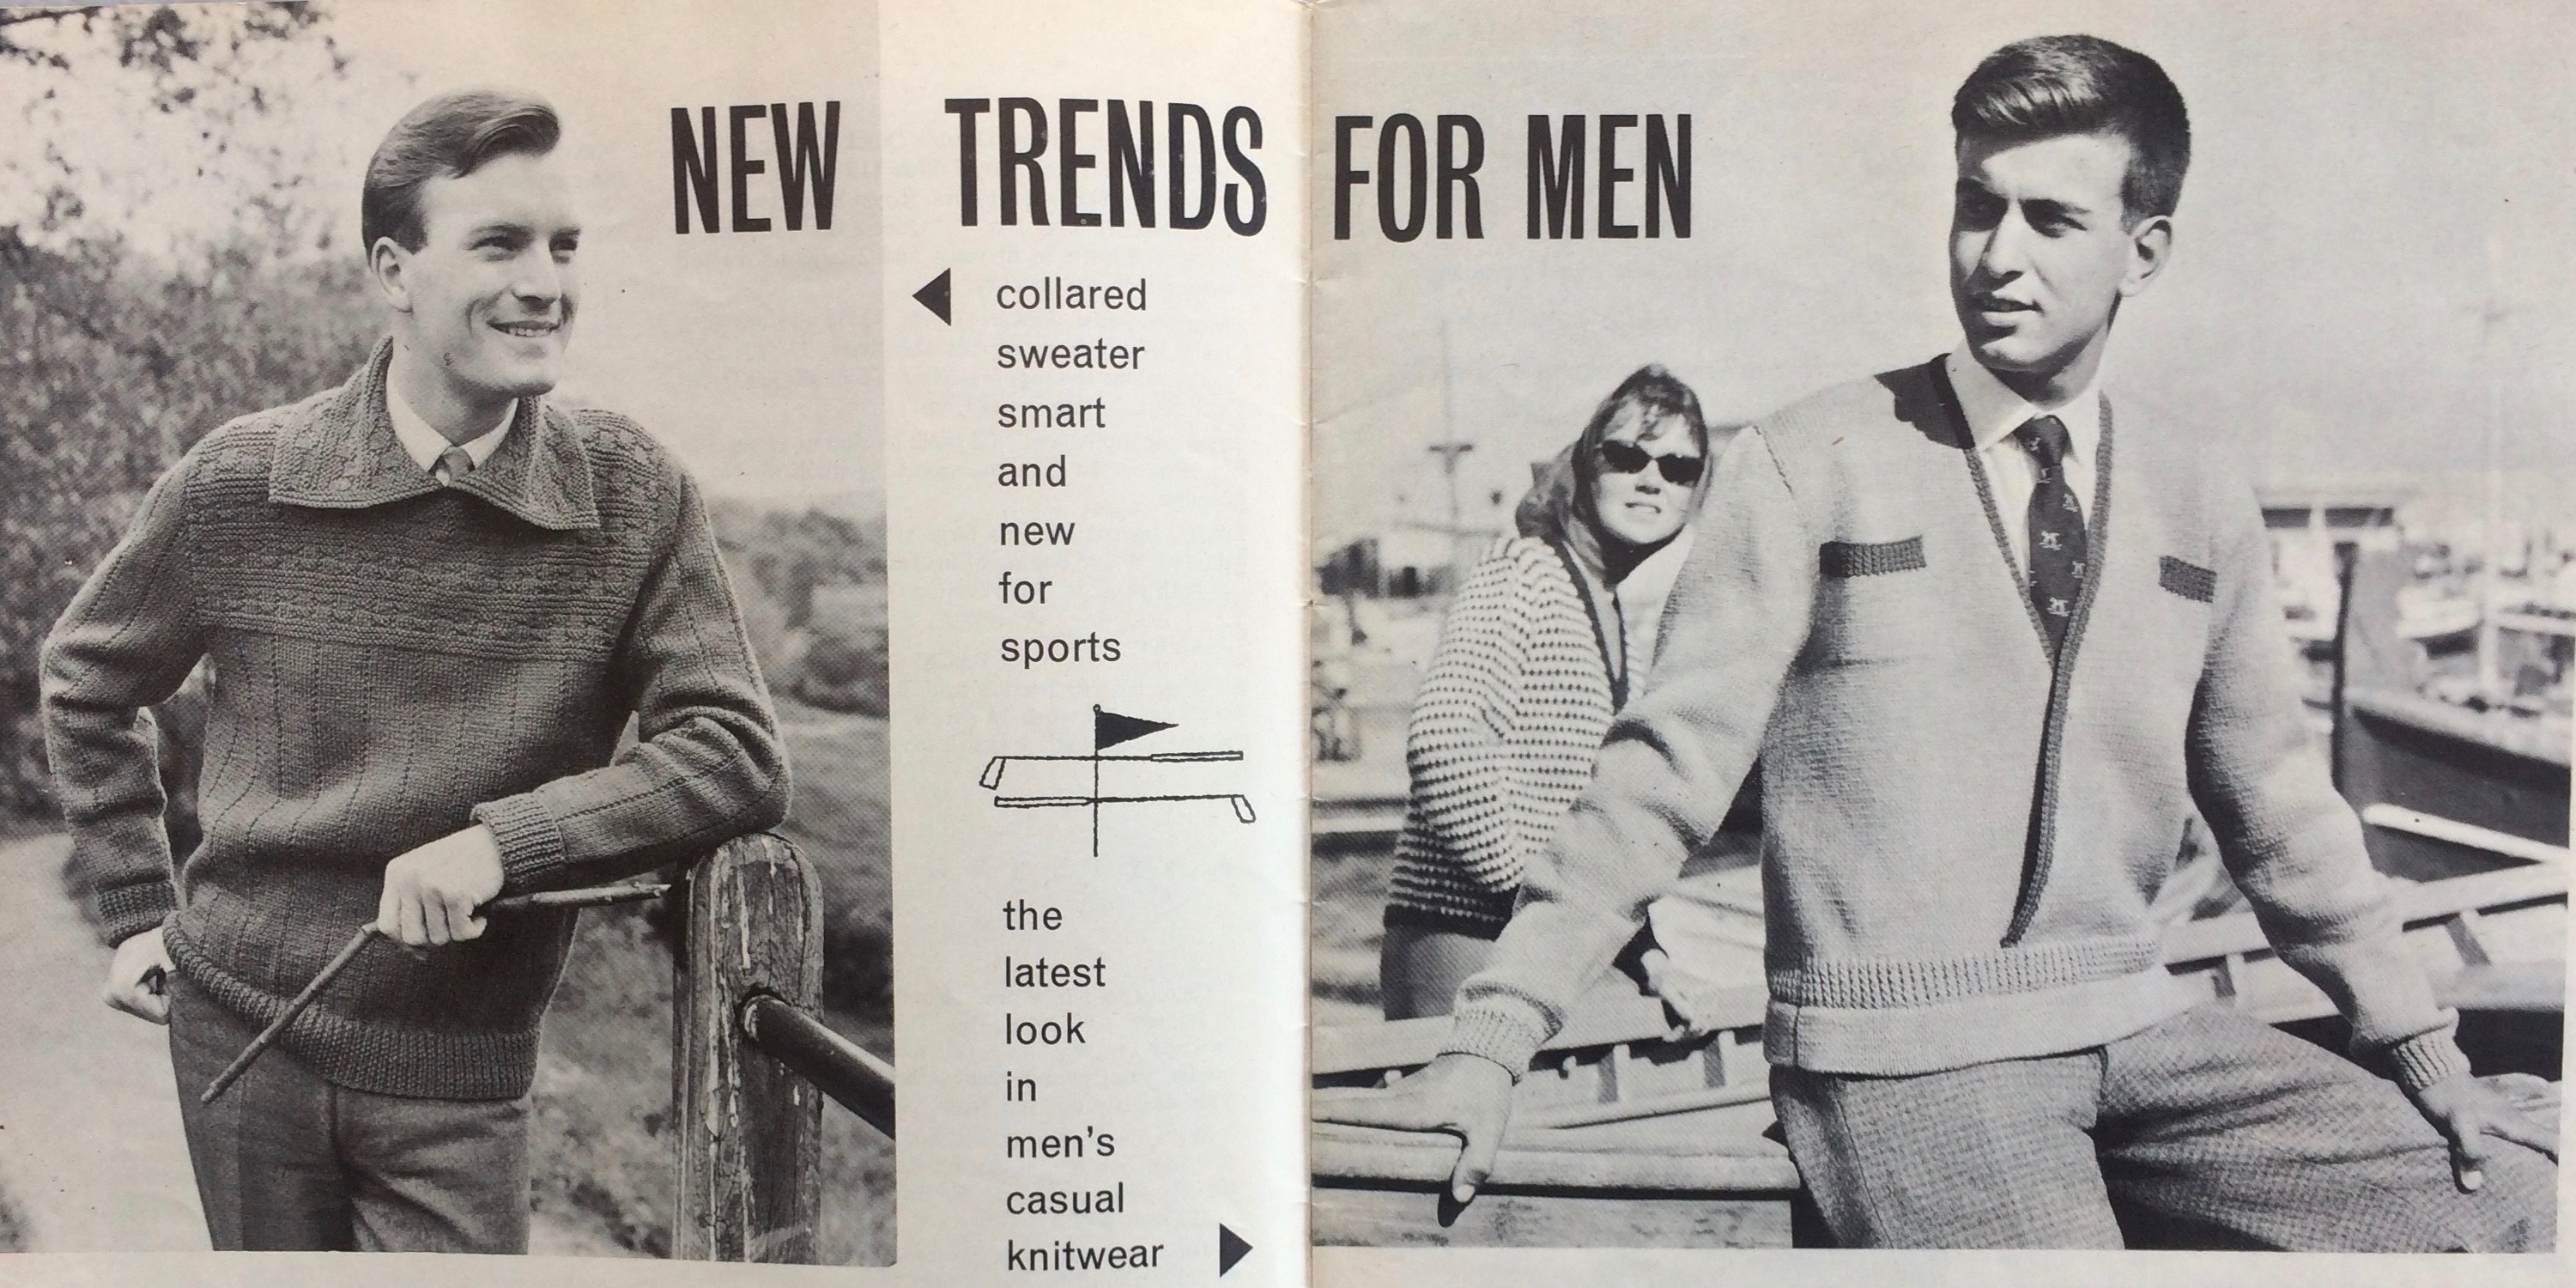


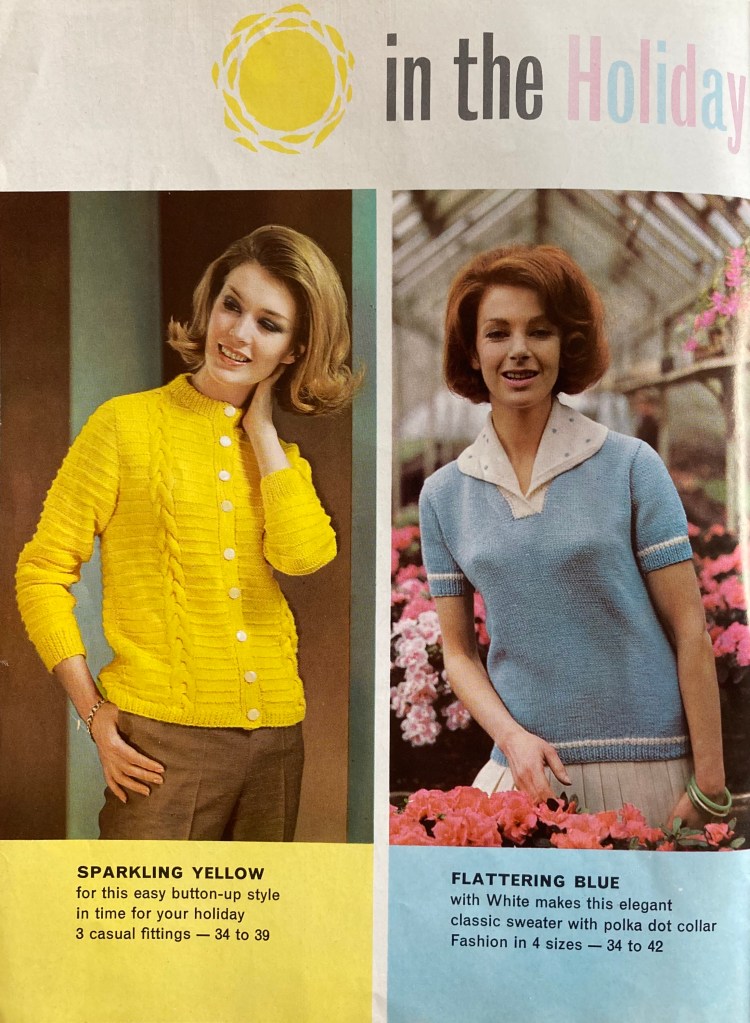
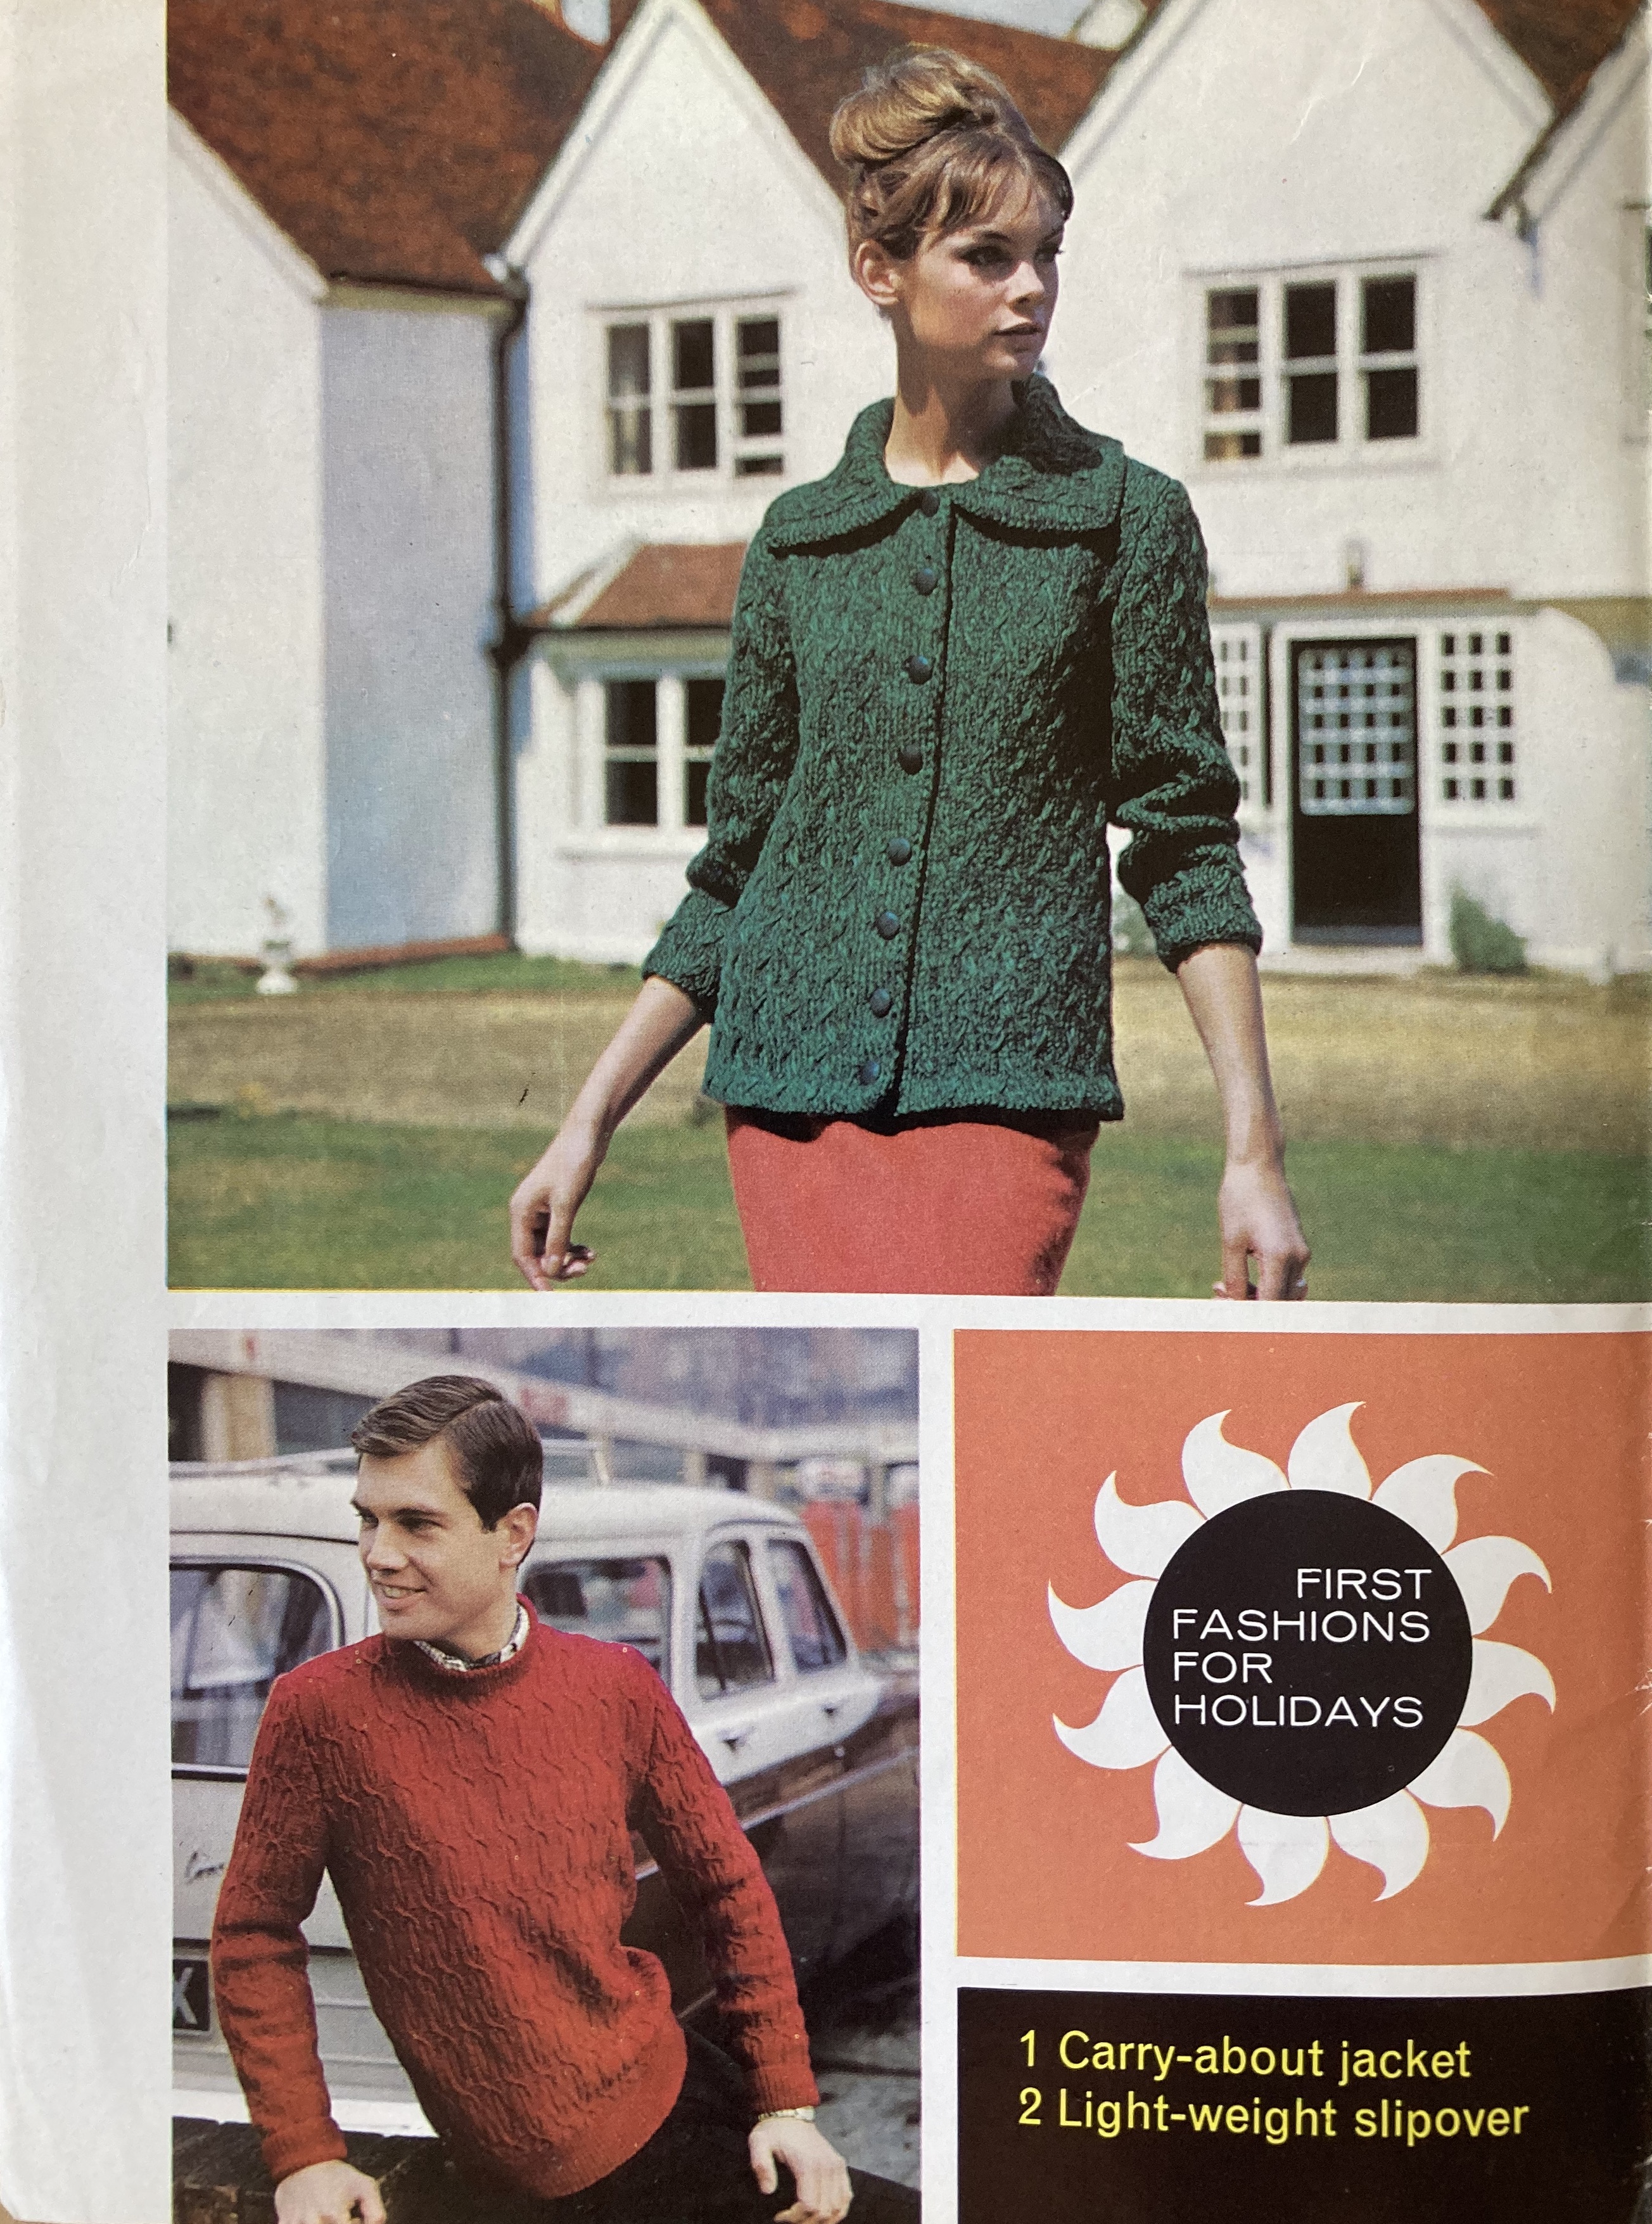
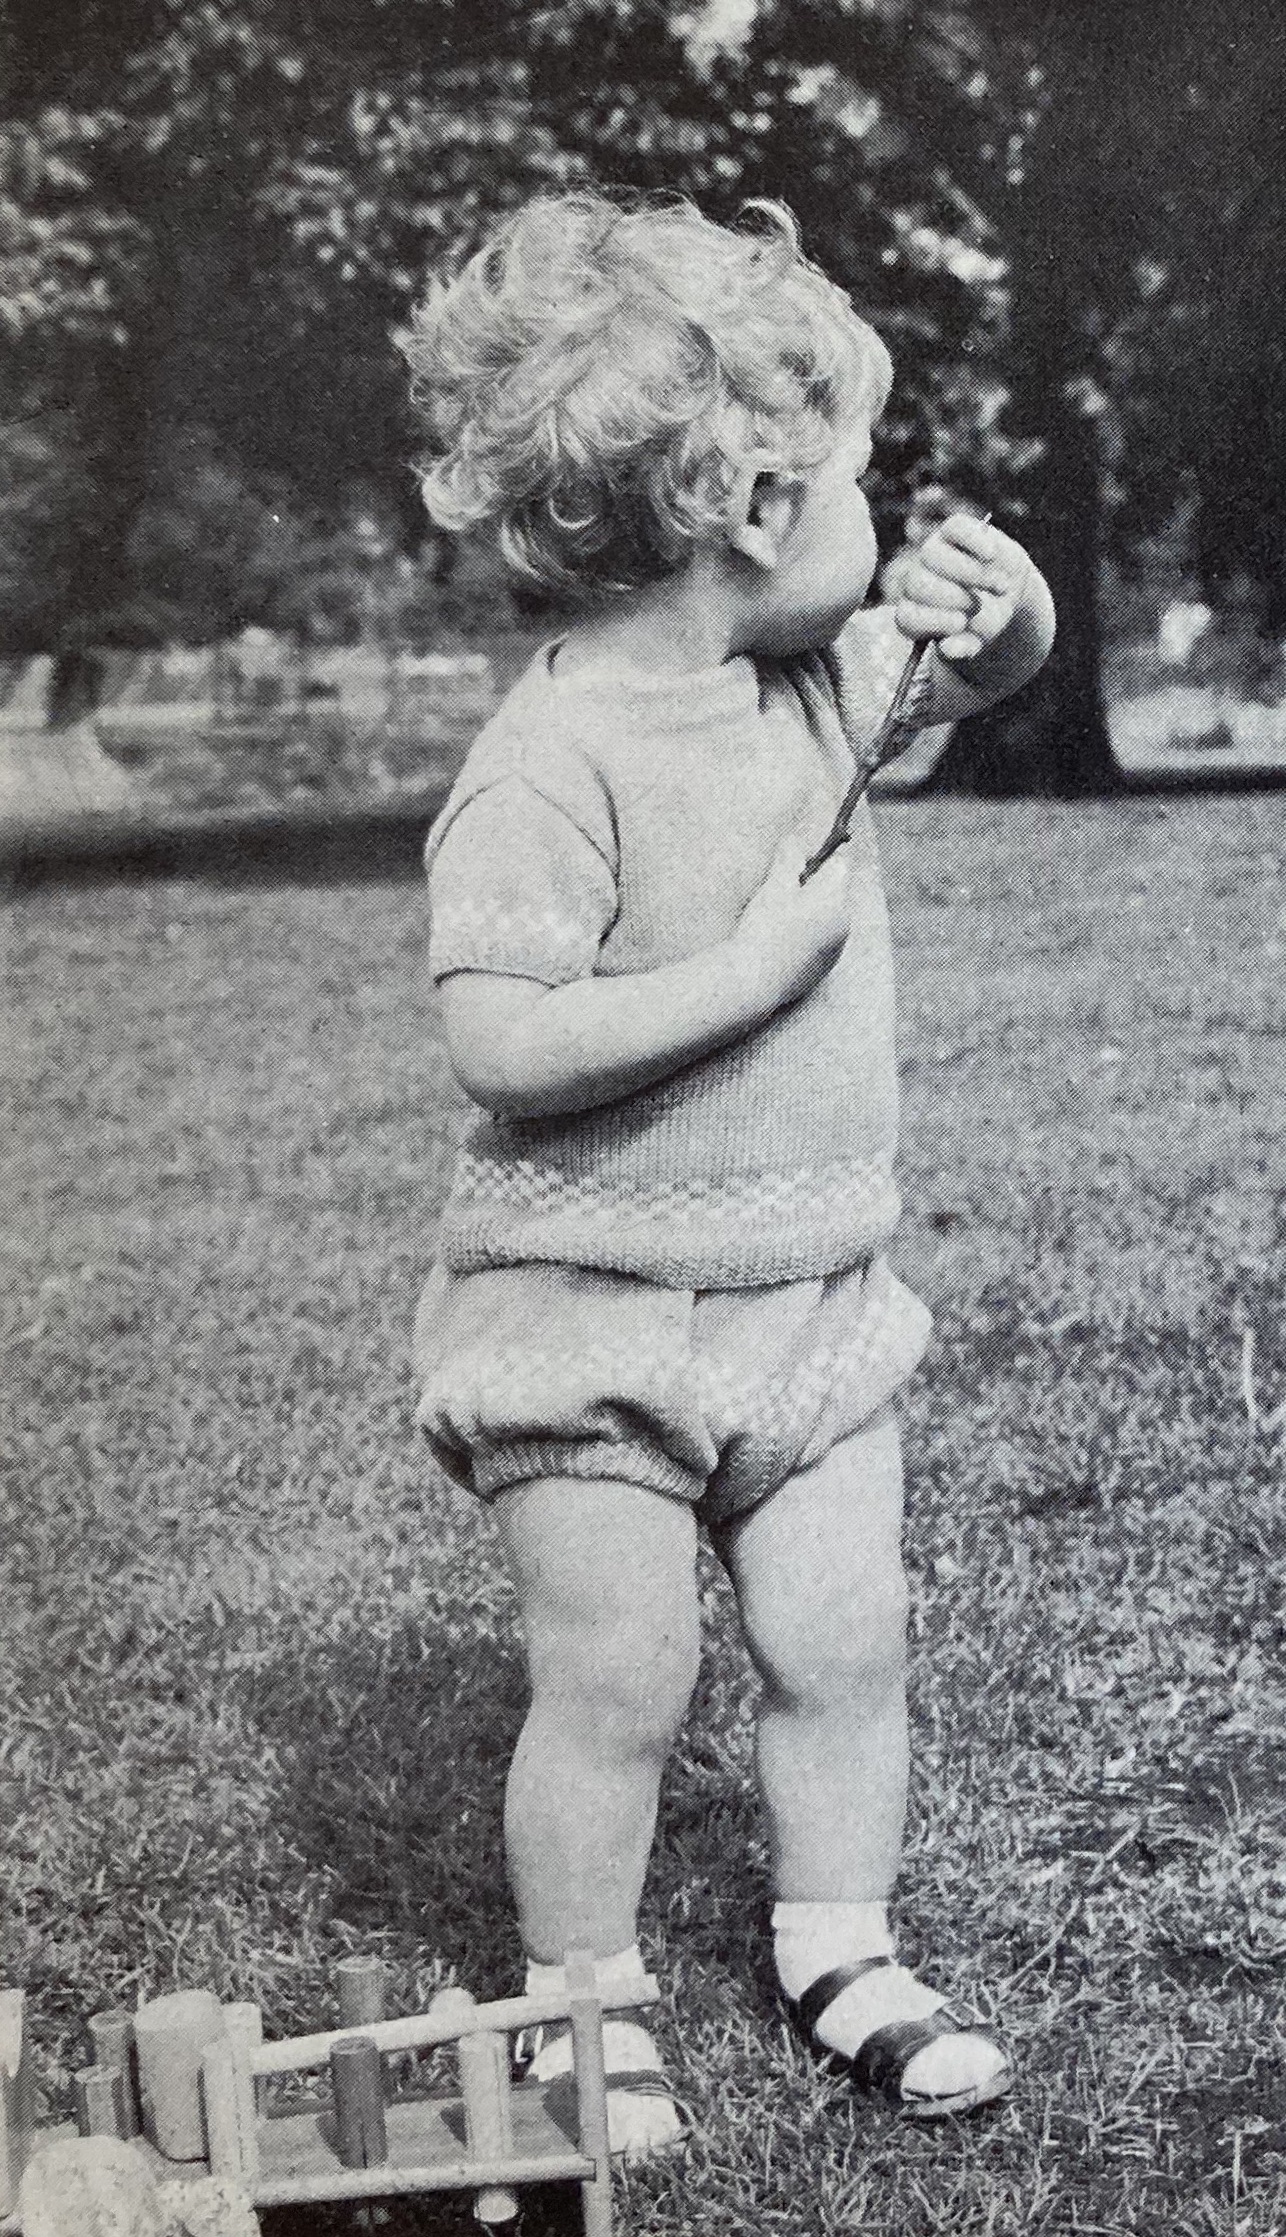
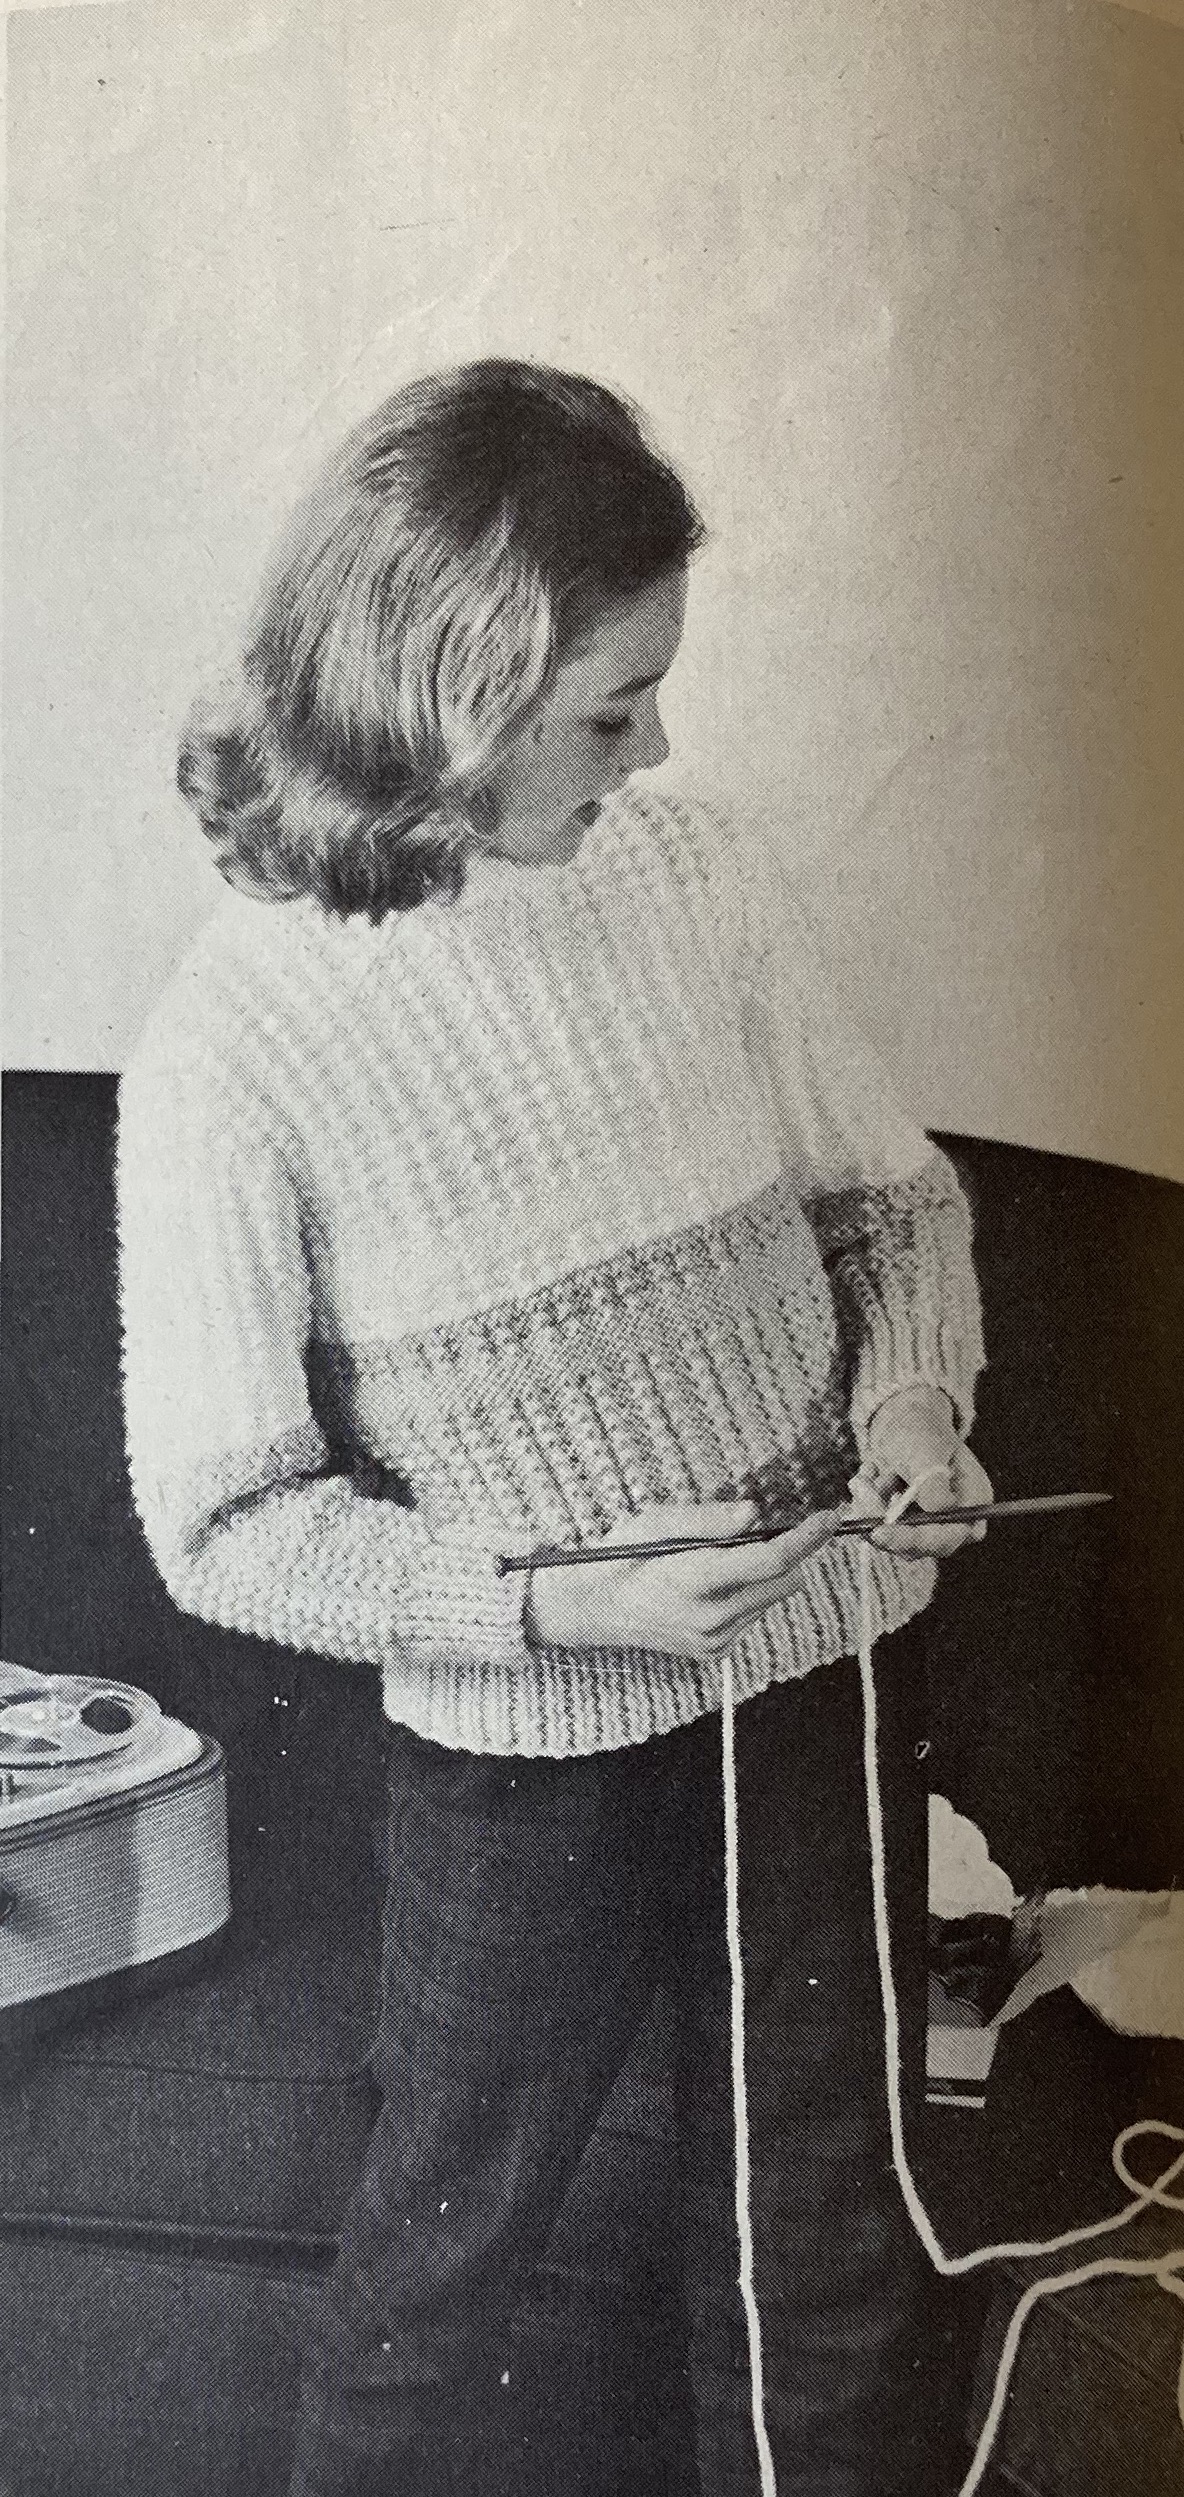
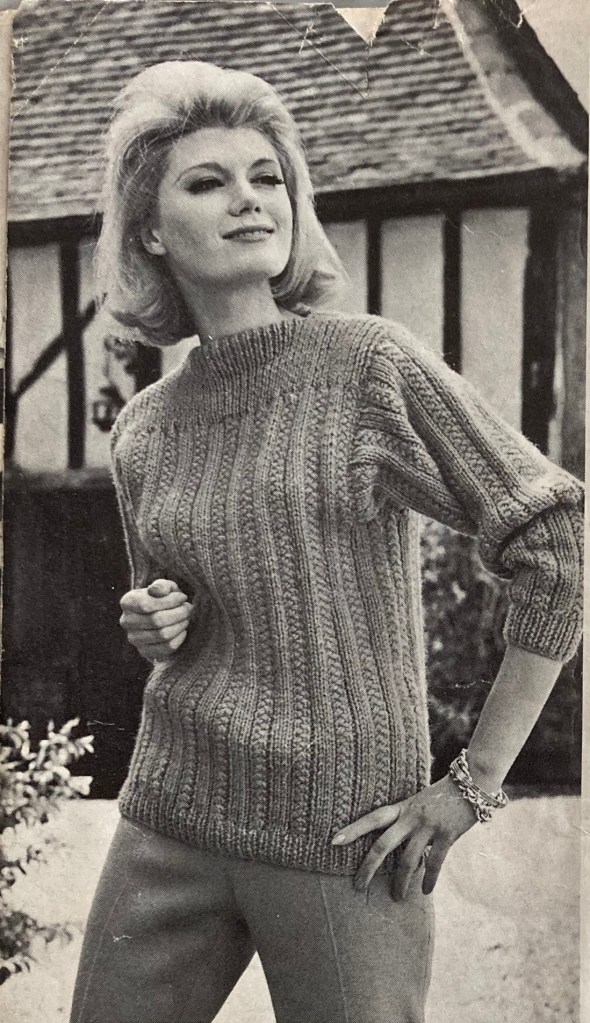
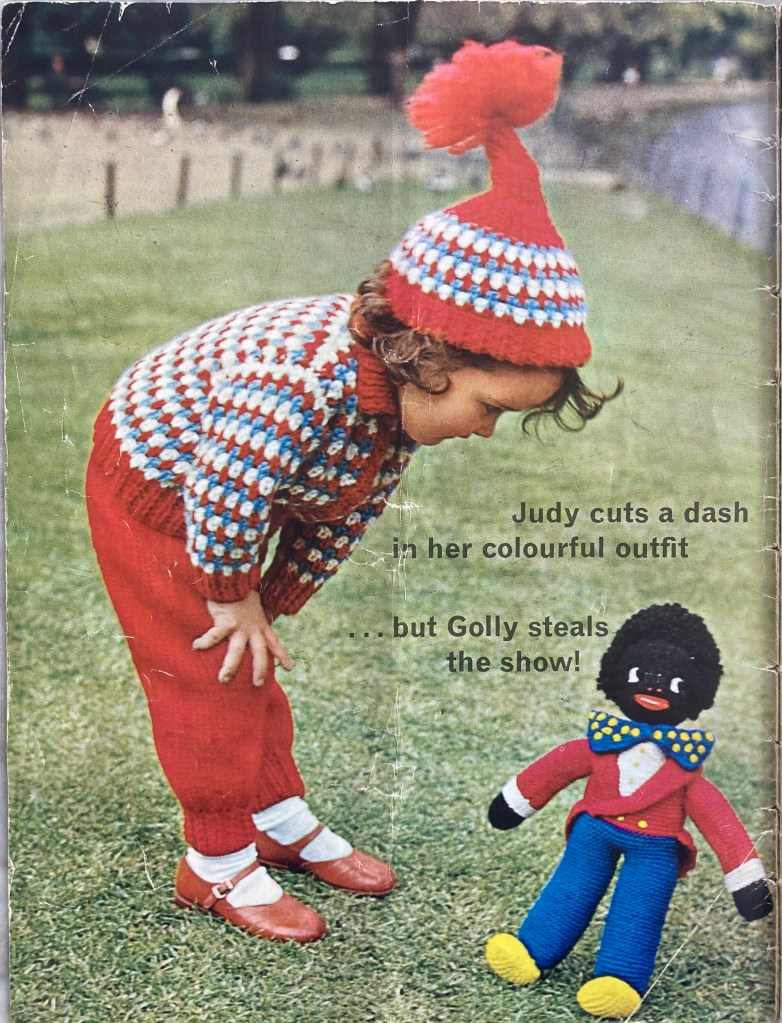
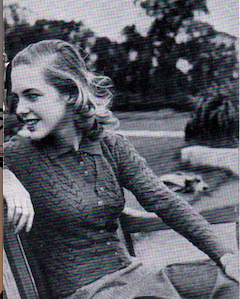
 I love this cover. The yellow stripes on the hats, the yellow trim on the sweaters and the yellow sans-serif lettering all harmonise perfectly with the off-white garments in the center focus. Even the models’ hair colour looks like it was chosen to match the wooden wall. And we can see that typical 1960s hairdo coming into fashion, with more volume on the top and curled ends.
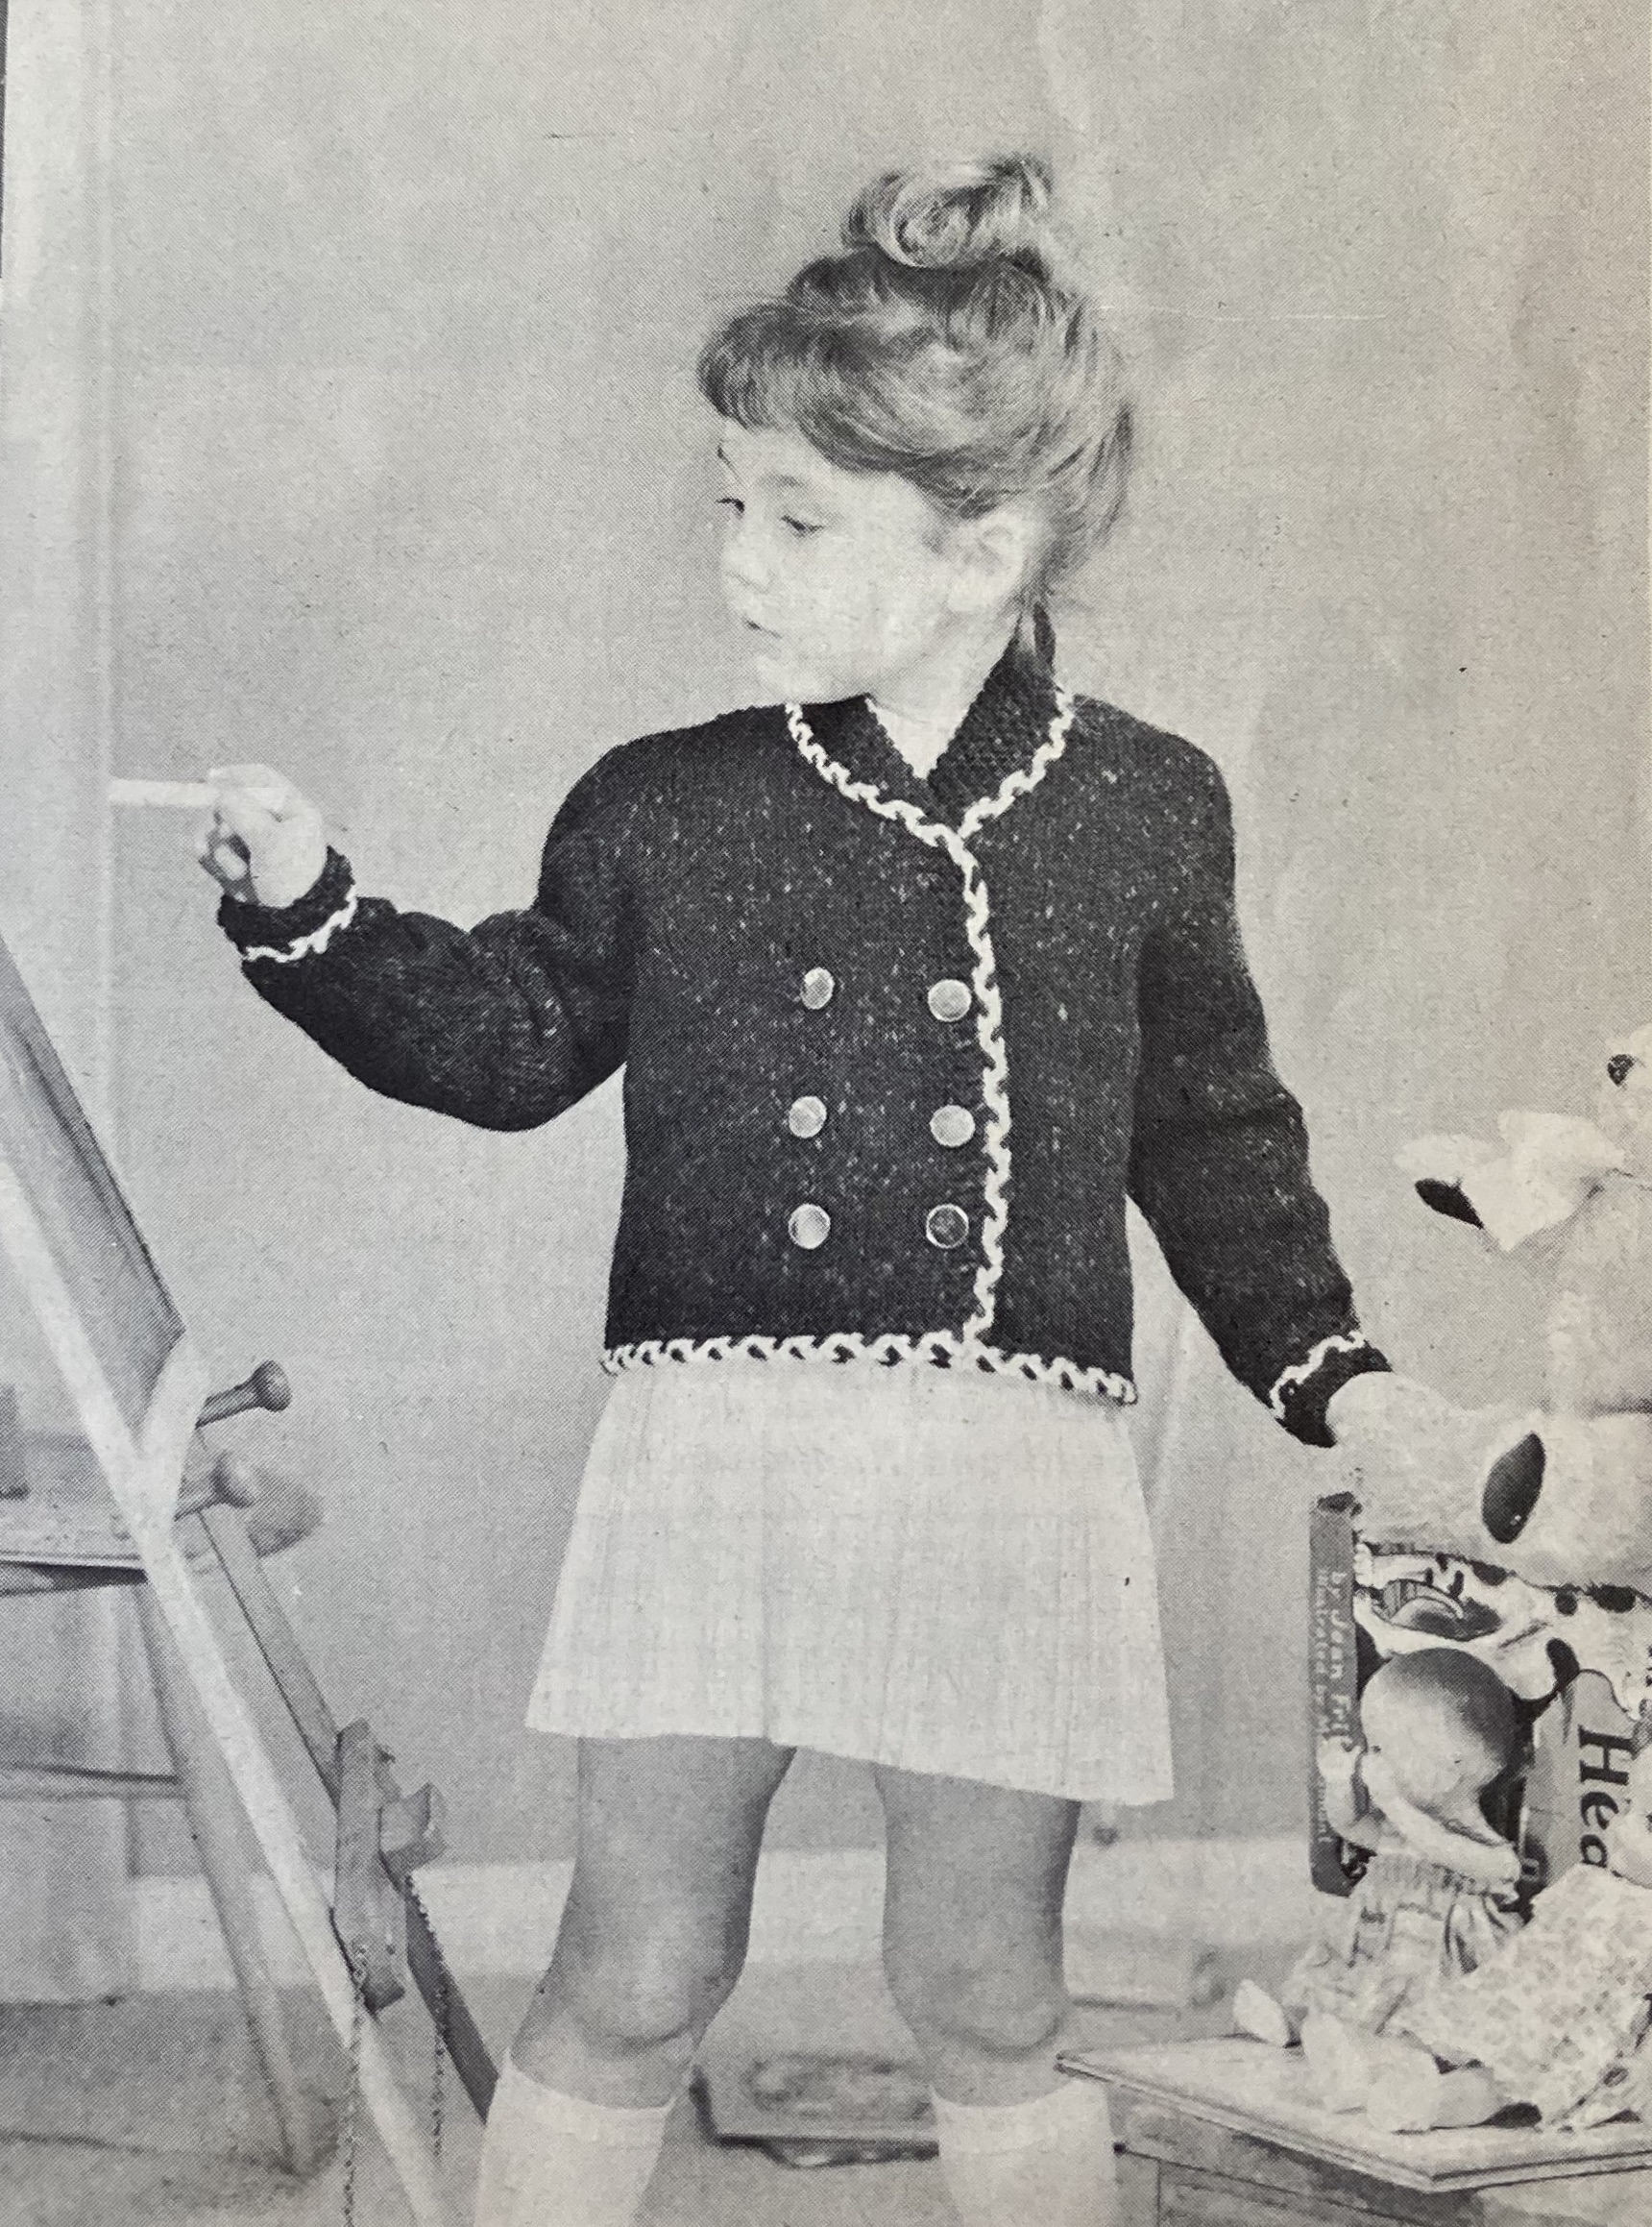
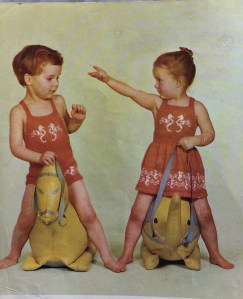 elephant! The dress is totally cute and definitely on my project list for this month, for my friend’s kid who just turned three. Those are seahorses, in case that wasn’t clear (the ones on the front panel of the dress and matching sunsuit look weird to me — I think I’ll fill in the bodies to make the shape more clear.) The sunsuit and dress are made in wool-nylon blend
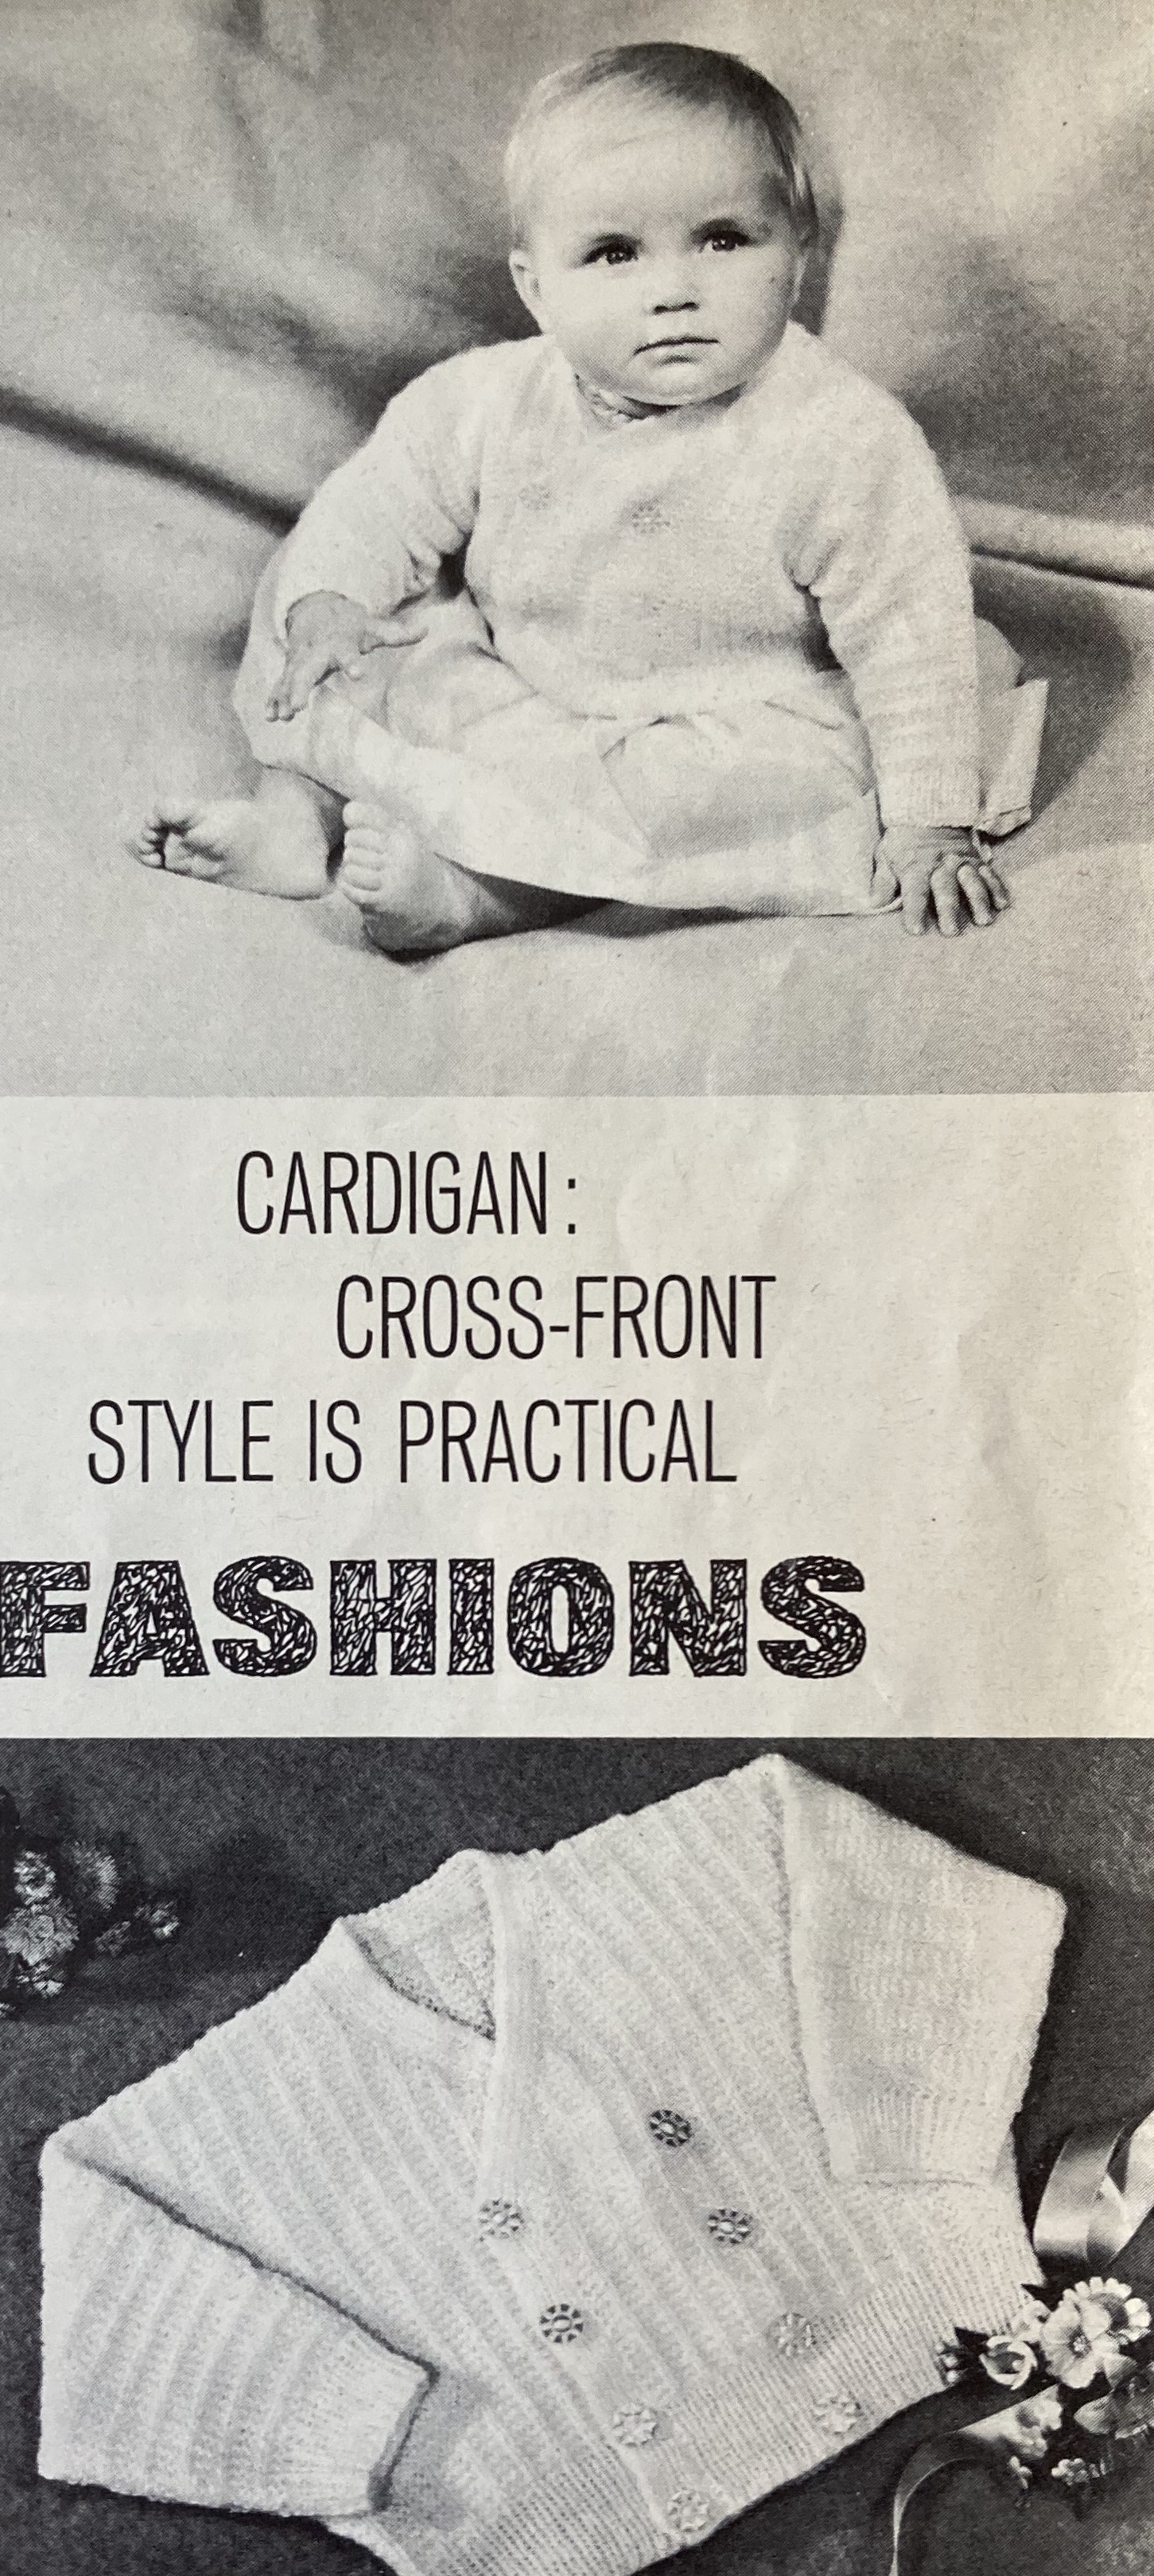
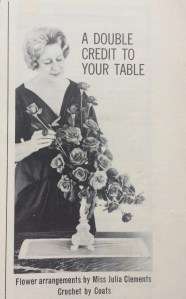
  (Speaking of tiny children in goofy poses, am I the only one who finds this advertisement for next month’s Stitchcraft strangely funny? What is it about this baby that comes off looking so weird? Too much hair? The quasi-adult-looking face? The indescribable expression?)


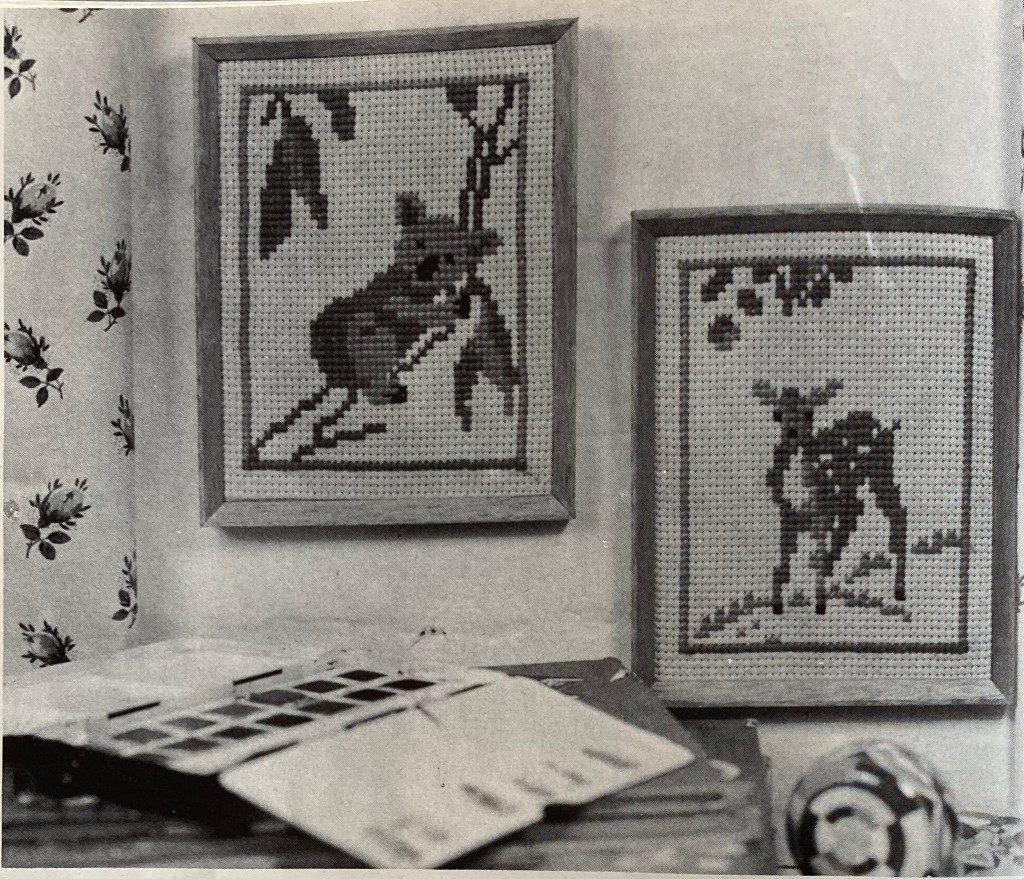
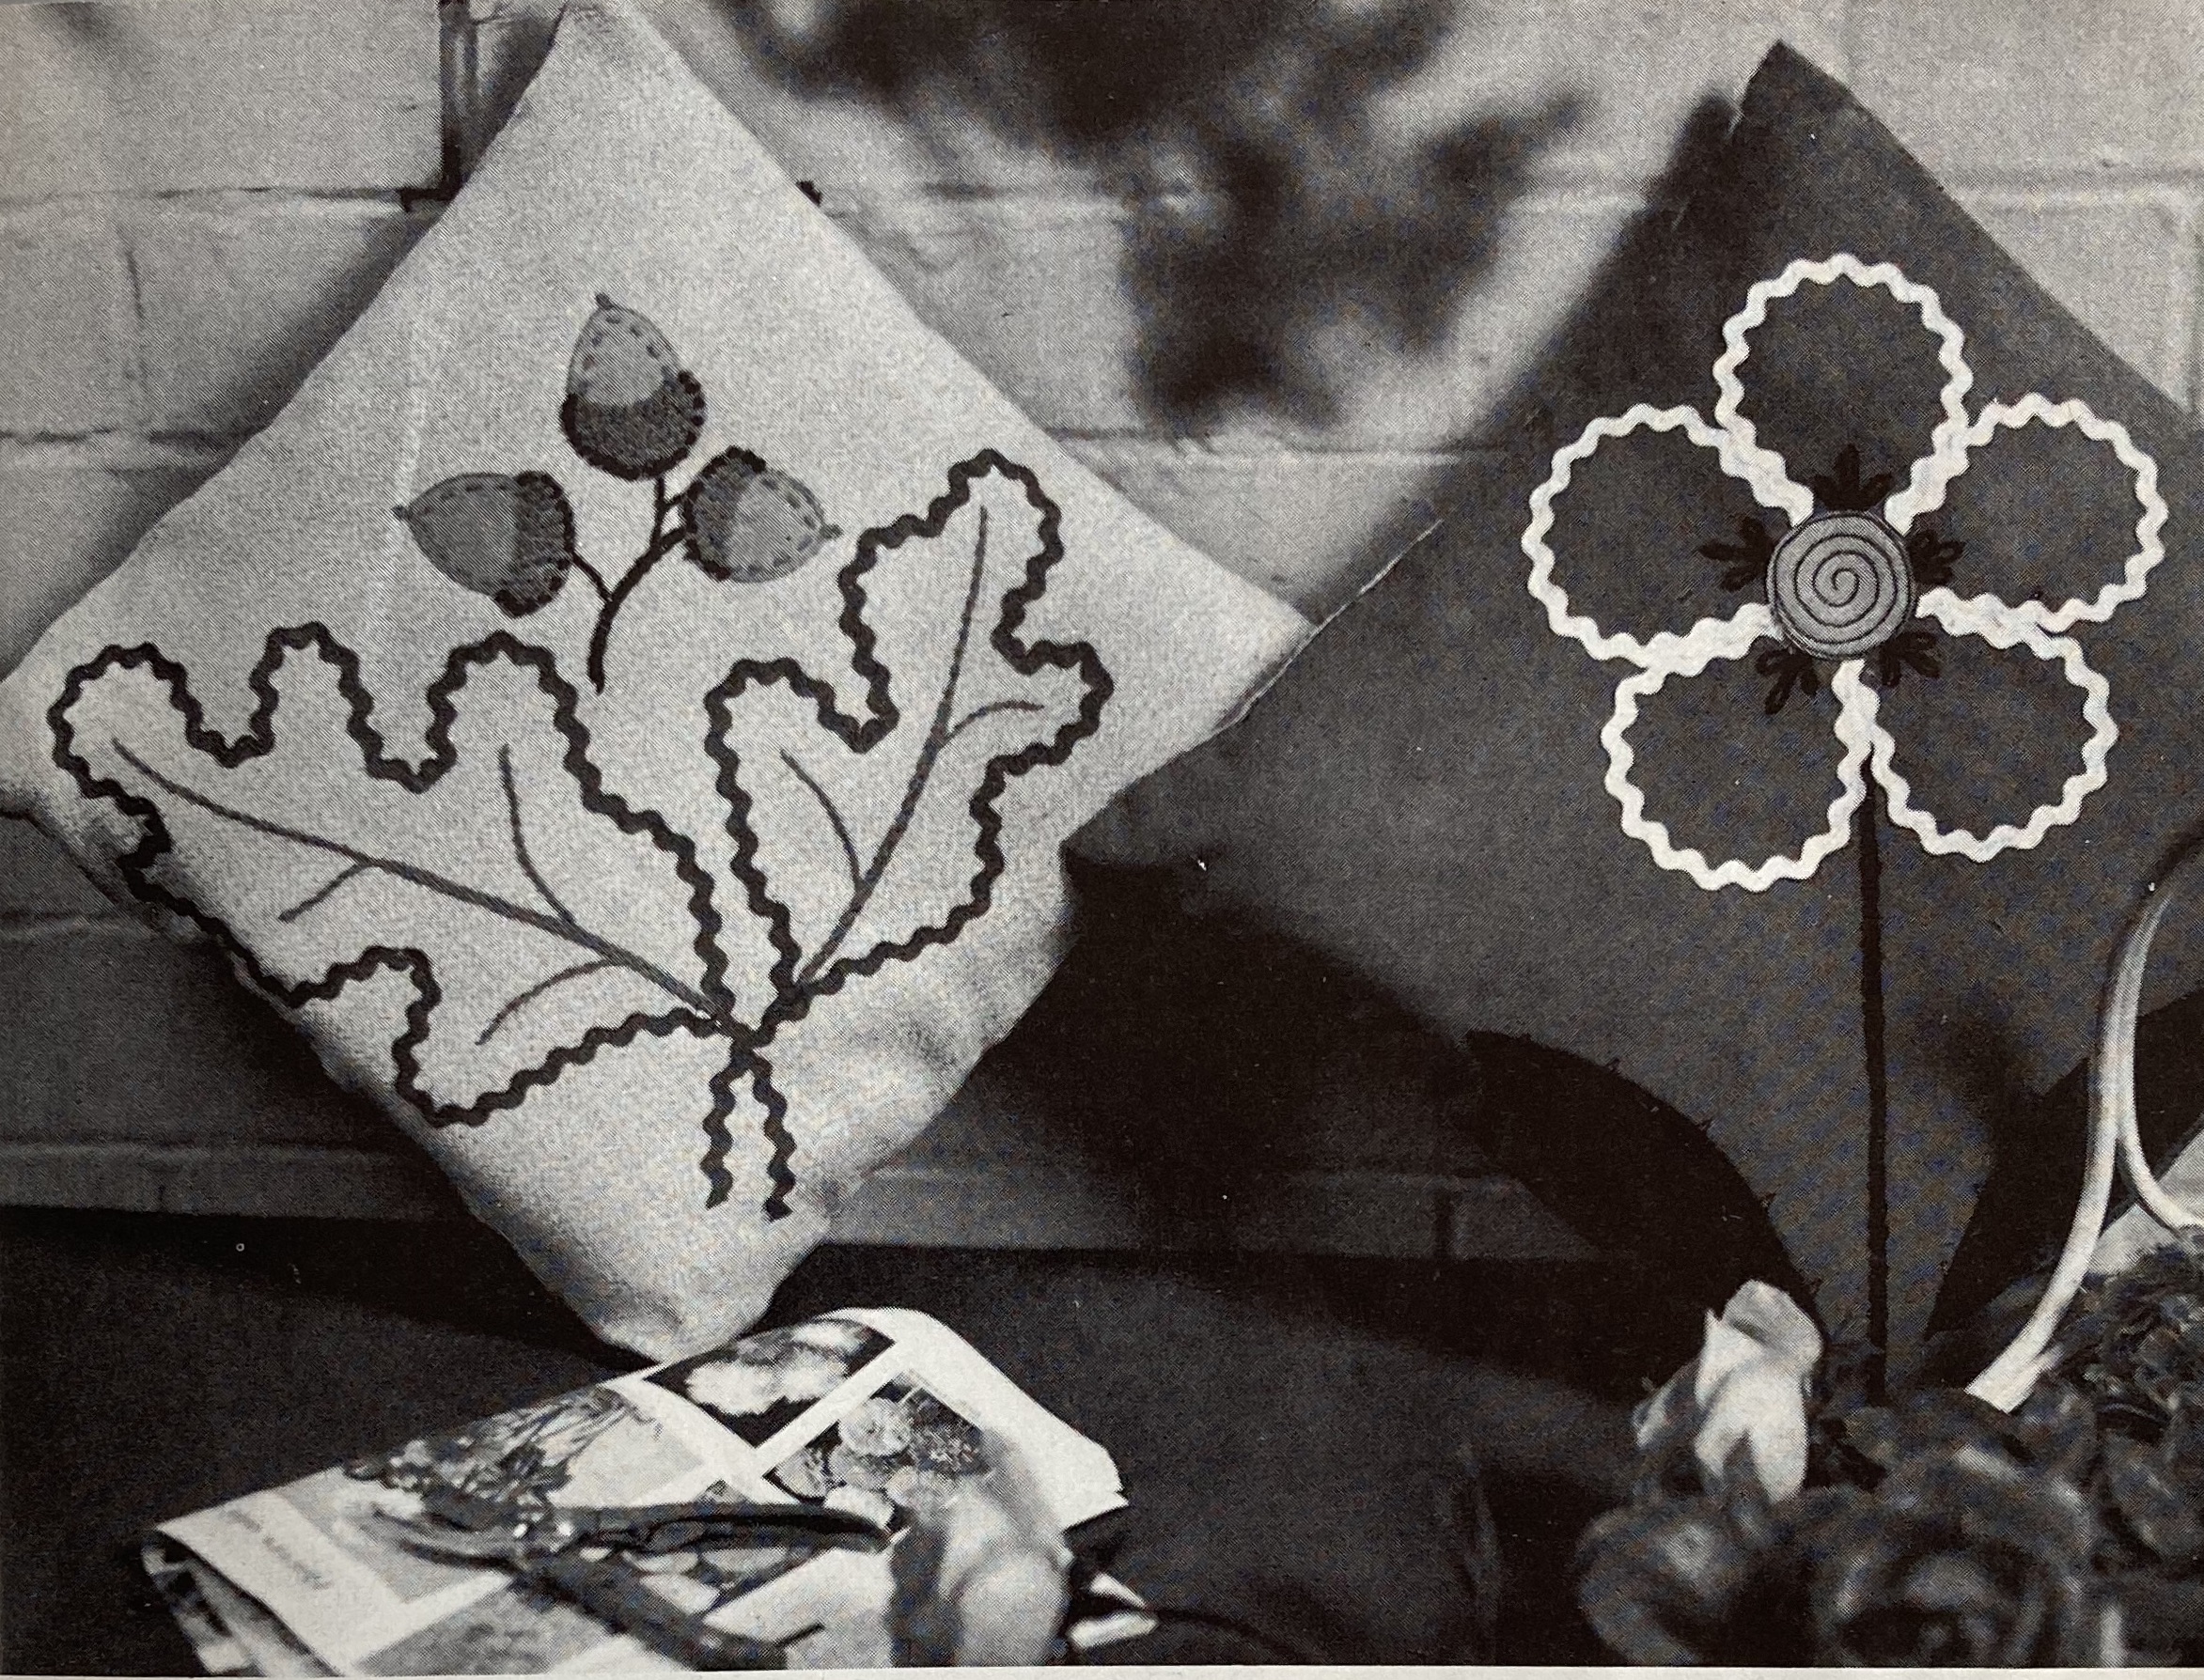
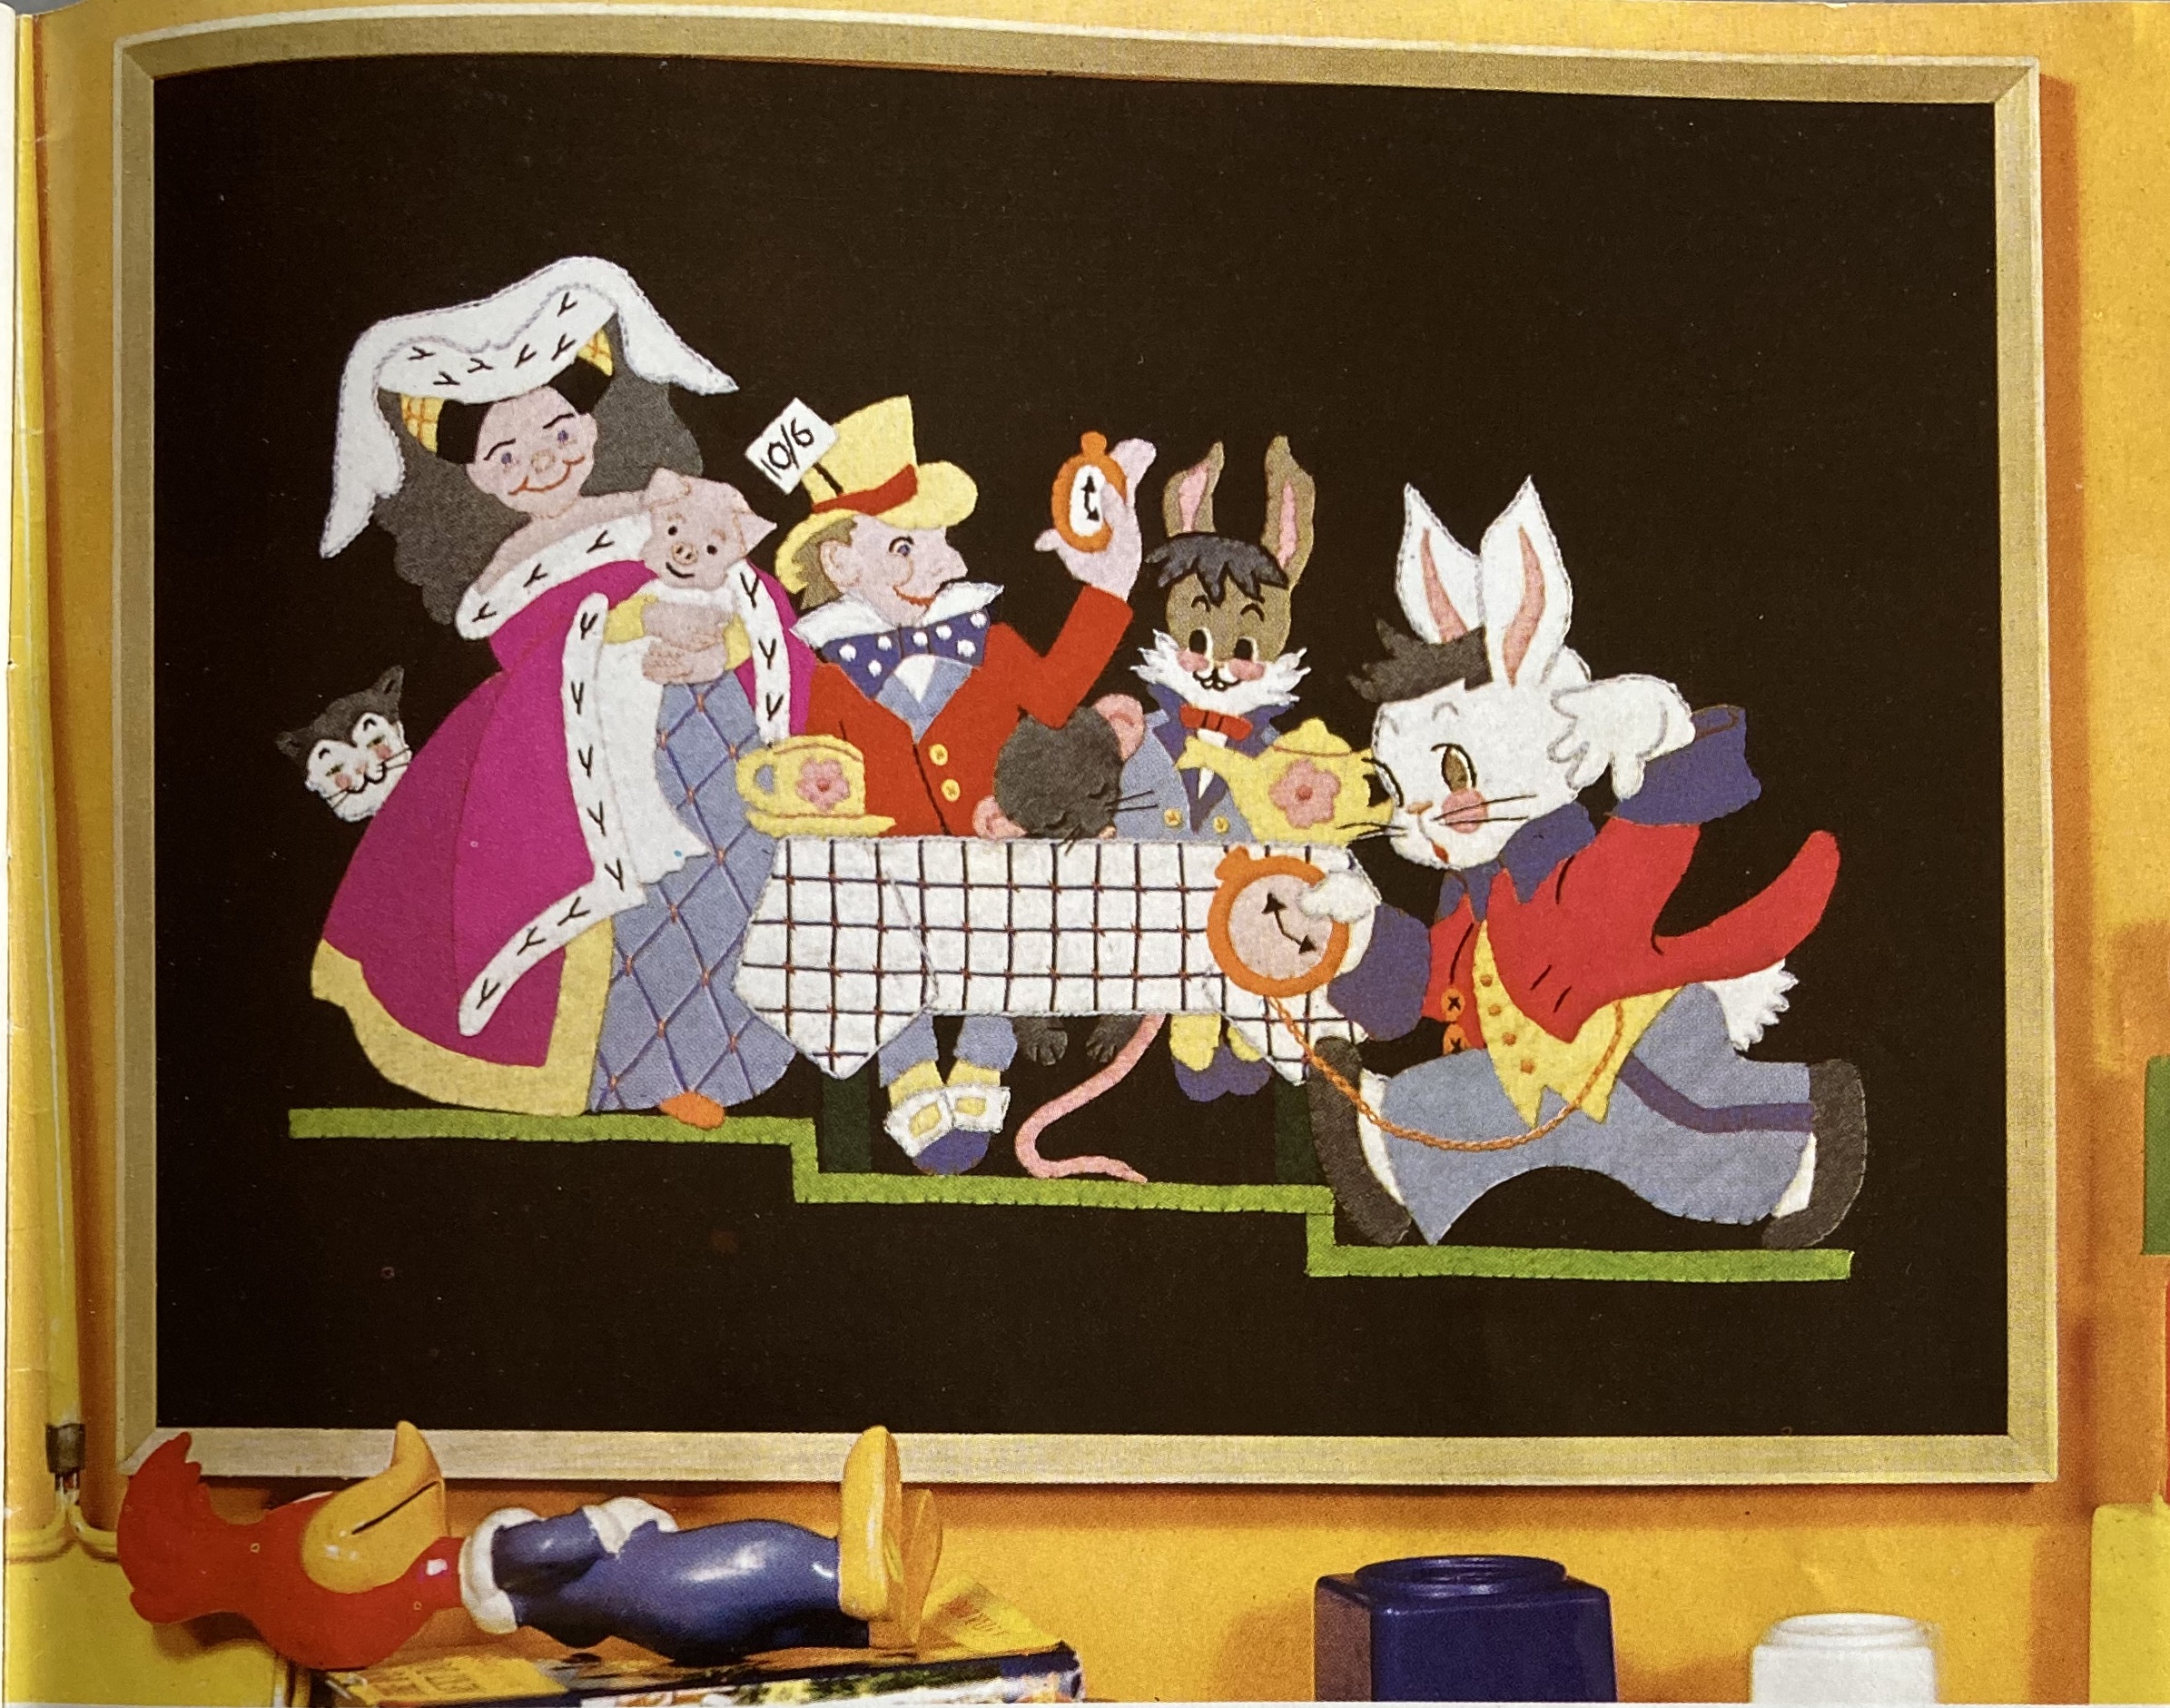
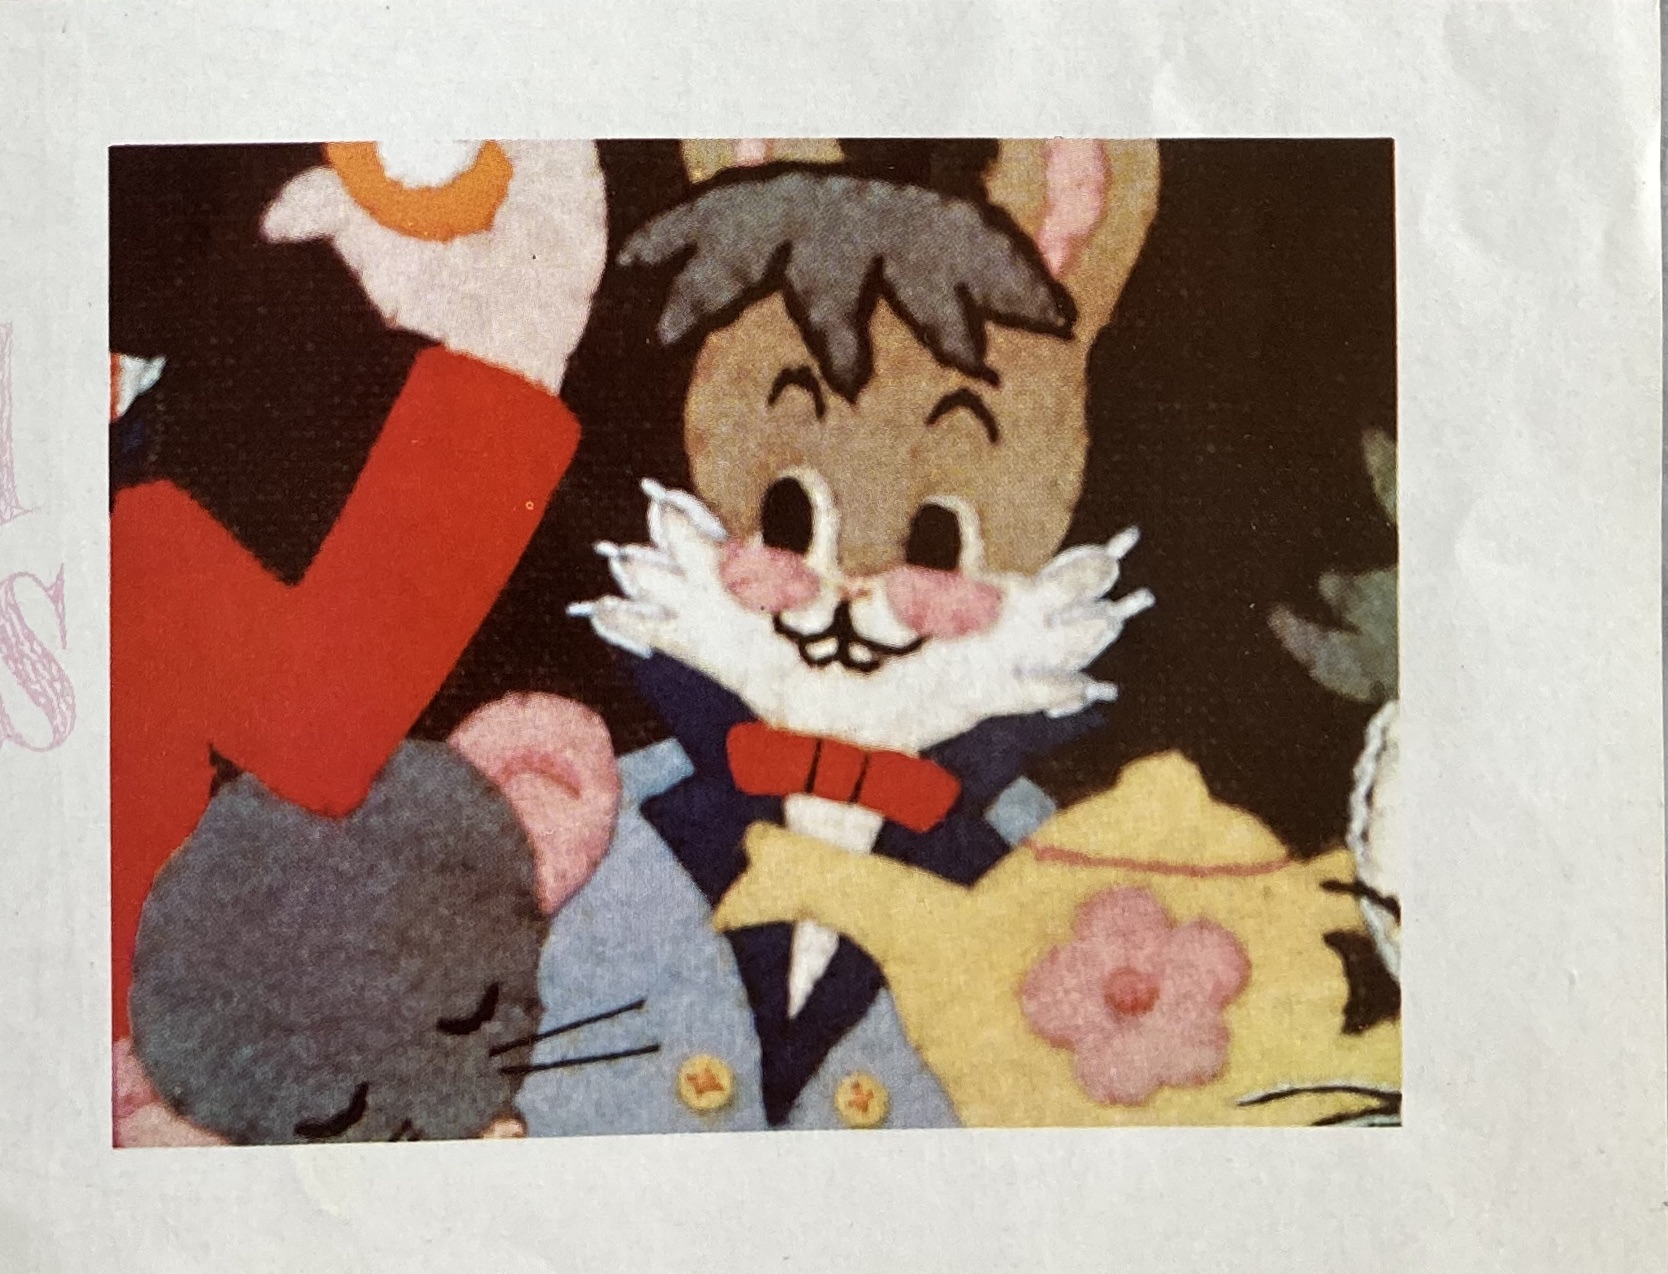
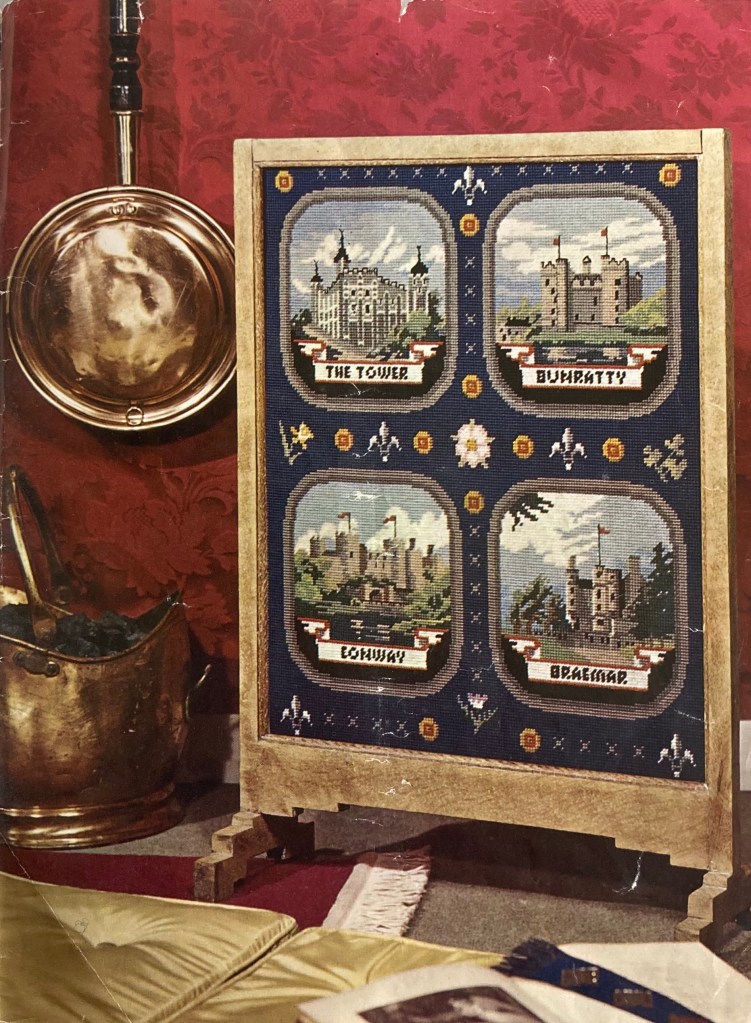
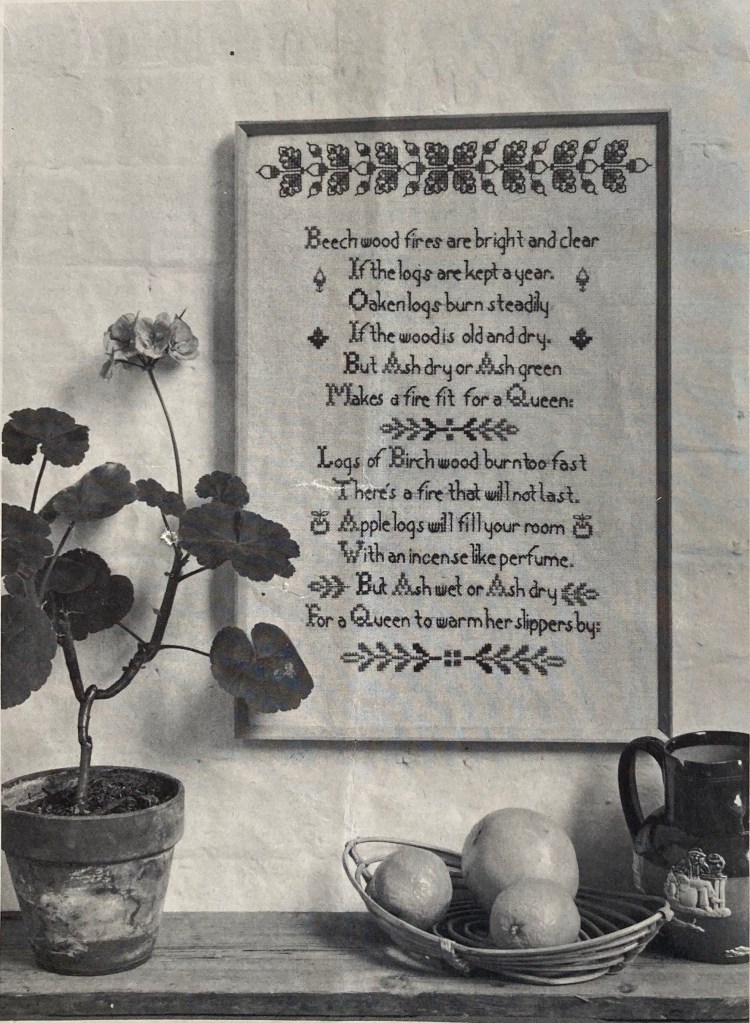
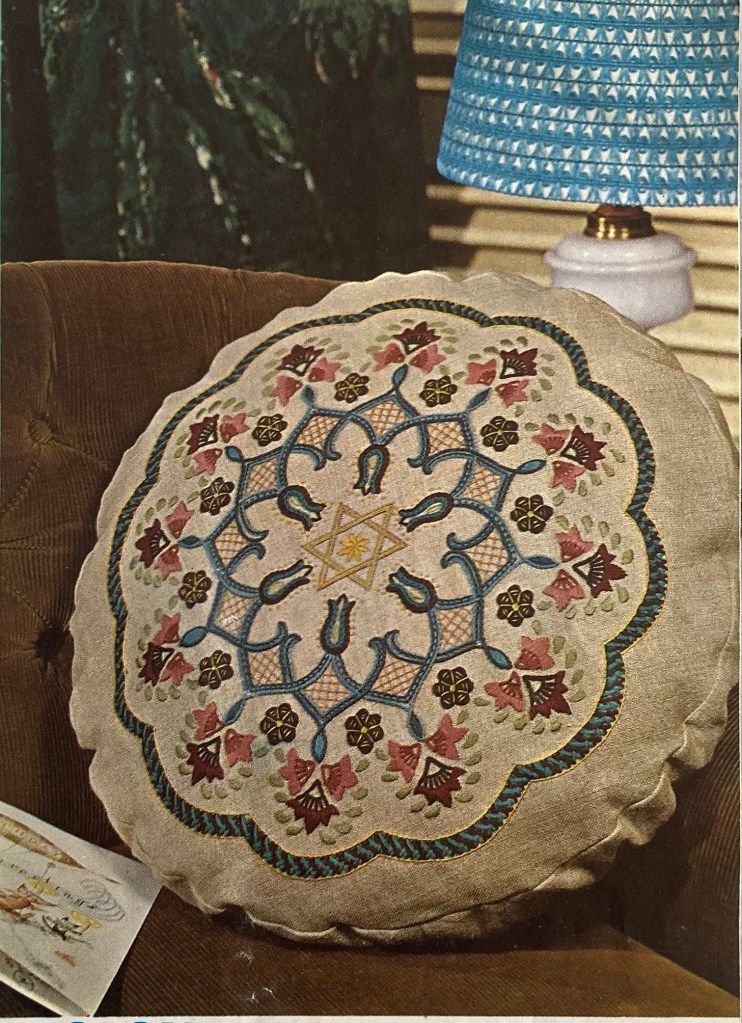
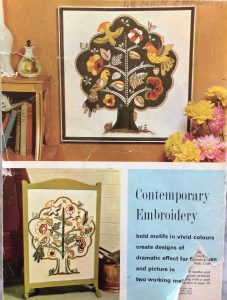 And then there’s this incredible birds-in-a-tree number, to be worked either in wool on linen for a firescreen or in felt appliqué with wool embroidery on linen for a picture. I’m normally not so crazy about 1950s and 1960s neo-Jacobean designs, but I love this one and definitely want to make the felt appliqué version as a cushion (with a more greeny green for the tree and not quite so much brown-orange-yellow in the appliqué work.) I imagine it might be tough without a transfer, but they gave us two very clear photographs including one in full colour, so what could go wrong?
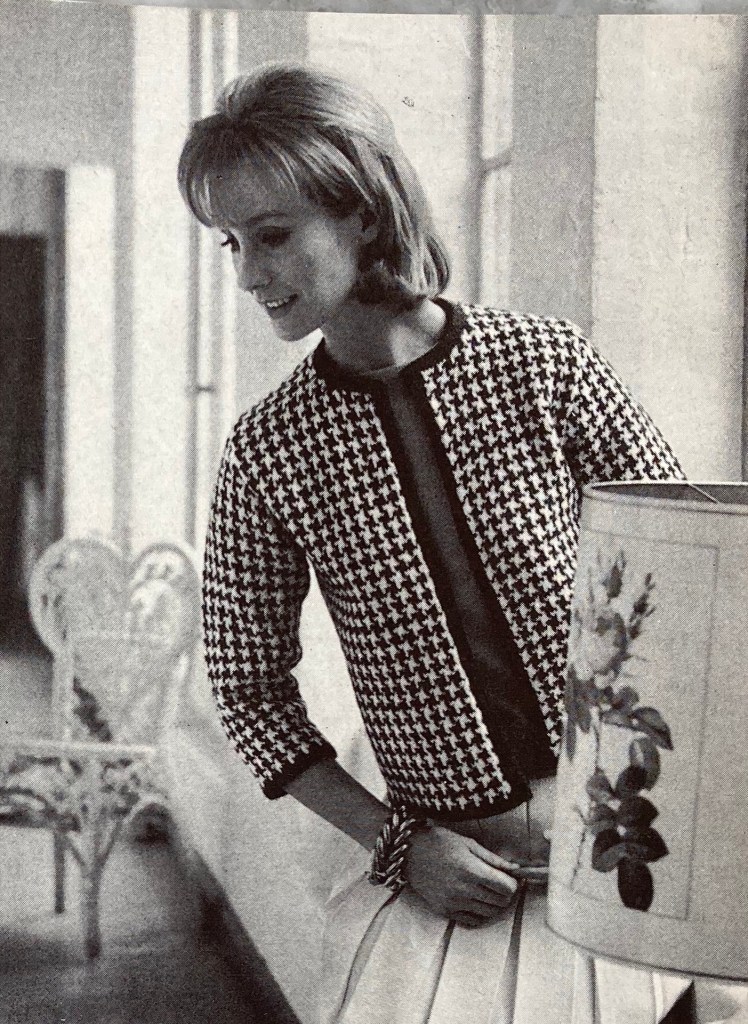
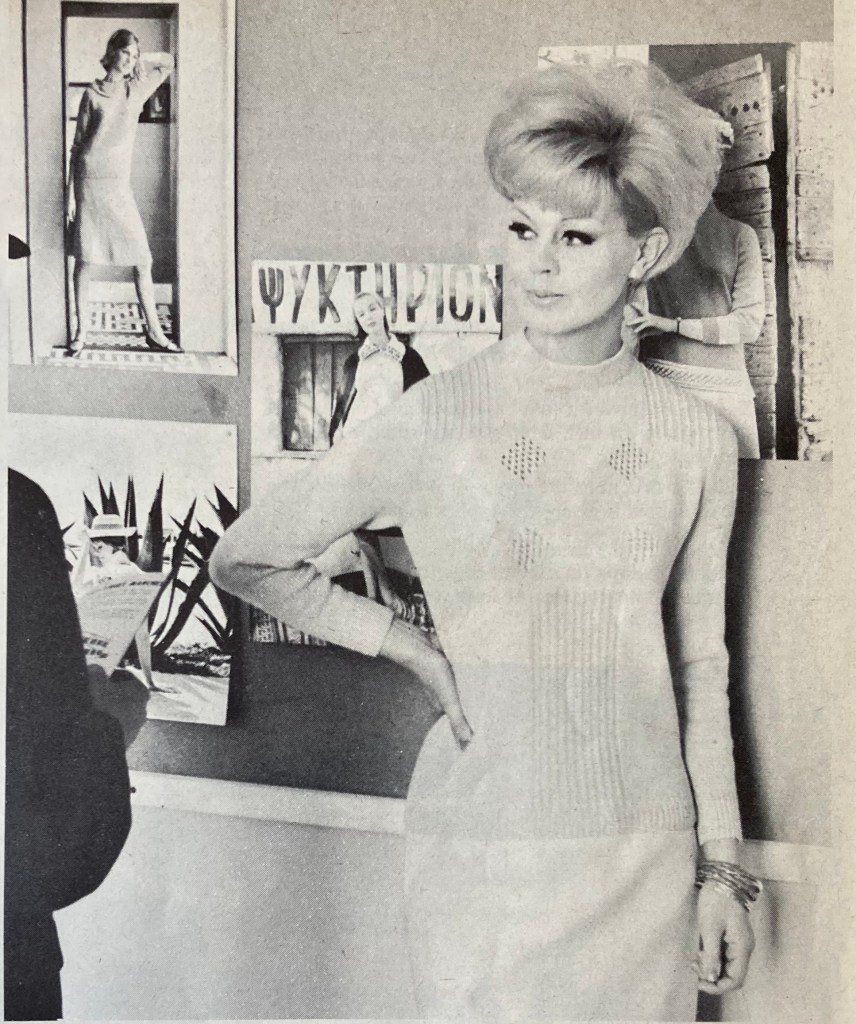
 Last but not least, there’s a lovely, elegant two-piece suit in nubbly Rimple double knitting wool, featured in the most magnificent photo I have ever seen in any magazine, ever. If I remember correctly, I saw it in one of those Internet lists of “best/worst/weirdest knitting pattern photos” long before I started collecting vintage patterns. It’s definitely at the top of my list and if you haven’t seen it yet, you saw it here first!
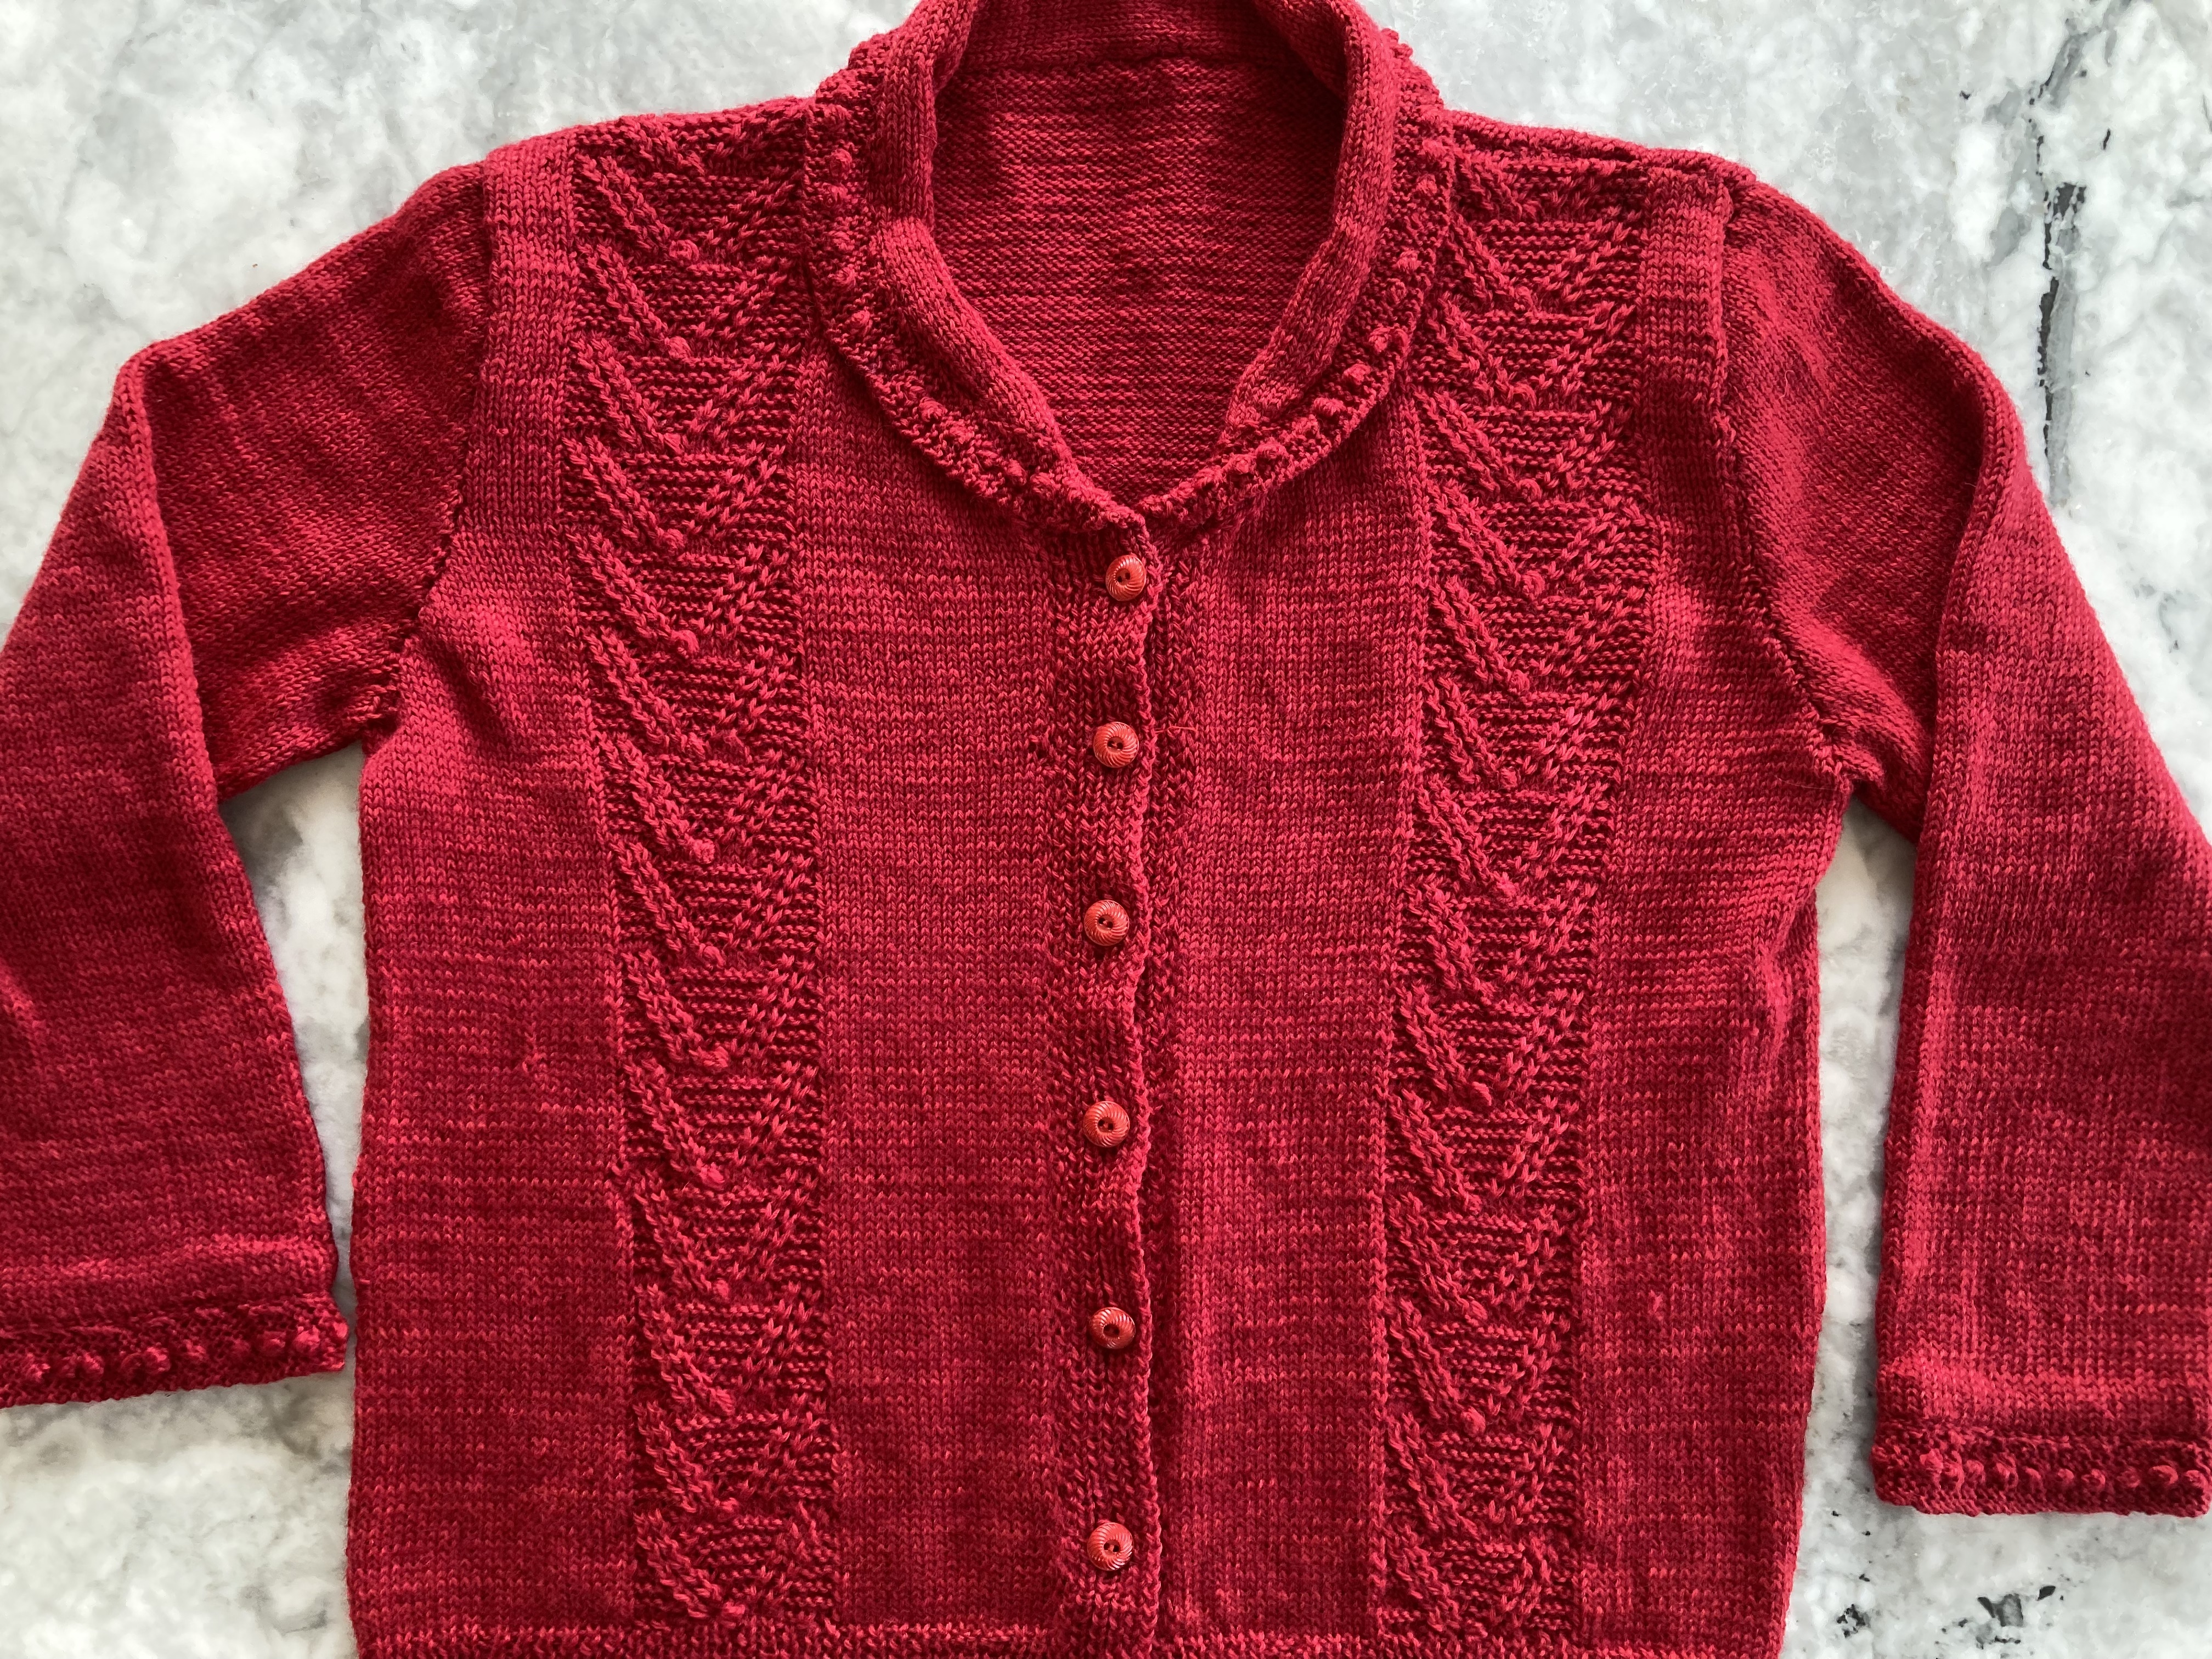
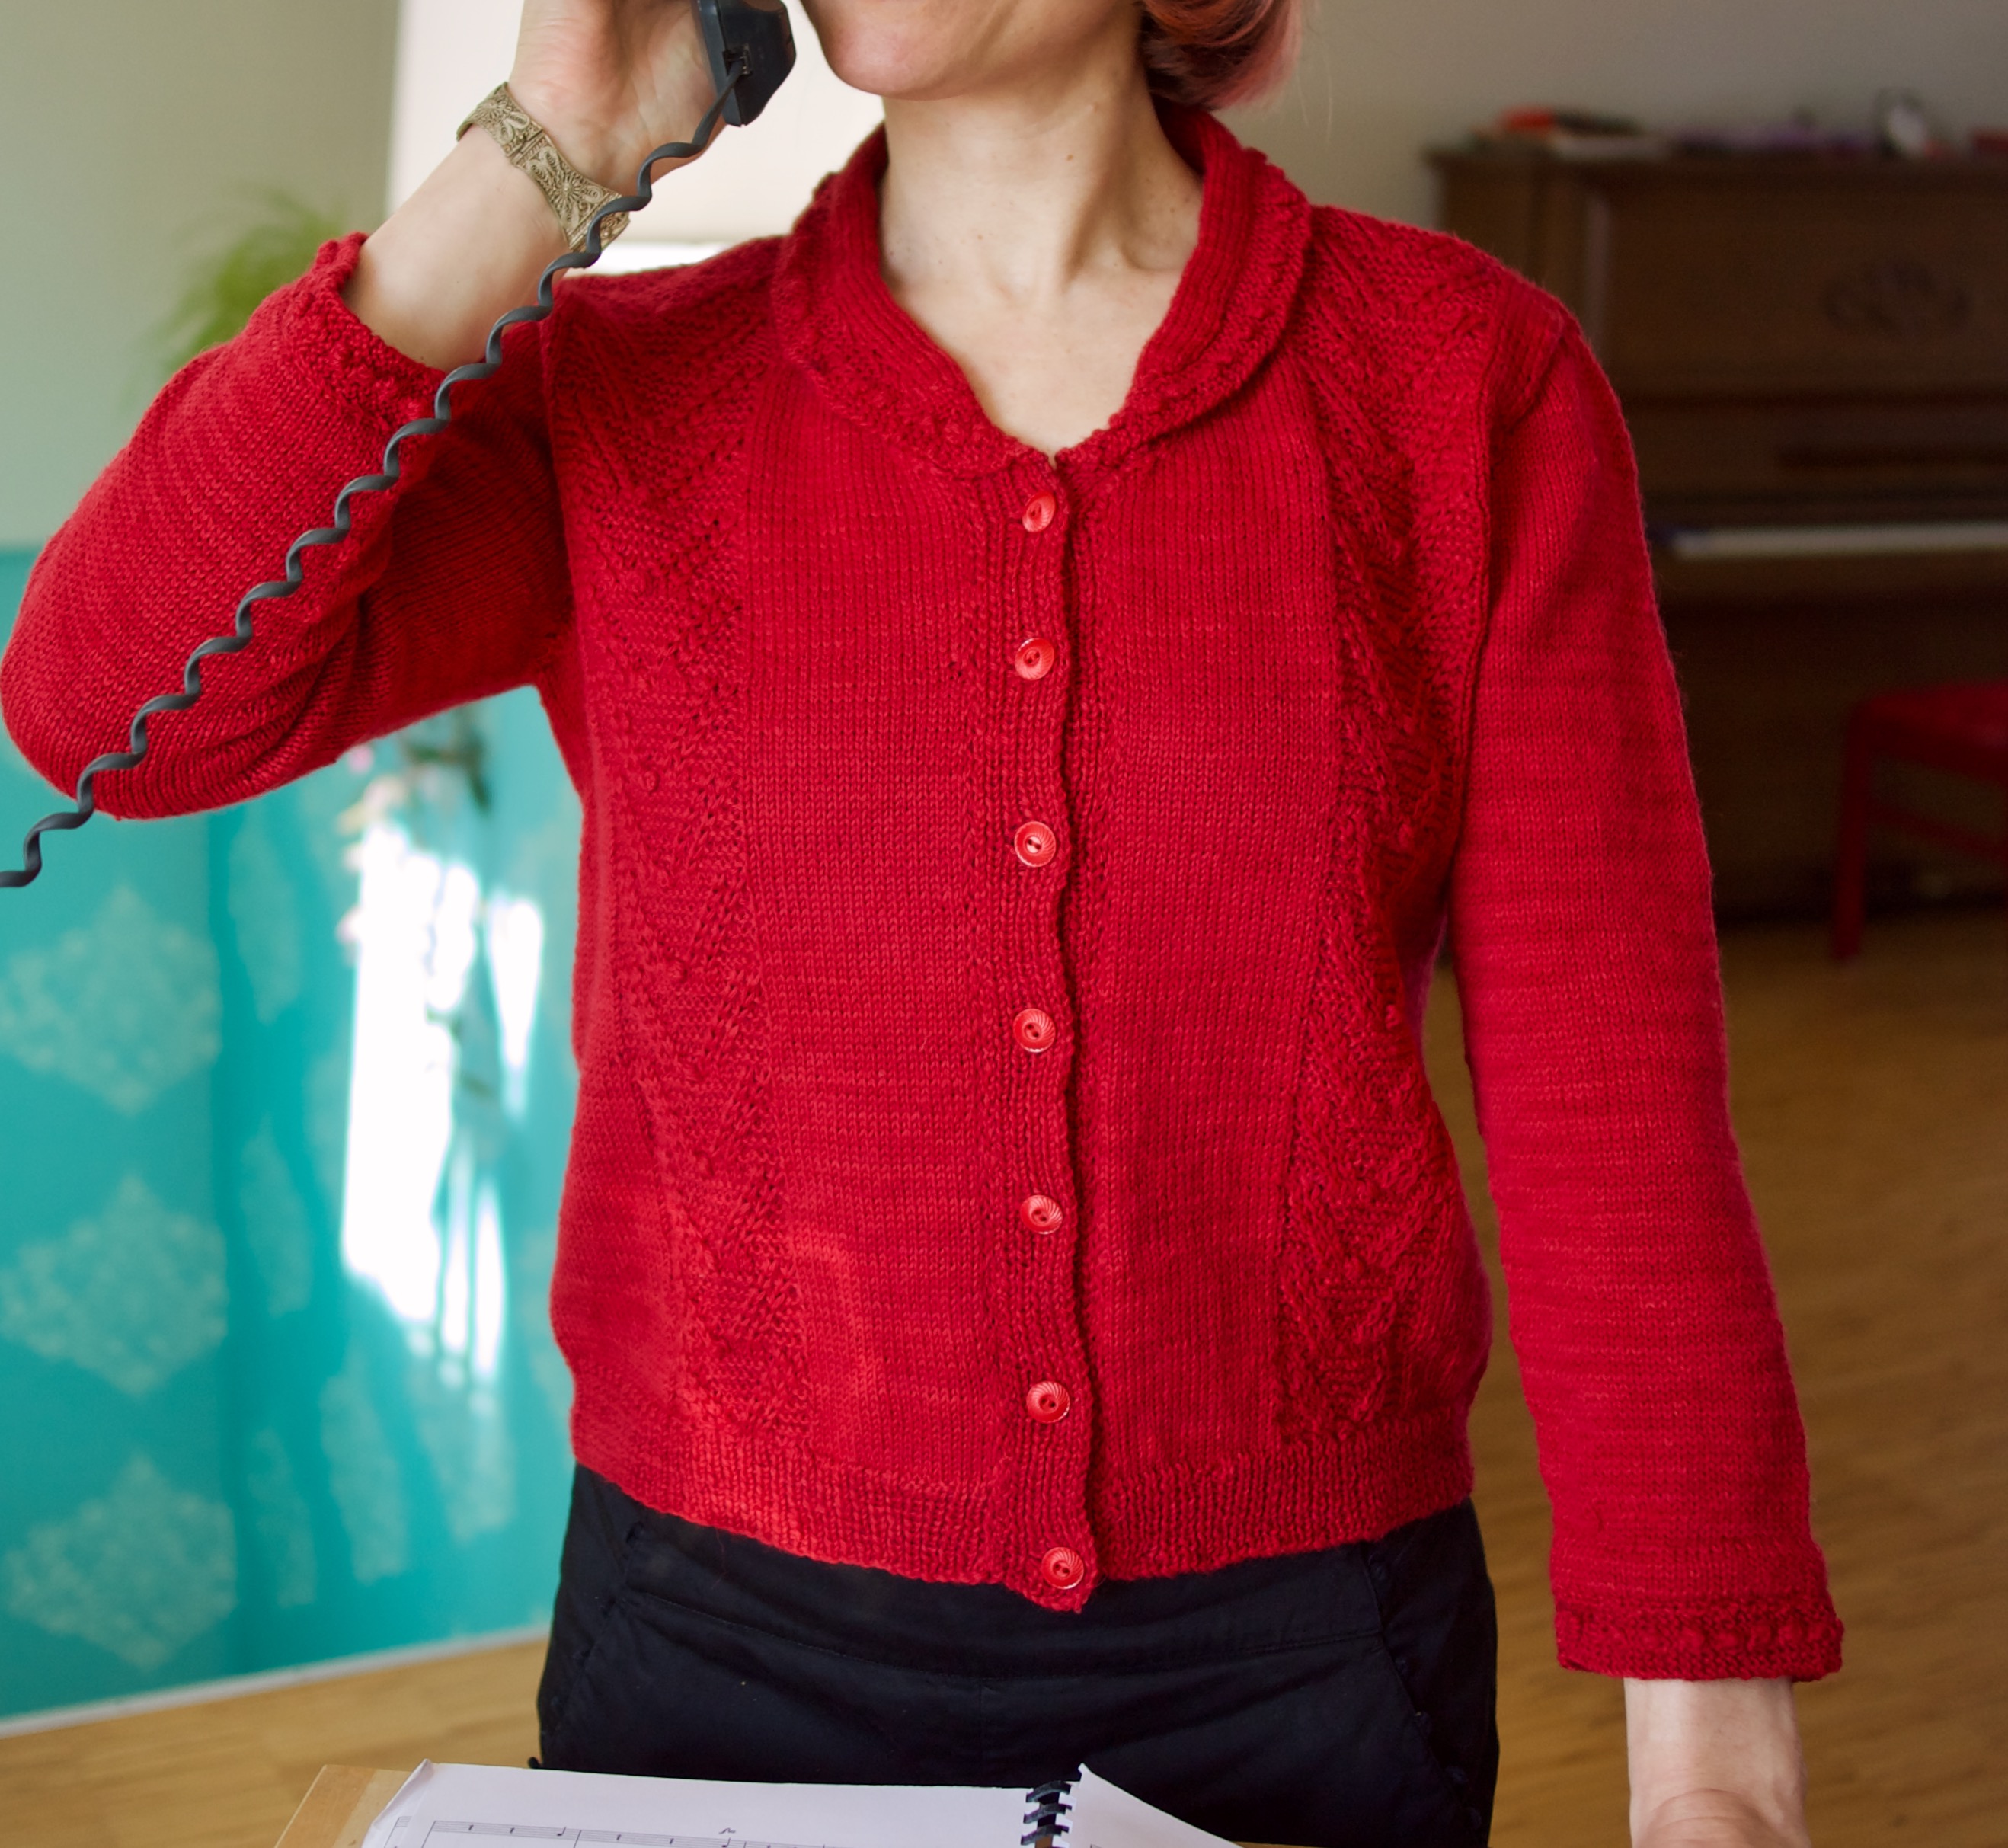
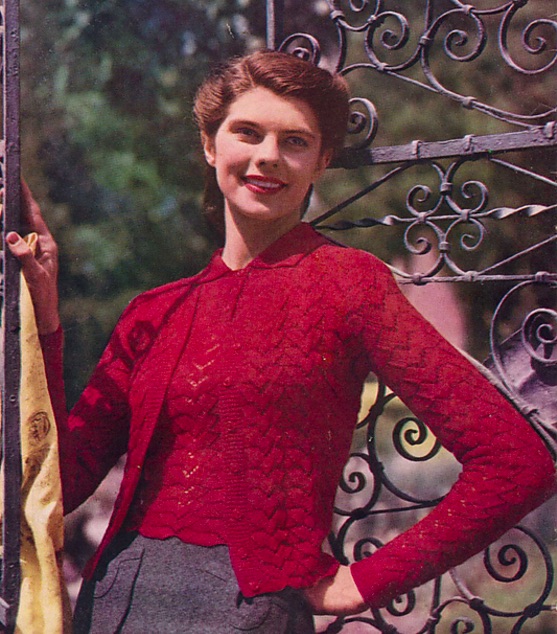
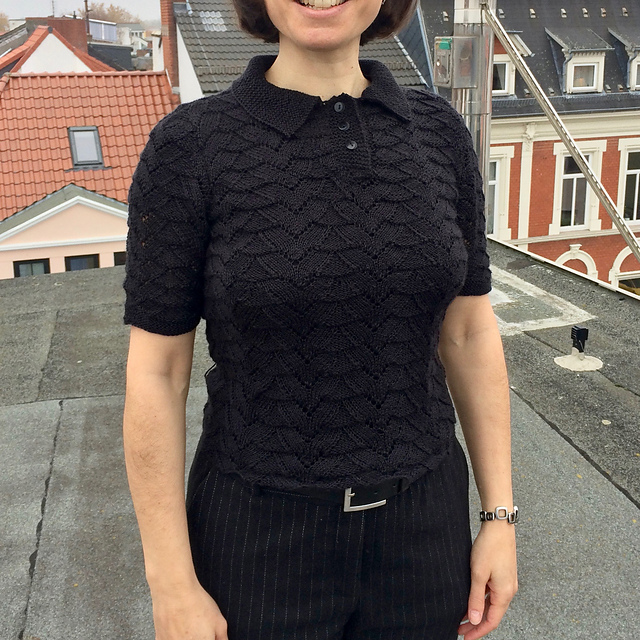
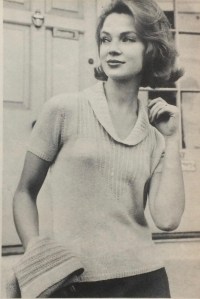
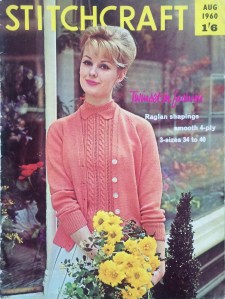 I loved this twinset at first sight. I loved the short raglan sleeves on the pullover, the cable-and-mesh panel on the front and the very original mock-turtleneck-meets-peter-pan collar. It’s one of the reasons I started this whole long-term Stitchcraft blog project, so I’m thrilled to have it come to life.
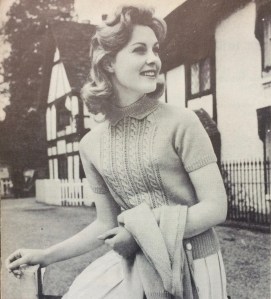
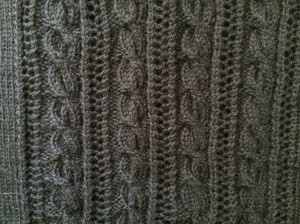 The cables have an interesting twist — literally. You put four stitches on the cable needle, knit the other four and then give the cable needle an extra 360 degree clockwise twist before knitting the stitches off of it. This gives them a cool extra definition. I forgot to do it once and it was almost unnoticeable — almost — but I didn’t want to rip back that far, so when everything was done I looped a little tiny thread around one of the cable stitches and just pulled it over more to the side and tacked it down by tying the thread ends in a knot on the wrong side. Look at the close-up picture above — can you tell which cable it was? I can’t on the finished garment. Good to know.


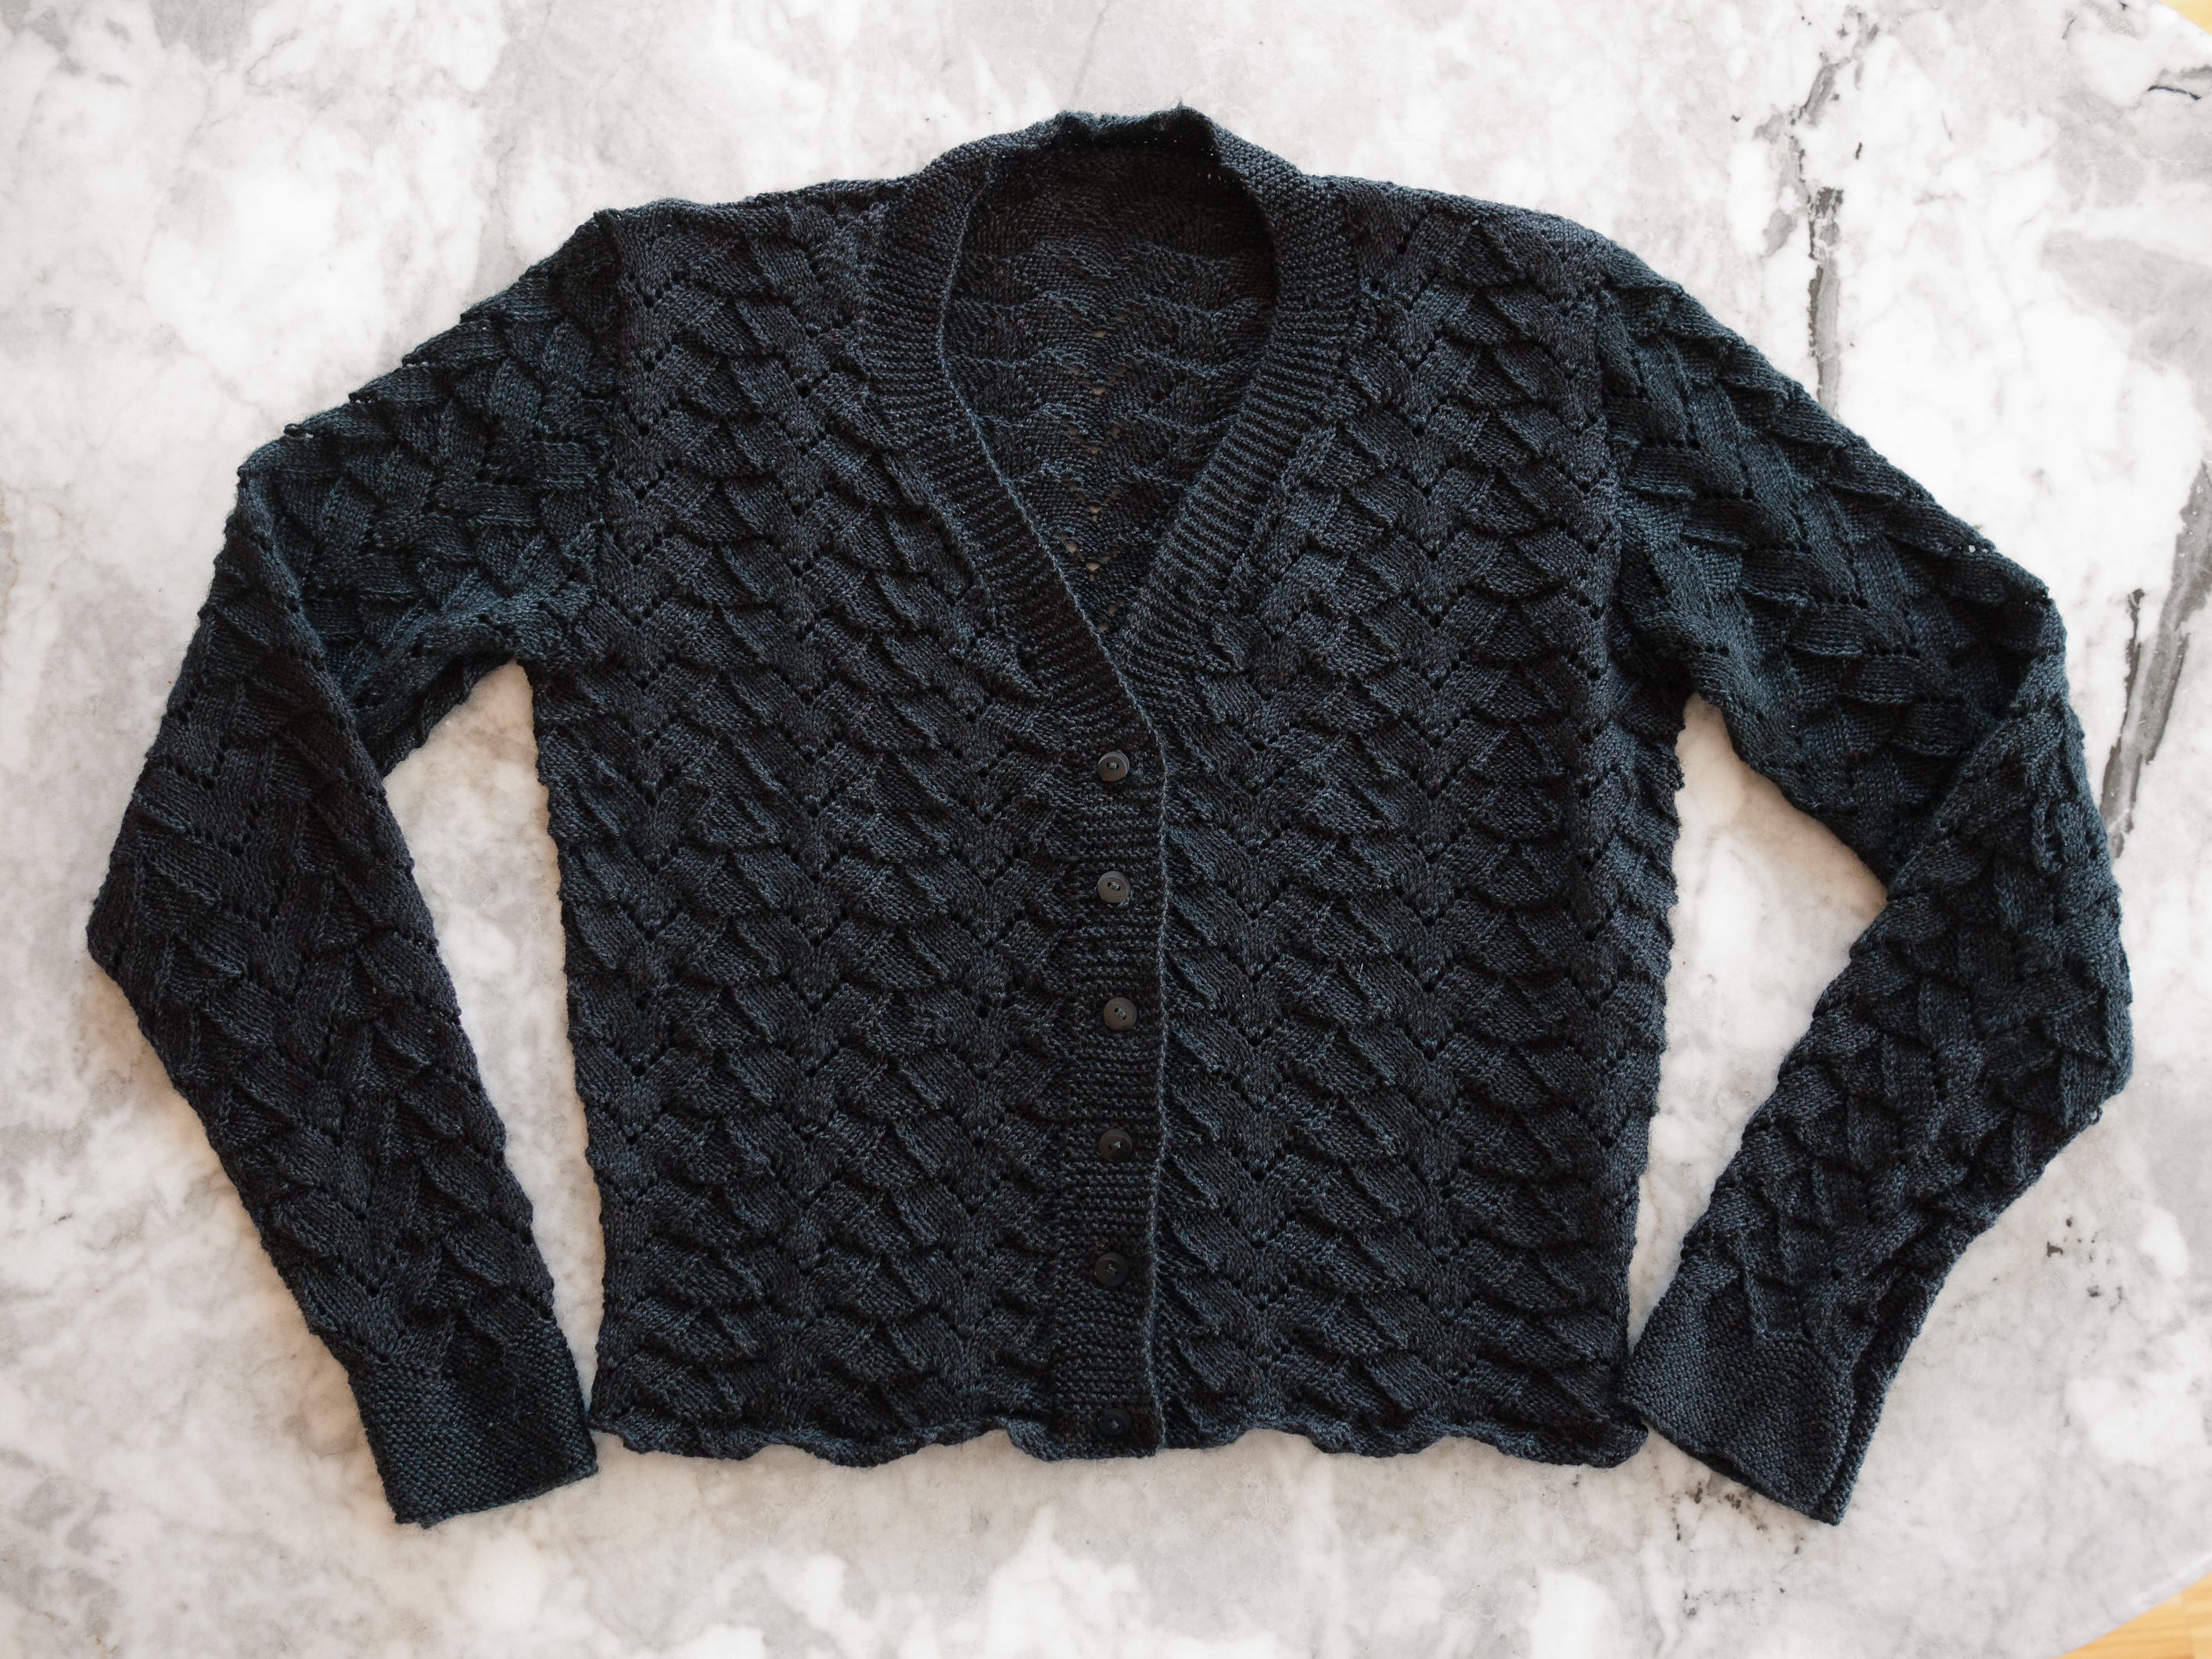
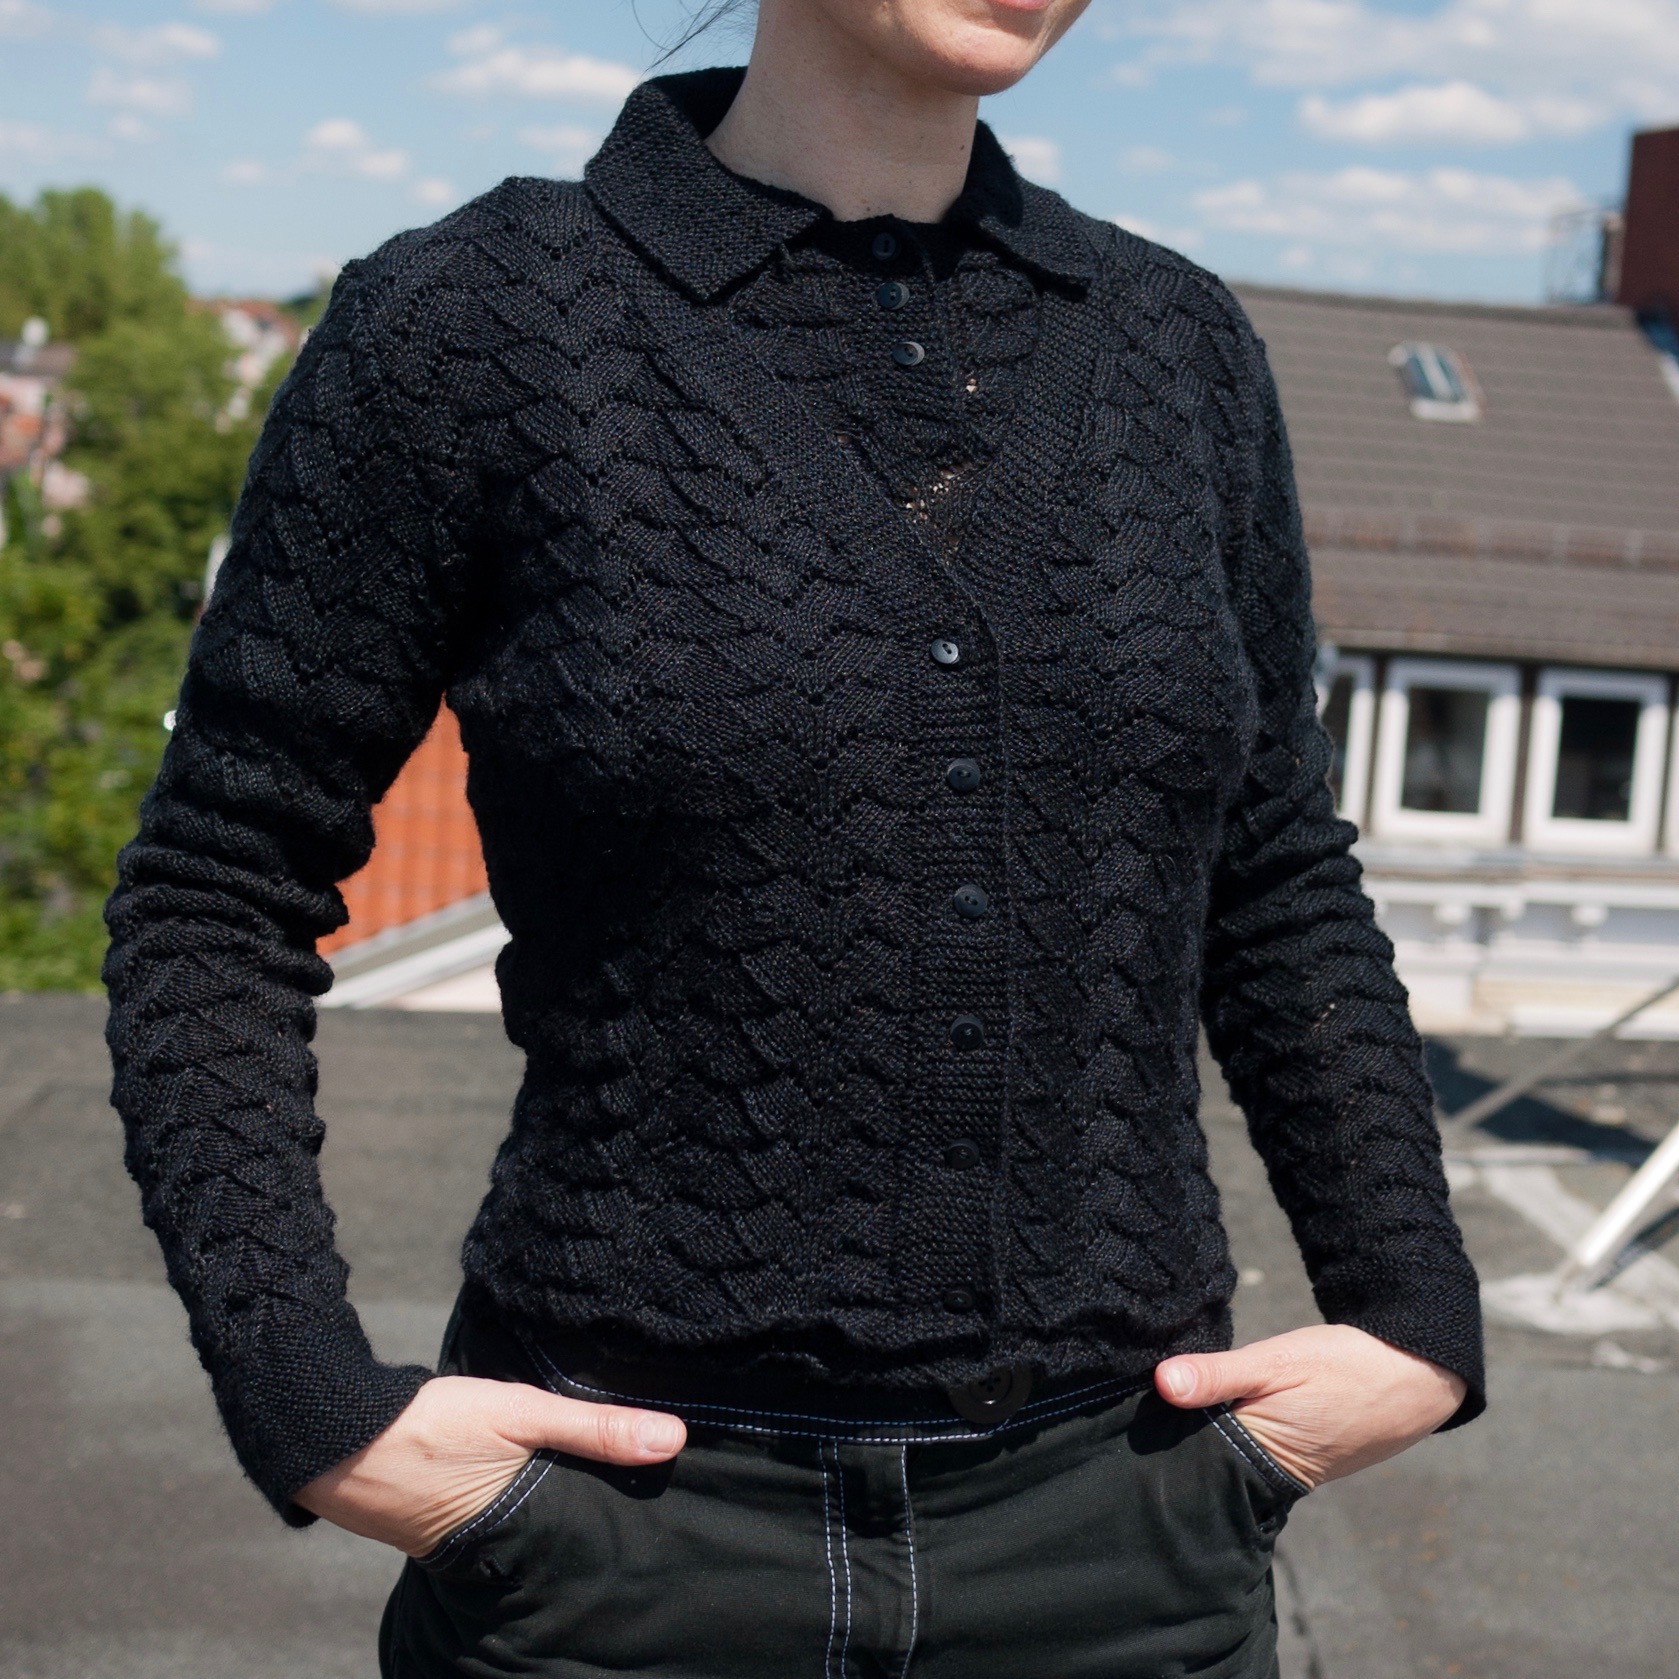
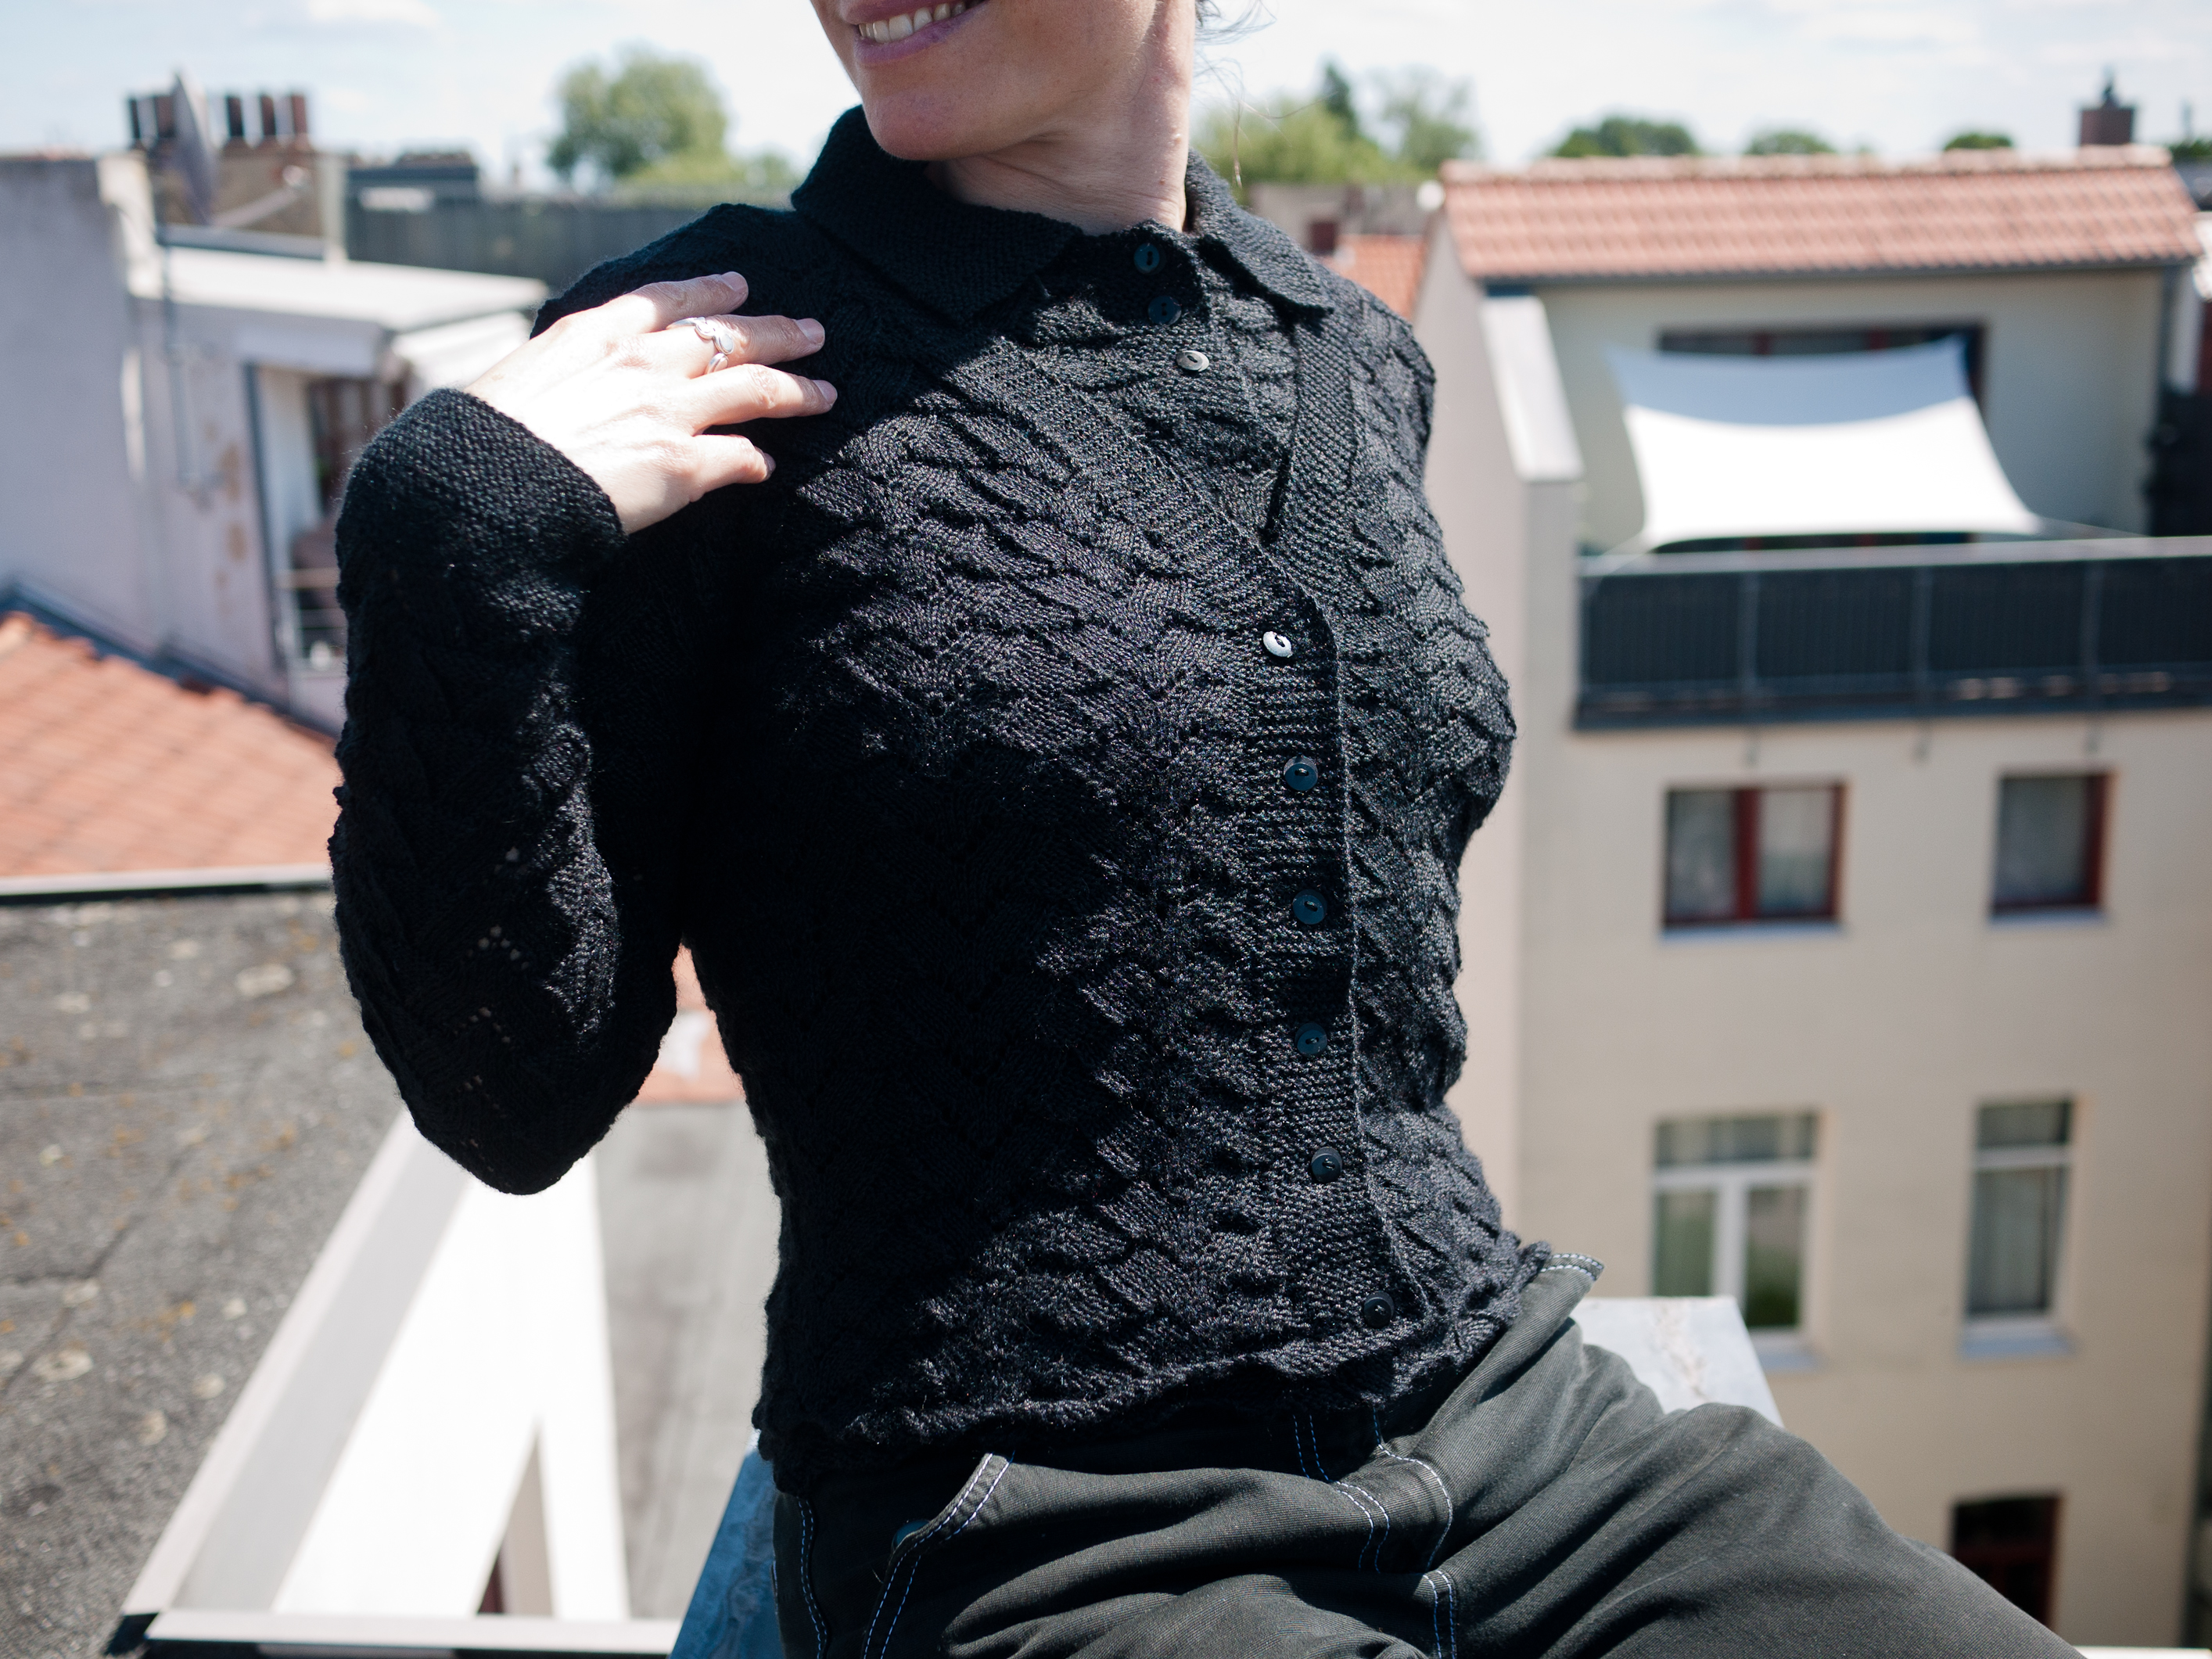
 The cardigan is somewhat more plain, as it doesn’t have the cables, but it makes such a lovely set with the pullover — not to mention it’s an excellent “everyday” cardigan to go with lots of other outfits. The sleeves came out a bit long — I was obviously over-compensating for my long arms and the fact that I always have to lengthen the arms a bit — but it looks just as good with the cuffs turned back, and I can turn them down for extra warmth under a coat and gloves. I hadn’t expected the raglan sleeves to have so much armhole depth. I thought about adding facing ribbon to the button bands, but it turned out to not be necessary, as the cardigan fits fine whether buttoned or unbuttoned. In short, I am thrilled with my new twin-set and it will surely get a lot of use this winter.


