EDIT July 17th, 2024: Finished!
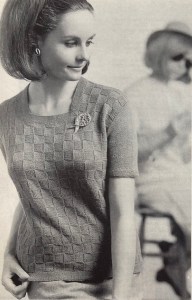
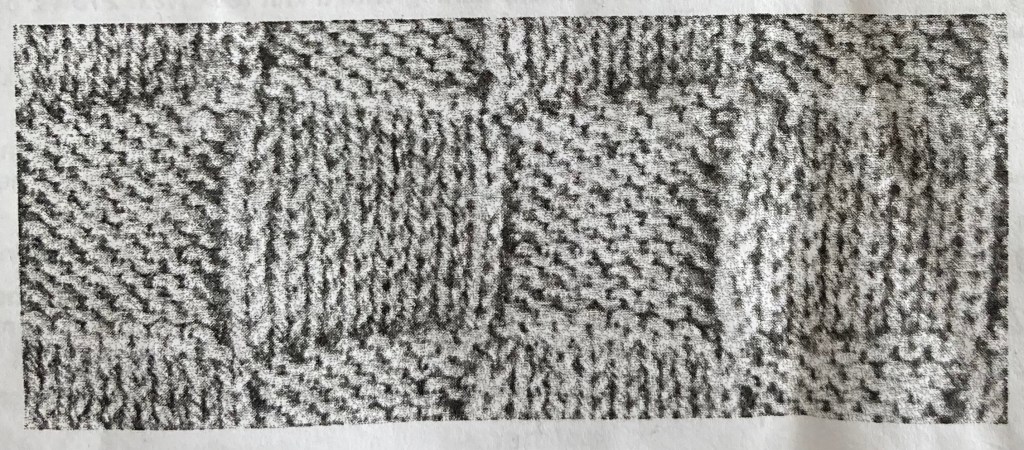
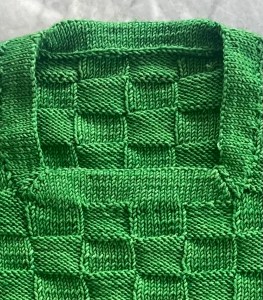
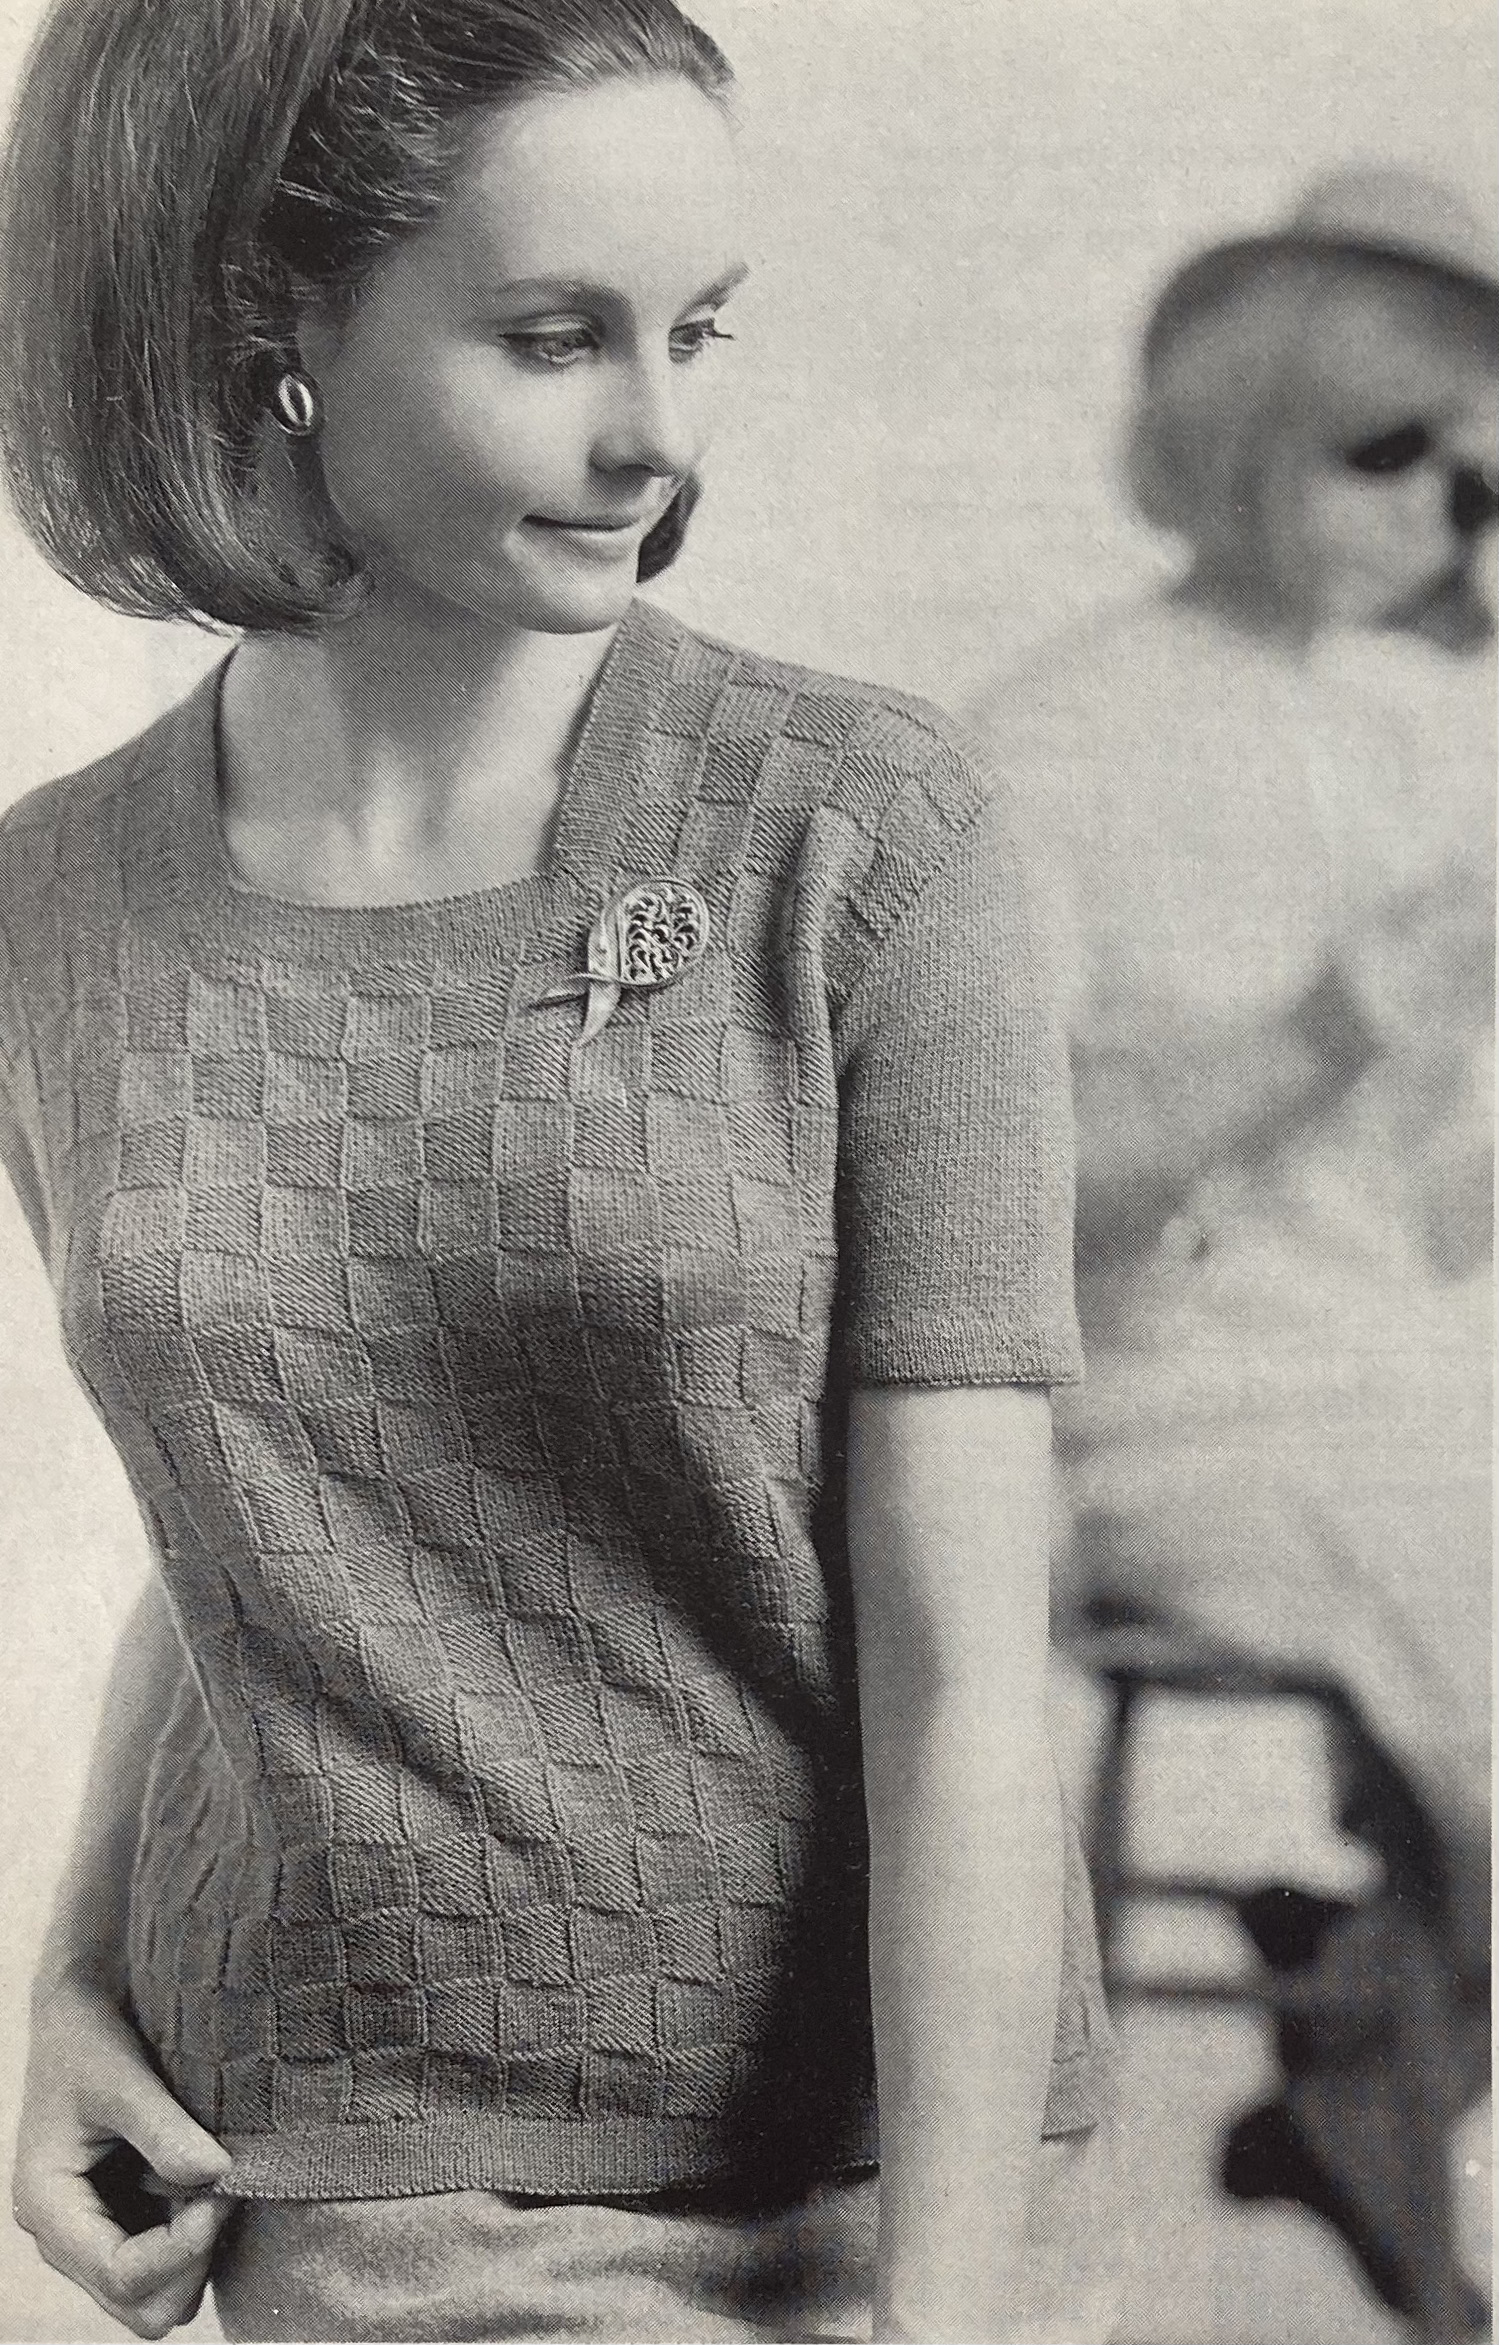
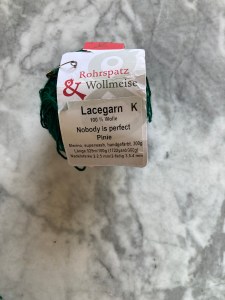
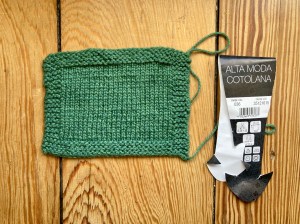
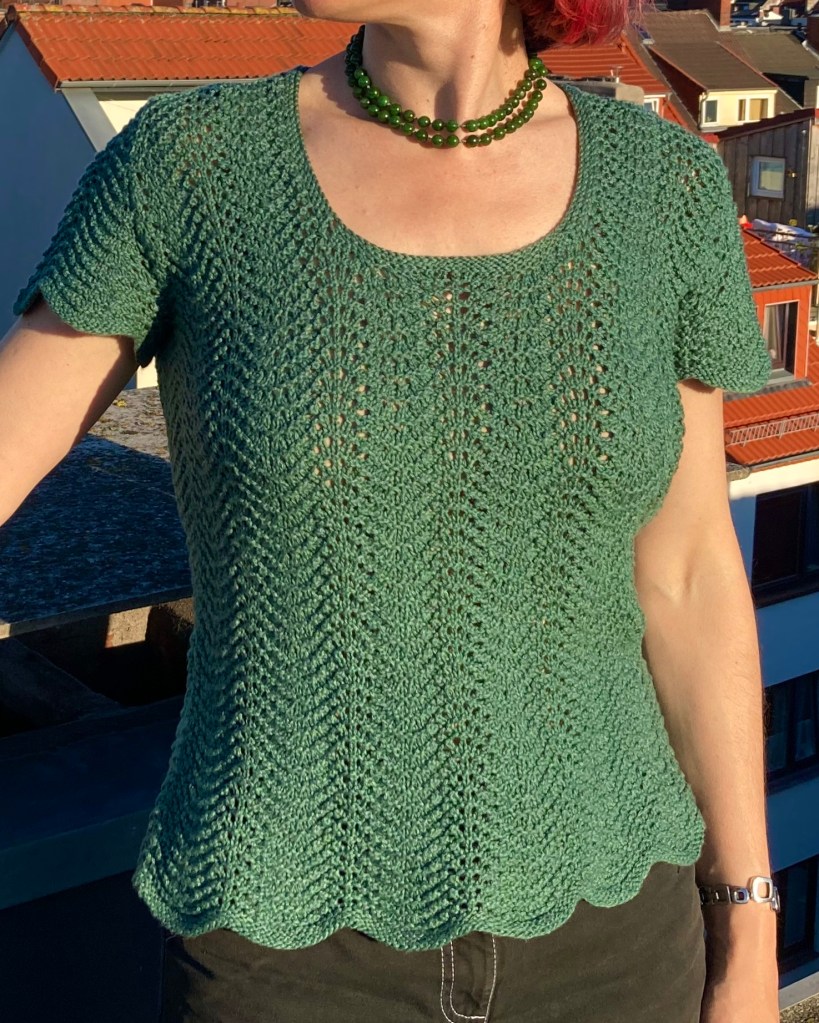
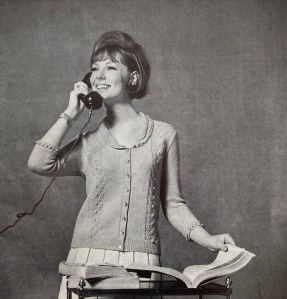
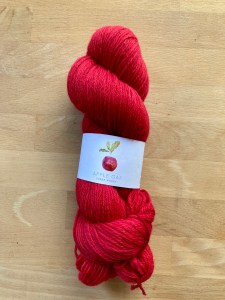
My June 2024 / June 1966 project was going to be the goofy garden cushion with the smiling purple and magenta felt appliqué sun, but I was traveling the first two weeks of June and it was easier to have a knitting project with me than an appliquéd cushion on hessian fabric. I loved the 3-ply blouse in this “Pattern texture from Paris” (note: I do not think the basket weave knitting pattern stitch was specifically invented in Paris, but whatever sells your magazine…) and a lovely colleague had given me a ball of Lana Grossa Cool Wool Vintage yarn in my favourite shade of green just the week before, so I was inspired to make it instead.
The pattern is written for Patons Nylox 3-ply, which existed in an earlier version with 80% wool and 20% nylon, and a later version with 60% wool and 40% nylon. This pattern would have to be written for the earlier version, as the later version was sold in 25-gram balls and UK wool weights didn’t change to metric until the early 1970s. It was 3-ply, so quite lightweight, and meant to be knitted up at a tension of 8 stitches to the inch in stocking-stitch. Cool Wool Vintage is more like regular 4-ply / fingering-weight wool, or even a little more on the “sportweight” side. The pattern also only offers one size — to fit 35-37 inch bust — which would fit me snugly at 8 sts / inch in stocking-stitch but surely be too large at the 6.7 sts/inch that I got in the pattern-stitch swatch, so I adjusted the stitch count and number of pattern repeats.
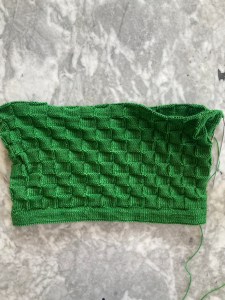
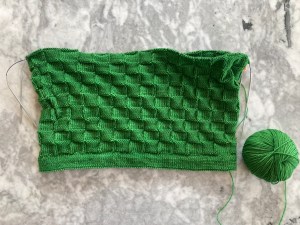
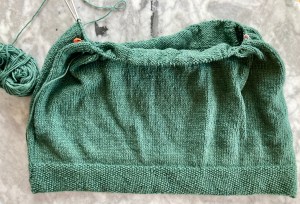
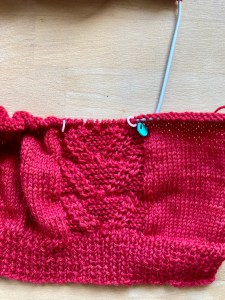
As usual for mid-1960s garments, there is no shaping from hem to bust, but unshaped garments always look like a sack on me. I started with a reasonable amount of positive ease at the hem (literal hem: the blouse features stocking-stitch hems at the bottom edge, sleeve edge and even at the neck edge) and increased up to a more or less zero-ease bust. It won’t have that authentic shape, but I will like it a lot better. The yarn was quite springy and holds its shape well, which is great, especially considering that a basket-weave pattern tends to stretch wider and shorter.
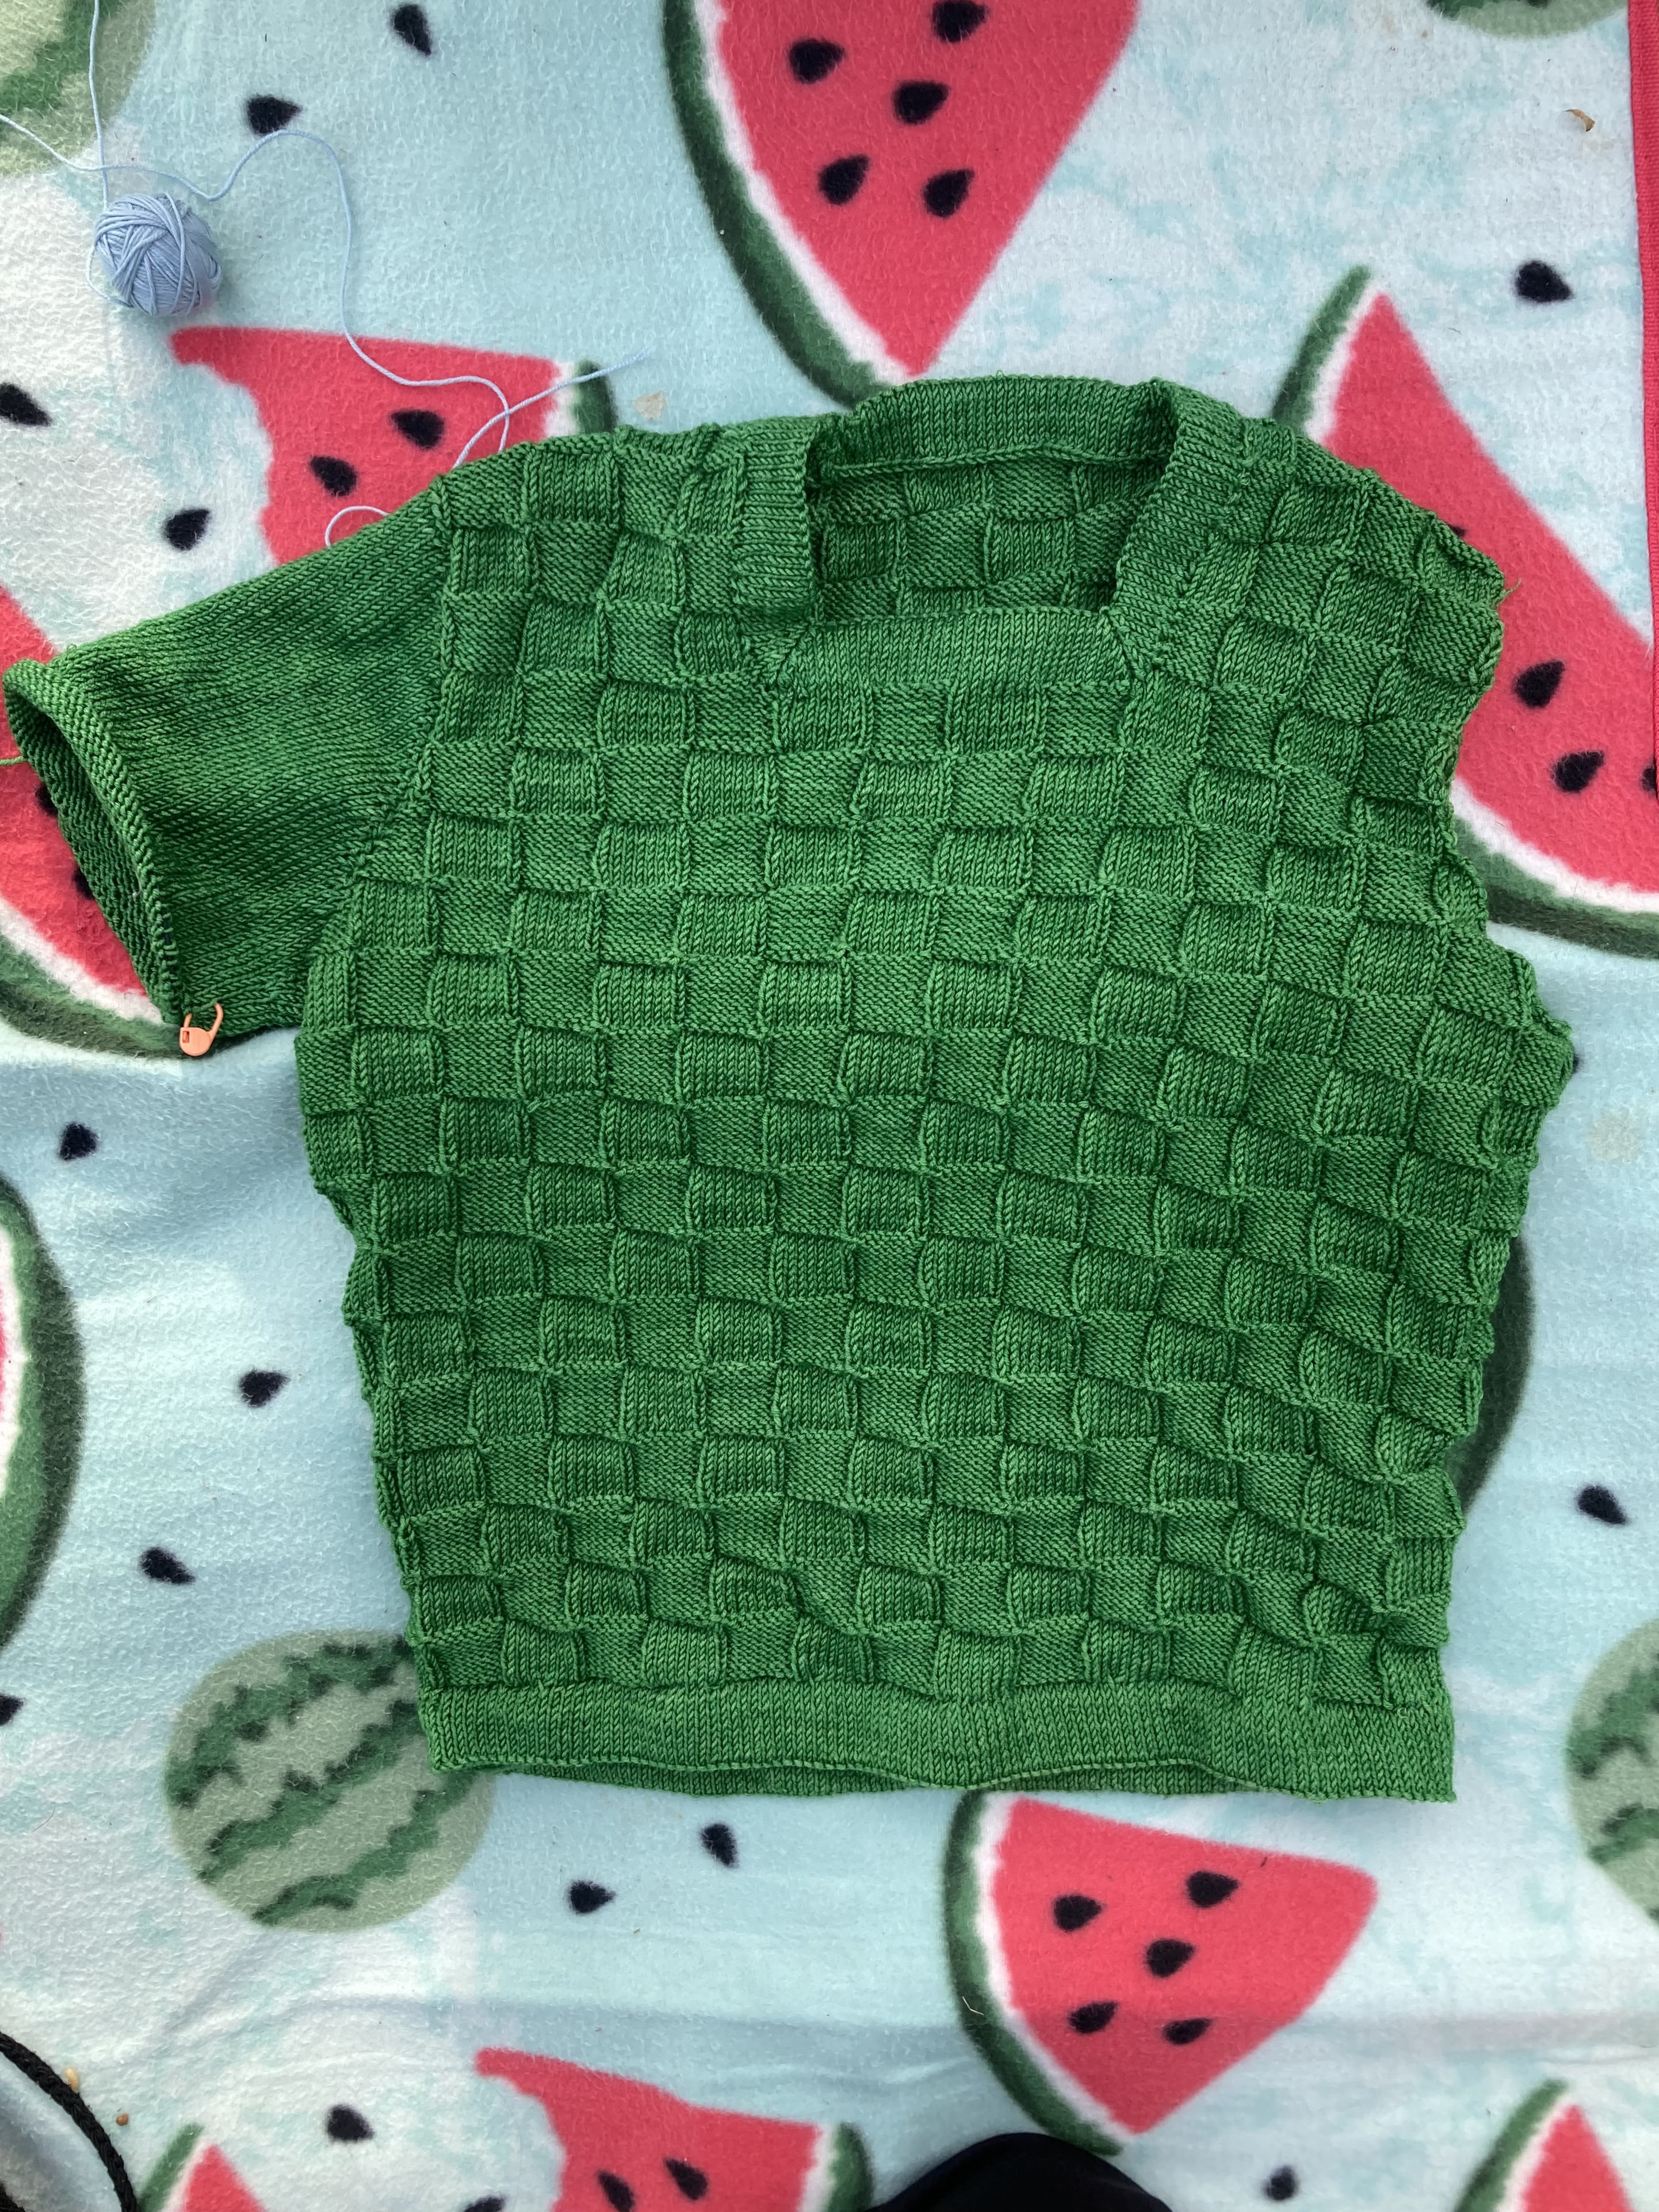
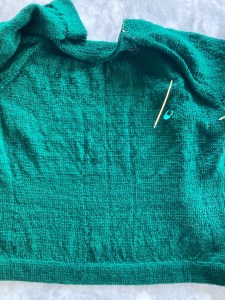
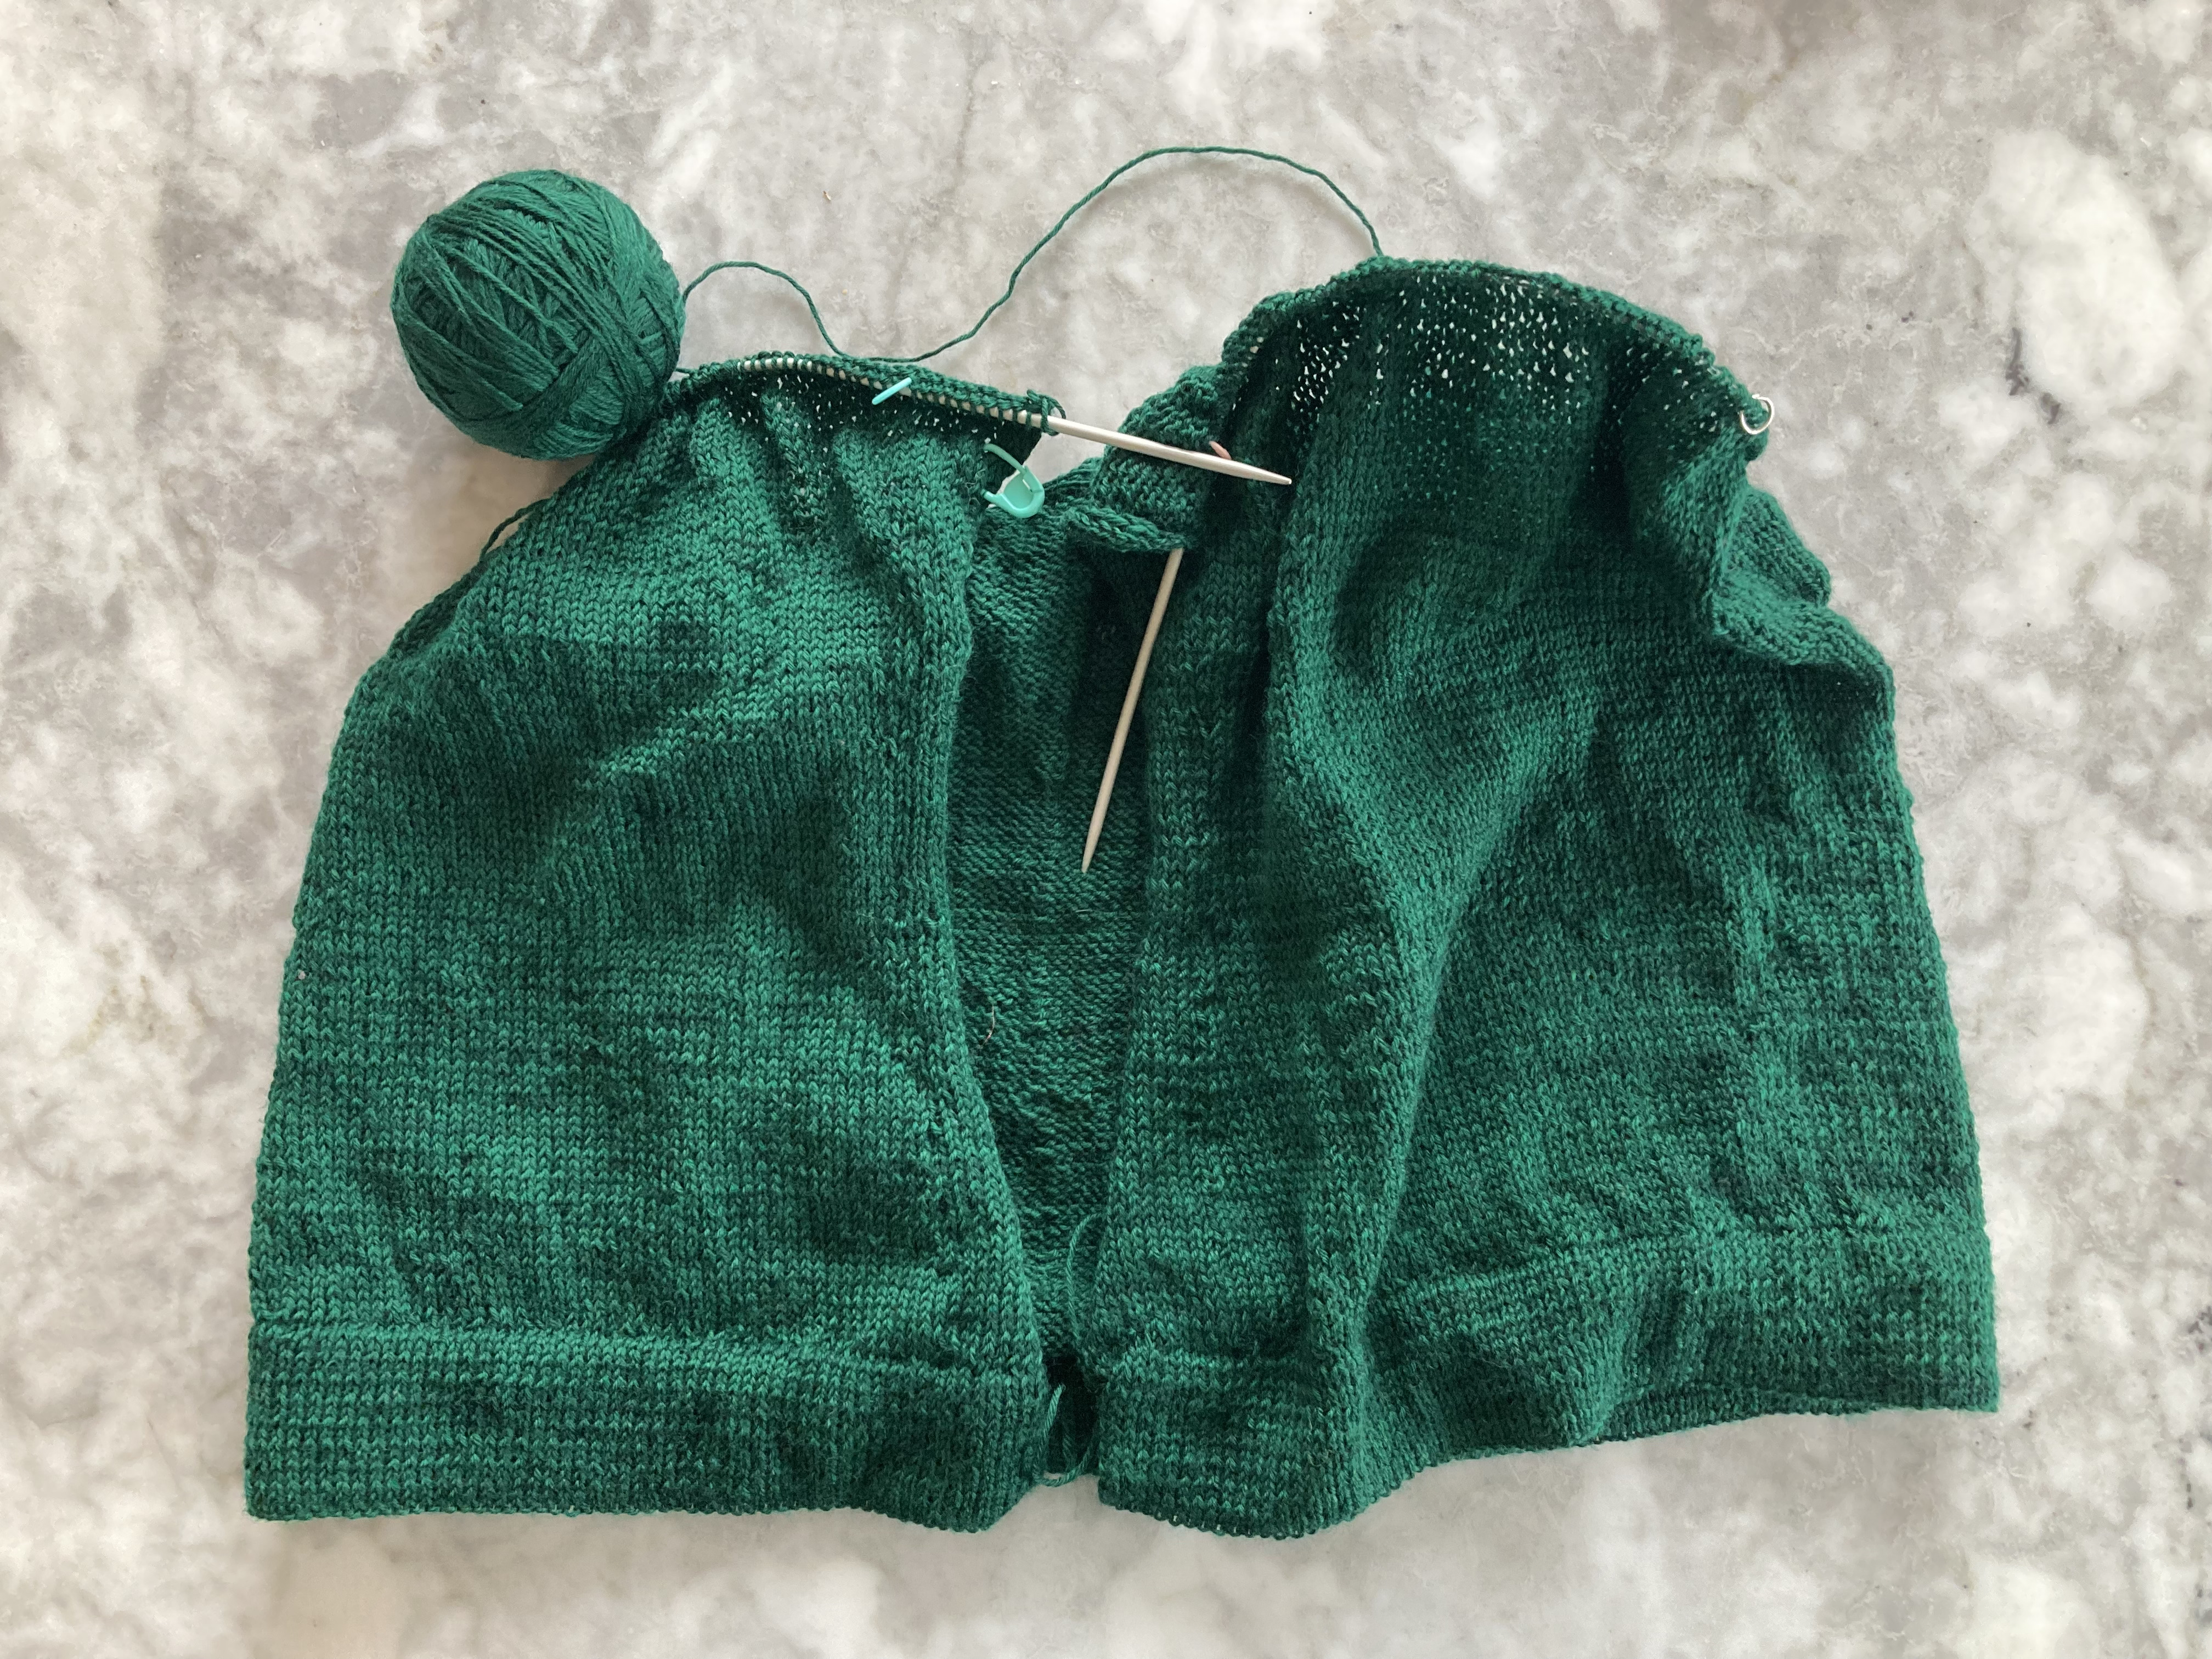
It went quite quickly. I made it in the round to the armhole openings. It was a bit snug when trying on, but I was sure it would stretch with blocking.
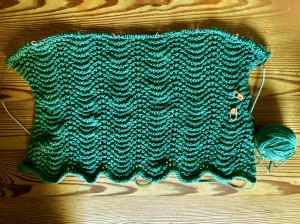
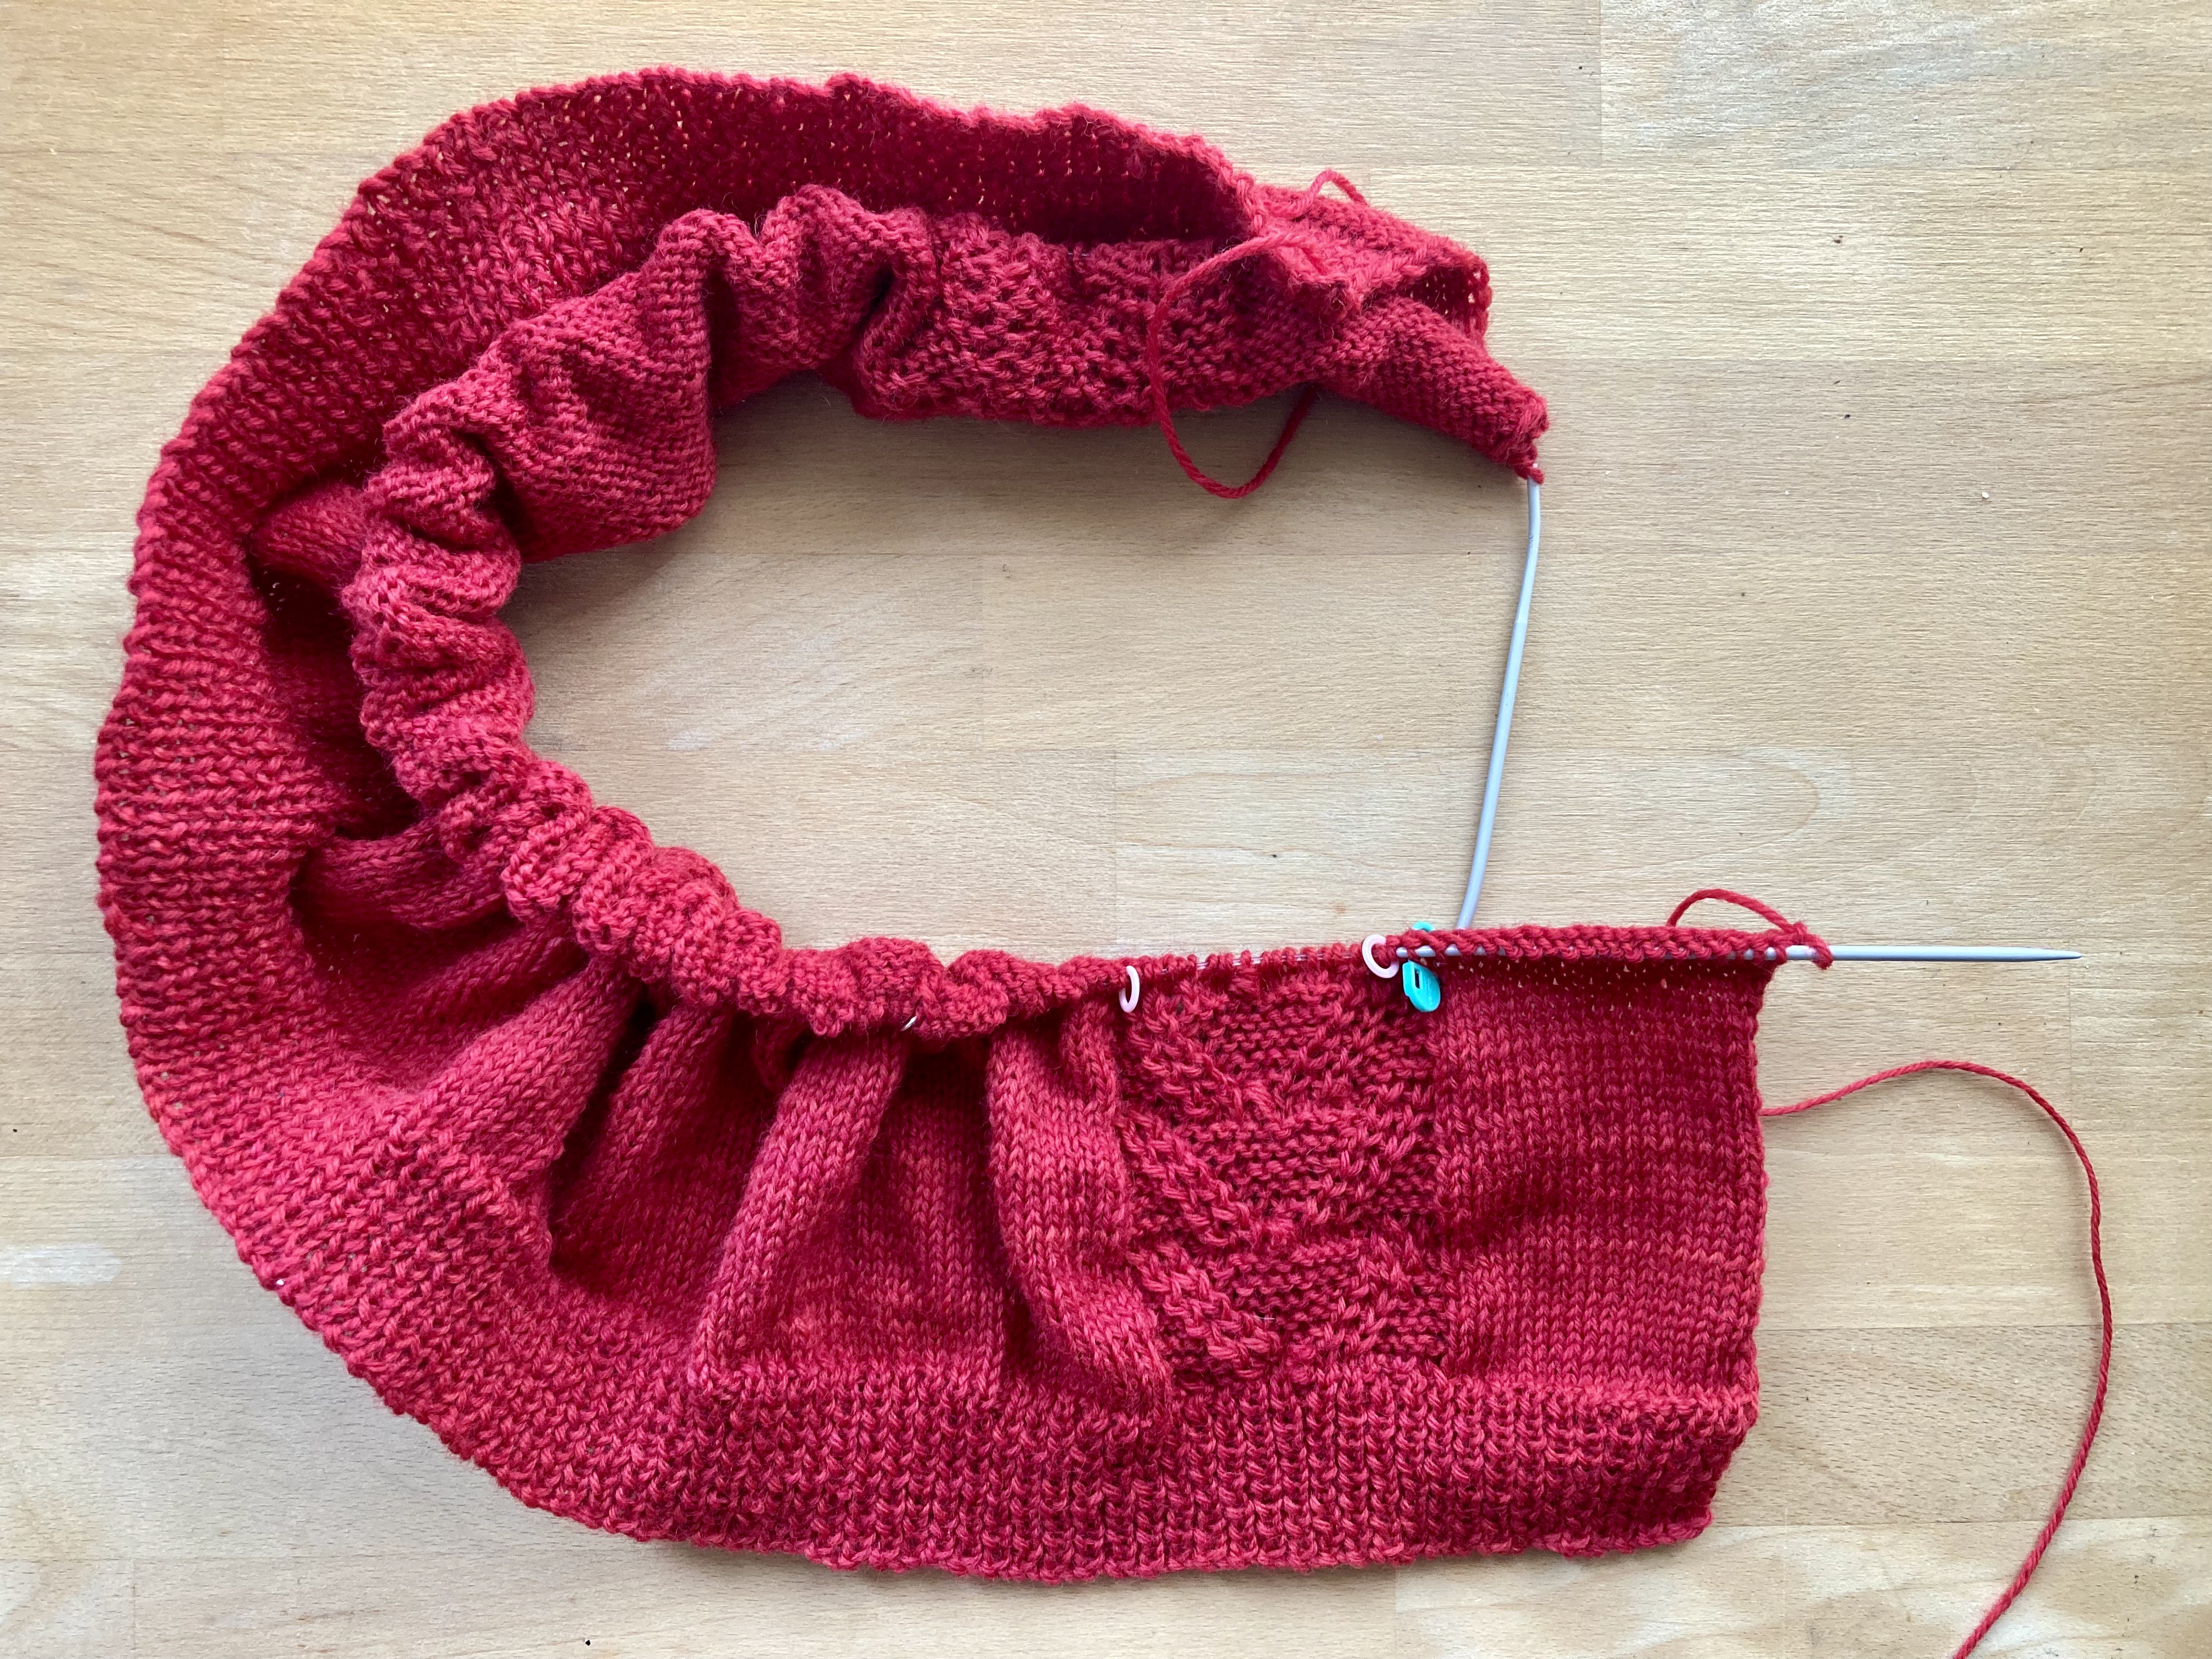
I made the back and front above the armholes, then sewed the shoulder seams and made the neck edging. The edging is a square hem just like the bottom edge and sleeves, but with mitred corners. In the pattern, you are supposed to make all four edges separately (picking up stitches from holders or knitting up on the neck sides, then decreasing and increasing at the corners) but of course I made them all together to avoid seaming. I put a purl ridge on the turning row as well. The neckline was weirdly small and not as low-cut as in the photo, even though I made it according to pattern / adjusted for gauge difference. It still fit over my head just fine.
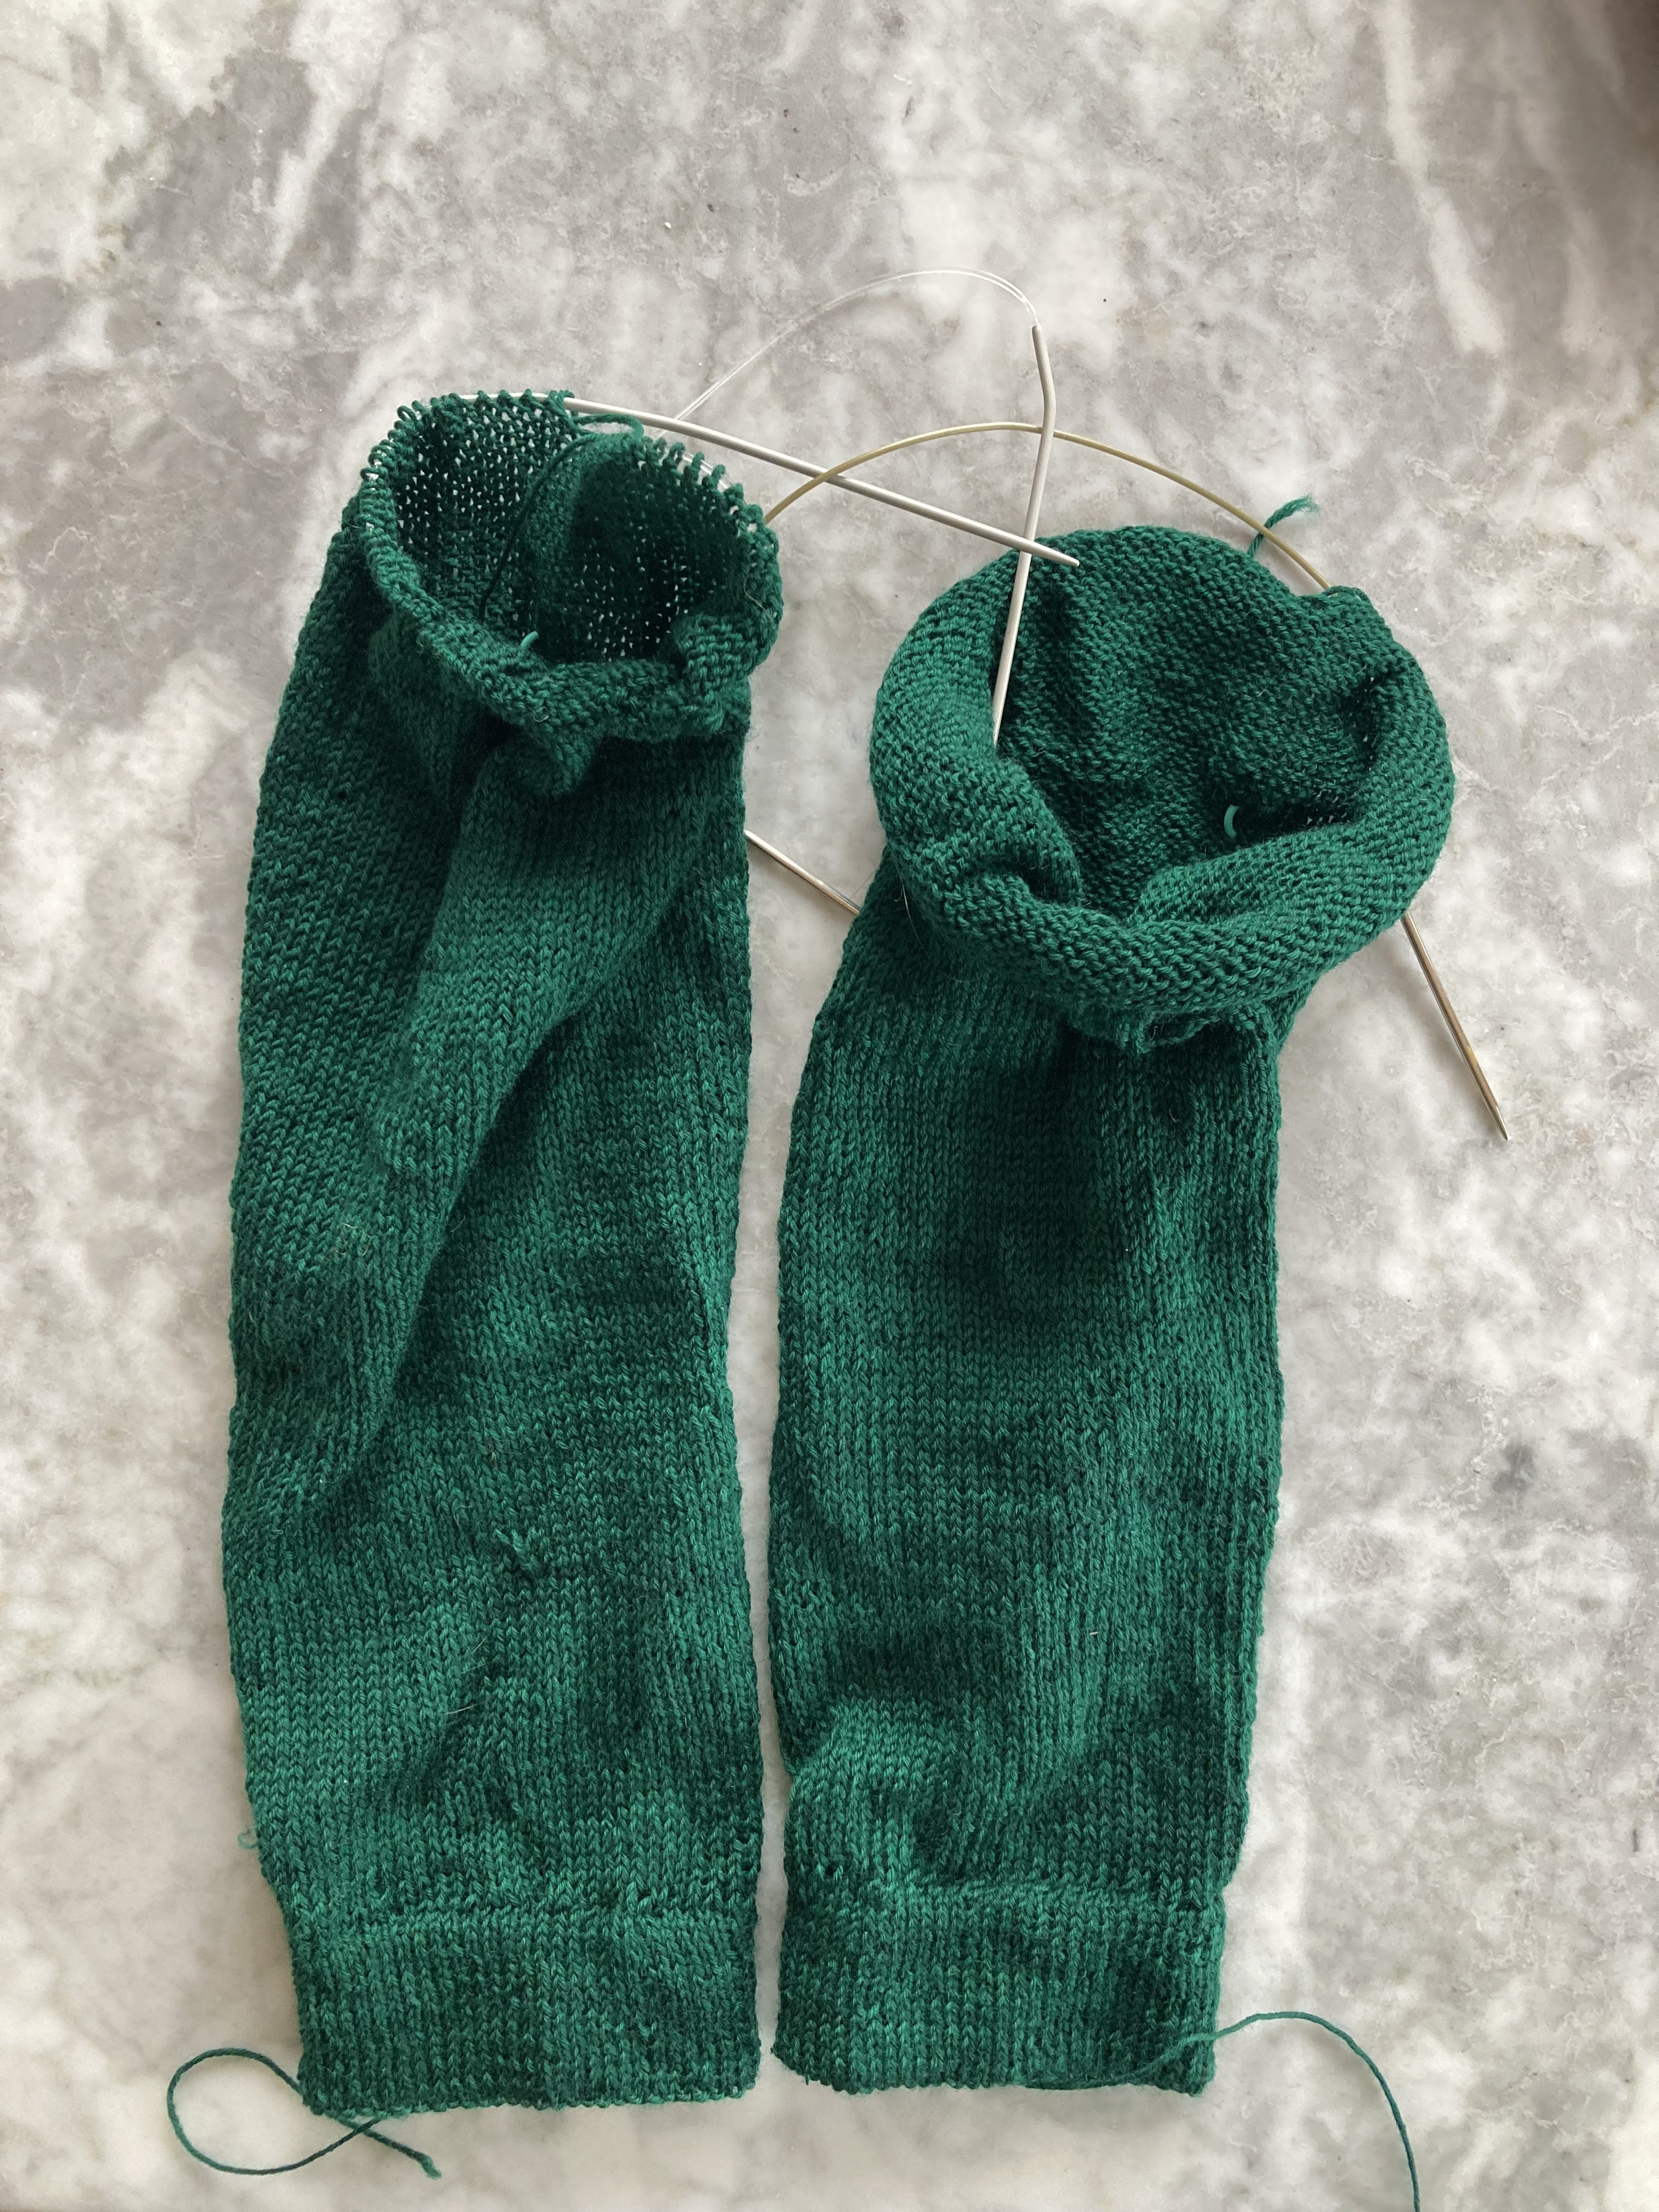
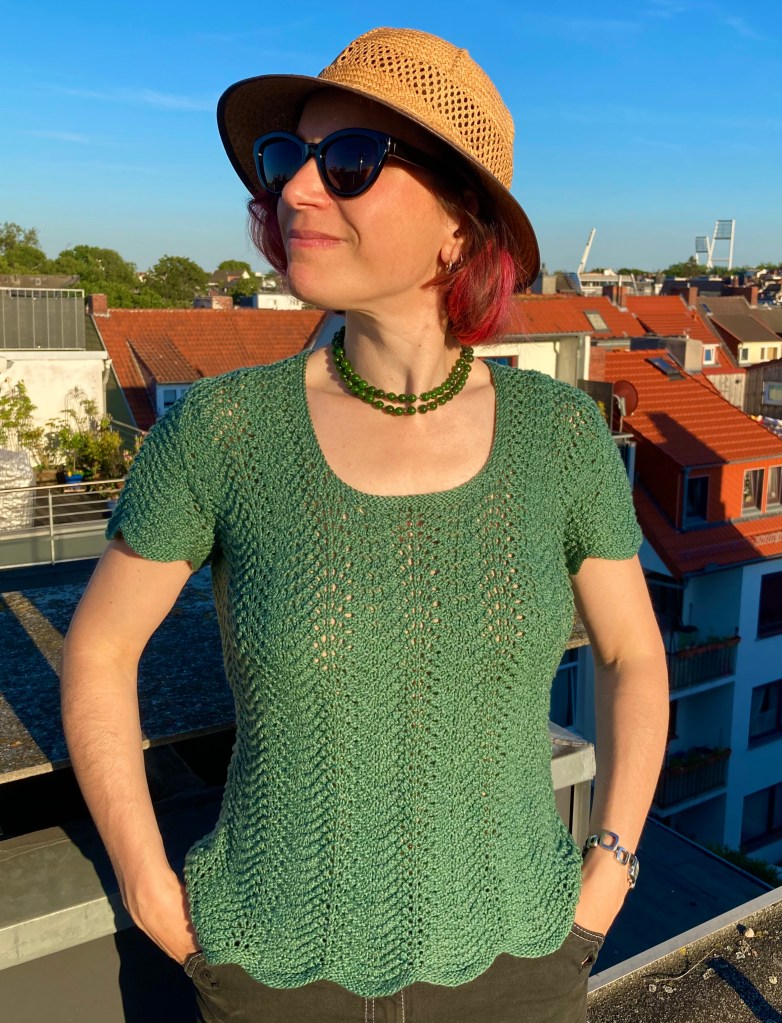
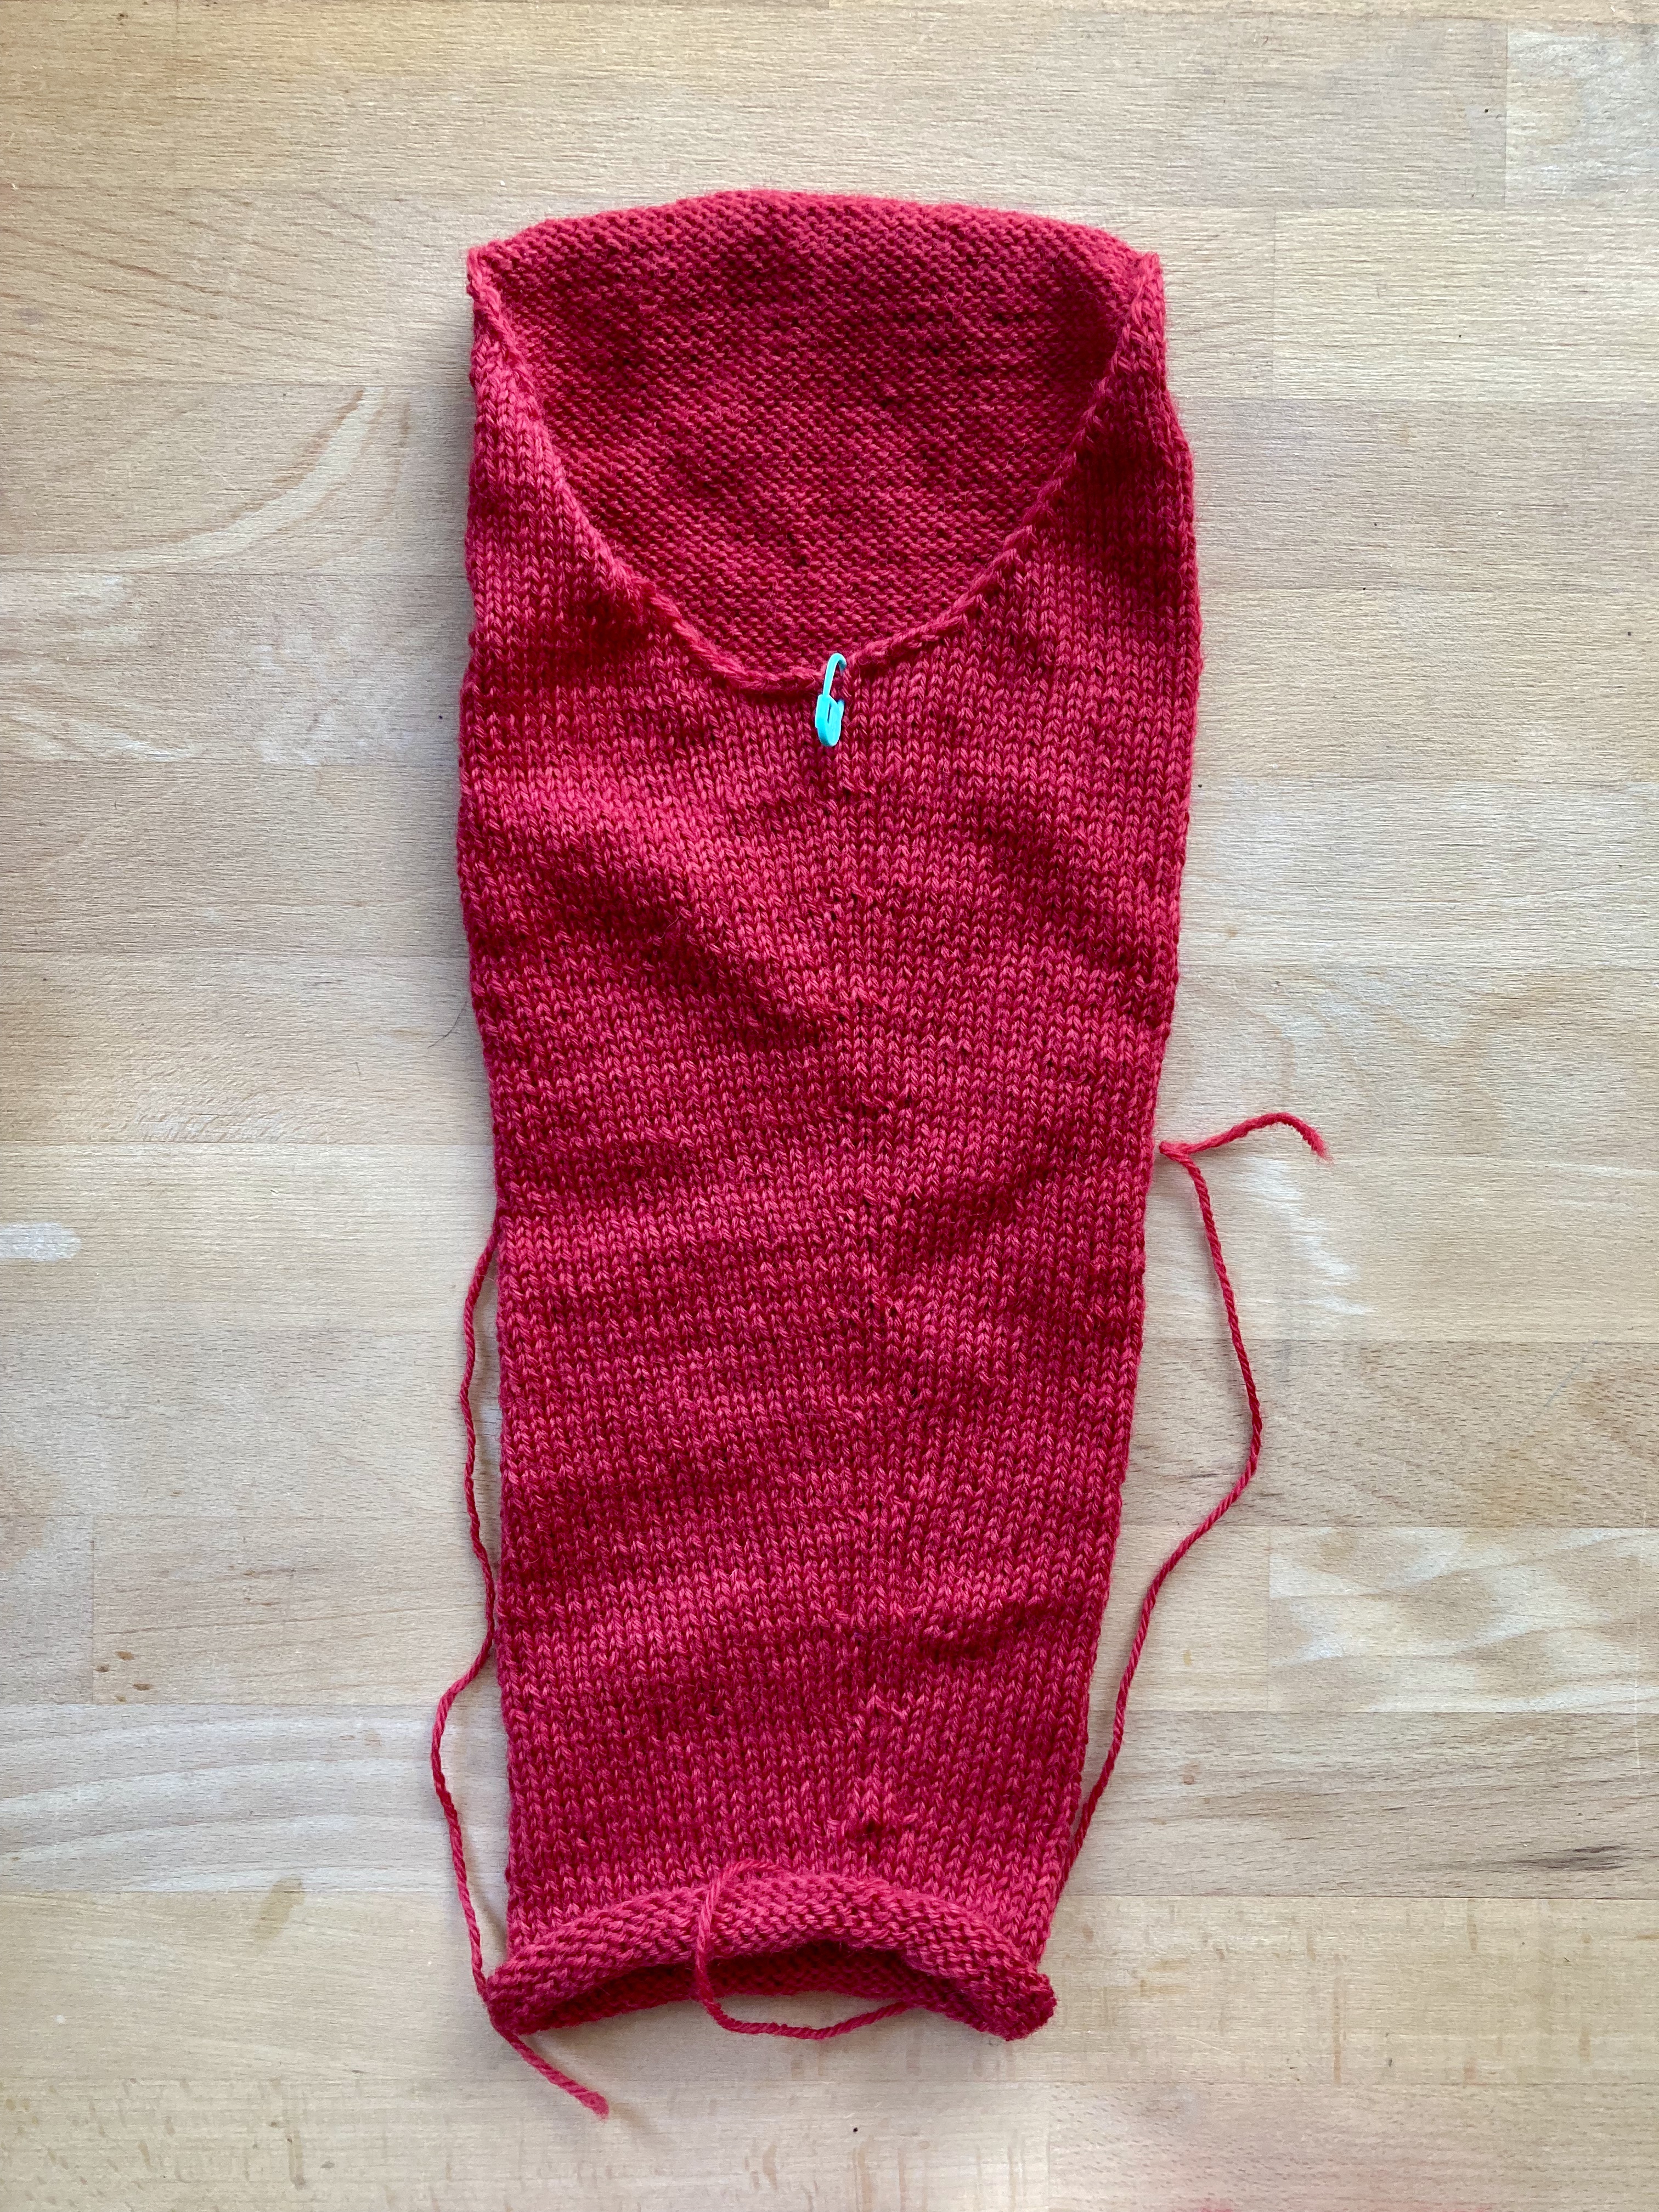
I didn’t know if I would have enough yarn or not — even with 300 grams — so I made the sleeves from the top down, picking up stitches around the armhole and working the pattern so to speak in reverse order. Even adjusting for gauge, the first sleeve was wide and a bit wing-like (the hem doesn’t pull the fabric in nearly as much as ribbing, of course). I recalculated and made the second sleeve narrower, which was better, so frogged the first sleeve and made it again. I did end up having to buy one more ball of yarn, too — I thought about making very short cap sleeves, but it was worth the extra ball of yarn to get the right length.

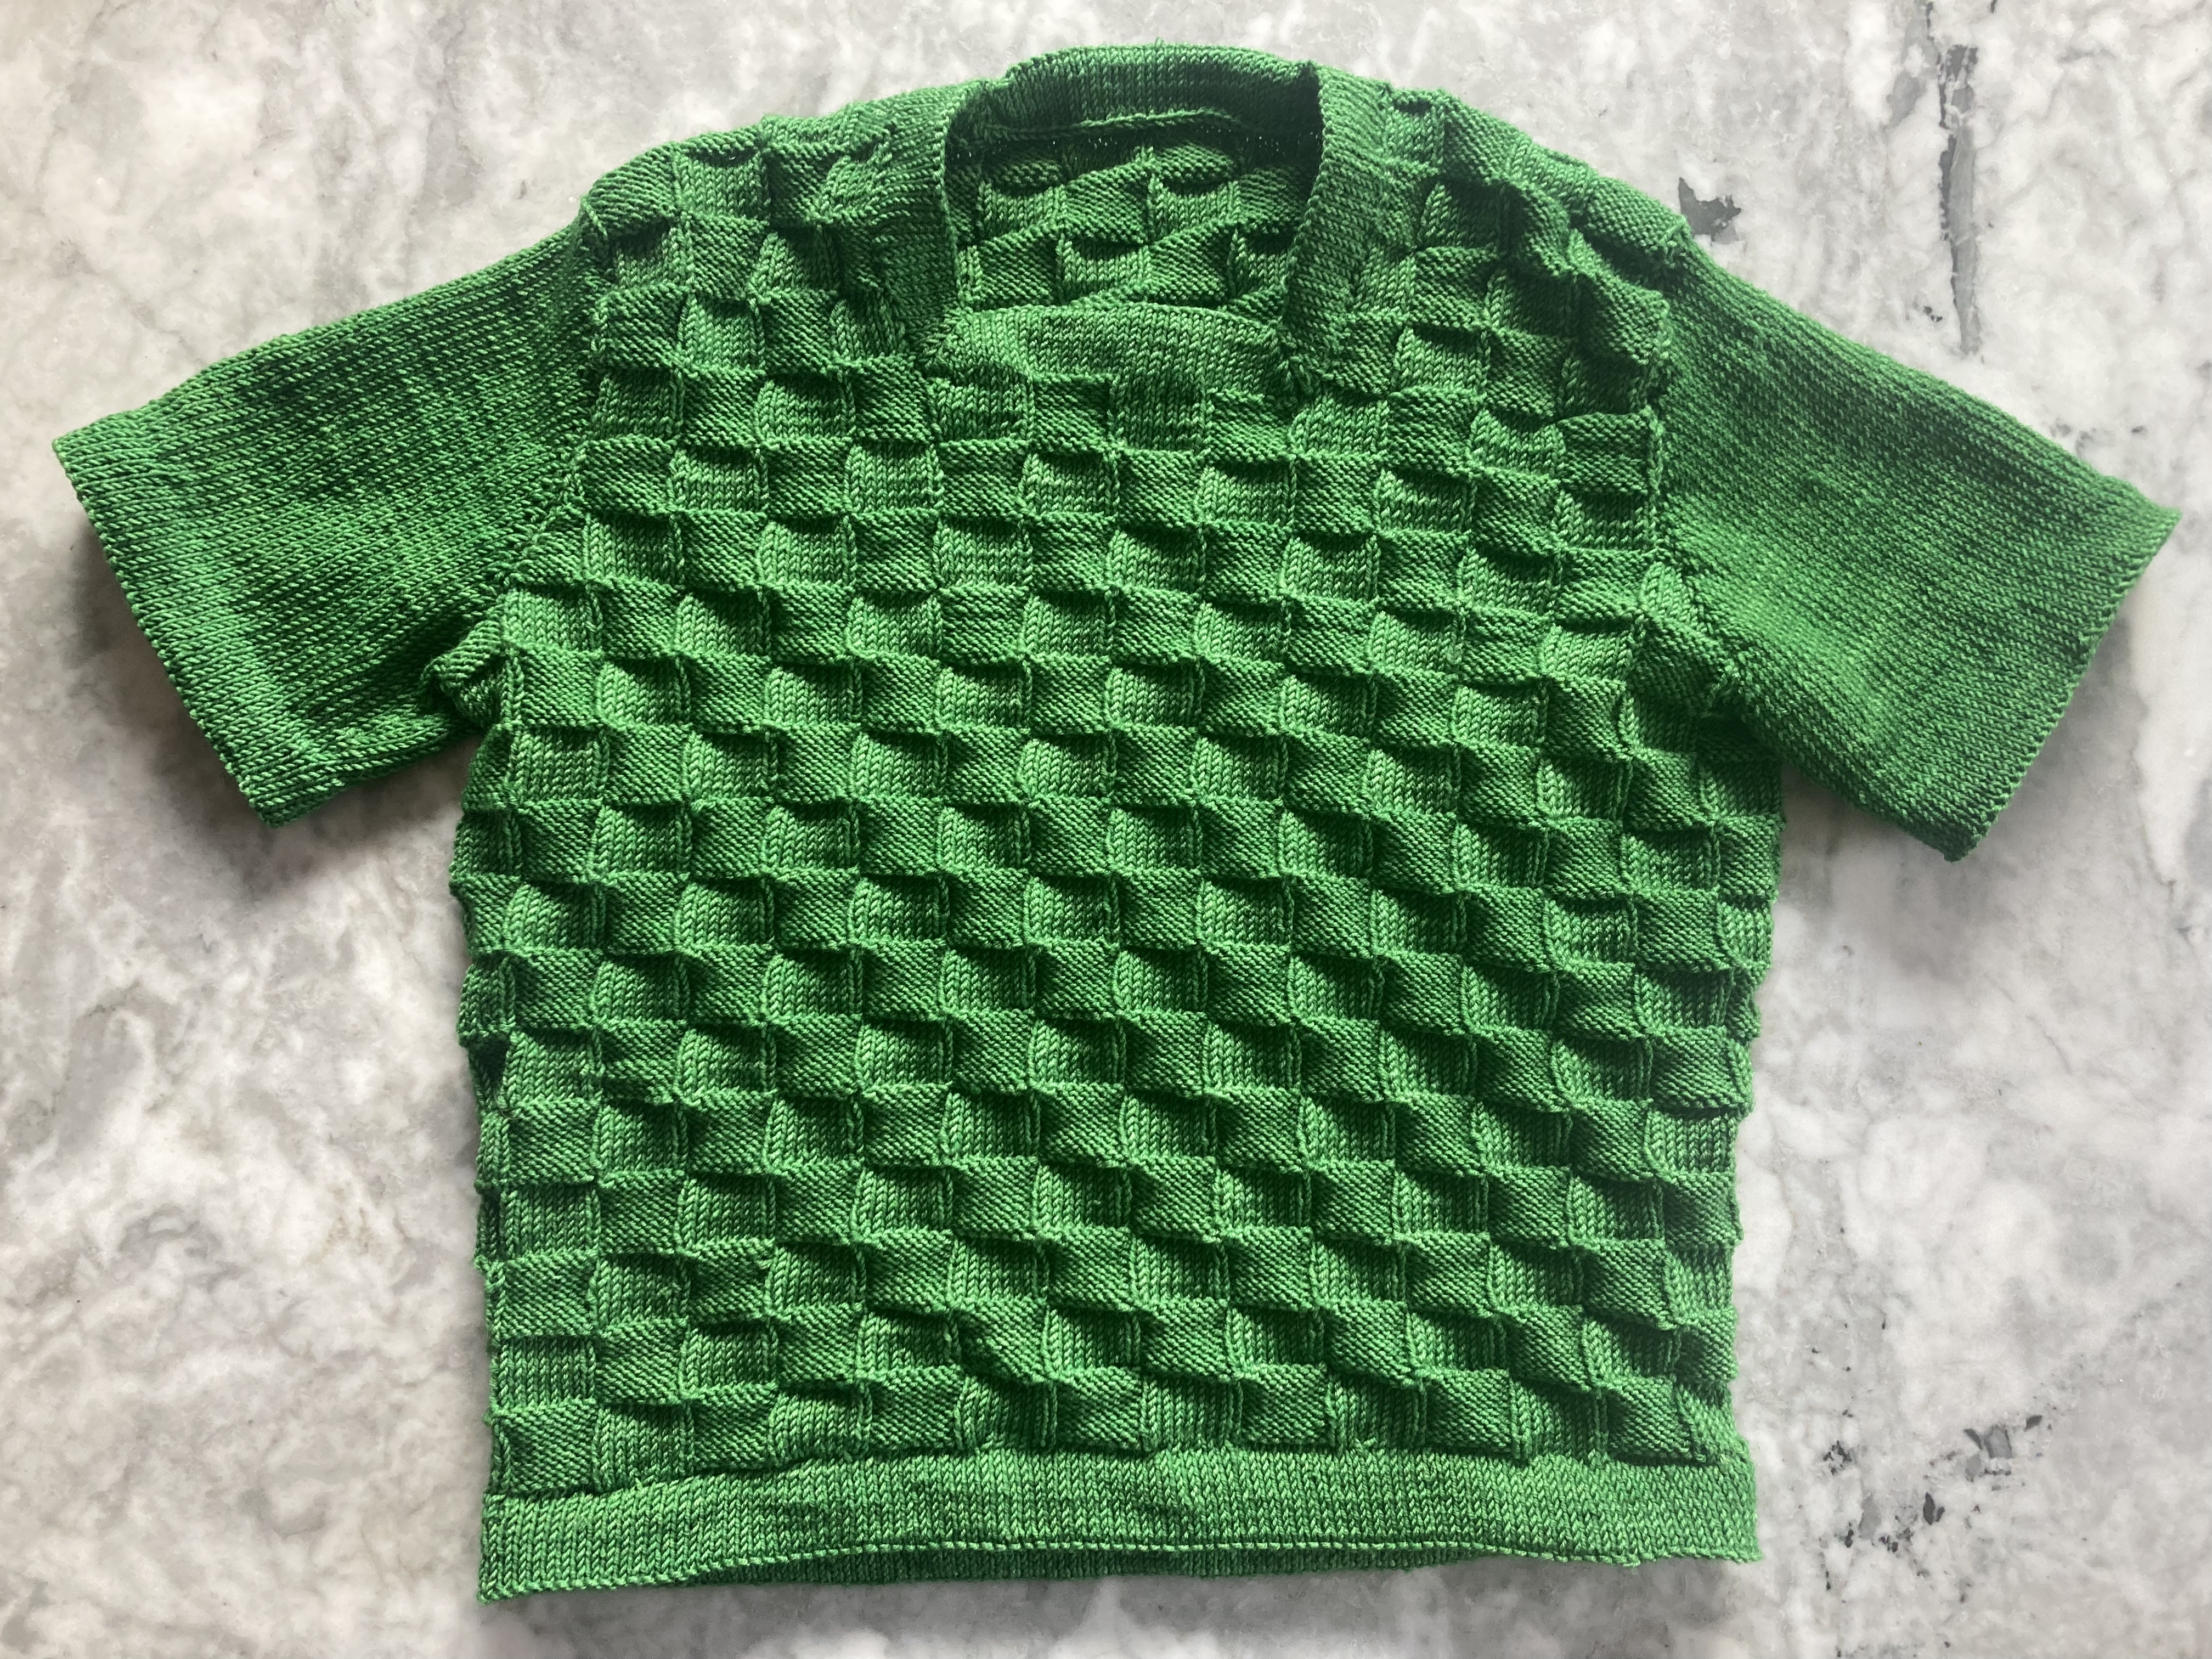
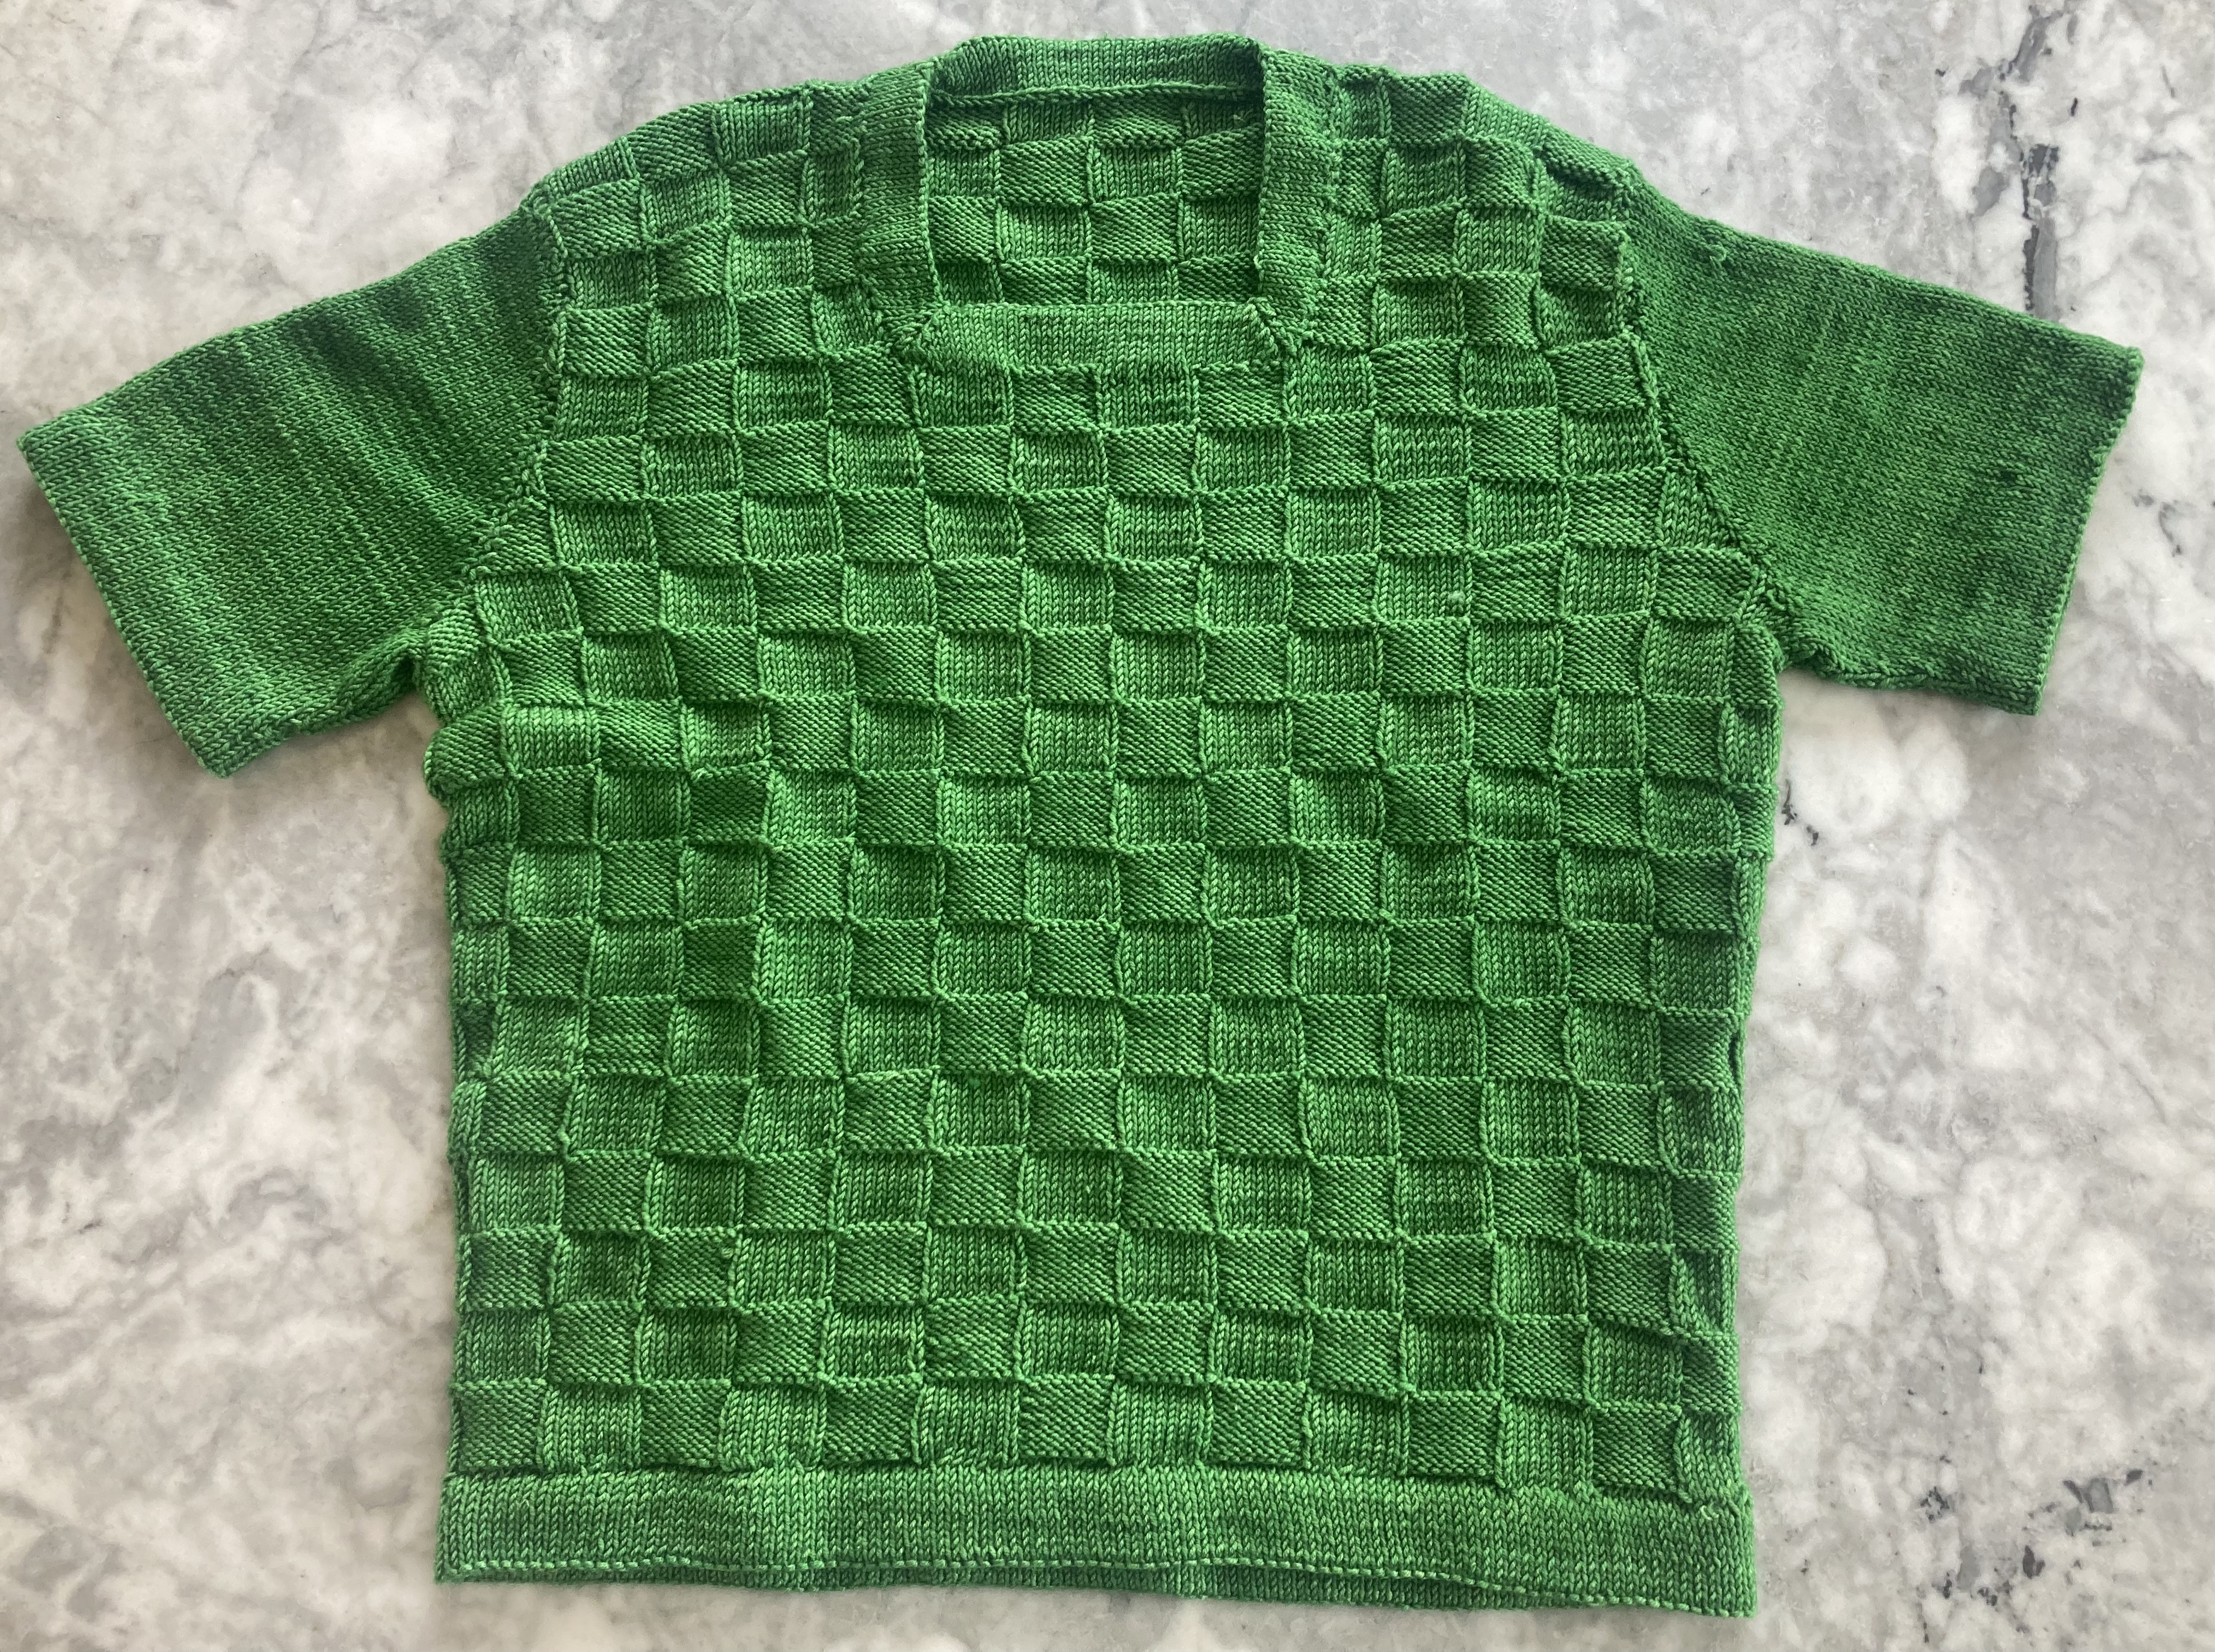
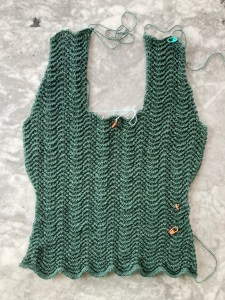
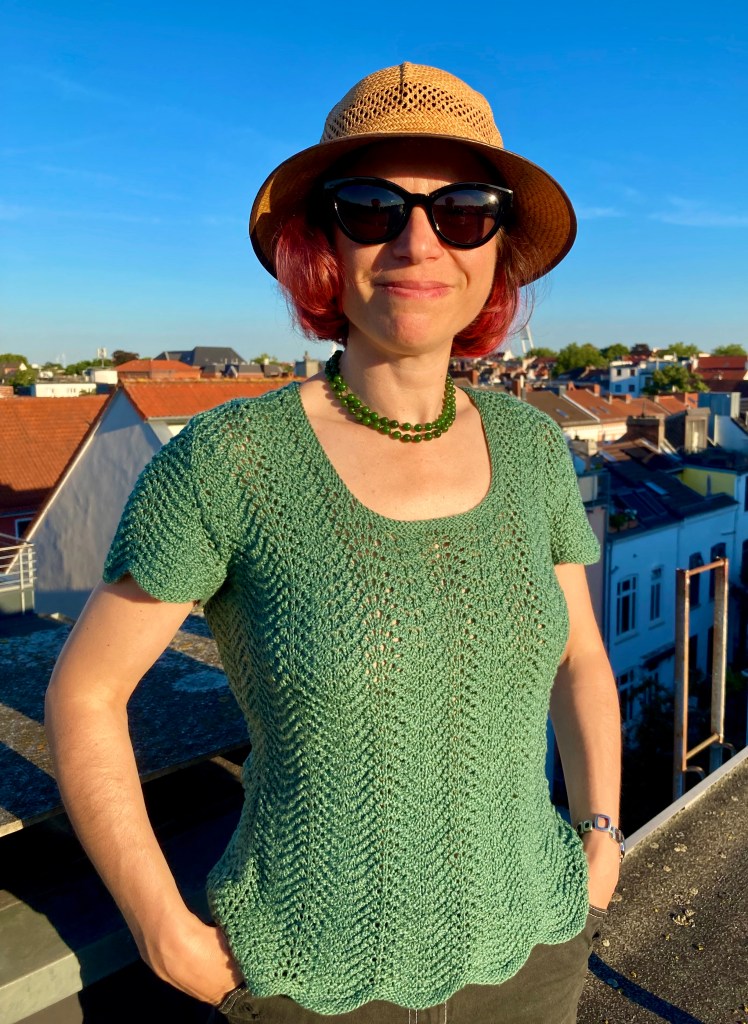
It was sweater-girl snug before blocking but as expected, it stretched out quite a lot in all directions. I put it in the dryer for a short spell when it was almost dry even tough technically the wool is not superwash. That was perfect and it turned out comfortably loose, but not sack-like. I even had a brooch that was similar to the one worn by the Sitchcraft model!
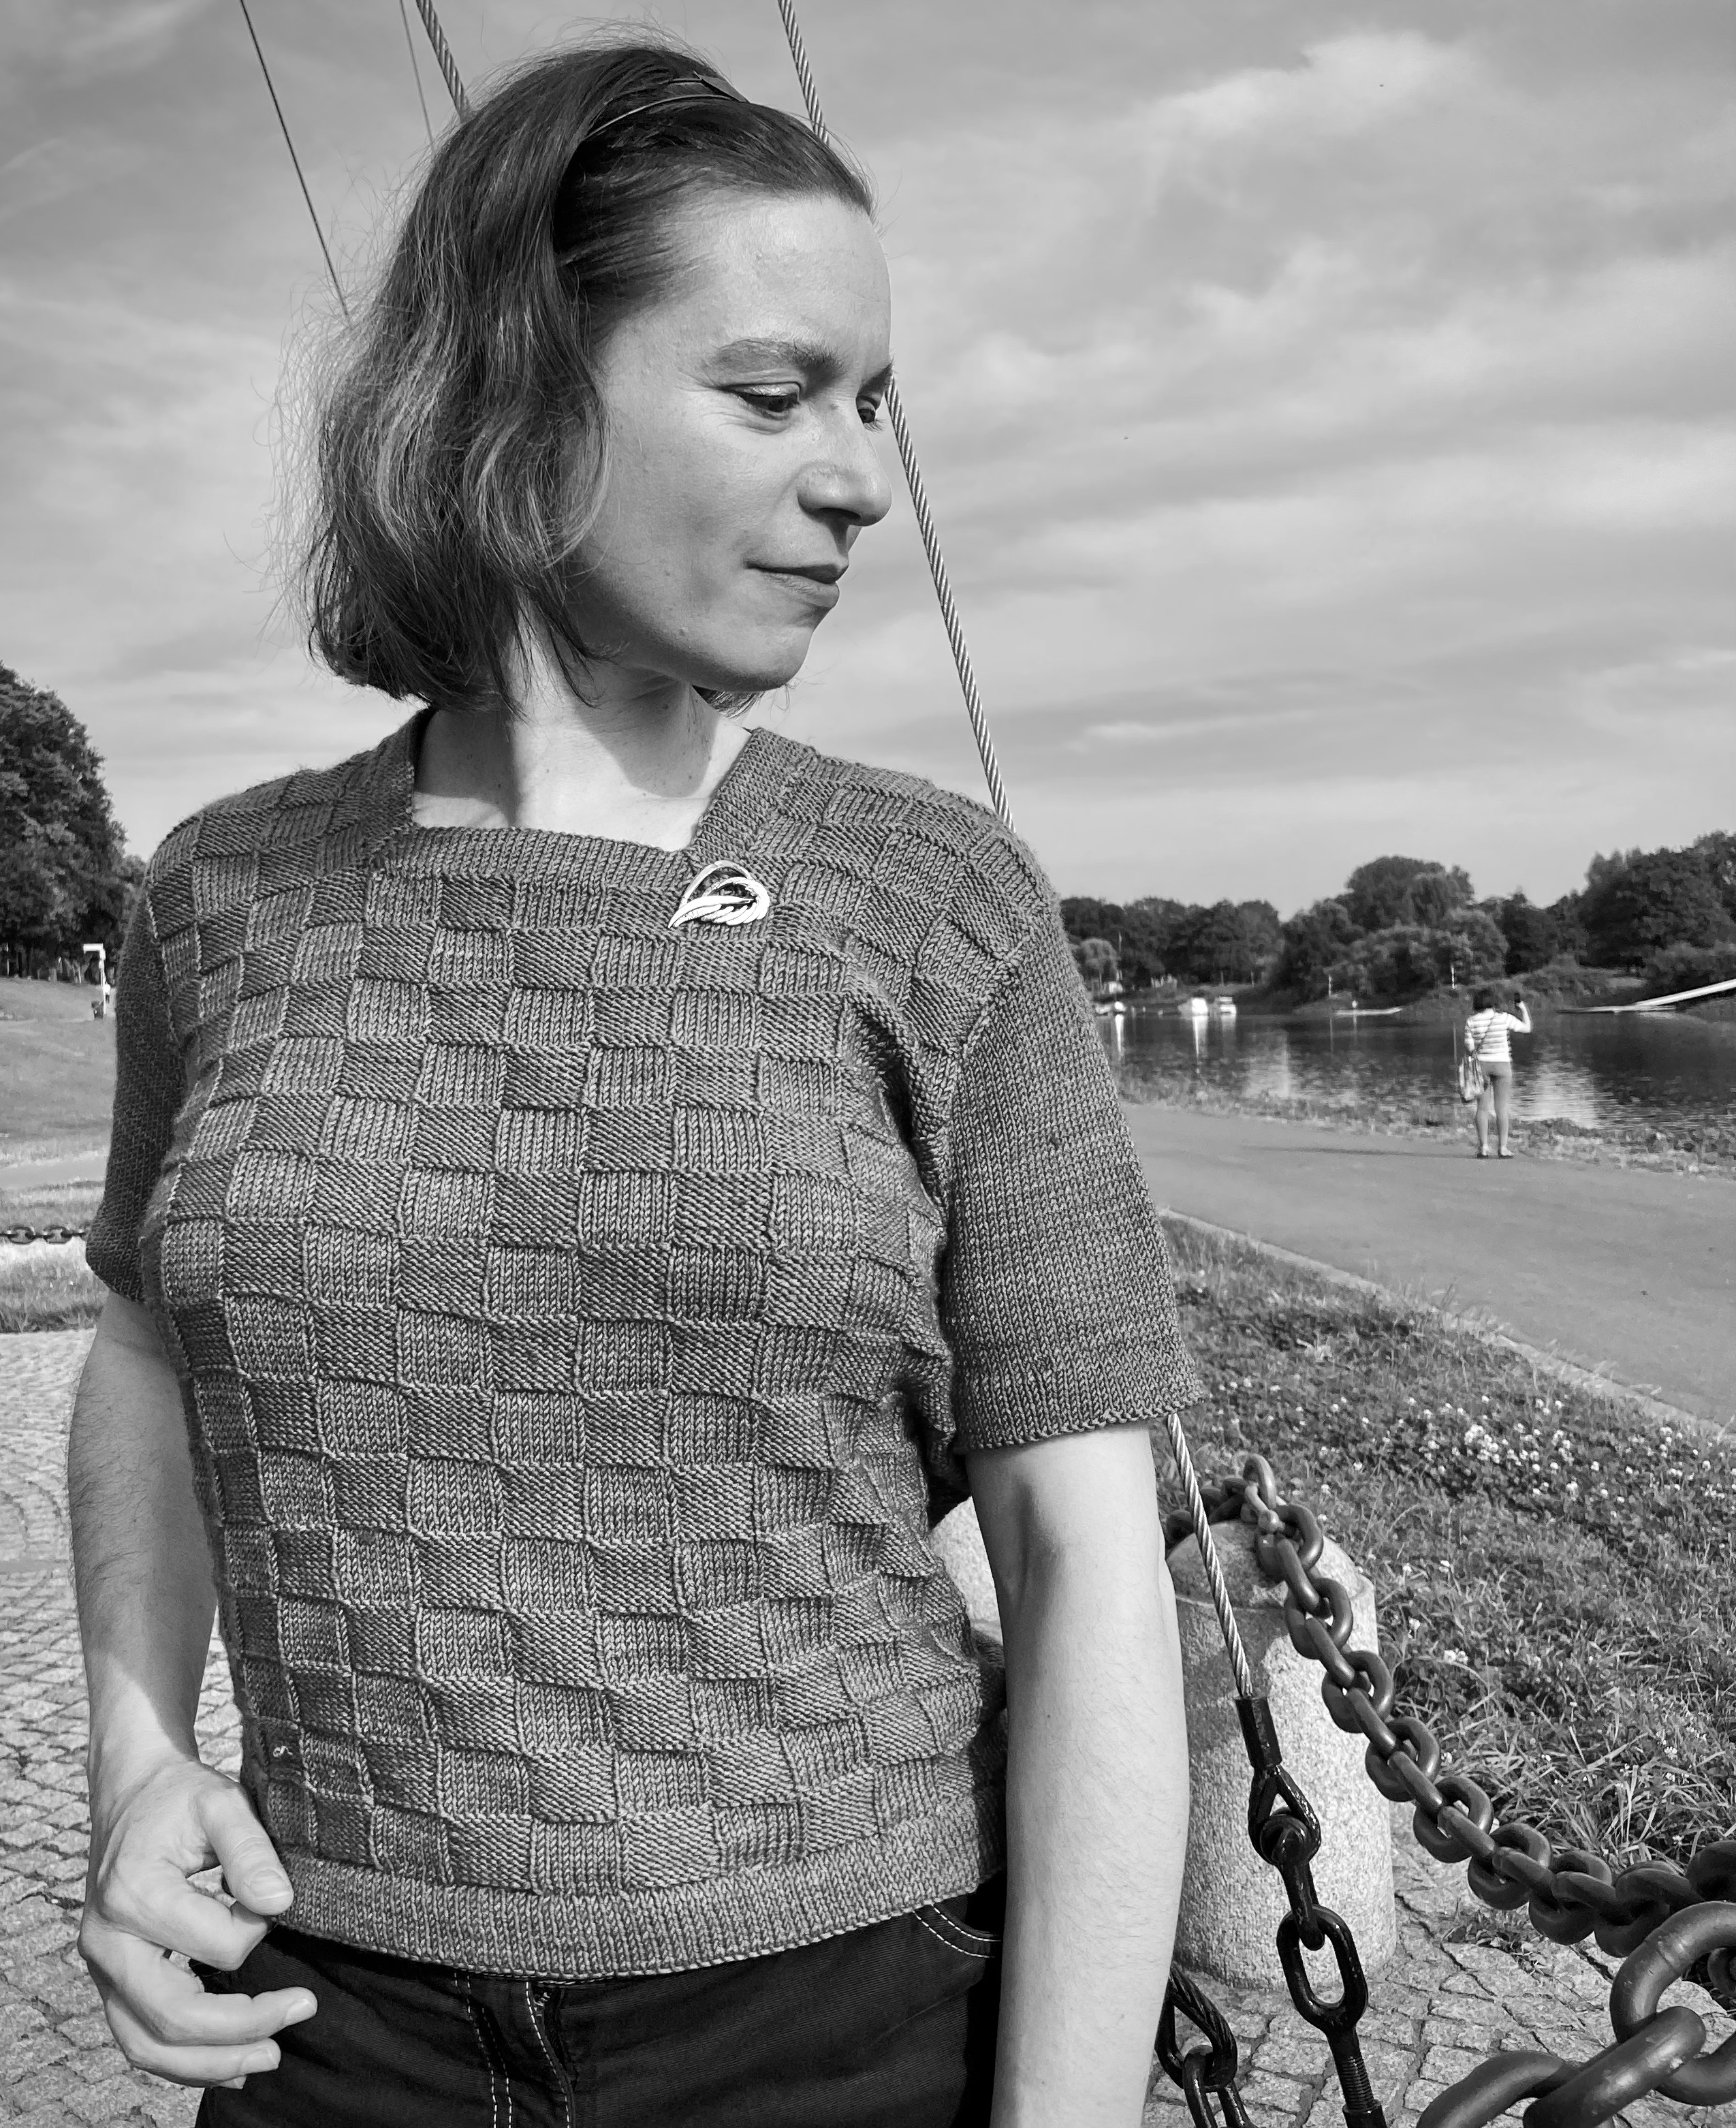

I love this top and am very happy with how it turned out.


 UPDATE AND EDIT February 25, 2020: Project finished!
 There were only two problems. Problem number one: Concept Silky Lace is only available in colours I don’t wear (shades of white and pastel) as well as orange (great, but I used it for the other project), a sort of light jeans blue (OK, but not exciting) and purple. Purple is not my best colour, but given the limited choice and the fact that I really wanted to use this specific yarn, I went with it. That led to problem number two: there were only two balls of it in the store and they had to order more. Unsure whether the two additional balls I ordered would be from the same dye lot or if it would make a difference if they weren’t, I started by making the sleeves with the yarn I had, and waited.
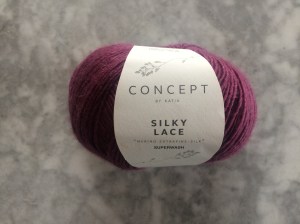 It took more than two weeks for the yarn to arrive, so I was woefully behind. Also, the yarn that arrived was from a different dye lot, so I wasn’t sure how to camouflage the colour changes or if I even had to. After making the ribbing for the body in the “old” yarn and the body (stockinette stitch, and I decided to do it in rounds to go faster) with the new yarn and not noticing any difference, I just used up the old yarn and moved onto the new in the fancy-yoke part. It worked fine and didn’t make a stripe — thank you Katia for your excellent colour-match dye work.
 Once the project got started, it was finished very quickly. I was worried about the size, as it seemed to stretch quite a lot width-wise and I though it would be too wide and baggy. Once it was bound off and sewn, it was fine. I made it an inch longer in the body than it said to make it in the pattern, but I could have made it even longer — people were really short fifty years ago!?! Blocking helped stretch out the length.


 June’s project was this lovely sleeveless top in a leafy lace pattern, touted as a “very wearable and useful jumper to make for your holiday.” It looked pretty and elegant and suitable for my summer climate, which is generally not too hot — a lightweight wool garment in lace with no sleeves should be perfect most days.
 orange non-vintage clothing.
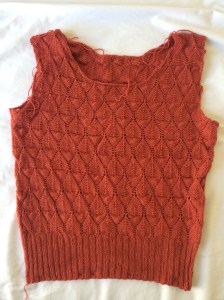 Then I ran into trouble with the weather, which was suddenly 34-36 degrees Centigrade with no chance of a cooler room either at work, home or on the move. My hands were too sweaty to hold wool and I had to take a break for a few days until we returned to our regularly scheduled 18-20 degrees. Then I finished the body and moved on the the neck and armhole edgings, which took forever! It’s actually an interesting design, which I haven’t seen before: You knit a strip of stockinette stitch with 3-stitch garter stitch border on one side, then fold the strip in half lengthwise like a sort of hem under the garter-stitch bit and sew it onto the neck or sleeve edge with the garter stitch facing out. It’s a like a separate hem sewn on, and the front neck strip has some cleverly thought-out short rows to make it fit the curve of the neck. But oh does it take a long time to make the strips.

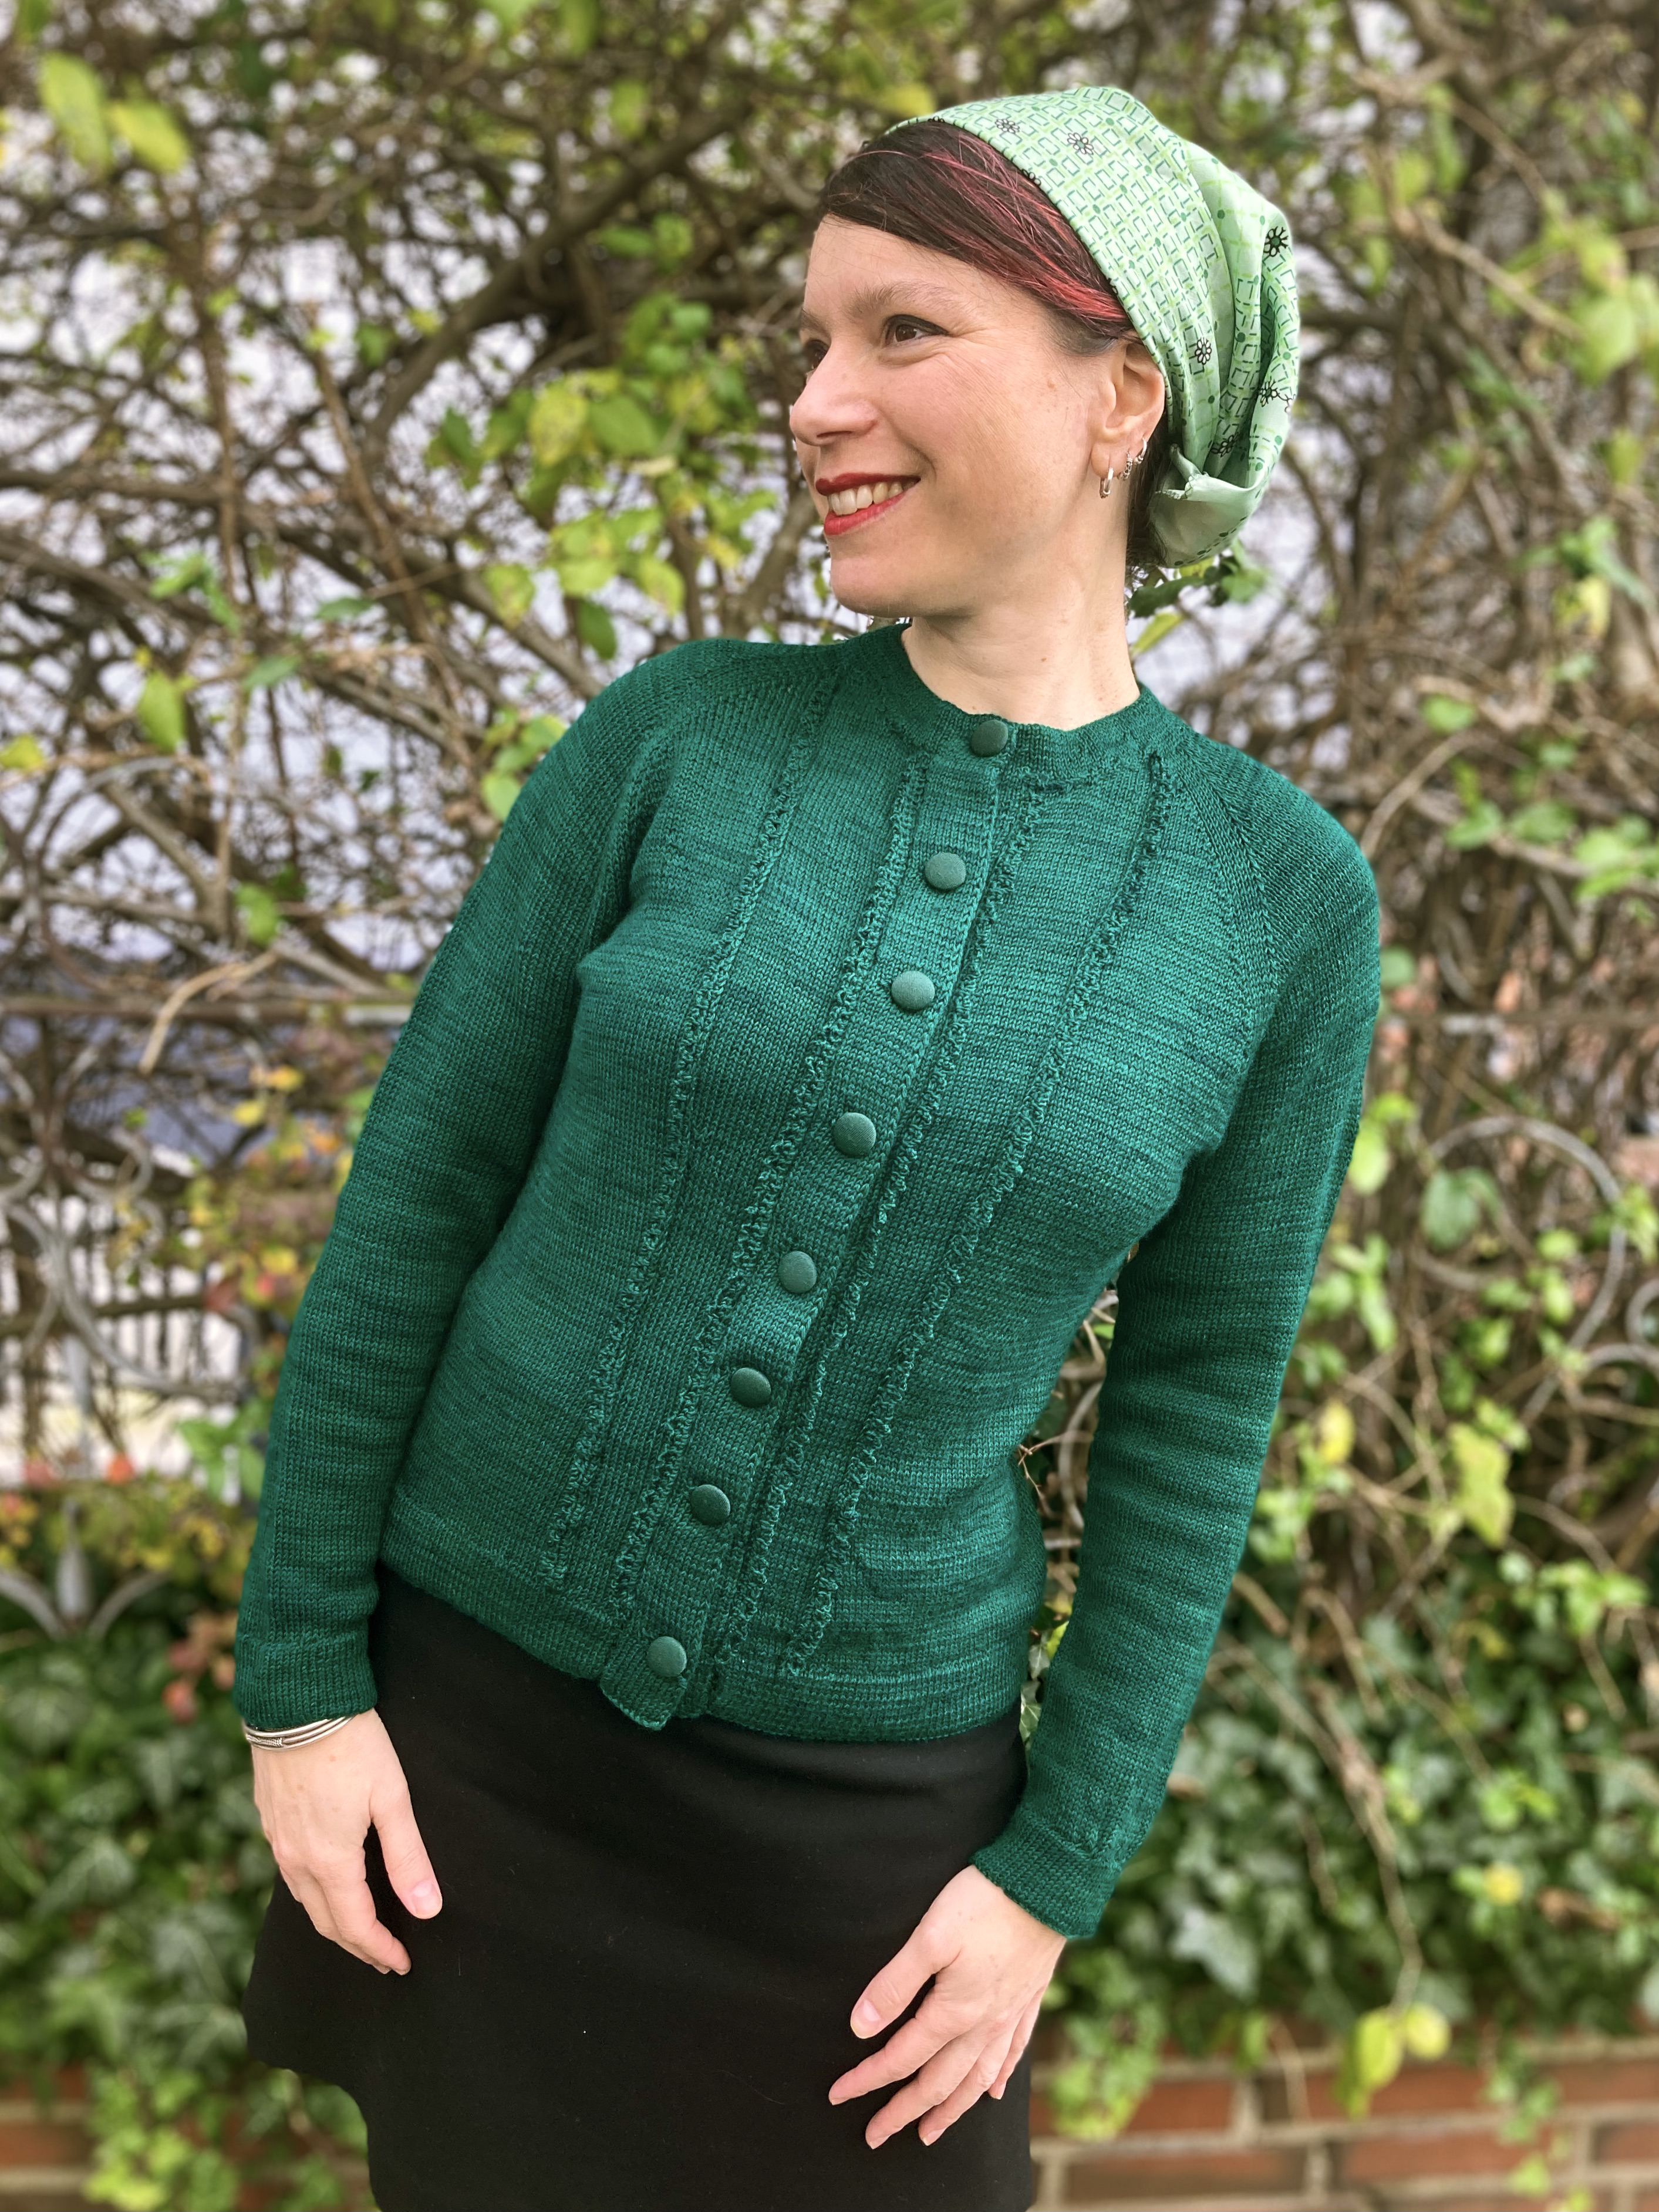
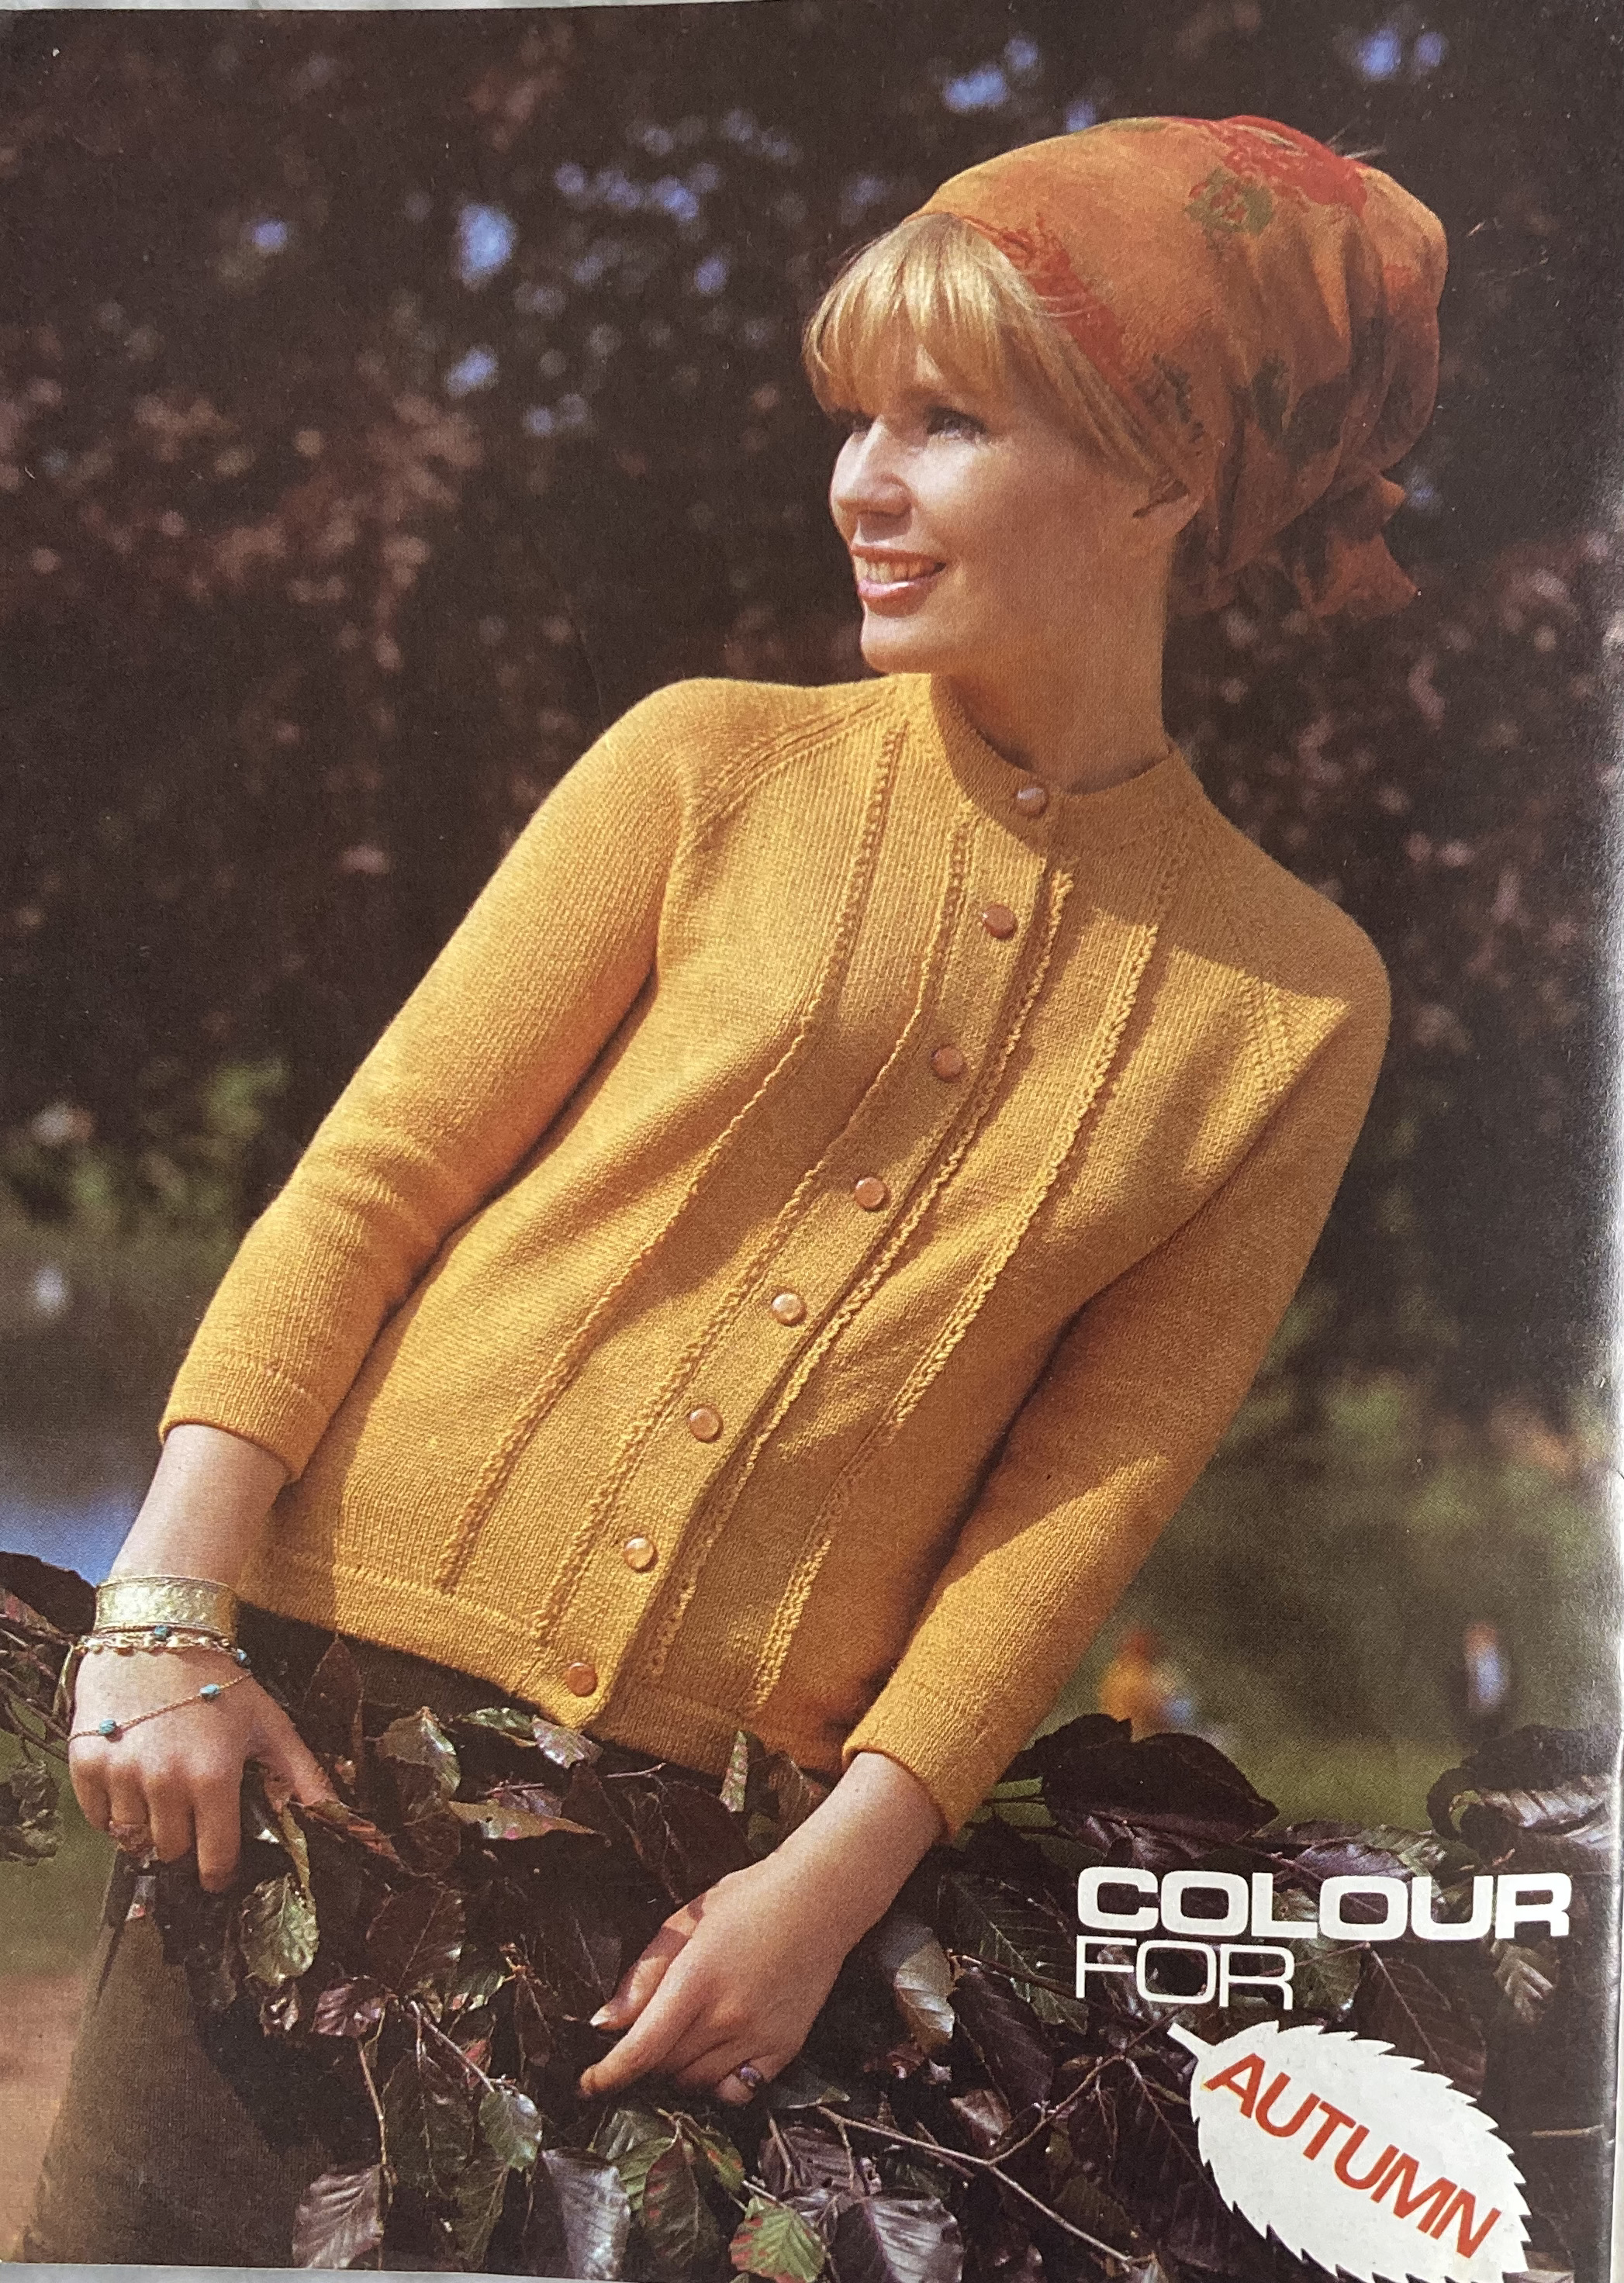
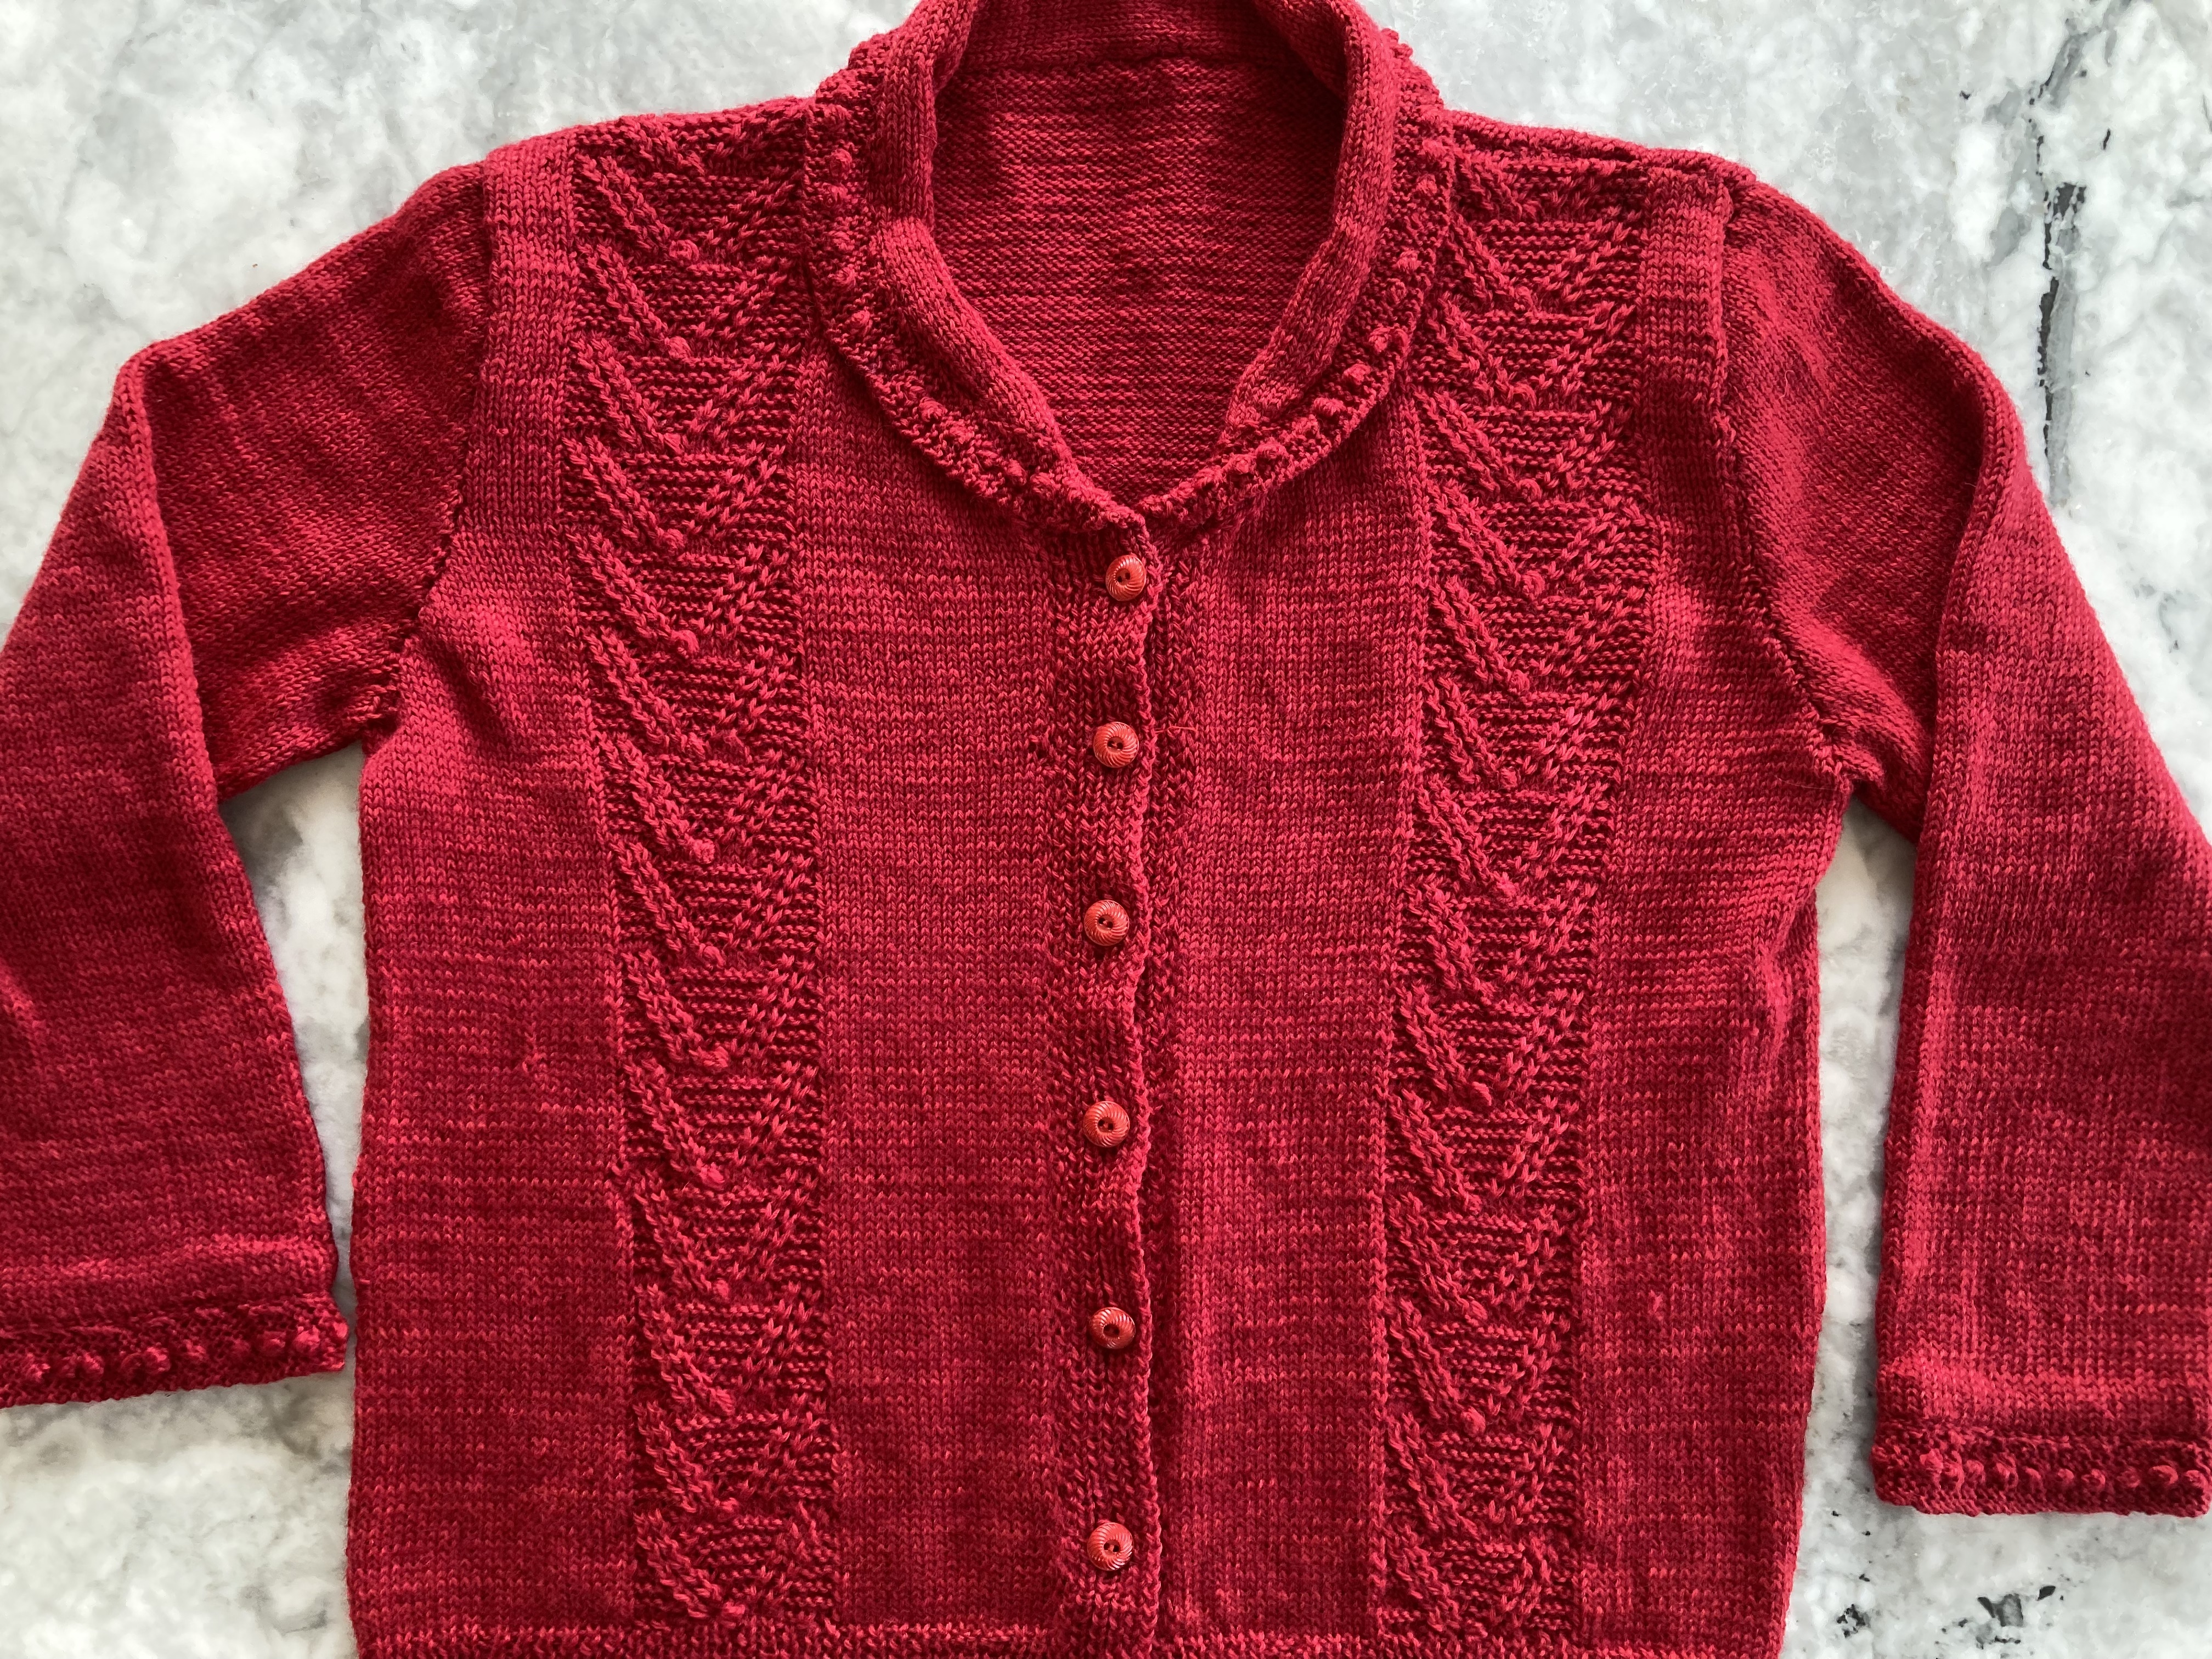
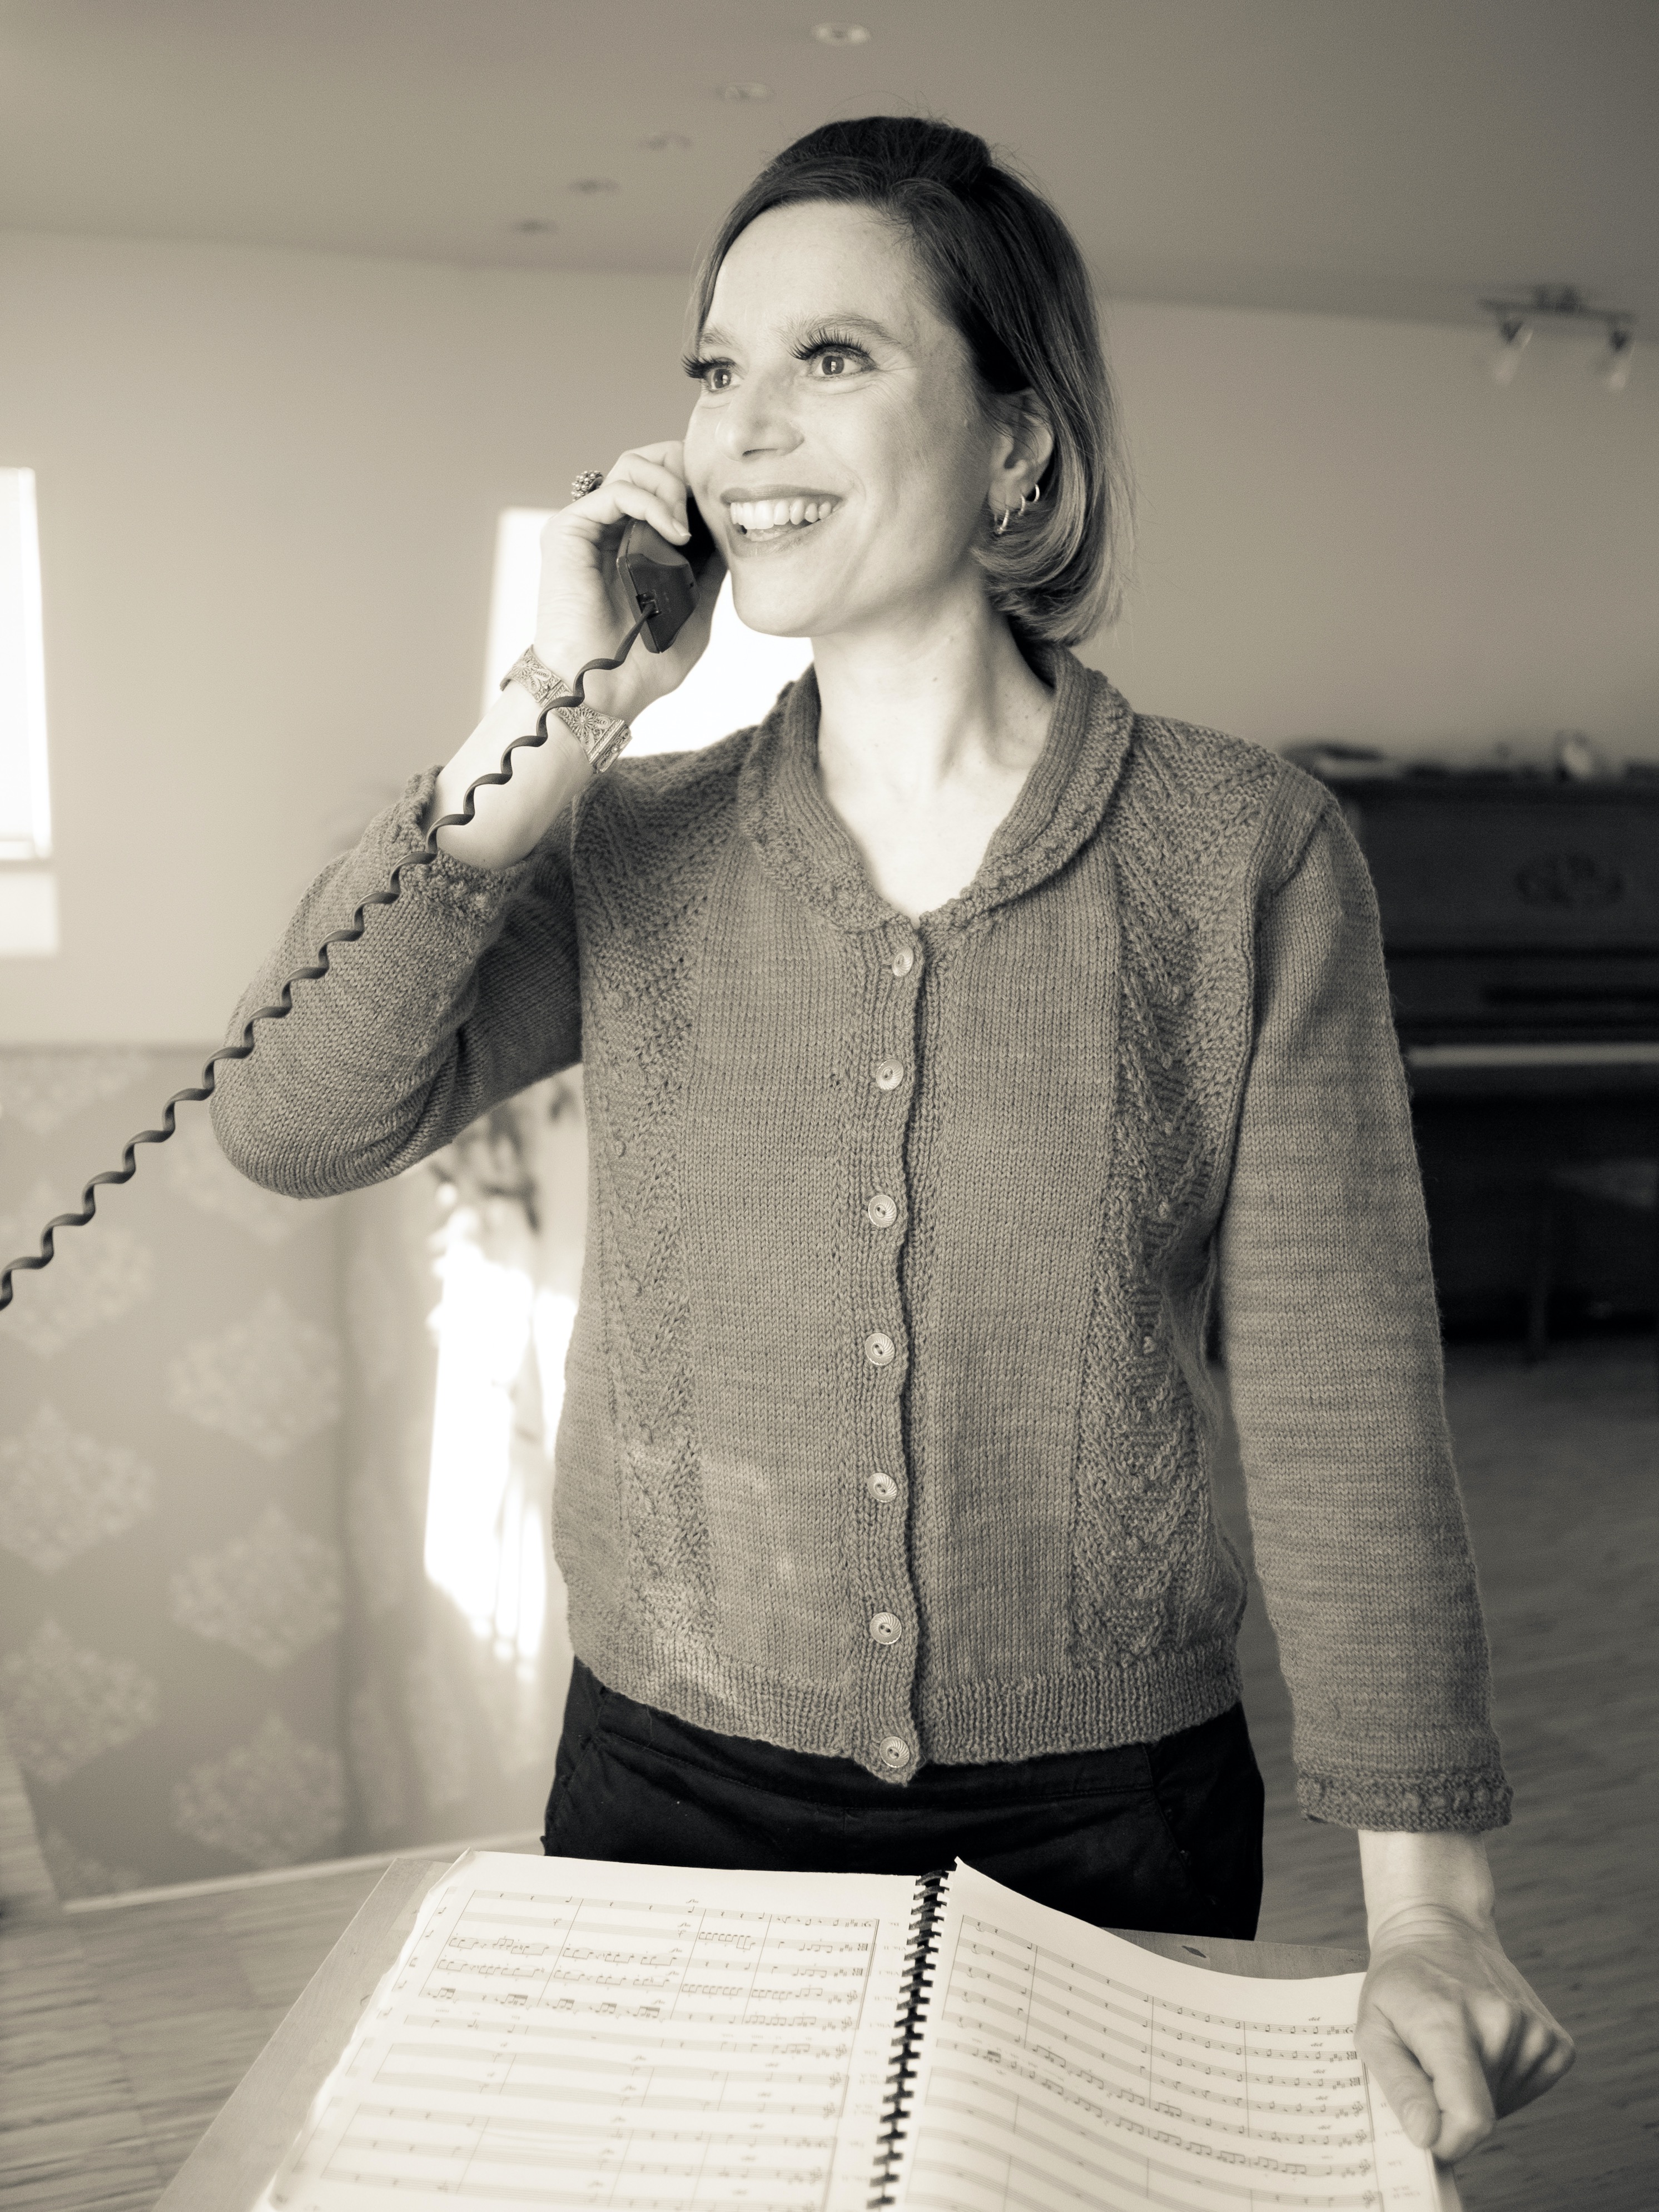
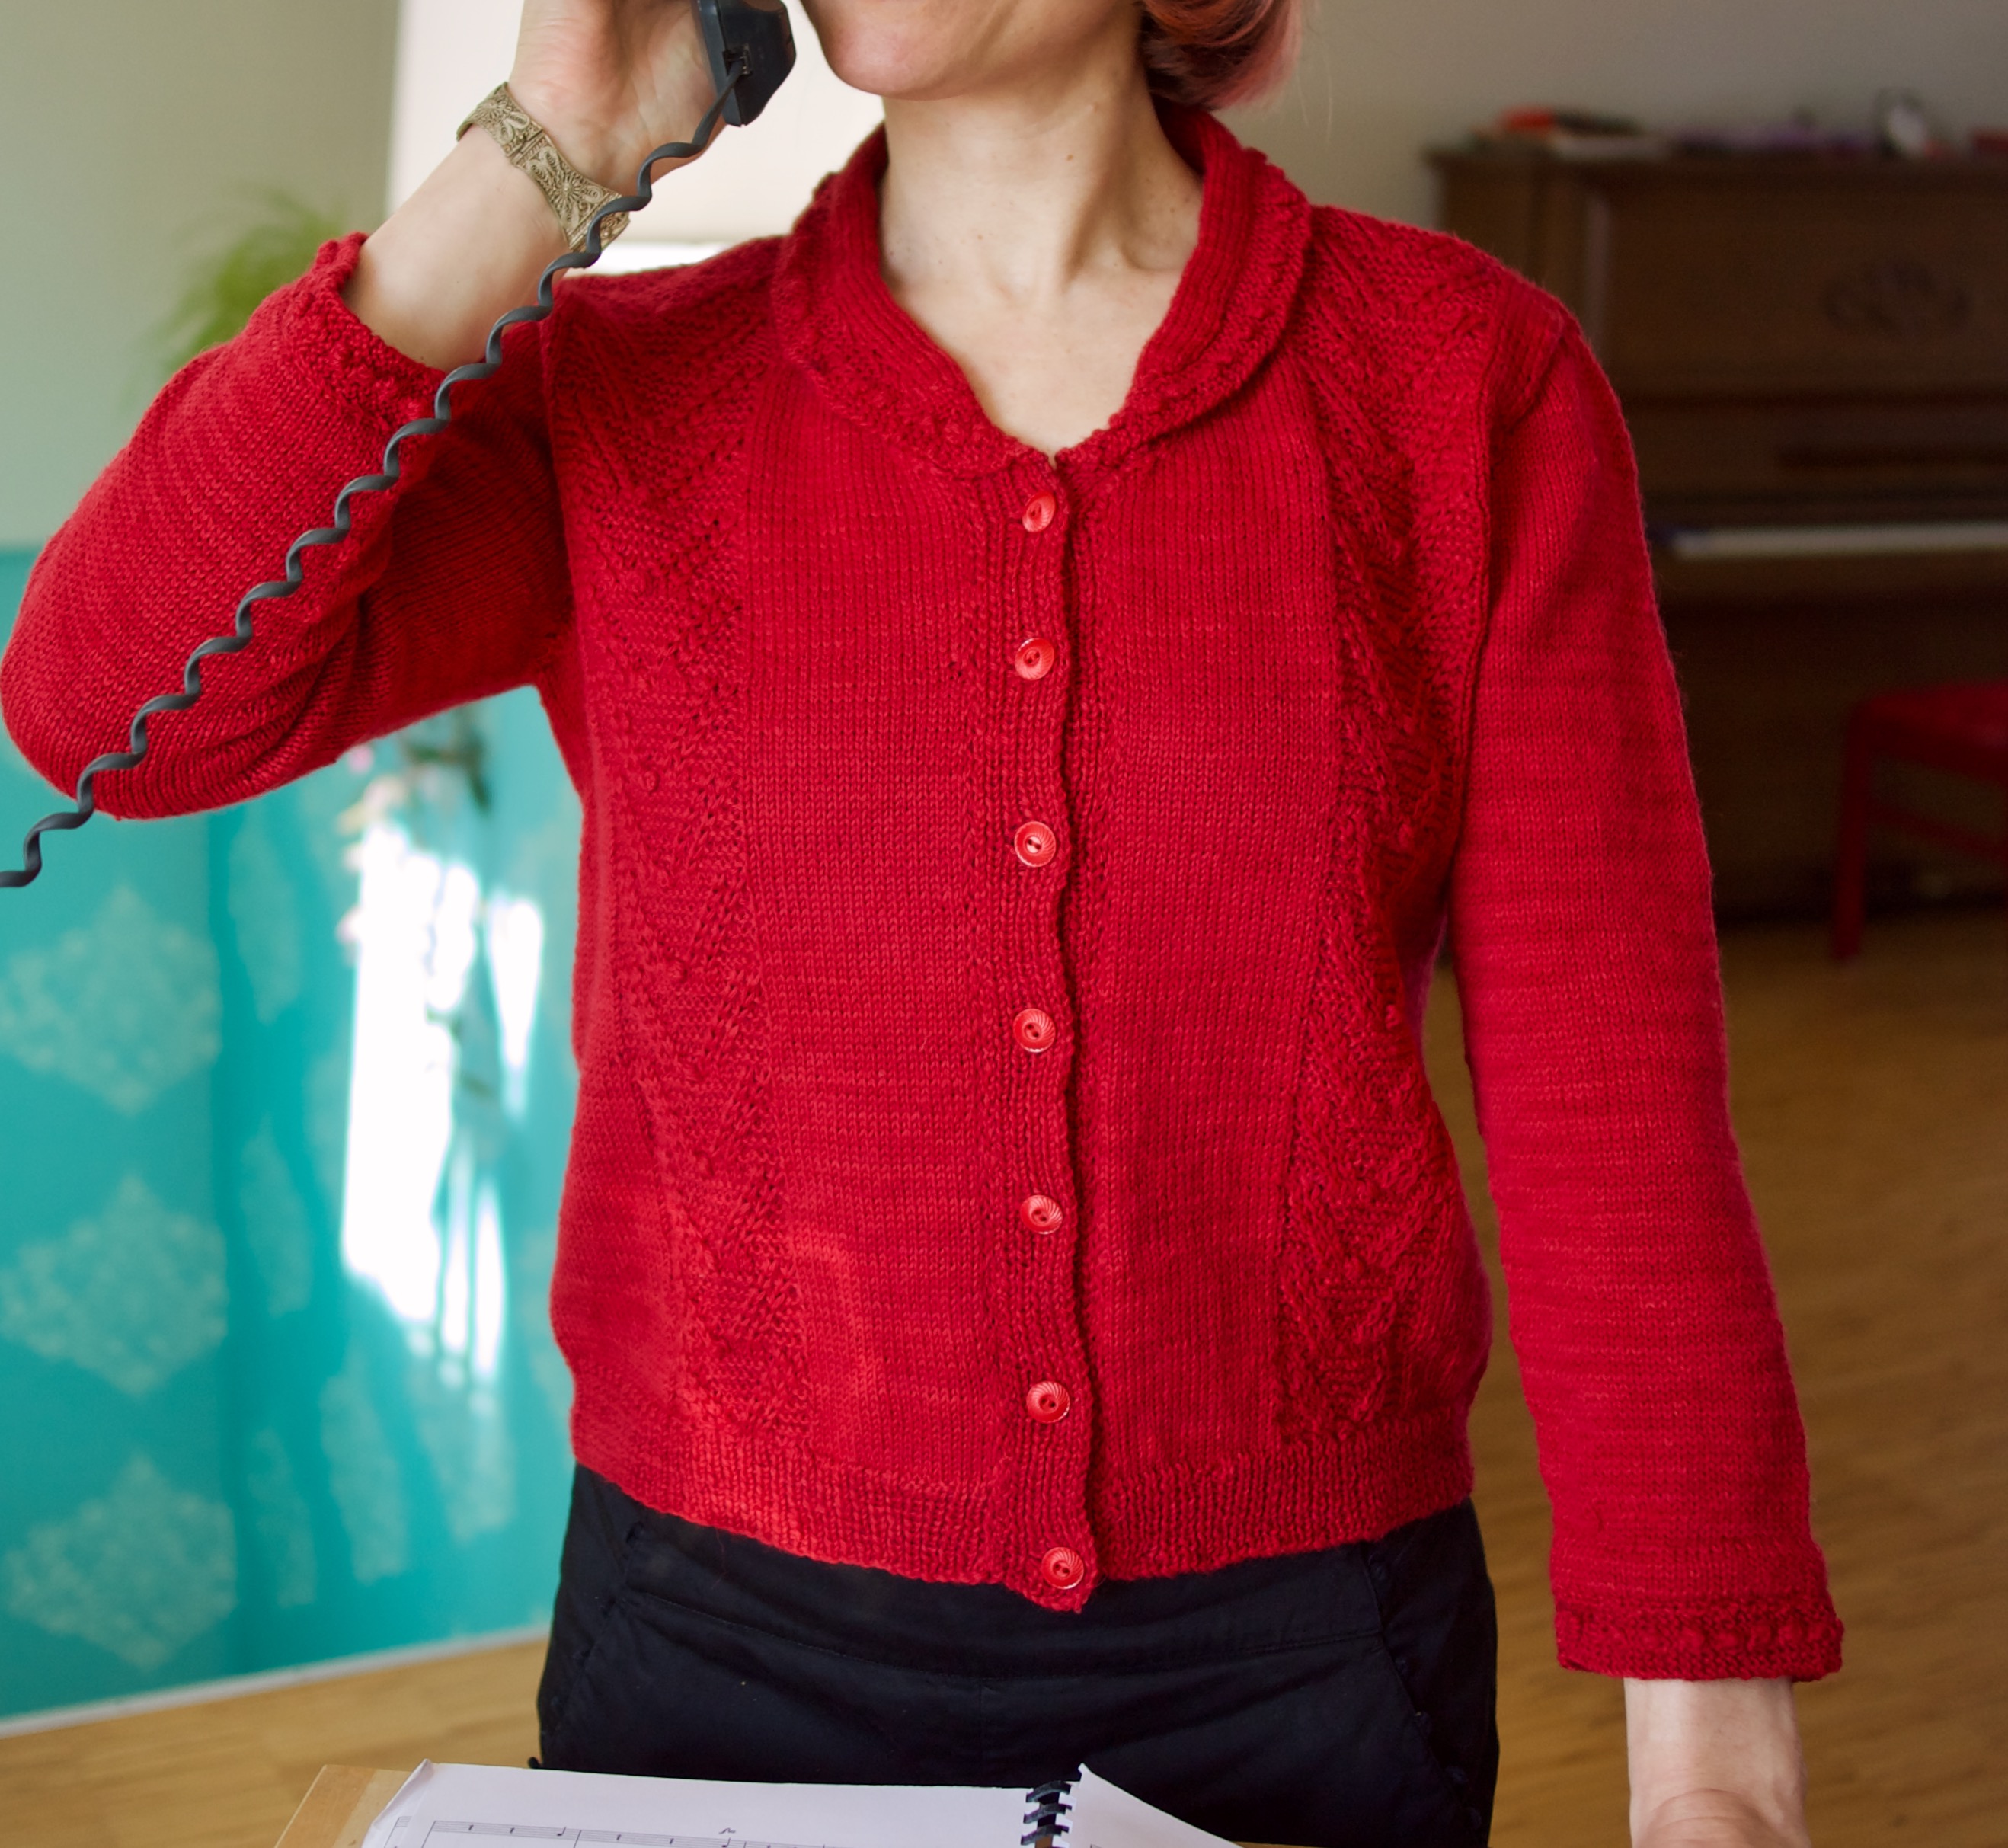
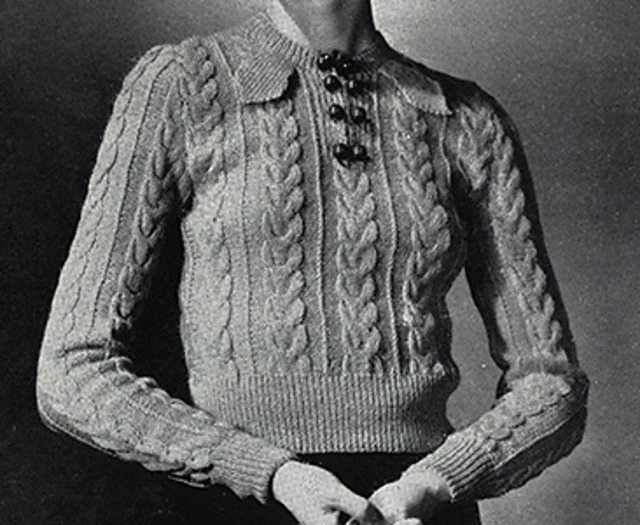
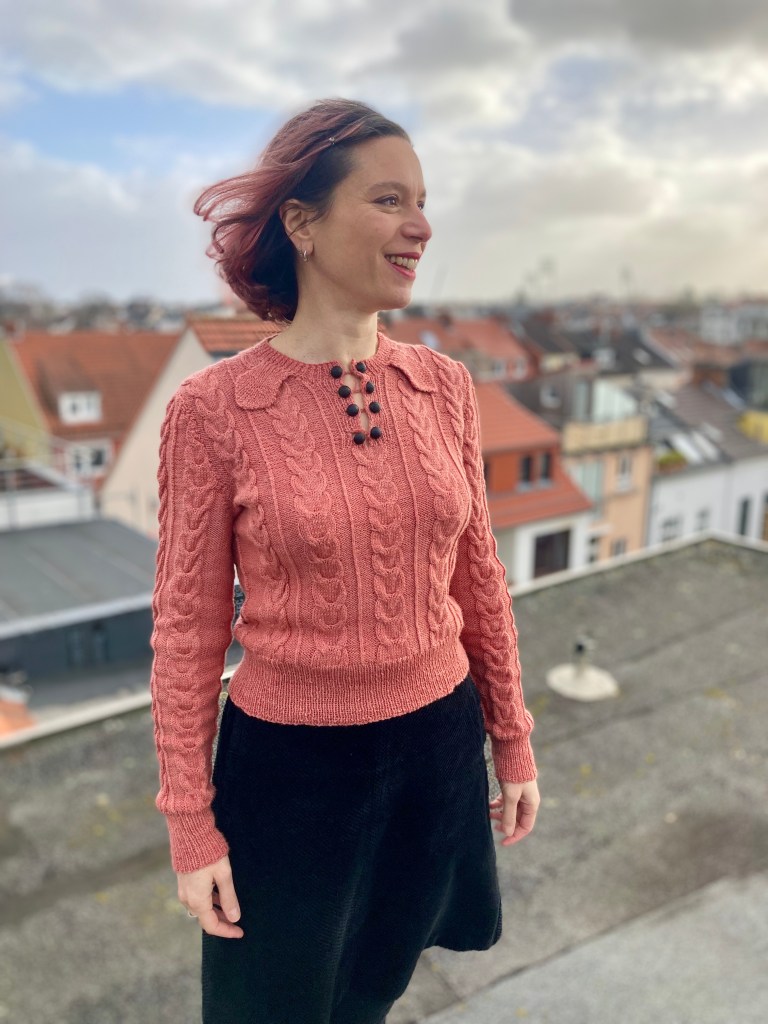
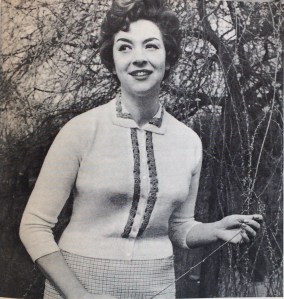 This “charming and unusual design for larger sizes” (37-38 or 39-41 inch bust) features narrow dolman sleeves, crochet insertions, and horizontal bust darts.
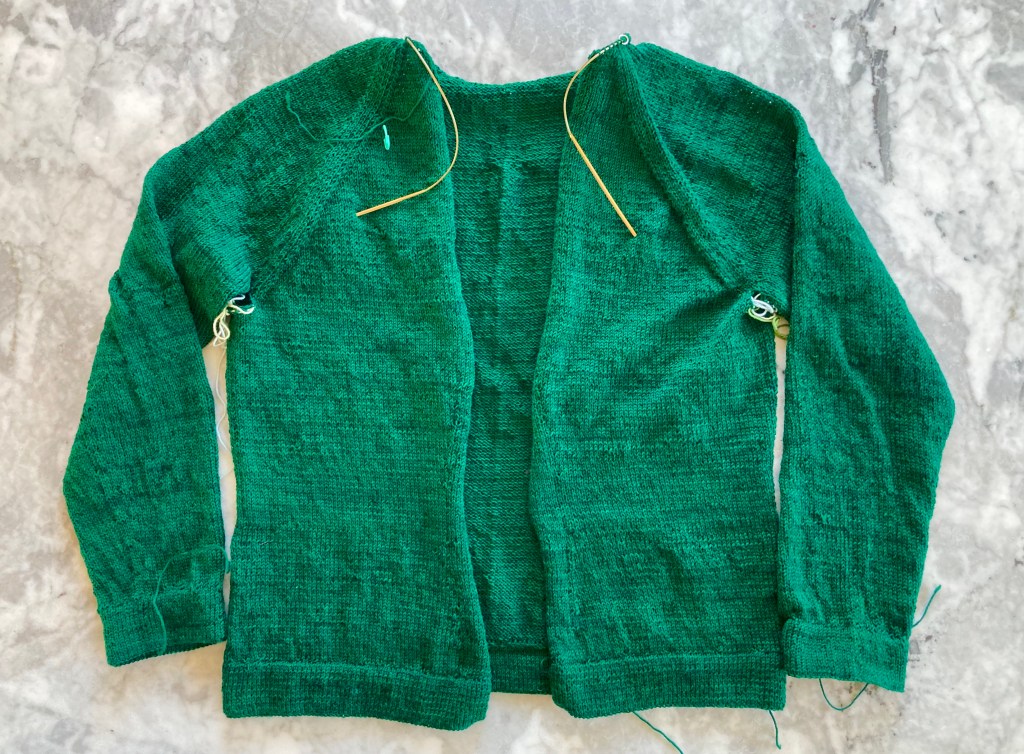
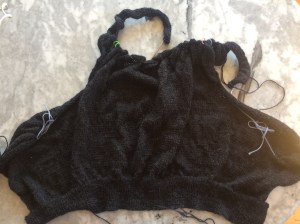 I was interested to see how it worked out with the dolman sleeves. When I think of “dolman sleeves”, I think of those 1950s, or worse, 1980s garments with a huge triangle of fabric under the arm, which must have been very uncomfortable and inconvenient to wear. But after my April 1960 blouse with the horizontal cap sleeves worked out so well, I was willing to give this one a try. And it turned out great! There is no more extra fabric under the arms than there would be with set-in sleeves, and the horizontal construction gives plenty of room in the upper chest/back area, where I am quite wide. I guess the secret lies with the number of stitches cast on for the sleeves per row — this one had 2×8 rows and then 10×16 rows, making the sleeves narrow and more horizontal, thus less triangle-like.
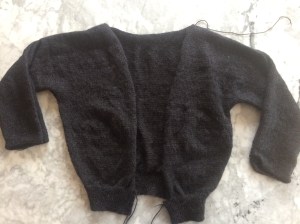 The knitting was slow-going at 7 stitches to the inch, but of course once the body was done, so were the sleeves. Seaming was a nightmare, as the yarn (Herriot Fine from
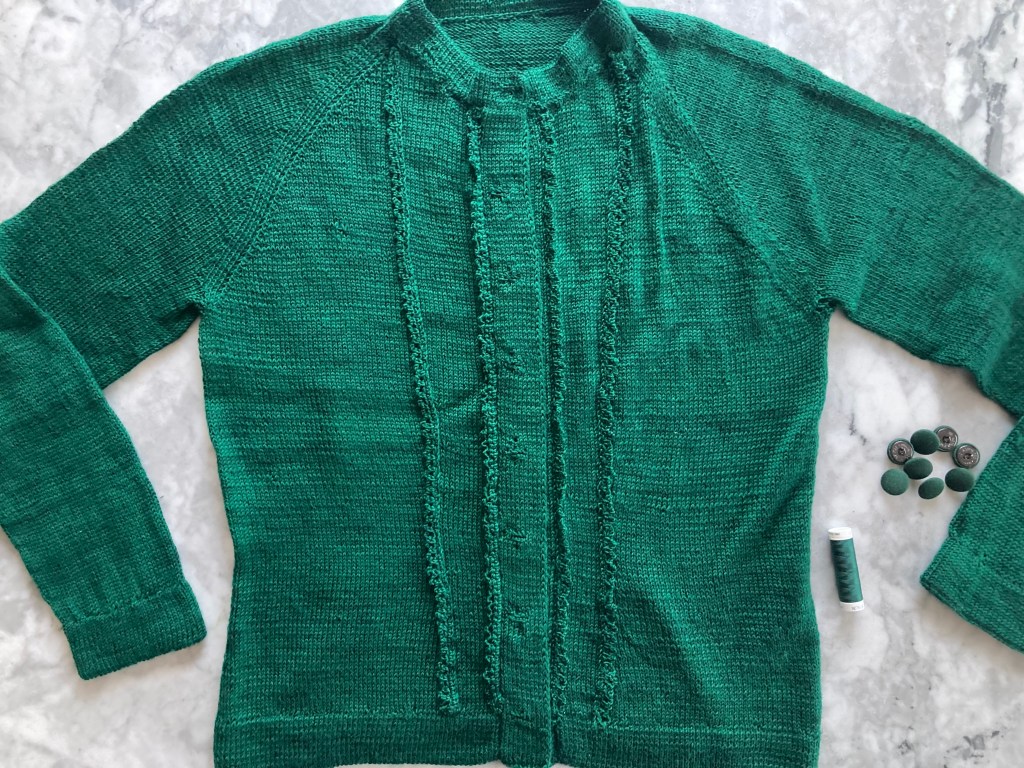
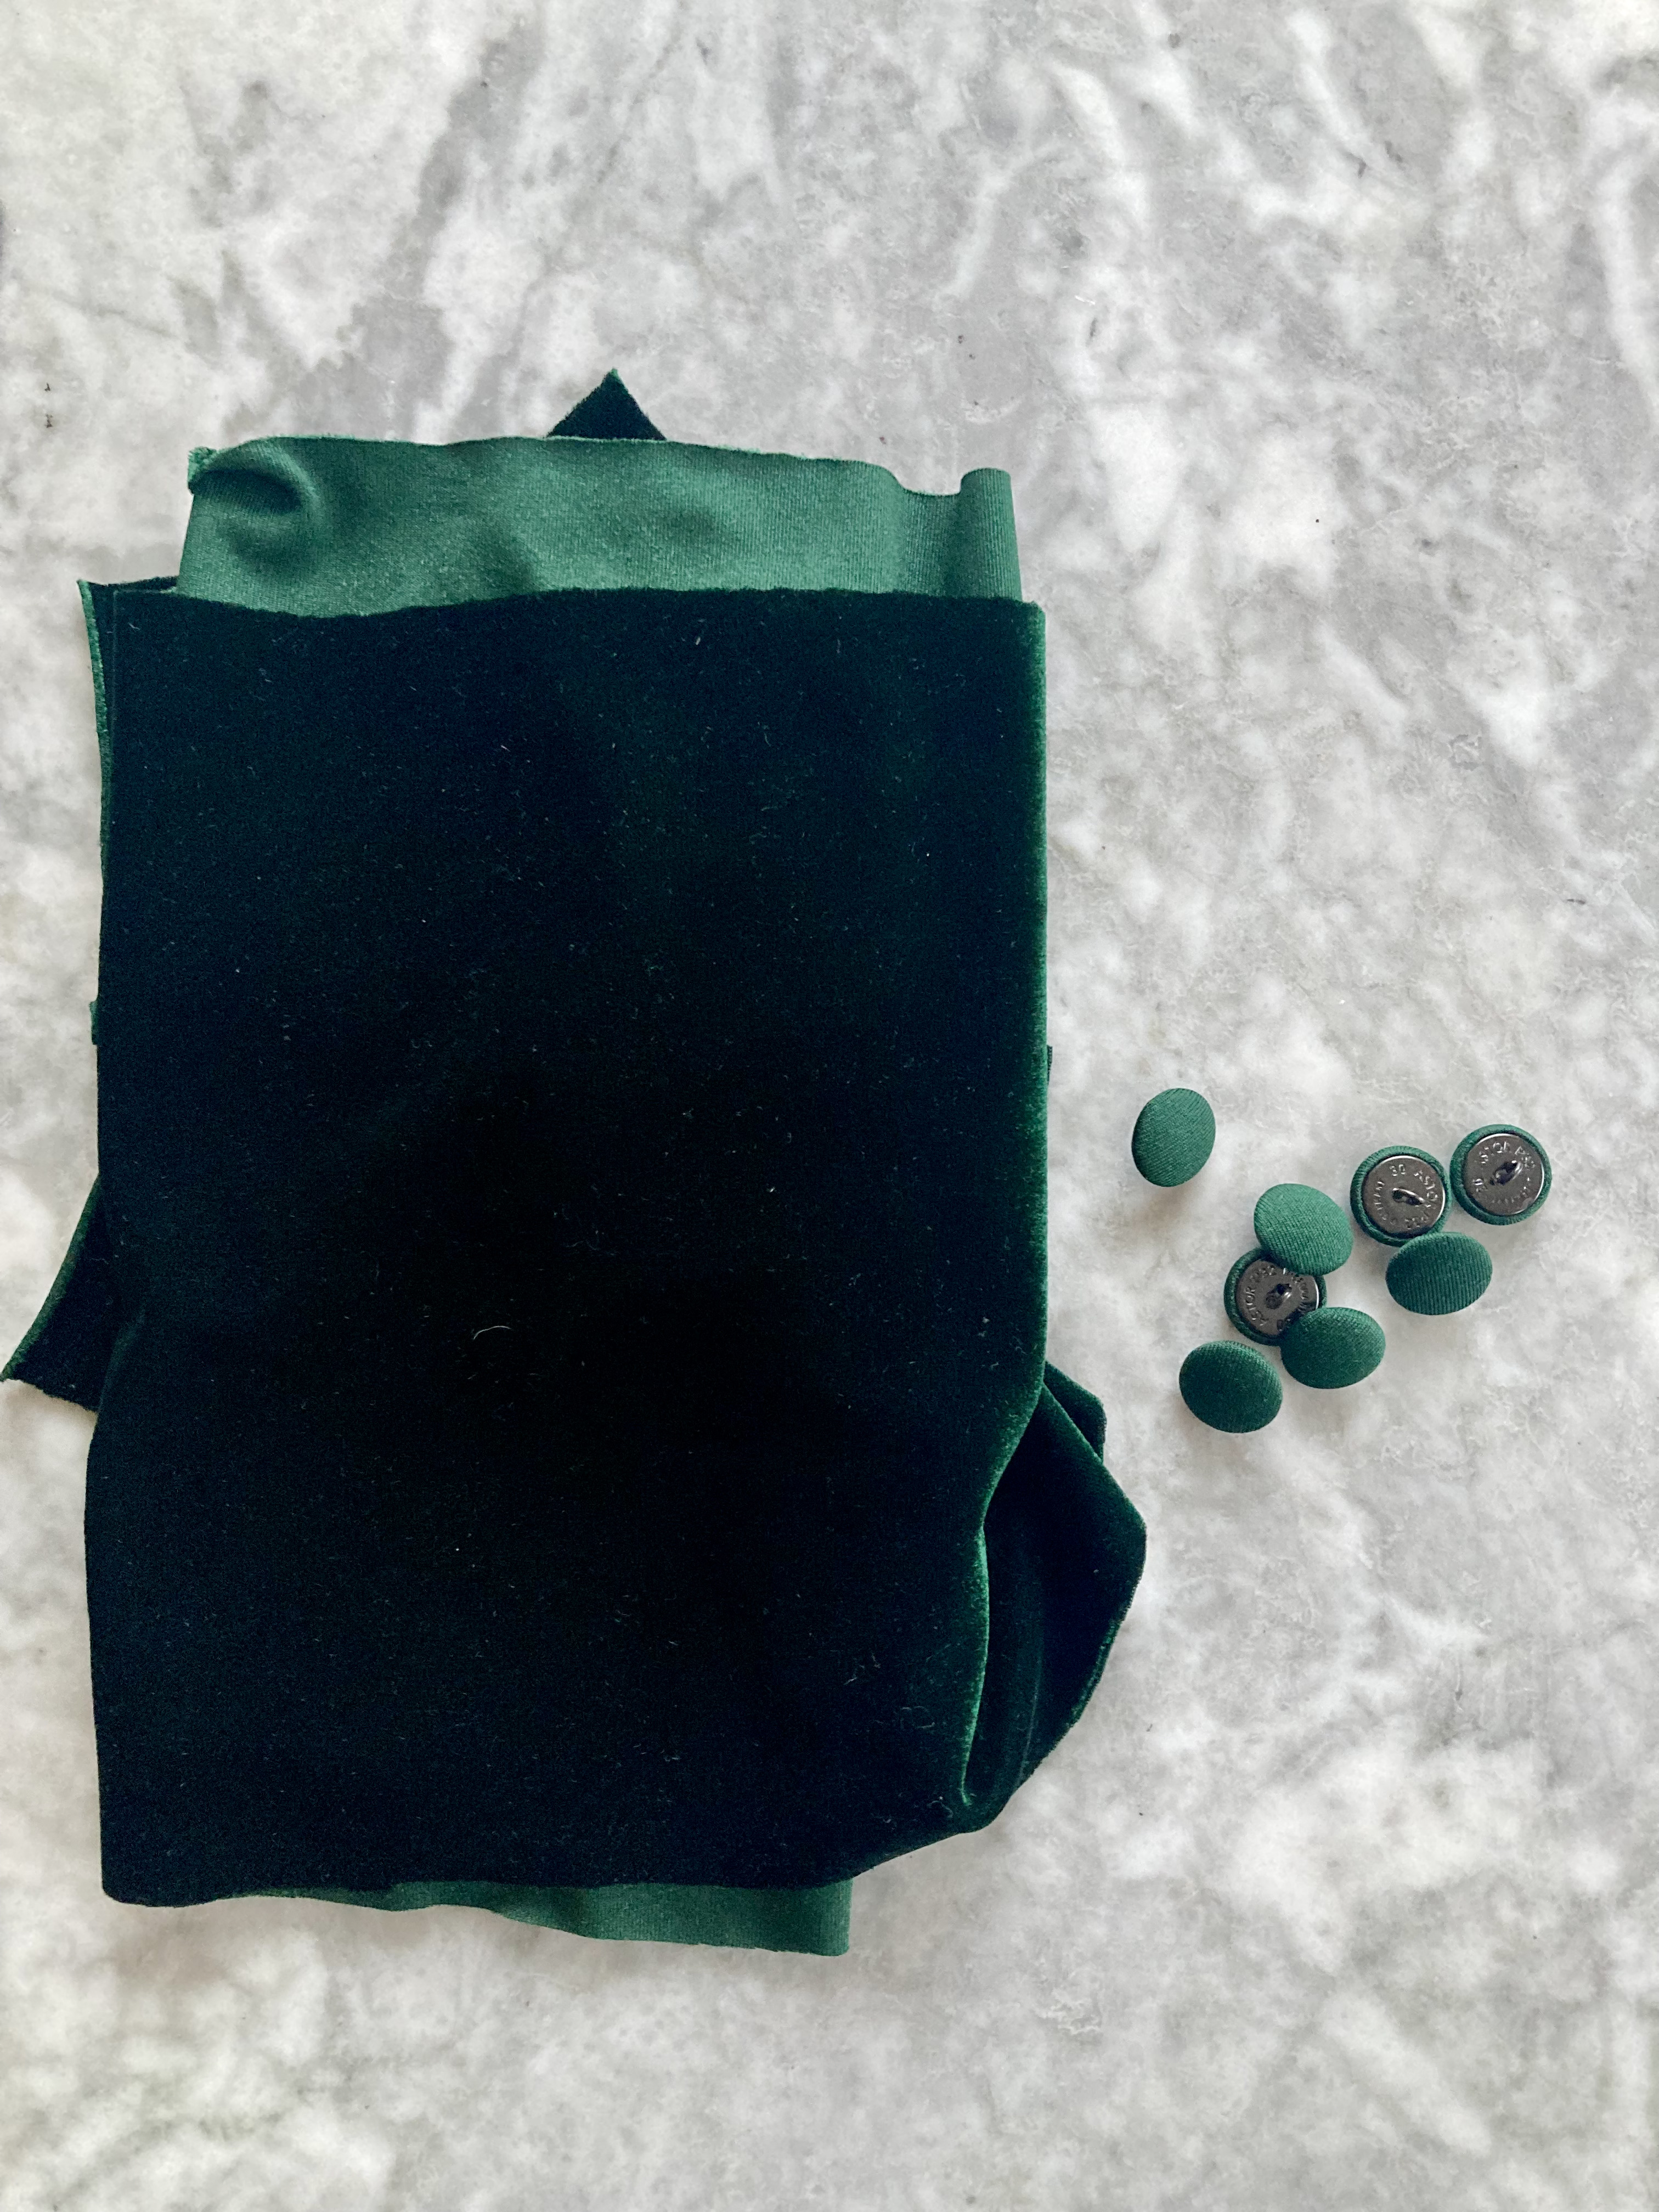
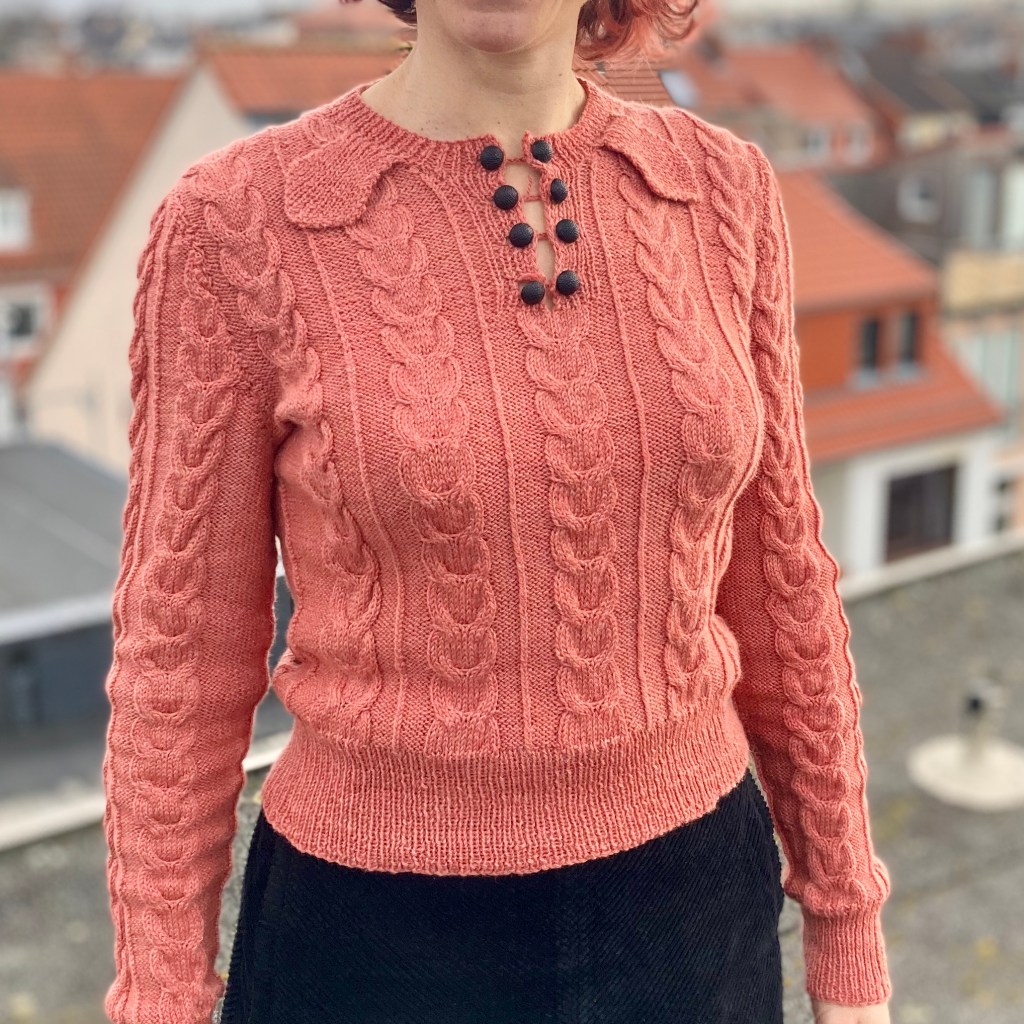
 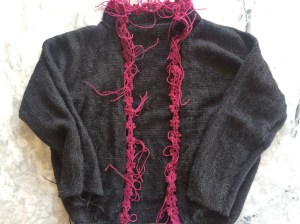 What took longer than expected was the whole crocheted edging-collar-button-band extravaganza. The crochet bands are extremely fiddly — they are crocheted onto each other as you go, it’s difficult to make them all exactly the same size, and each one needs its own, new piece of yarn. There are a total of 50 elements, so that’s 100 yarn ends to weave in right there. Then there’s the “inner” collar, the “outer” collar and the button bands, all of which are made separately and sewn on, and somehow need to end up symmetrical and fit properly on both sides. Of course, I sewed the collar on backwards the first time, forgot to switch the right and wrong sides at the collar fold, etc, etc. It all worked out in the end, though.