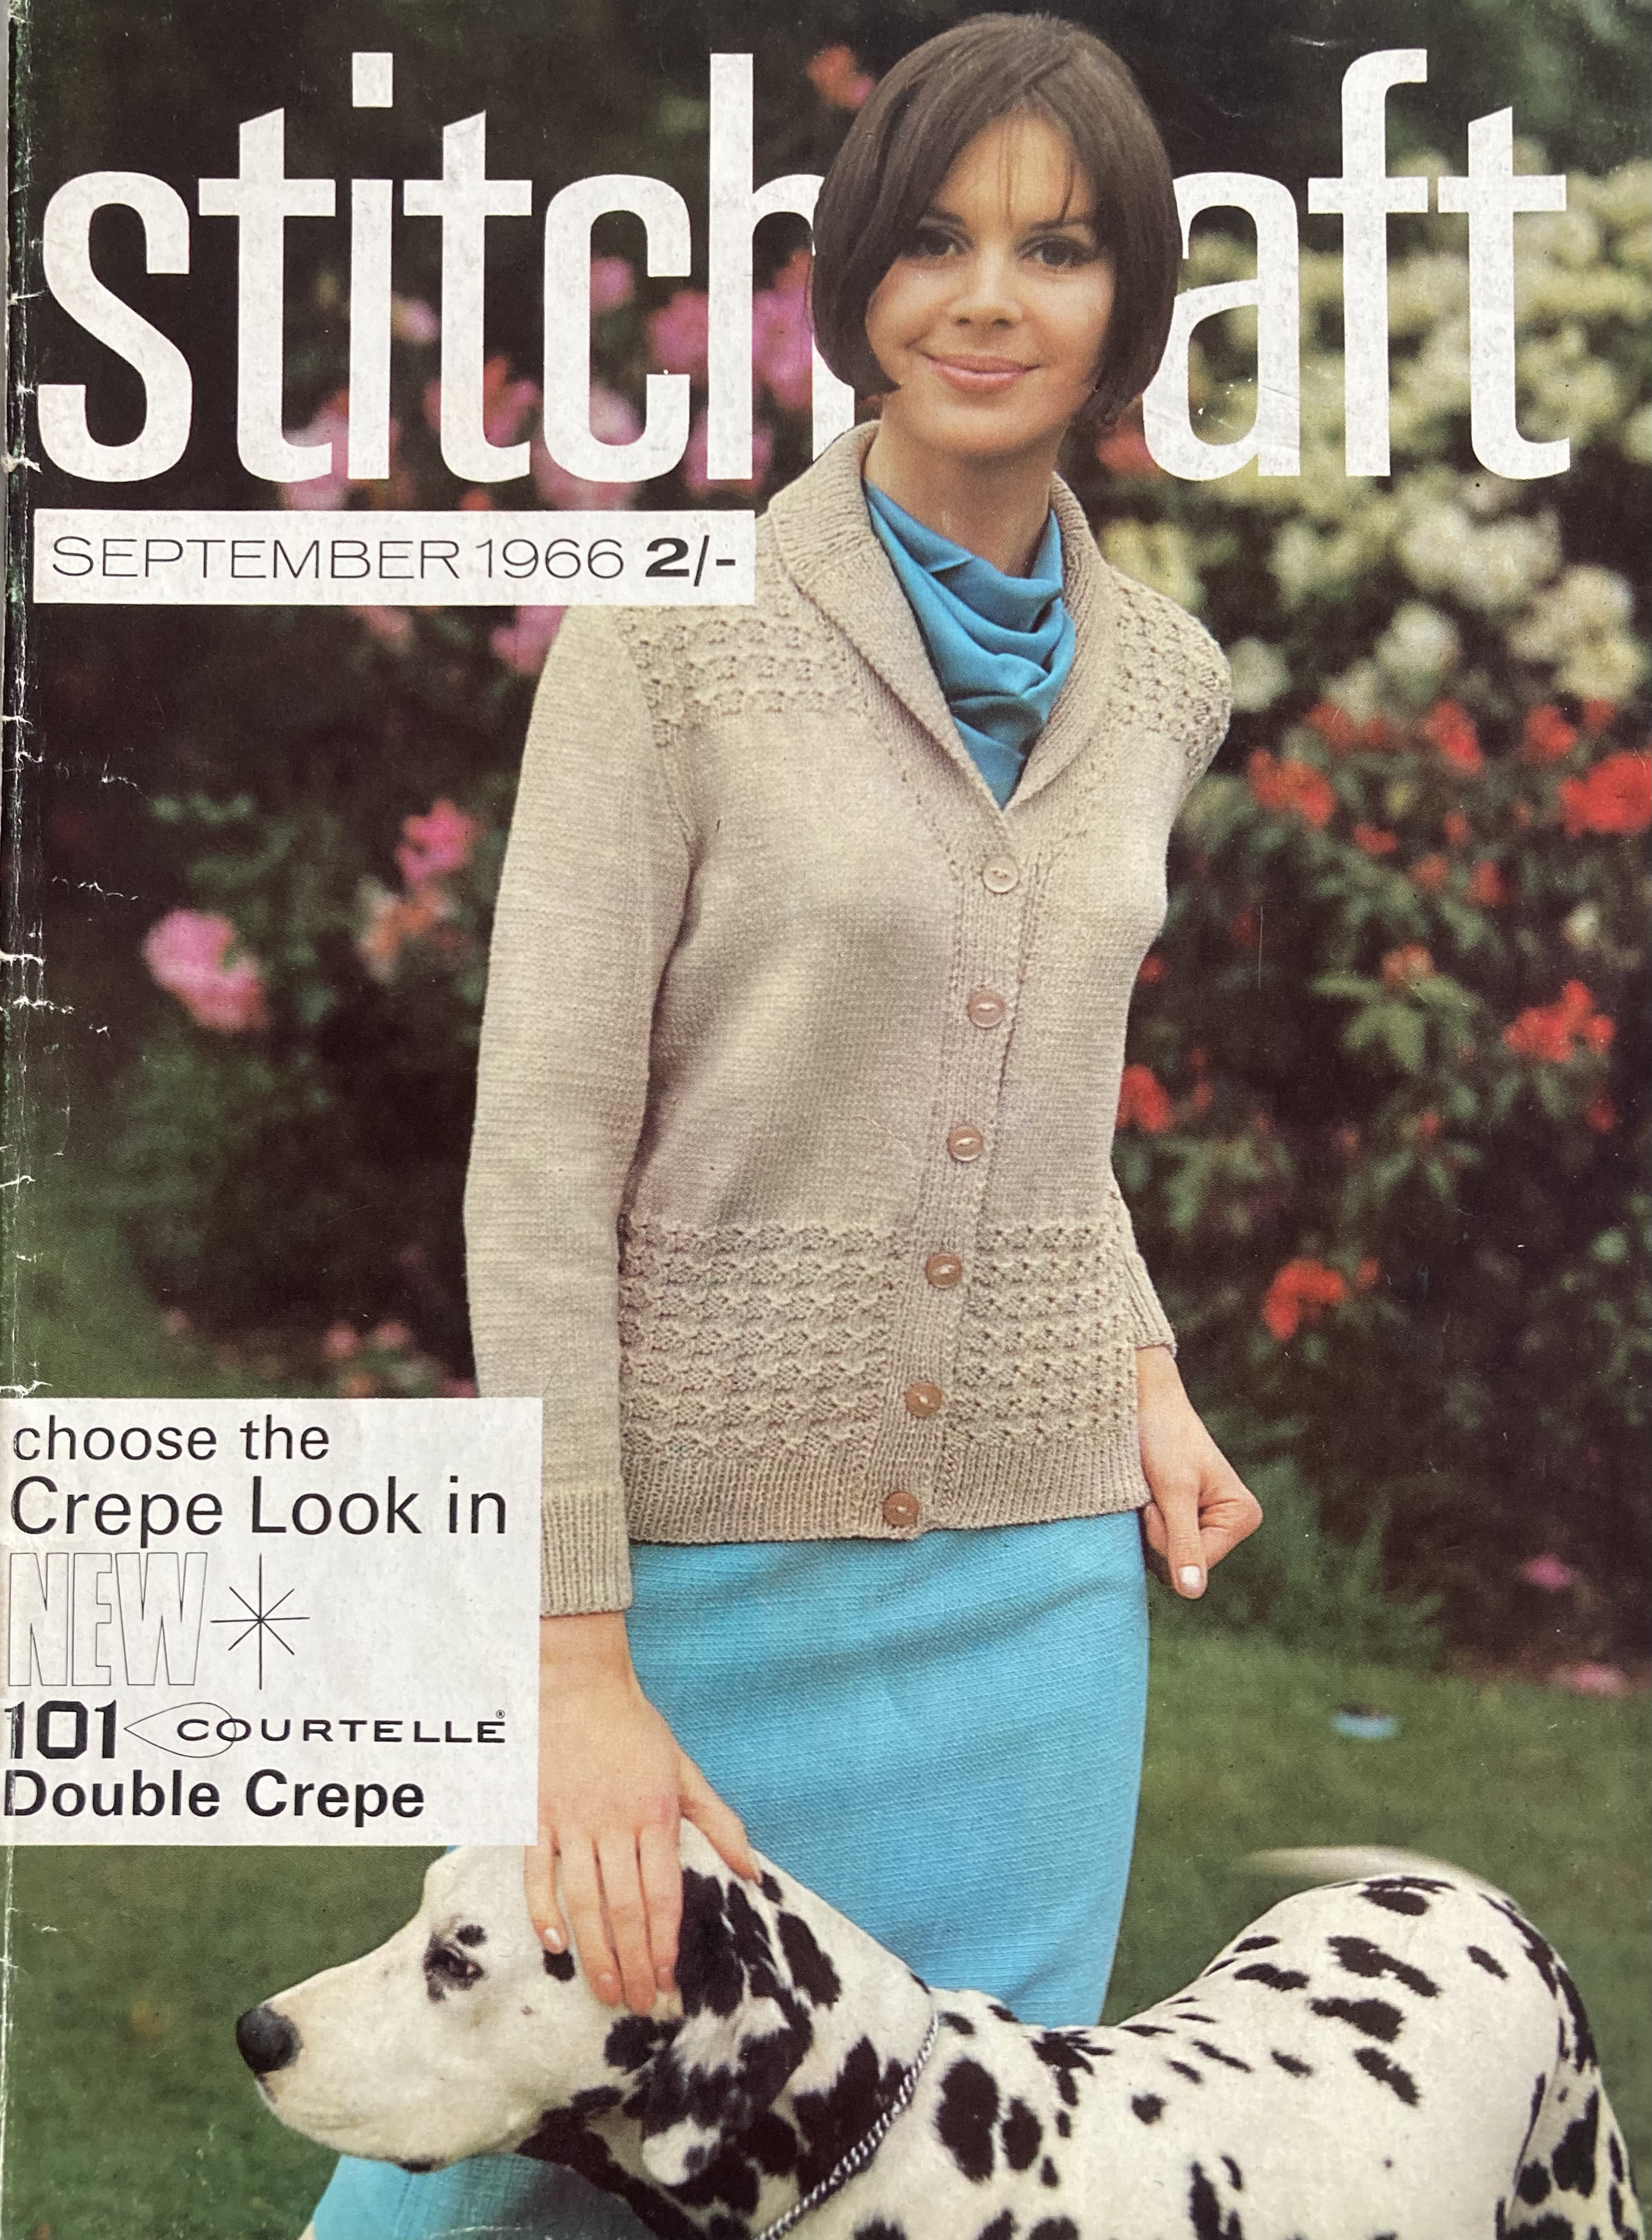
Happy New Year, everybody! It’s 2025 in the modern world and 1967 at the Stitchcraft Sixties. What does our first issue of the year have to offer?
1967 was the year that Stitchcraft finally started to get just a little bit fashion-forward, albeit in a slow and conservative way. It starts with the title fonts, which keep getting bigger and more sans-serif (graphic designers, please excuse my layperson’s vocabulary — I’m sure there’s a better word for what I’m trying to say, but I don’t know it.) The skirt and dress designs are finally just barely above the knee — three years after Mary Quant introduced the “mini” in her shop in London — and a sense of fun and “swing” is slowly but surely creeping into the aesthetic.
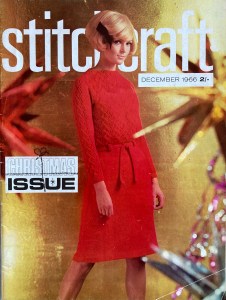
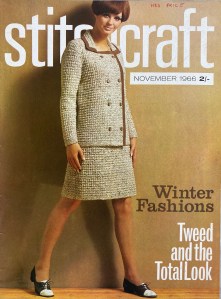
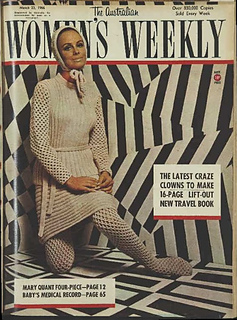
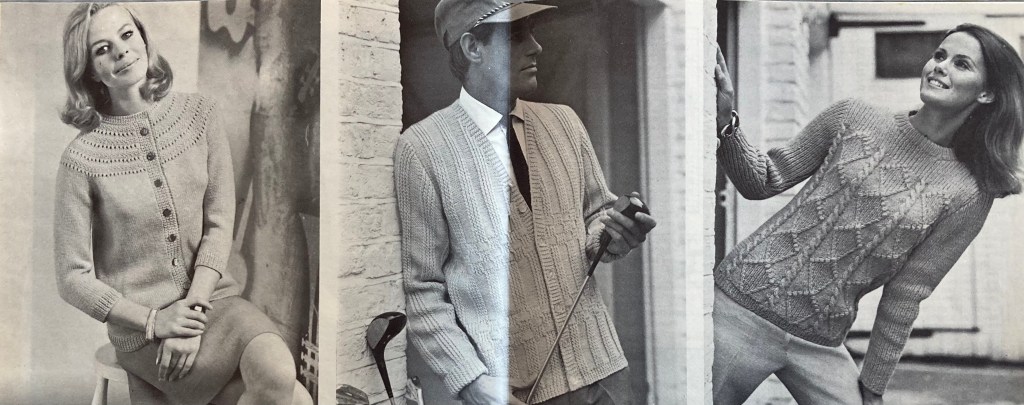
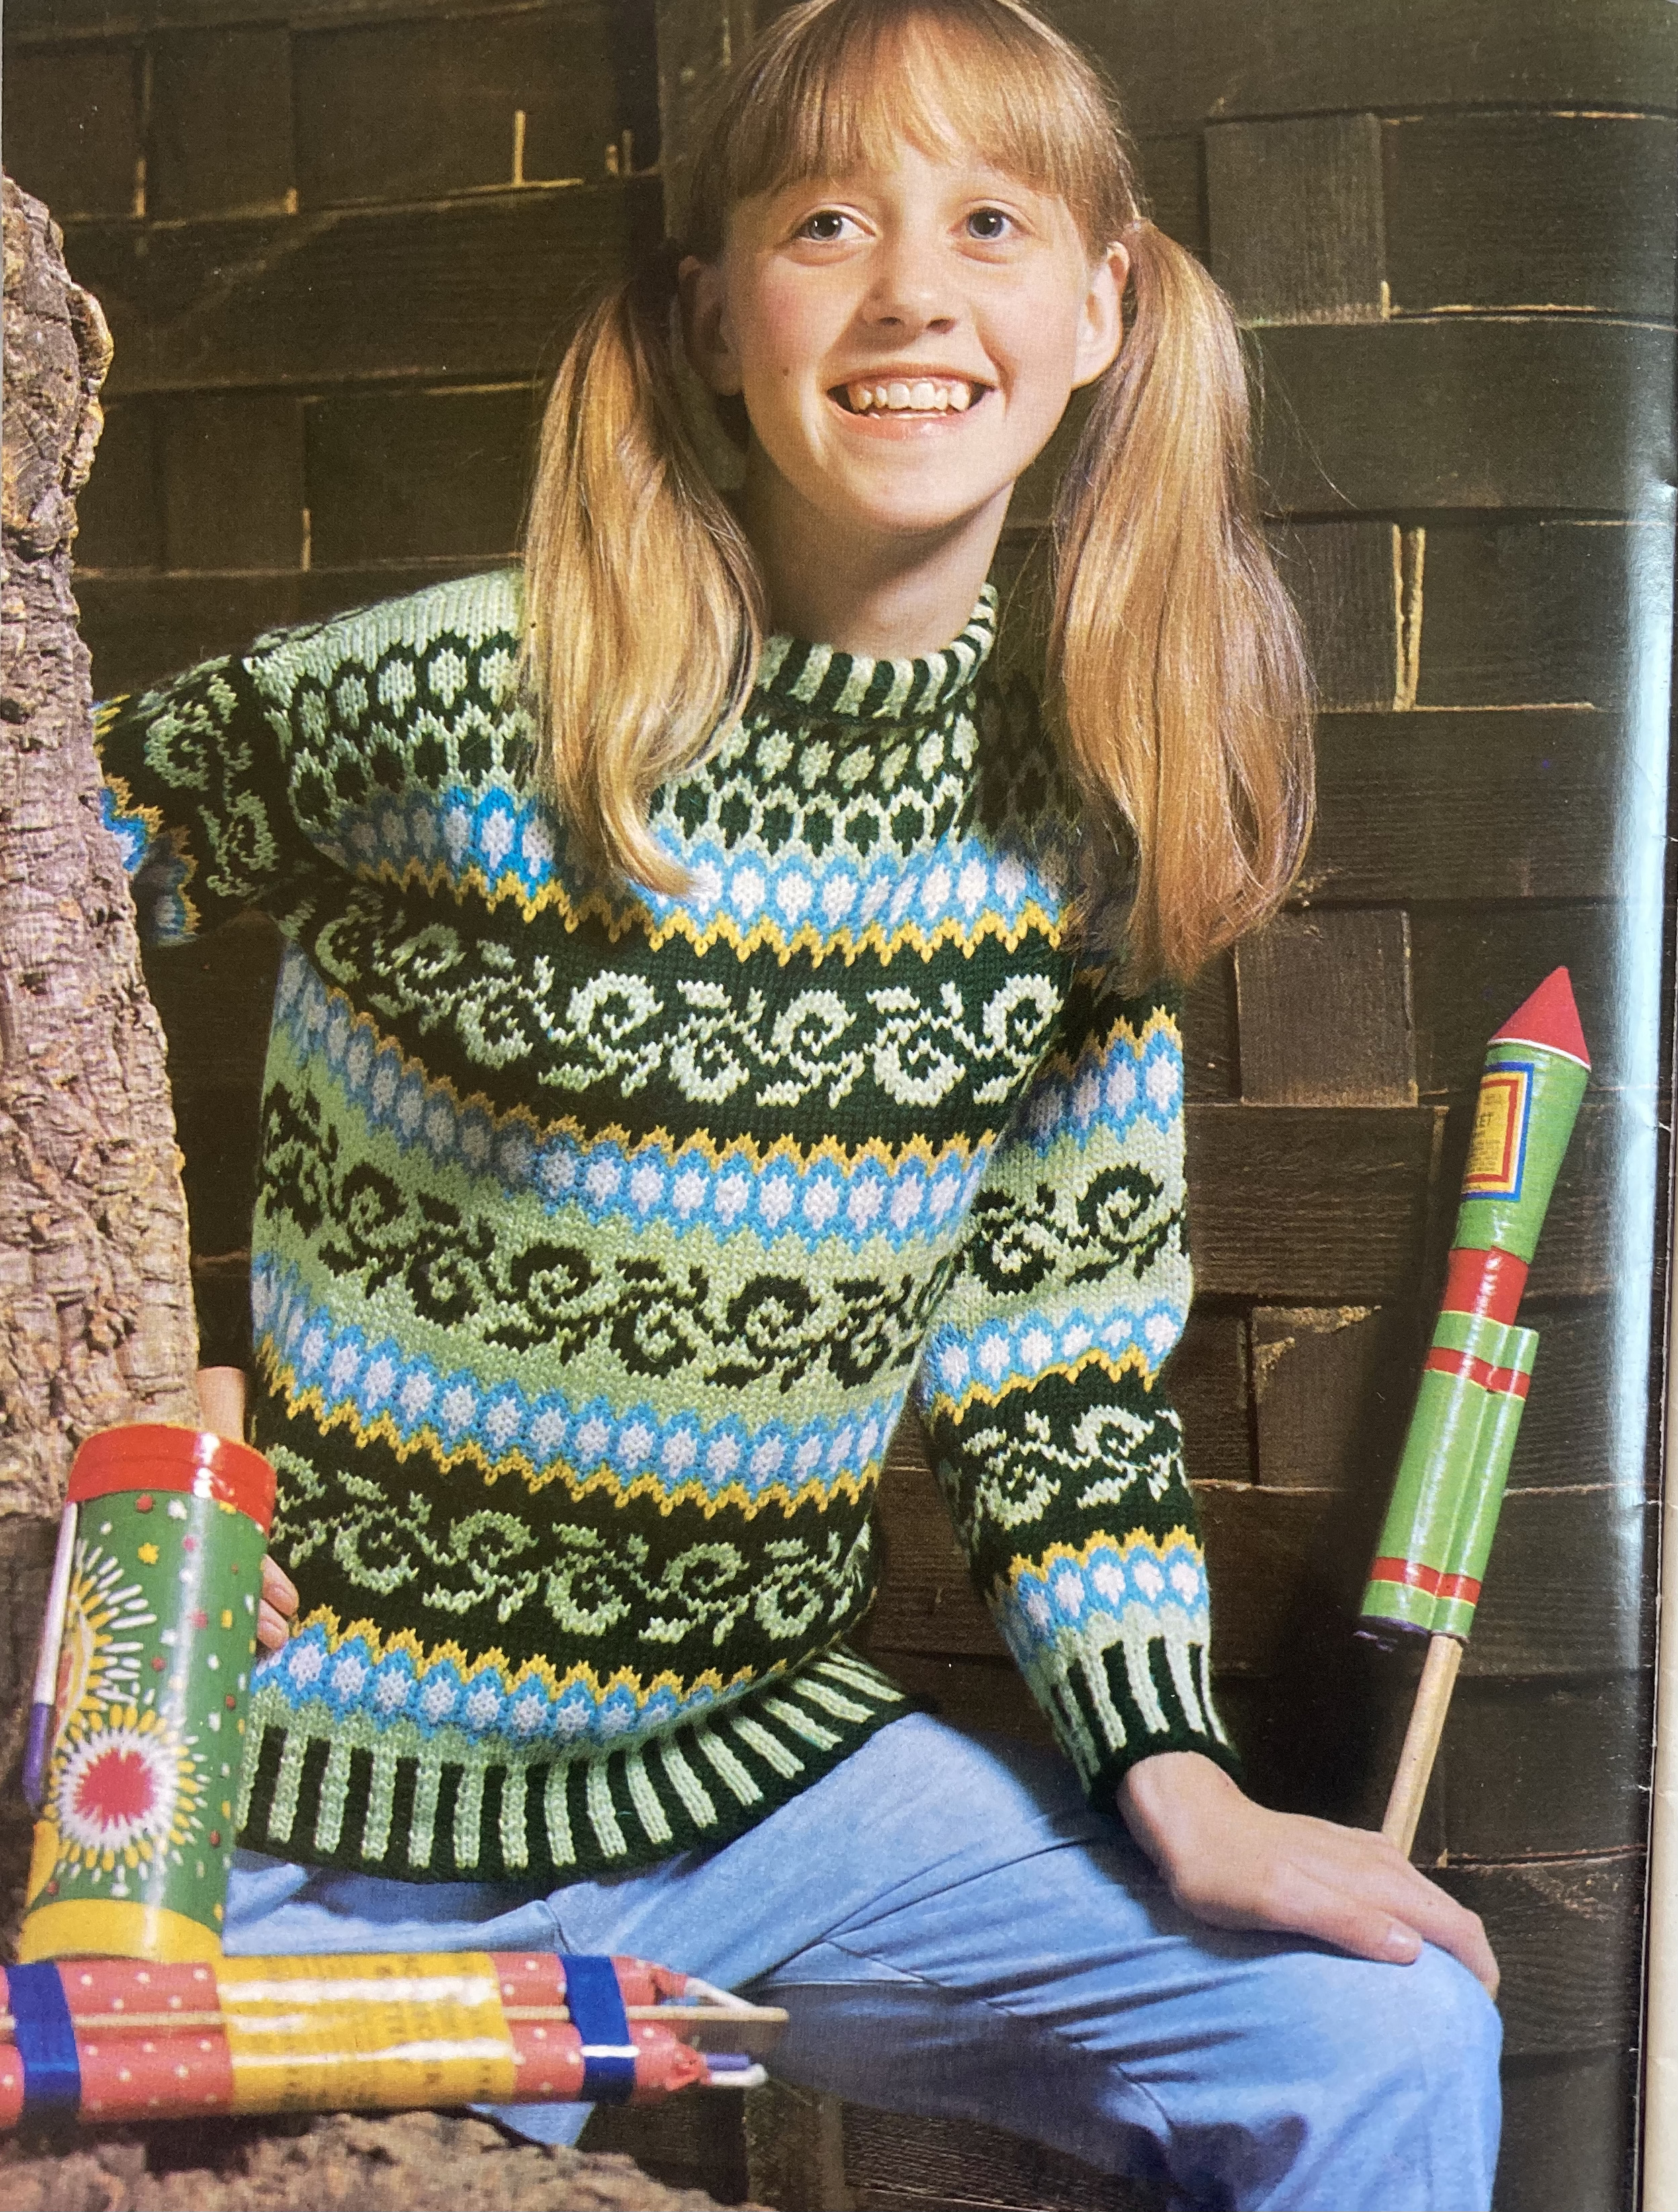
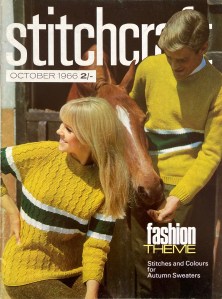
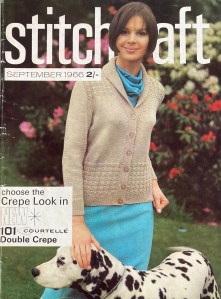
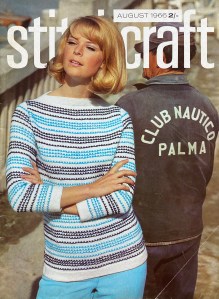
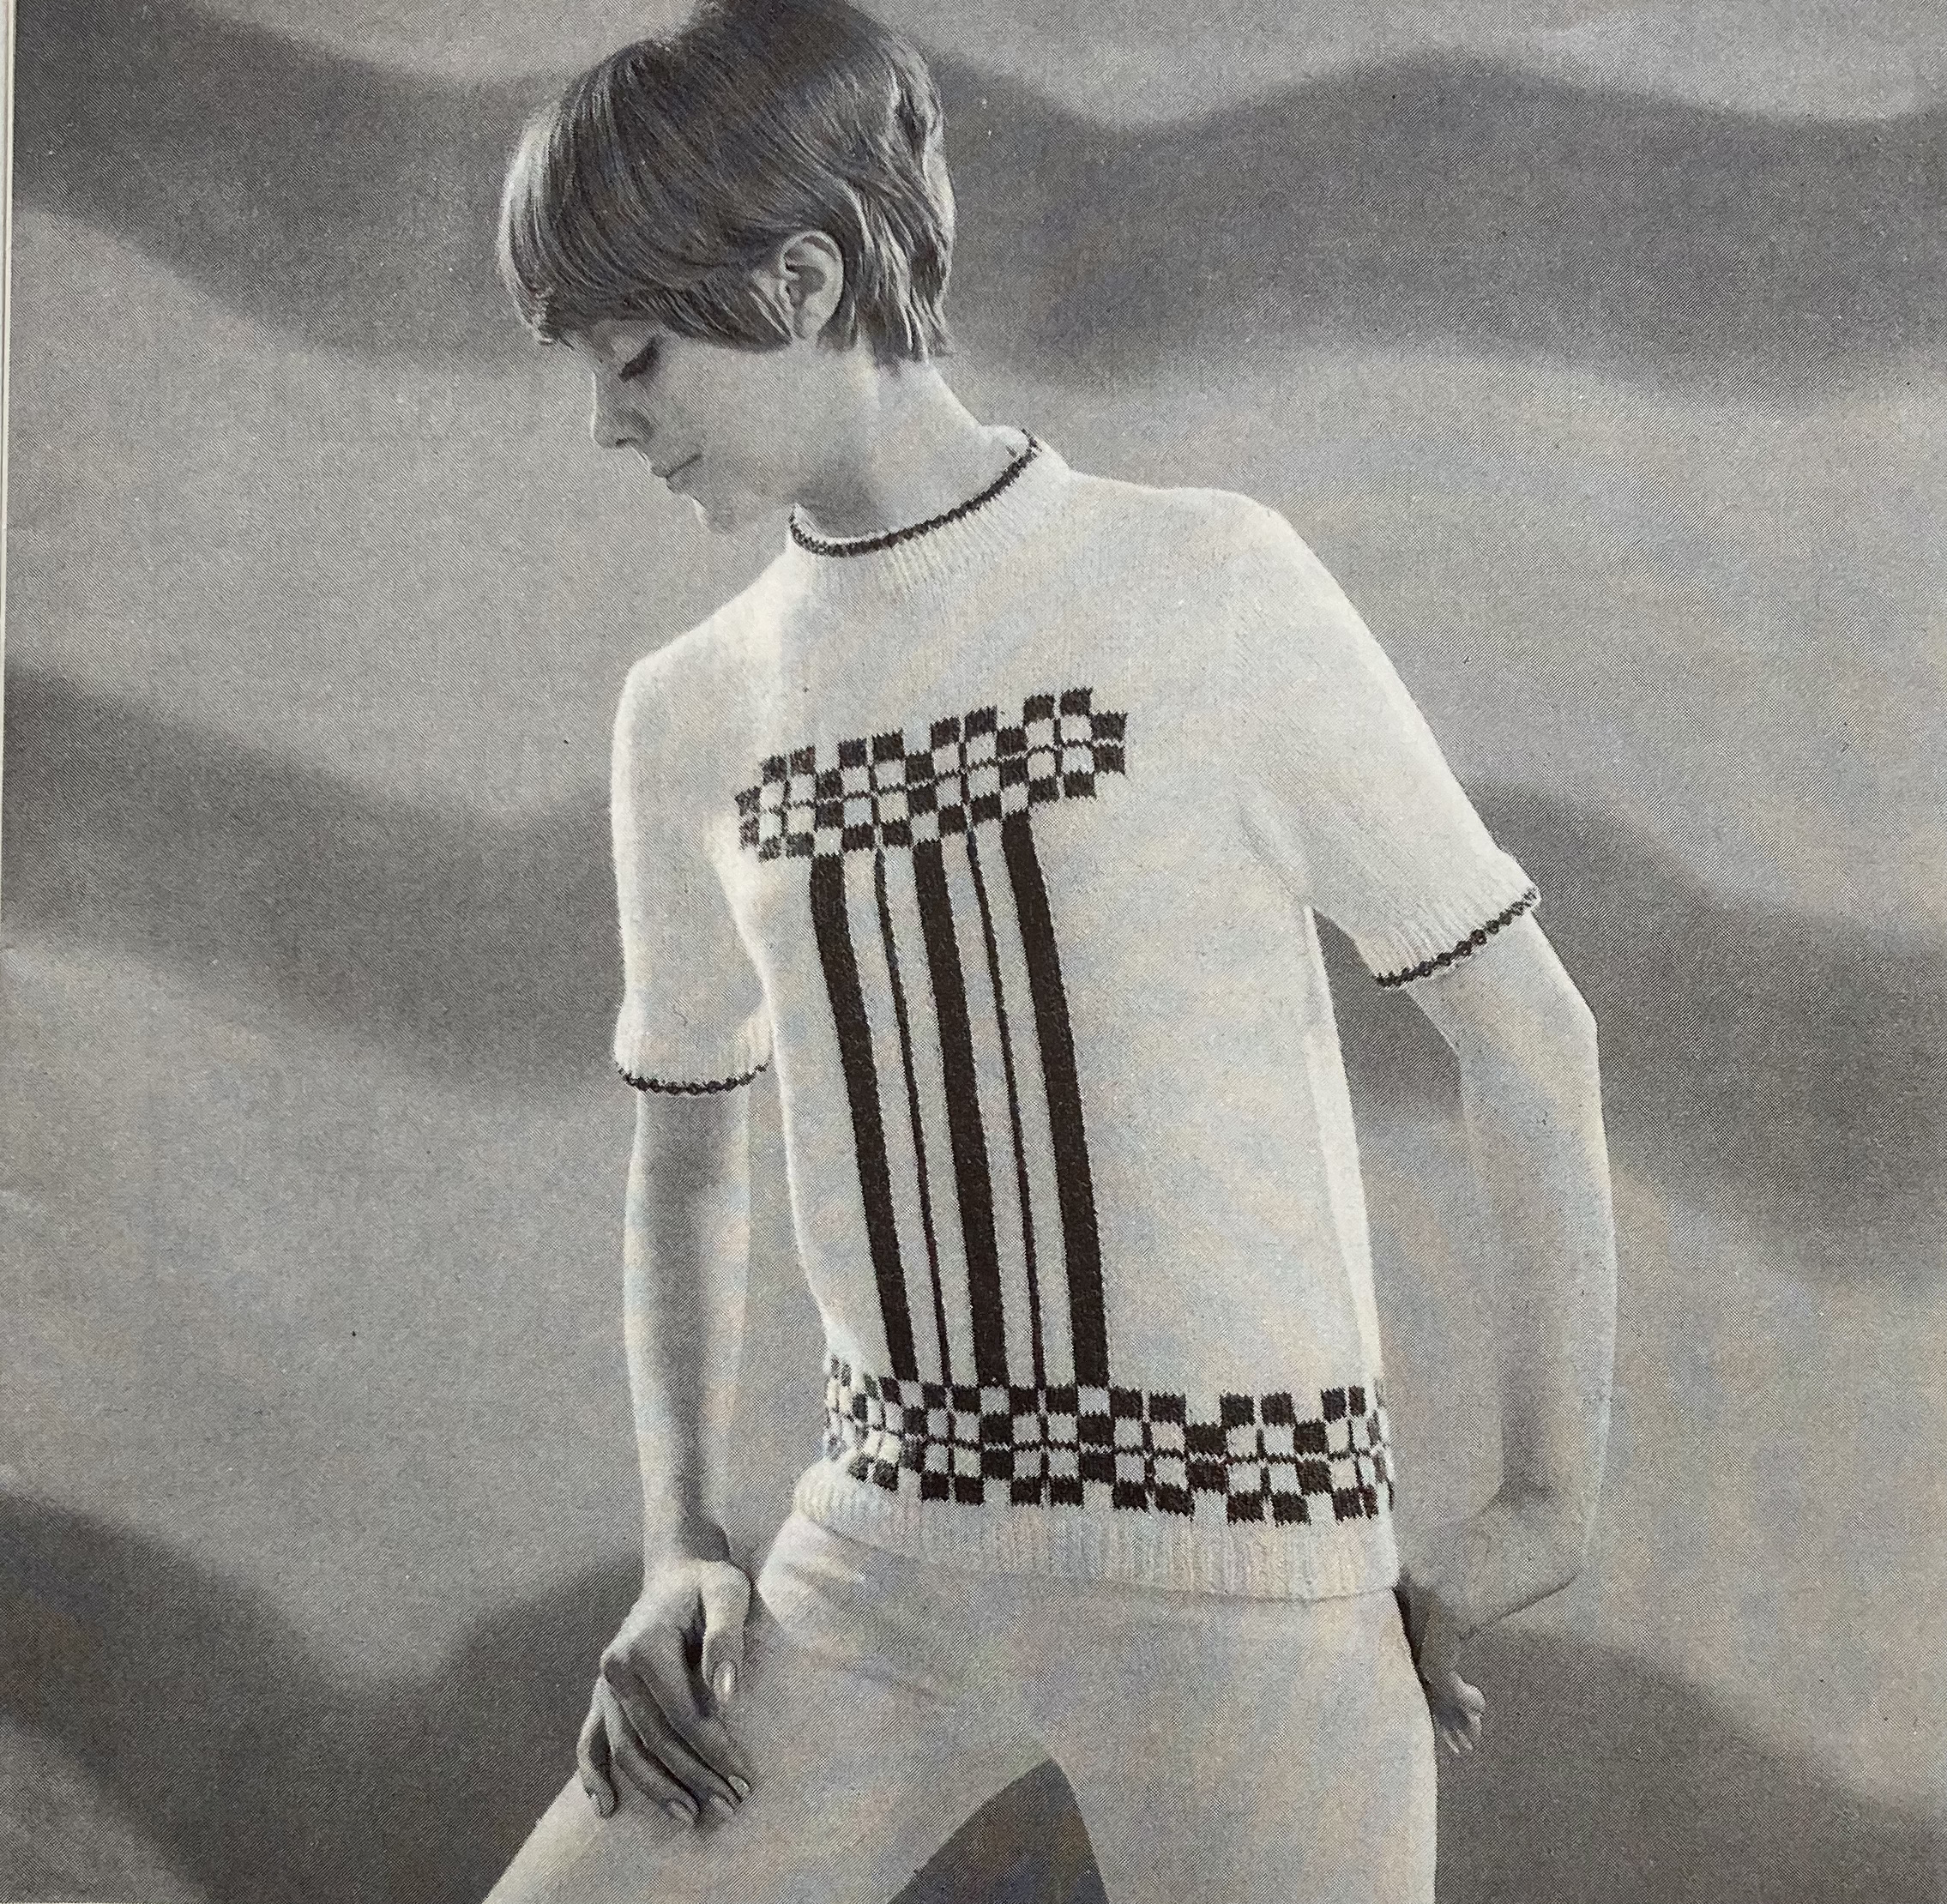
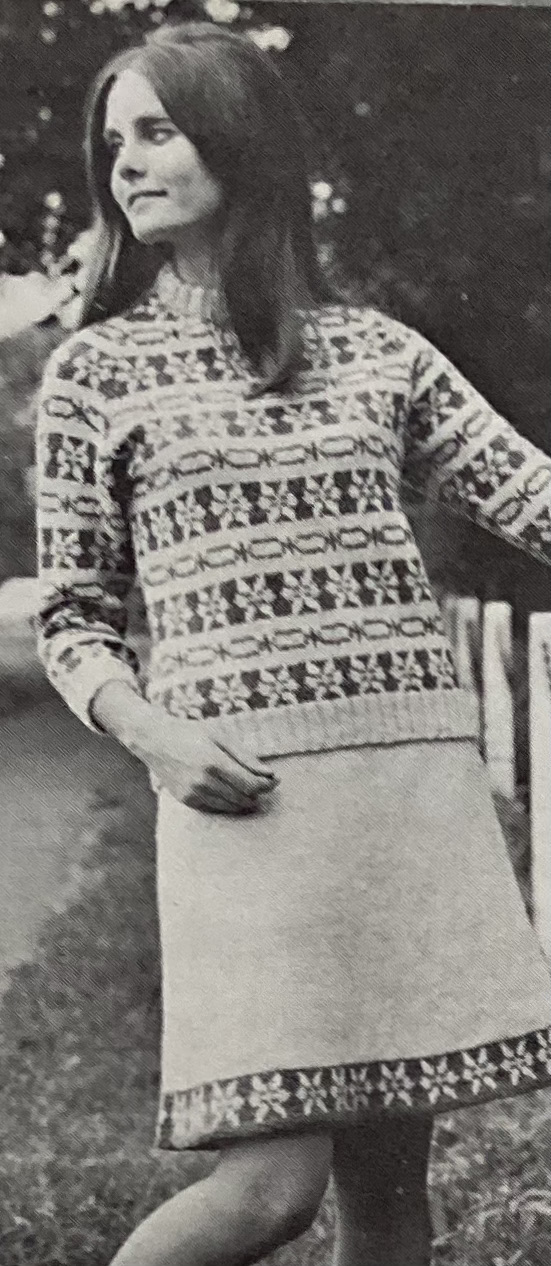
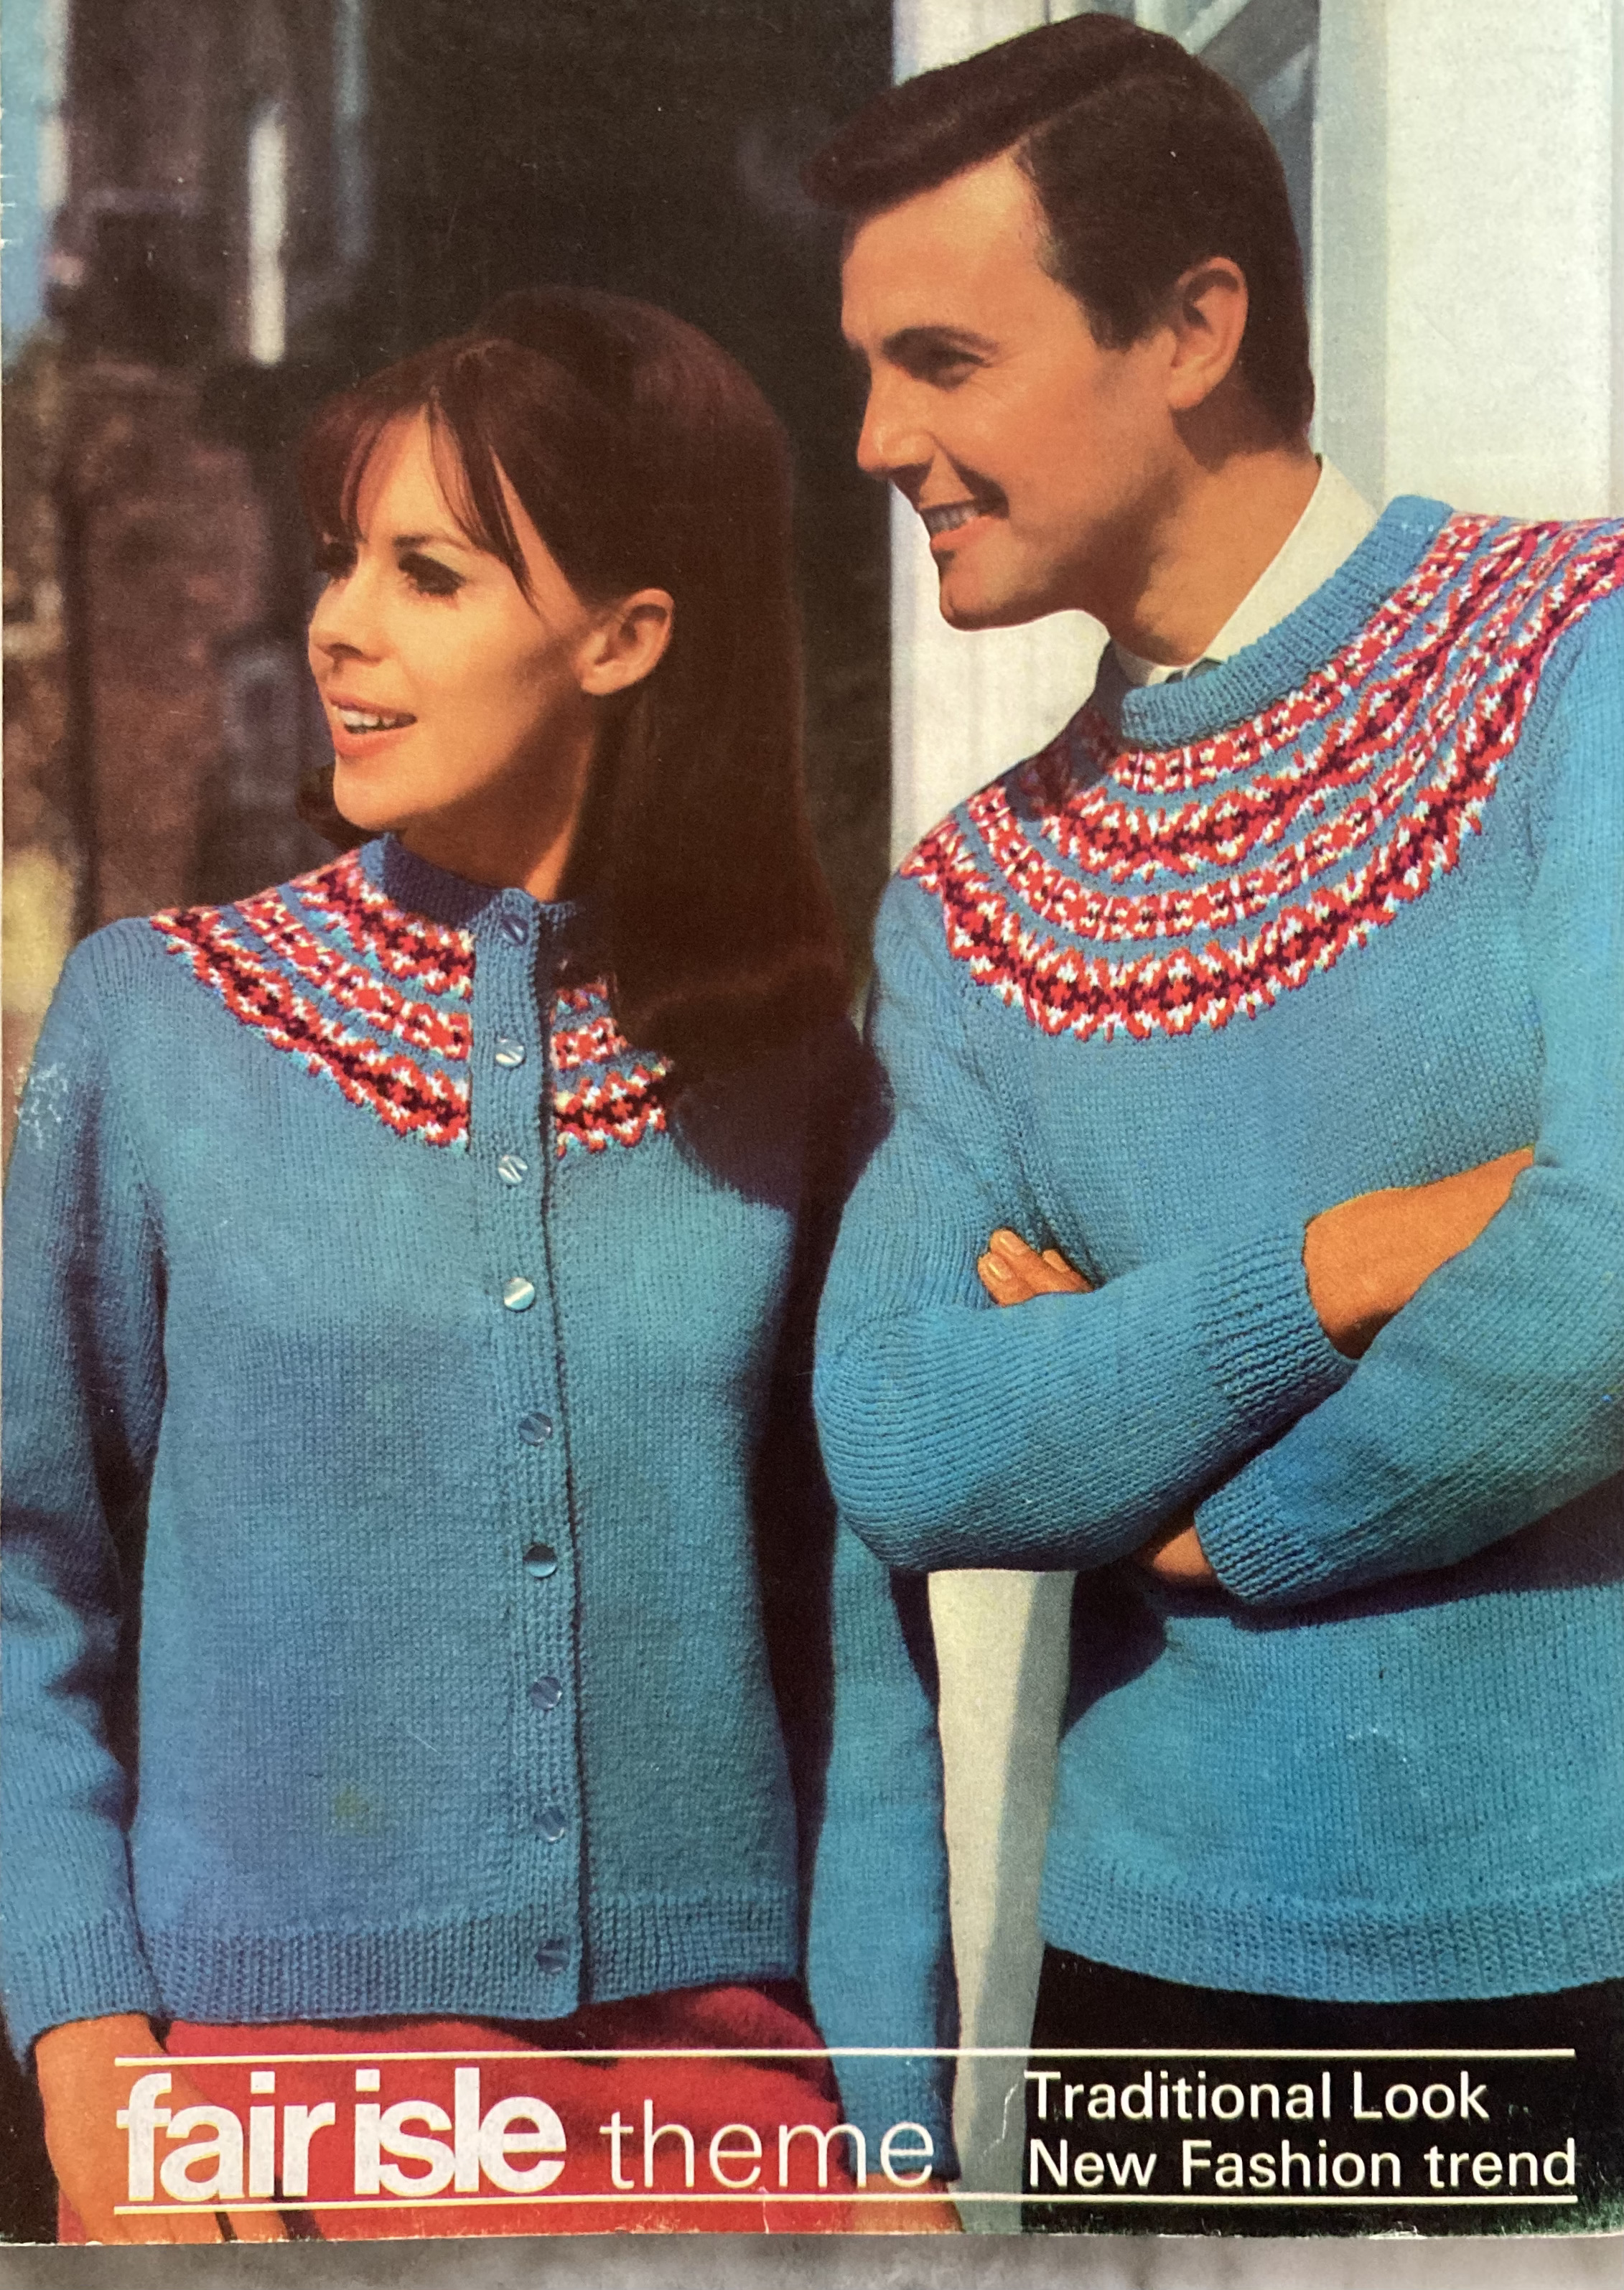
The January 1967 issue features a “fair isle theme” of stranded colourwork, starting with the sweater-suit on the cover. It’s made with Patons “Fiona” wool, a blend of Shetland wool and synthetic. Fiona was also one of the first Patons wools to be sold in 2-oz balls — a precursor to the metric transition in the early 1970s, after which yarn was sold in 50g balls. The sweater has typical Fair Isle border patterns, of which the flower pattern is repeated near the skirt hem. There’s a his- (pullover) and-hers (round-yoke cardigan) Fair Isle set as well, also in “Fiona” wool. The knitting techniques are not at all traditional Shetland-style, as all the garments are knitted flat, back-and-forth in pieces and sewn together. Even the round yoke is only picked up after the front(s), back and sleeves are made separately and worked flat for a few inches above the armholes.

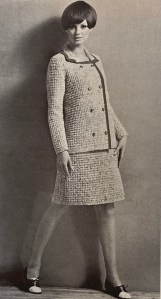
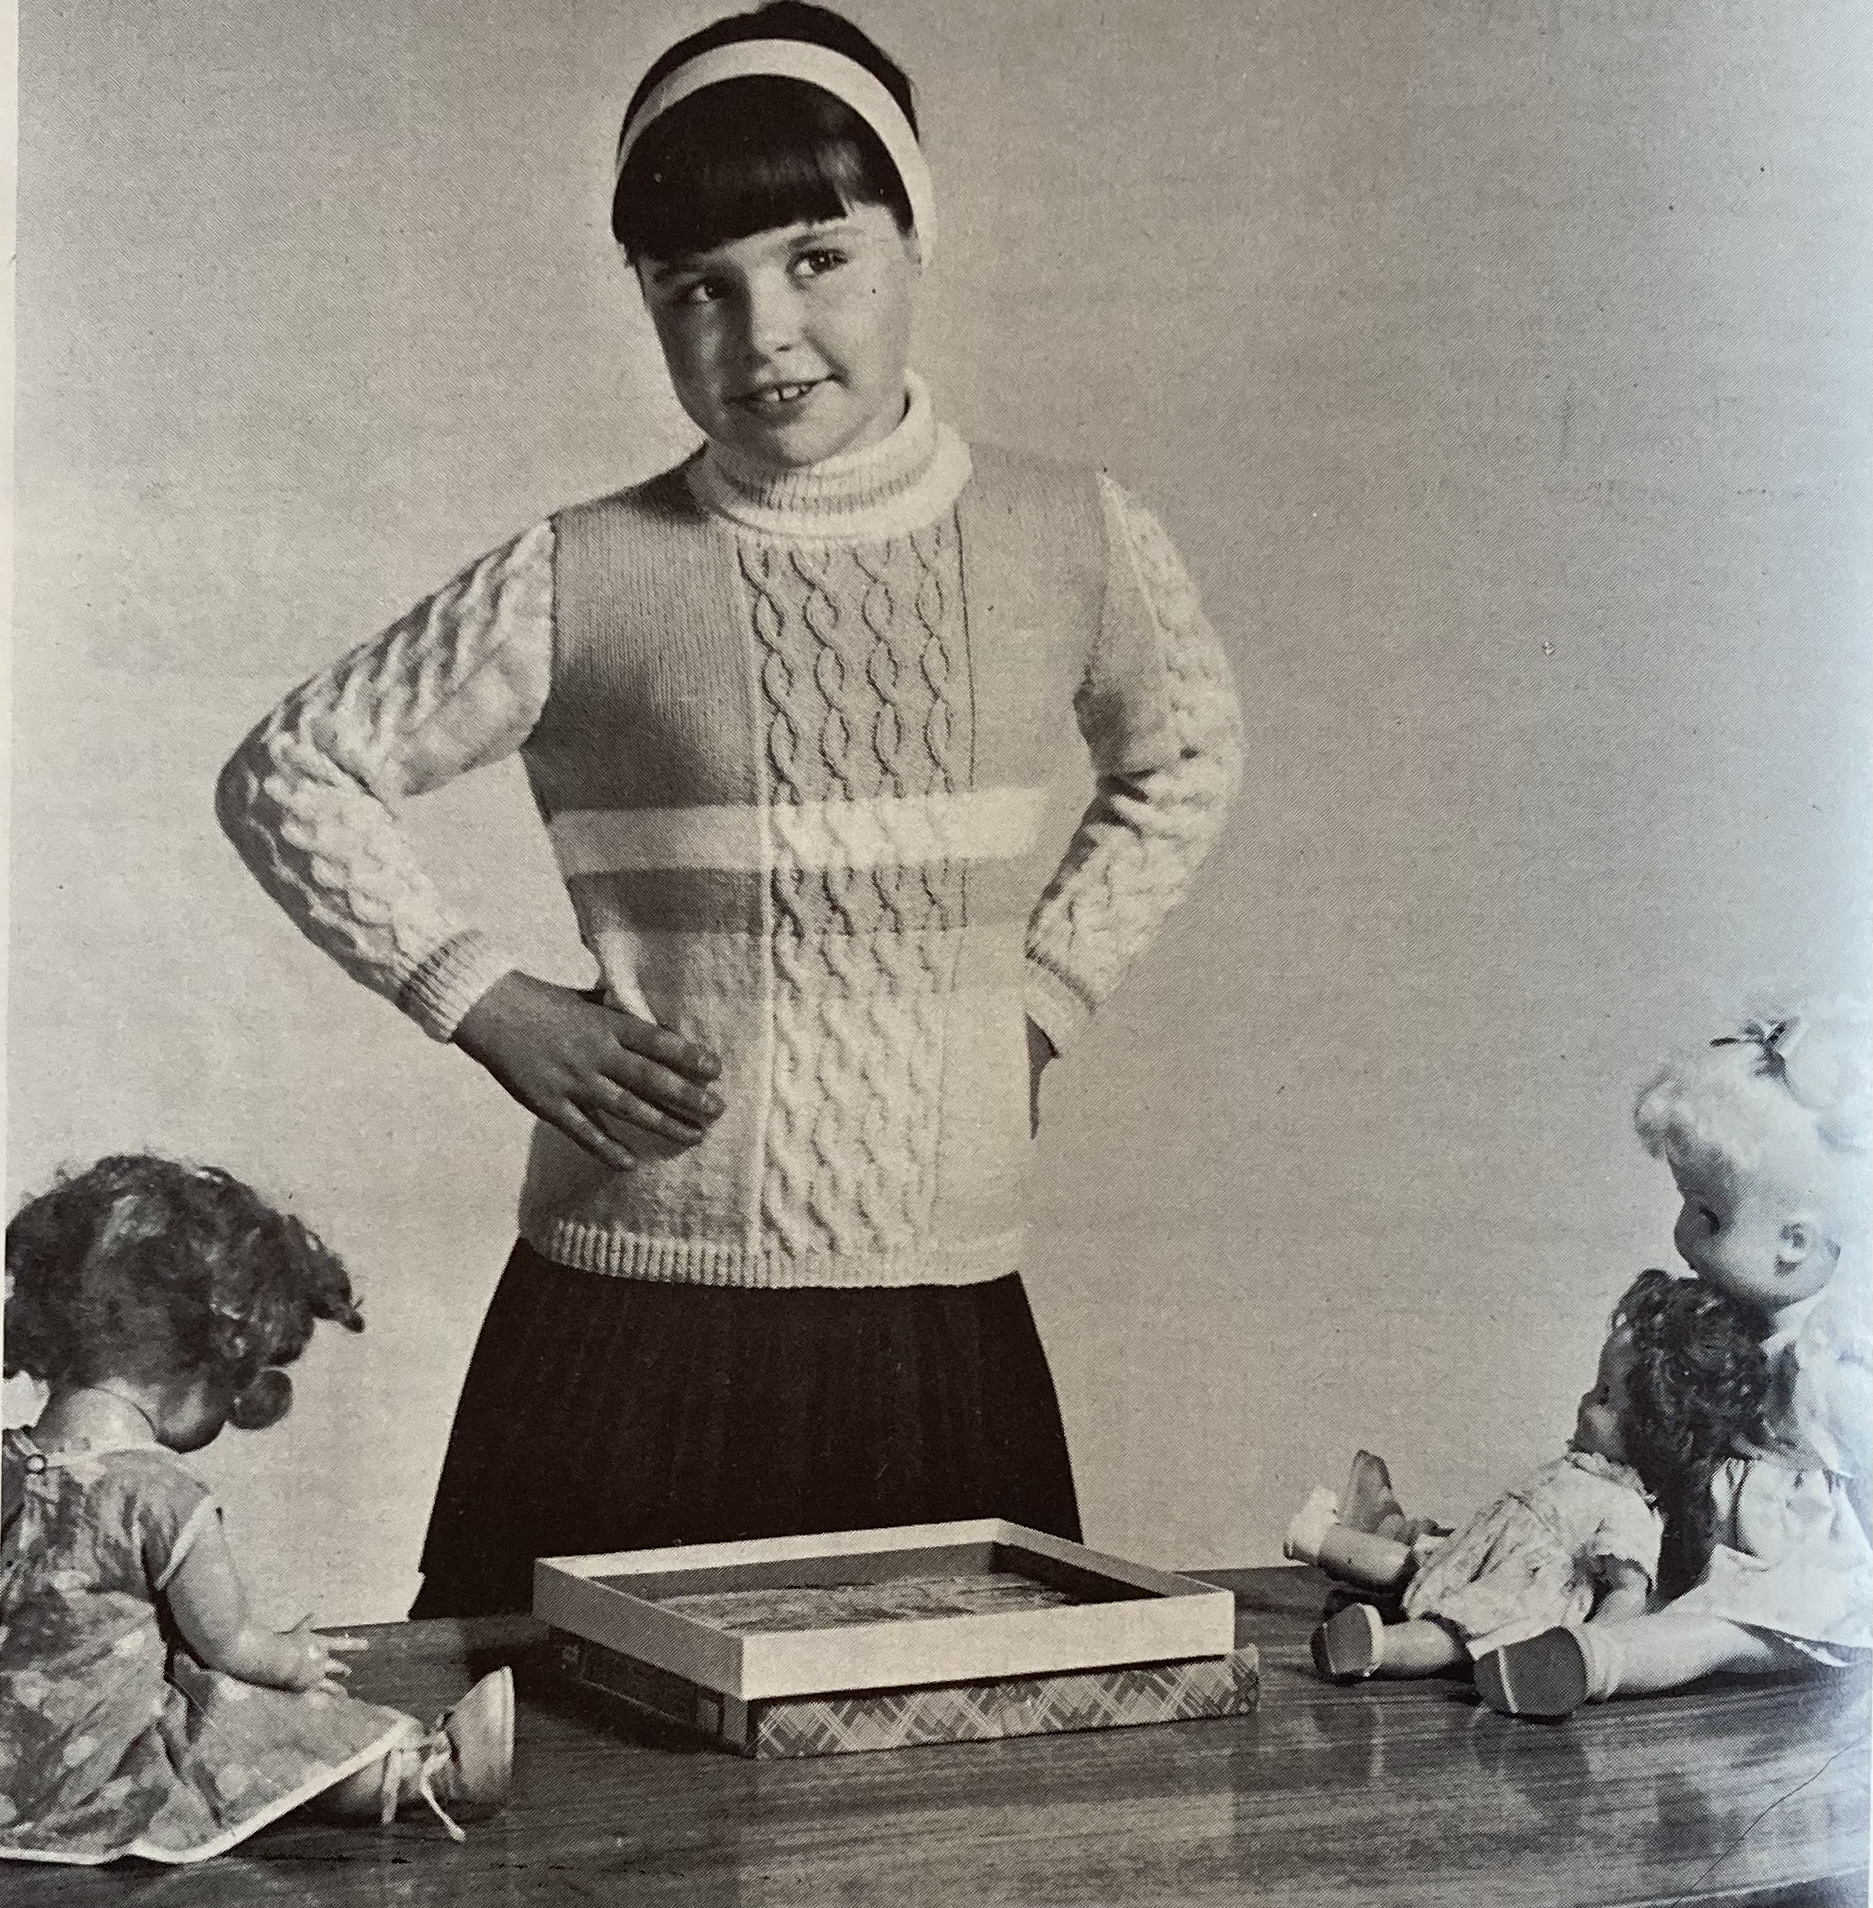
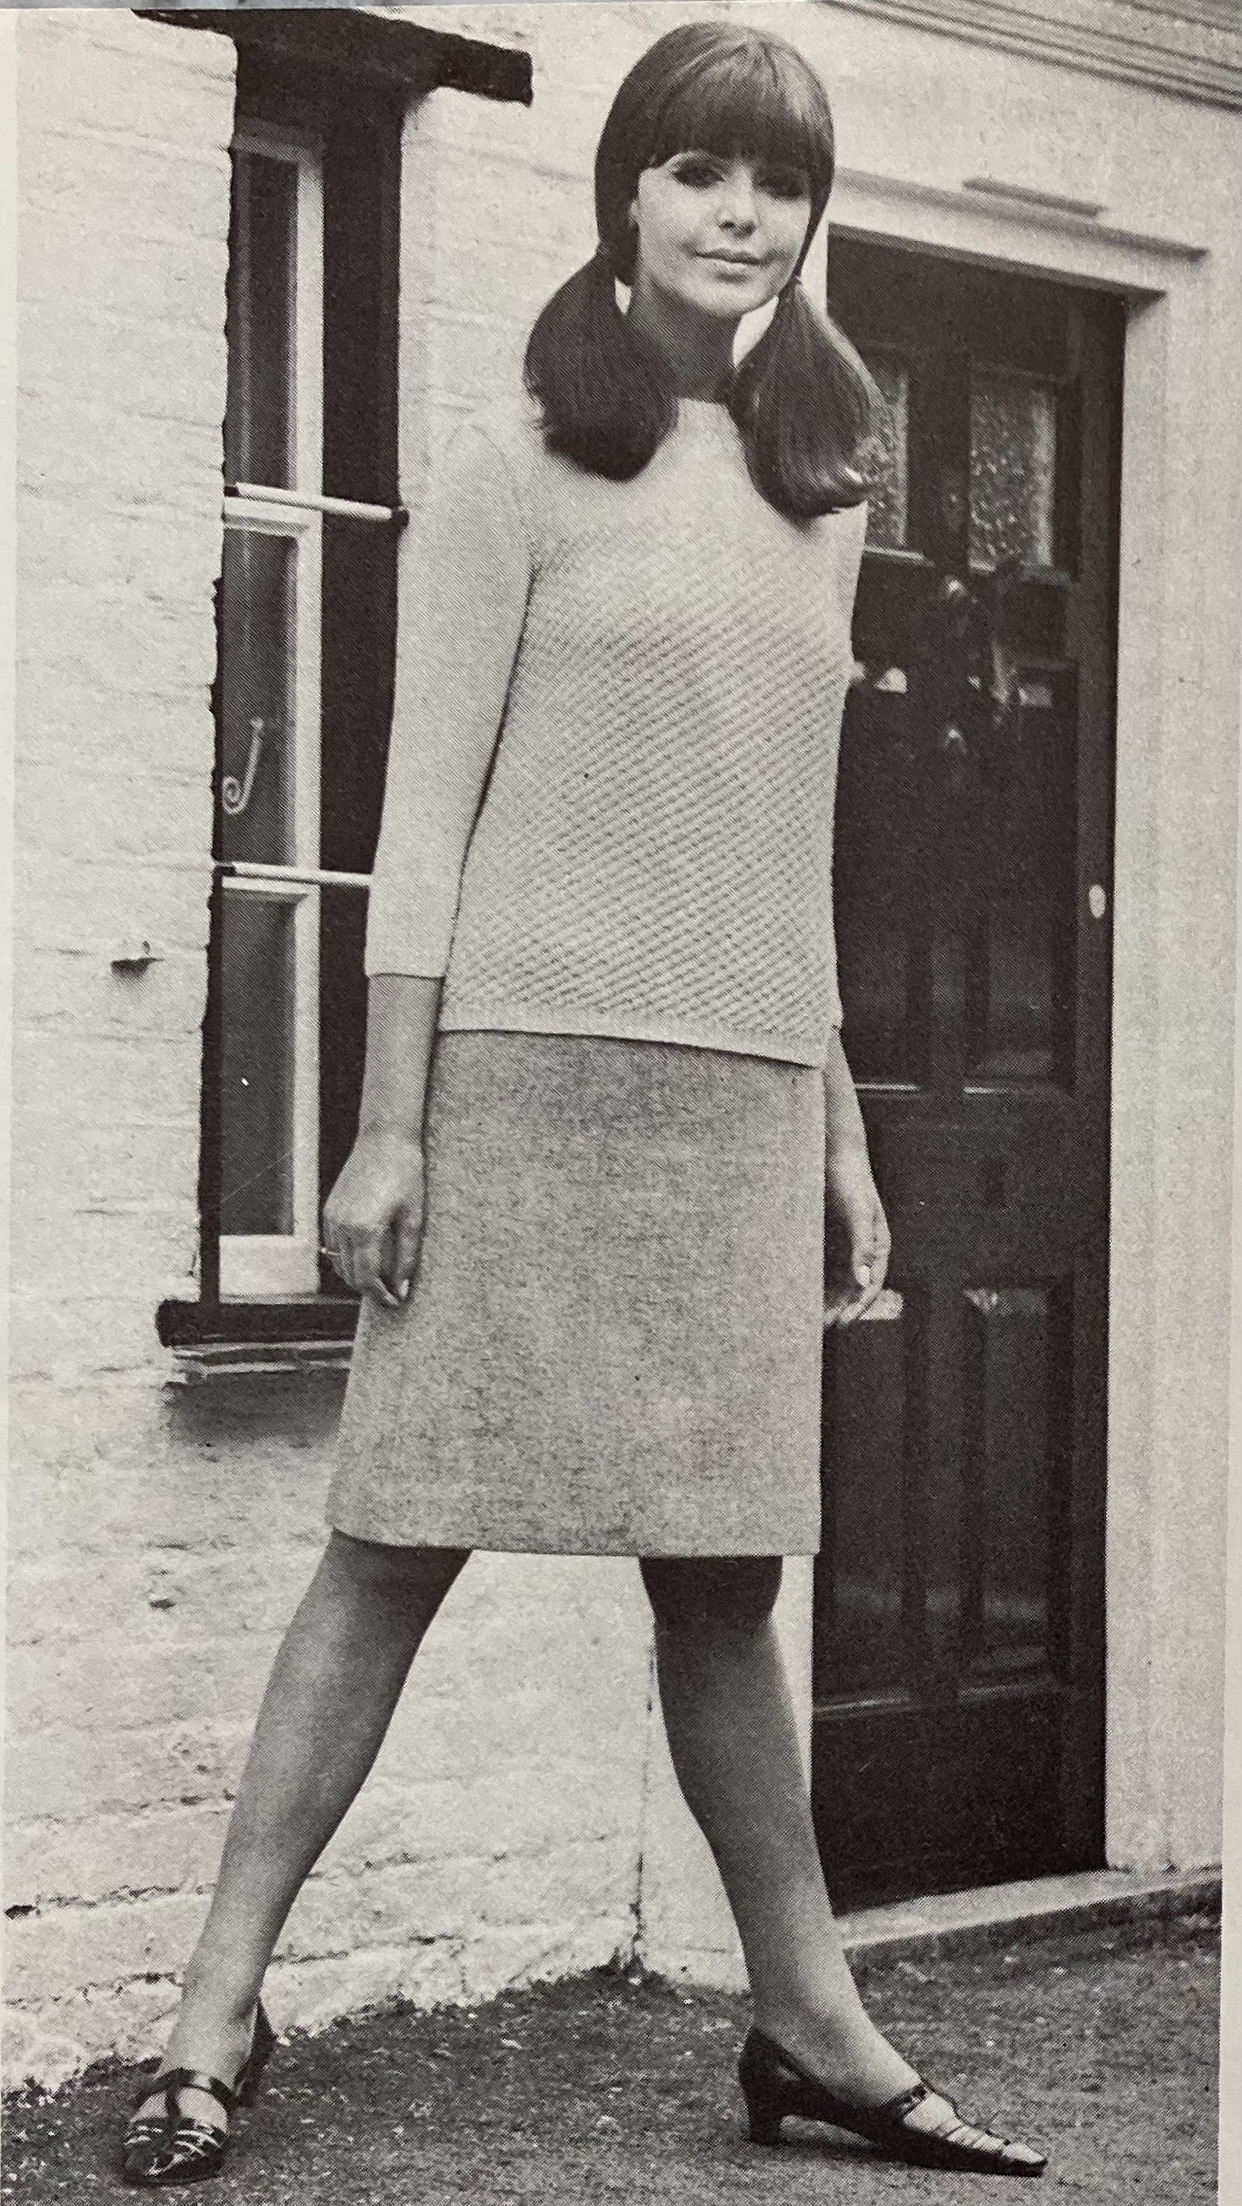
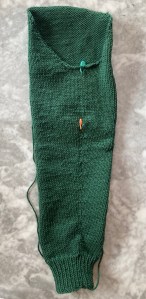
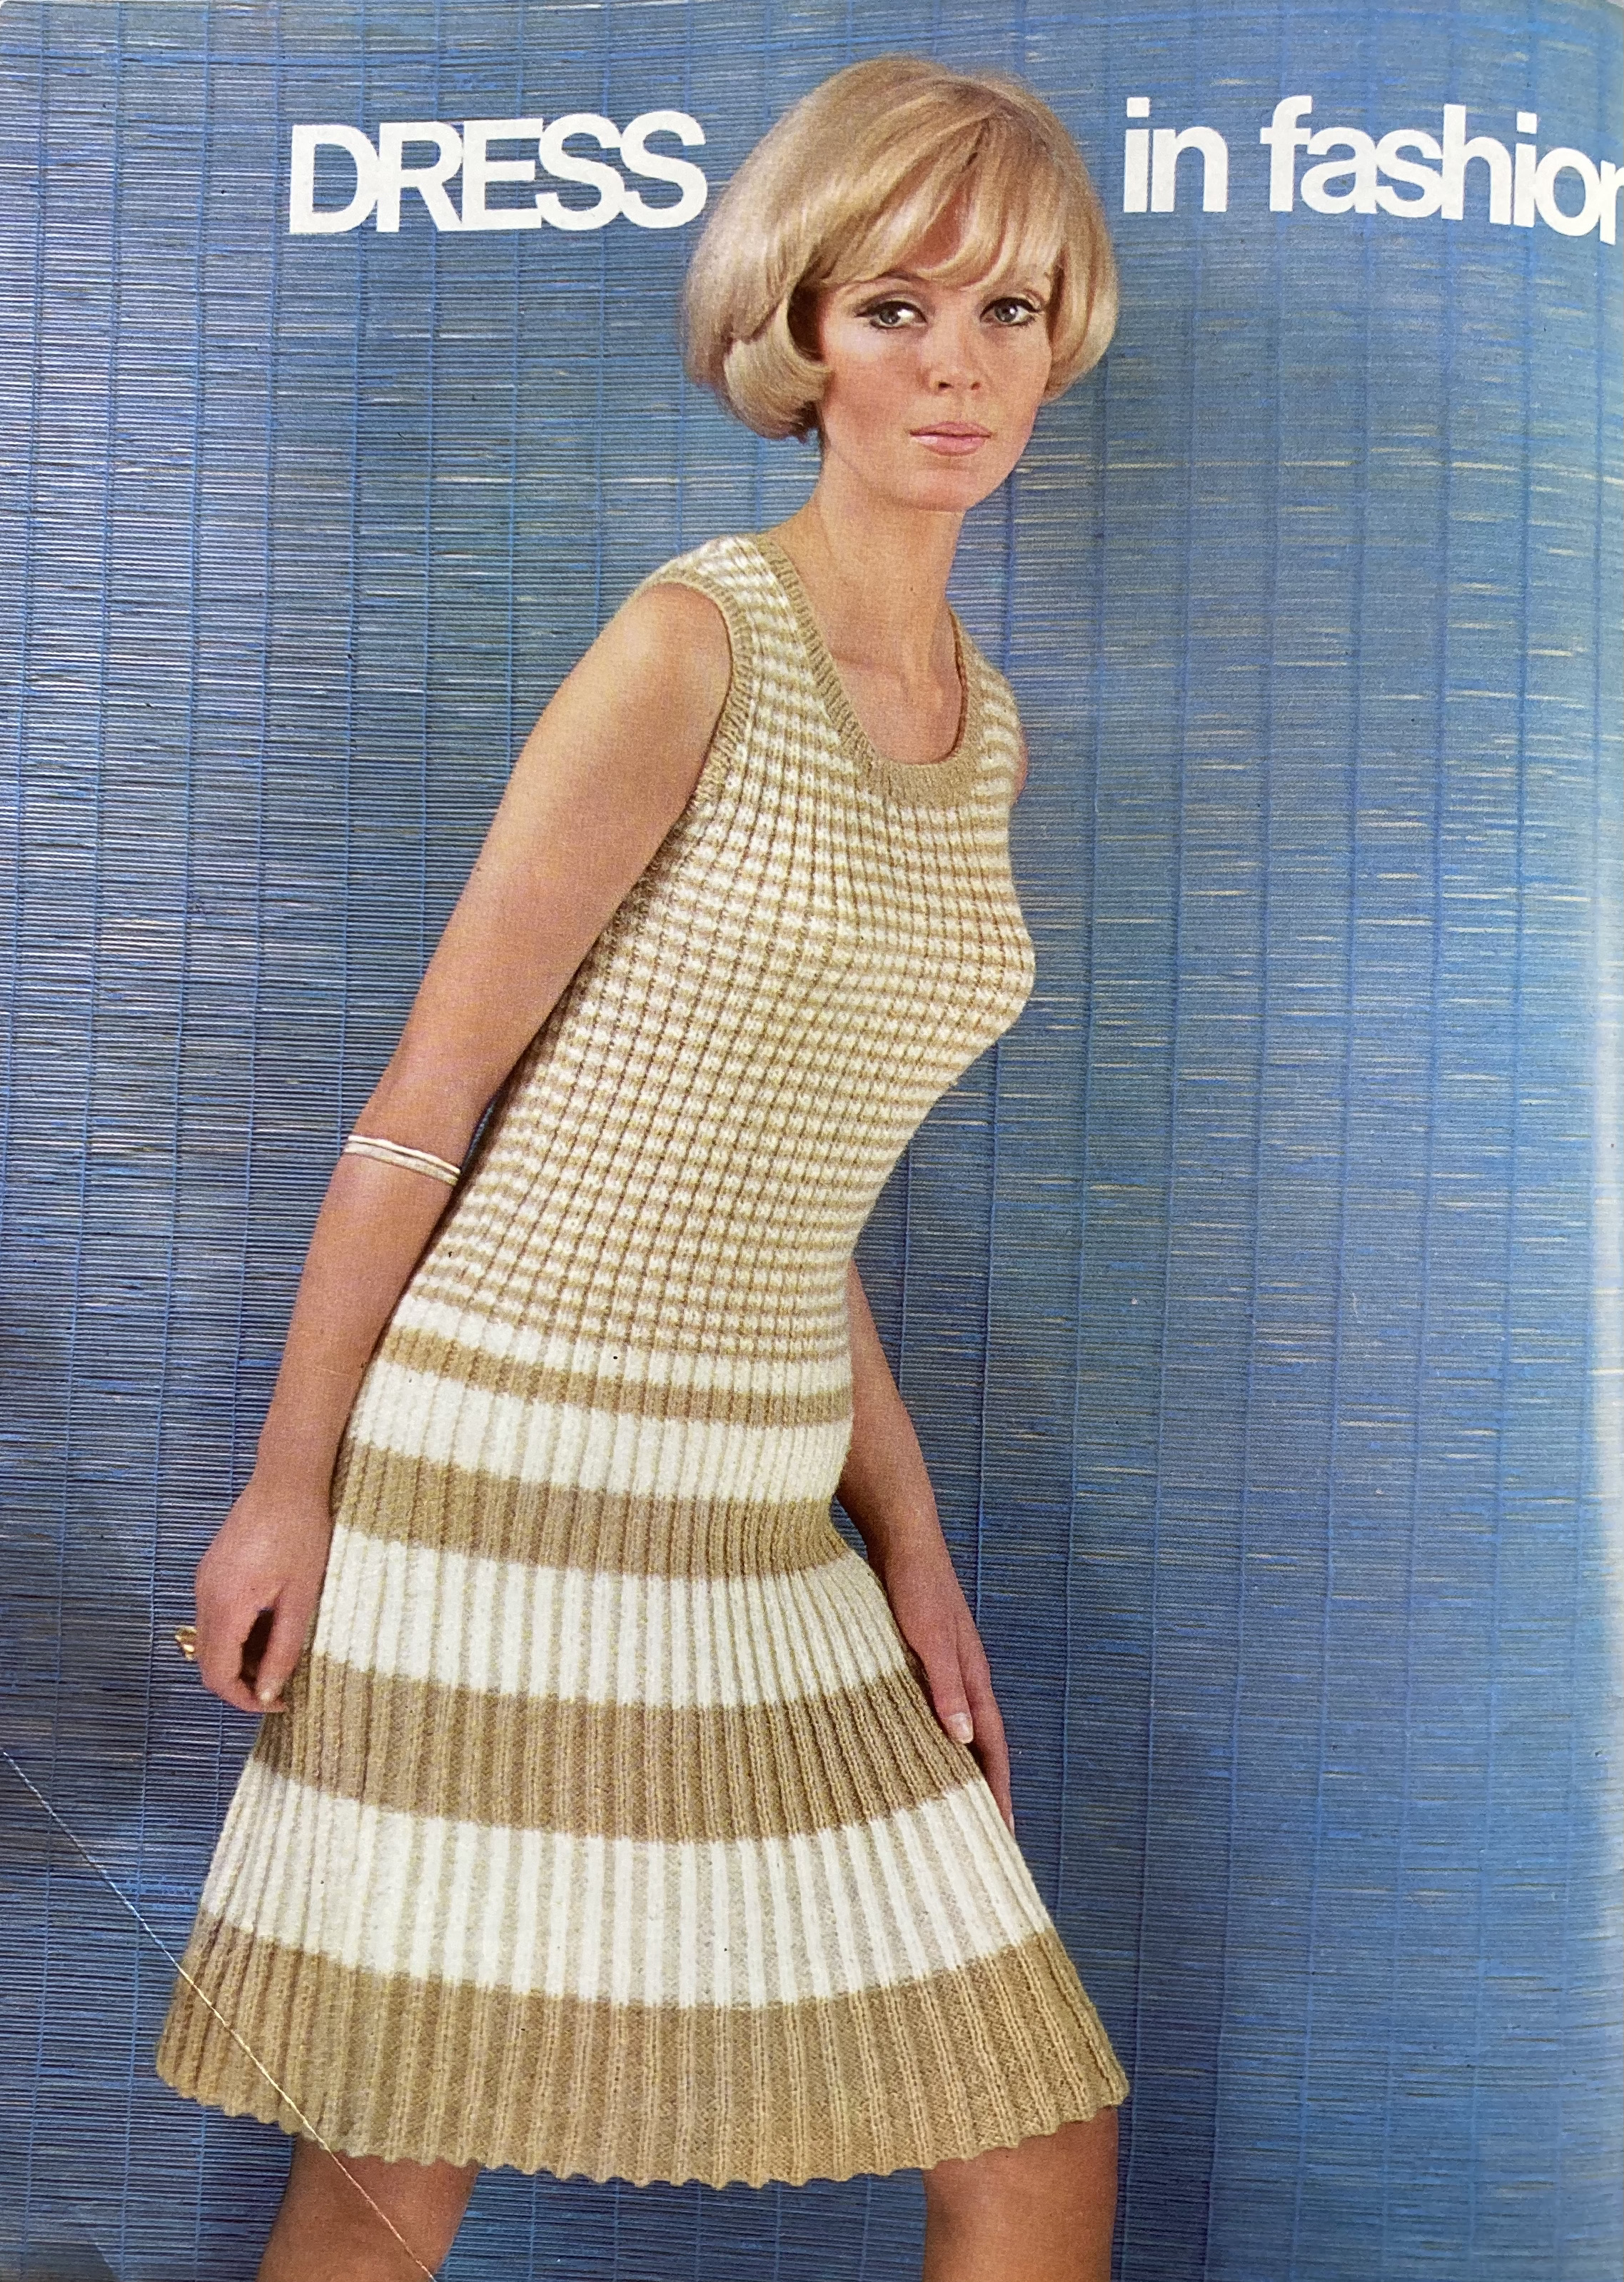
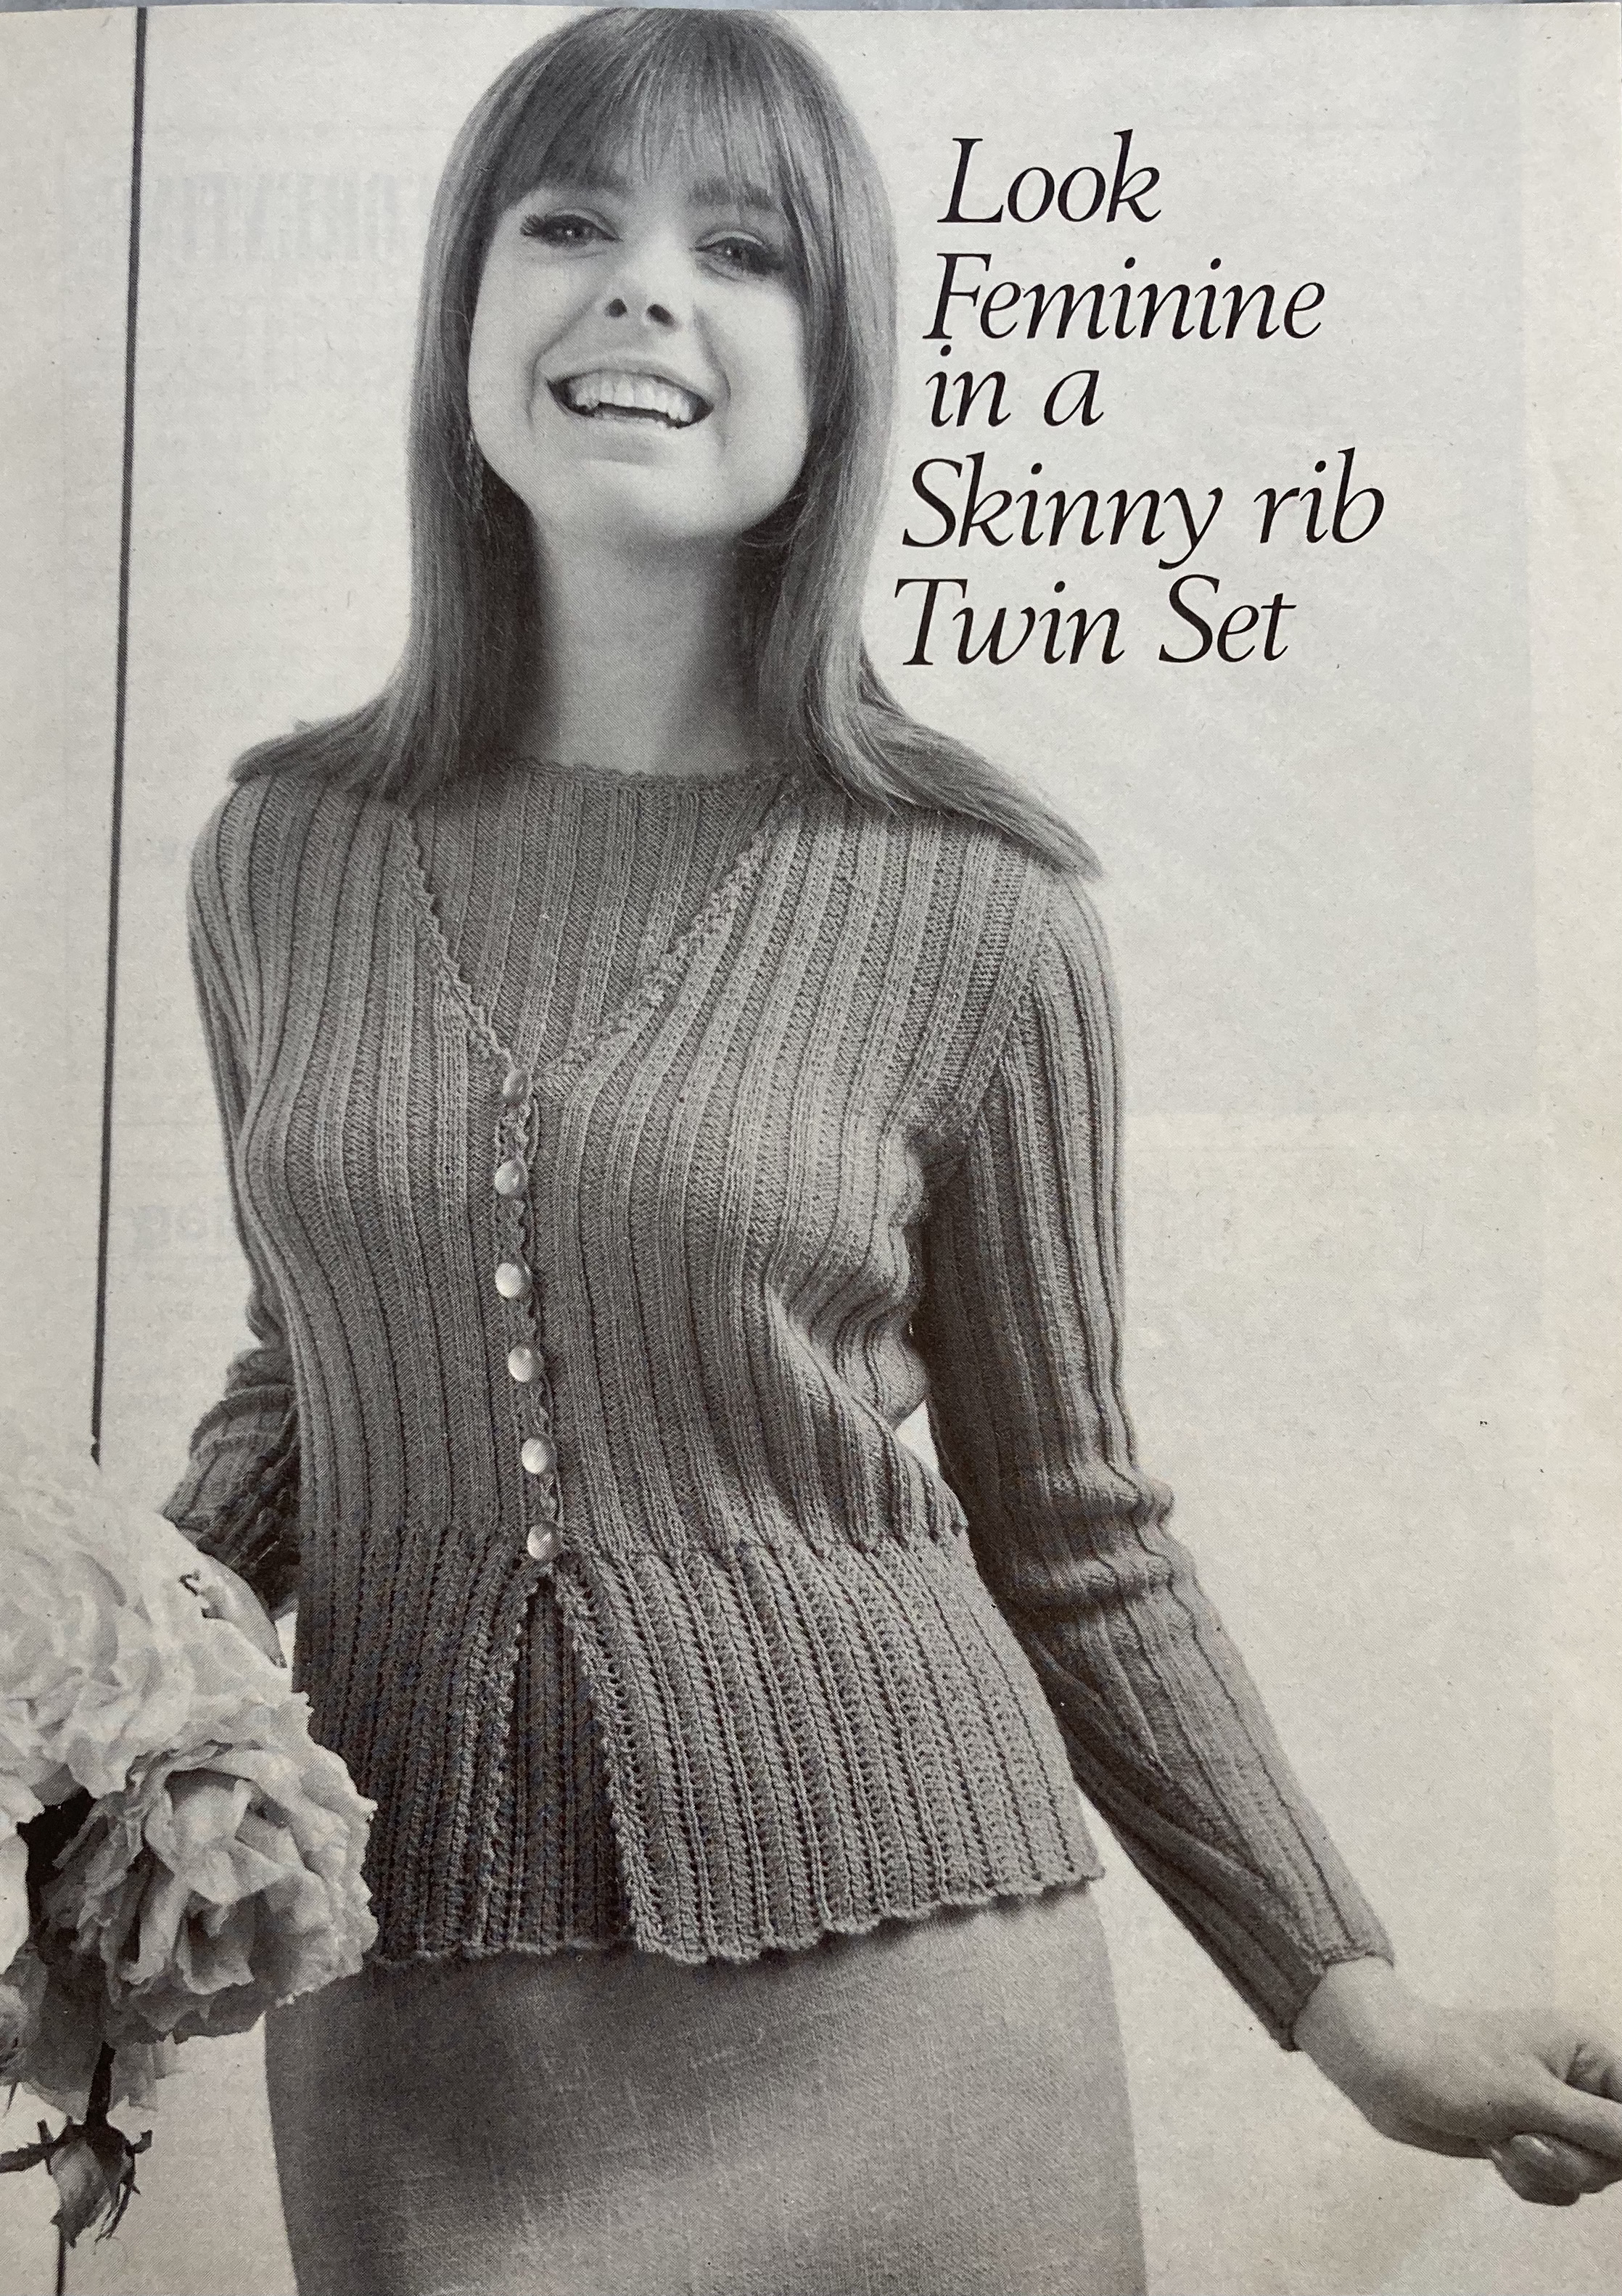
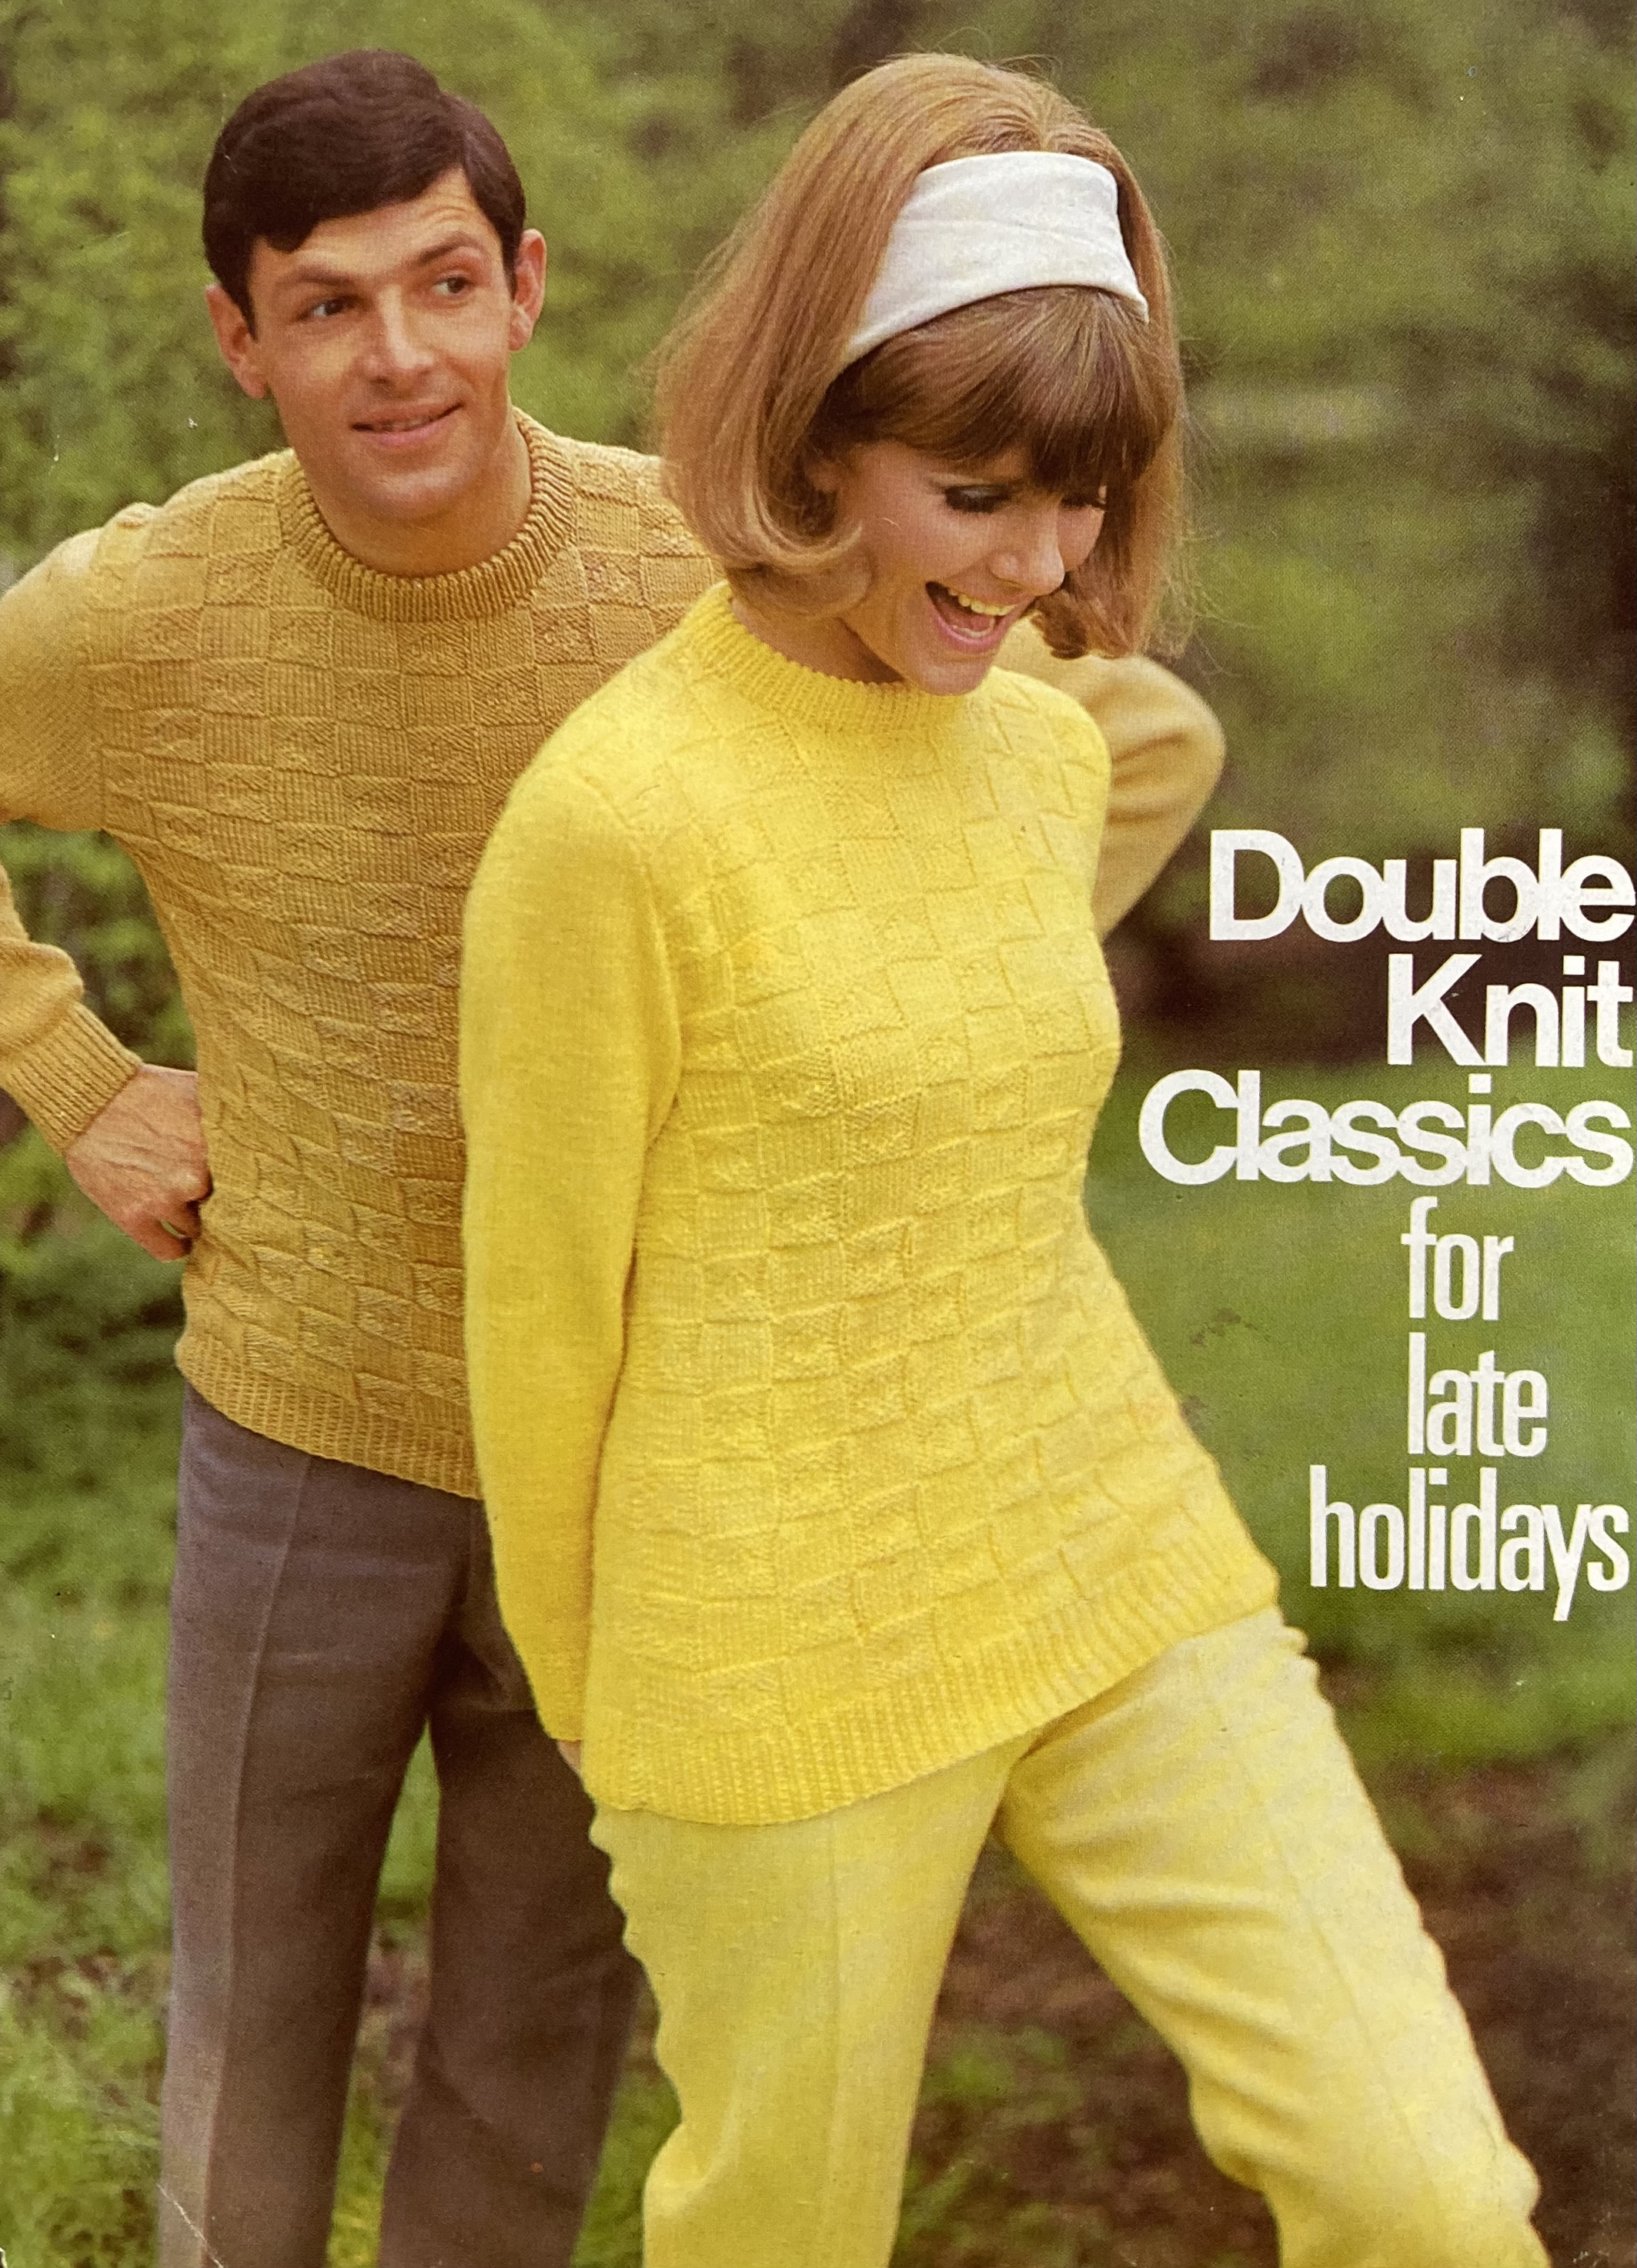
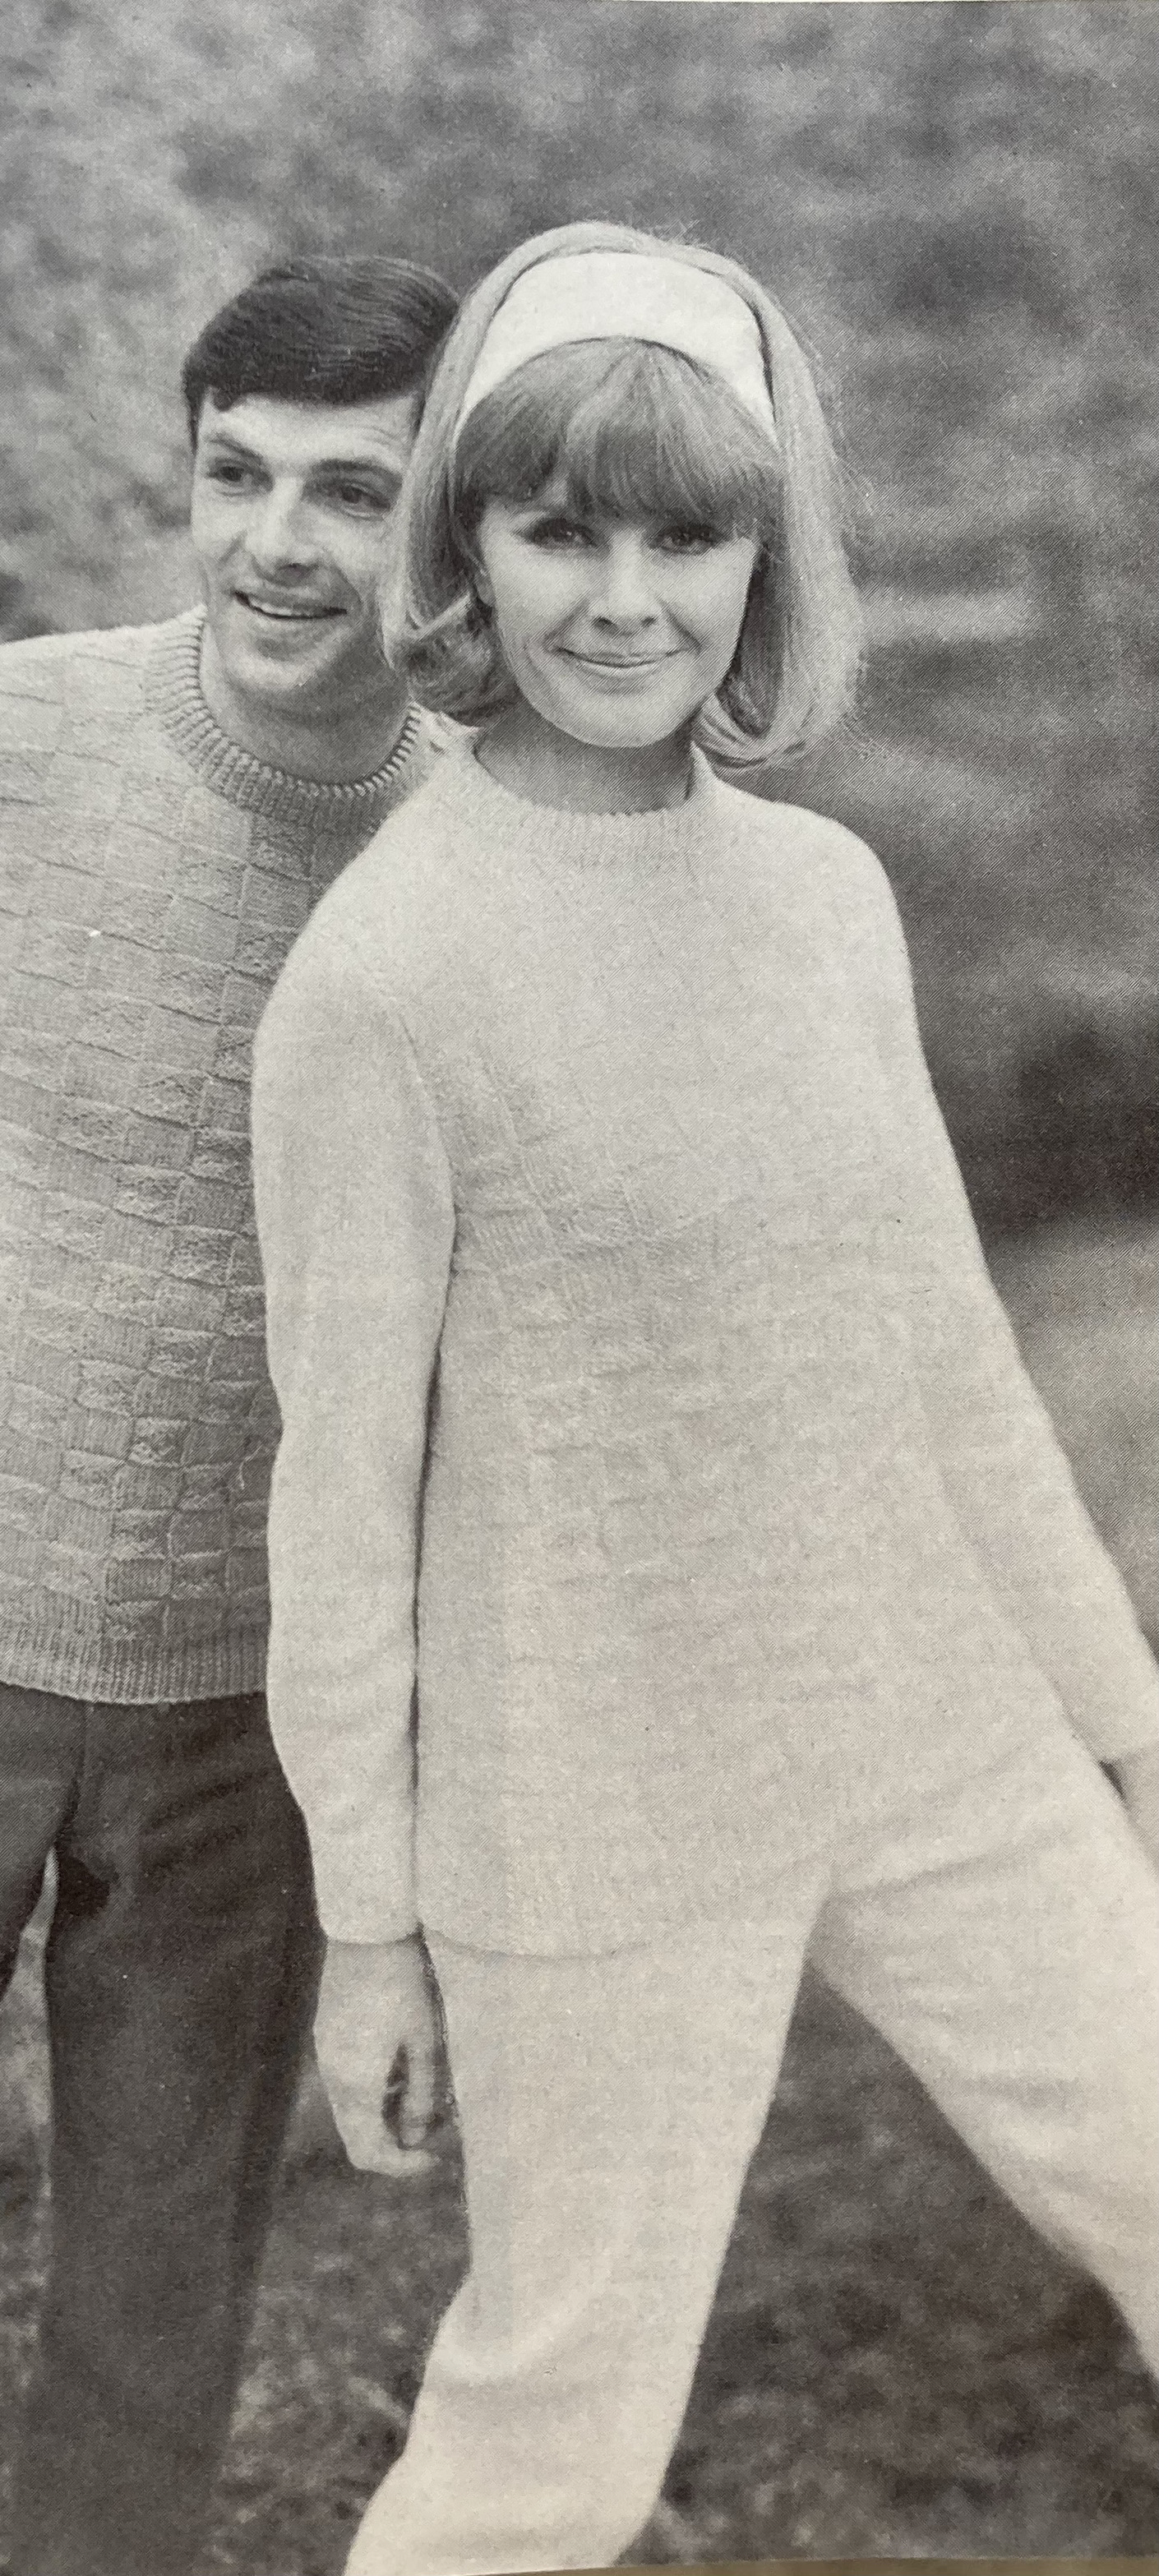
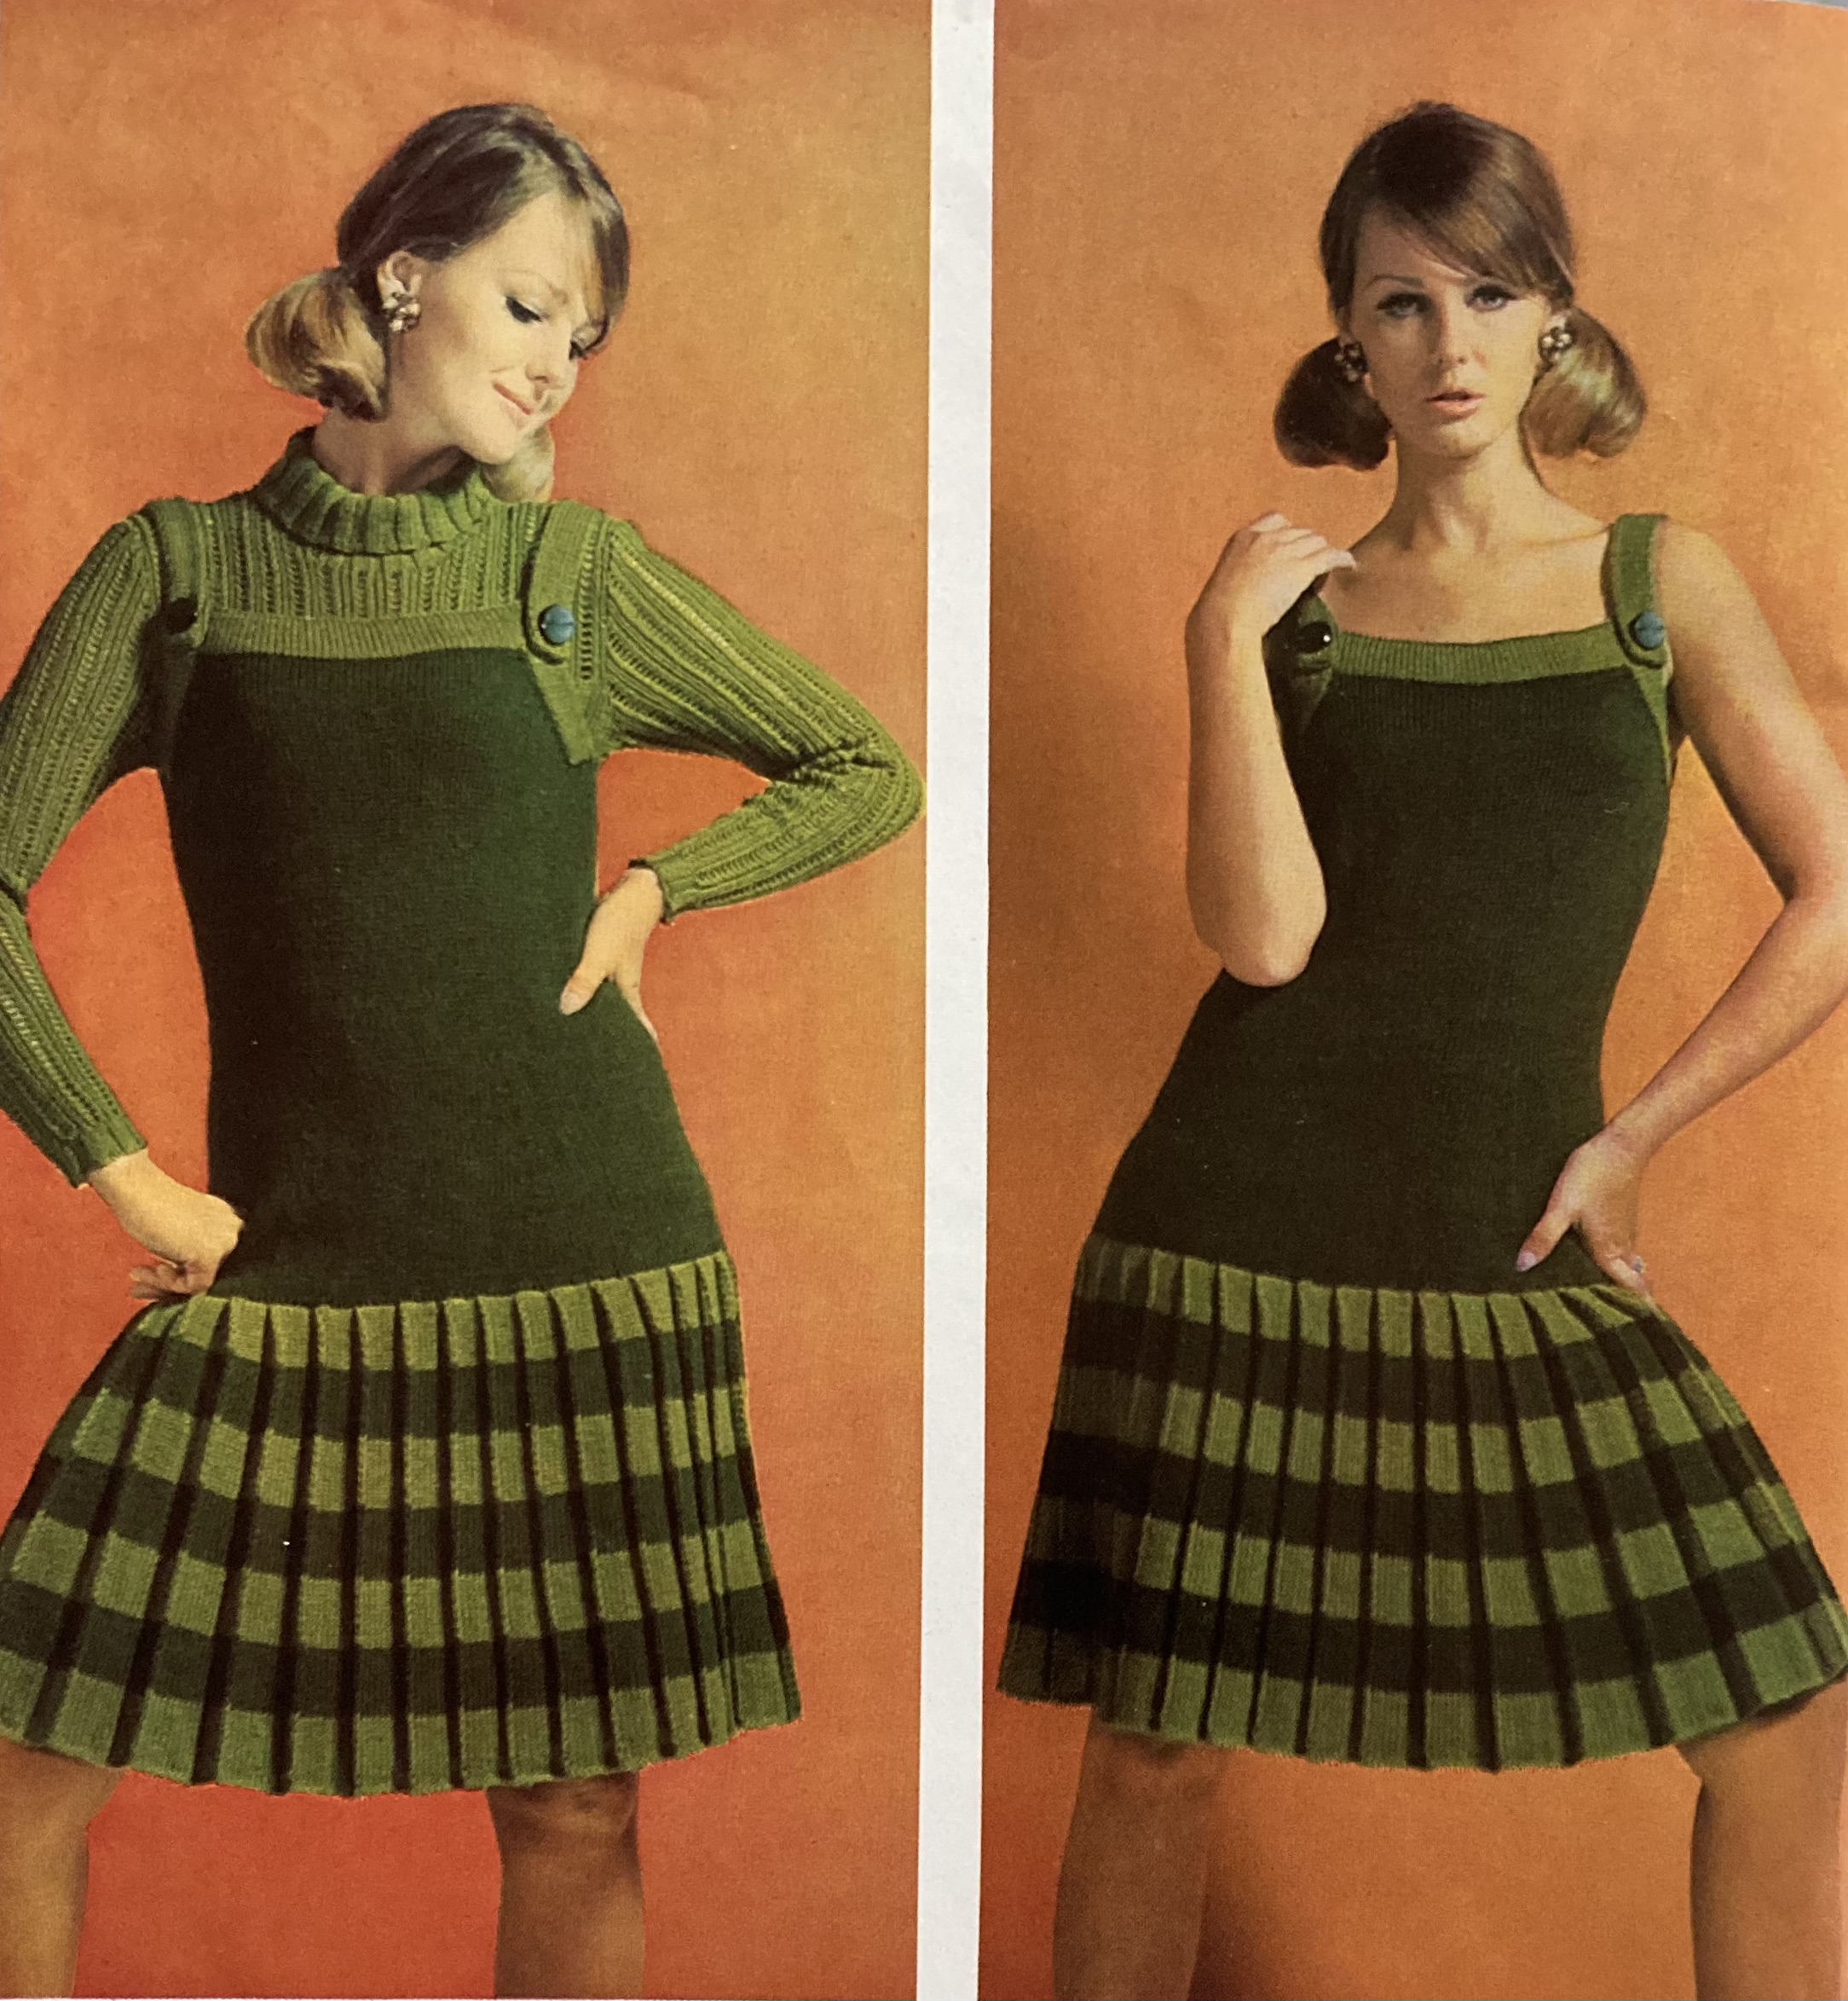
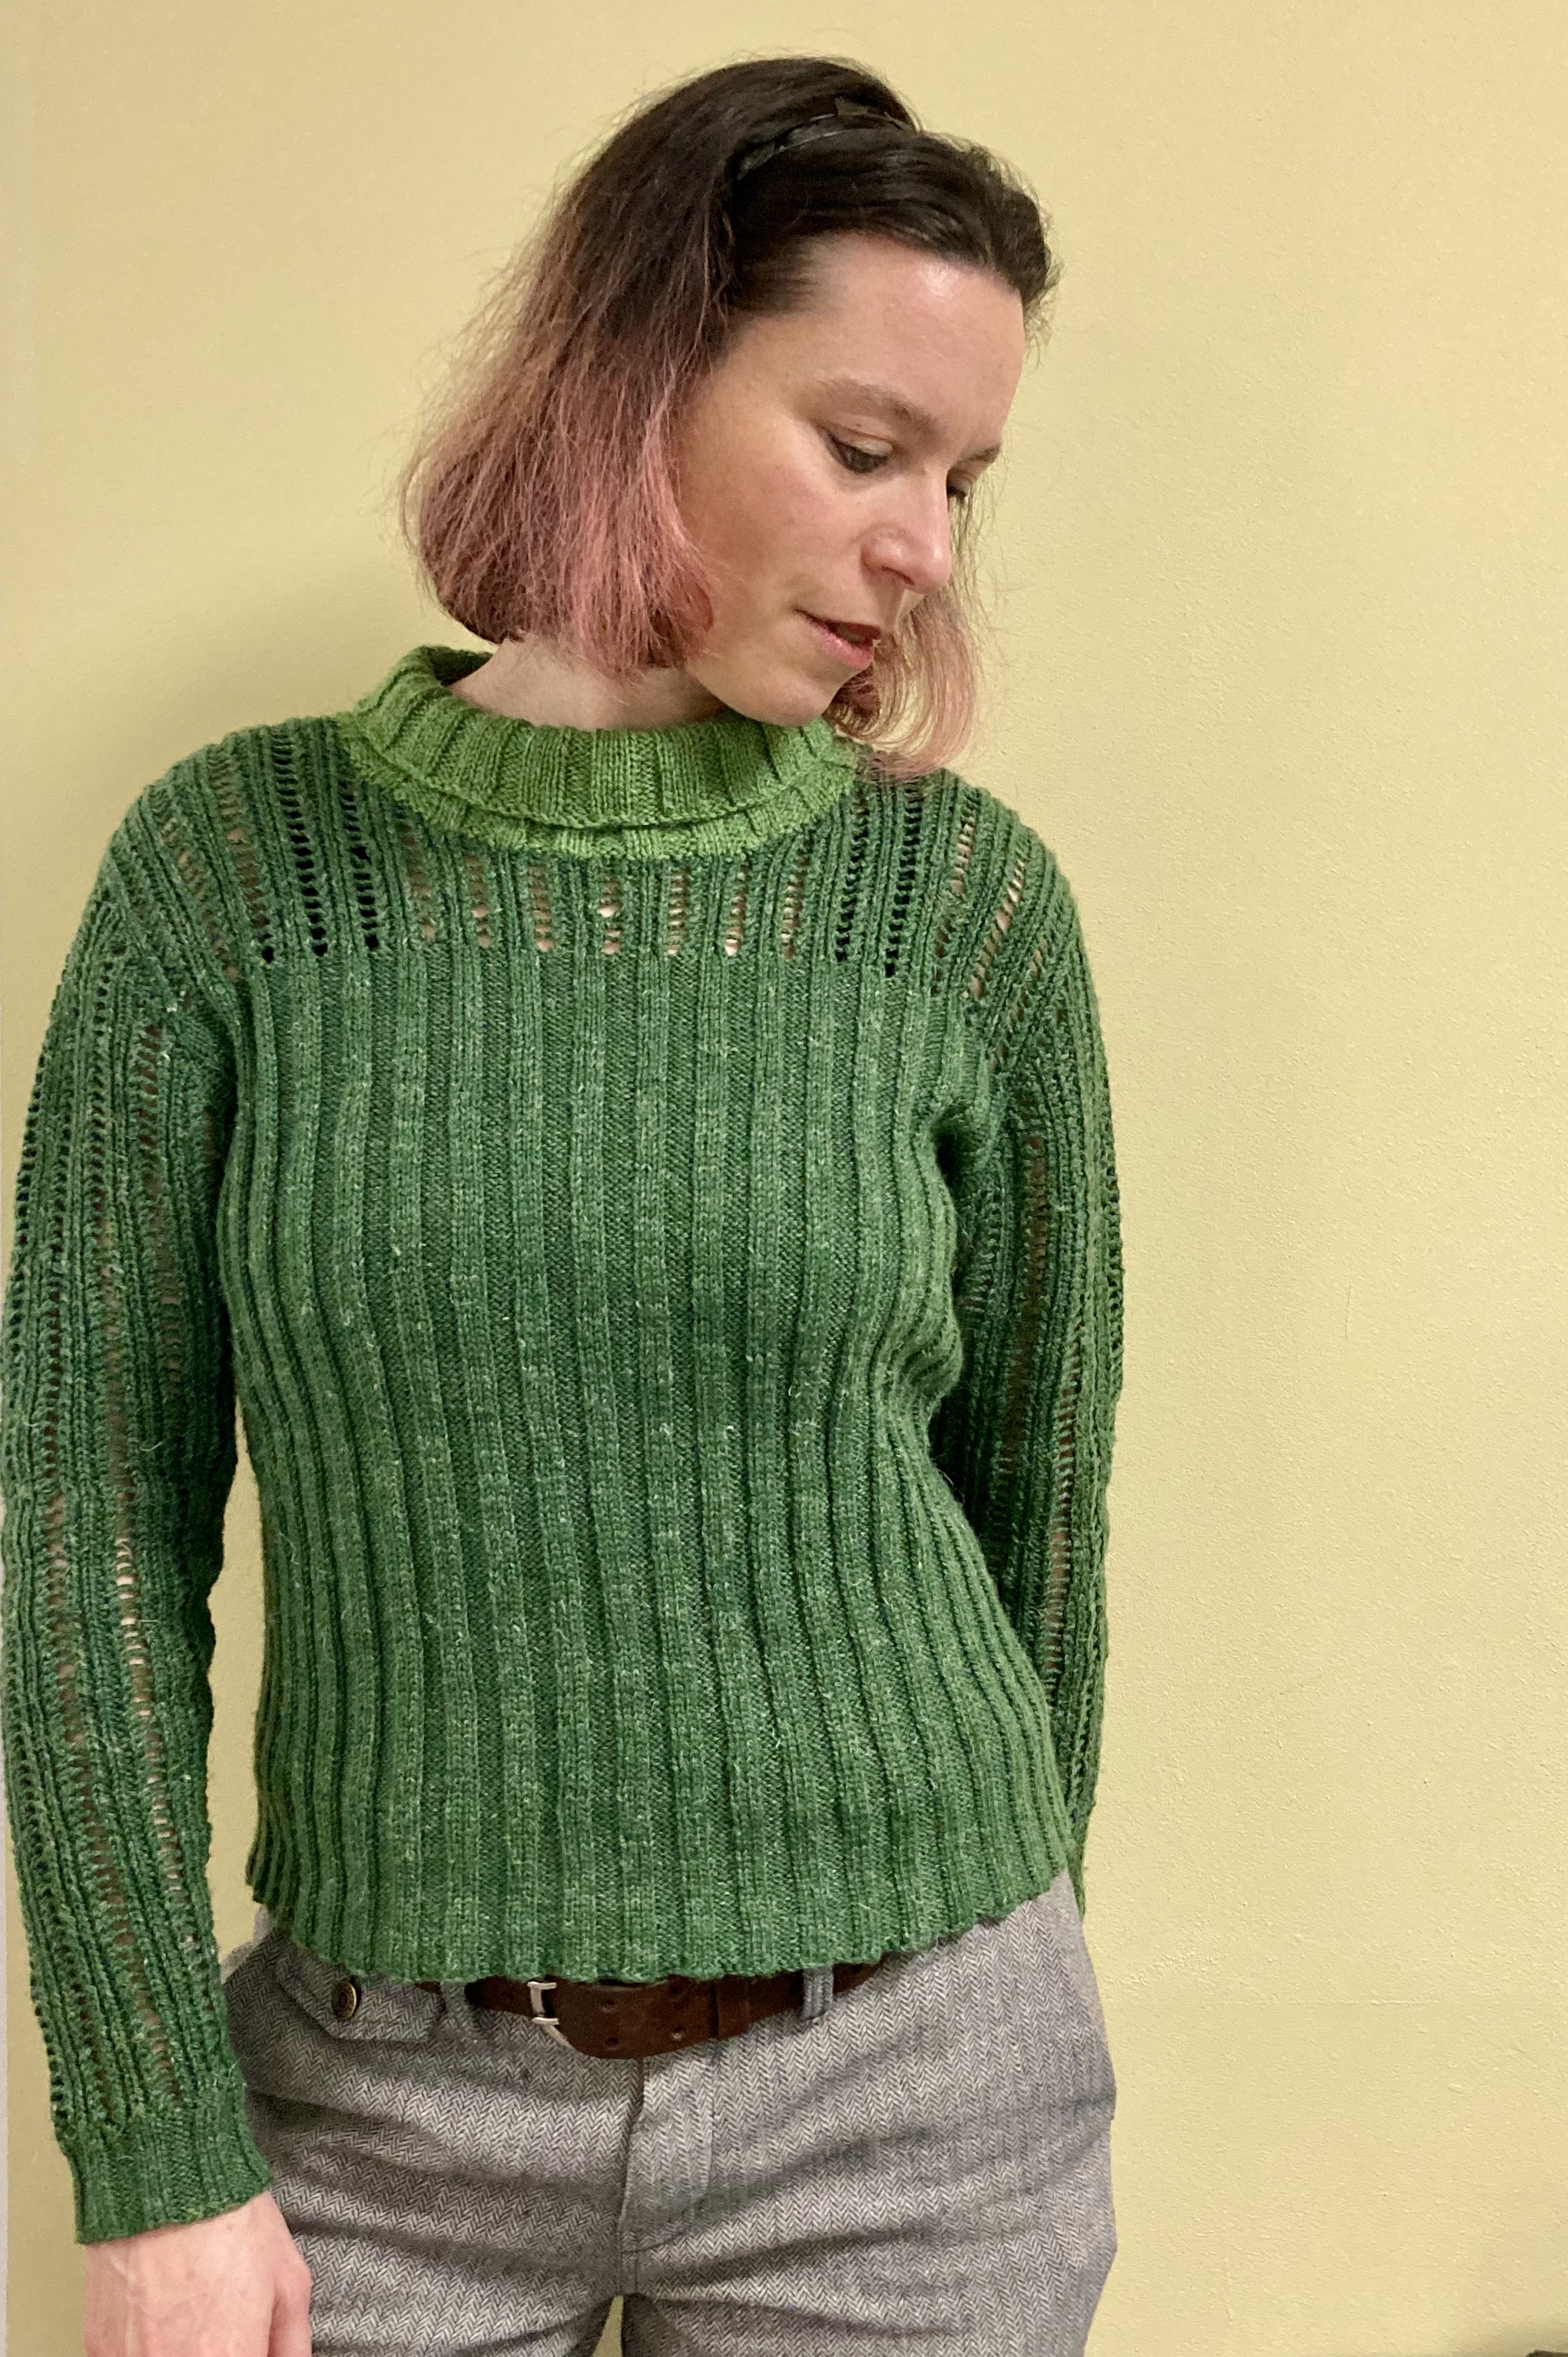
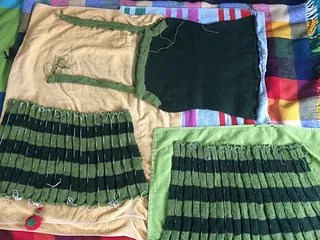
Non-stranded patterns include a swingy “pinafore” dress, to be worn with or without a tight-fitting ribbed pullover underneath. I tried to make this dress and it was a failure! The pleated skirt, in DK wool, was extremely heavy and stretched the stocking-stitch top part uncontrollably. I ended up frogging it. A few years later, I made the ribbed pullover and wrote about it in this post on the blog. That turned out fine at first, bit the wool was too lightweight and not 100% wool (part linen), so that even the rib pattern couldn’t save it from getting shorter and wider. How I love wool that keeps its shape! Sadly, it was not the case with either of these projects.
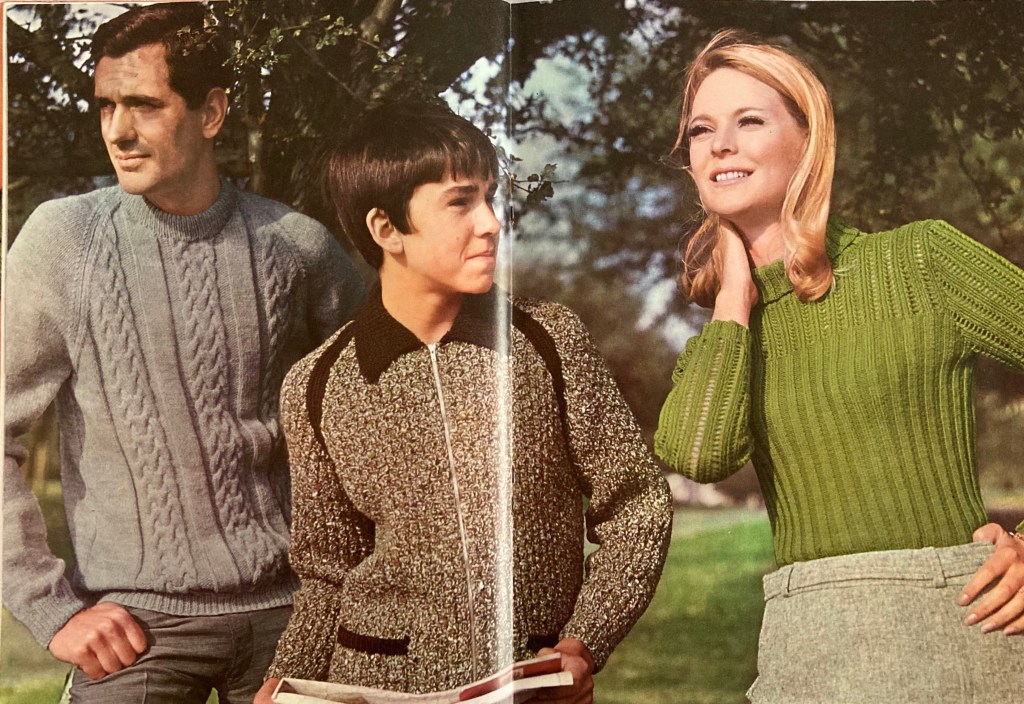
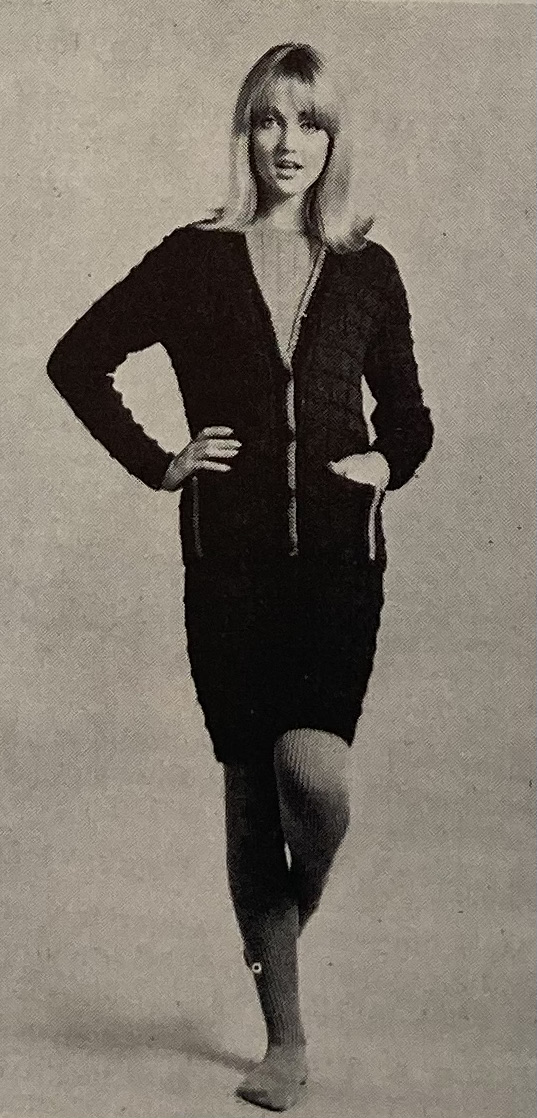
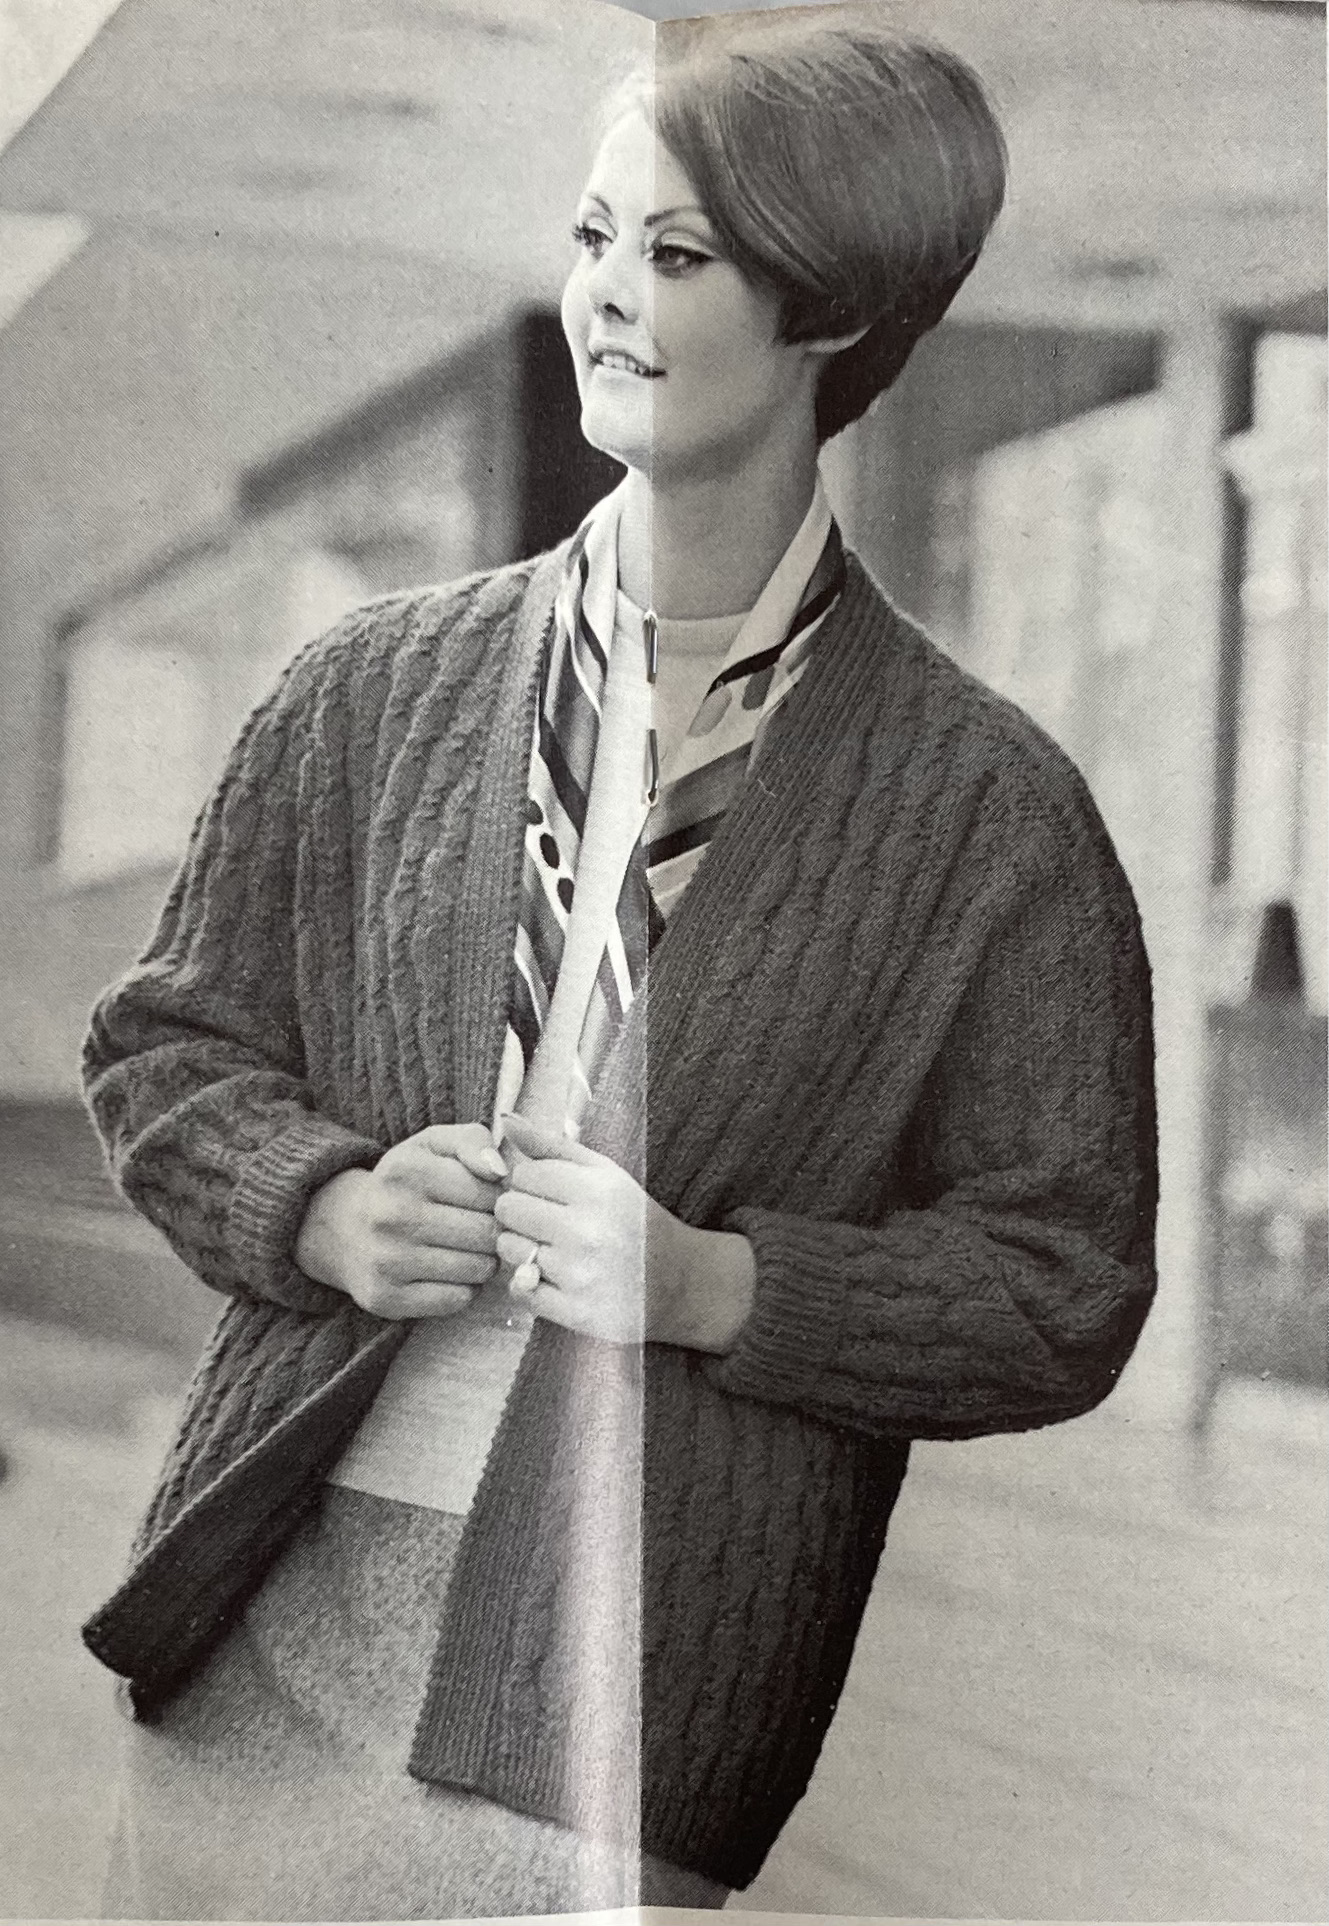
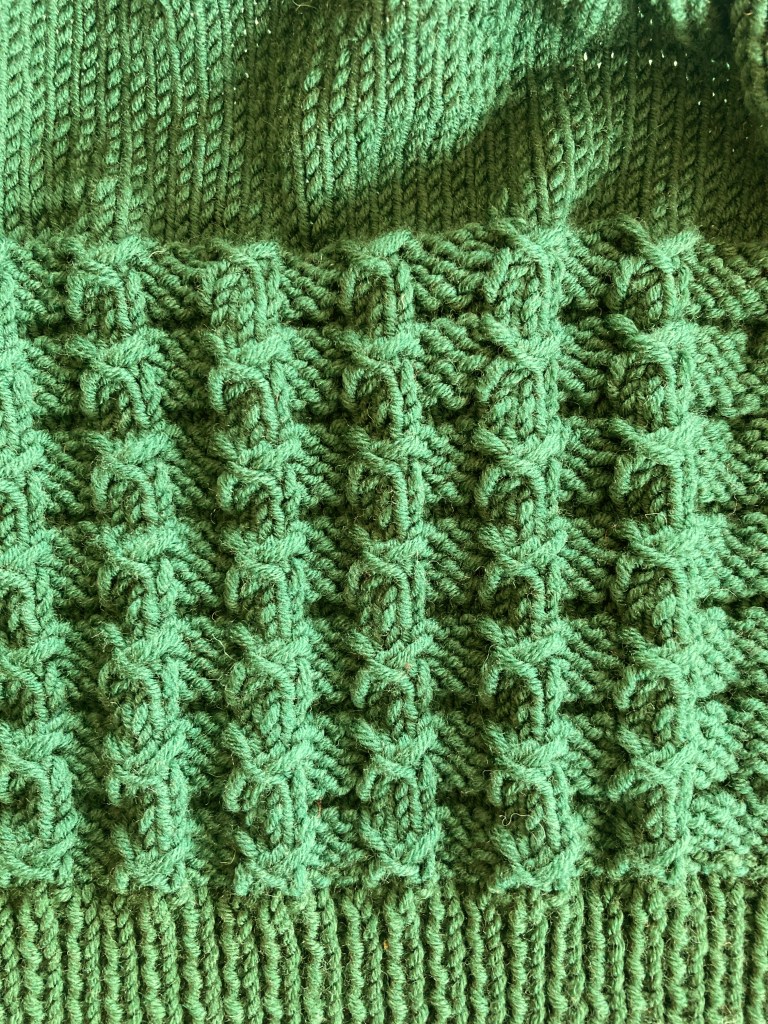
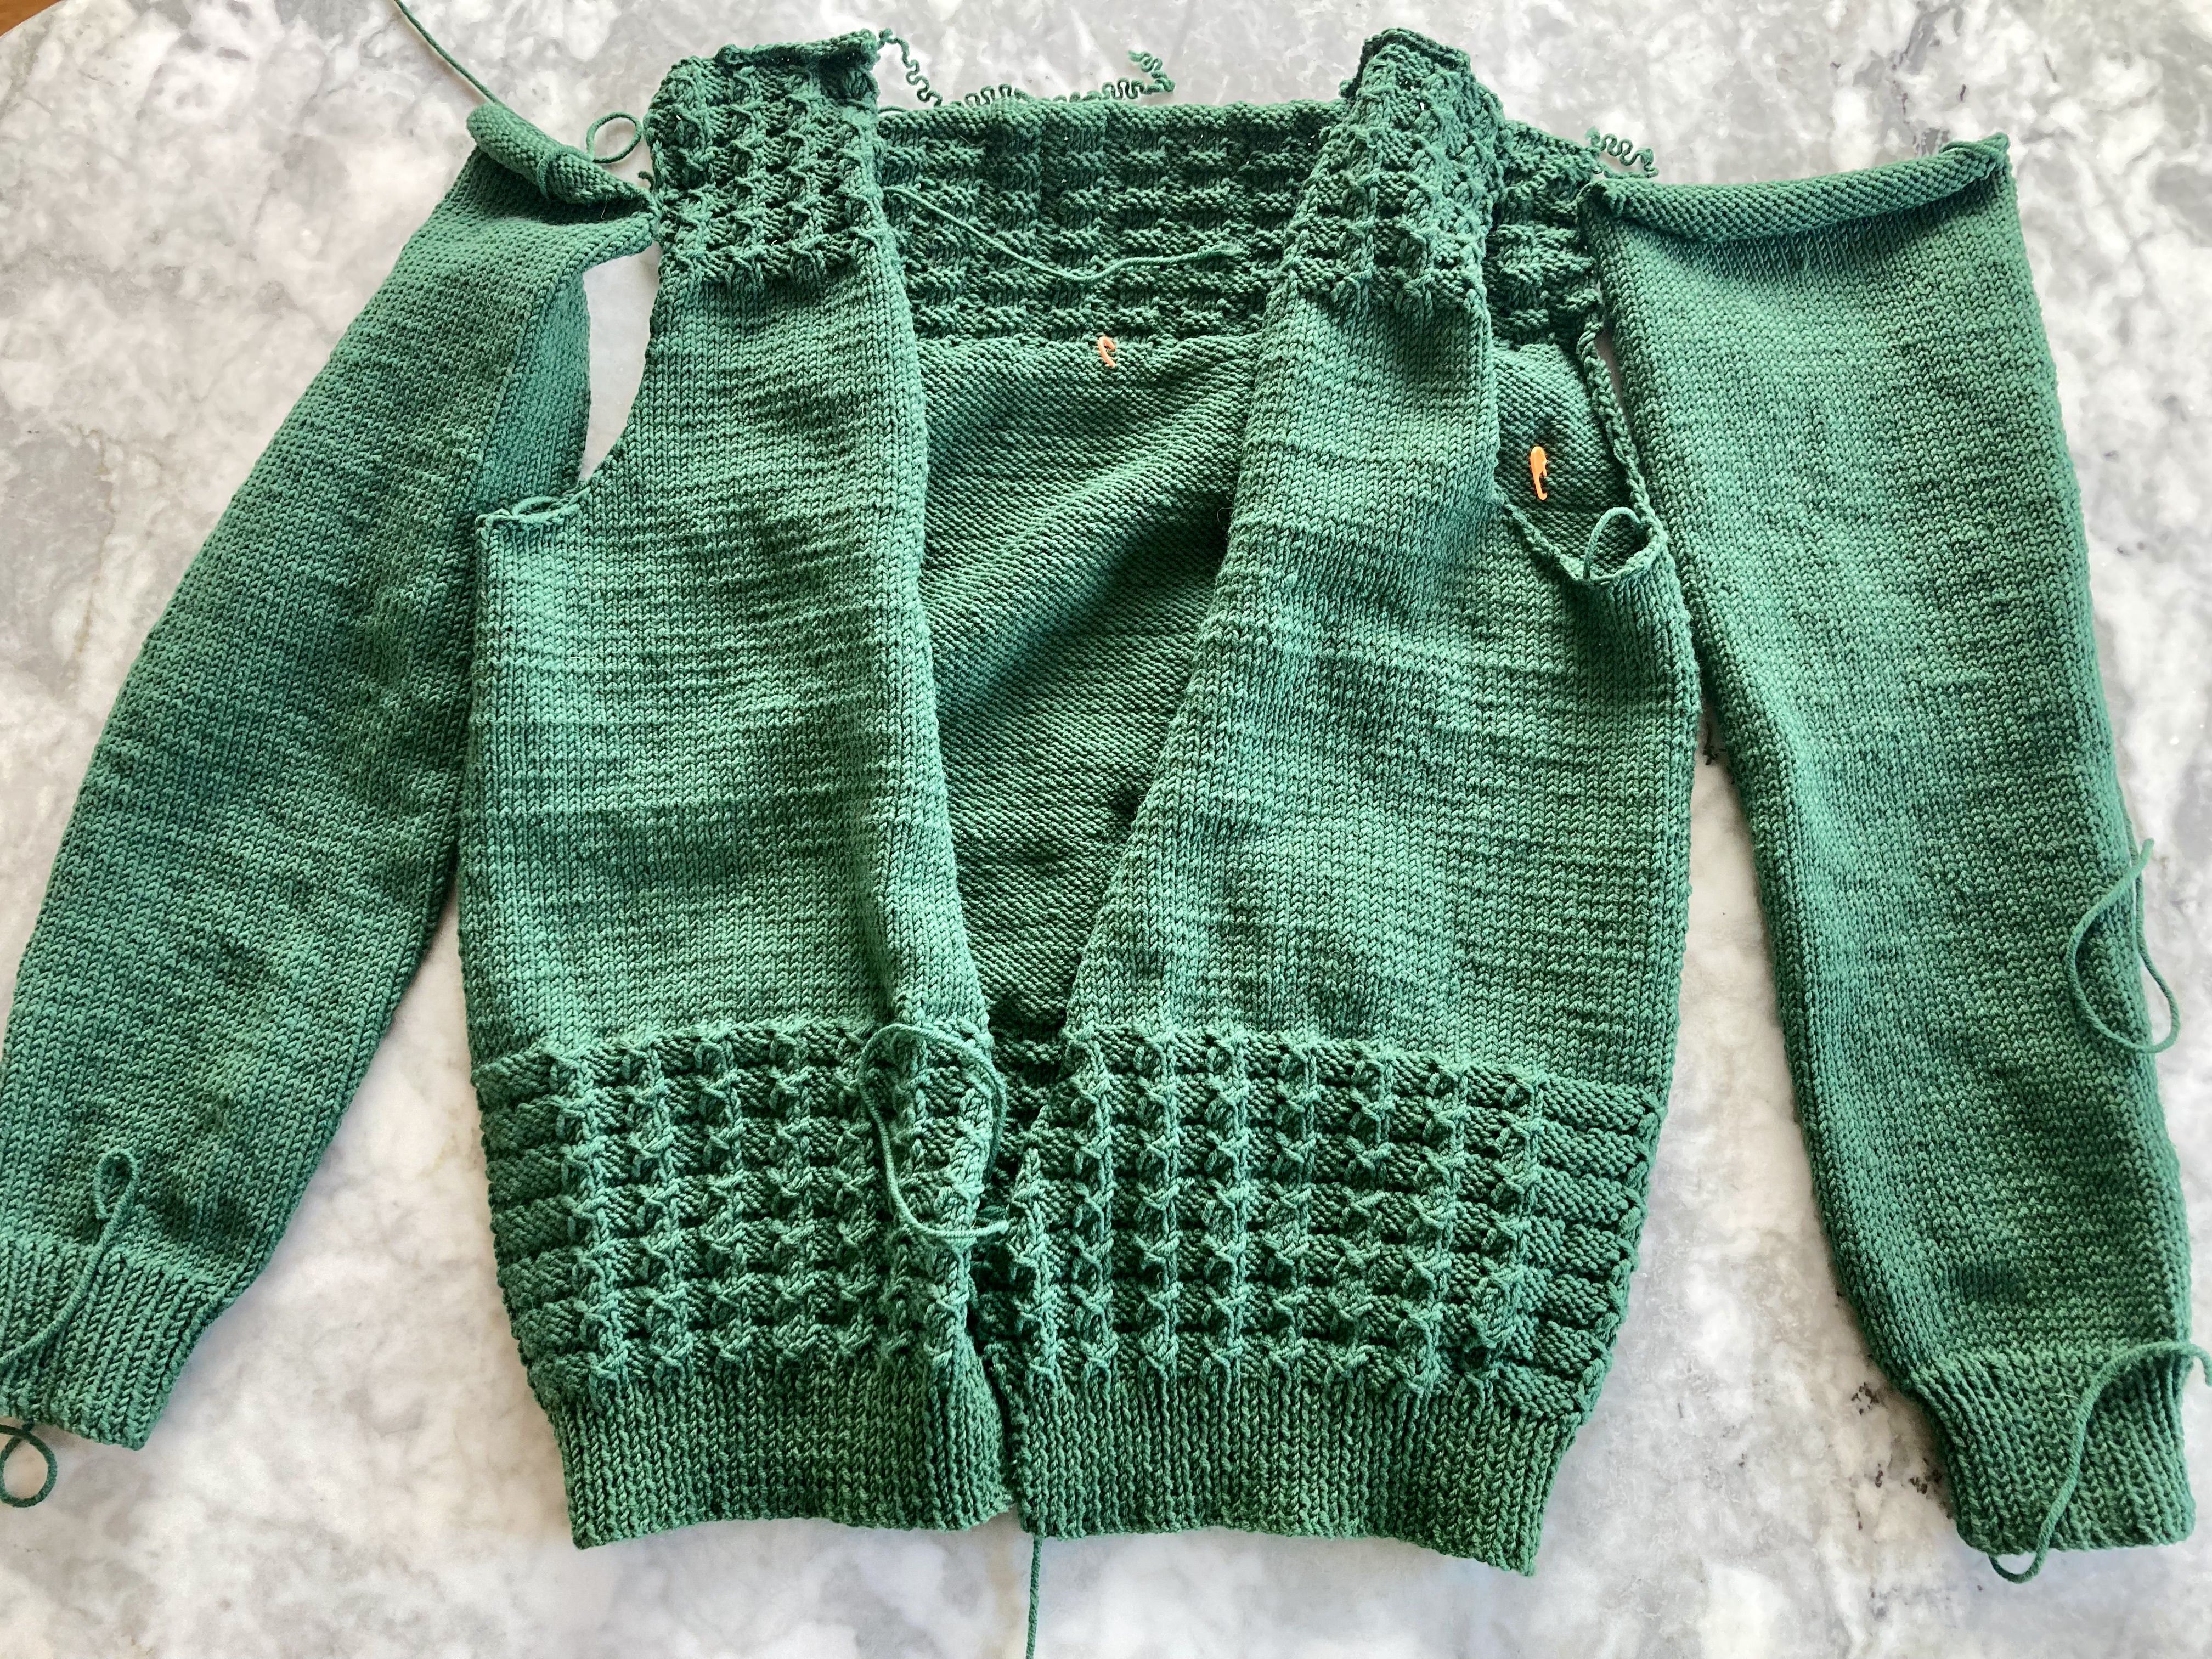
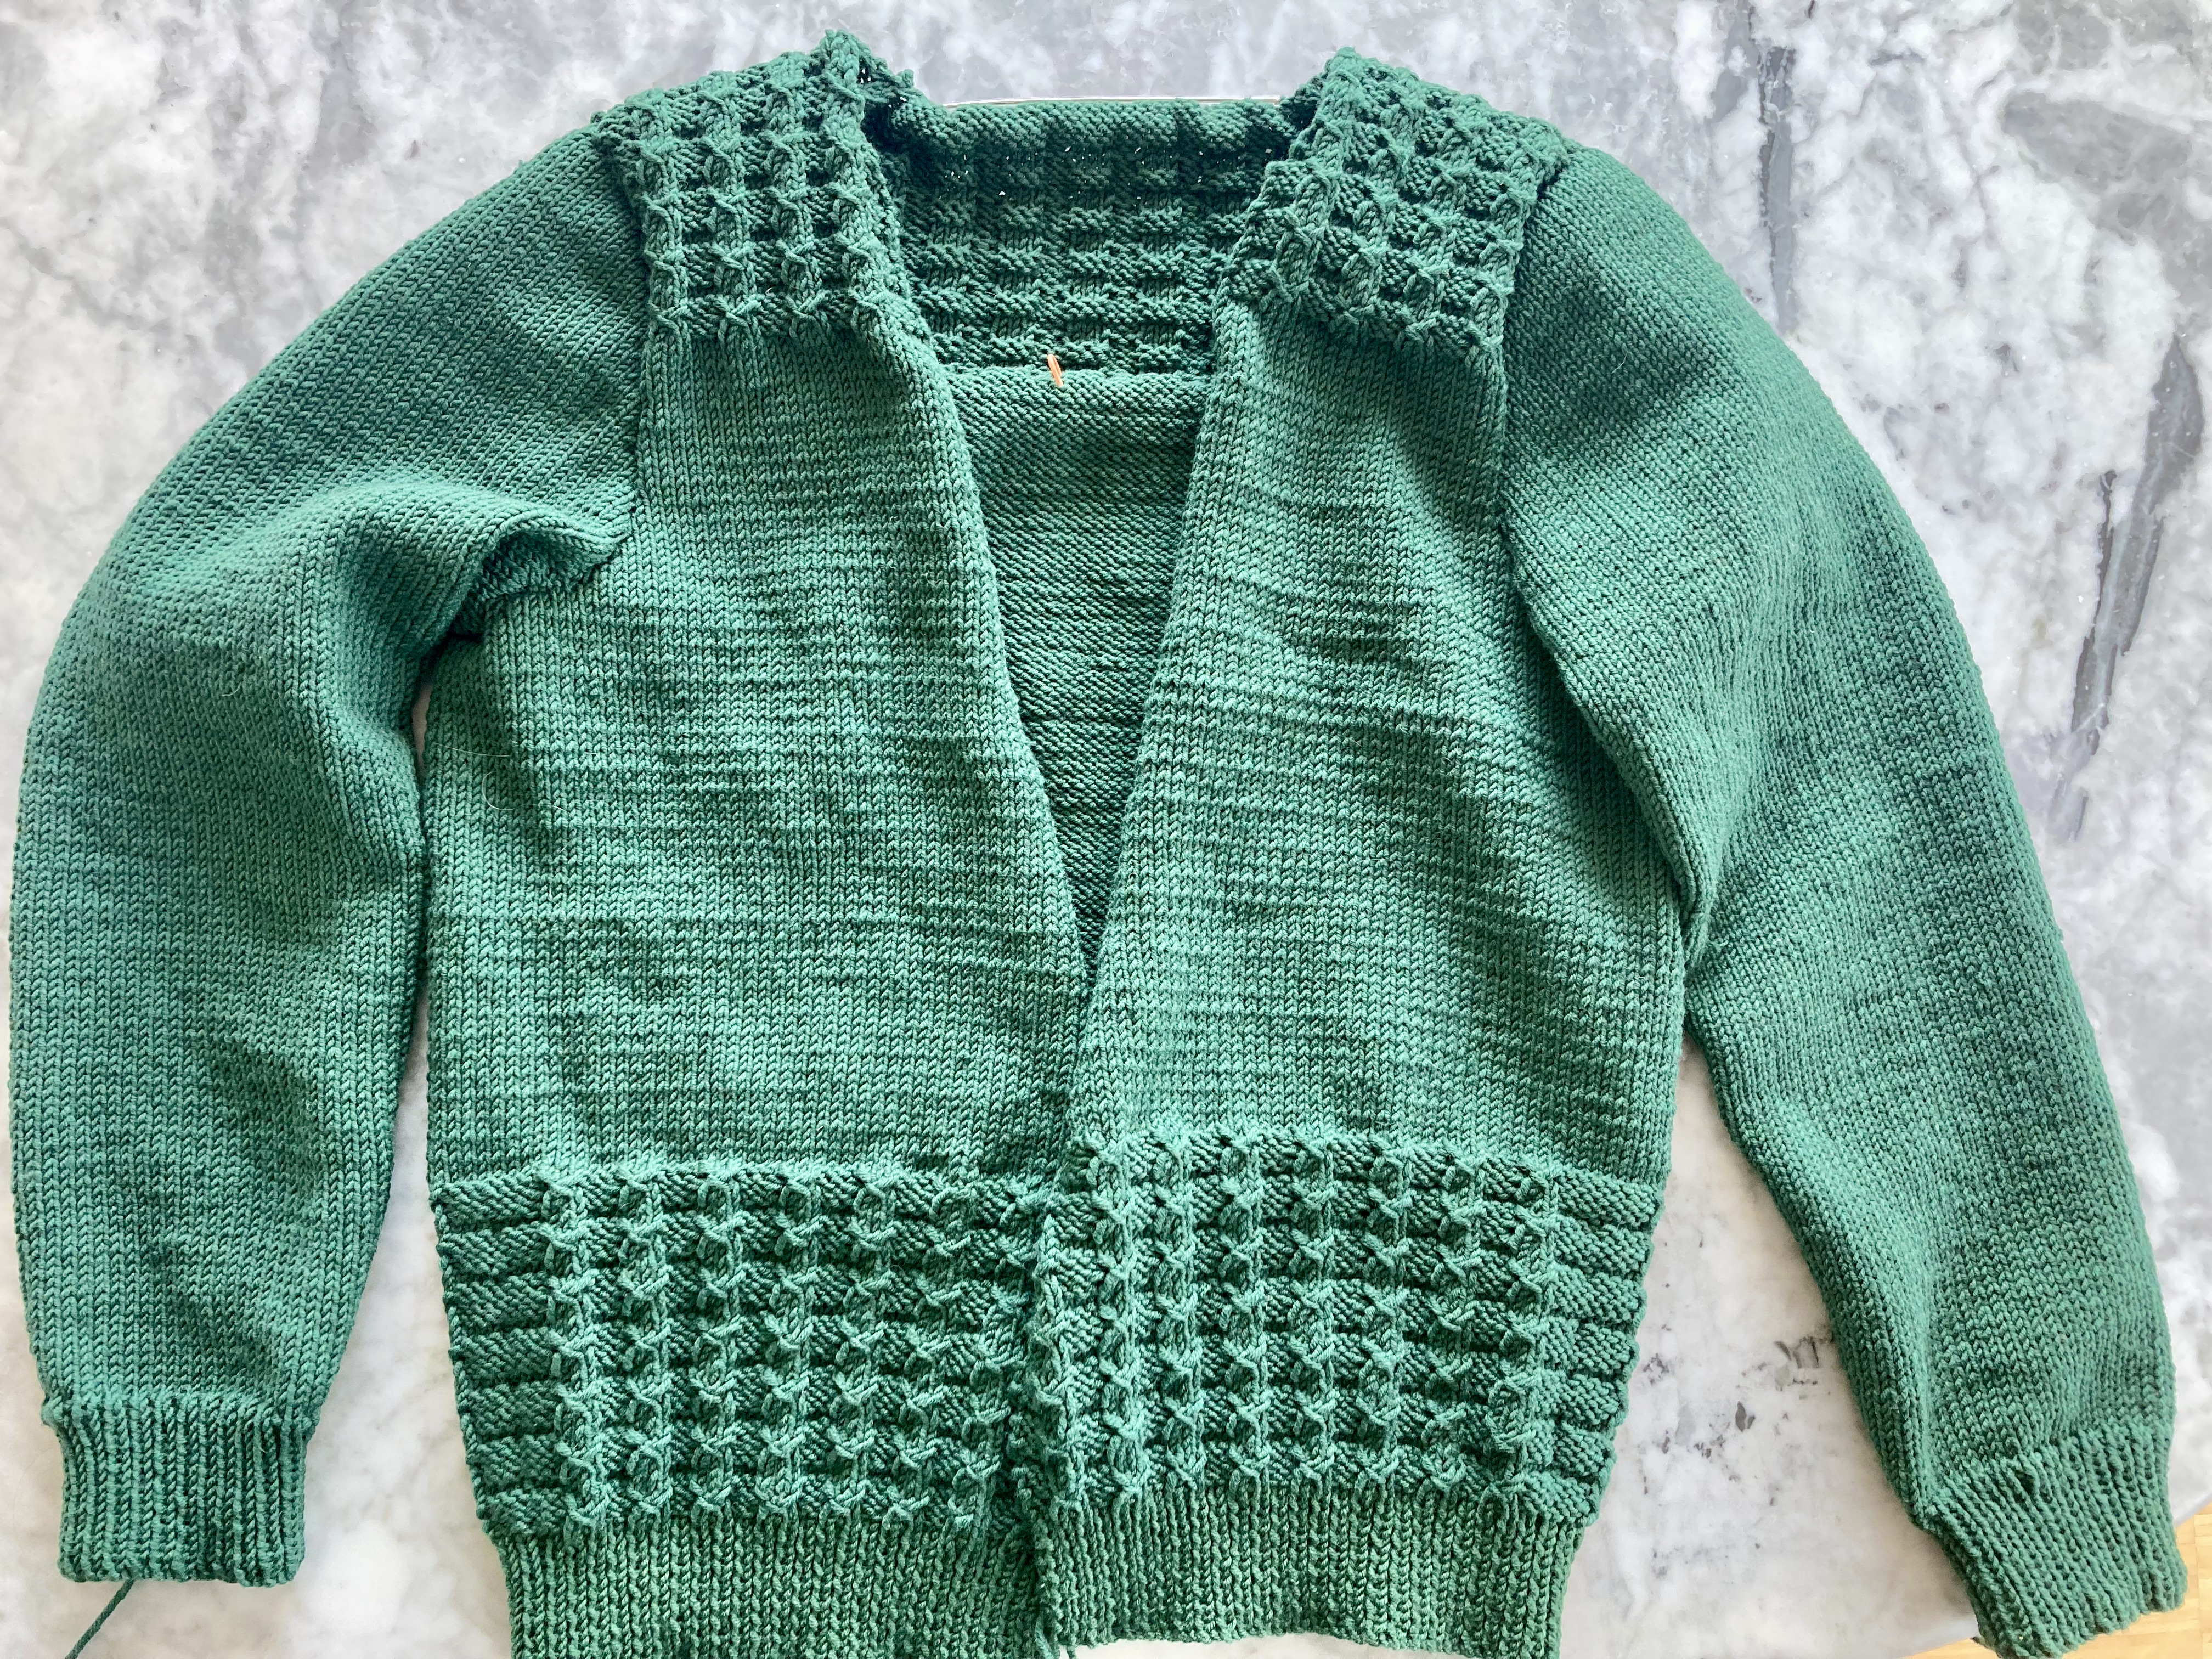
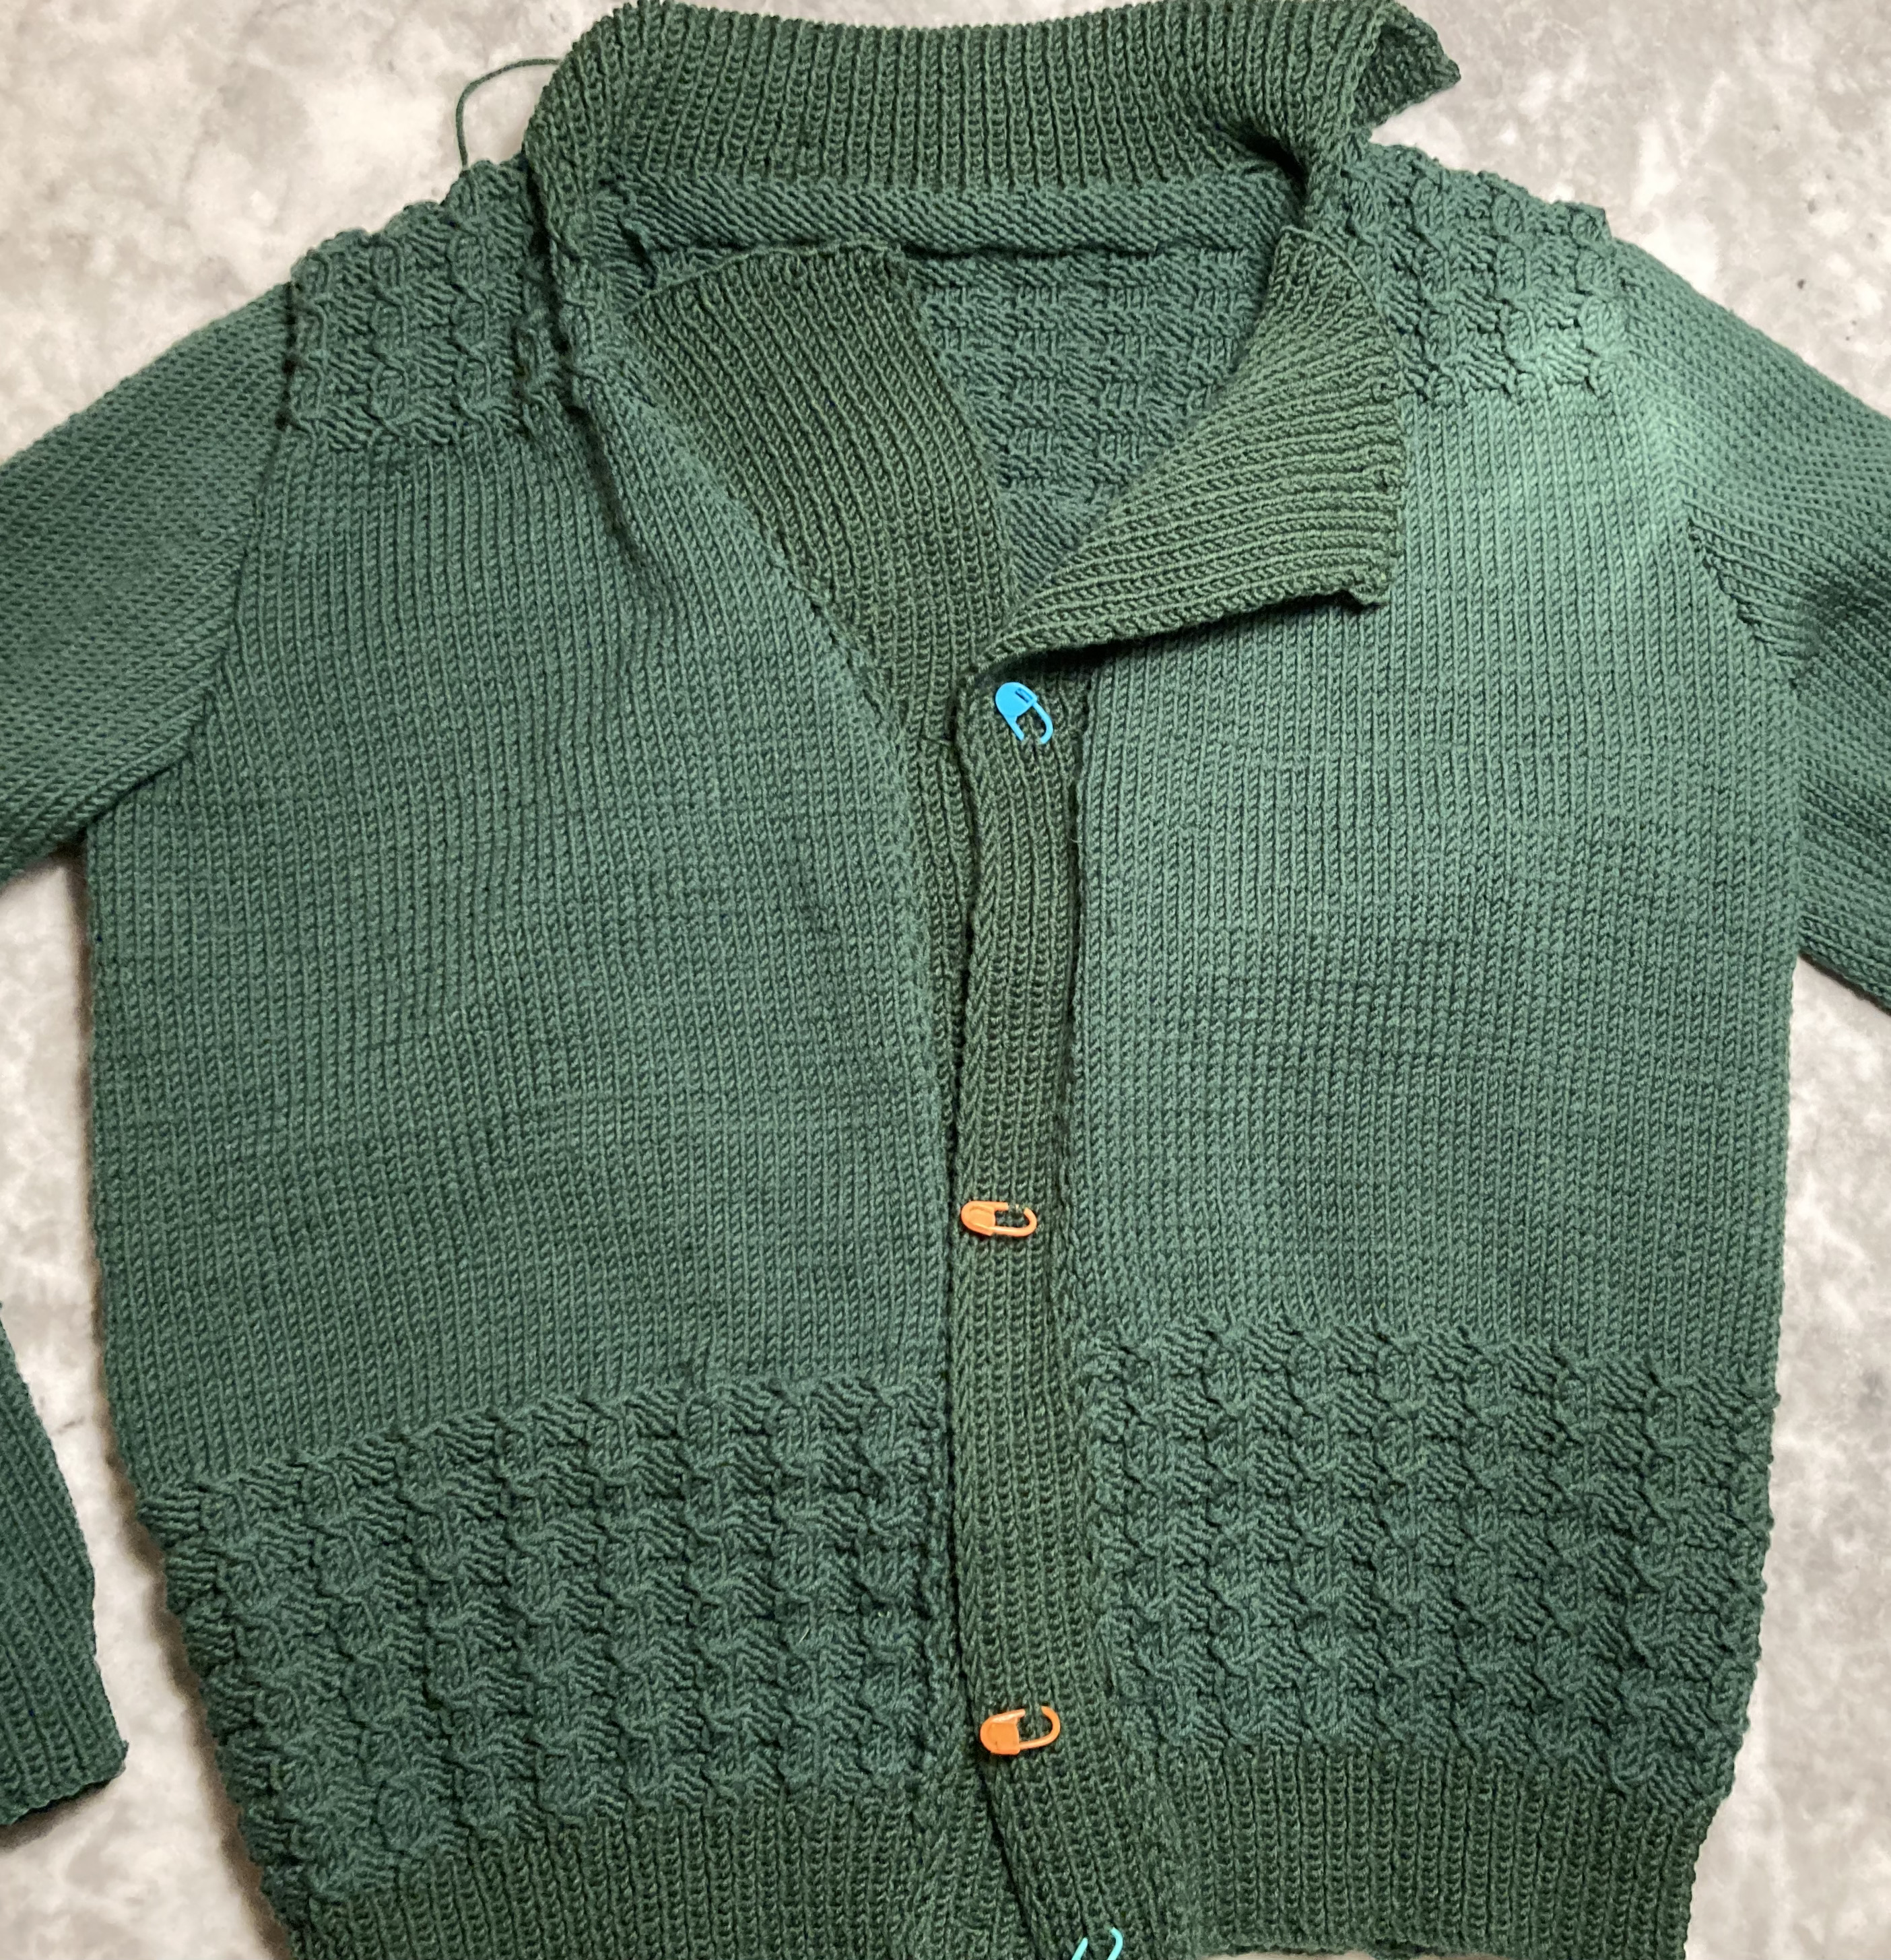
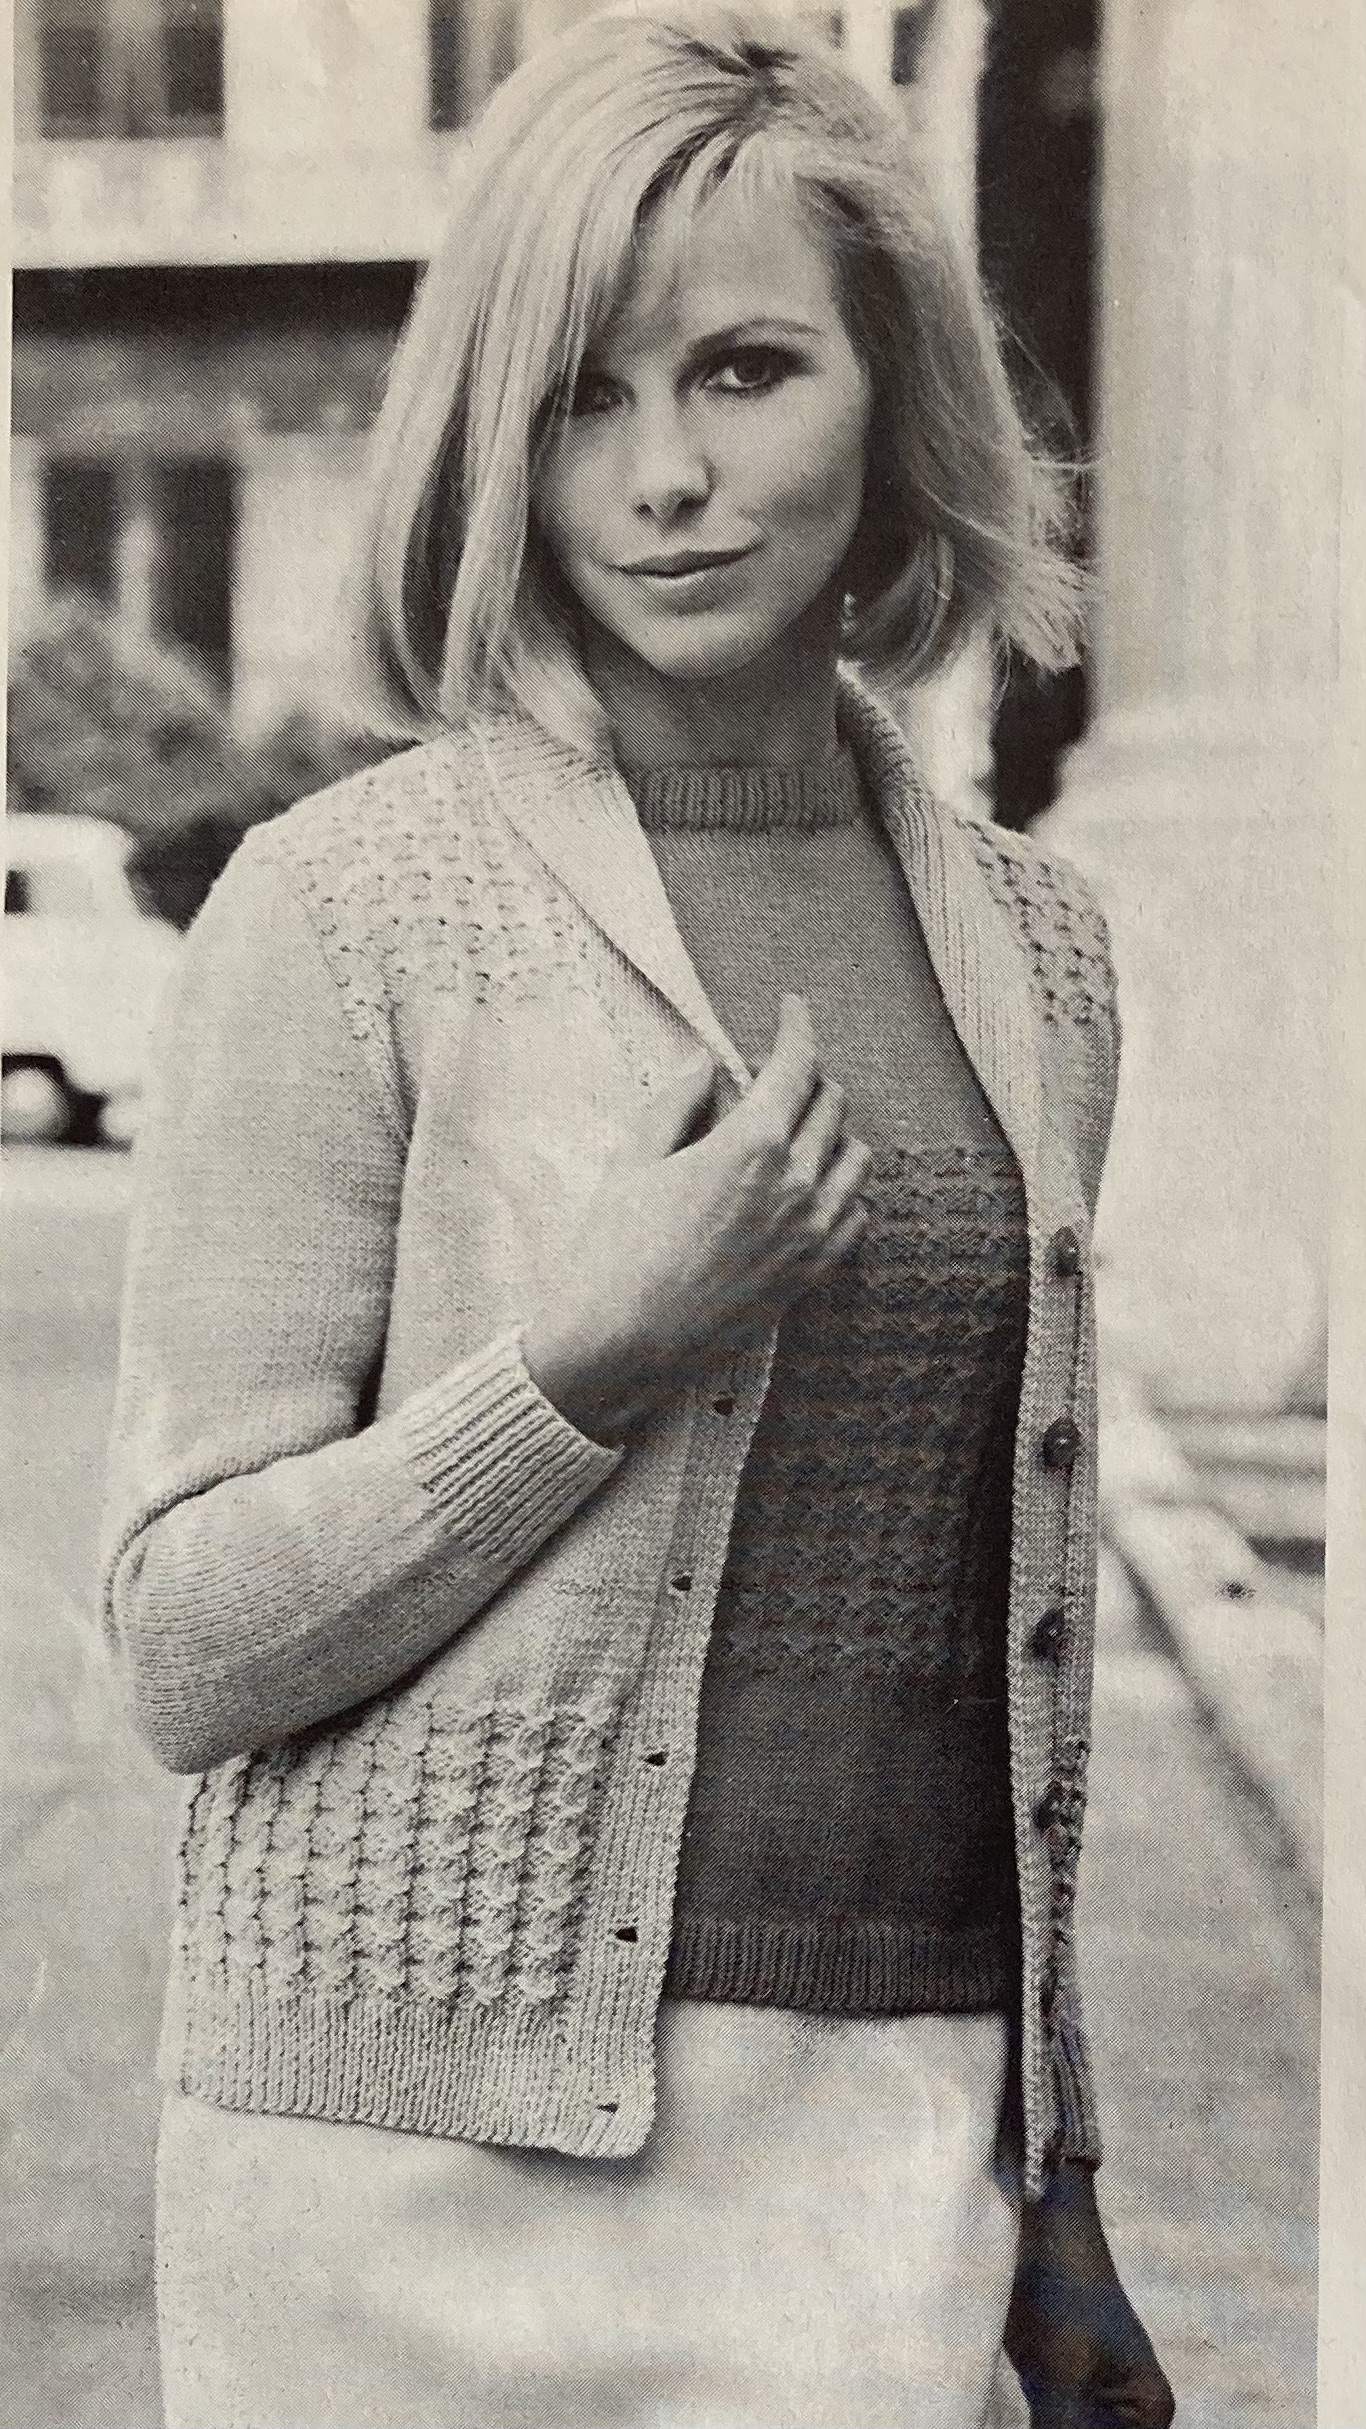
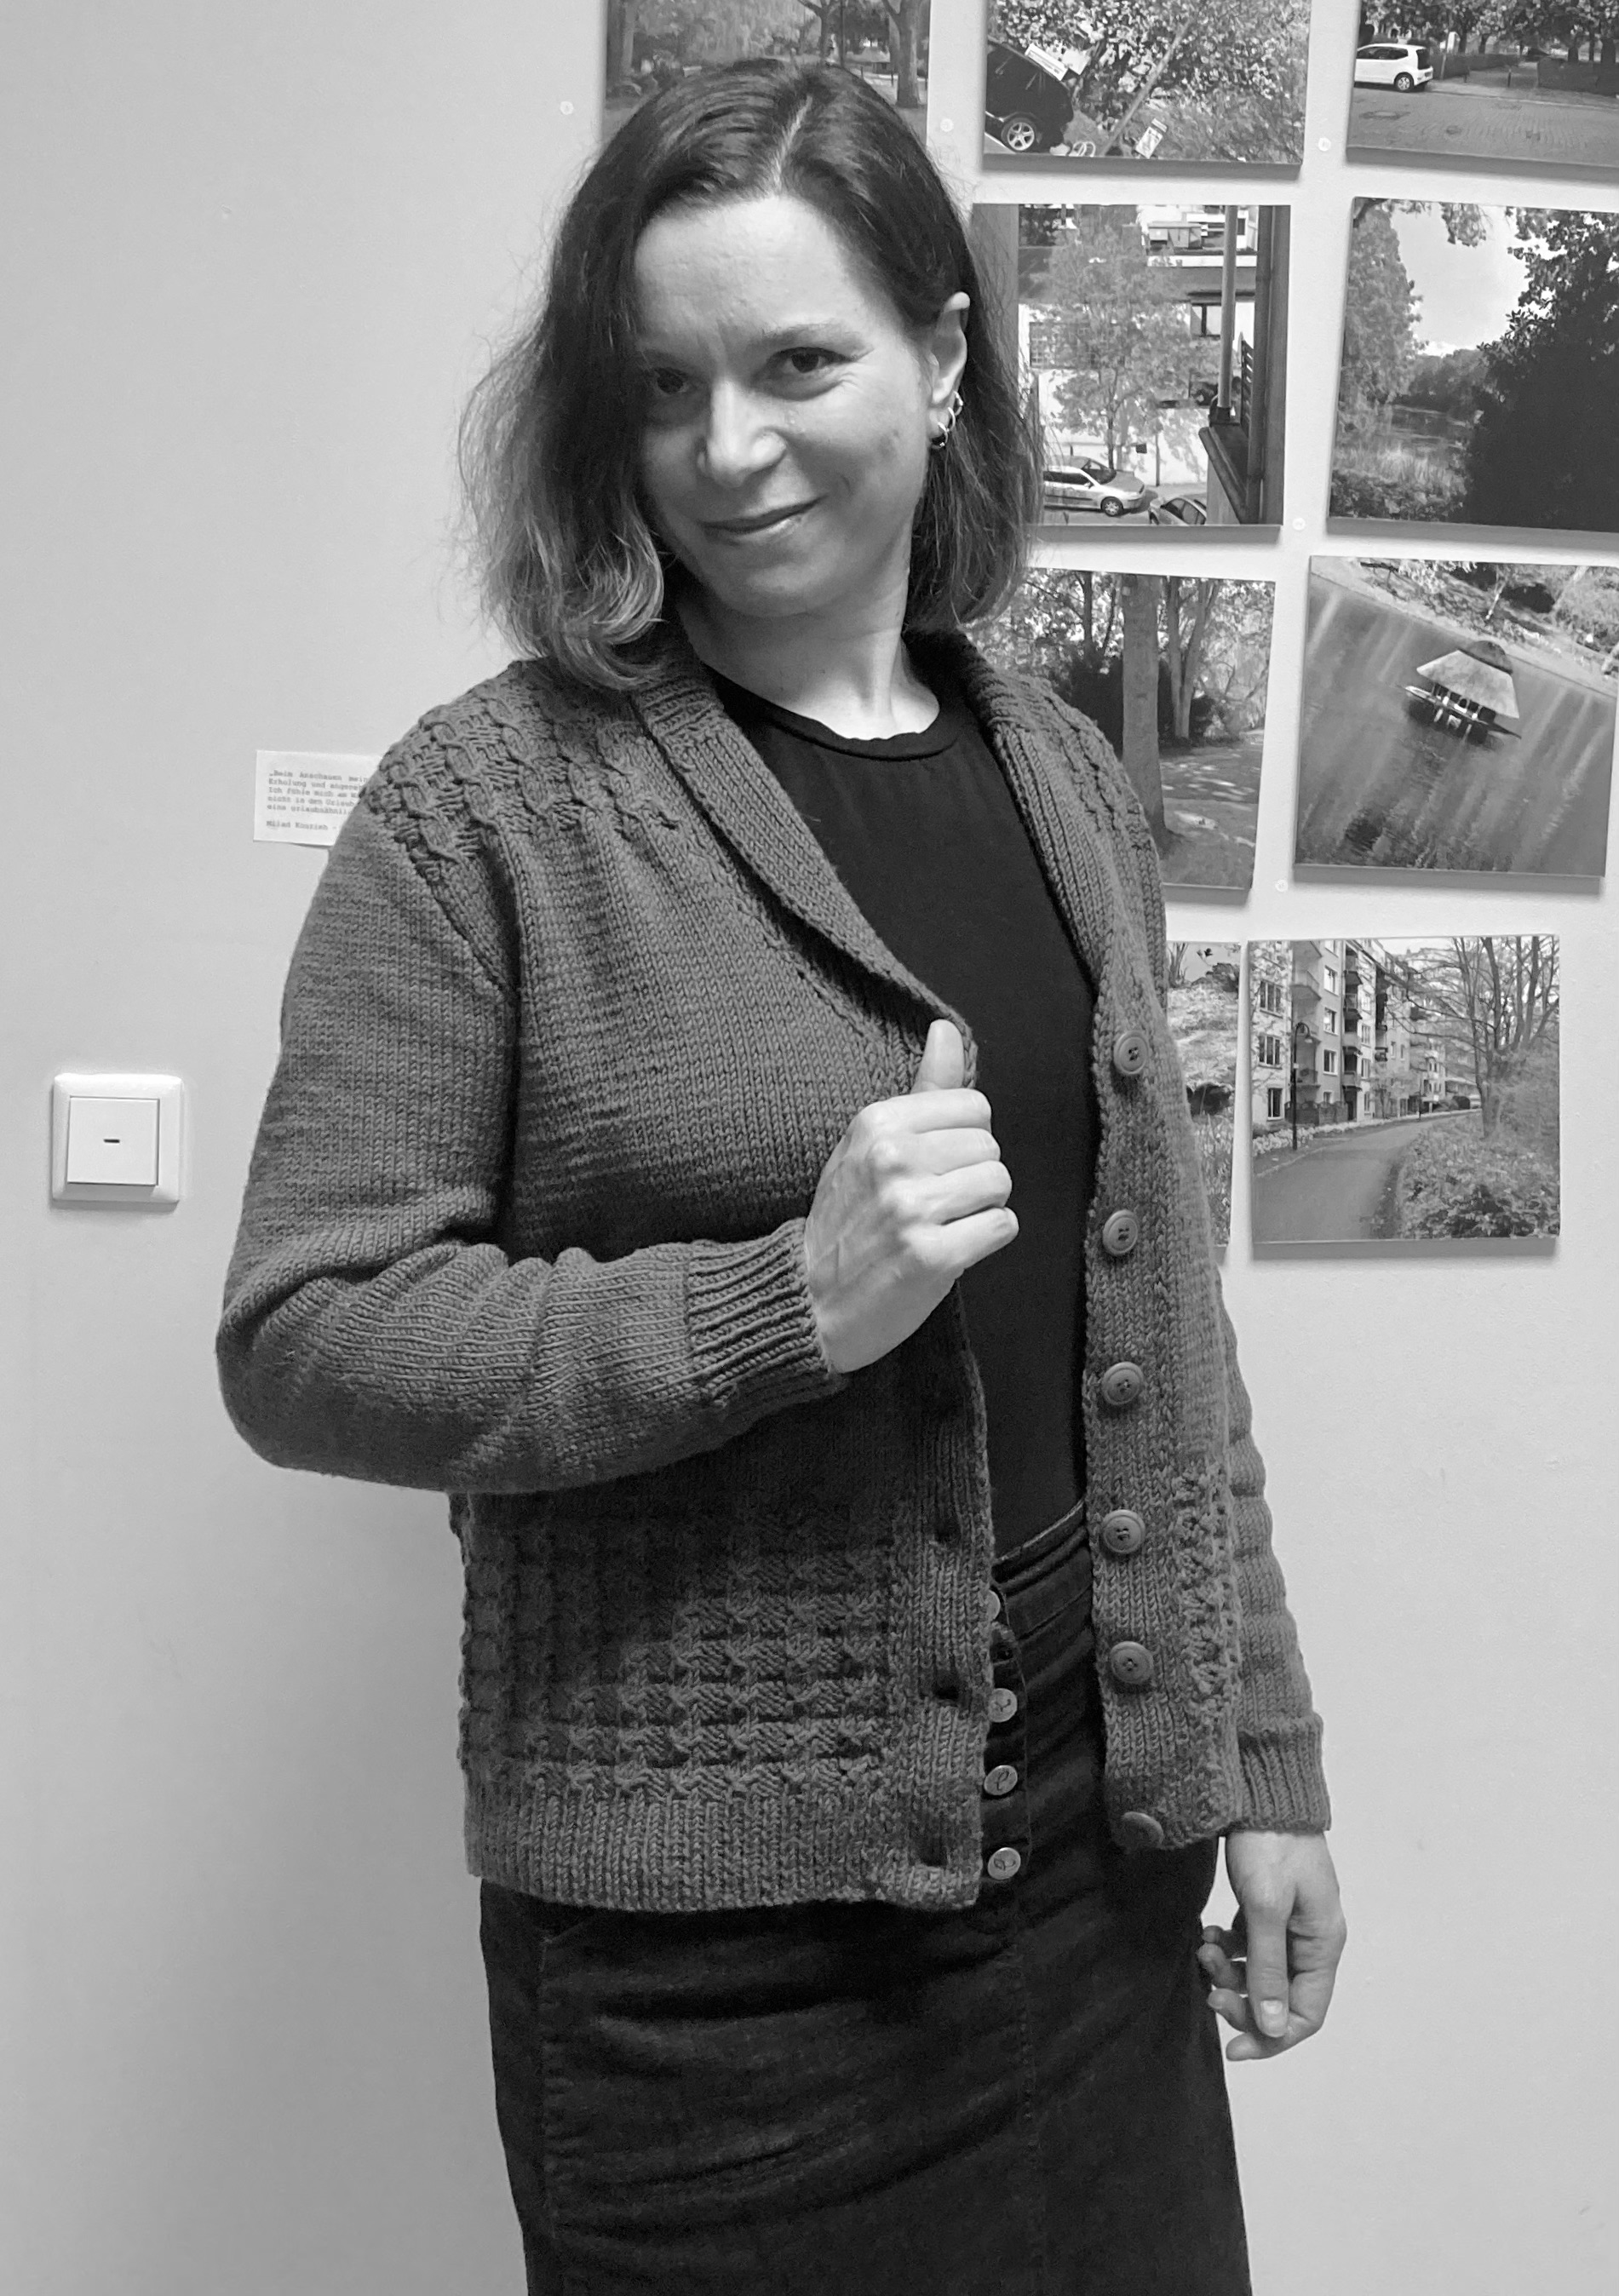
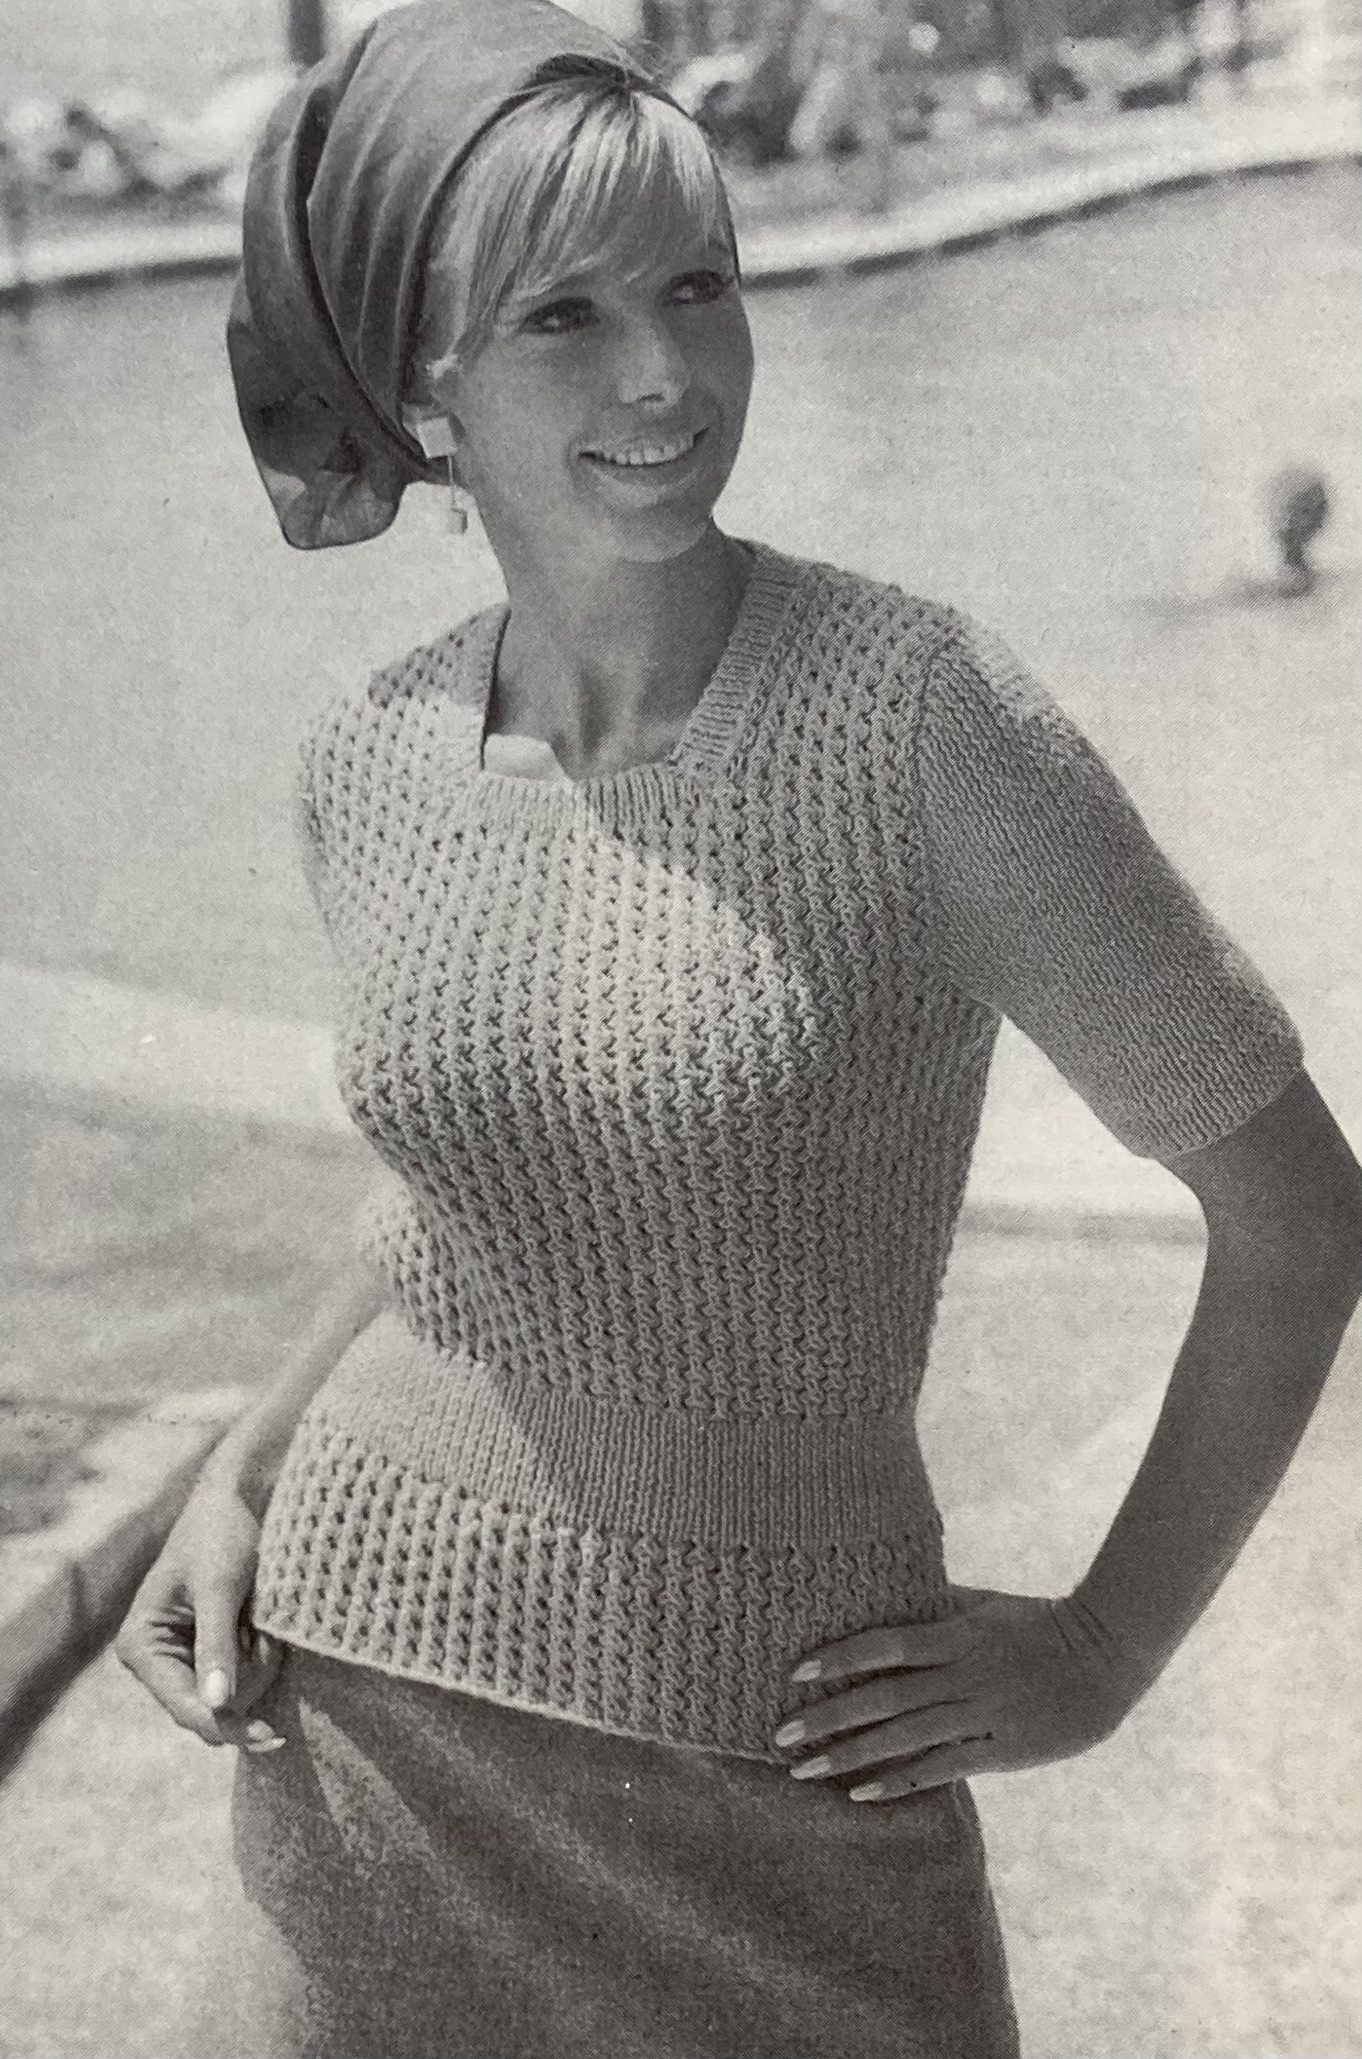
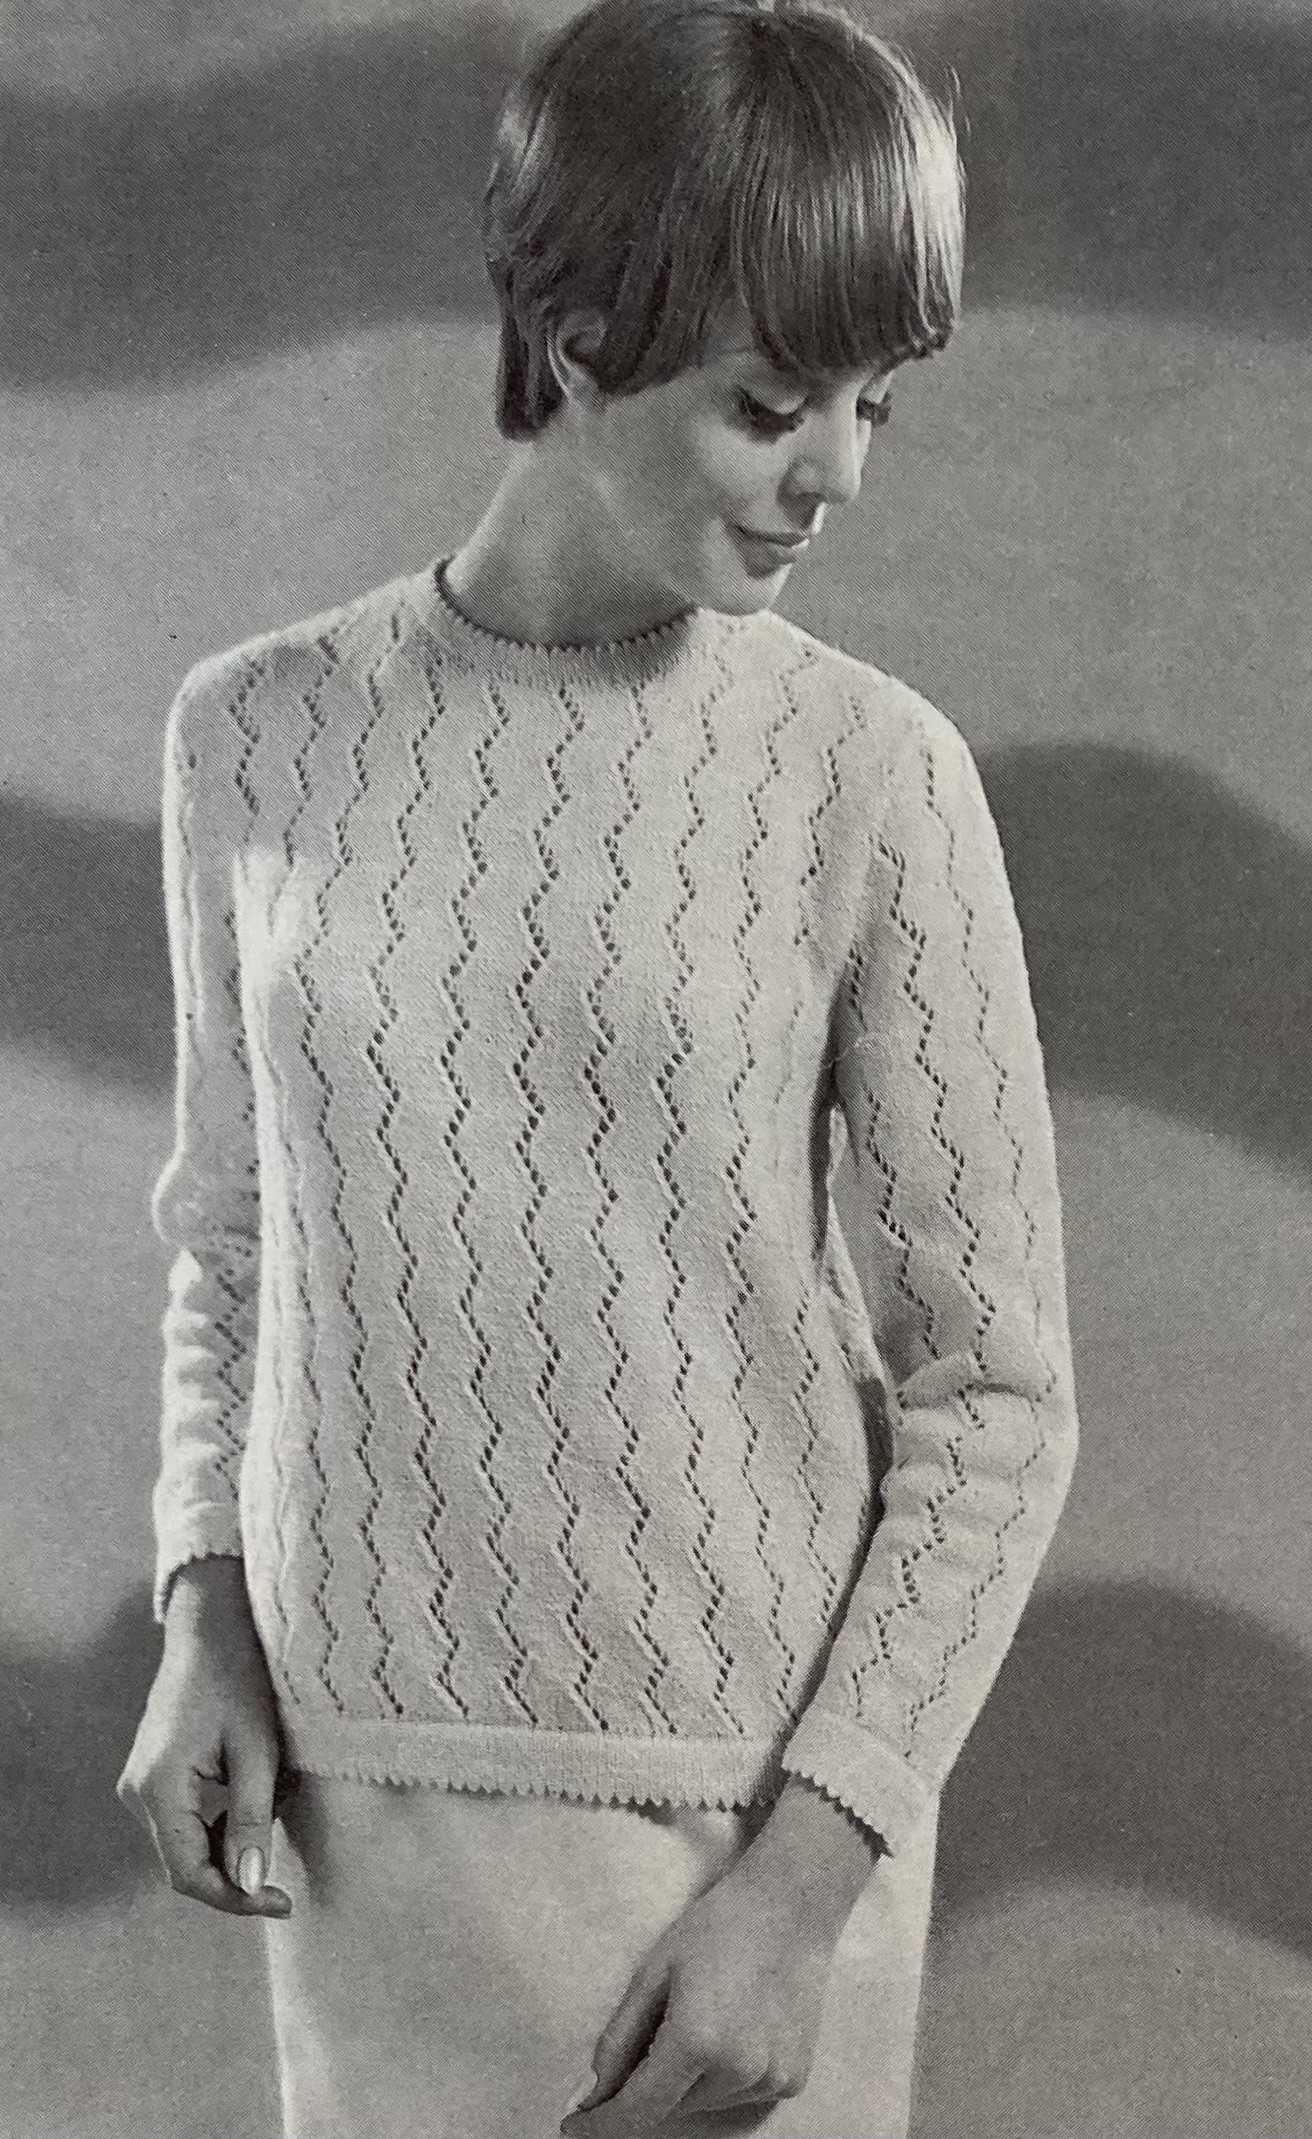
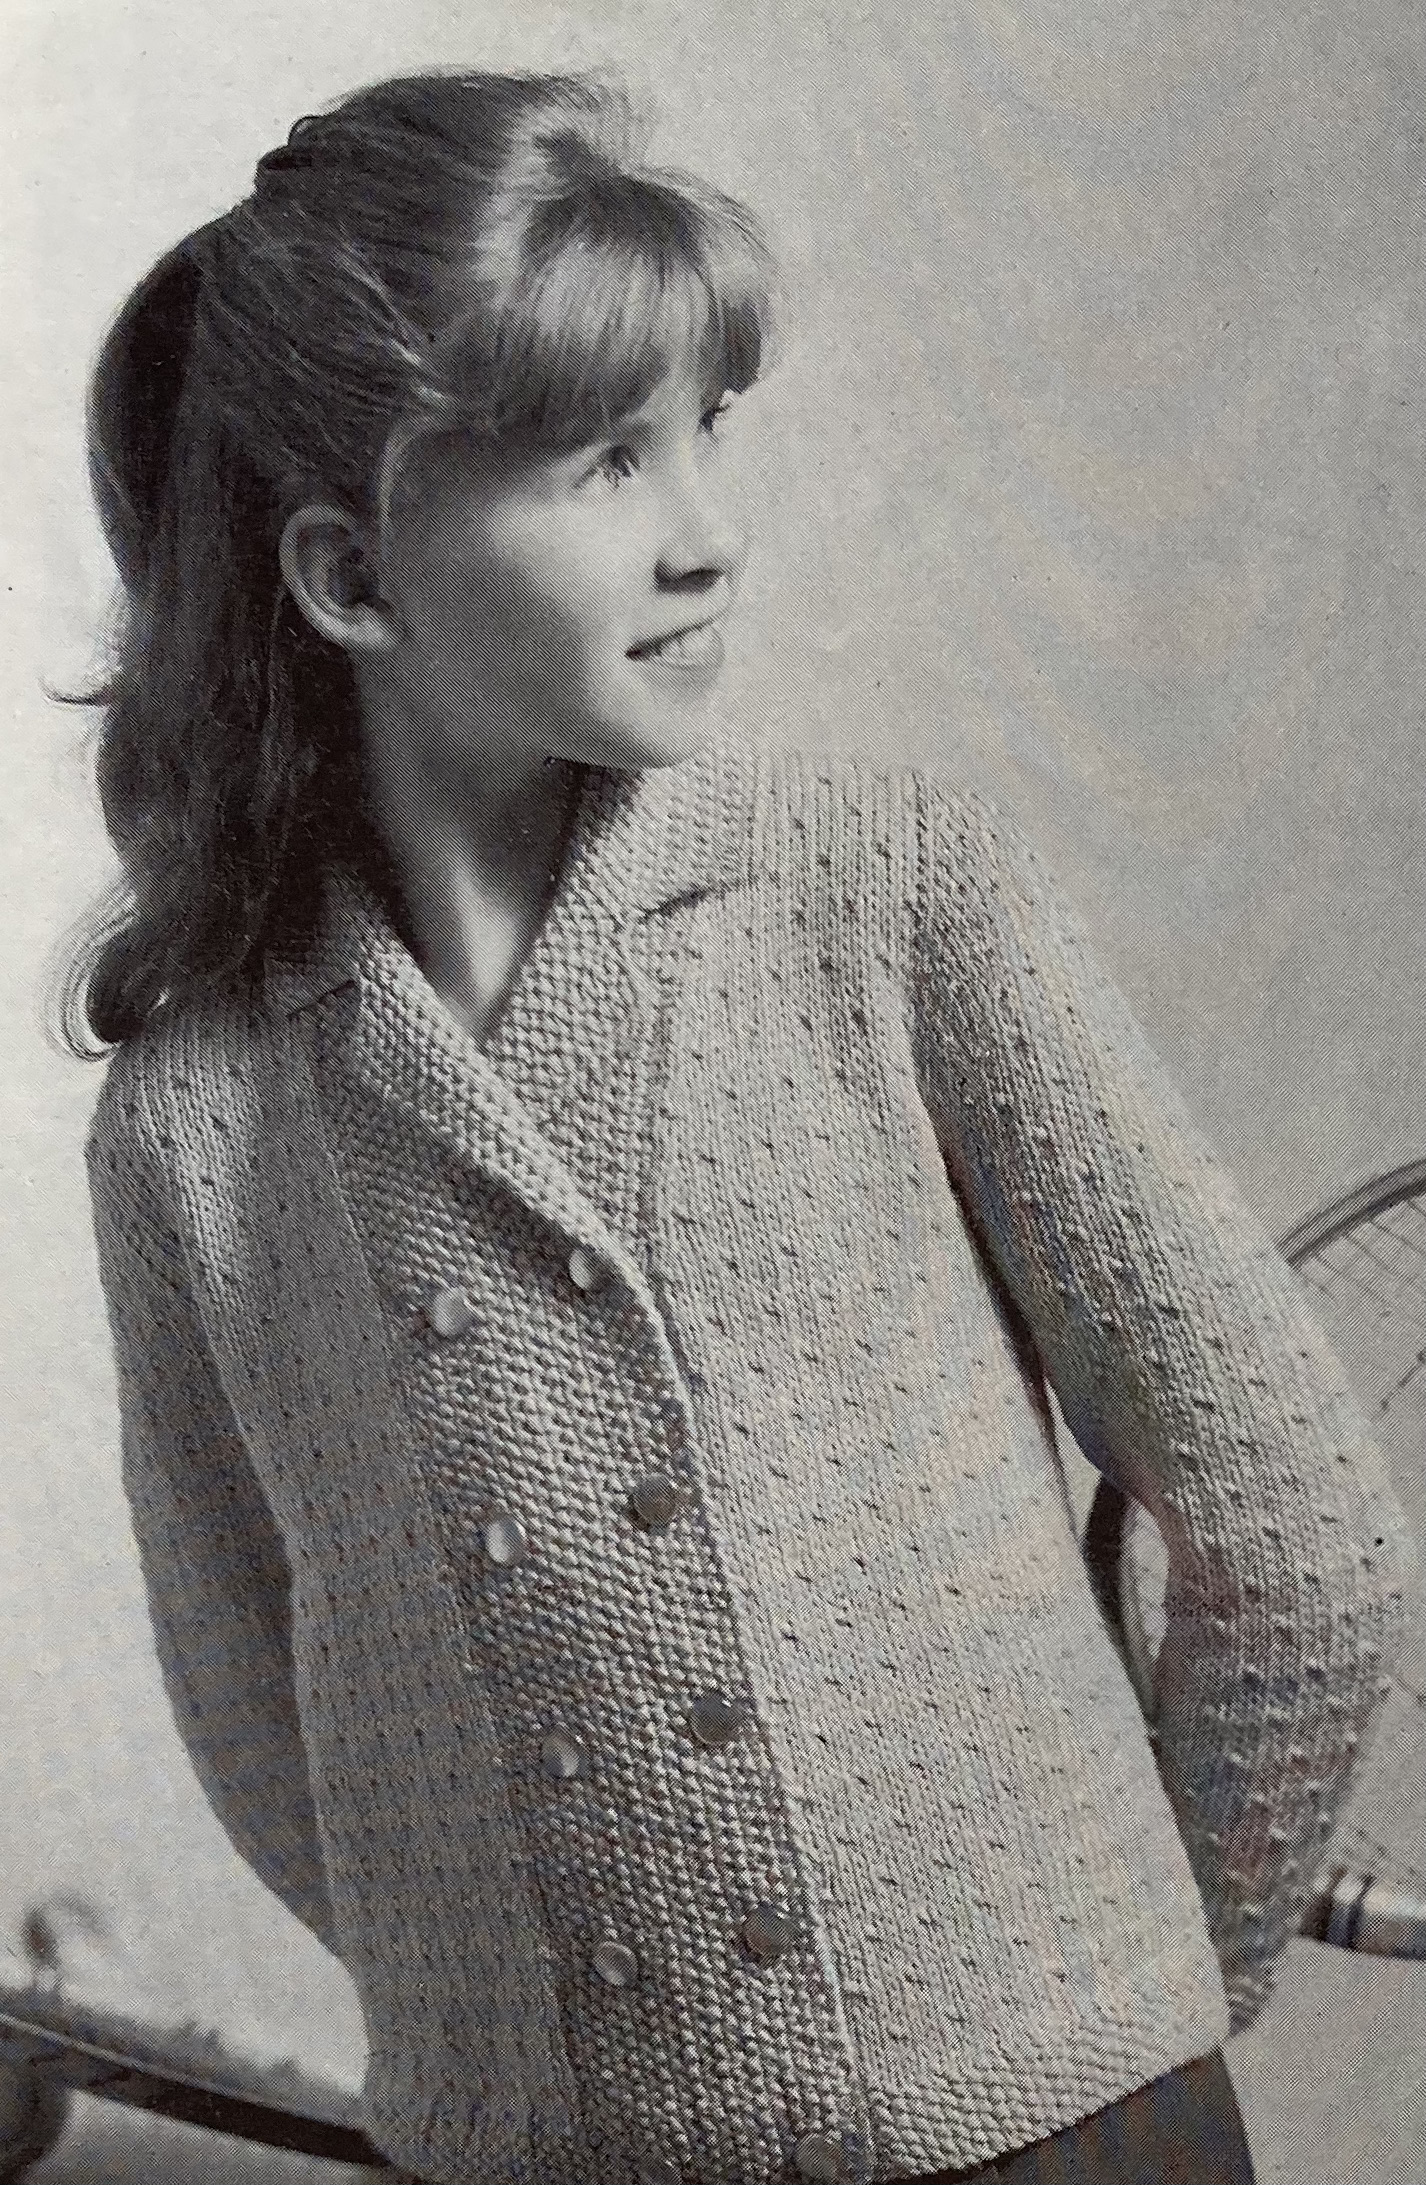
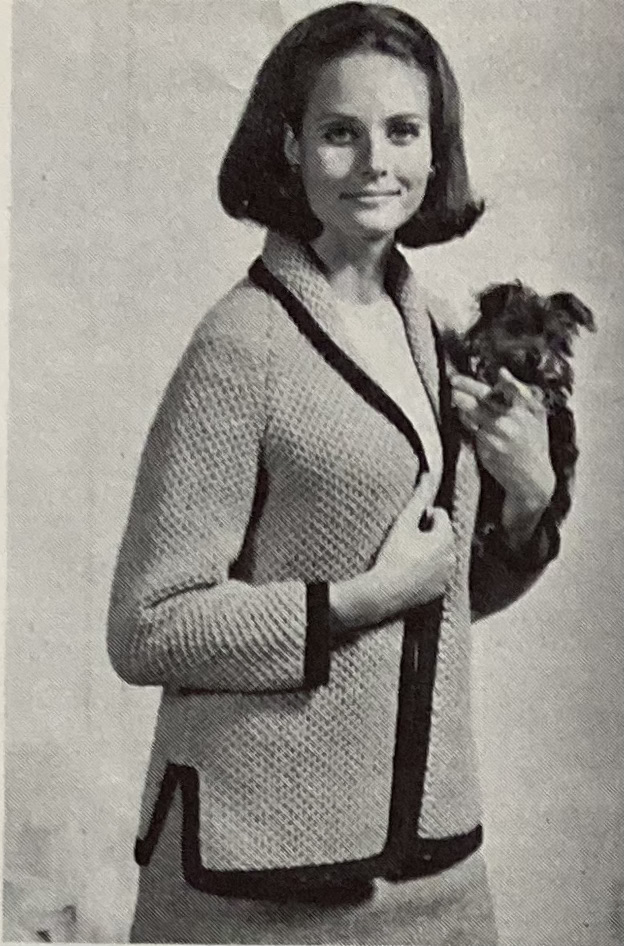
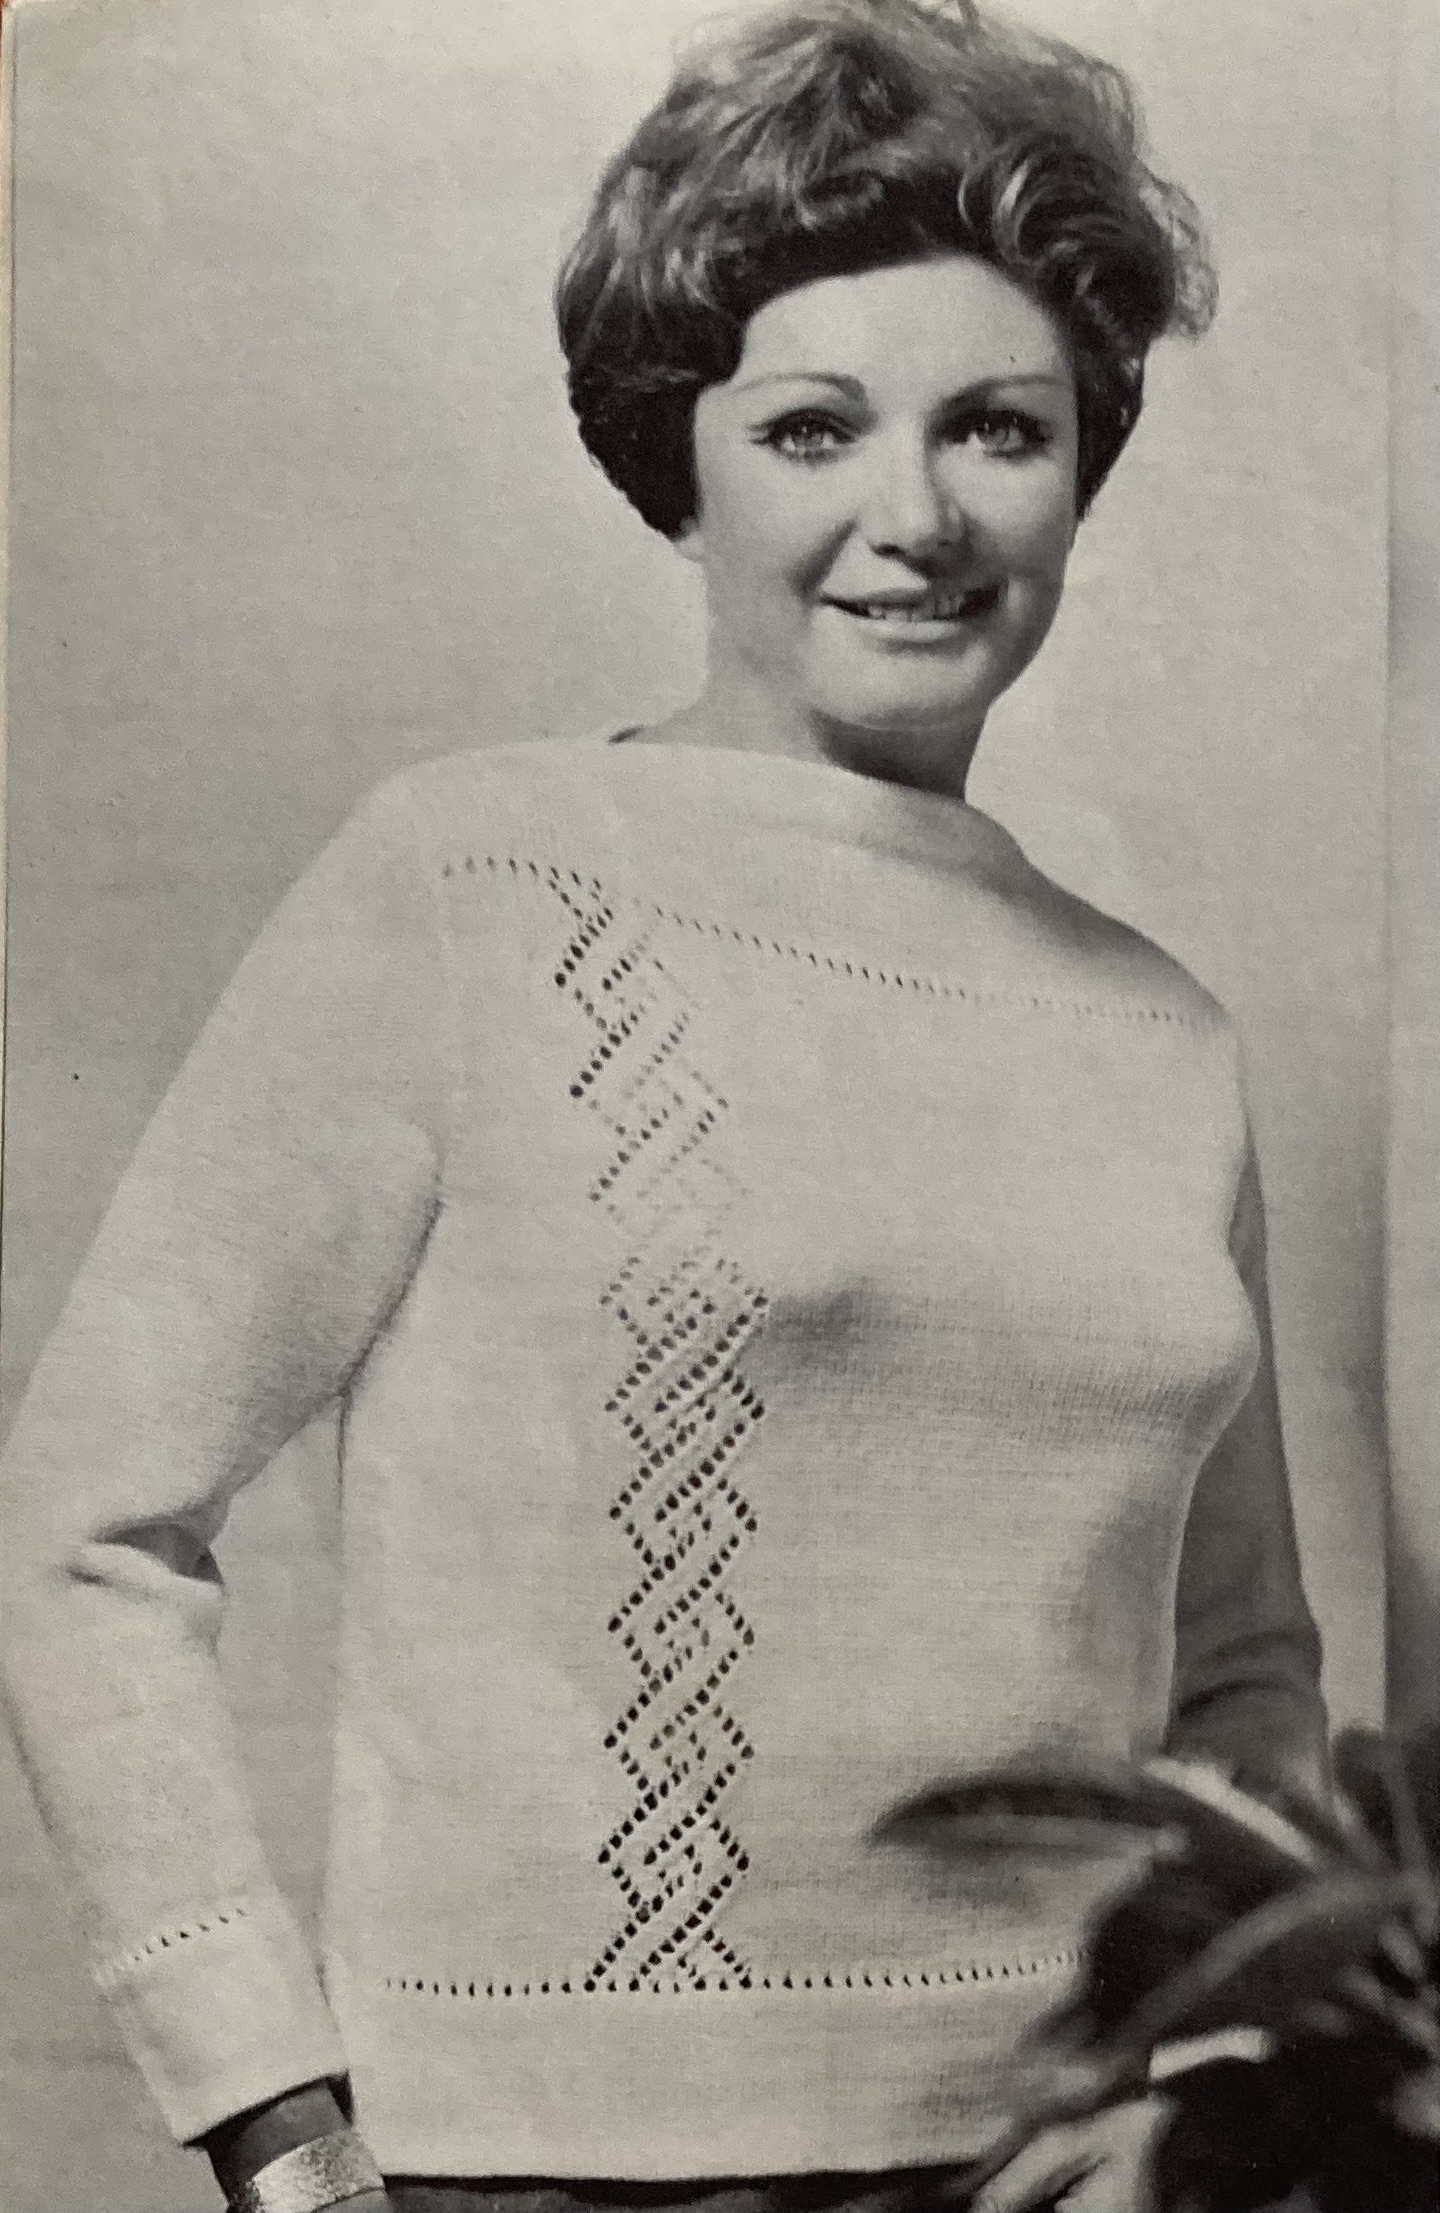
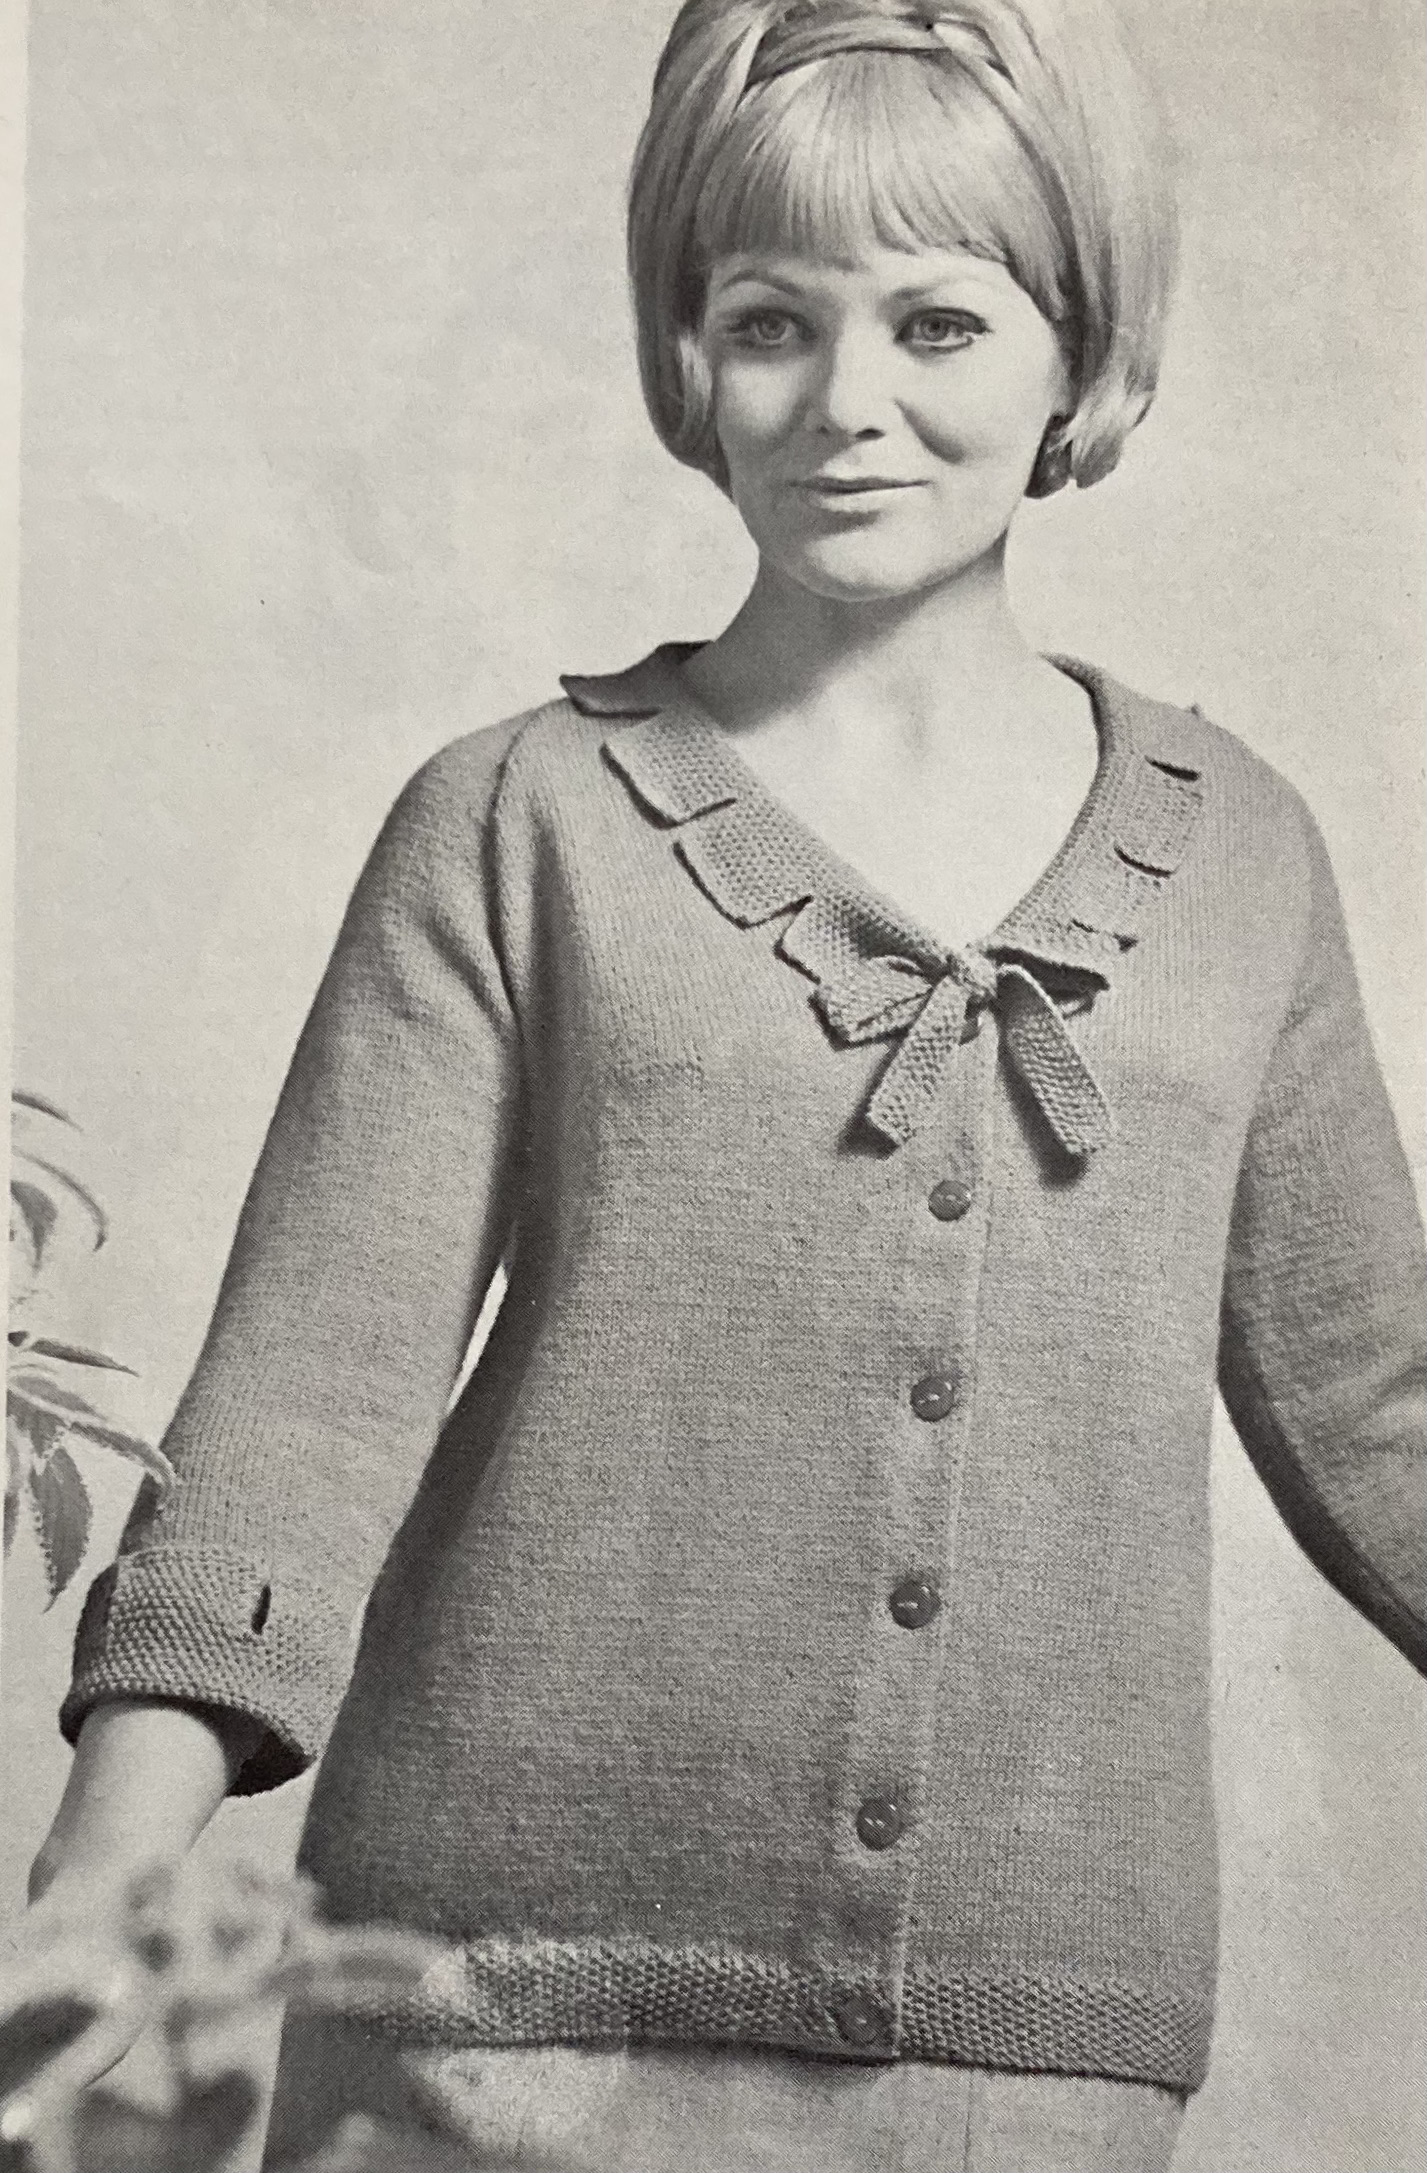
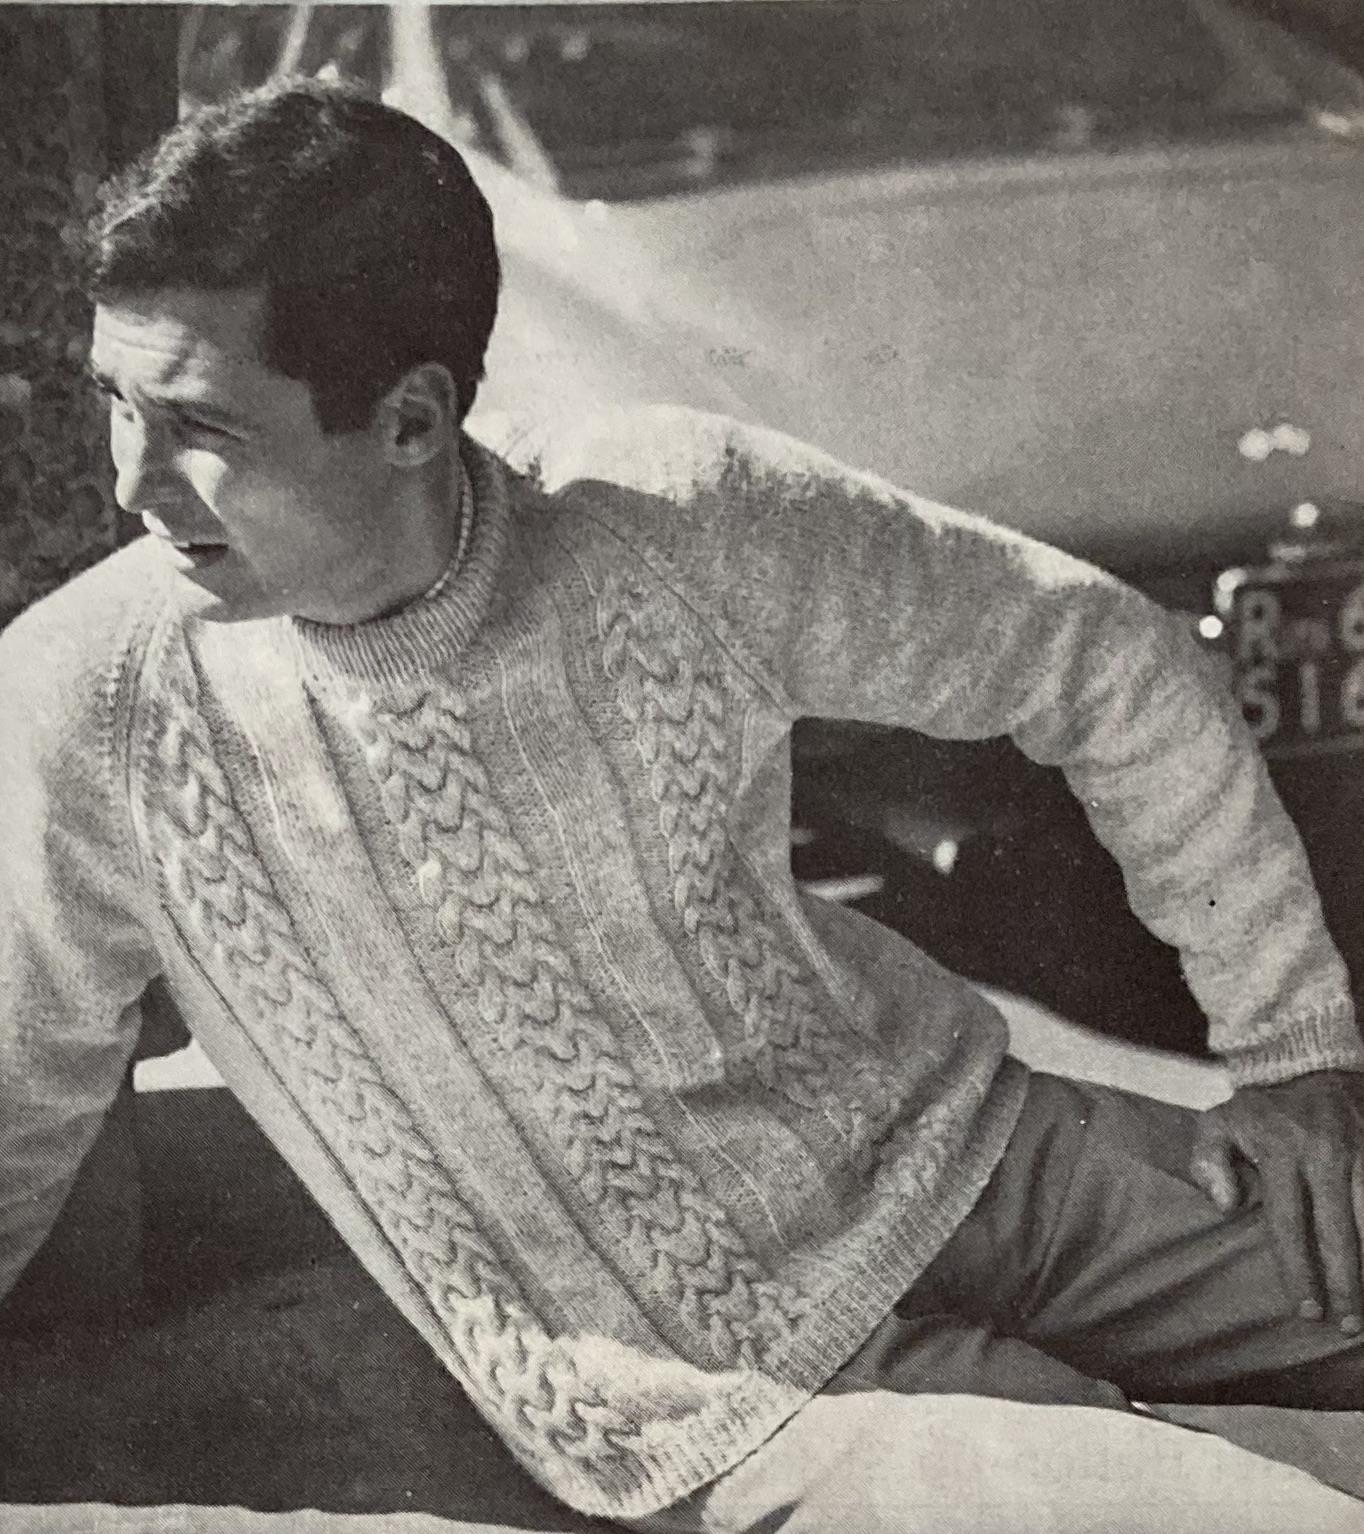
Other designs include a slip-stitch cardigan jacket which you are supposed to “slip on when the January winds make you chilly”, even though it doesn’t have buttons or any kind of fastening in the front, so I think the wind would get in pretty easily. For larger-sized ladies (up to 46-inch bust, which is pretty size-inclusive for 1967 standards), there’s a machine-knit jumper with a lace panel and a simple cardigan blouse with a pretty “petal” edging on the neckline. Men get a classic raglan crew-neck pullover with cables in Courtelle synthetic DK wool.
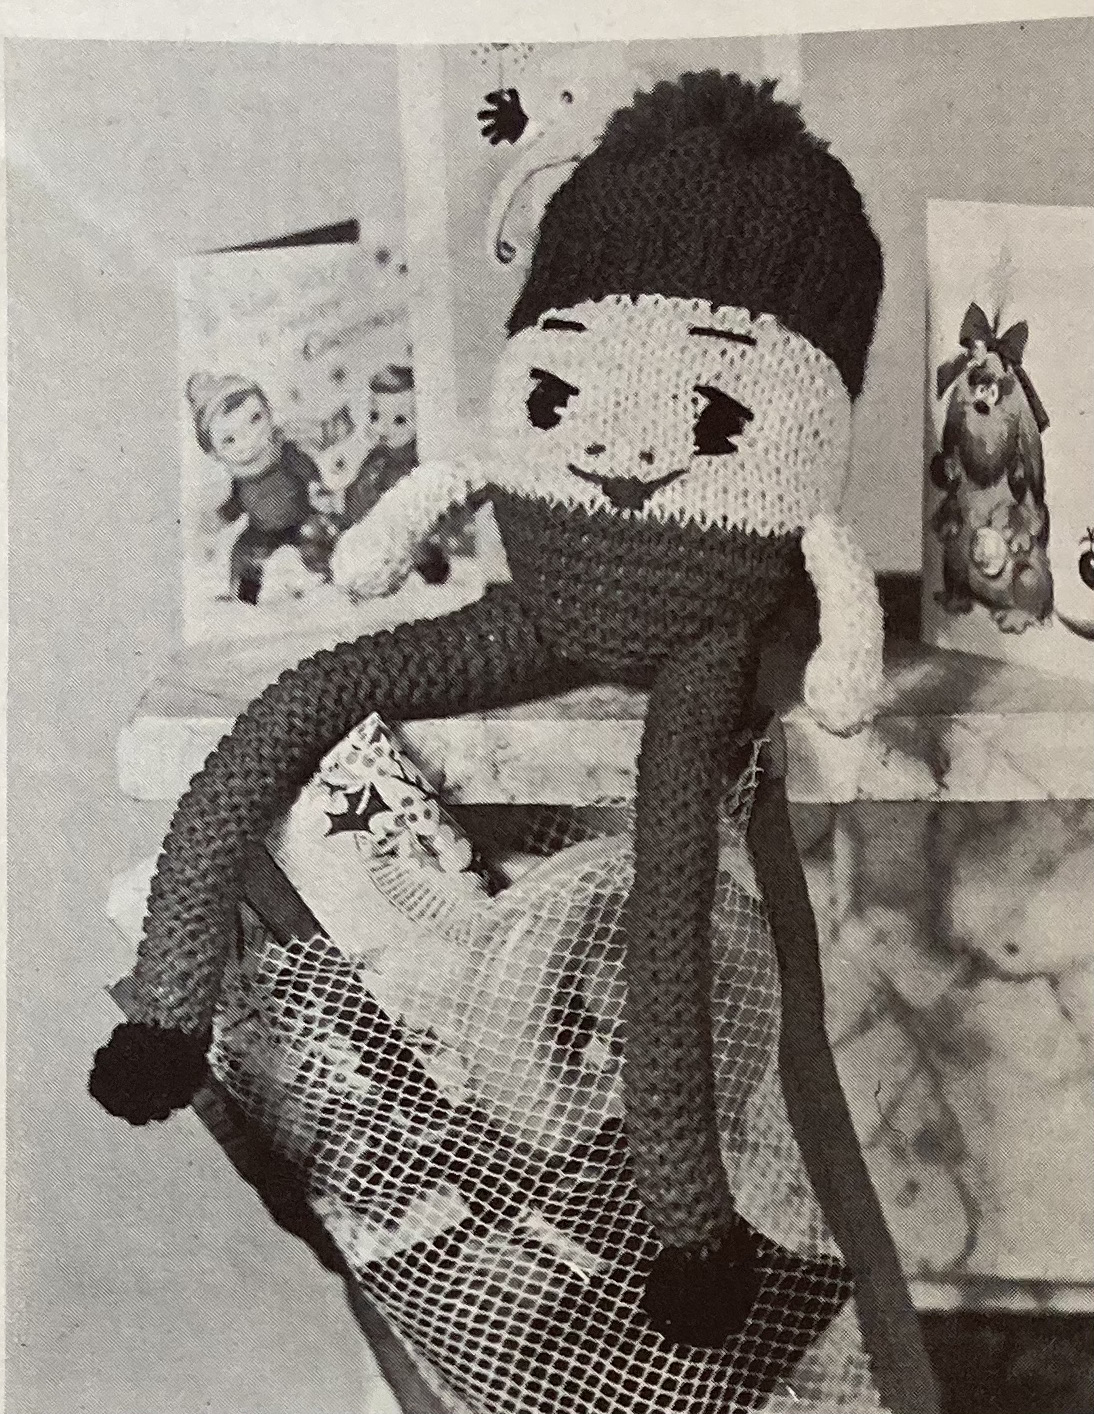
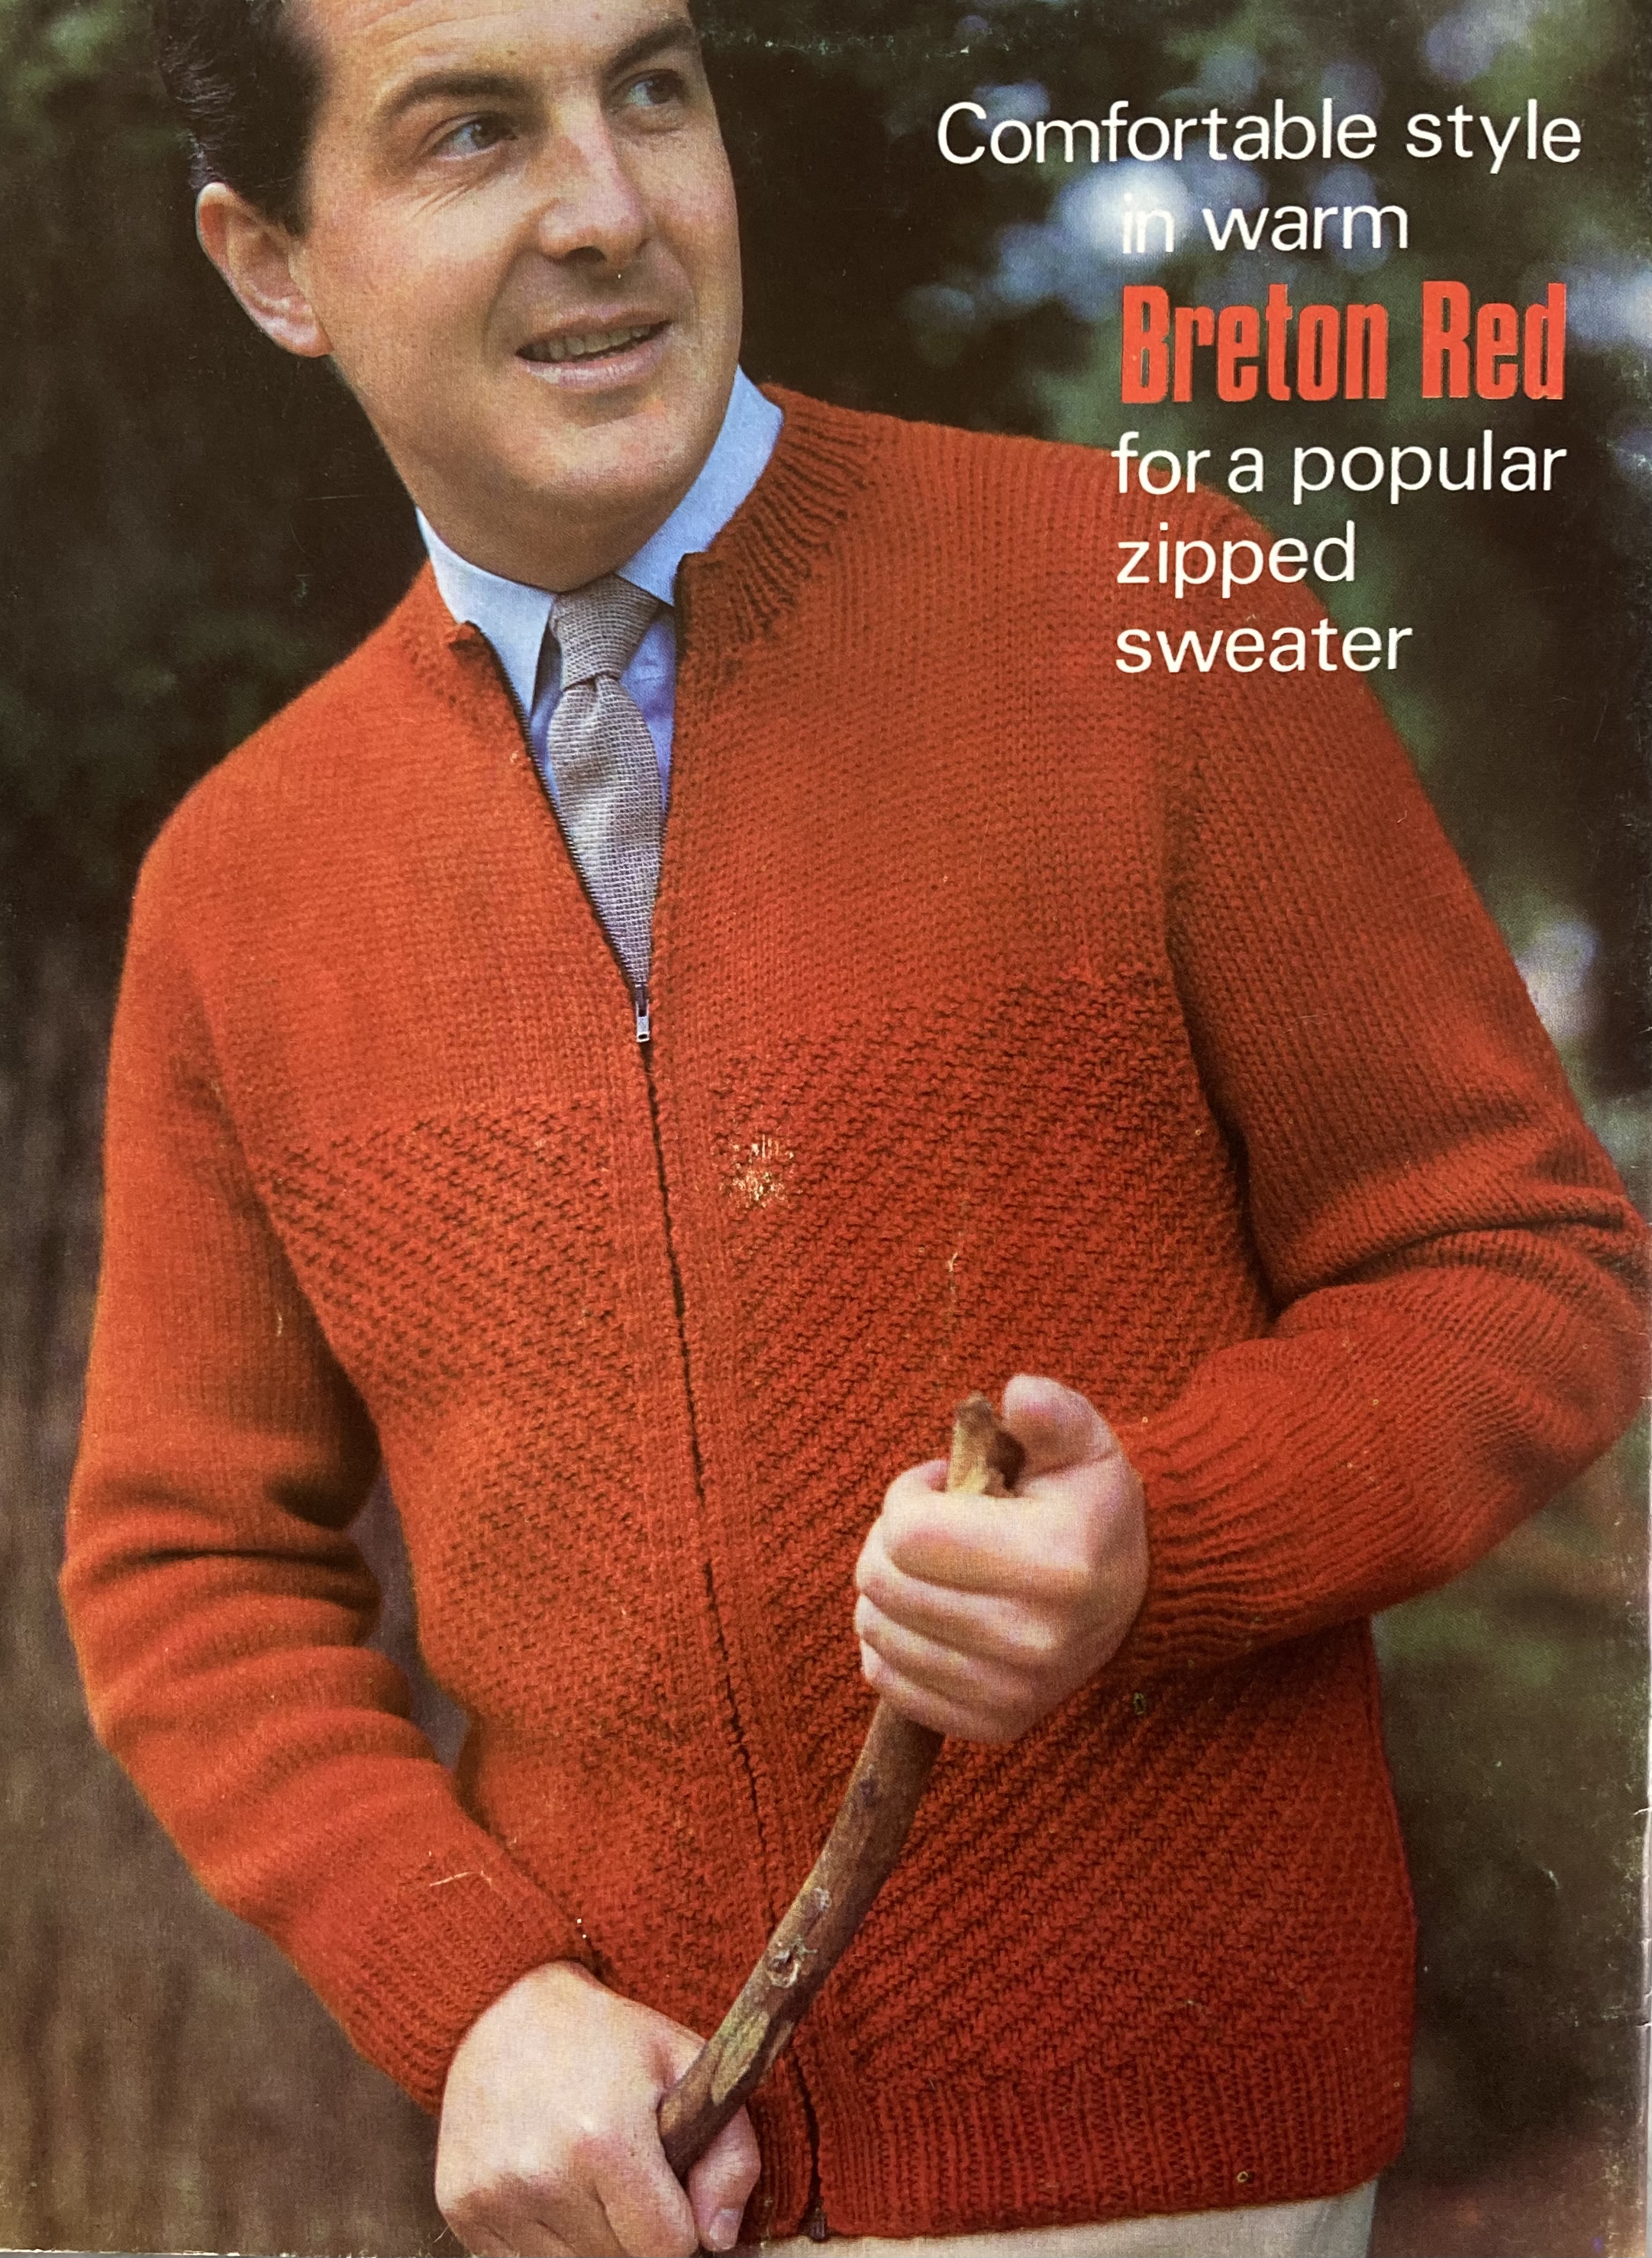
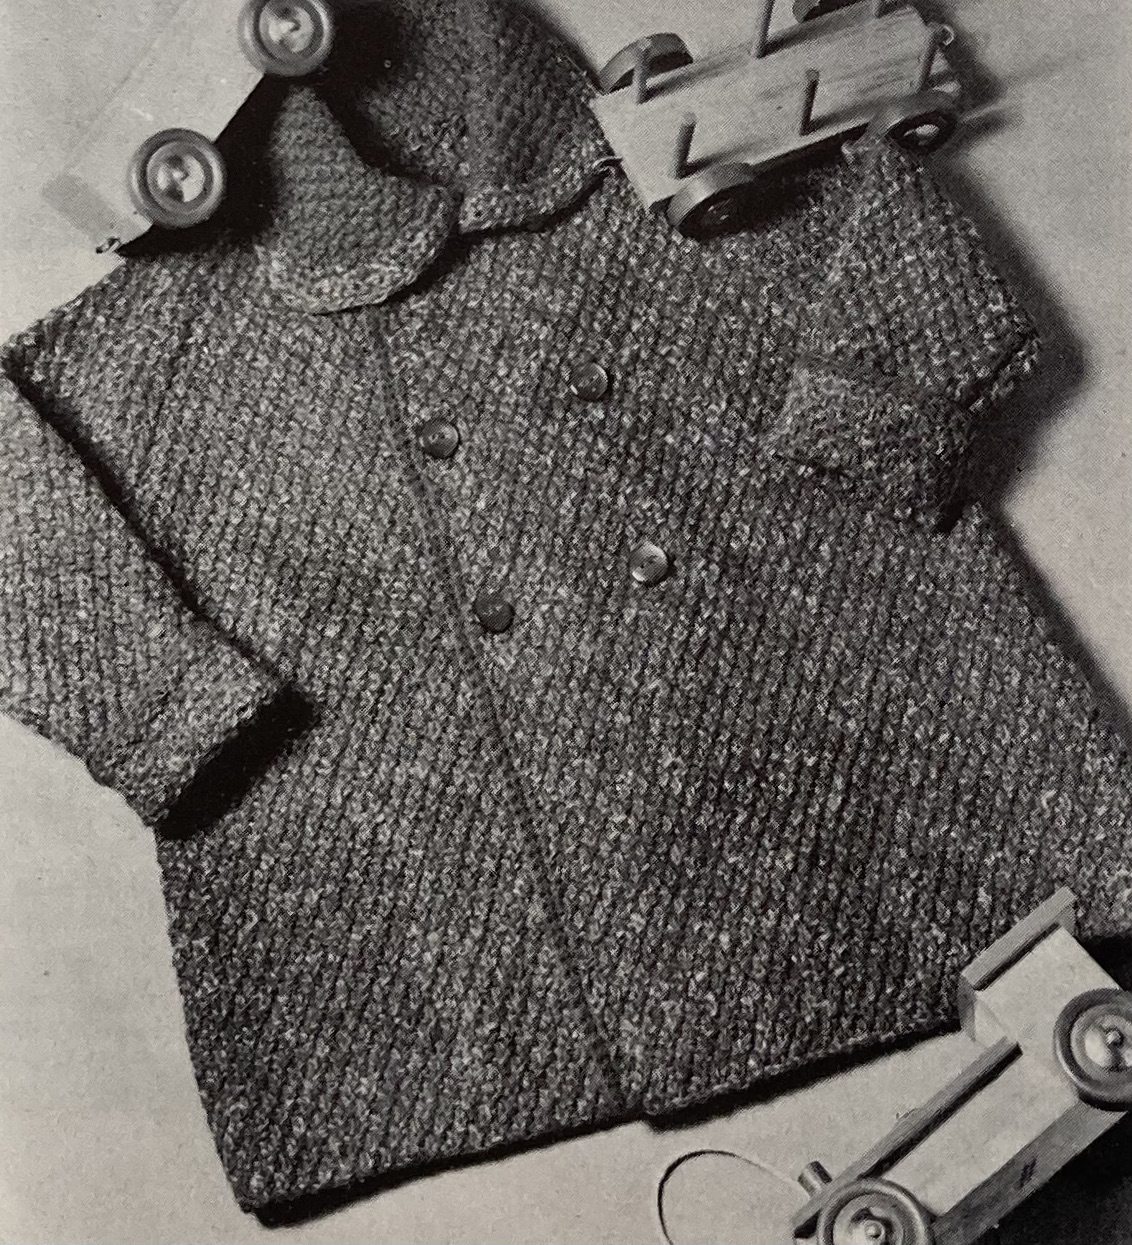
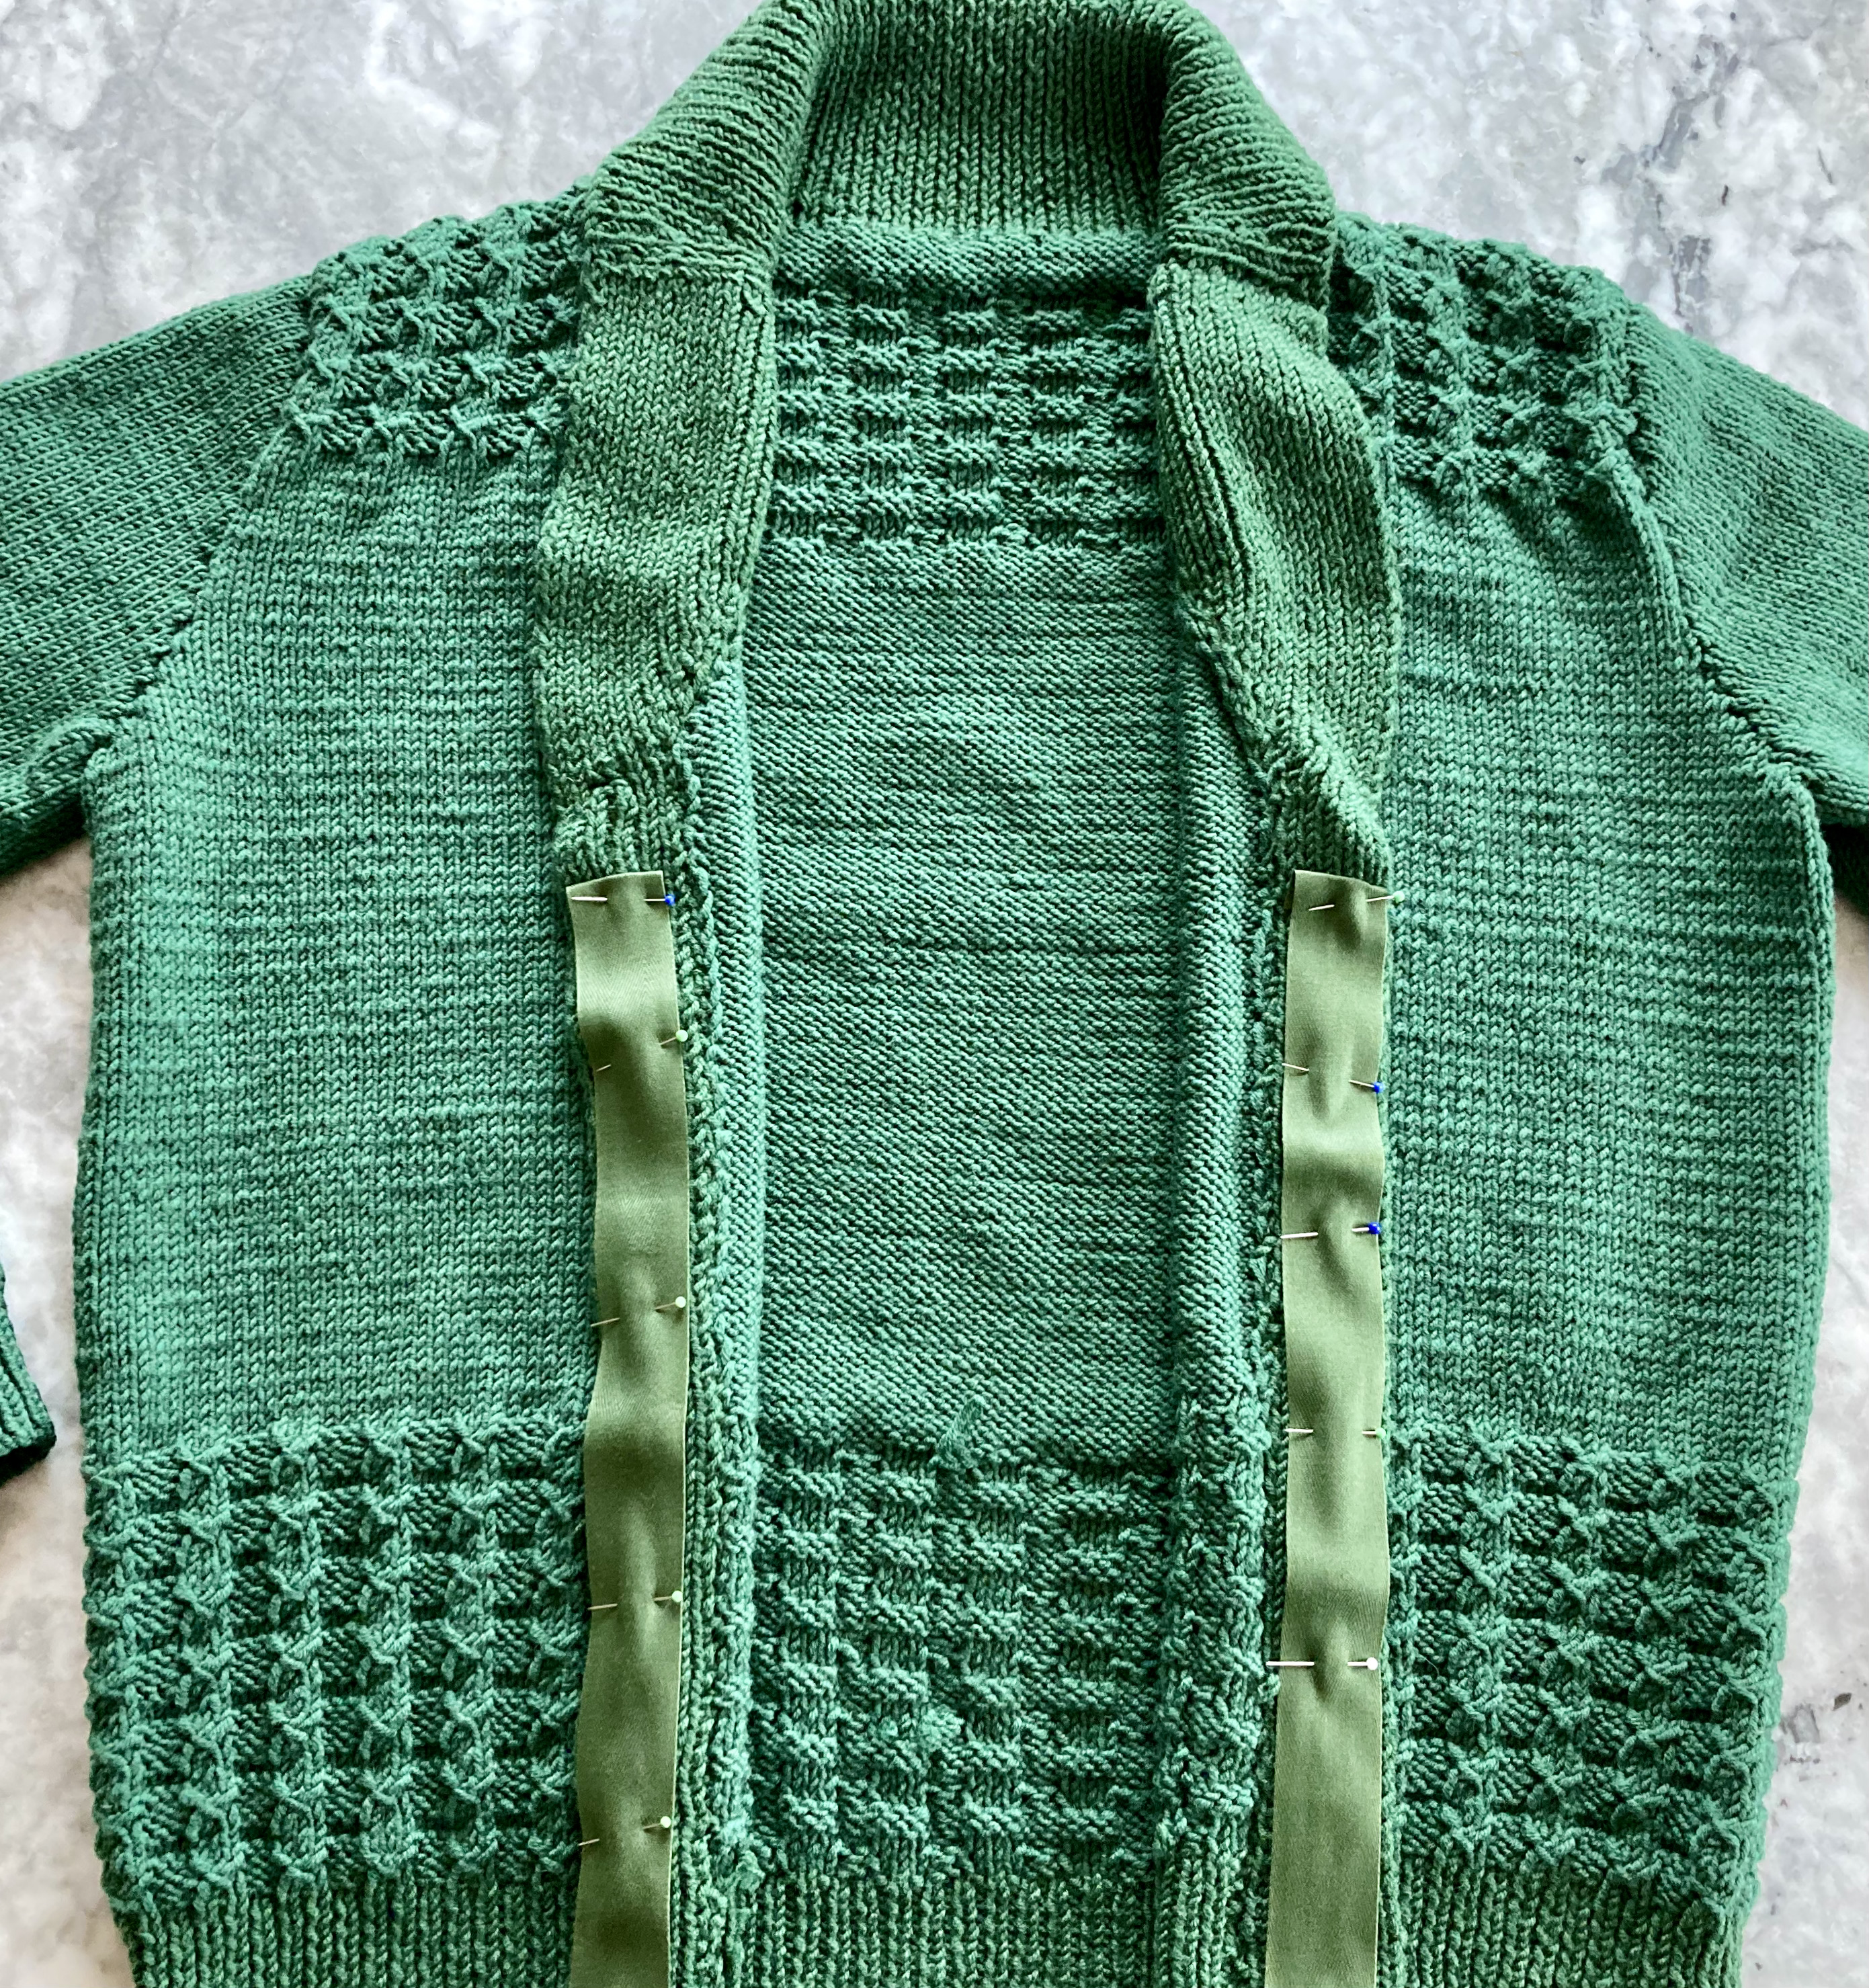
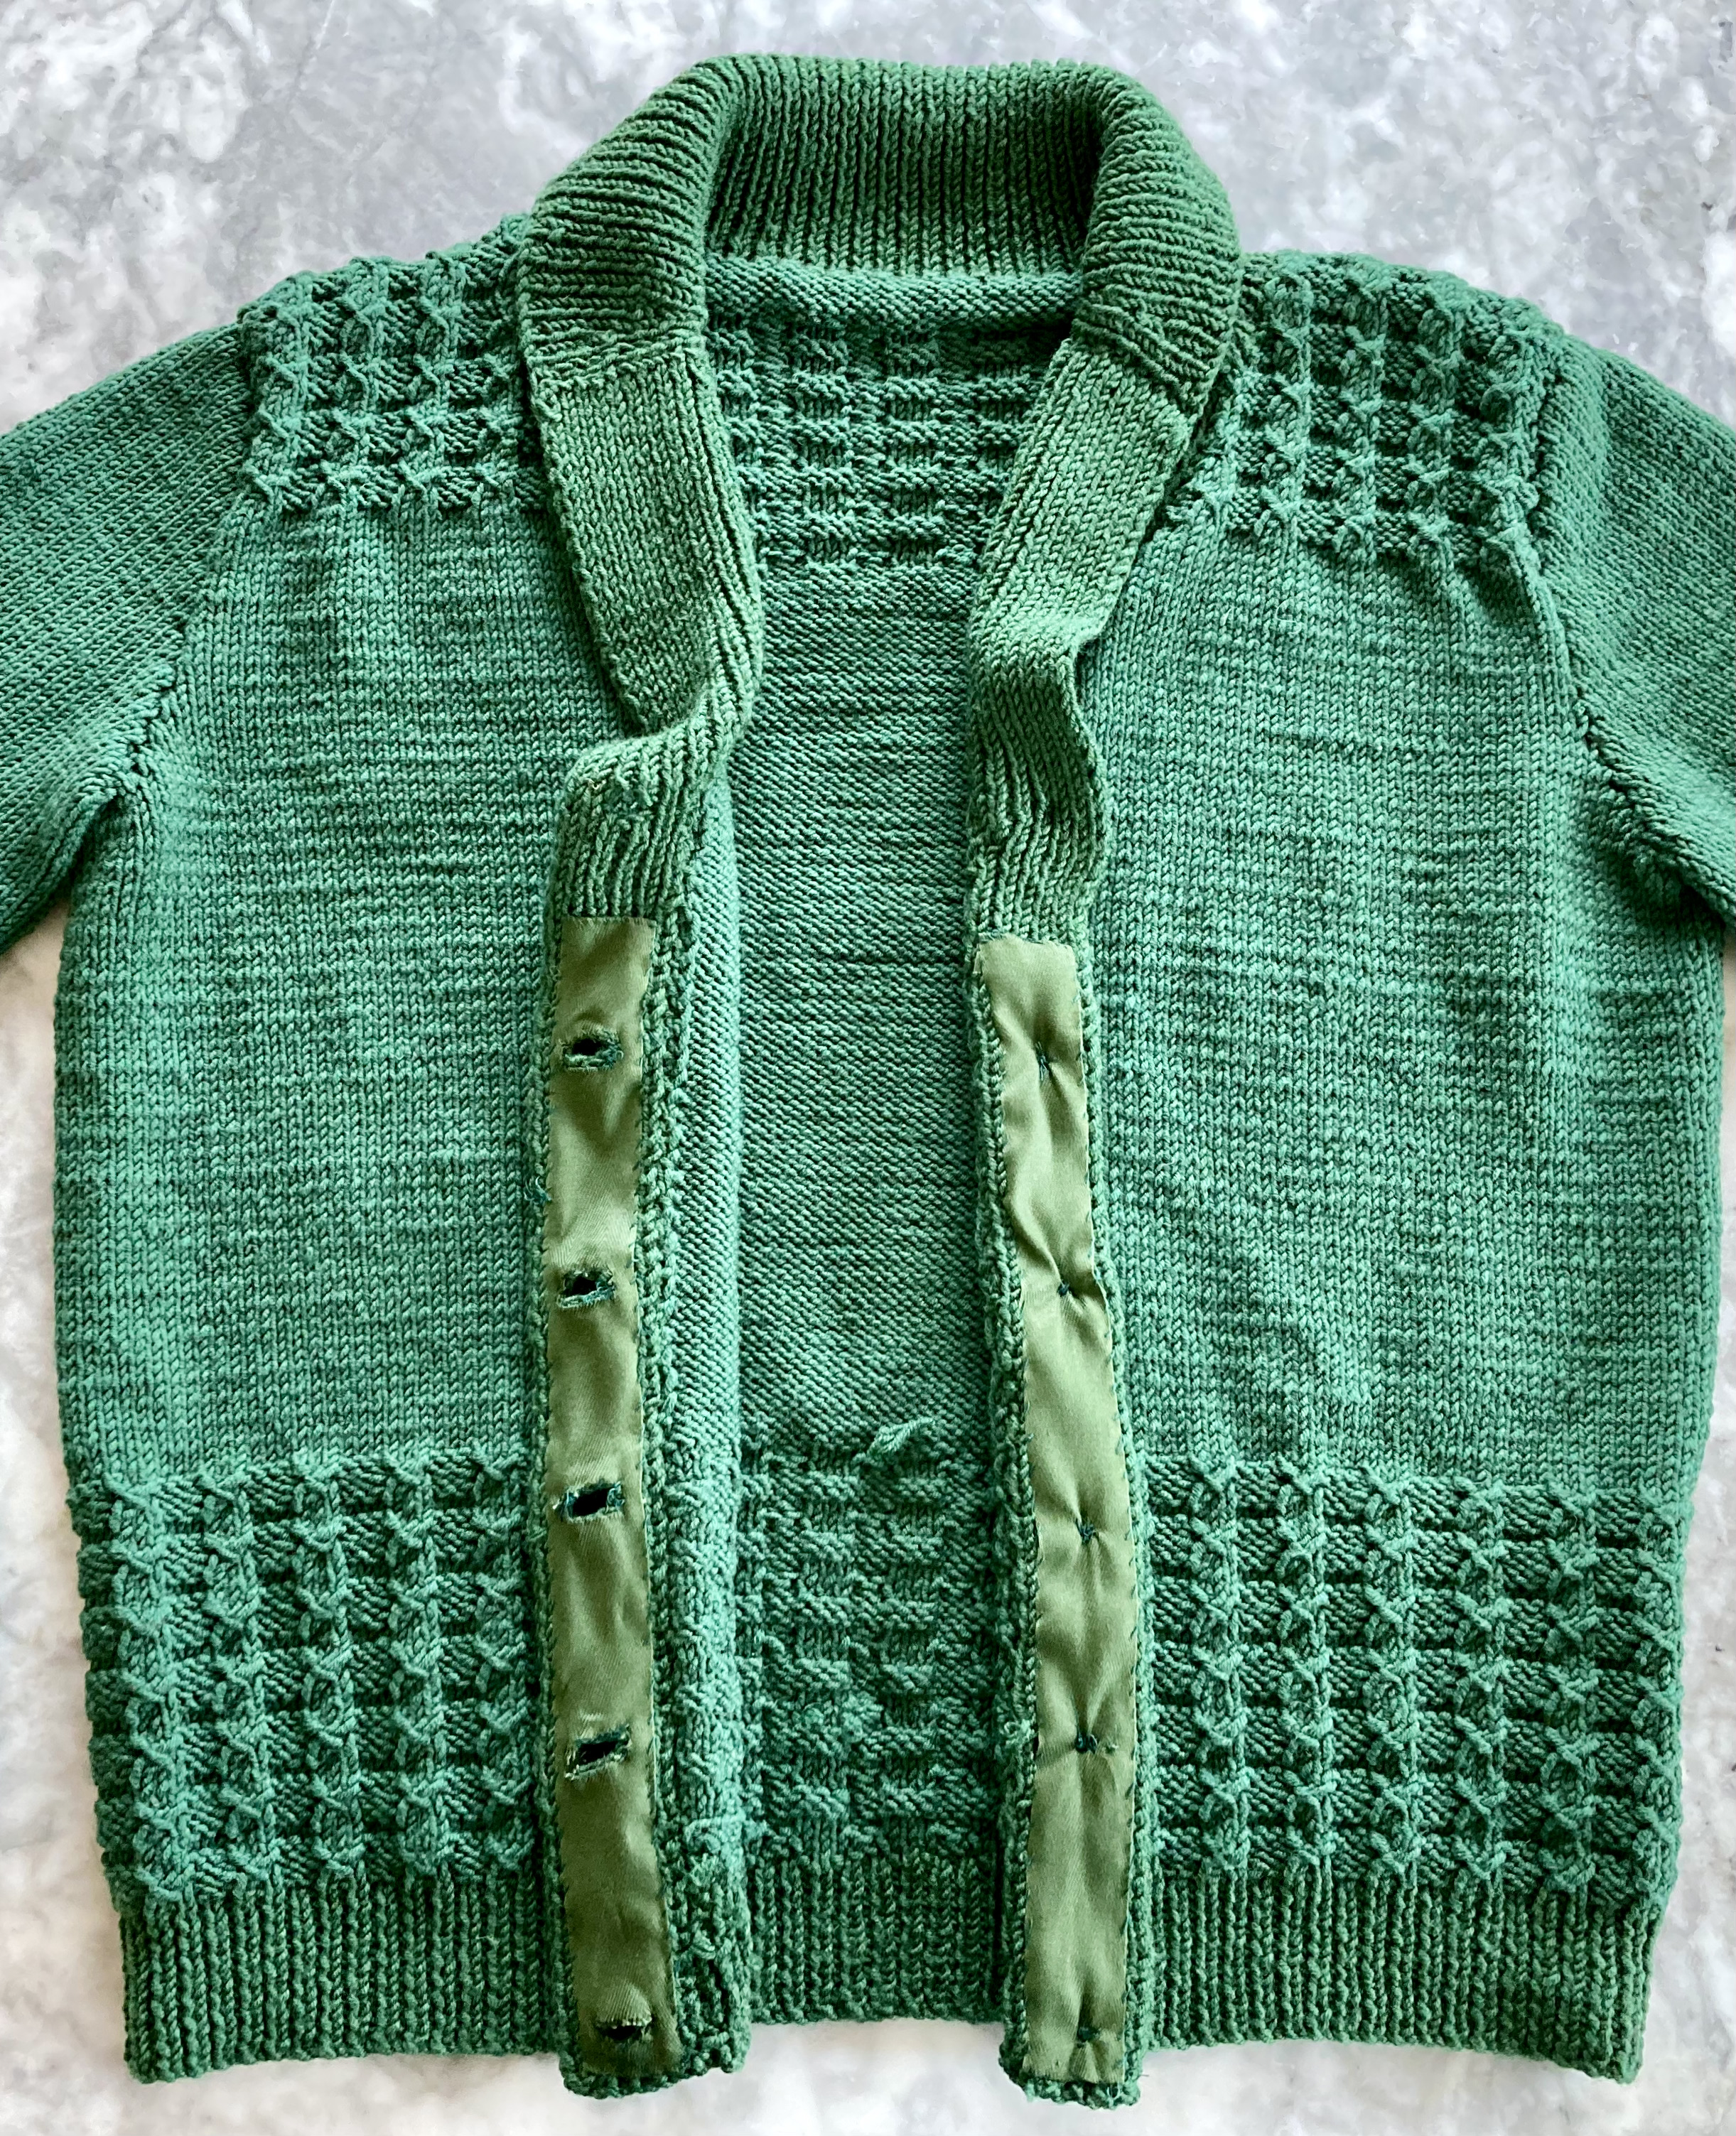
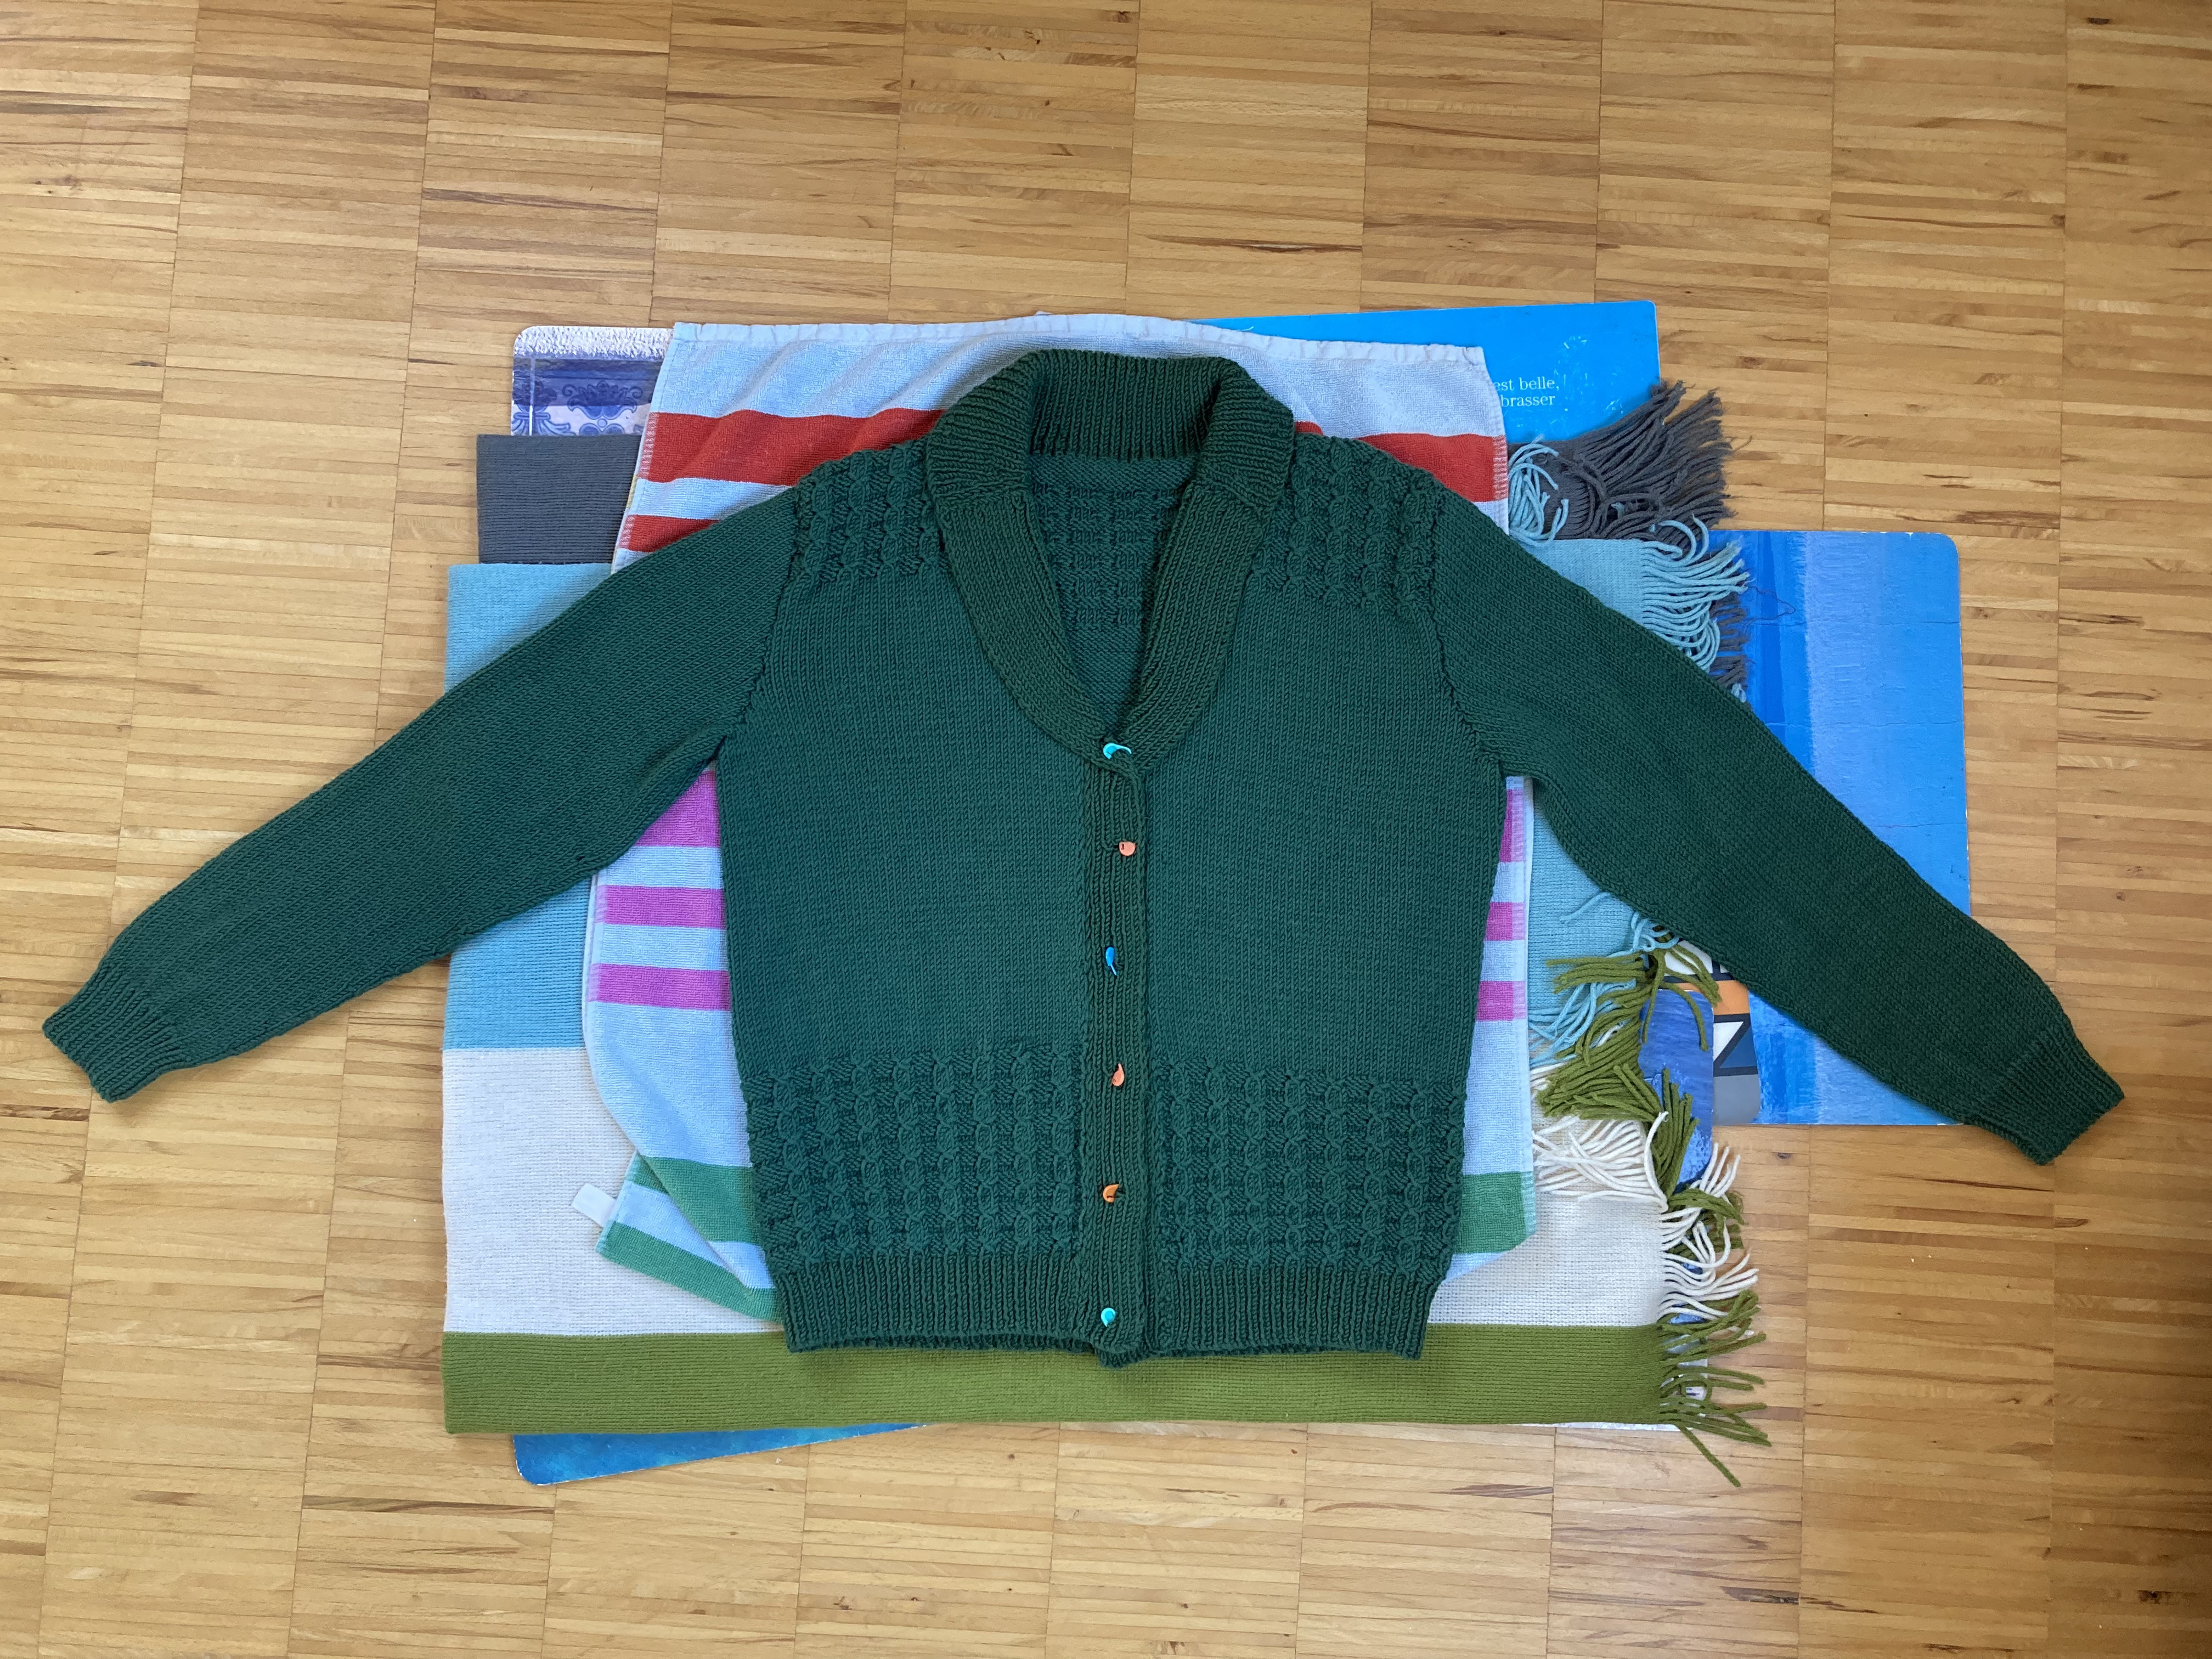
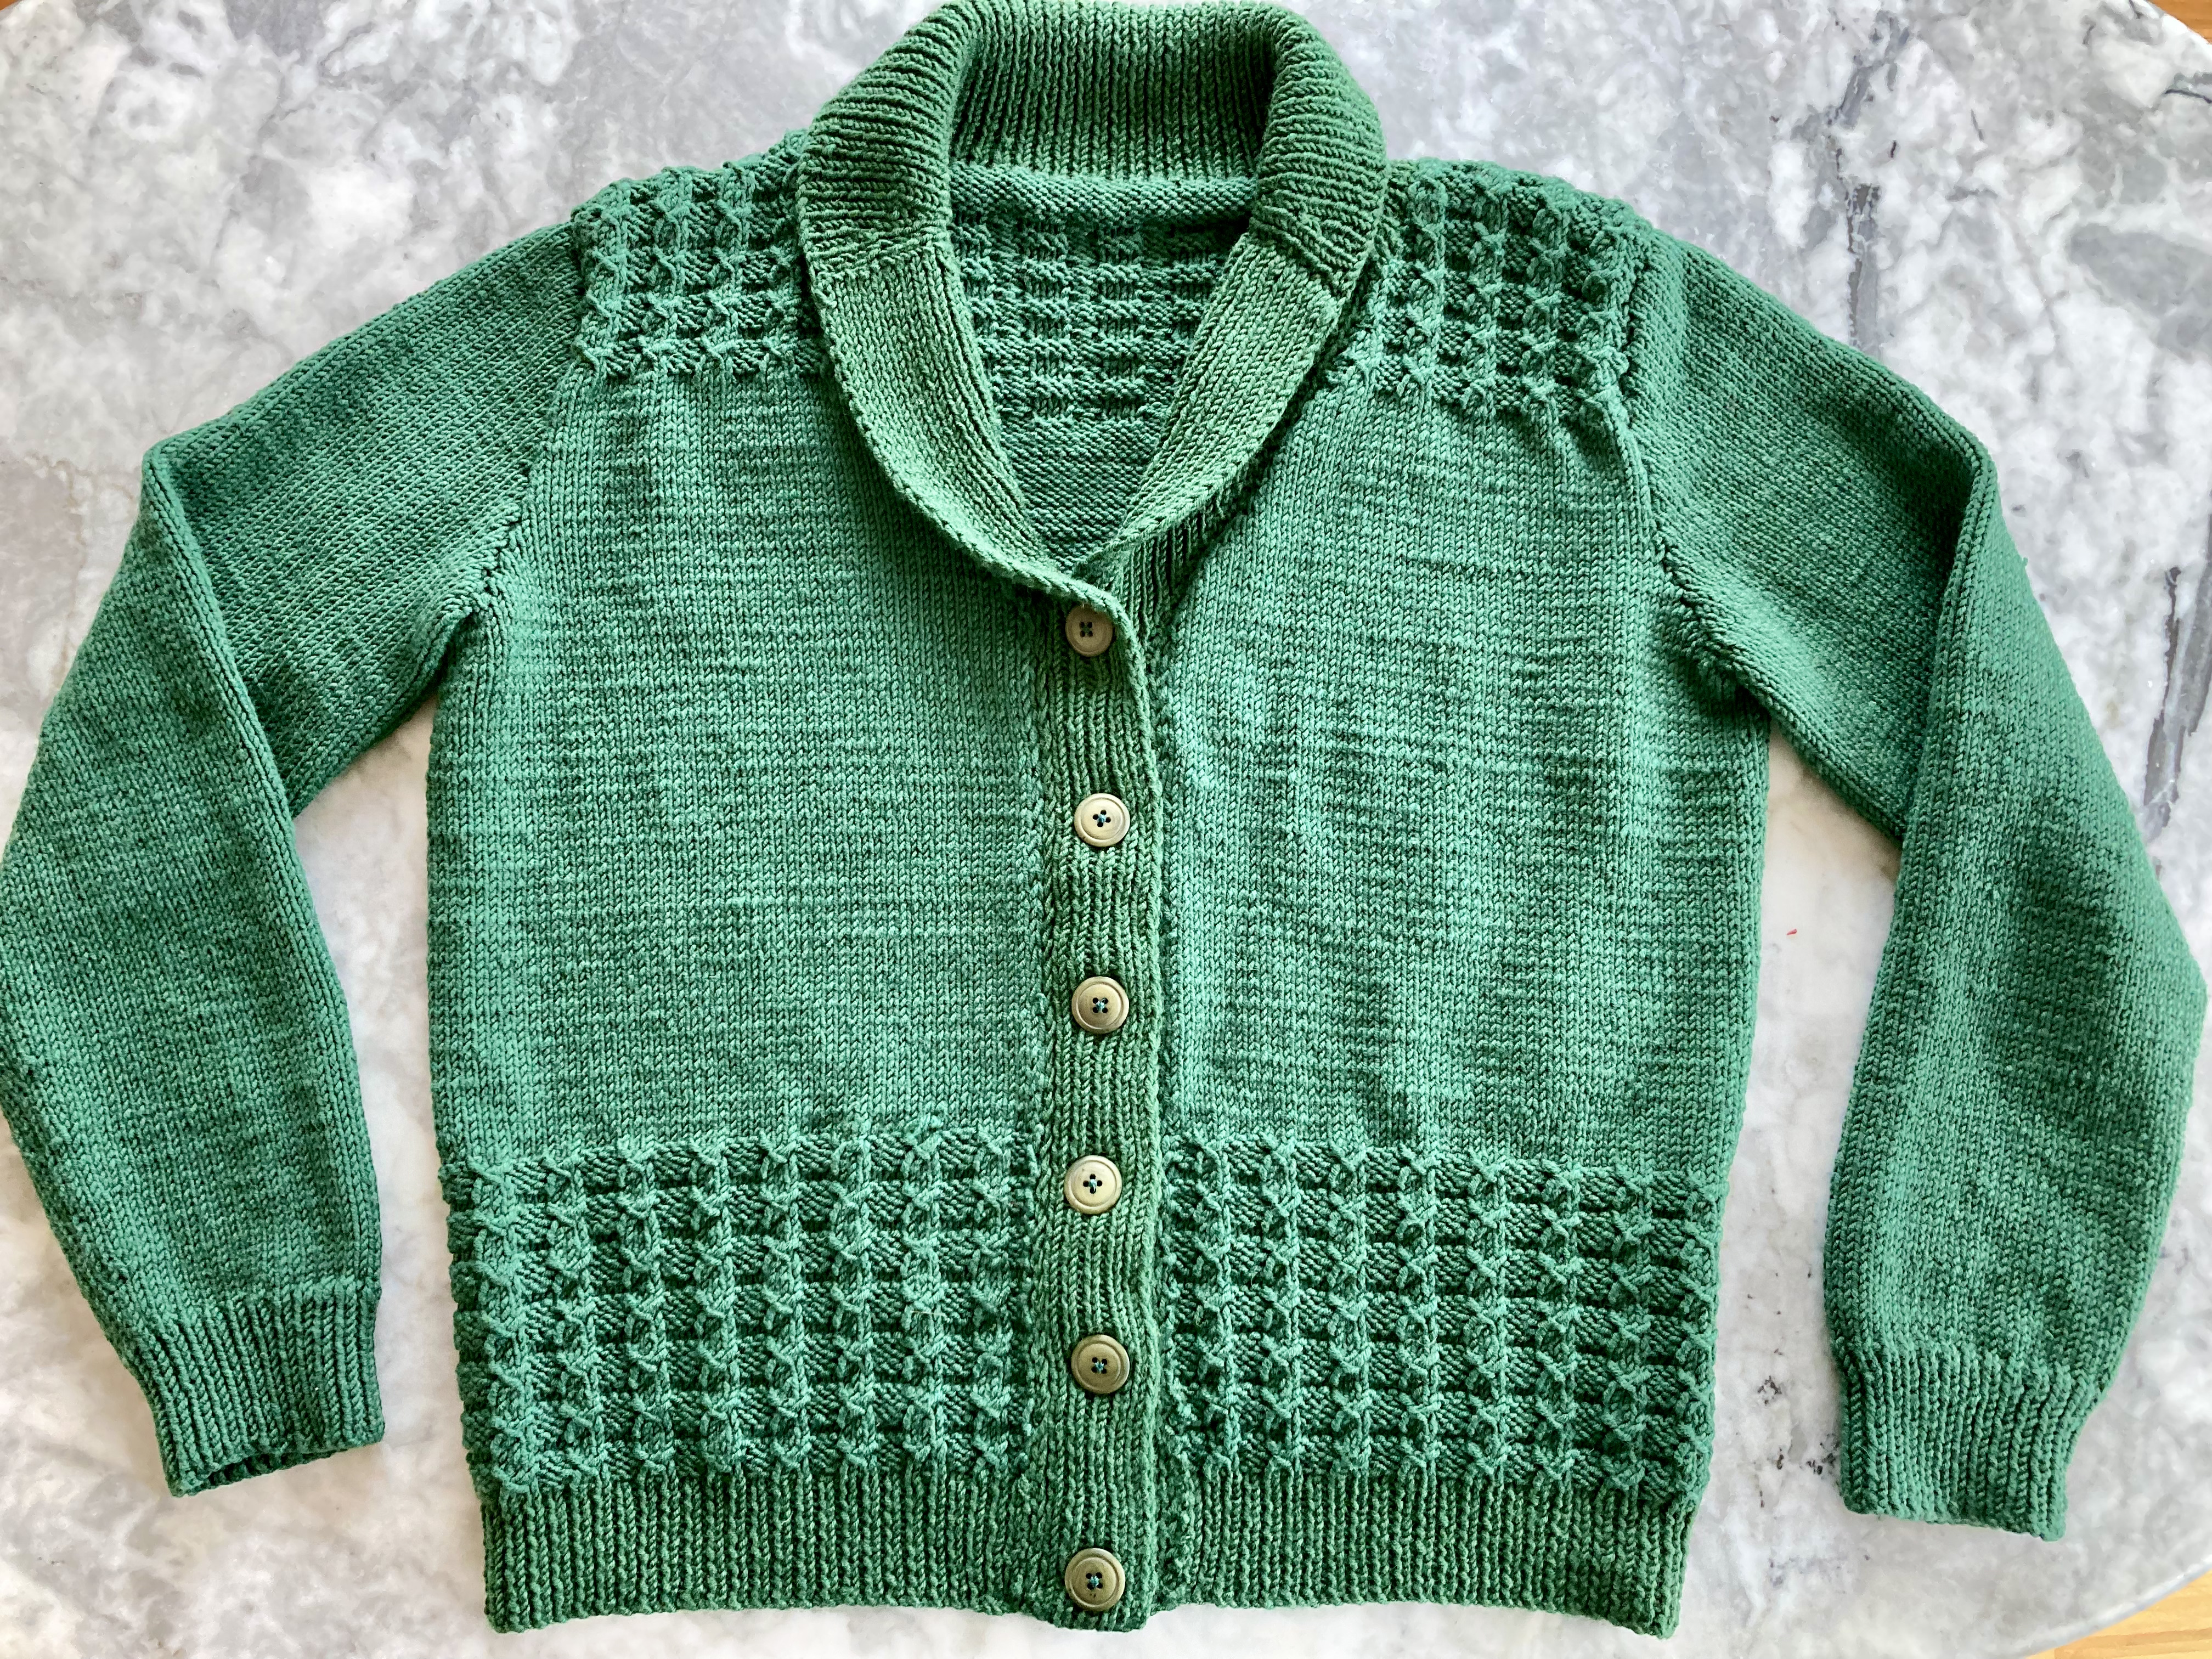
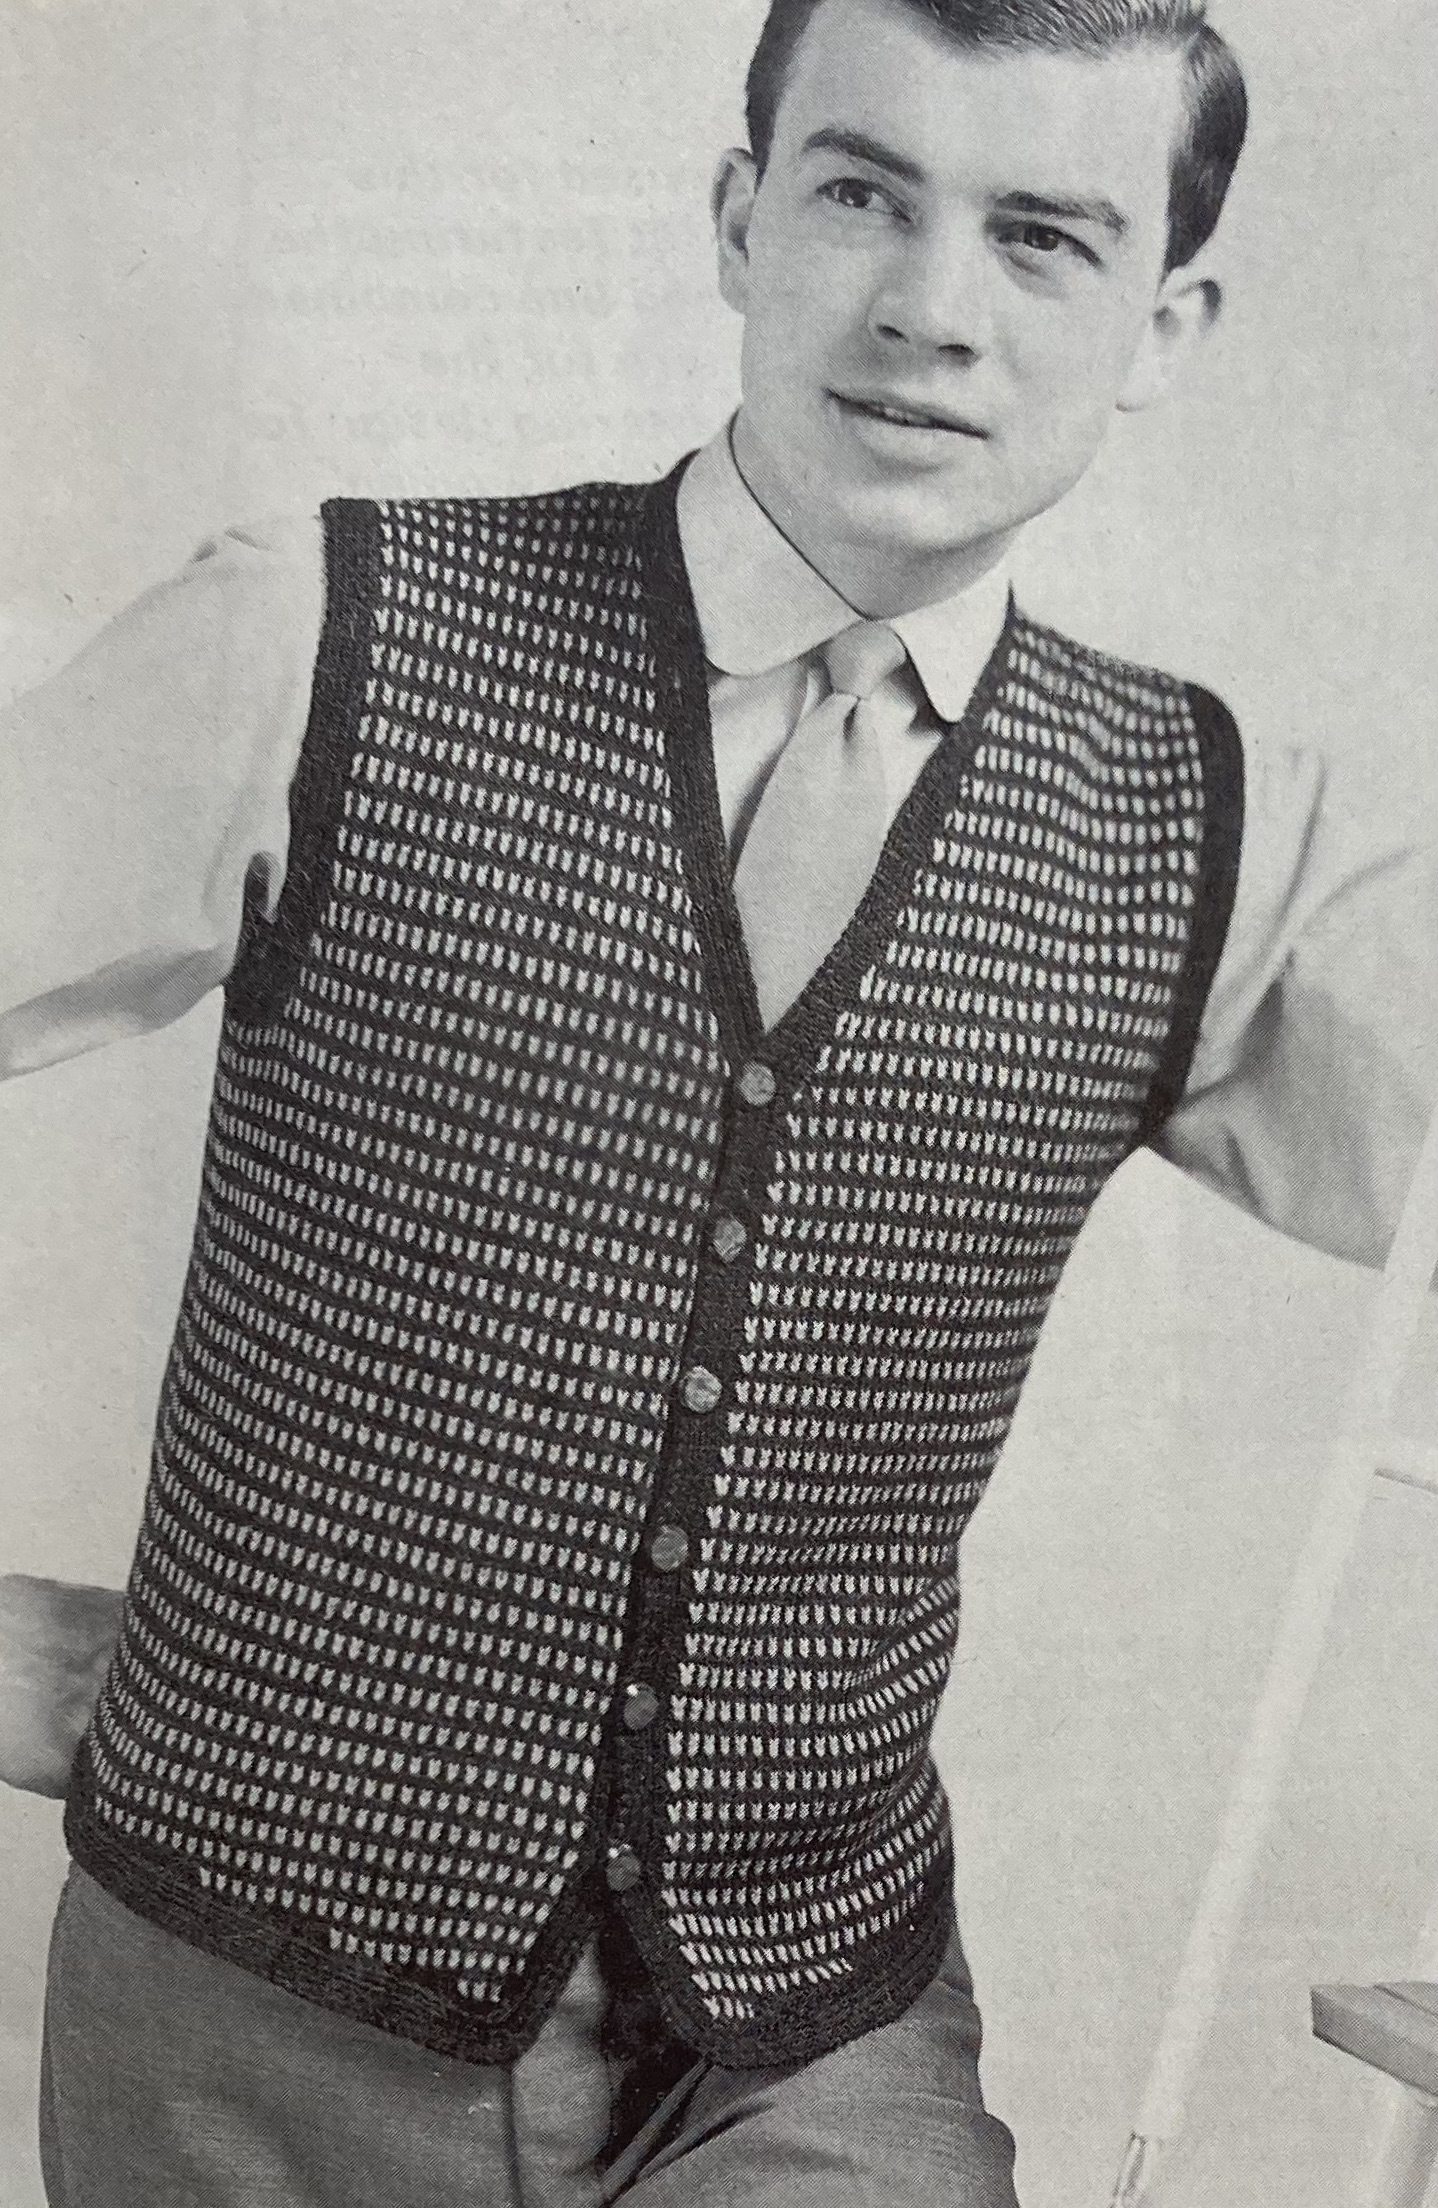
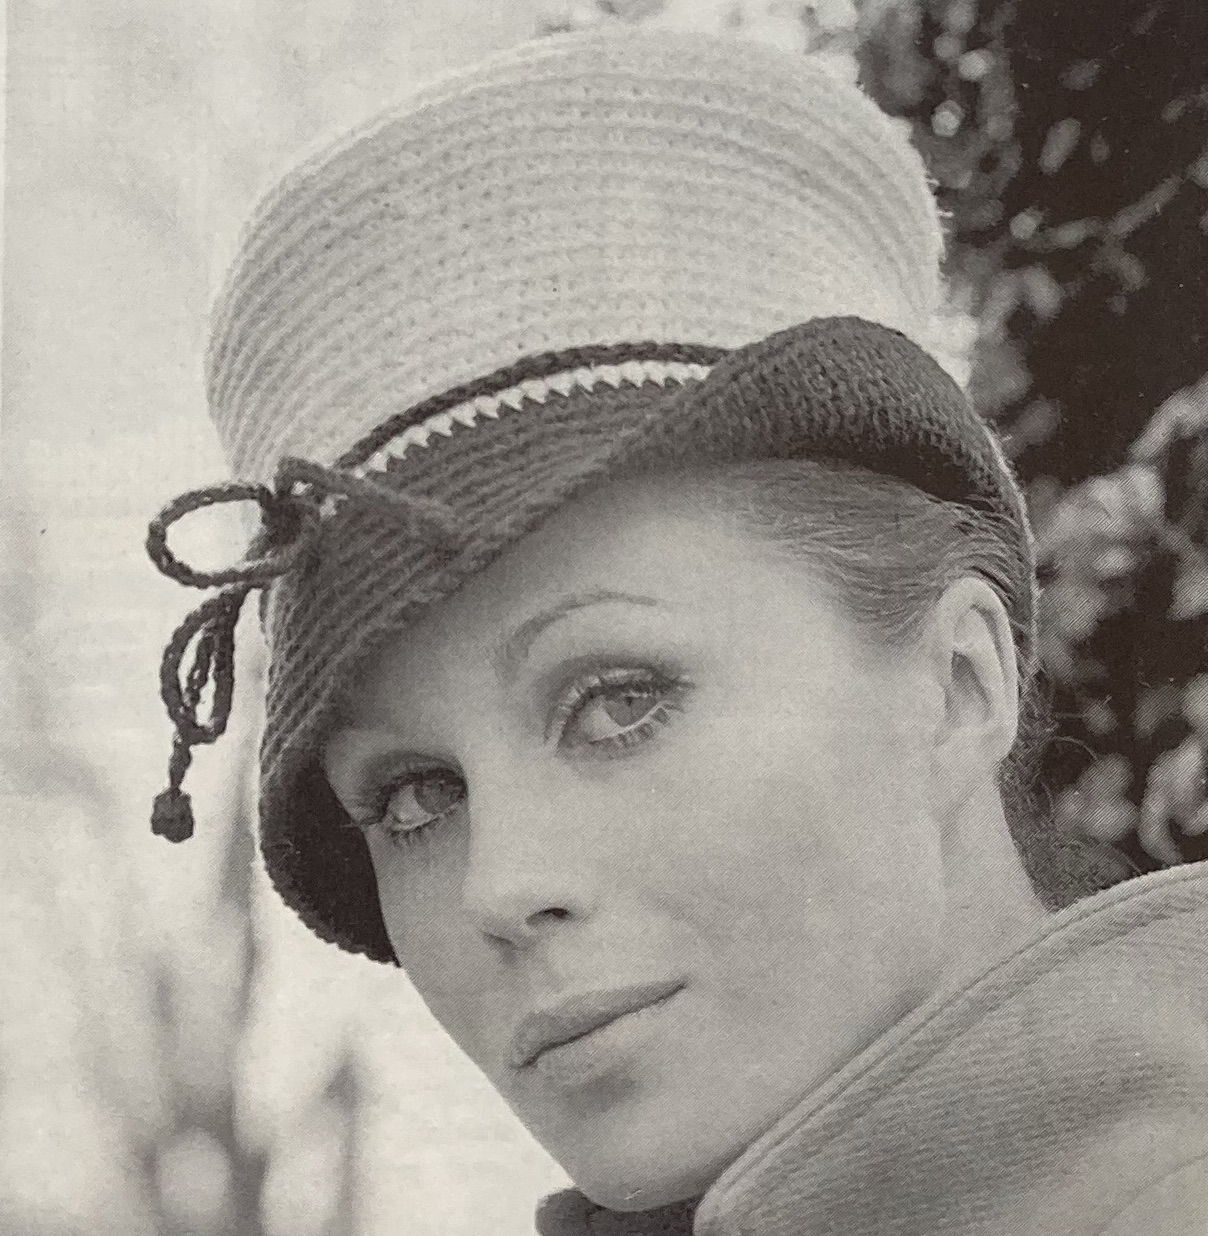
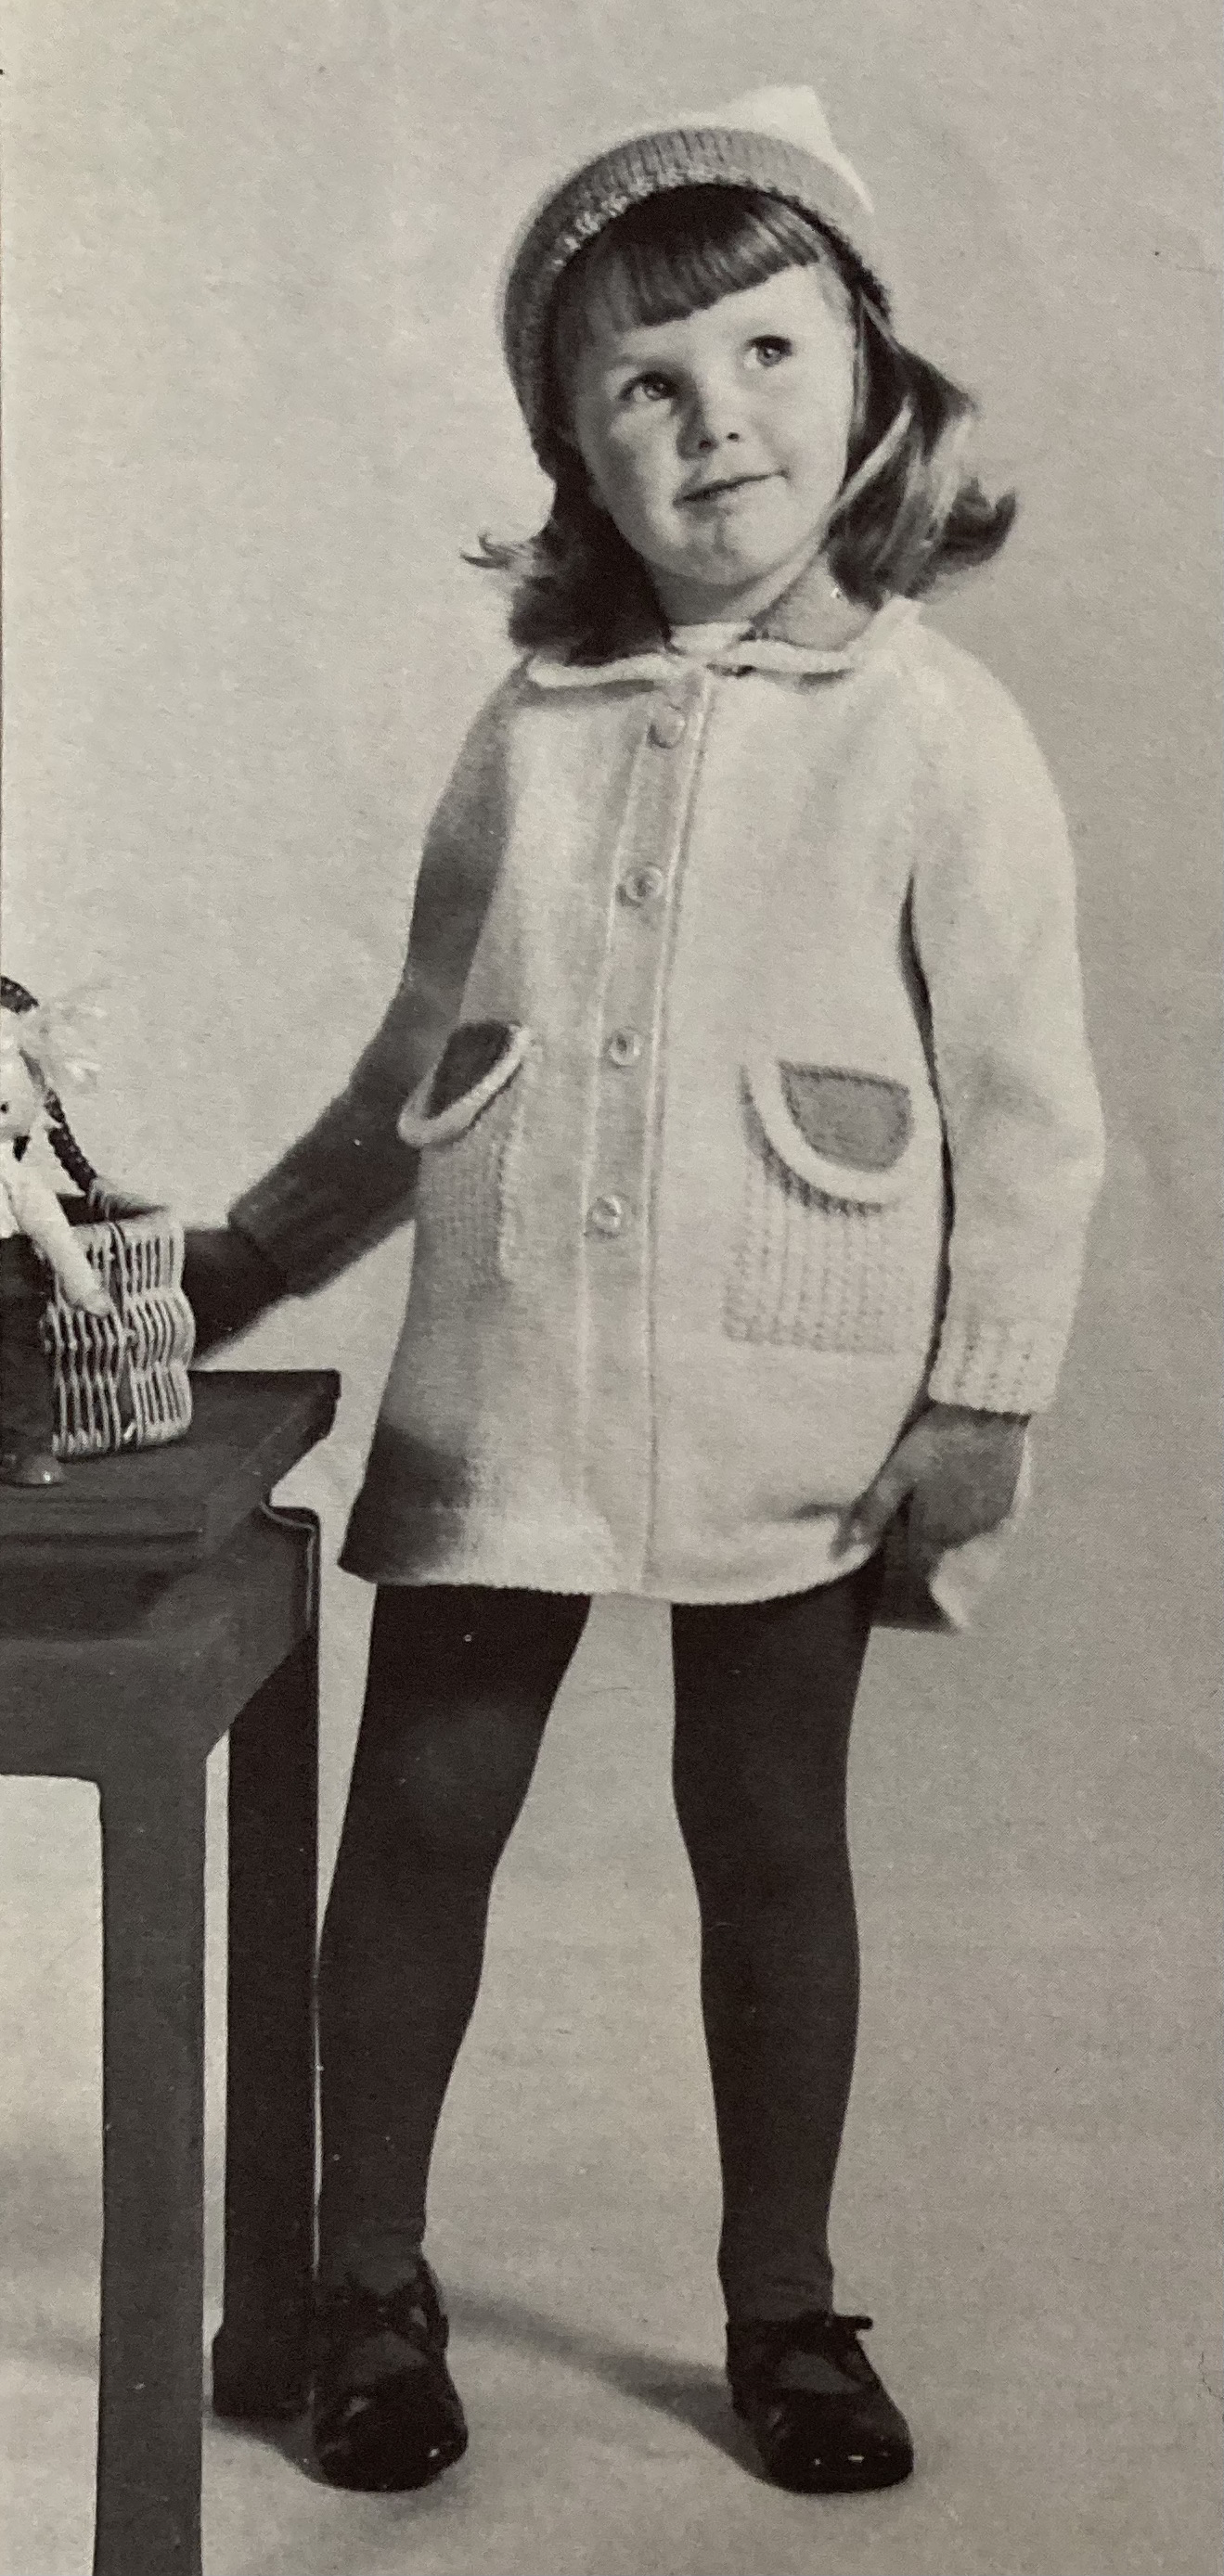
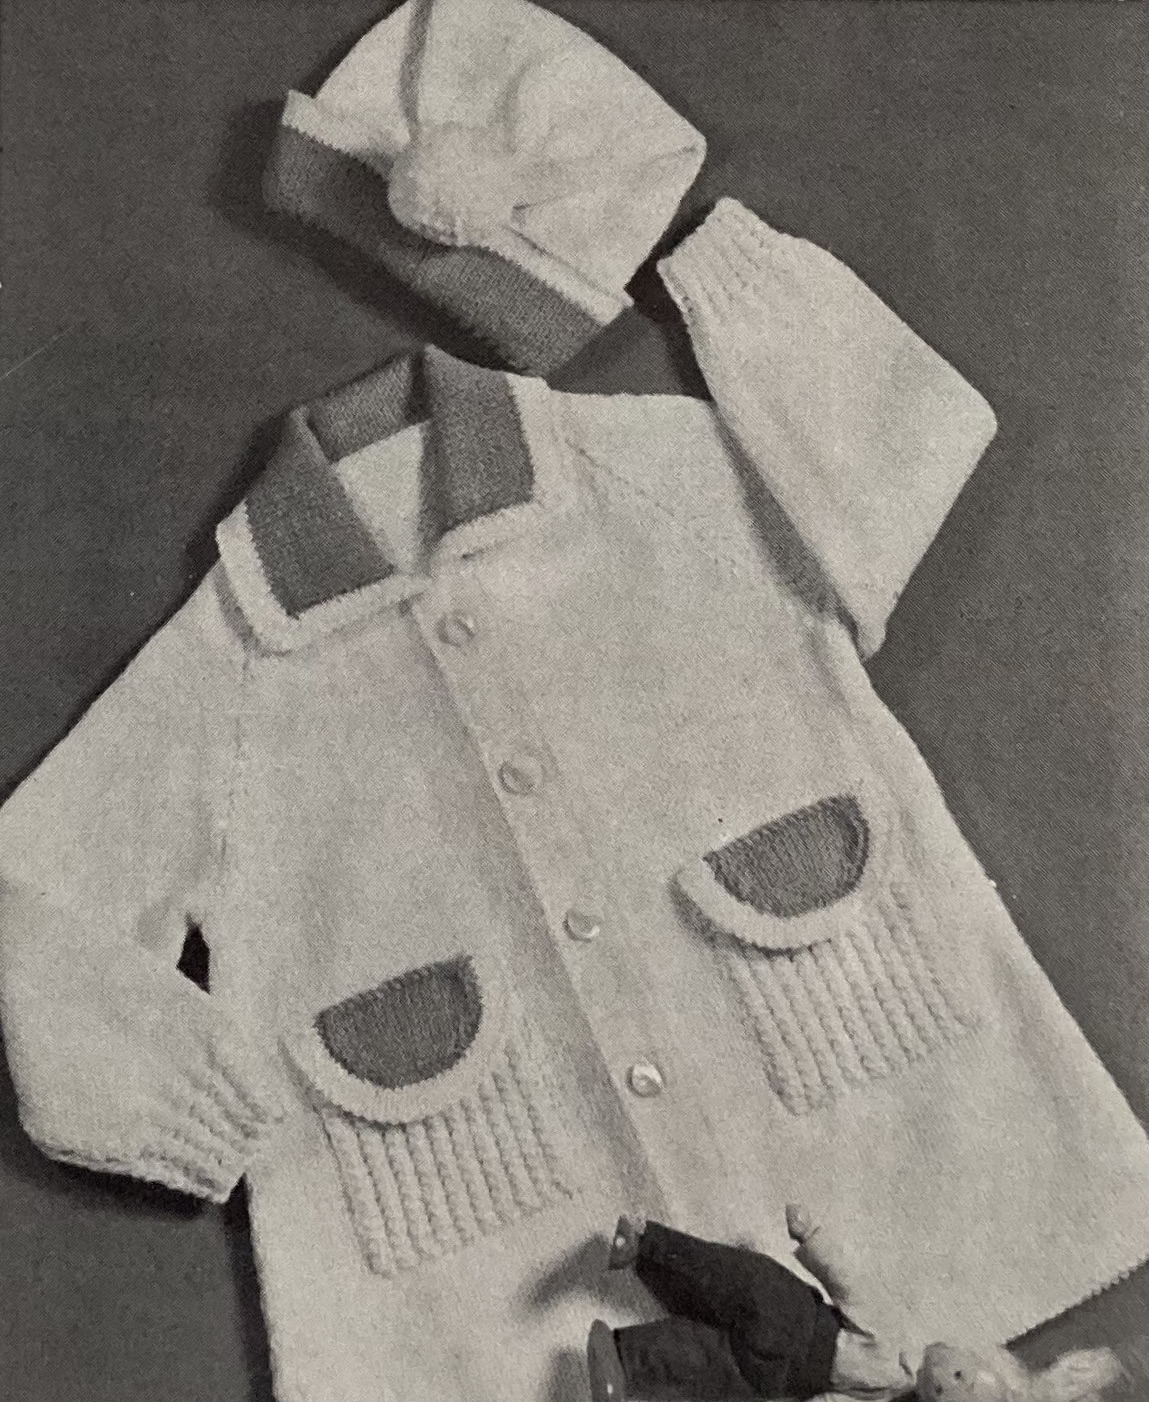
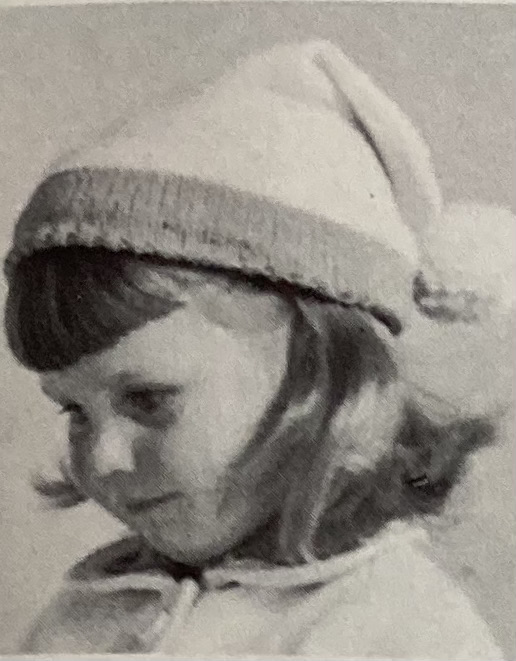
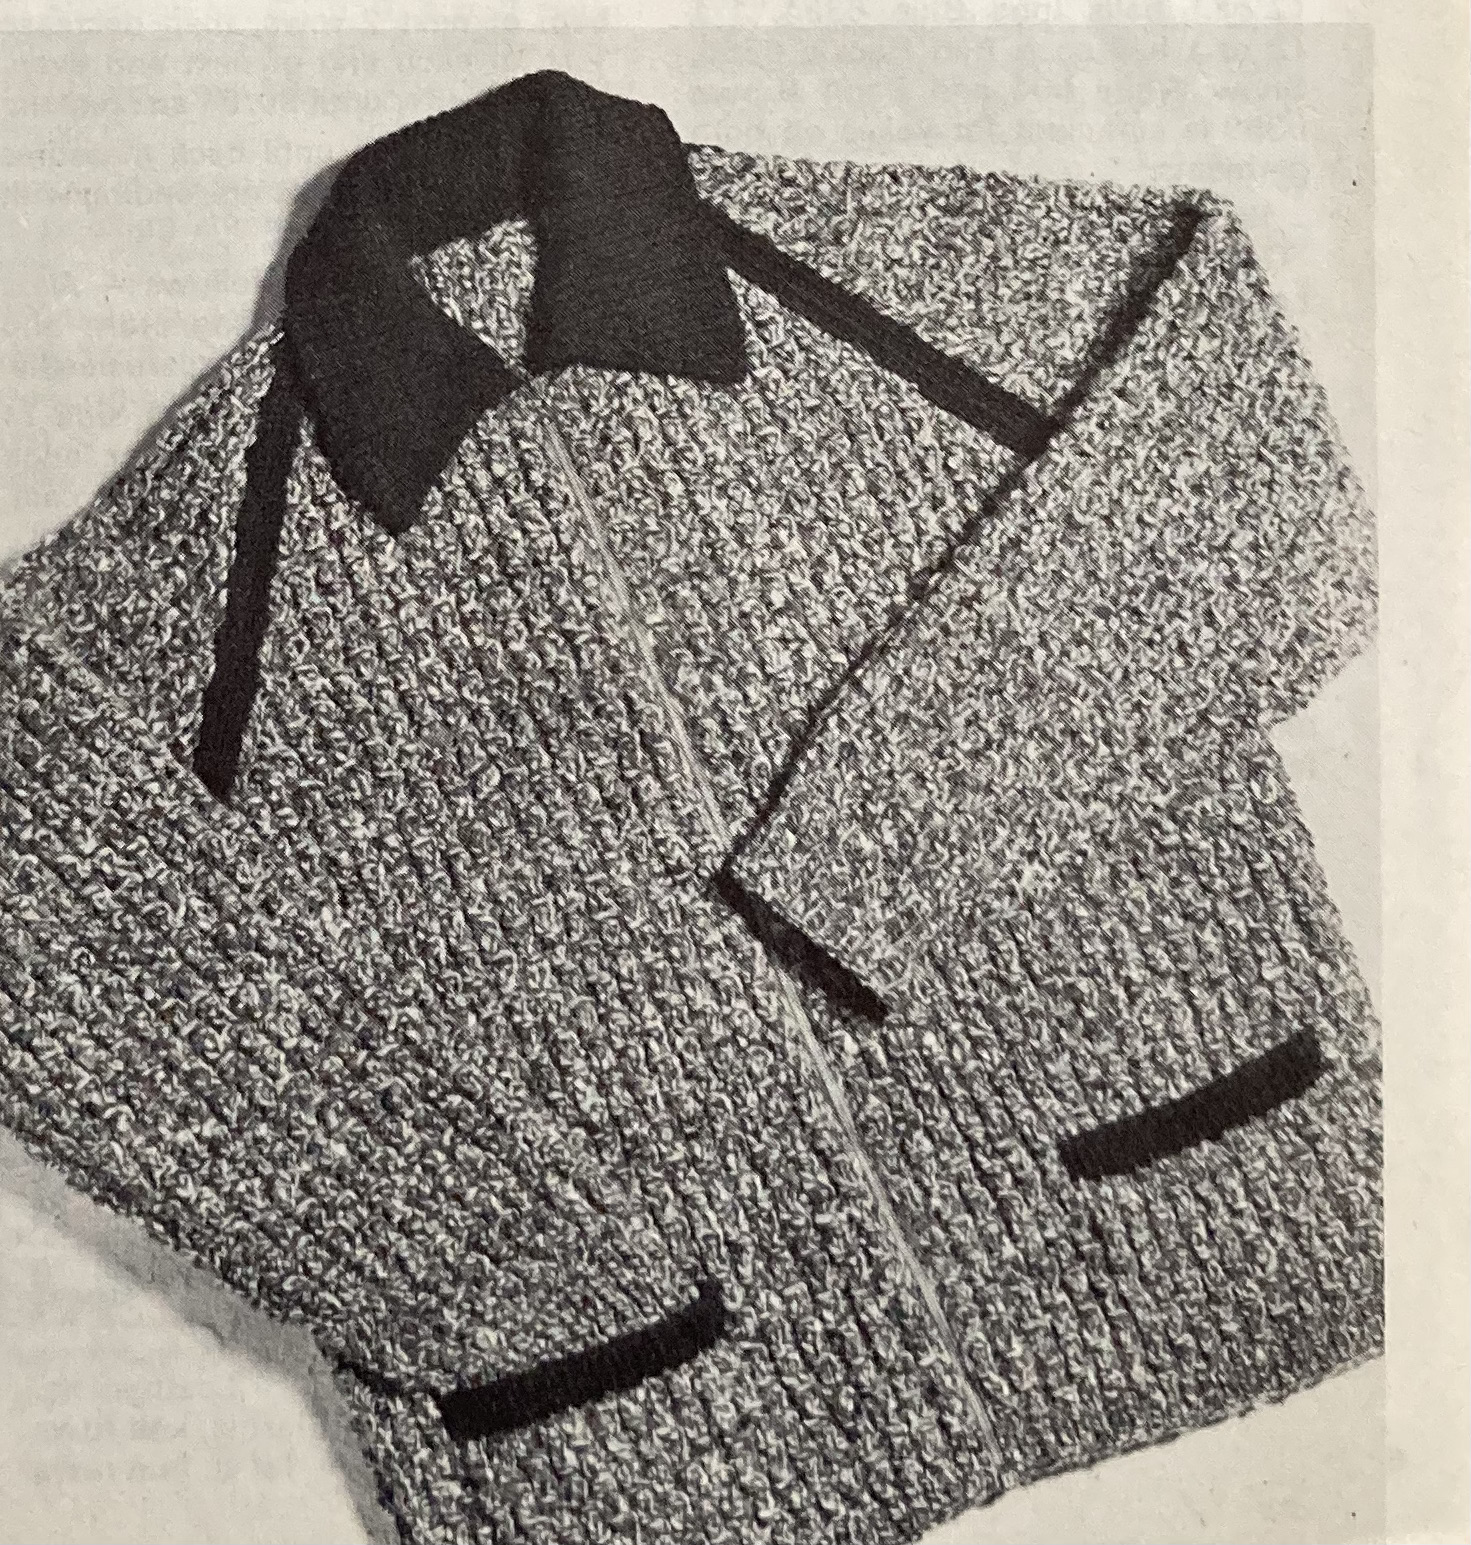
“Fashion for tots” gives us this wonderful tunic-coat and hat for 3- to 6-year-olds, which I also made and wrote about here on the blog. Older boys get a cardigan as well, in tough “Bracken” wool with a practical zip and contrasting collar and details.
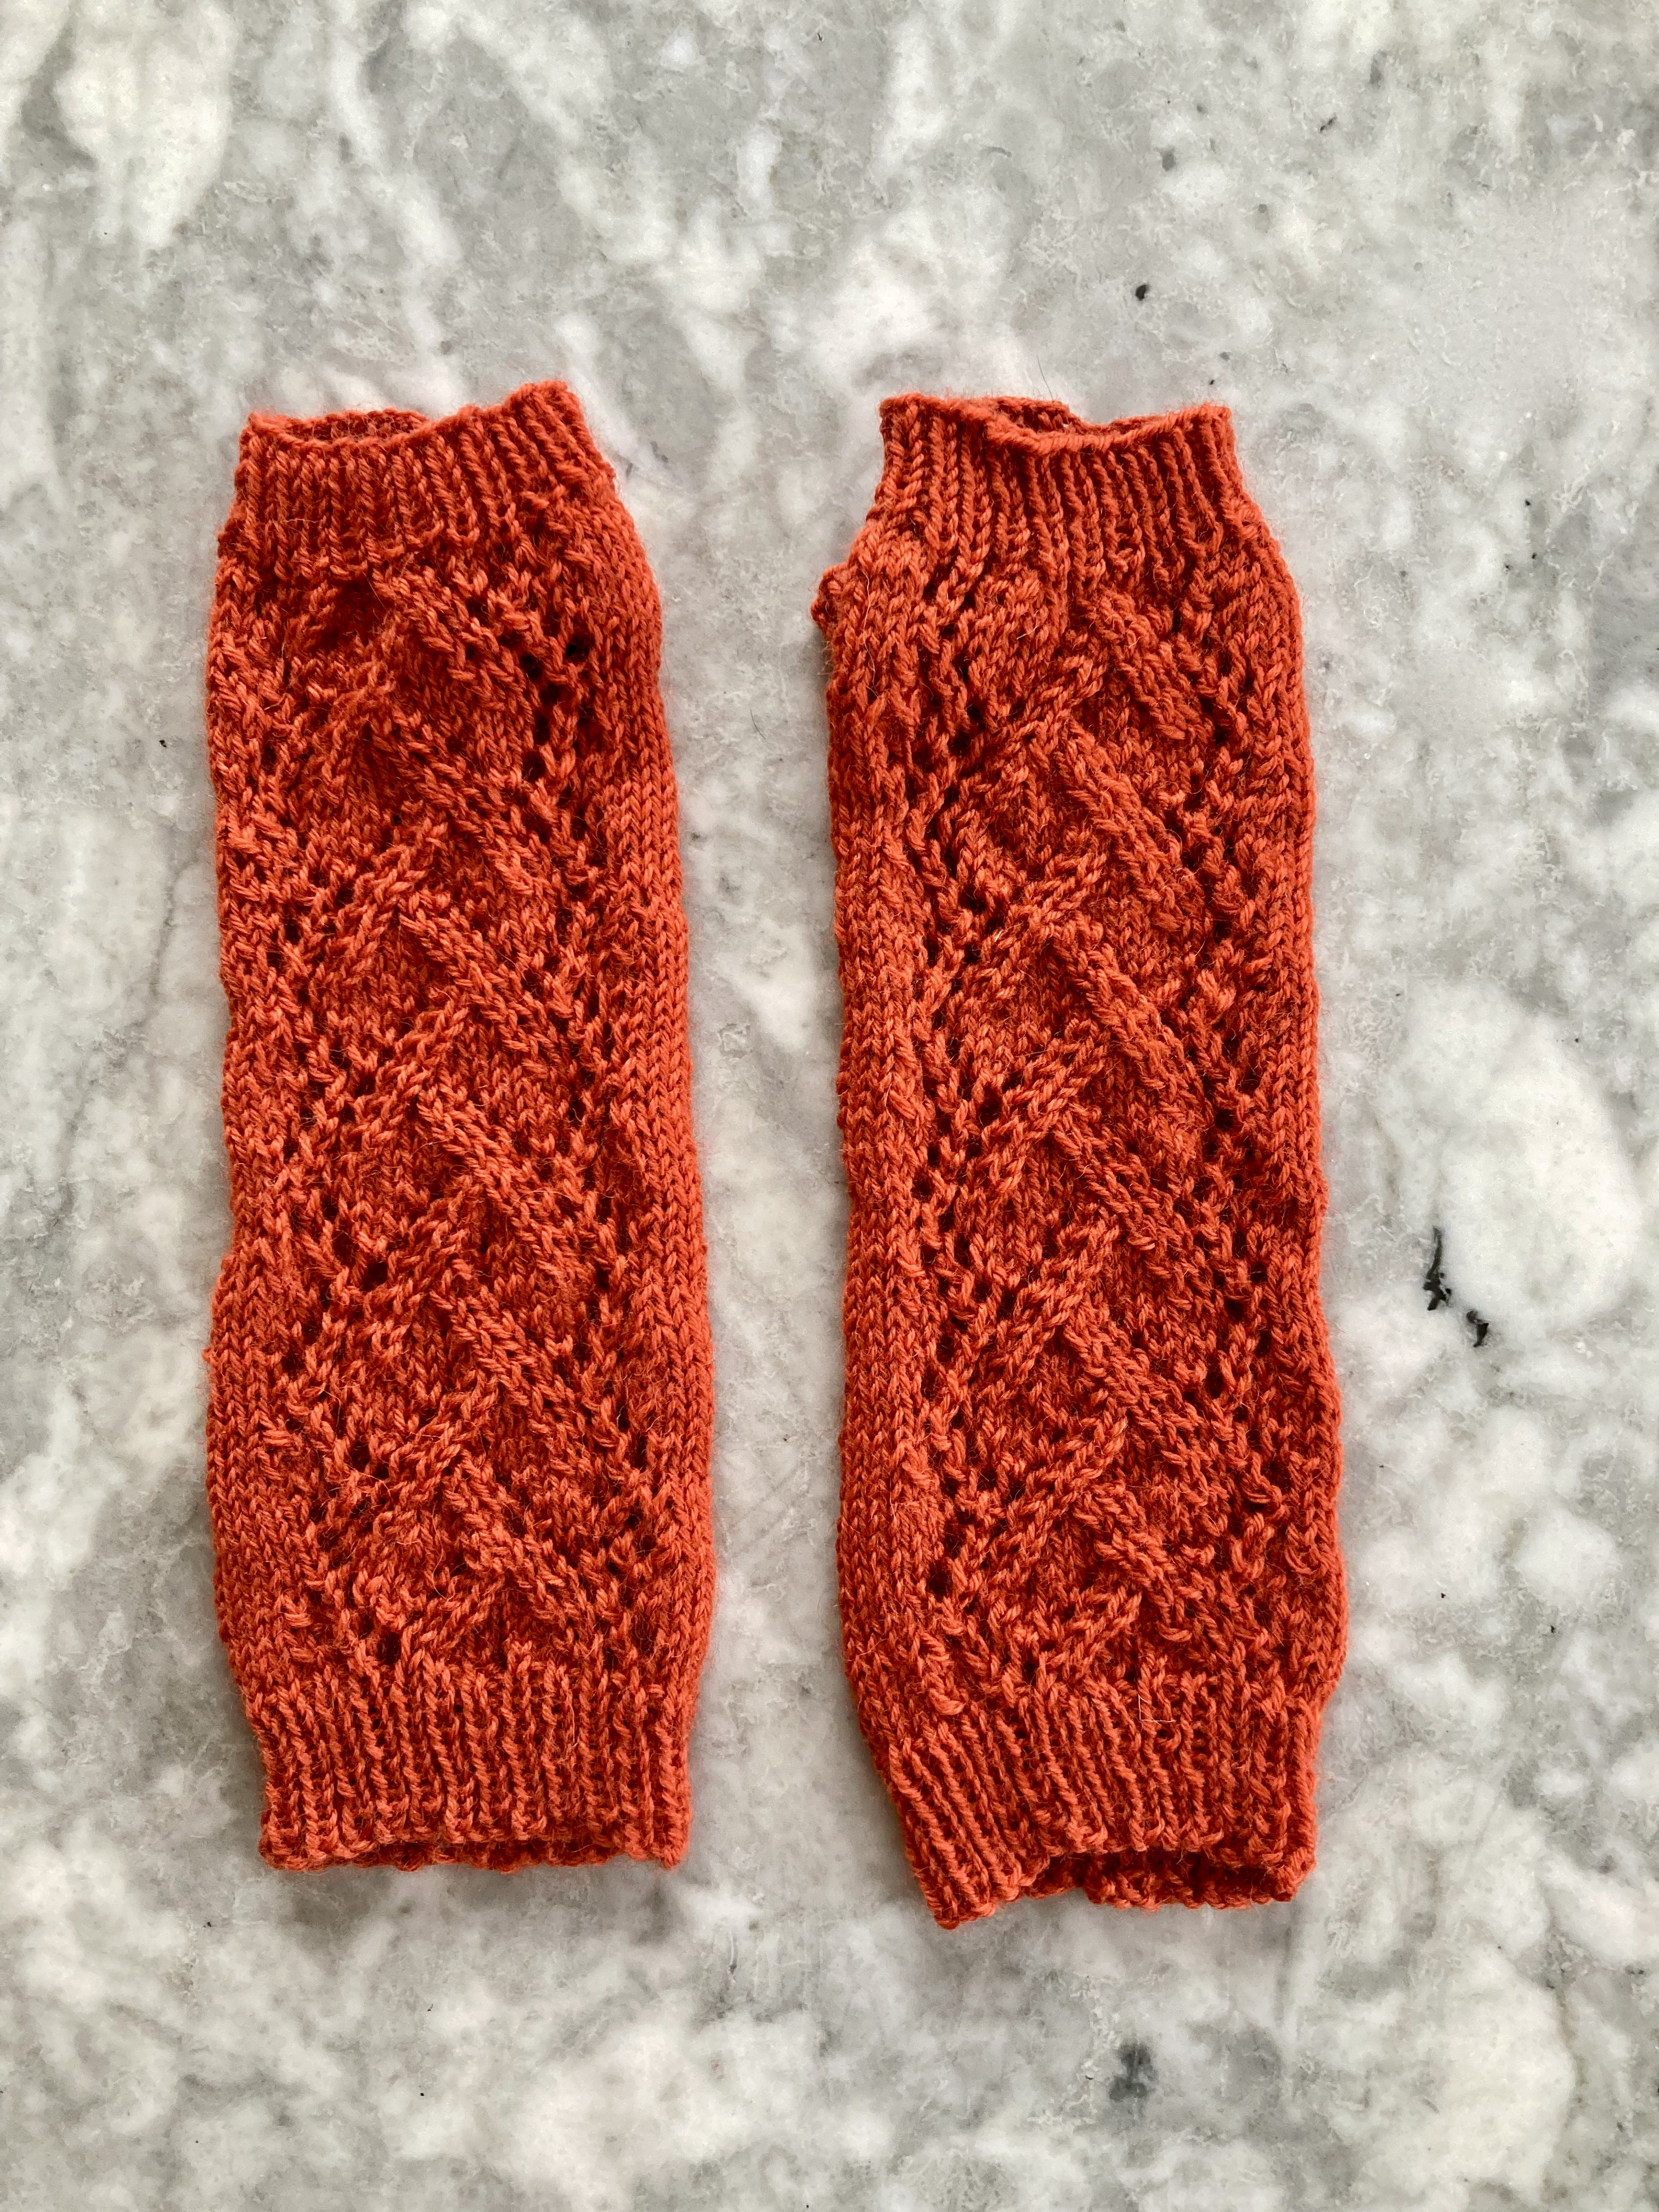
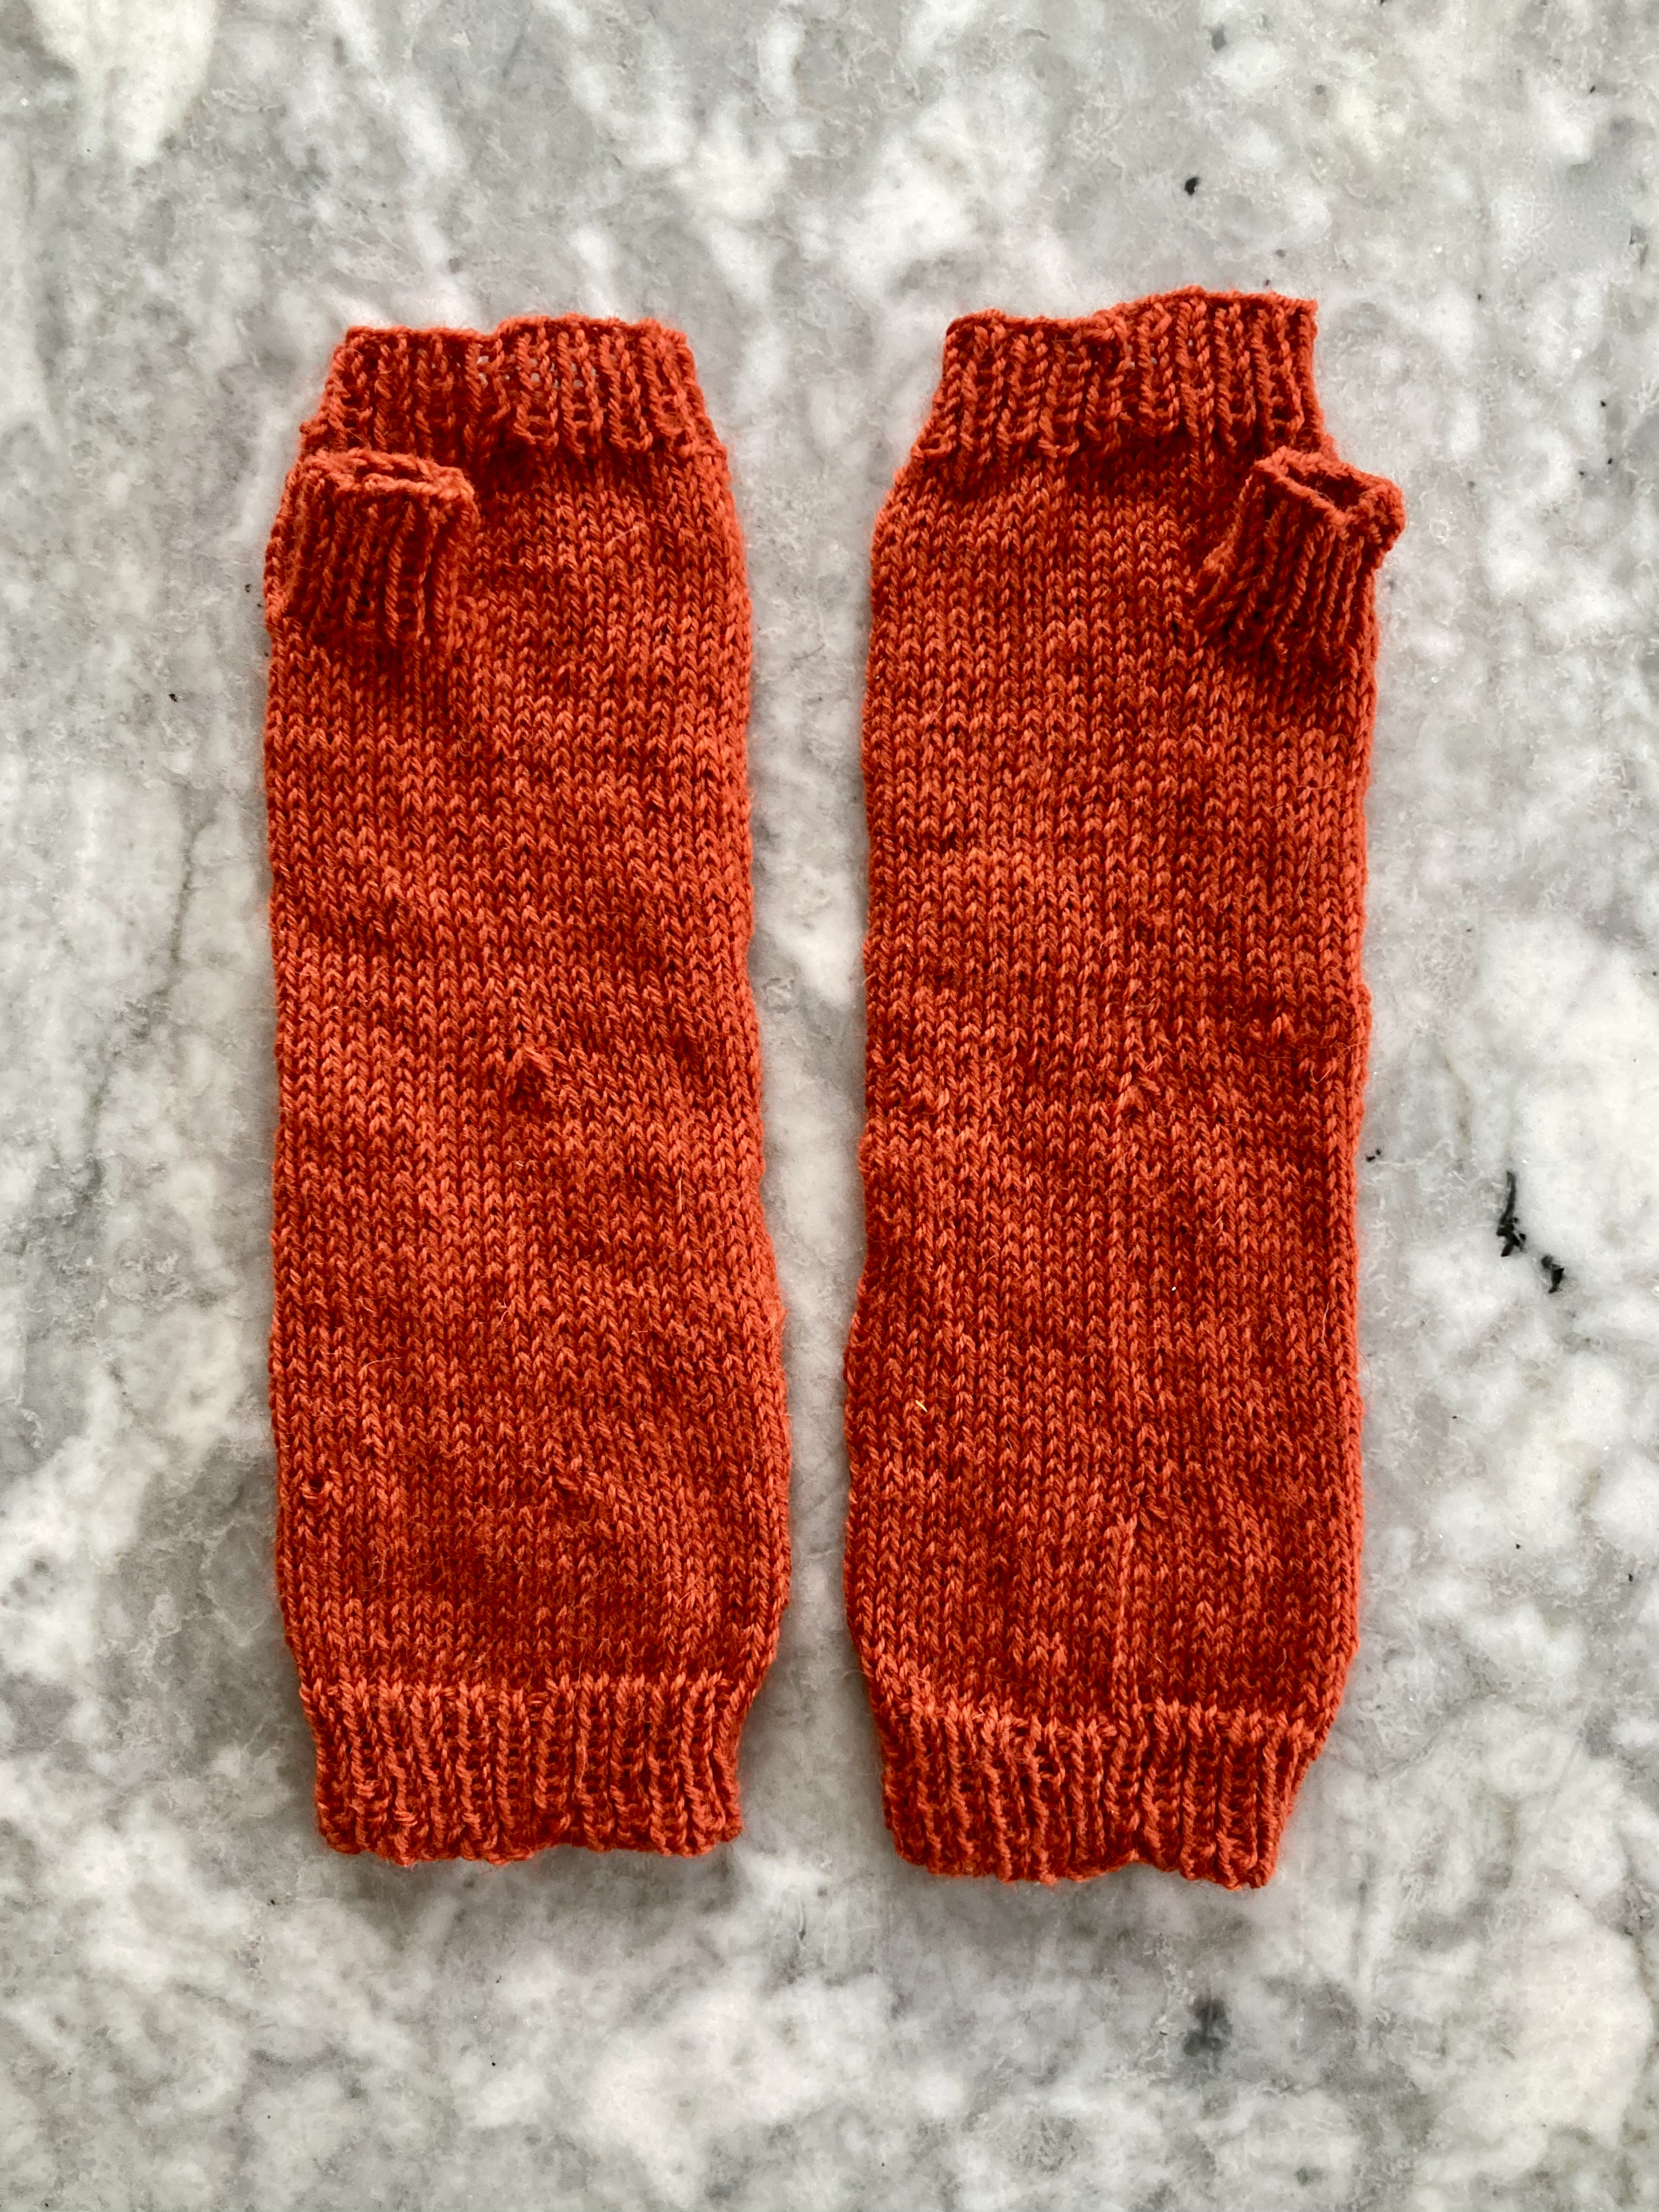
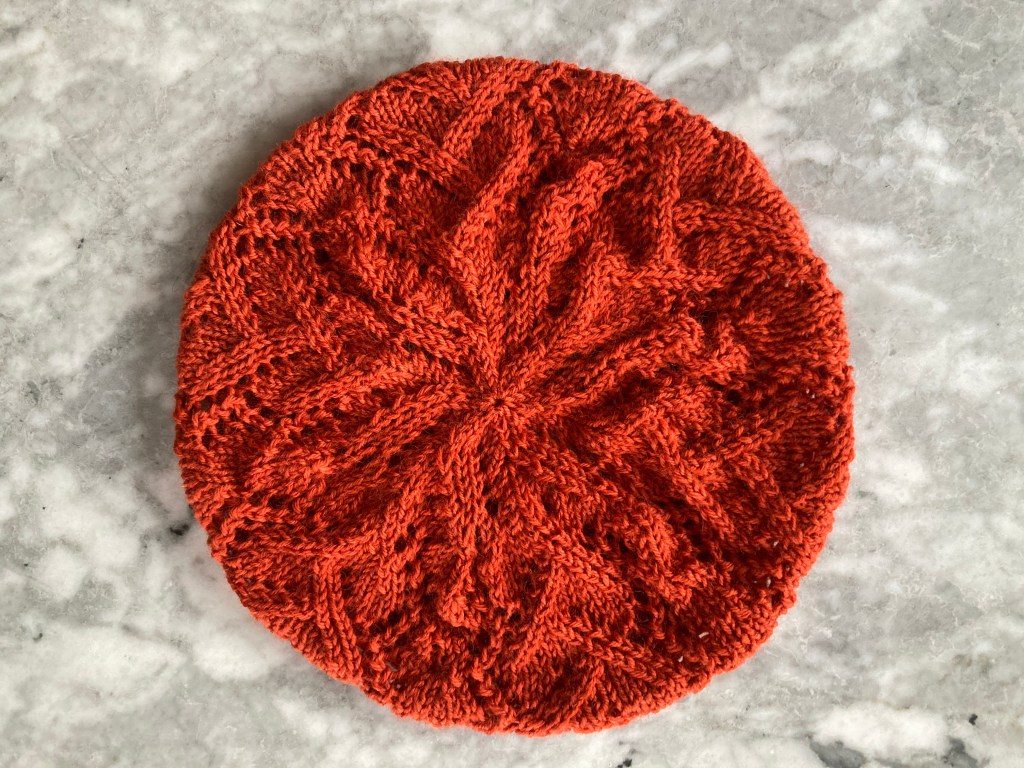
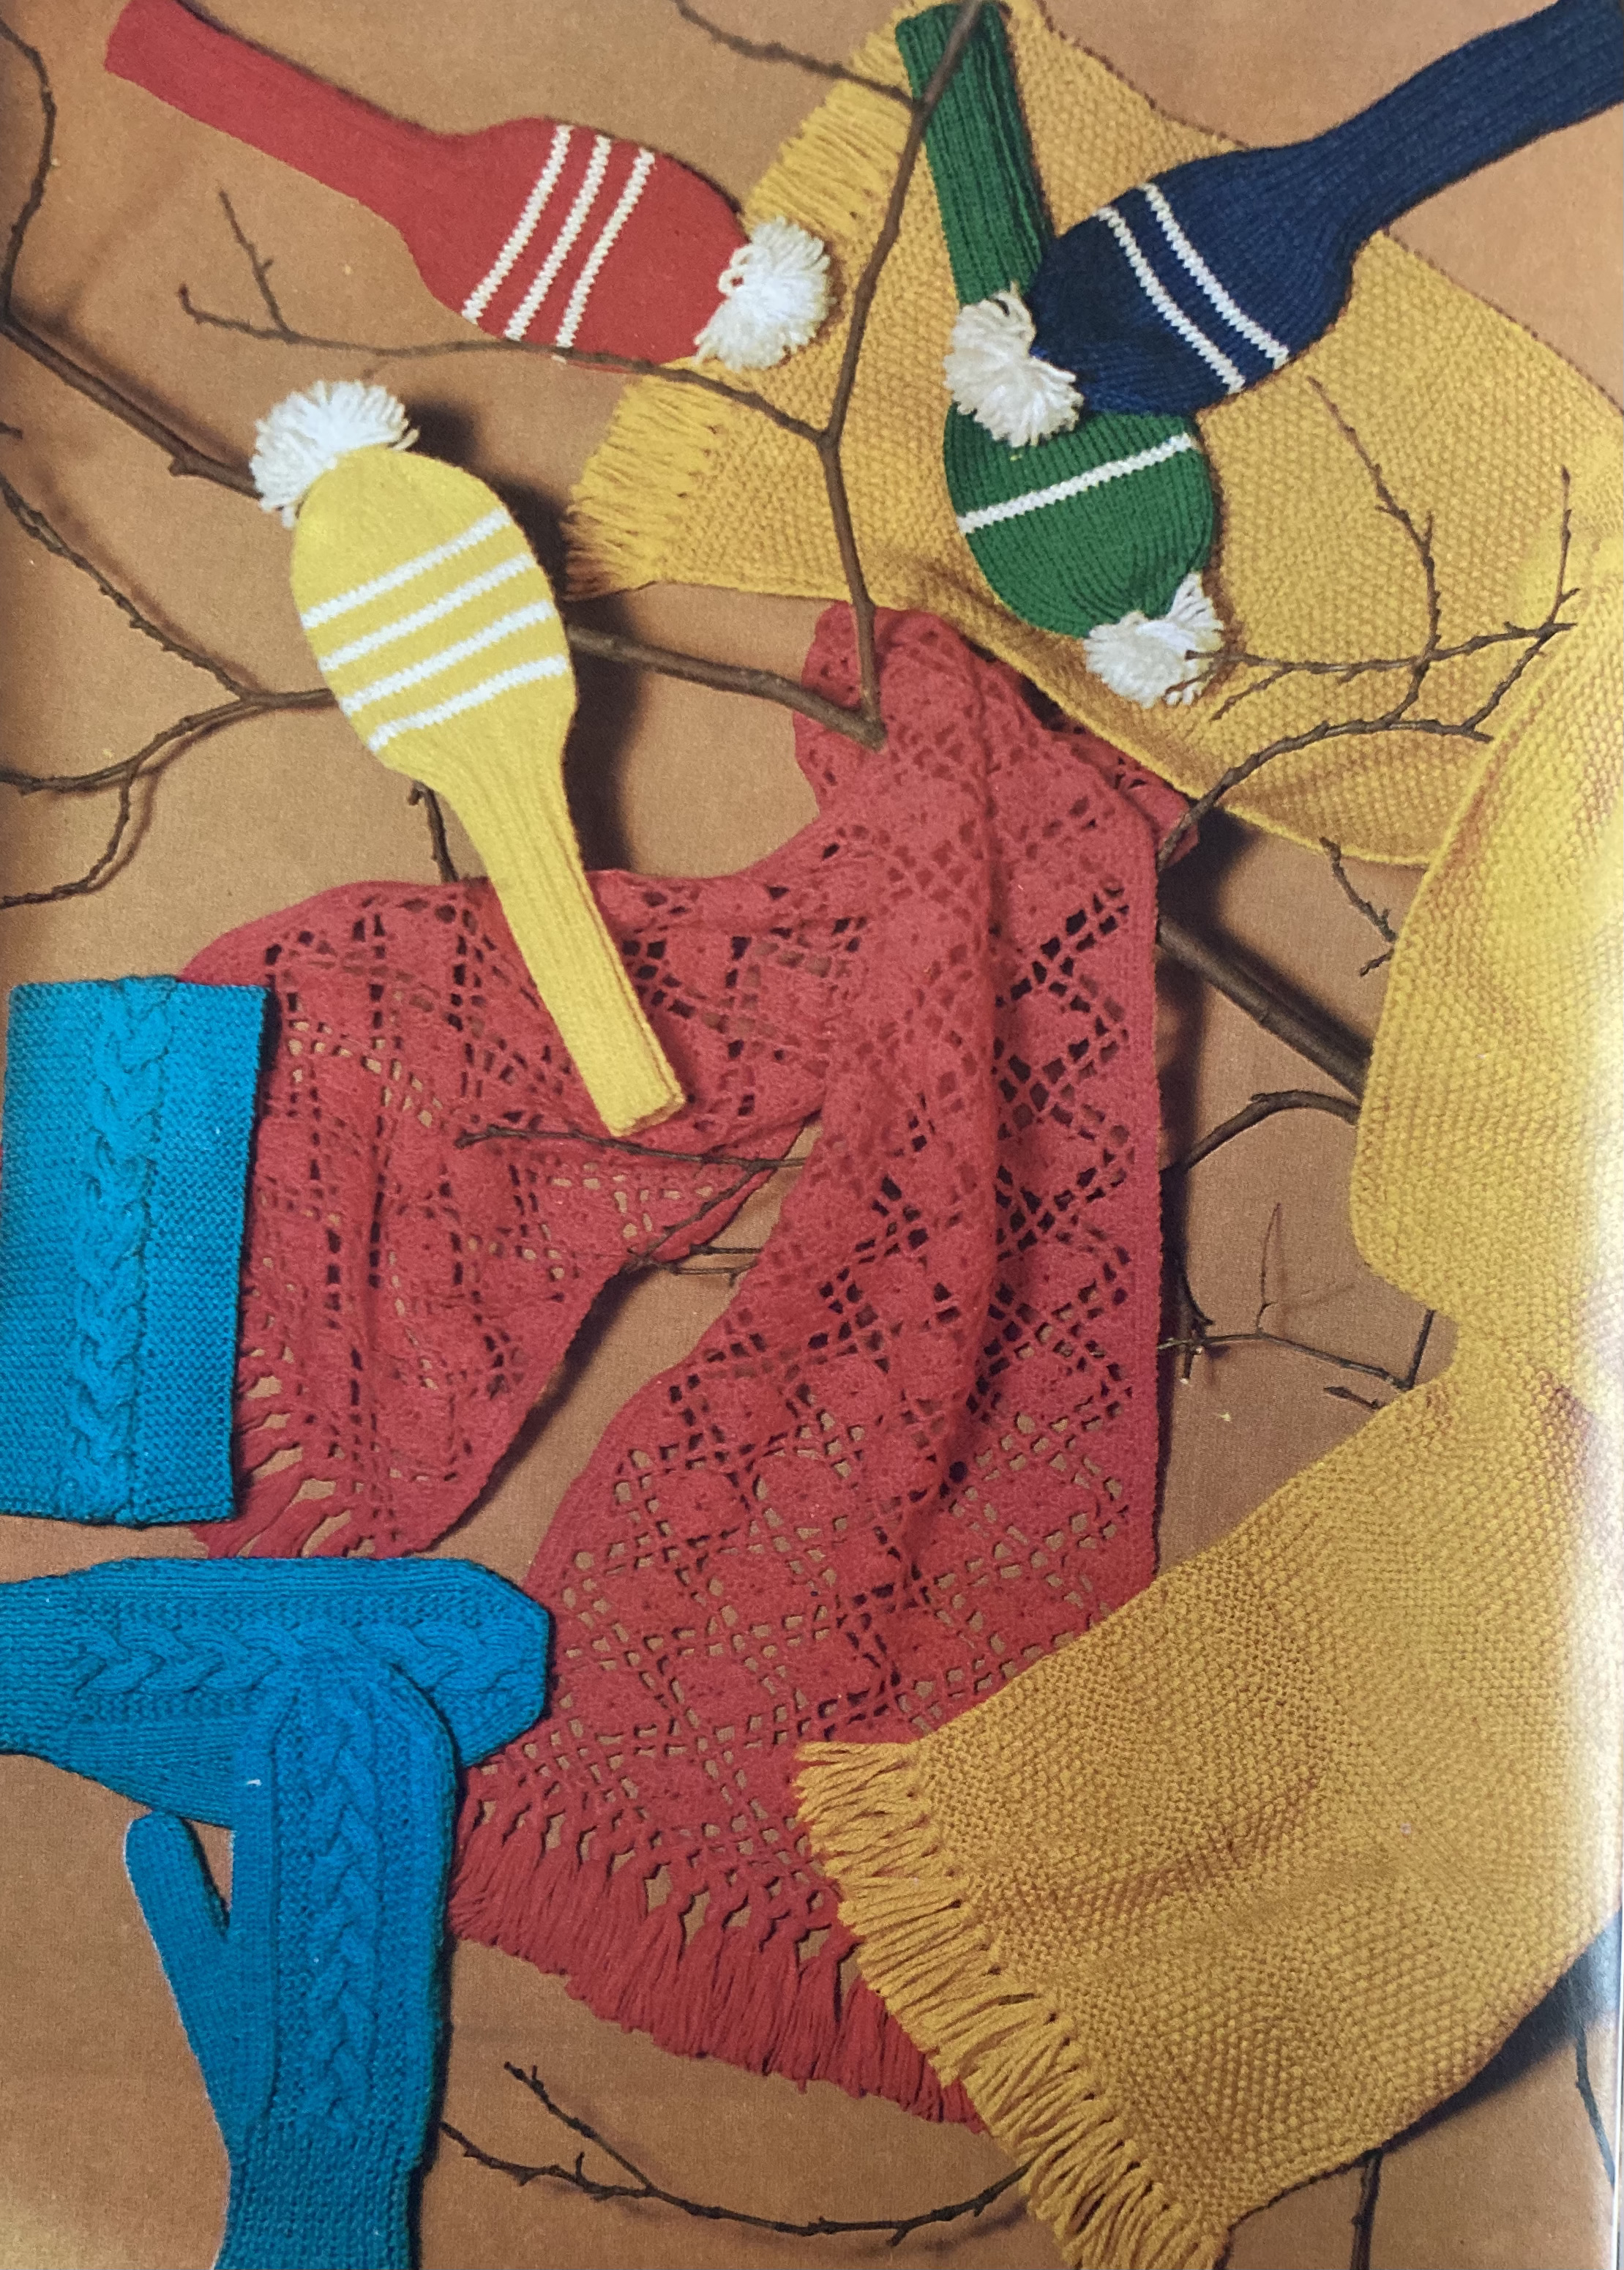
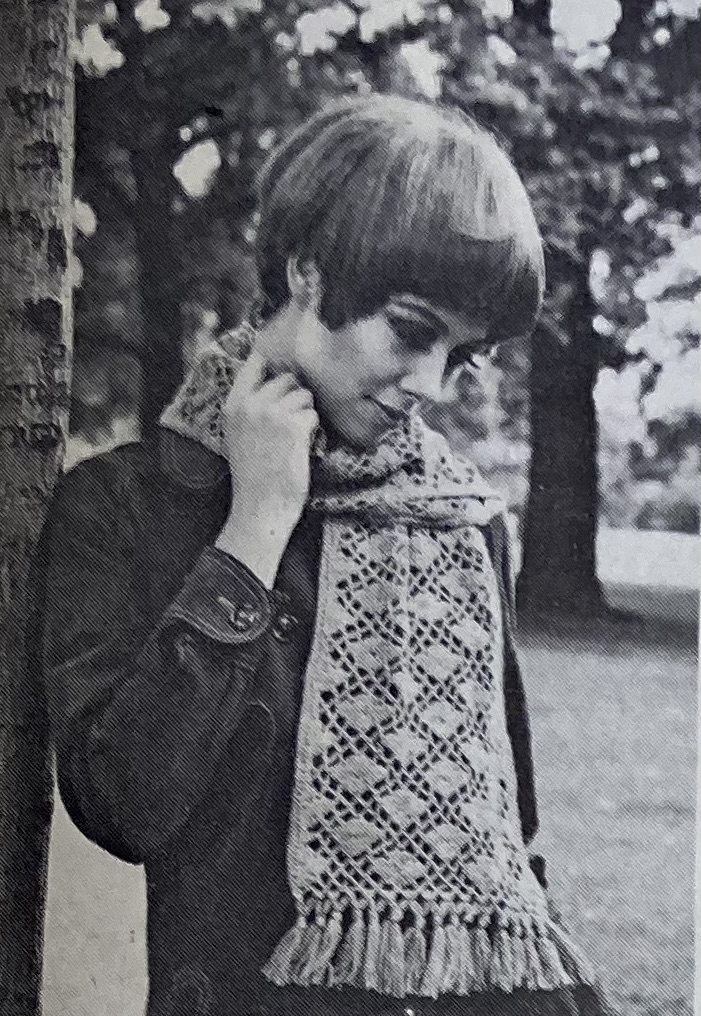
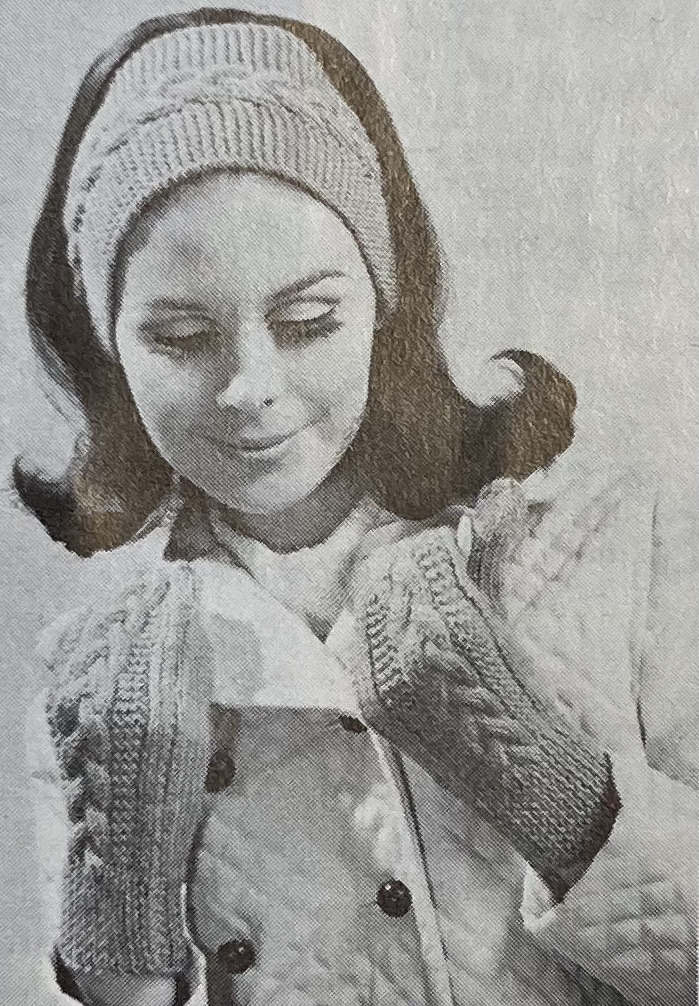
There’s a whole page of lovely winter accessories: a lacy, fringed crocheted scarf, a classic moss-stitch scarf, and a set of headband and mittens with a cable-and-moss pattern. Plus golf club covers! I guess you could consider them to be hats, in their way. If any golfers read this blog, please tell me why golf clubs need covers? Is it so they don’t get scratched? (I would think they would get more scratched up from hitting a golf ball all the time than by being stored somewhere, but I have never played golf and wouldn’t know.)

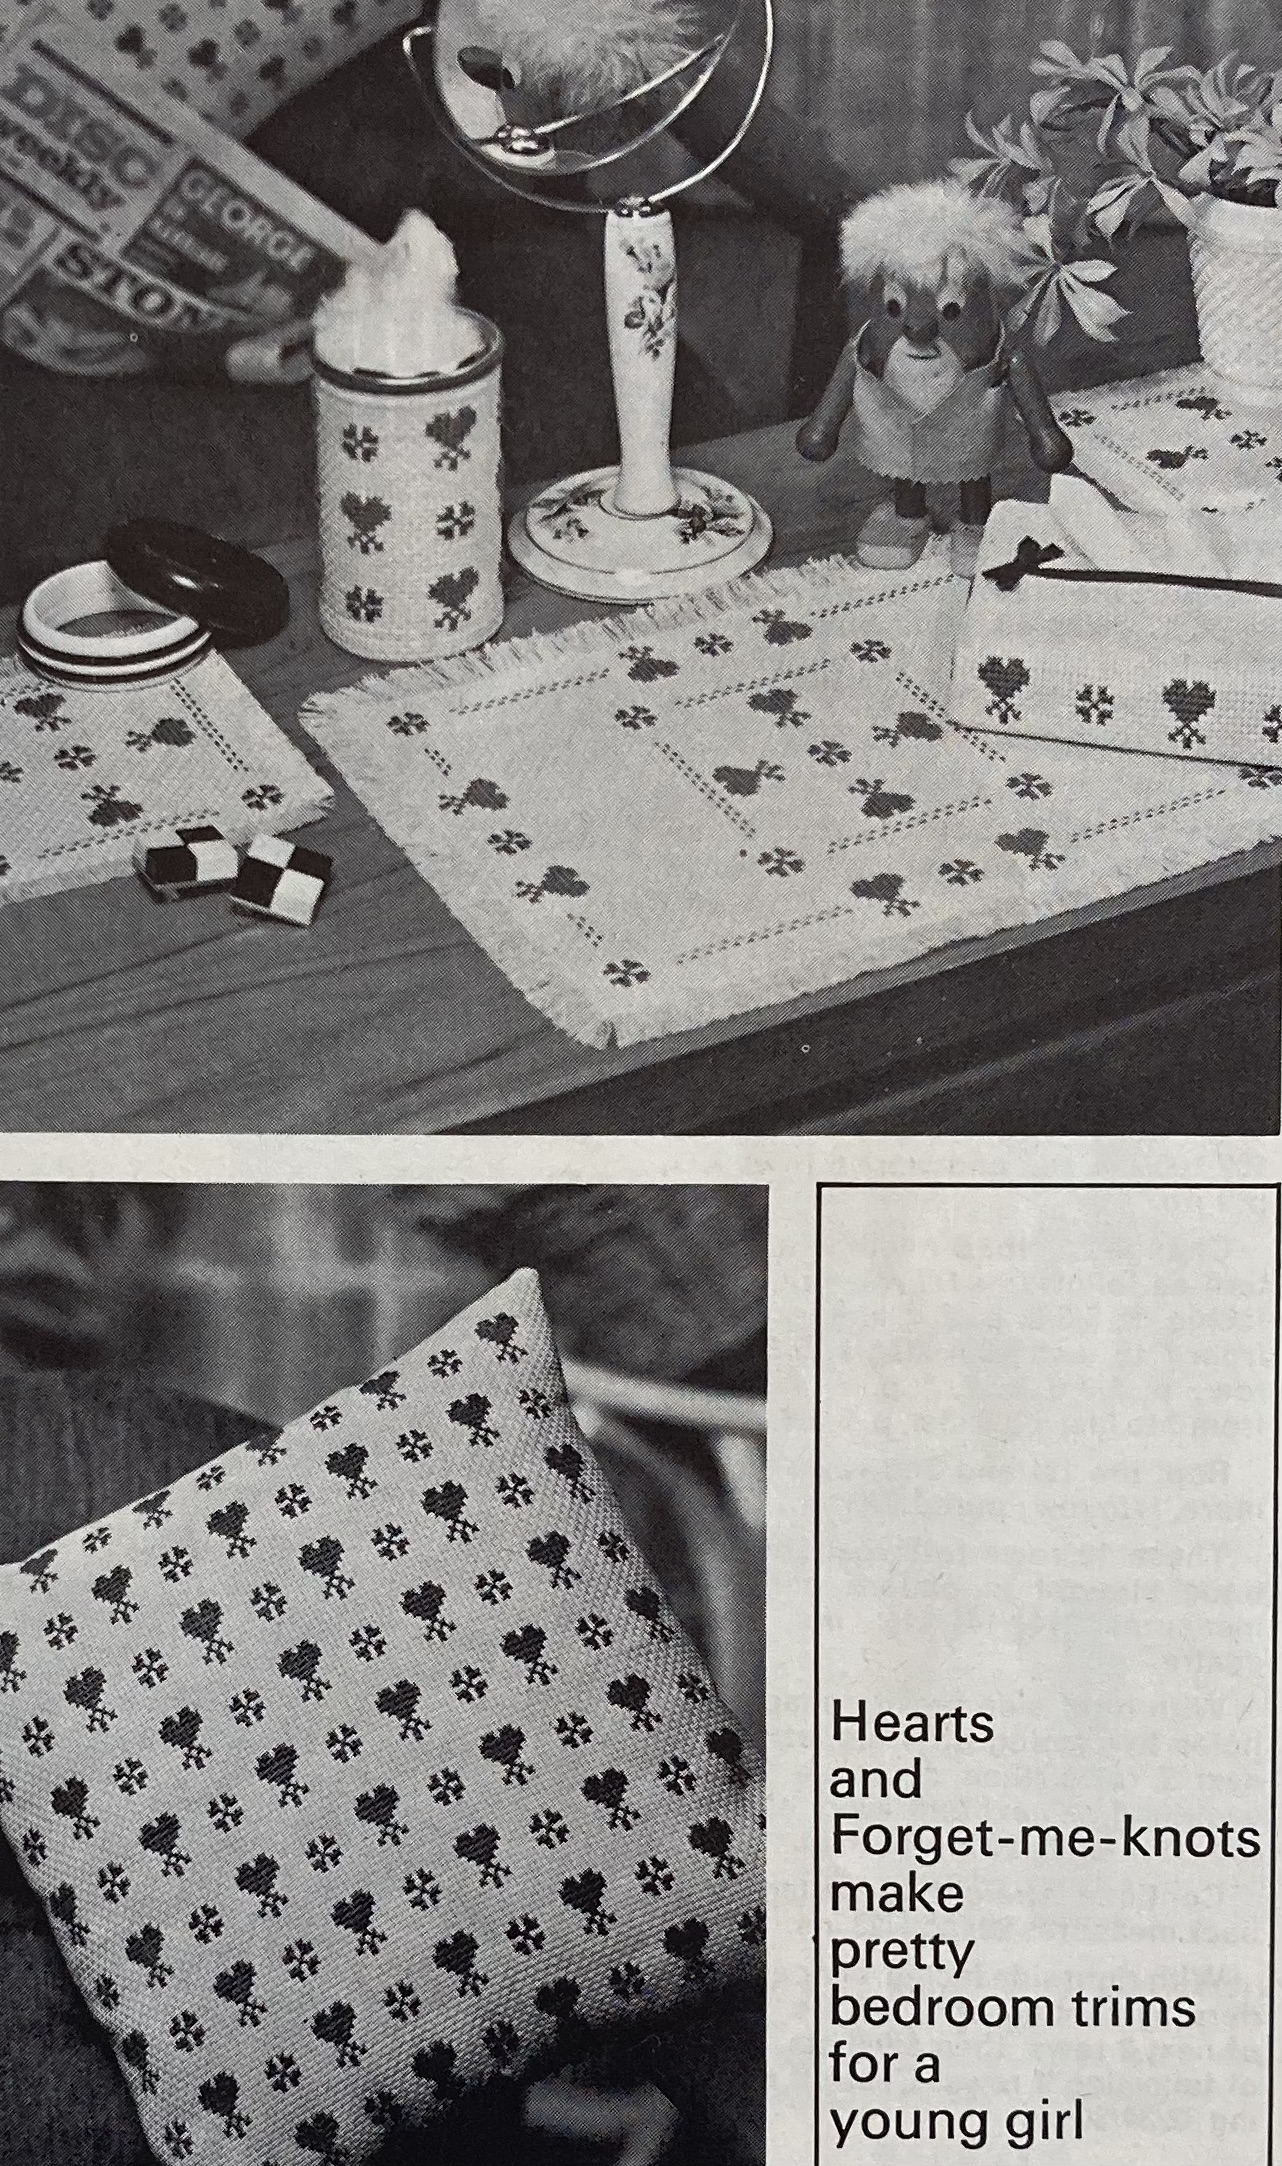
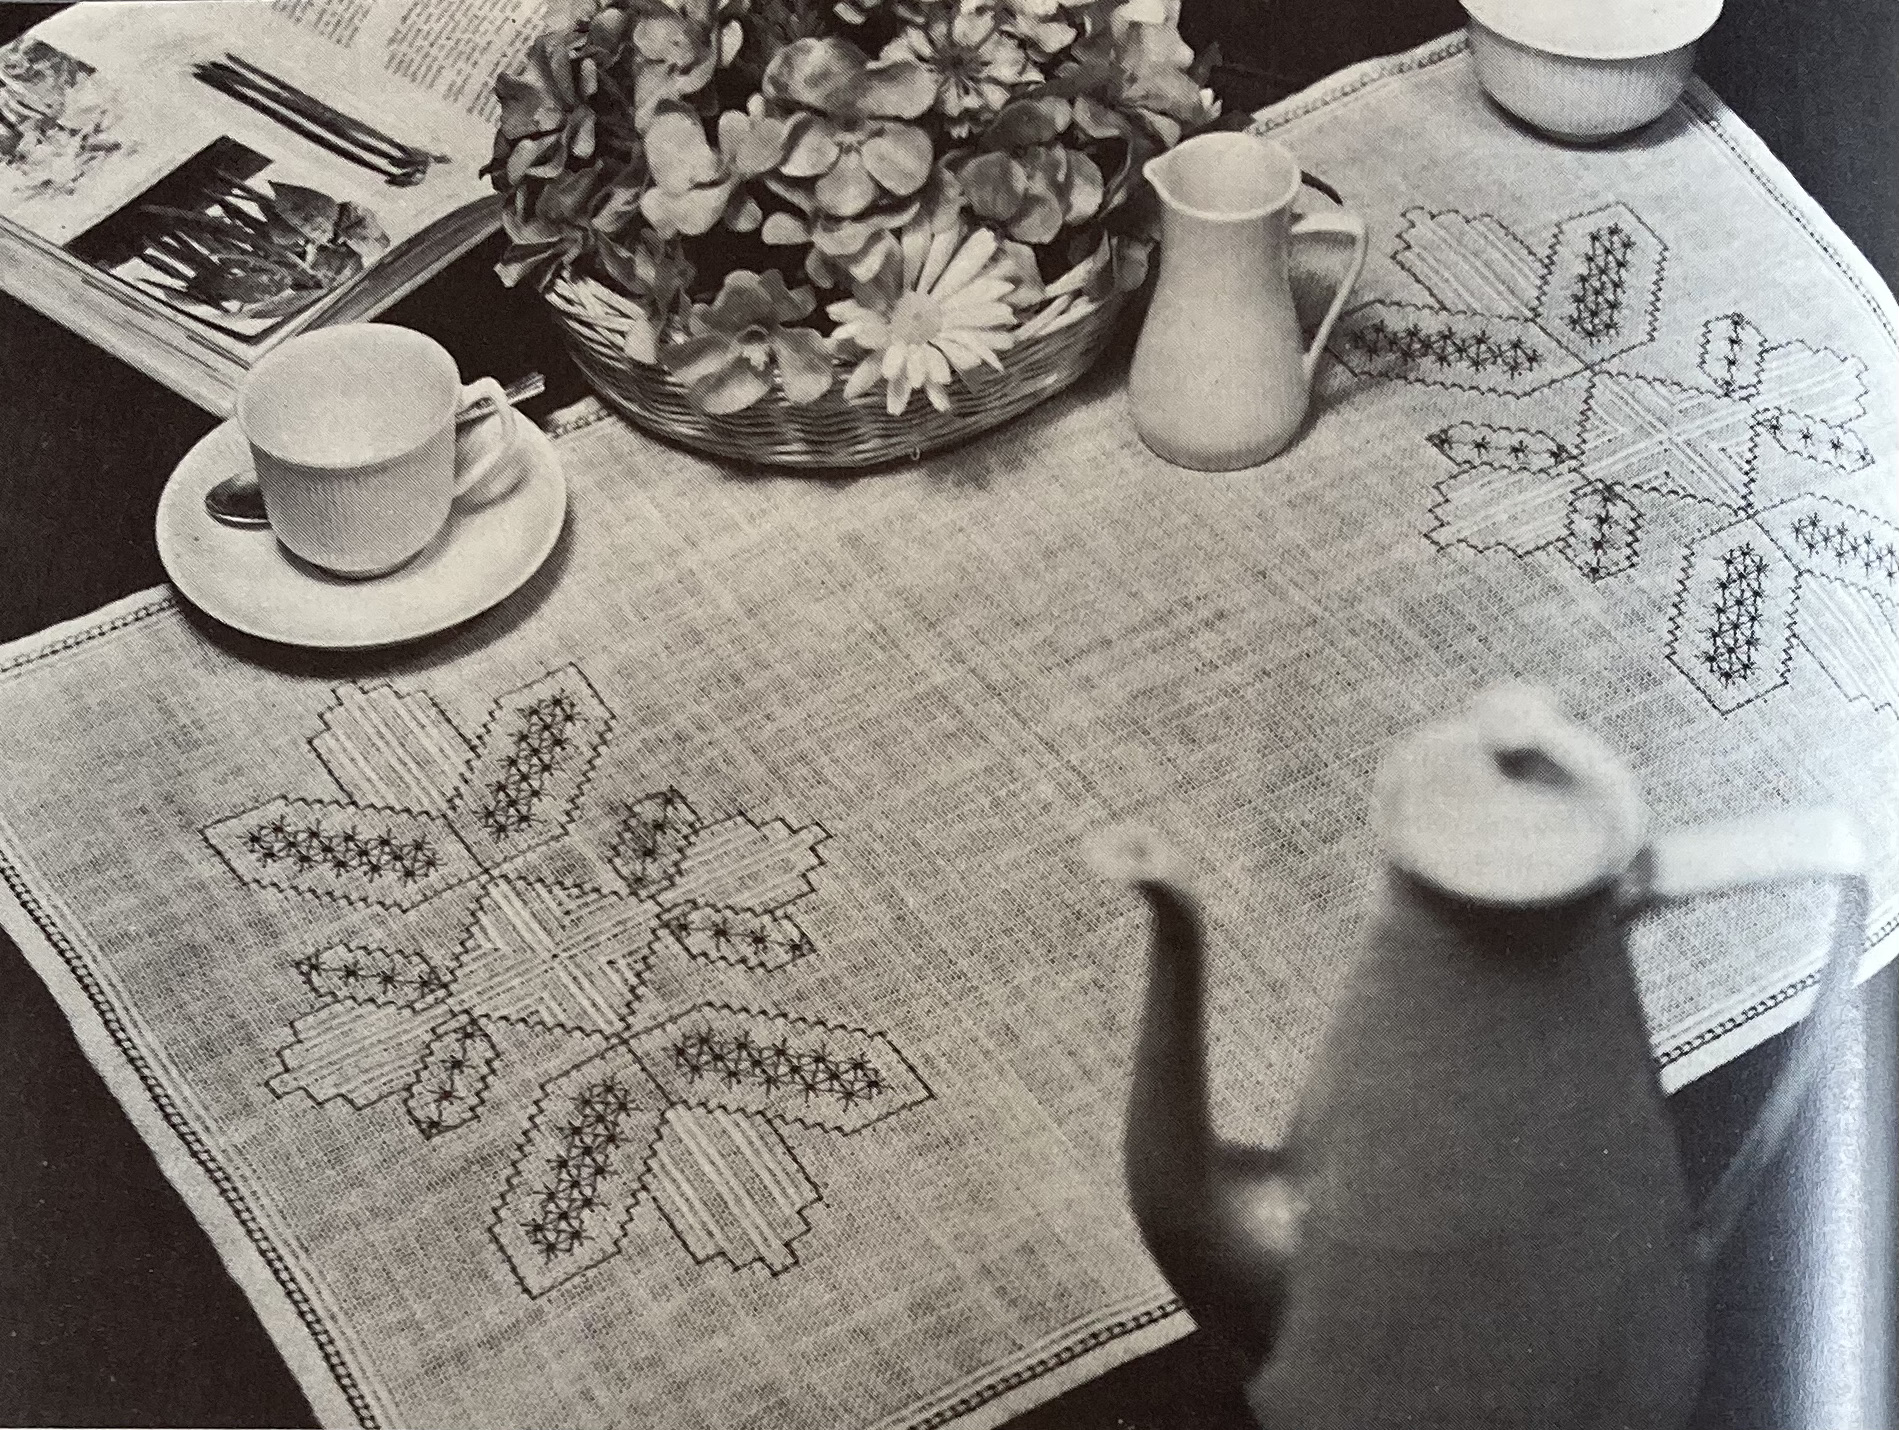
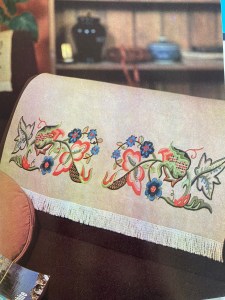
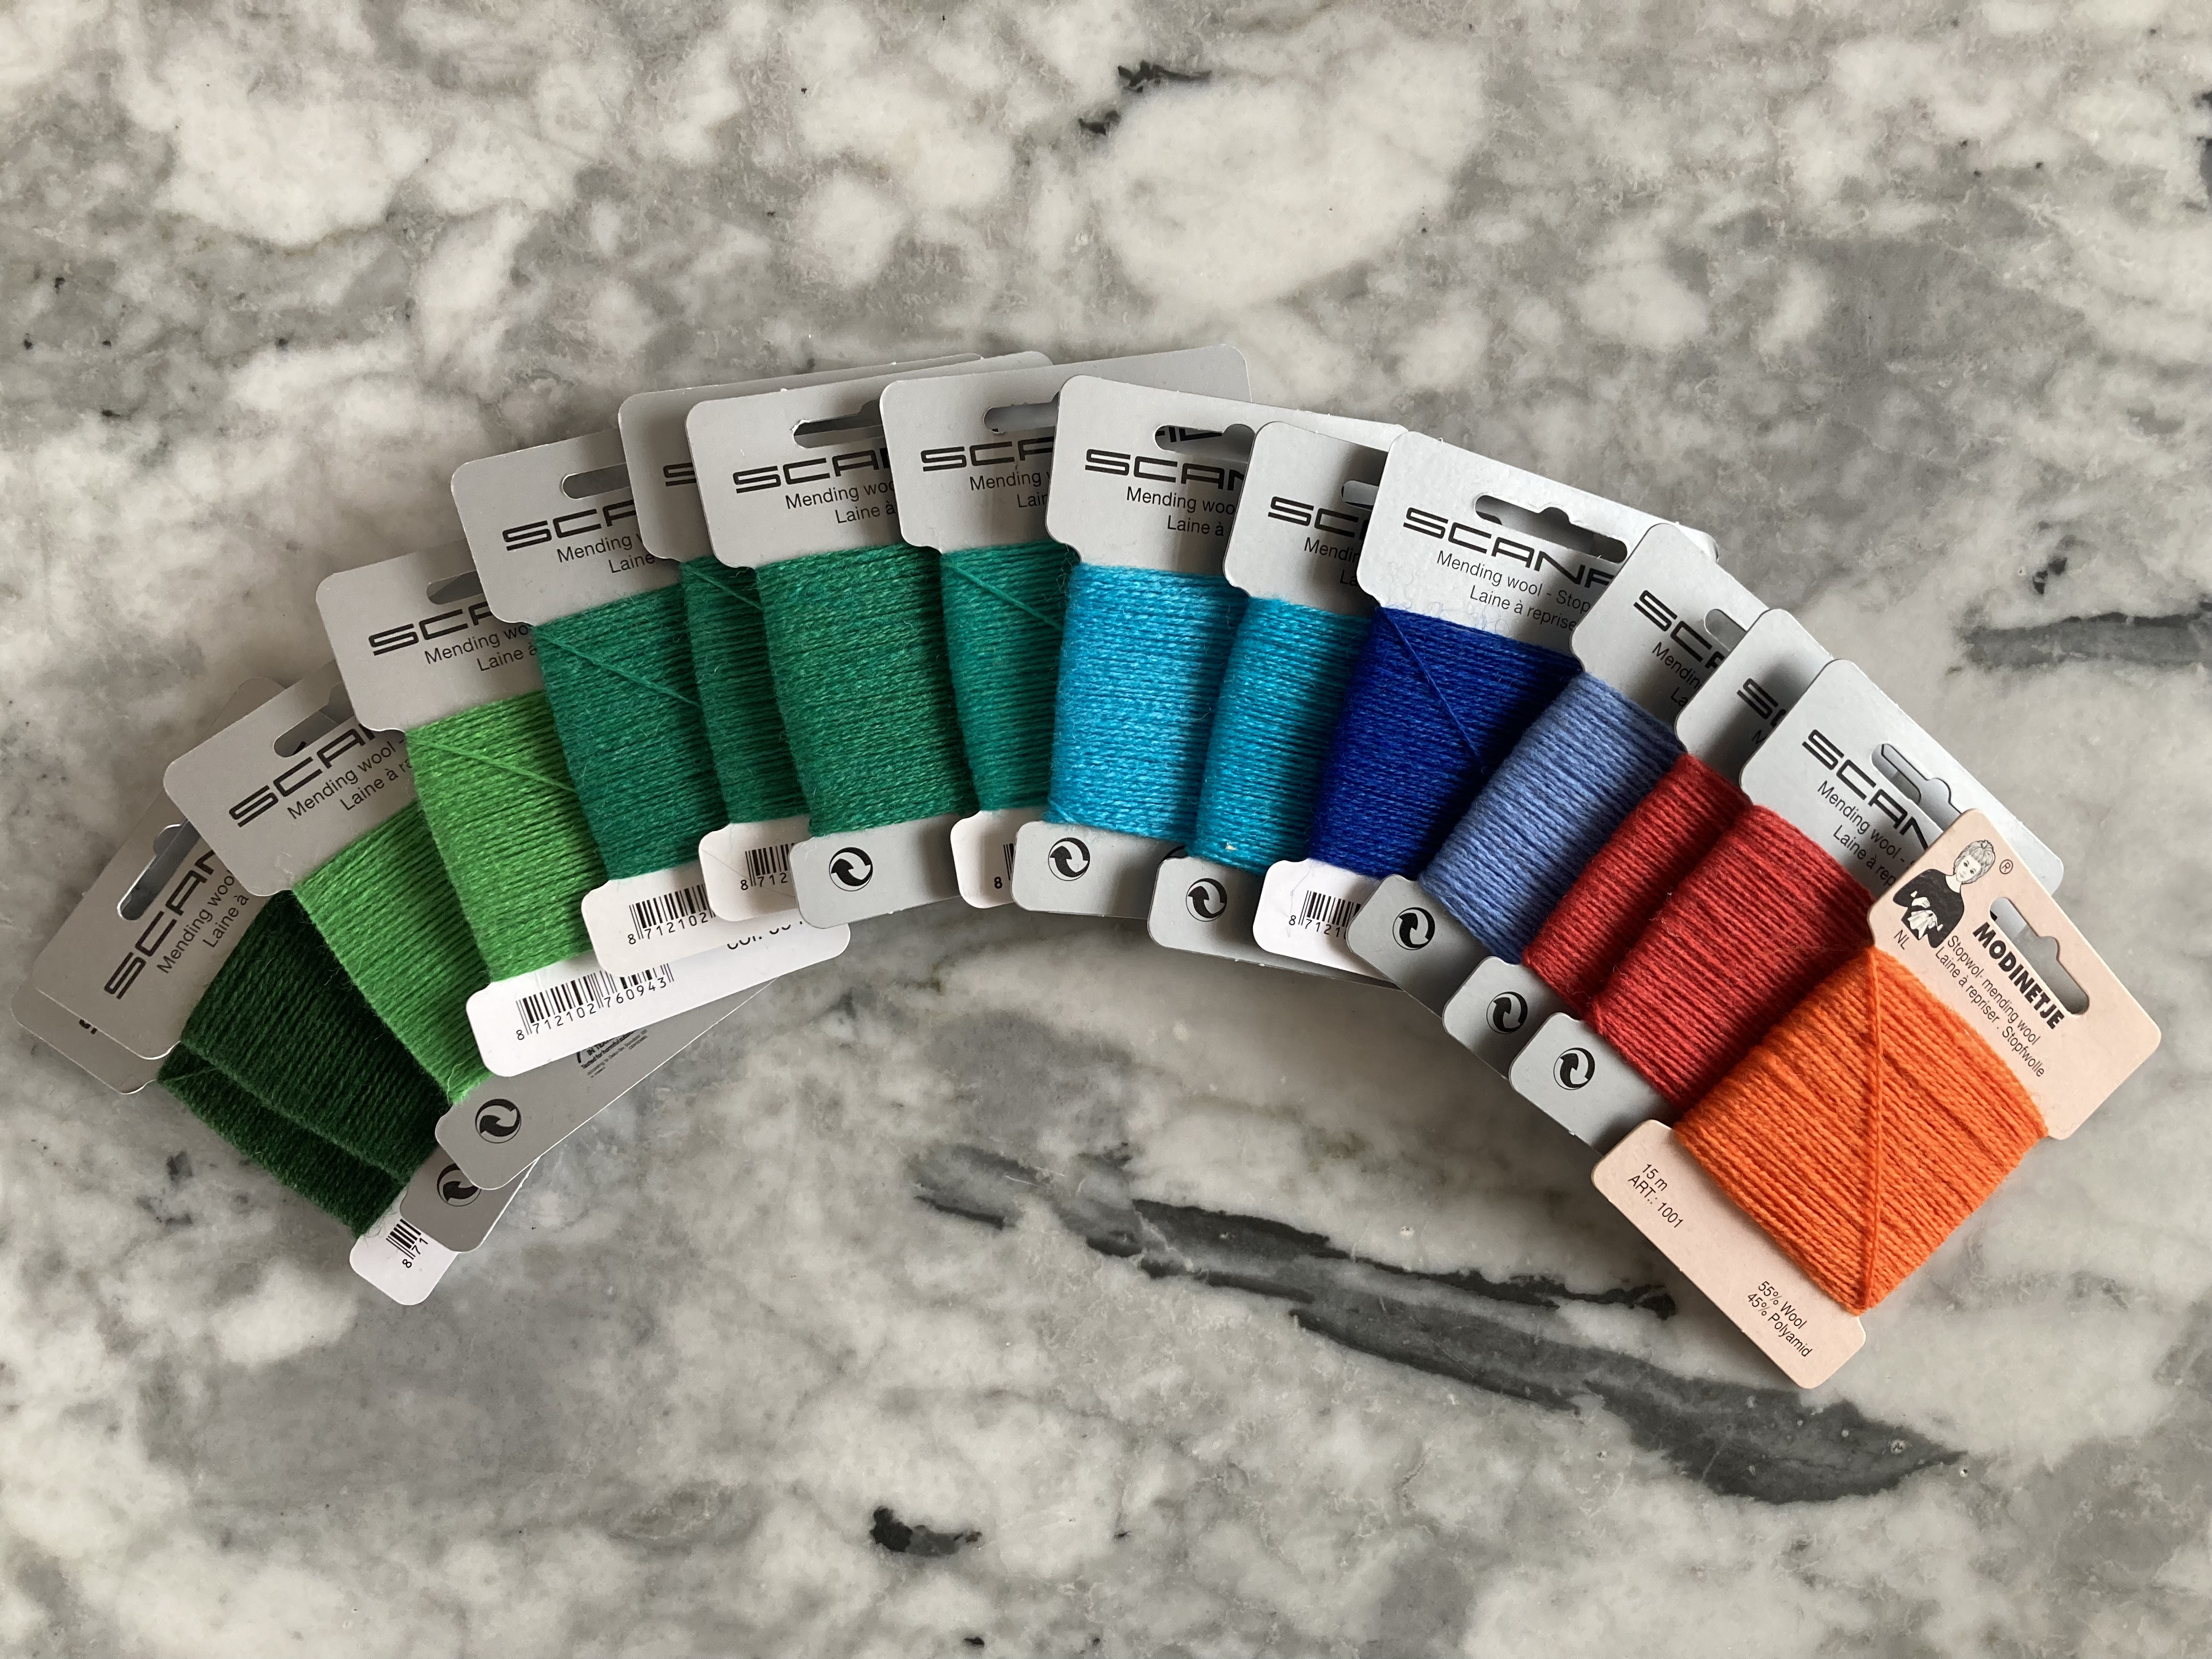
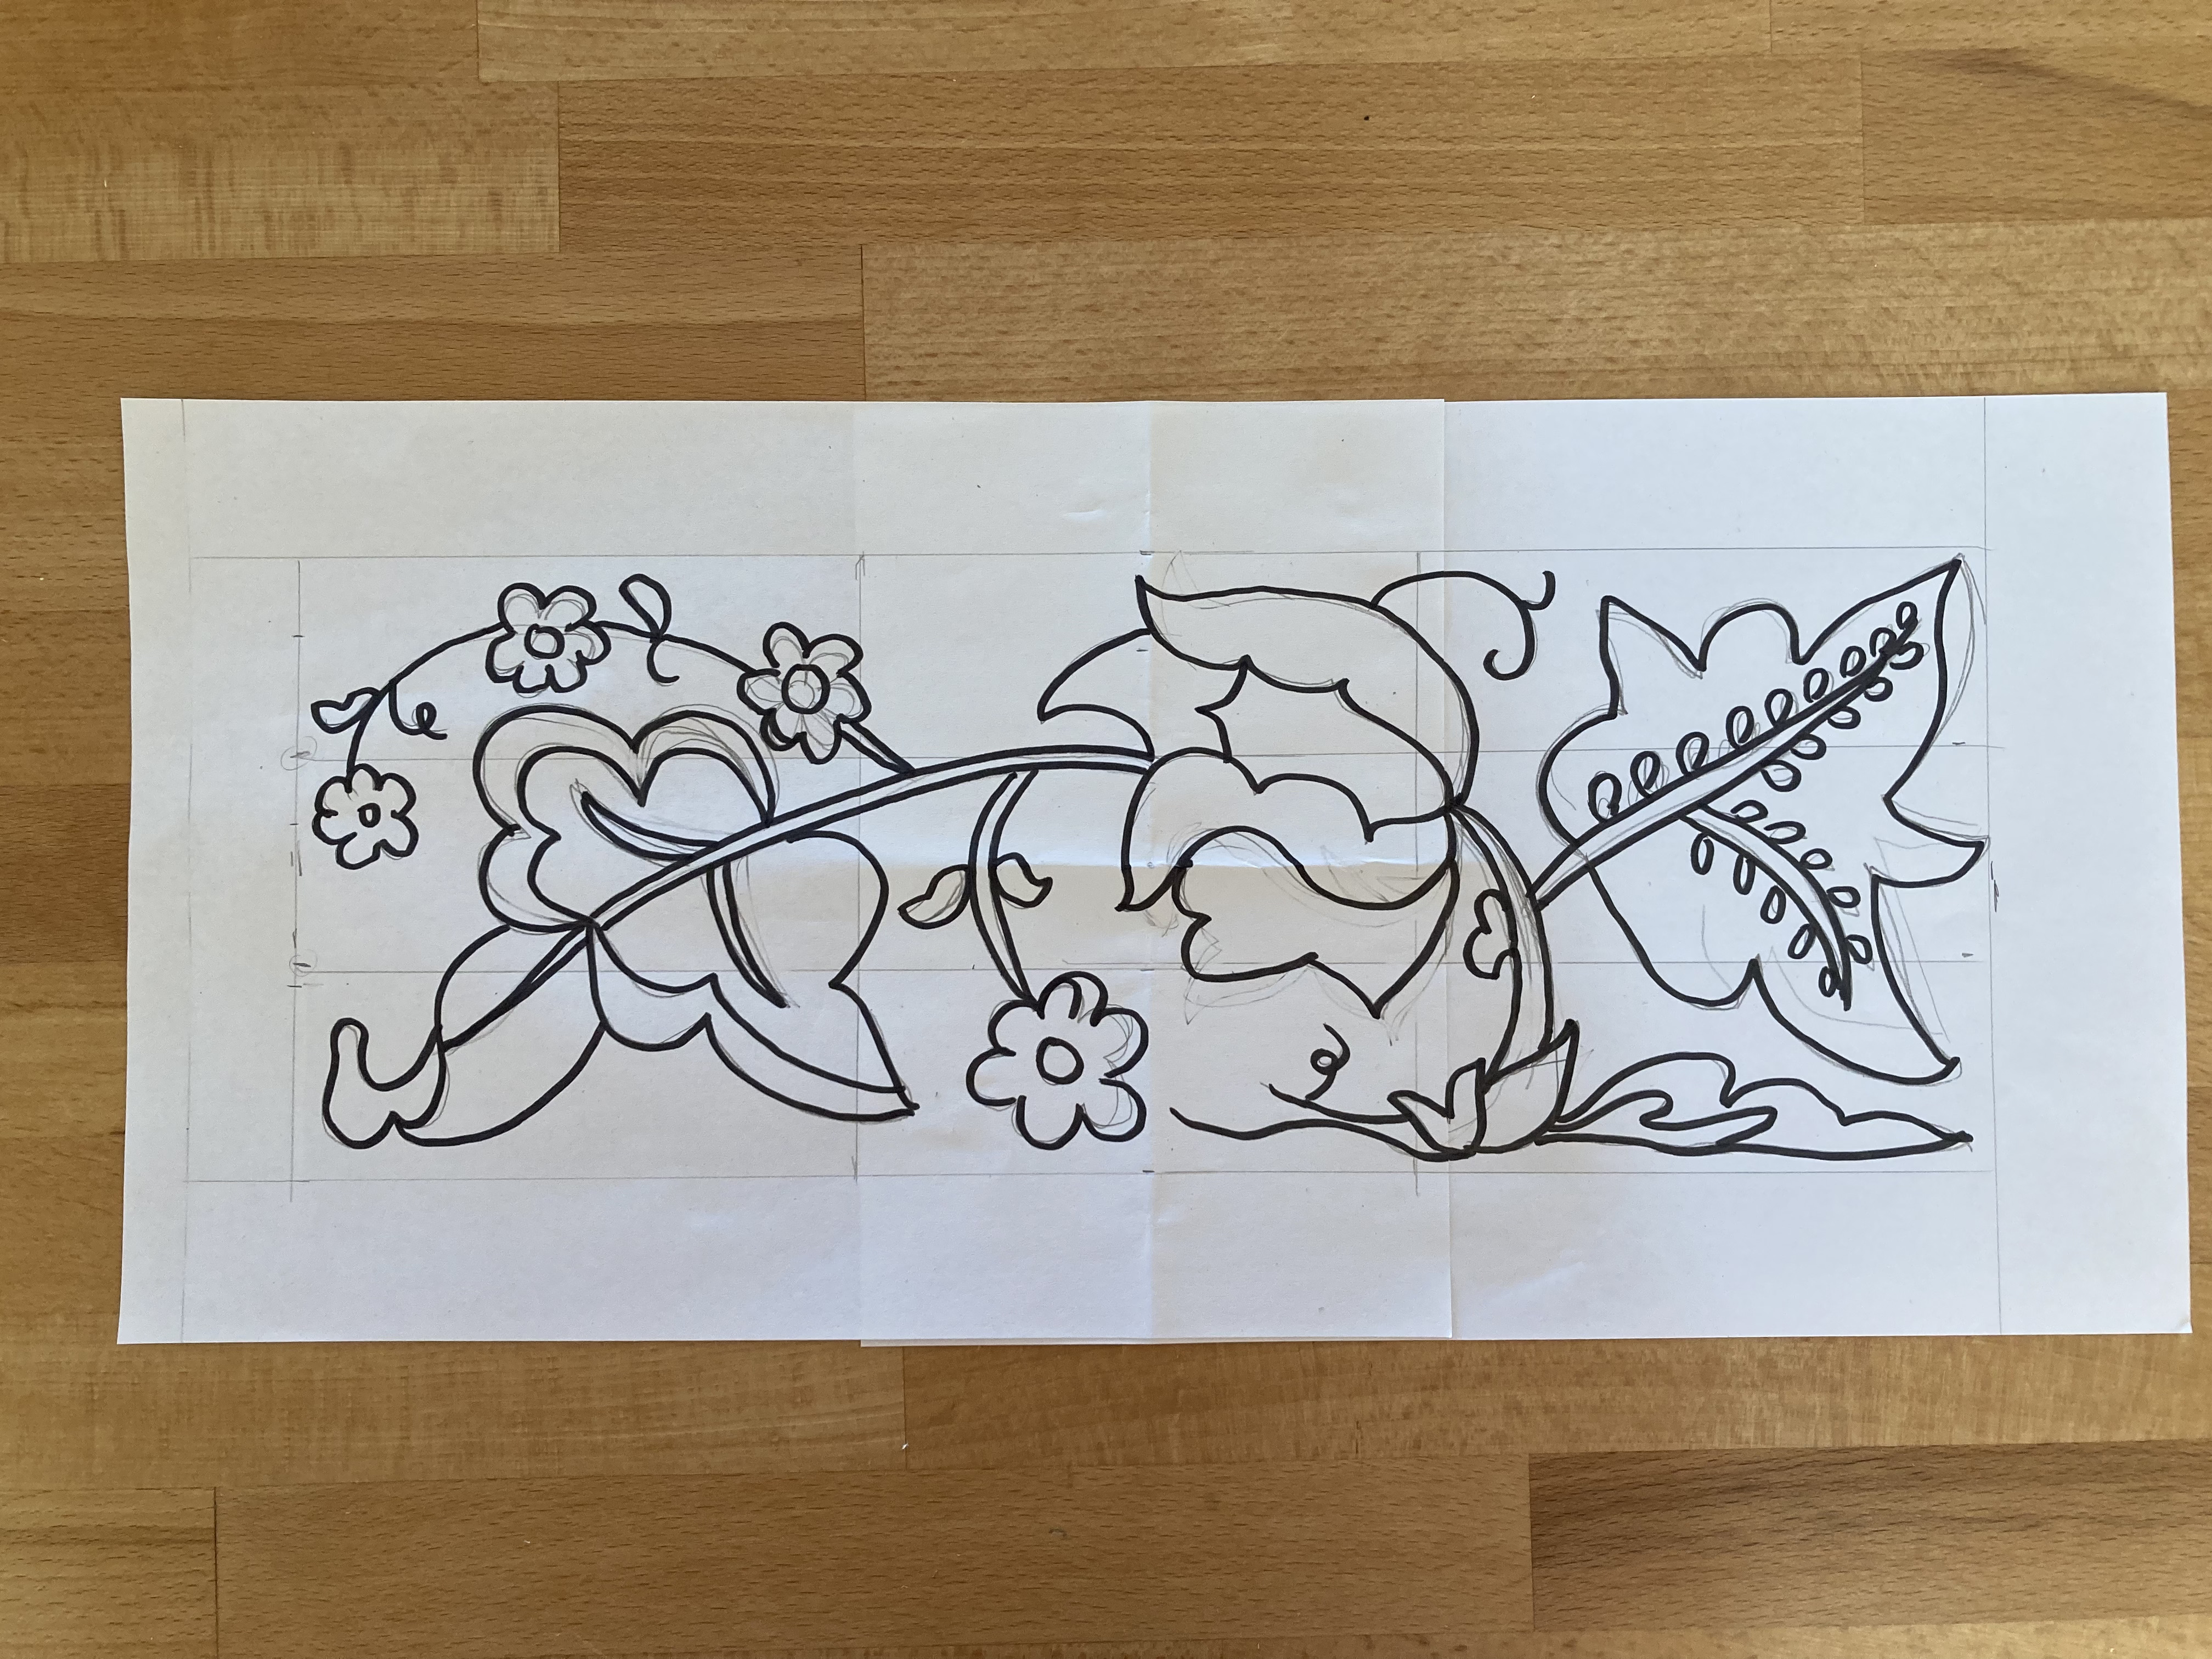
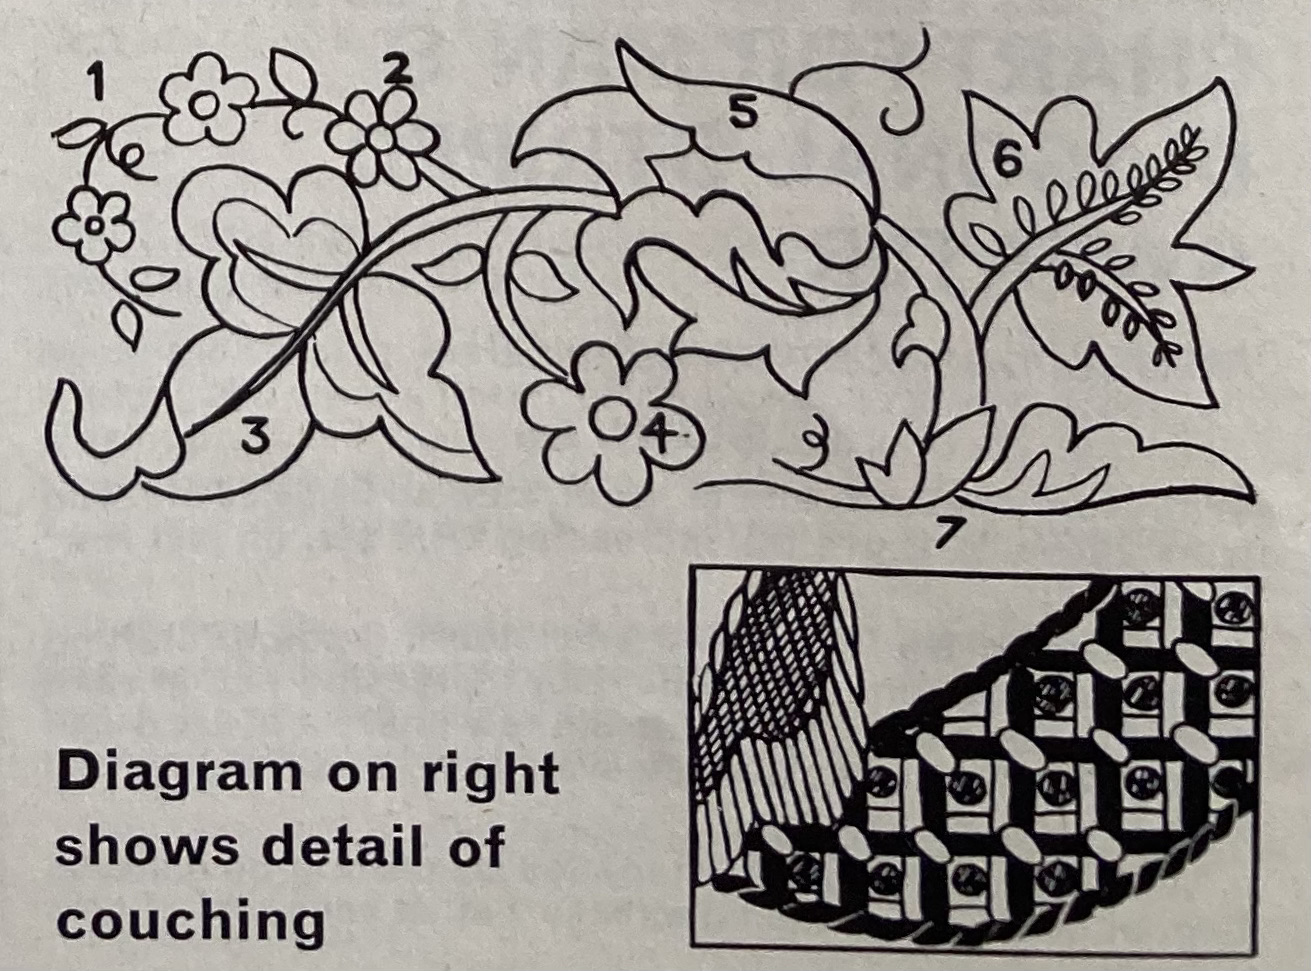
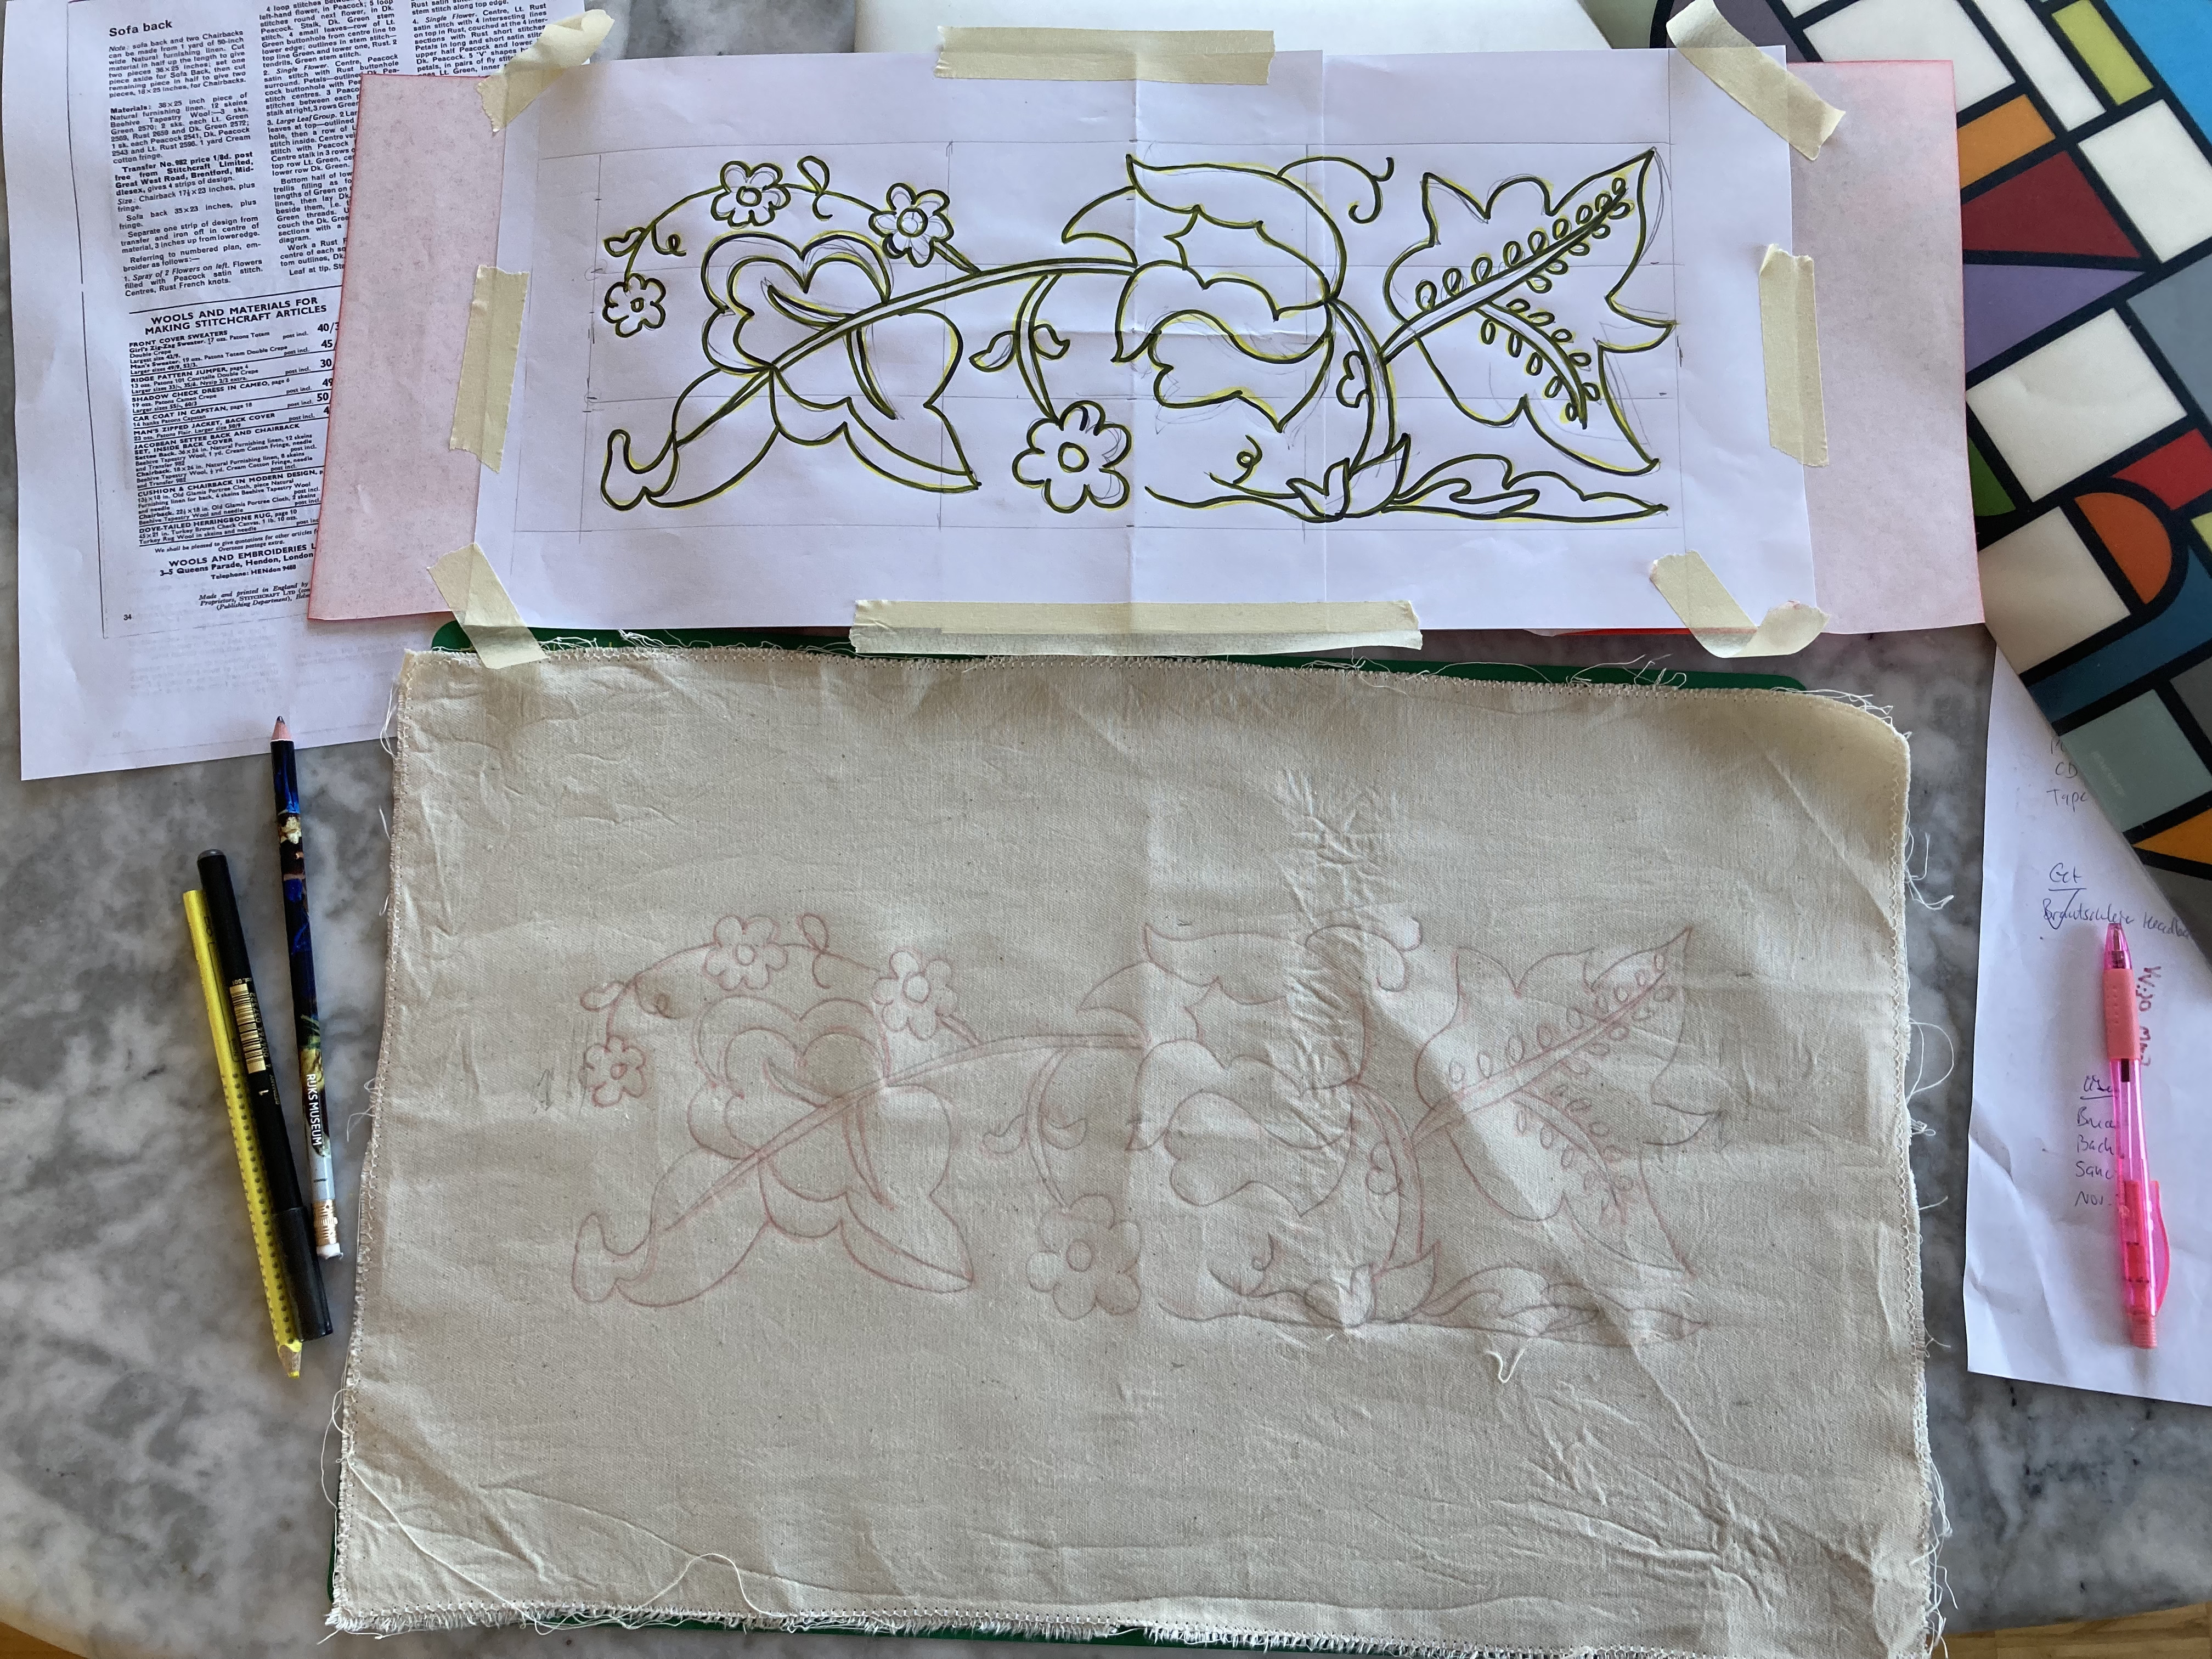
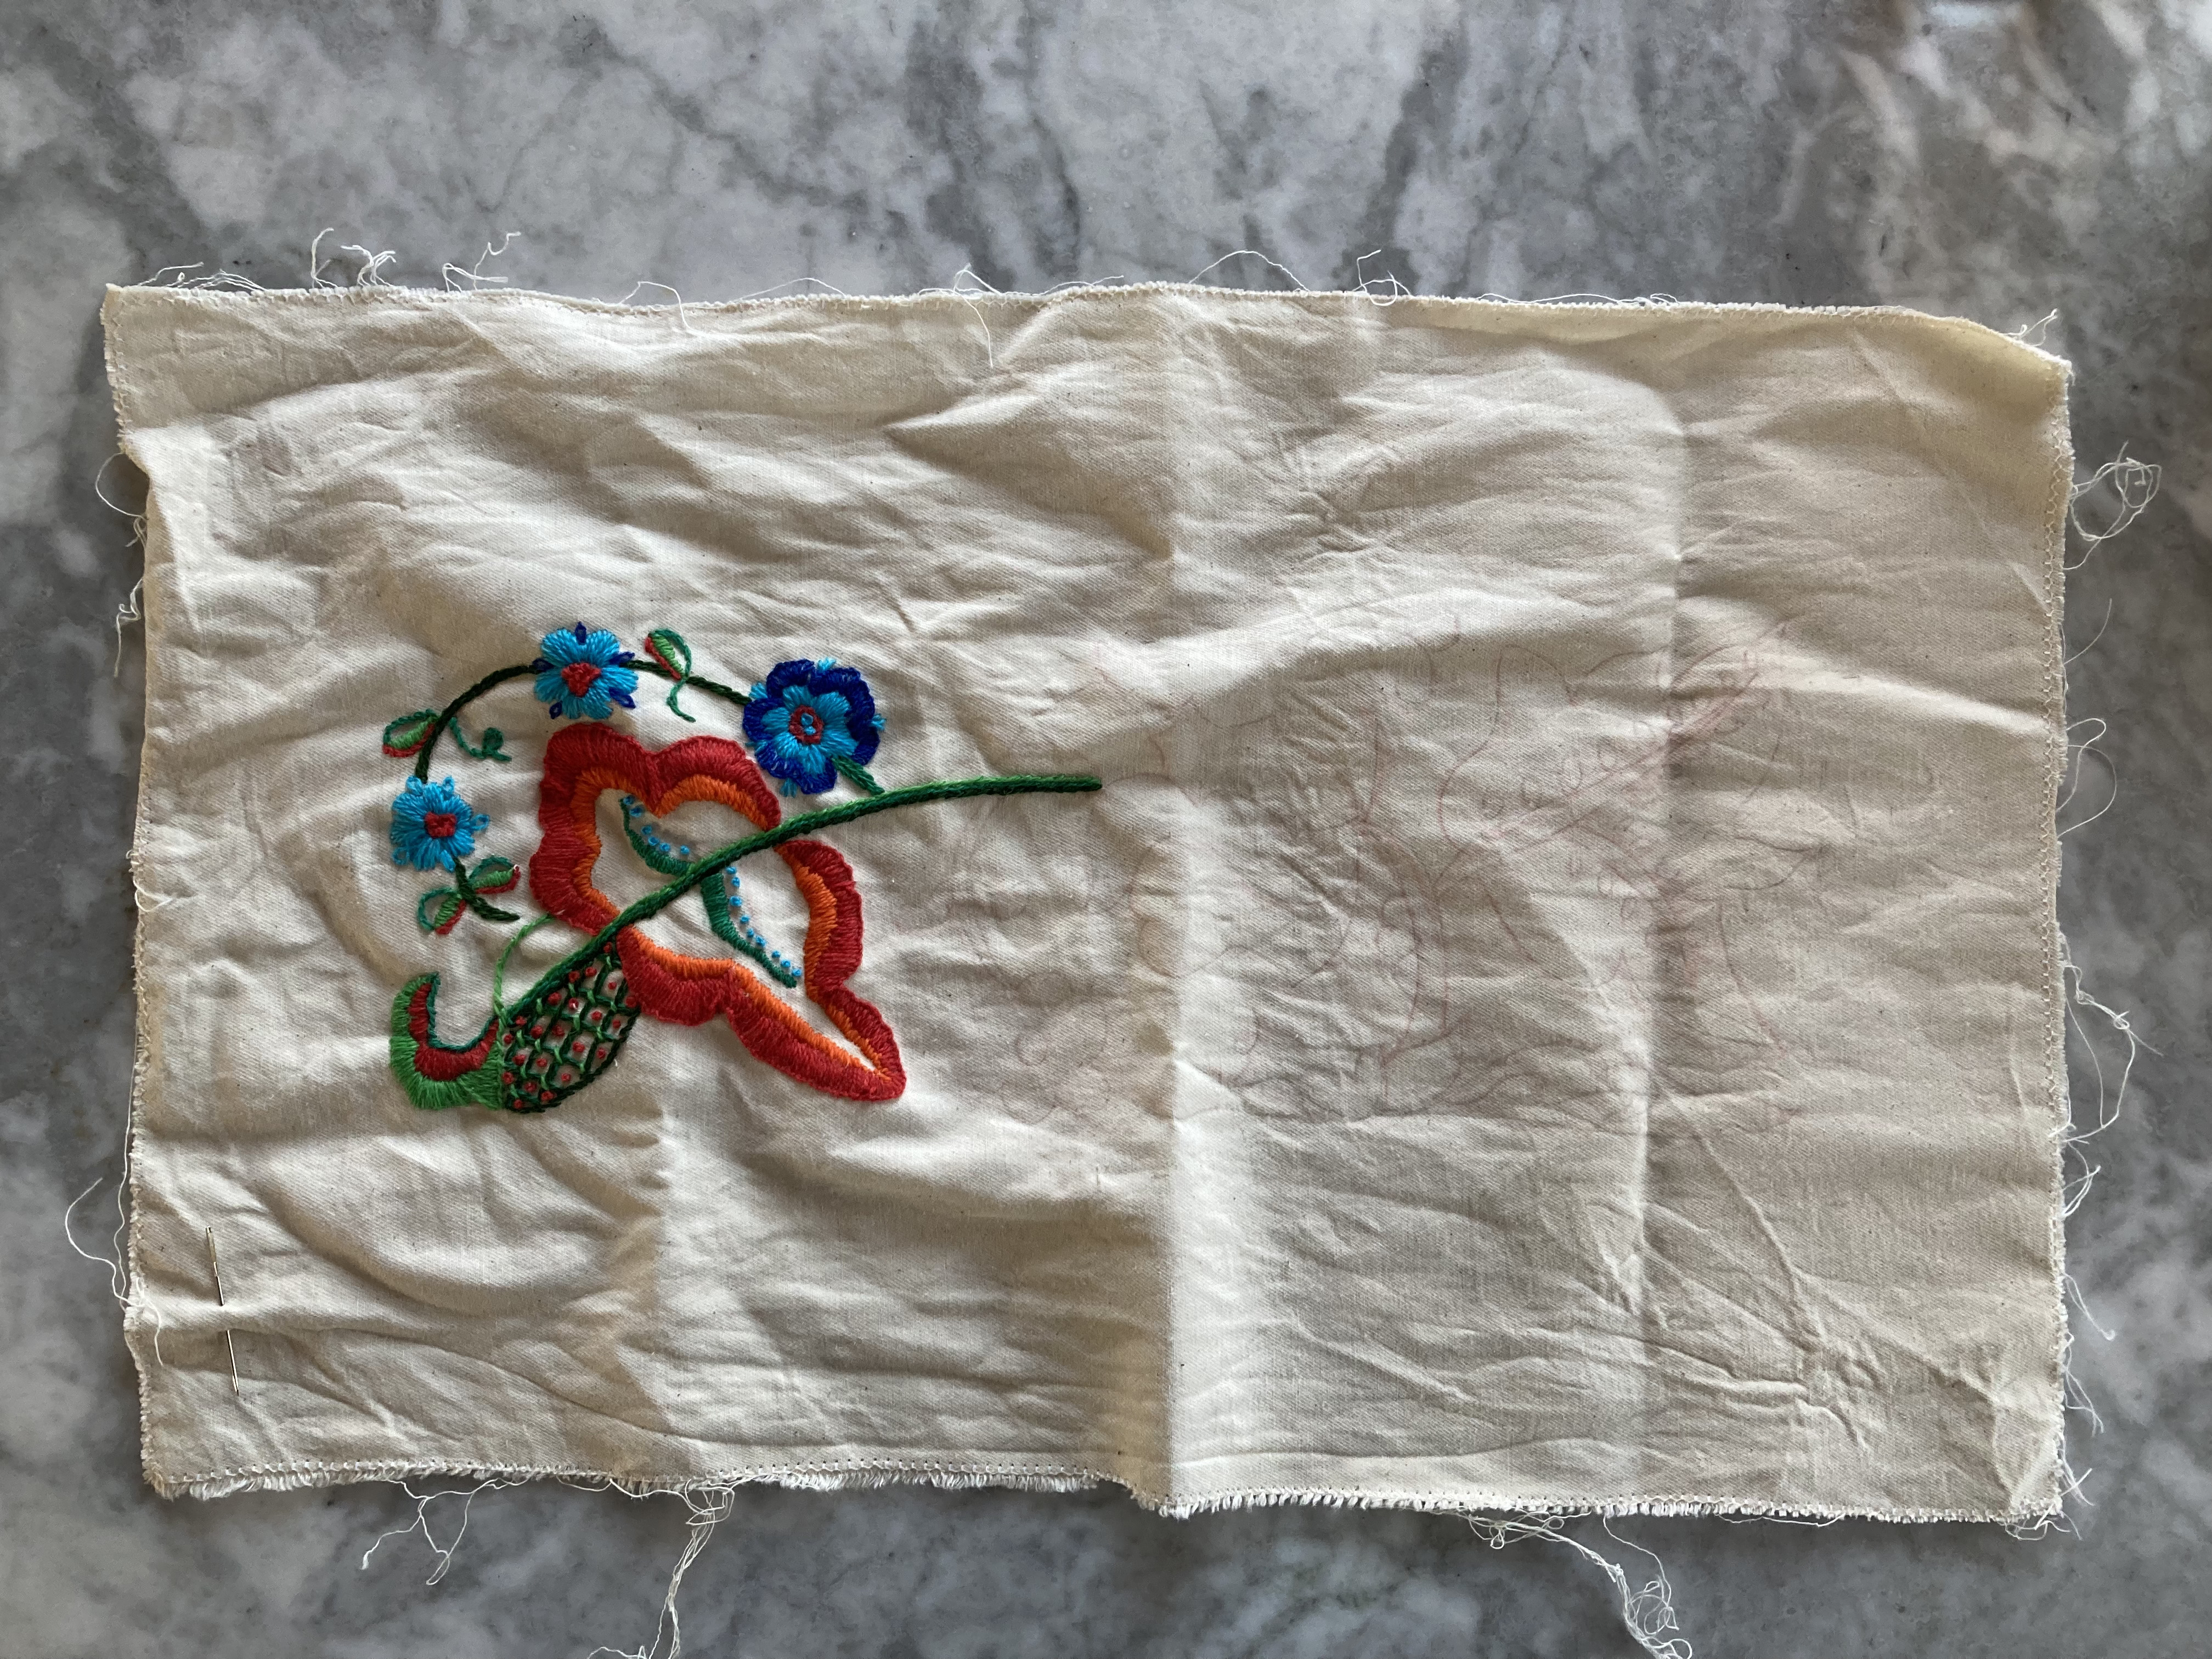
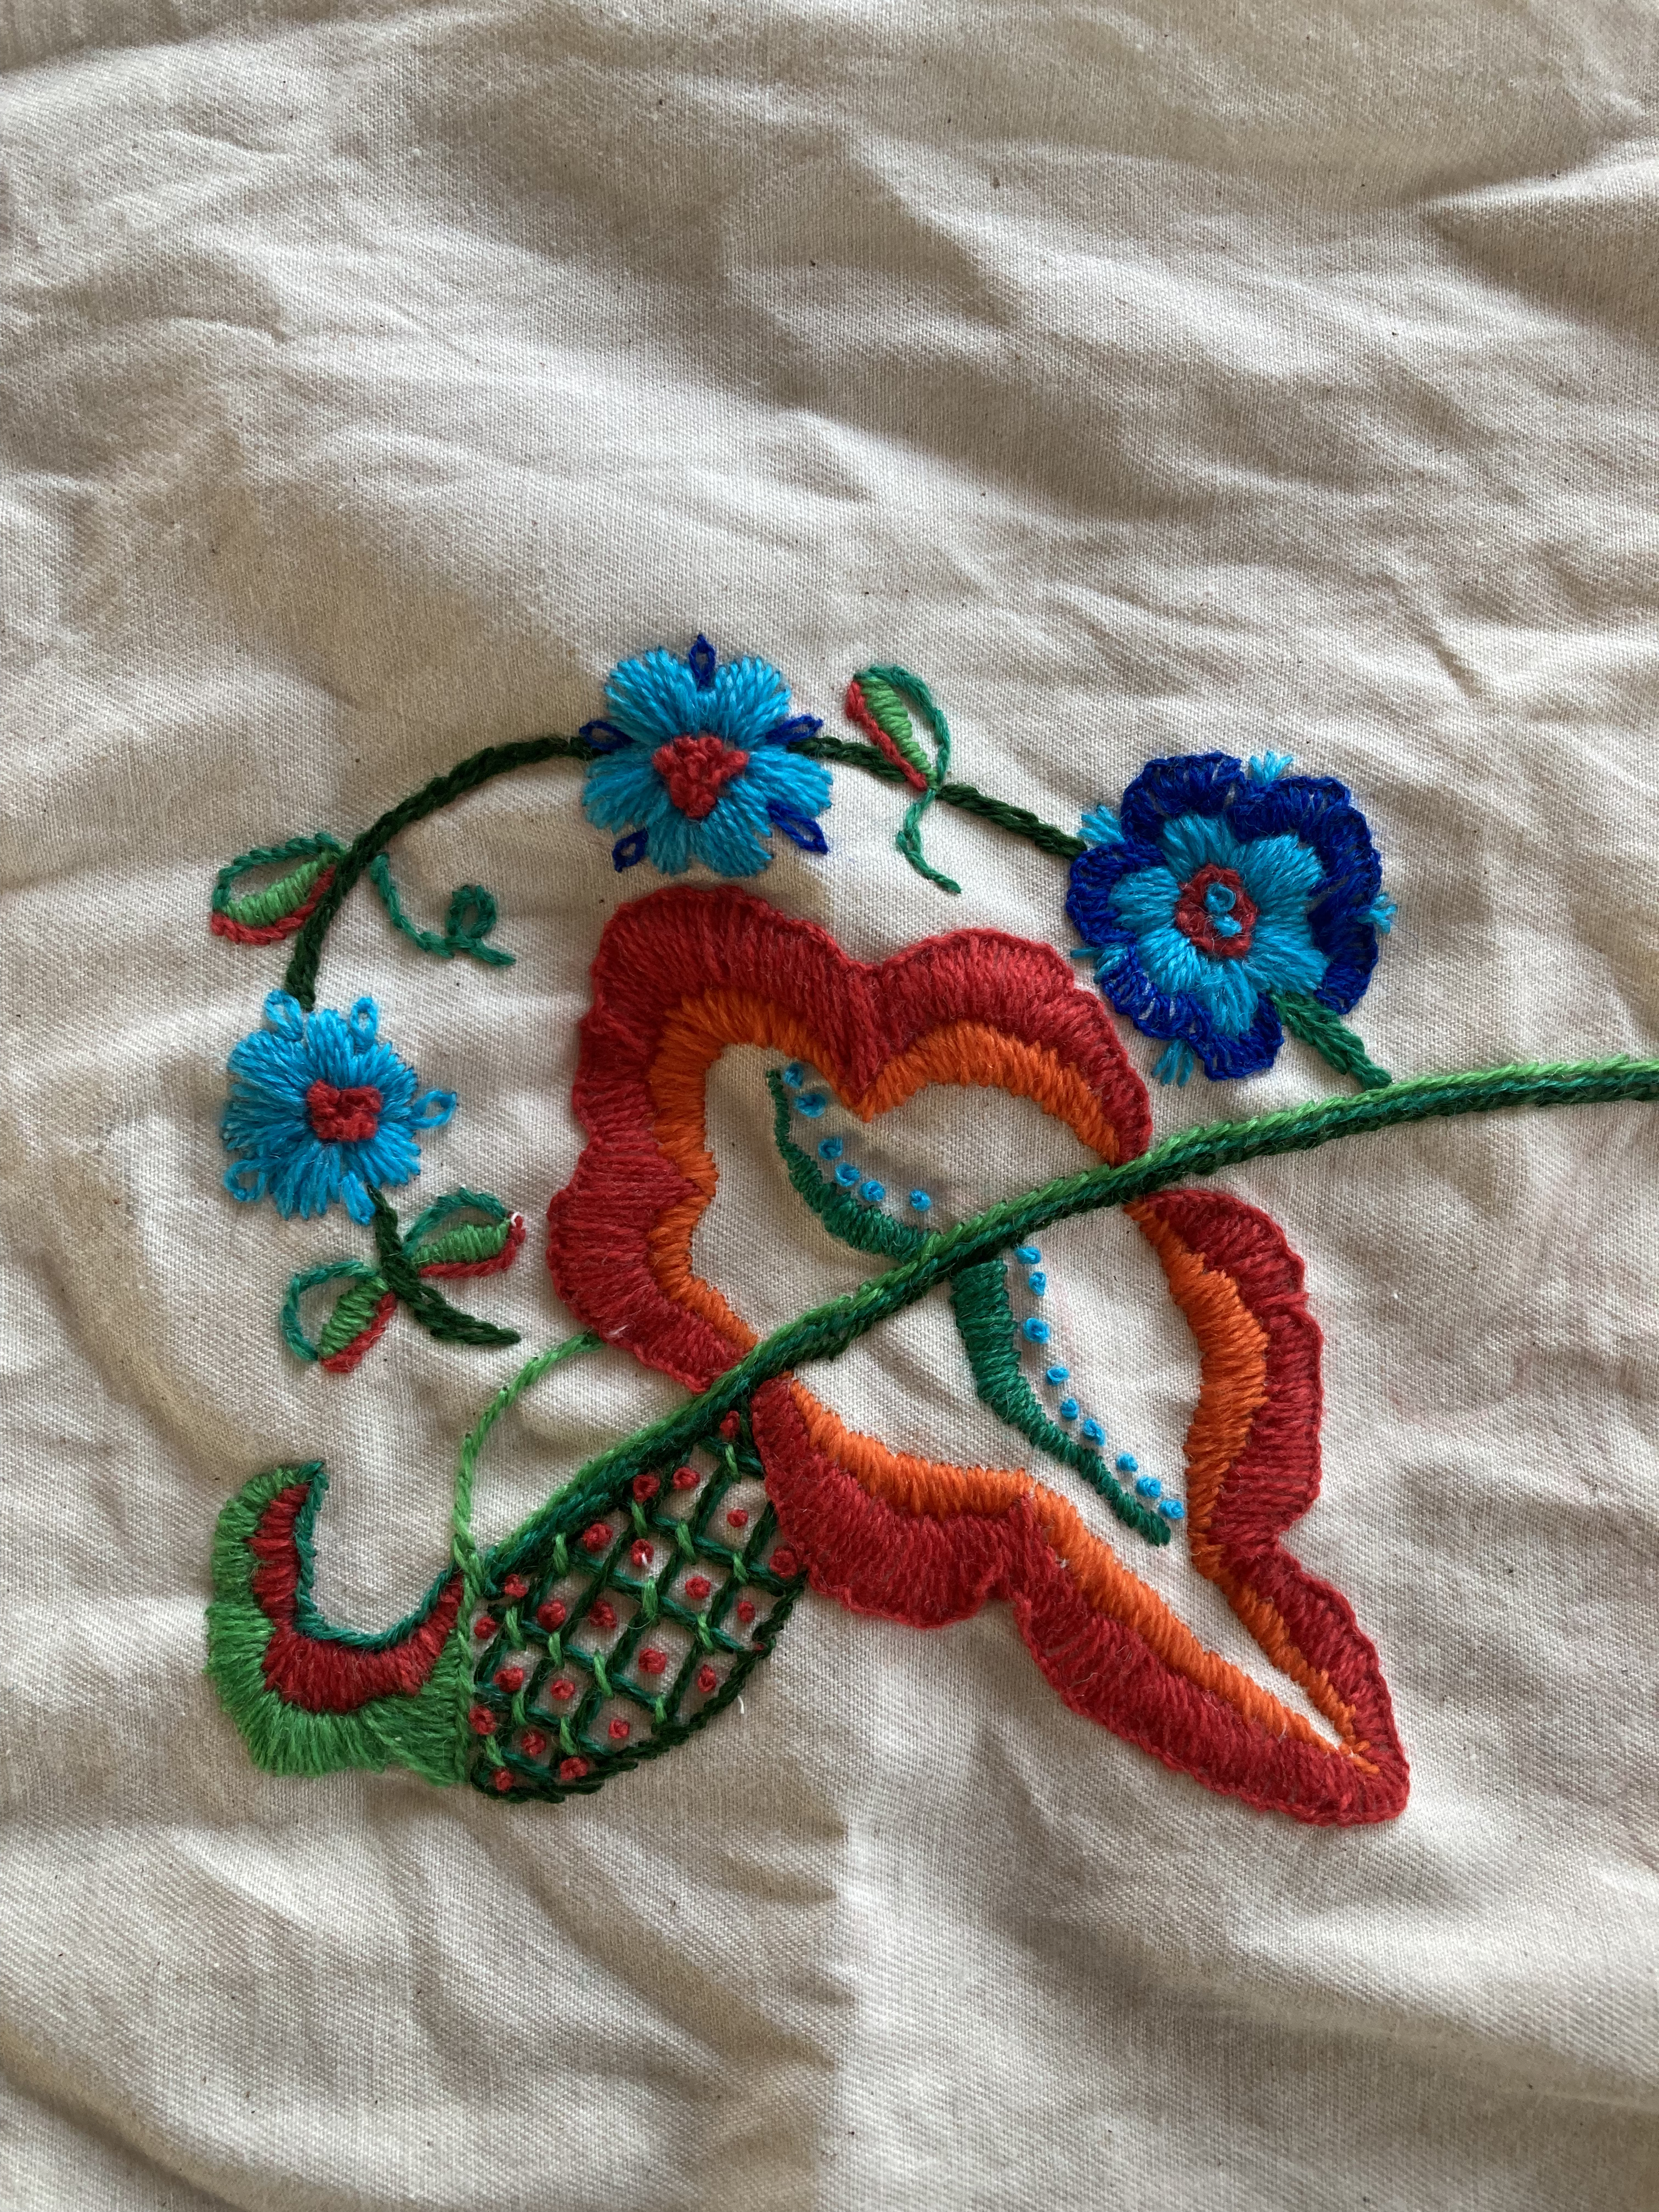
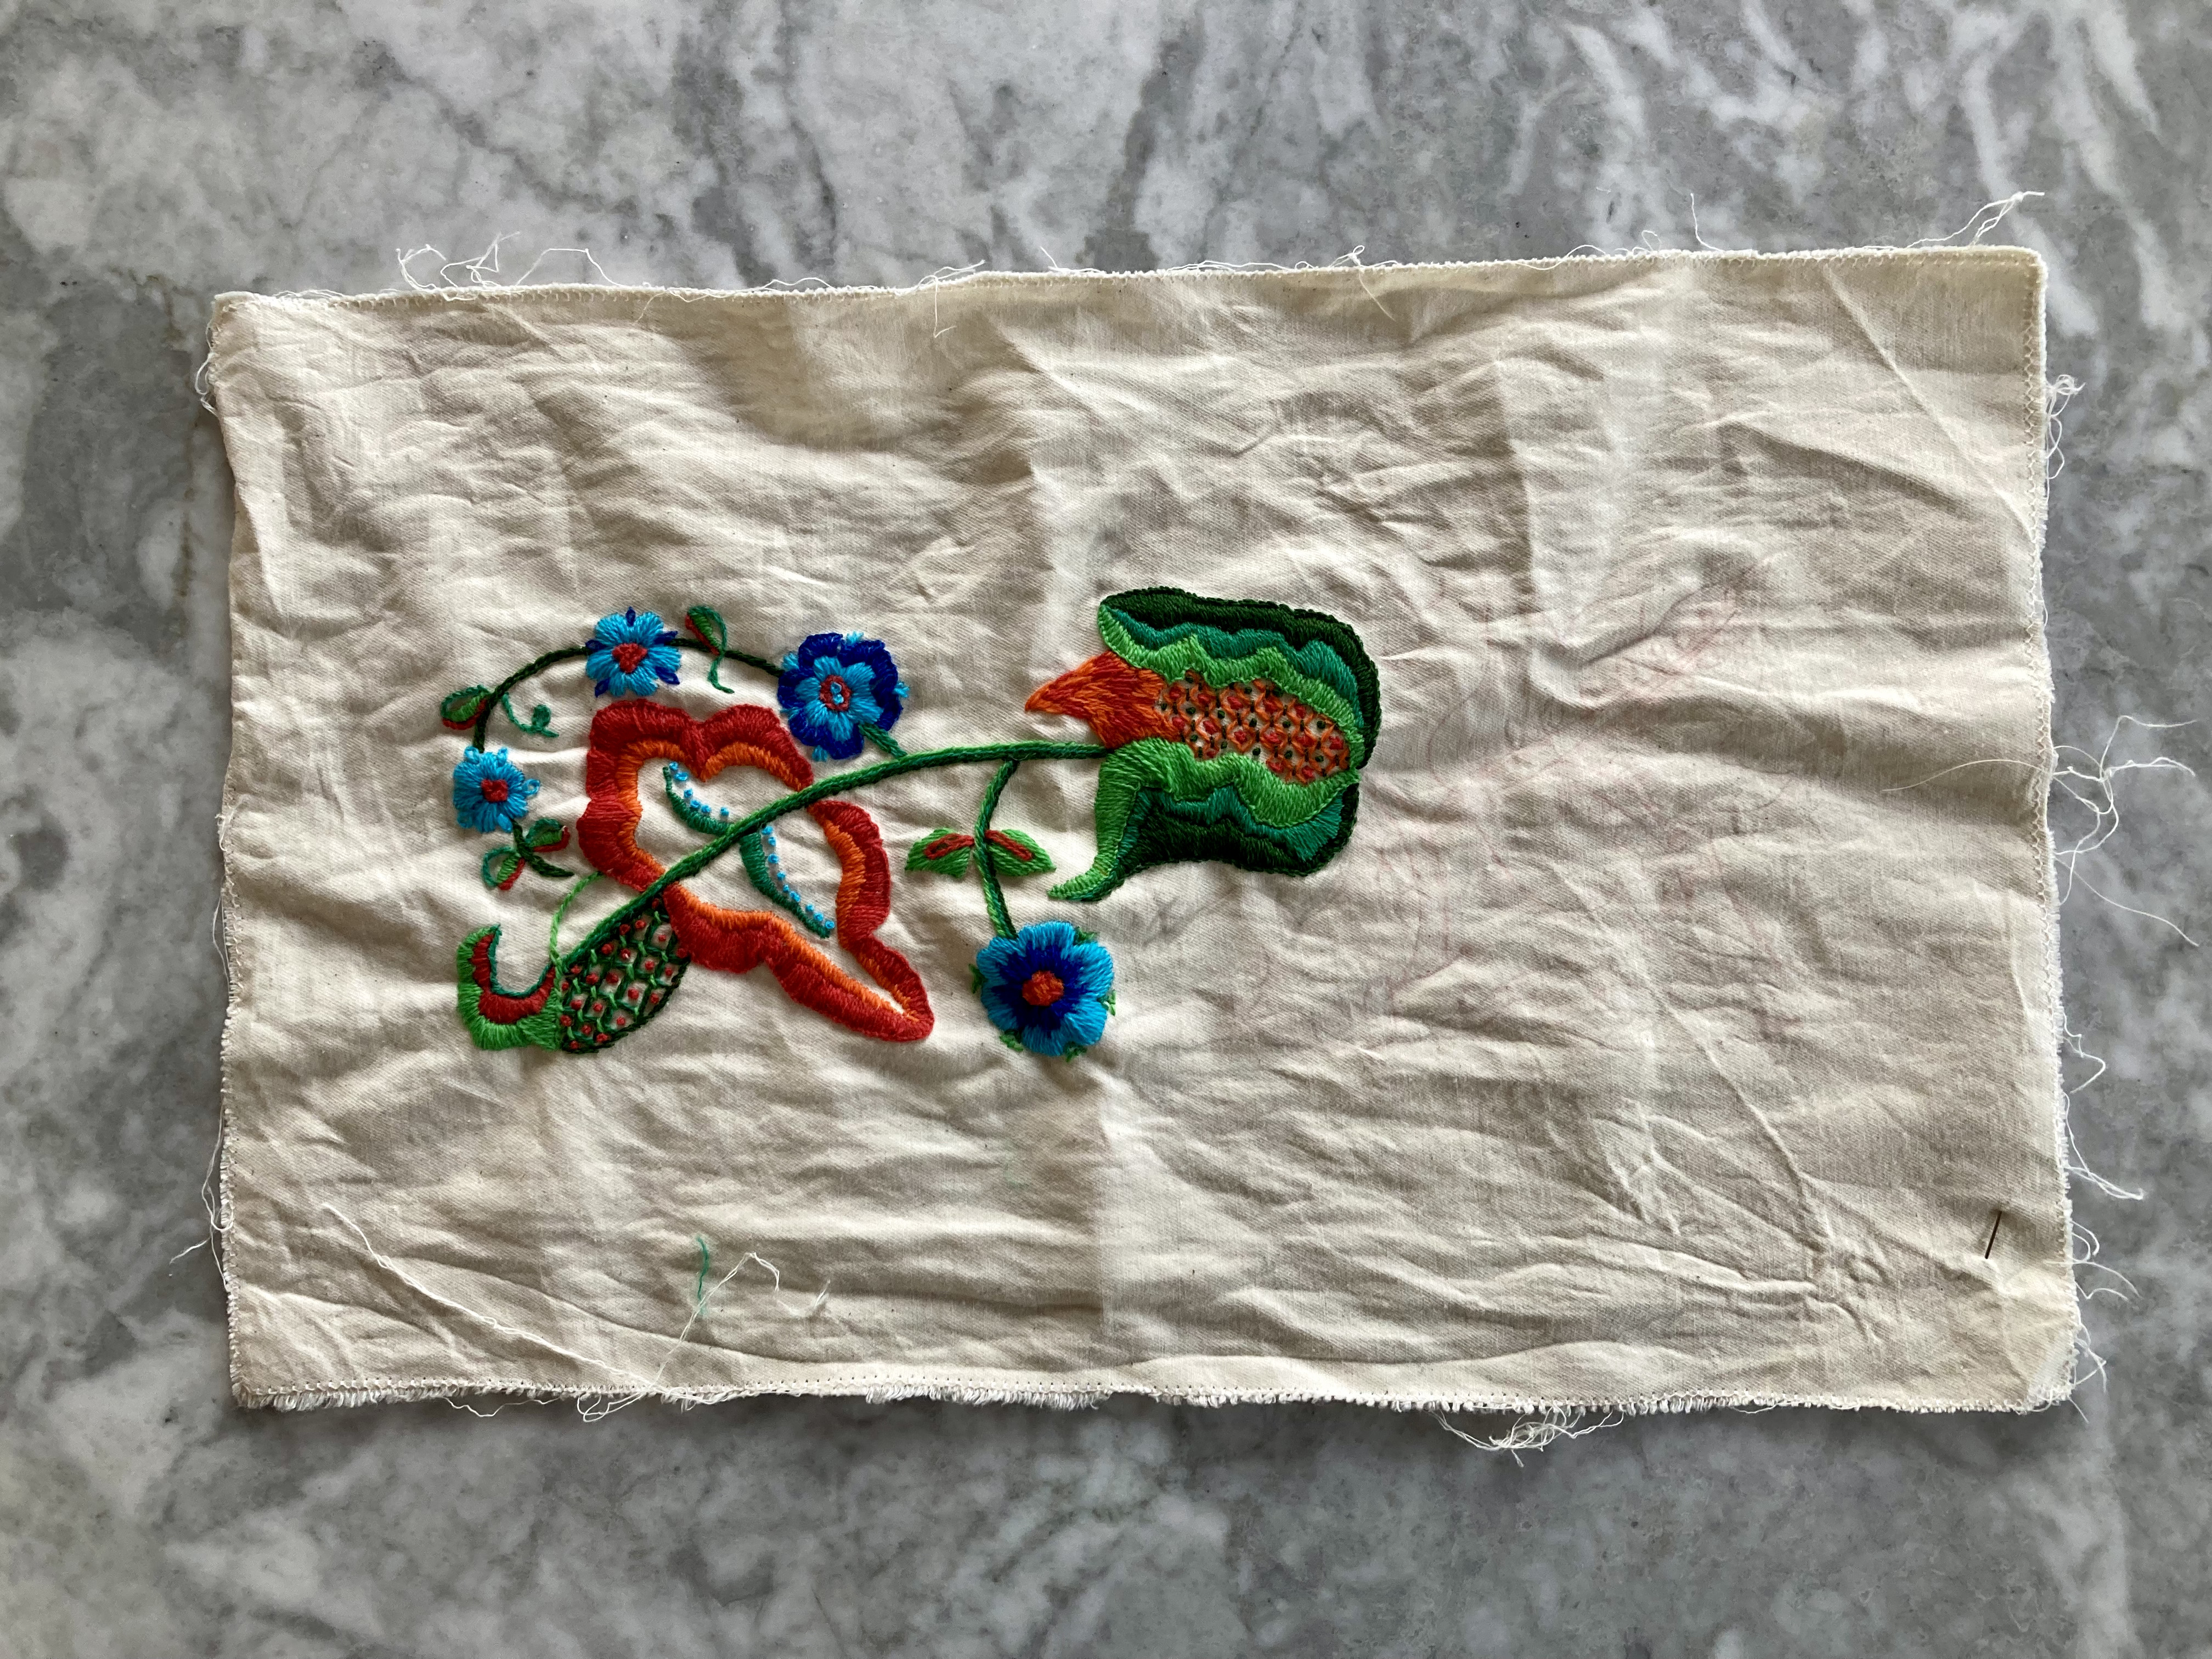
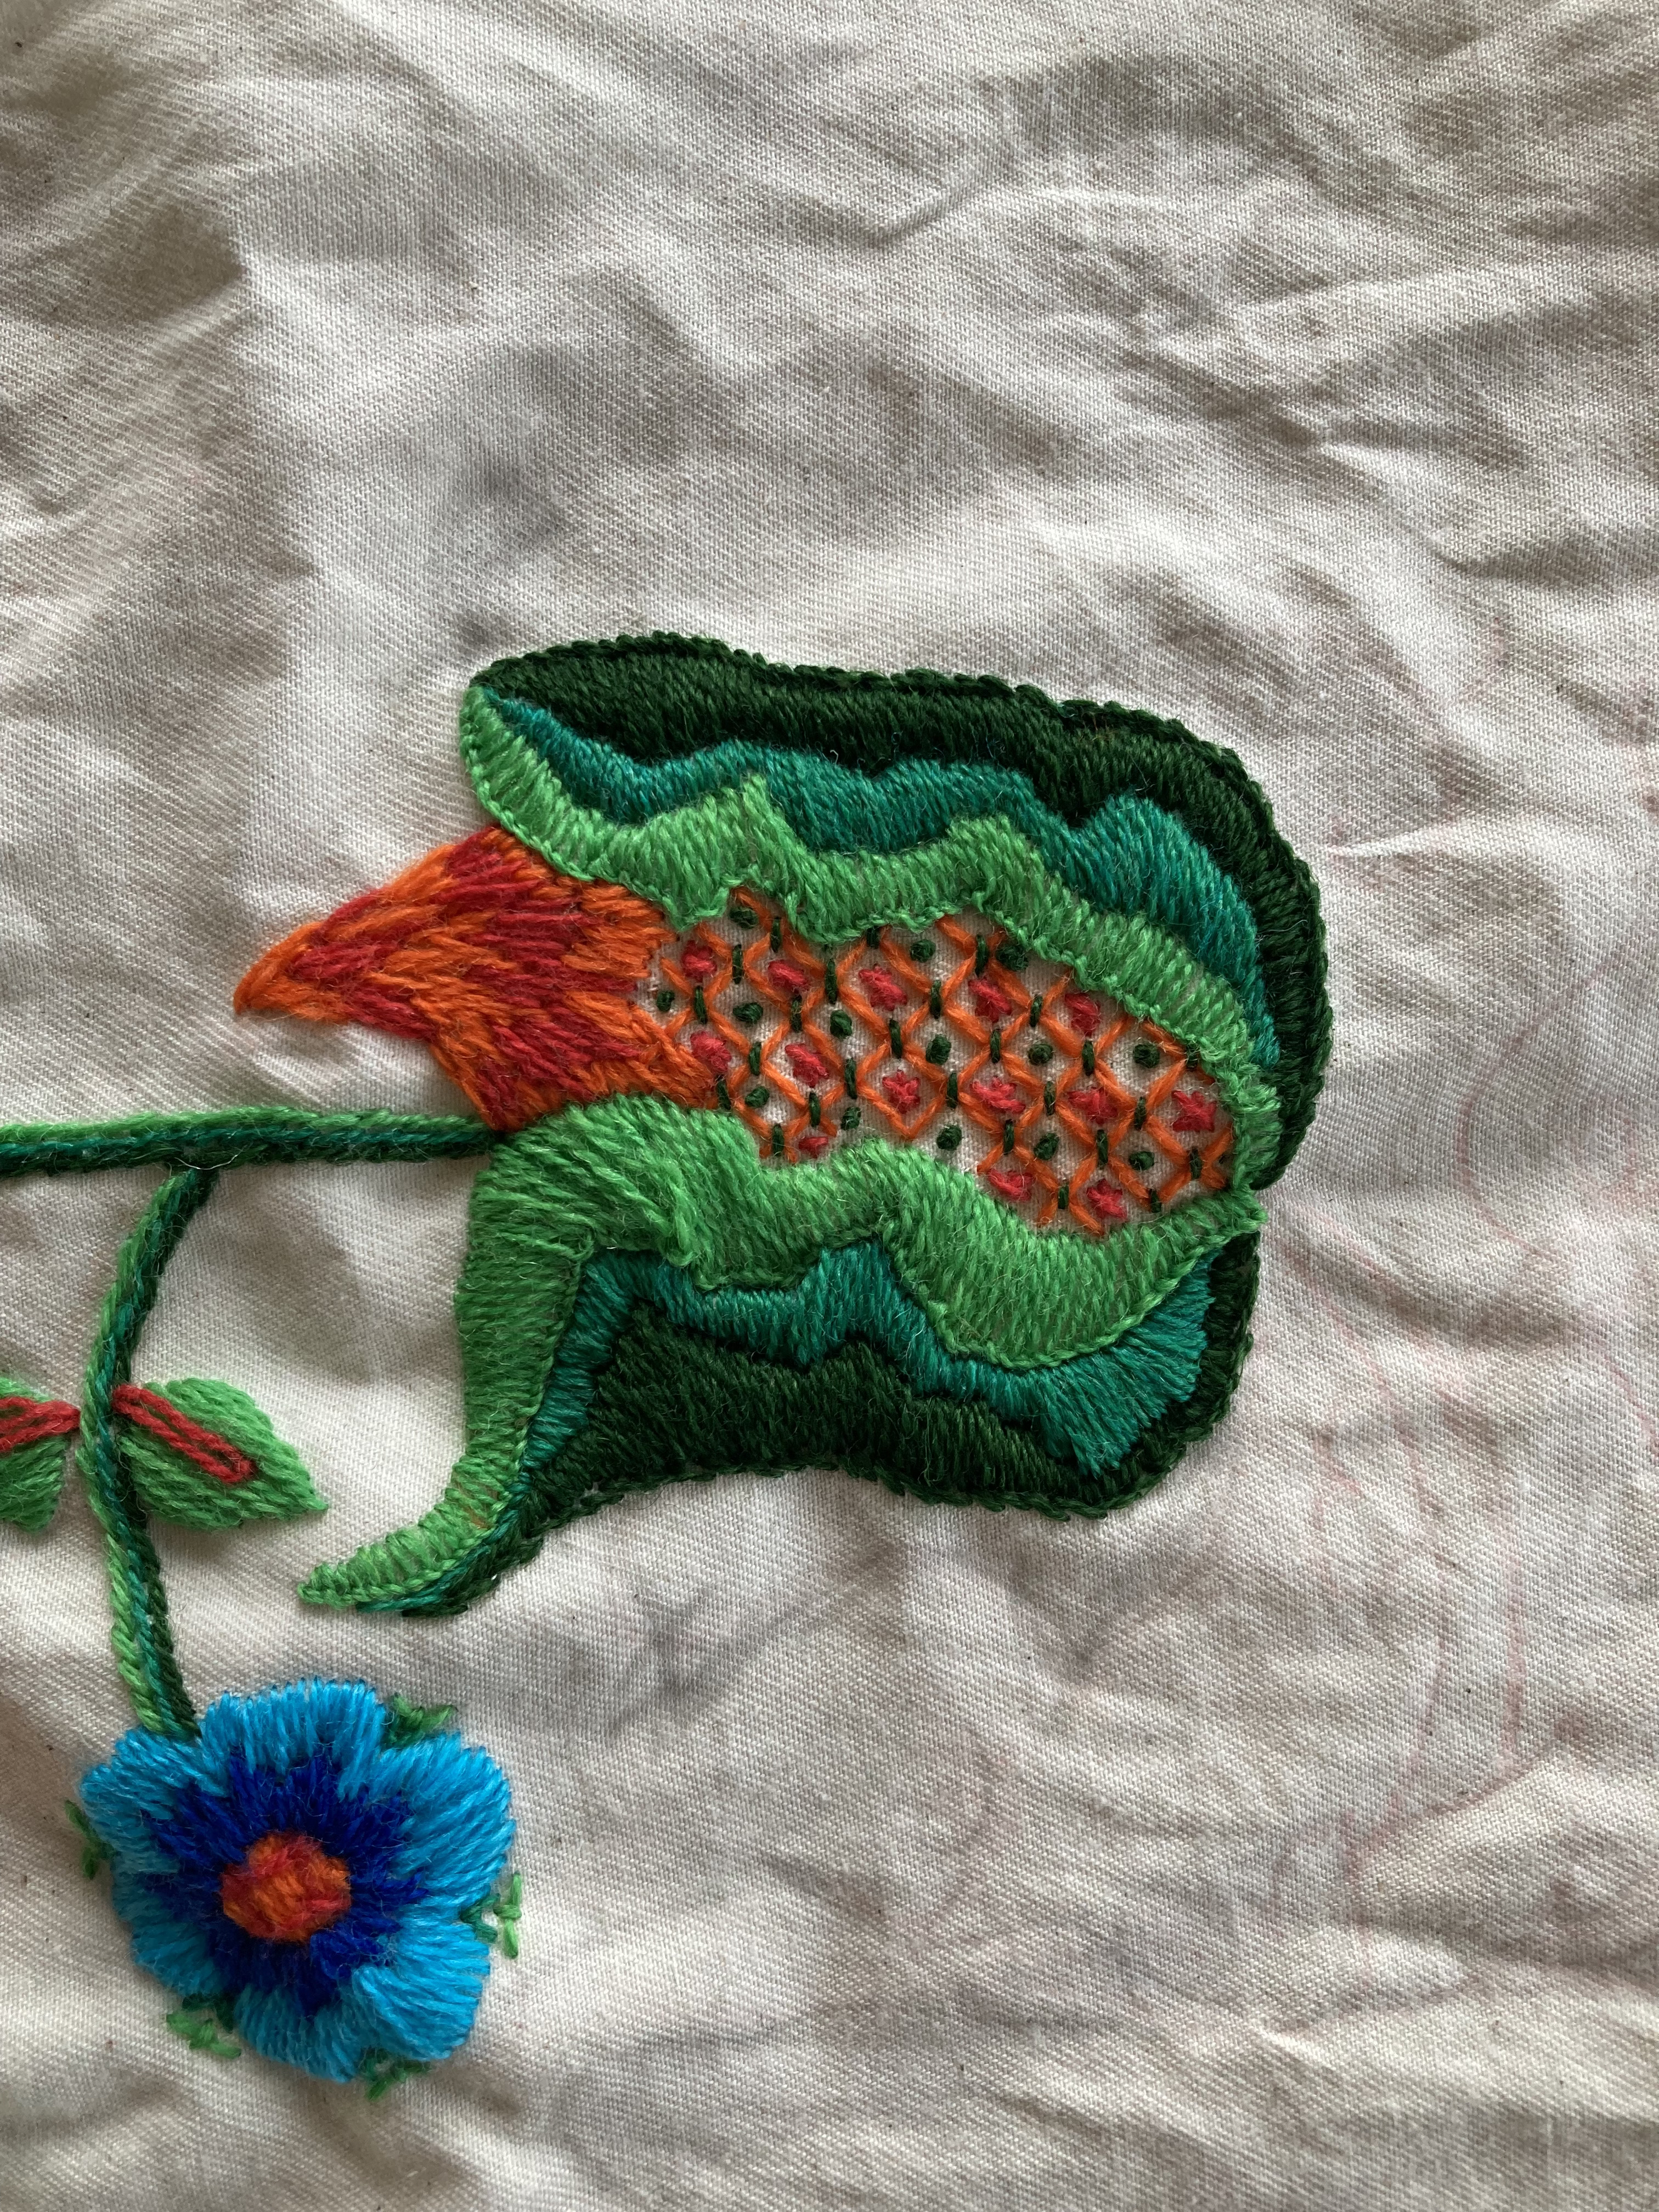
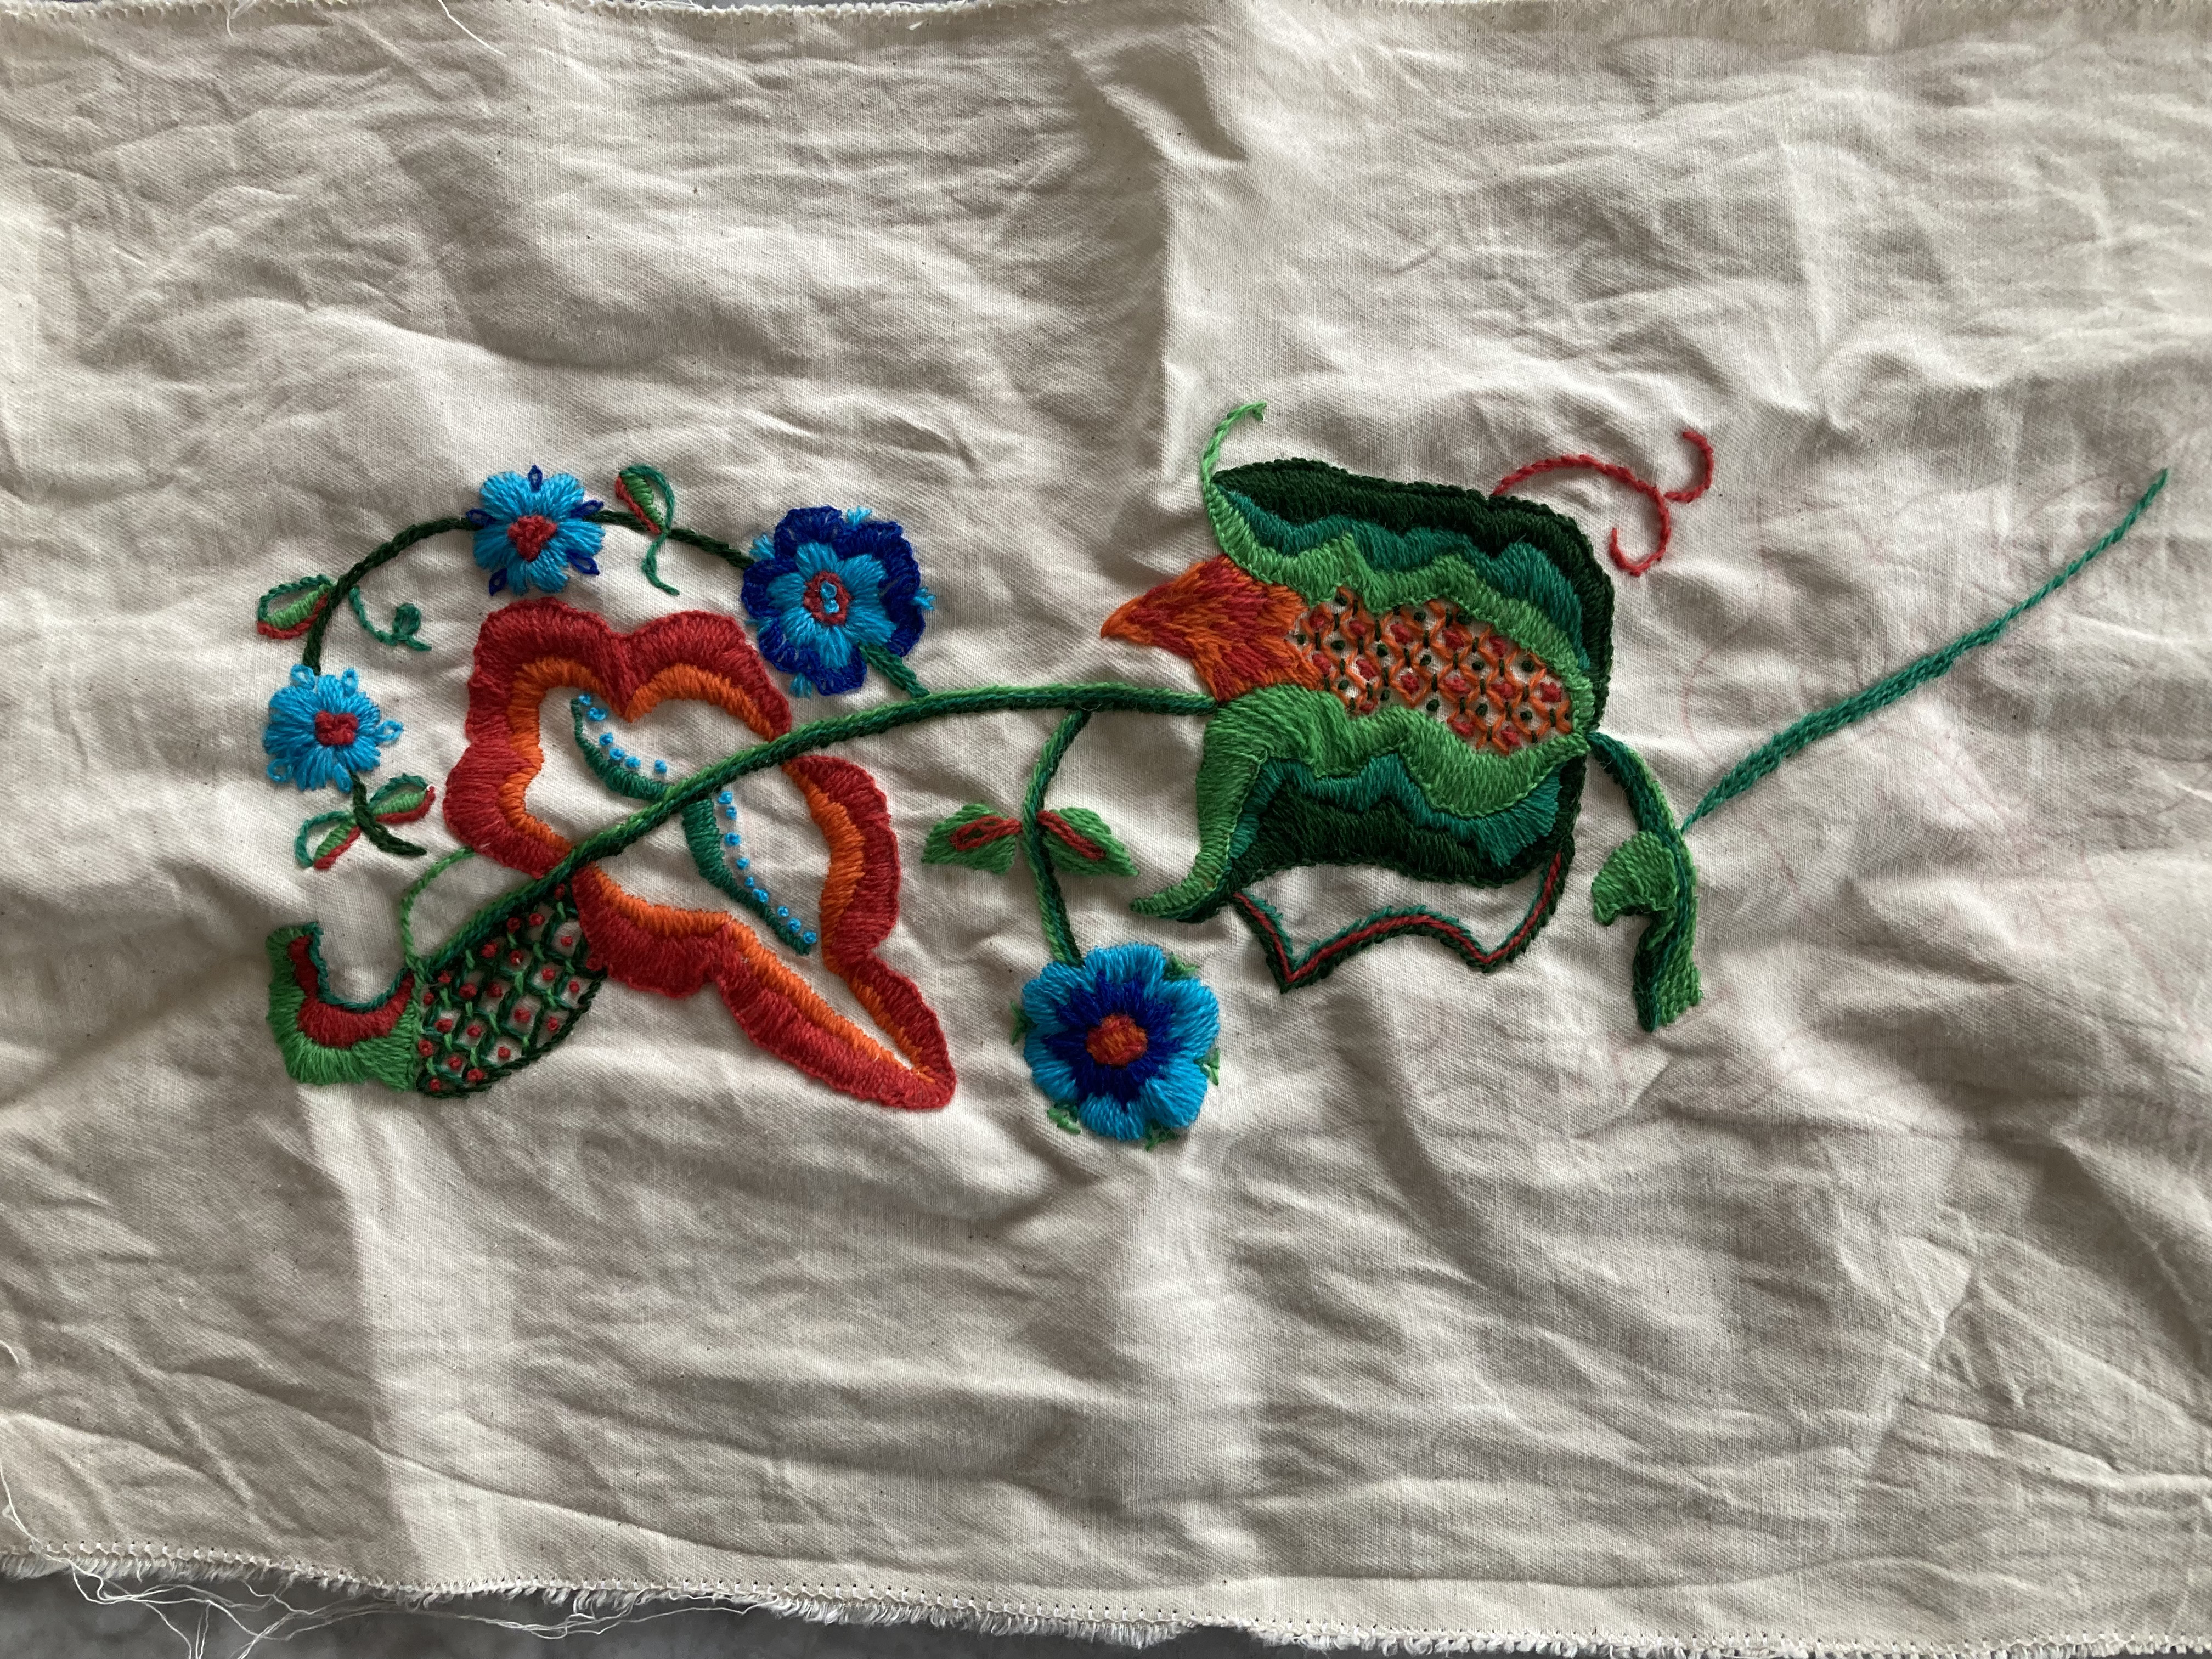
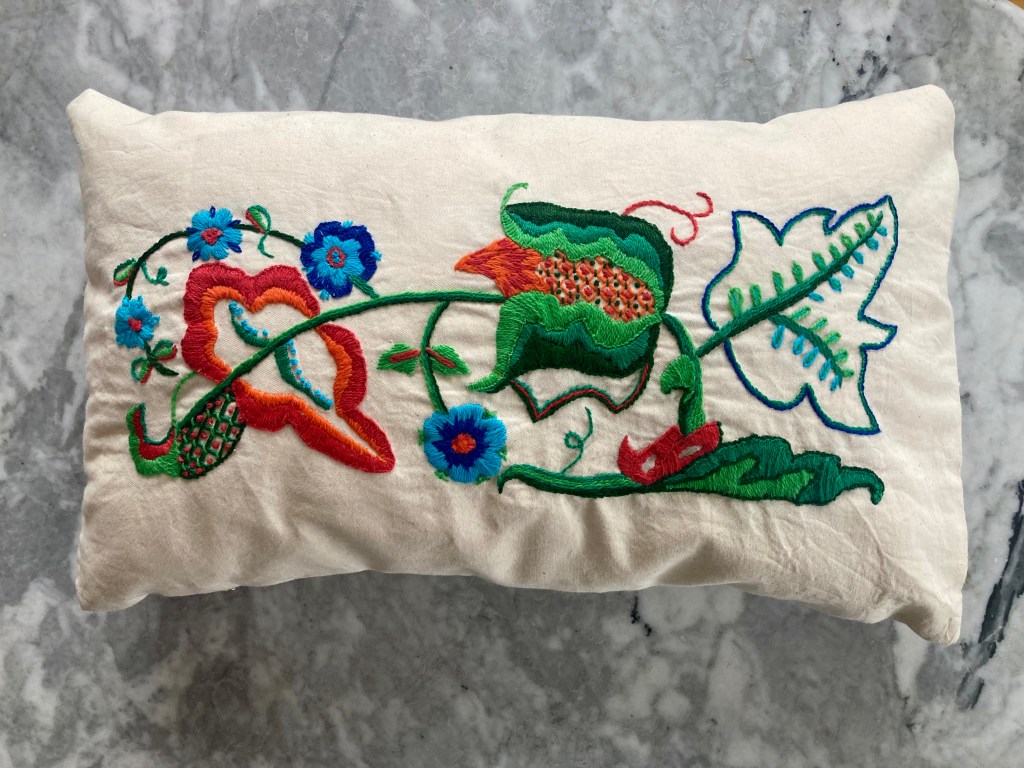
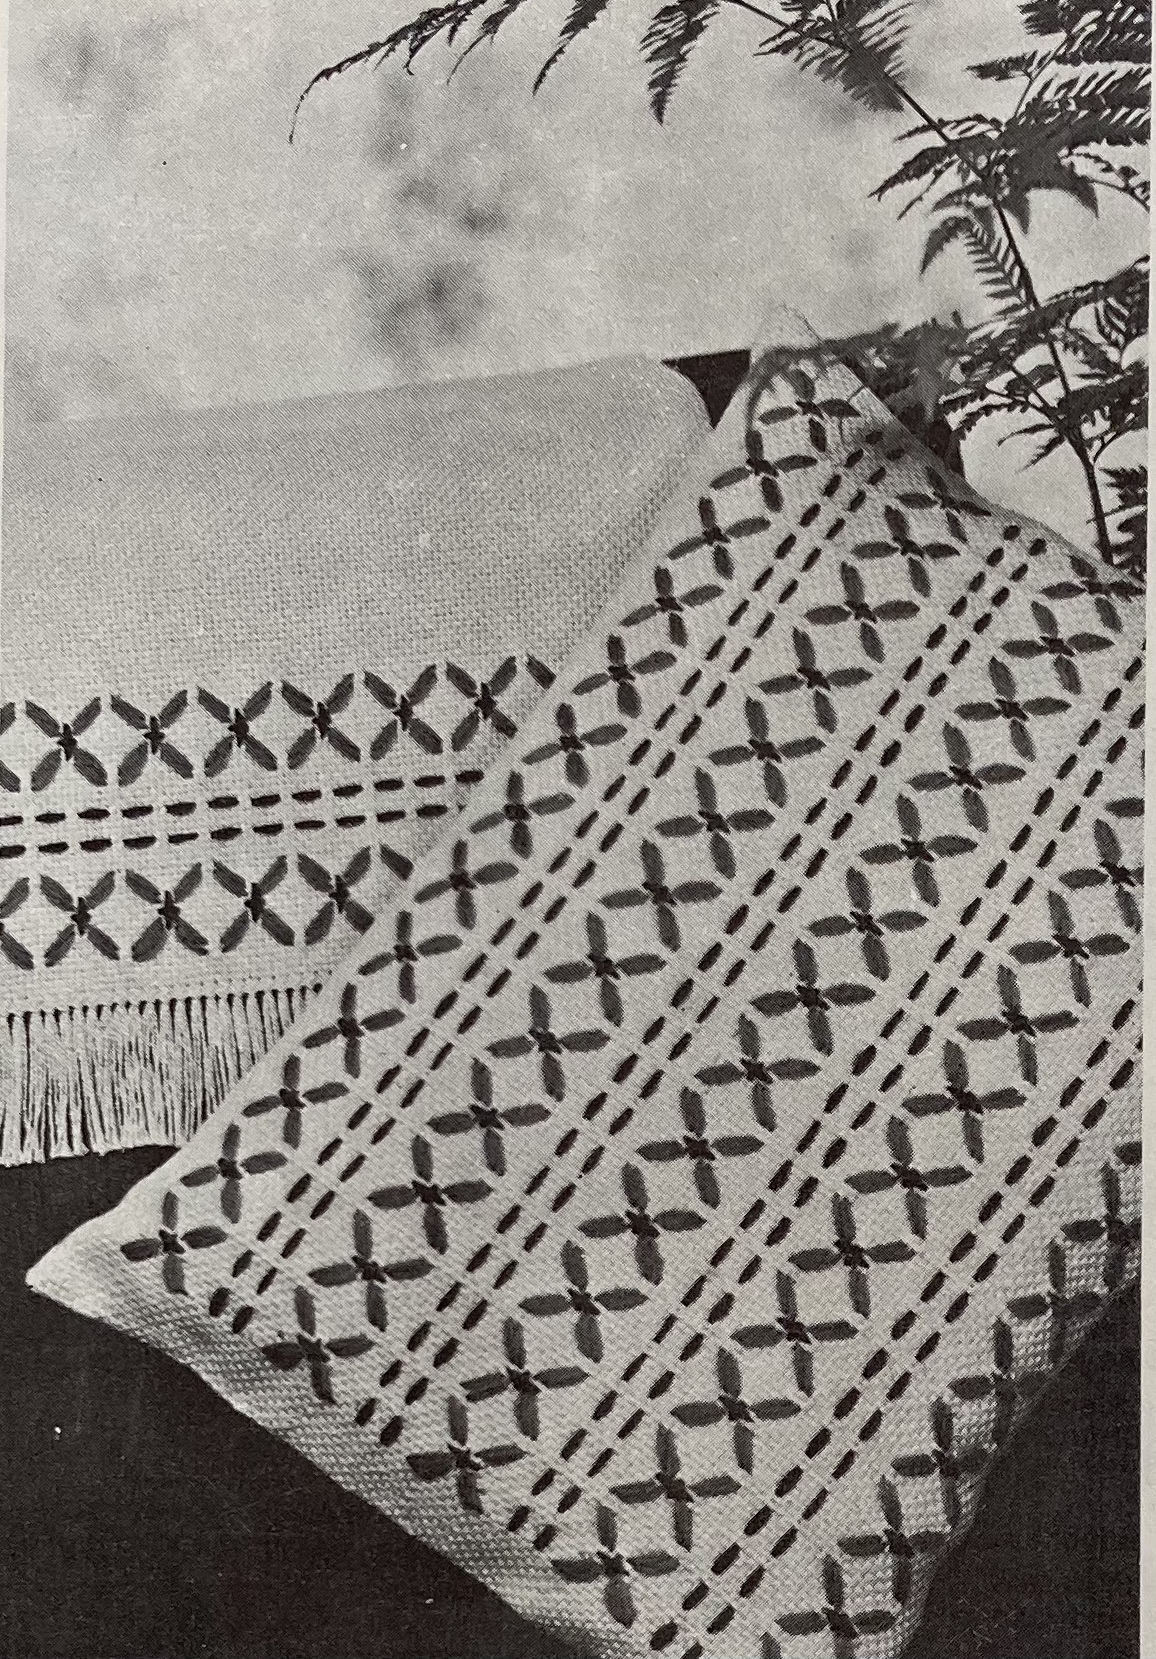
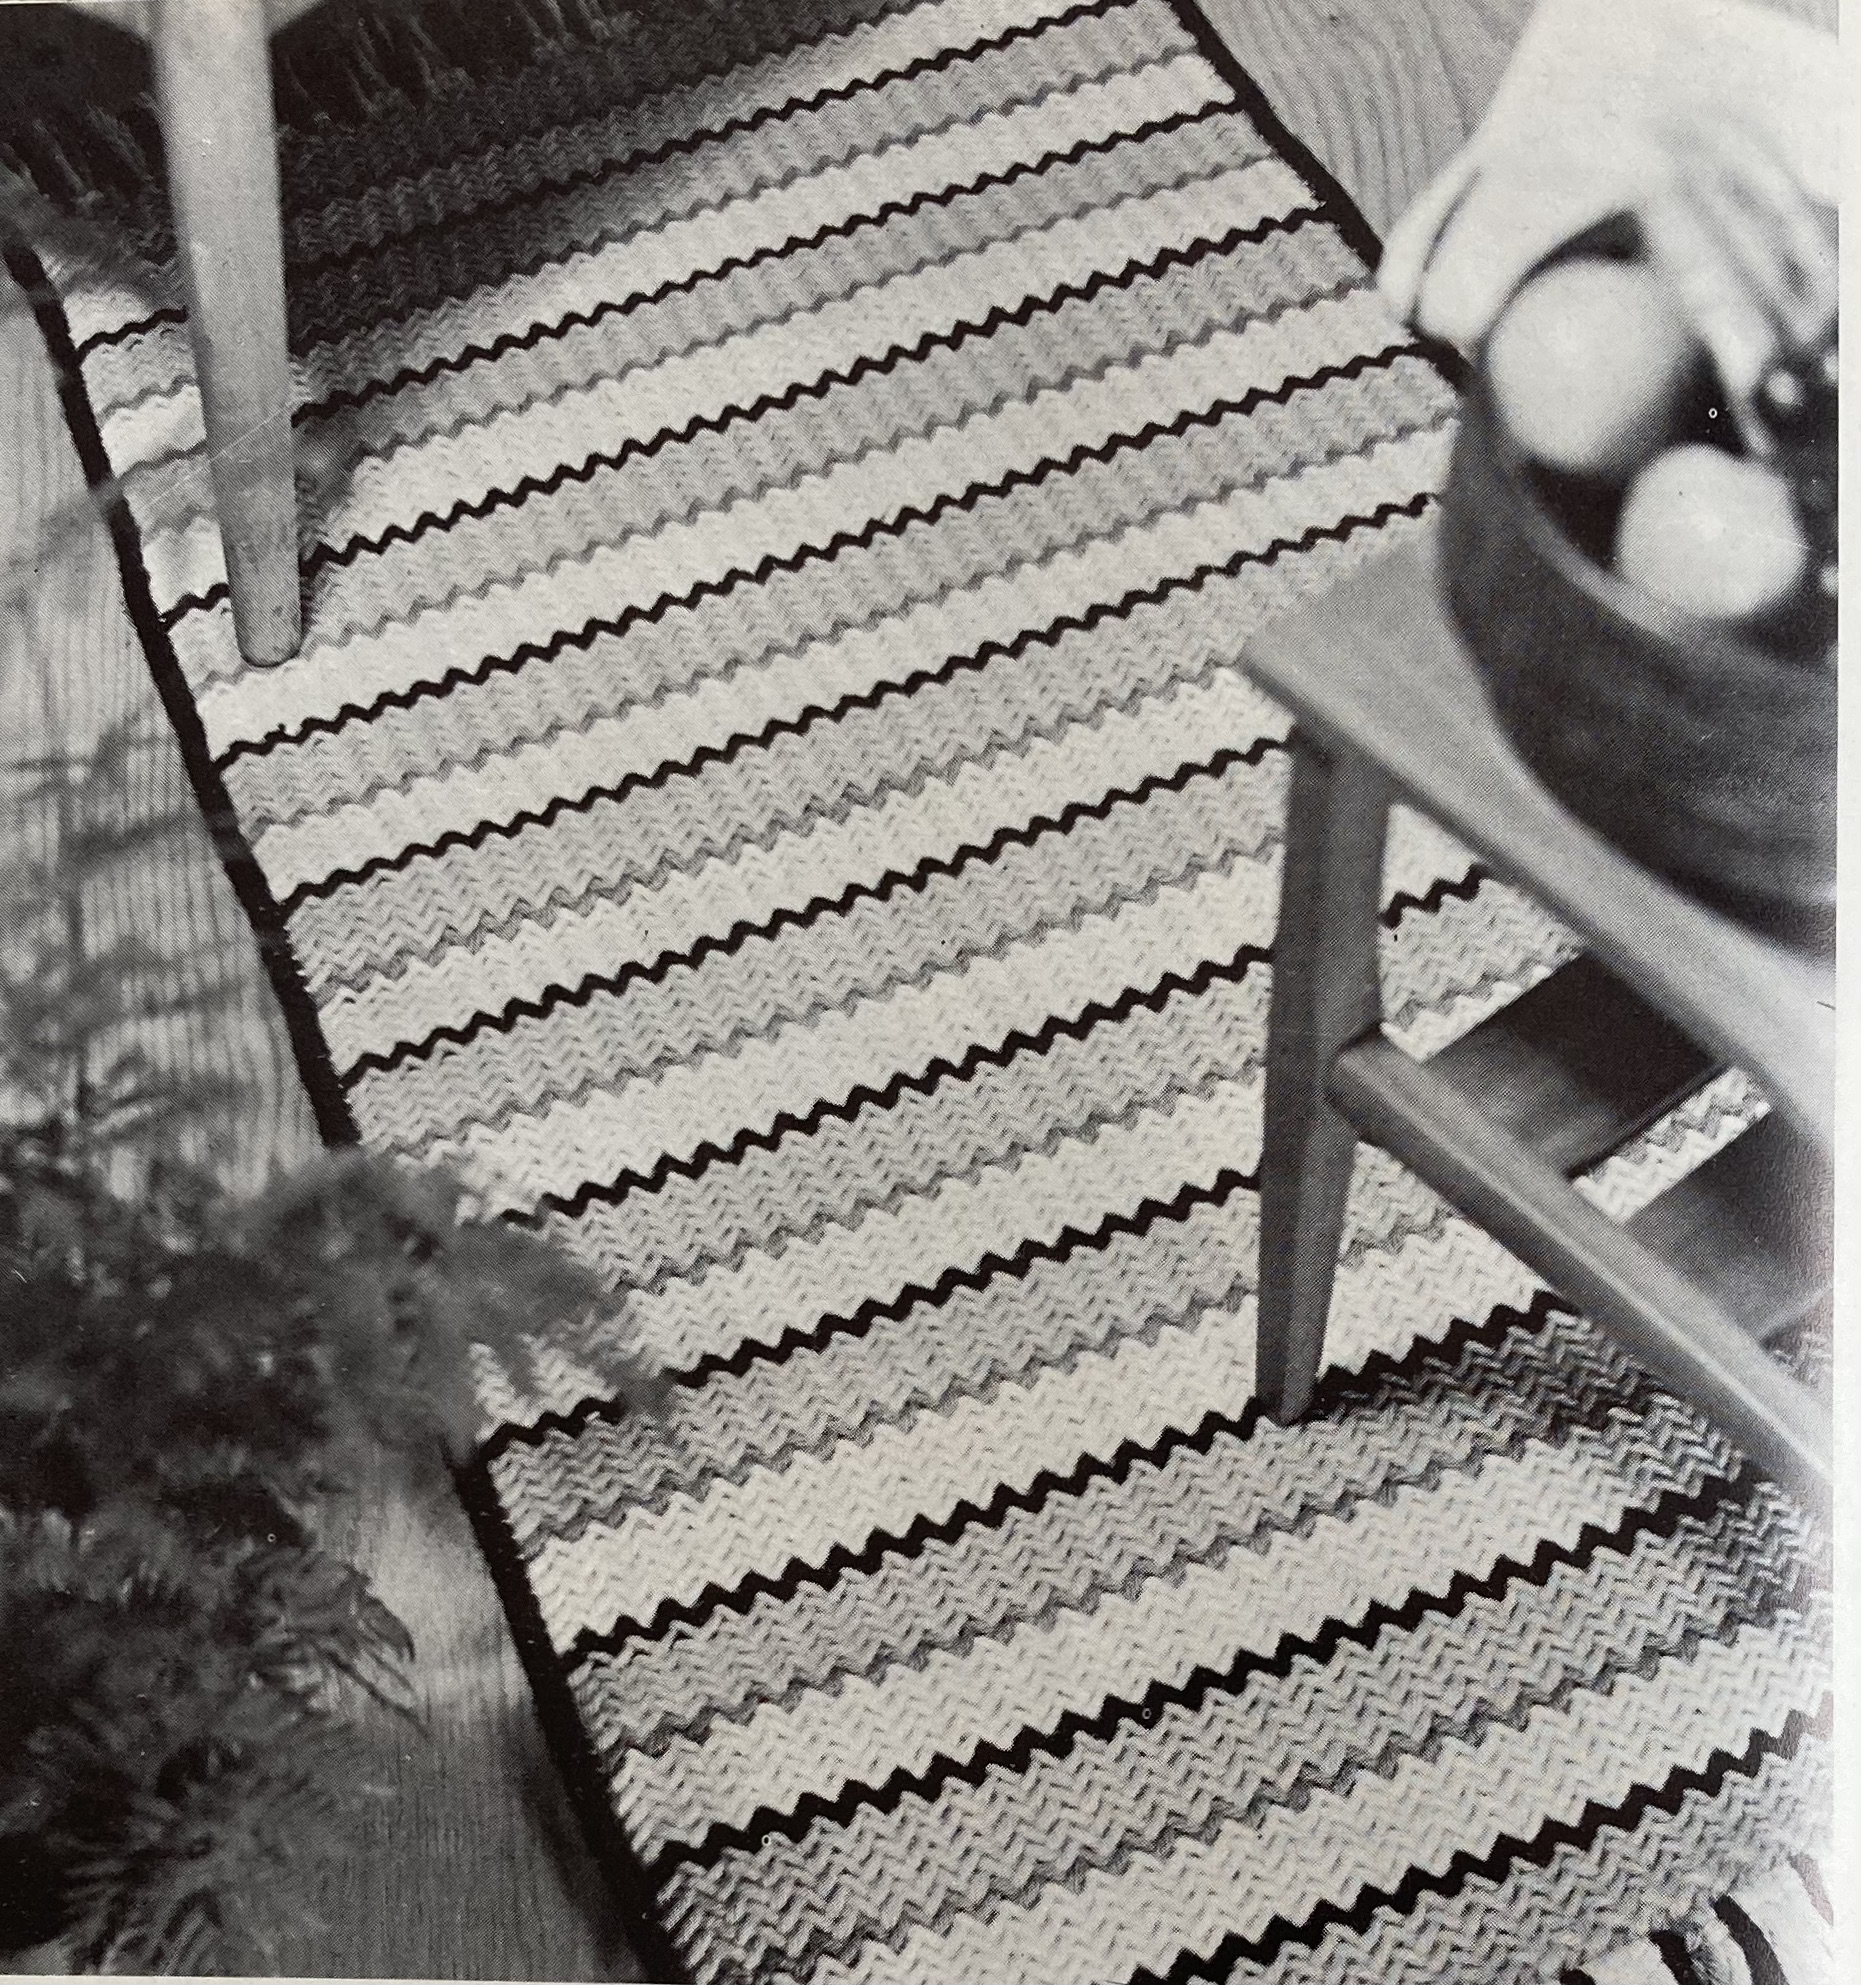
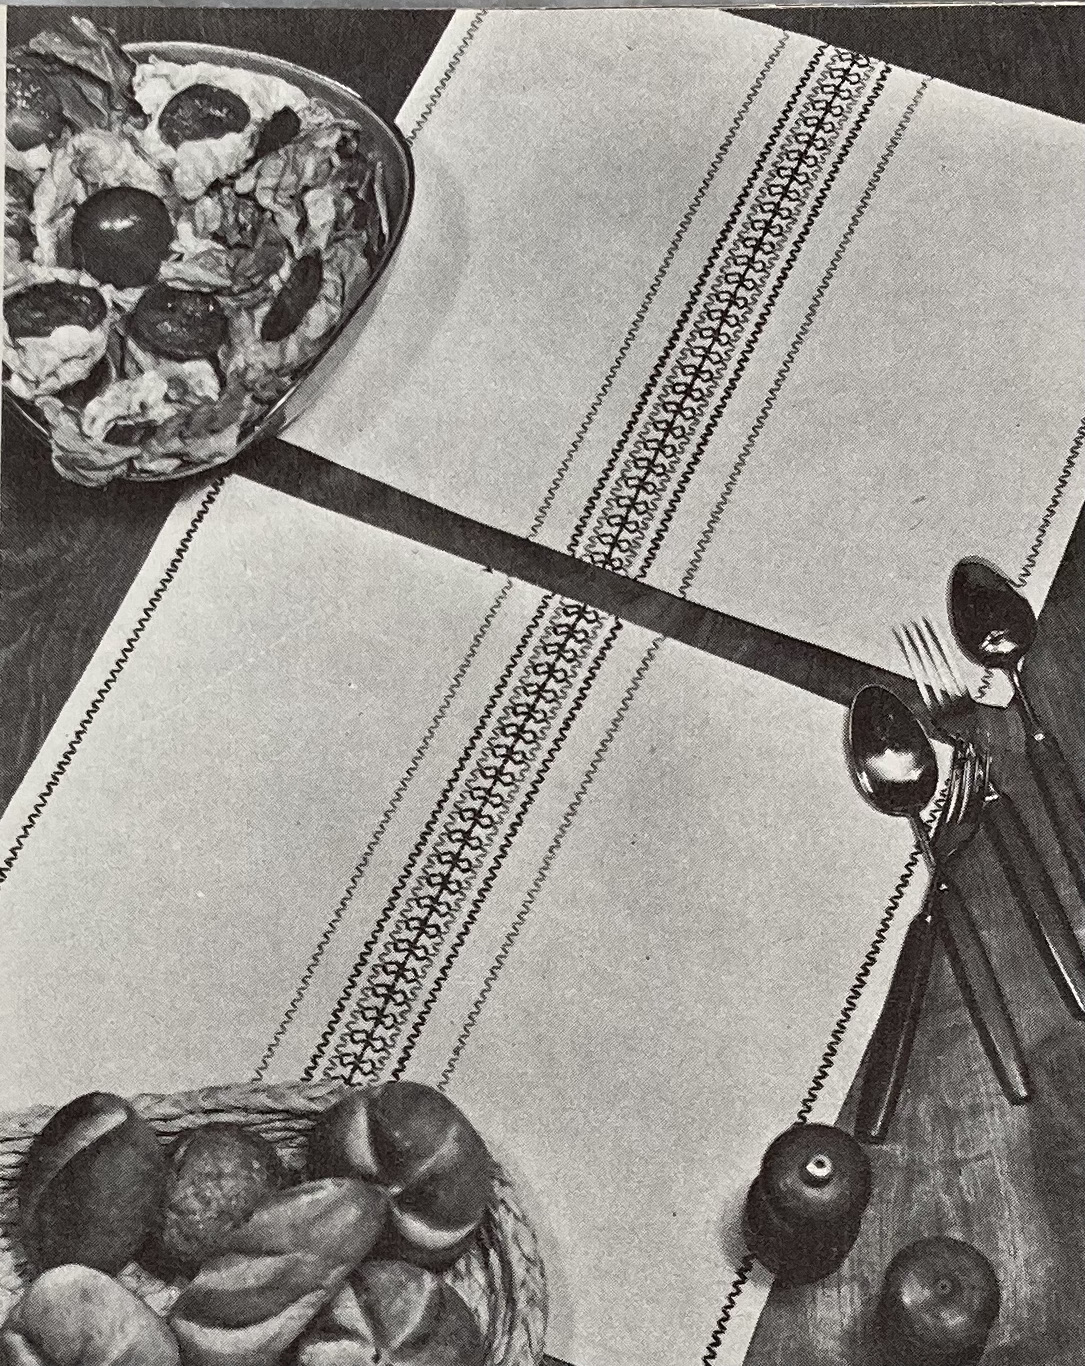
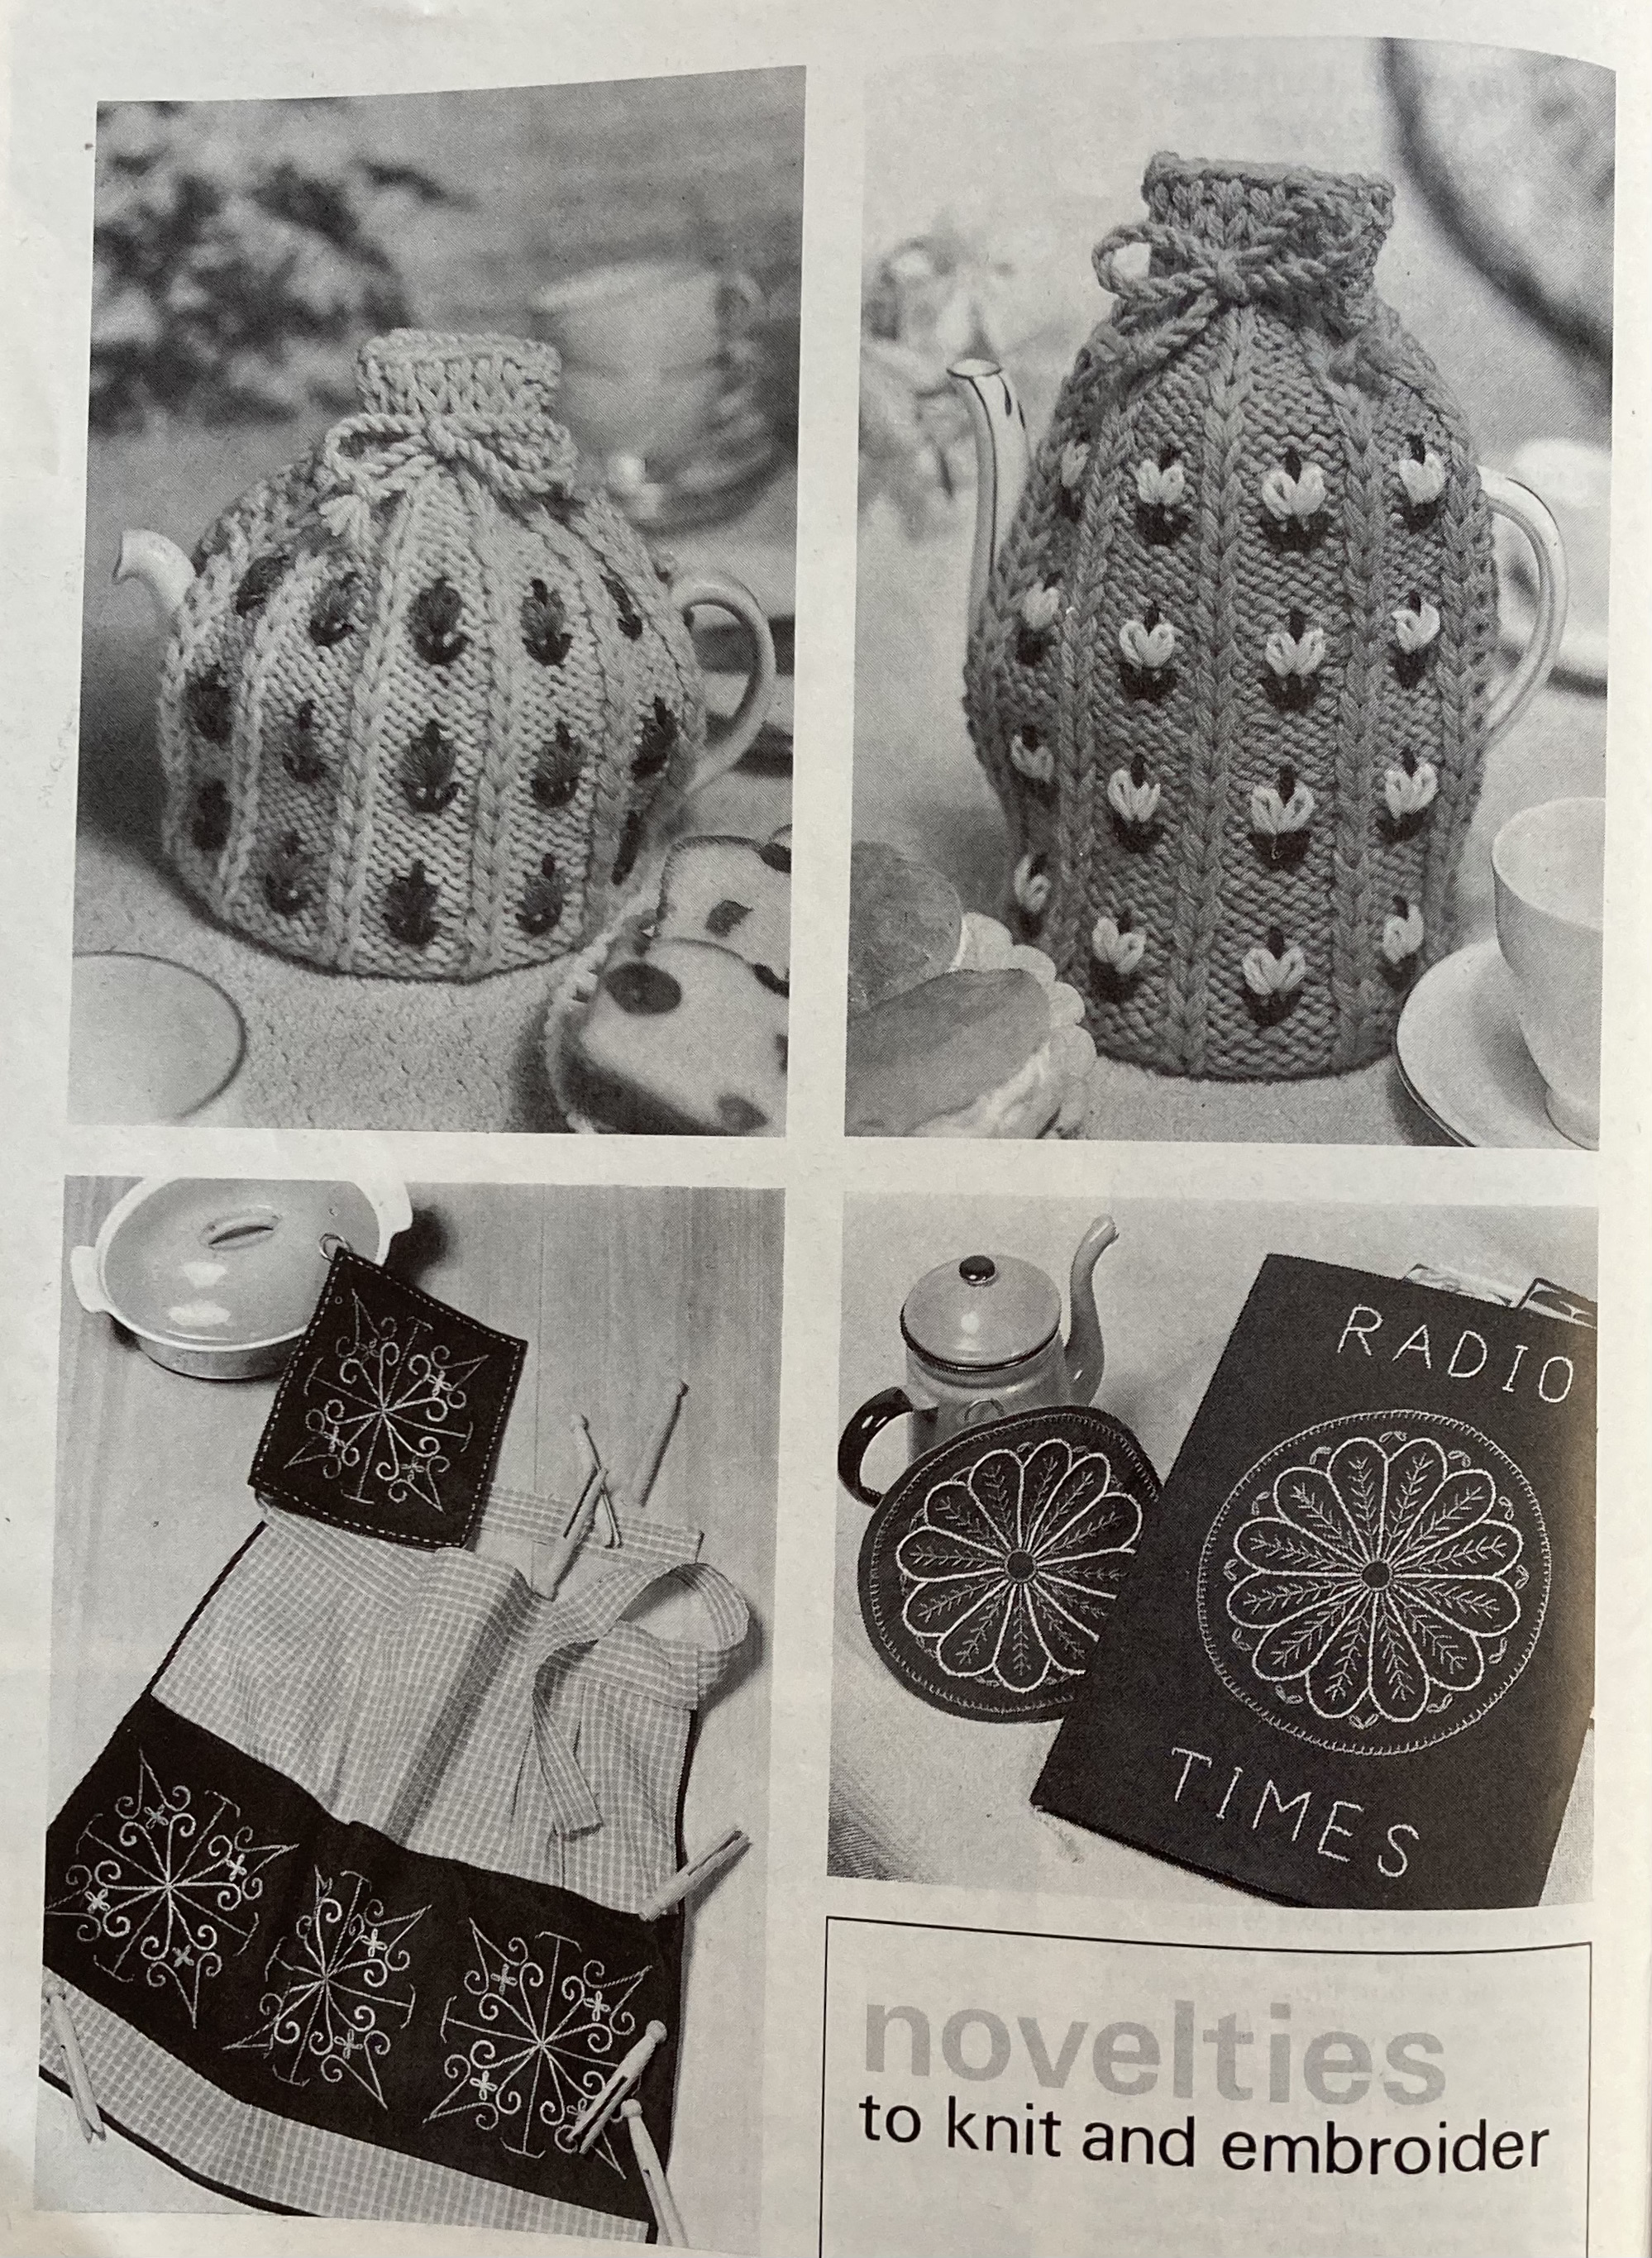
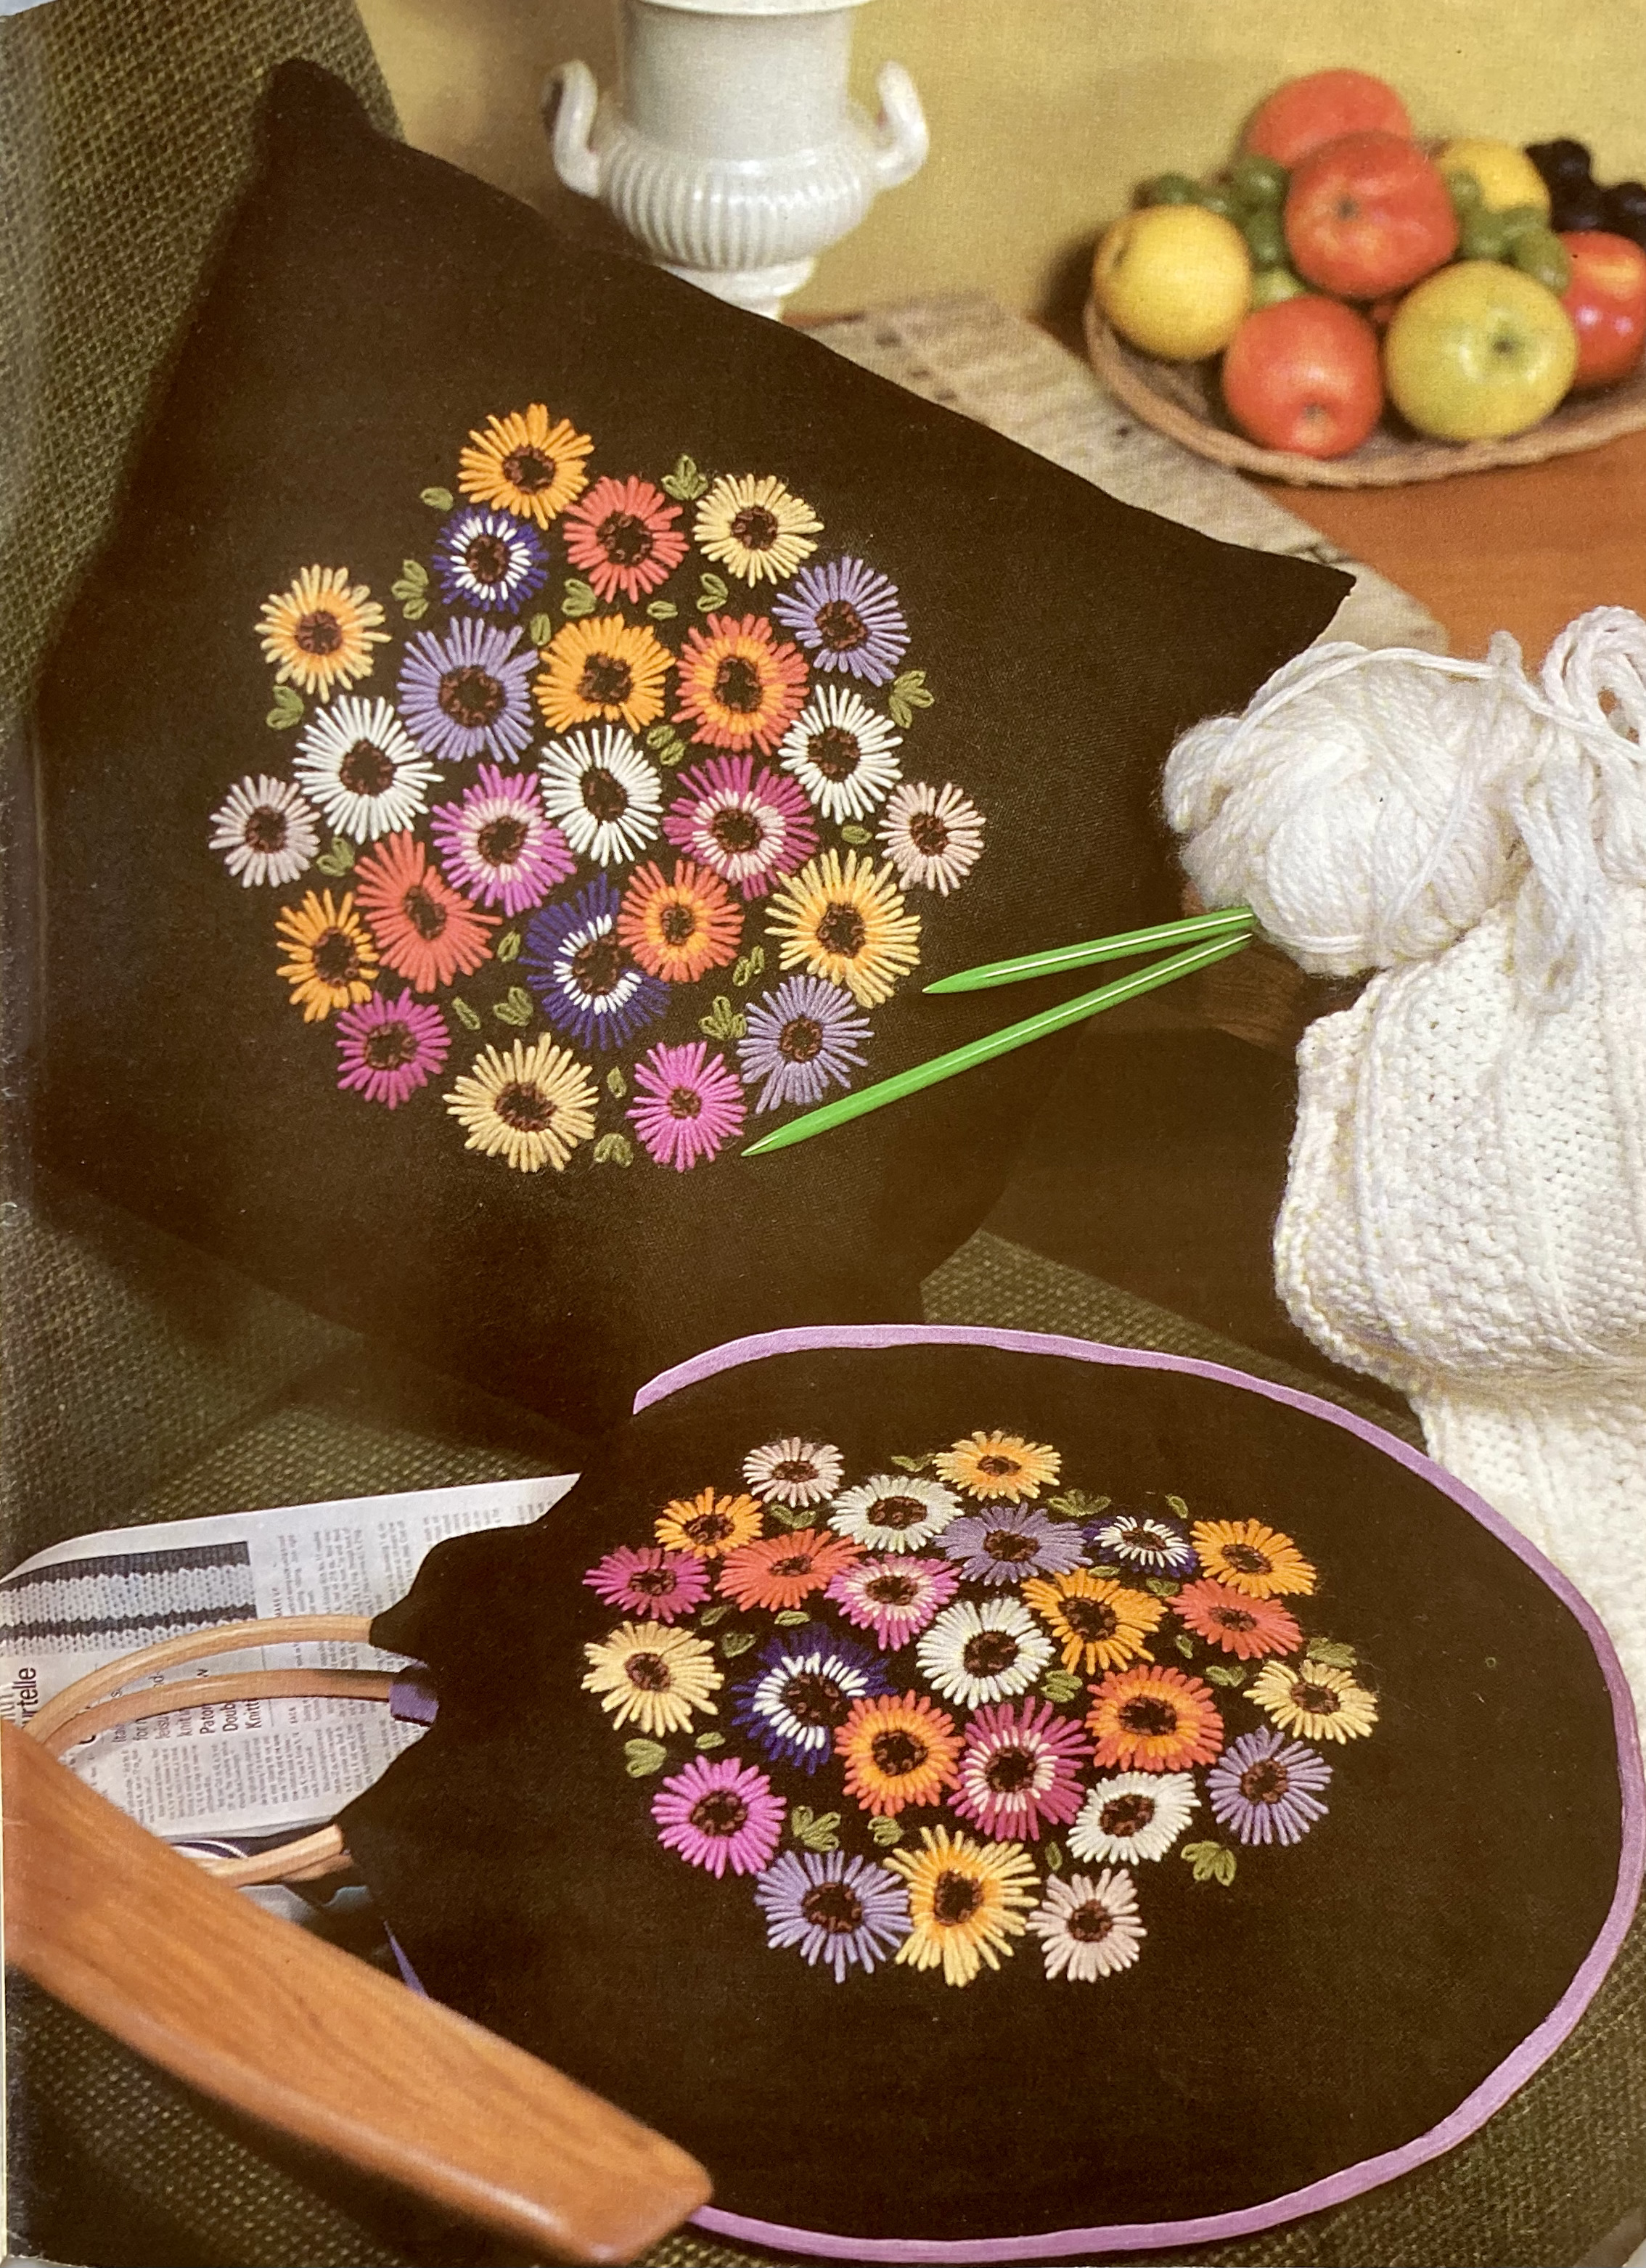
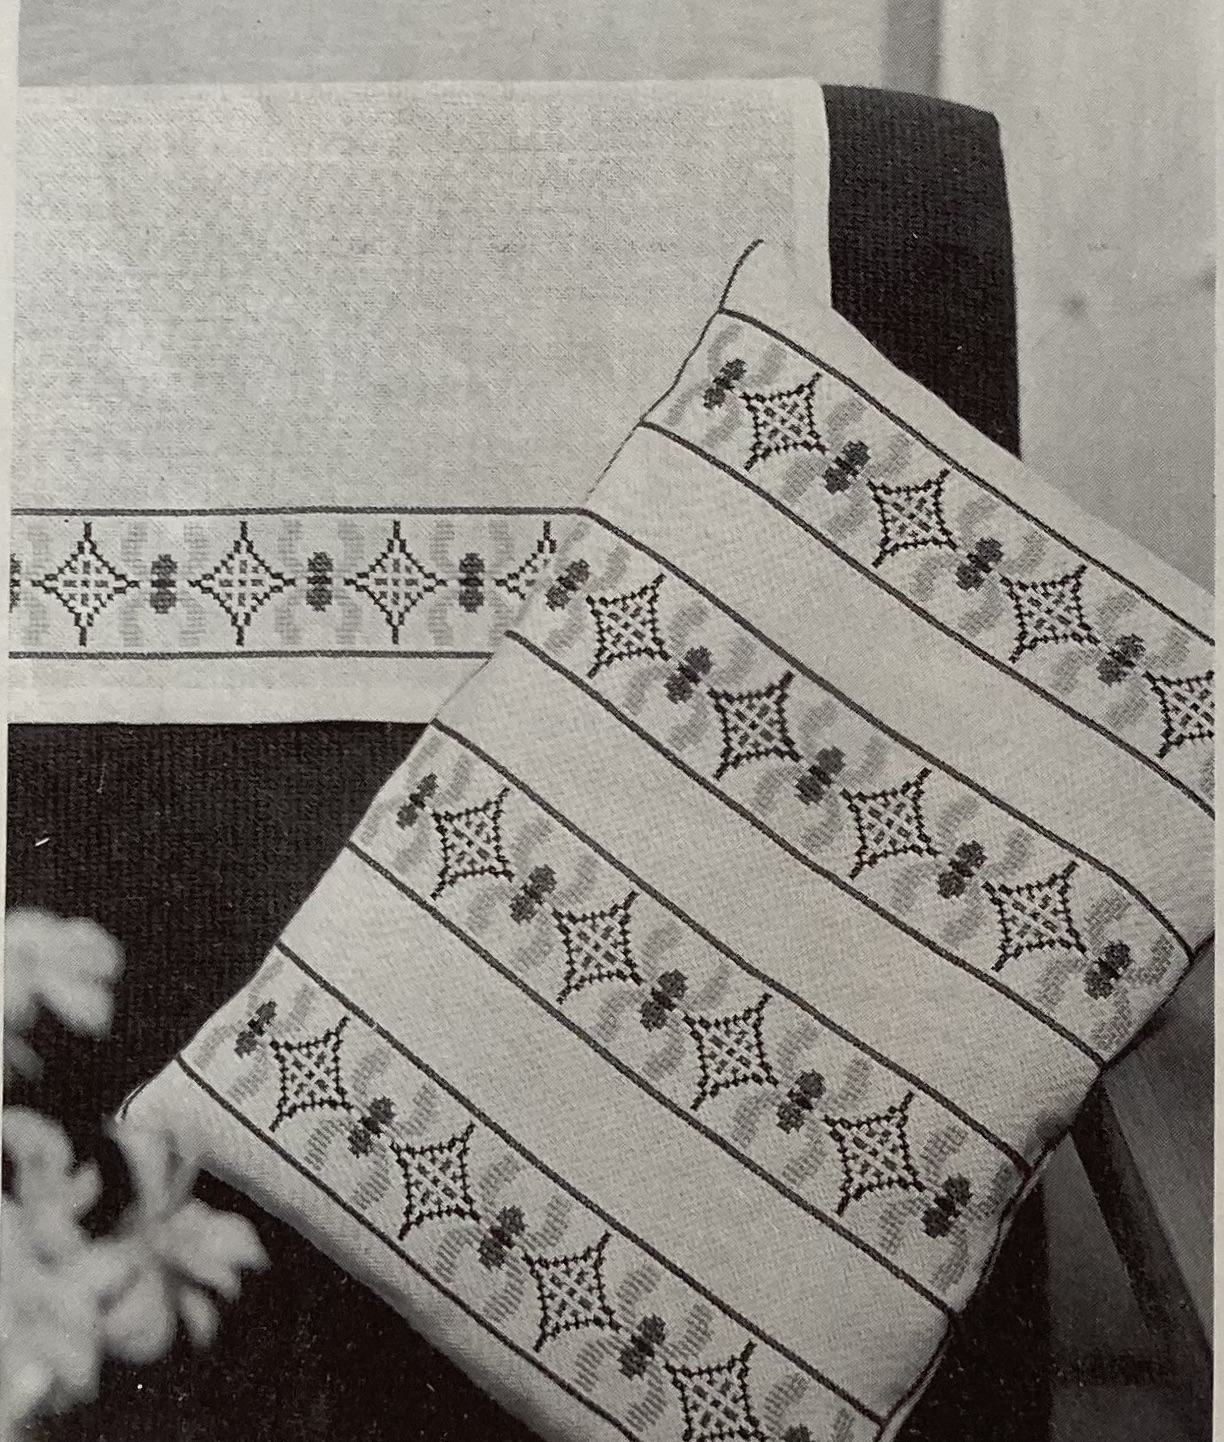
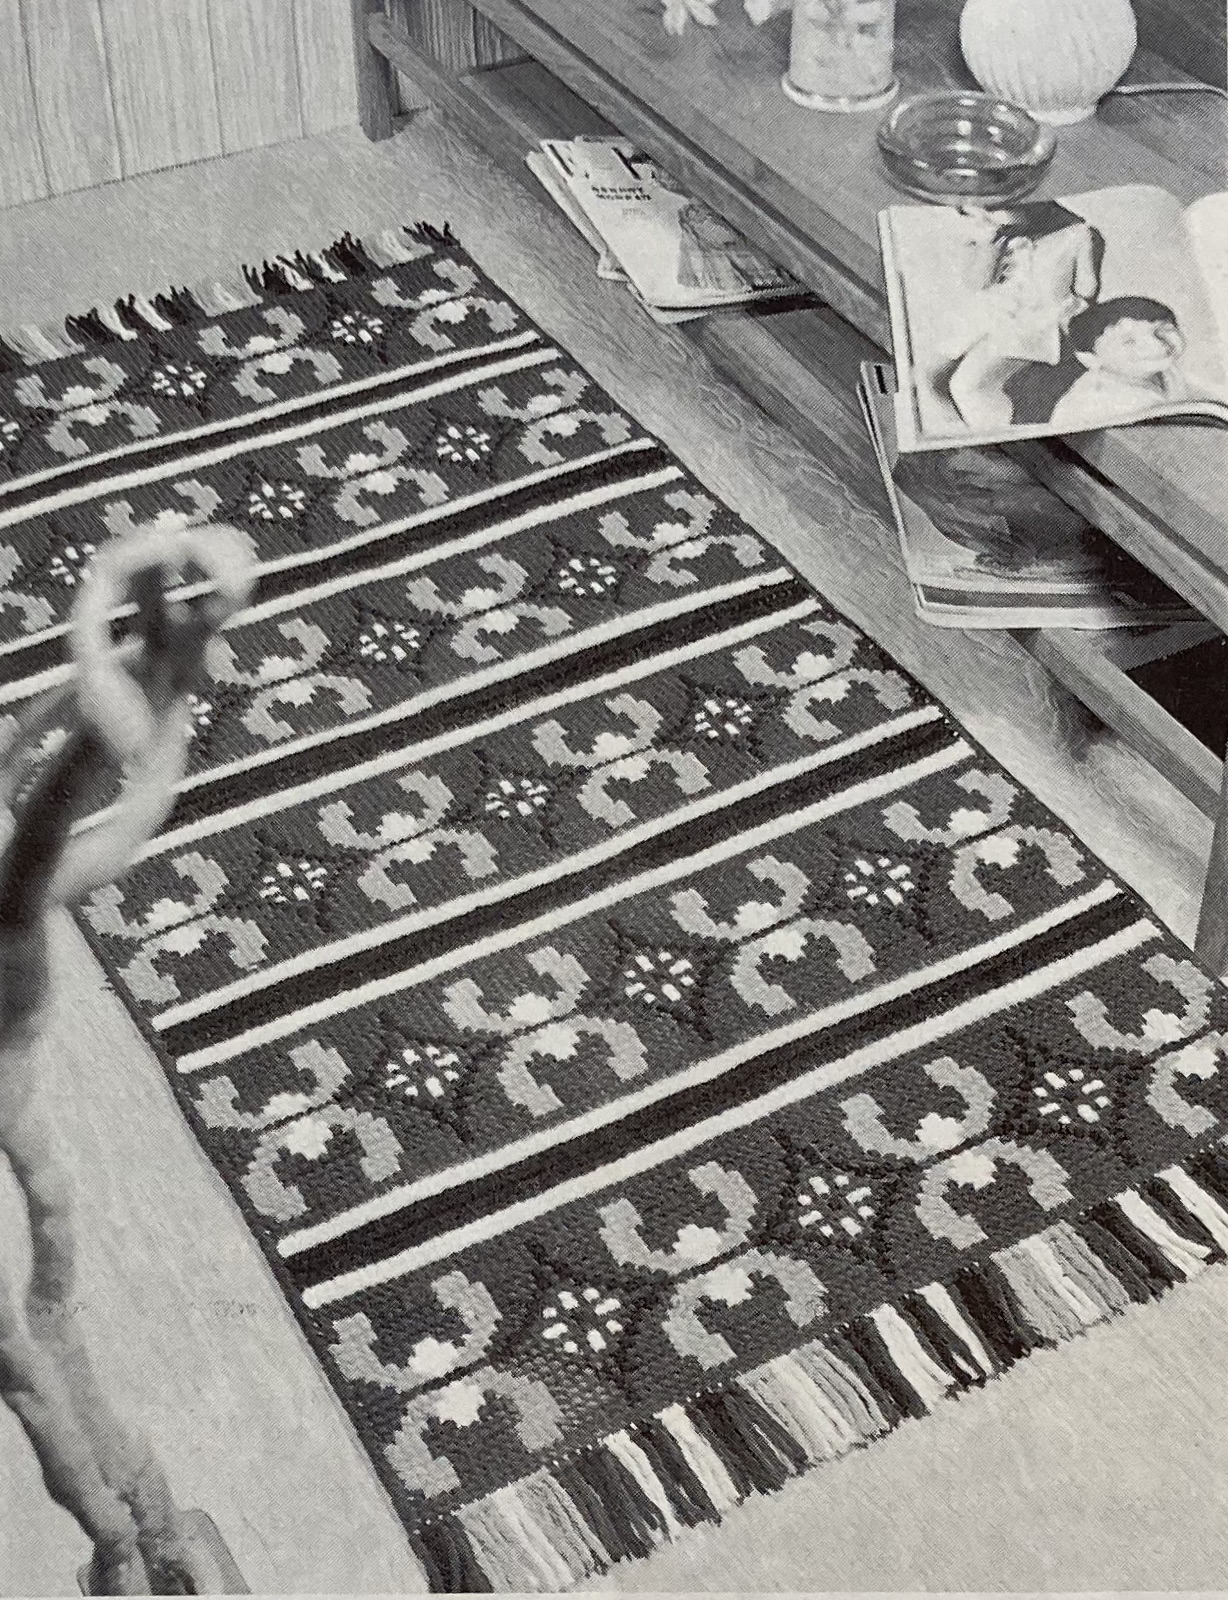
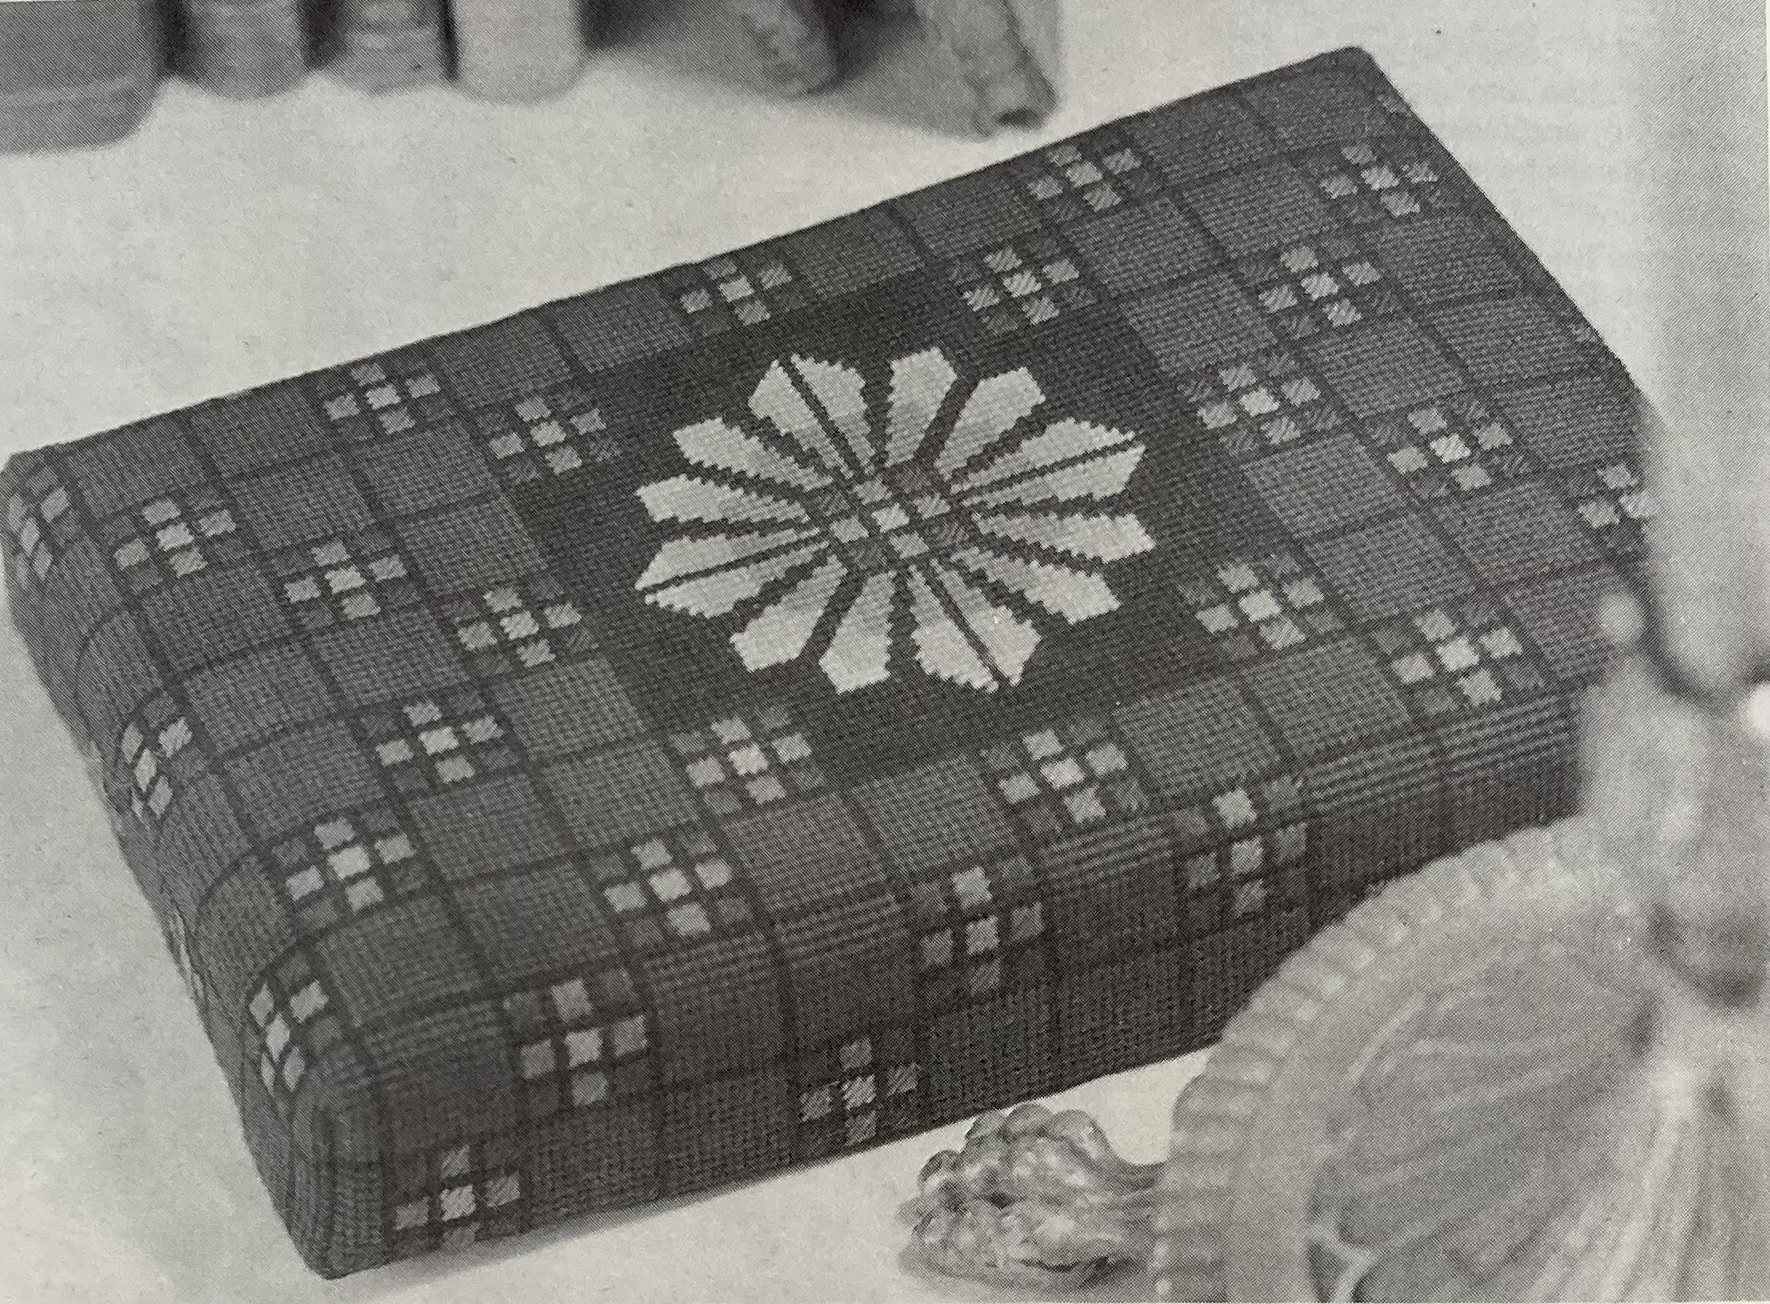
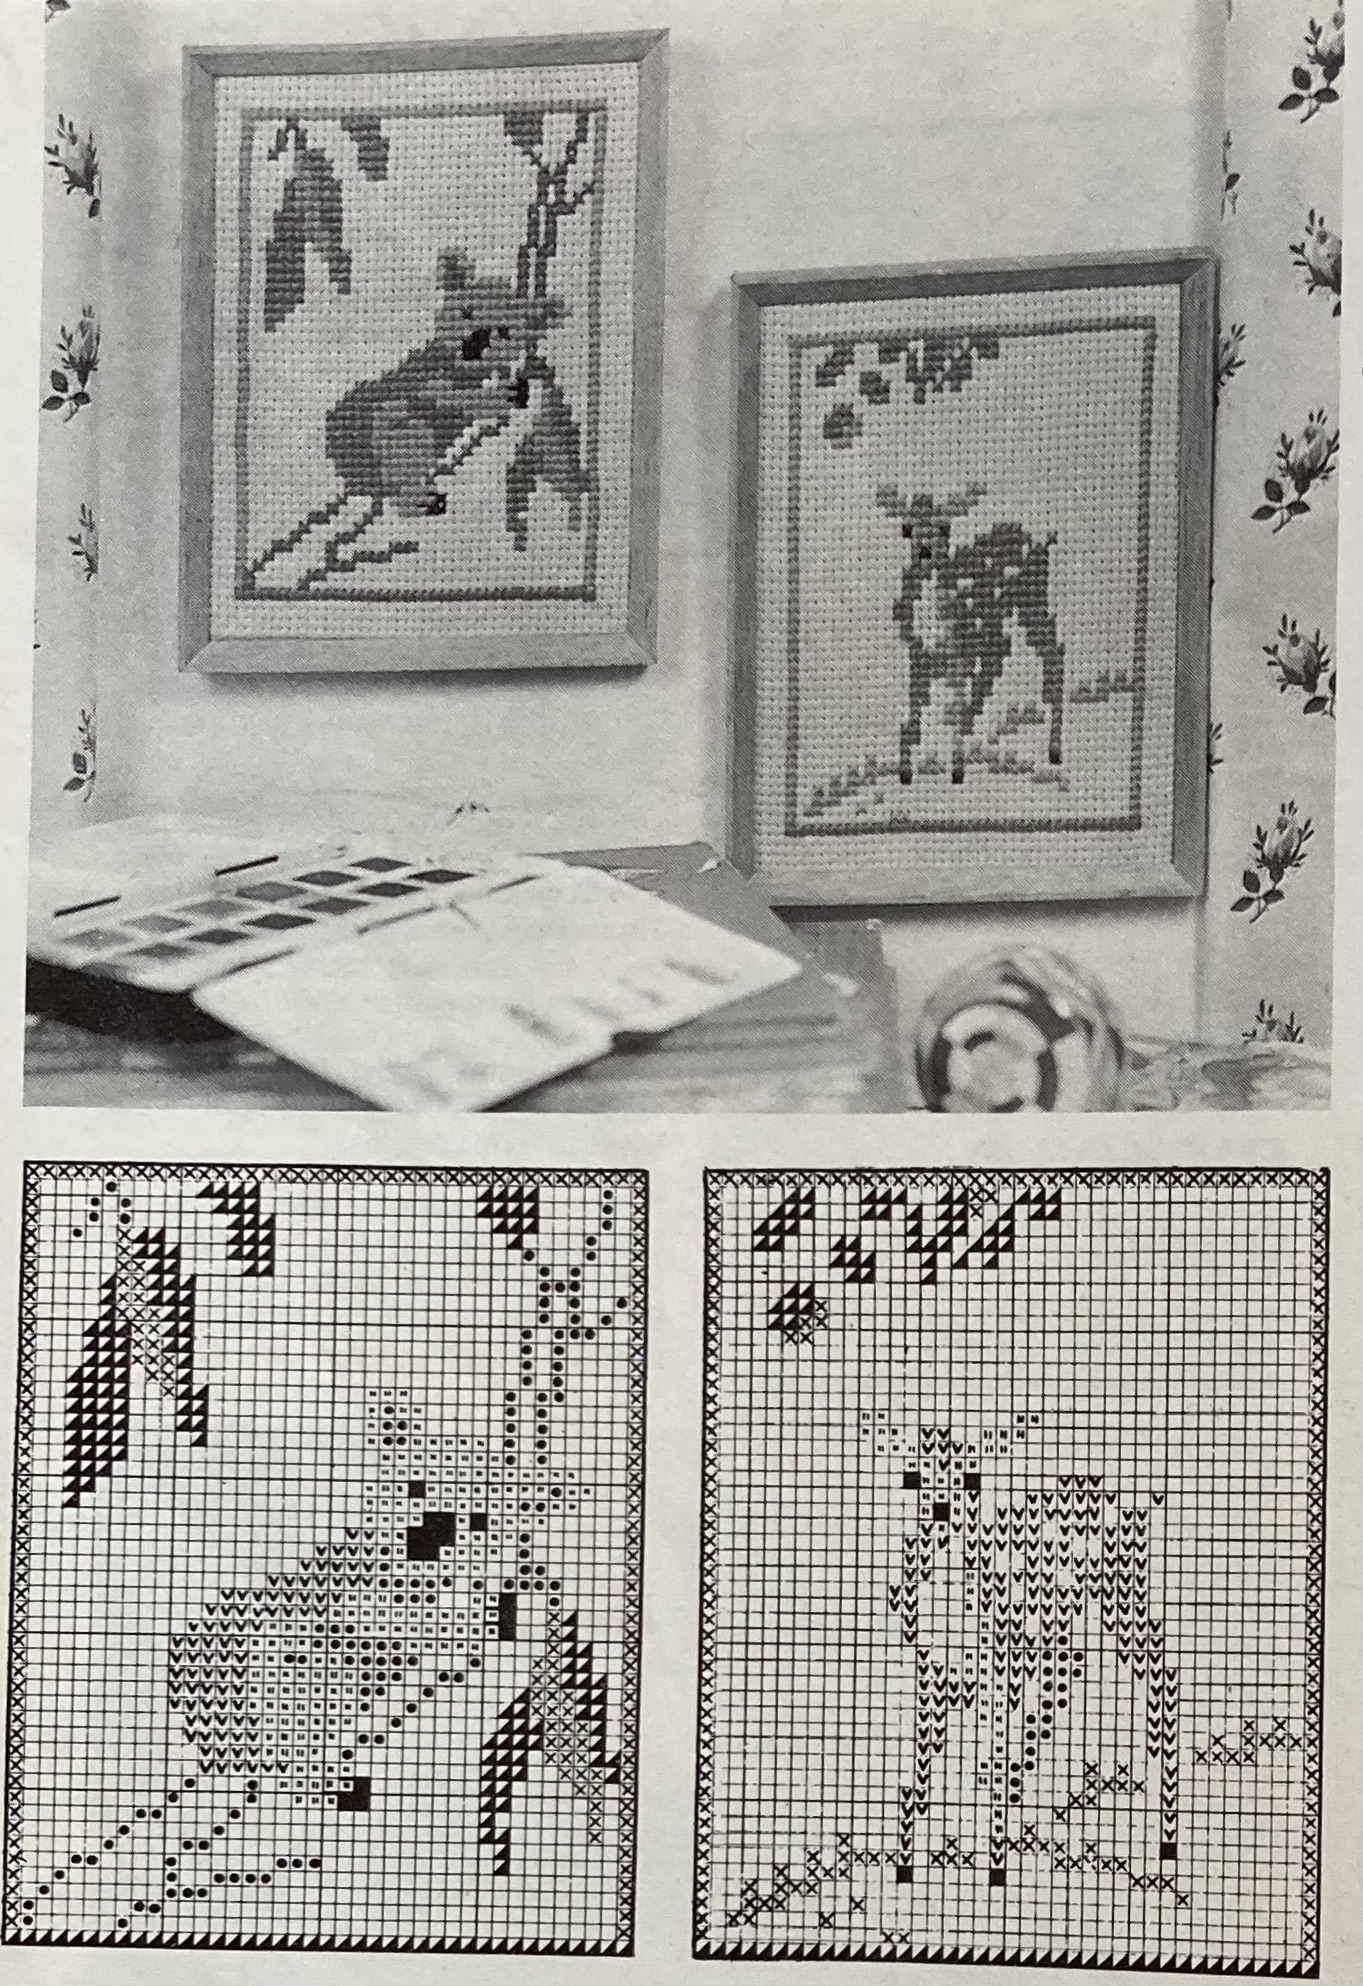
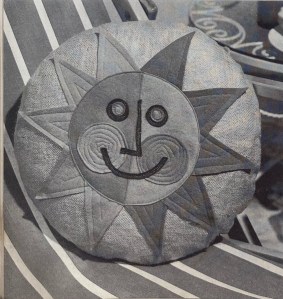
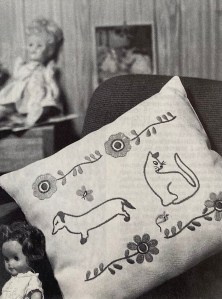
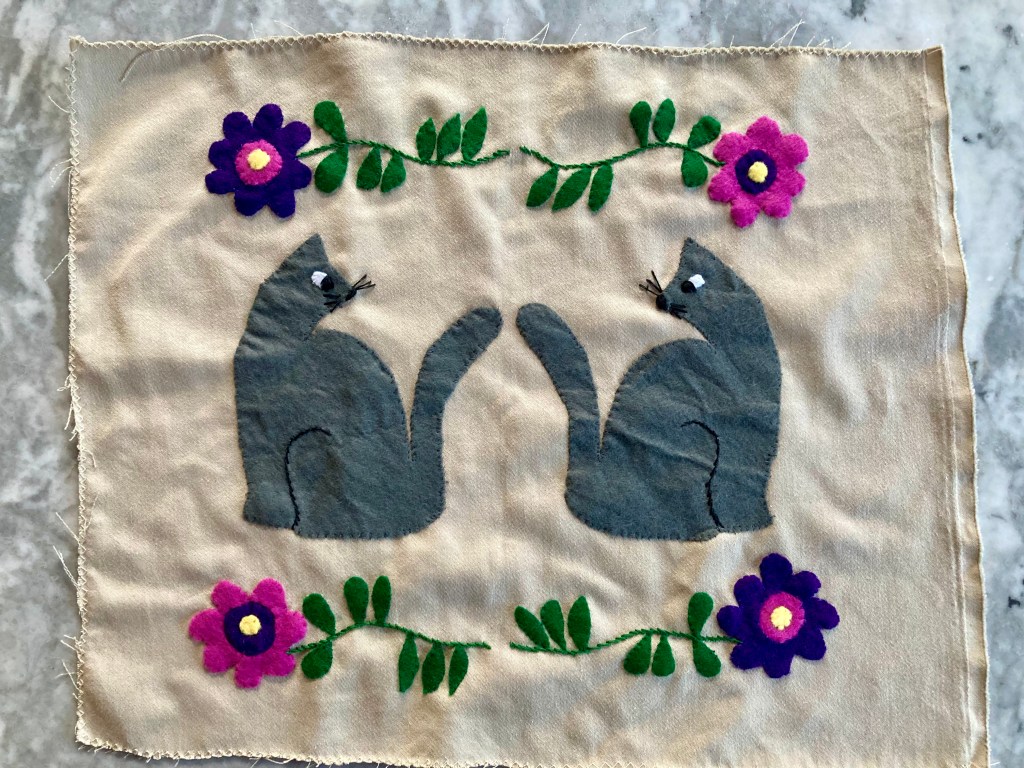
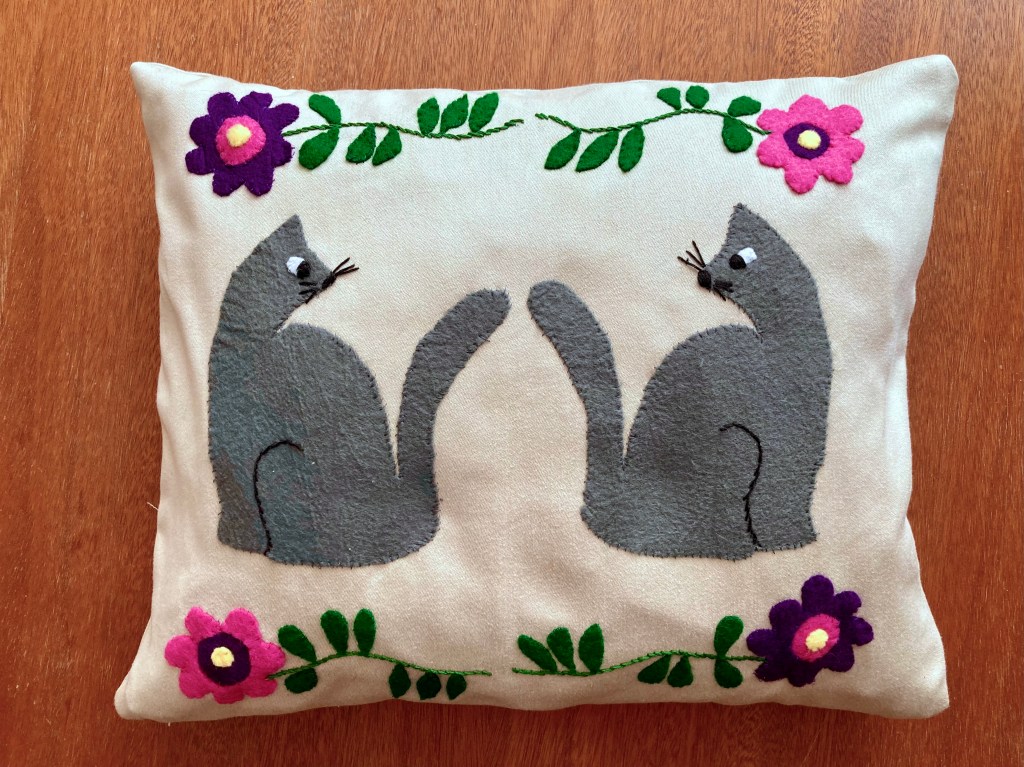
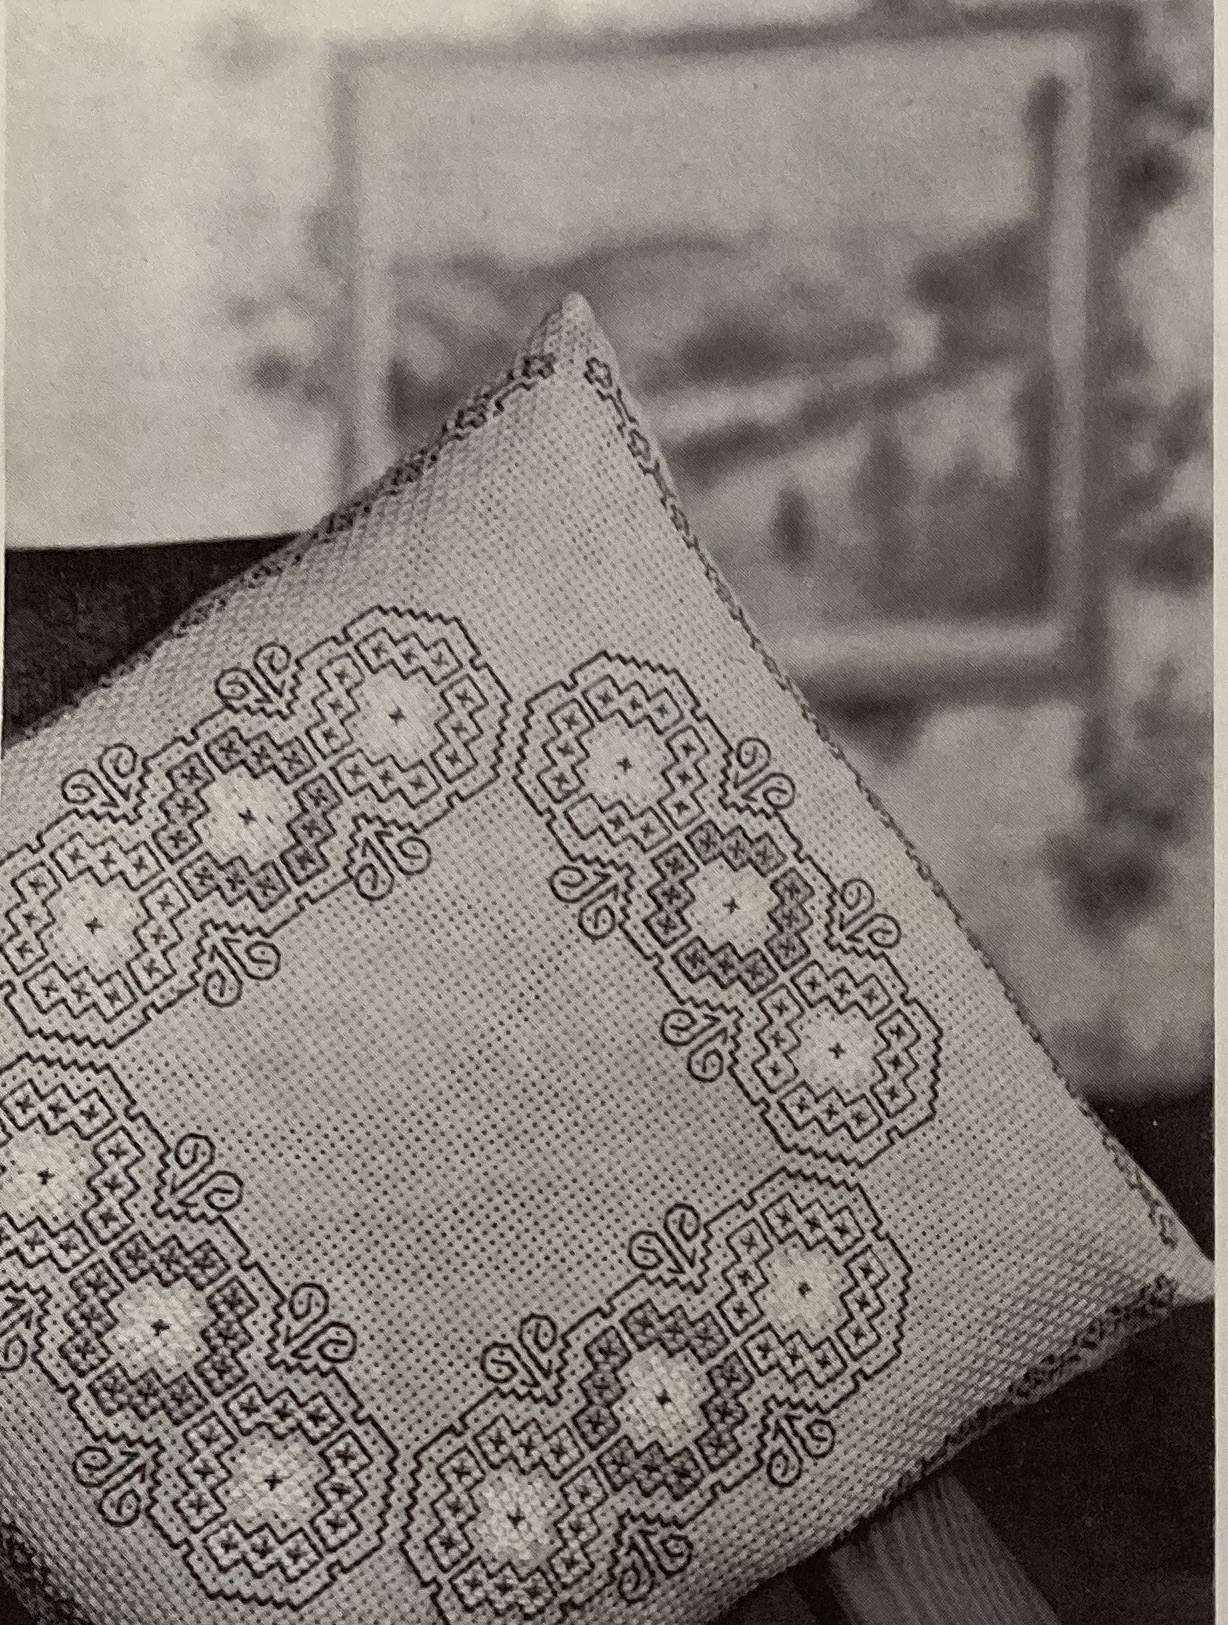
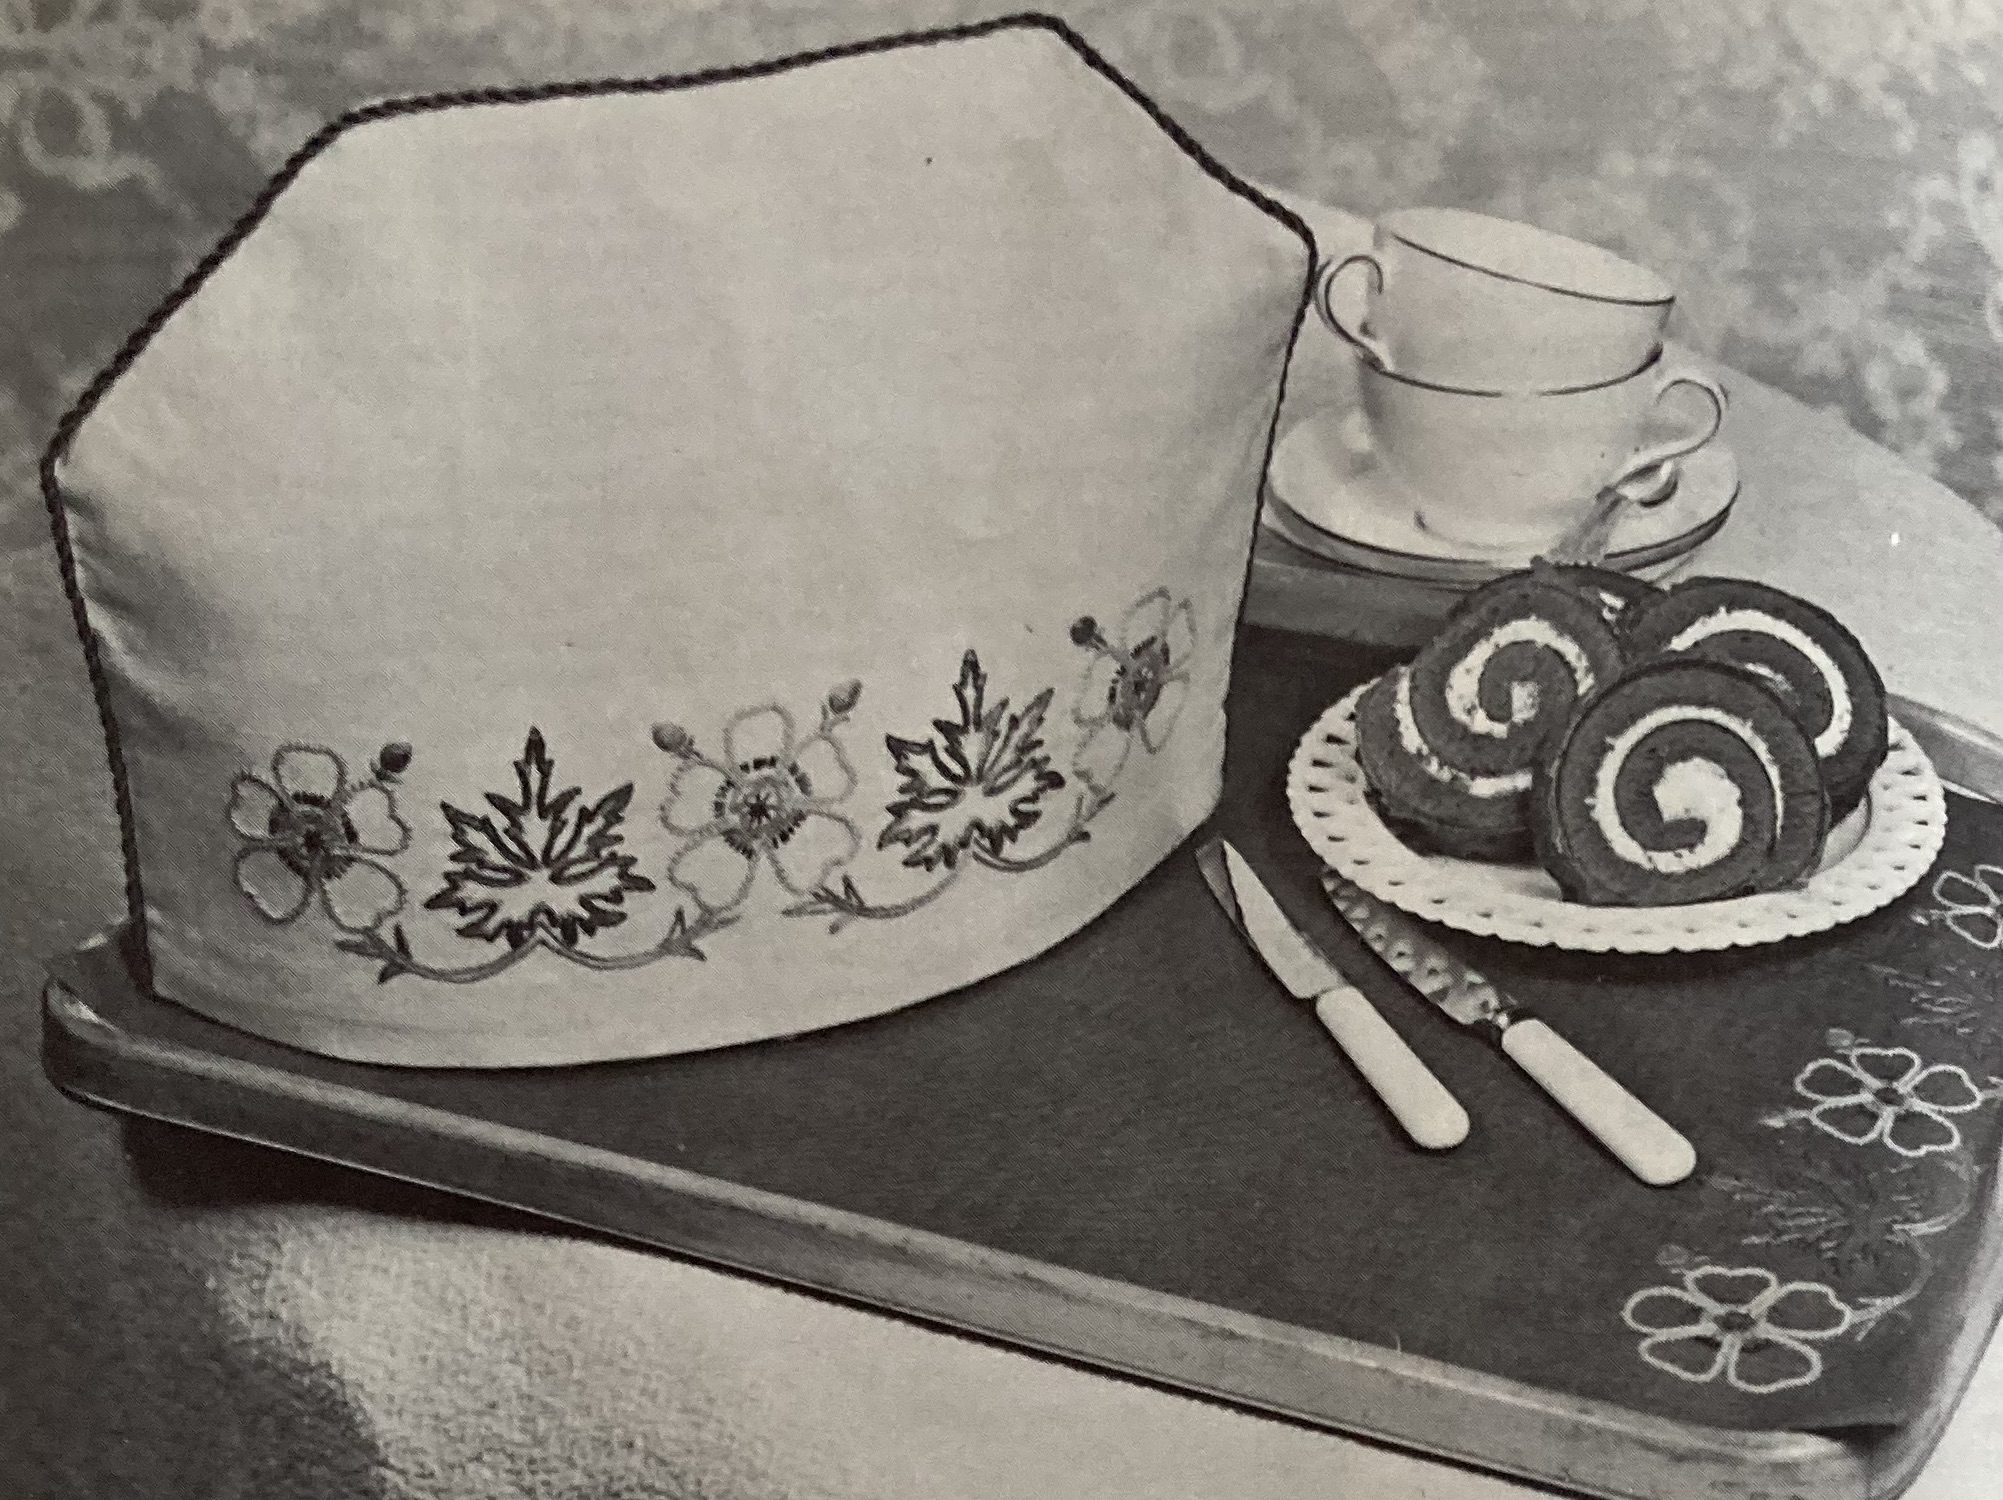
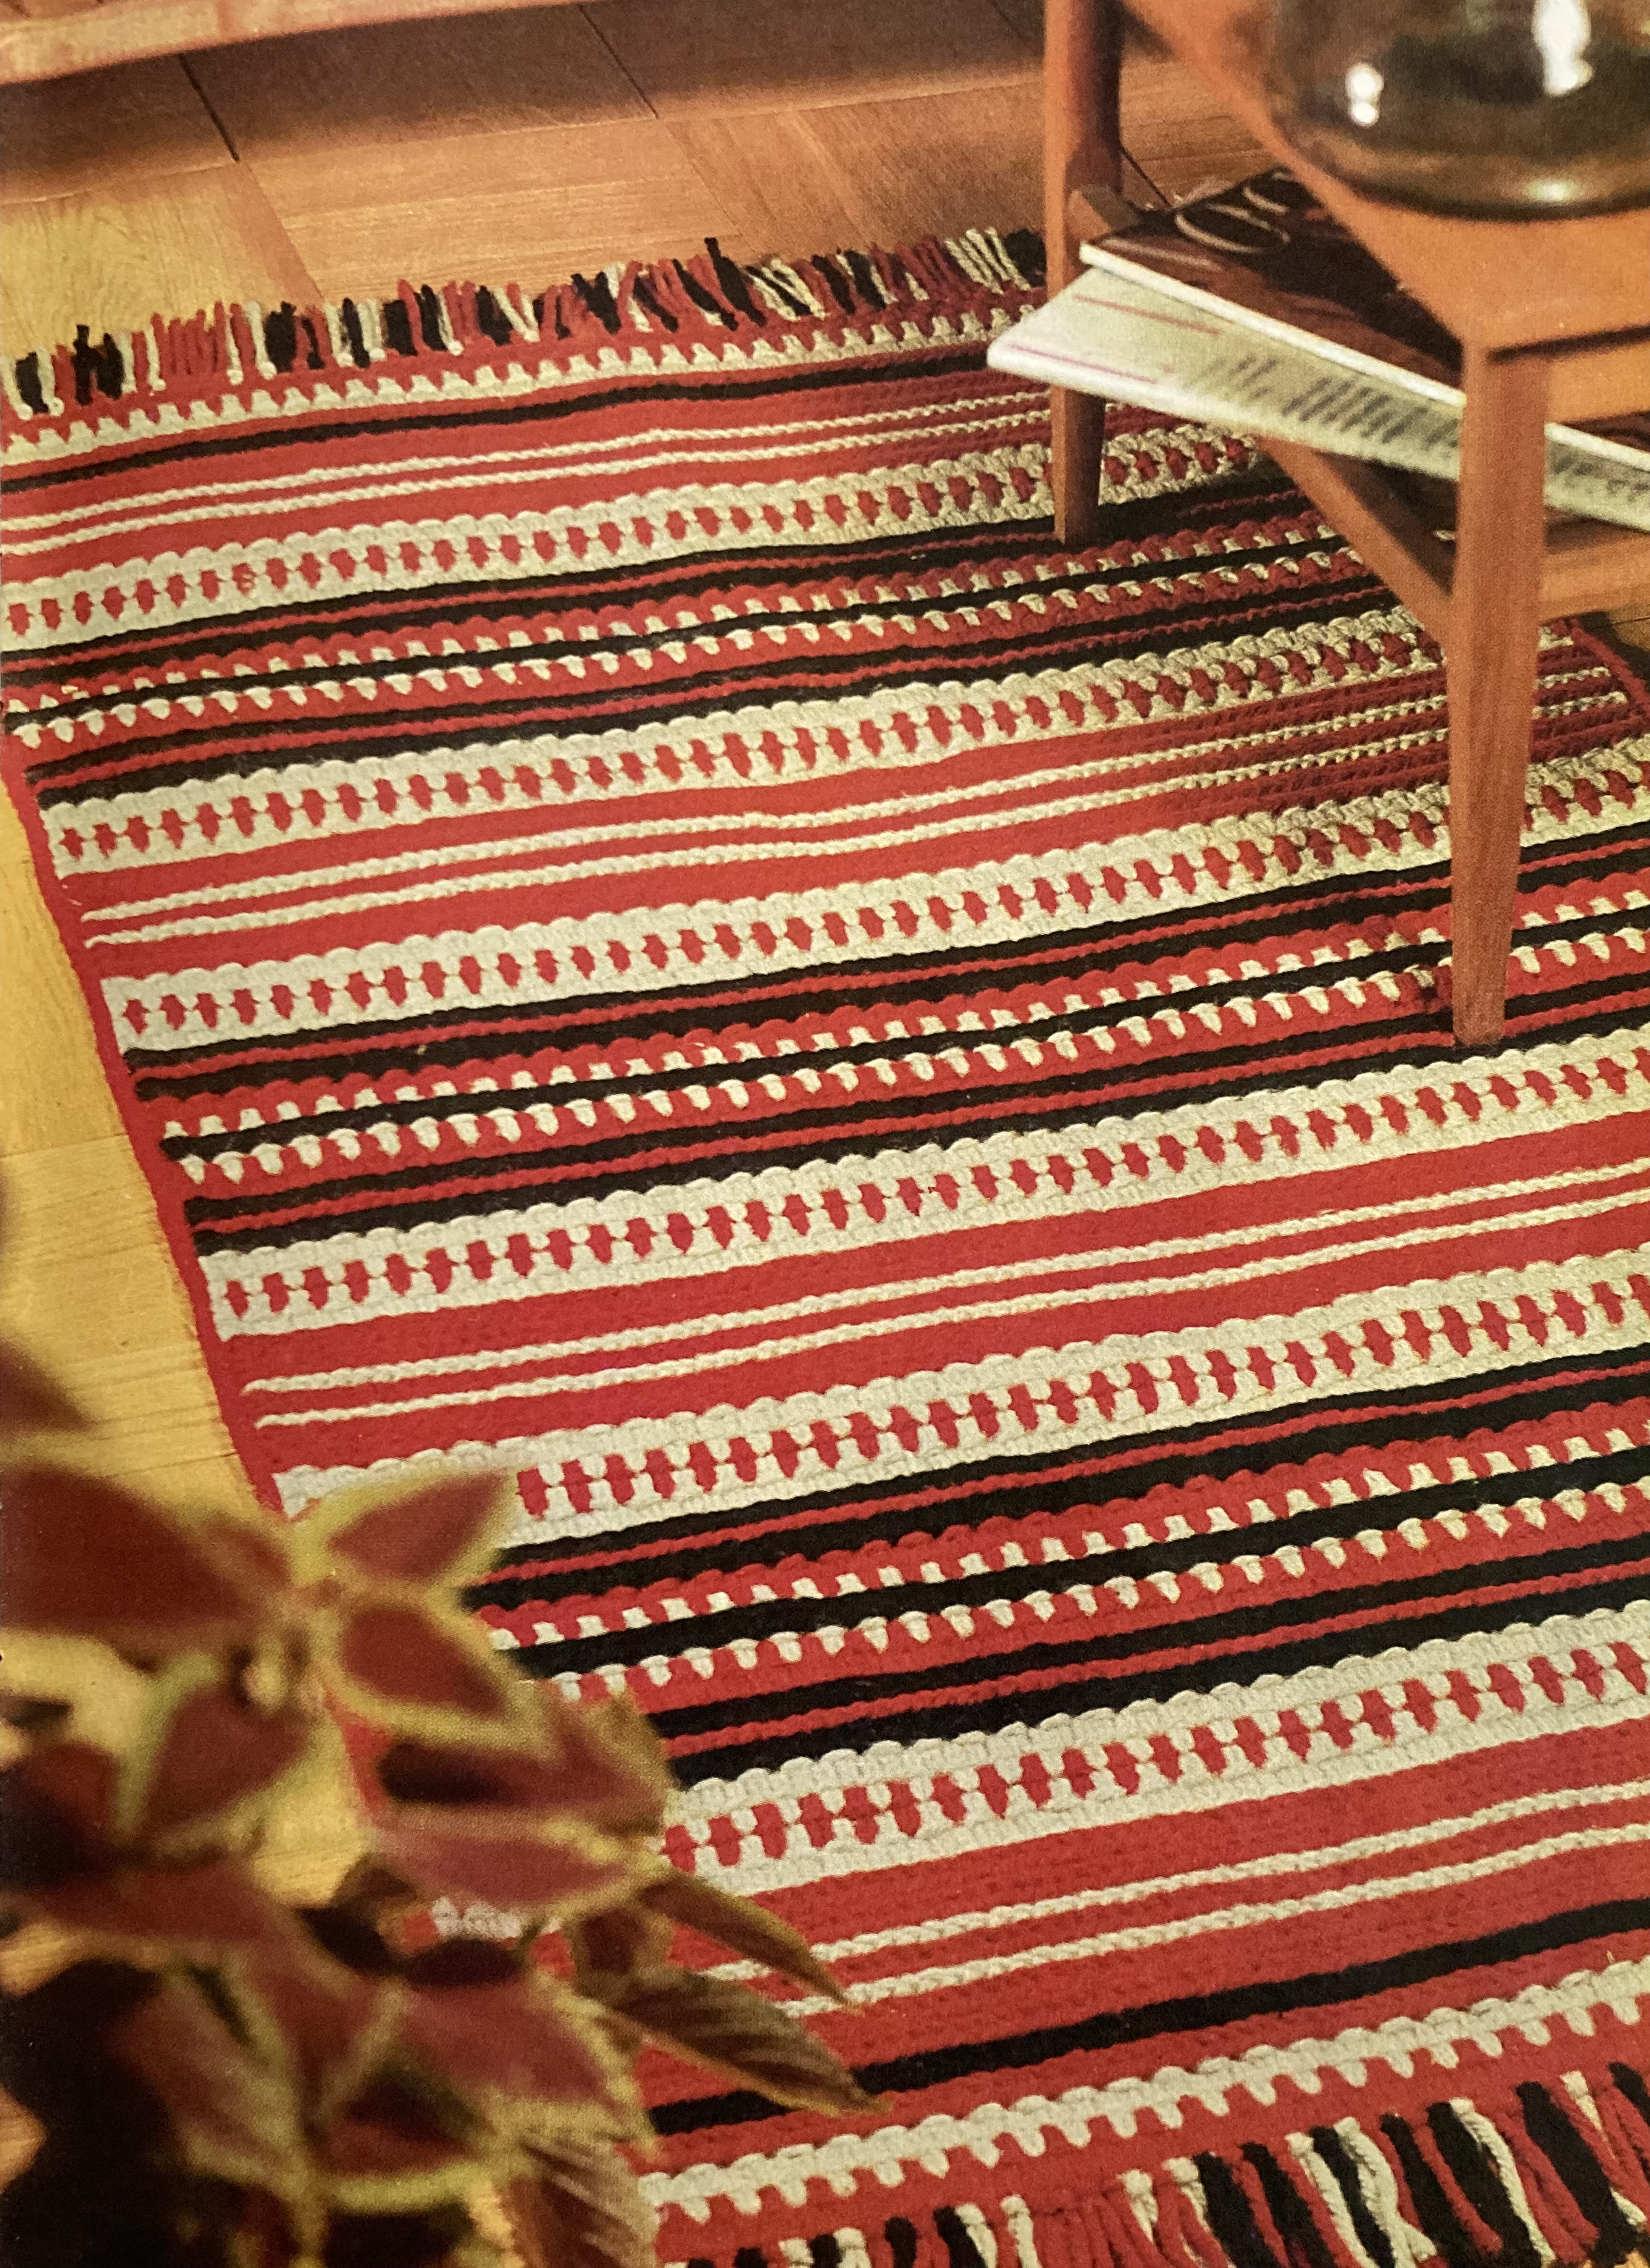
Homewares are unspectacular in this issue: place-mats or a cushion with easy cross-stitch on Binca cloth, or flowers embroidered on a tea cosy or tray-cloth. There’s a stitched rug in bright wintry colours, or a fireplace screen with the church of Norwich worked in wool tapestry.

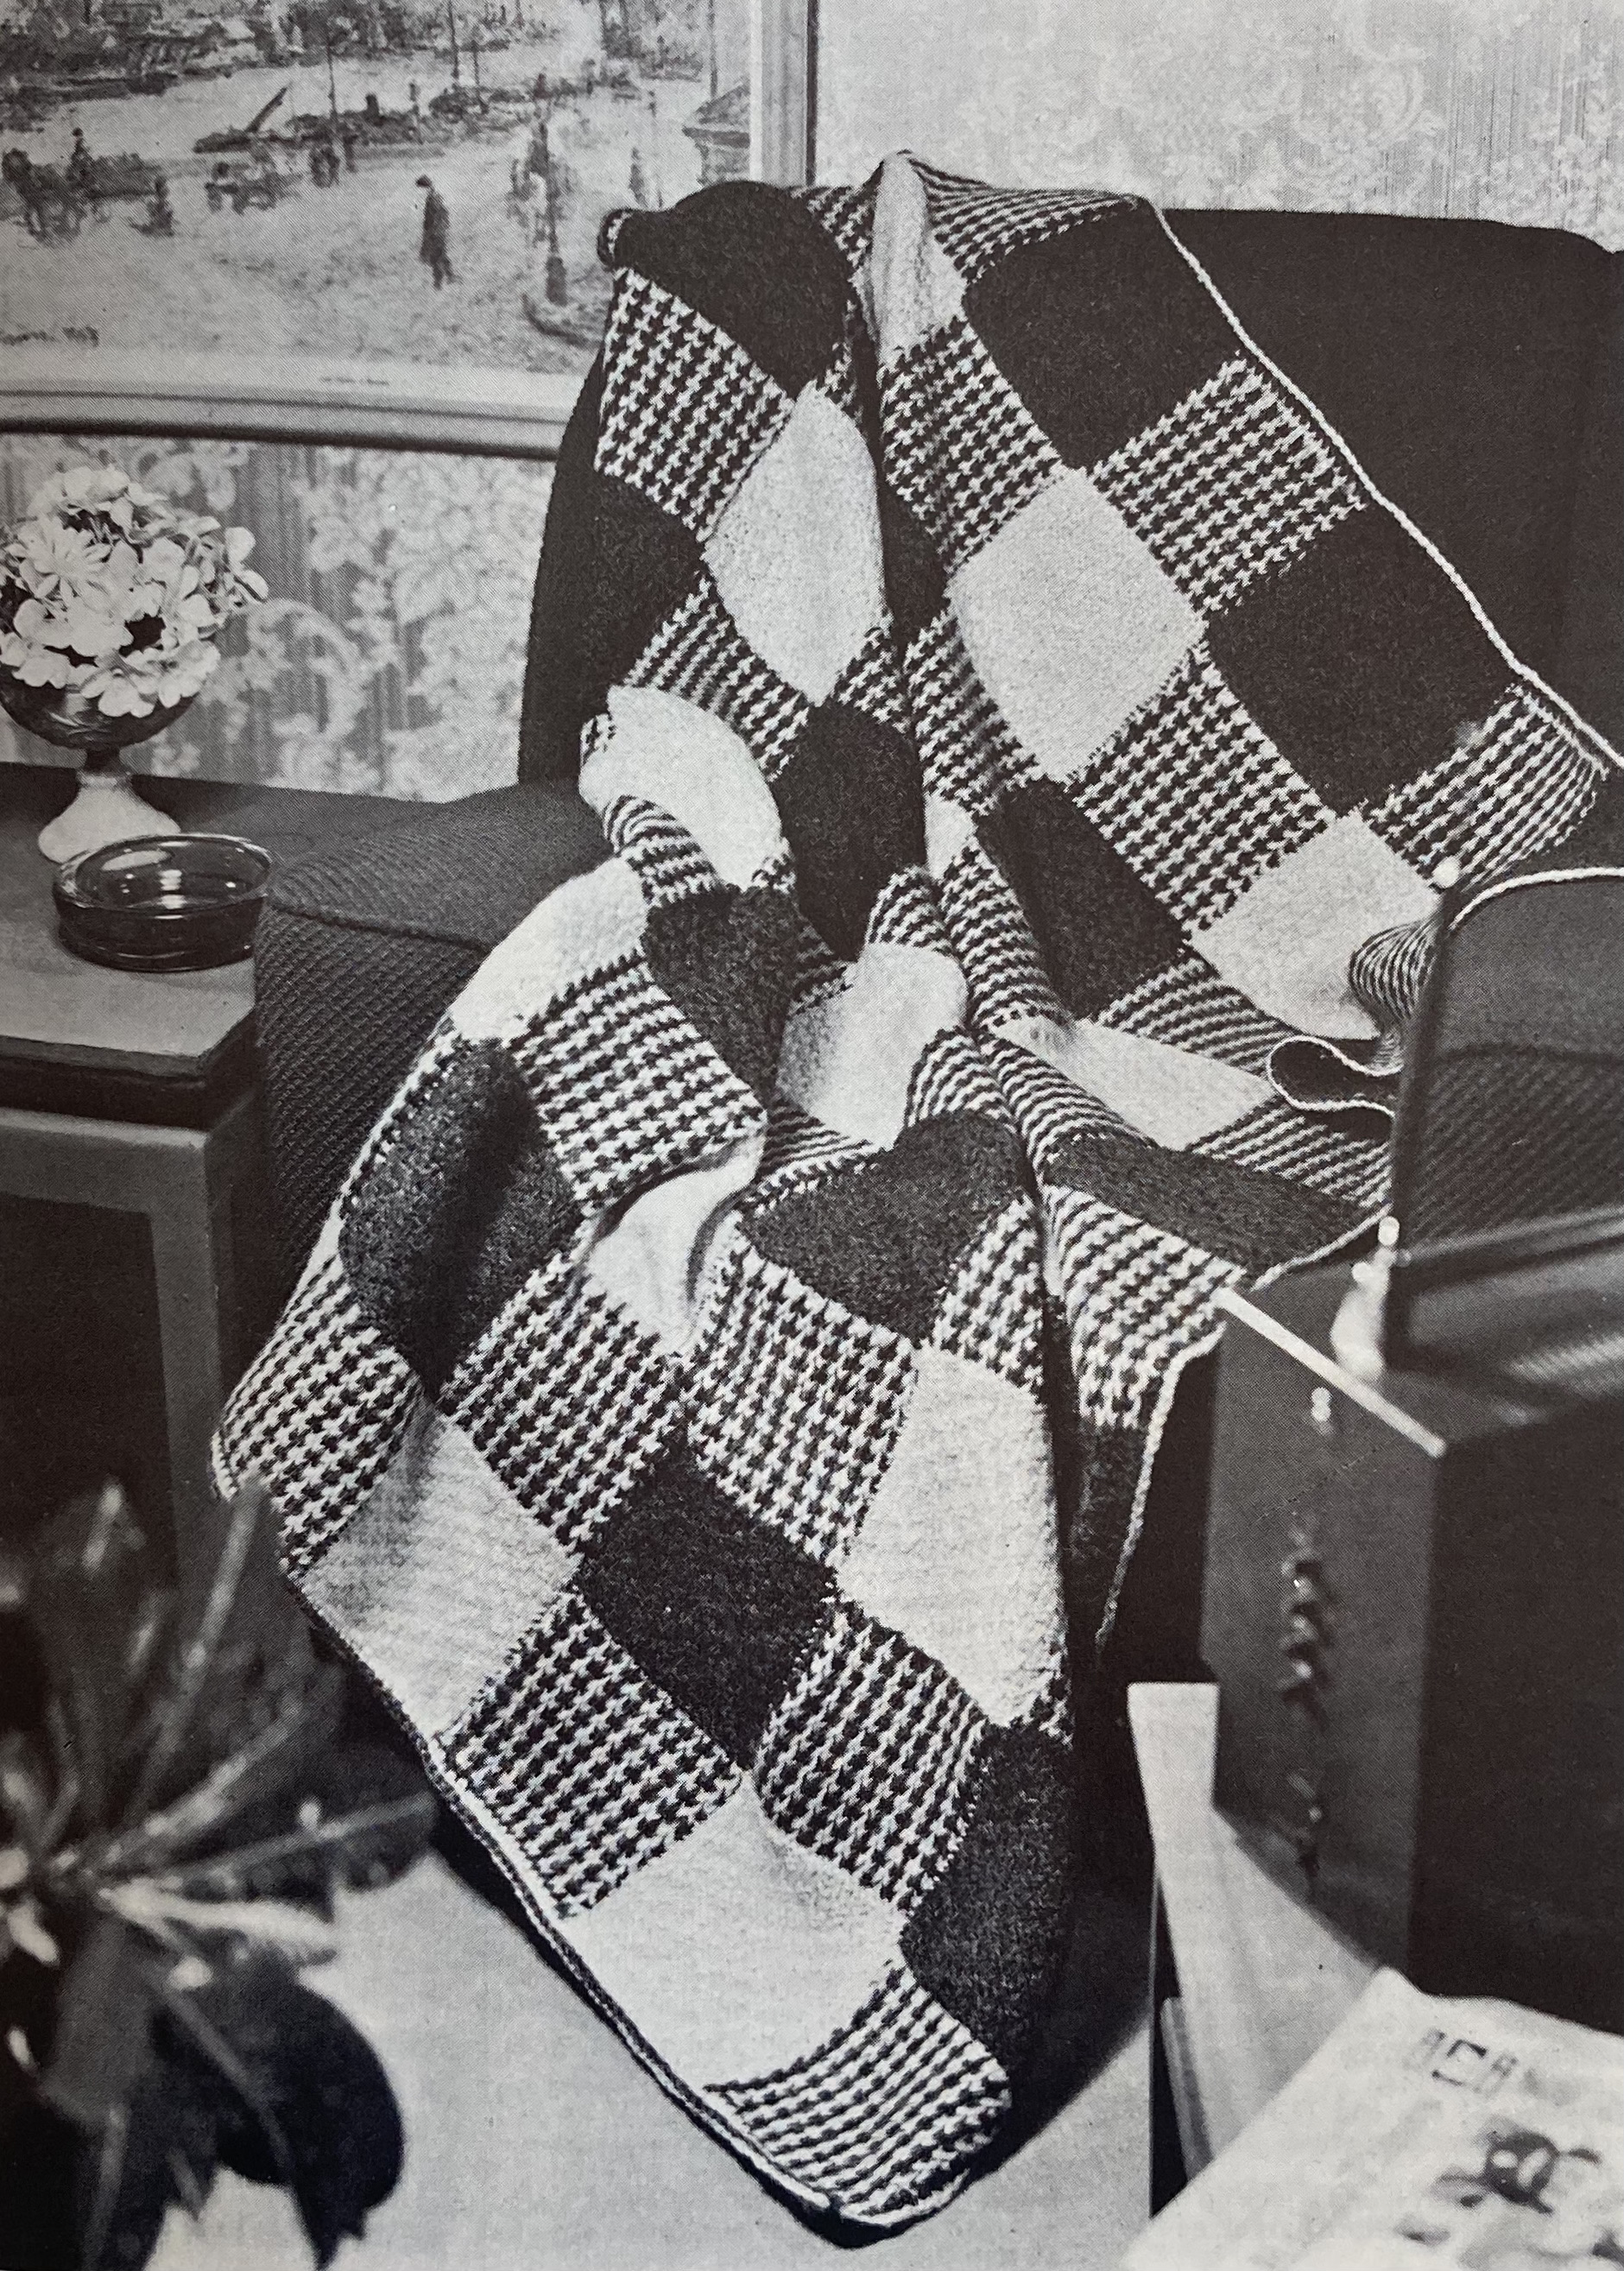
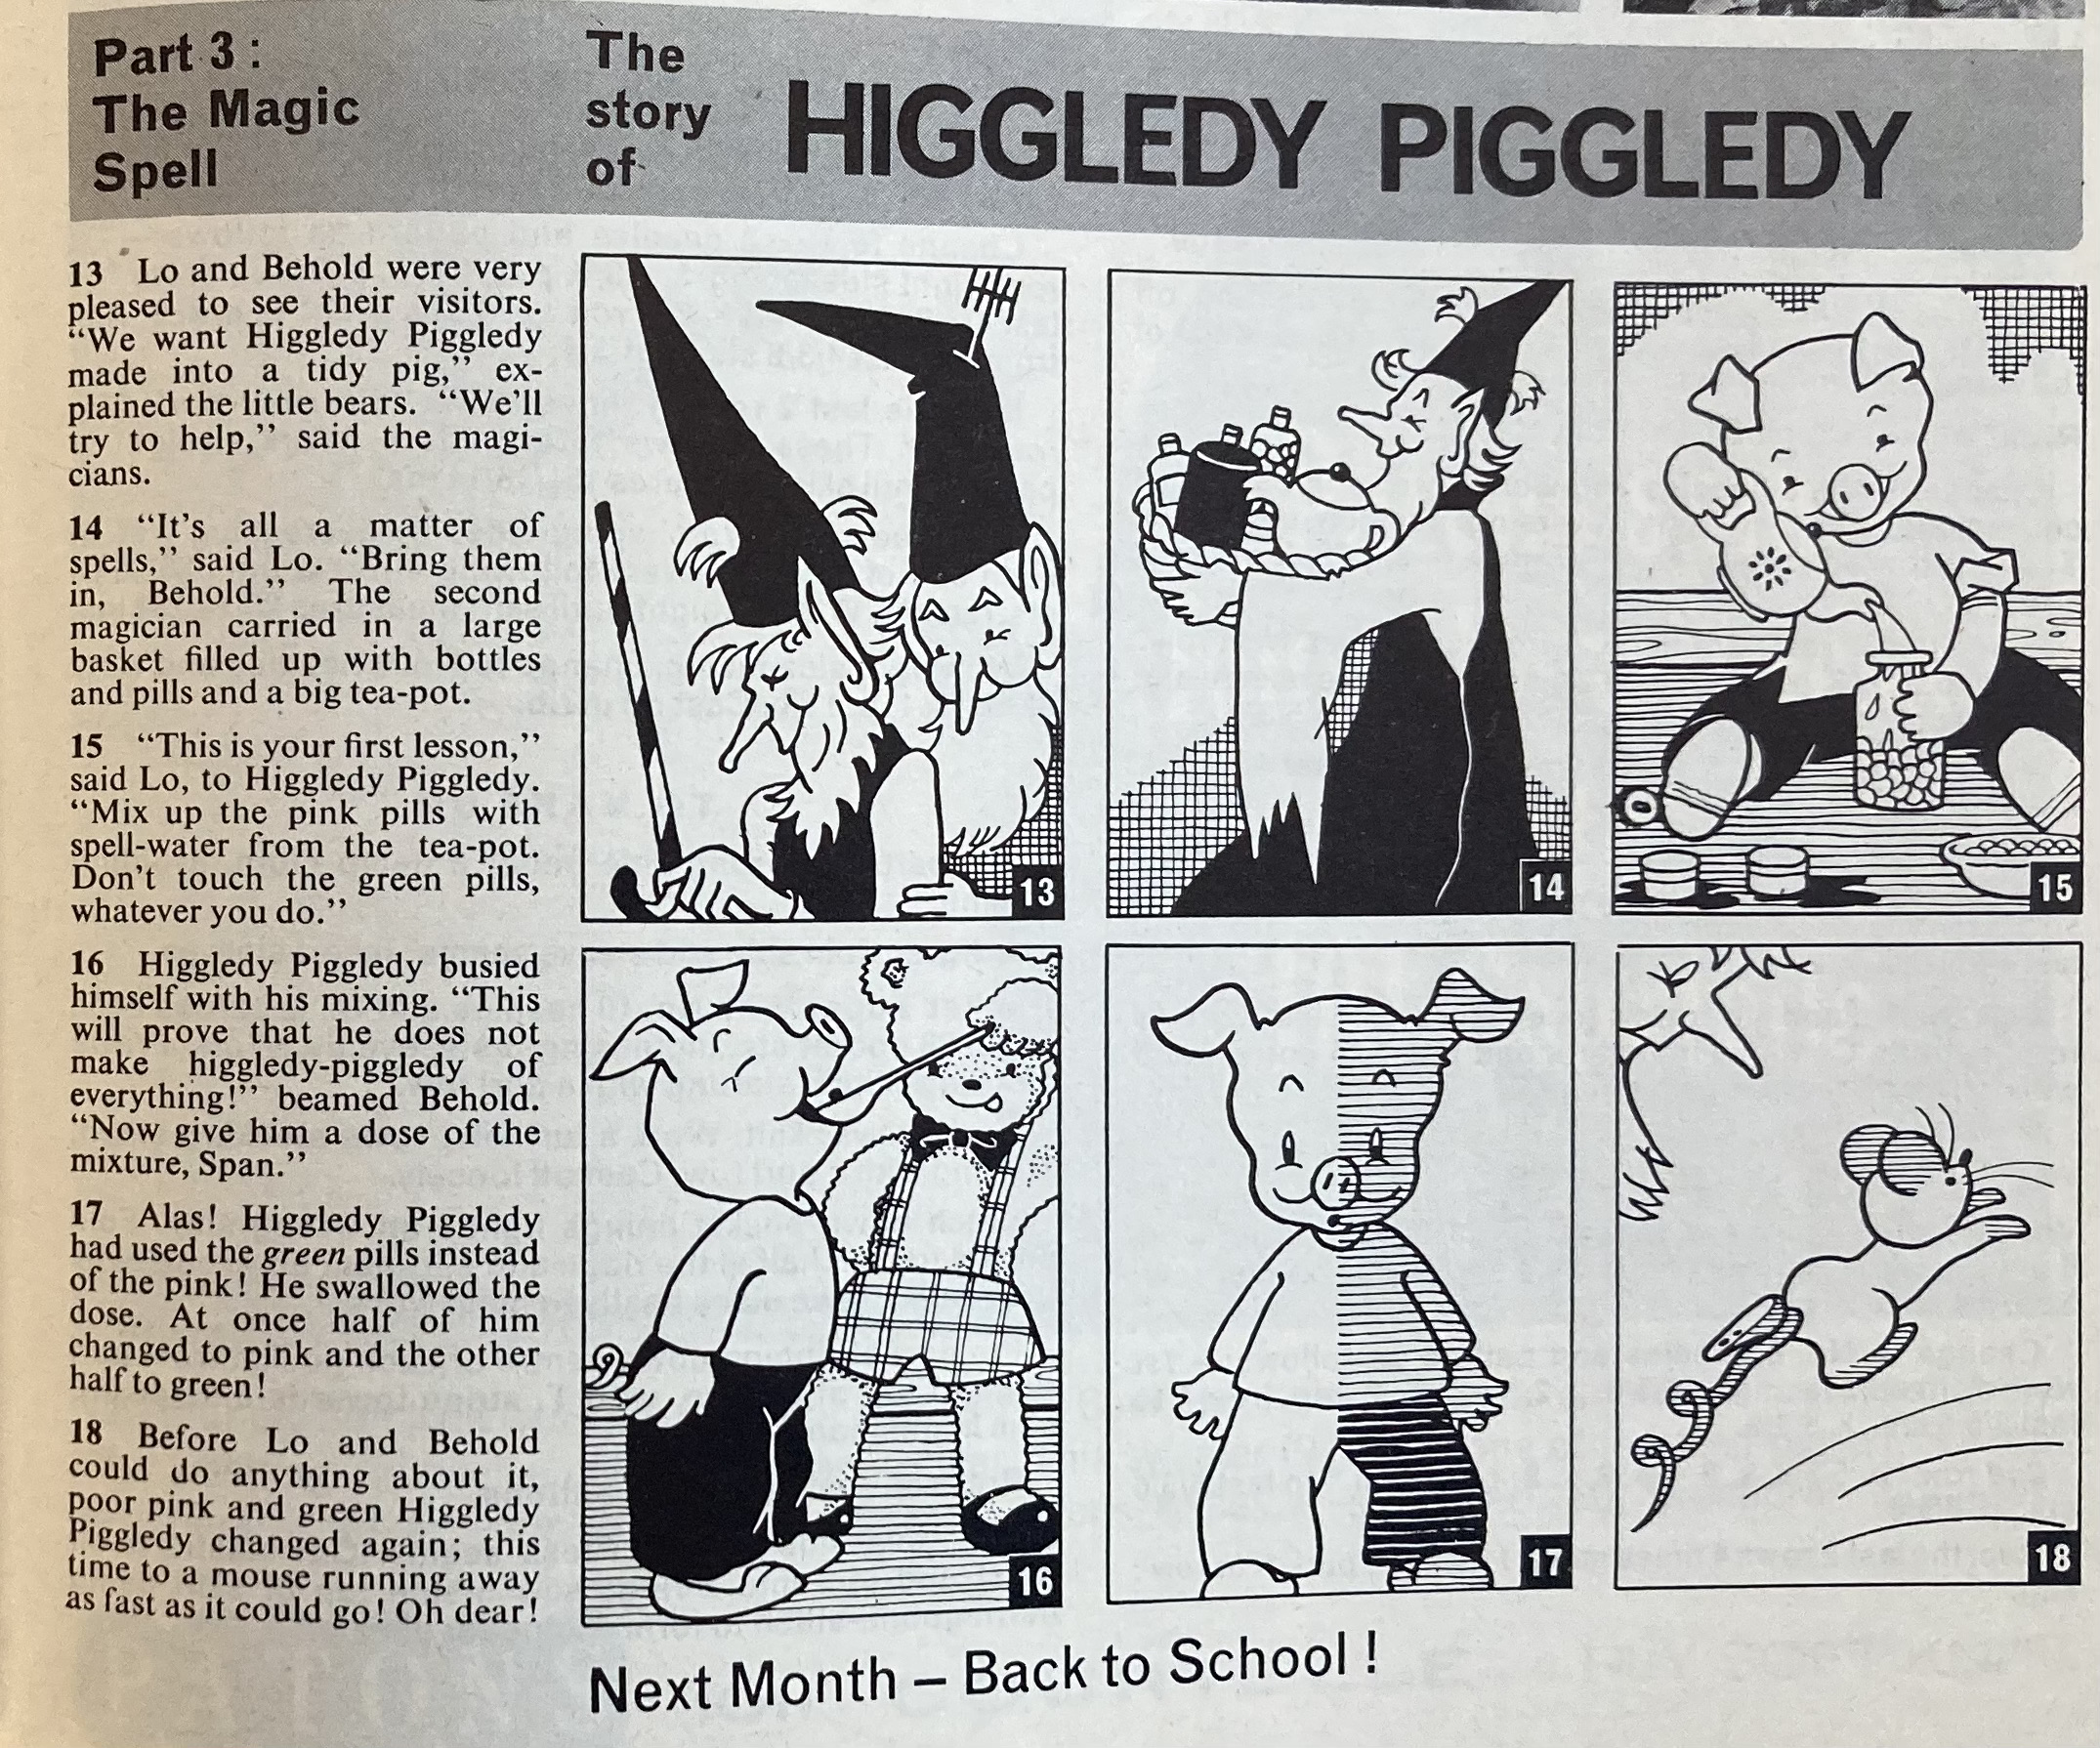
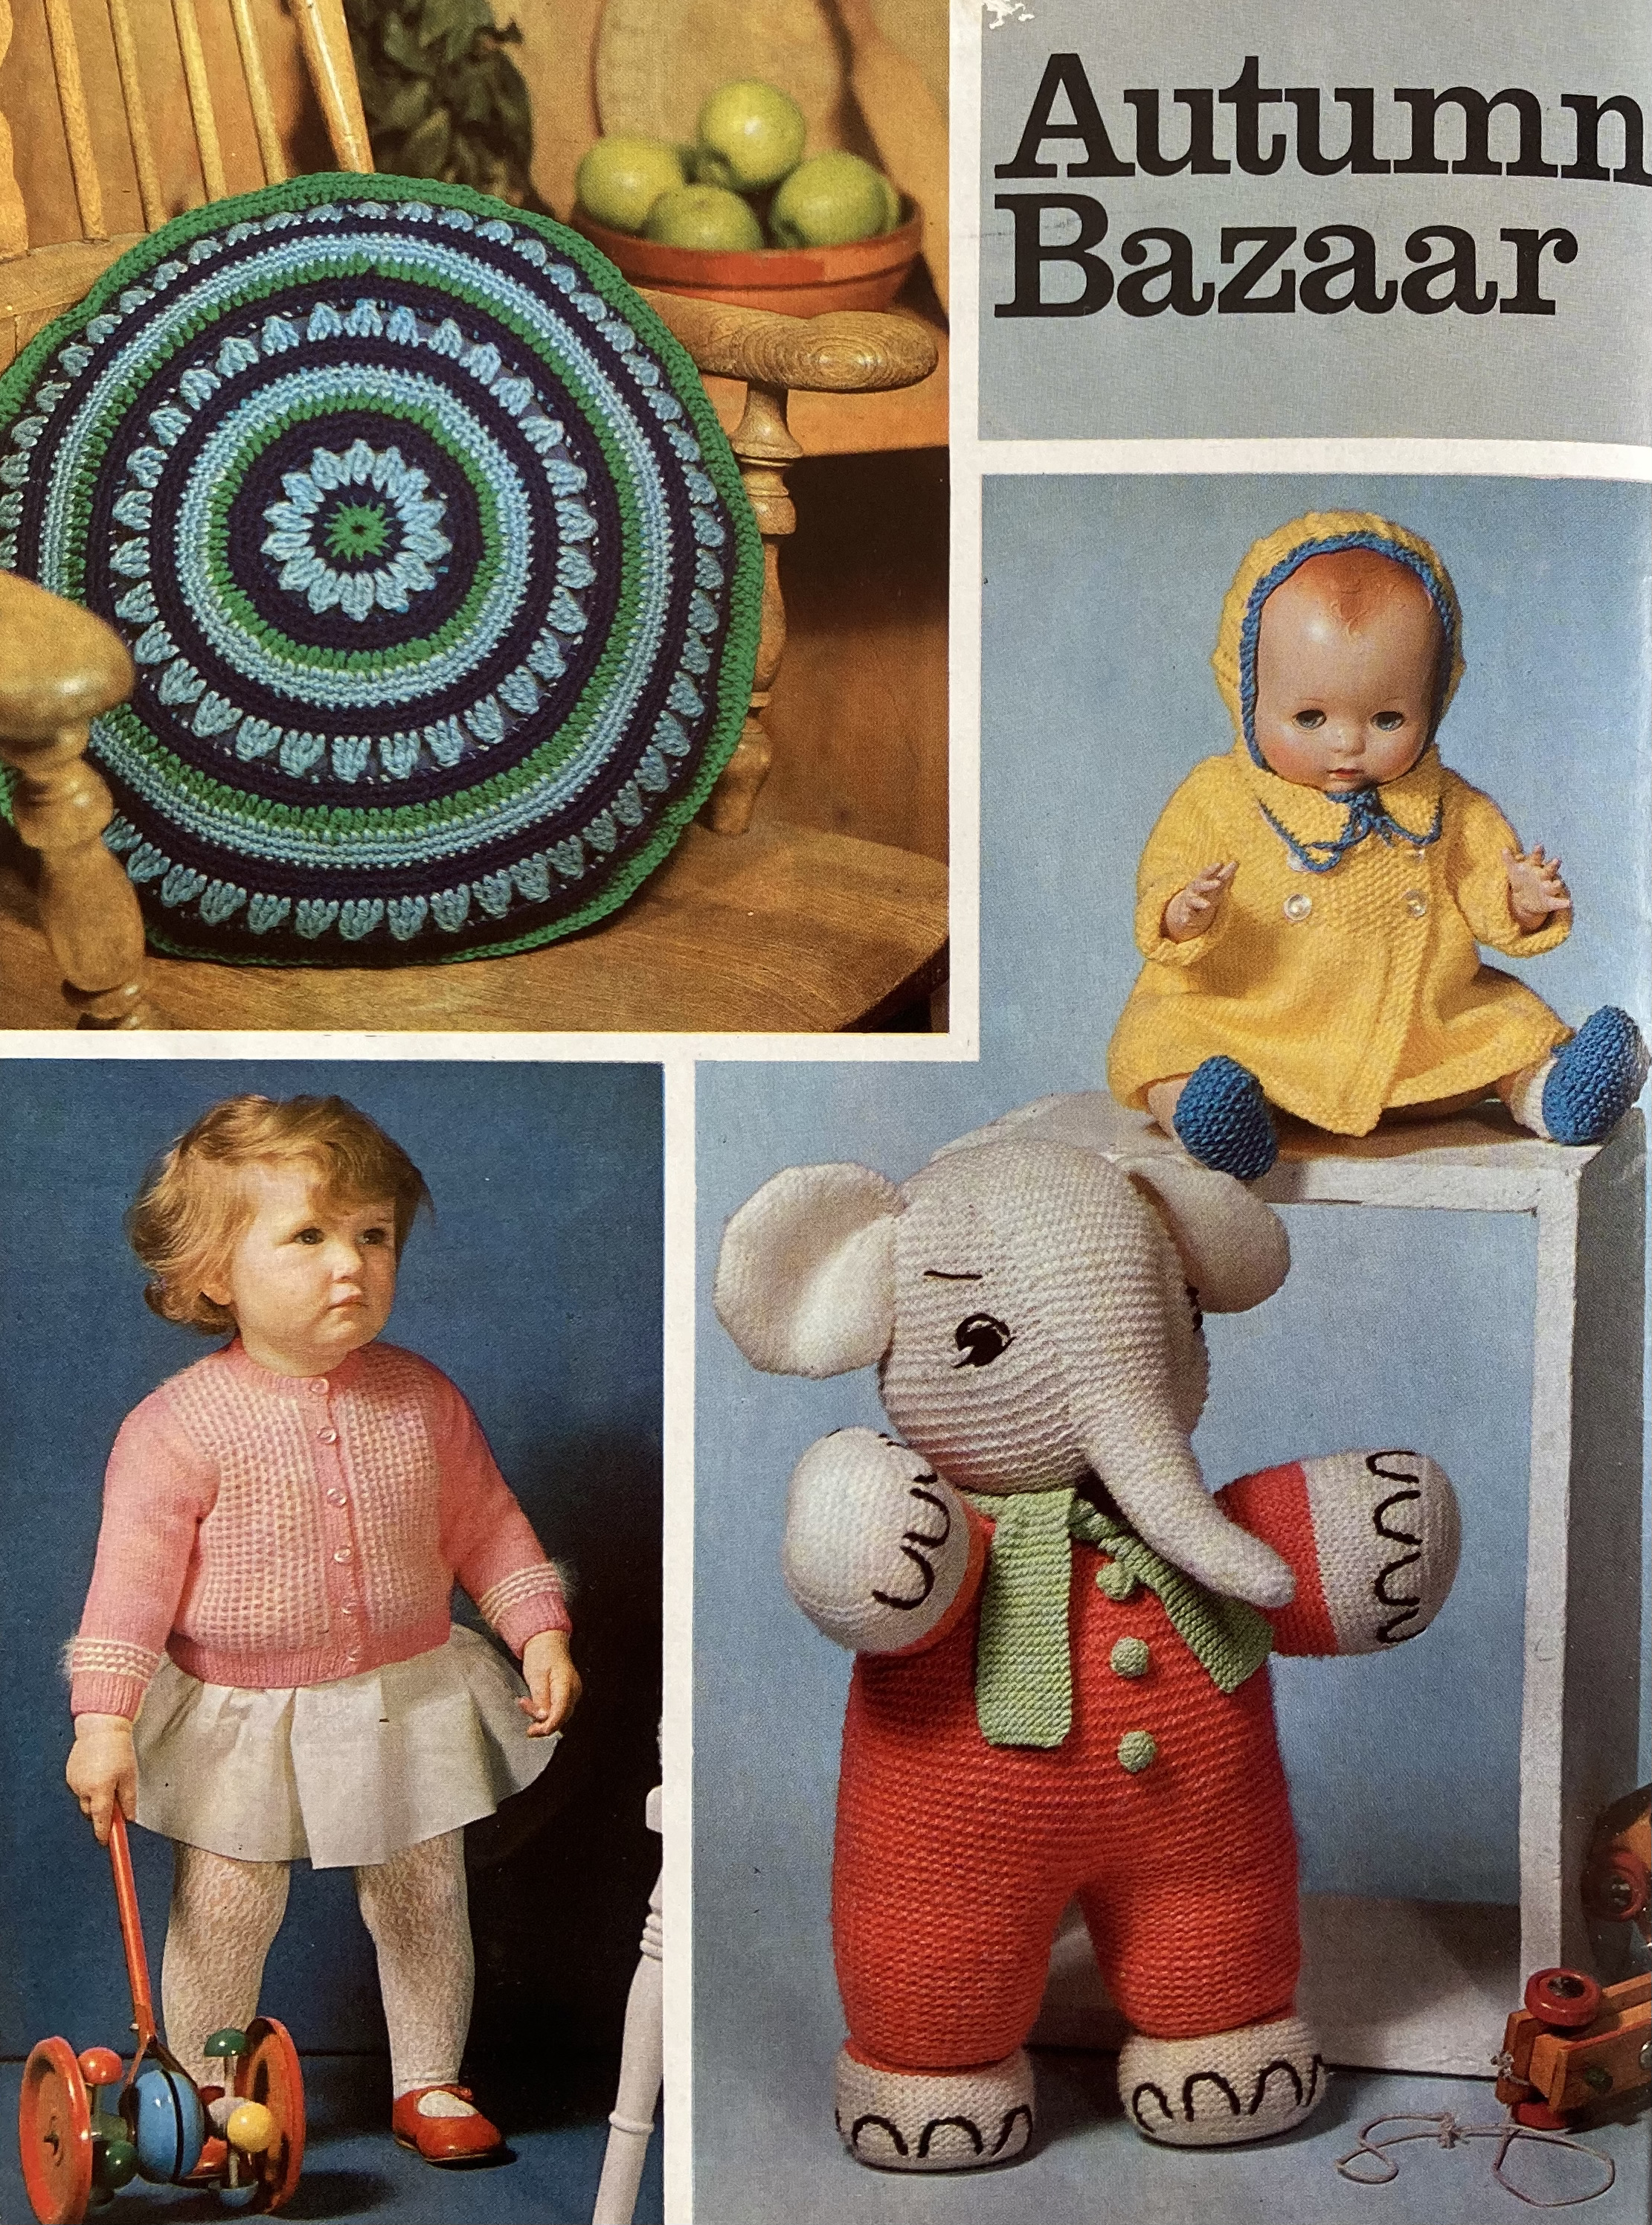
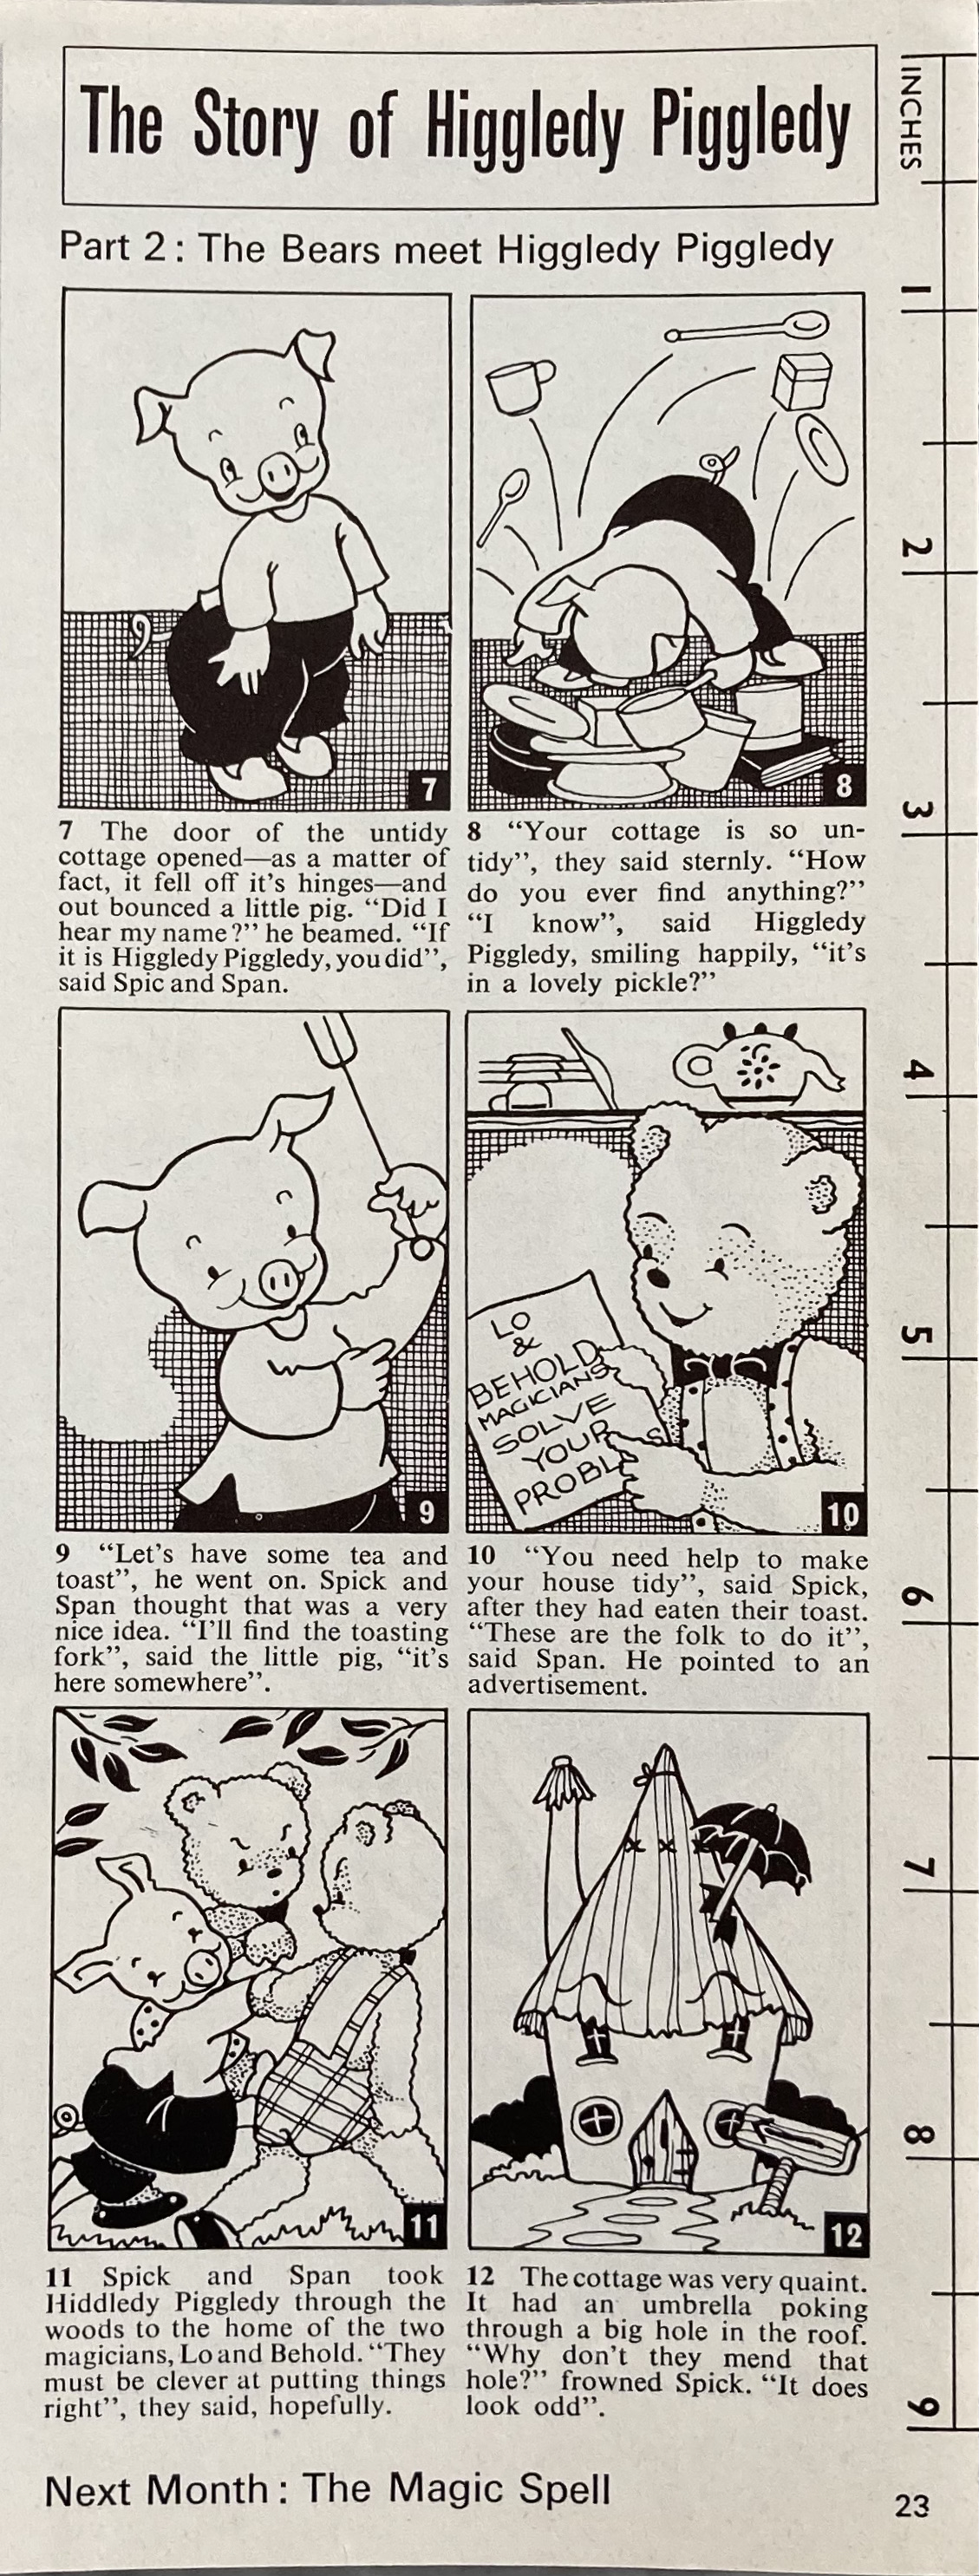
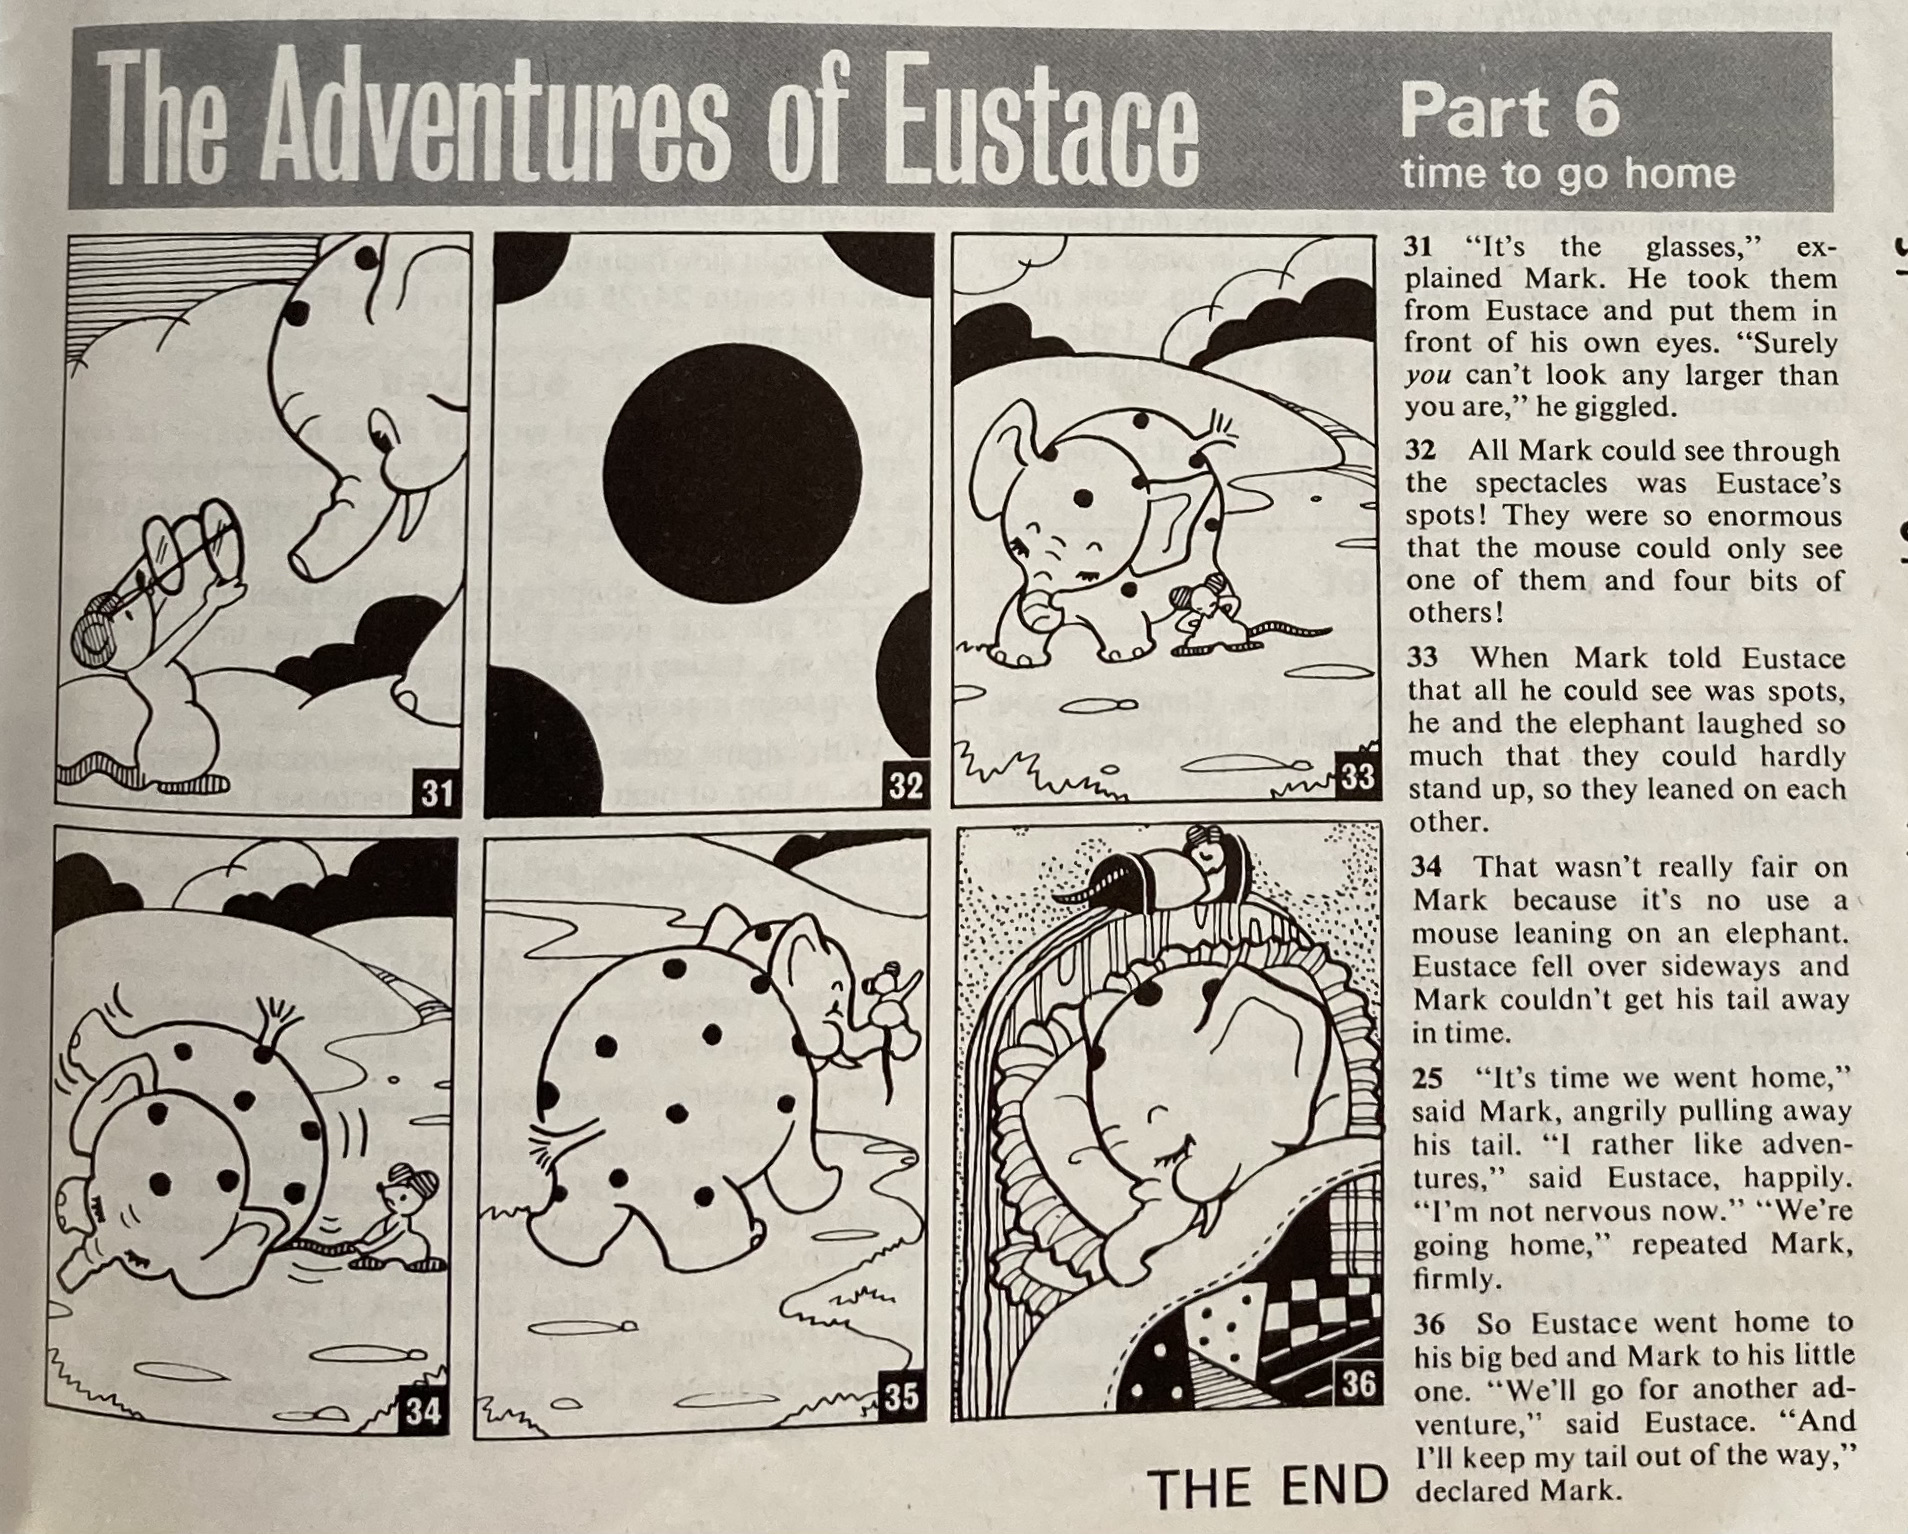
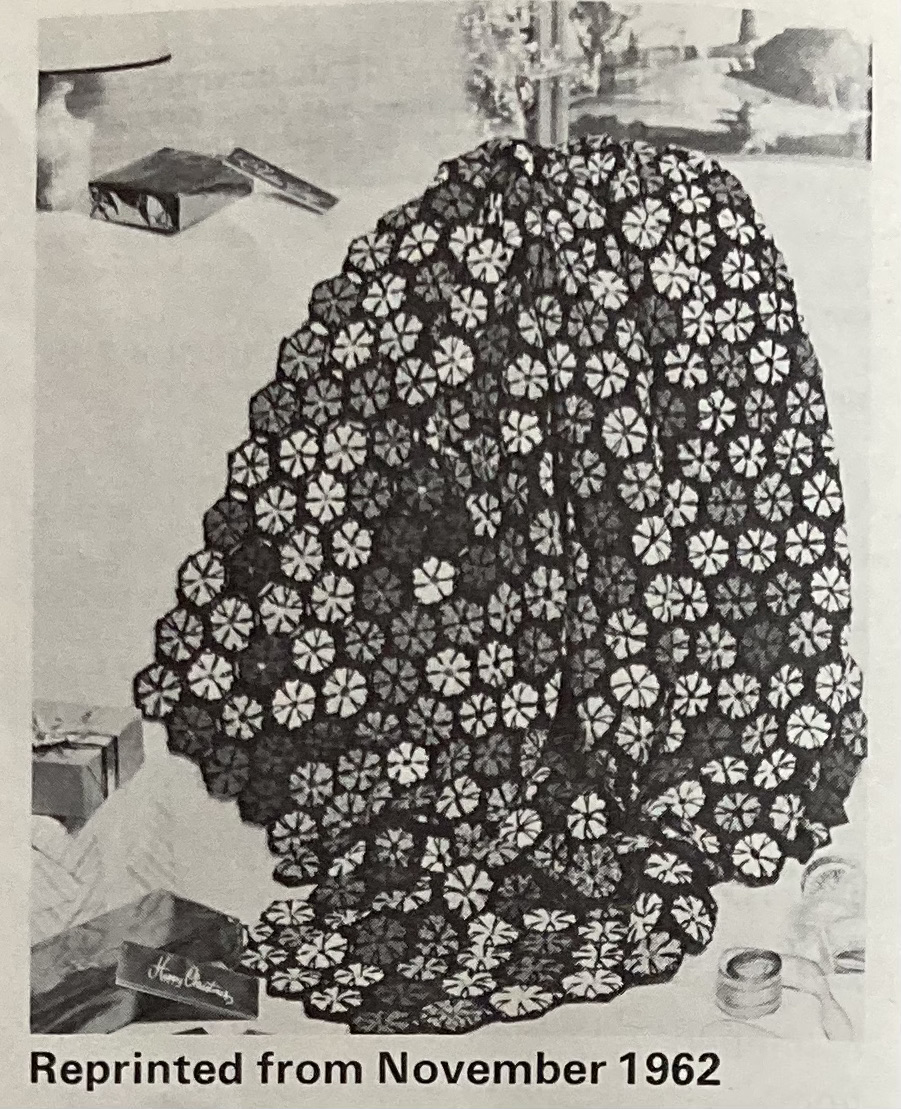
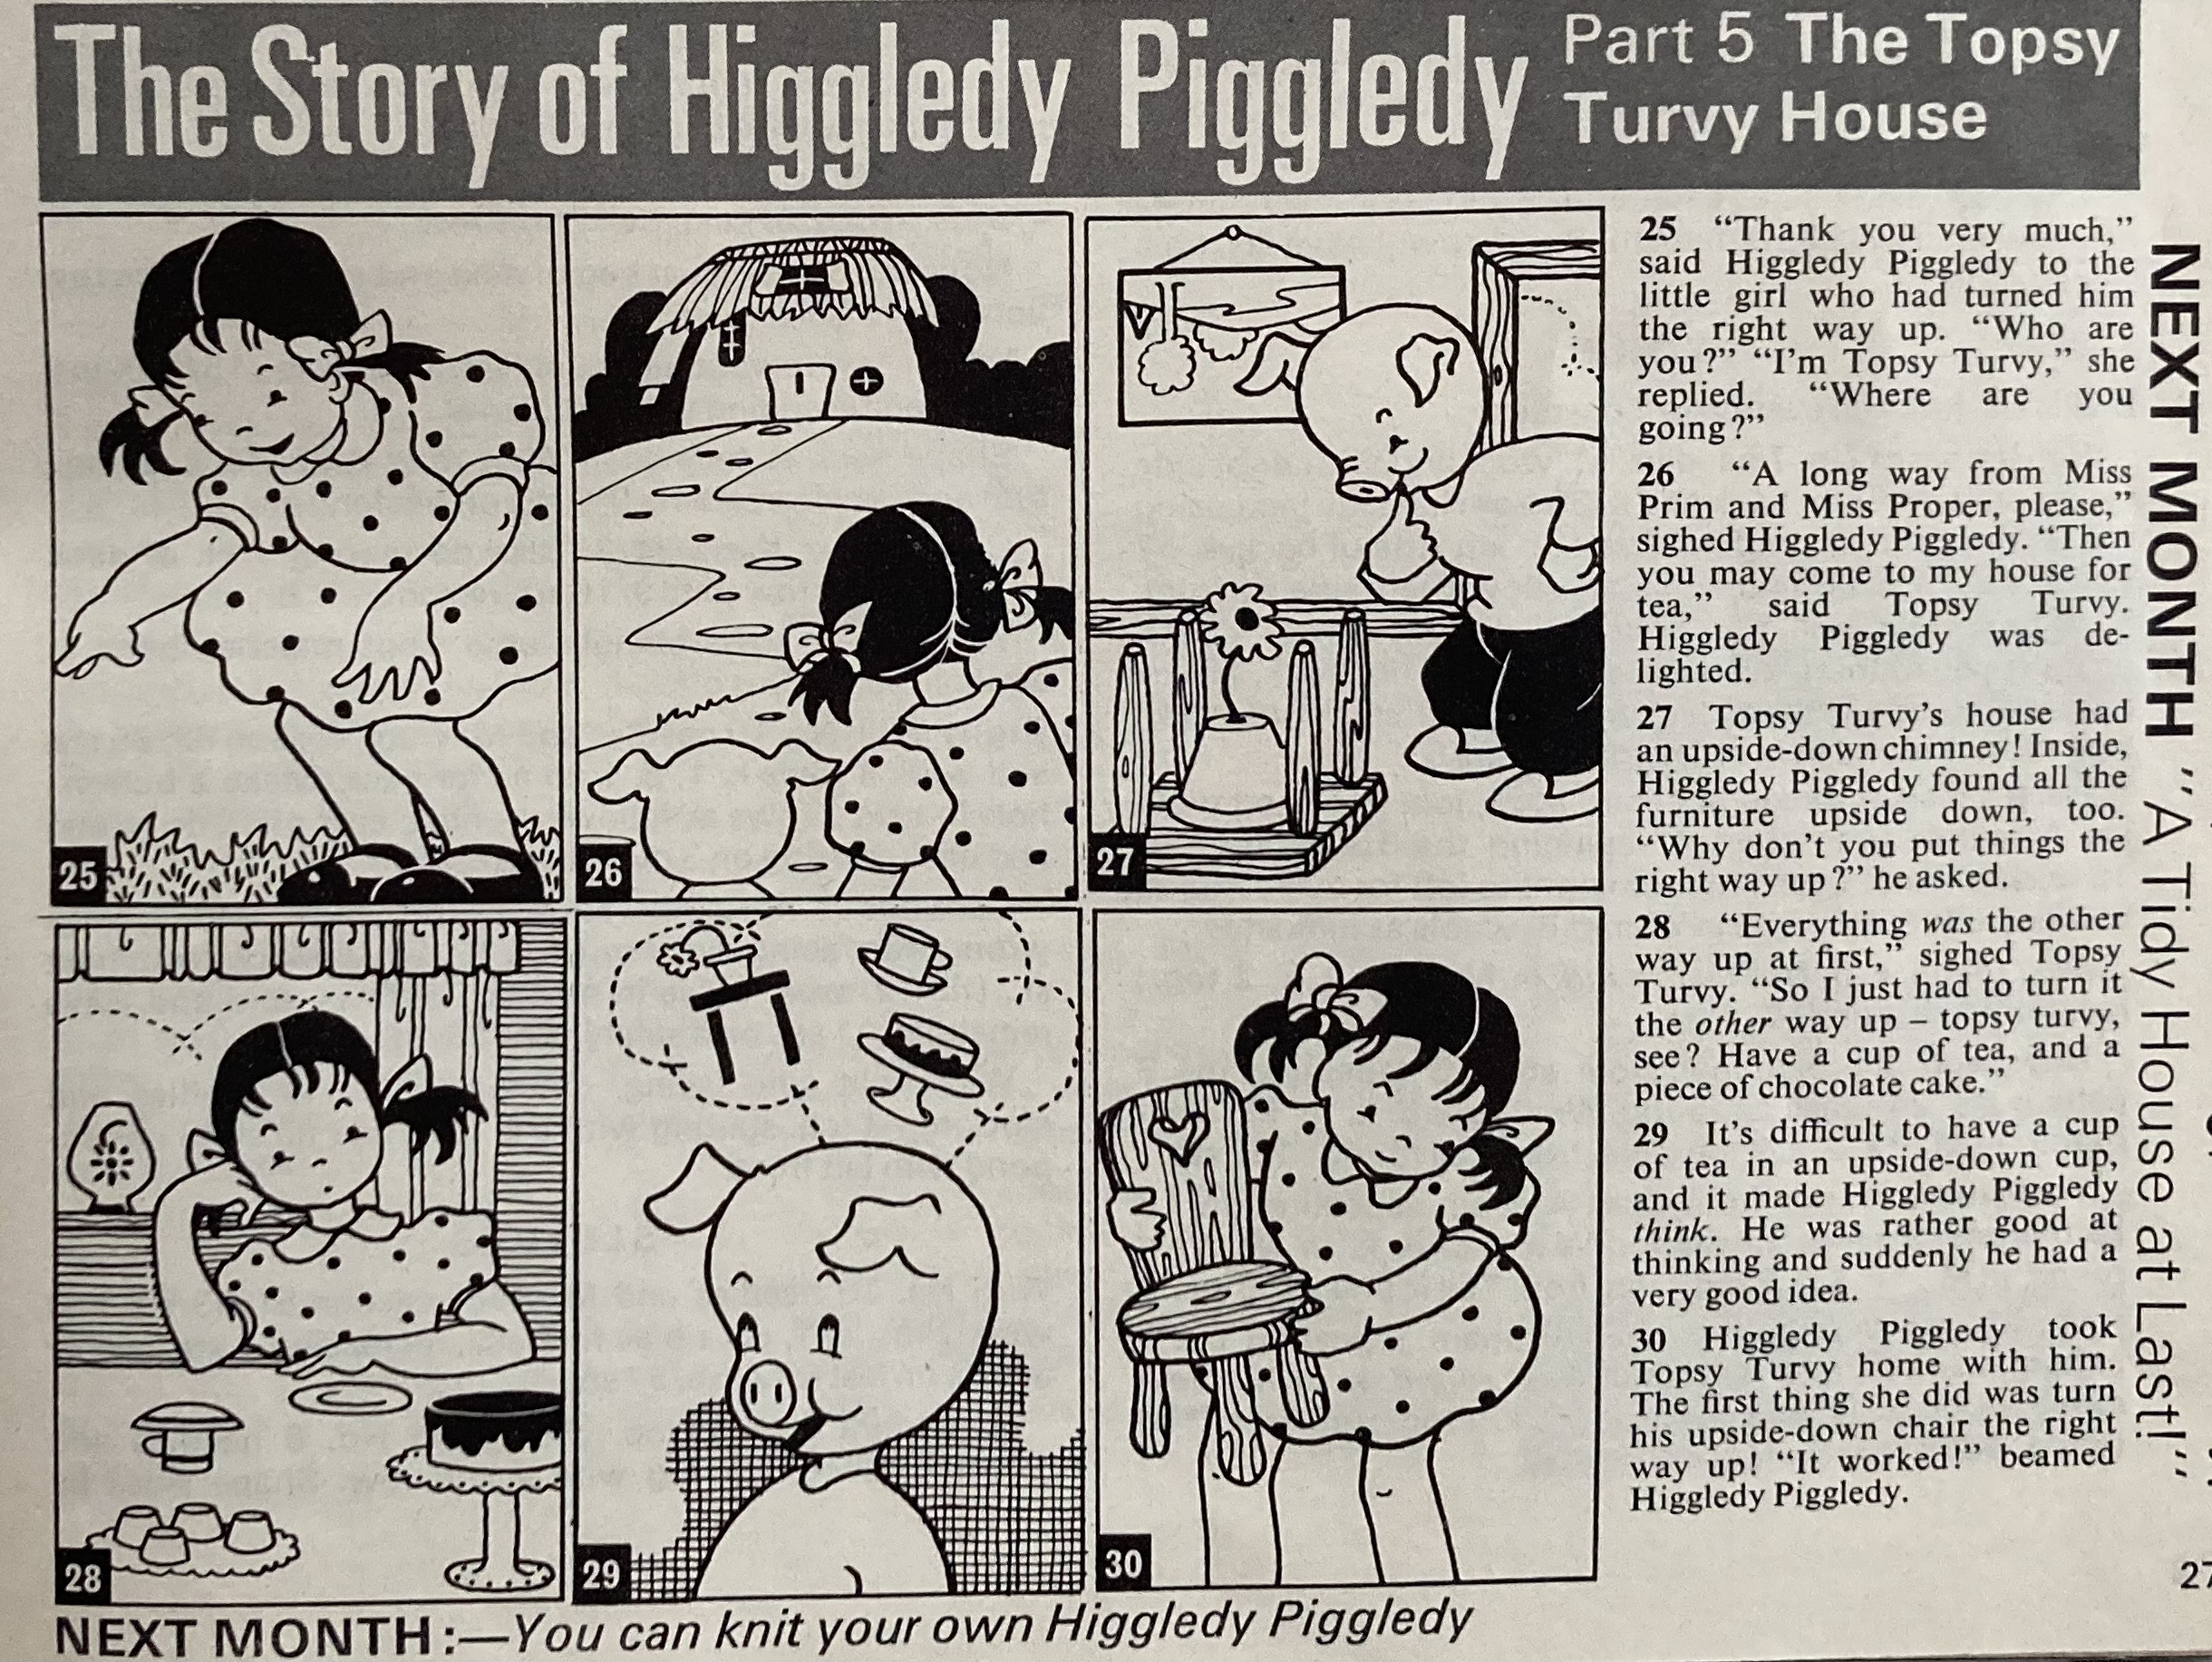
The Readers Pages give us a reprint of a crocheted afghan from the November 1962 issue, tips for knitting in stranded technique, and the continuing adventures of the untidy piglet, Higgledy Piggledy. In this instalment, he has run away from his tutors, Miss Prim and Miss Proper, to find refuge in a house with a girl named Topsy Turvy who turns everything that is upside-down, right-side-up, and everything that is right-side-up, upside-down. I am reminded of a colleague who claims to turn straight people gay, and gay people straight. Anyway, that’s it for this issue!
There are so many good projects in this issue that I’m glad I’ve made a few of them already. My project for this time will be the turquoise Fair Isle cardigan, but it might have to wait a while because I want to make it in Jamieson’s DK wool, which I have to order through a wool shop in the next city over from me, and that will take a while to happen before I can even start knitting. In the meantime, I’ll either skip ahead to the February 1967 issue, which also has some great larger projects, or make one of the smaller accessories (not the golf club covers). Stay tuned!