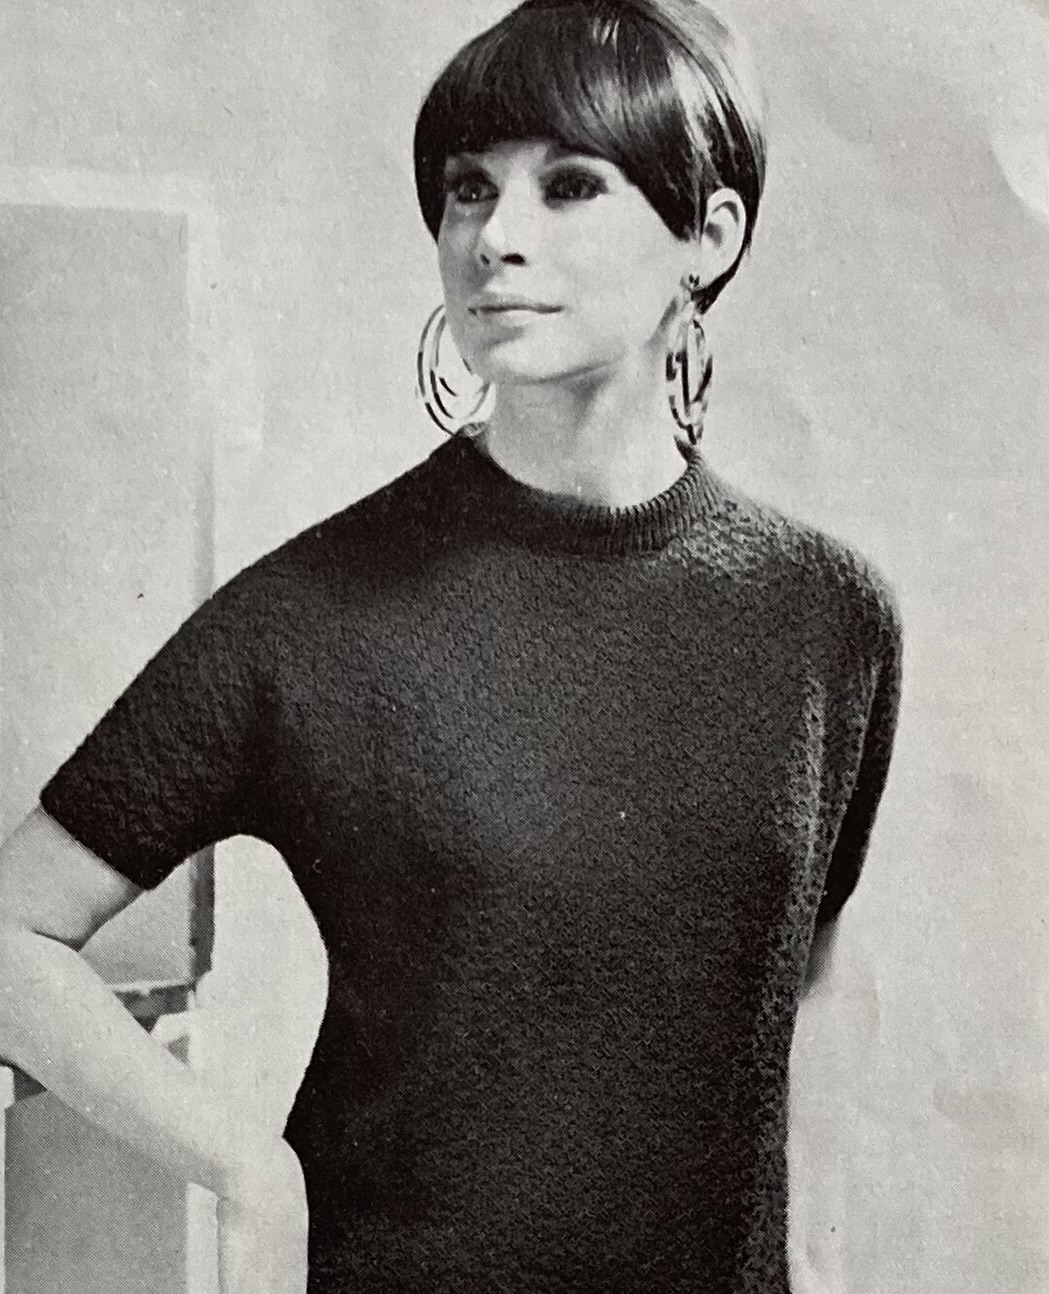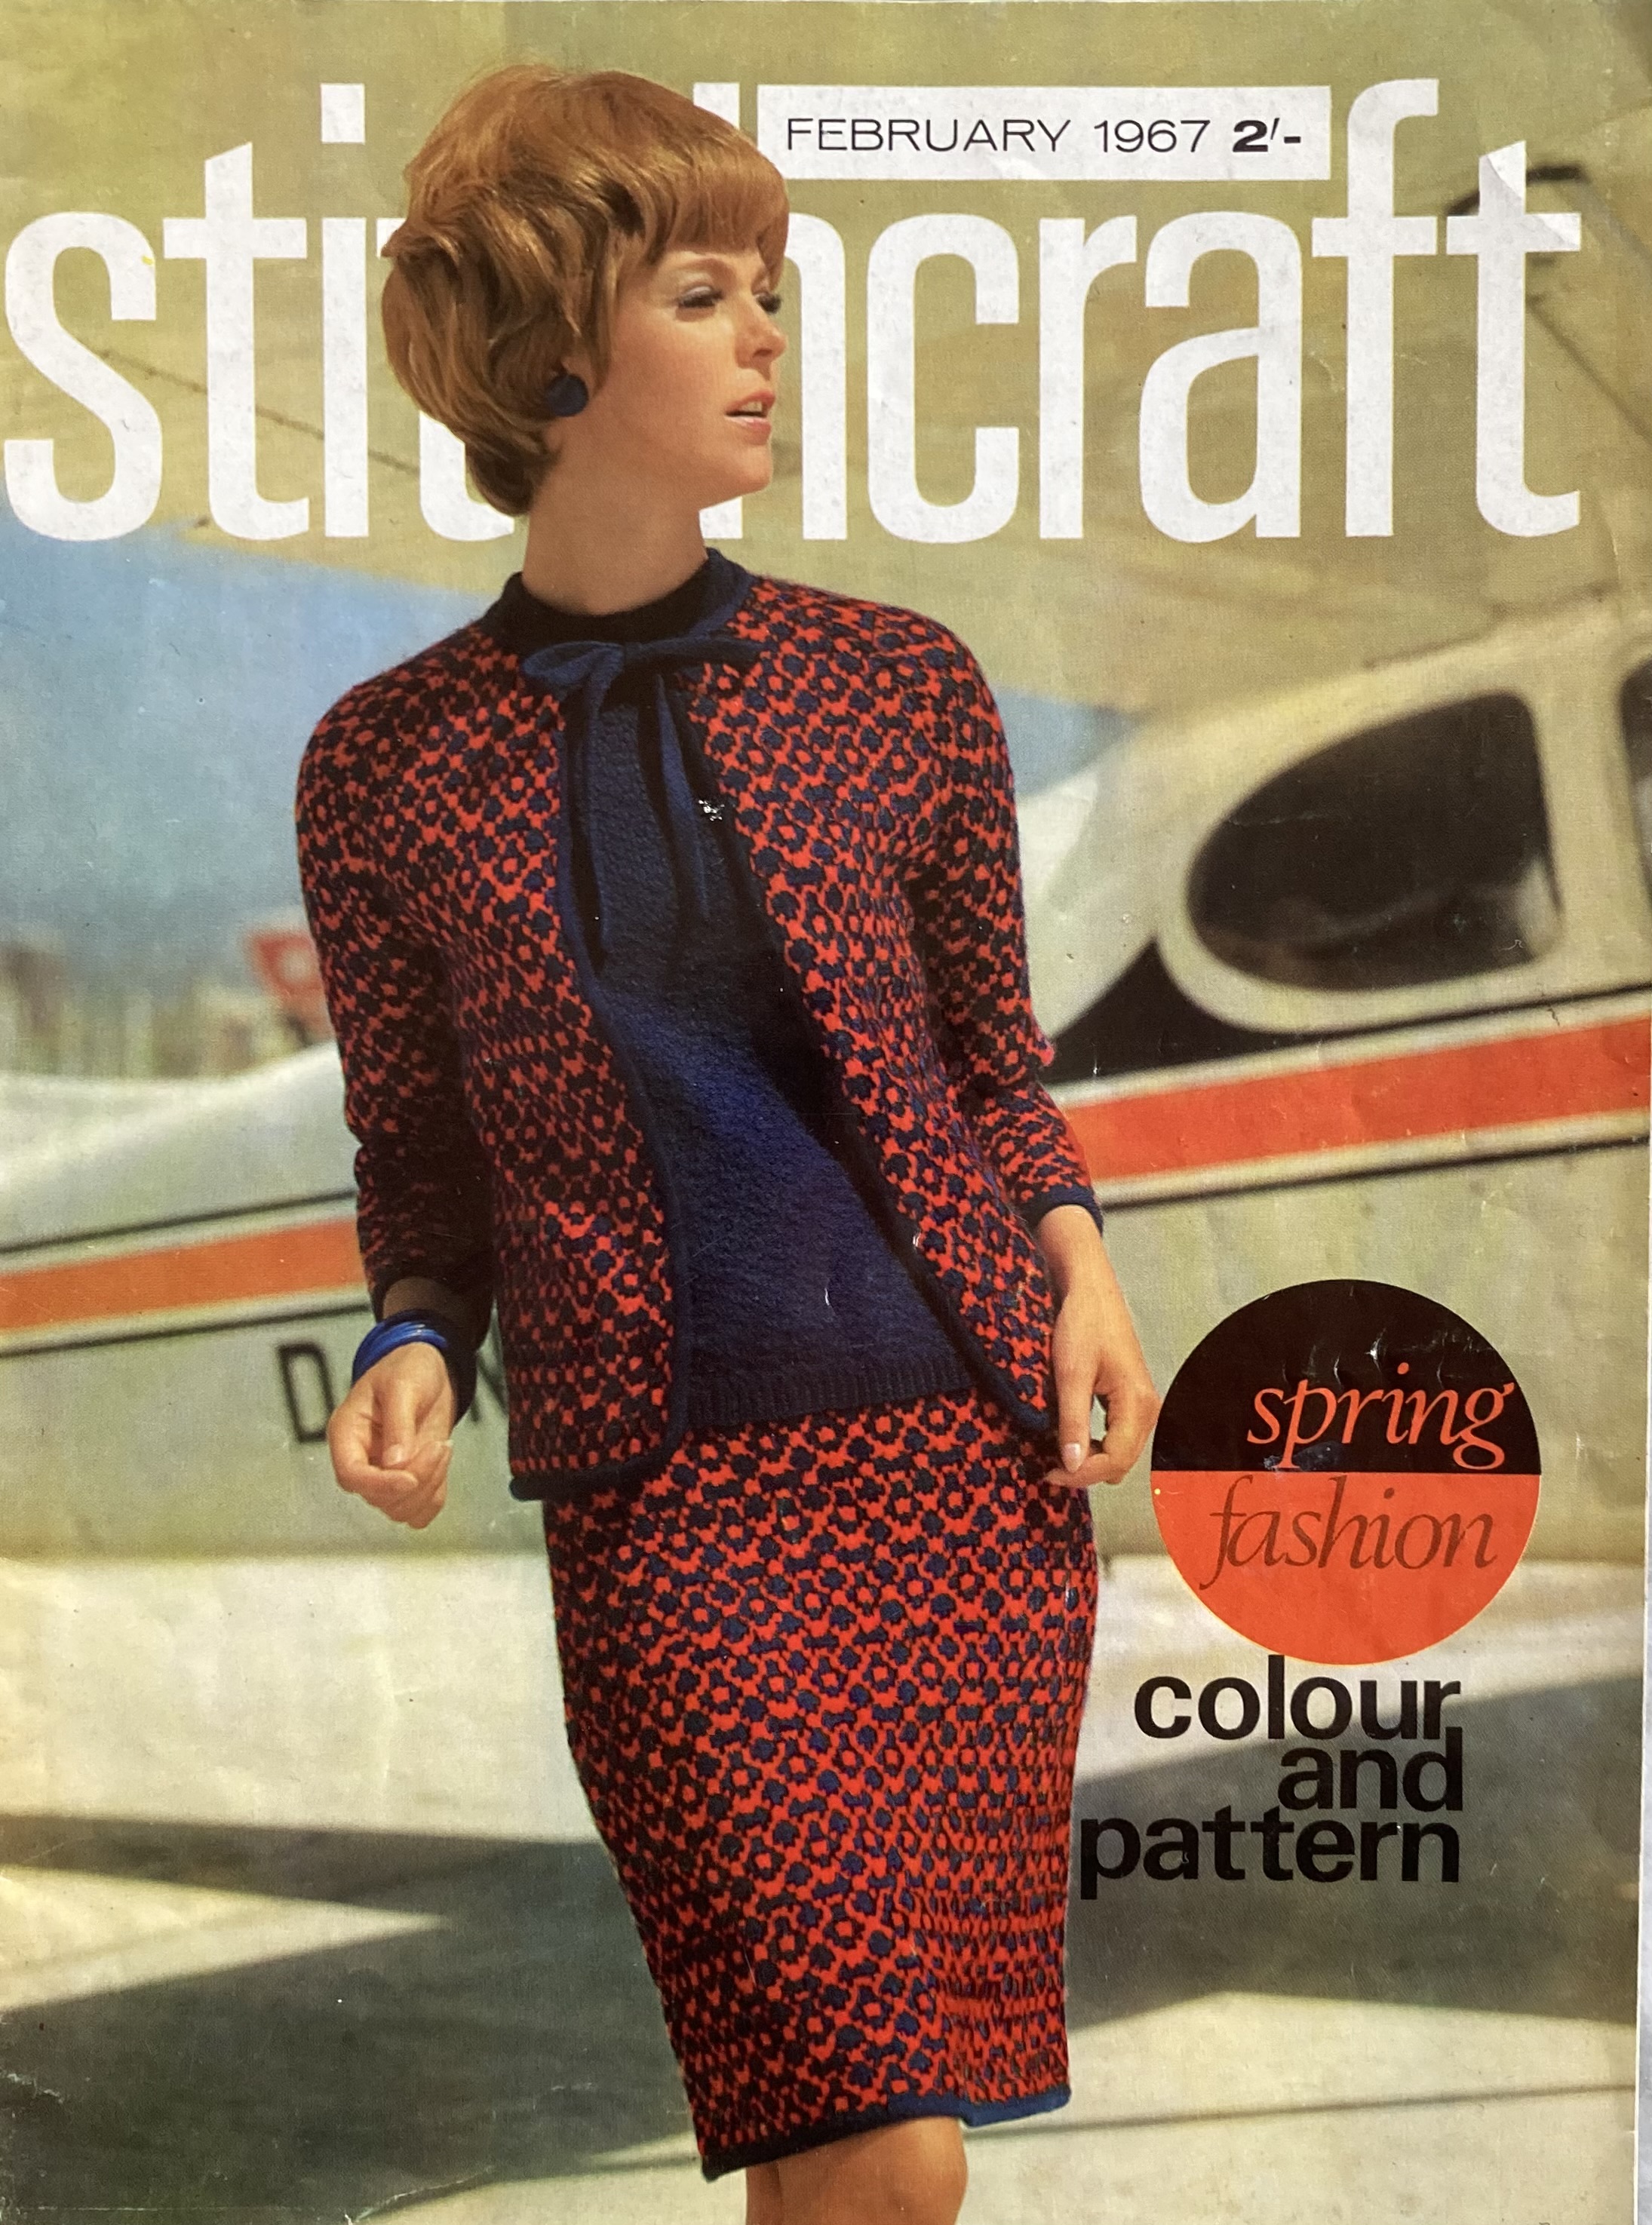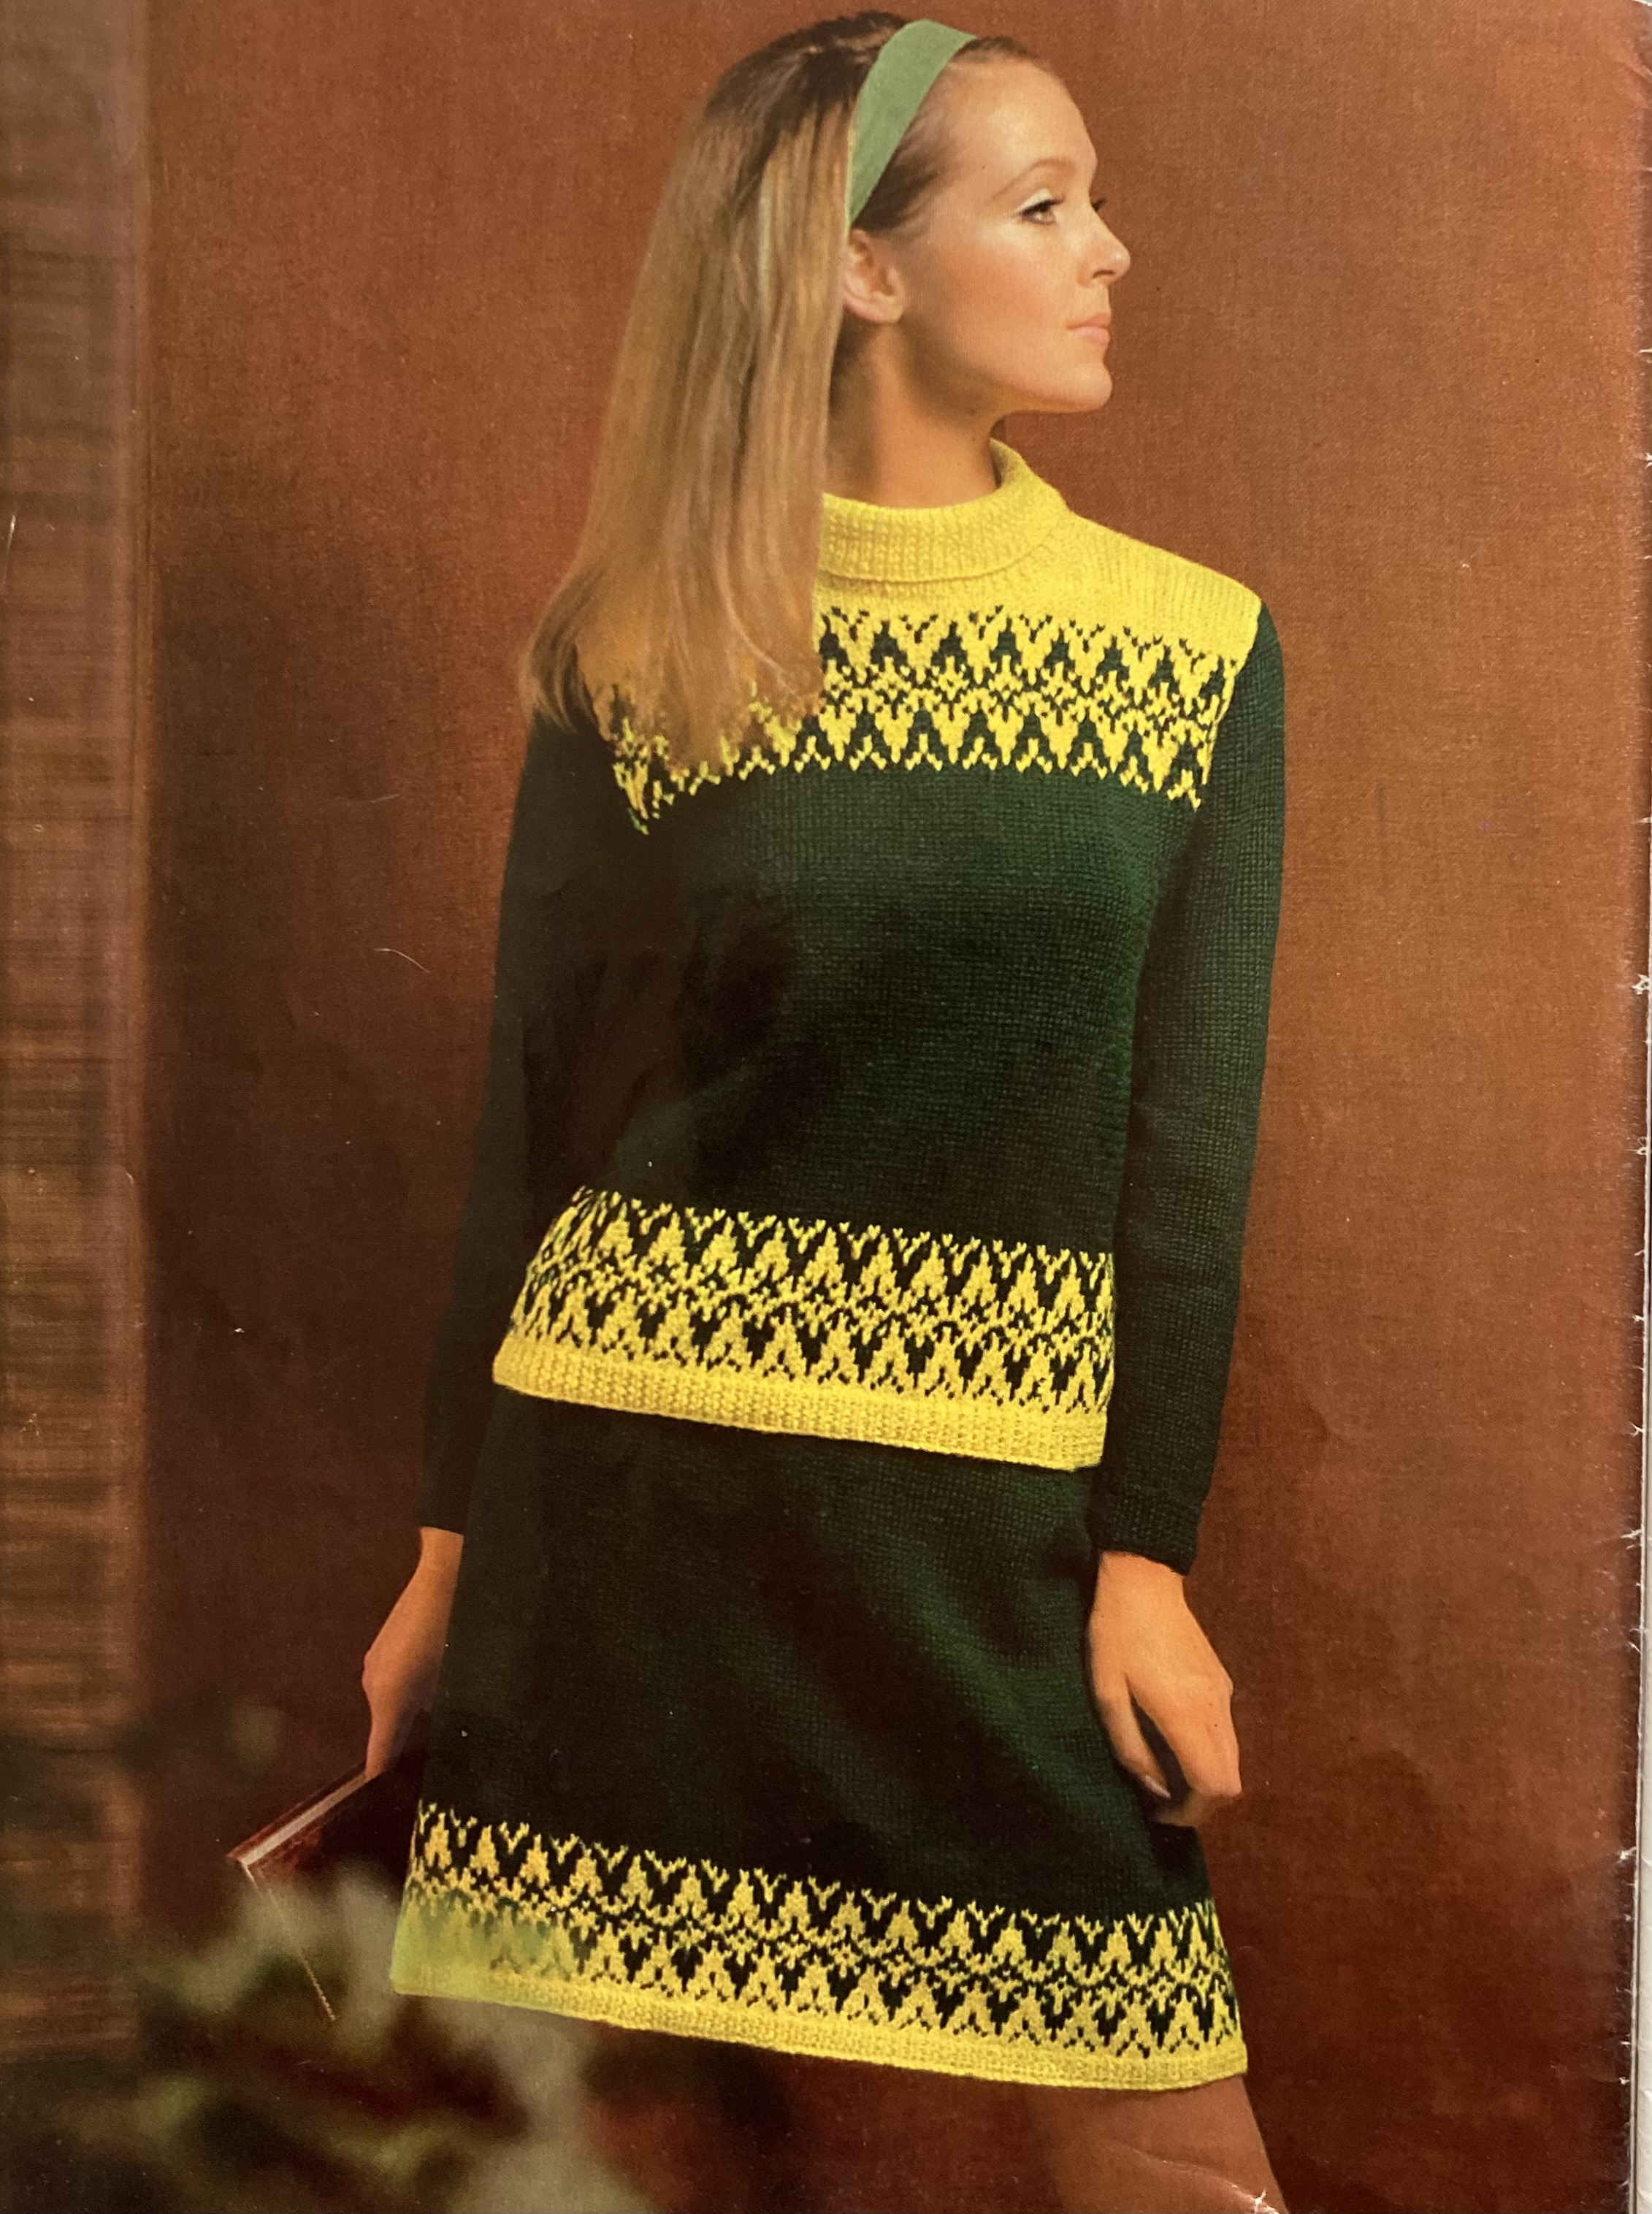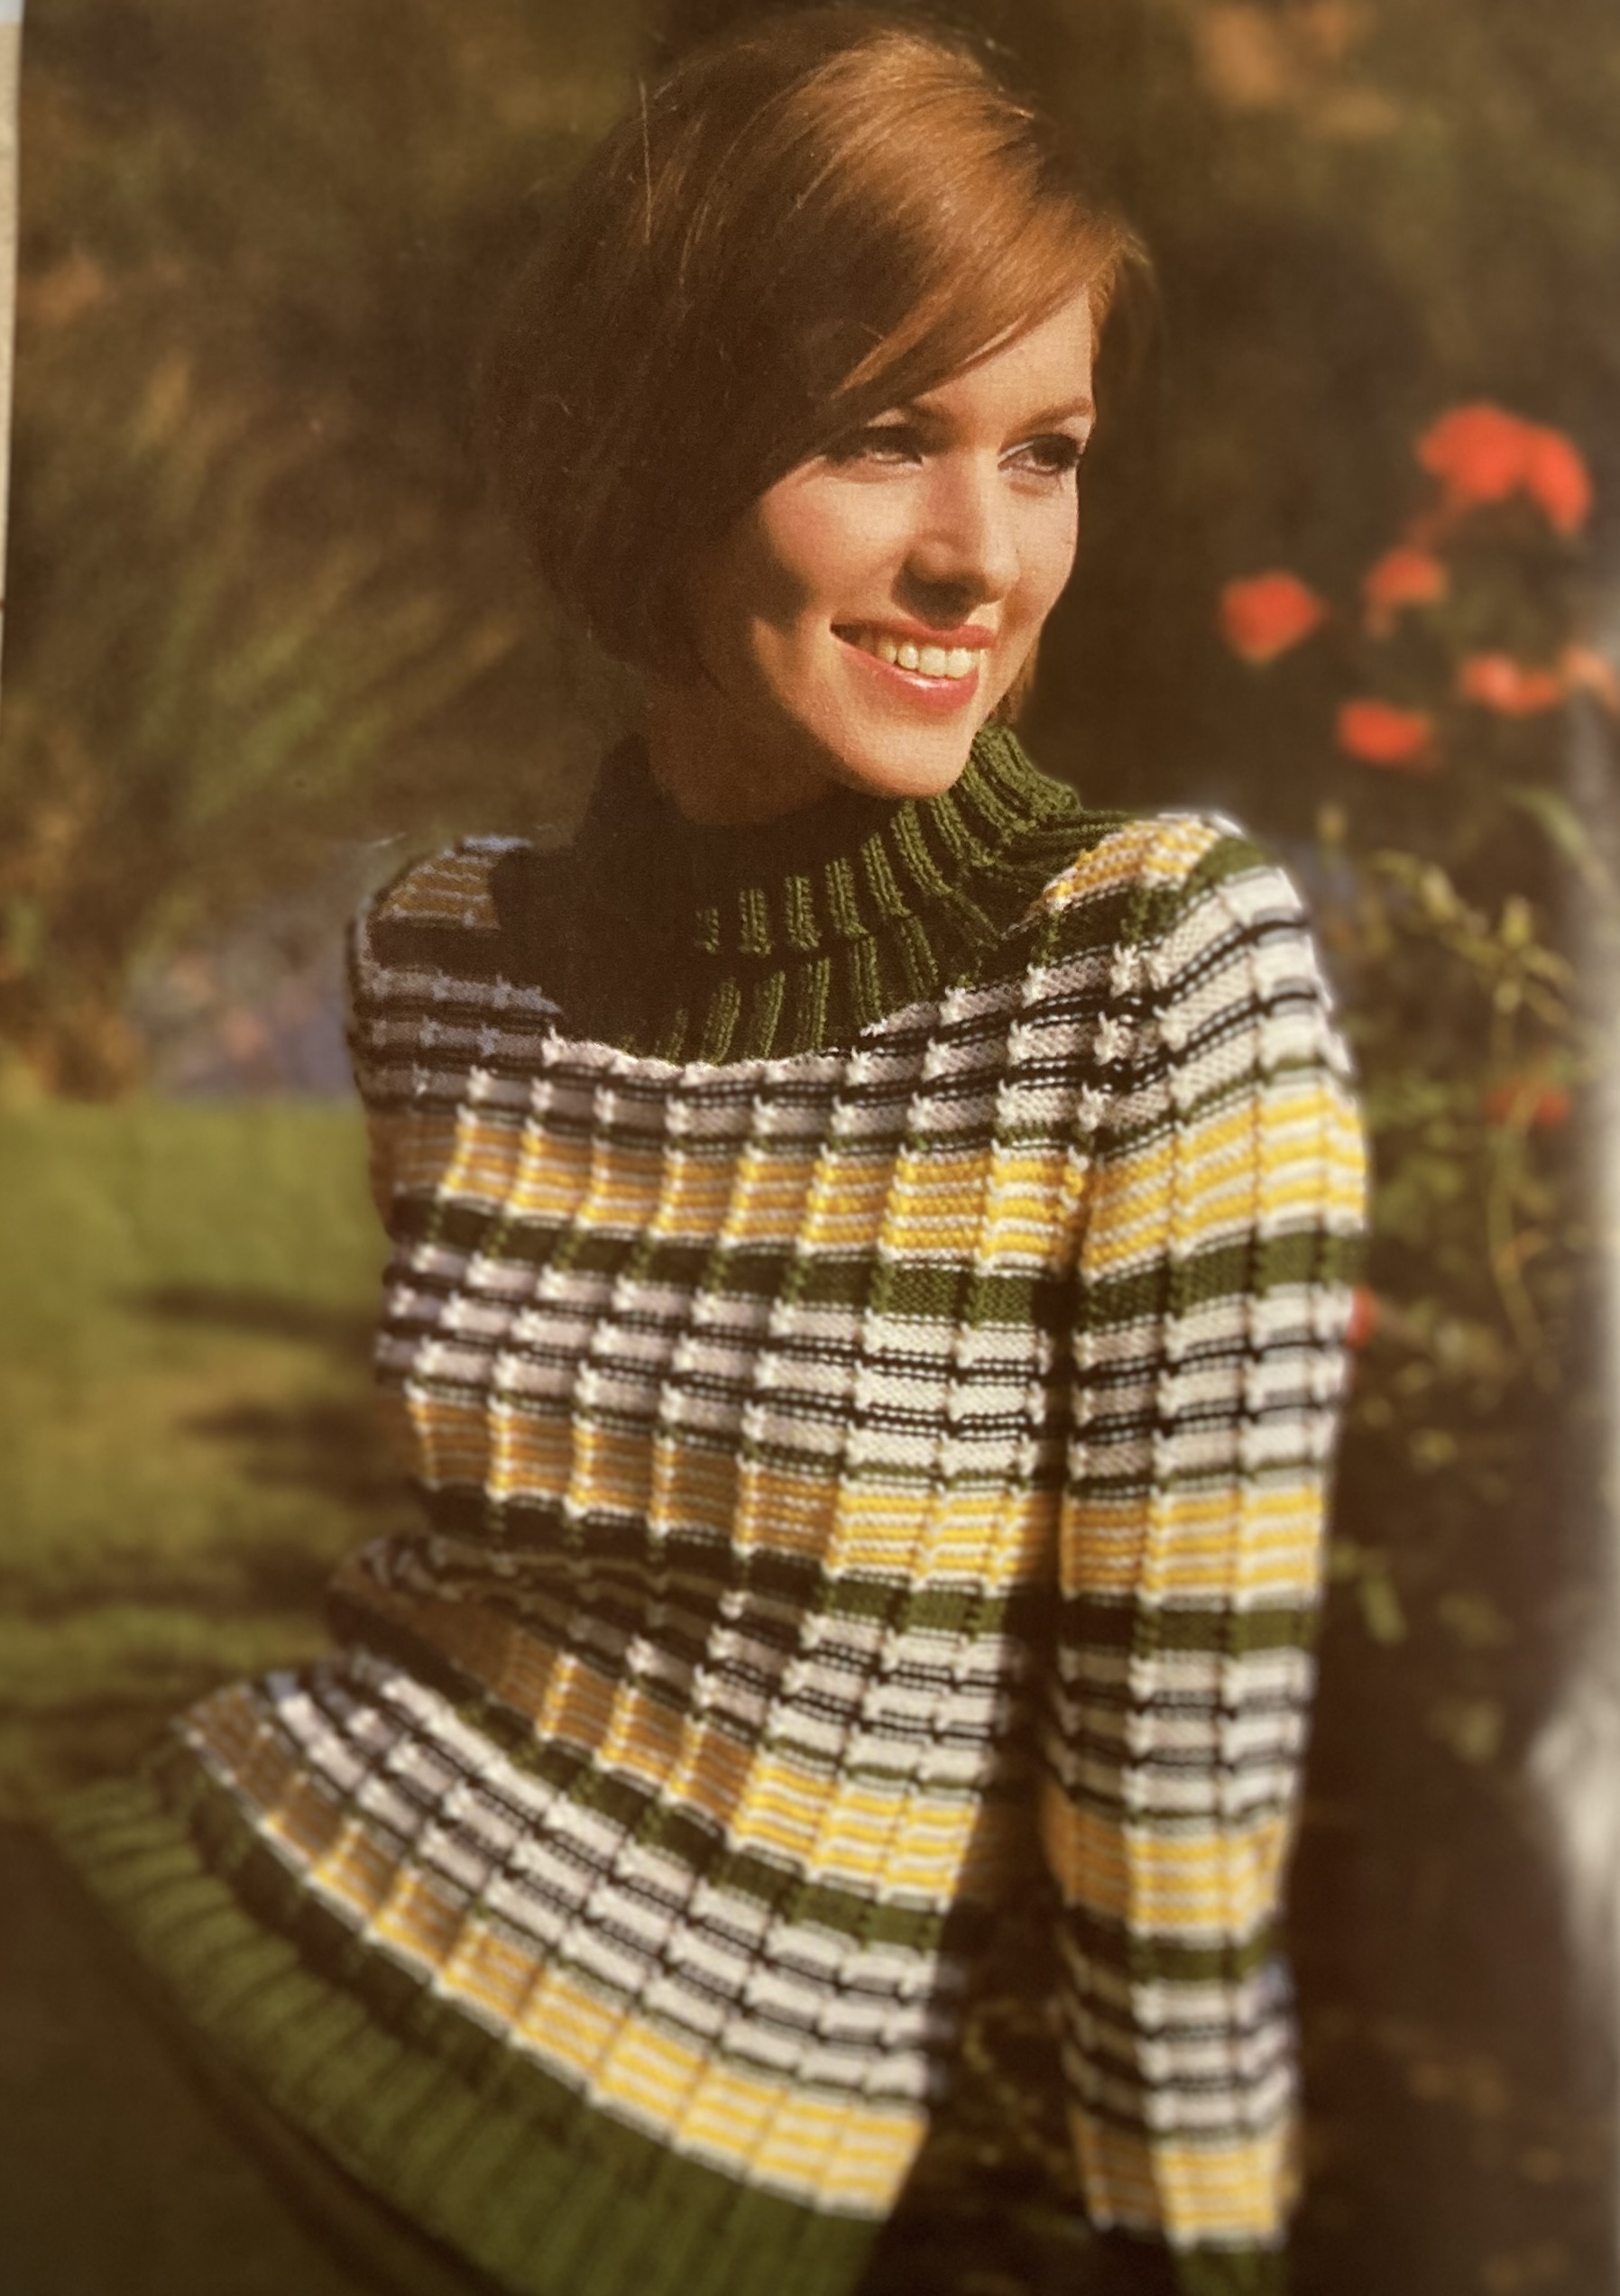
EDIT: Now with photos!
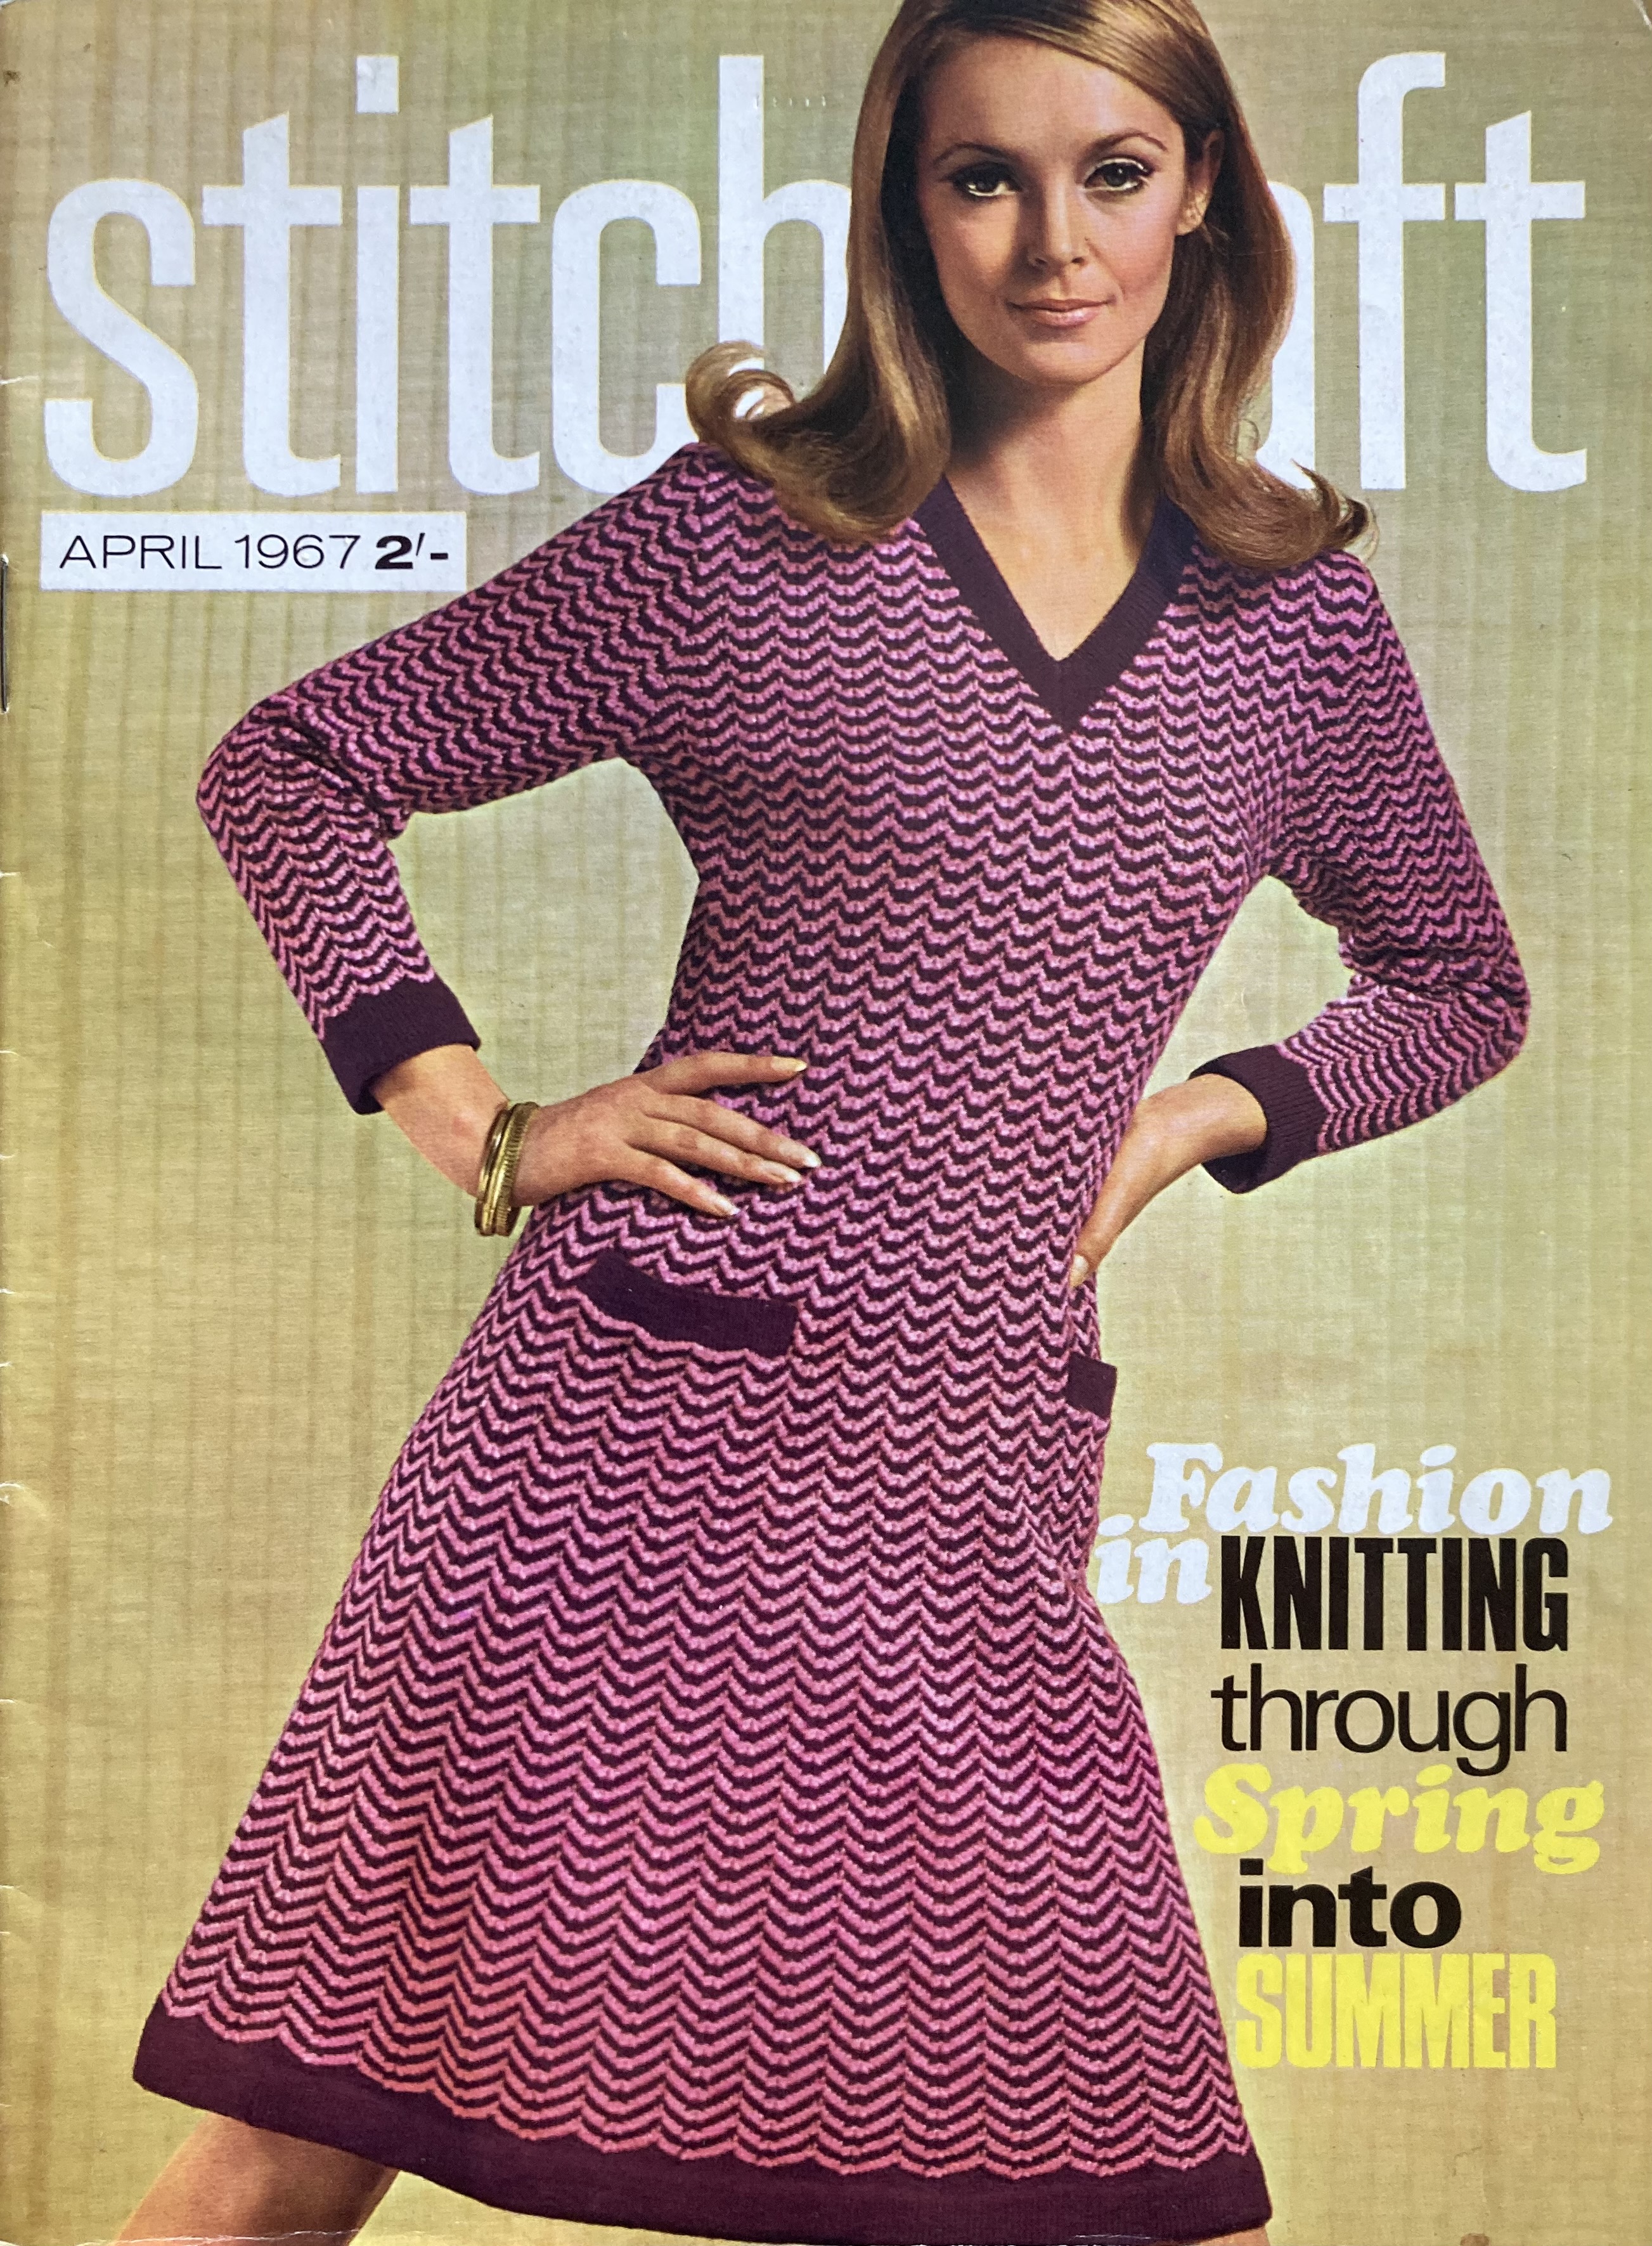
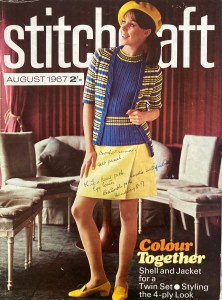
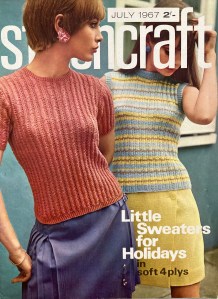
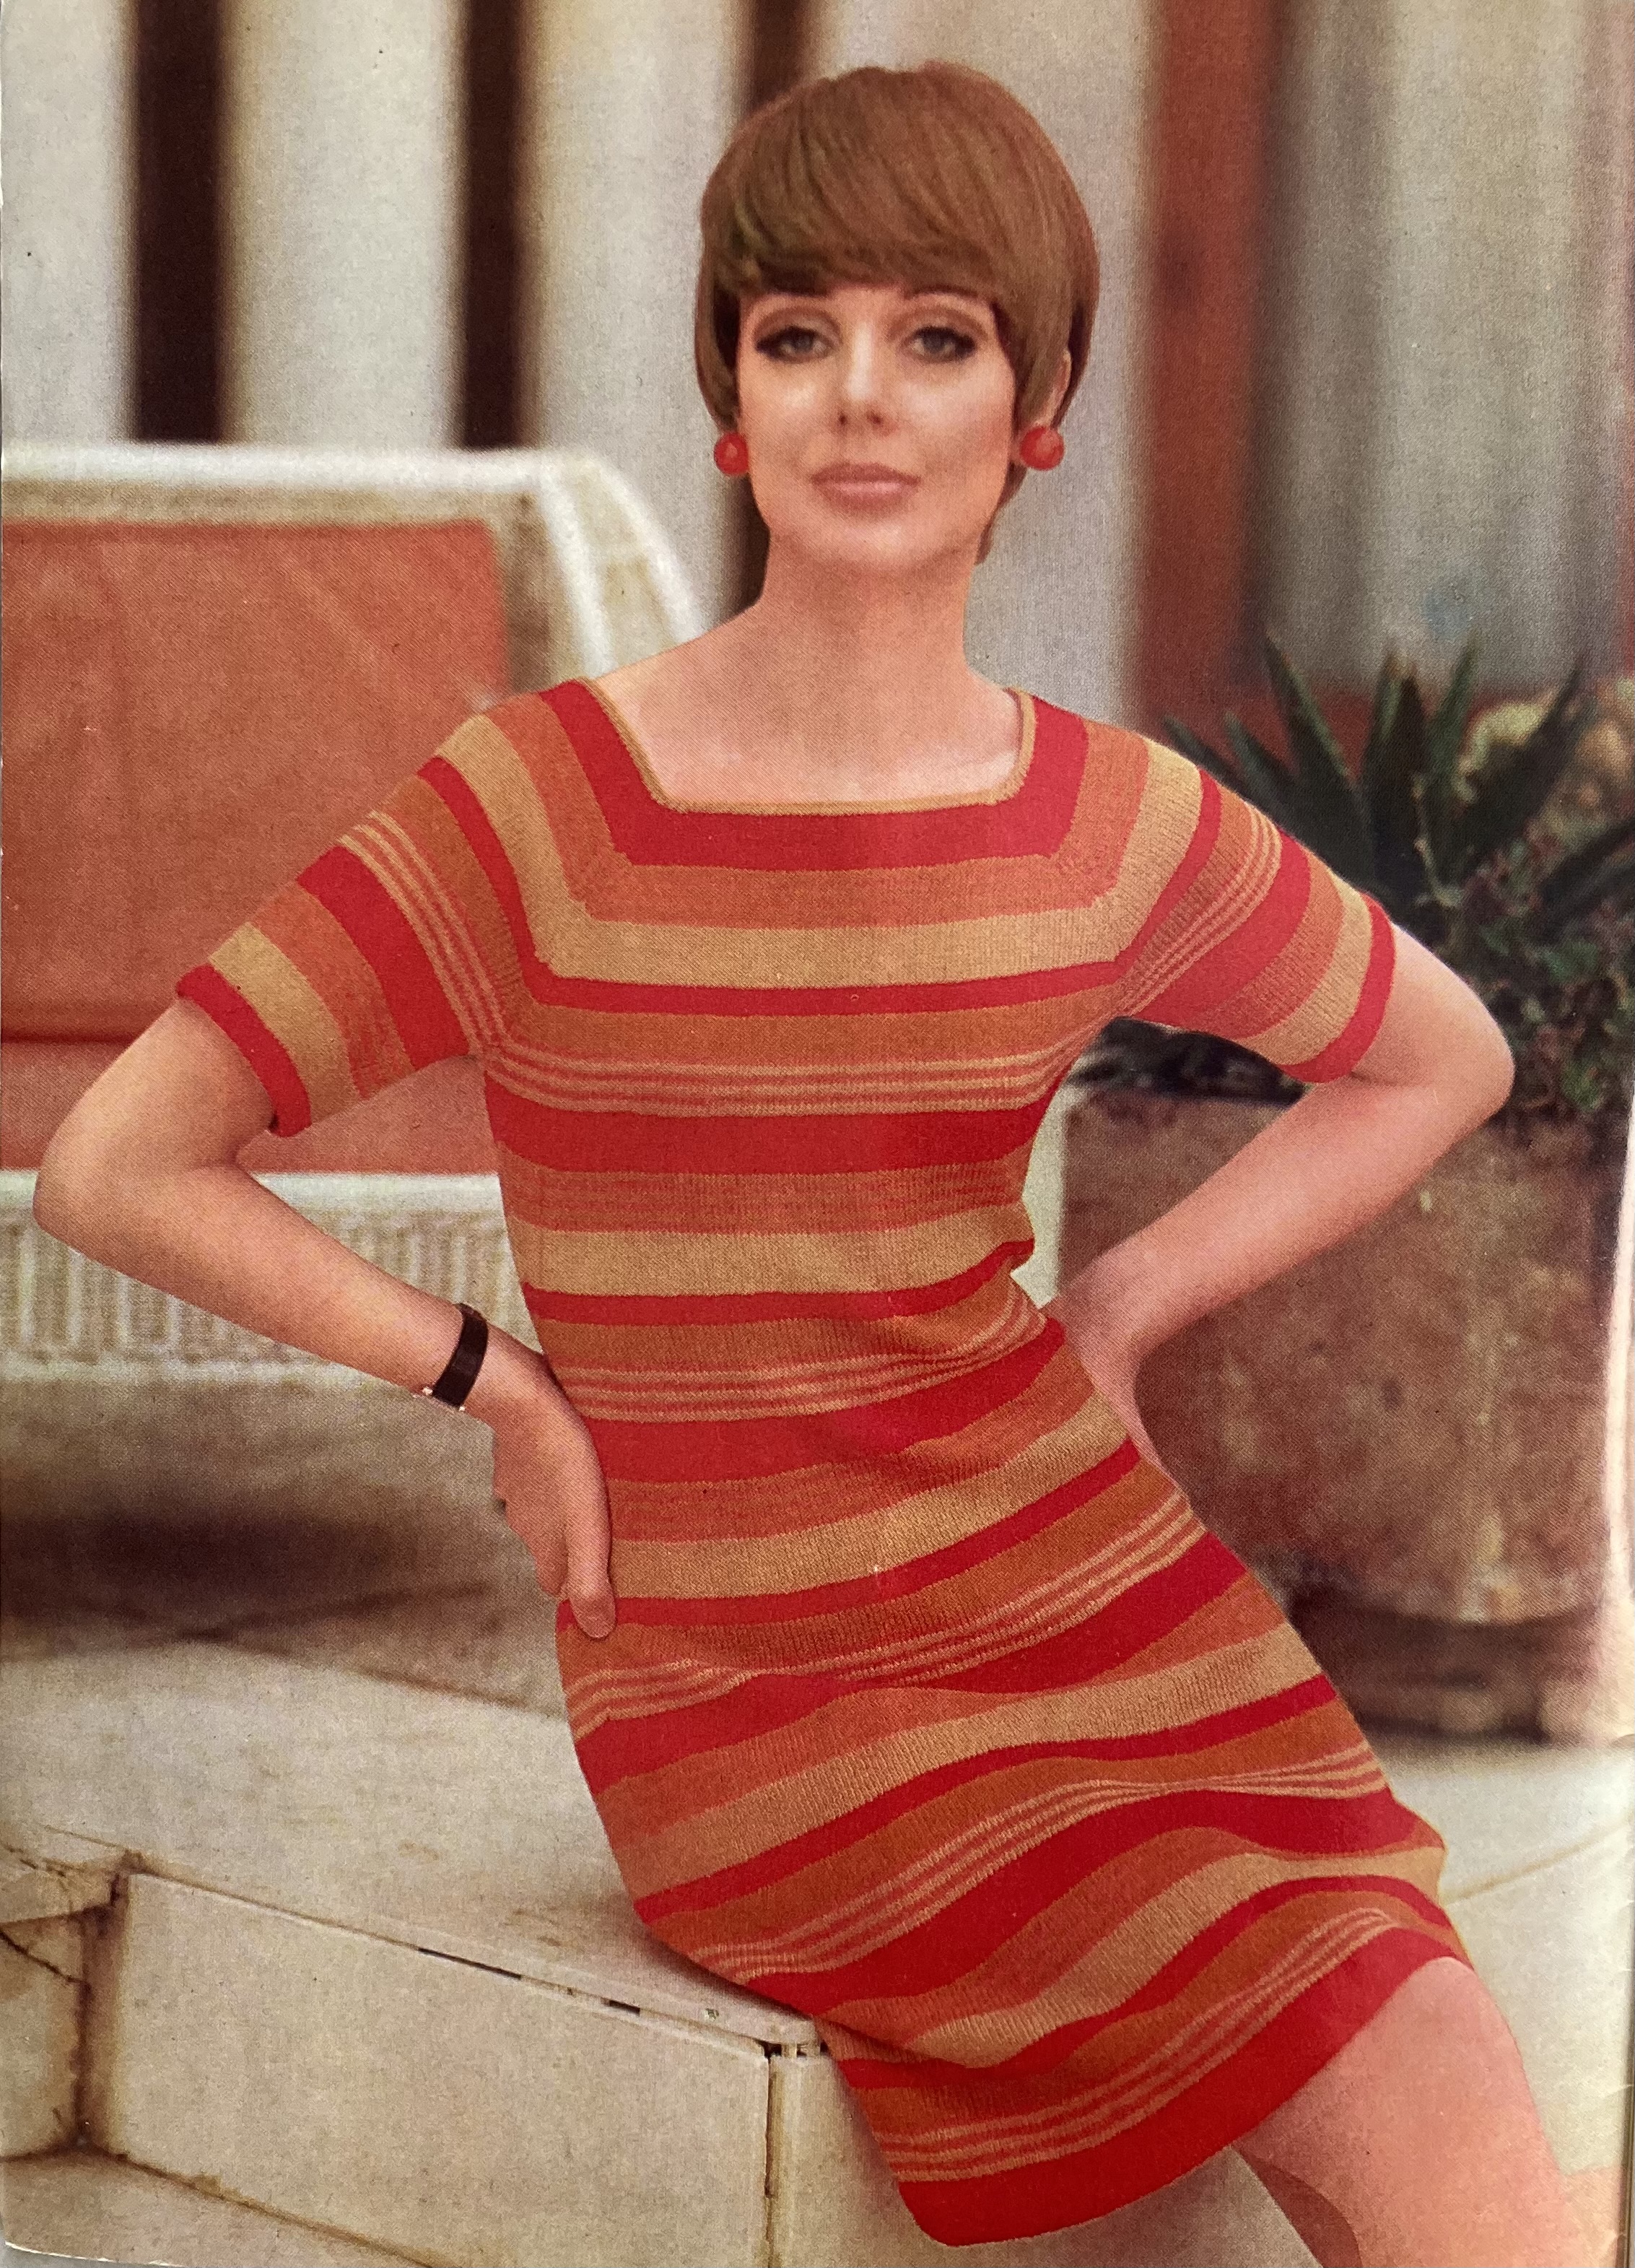
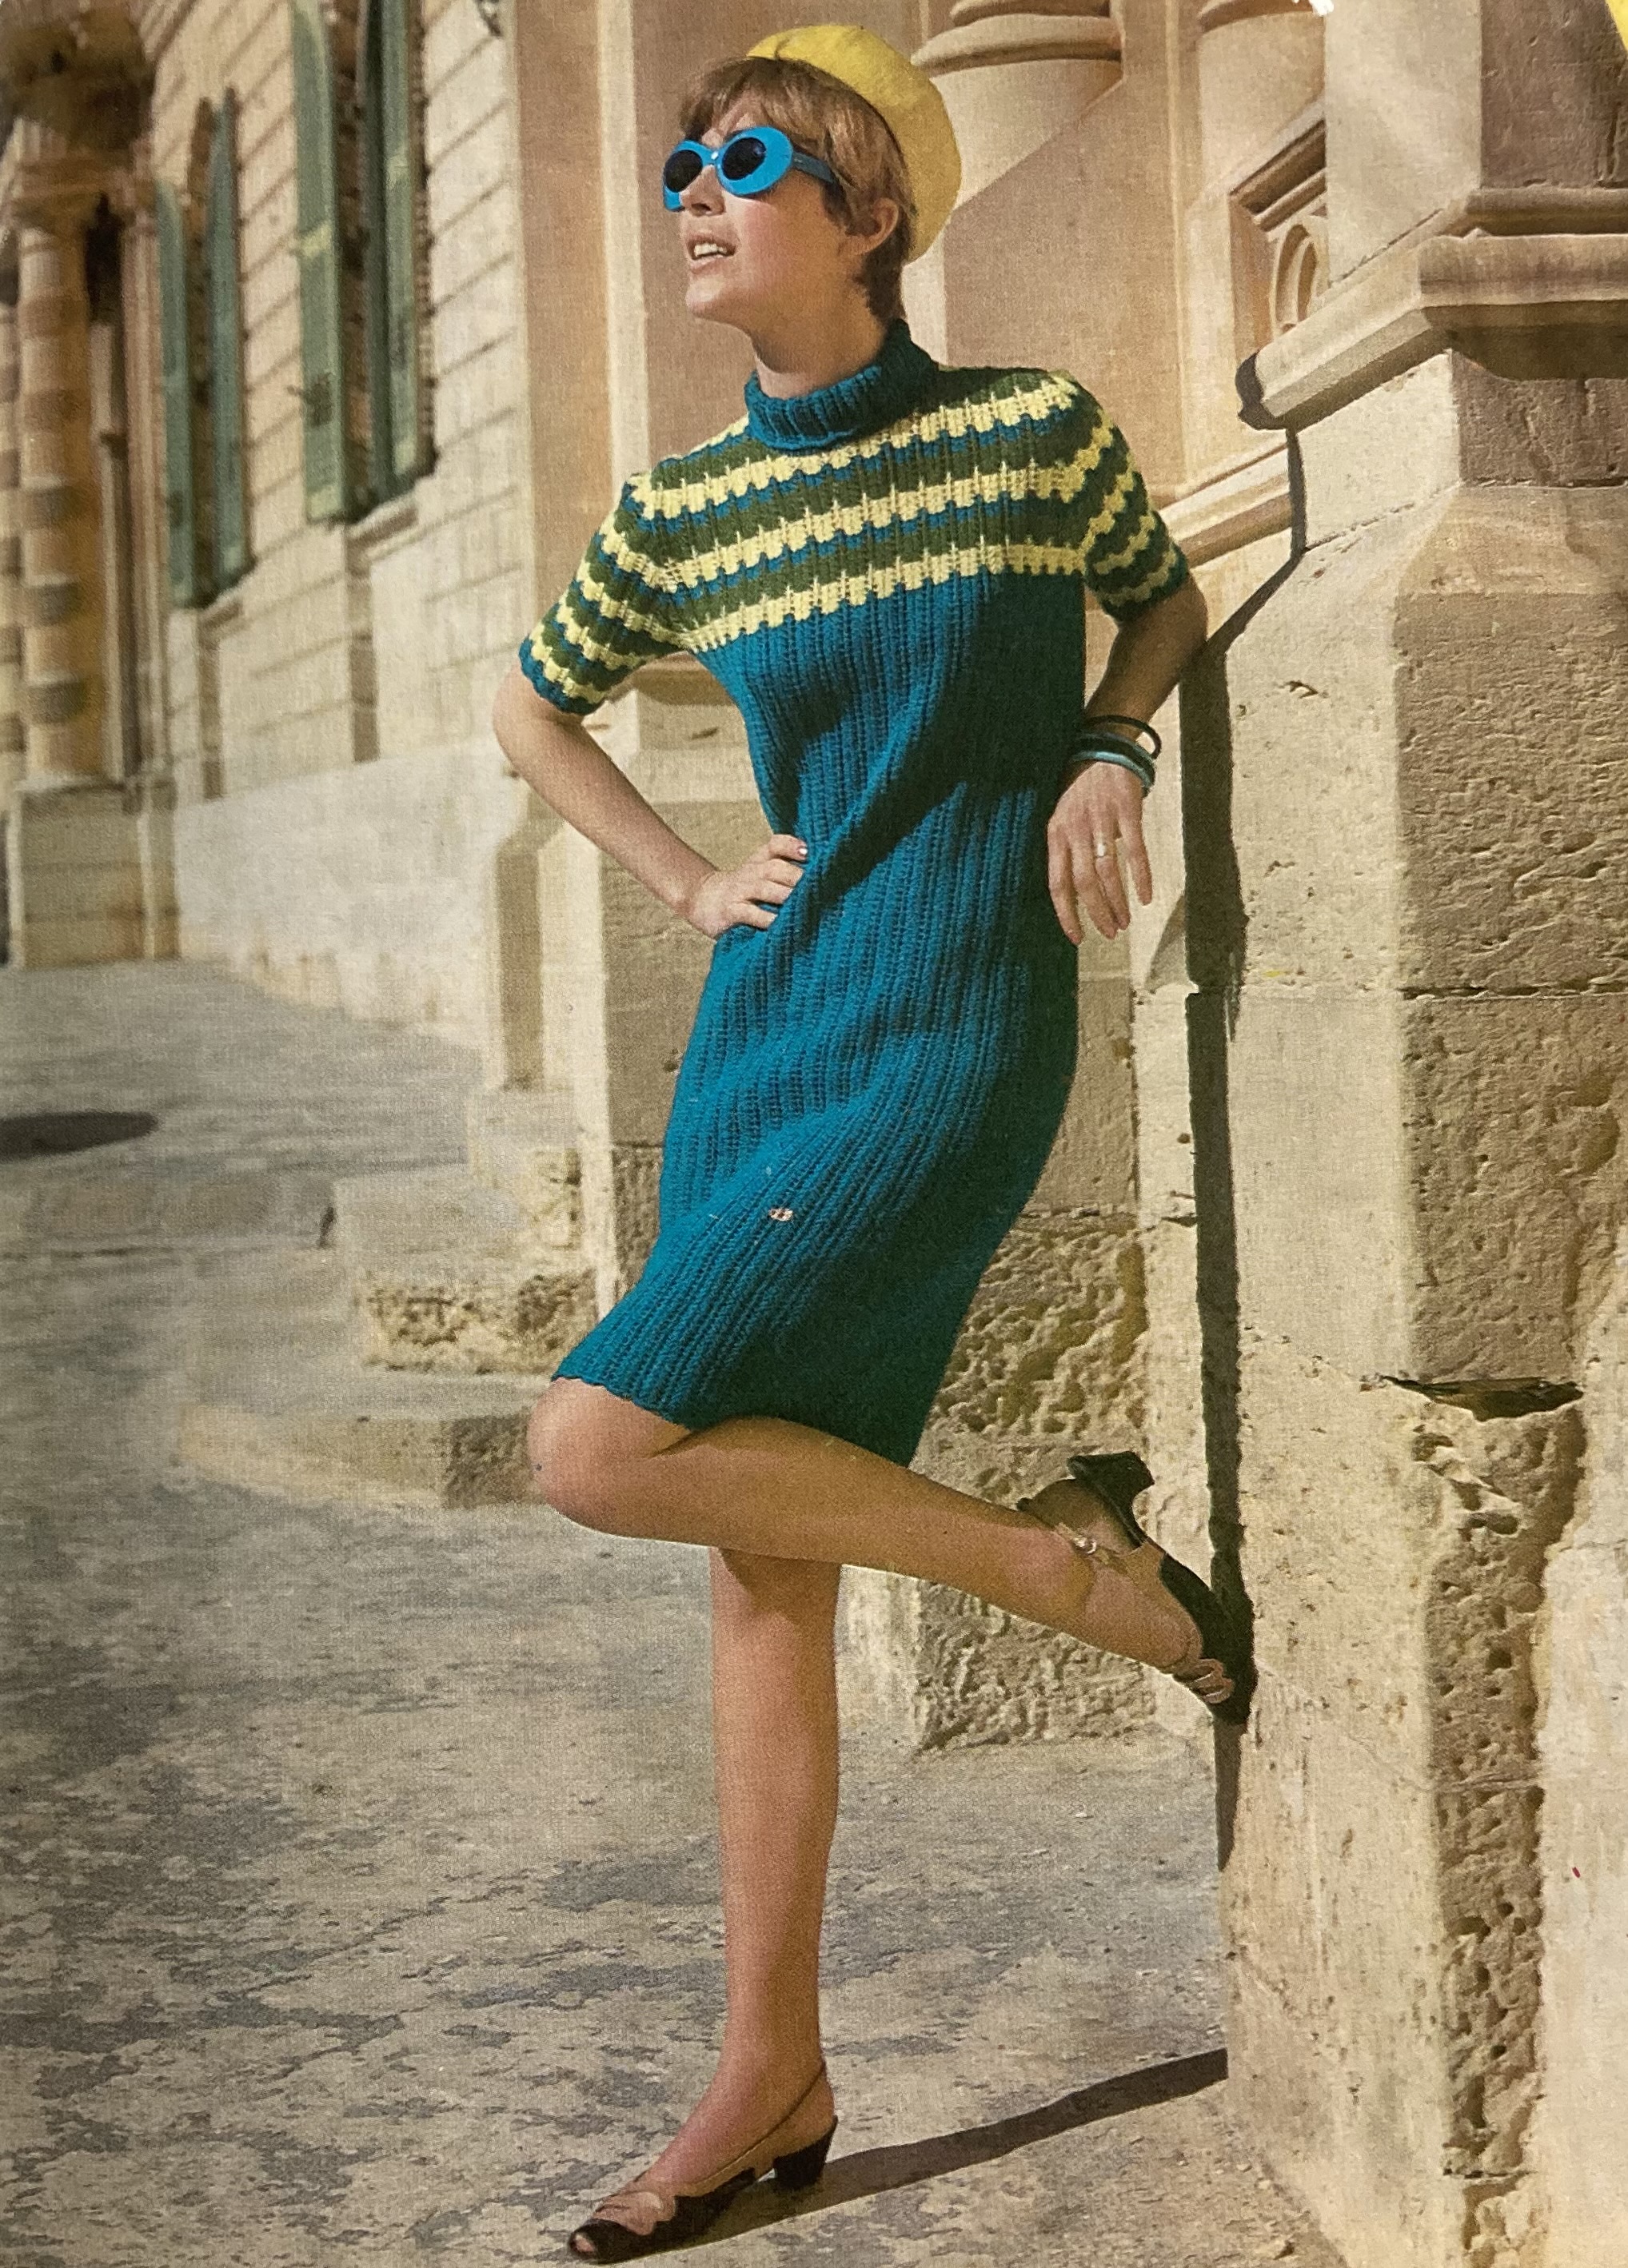
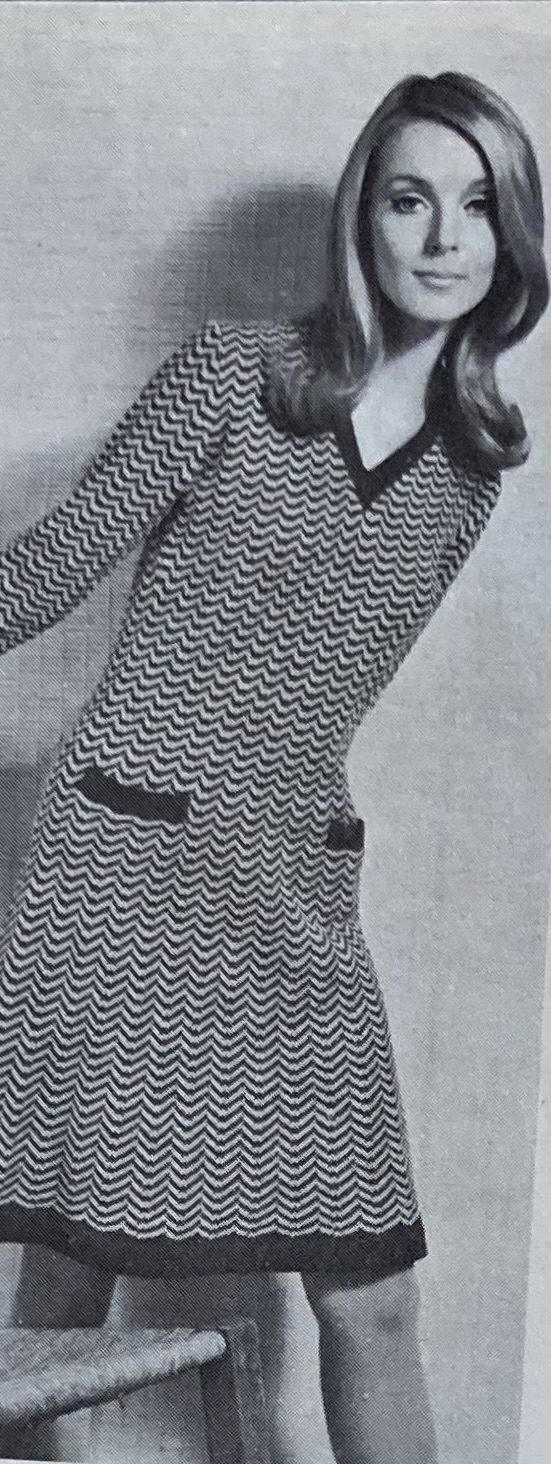
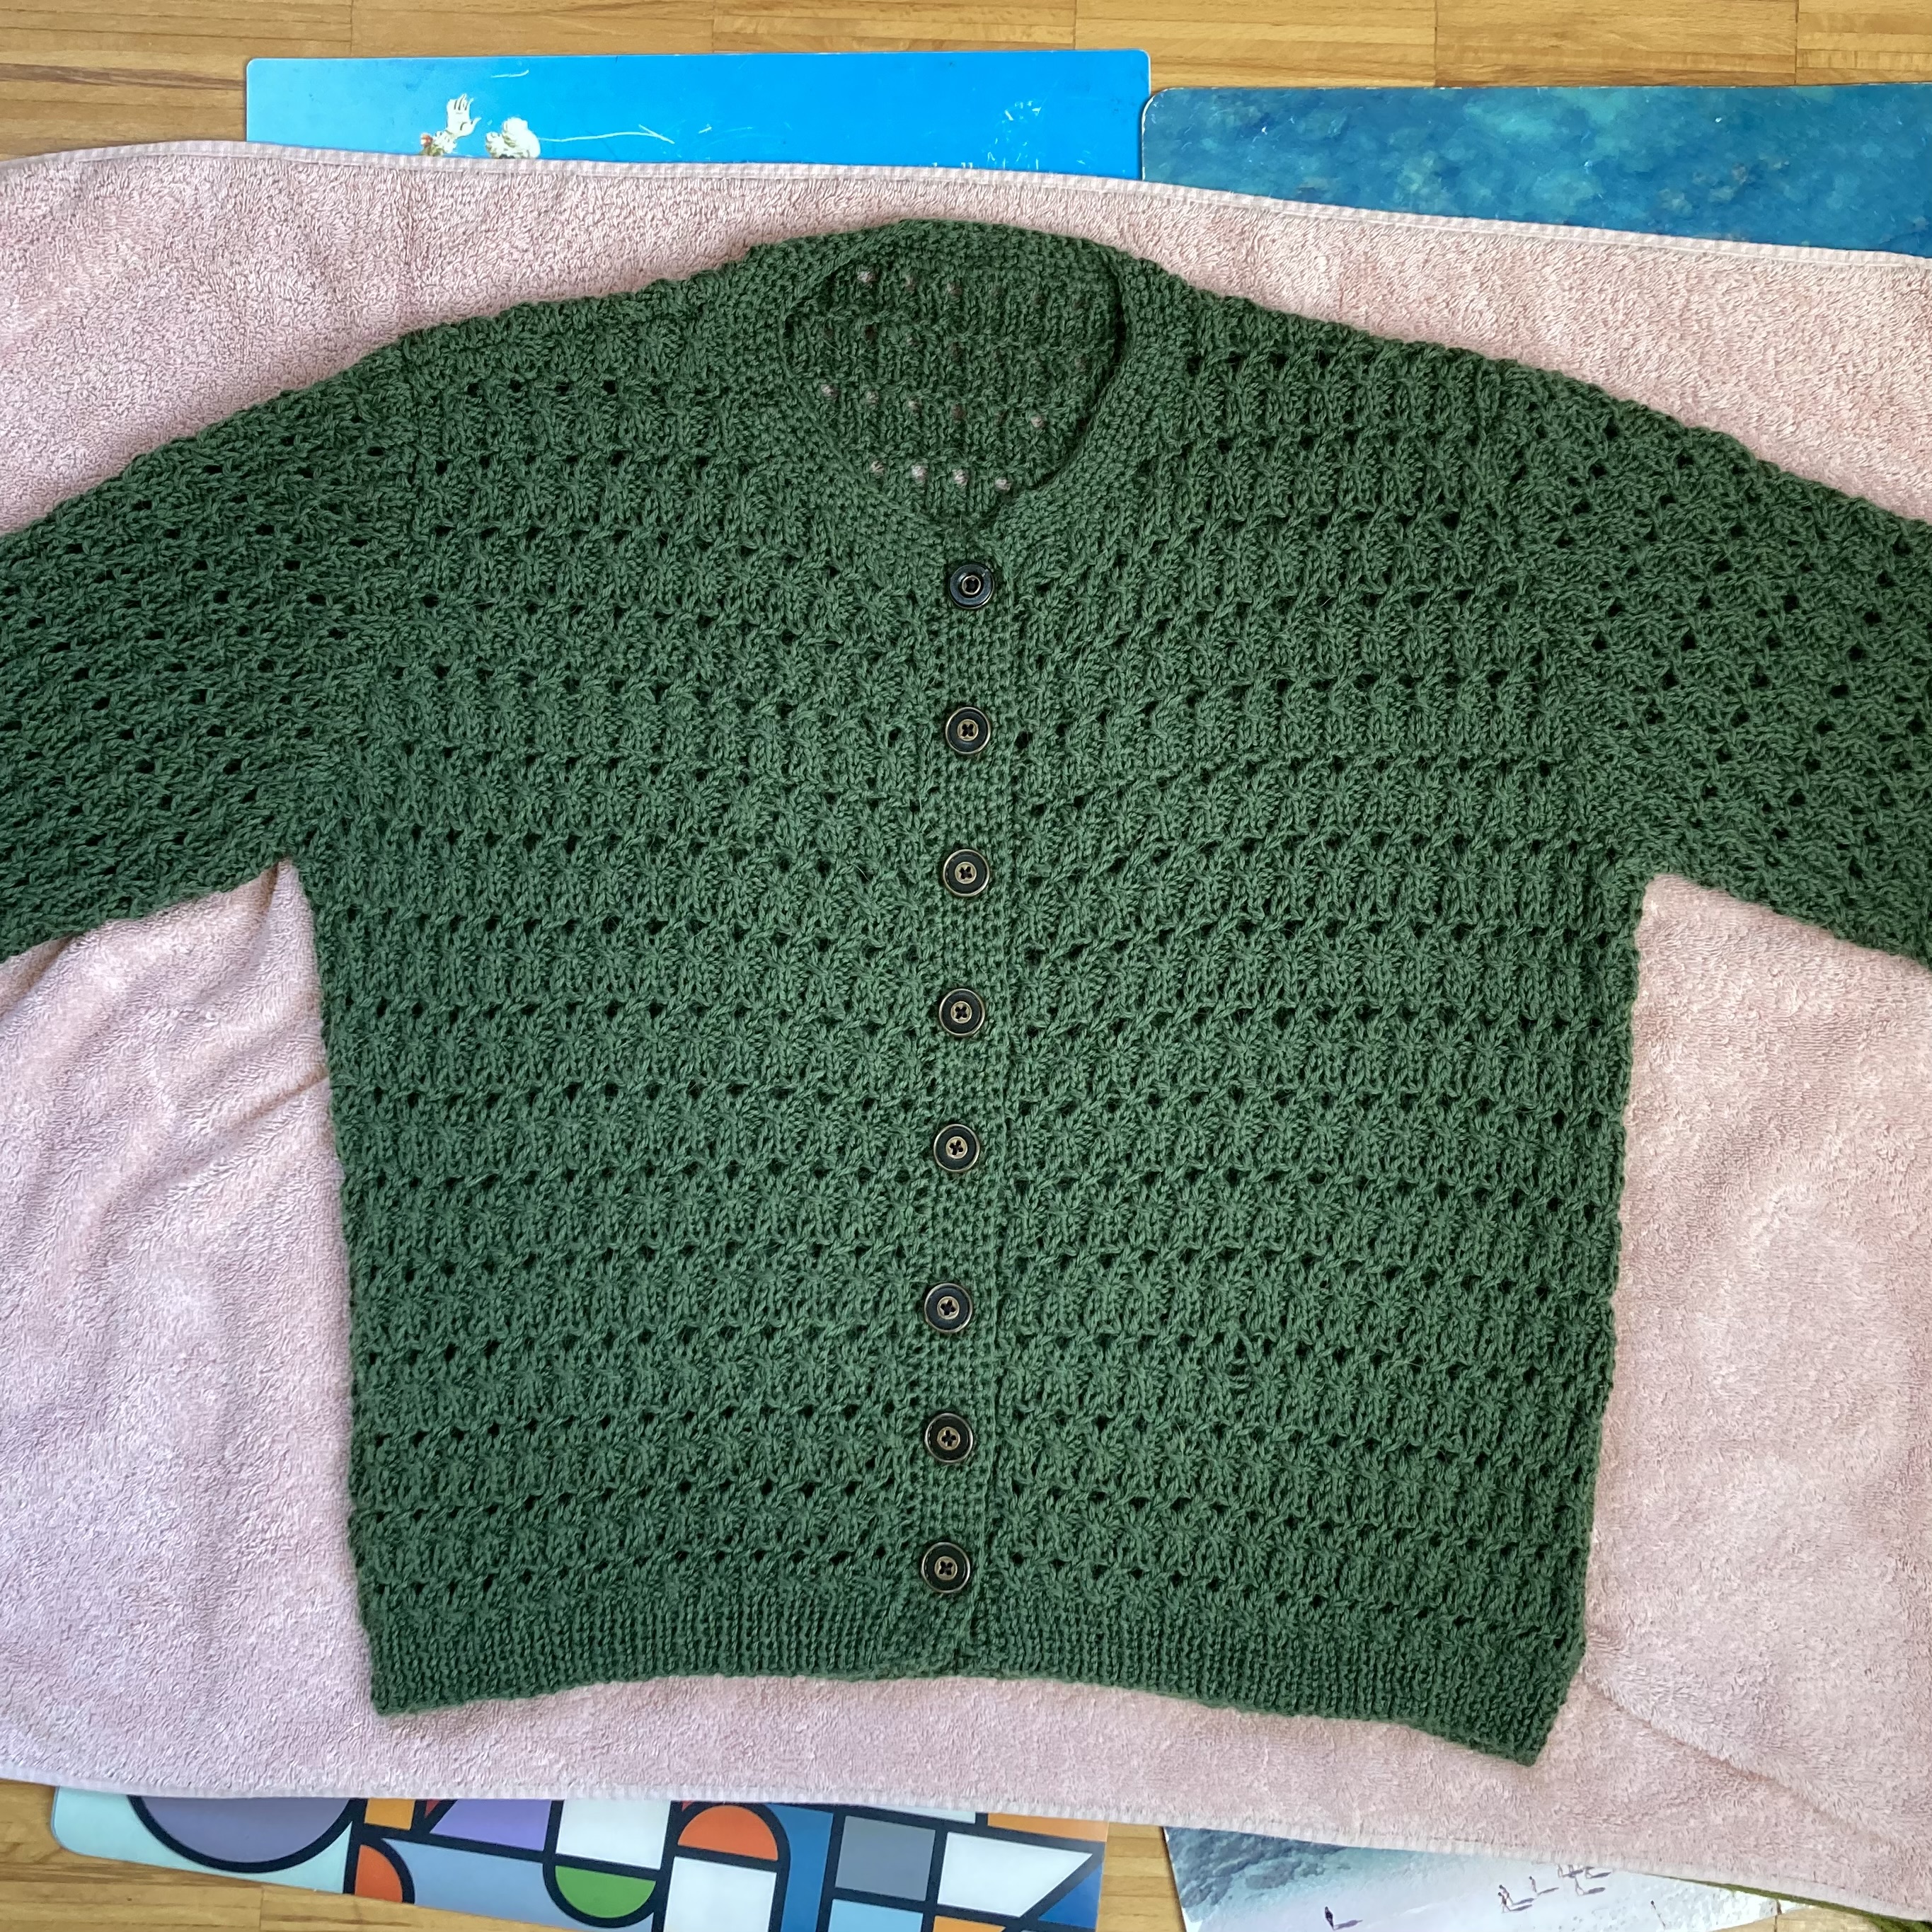
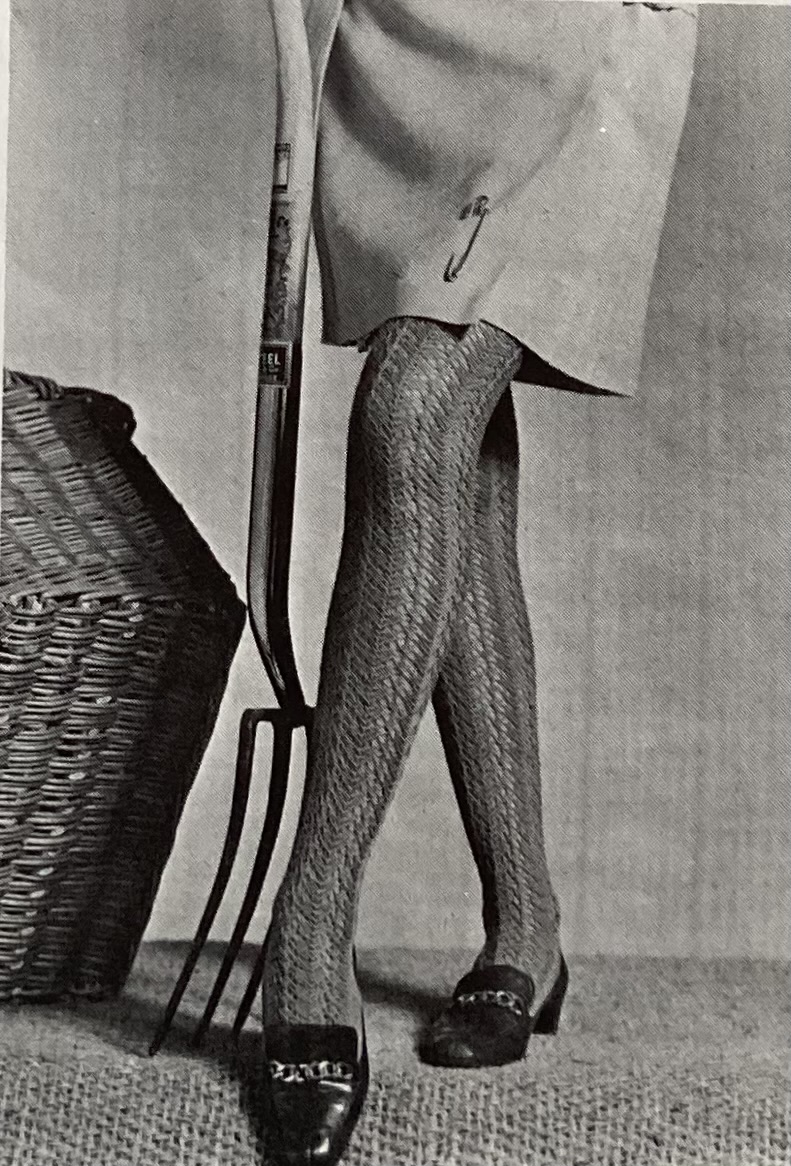
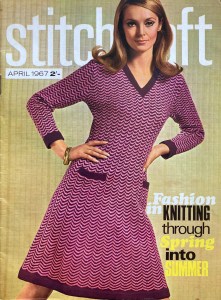
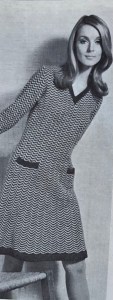
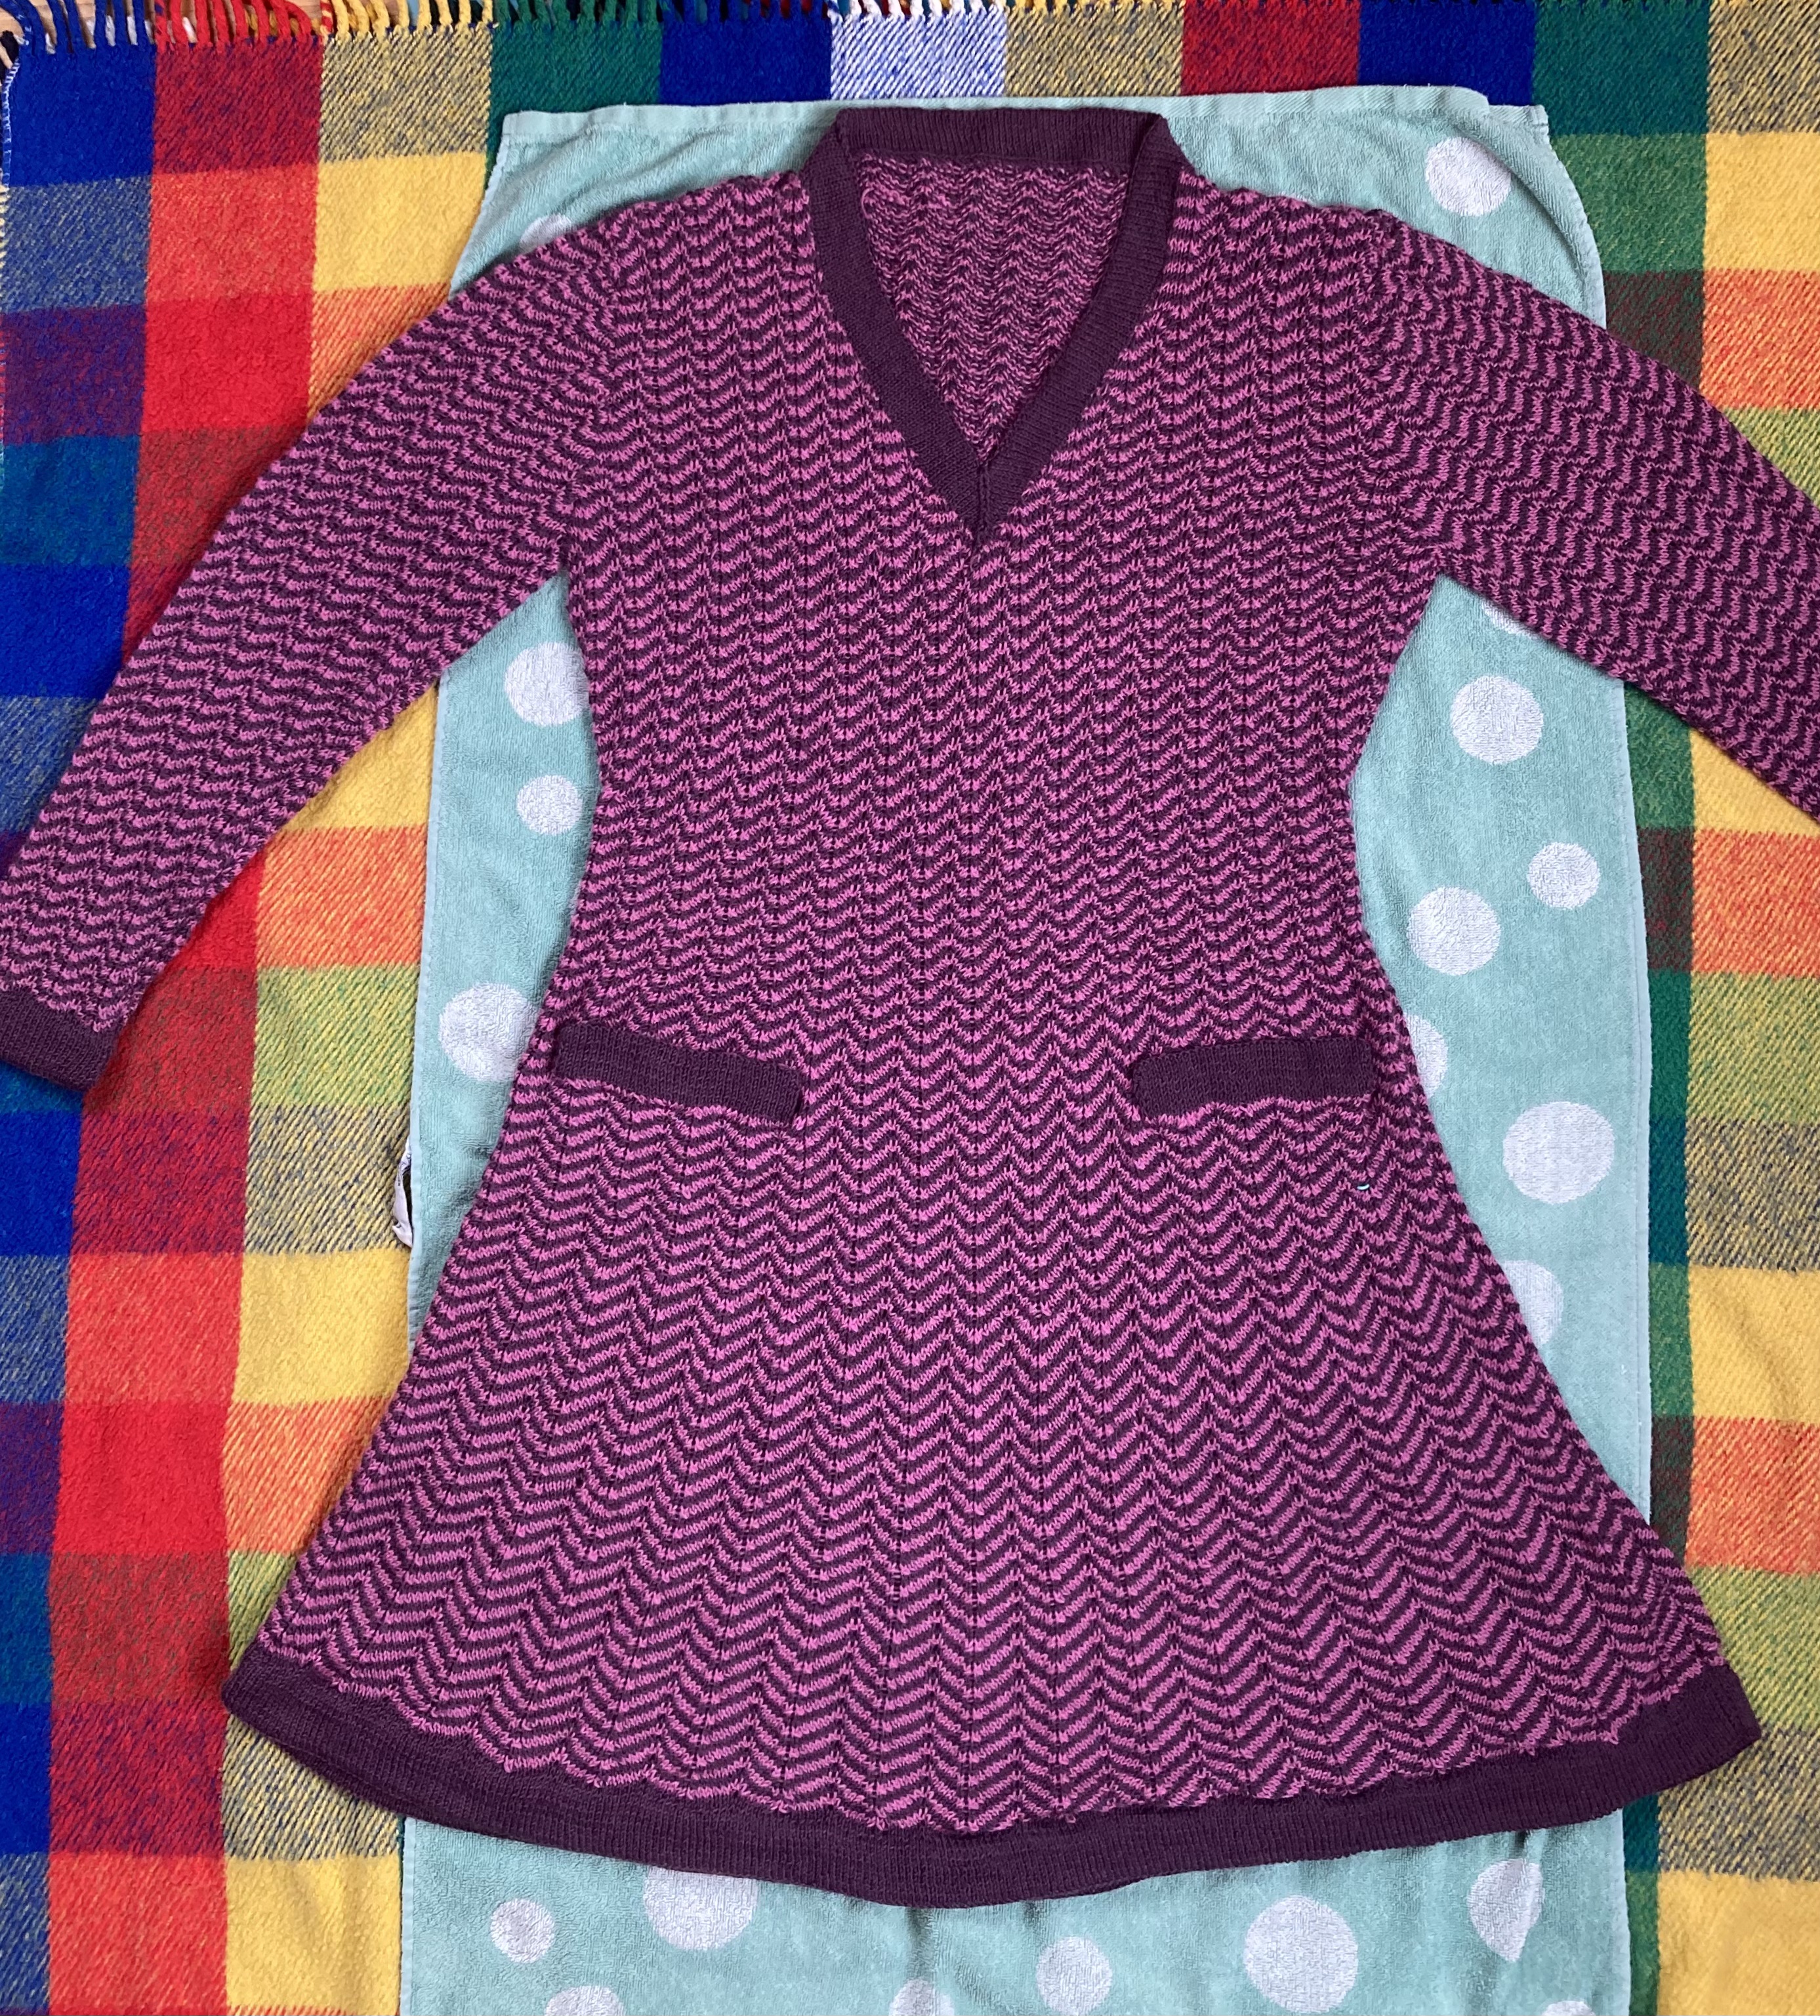
The April 1967 issue of Stitchcraft had many great designs in it and my favourite was this pink and purple chevron-striped dress on the front cover. And since the August 1967 issue didn’t have any projects that particularly inspired me, I worked on the chevron dress all summer and got it finished just in time for the August blog.
The “easy-line dress is fashion styling for all age groups” and claims to be in “the 30’s Look” — interesting, considering that dresses in the actual 1930s were still much longer, of course, and this dress, while not a mini-dress, falls at least a little bit above the knee. Also, this dress has a typical mid-60s A-line shape and not the typical long and willowy 1930’s silhouette. But the chevron pattern was very popular in the 1930s, as was the dropped waist and the flowy shape.
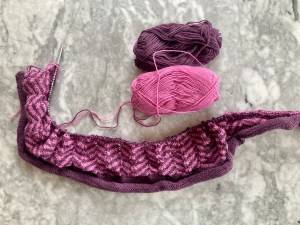
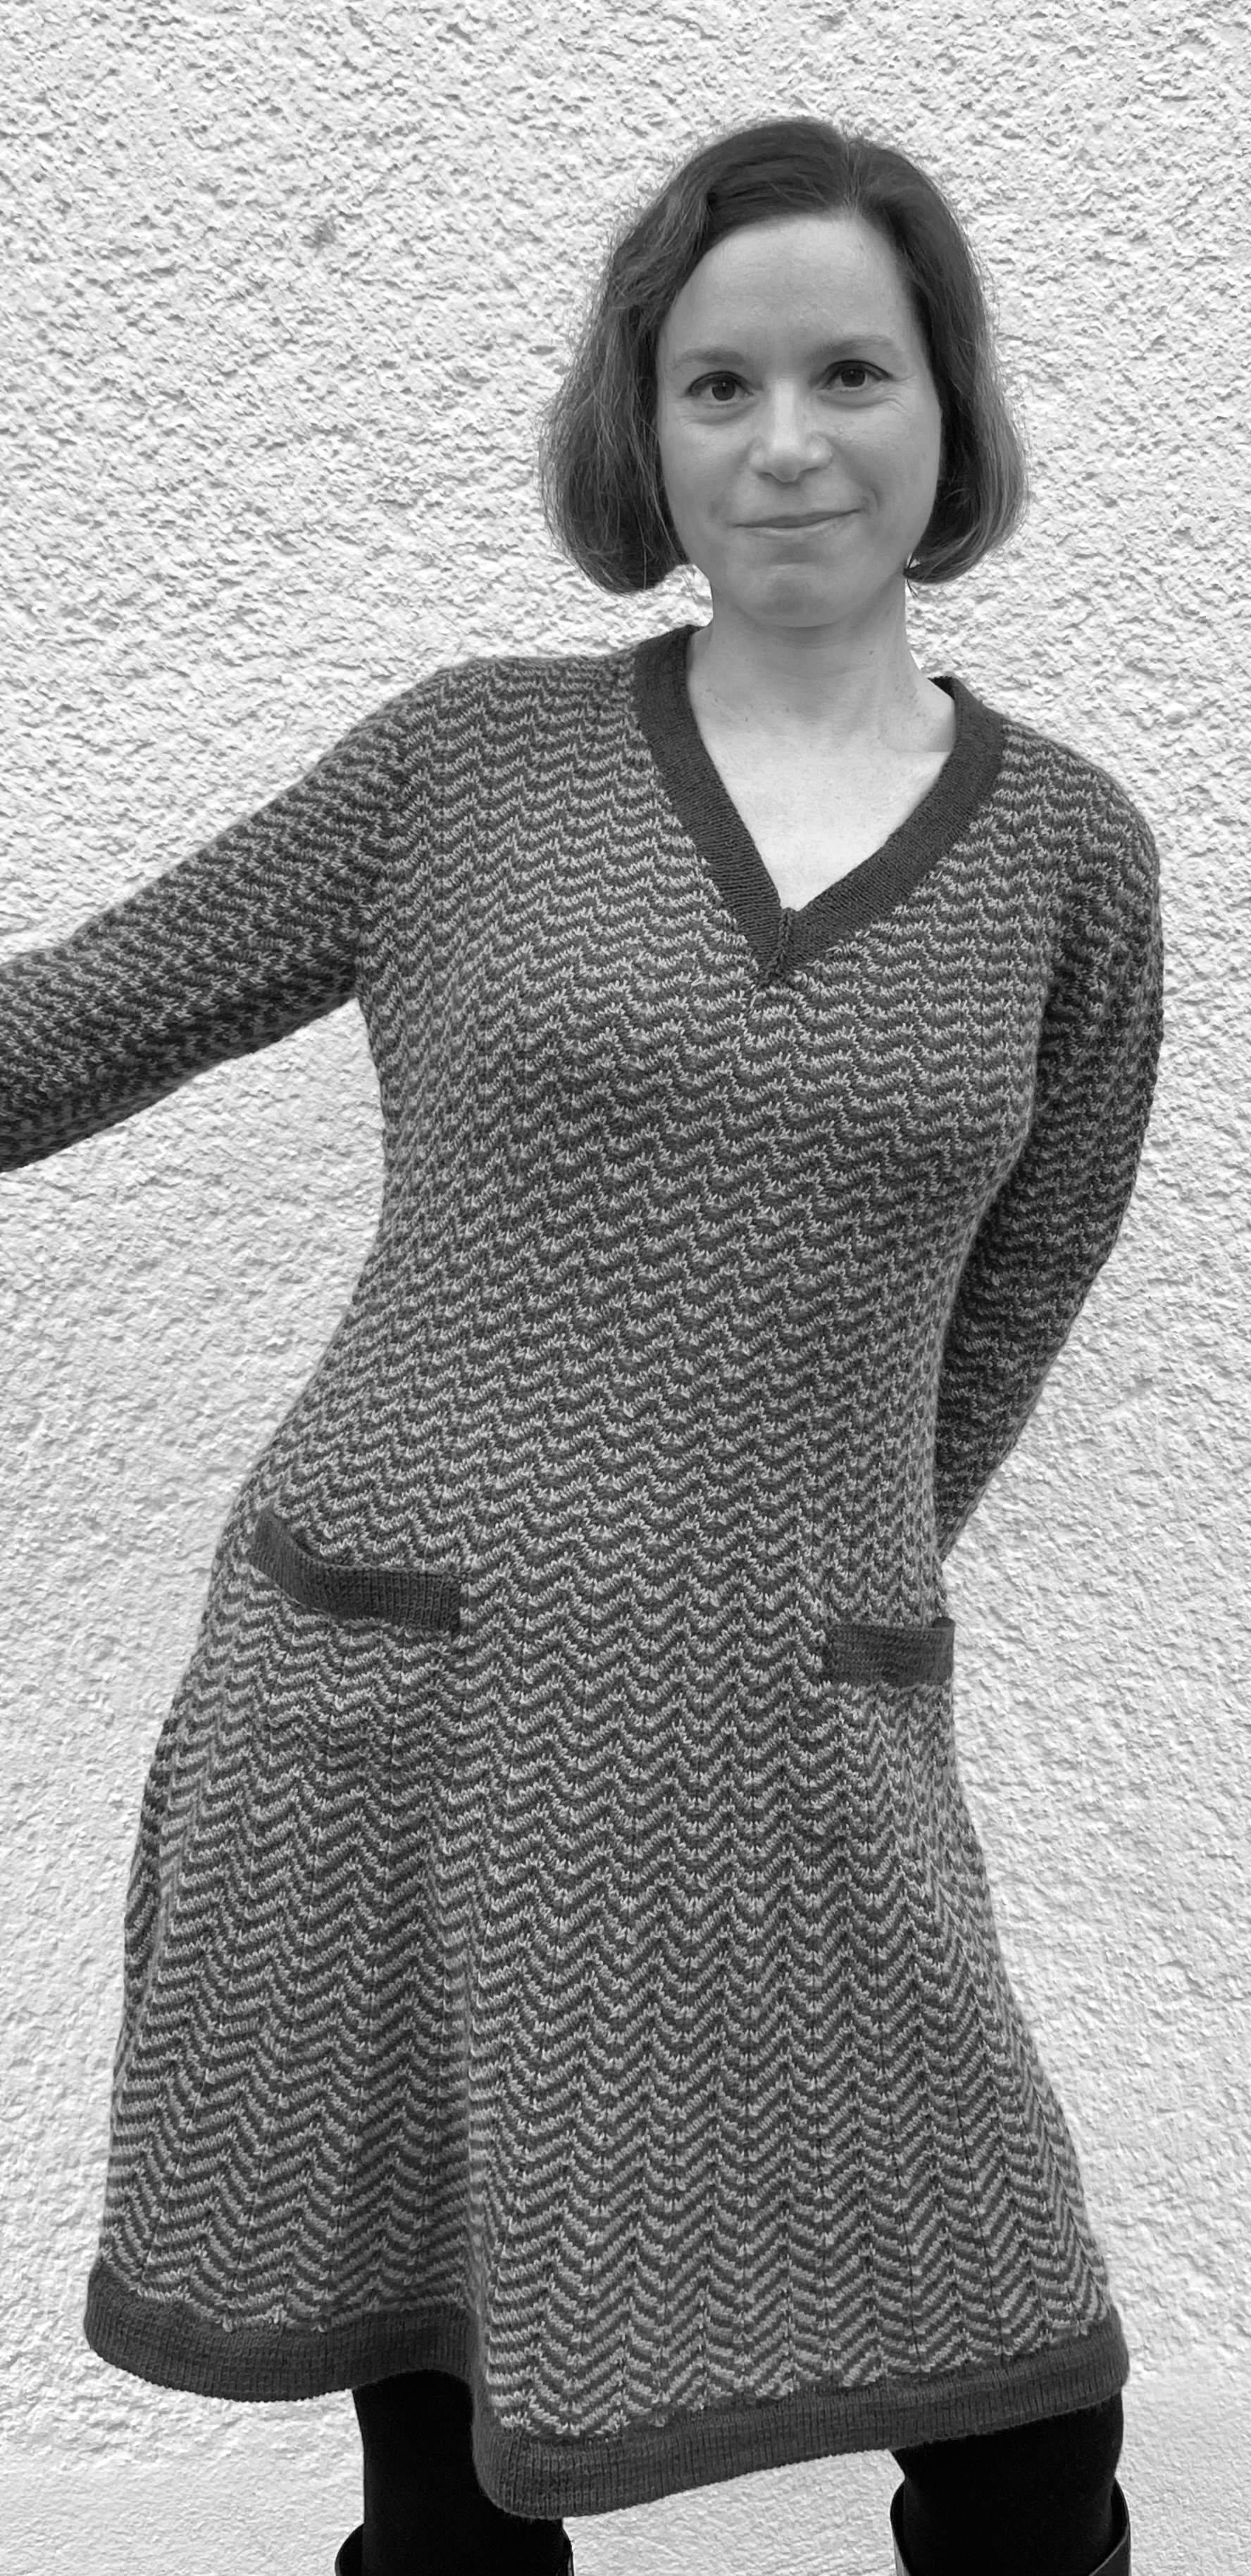
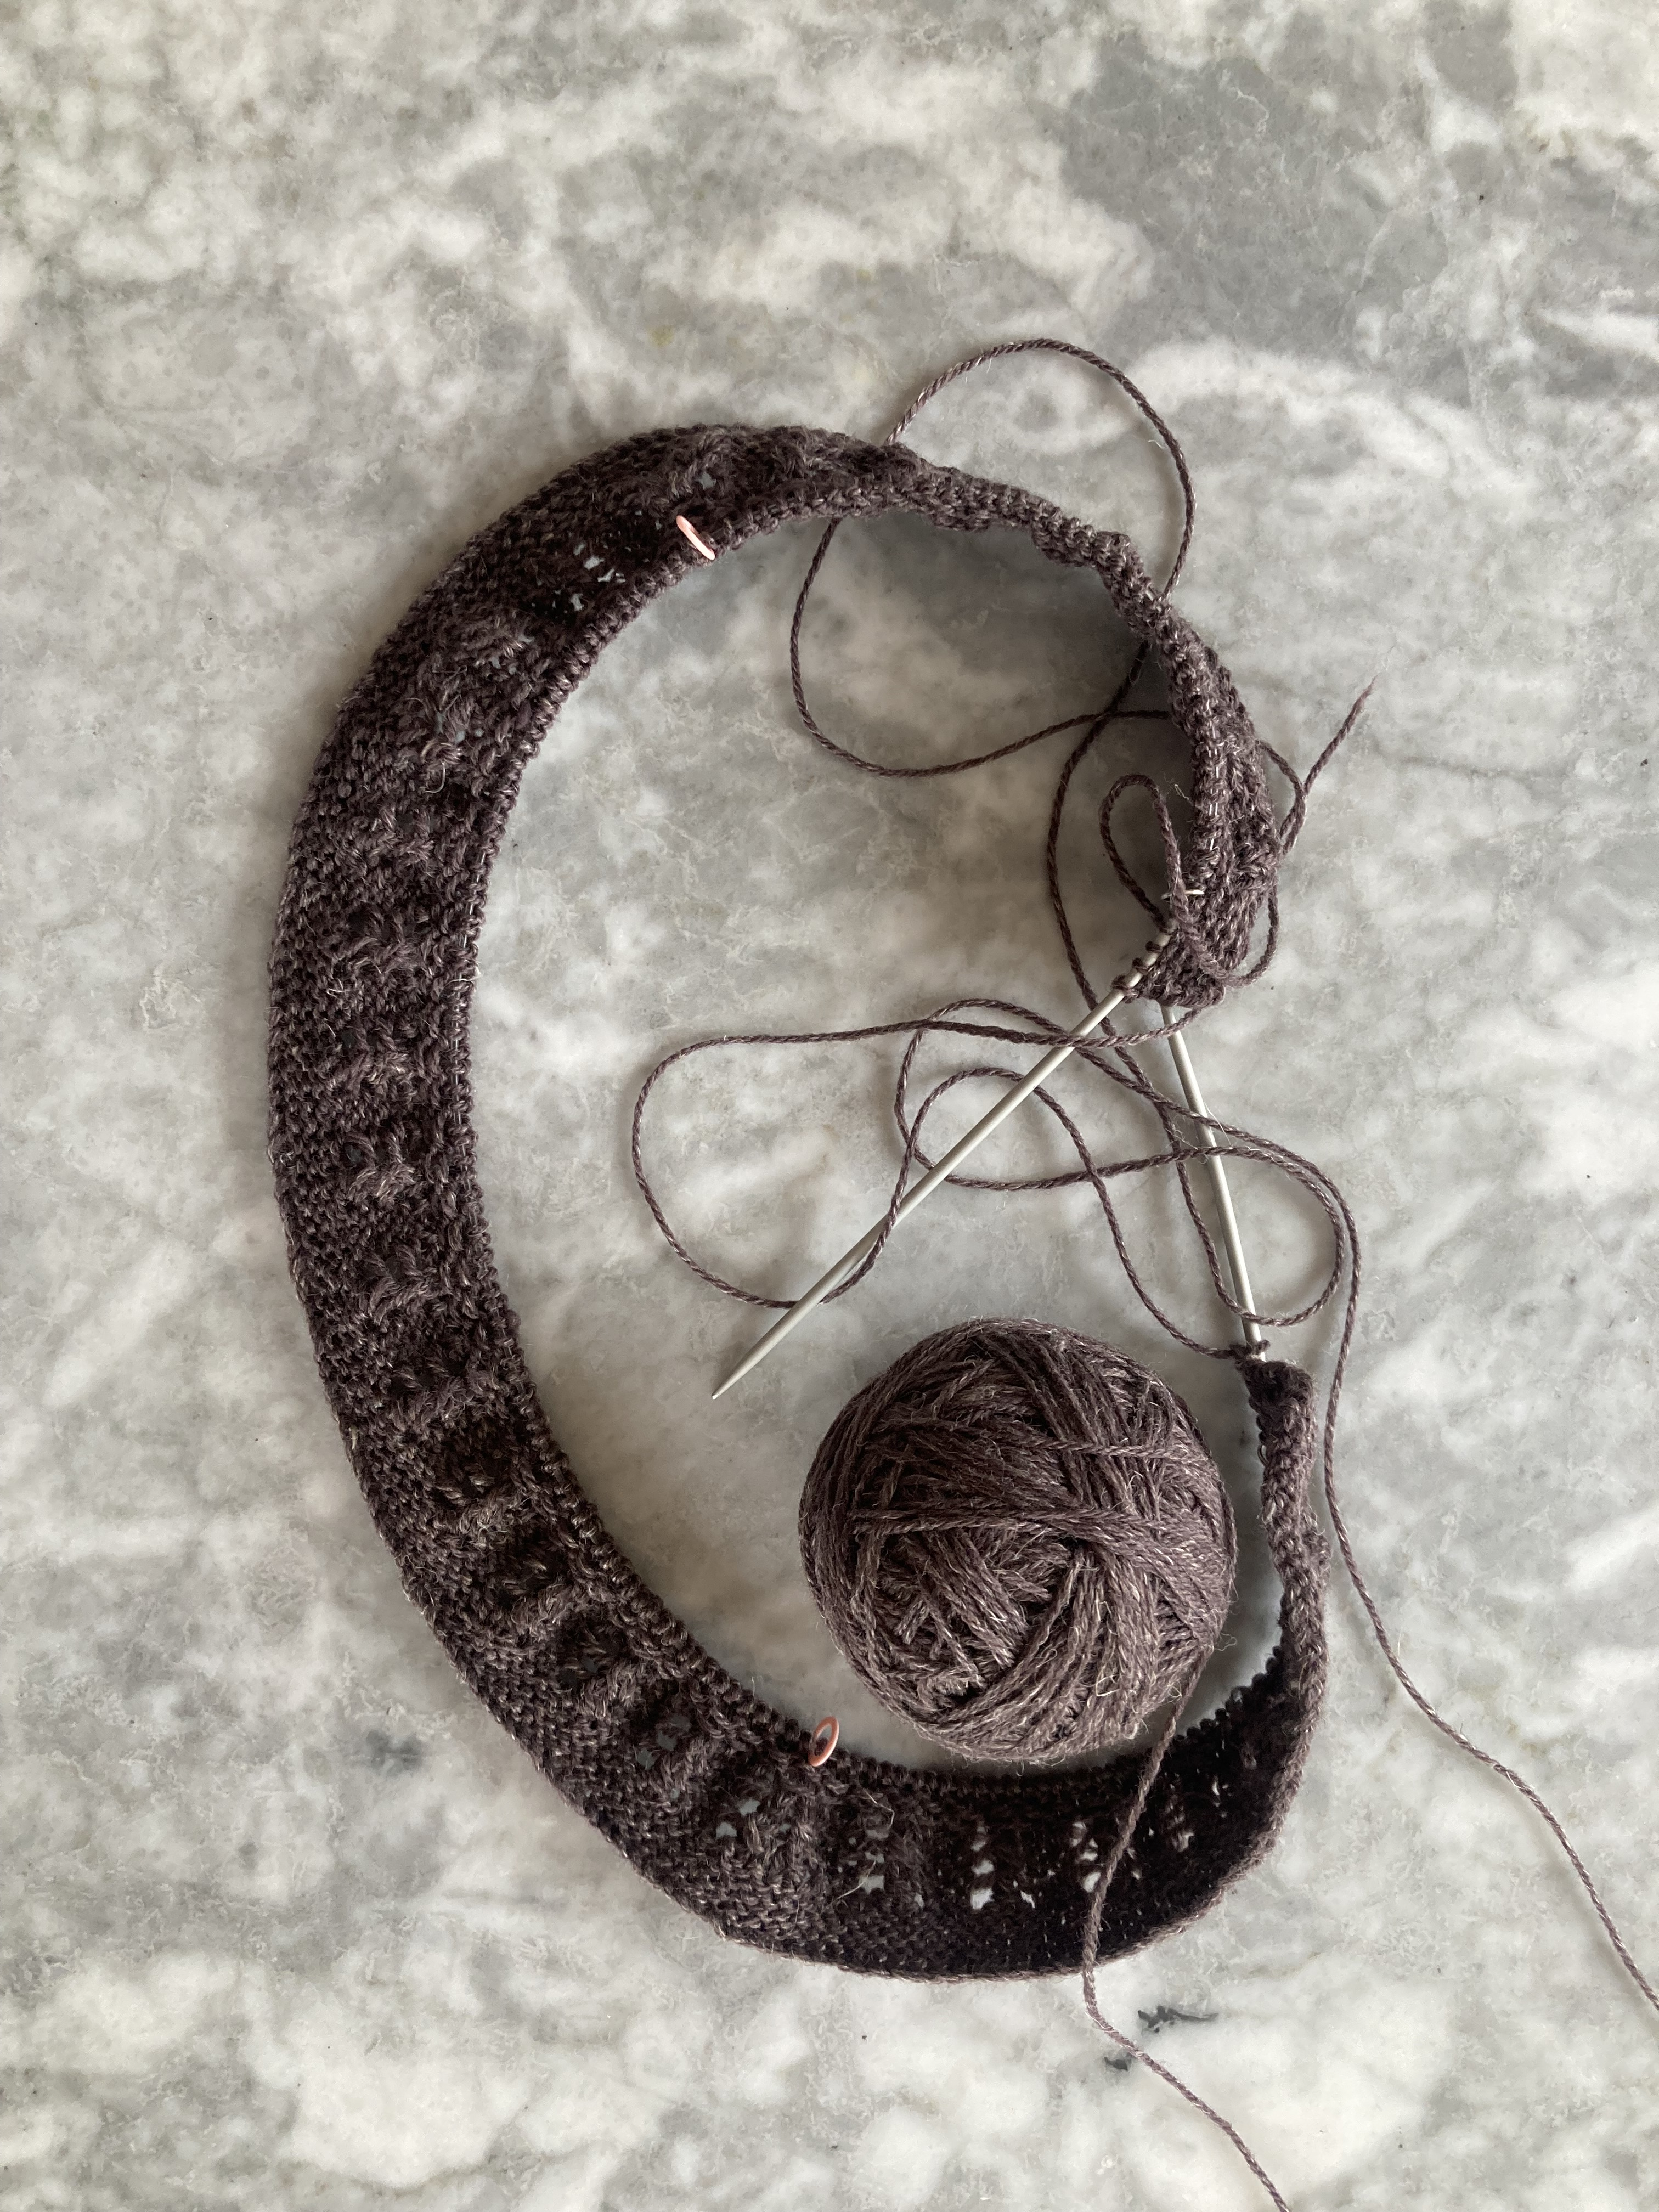
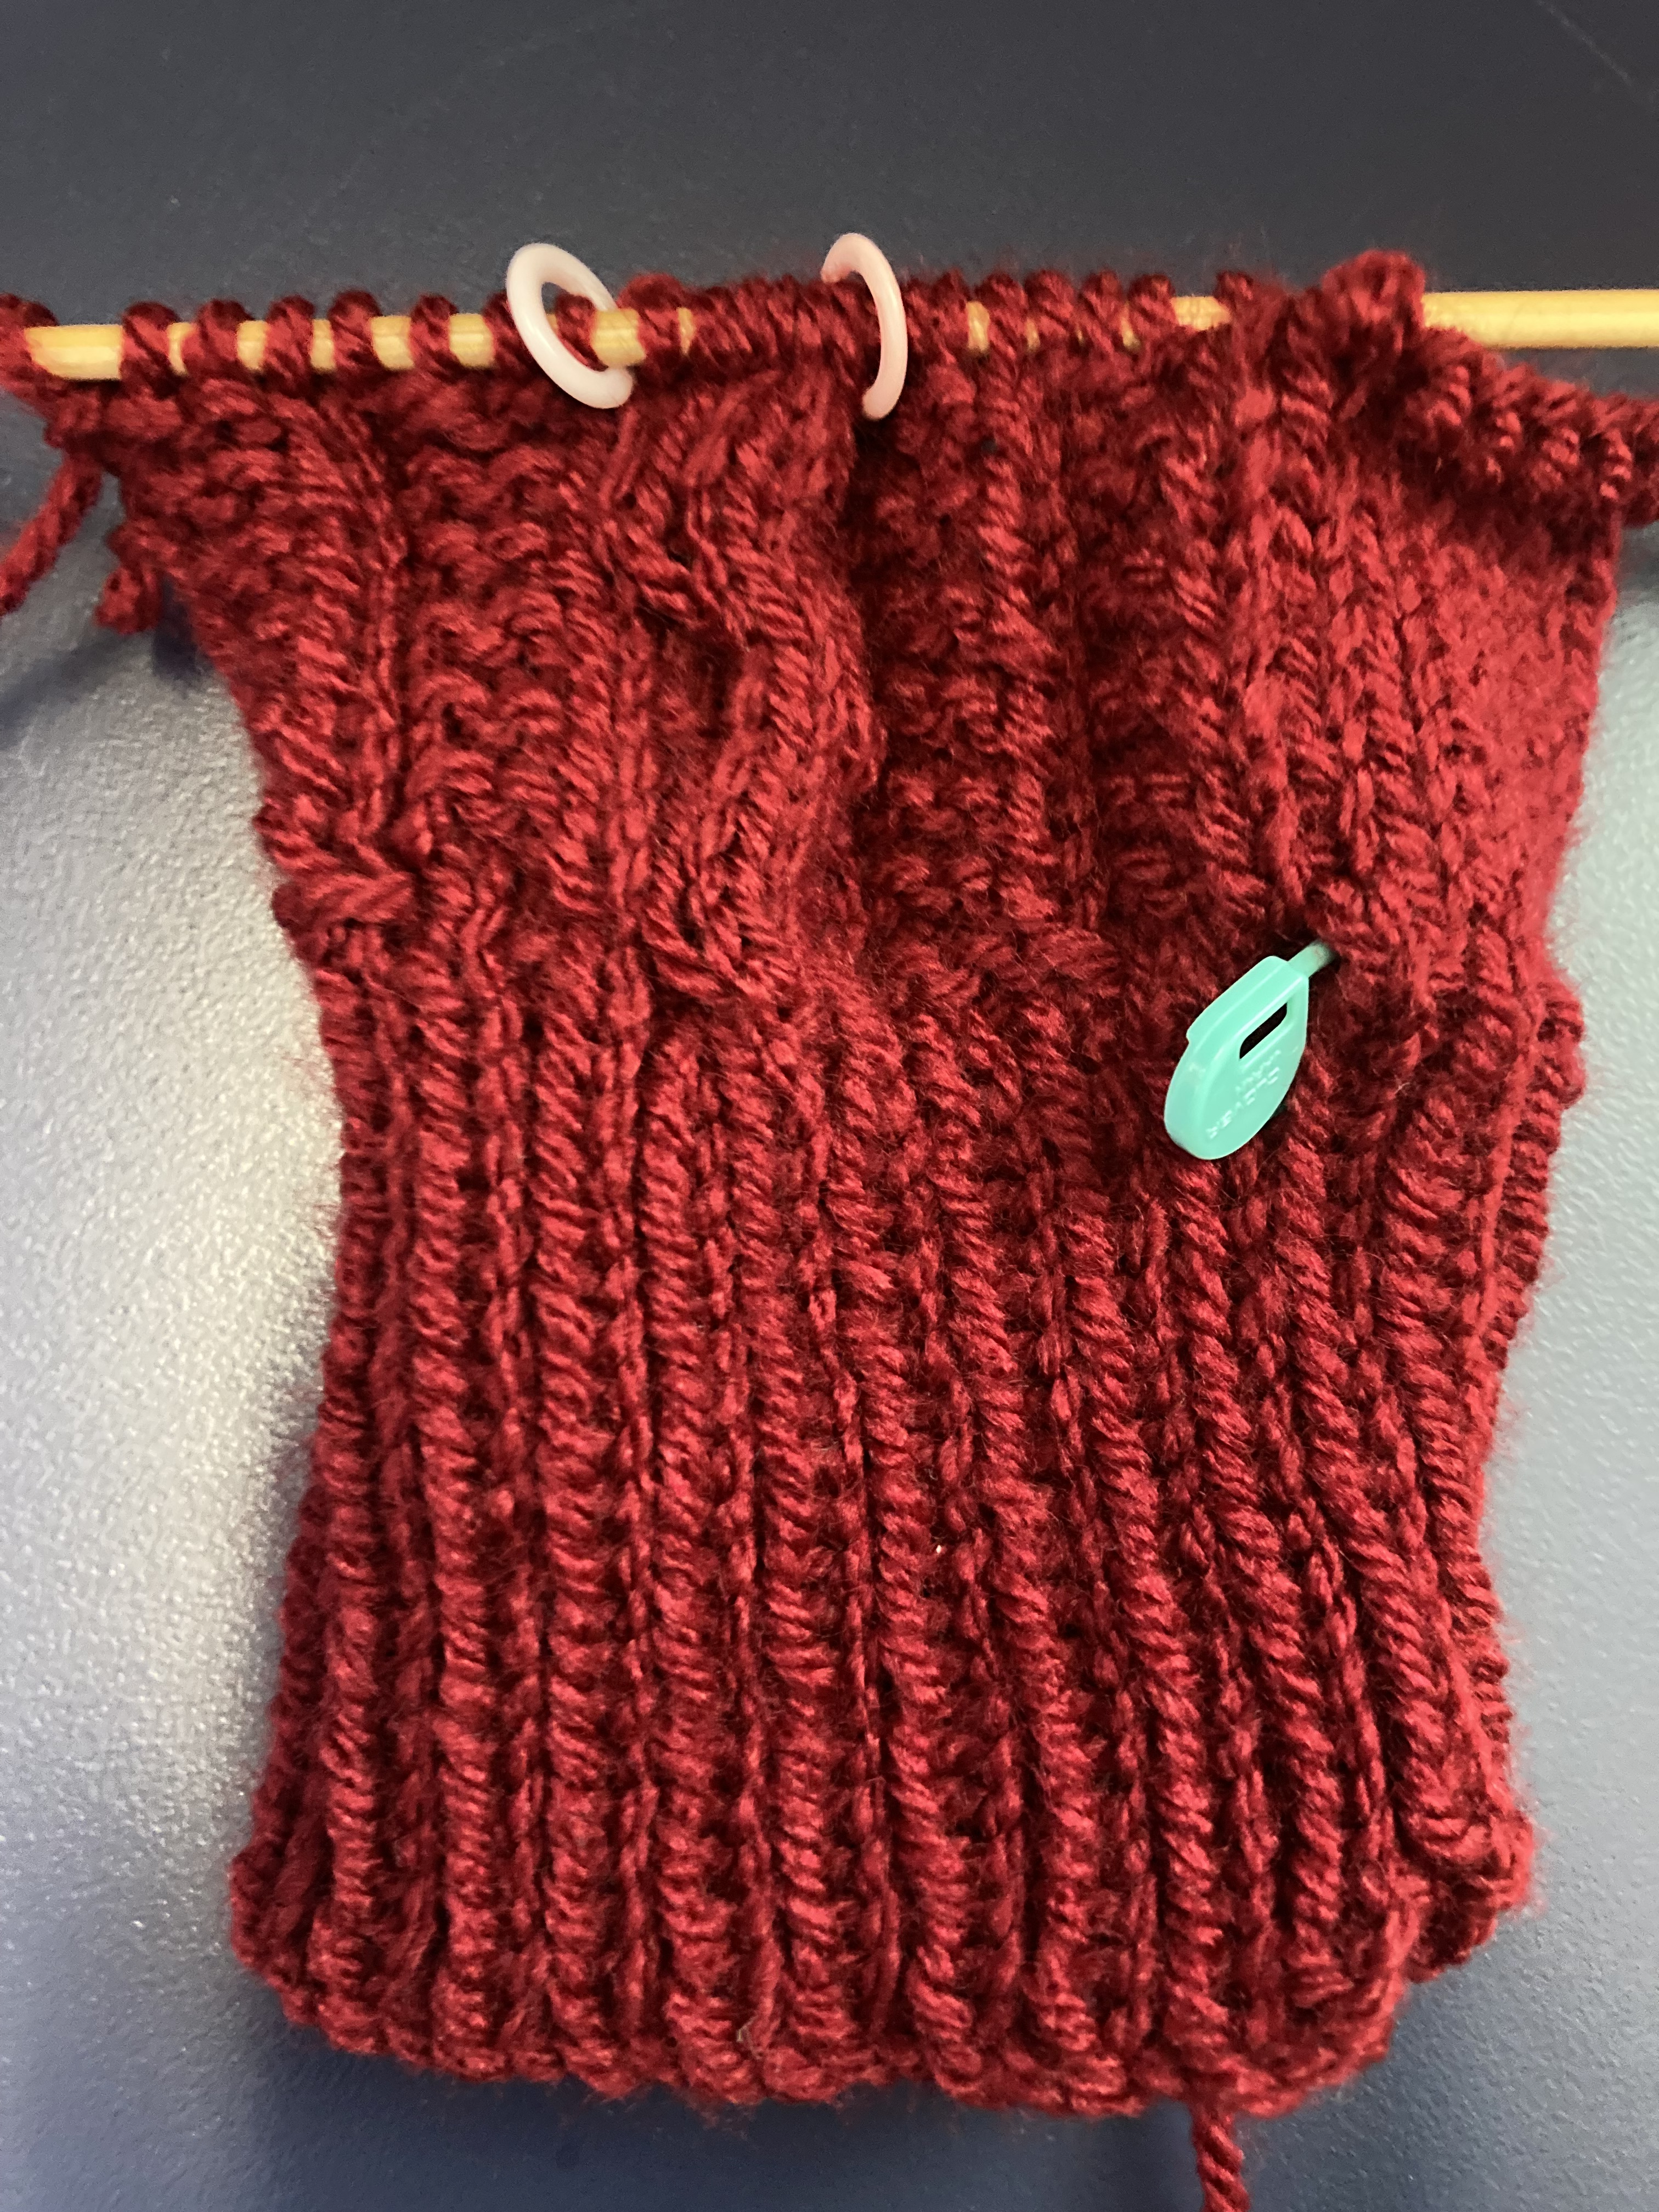
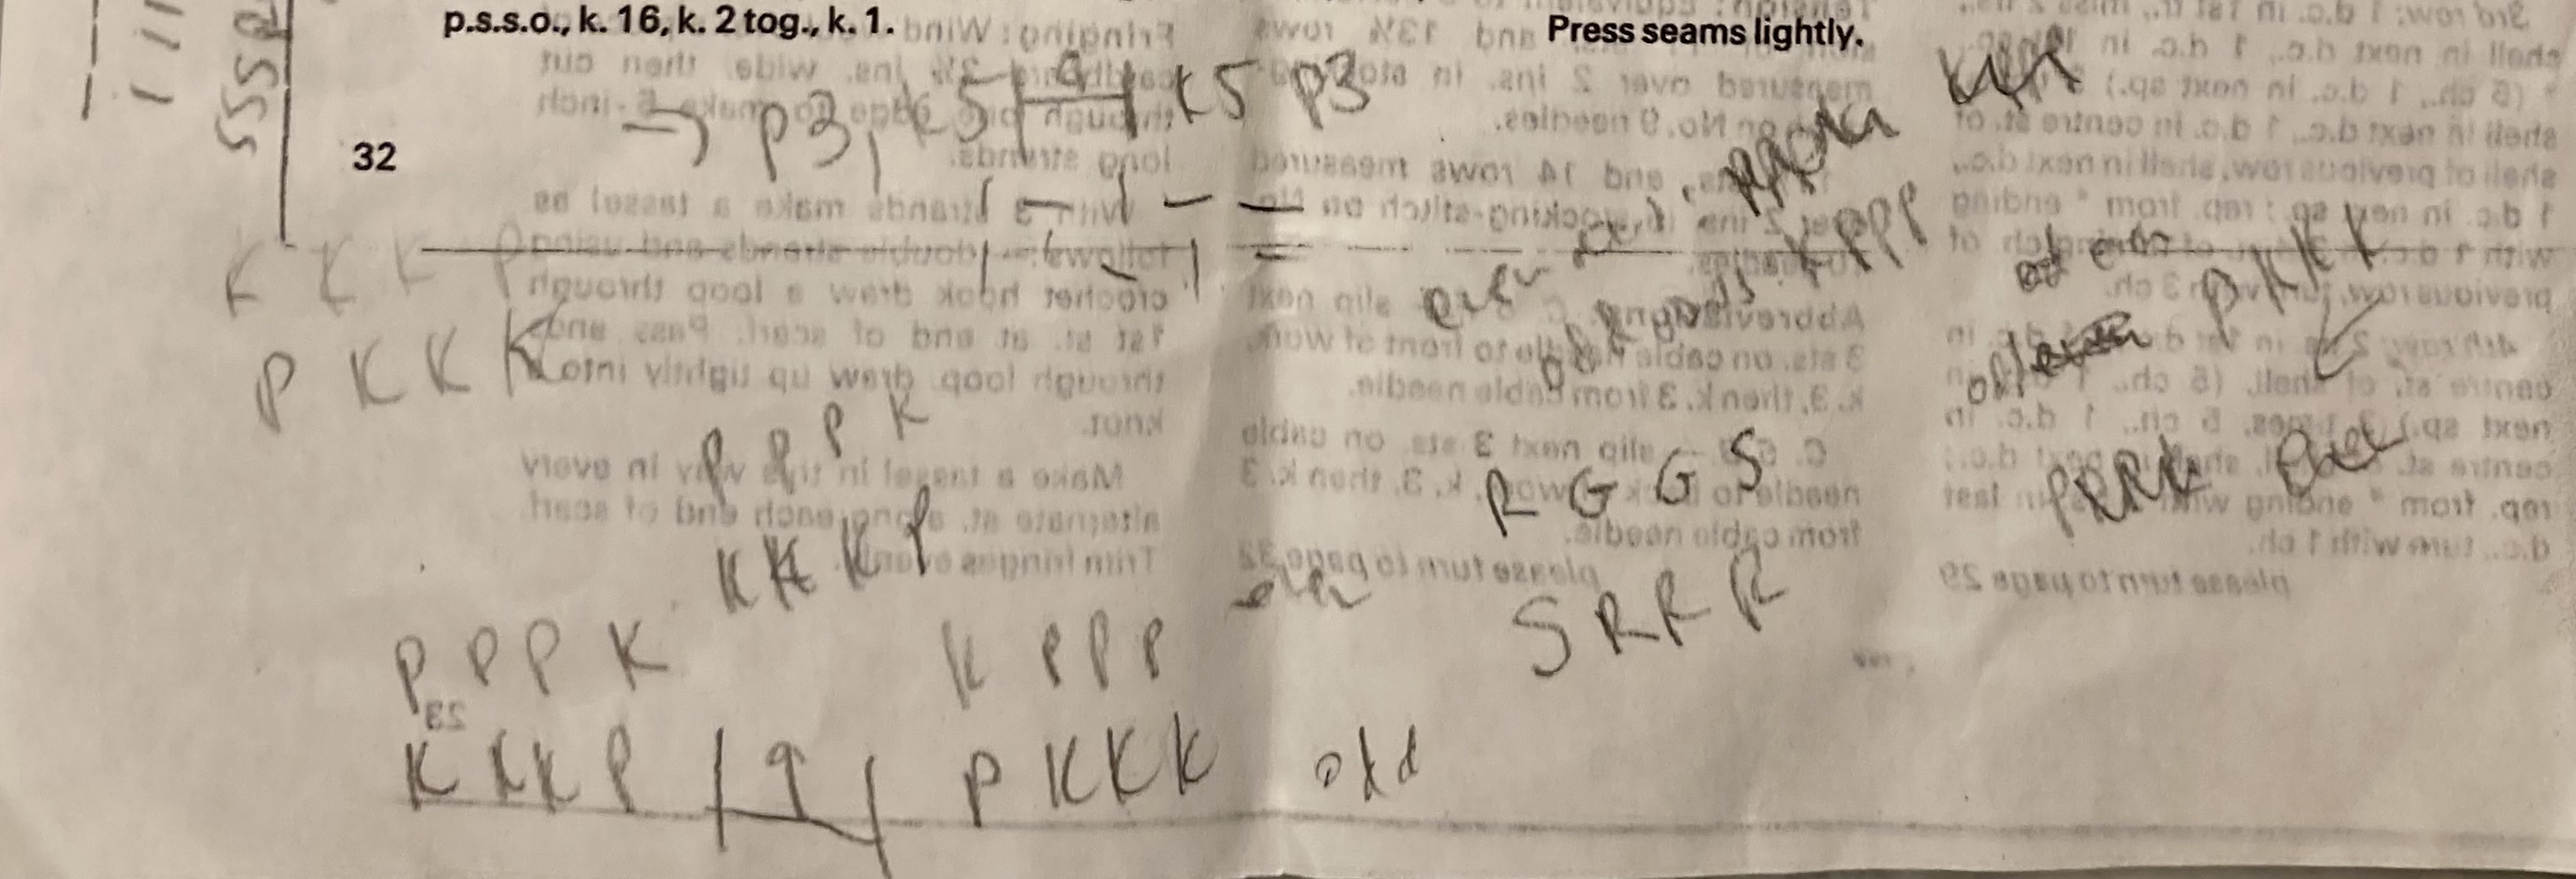
The pattern is written for plain Patons Beeehive 4-ply (fingering-weight) wool, but I decided to use sock yarn for easier washing and wearing. DROPS Fabel is easy to knit with, inexpensive, and available in a huge range of colours, including an almost-perfect match for the original “Wine” (purple) and “Radiant” (pink). I decided to make it a little bit shorter than in the pattern (third size should be 37 inches), as I expected it would stretch with weight and wearing. That was my only modification.
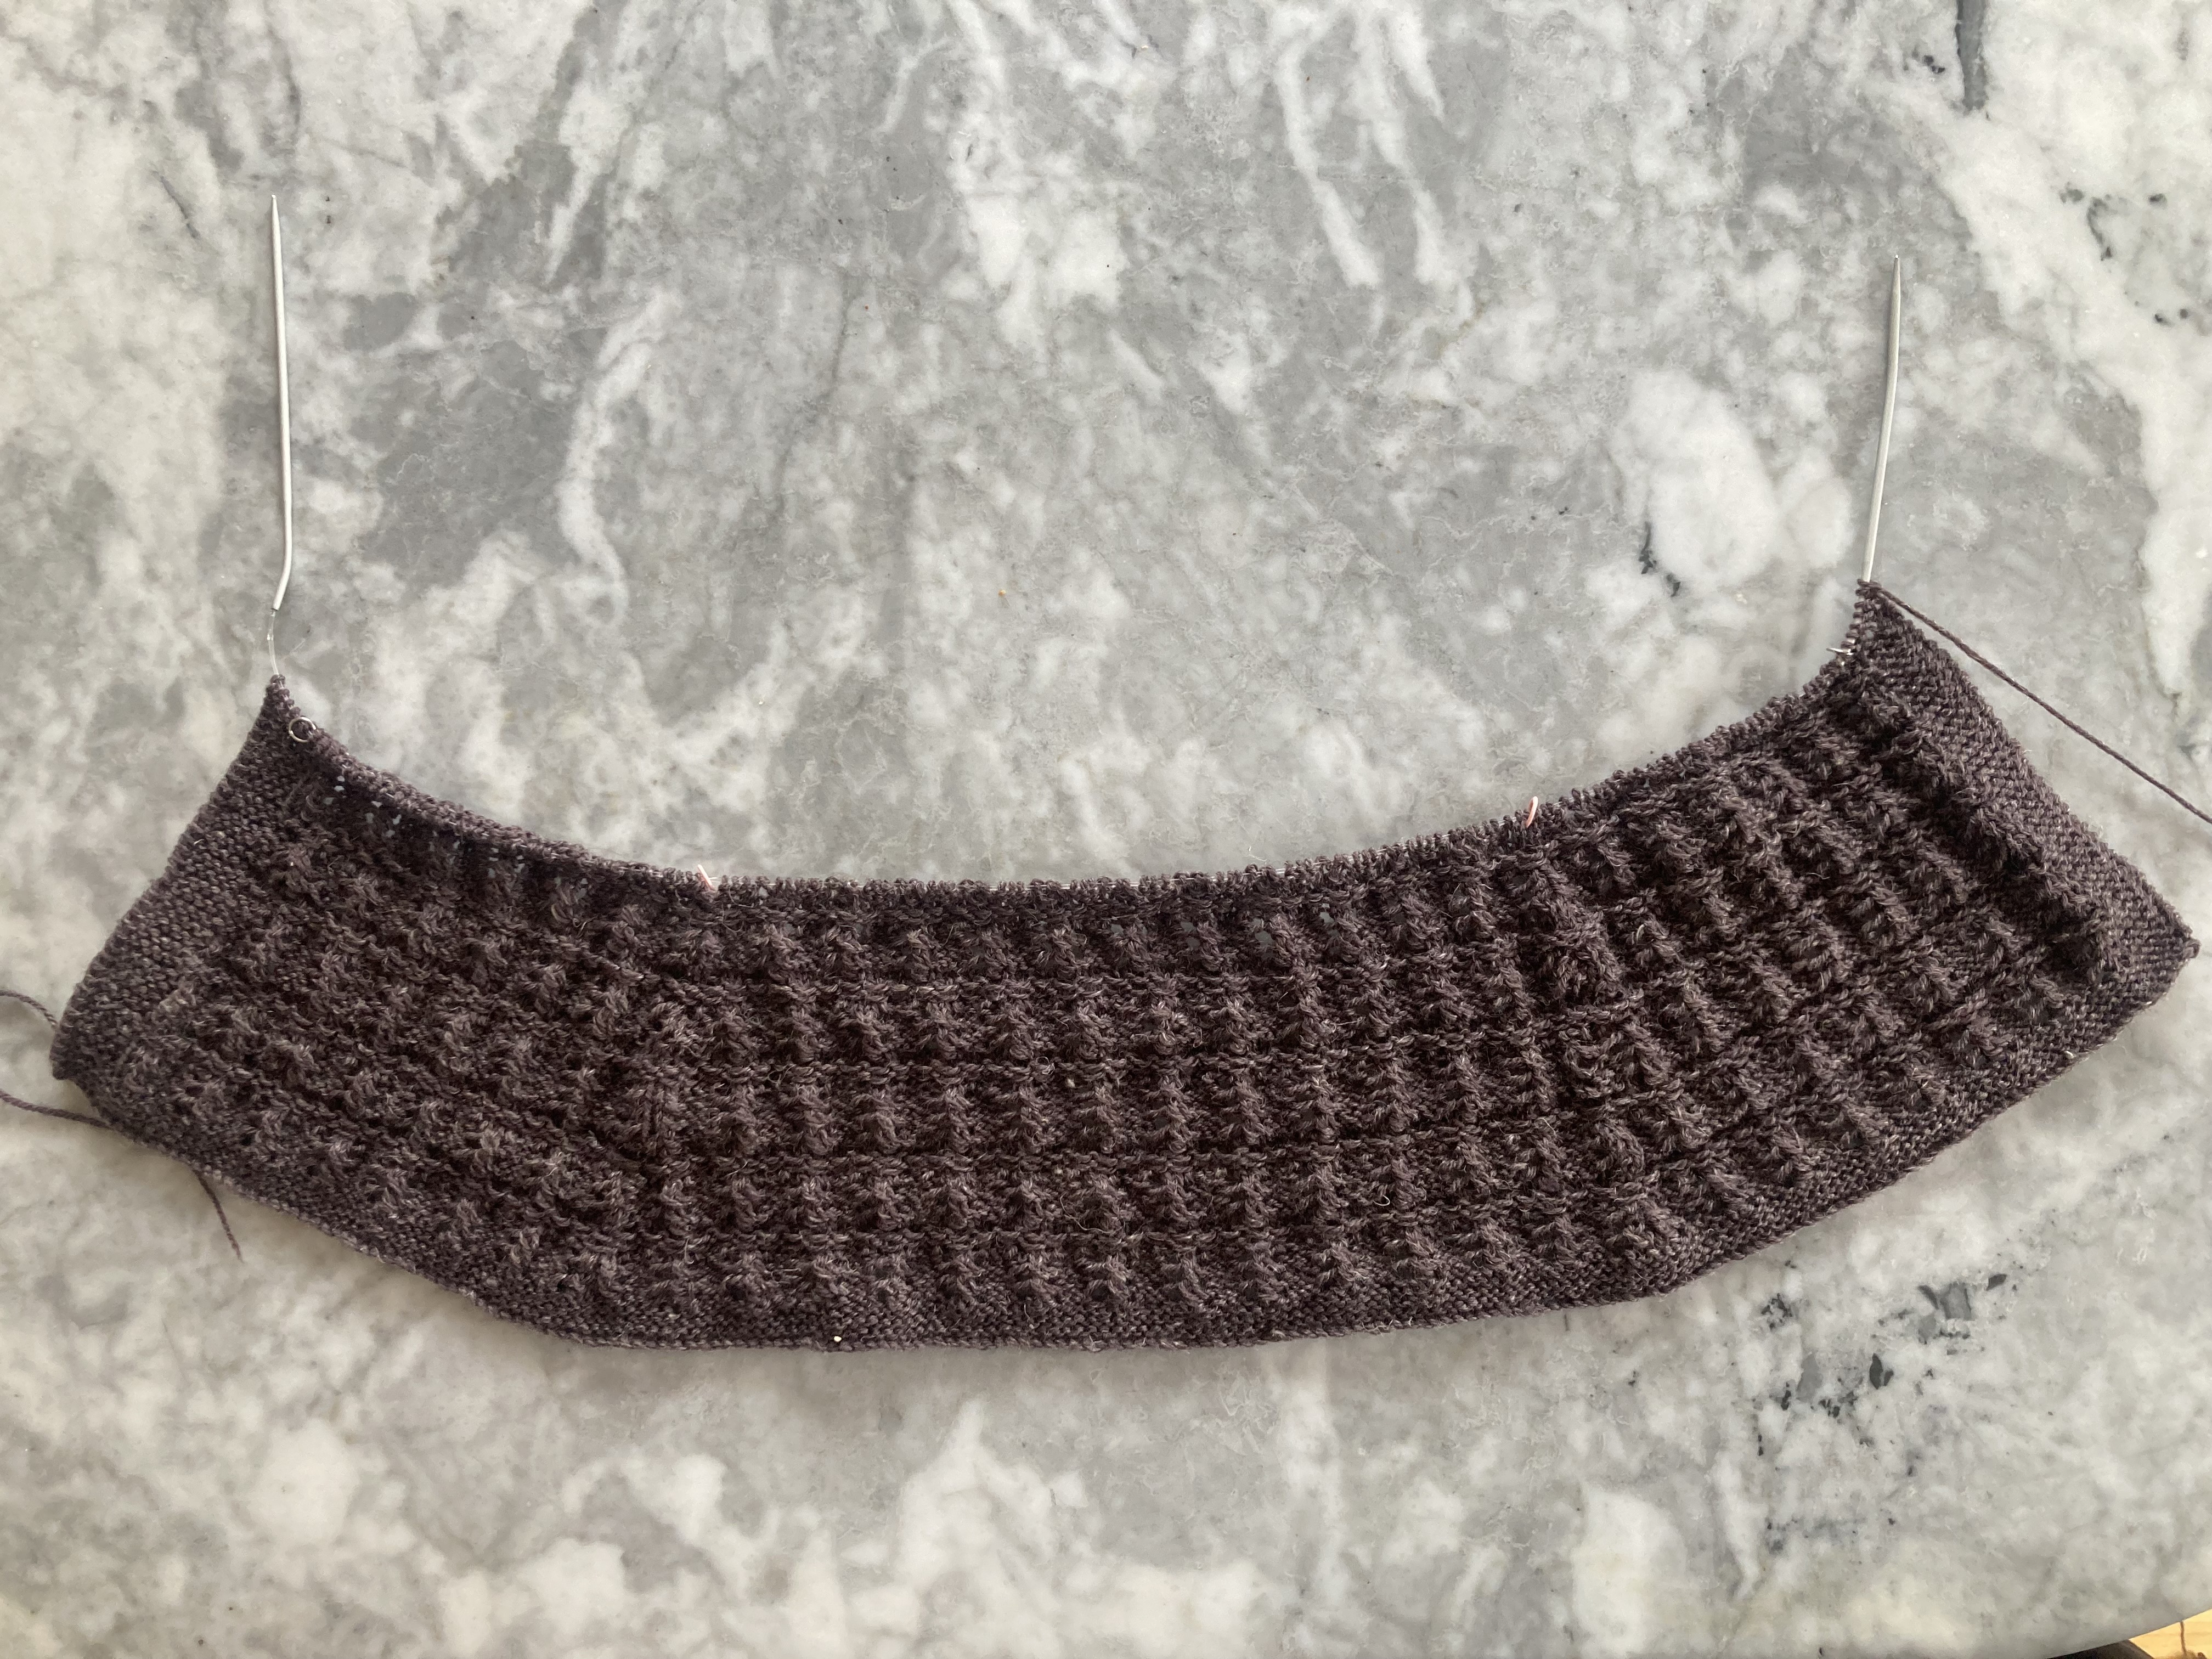
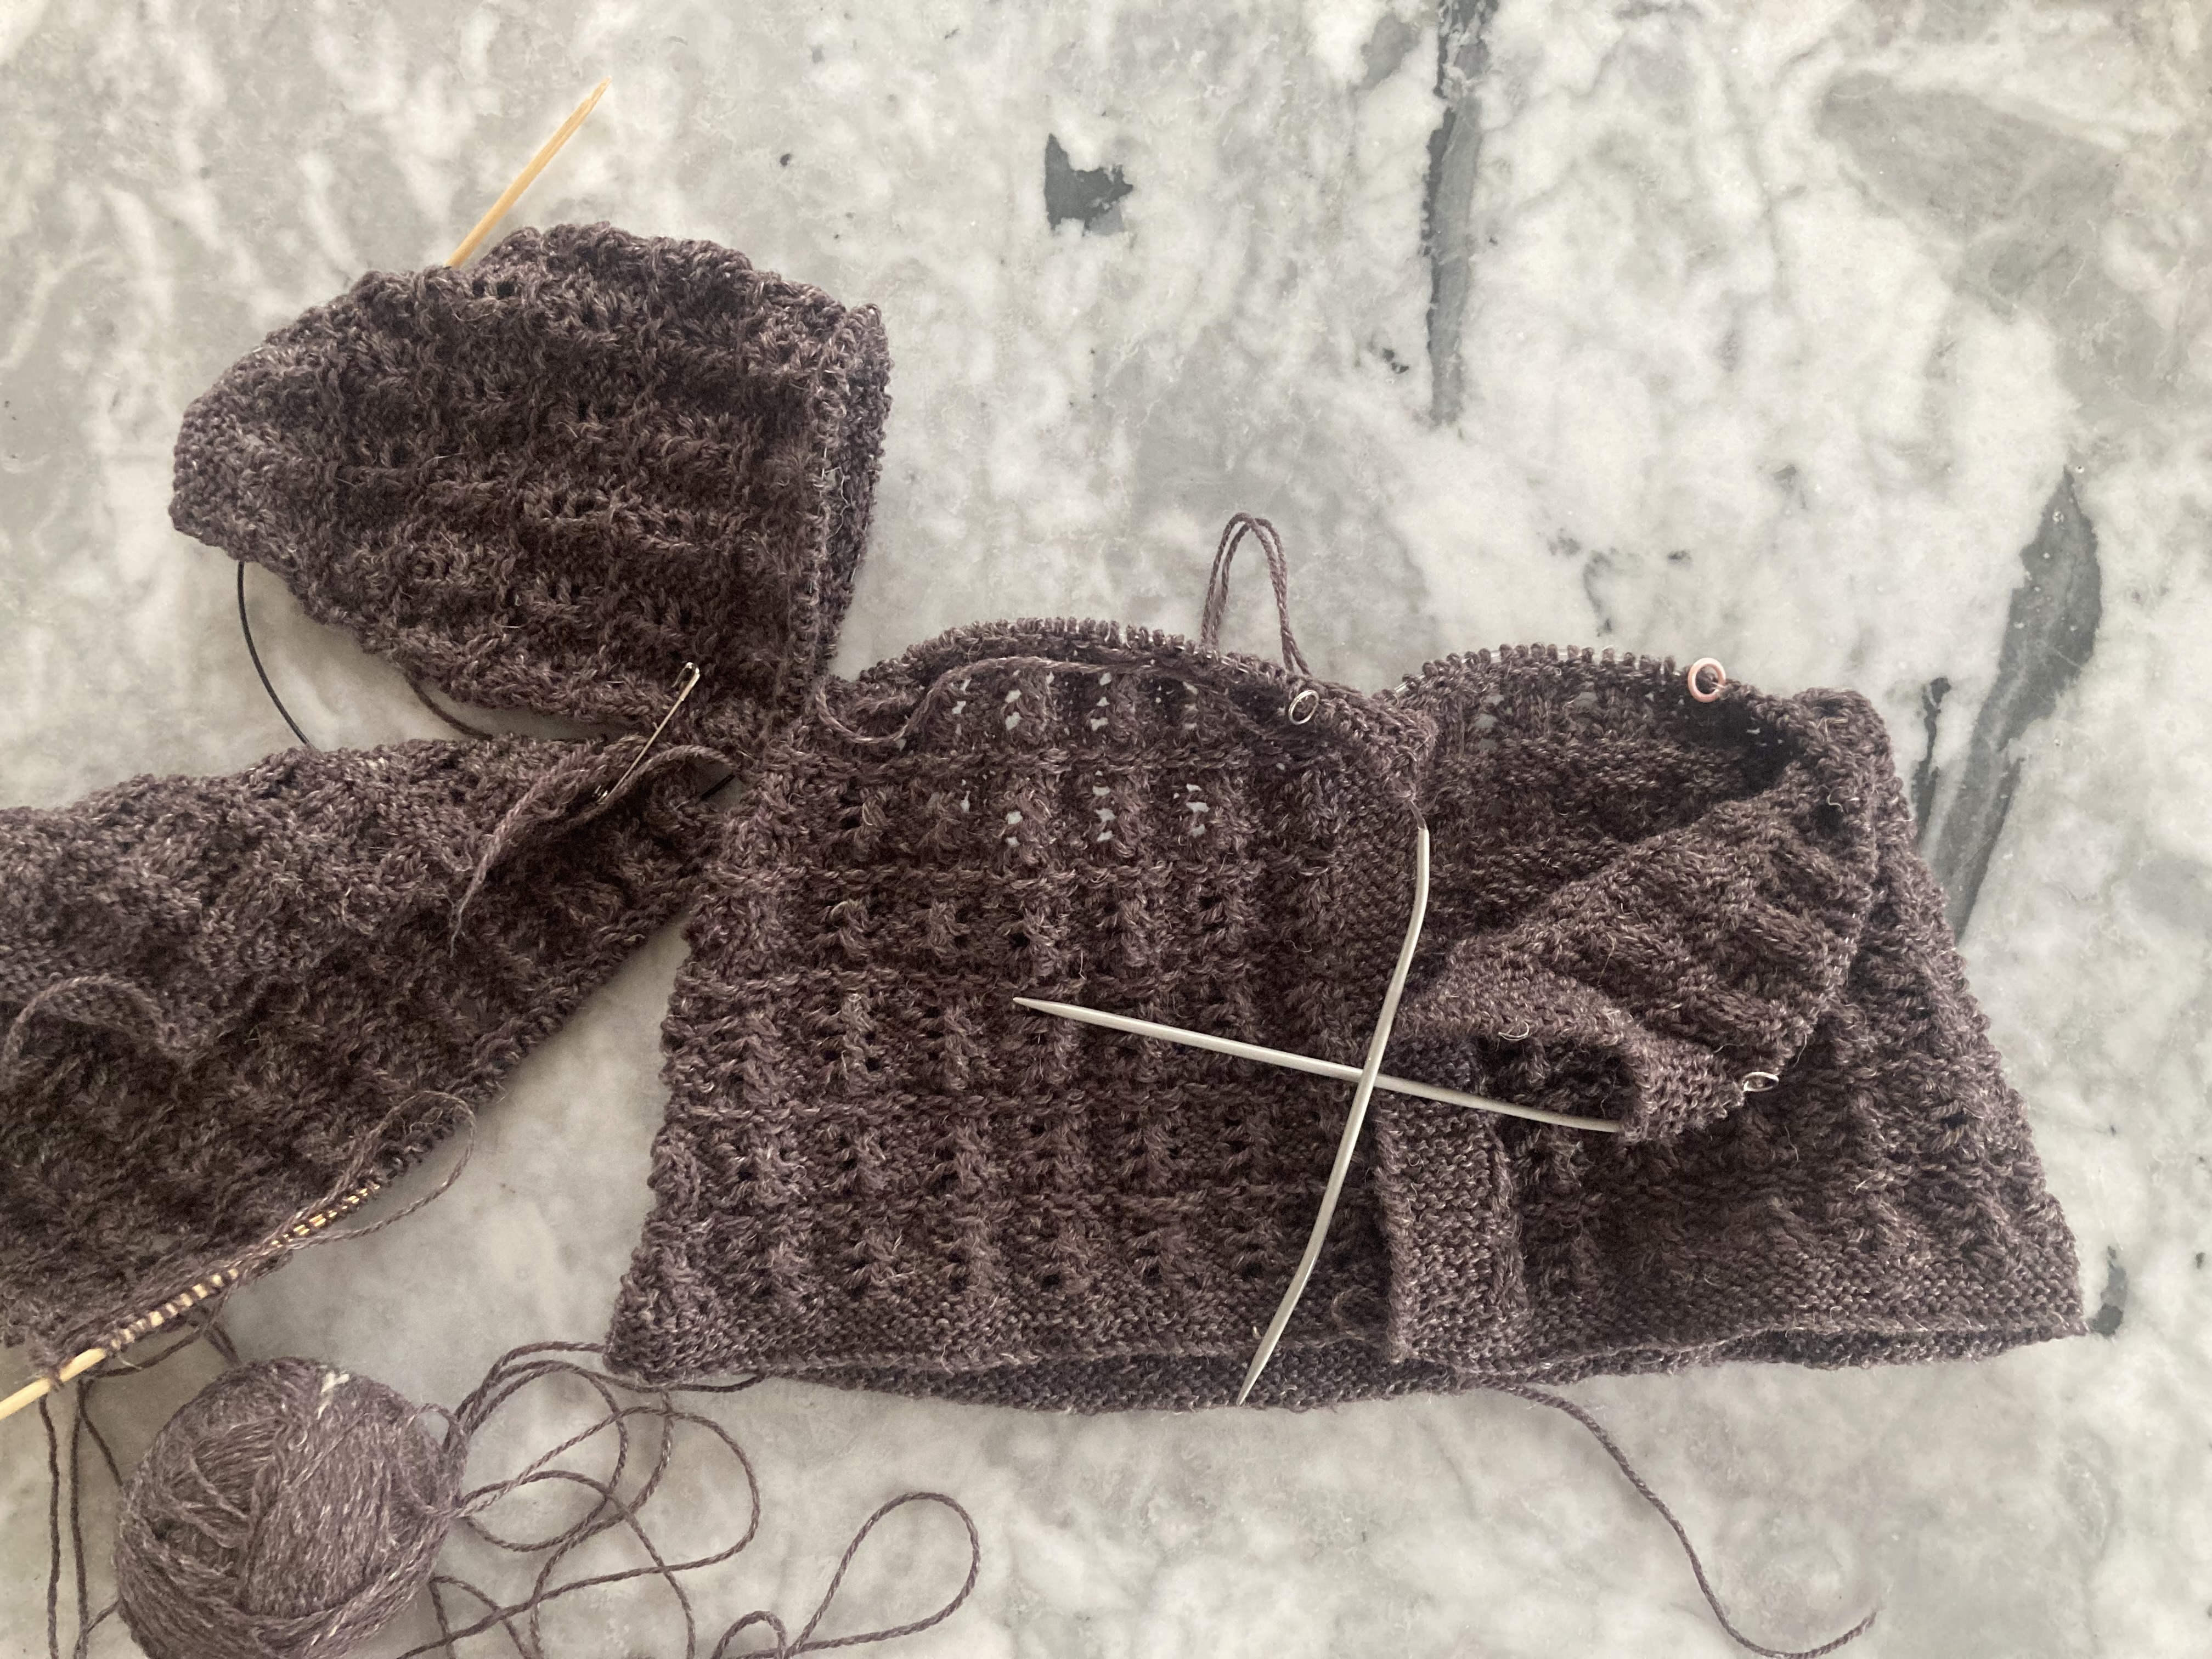
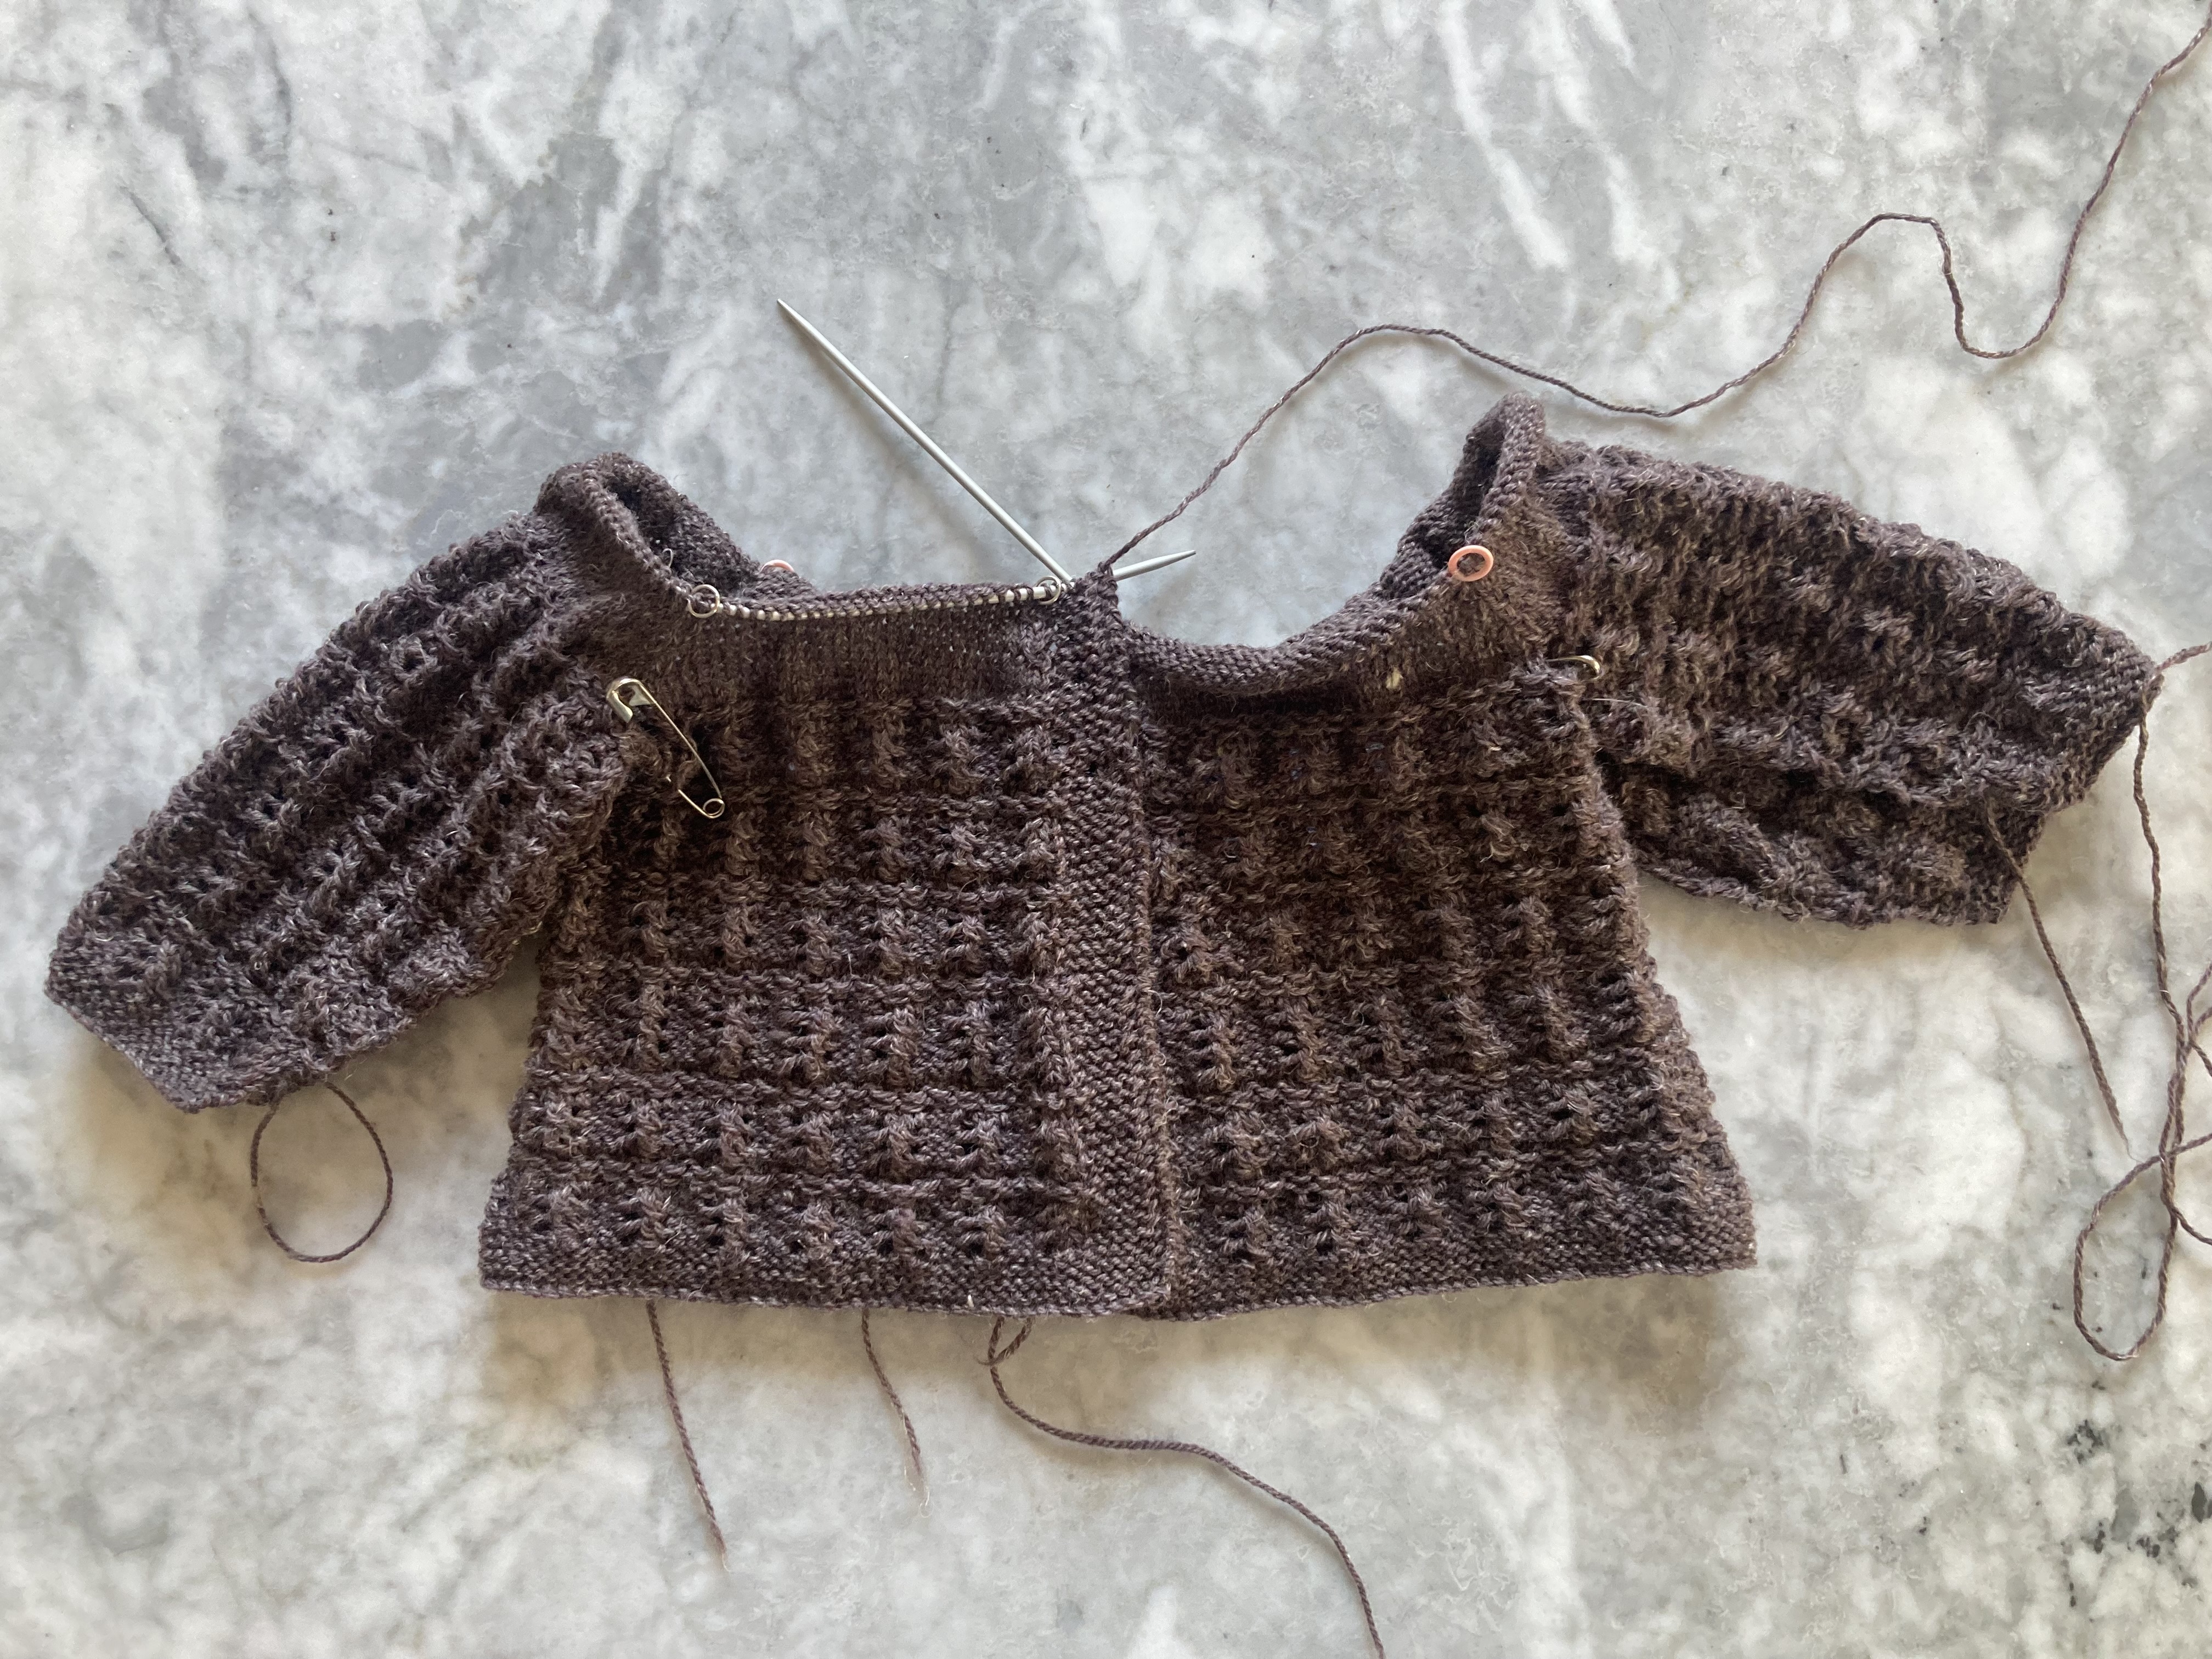
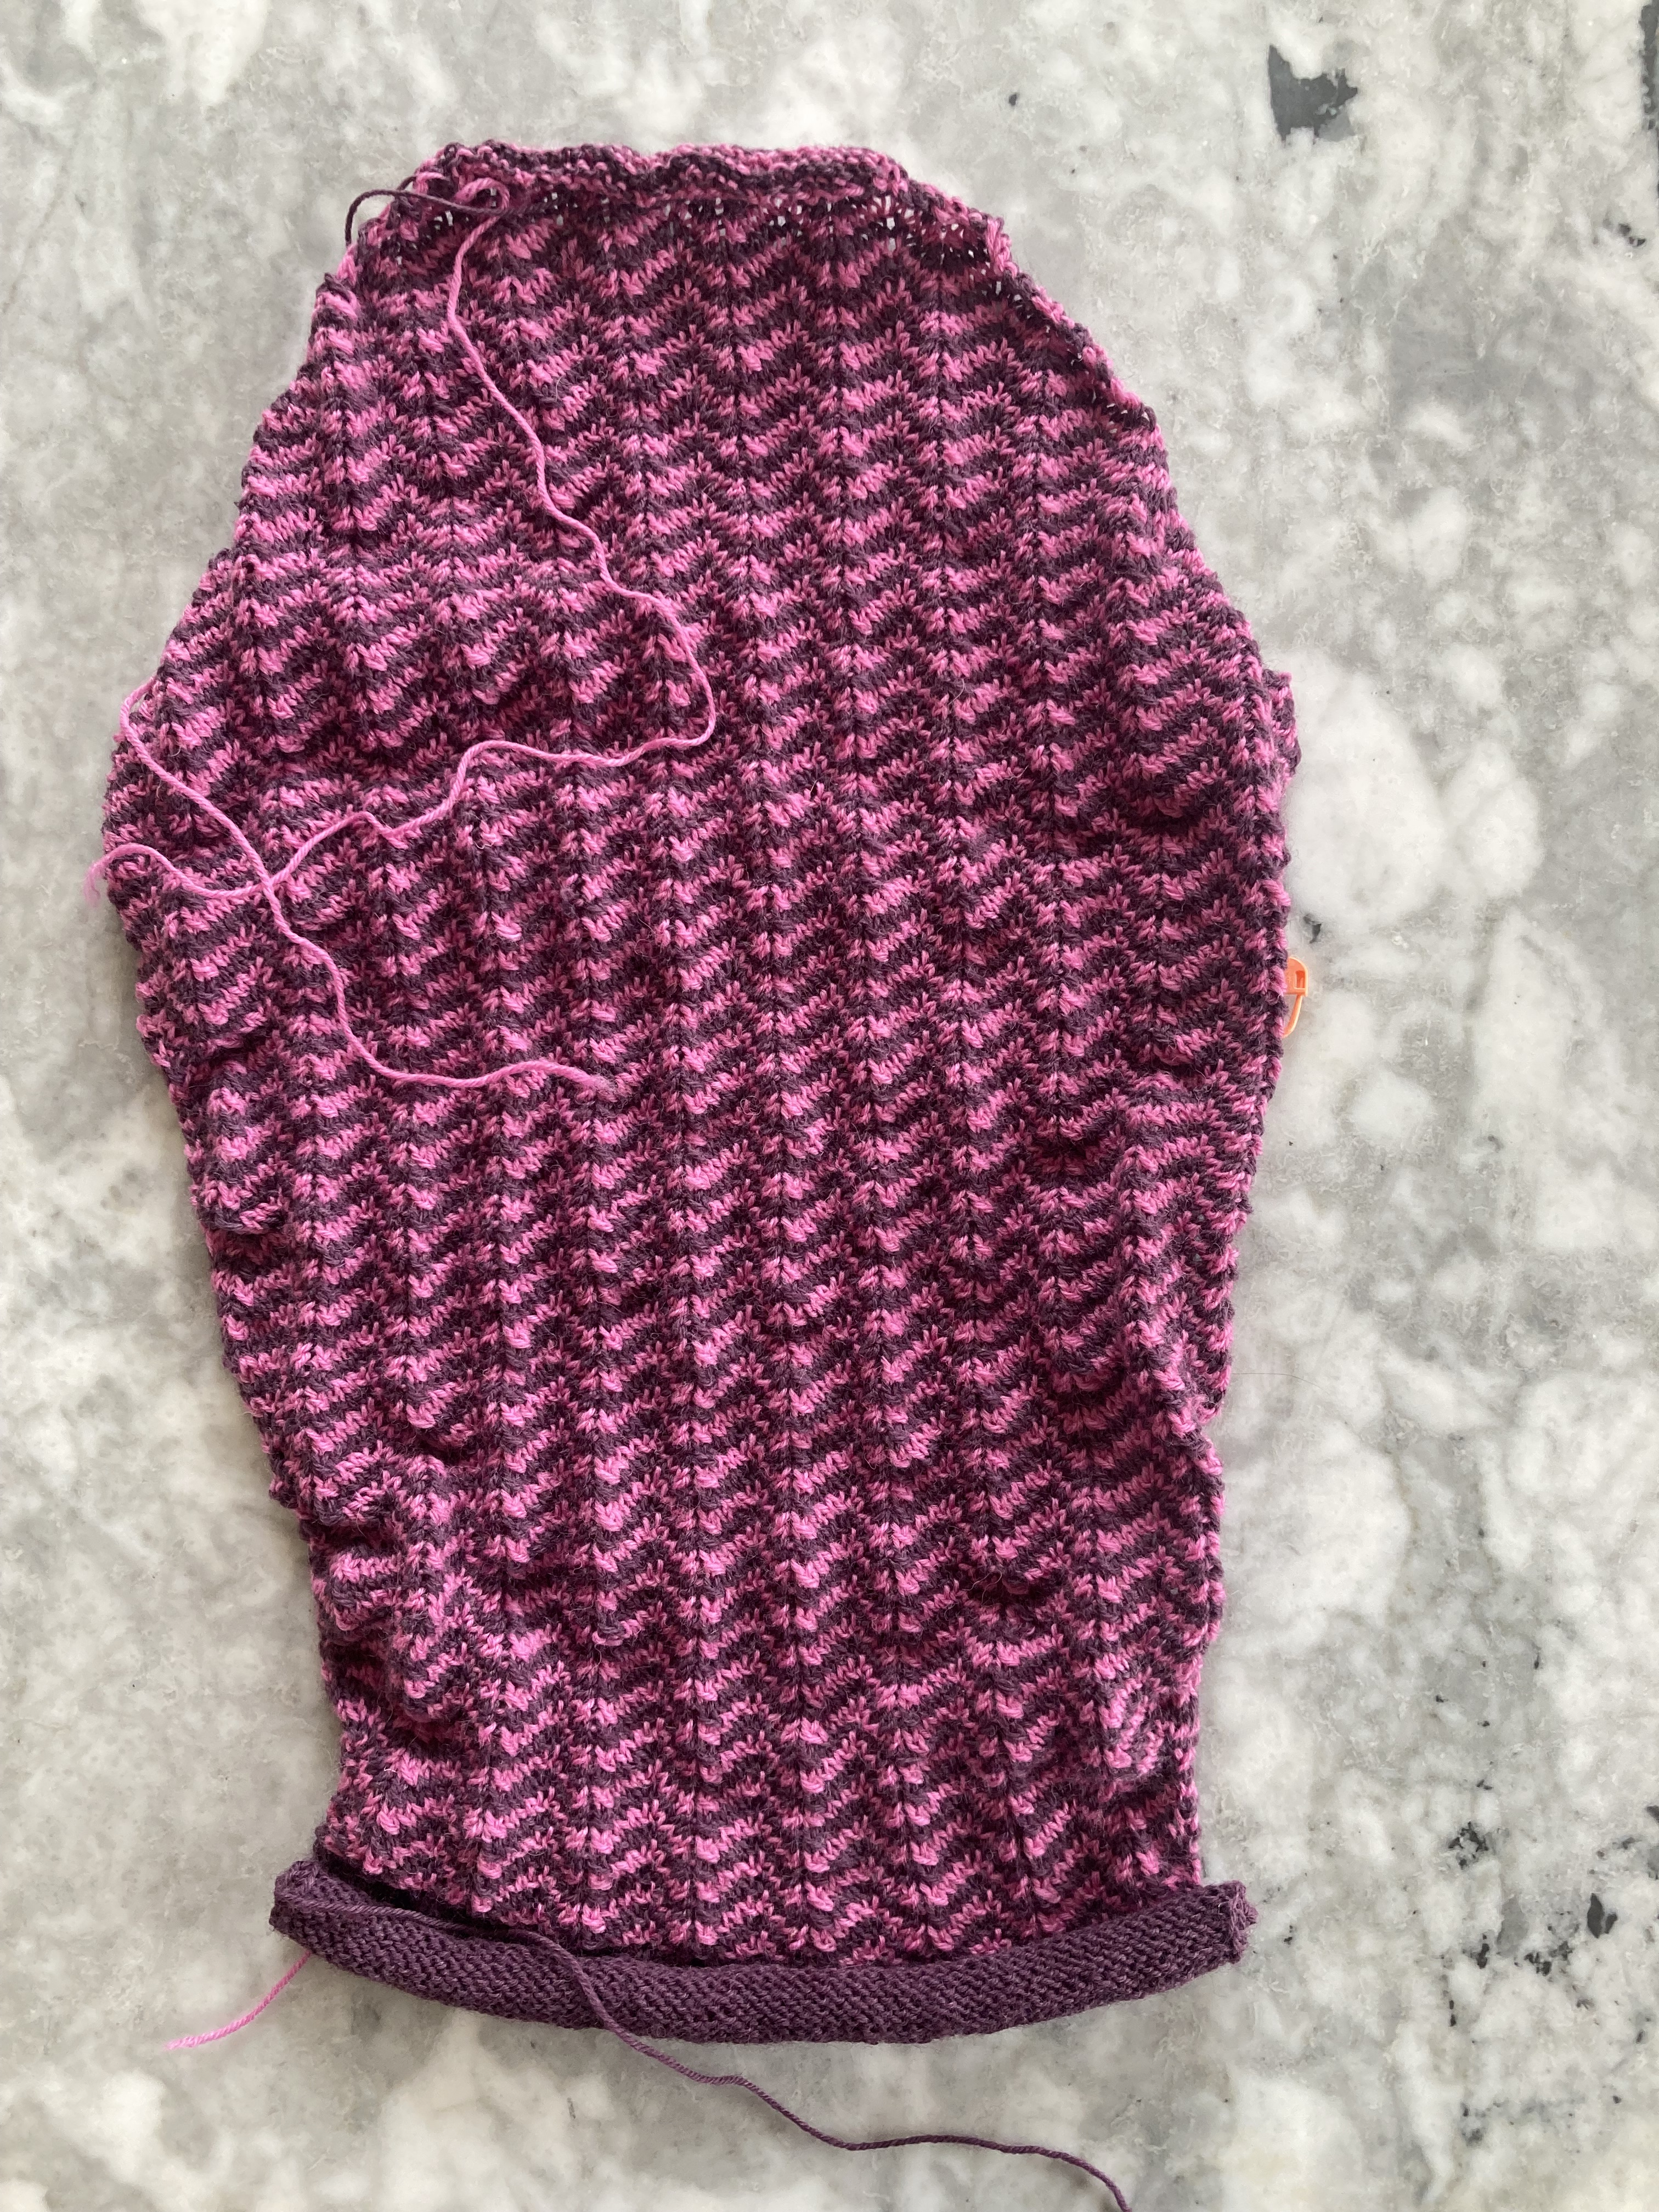
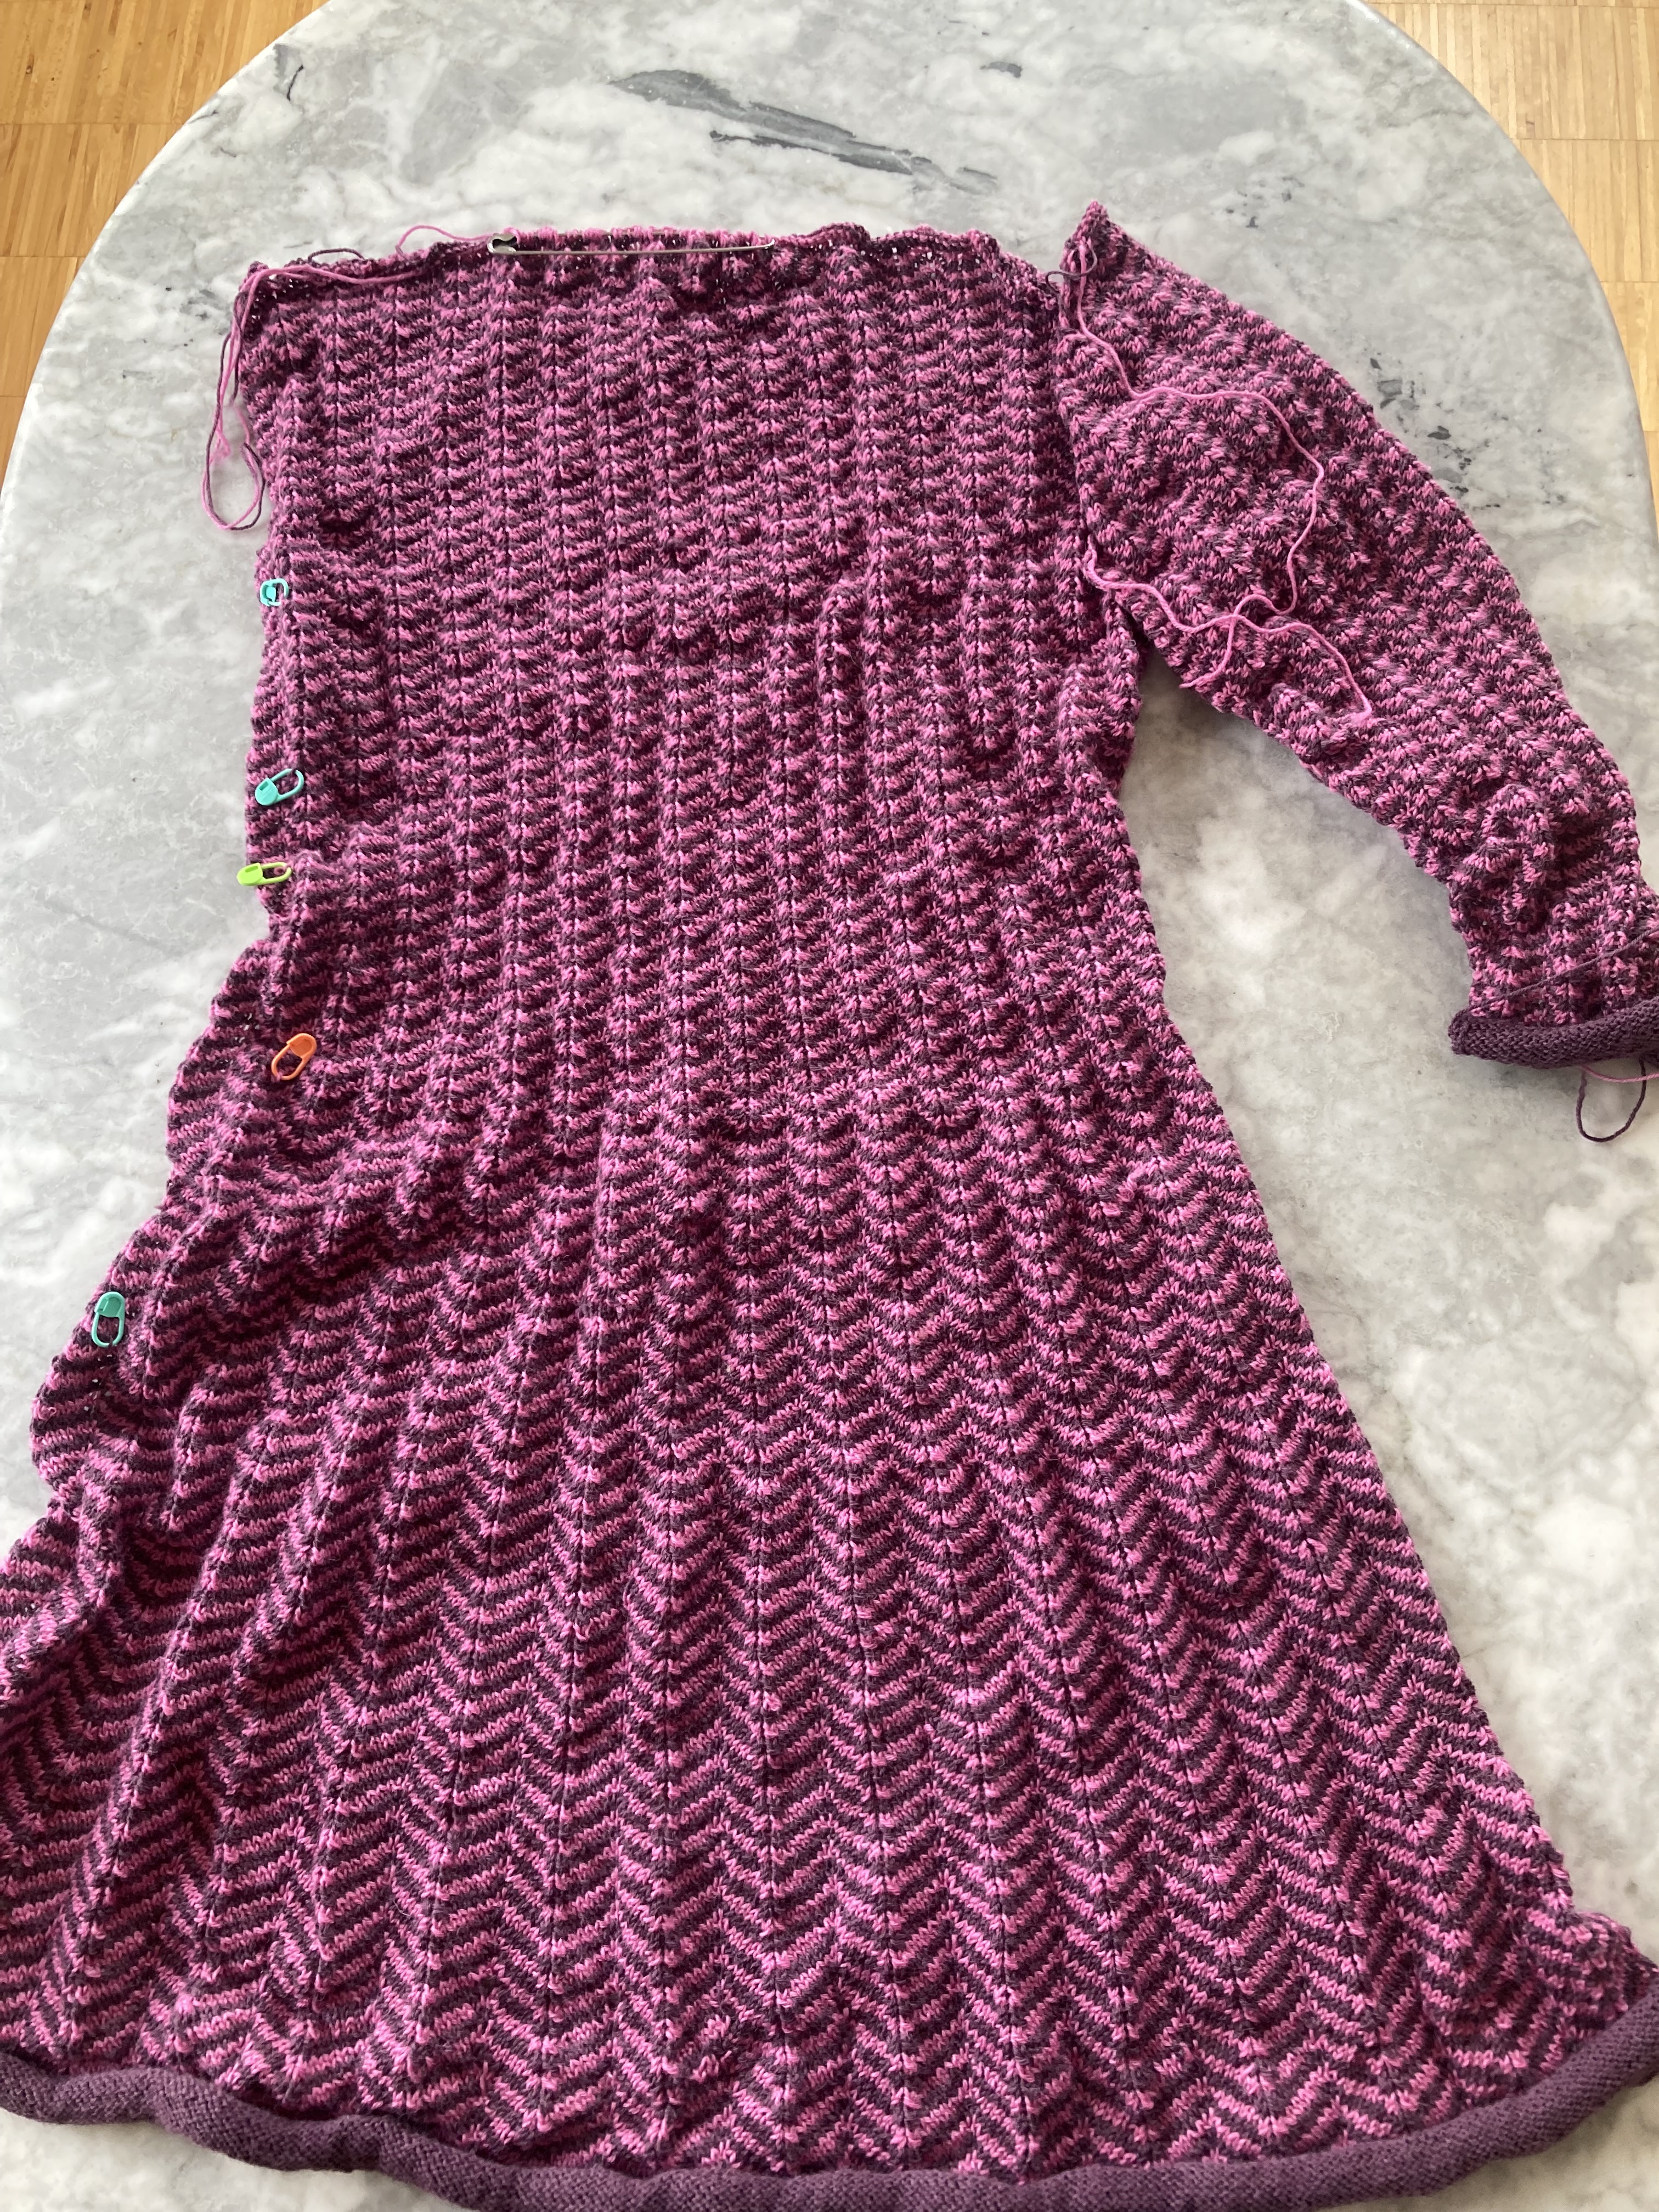
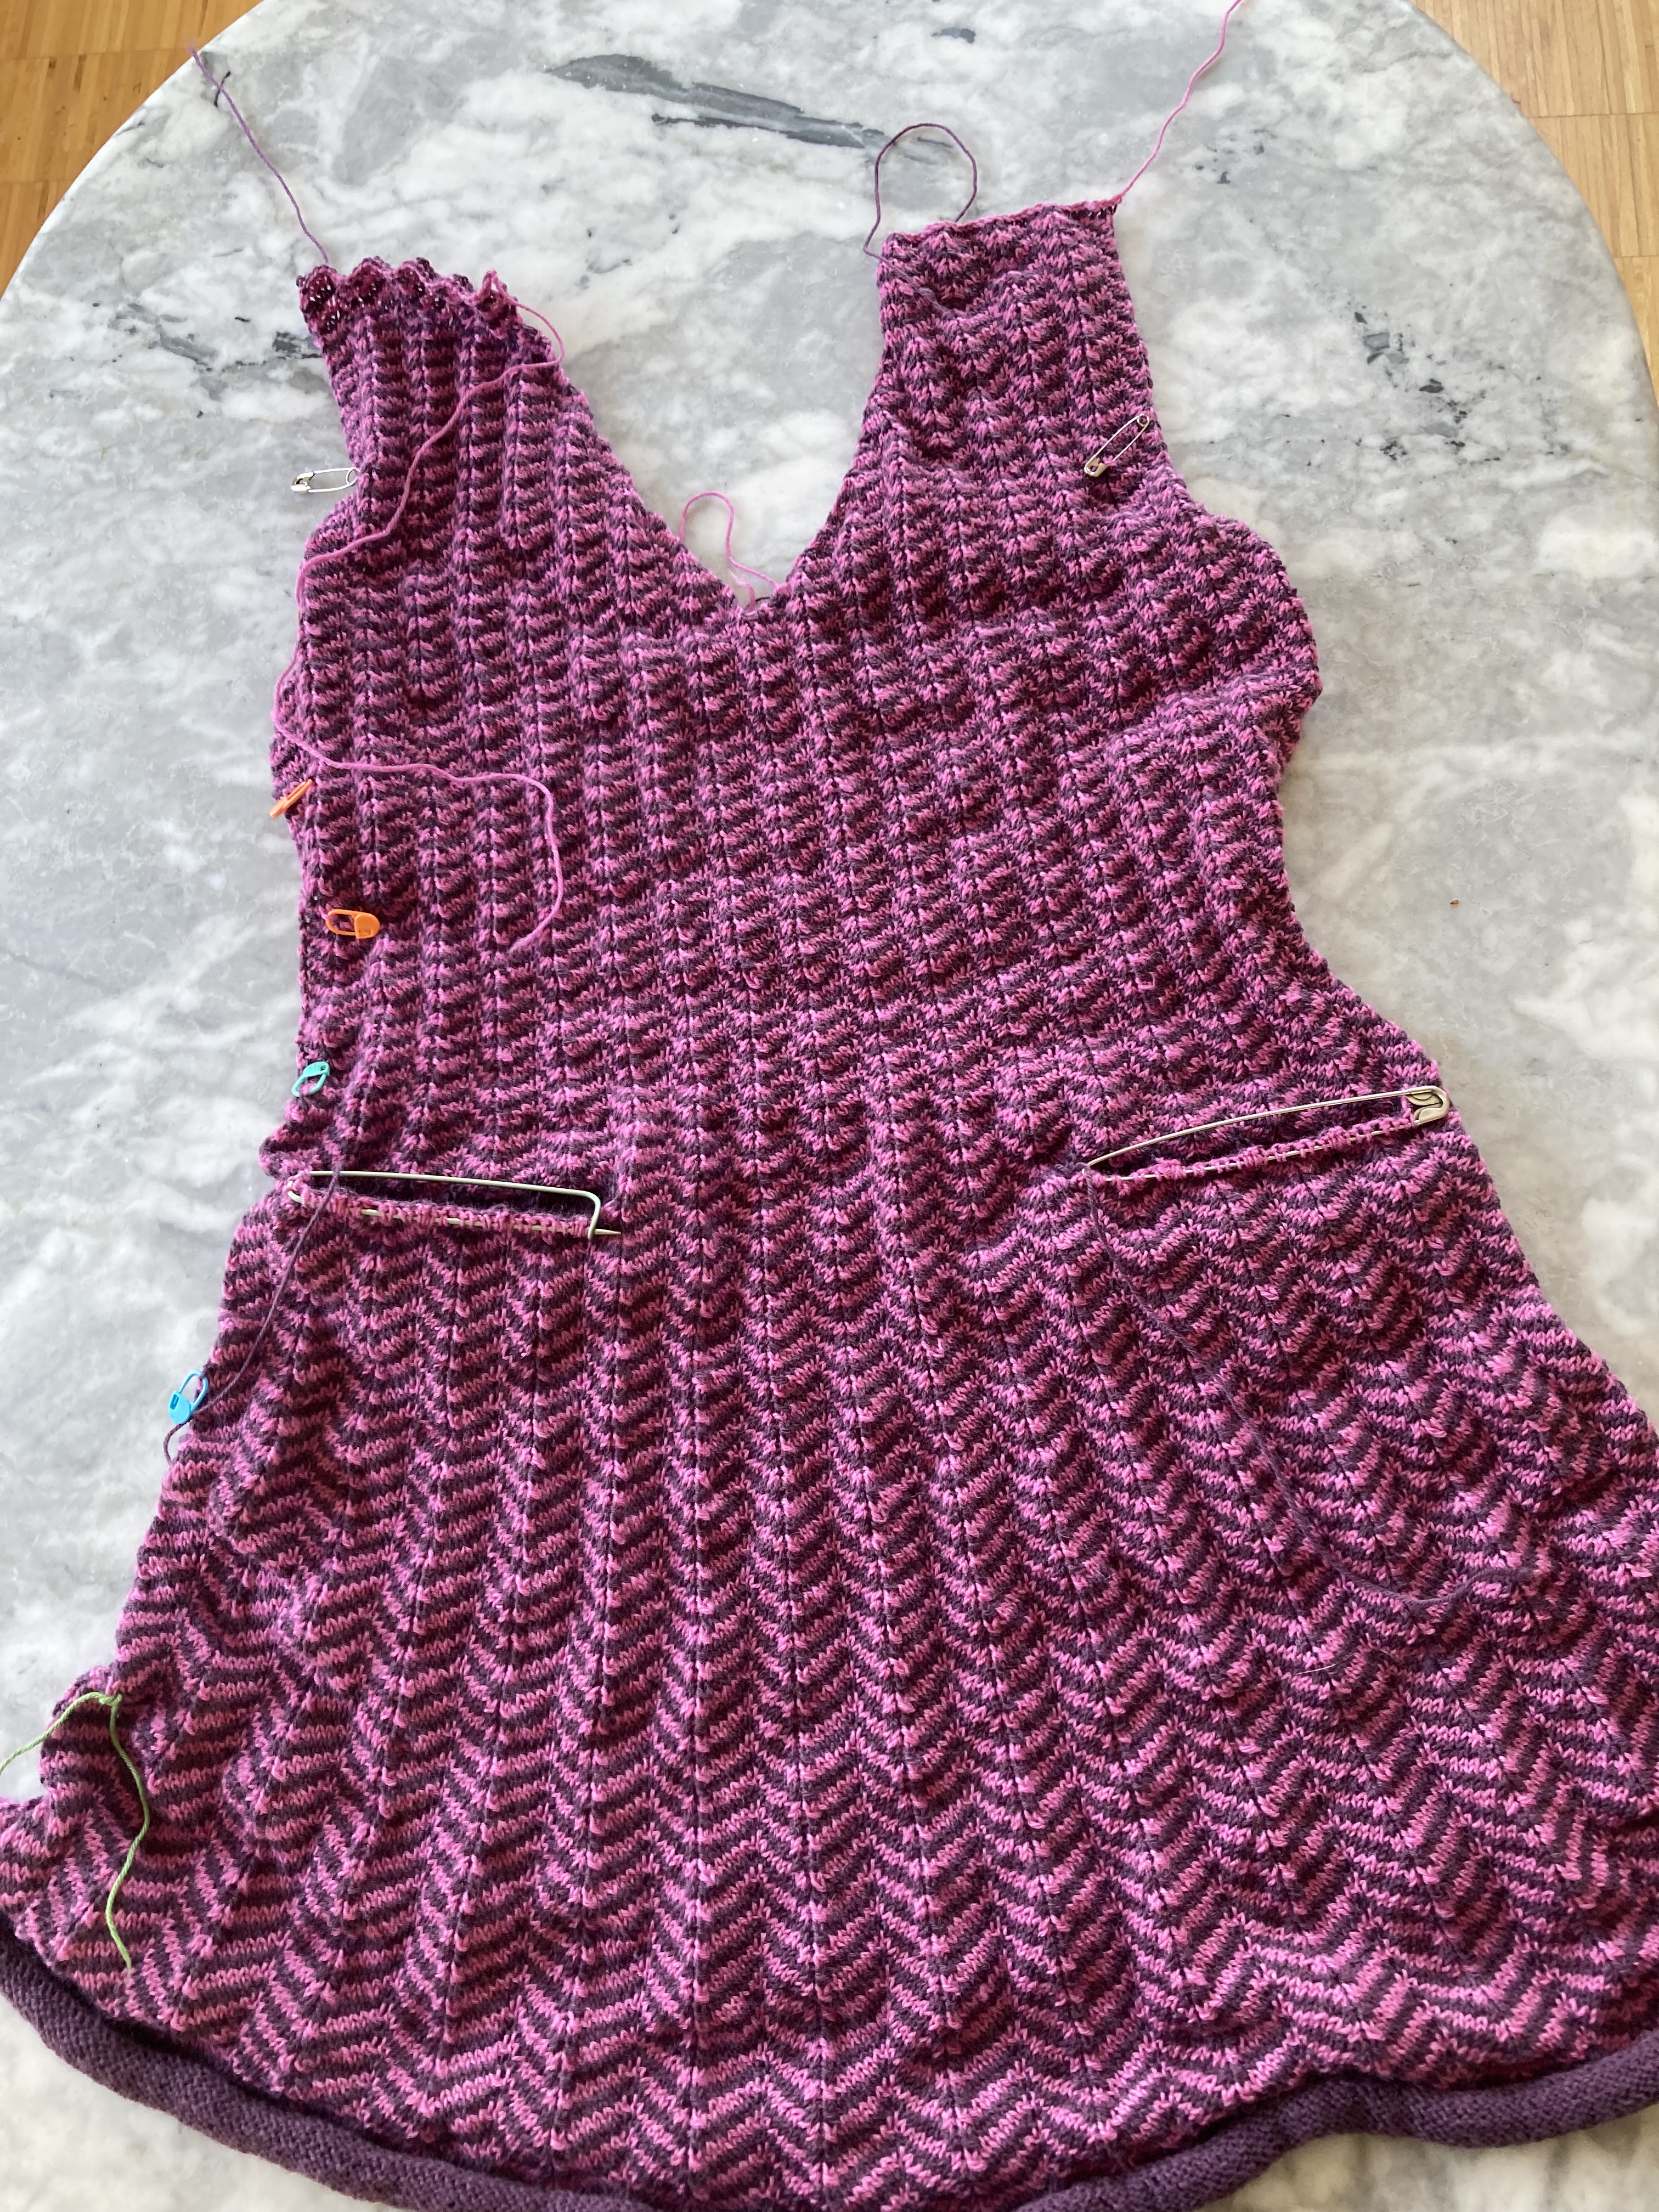
The shaping is mostly done in the chevron pattern itself — it starts off at the hem with 5 stitches in between the zig-zag increases and decreases, then reduces at intervals to only 2 stitches between at the waist. All further increases and decreases to the bust and after the armhole point are done by increasing and decreasing at the edges. (Contrary to my usual modifications, I knit the dress flat in pieces for more stability, as called for in the pattern.) The sleeves are made entirely in the 2-stitch chevron pattern. There are small knitted-in pockets with flaps on the right side. All the edgings, including the V neck, are made with folded-over and sewn-down stocking-stitch hems.
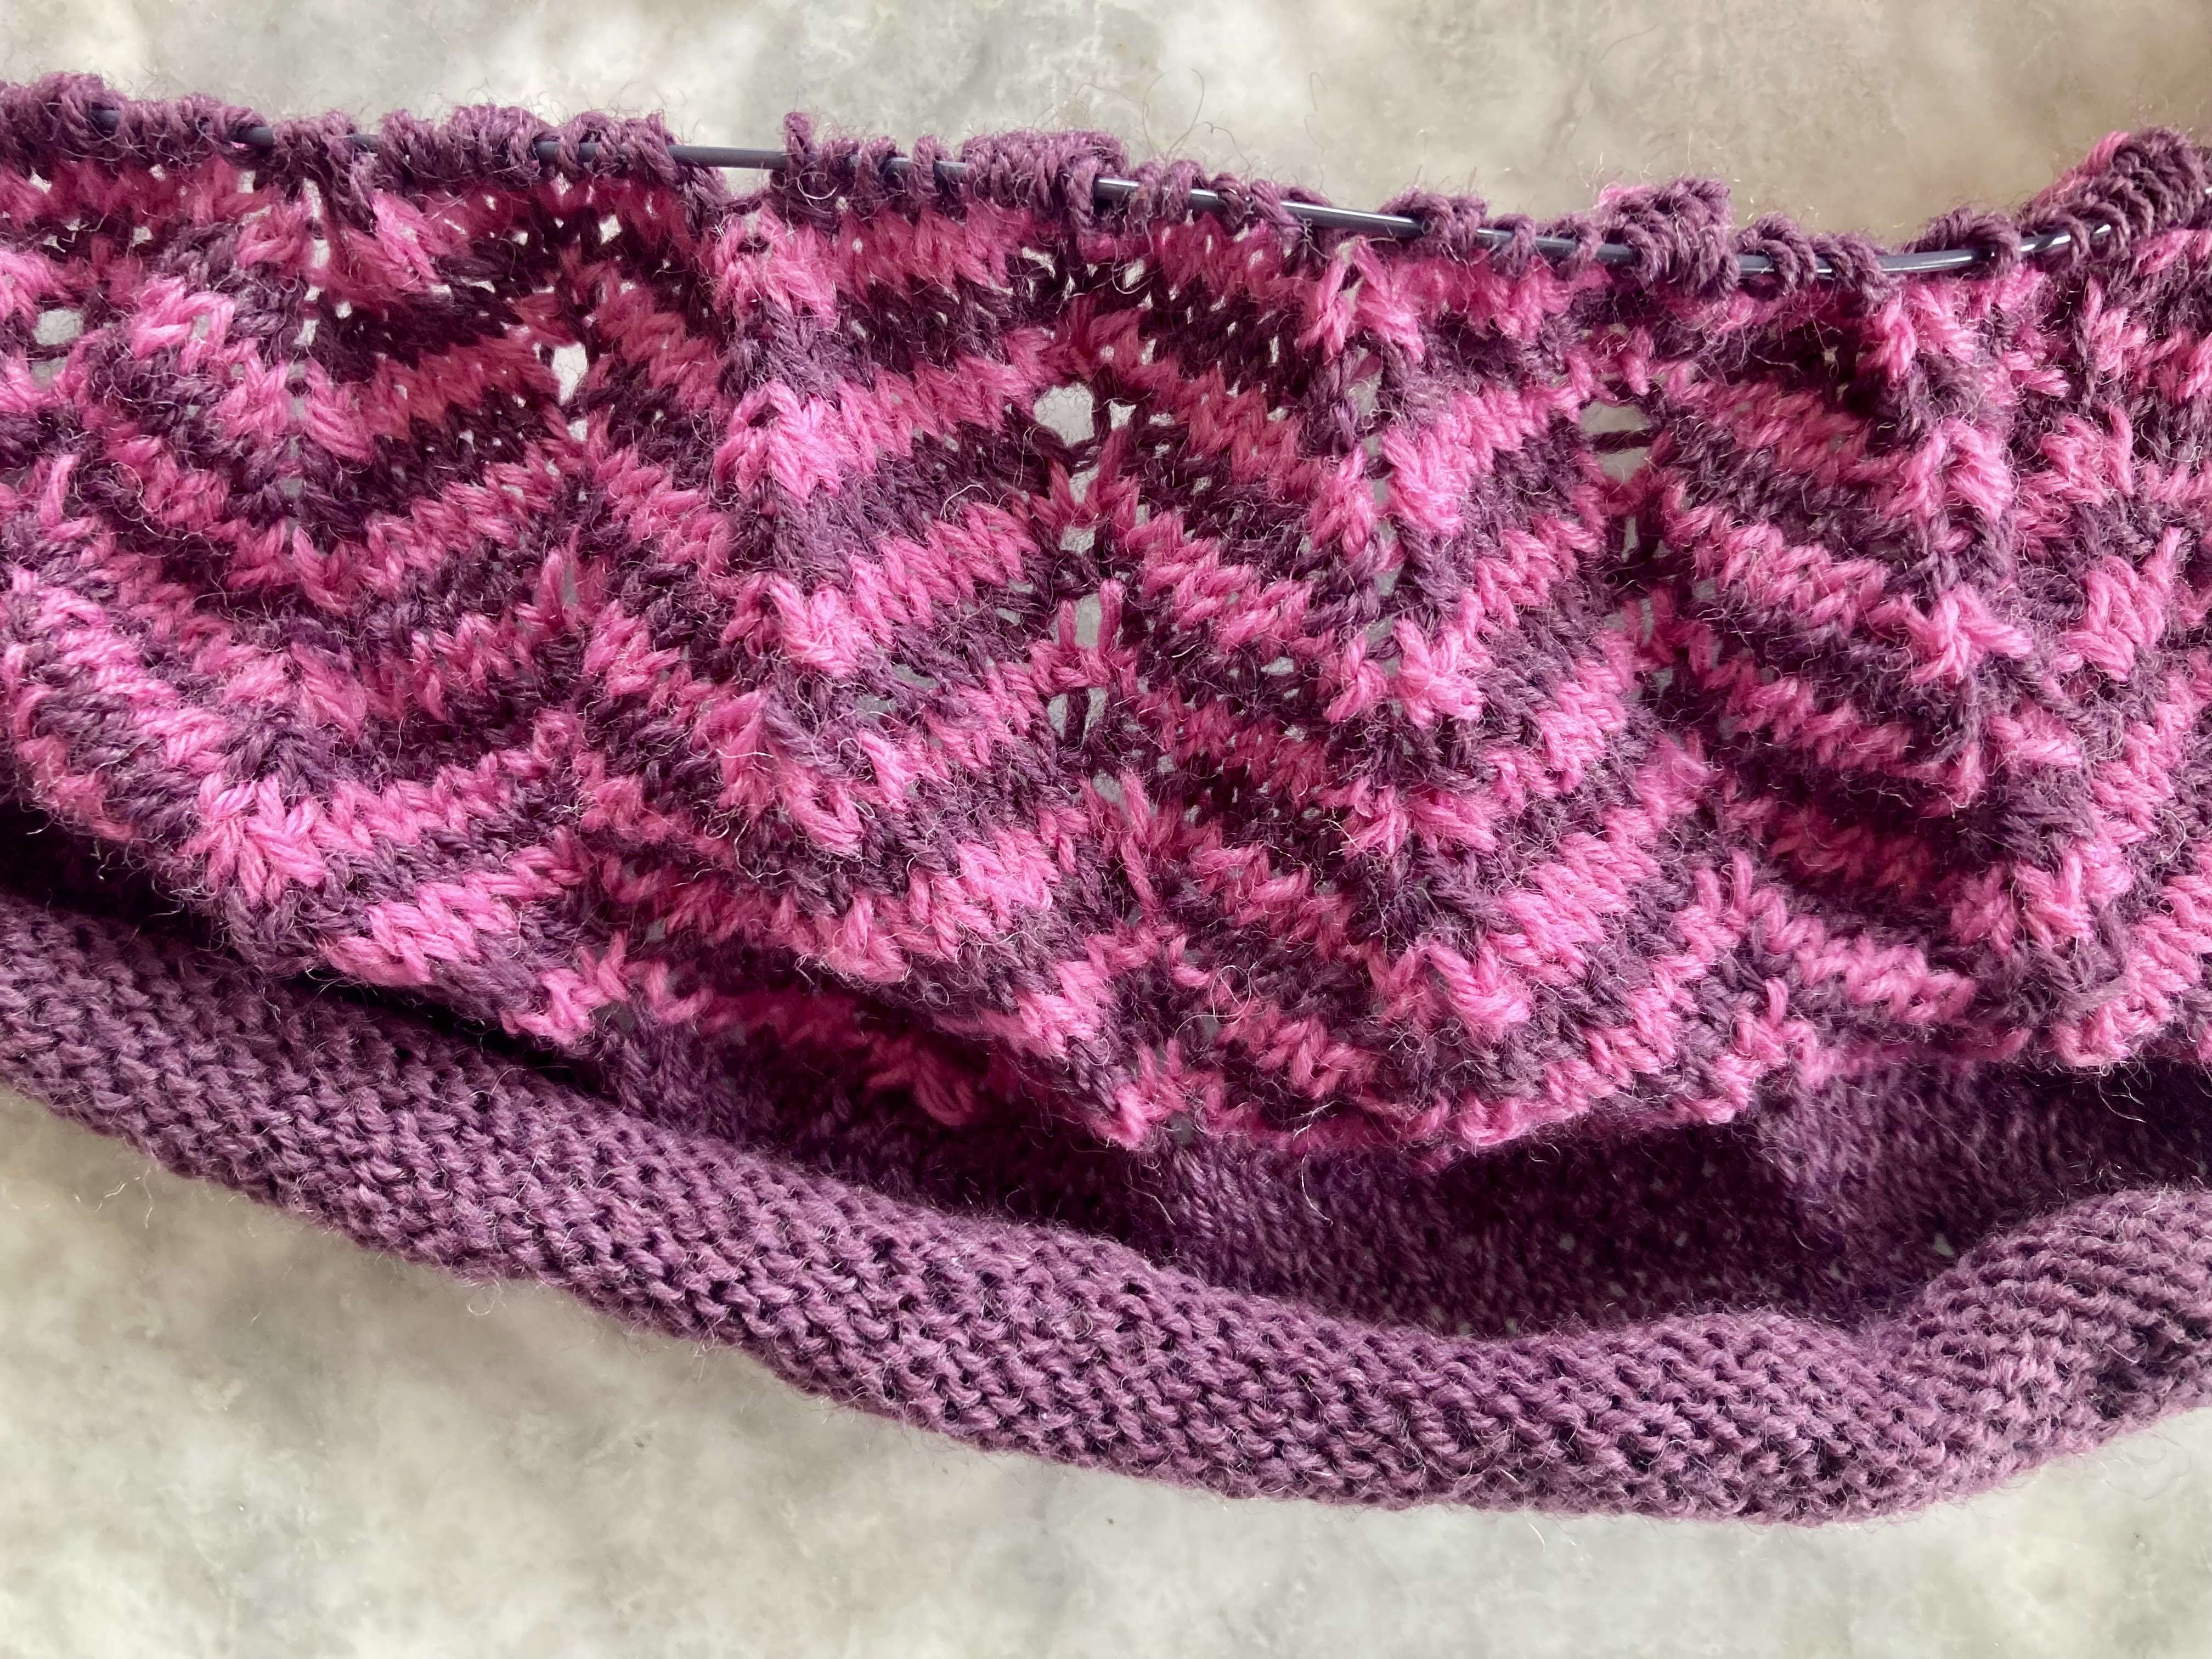
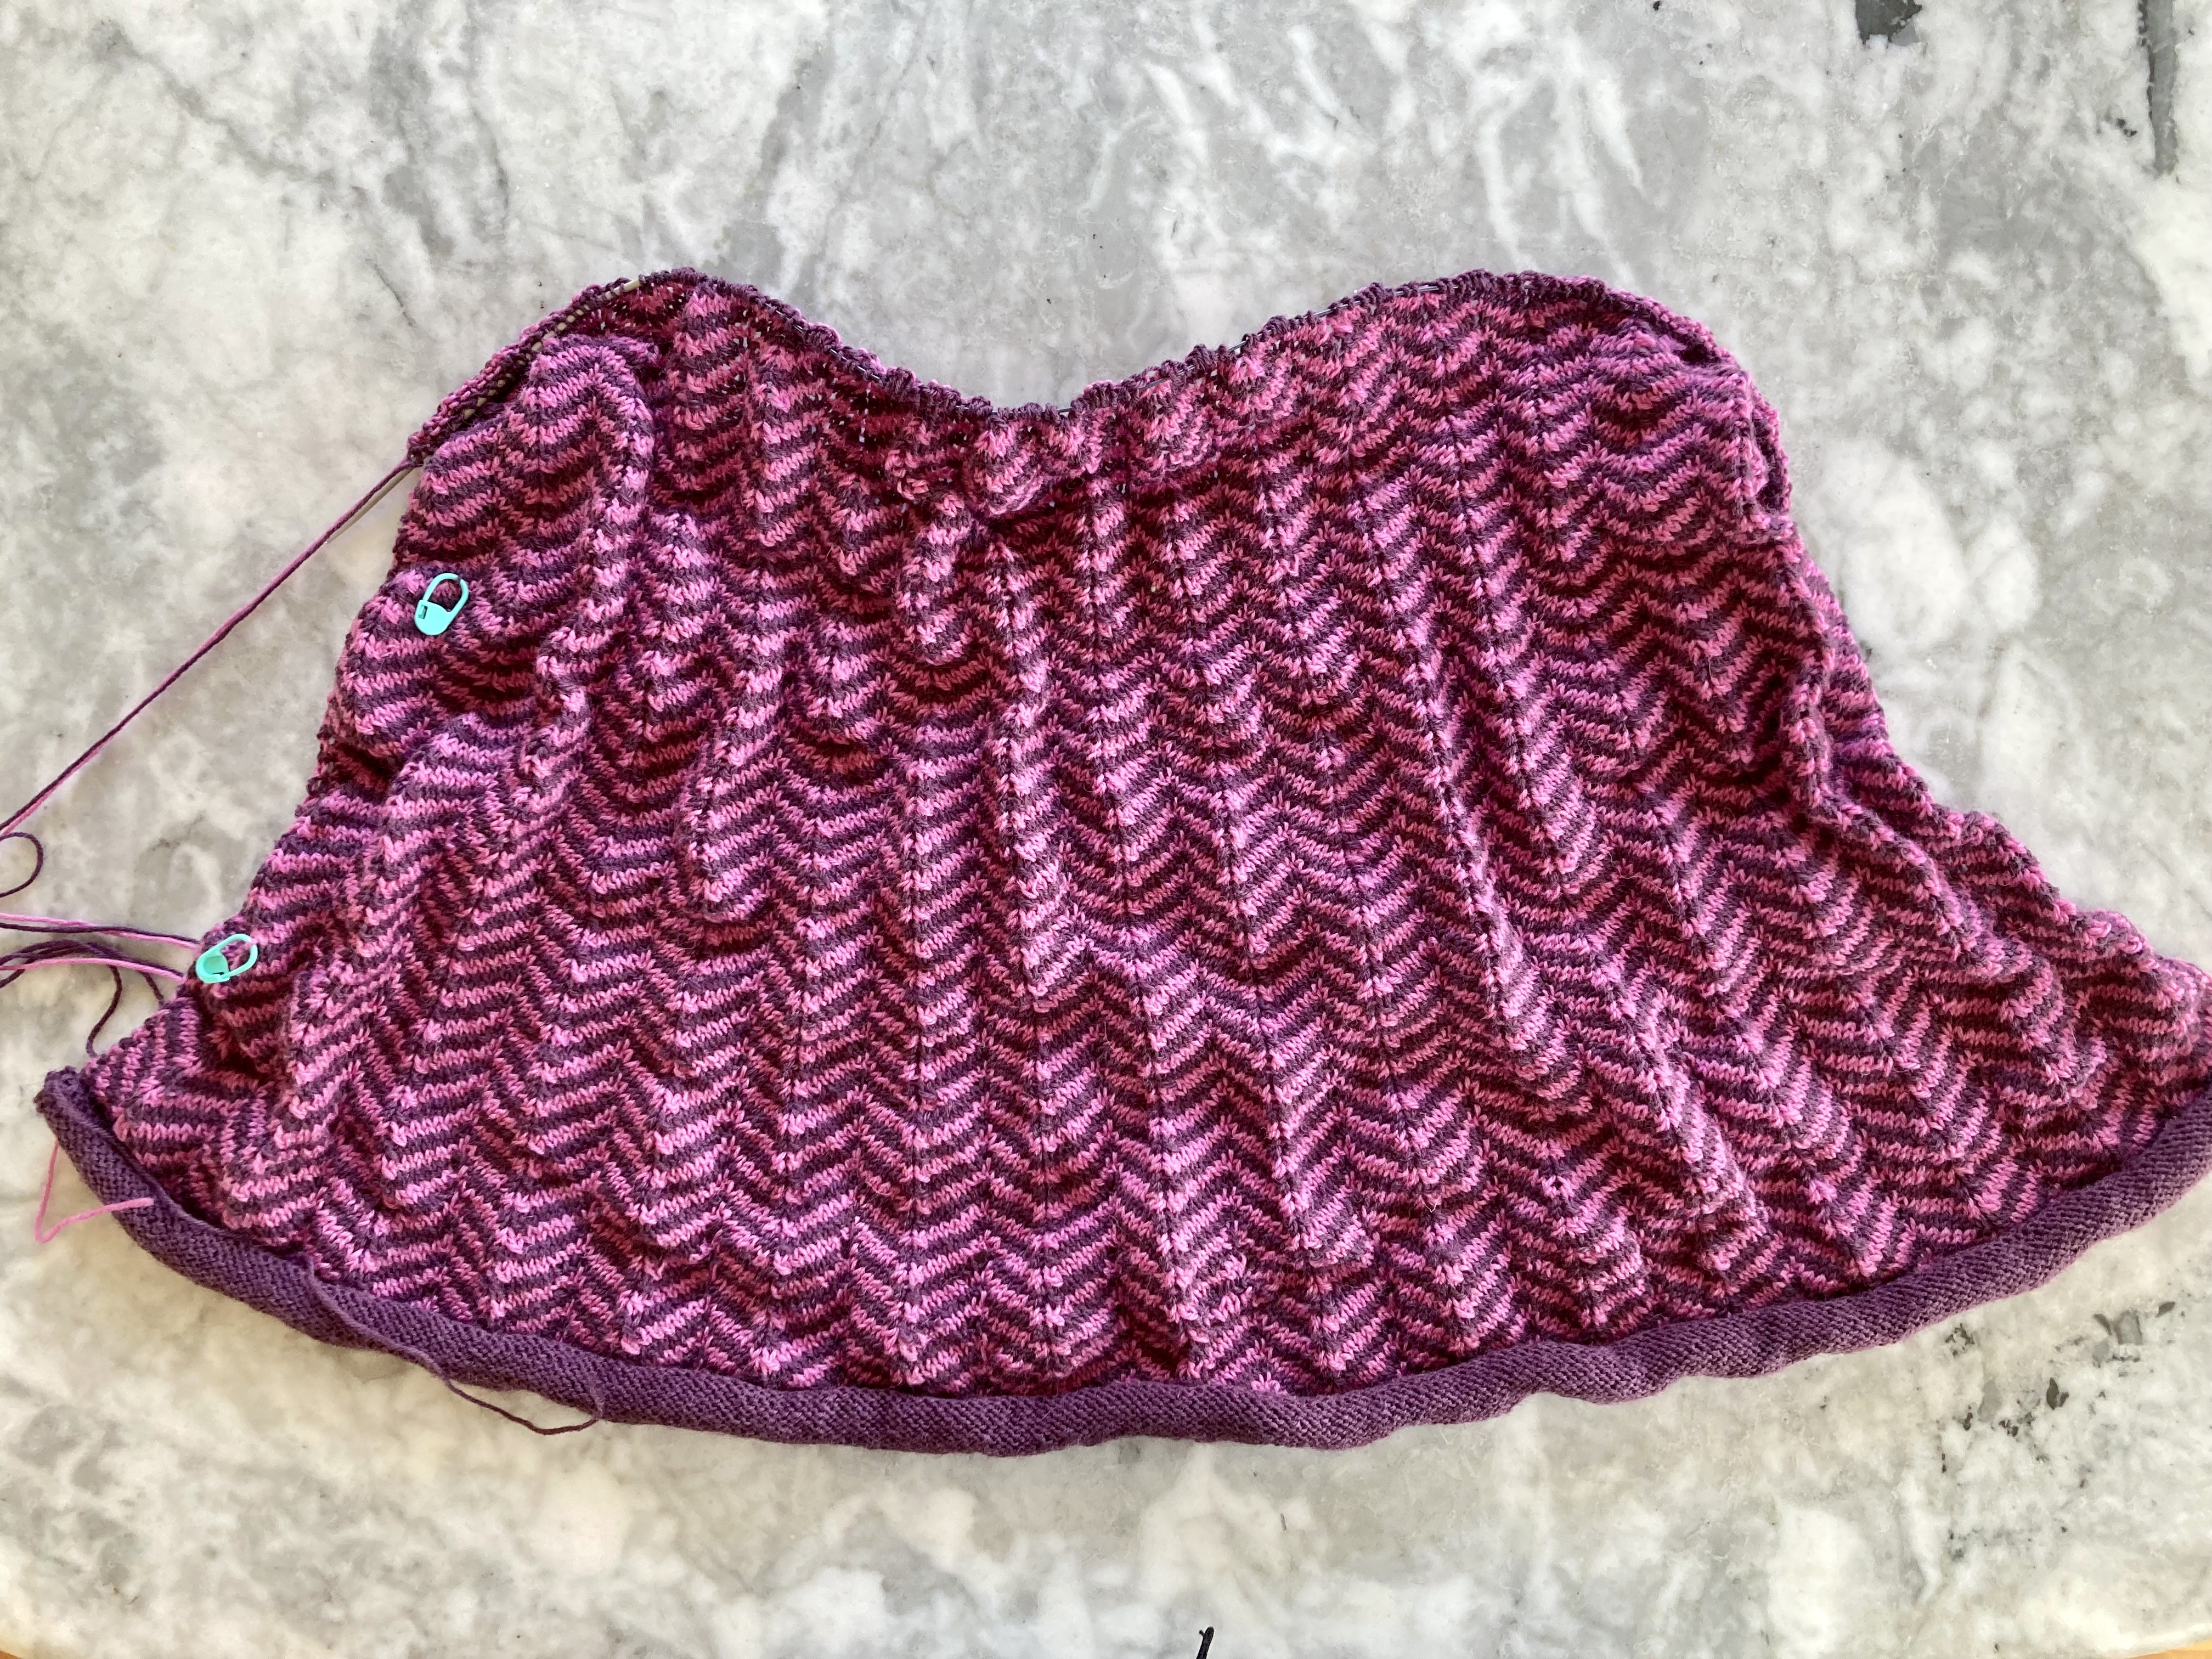

The chevron pattern makes the fabric quite nubbly, so it wasn’t clear exactly how long the dress would be before blocking. I was afraid I might have made it a little too short (I took 3 inches off the pattern length by adjusting the spacing between skirt decreases) because it fell quite a bit above the knee before blocking and the proportions seemed off. Also, the sleeves were a bit shorter than “bracelet” length and a bit tight at the hem. Blocking smoothed it out well, though — maybe even a bit too well! I didn’t pin it or anything, just hand-washed and laid it out flat as I usually do, and it is now actually 37 inches long and the sleeves are long sleeves. The fit in width is fine.

I’m guessing it stretched so much because the wool is superwash. The only solution I have ever found for the problem of superwash-stretch is to put the garment in the dryer (maybe a nice reader of this blog has a less dangerous idea?) I didn’t dare to do it with this dress at the very first blocking after putting so much work into it and being so happy with the final result, but I might cautiously try it next time I wash it. I’m happy with the fit the way it is, but it would look snappier and more authentic if it were just a bit shorter and if the sleeves were truly bracelet length.
As always, we had fun with the photos! I don’t know how the models were able to twist their backs up so severely and still look relaxed and pretty.