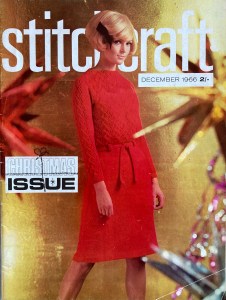
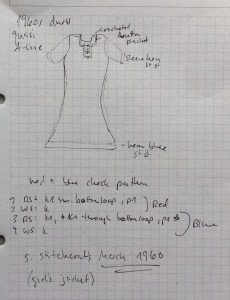
The December 1966 issue of Stitchcraft had some lovely items in it, but the ones I liked best were too time-consuming or impractical to make in the middle of a busy season. For example, I loved the dress on the cover, with its criss-cross stitch pattern on the bodice and sleeves, but didn’t have the time or energy to make a whole dress. I decided to adapt the sleeve pattern to make a pair of long fingerless gloves.
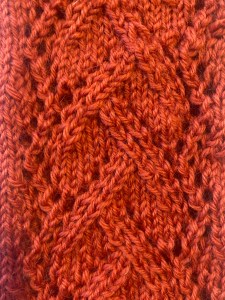
Two years ago, I made this pullover from the December 1964 issue, and still had plenty of wool left over to make a set of mitts. The pattern on the December 1966 cover dress (see close-up photo here) is quite different in appearance, but in a way similar to the December 1964 pattern in the fact that the stitches seem to twist and cross, but there are no actual cables nor even twisted stitches — it’s all done with regular knit and purl stitches, plus yarn-over increases and k2tog and s-k-psso decreases.
The leftover yarn that I used was G-B Jil — DK weight, 100% wool and corresponded well to the Shetland wool-and-acrylic-blend Patons “Fiona” from the dress. Actually, I think my wool was even better for this stitch pattern, since it’s worsted-spun and superwash — nice and smooth to make the pattern stand out well, as well as being non-scratchy and washable. I don’t know why this wool brand is not more popular where I live. I guess it’s too “plain”? Their brand slogan translates to “nice, reliable, and a good bargain for your money”, which, unlike most advertising claims, is both refreshingly humble and 100% accurate. It is perfect for everyday knits and wears well.
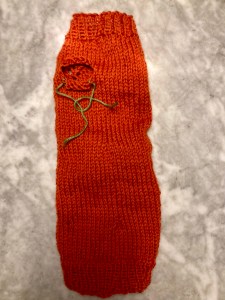
The dress pattern has sort of “bracelet” length sleeves, i.e. deliberately a bit too short, so I figured the mitt ribbing would rest at roughly the same spot on the arm as the cuff ribbing of the dress. I started the mitts there, at the arm, on 48 stitches (dress pattern has 49, but seamed — I made the mitts in the round) and worked toward the hand. After the first pattern, I decreased for the wrist to 46 stitches, then to 44 on the fourth pattern. I made an afterthought thumb on pattern repeat 6, then decreased down to 40 stitches for the hand ribbing. The thumb had 6 “afterthought” stitches top and bottom, and I picked up 6 more for a total of 18.
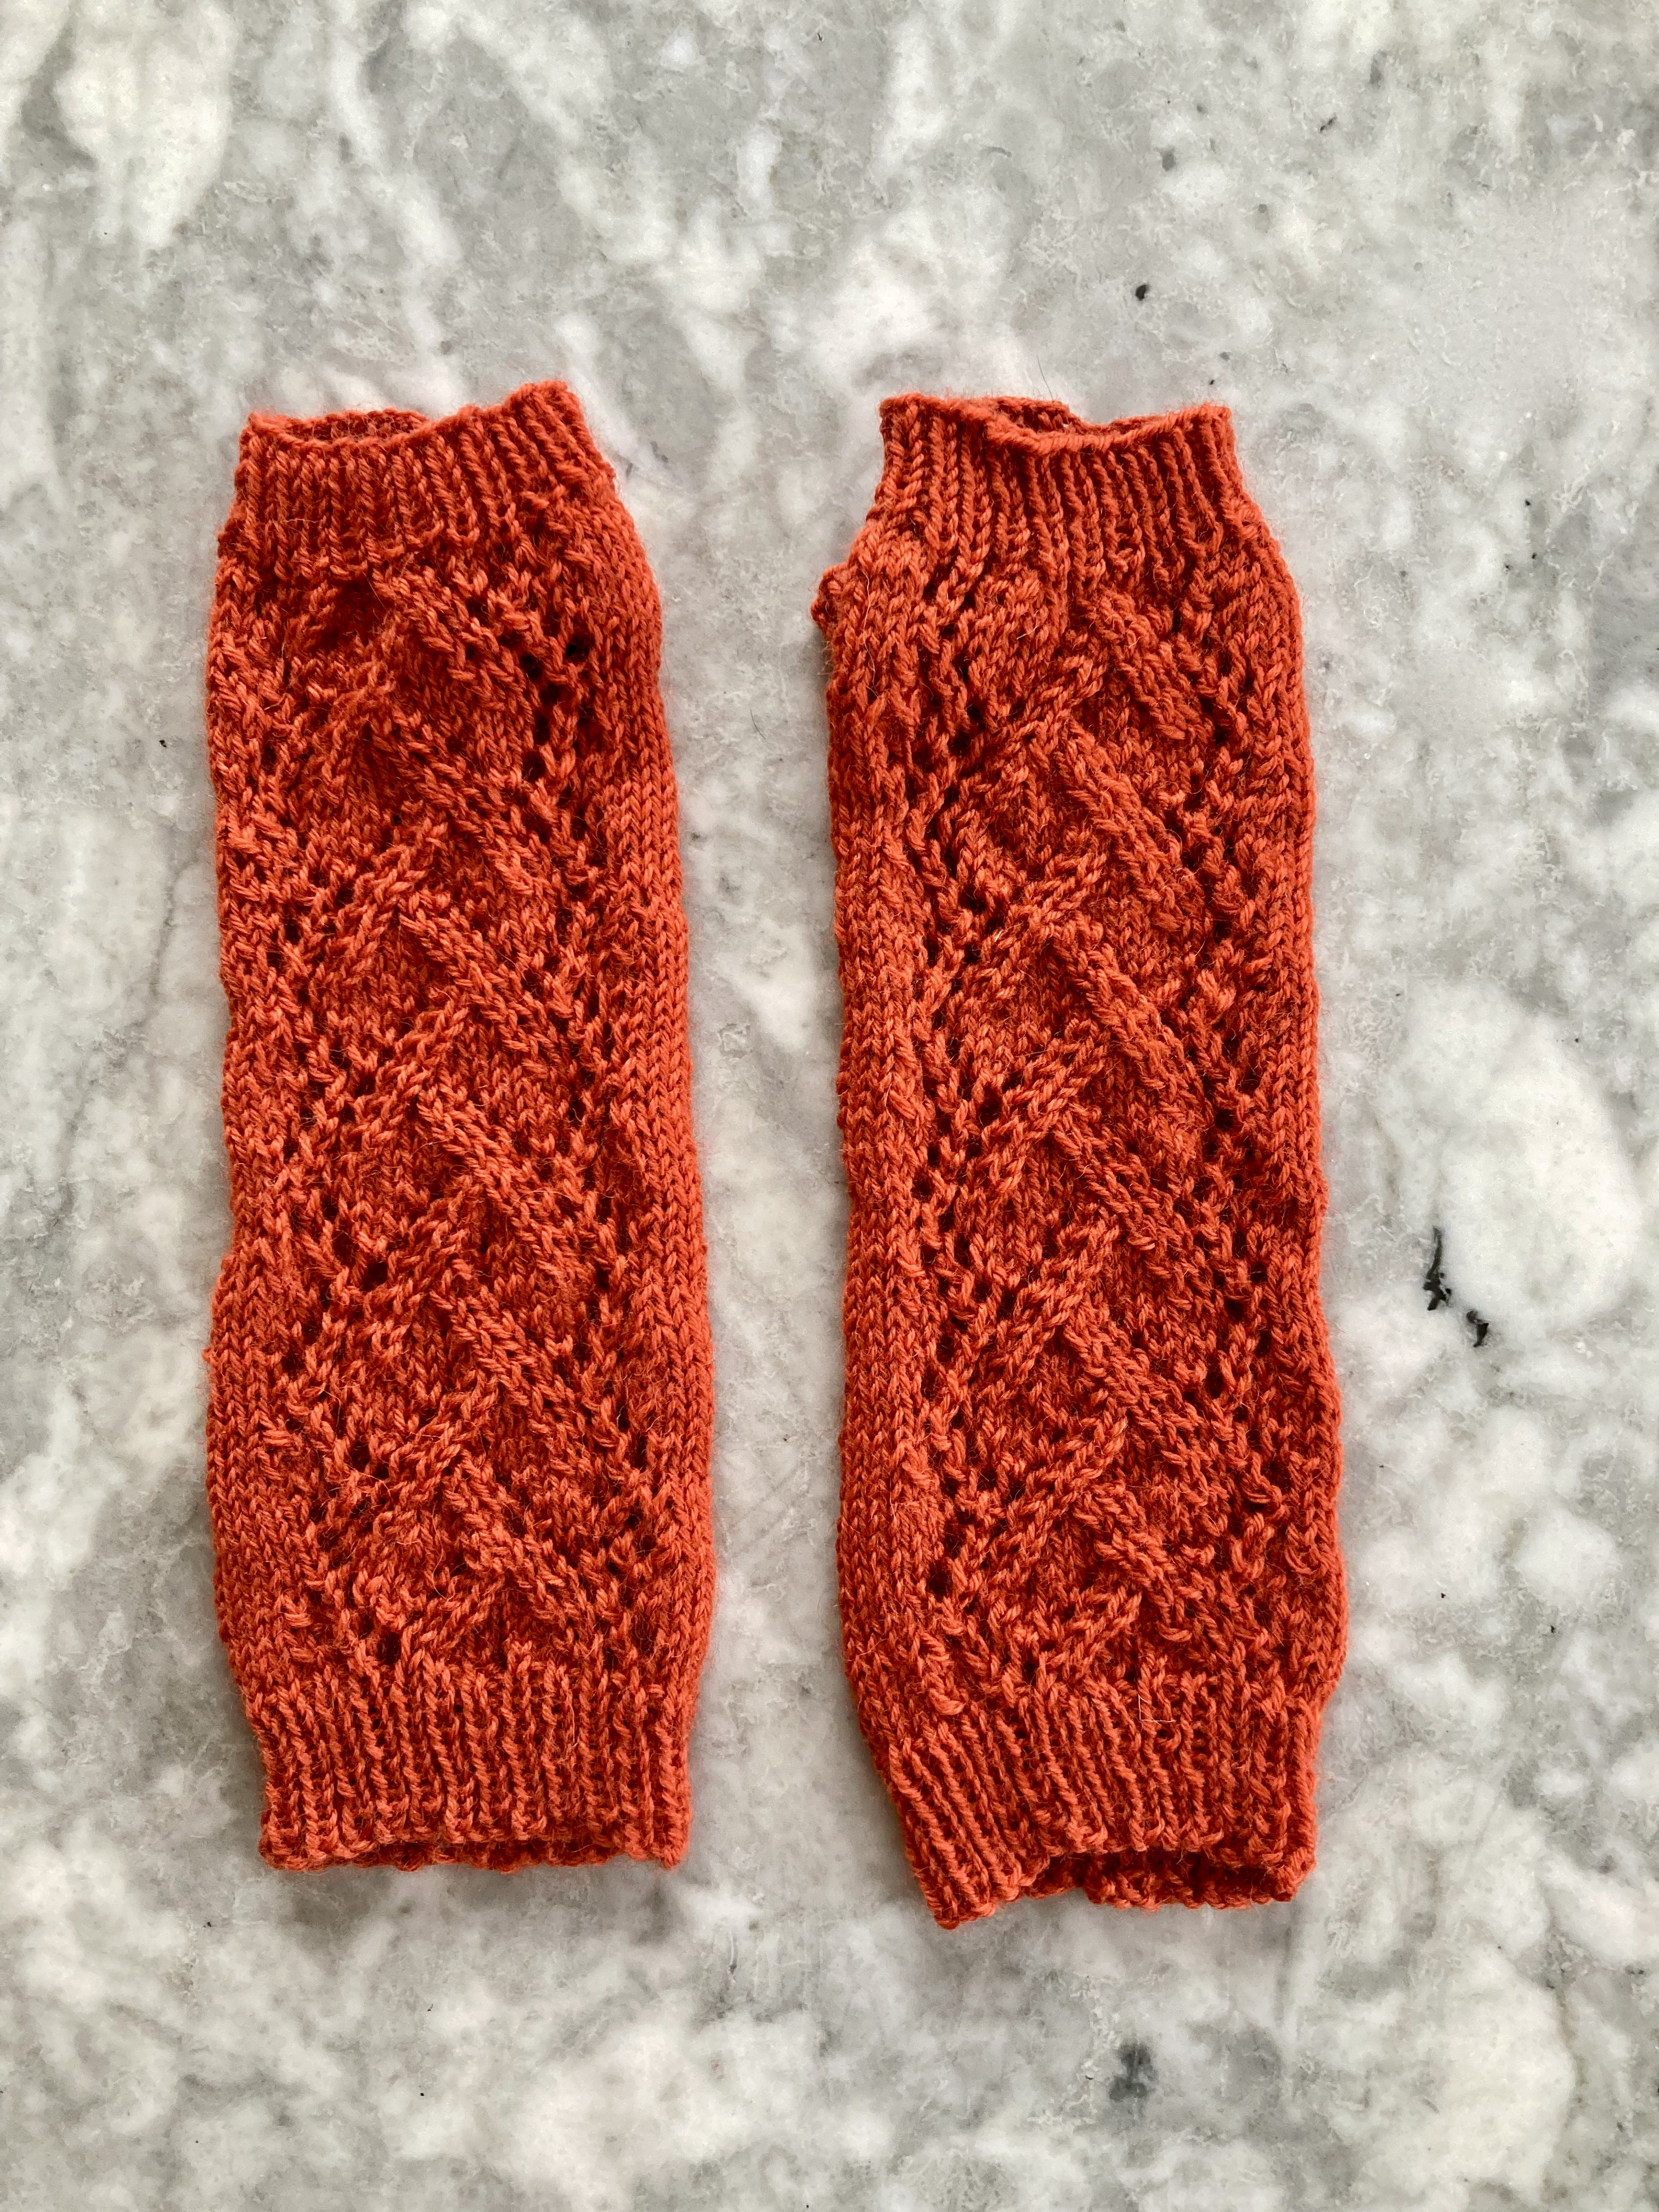
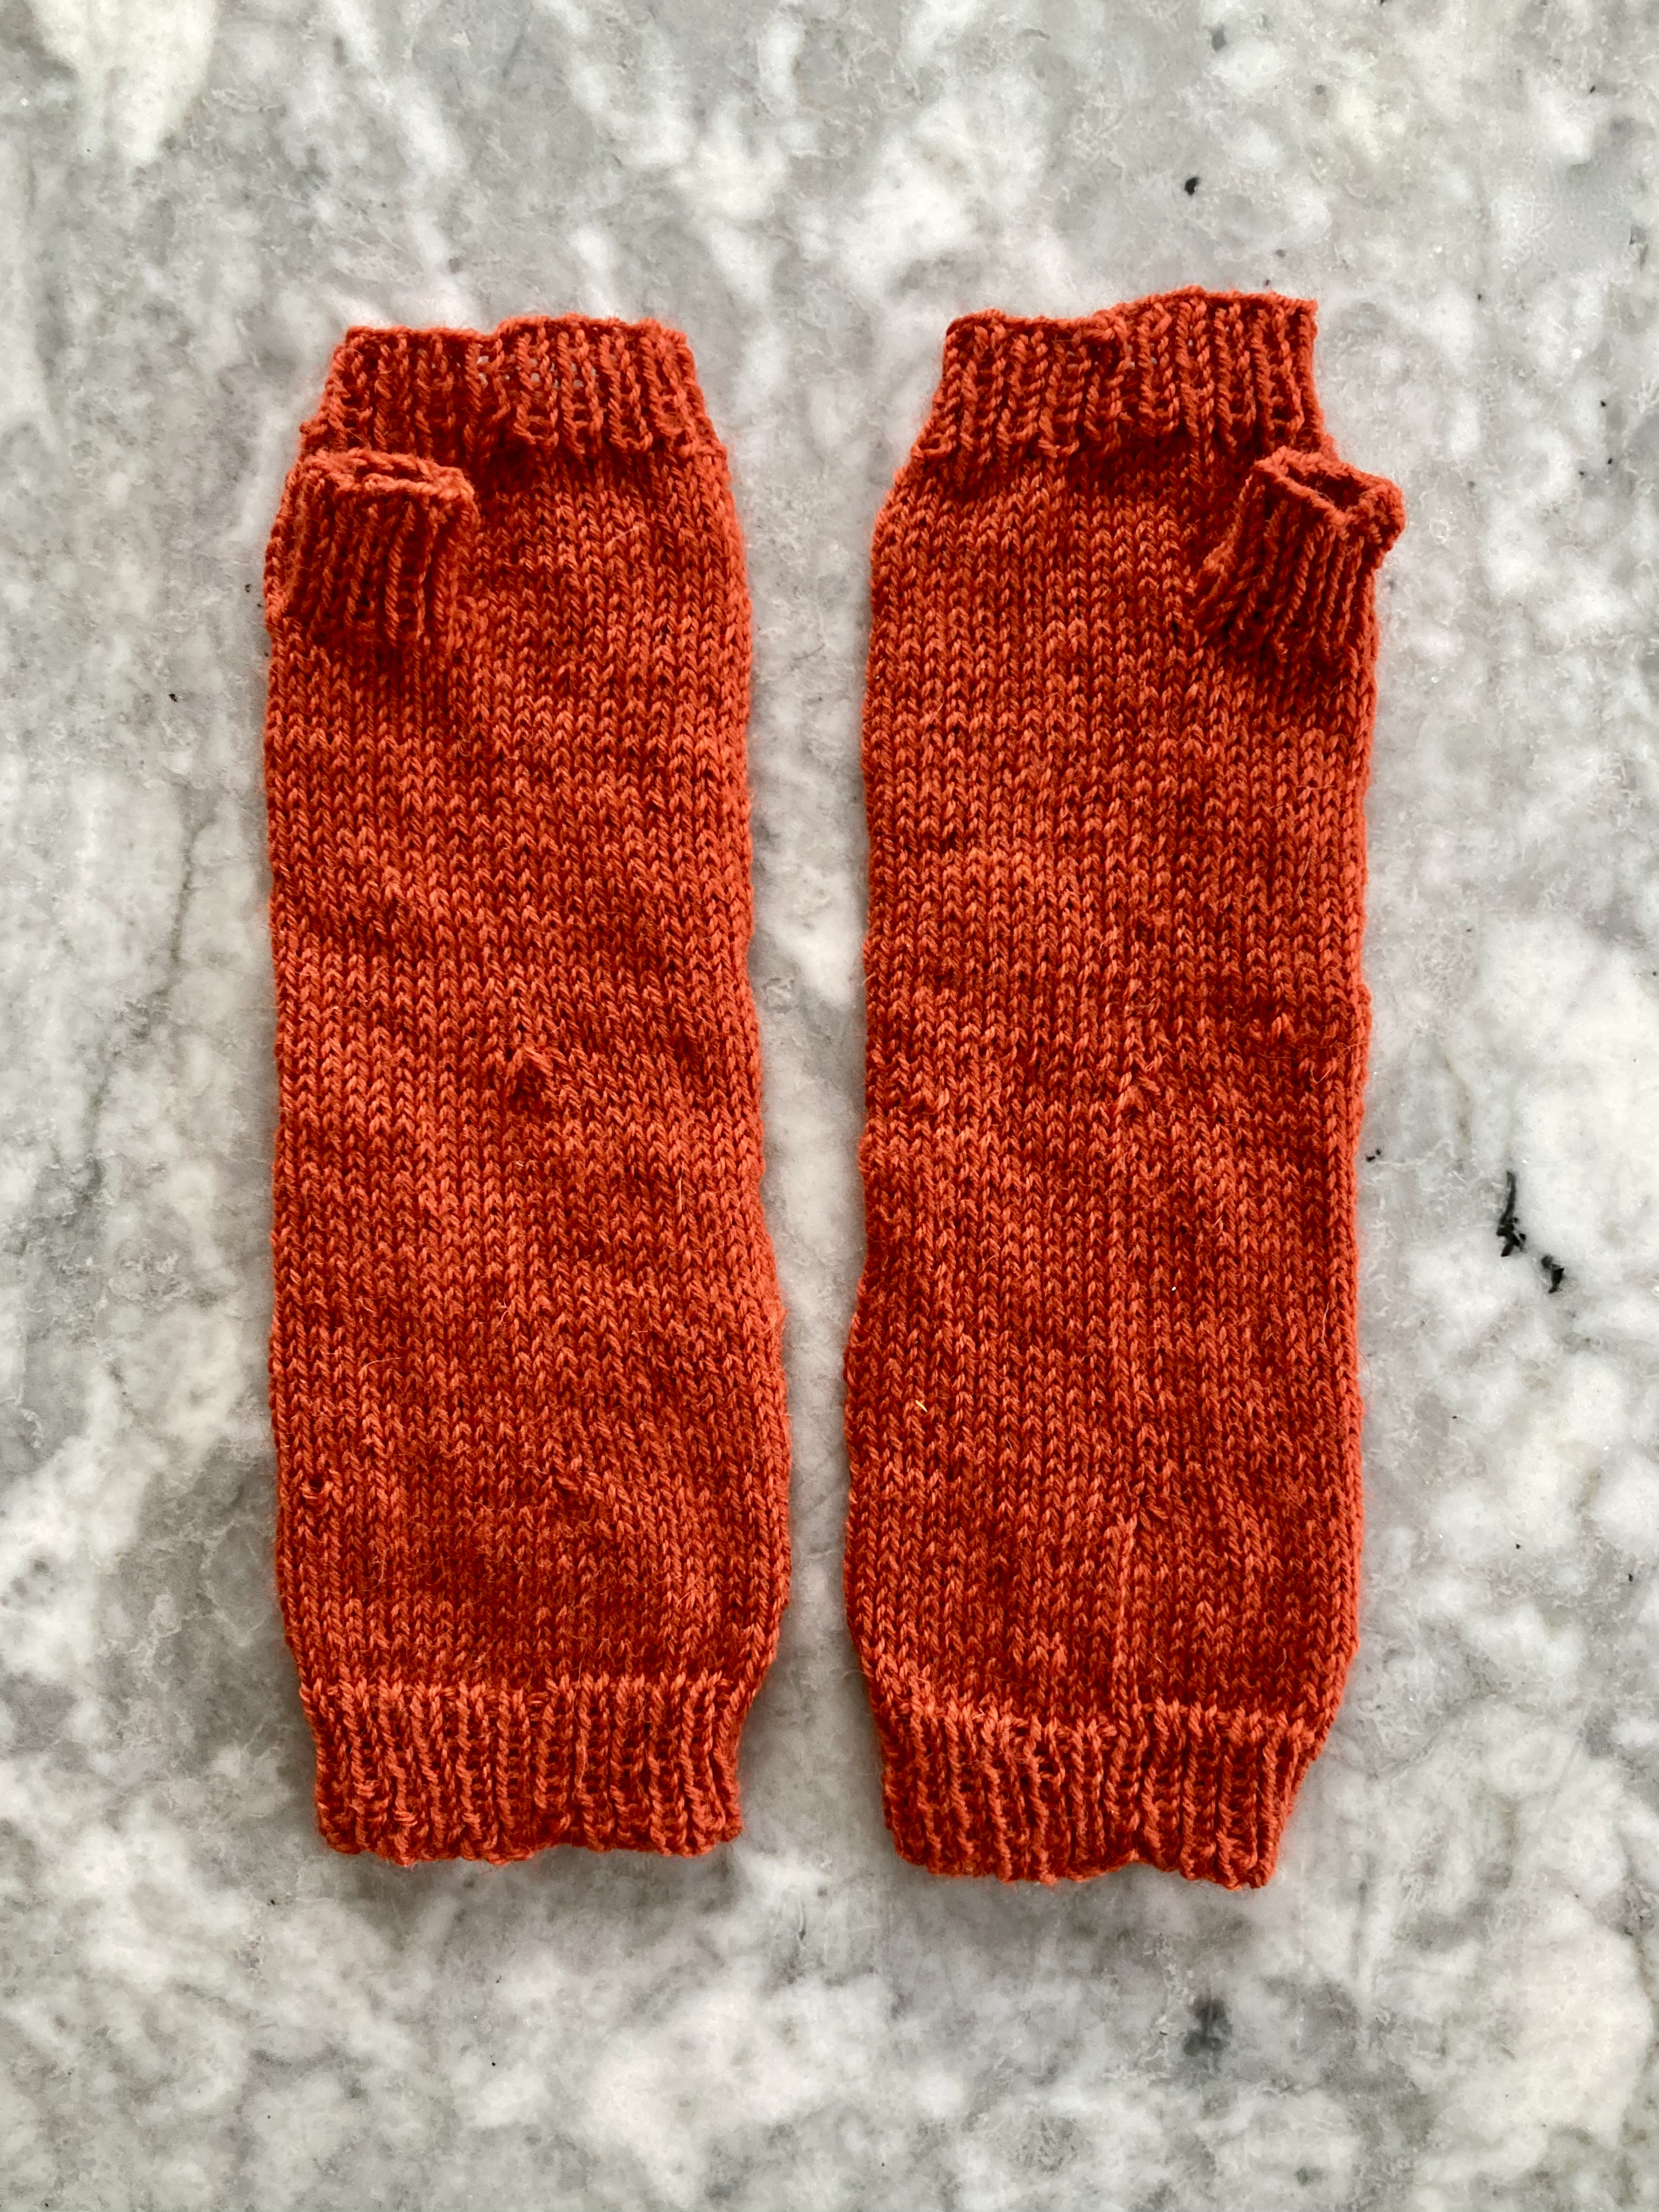

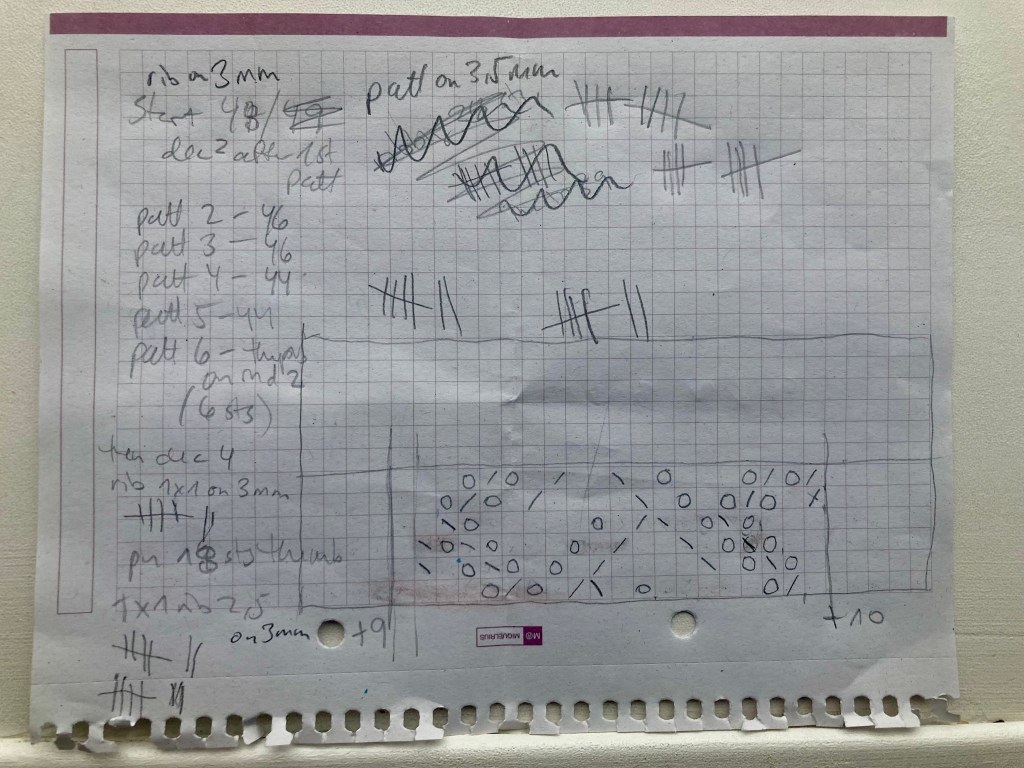
And that was it! Easy peasy. Well, almost. I admit that the the stitch pattern was more complicated and “illogical” (as in, in was hard to memorise or “instinctively” know what was coming next in each round) than I had expected. I charted it out, which helped — the pattern in the magazine is written out in words only and it is easy to get lost in a sea of “k2, yo, sl1, k1, psso, yo, k1, k2tog” etc. I am way too lazy to write this out as a proper pattern and try to sell it on Ravelry, but here are my scribbled notes, if anyone wants to make their own version. The hash marks show the number of rows in the ribbing – 10 at the beginning and 7 at hand and thumb — and the chart only shows the odd-numbered rows 1, 3, 5, 7, 9 and 11 –the even-numbered rows are all knit (in the round). The mitts fit fine on my size-8 hand. but of course, since the pattern is only on the top side of the mitt, you could easily add or subtract from the plain stitches on both sides to make them larger or smaller.
Happy New Year, and thank you all for reading my blog! Stay tuned for lots of fun designs and projects coming up from 1967, which was a great year for Stitchcraft.
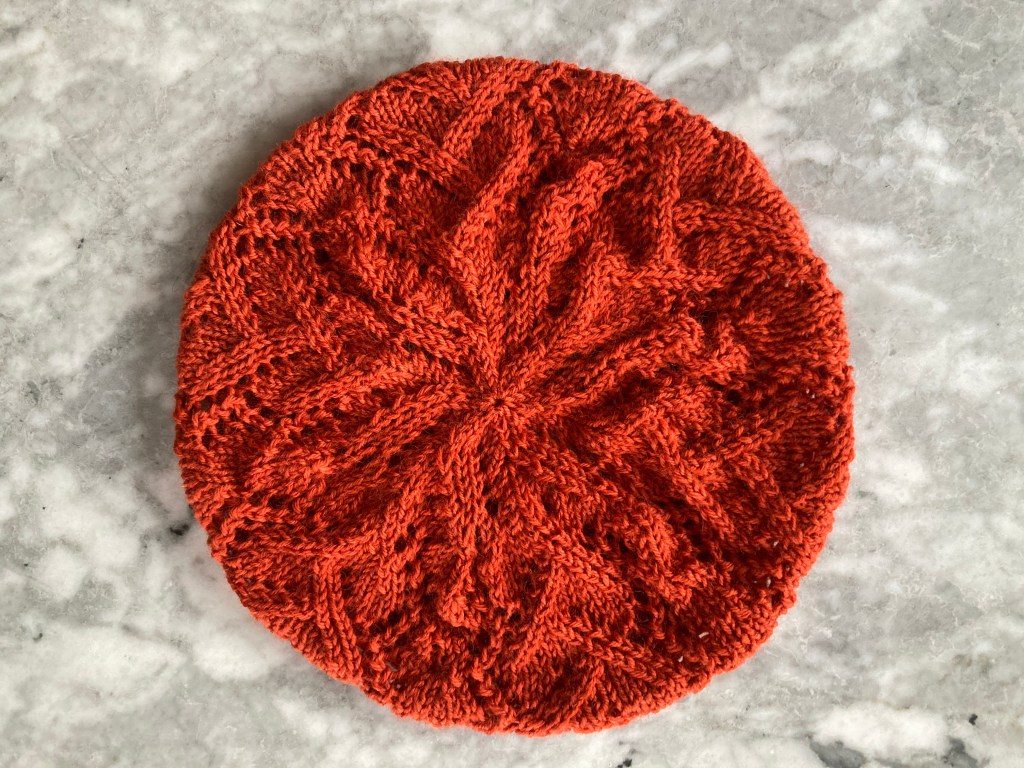
EDIT January 1st, 2025: I made a tam to go with the mitts!
 This month’s project was a little bit different than usual. Instead of making something from the April 1961 issue, which didn’t have any projects that really spoke to me, I decided to finally make something I’ve been dreaming of ever since I made
 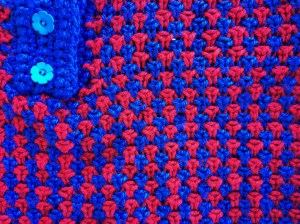 I chose a typical basic construction with front, back and sleeves all made flat and separately from the bottom up and sewn together, and made a stockinette-stitch hem with the blue yarn. The dress shape is a modified A-line: flared at the hem and narrowed to the top waist, then increased slightly at the bust. I used another knit dress as a pattern, but had to deviate from it as the stitch pattern made the fabric behave differently. The sleeves are short, simple and set-in. The front piece is essentially the same as the back, but divided in half after the armhole cast-offs and rounded a bit at the neck. The button band is plain crochet.
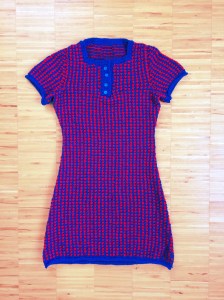 After it was all done, I realised that I liked the roll of the blue stockinette stitch hems, so I decided to just leave them as is. That means the bottom hem is a little bit narrow in the blue part where it should flare out. I may or may not fix that in time, depending on my laziness levels.

