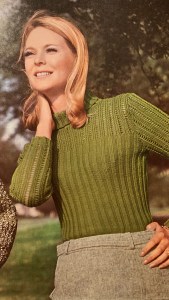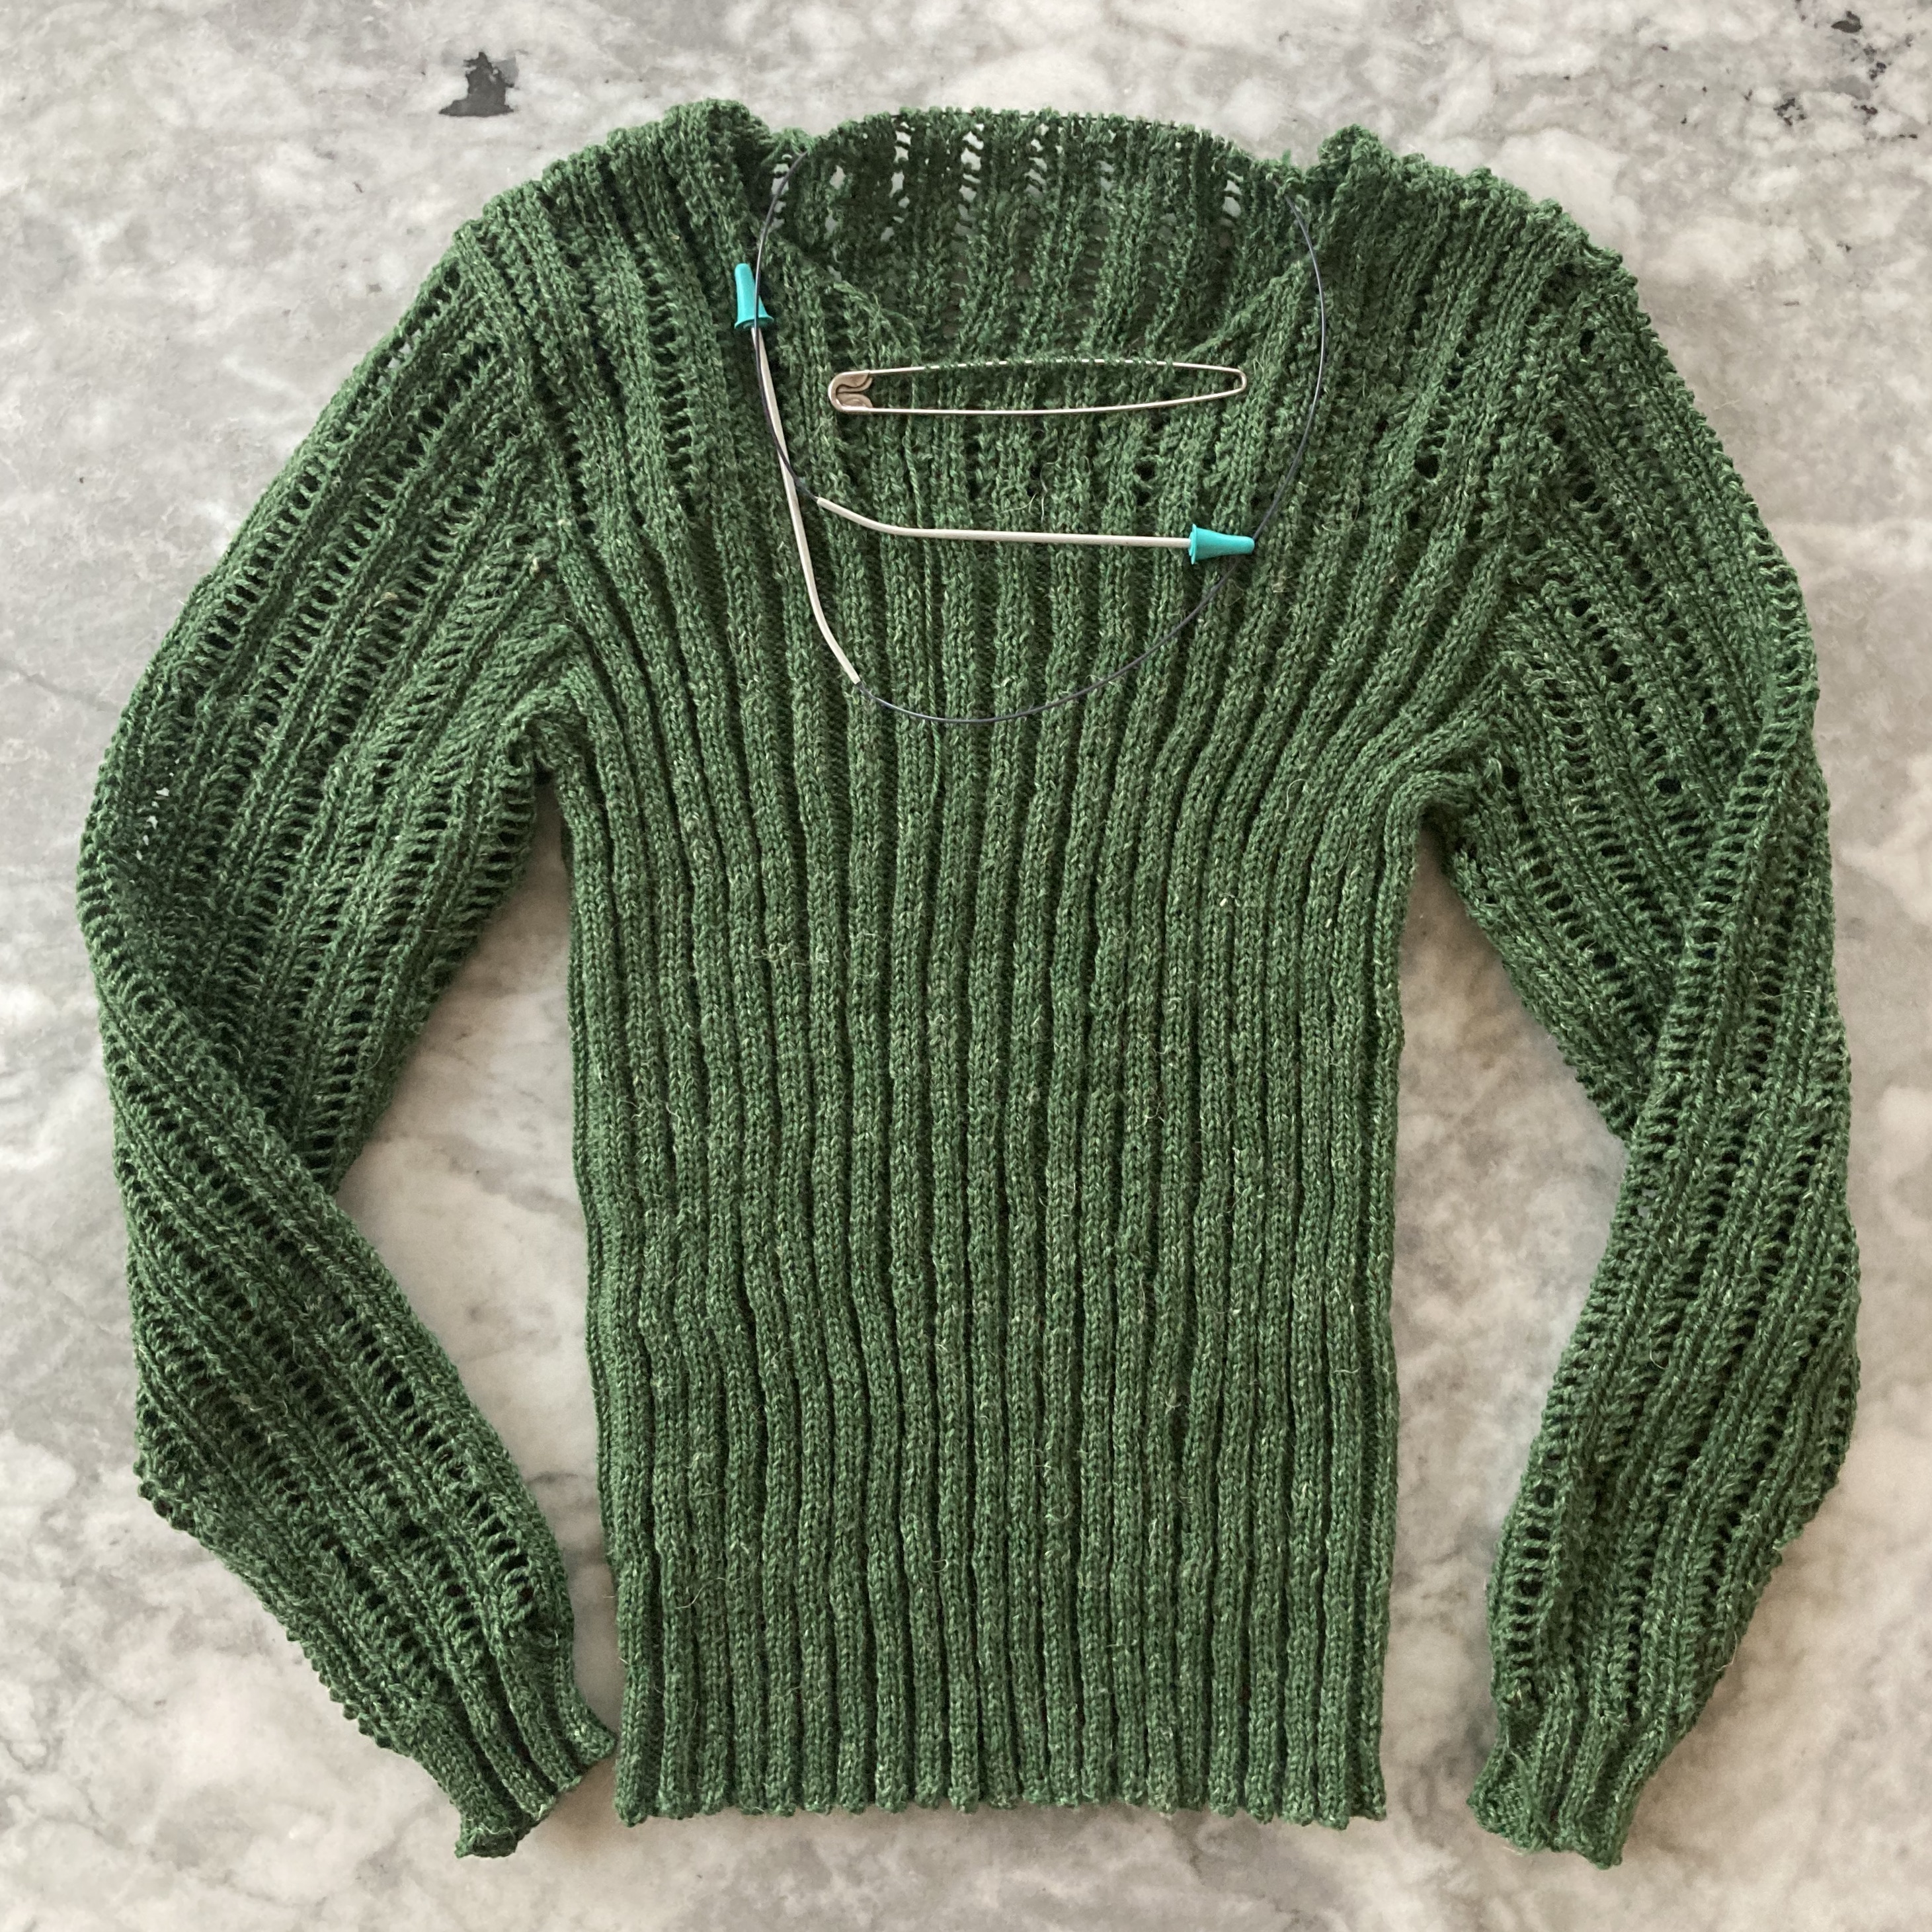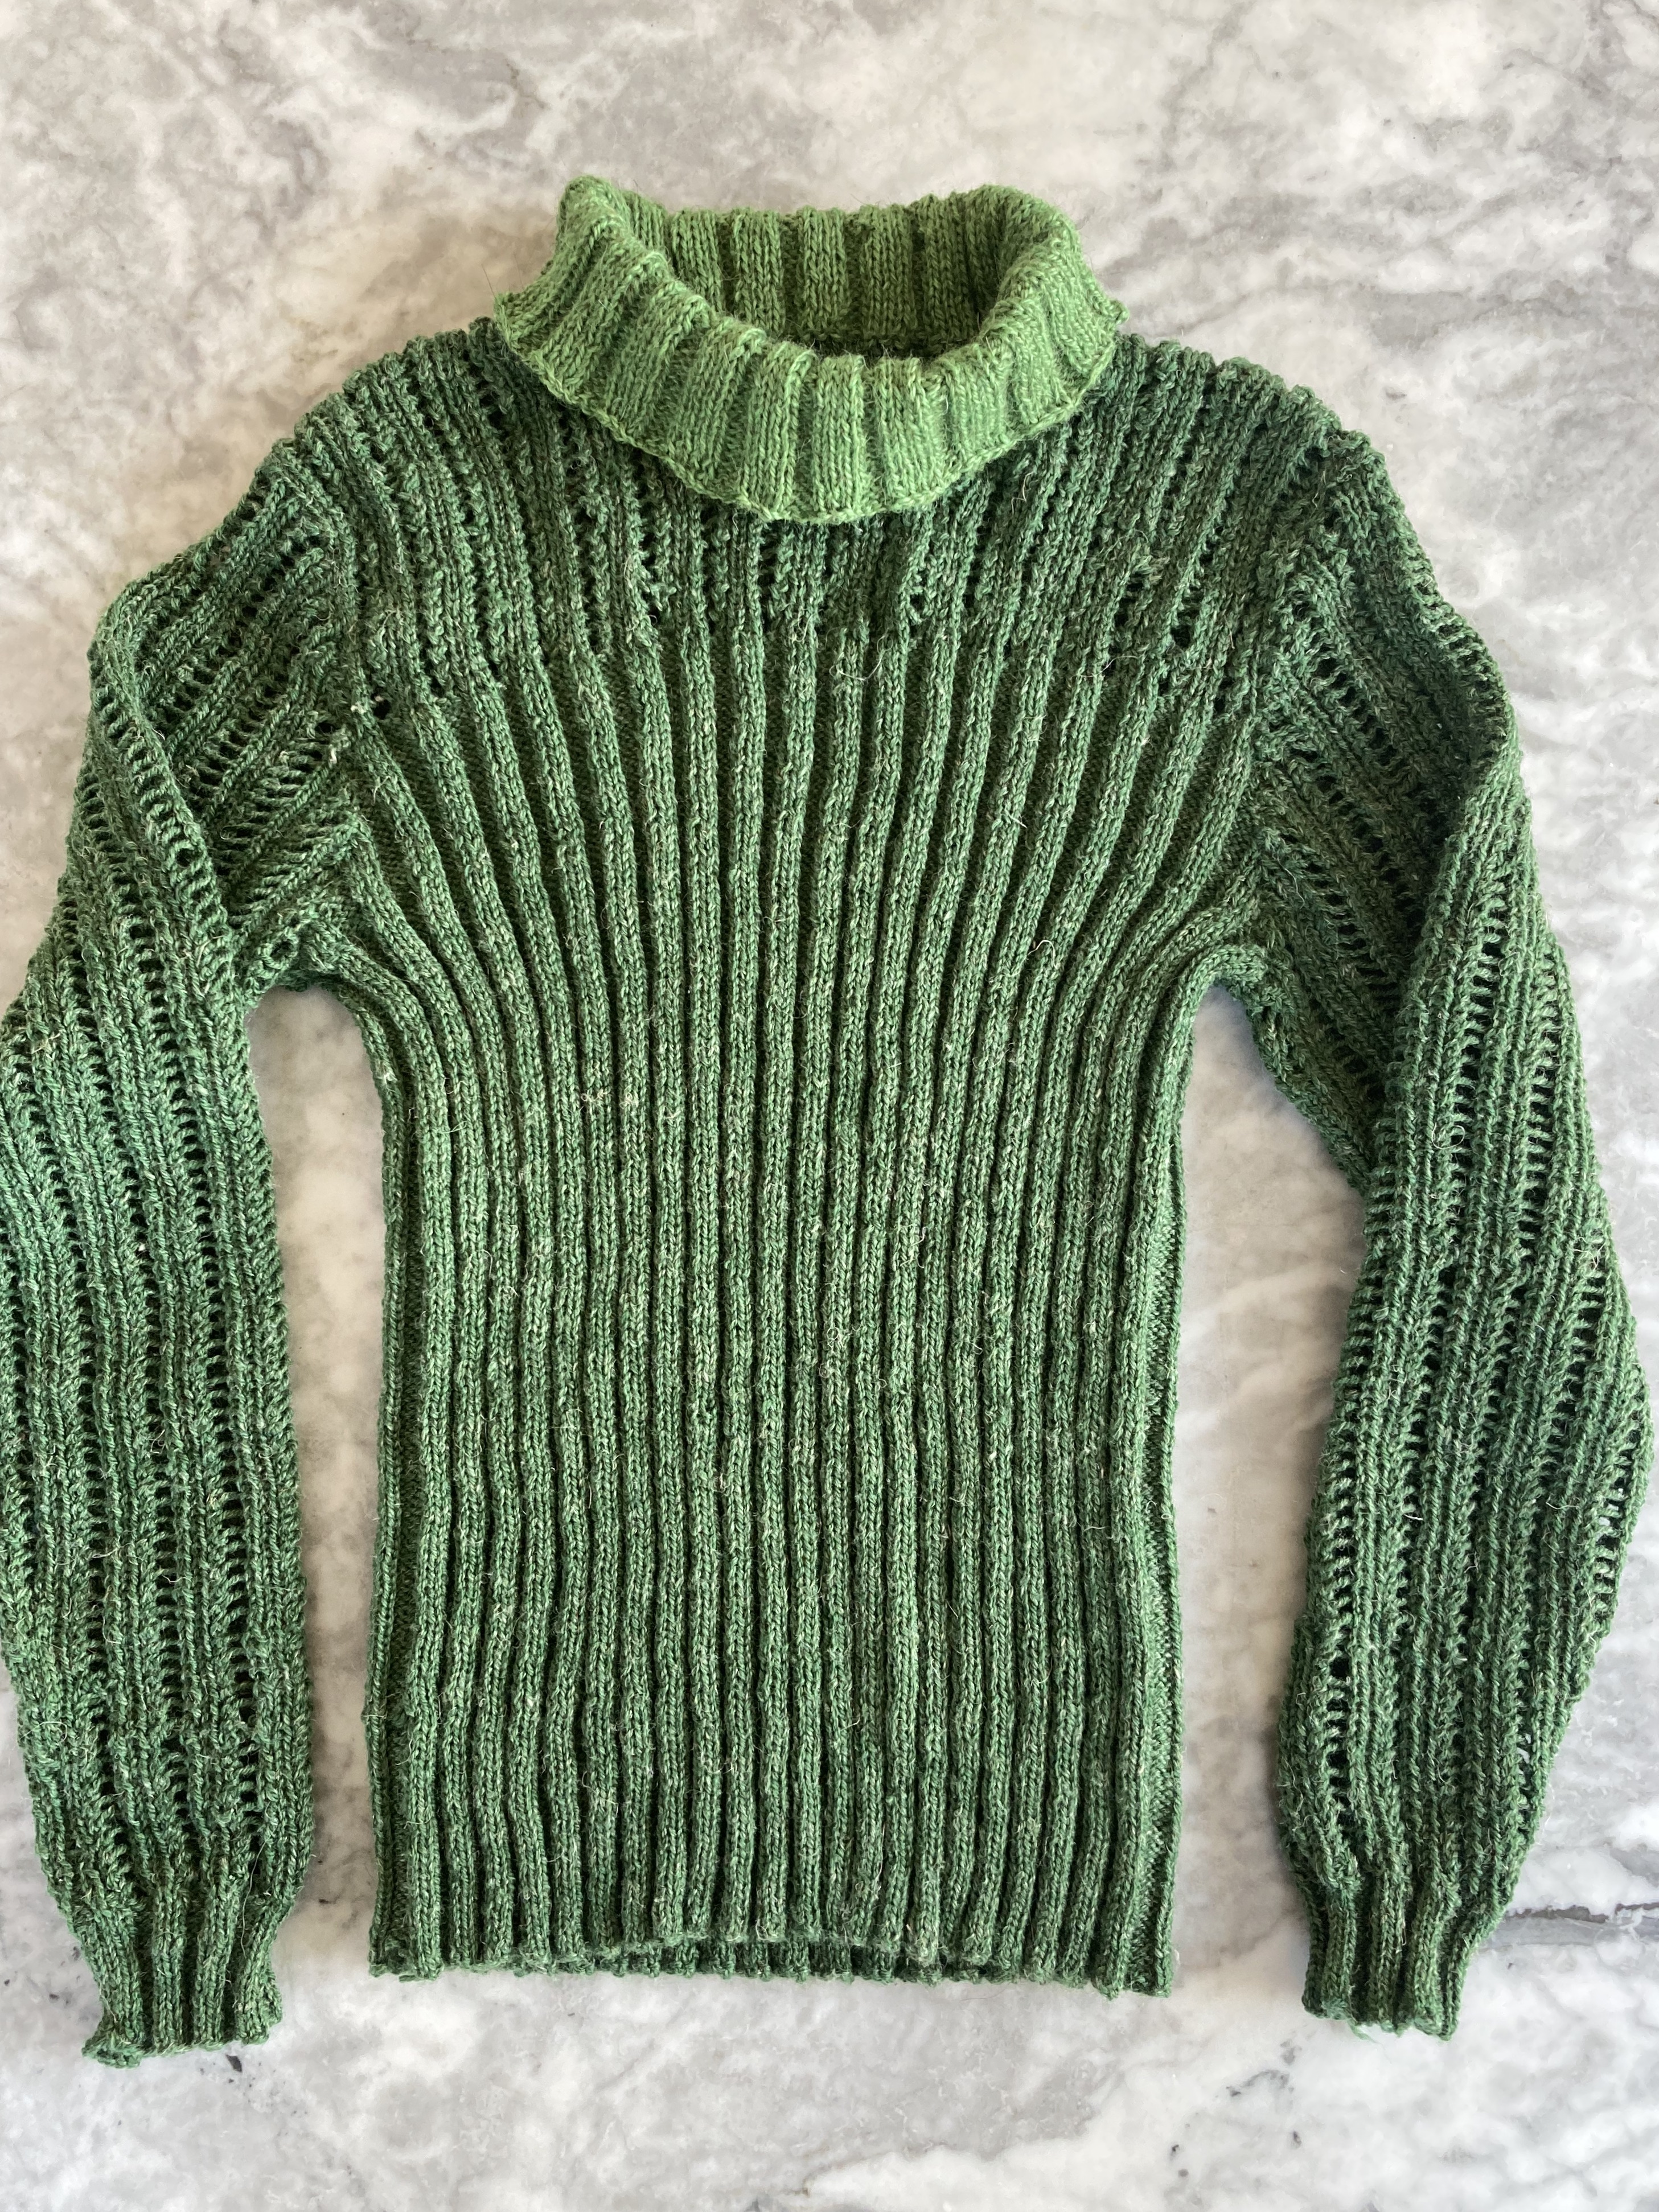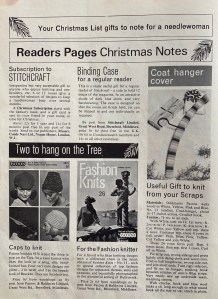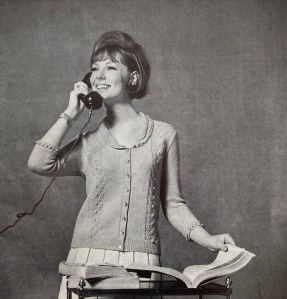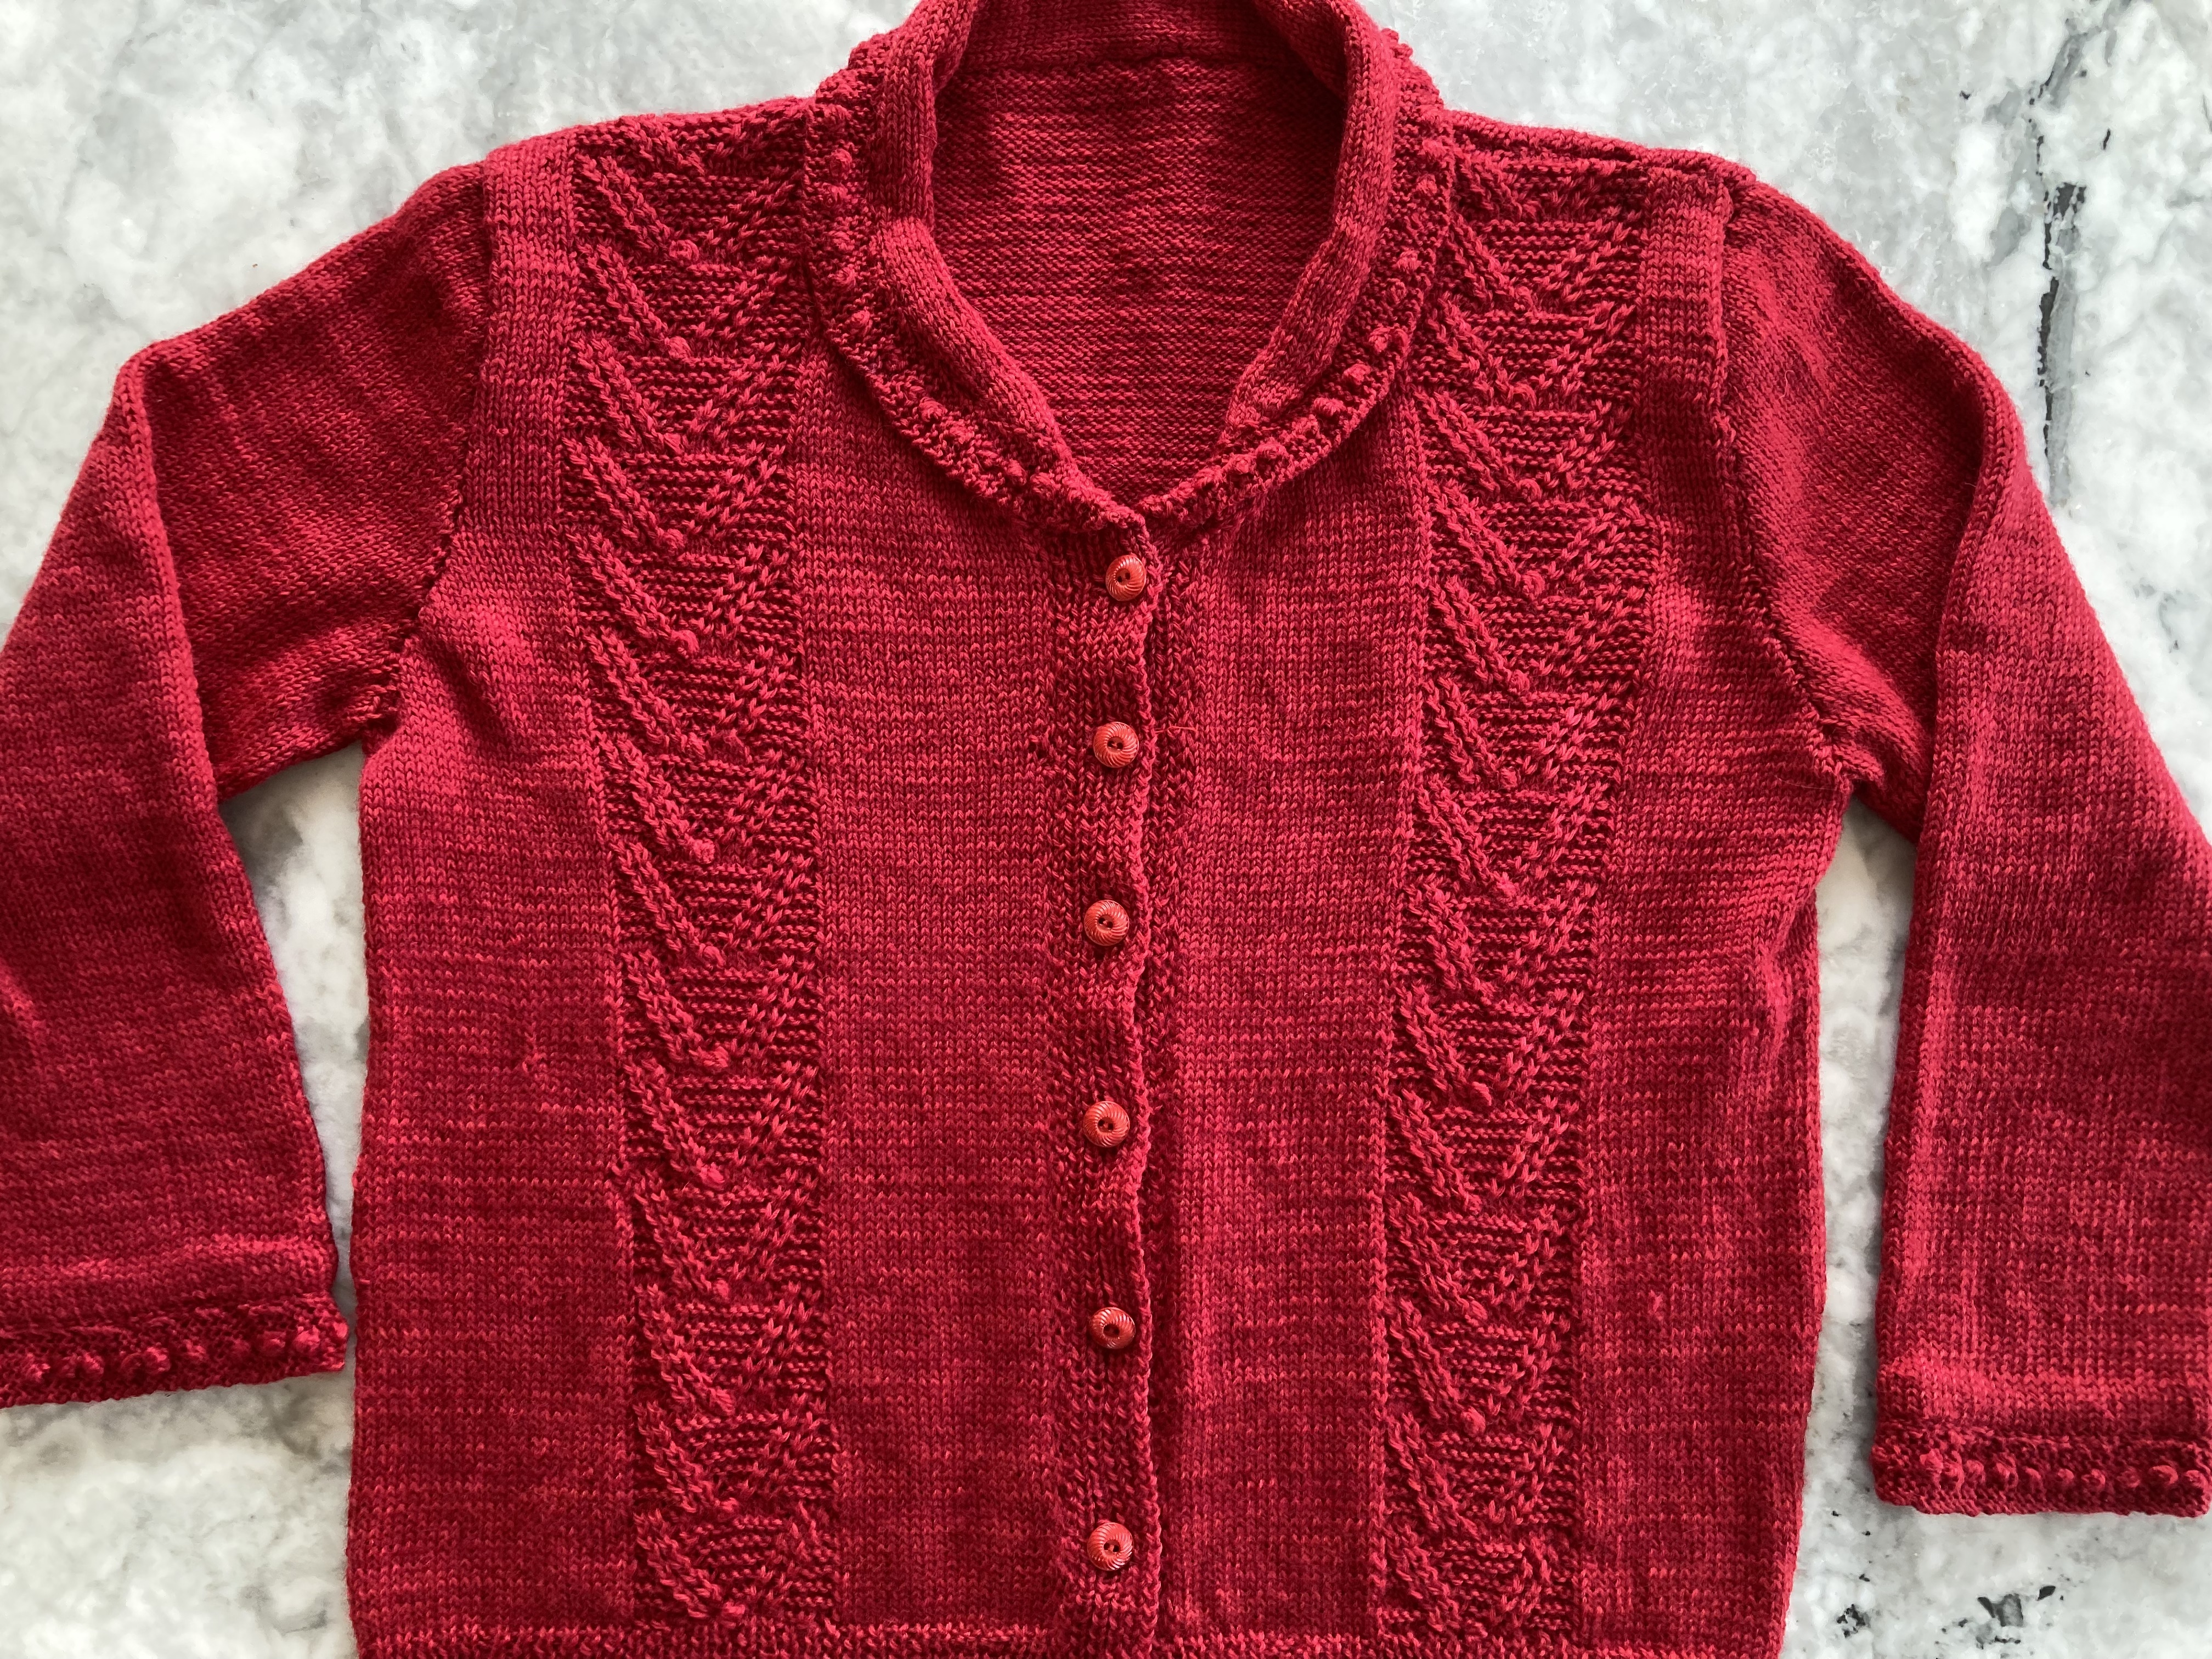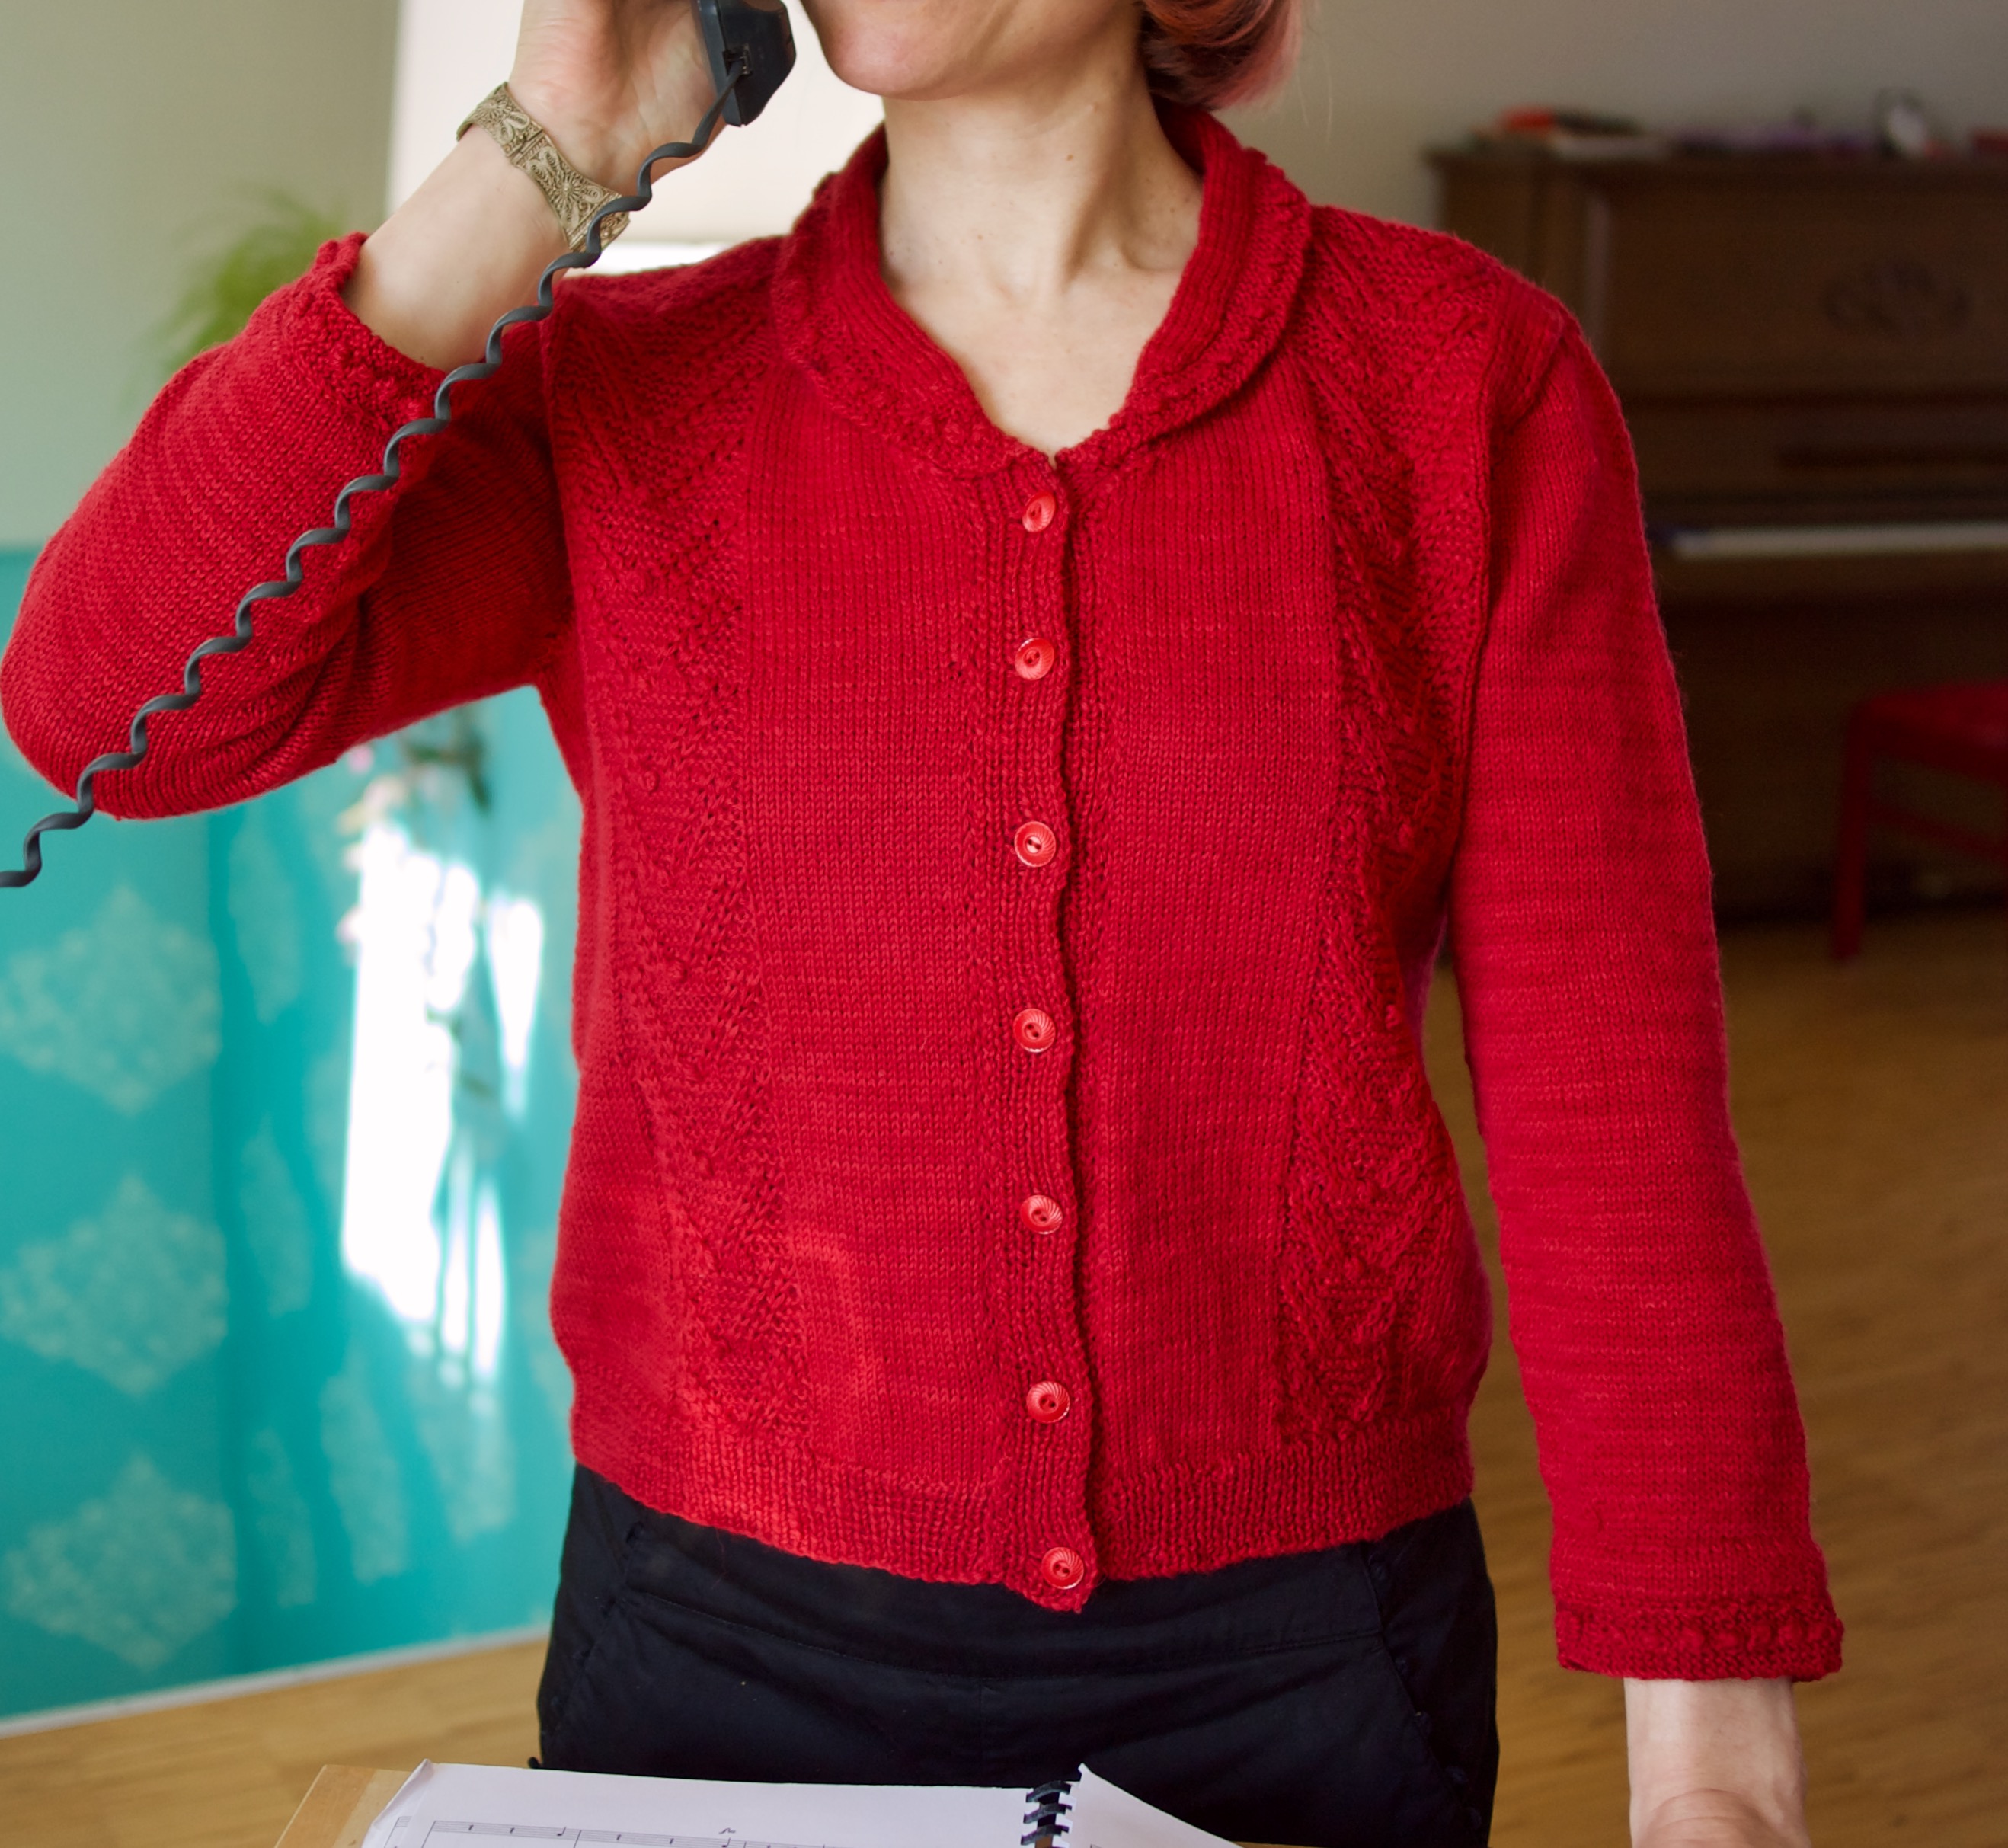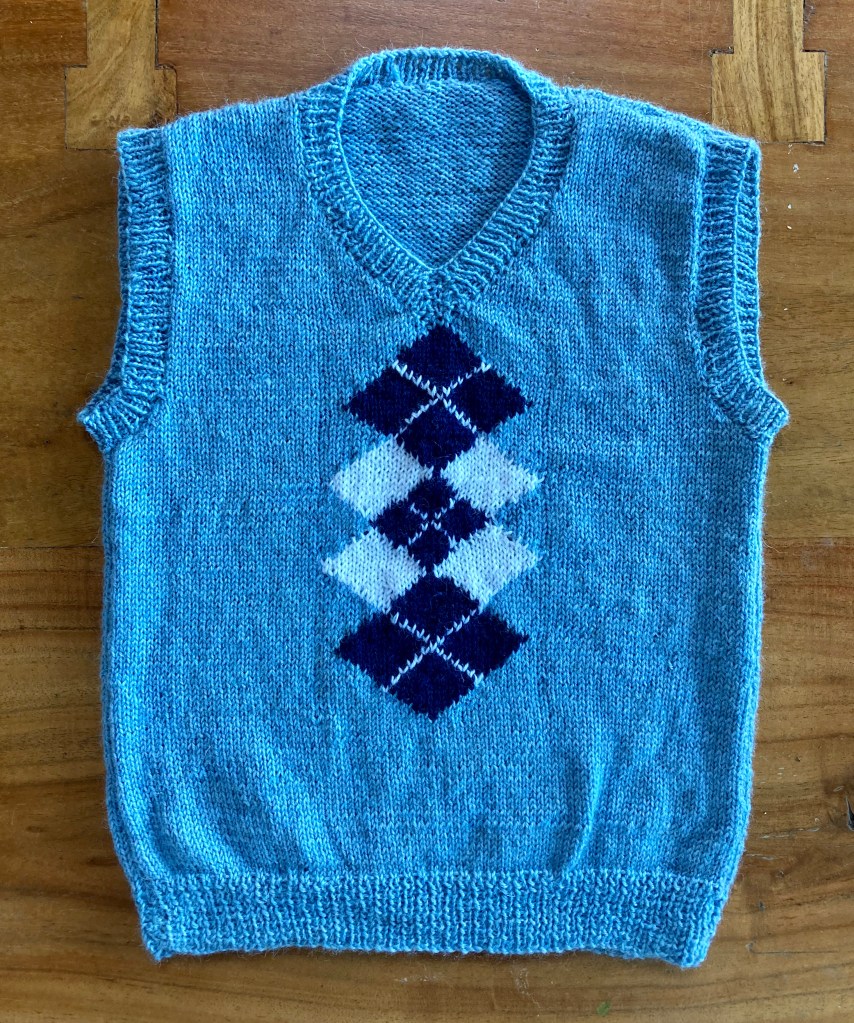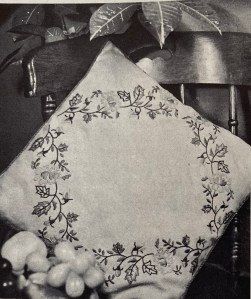
Choosing a project from the March 1965 issue of Stitchcraft was an interesting process. I loved both of the children’s designs (a “continental” cardigan and a textured pullover with a round stranded yoke), but could find no takers among the children / parents of children that size that I knew. I loved the red cardigan in the cover photo, but didn’t feel like going through the work of re-sizing and re-proportioning it for myself and it wasn’t the right style for any knit-worthy men in my life. None of the bulky, large, unshaped garments in the issue would have suited me. Also, I had multiple “endless” WIPs that I wanted to finish and other projects that have been waiting in the queue for a long time. So — I made a little embroidery project.
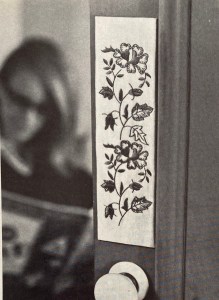
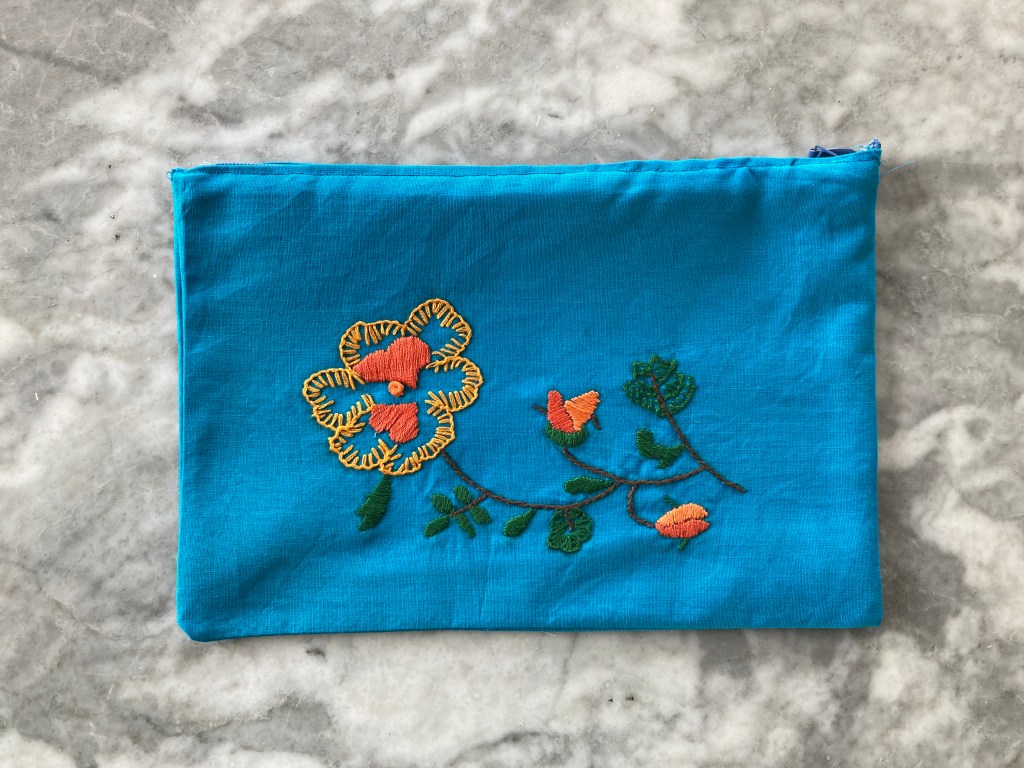
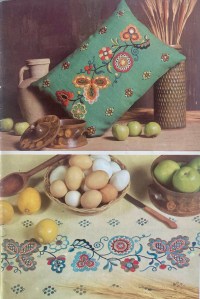
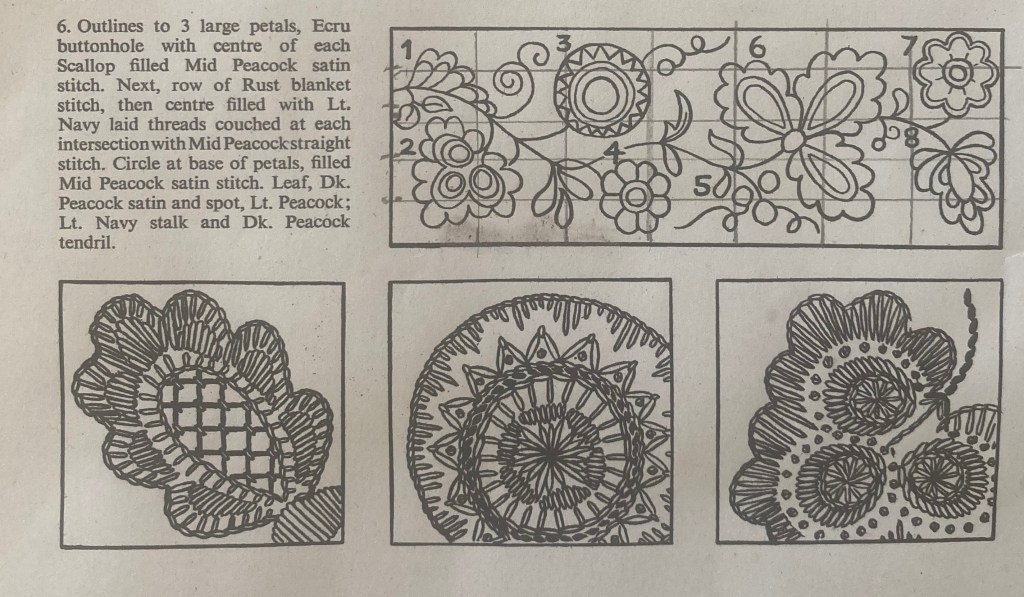
The project as presented in the magazine is a flower border in simple stitches and a limited colour palette (all blue, all “peacock”, or green and orange), to be worked either on a cushion, as a border on a pillowcase, or on satin fabric for a door panel. Not needing any of those things, I embraced the spirit of versatility and made a little embroidered and zippered bag that can be used for spare knitting needles / accessories or any other kind of easy-to-categorise-but-hard-to-contain “stuff”. I have many of these bags around the house, some made by me and some by friends. They are particularly useful for organising things in drawers or travel luggage. You can never have enough… and yet I kind of do! Luckily, they also make great little presents for friends, and one of mine has a birthday coming up, so I made it for her.
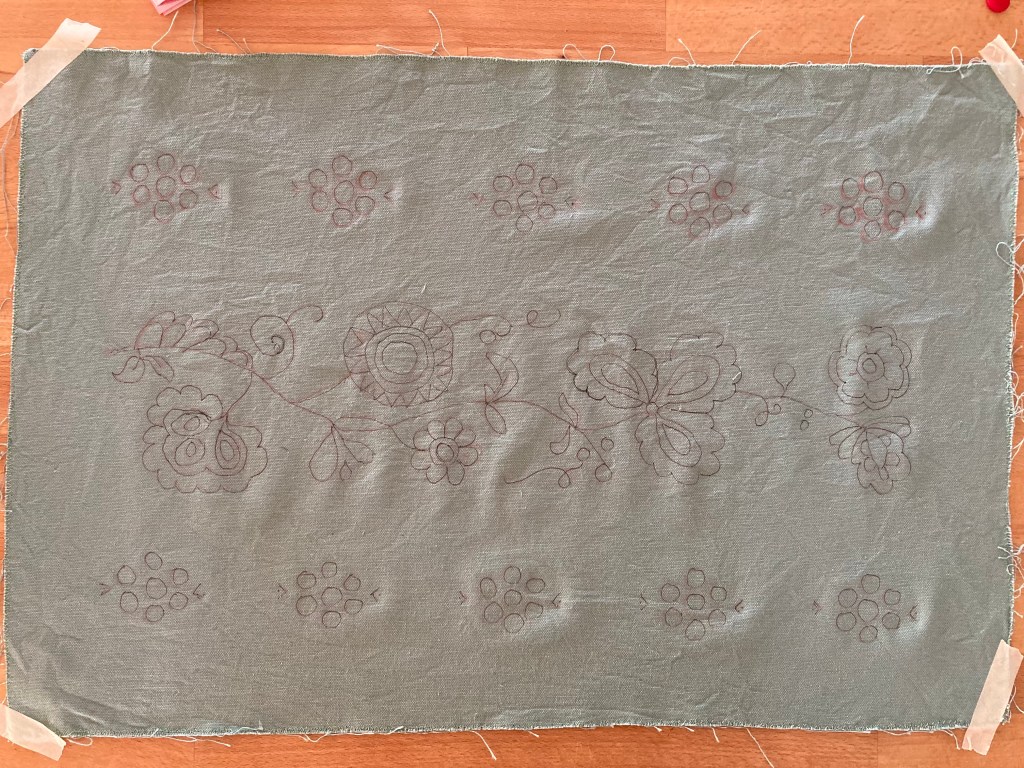
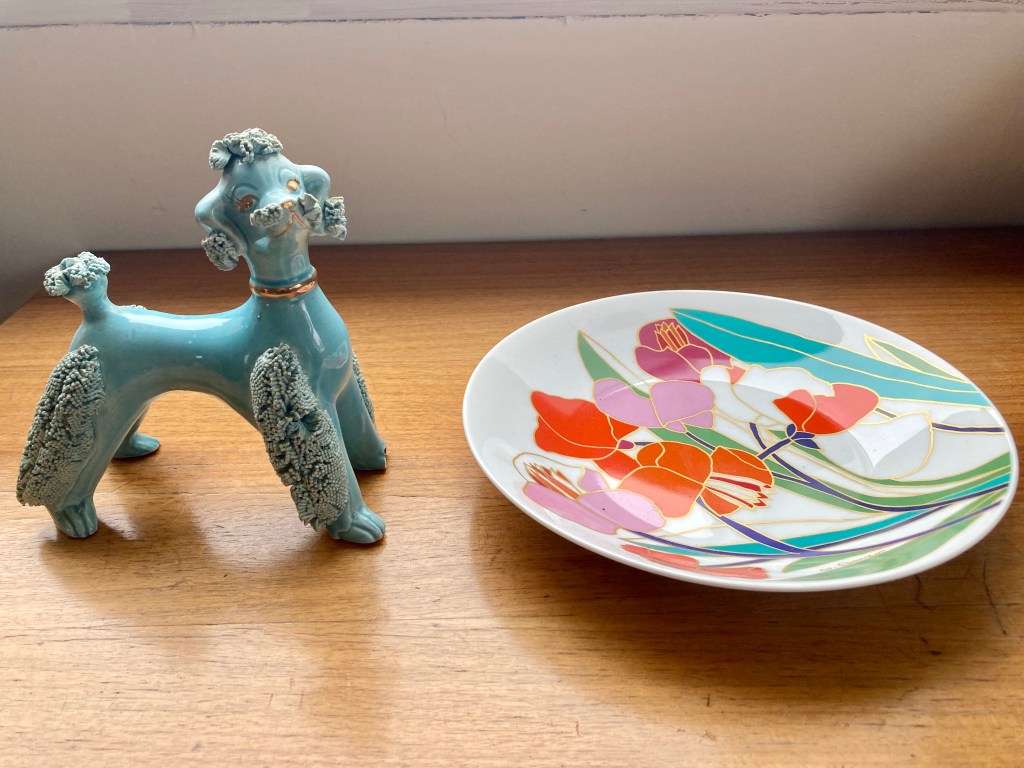
Of course, I don’t have the embroidery transfer from the magazine — readers had to send away for them back in the day. The flower is quite simple, however, and I was able to just copy it onto a piece of paper freehand. I had some nice bright turquoise linen left over from this cushion, some dove-grey viscose for lining left over from whatever, and embroidery floss in several shades of orange left over from this cushion as well as brown, so all I had to buy was a skein of green floss and a zipper. I transferred the pattern to the fabric by taping it up on the window and tracing with a marker pen and was good to go.


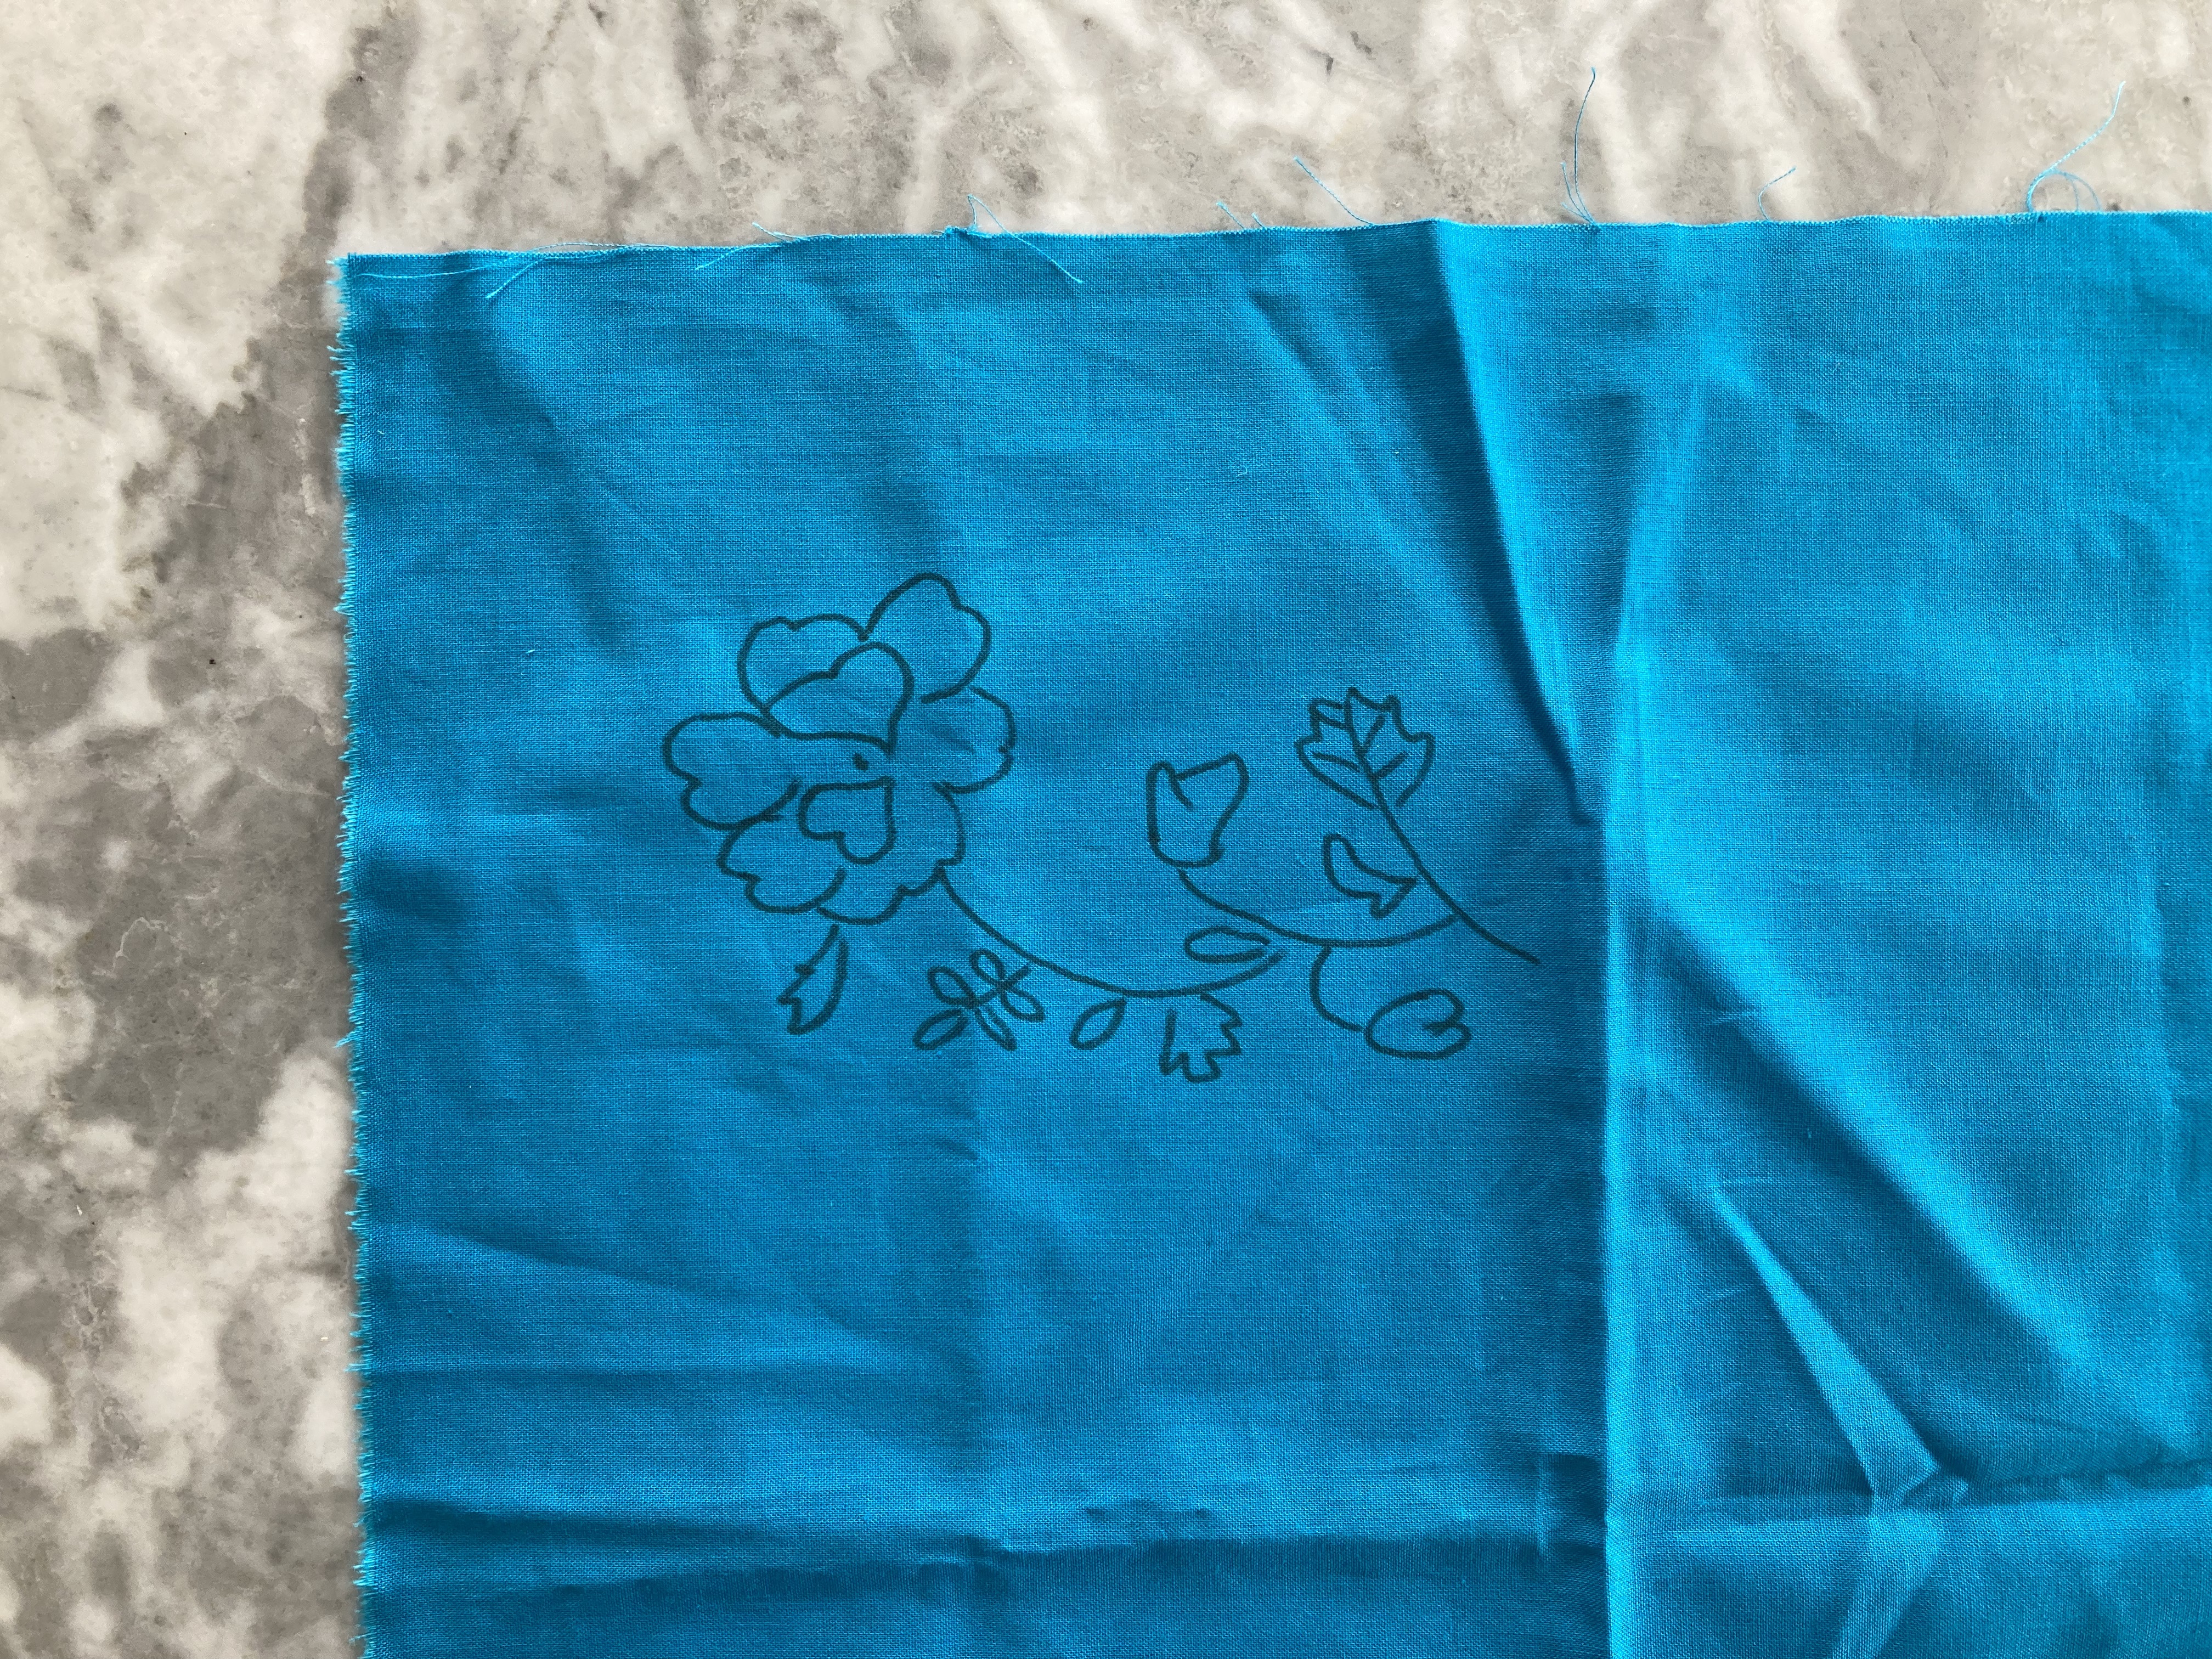
The embroidery is done entirely in satin, stem and blanket stitches — really fast and easy. I finished it in one afternoon, washed it out by hand under the tap to get rid of the marker lines and let it dry overnight. The next day, I made it up into a bag and voilà, finished.
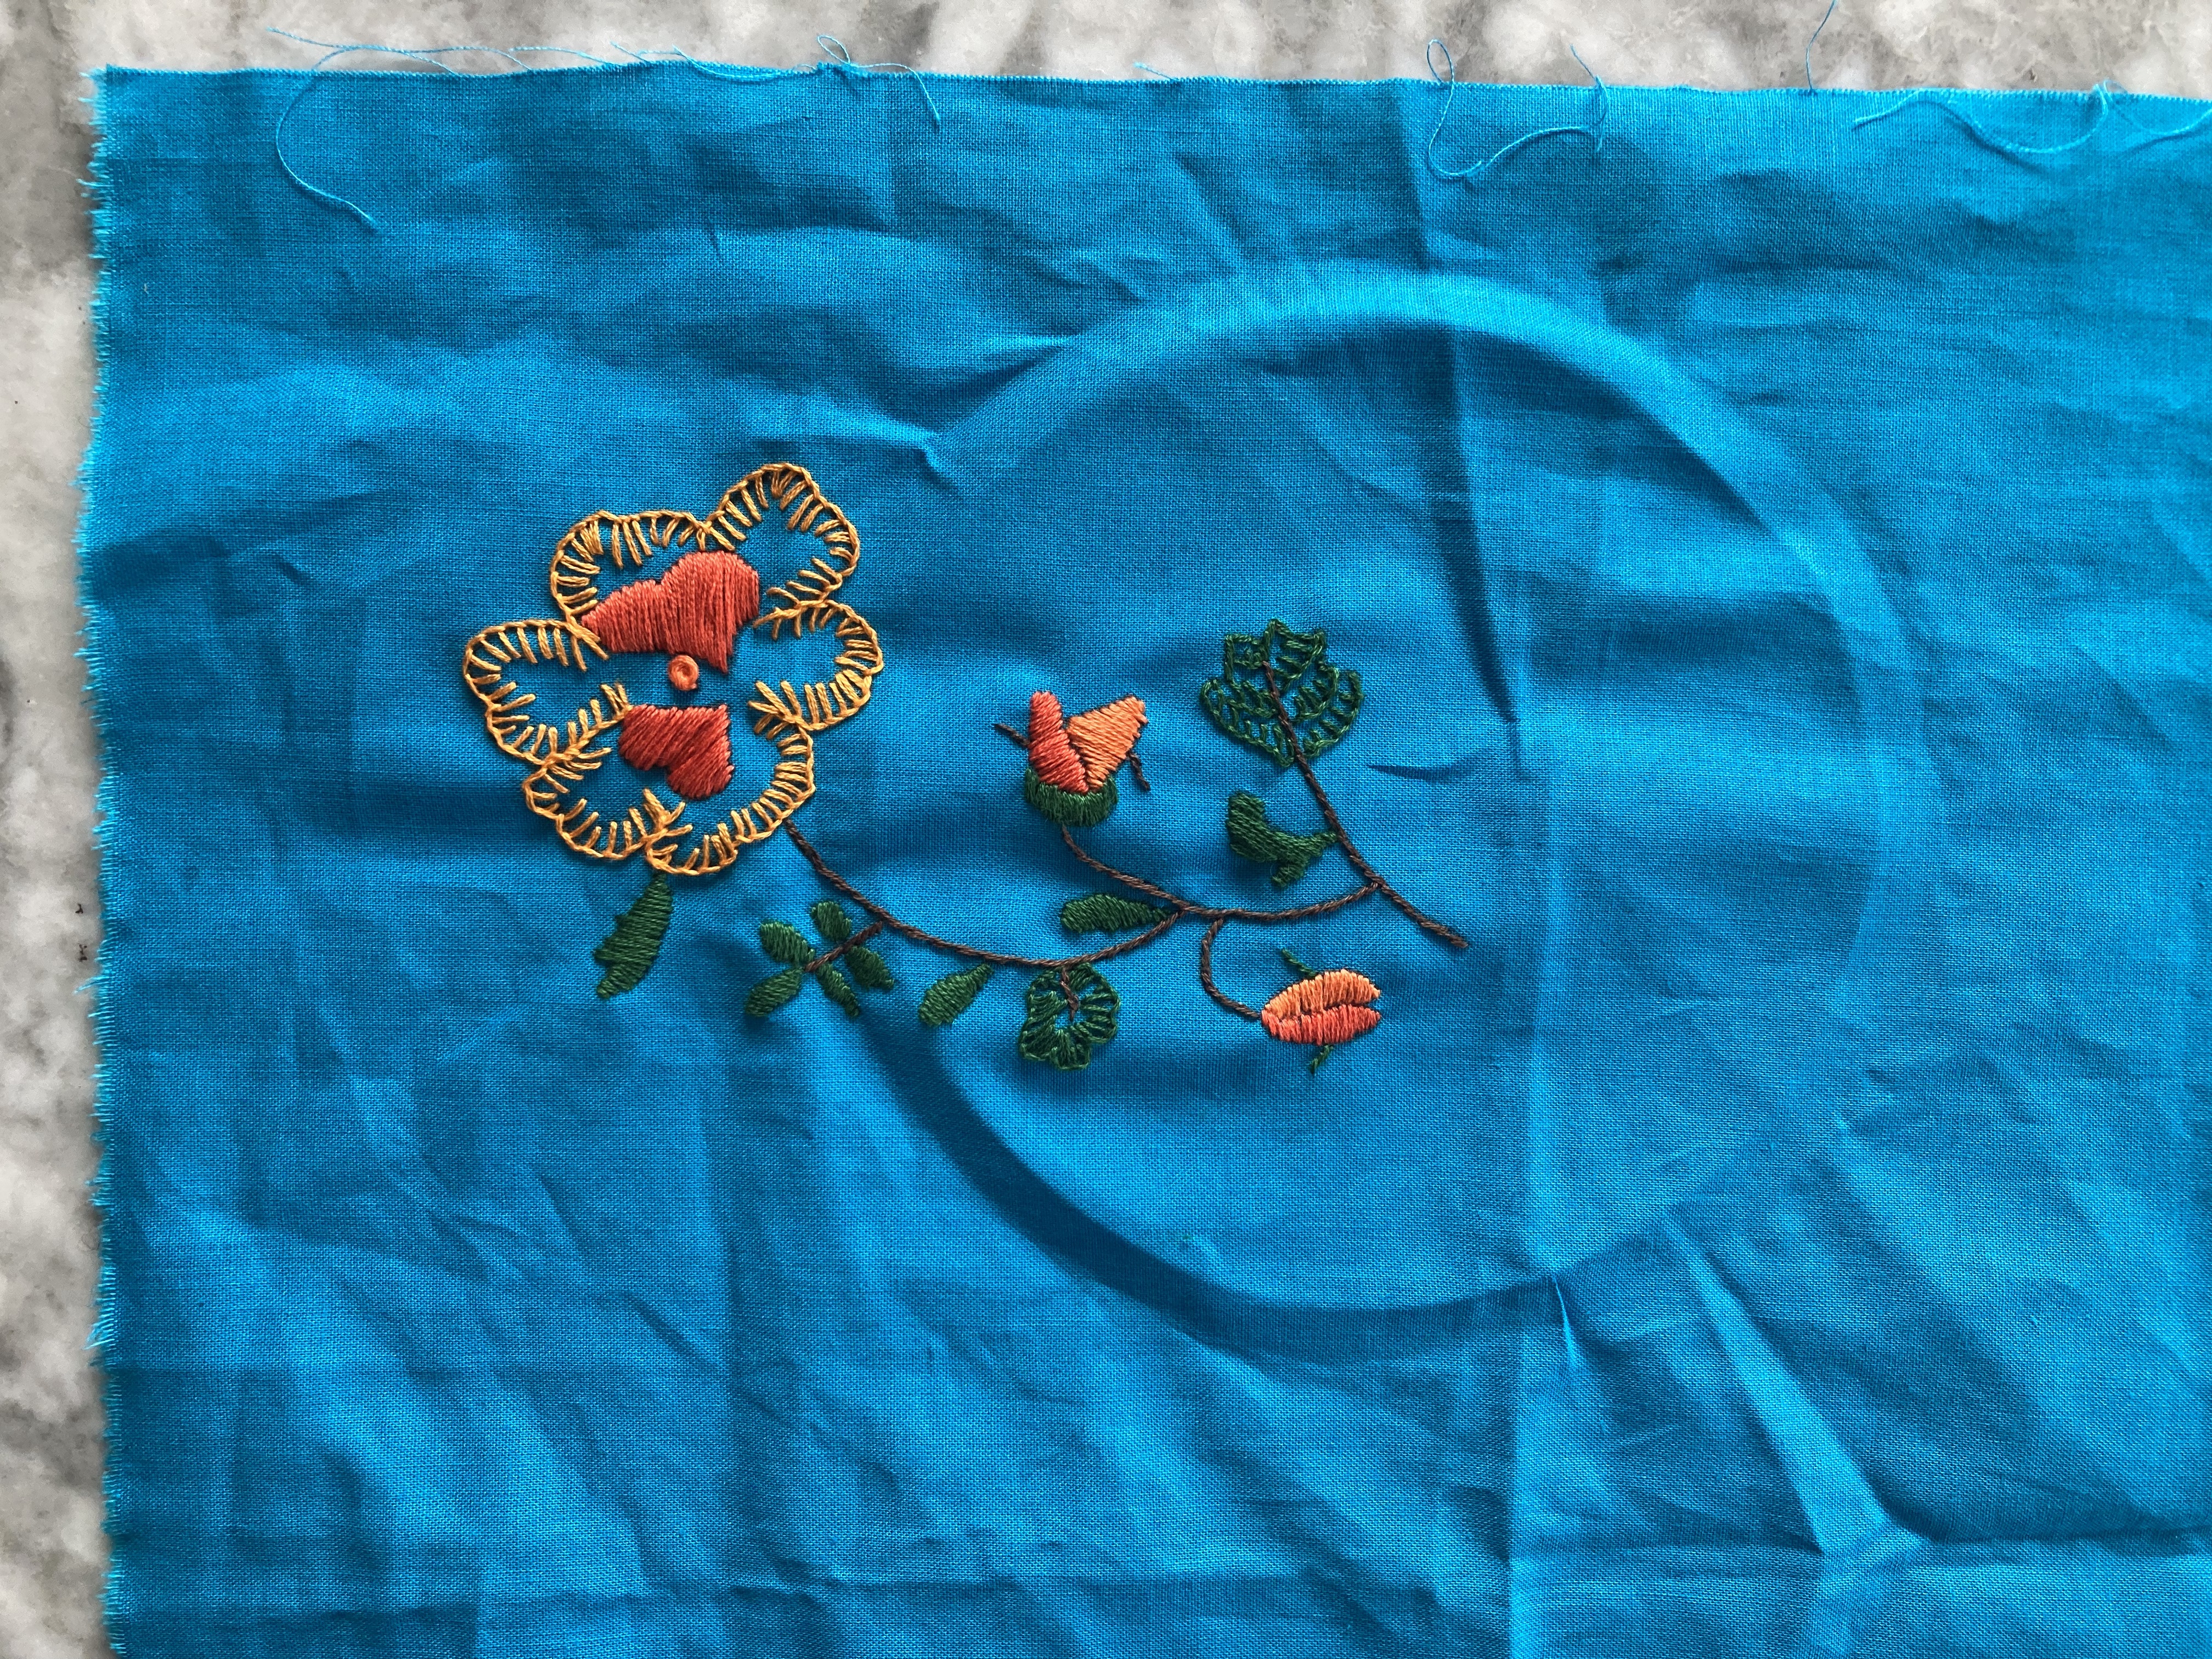
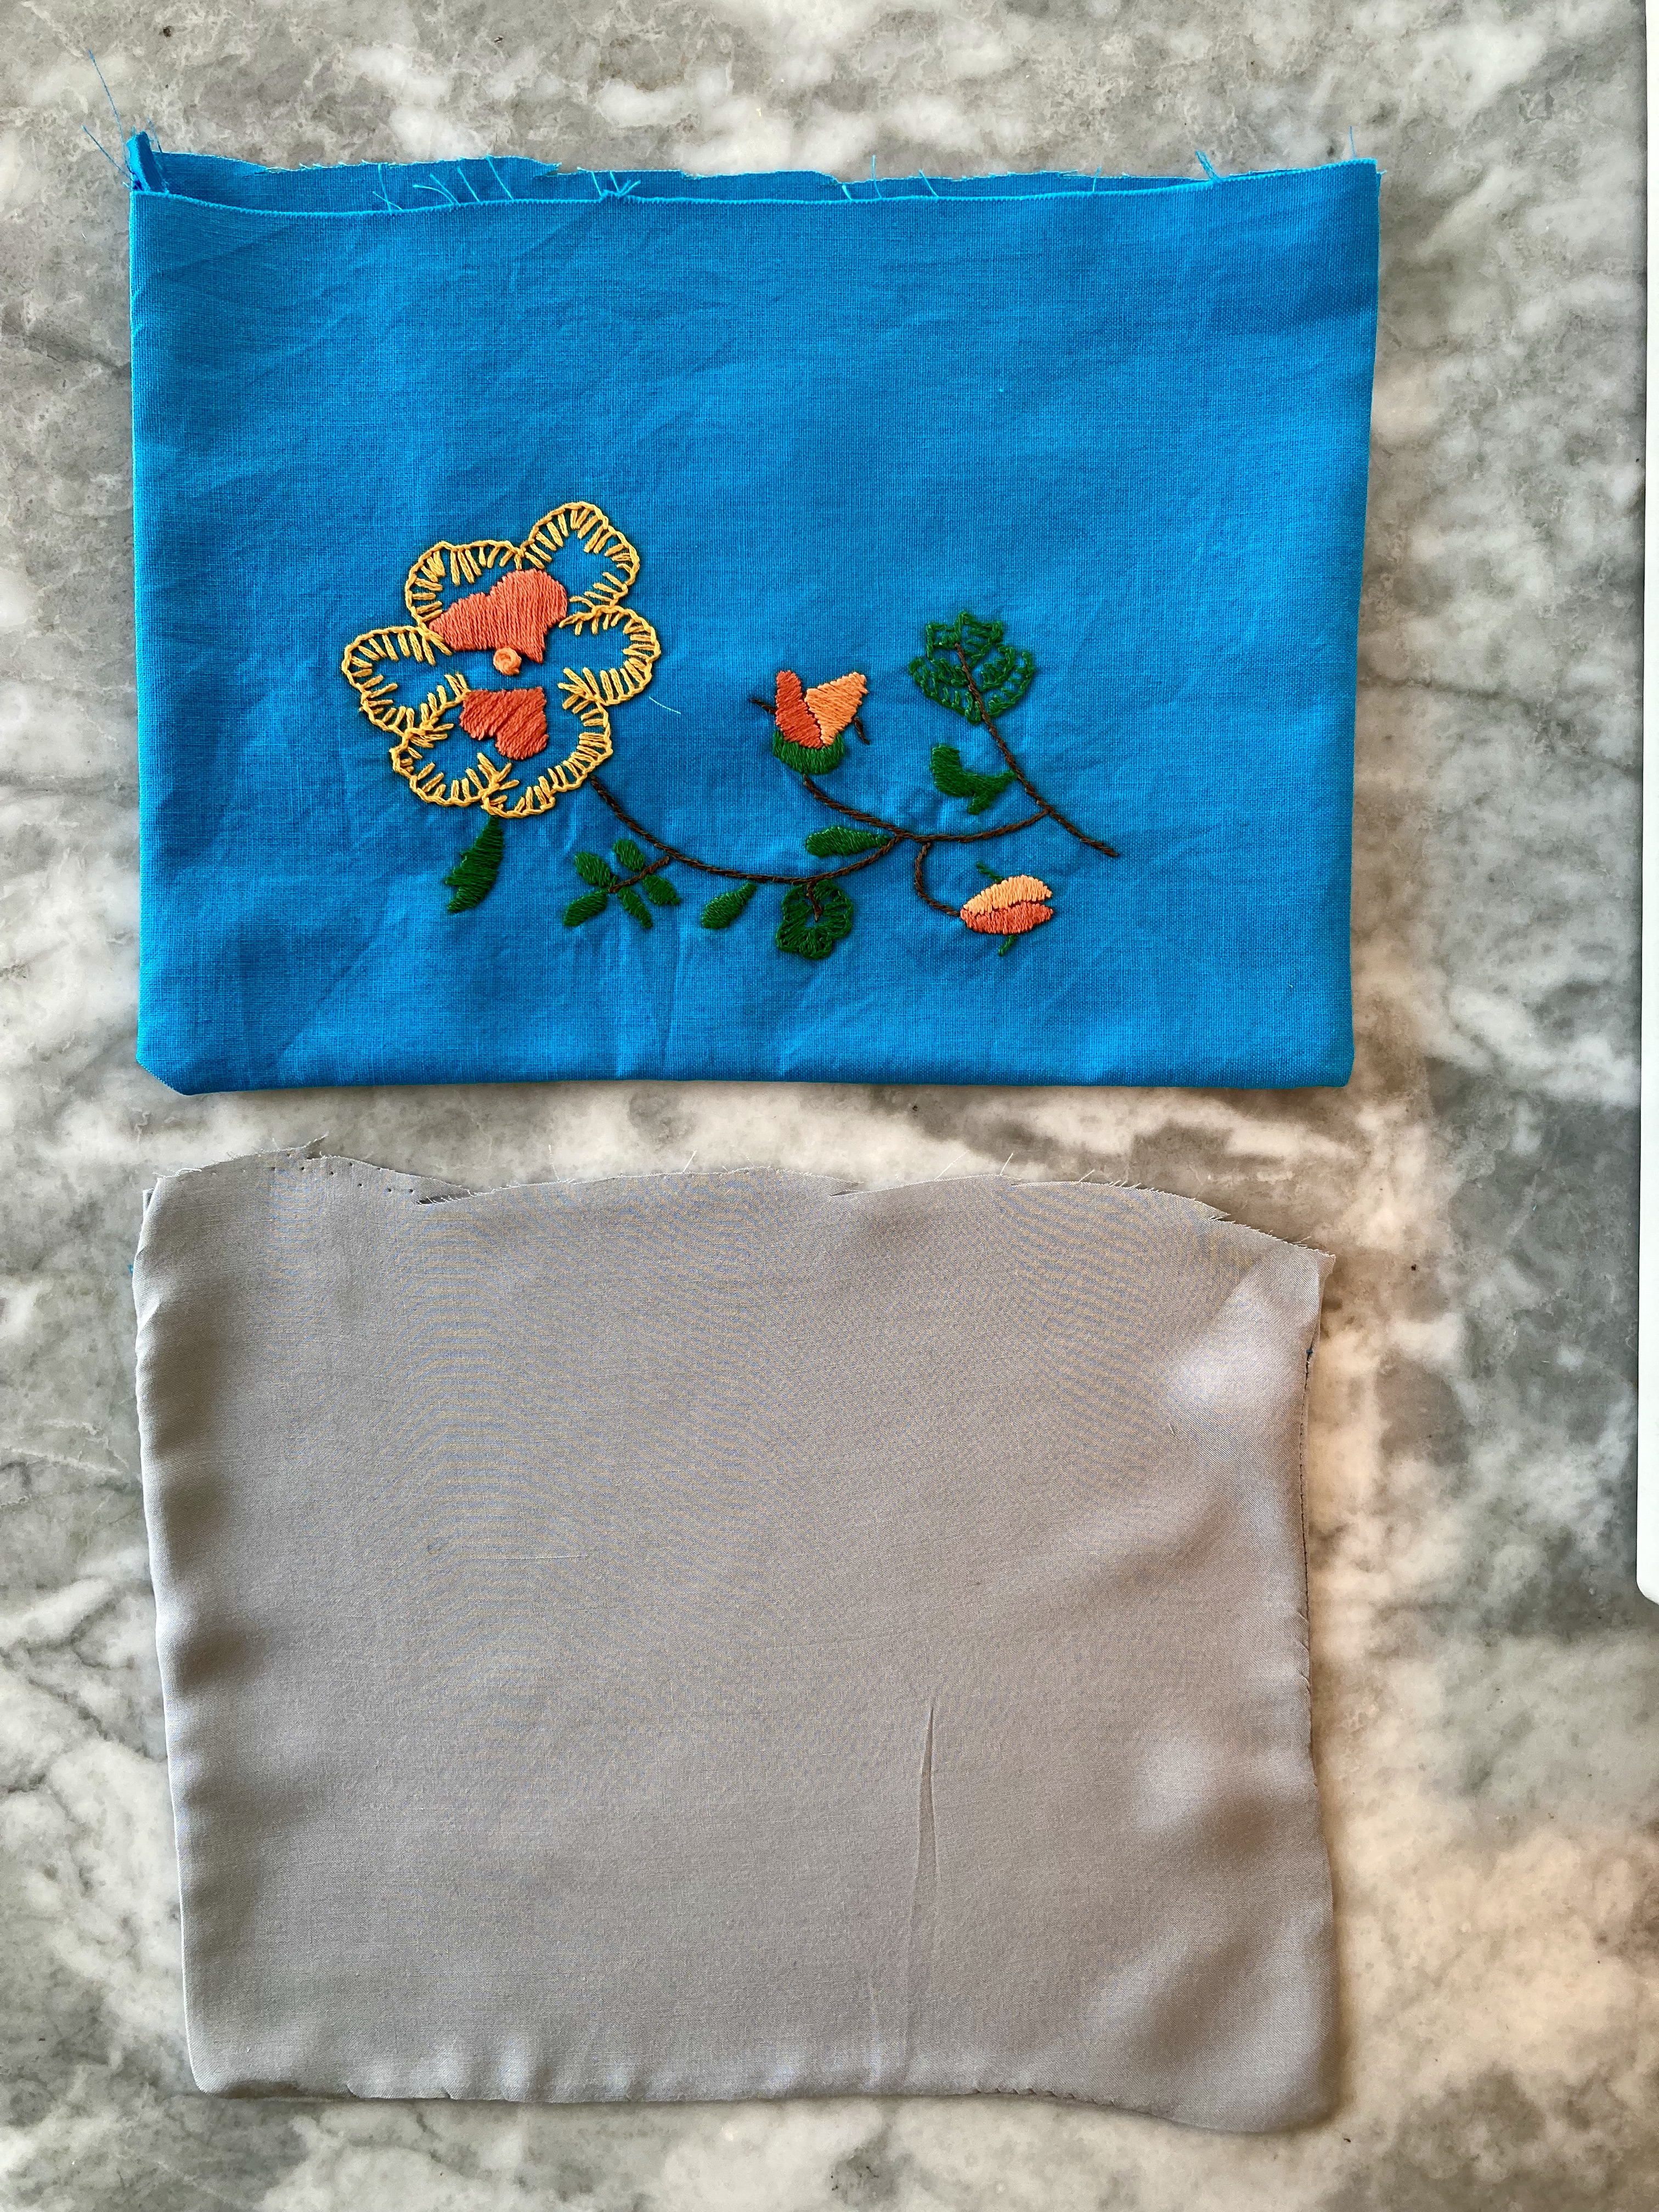
It measures about 24×17 cm or 9.5×6 inches, a practical size, and the design works well. I could have chosen a more vibrant green for the leaves, but the subtlety of the leaves and stems makes the bright orange flower pop even more, and I think the smaller orange buds balance it out nicely. I am also very proud of my zipper-setting skills. All in all, I think this was a great example of how vintage designs can be adapted to fit modern needs and make homeware items that are both useful and attractive.