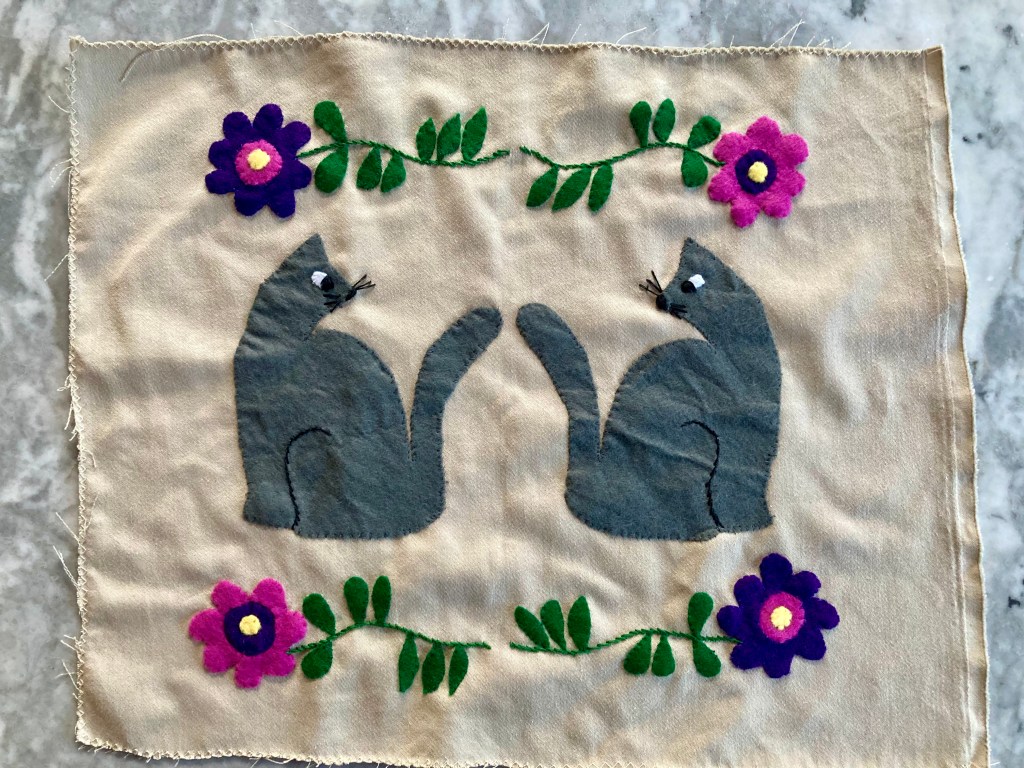
EDIT November 19, 2024: Finished!
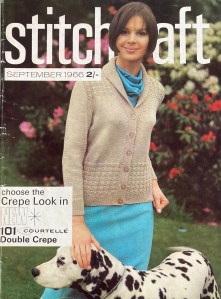
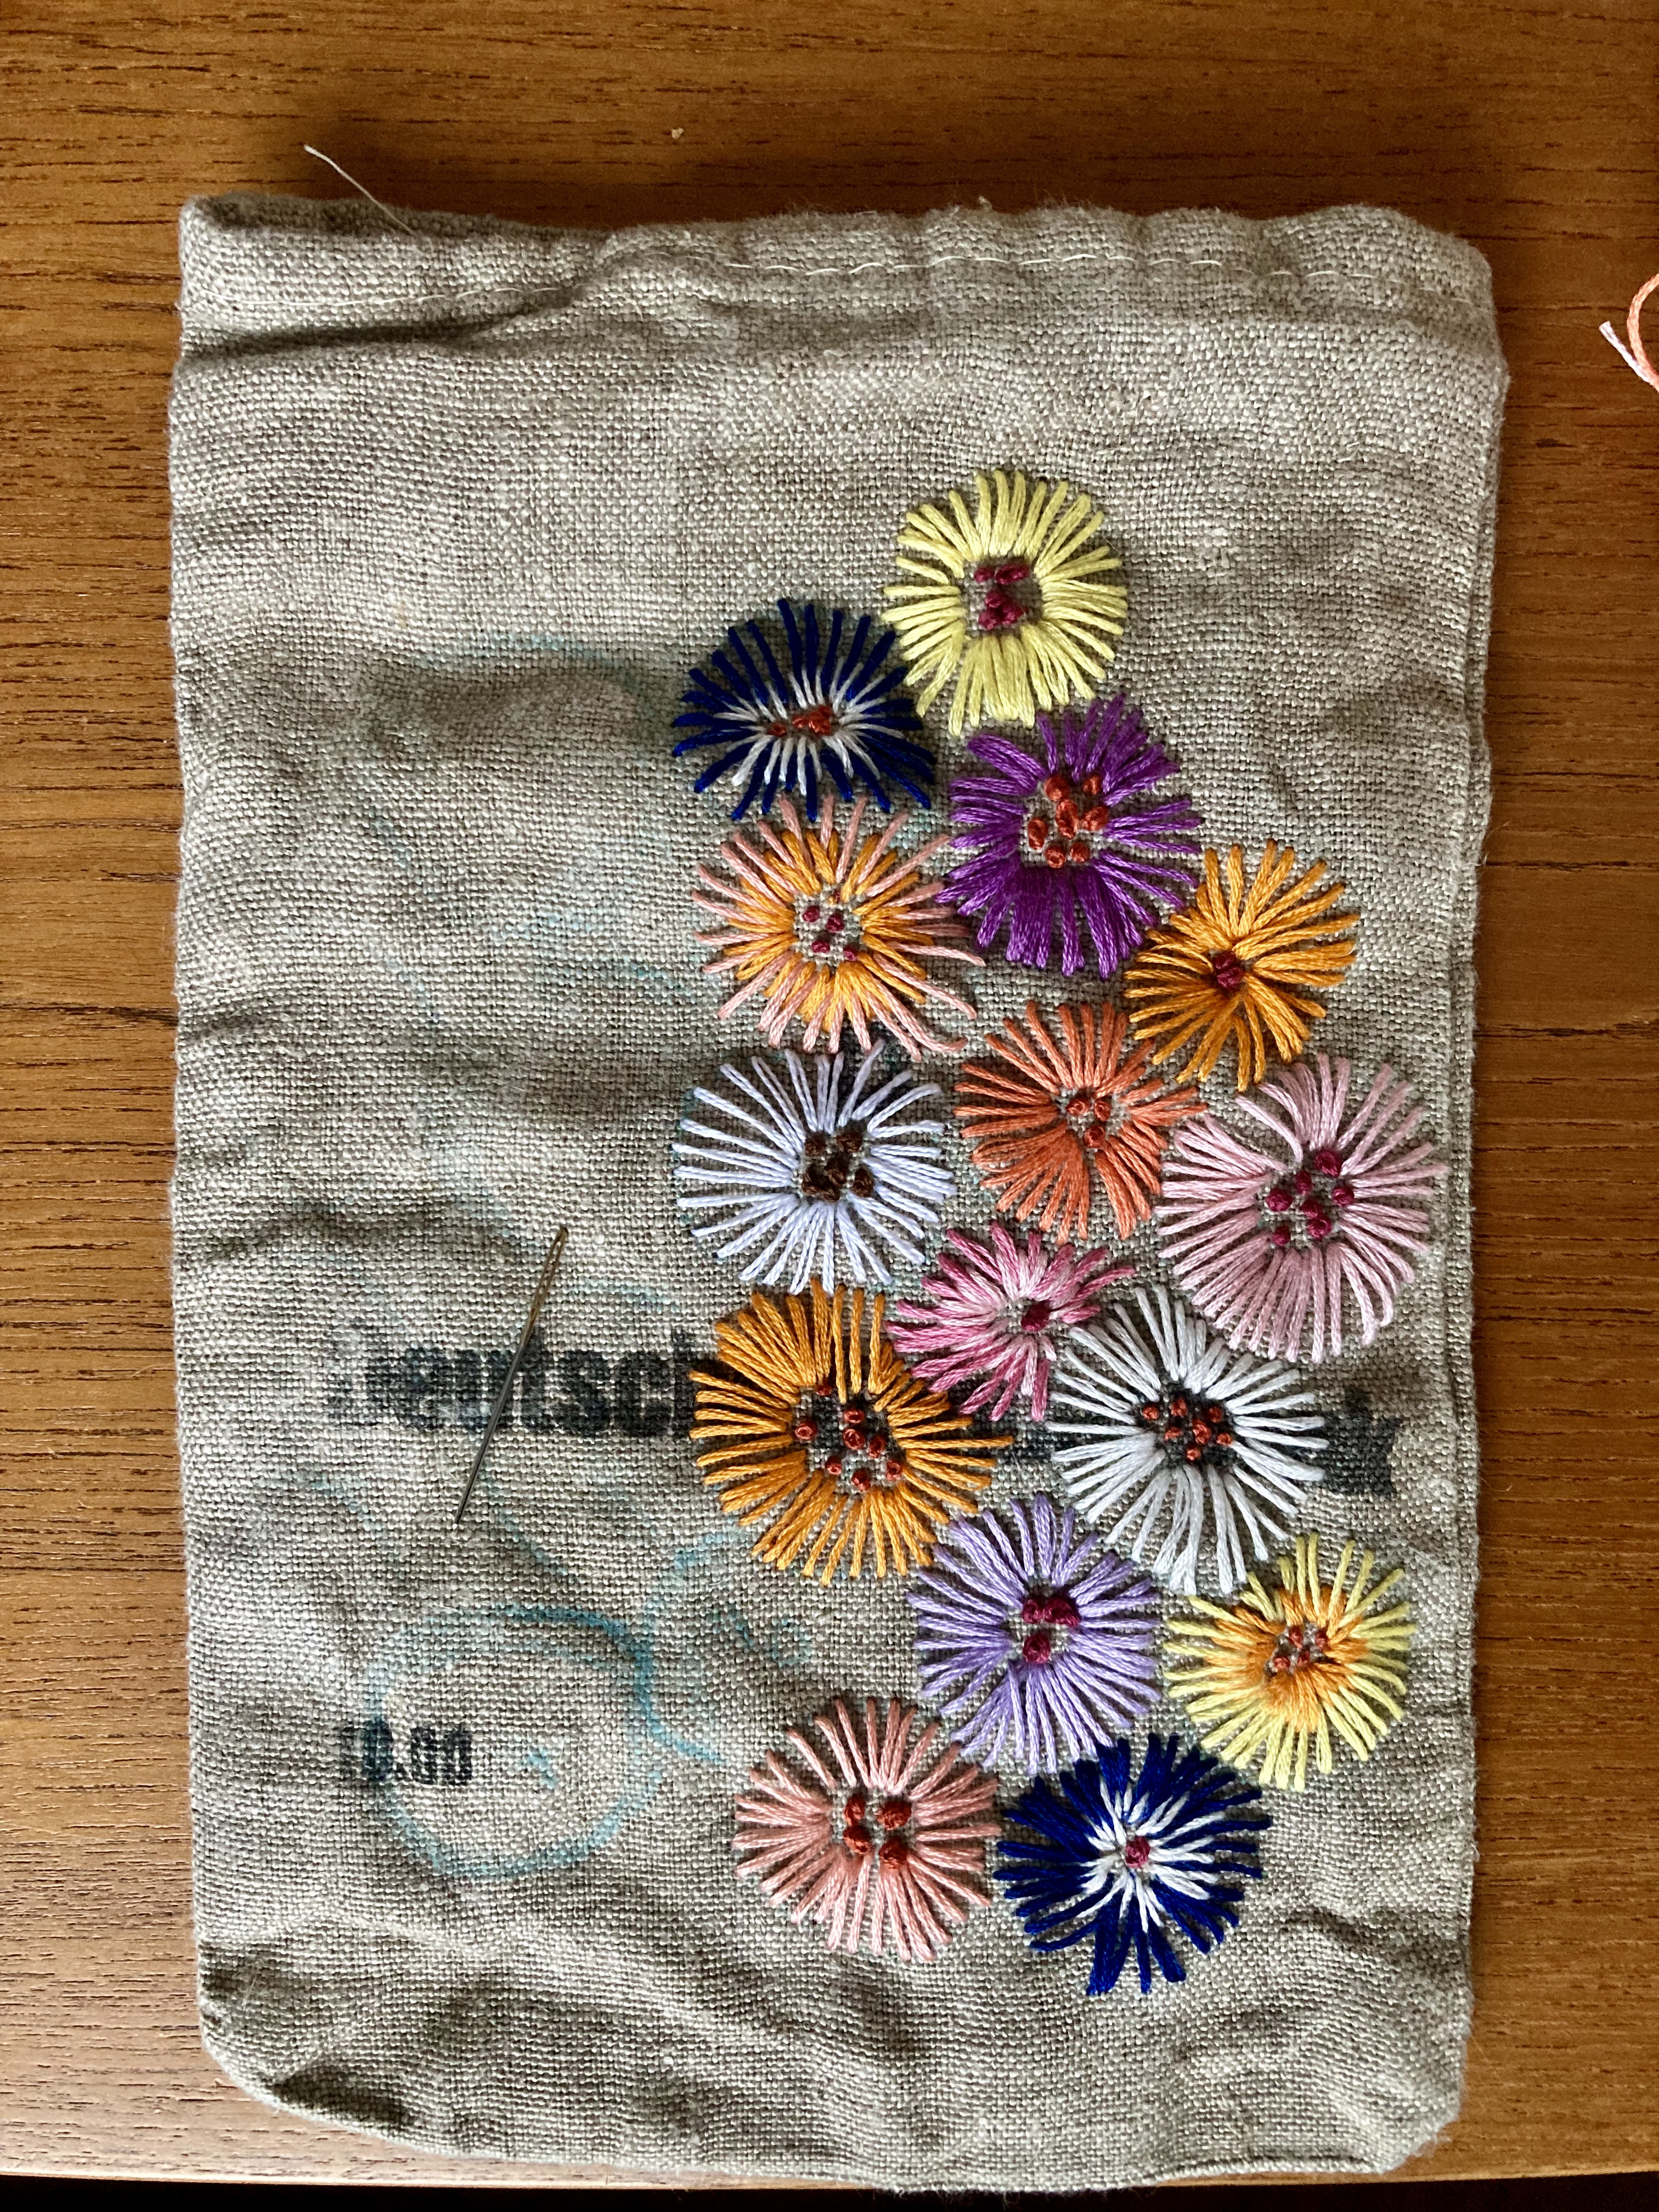
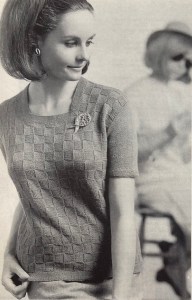
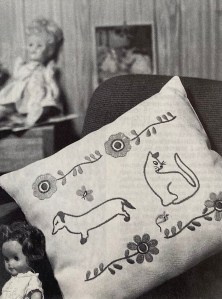
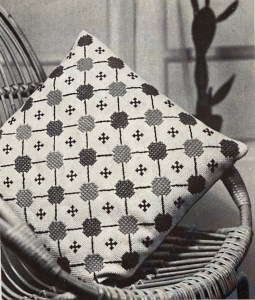
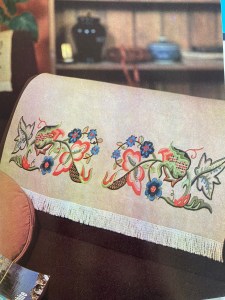
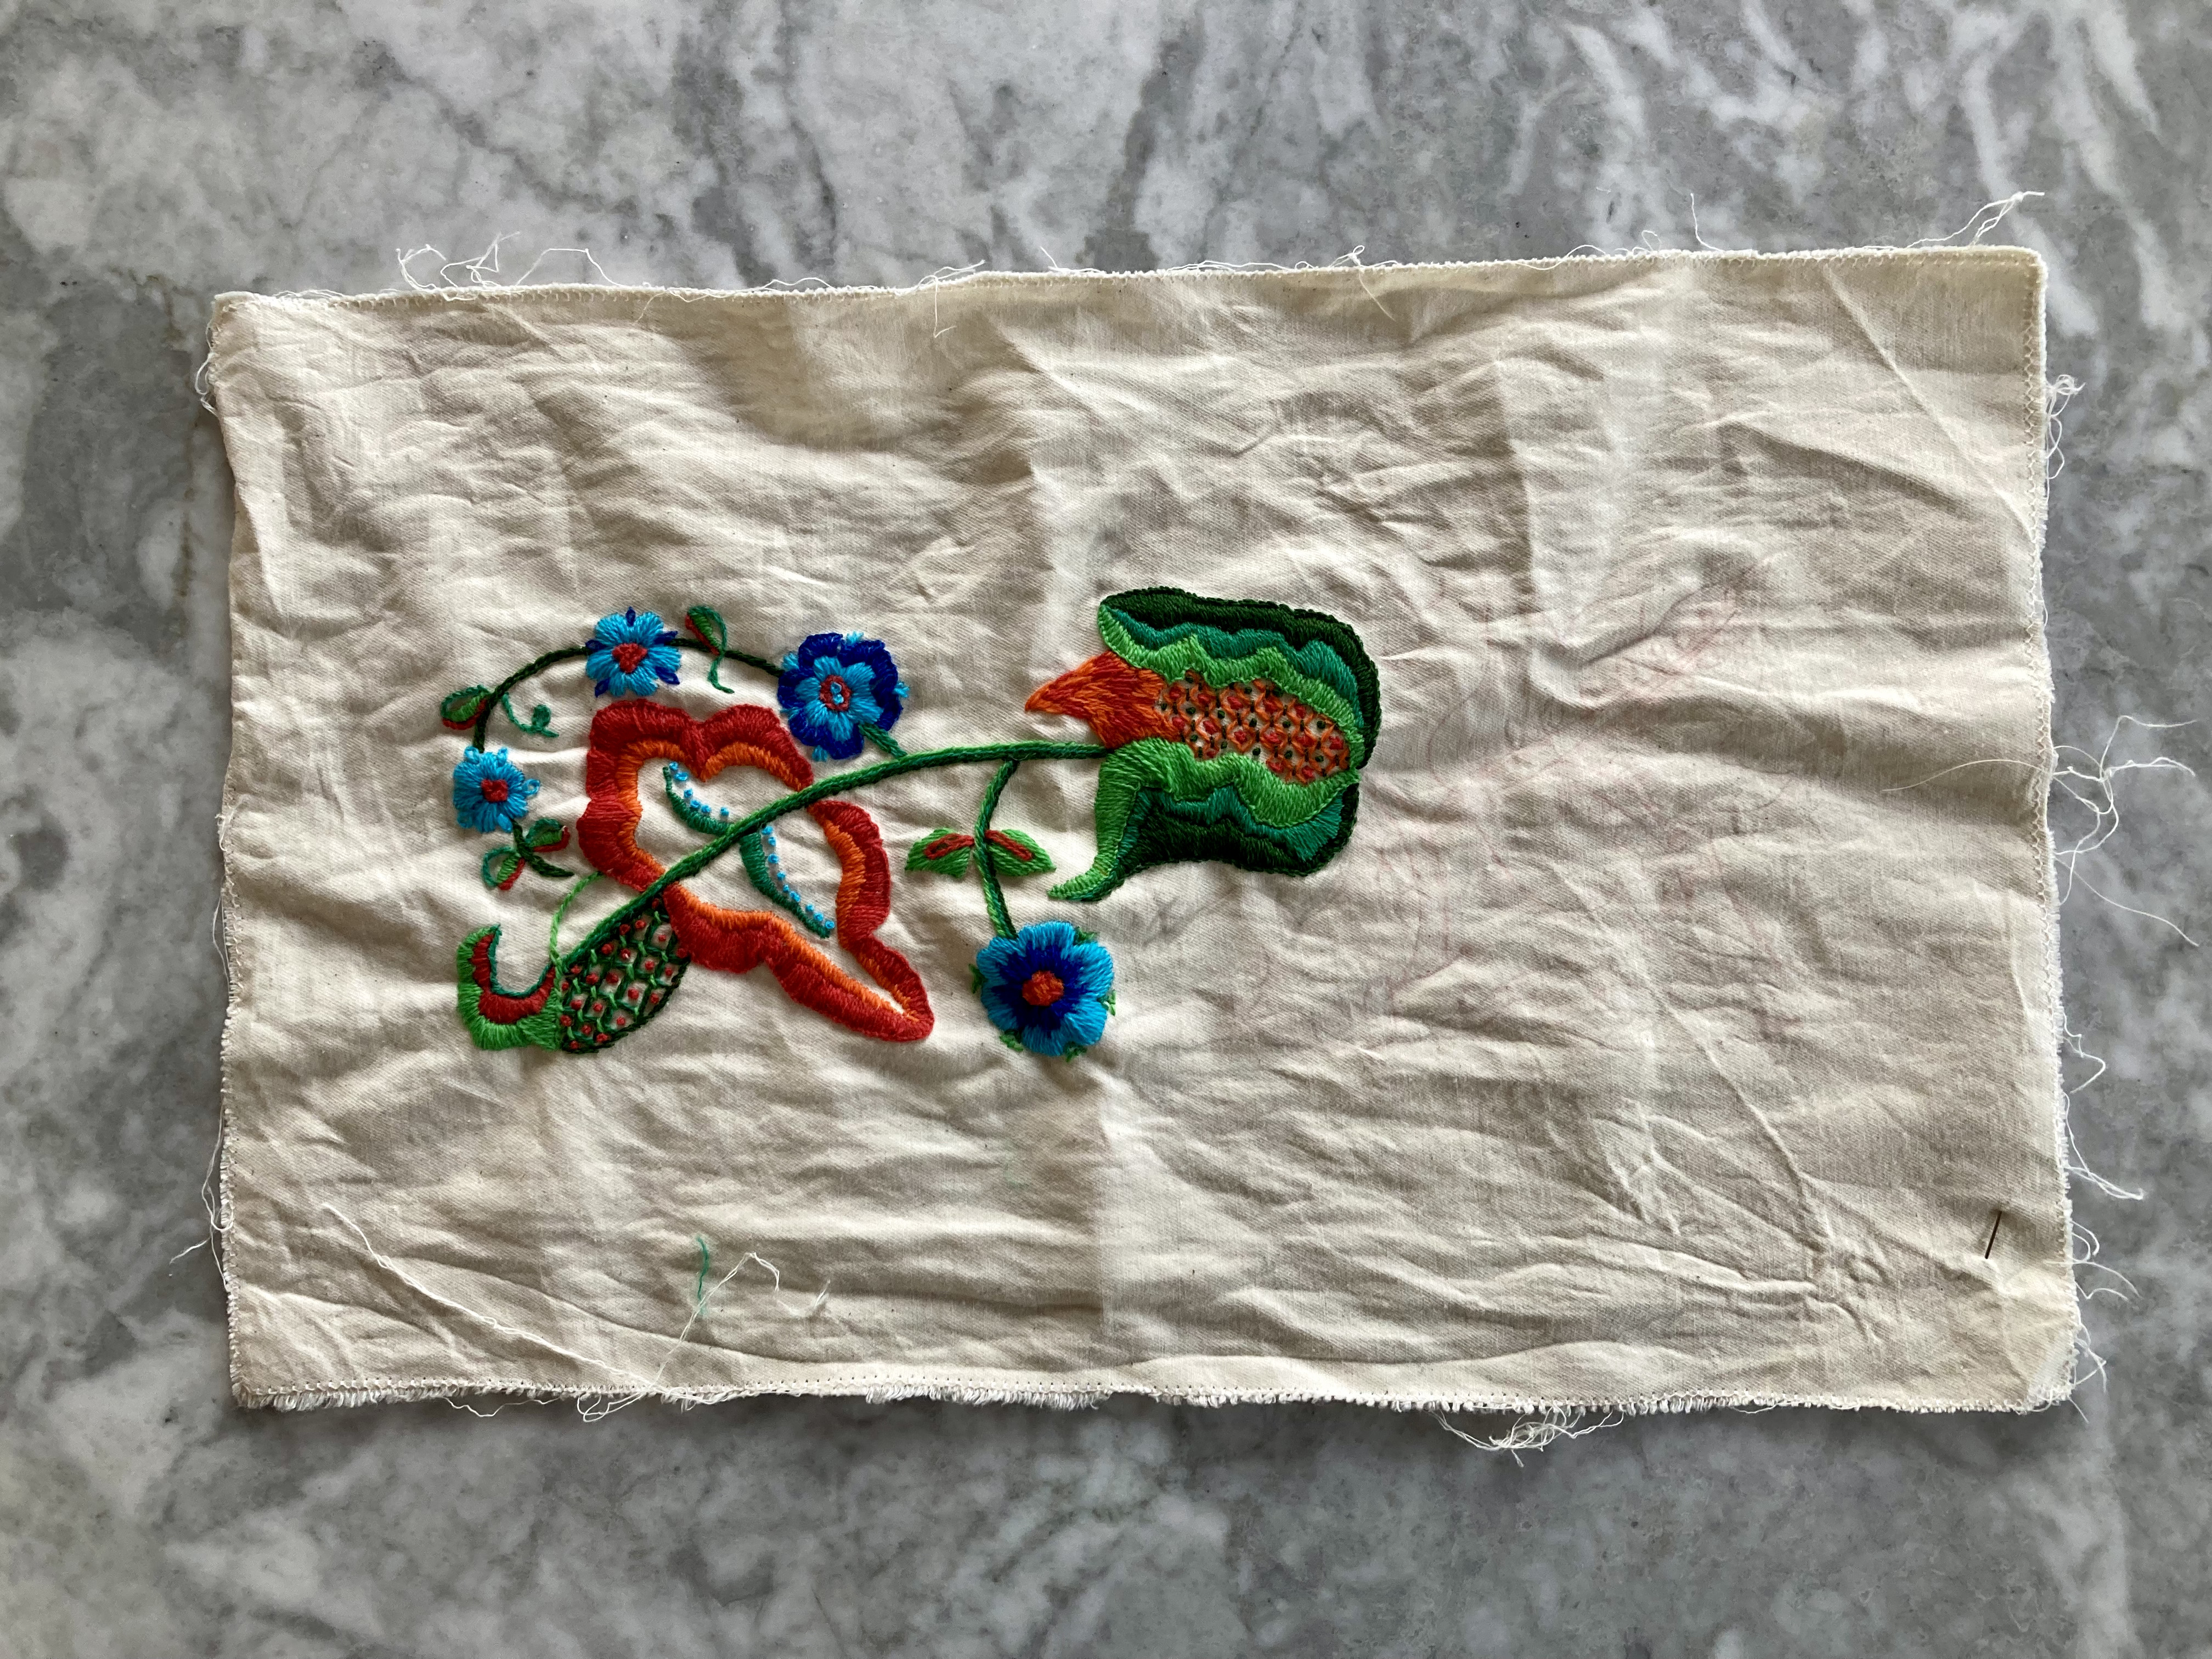
My October 2024 project was an embroidered panel in “Jacobean” style from the October 1966 issue of Stitchcraft.
Real Jacobean embroidery was an elaborate, mostly floral style of wool-on-linen work that was popular in the early 17th century. It featured heavy, filled stitches and complicated couching, often in multiple colours and with a high level of skill and artistic virtuosity. The style enjoyed a revival in the mid-20th century, and many home embroideresses made Jacobean-inspired designs to decorate home furnishings such as cushions and wall panels.

This finished panel is intended to be used as a chair-back and / or sofa-back, with the sofa-back incorporating the panel twice. Chair-backs and sofa-backs were a popular way to extend the life of upholstered furniture by keeping it clean and protected from sun damage. You don’t see them much nowadays, except in the casual form of throwing a blanket or quilt over the sofa back to hide faded or worn spots. I could actually use a sofa-back, since my sofa sits under a window and the sun does fade the dye quite a bit over time, but my sofa is already so cluttered with hand-made cushions. I decided to make the panel first and then decide if it should become a cushion, laptop case, decorative wall panel or other use.
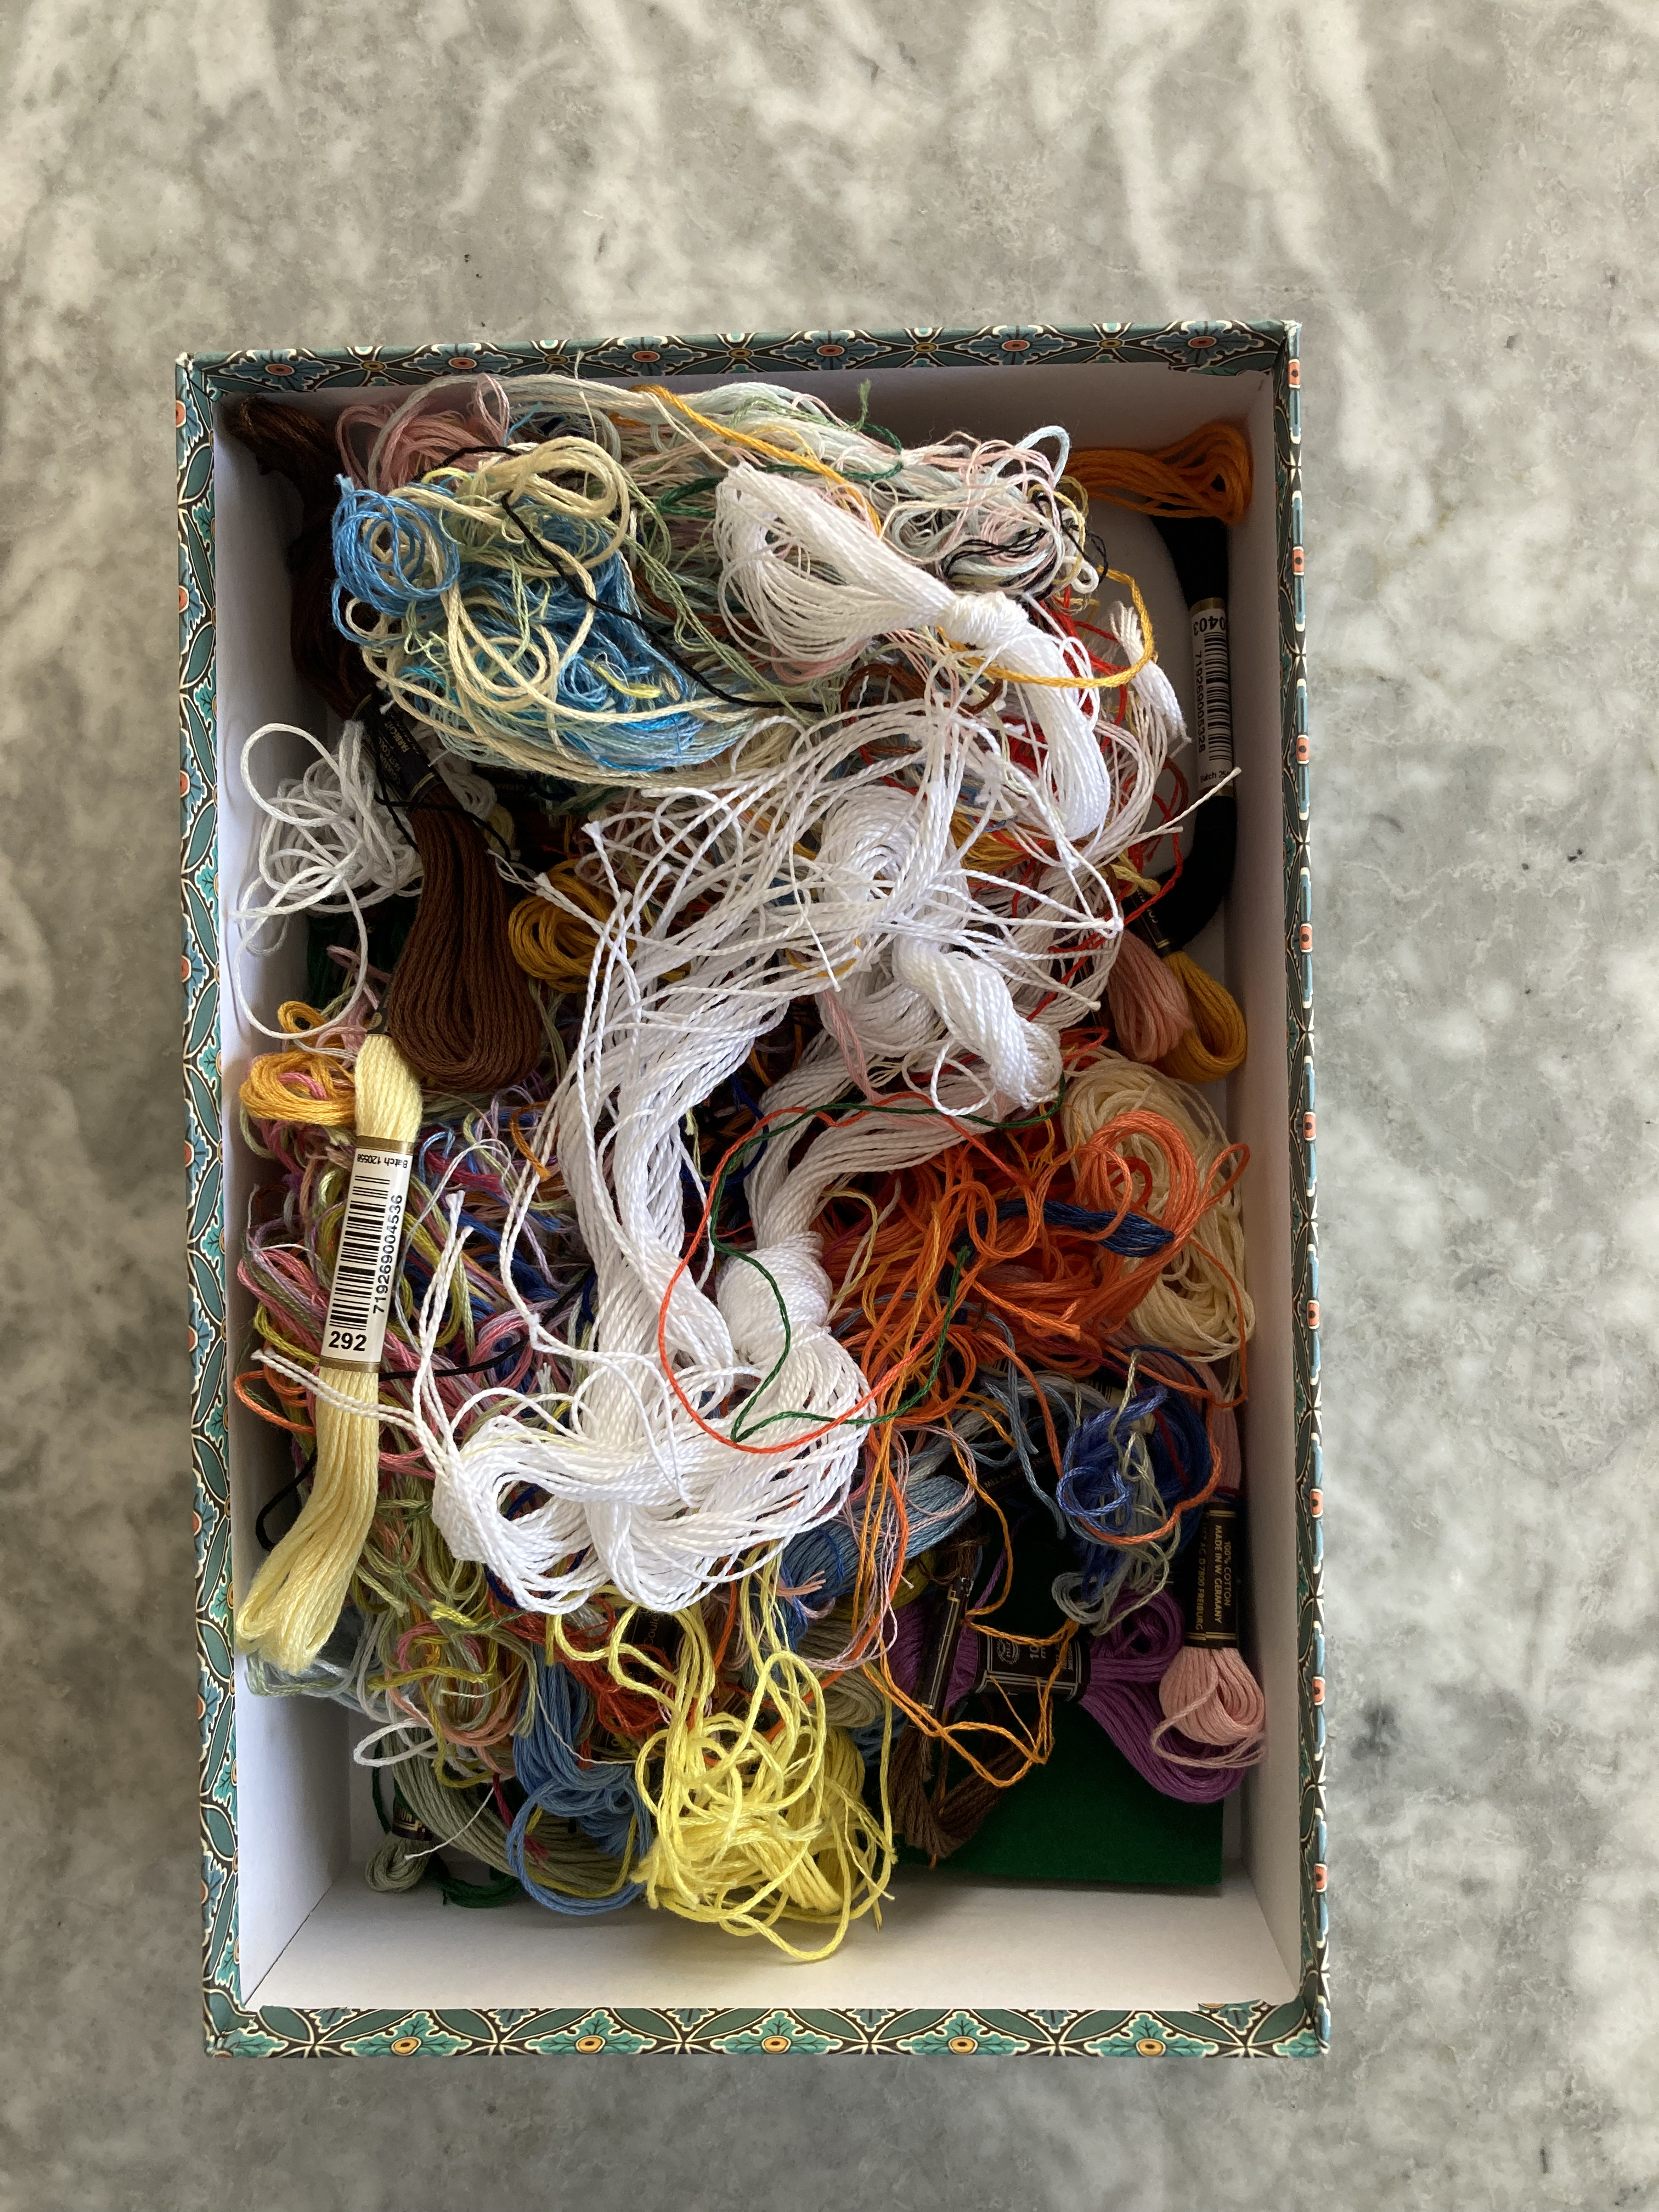
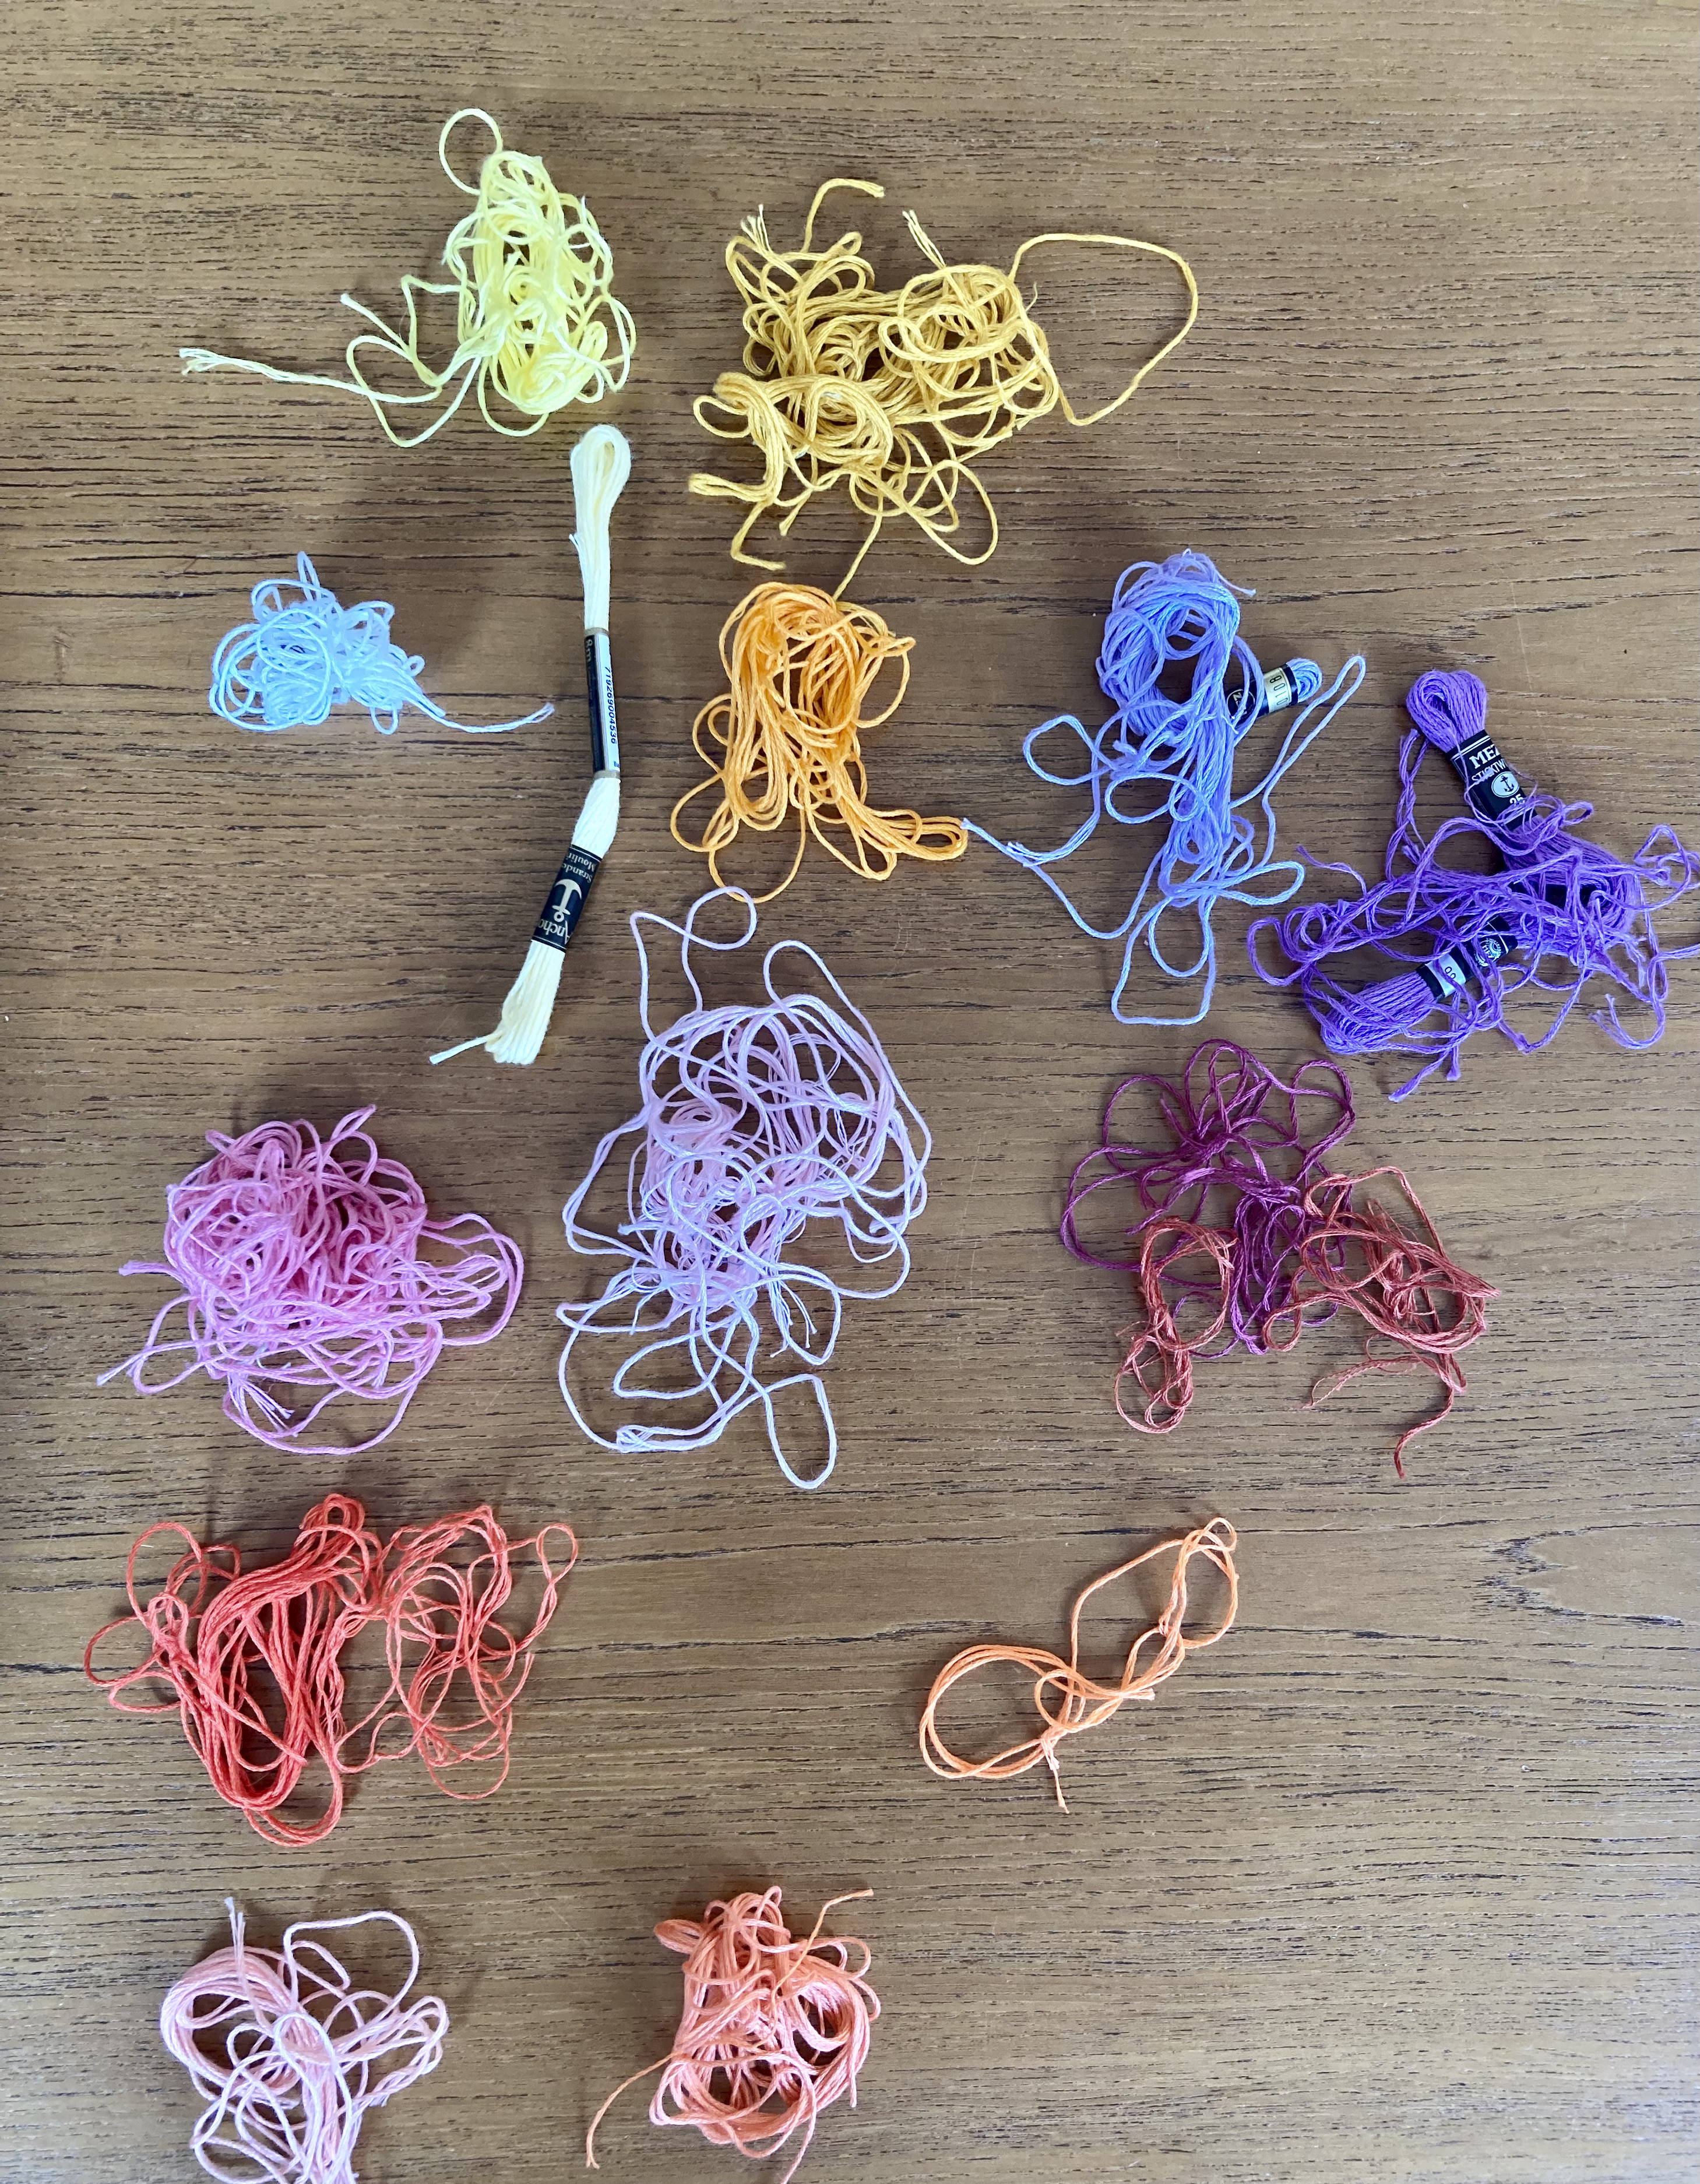
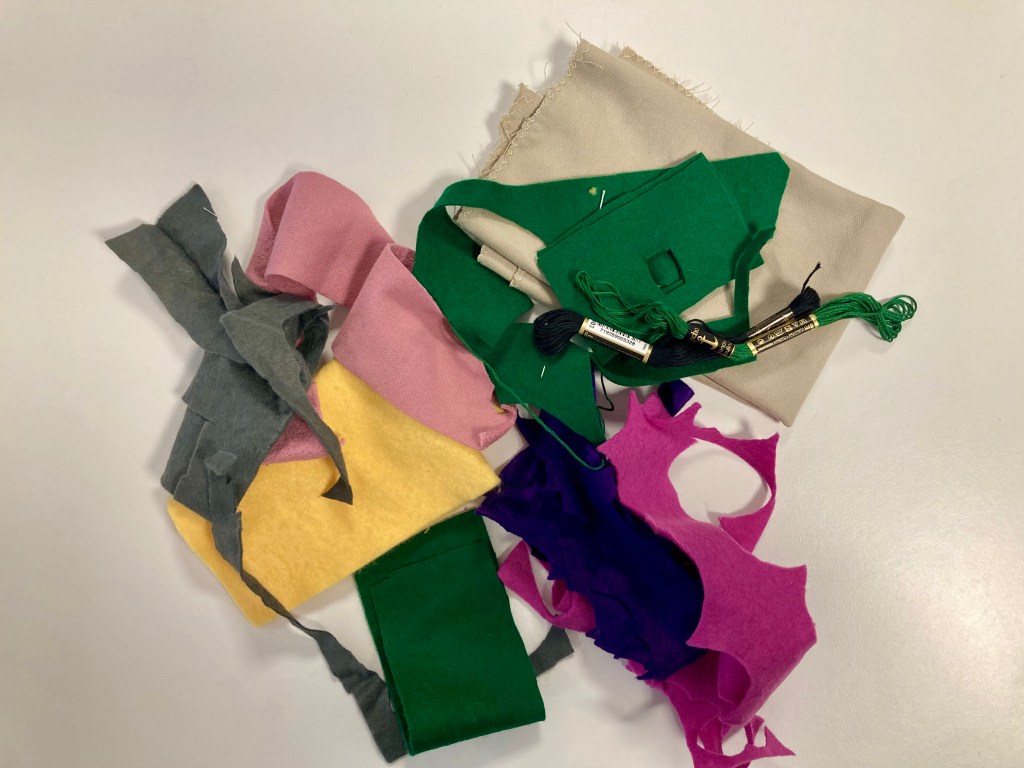
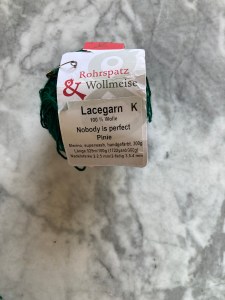
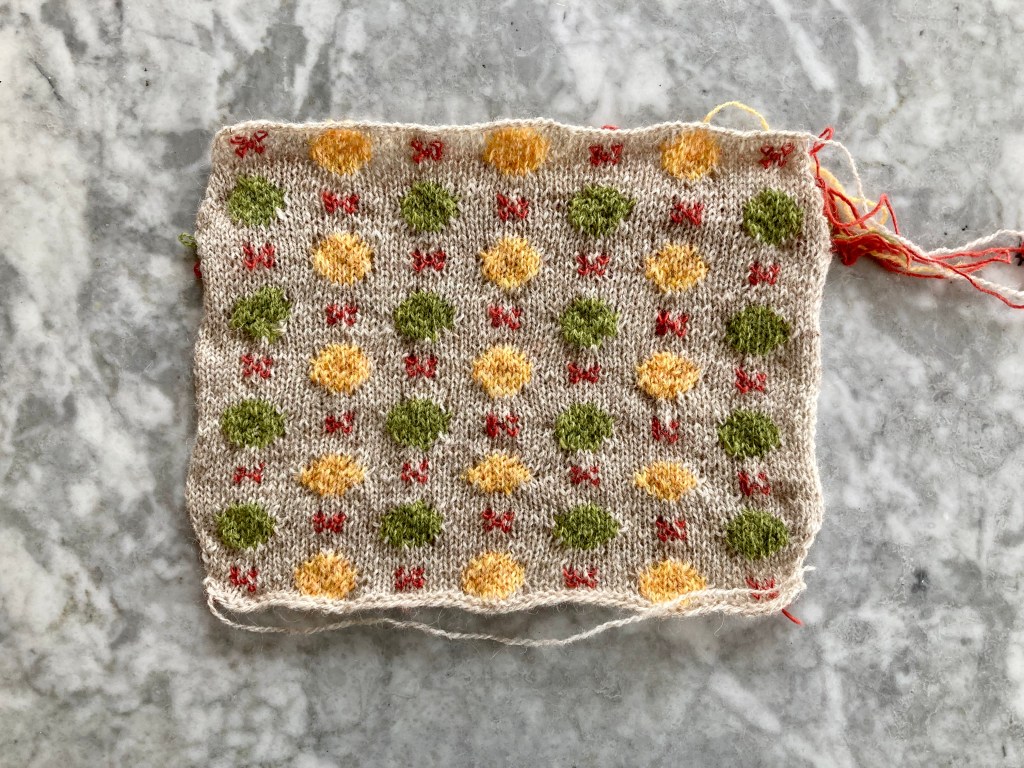
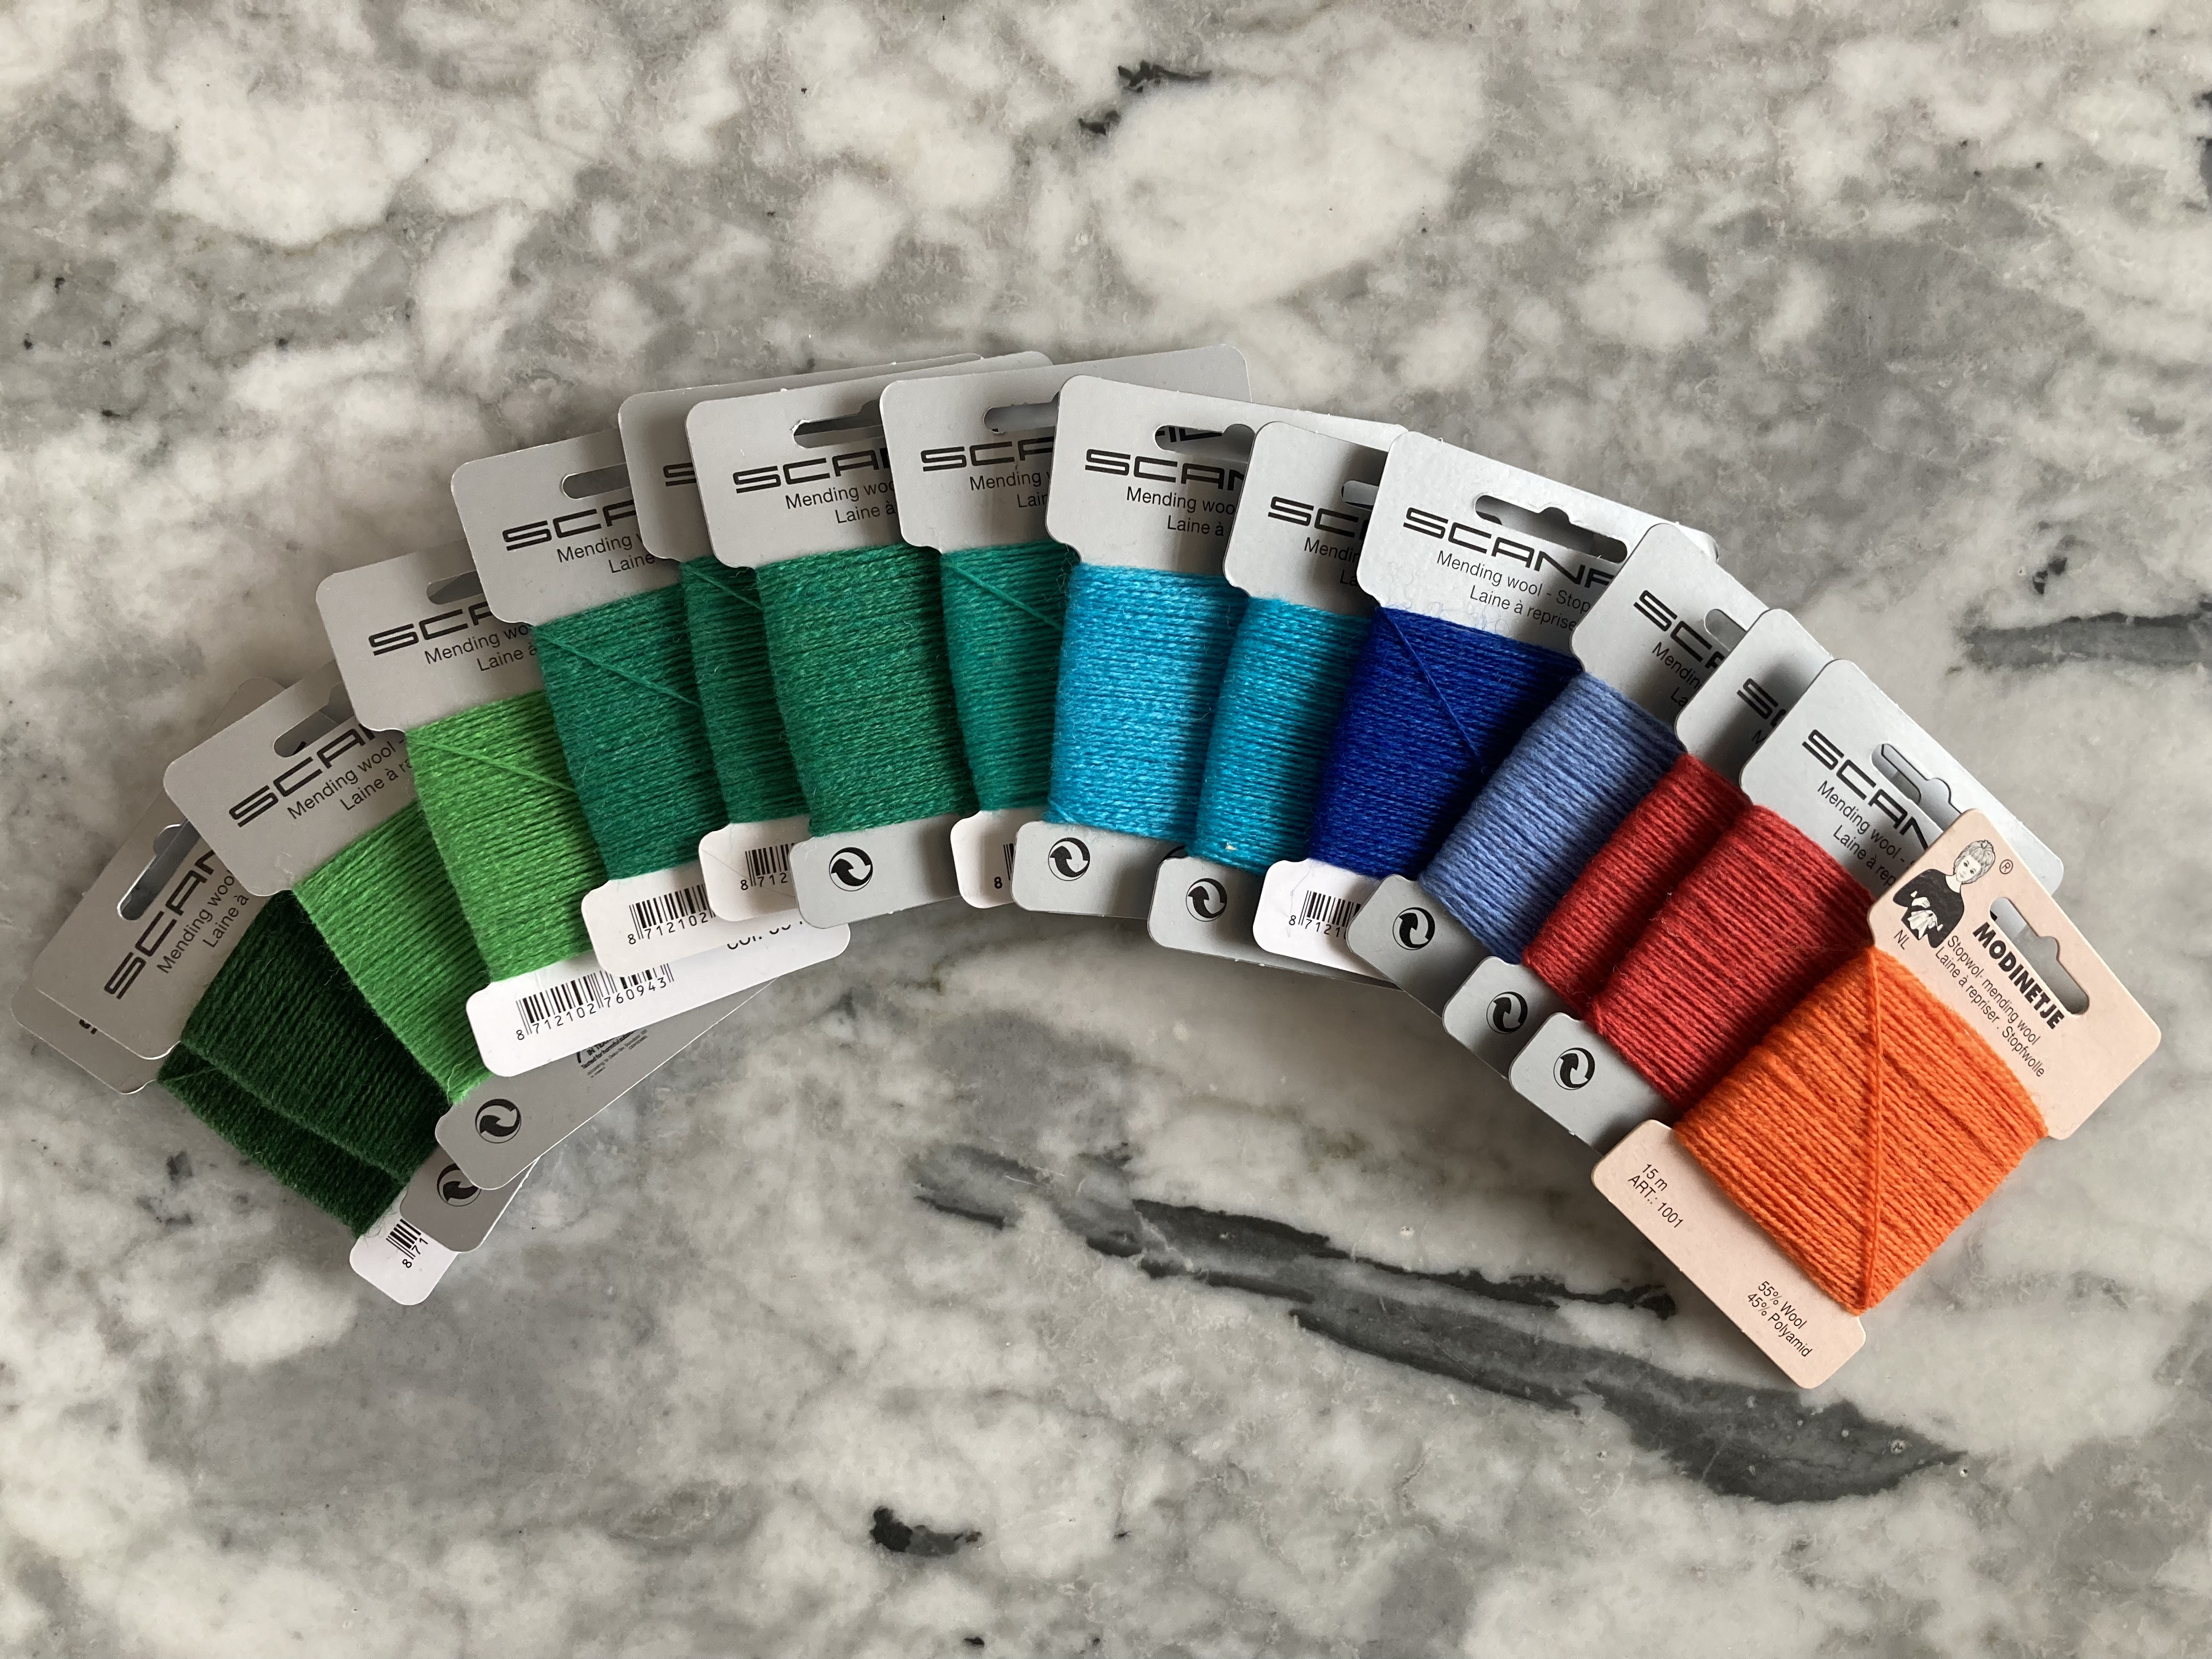
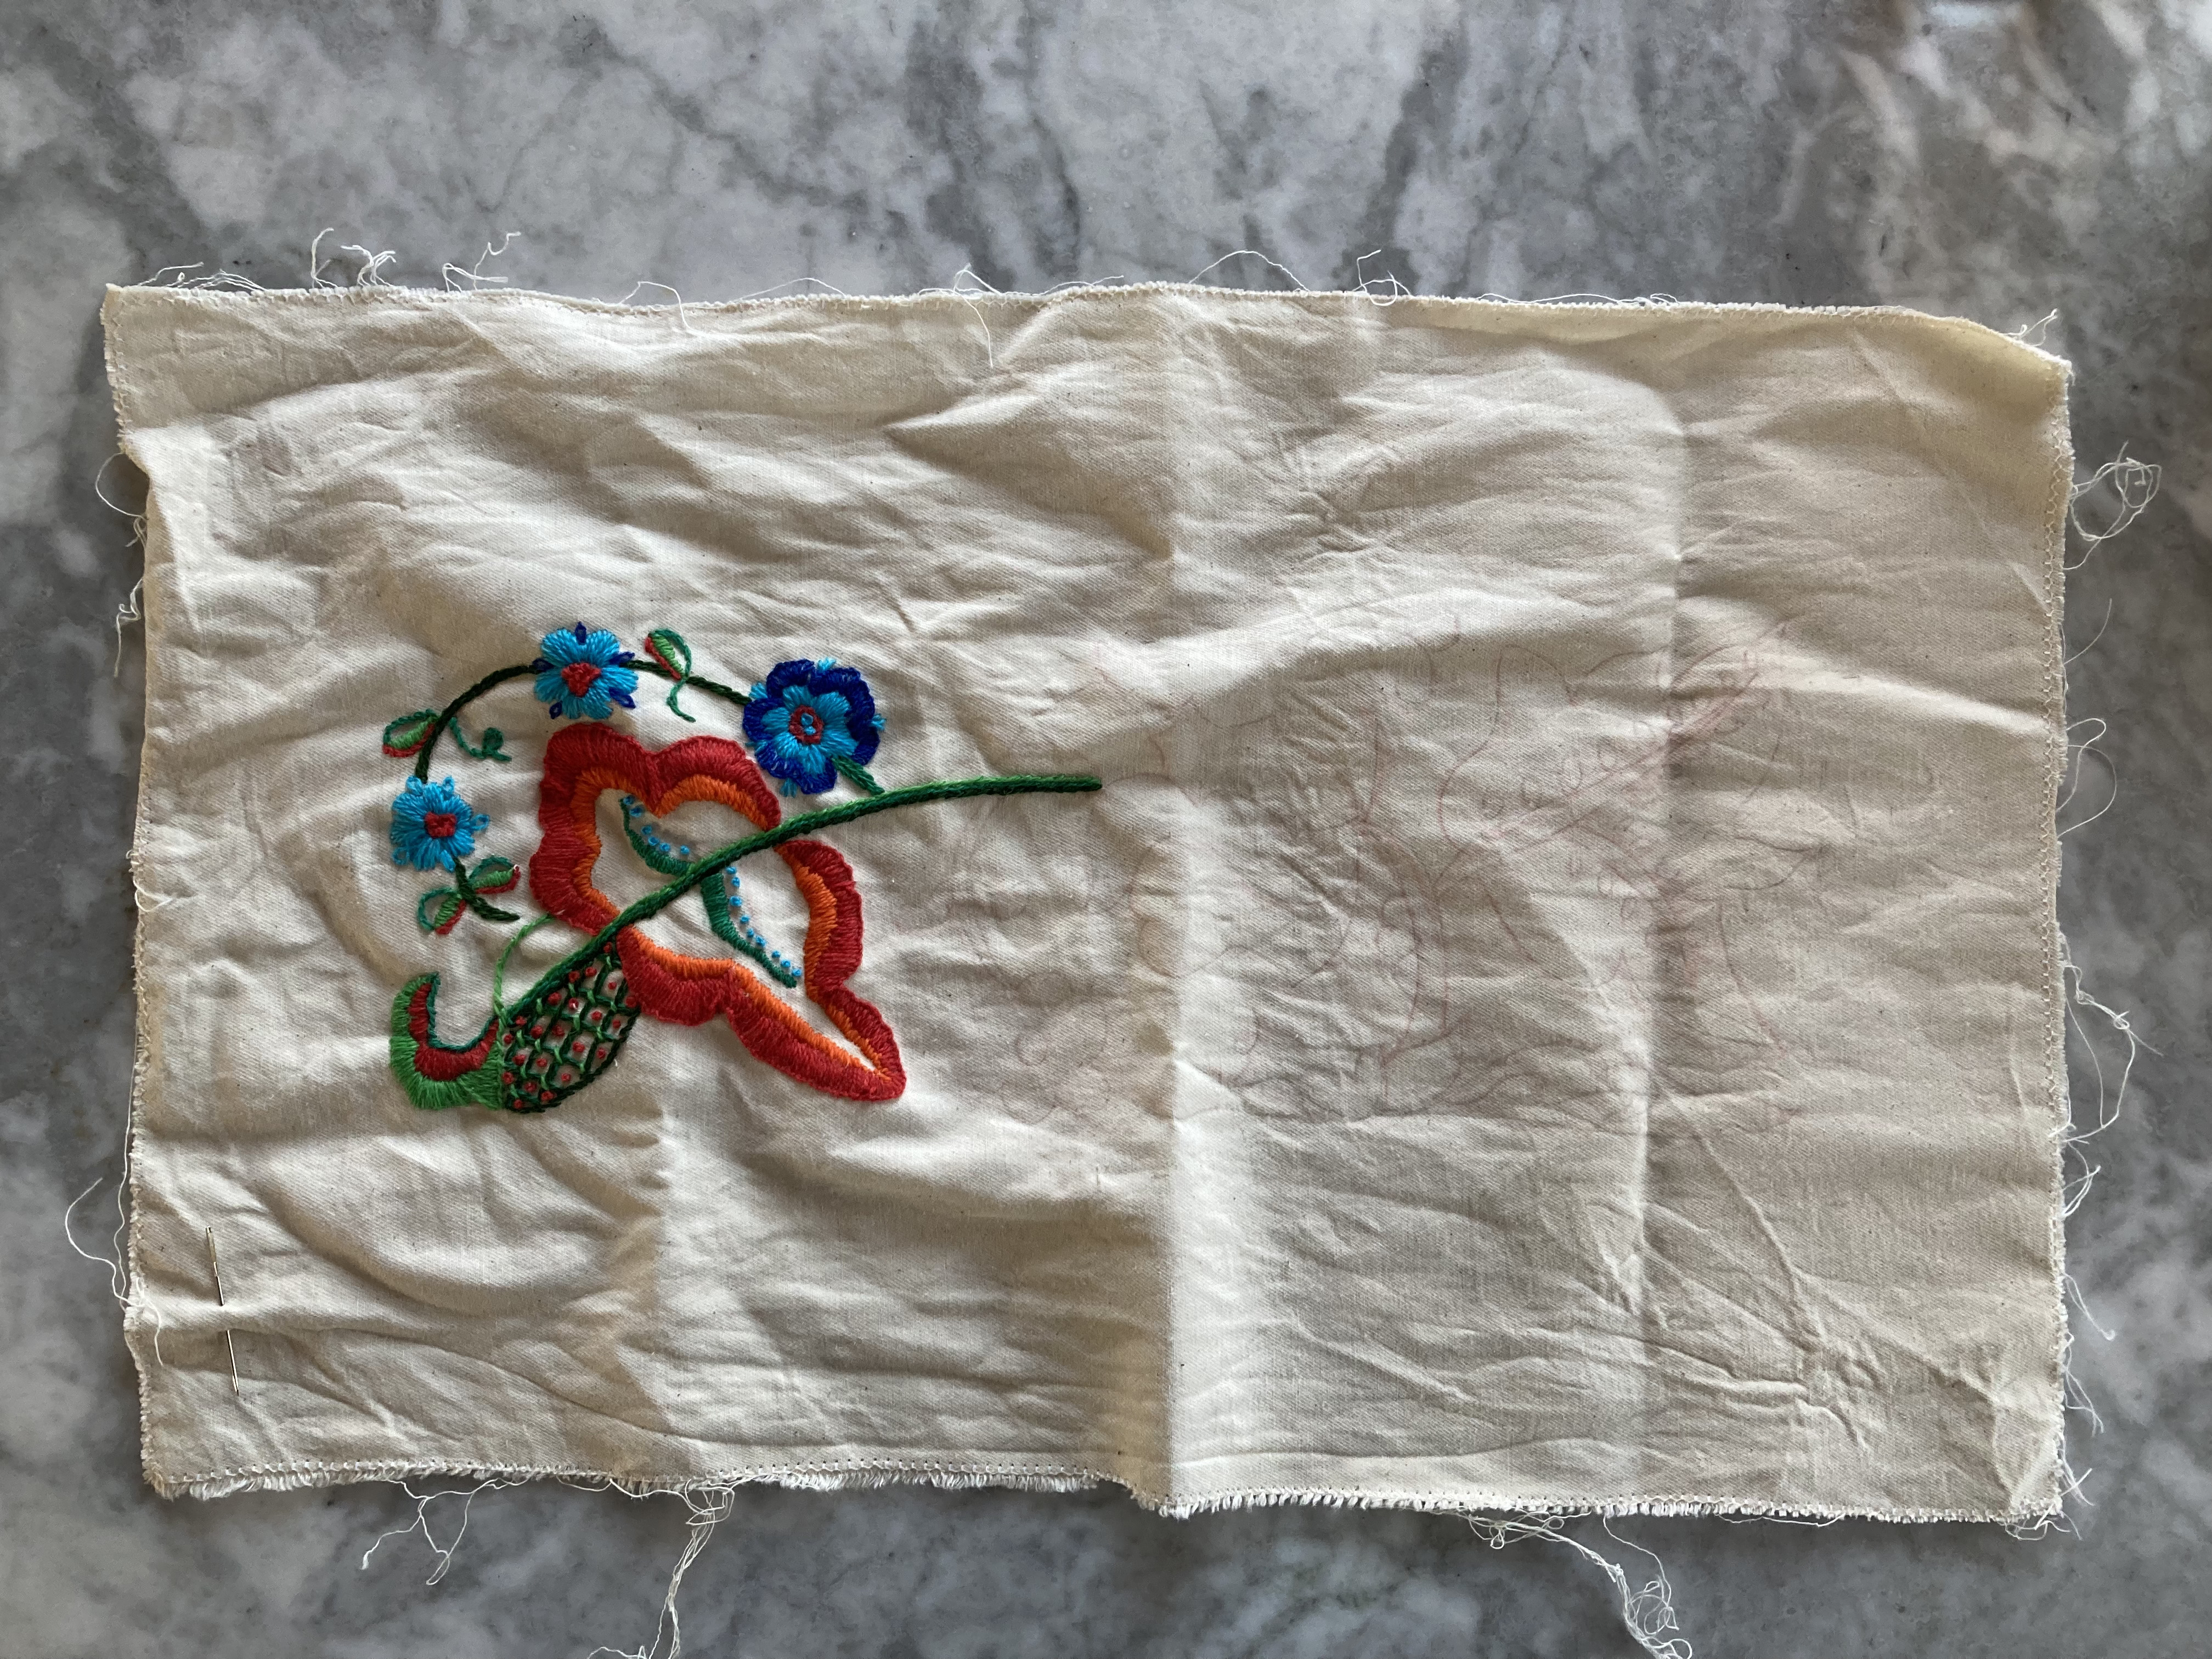
The pattern is written for wool embroidery on furnishing linen. I had no trouble finding an appropriate background fabric — although mine is thick cotton muslin, not linen — but fine embroidery wool is difficult to find. I know one store in Paris and a Ravelry friend just let me know about another (also in France.) I could have ordered from either one of them, but I happened to be in a store that sold mending wool in a variety of colours, and decided to give that a try instead. The colours in the pattern were light green, green, dark green, peacock, dark peacock, rust and light rust, which I found with an extra alternative-light-blue and slightly-more-blue-green for variety. It worked well!

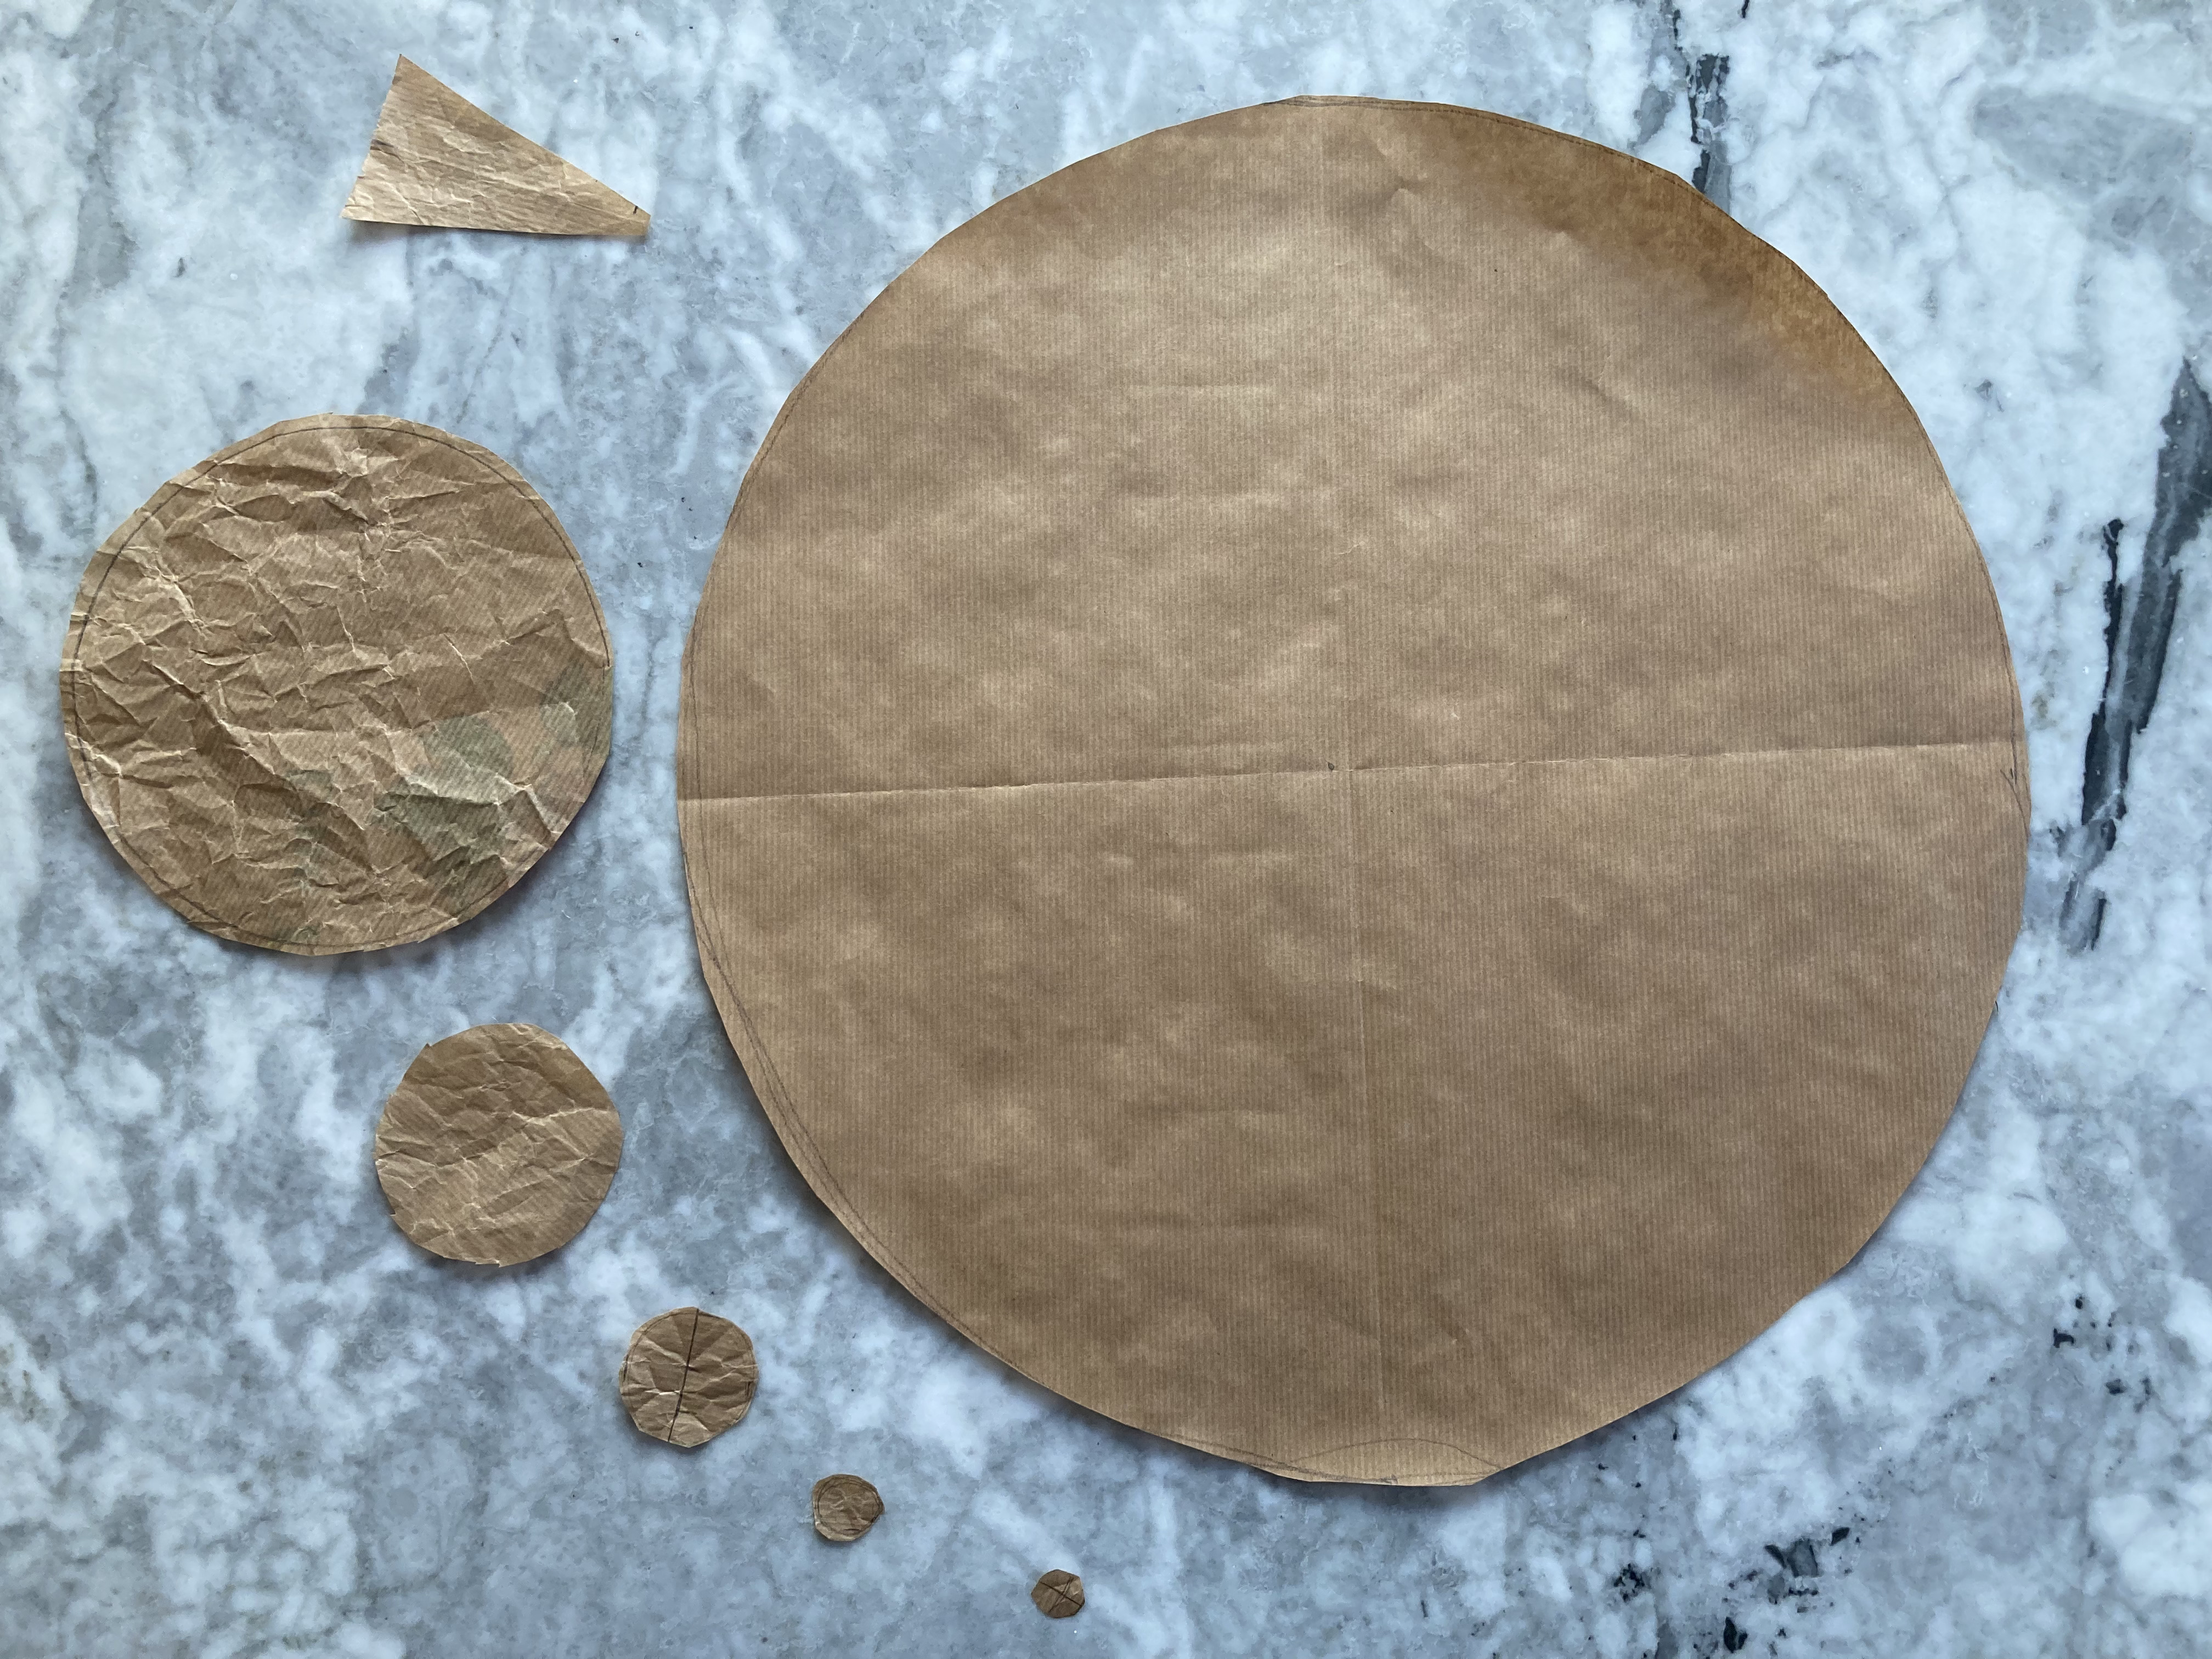
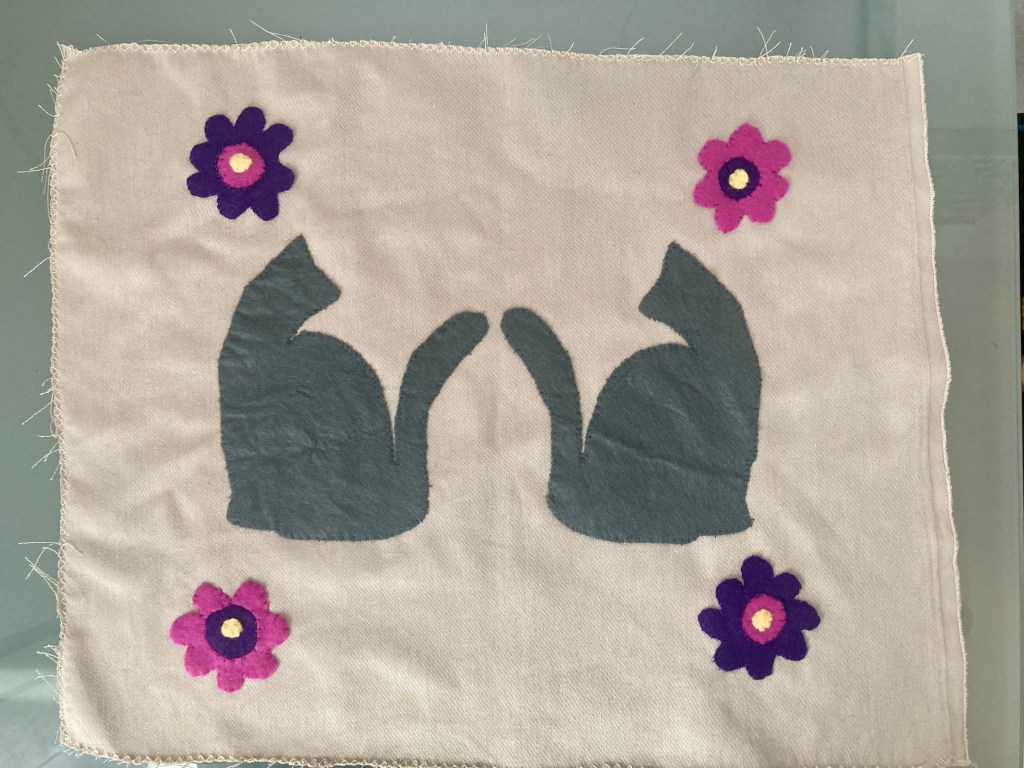
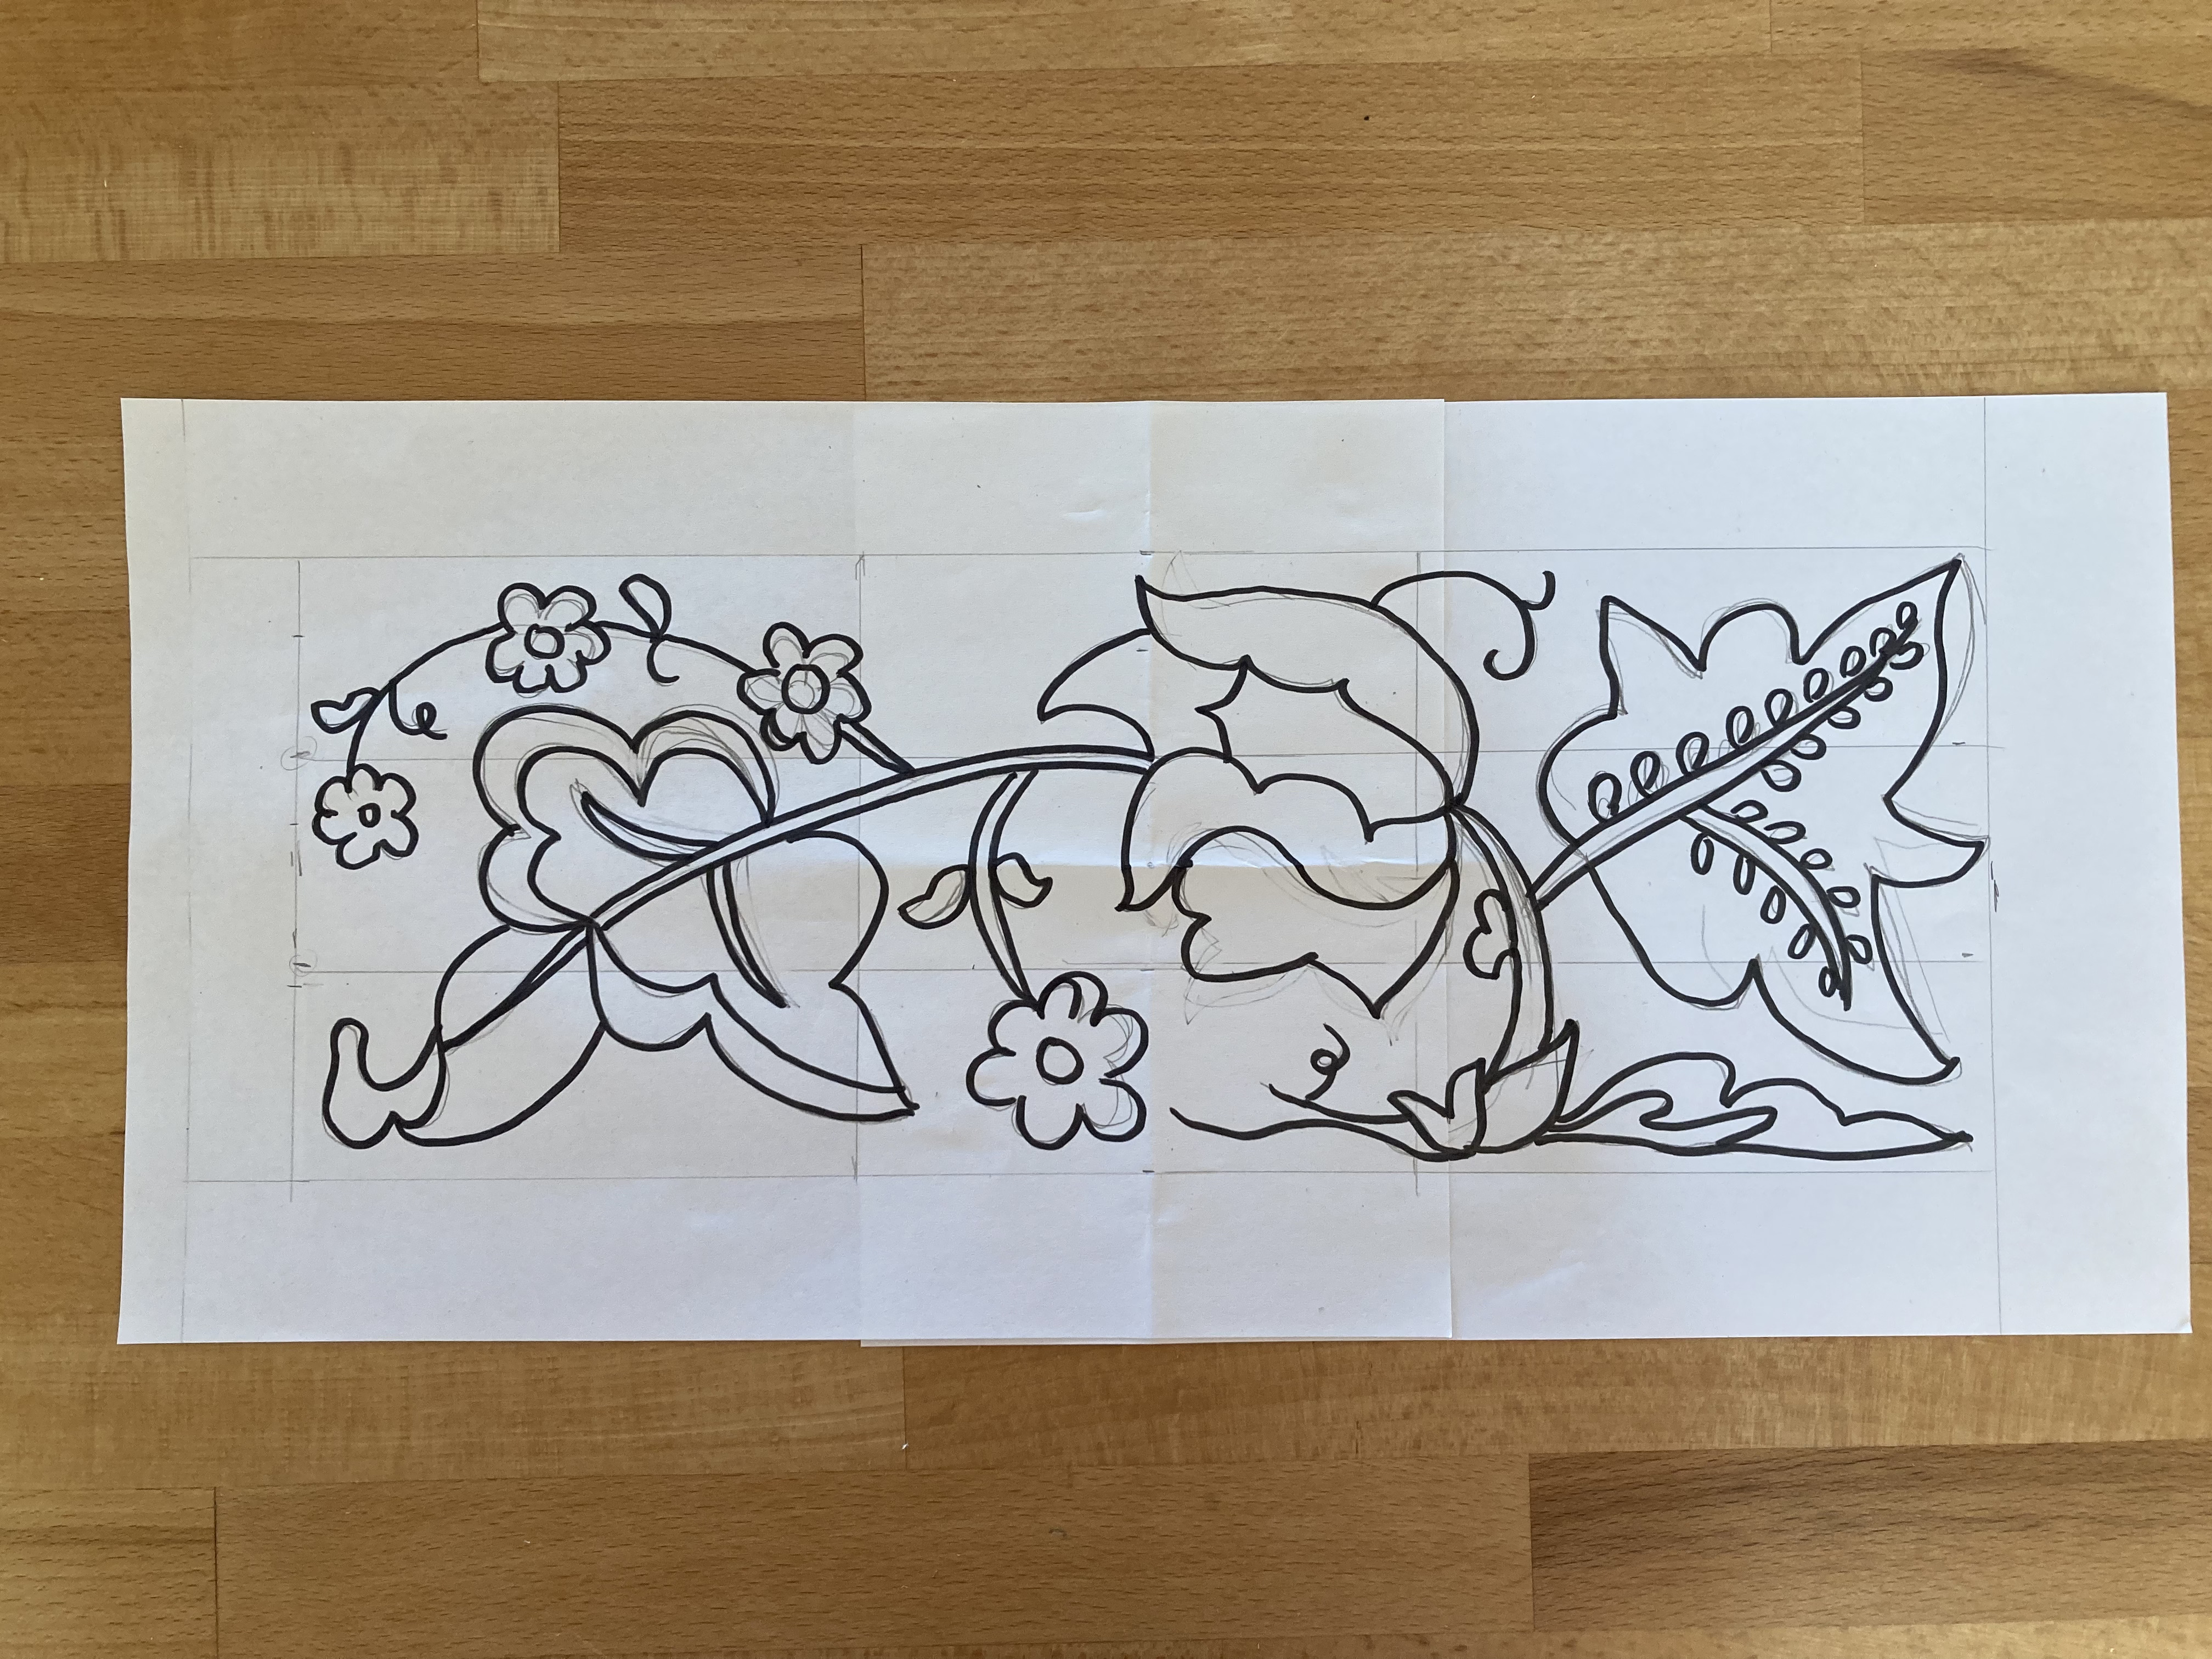
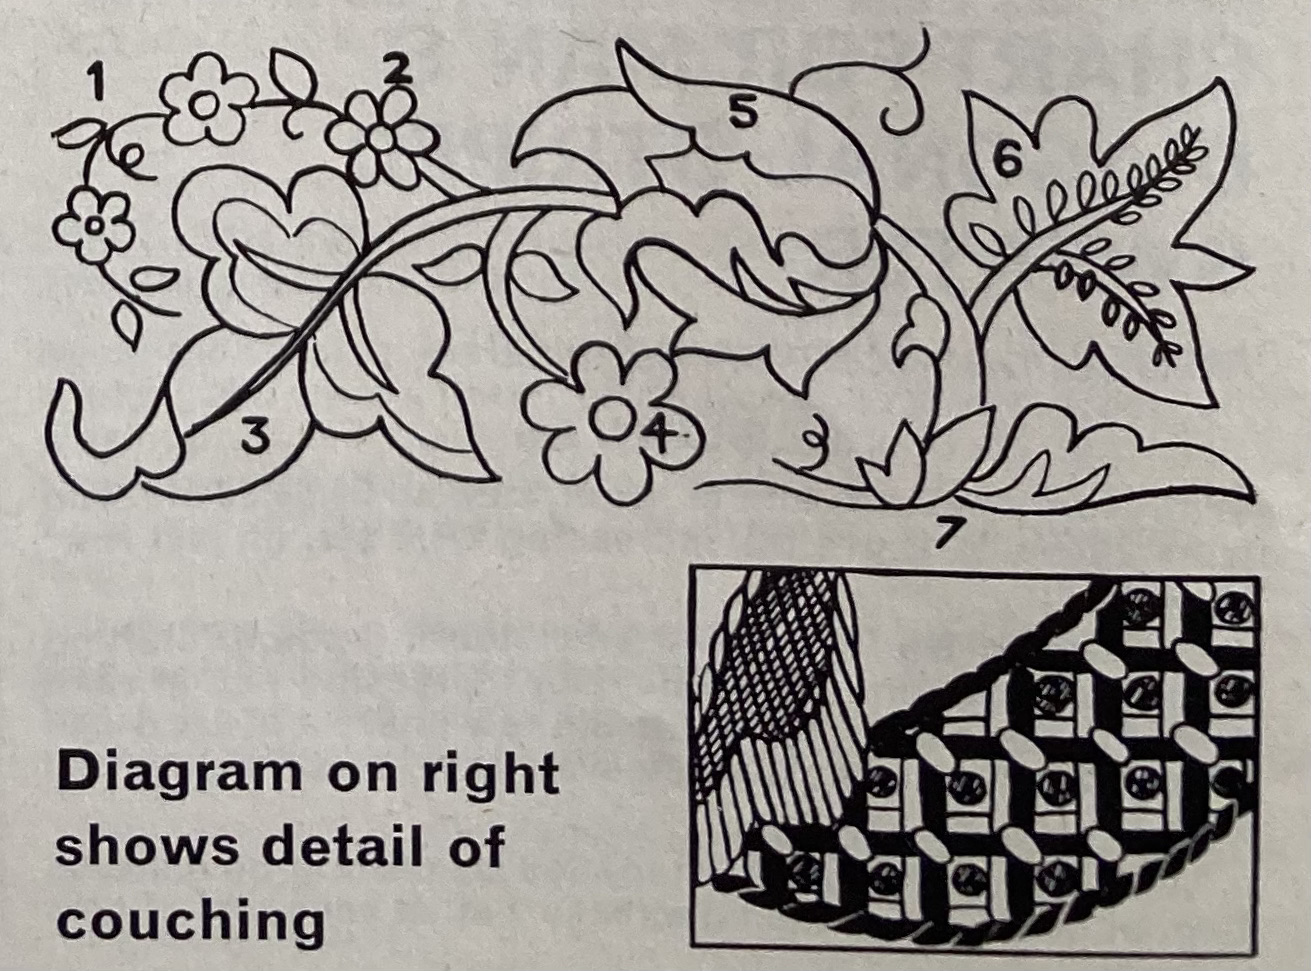
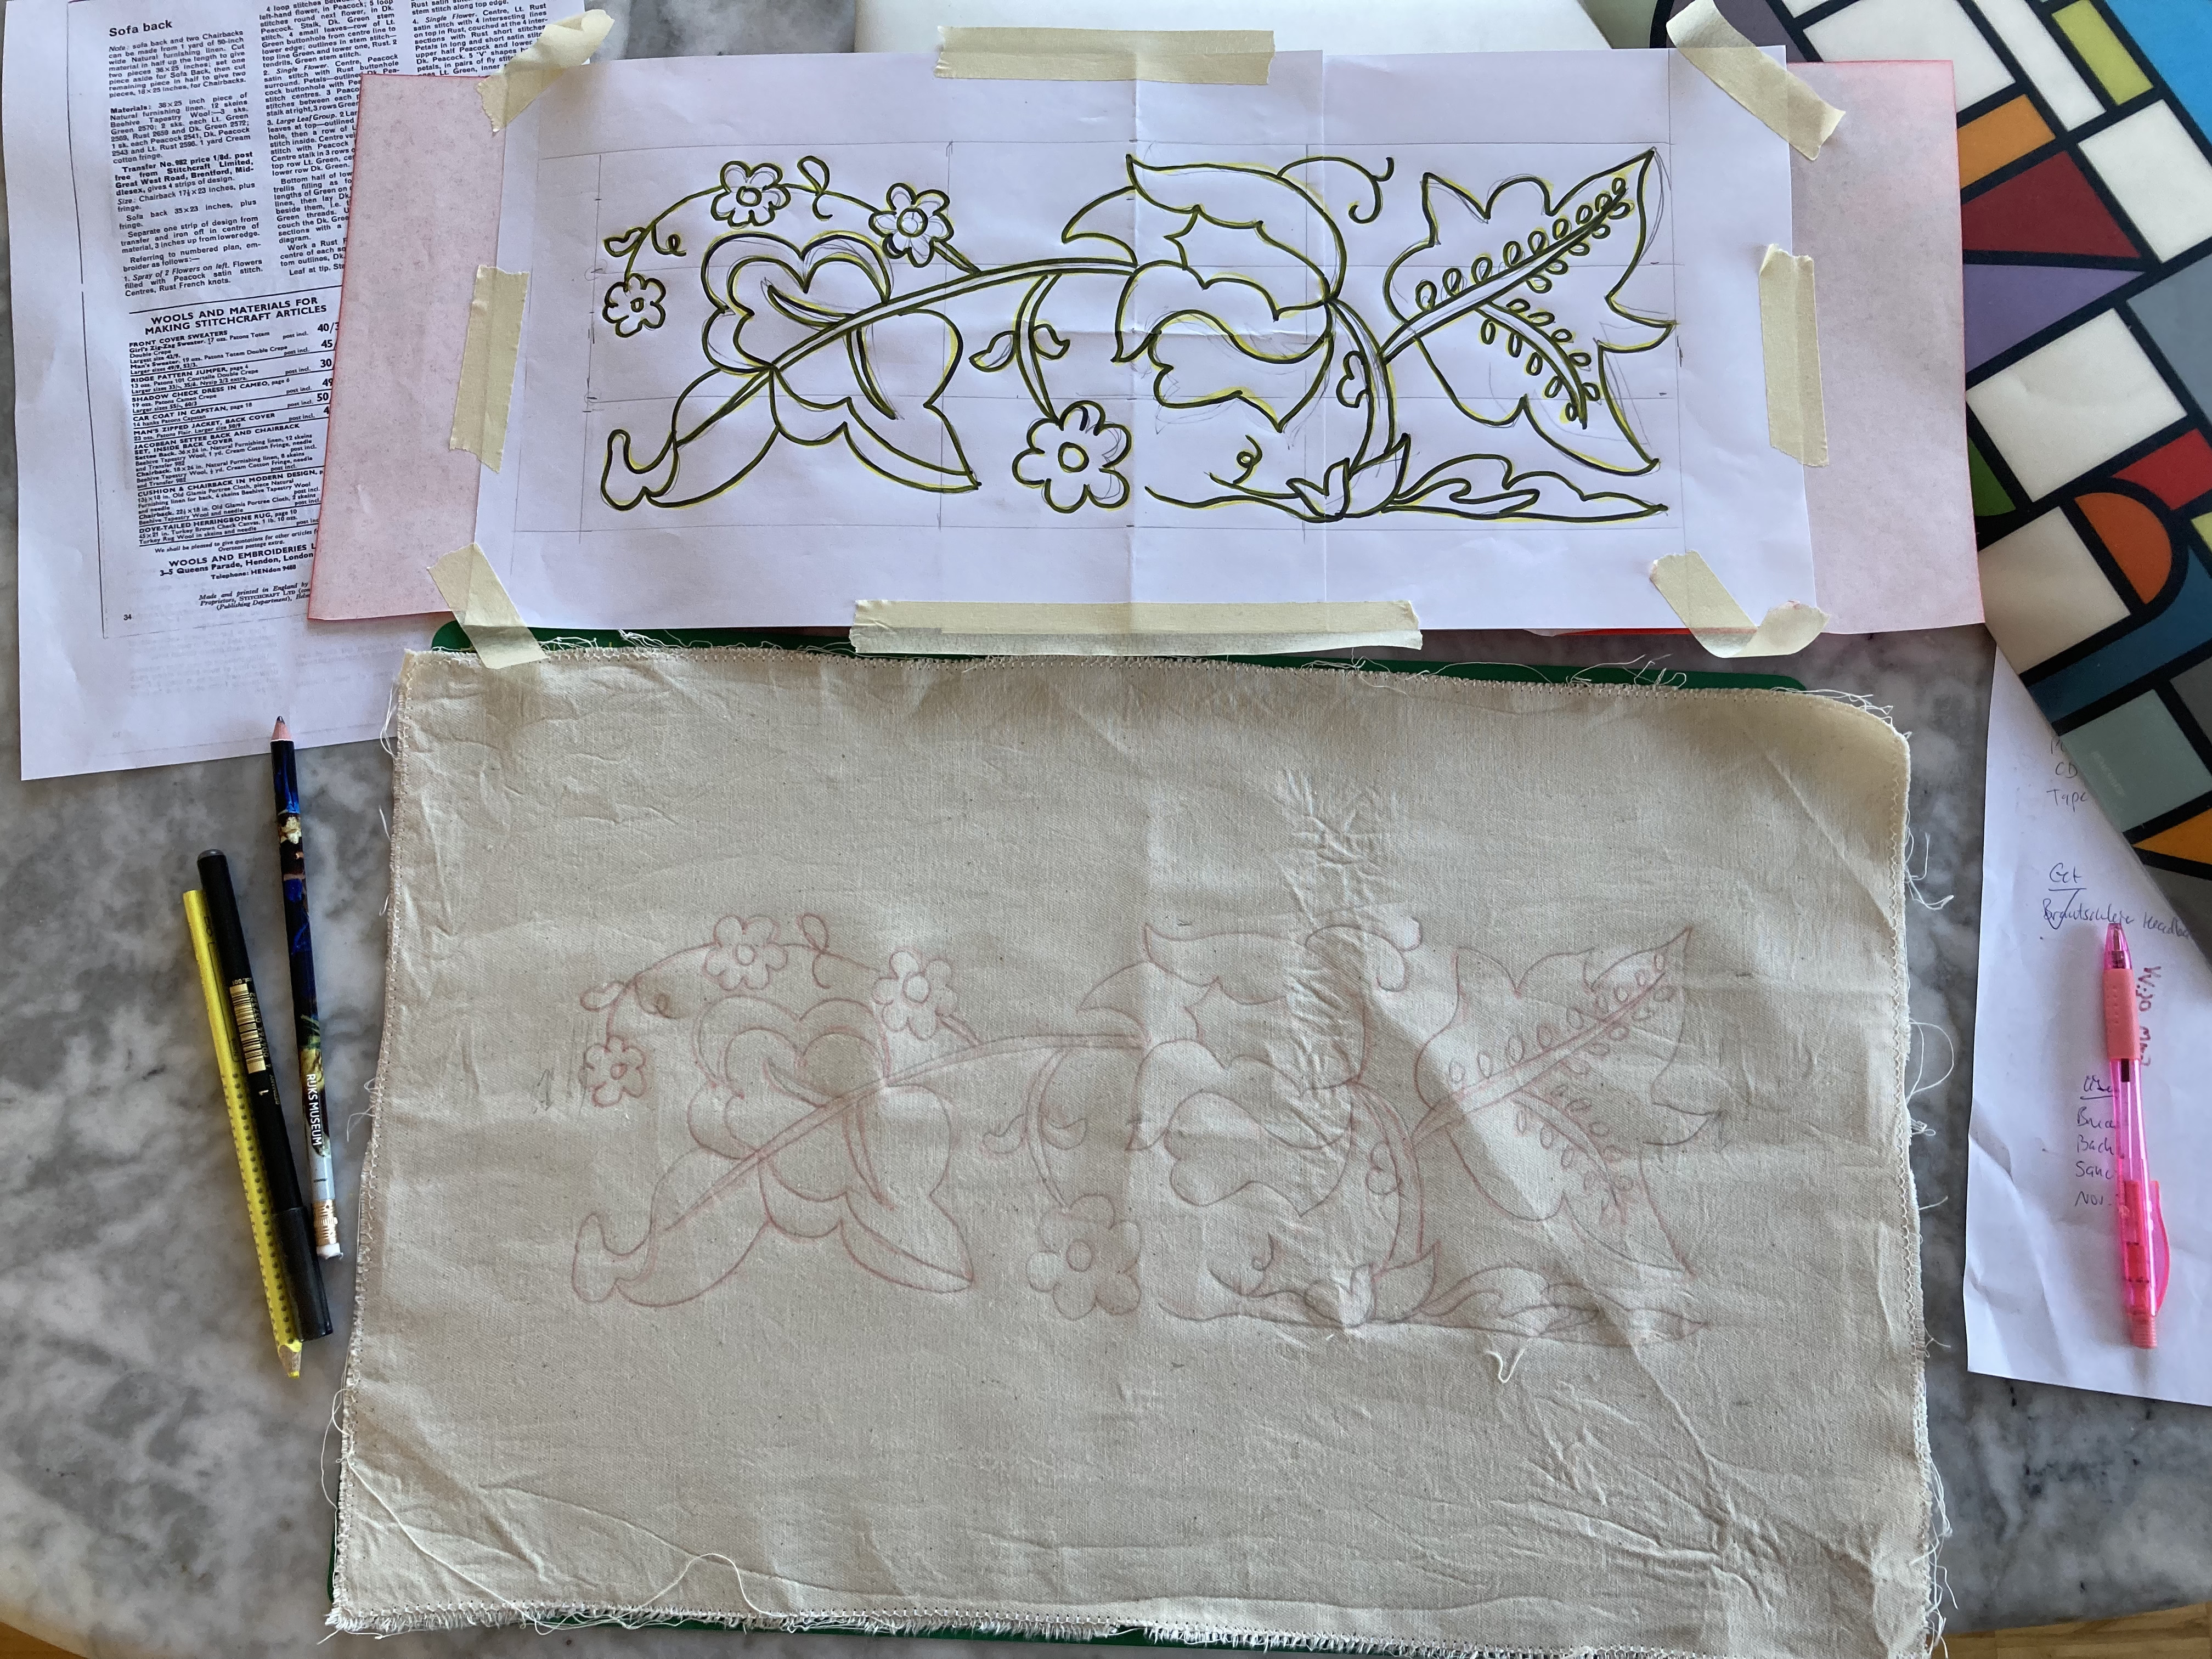
The most difficult and time-consuming part of all these vintage embroidery patterns, as always, was getting the design onto the fabric. Back in the Stitchcraft days, you had to send away for the iron-on transfer by post. These days, old transfers occasionally pop up for sale on ebay, but of course not exactly the one I want to work on right at that moment, so I have to recreate them myself. I do it the old-fashioned way, by drawing a grid over whatever photo or schematic is in the magazine, then drawing a proportional grid over a piece of paper in the correct size, and enlarging by copying square for square. Then I go over it with marking pen, and transfer it to the fabric via “lightbox” (i.e. taping it to a window) or dressmakers’ carbon paper. I used carbon paper for this one.
I’m sure there are computer programs that could do all of that a lot faster, but then I would have to take the time to learn the computer programs… and I like keeping the handwork aspect of the craft alive.
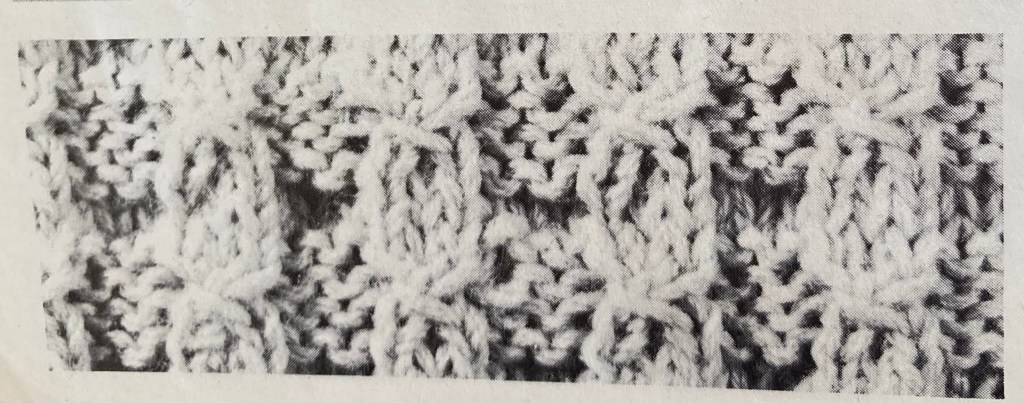
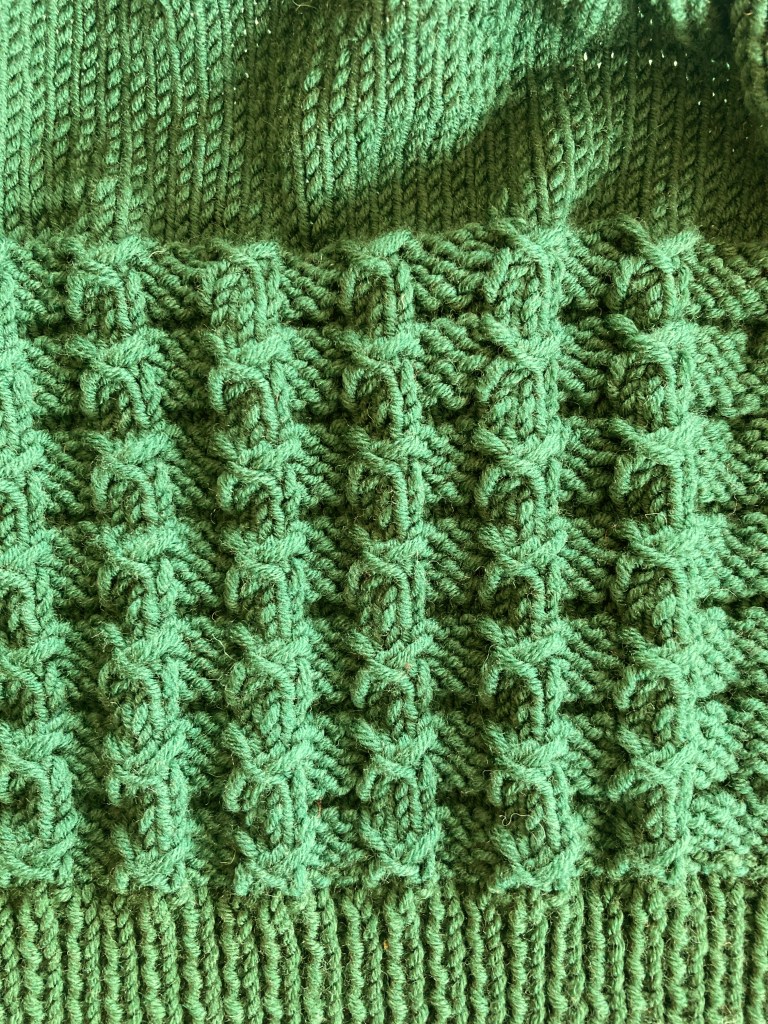
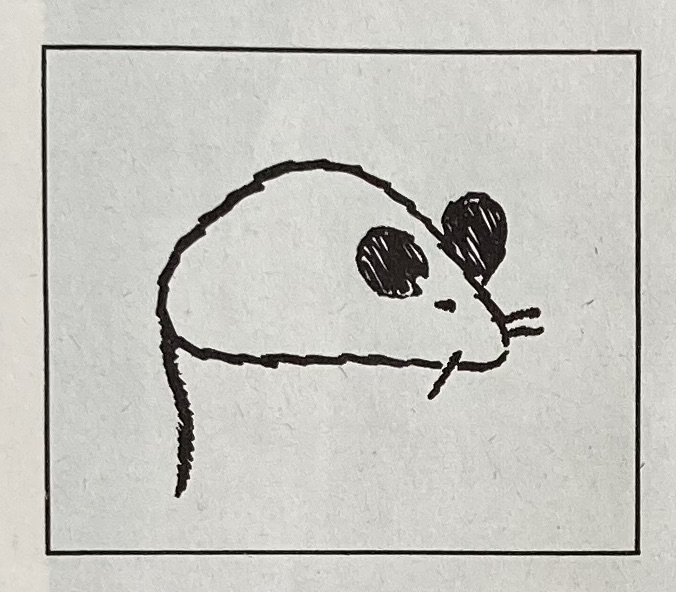
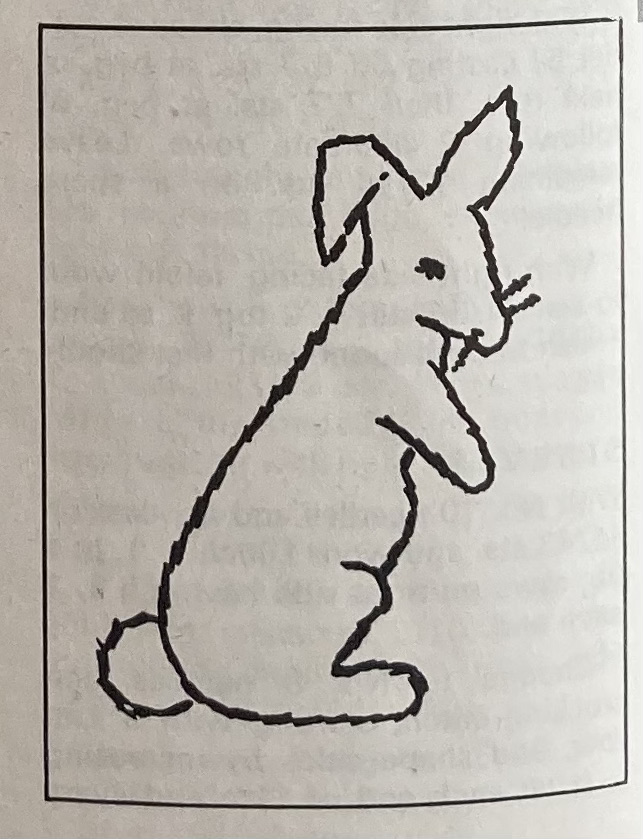
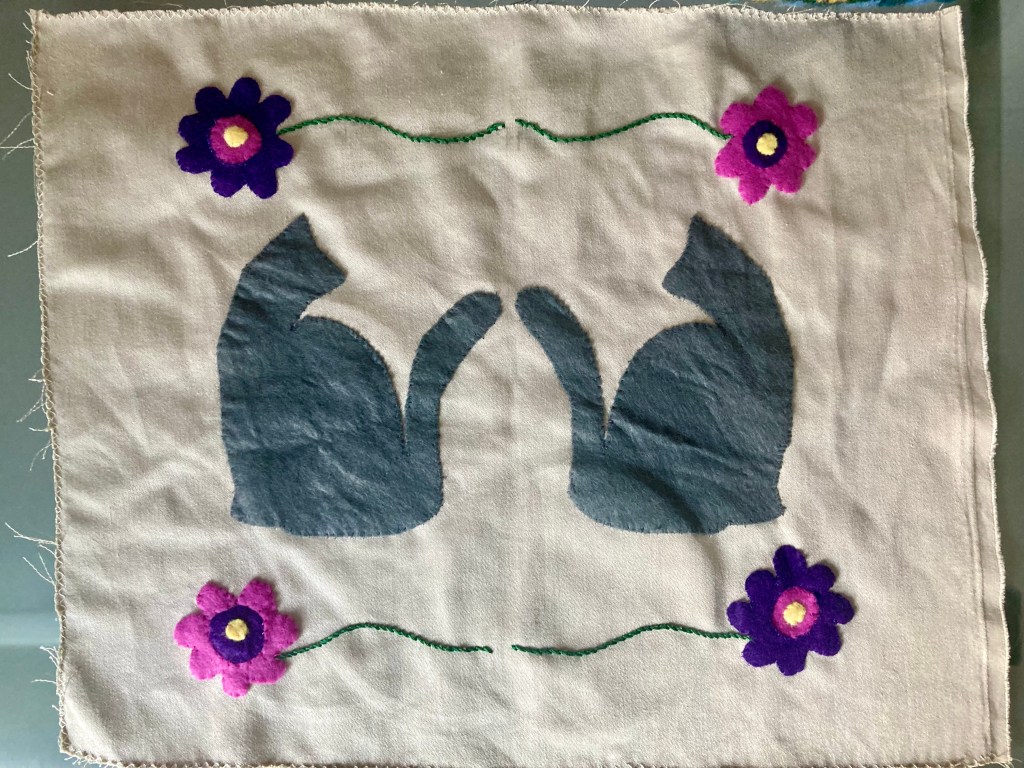
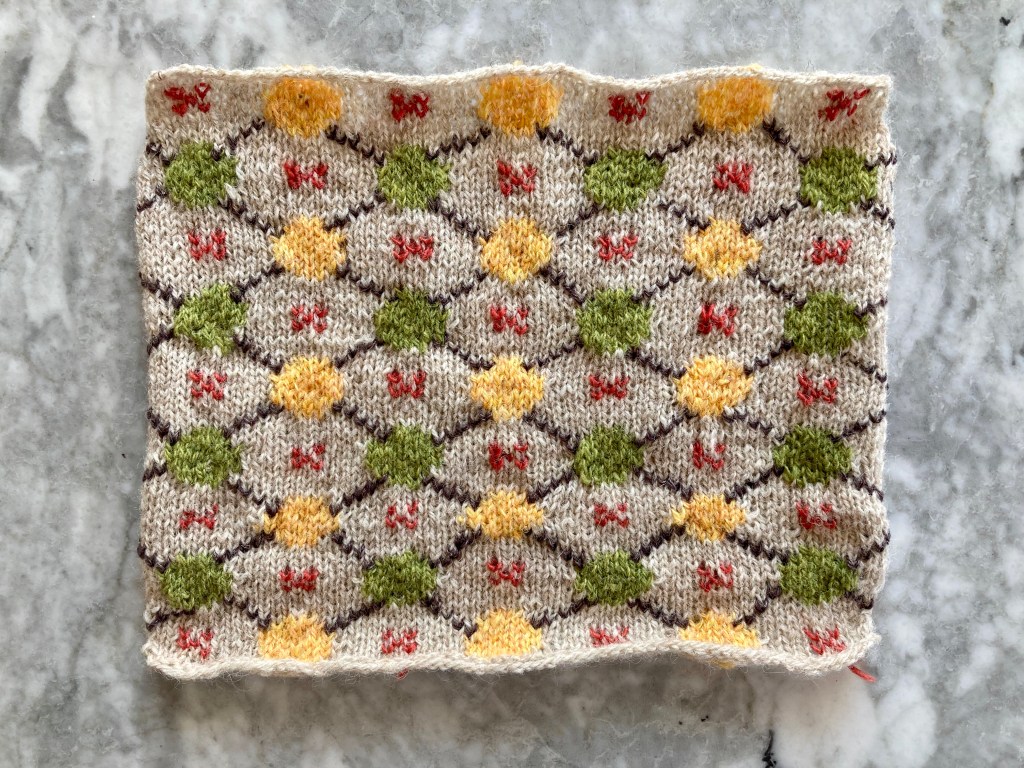
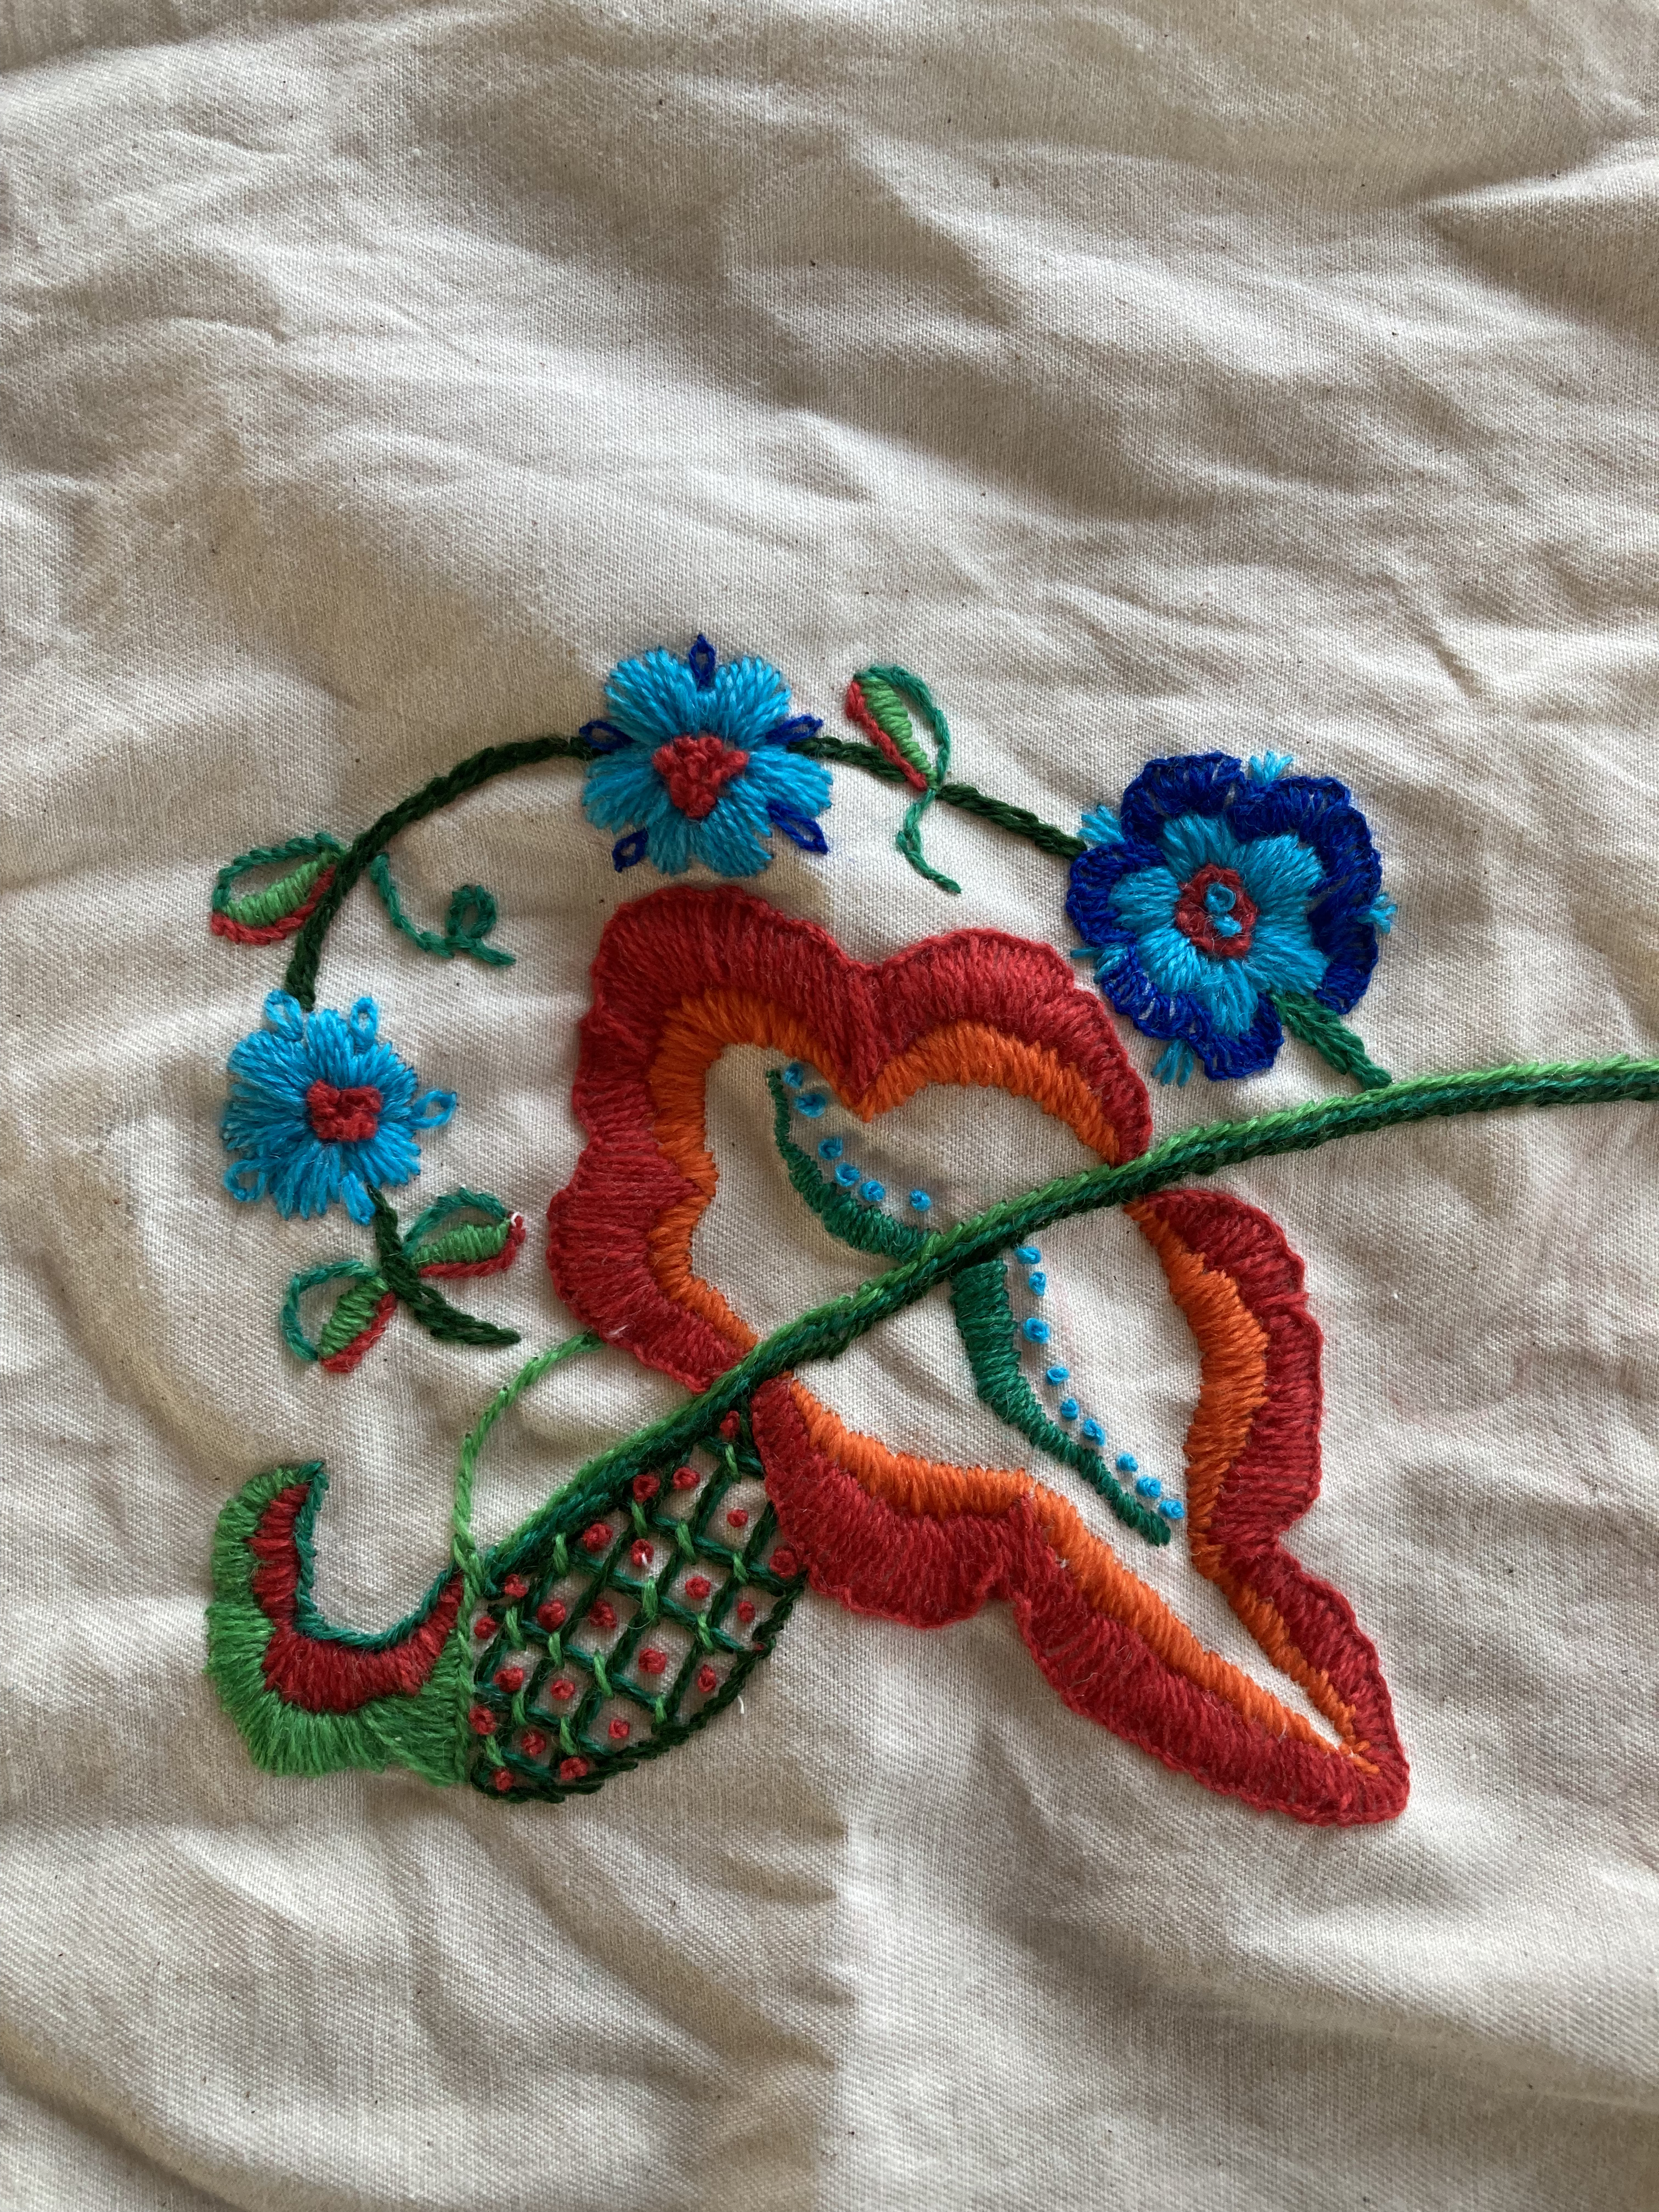
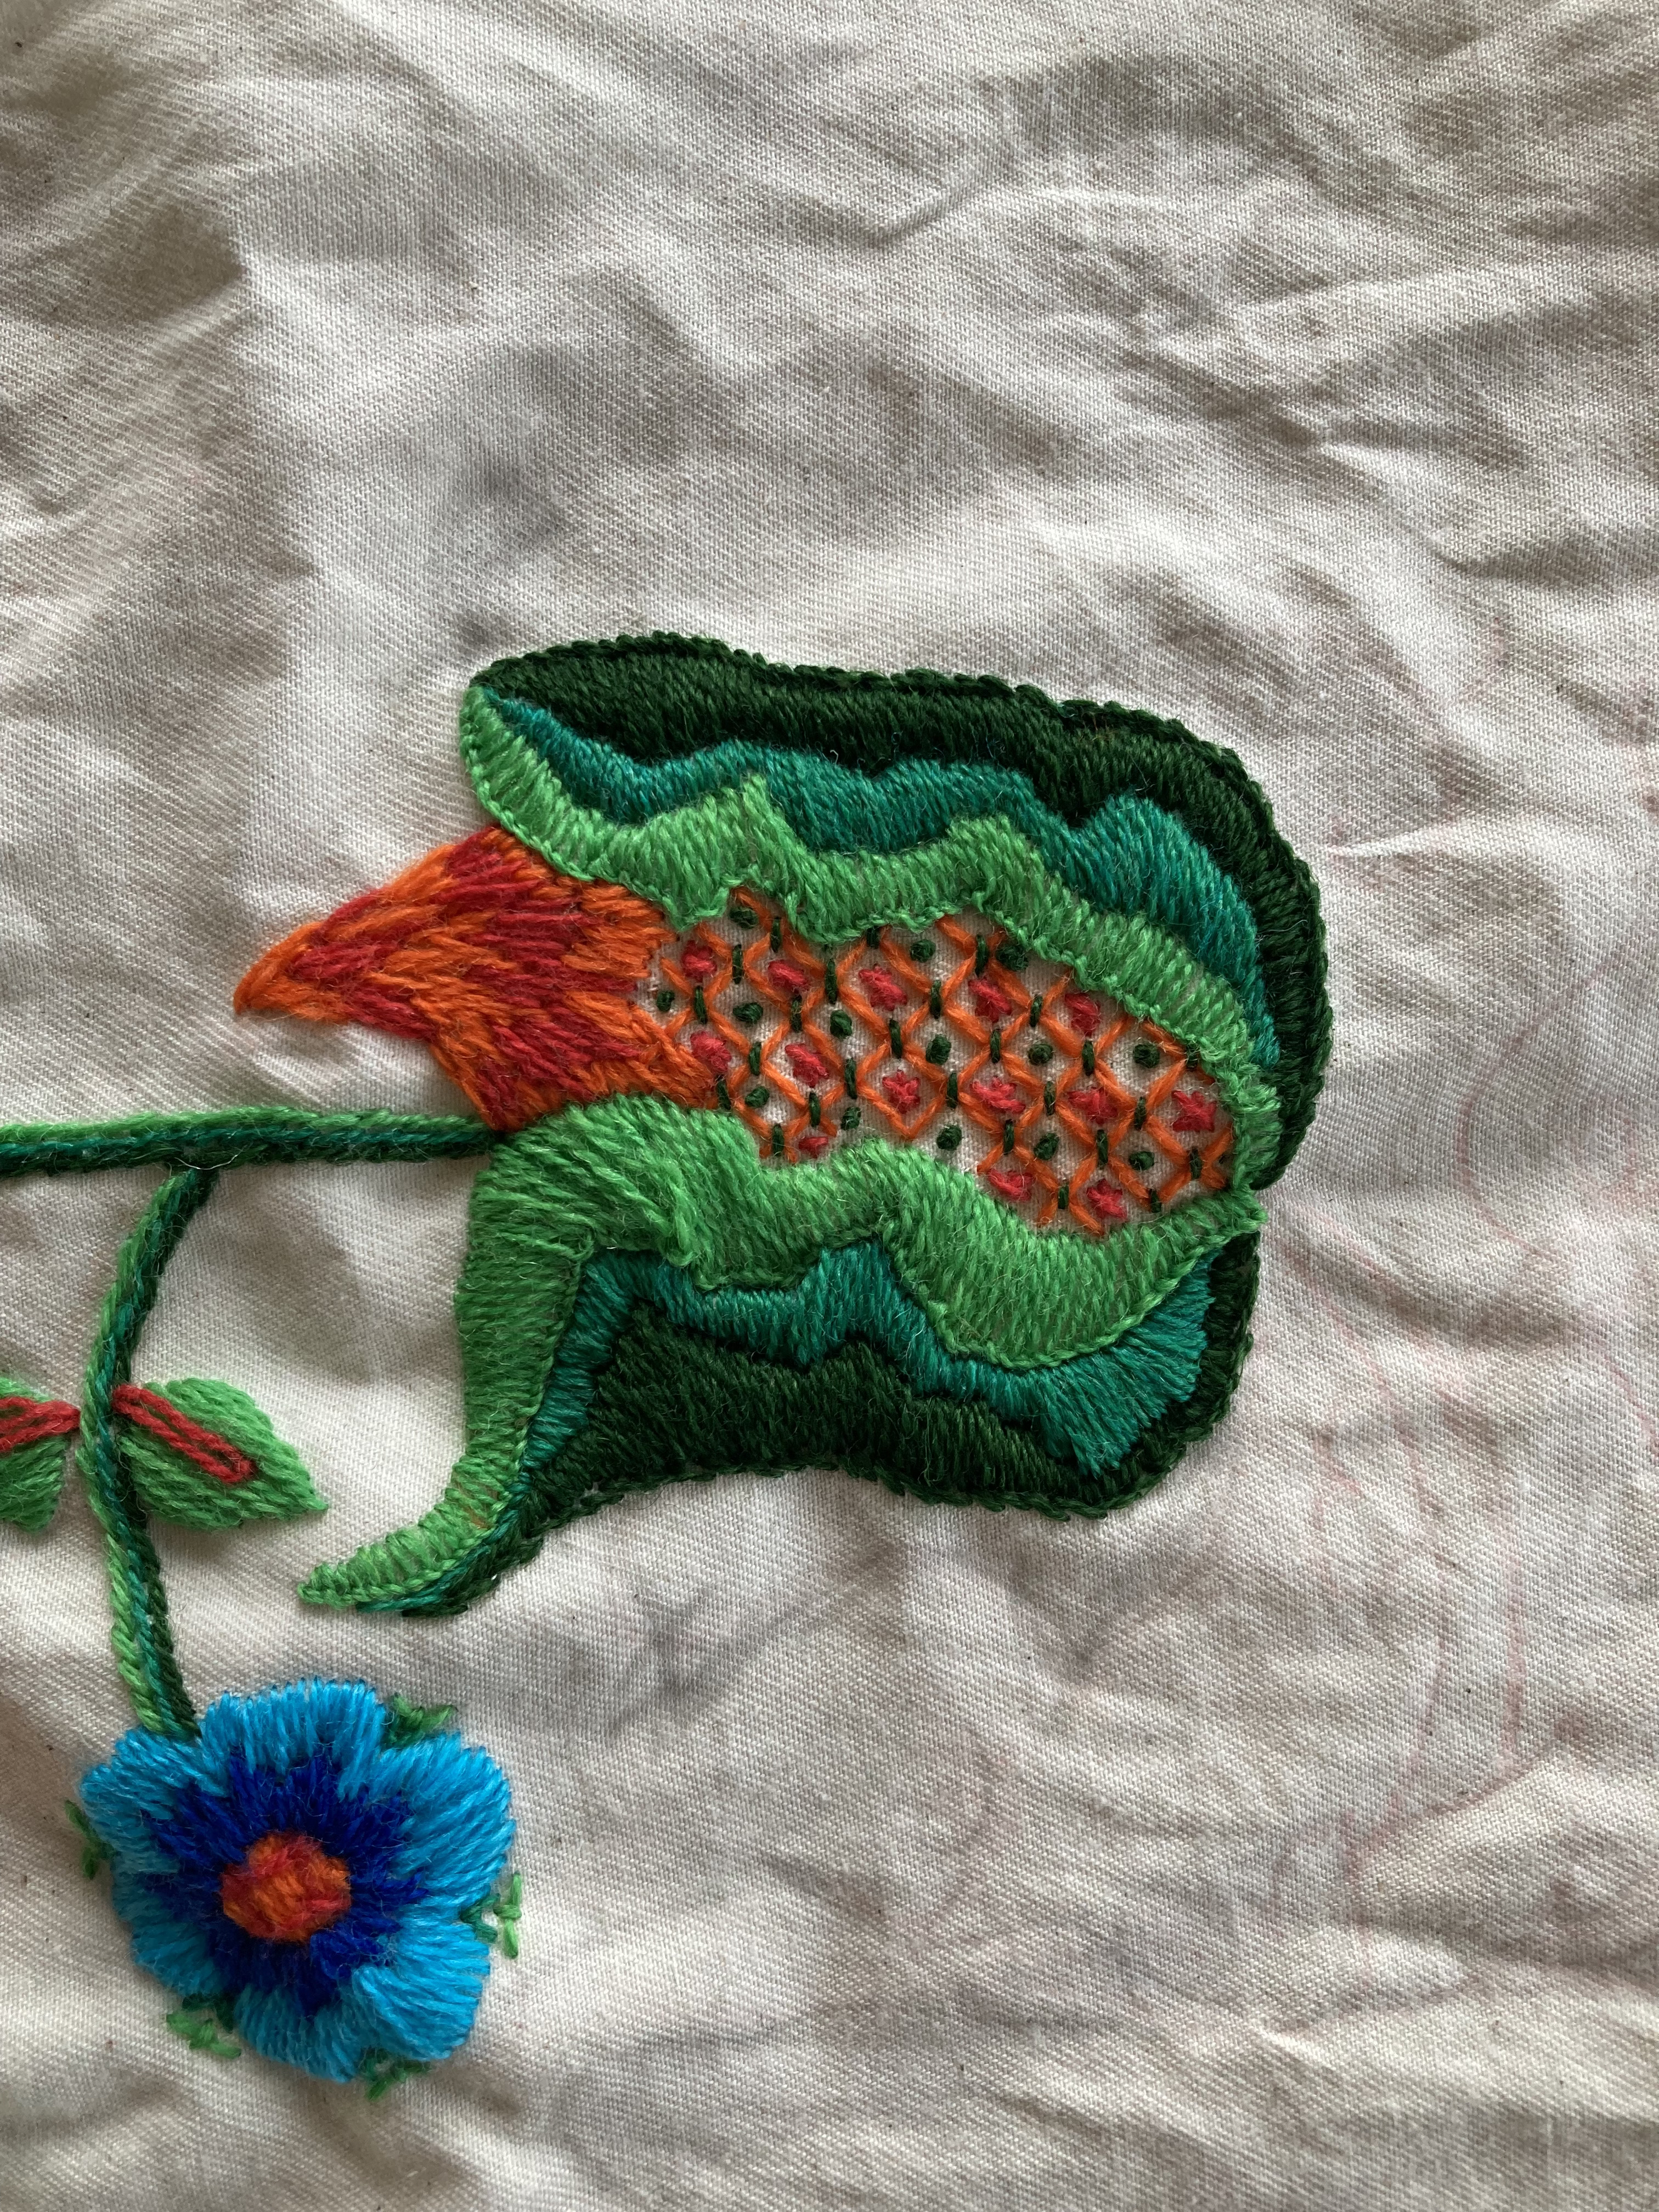
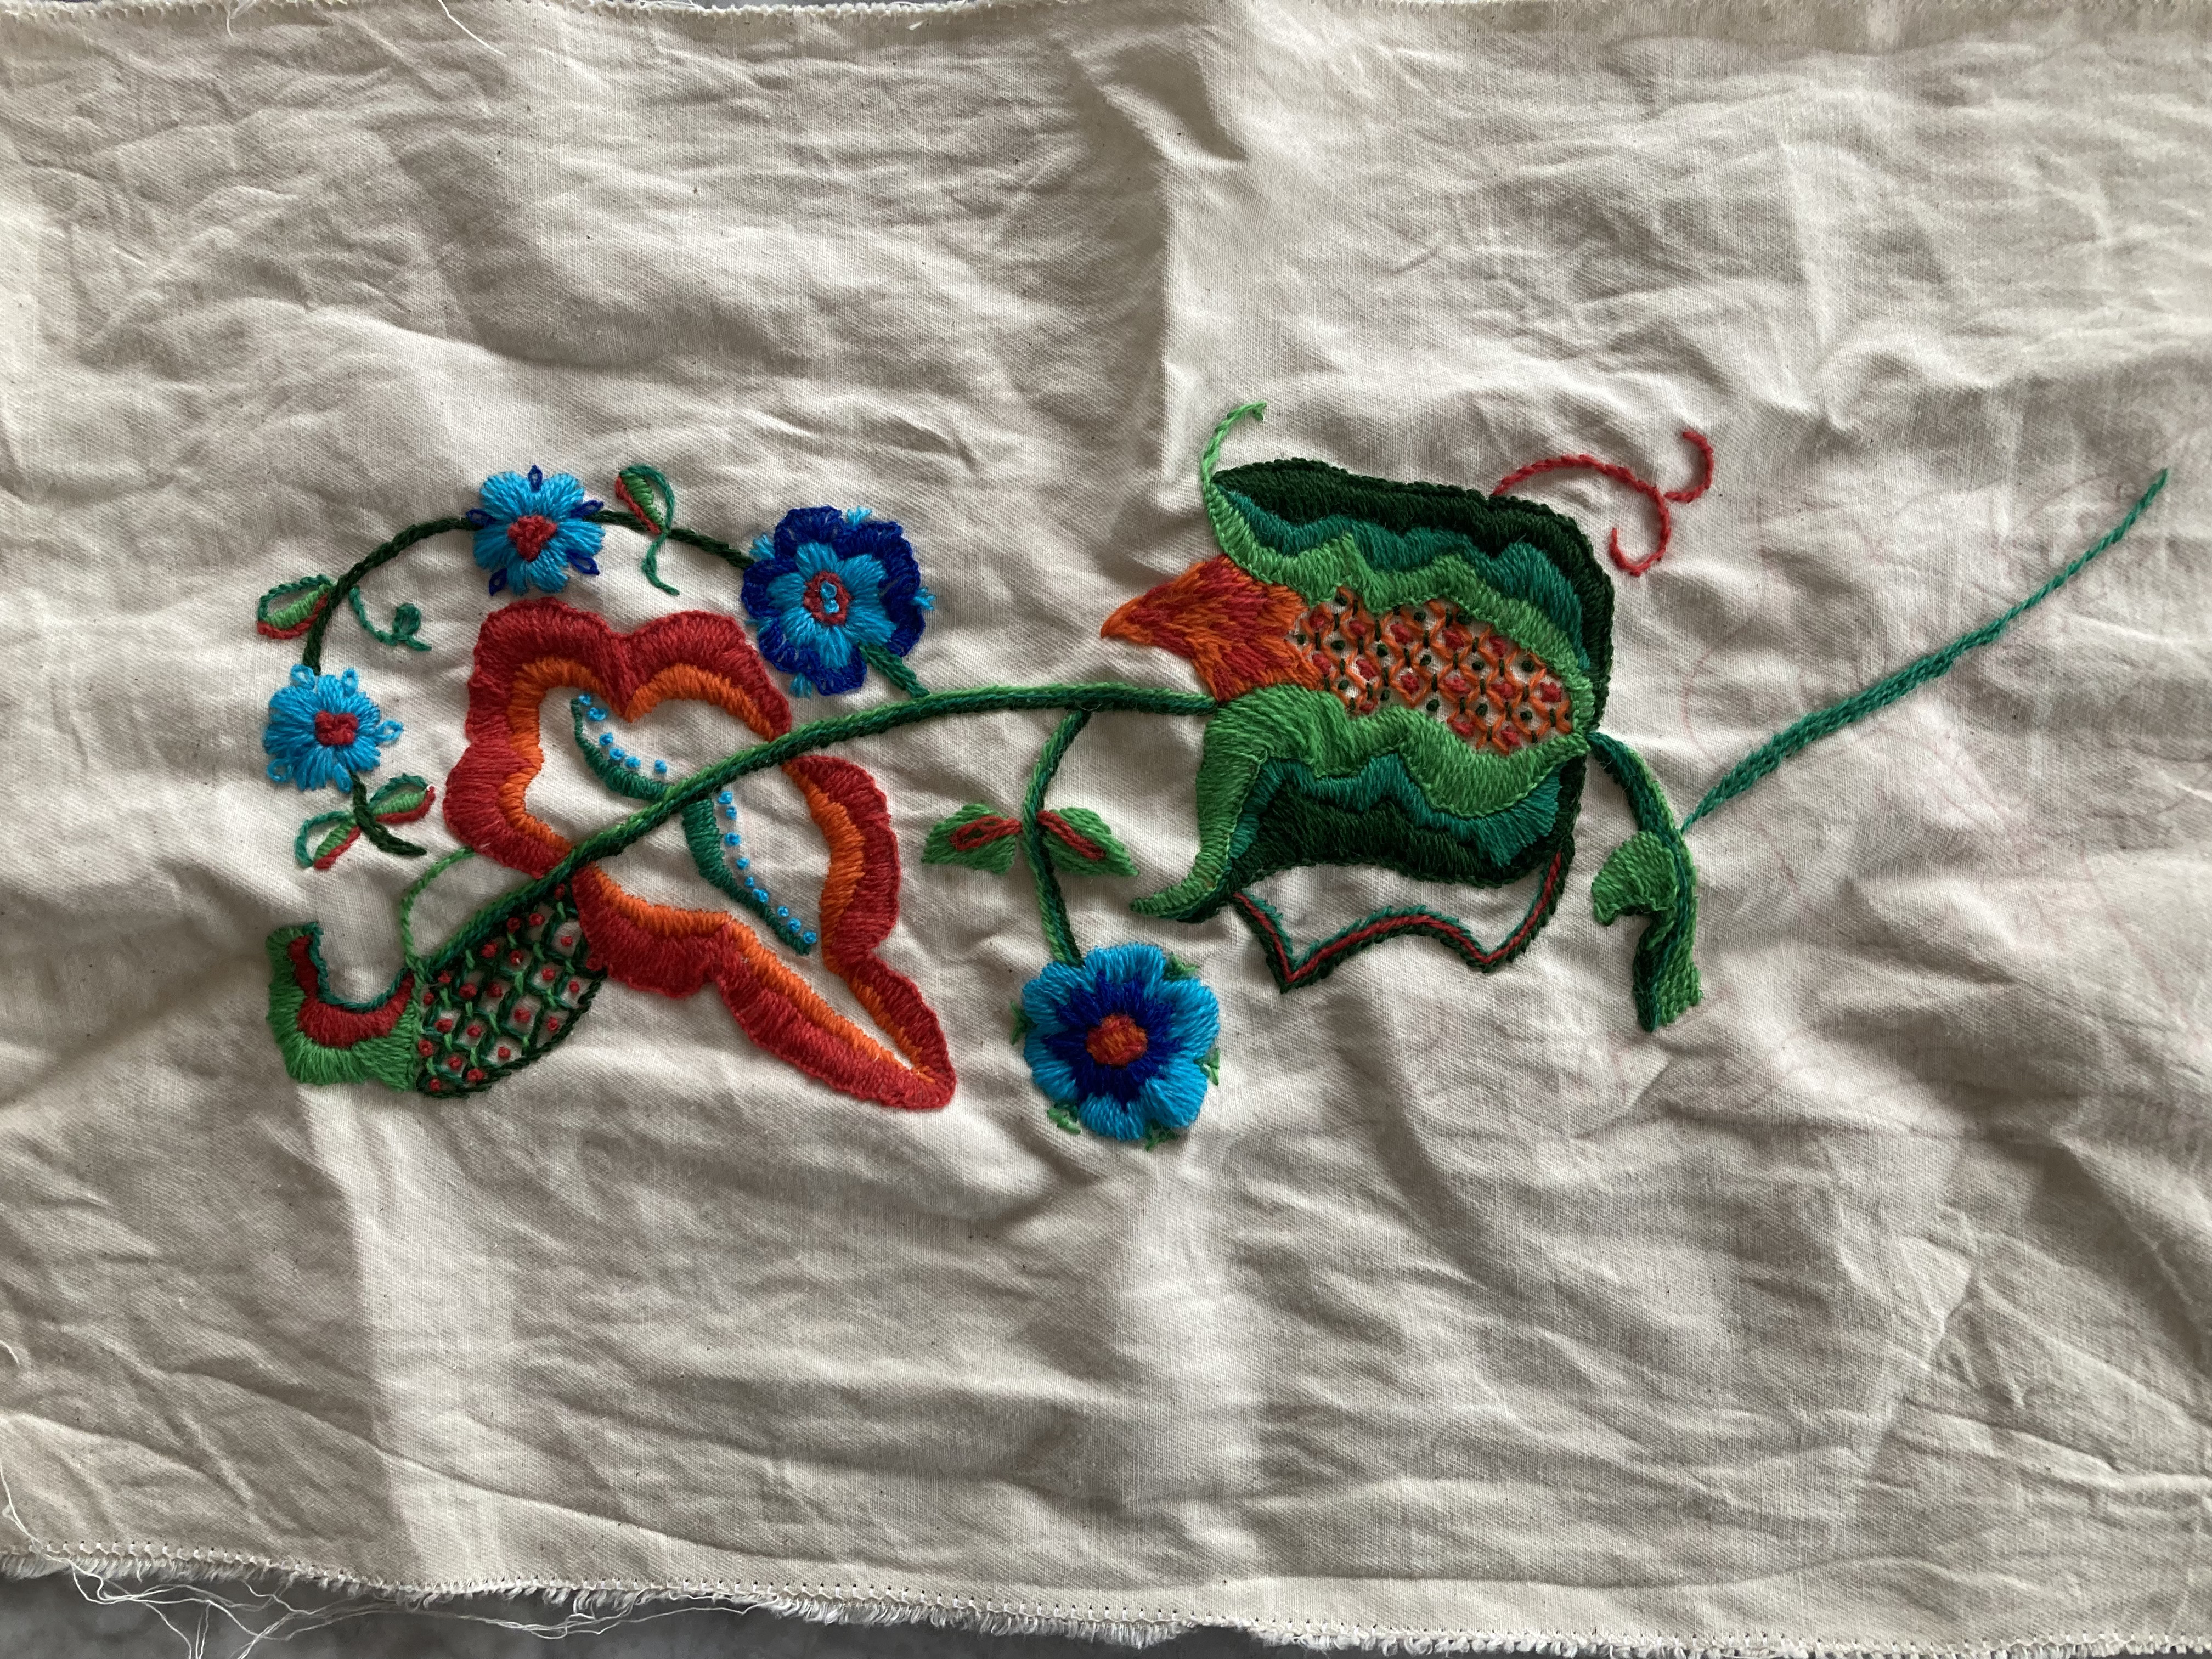
The embroidery itself was not nearly as difficult as I had expected, considering that the design looks very complicated. It’s really just lots of satin, buttonhole and stem stitch. The fancy couched parts were a lot easier to do than the buttonhole areas, in my opinion! They are worked by laying down threads in crossing diagonal lines and tacking them at the corners, then working French knots or tiny crosses in the squares.
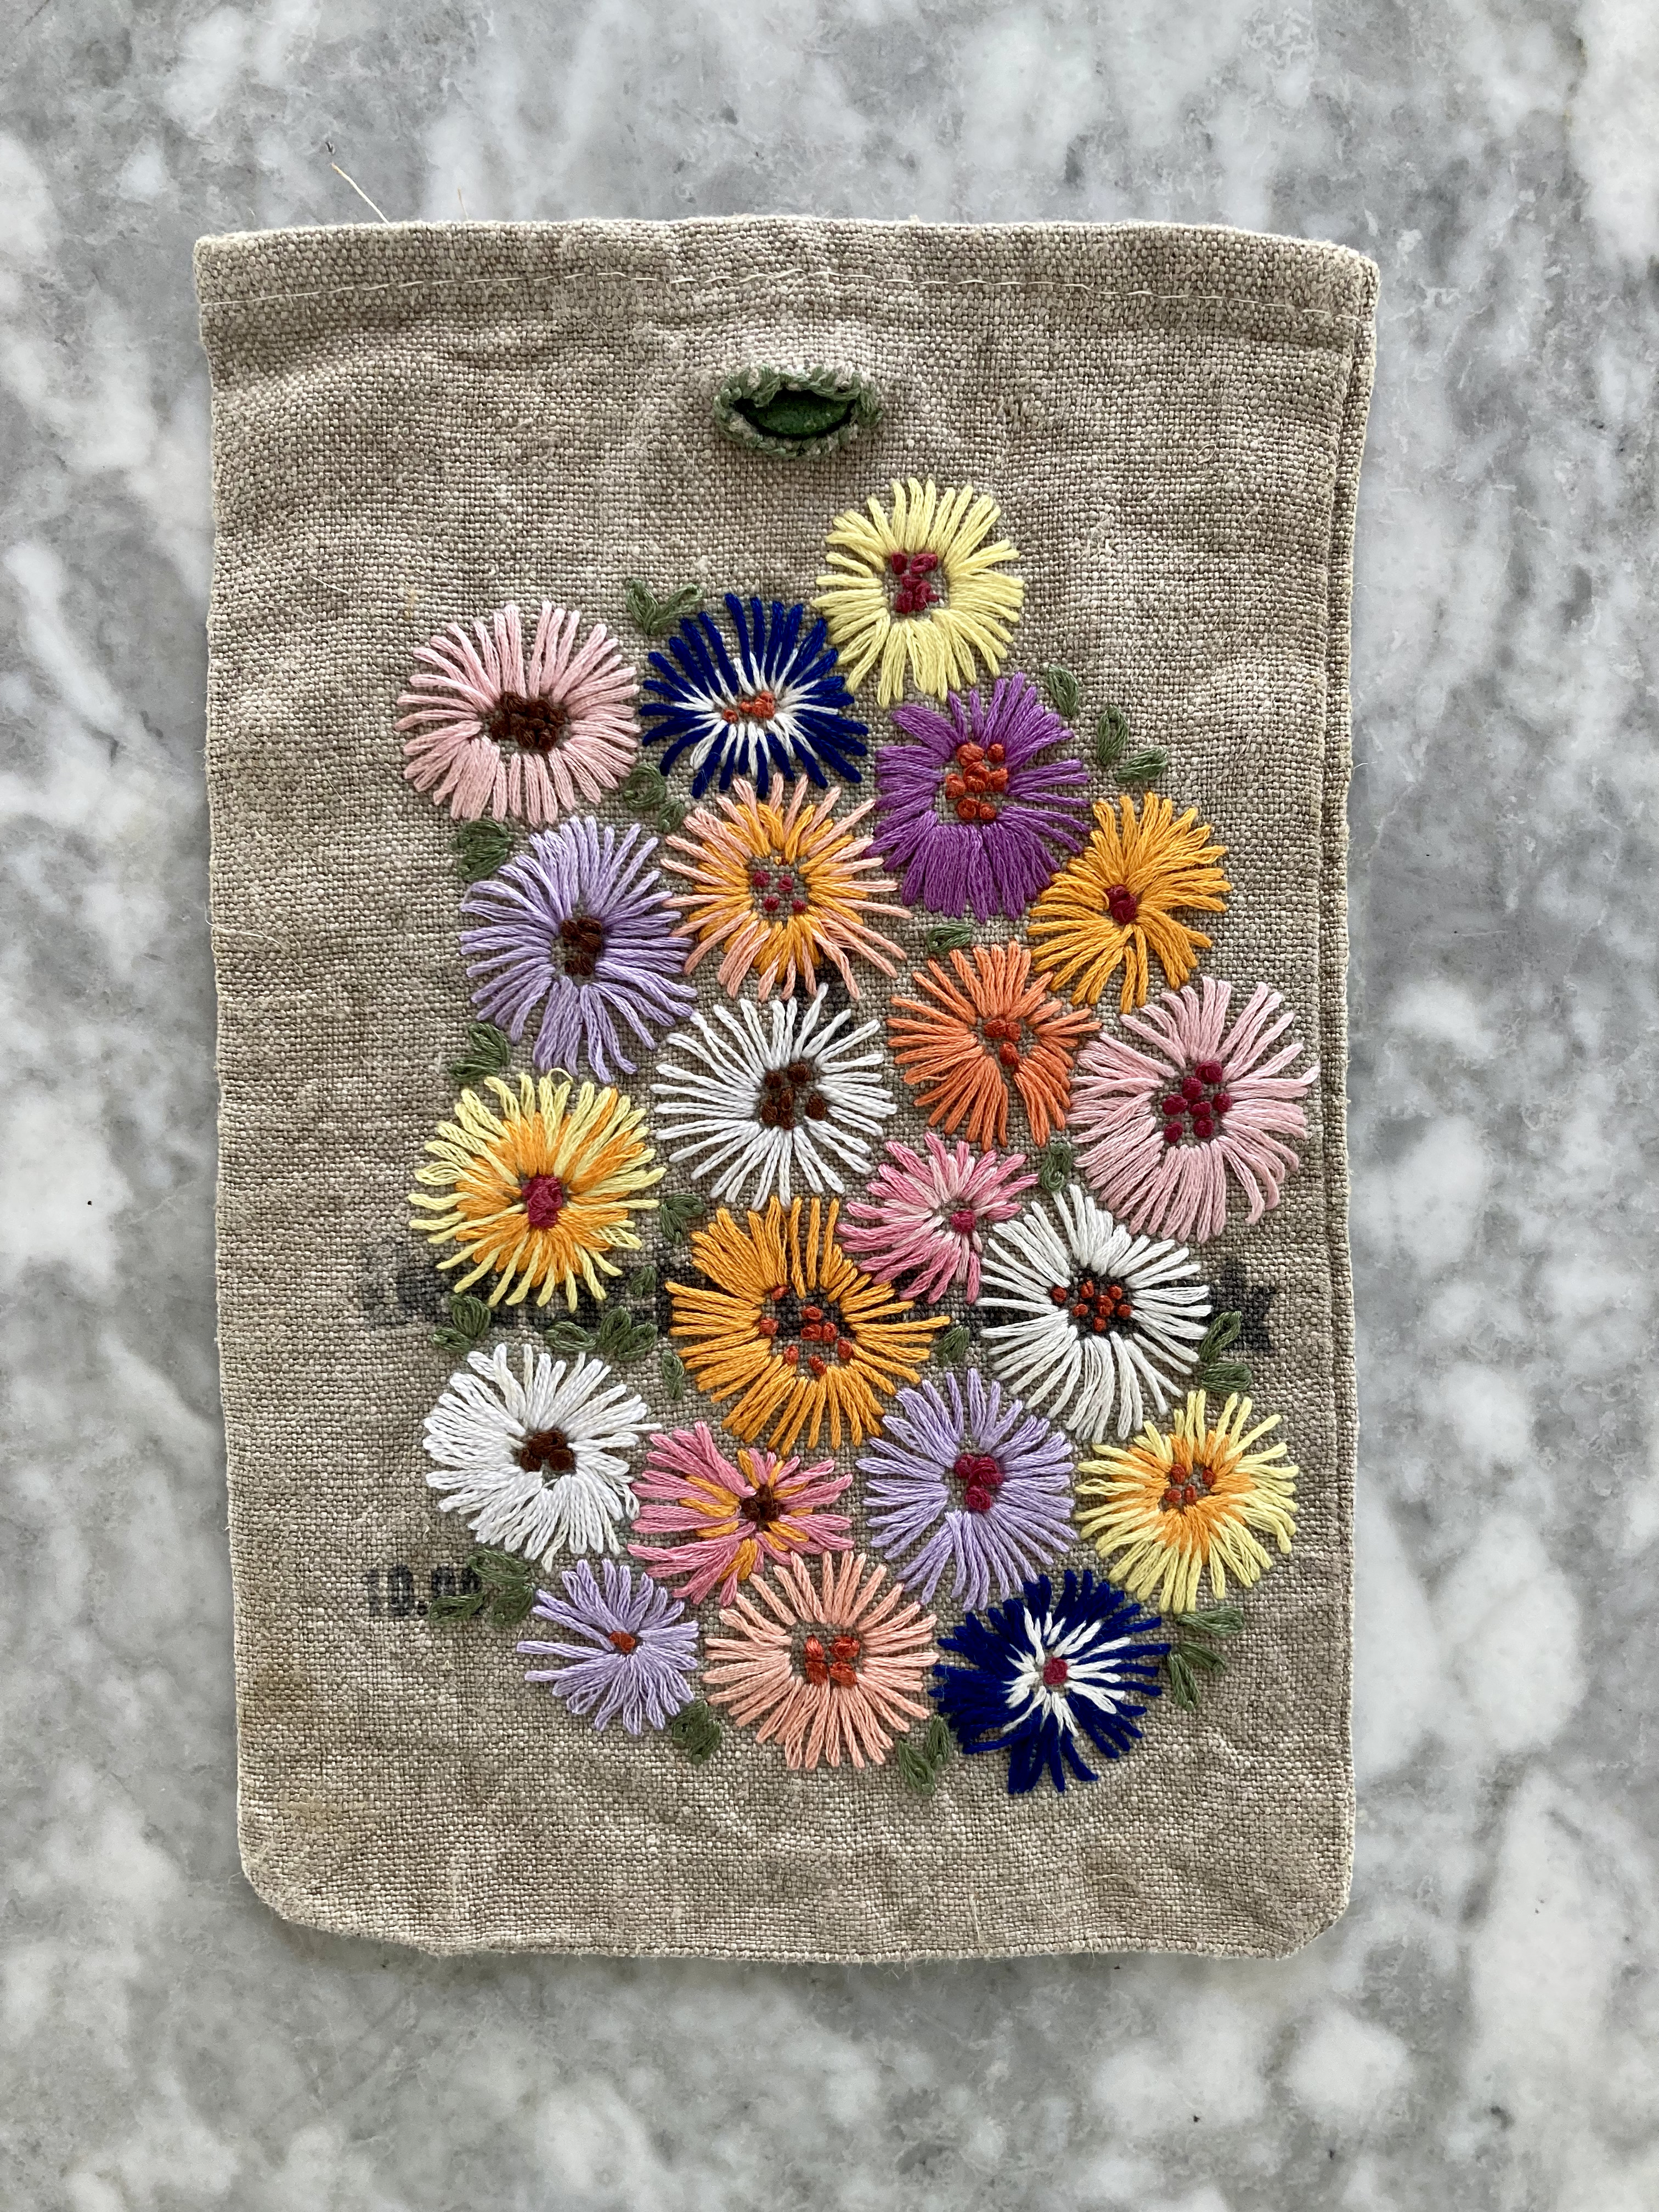
It went quickly and although it is was not quite done by the end of October, I did get the embroidery finished at the beginning of November. The I was traveling for work and didn’t get a chance to make it up into anything without my sewing machine.
In the end, I decided to make it into a cushion — simple and period-appropriate. I made a separate cushion for inside the embroidered cover to make washing easier and fastened it with a button flap this time instead of a zipper this time. That was it!
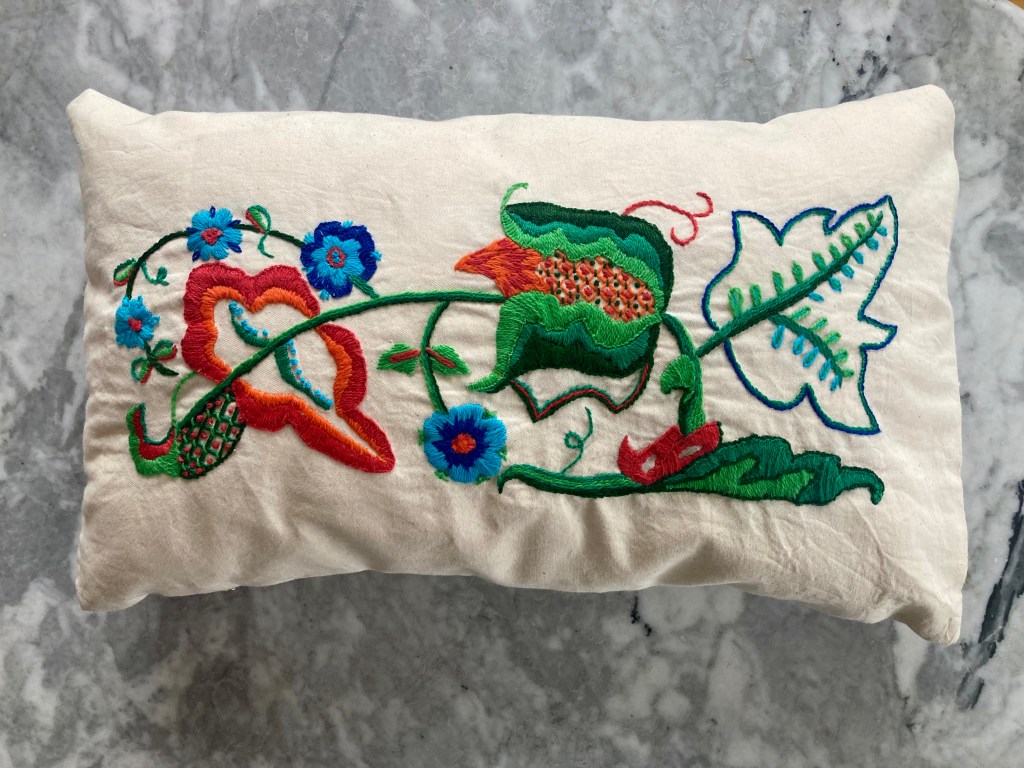
The finished size is about 18 x 11.5 inches (47 x 29 cm), which corresponds to the width of the original chair-back design. It’s perfect, and since I don’t have space for more cushions and like making people happy, I arranged to give it to a friend.