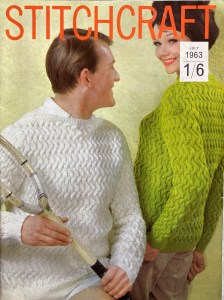
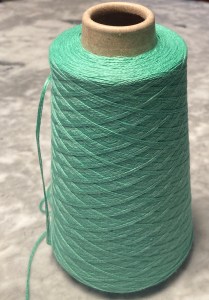
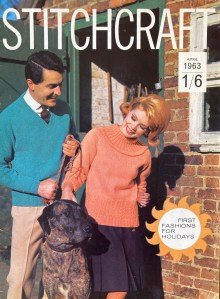
Tweed! Remember last month’s post with the advertisement for variegated-colour yarn? This month’s issue presents Patons’ new variegated wool, “Glenora Tweed”, a slightly thicker DK-weight wool with dark tweedy flecks. It appears to have been made up of 80% wool and 20% synthetic fibre. The twelve colours were chosen to be as vibrant as tweed can be (and very 1960s…) with rich shades of red, green, orange and yellow.
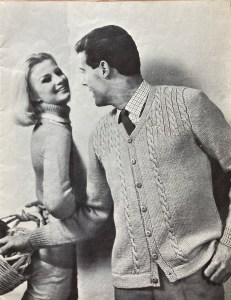
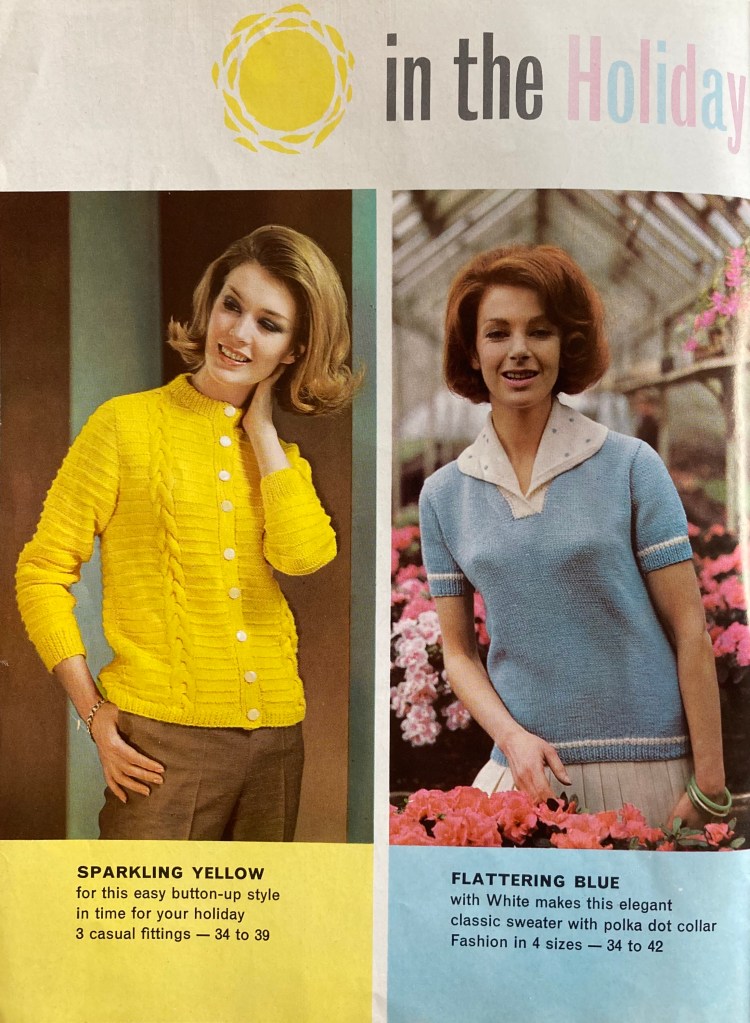
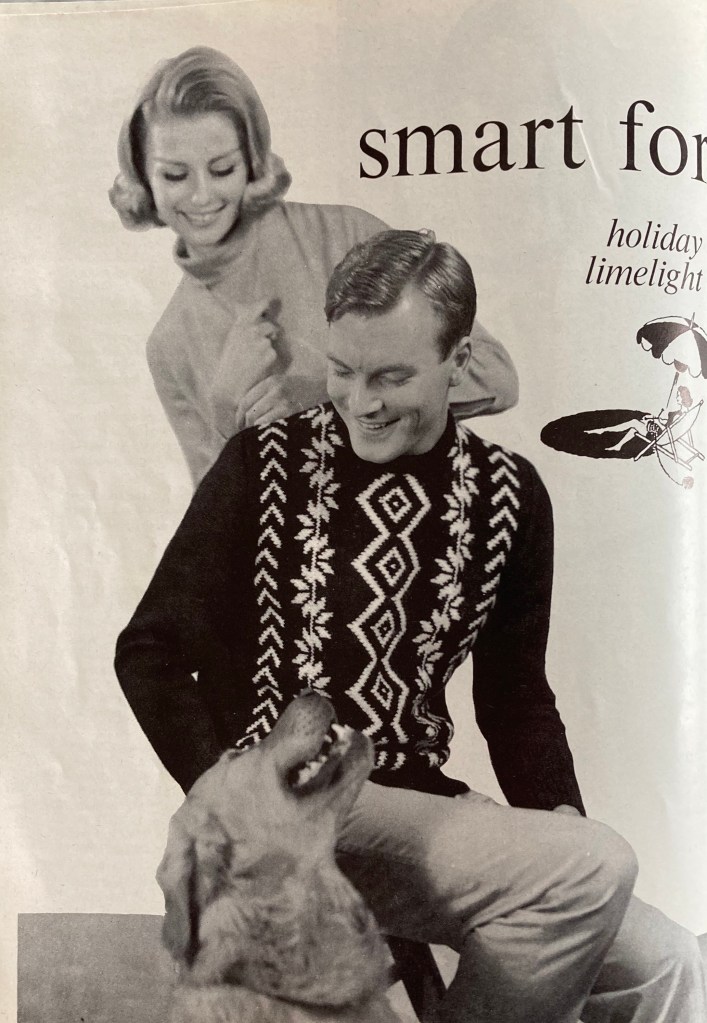
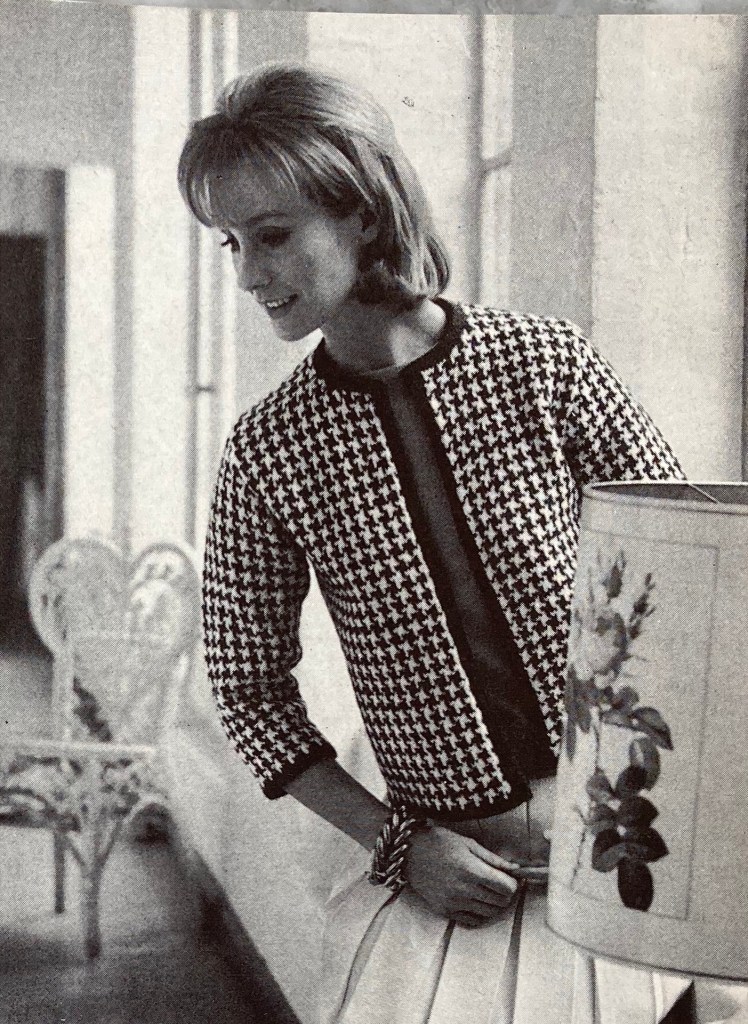
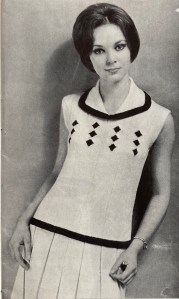
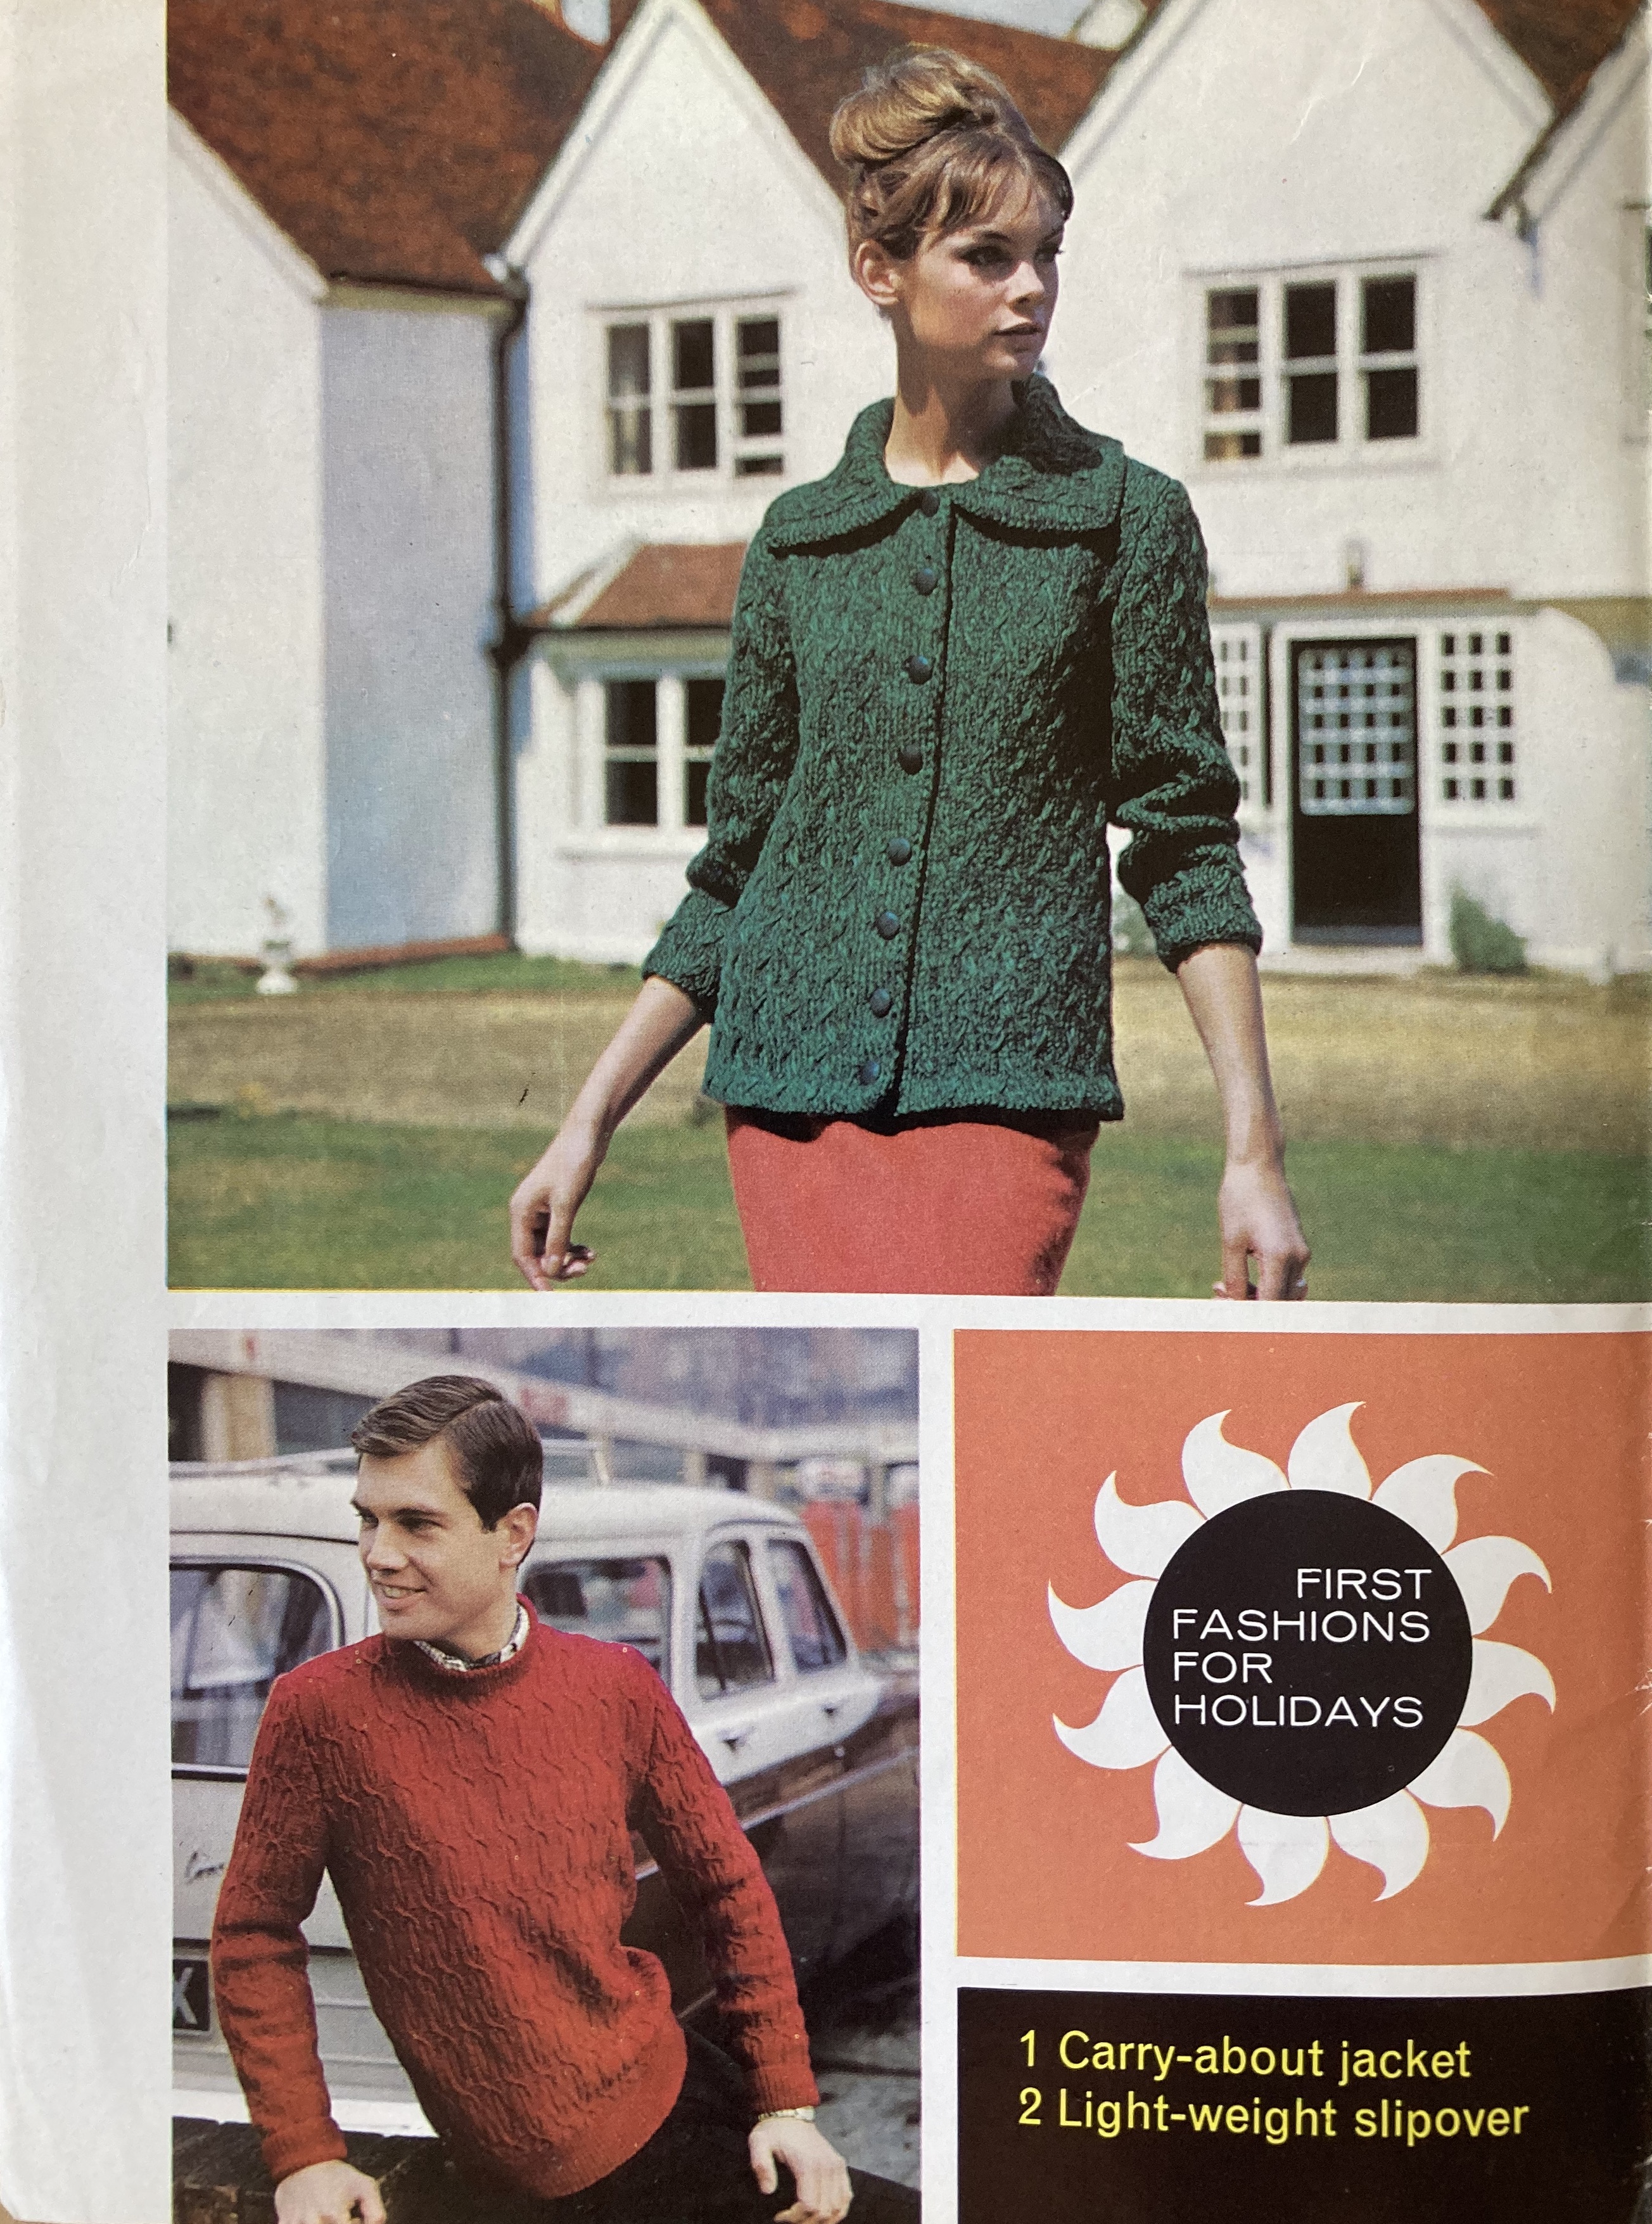
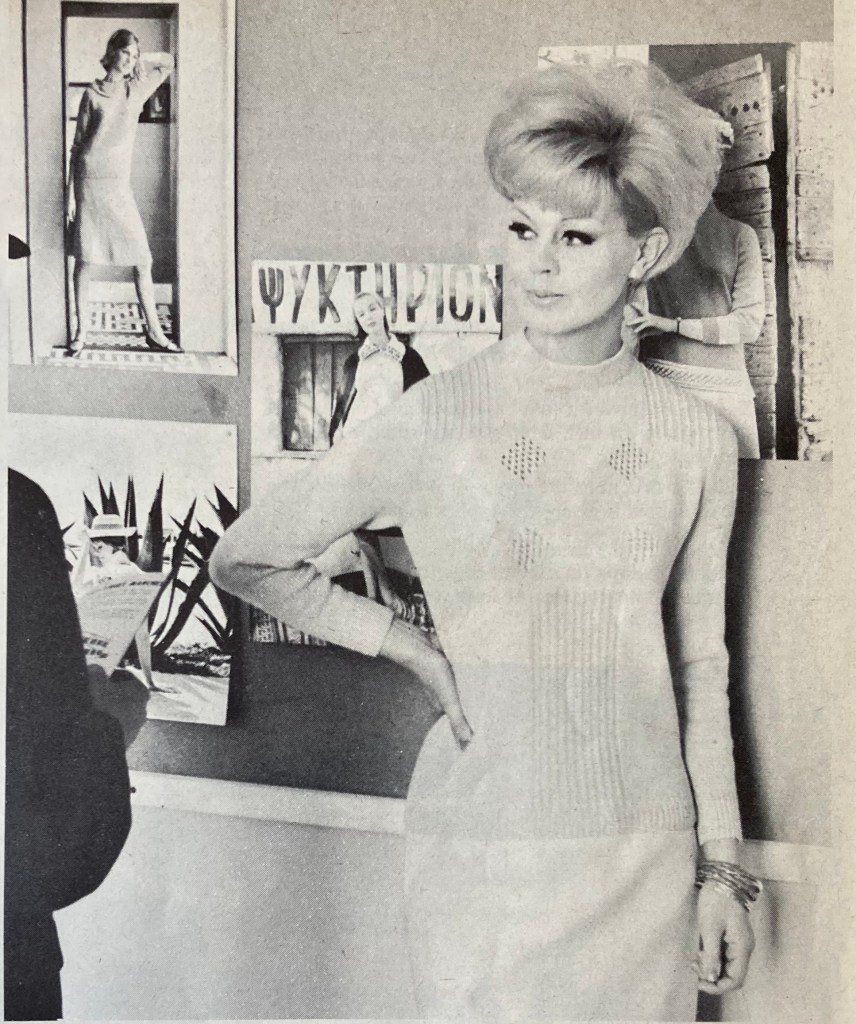
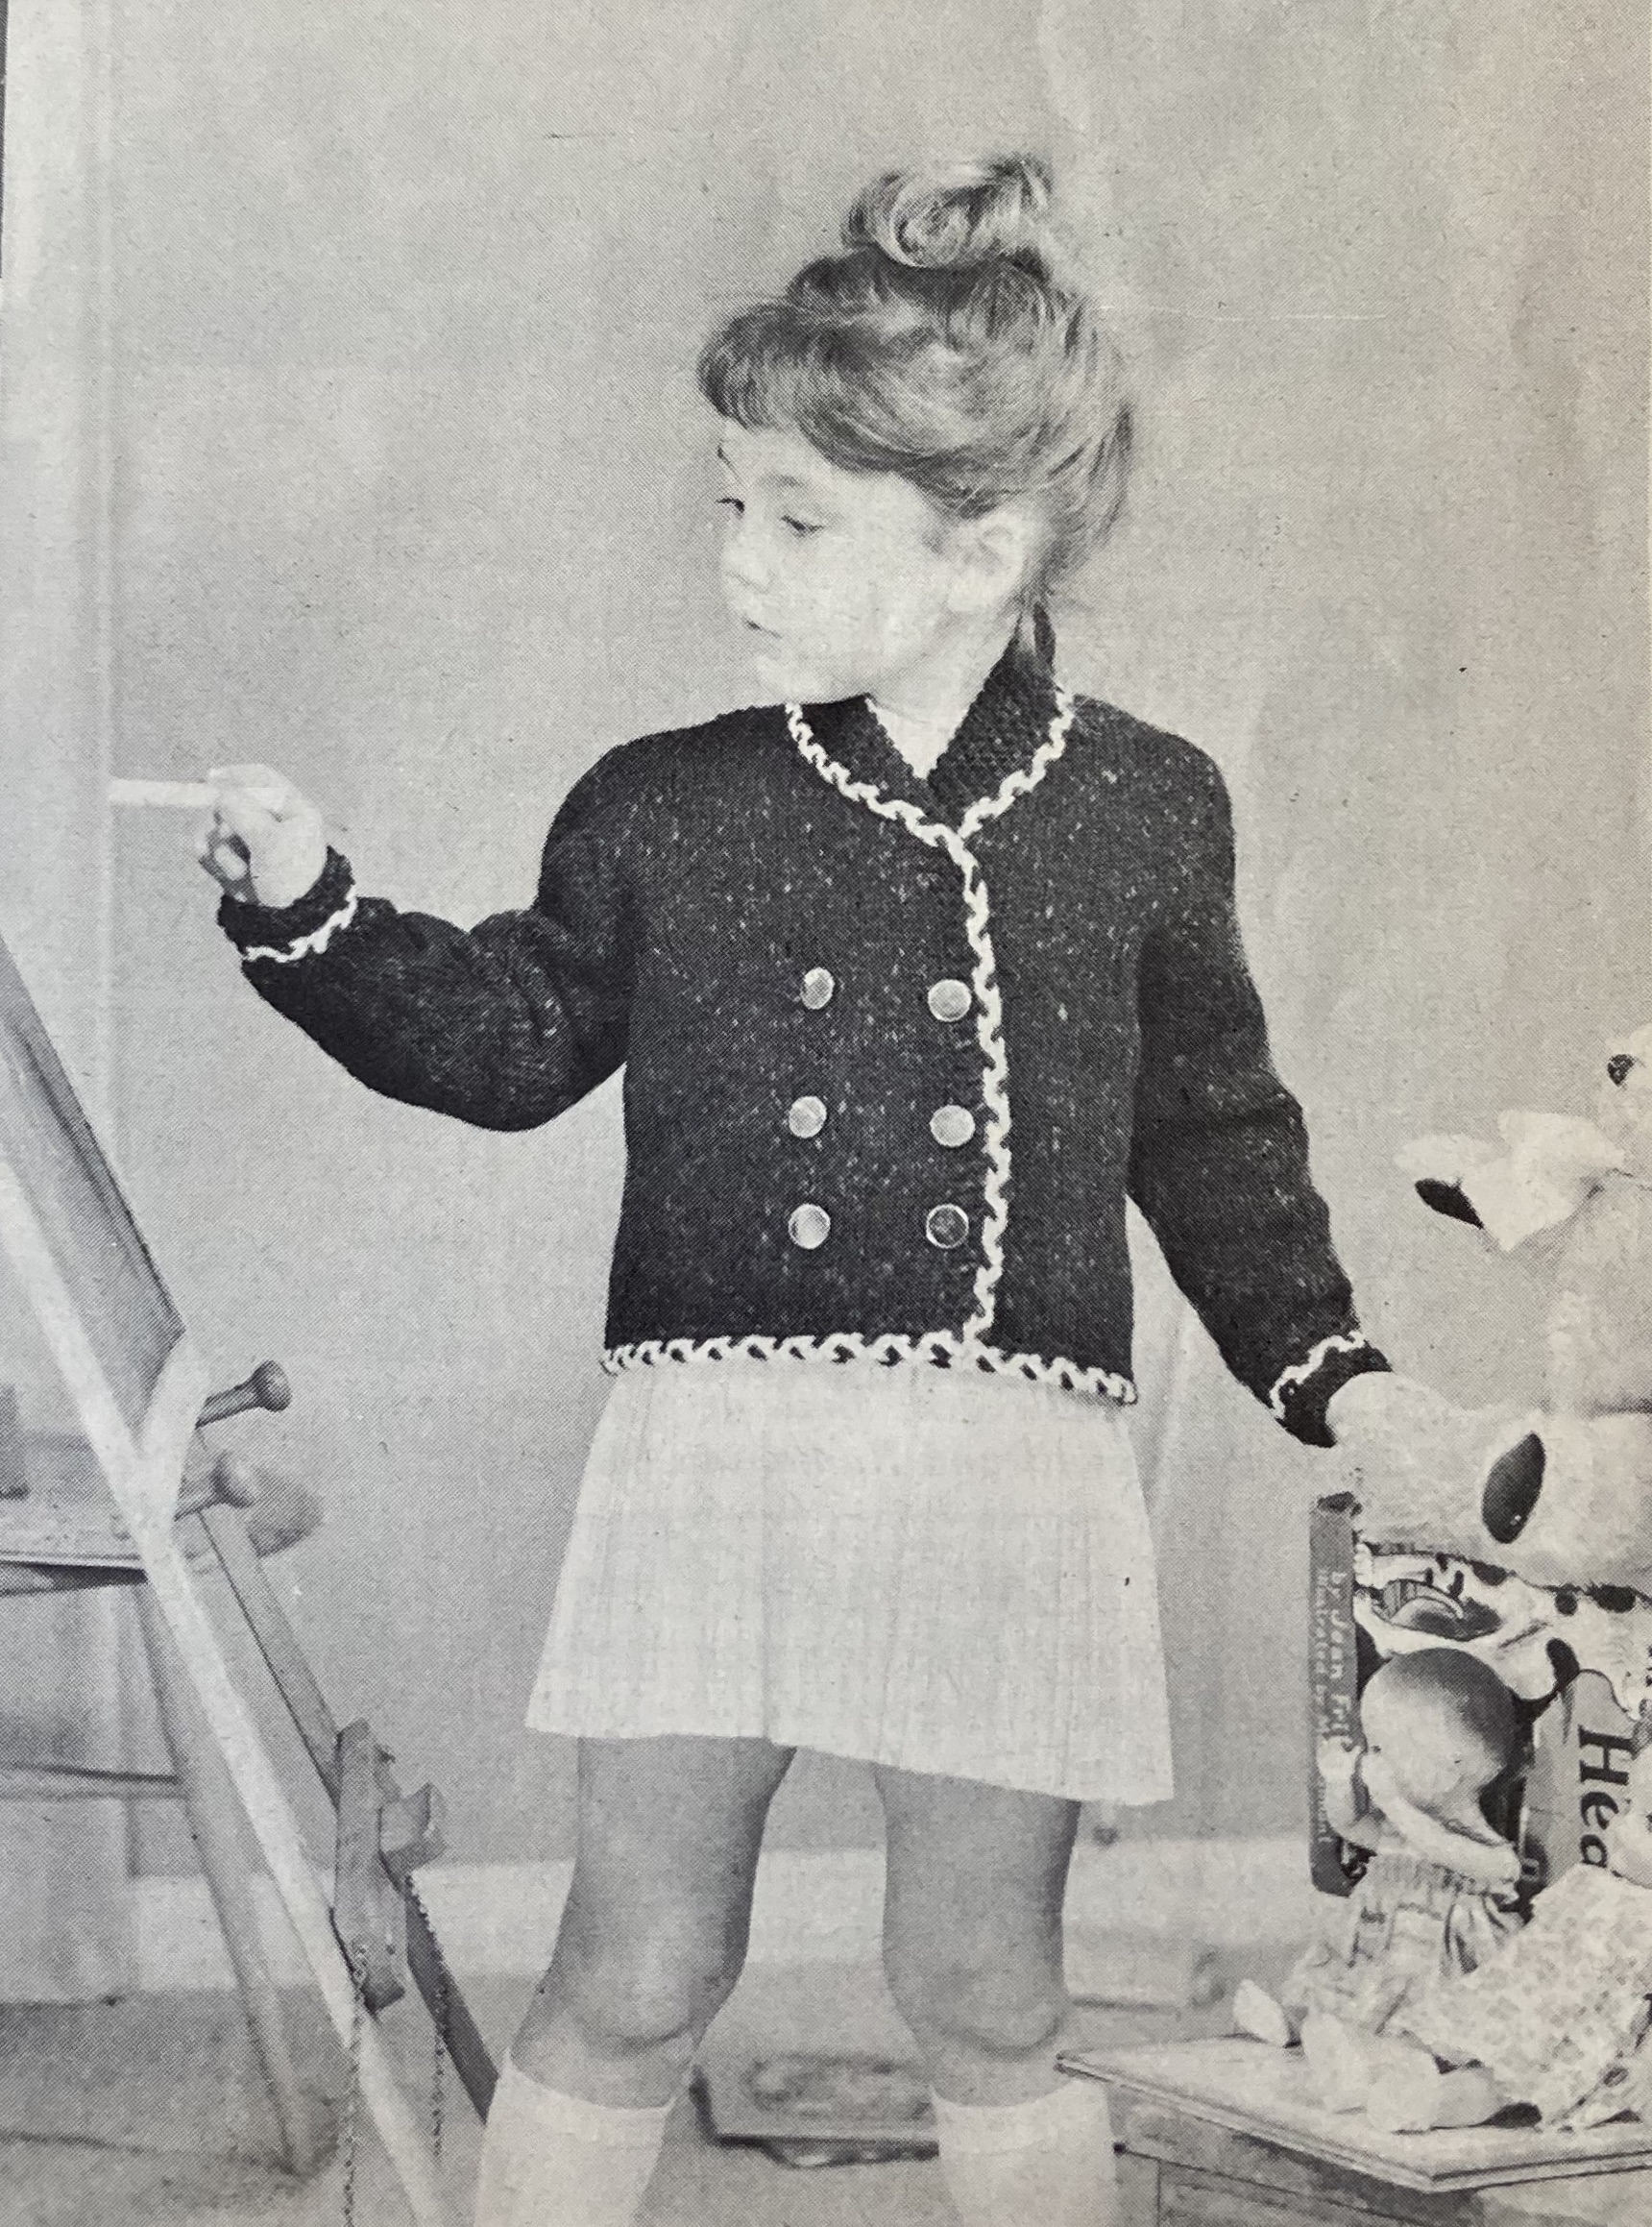
As it knits up fast at about 4 stitches to the inch (but promises to still give a “beautifully firm crunchy texture” i.e. hopefully not sag too much under its own weight), it is showcased with larger garments — the “pinafore-style” over-dress and men’s cardigan shown on the cover and two two-piece suits for women. There’s also a pinafore-style overdress with pleated skirt for a older girl and a boatneck sweater for men, both in similar Bracken Tweed wool. In keeping with the newer, looser and more square-shaped style, the garments have minimal or no shaping (except the girl’s outfit) and the skirts come to just above the knee. To me, the women’s Glenora garments look so similar that I had to check twice to assure myself that the pinafore dress on the cover (with high scoop neck) and the two-piece set with skirt and “overblouse” (V-neck) were in fact different designs.


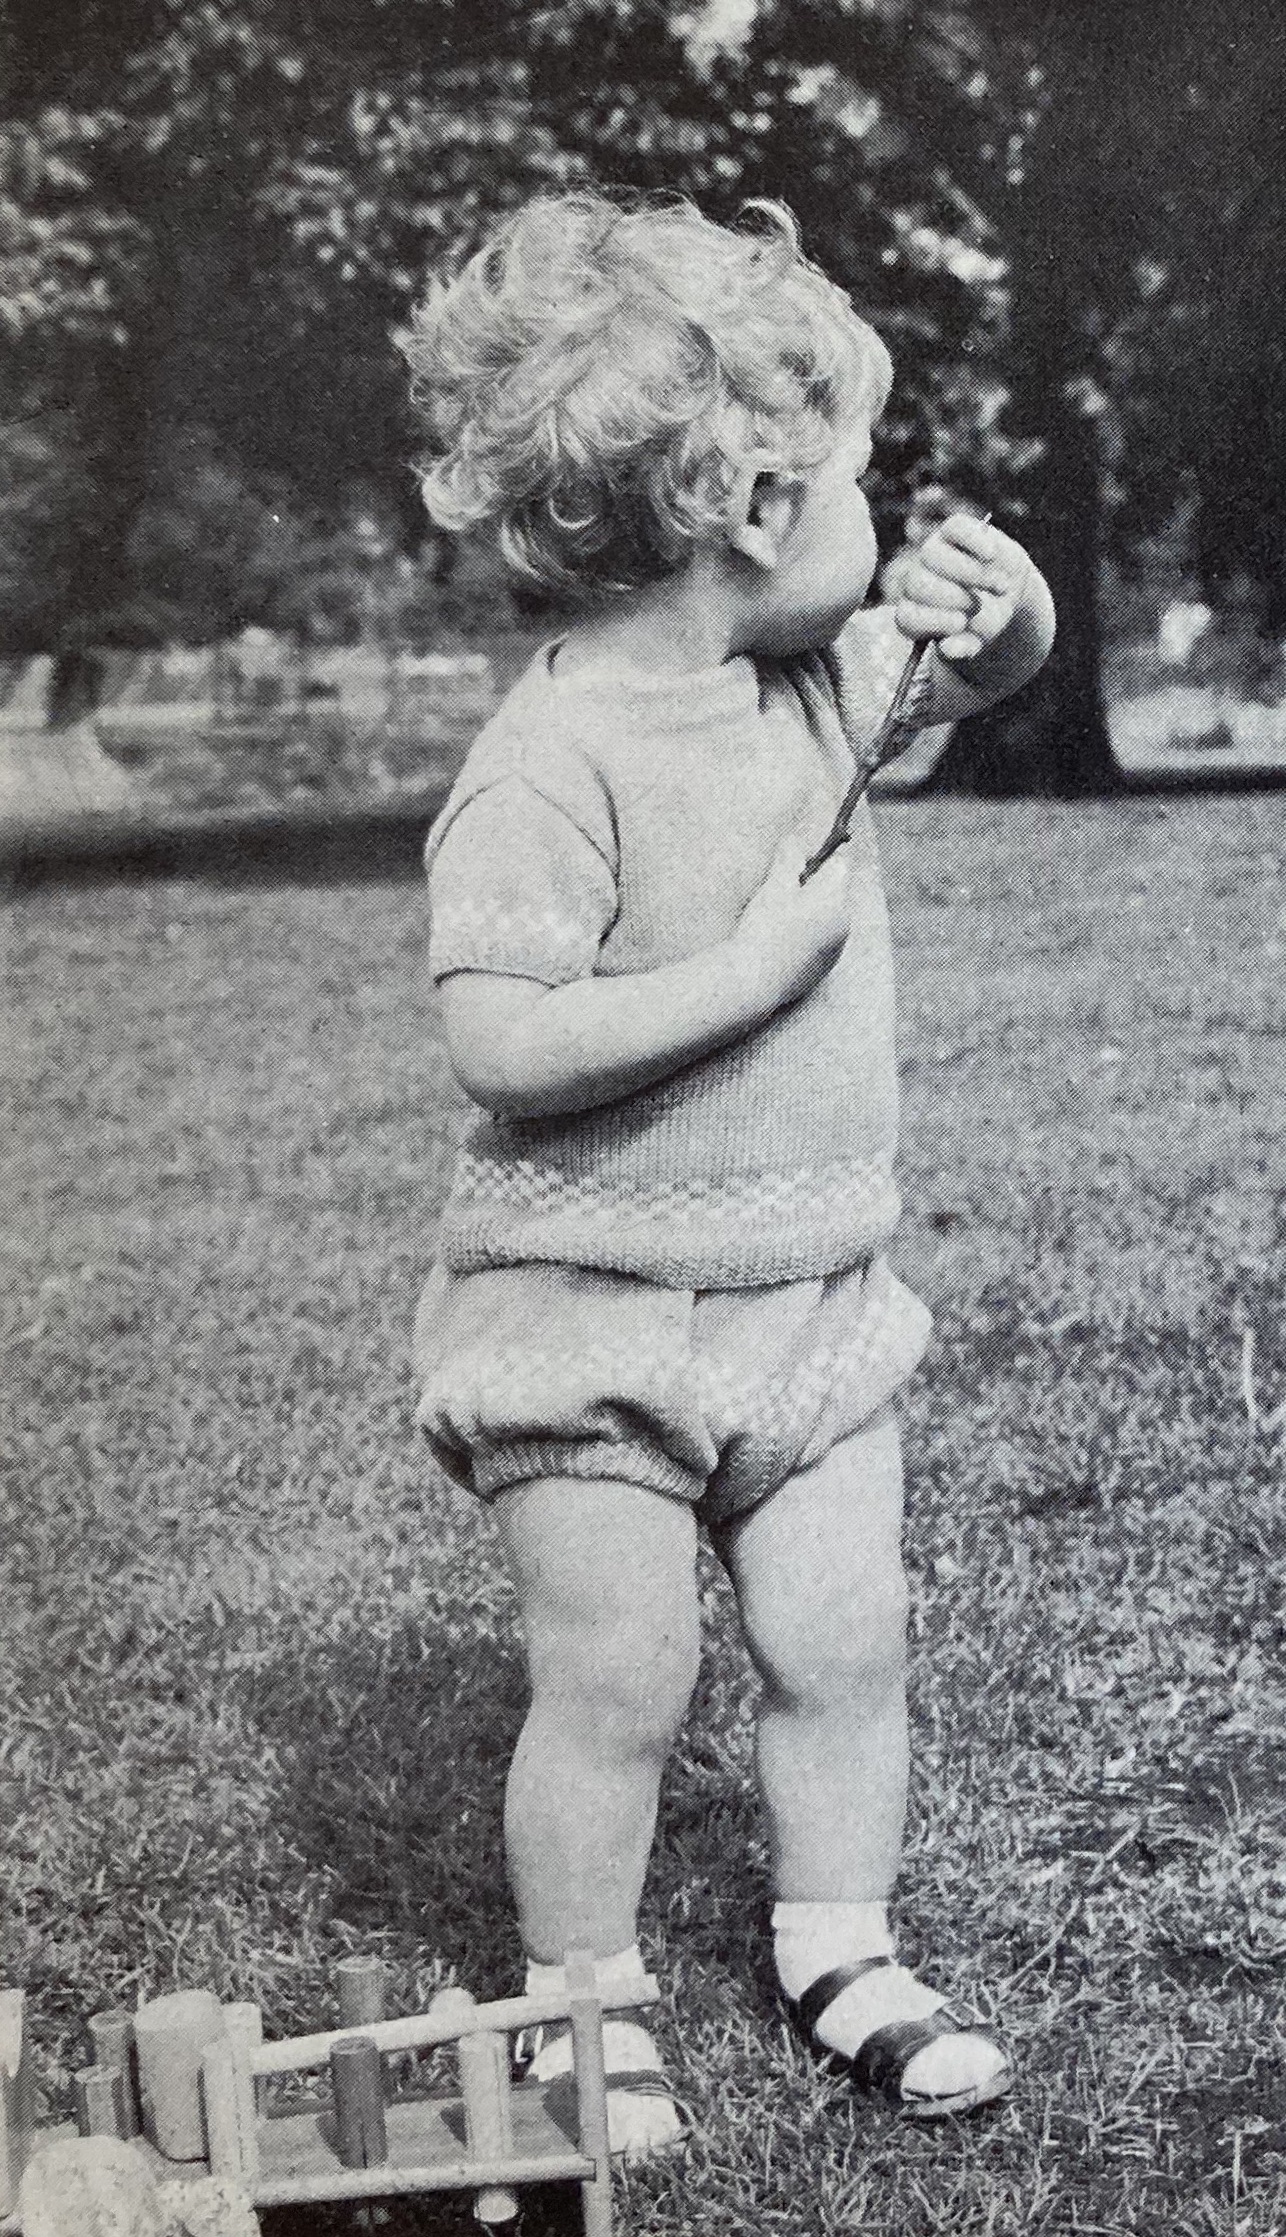
There is a matching 4-ply (women’s) or DK-weight (girl’s) jumper to go underneath the pinafore looks or the overblouse, which, combined with the thick over-garments, must have been suitably warm for outdoors or poorly heated rooms in October. (The girl, of course, is going to have cold legs all the same.) For those who resist the tweed craze, there’s also a bright, fun colour-block sweater in a three-colour slip stitch pattern. I love the matching orange head scarf!


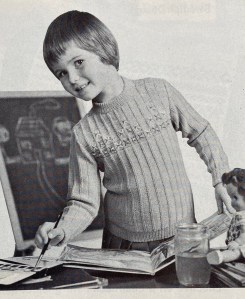
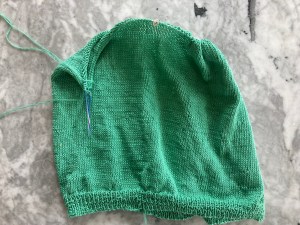
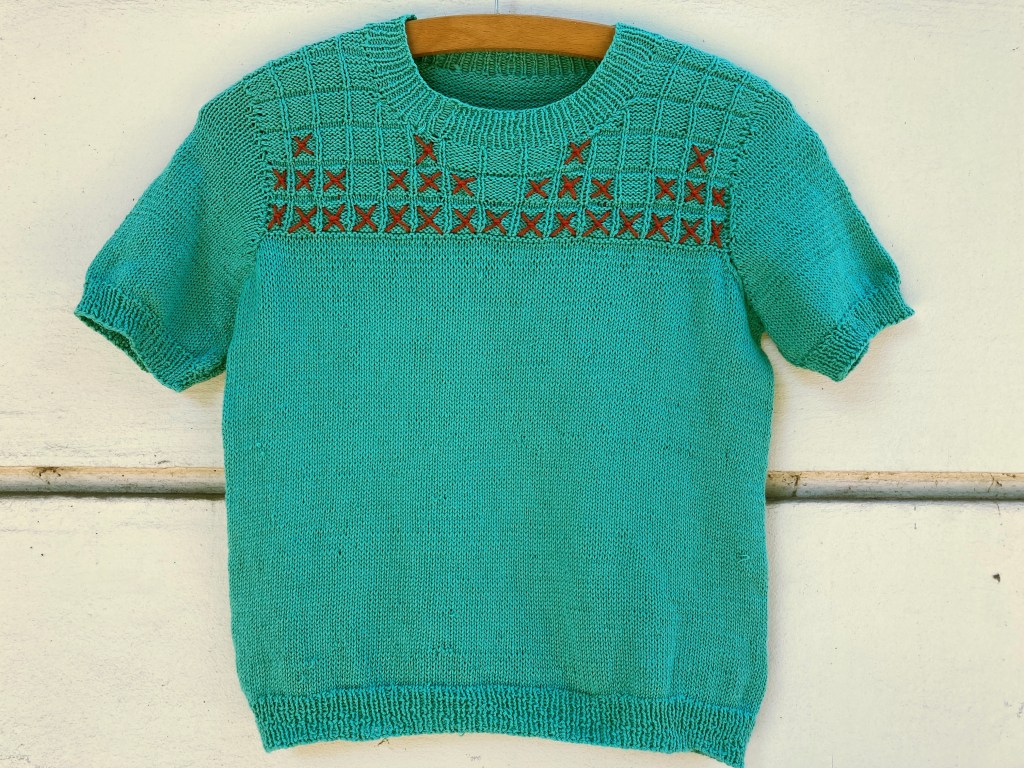
There’s also a fun 4-ply jumper for a child with some easy stranded colourwork blocks at the waist and yoke. The accessories continue the bulky, easy-to-knit trend, with a cap and scarf in Big Ben wool and a big, cosy scarf for men in an intriguing reversible cable-moss pattern.


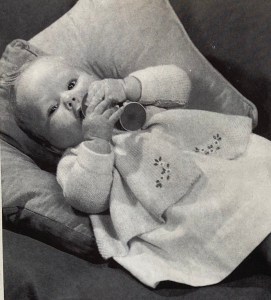
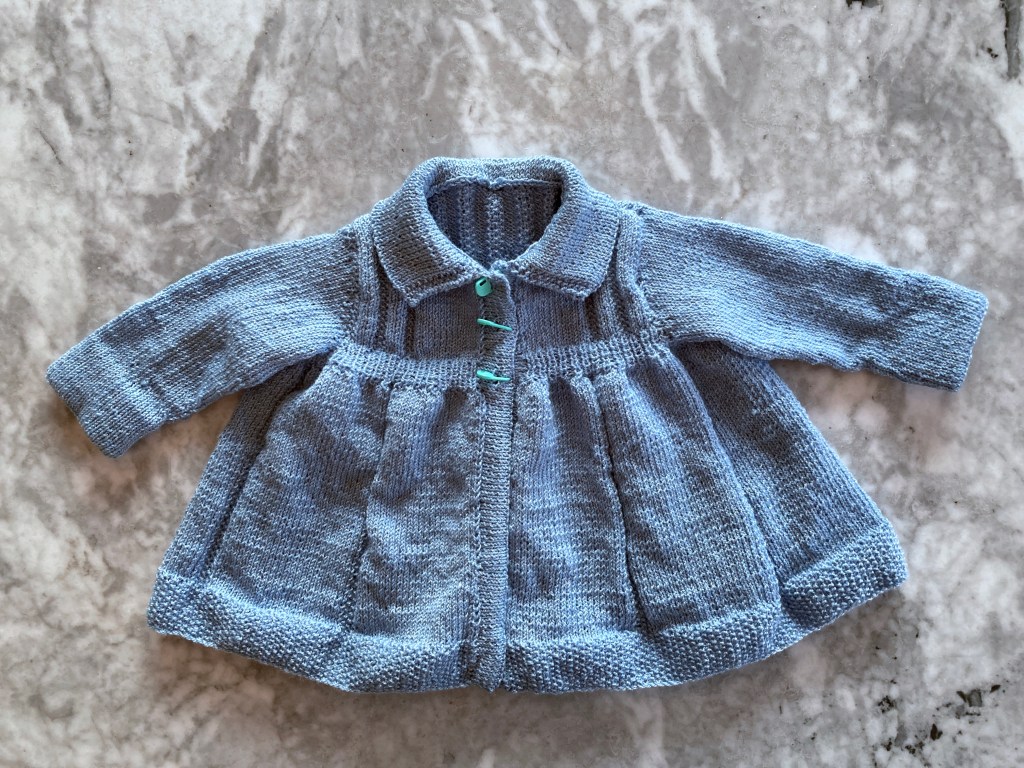
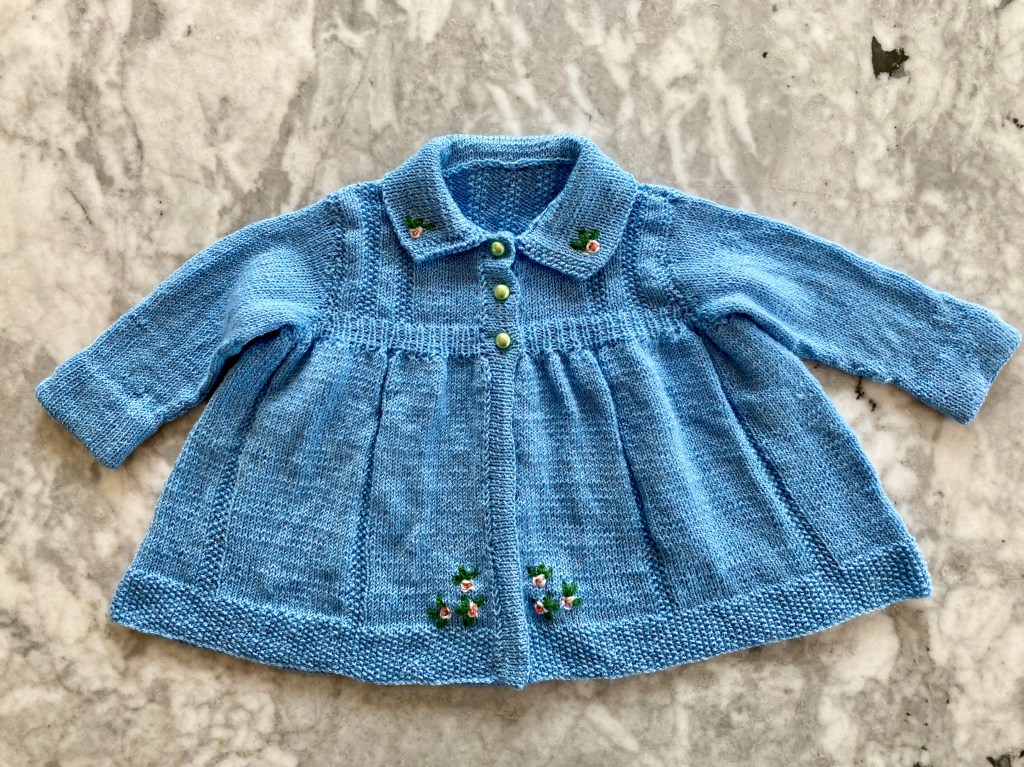
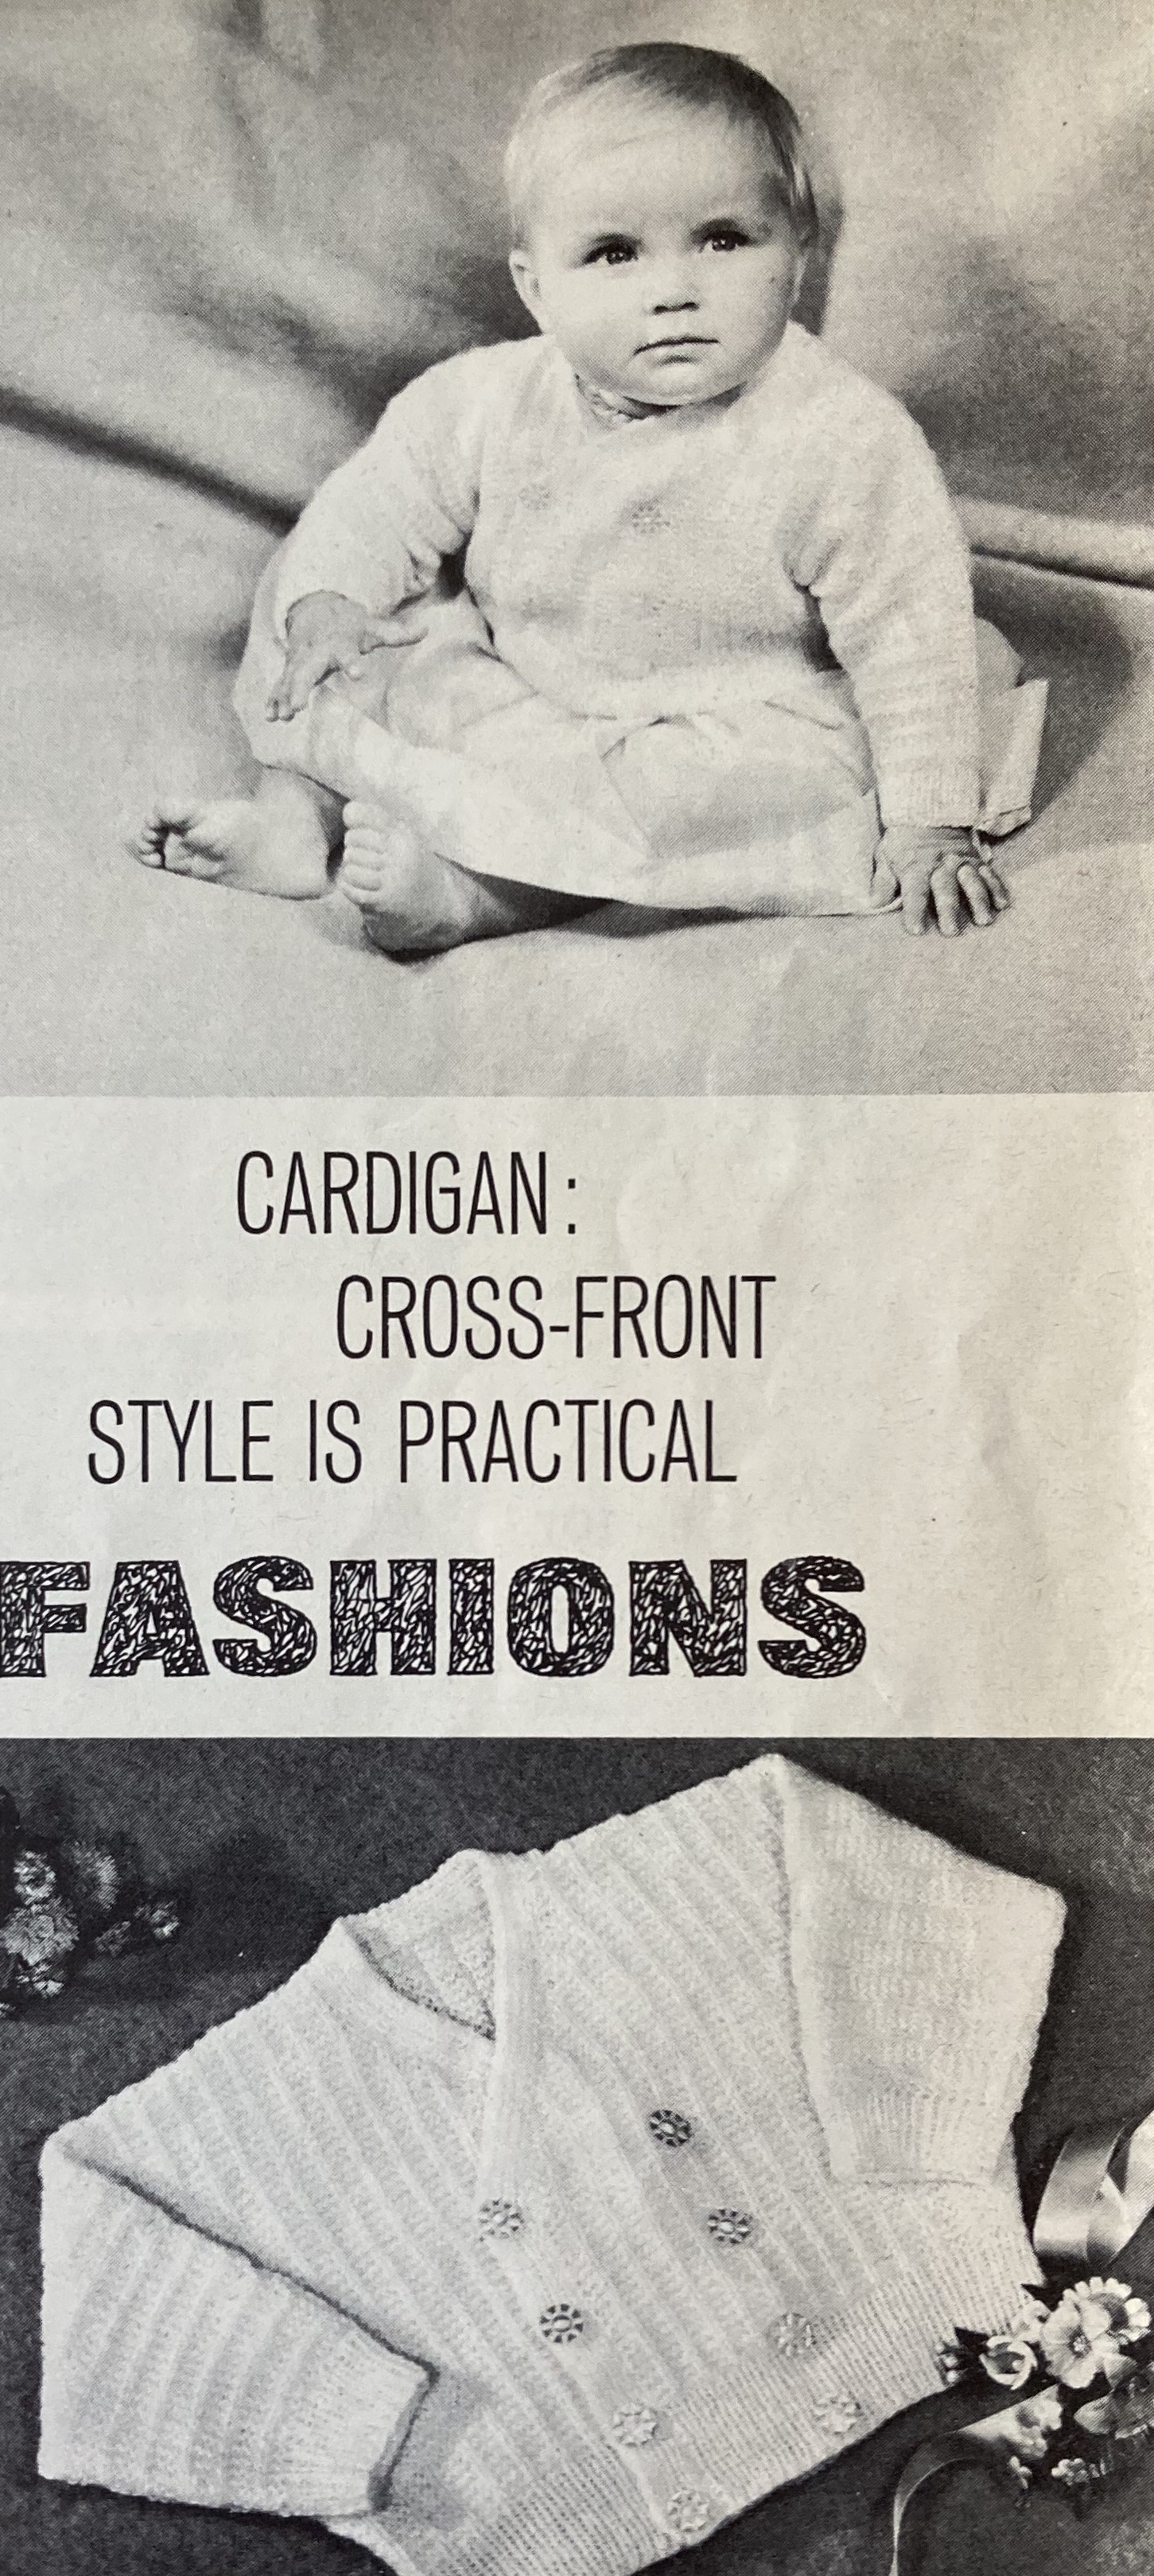
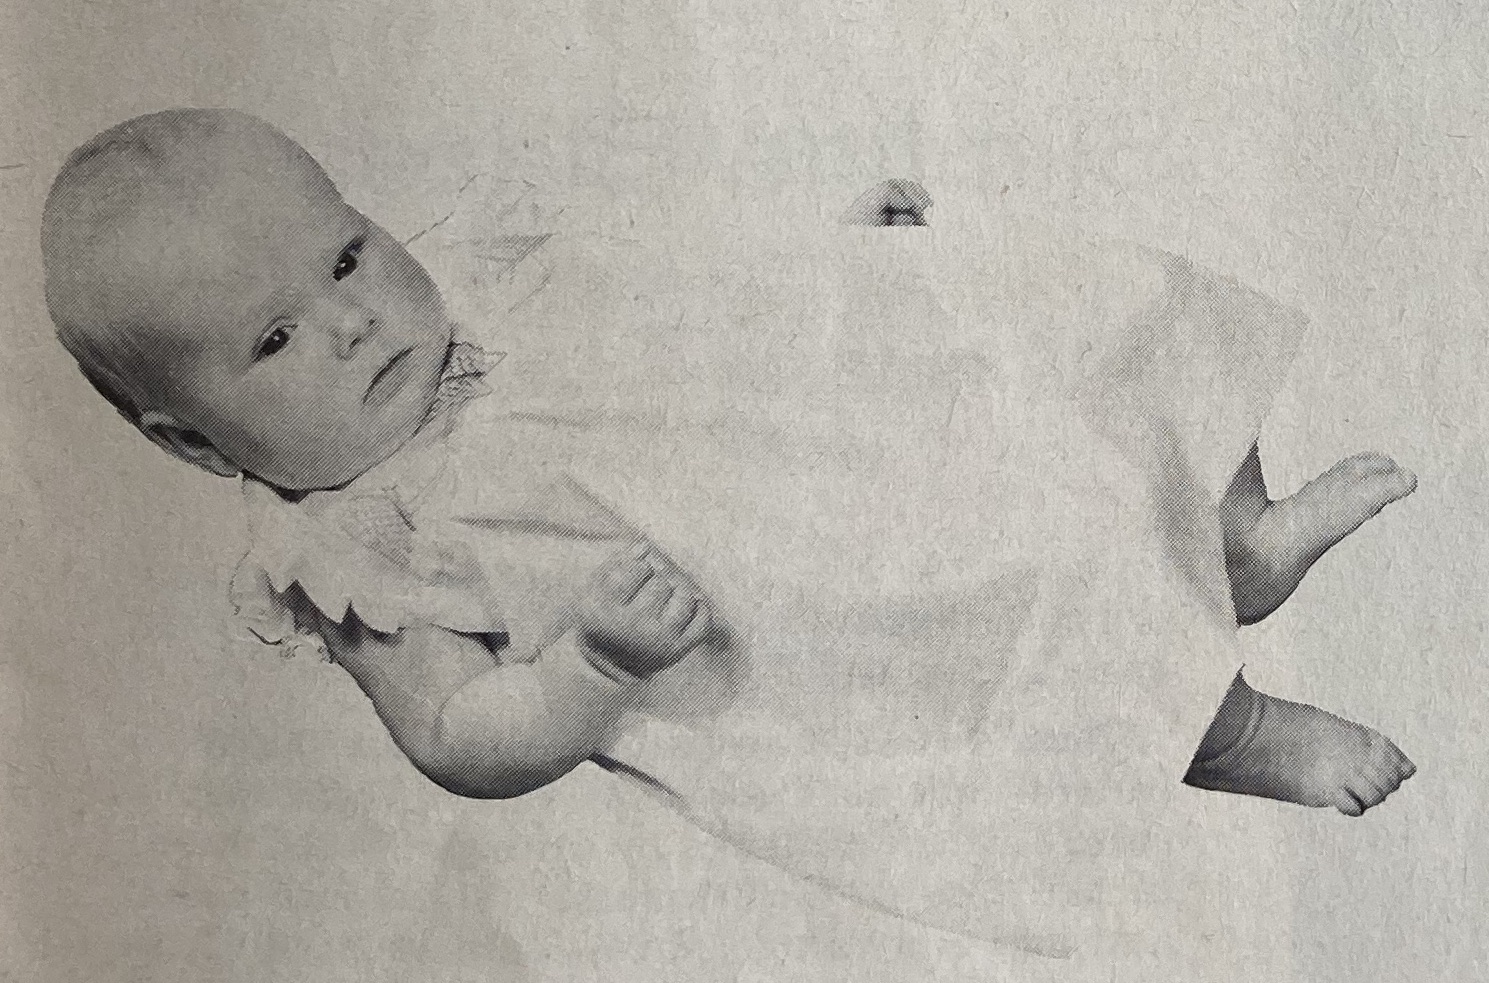
Rounding out the family’s fall wardrobe is a matinee coat and “helmet”-style cap for a baby, matching the dress from the September issue. The November issue promises a warm shawl to match again, thus rounding out the set. Judging from the photo, “dear little baby Alicia” seems to have realised that the purpose of a helmet-style cap is to prevent the baby from removing it and flinging it around the room, and is suitably disappointed. It’s a great design, though, with the sides and chin strap done in garter stitch to accommodate movement and growing heads.


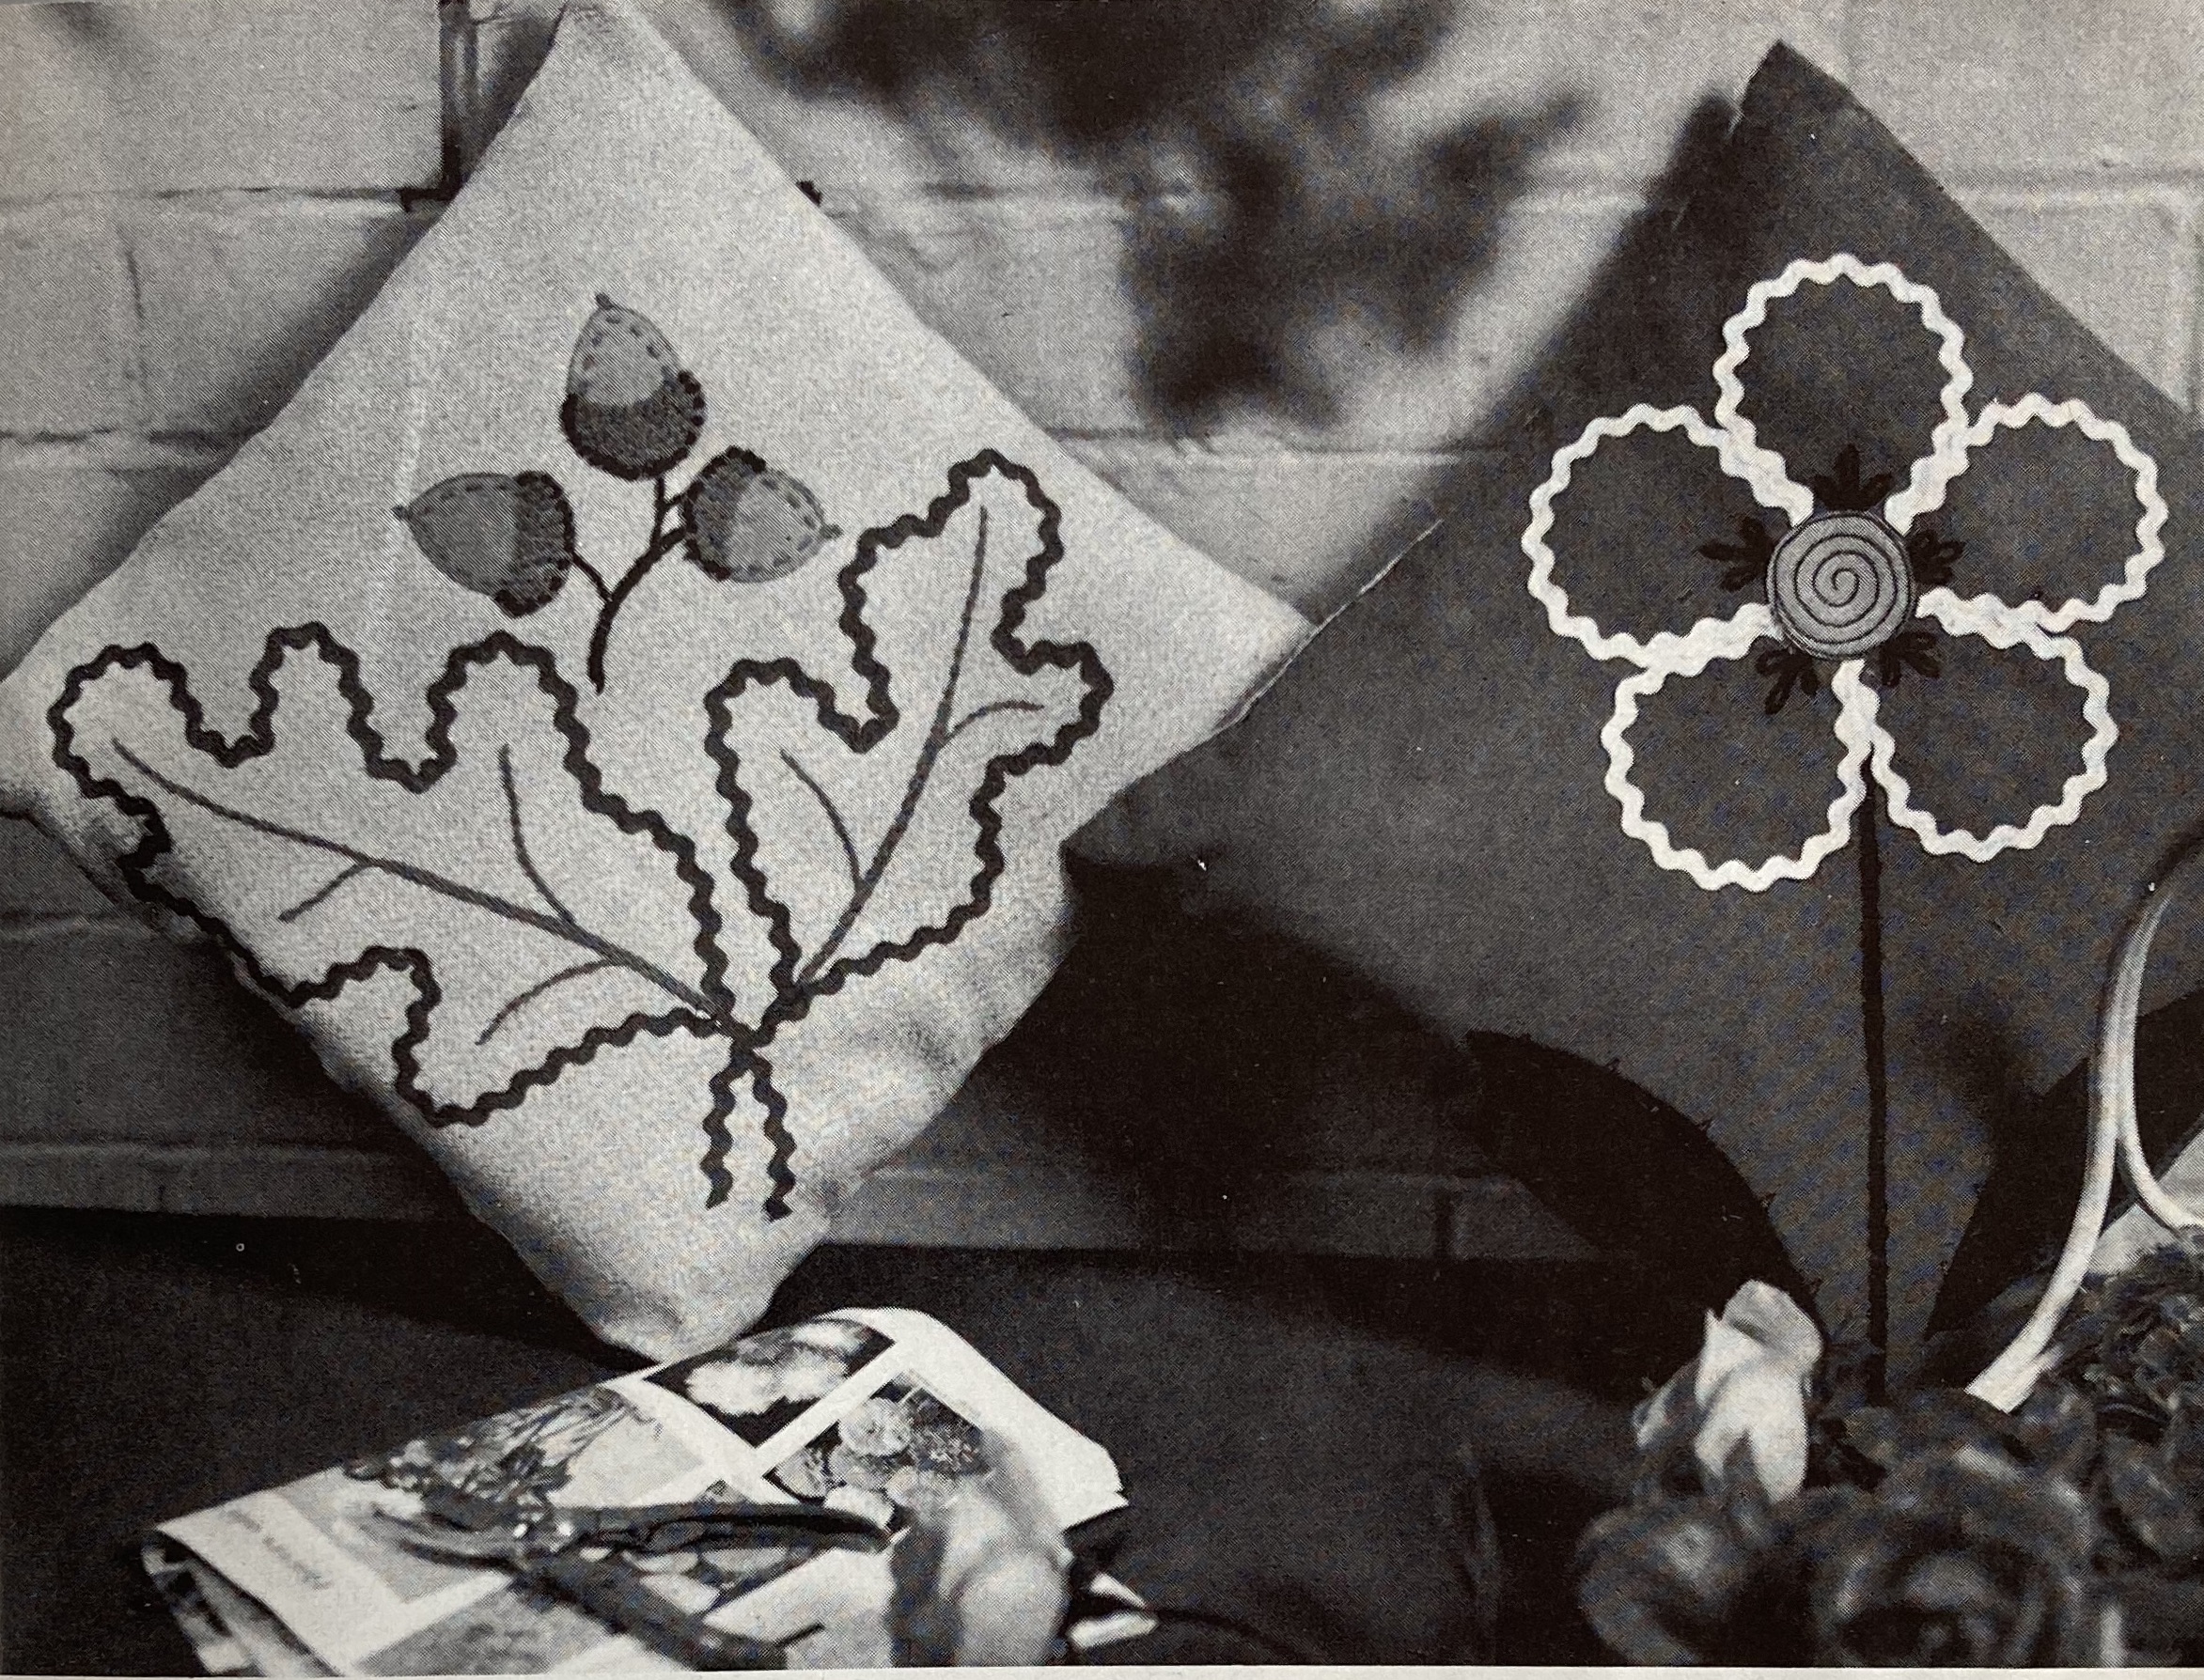
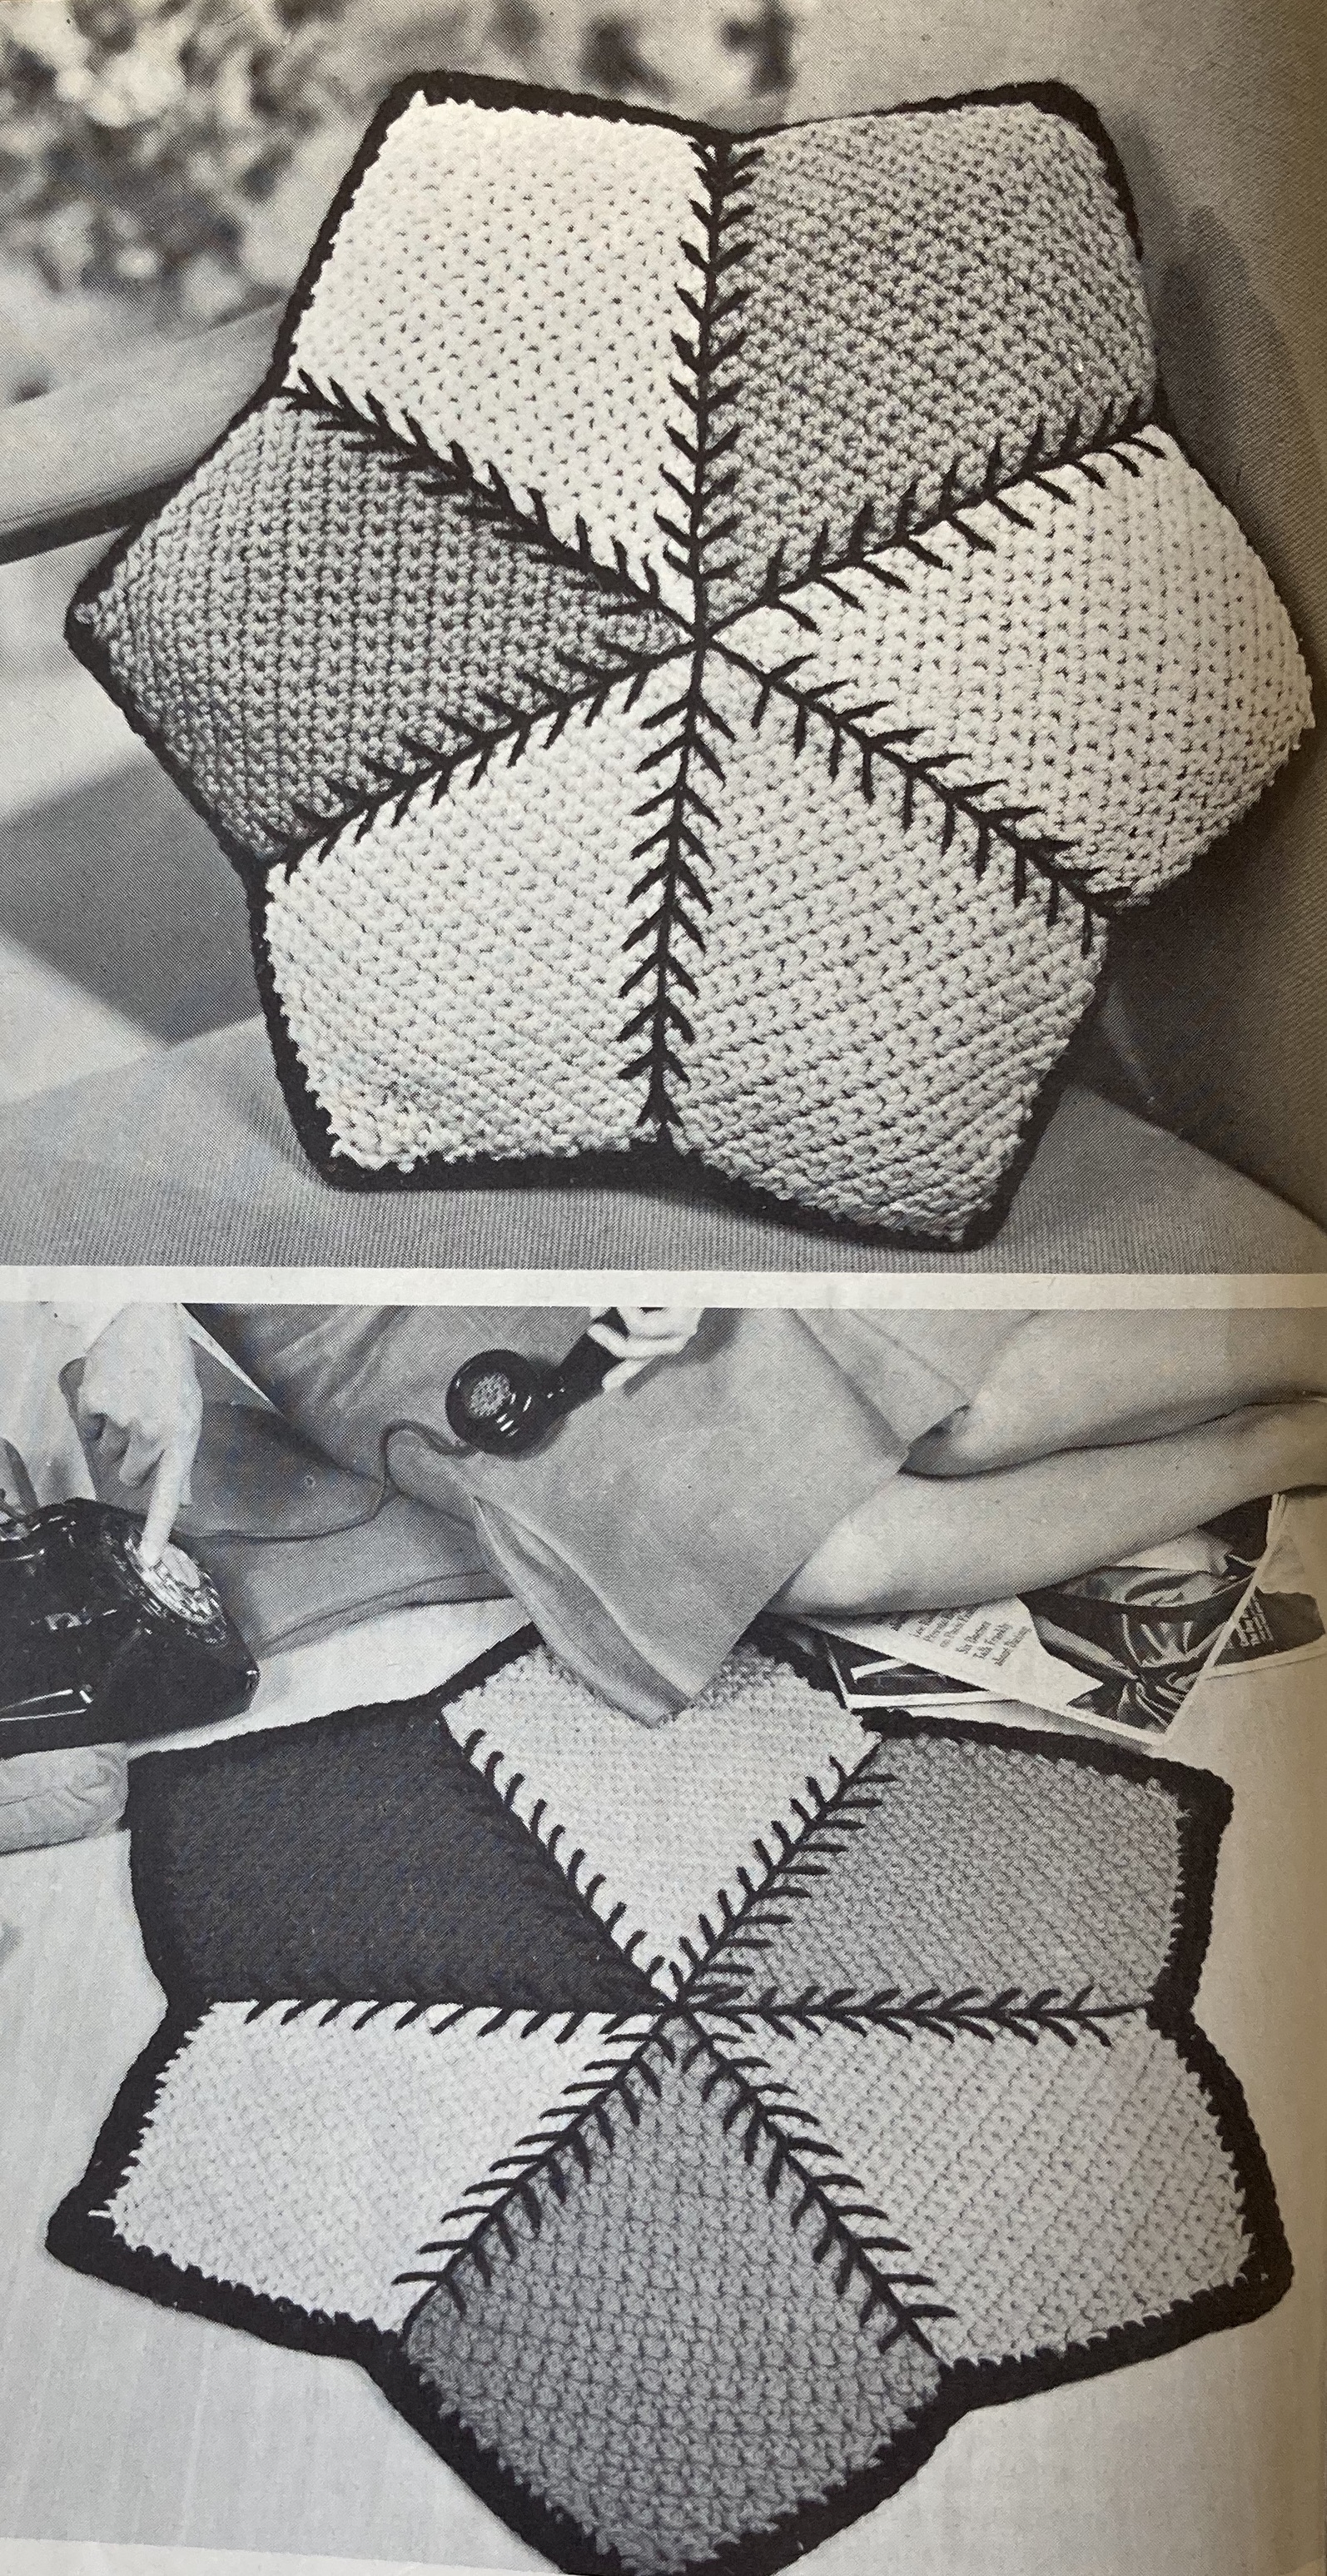
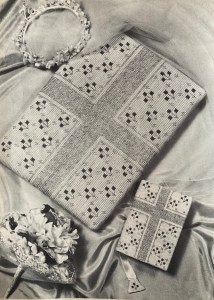
The homewares are plentiful and here again, there are some larger projects to be tackled at home during the colder Autumn days. The bright red rug in Soumak stitch and traditional design is vivid and cheerful, as is the Jacobean cushion “for the skilled needlewoman” which I would love to make if I didn’t already have two unfinished embroidered cushions in the WIP pile. (Not to mention that I am not skilled enough to make that elaborate a design, especially without a transfer.) The Autumn-themed acorn cushion is definitely easier. There’s a Regency ribbon design for tapestry or cross-stitch, too.


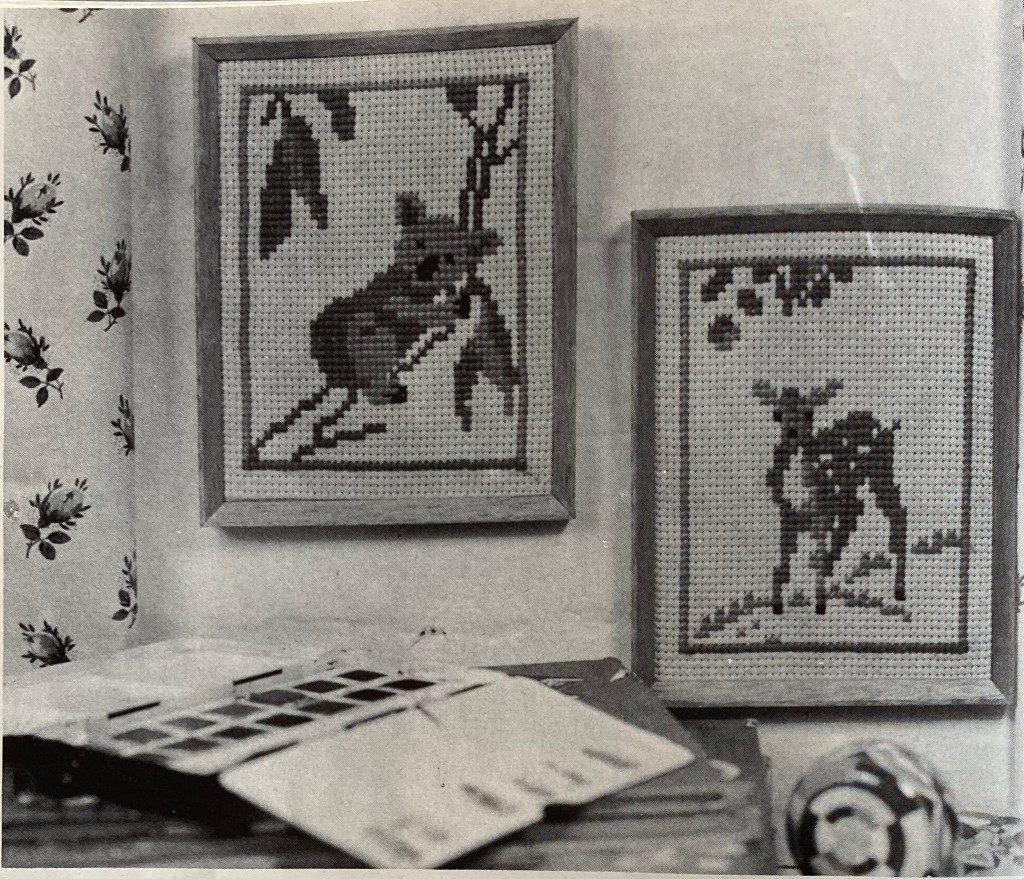
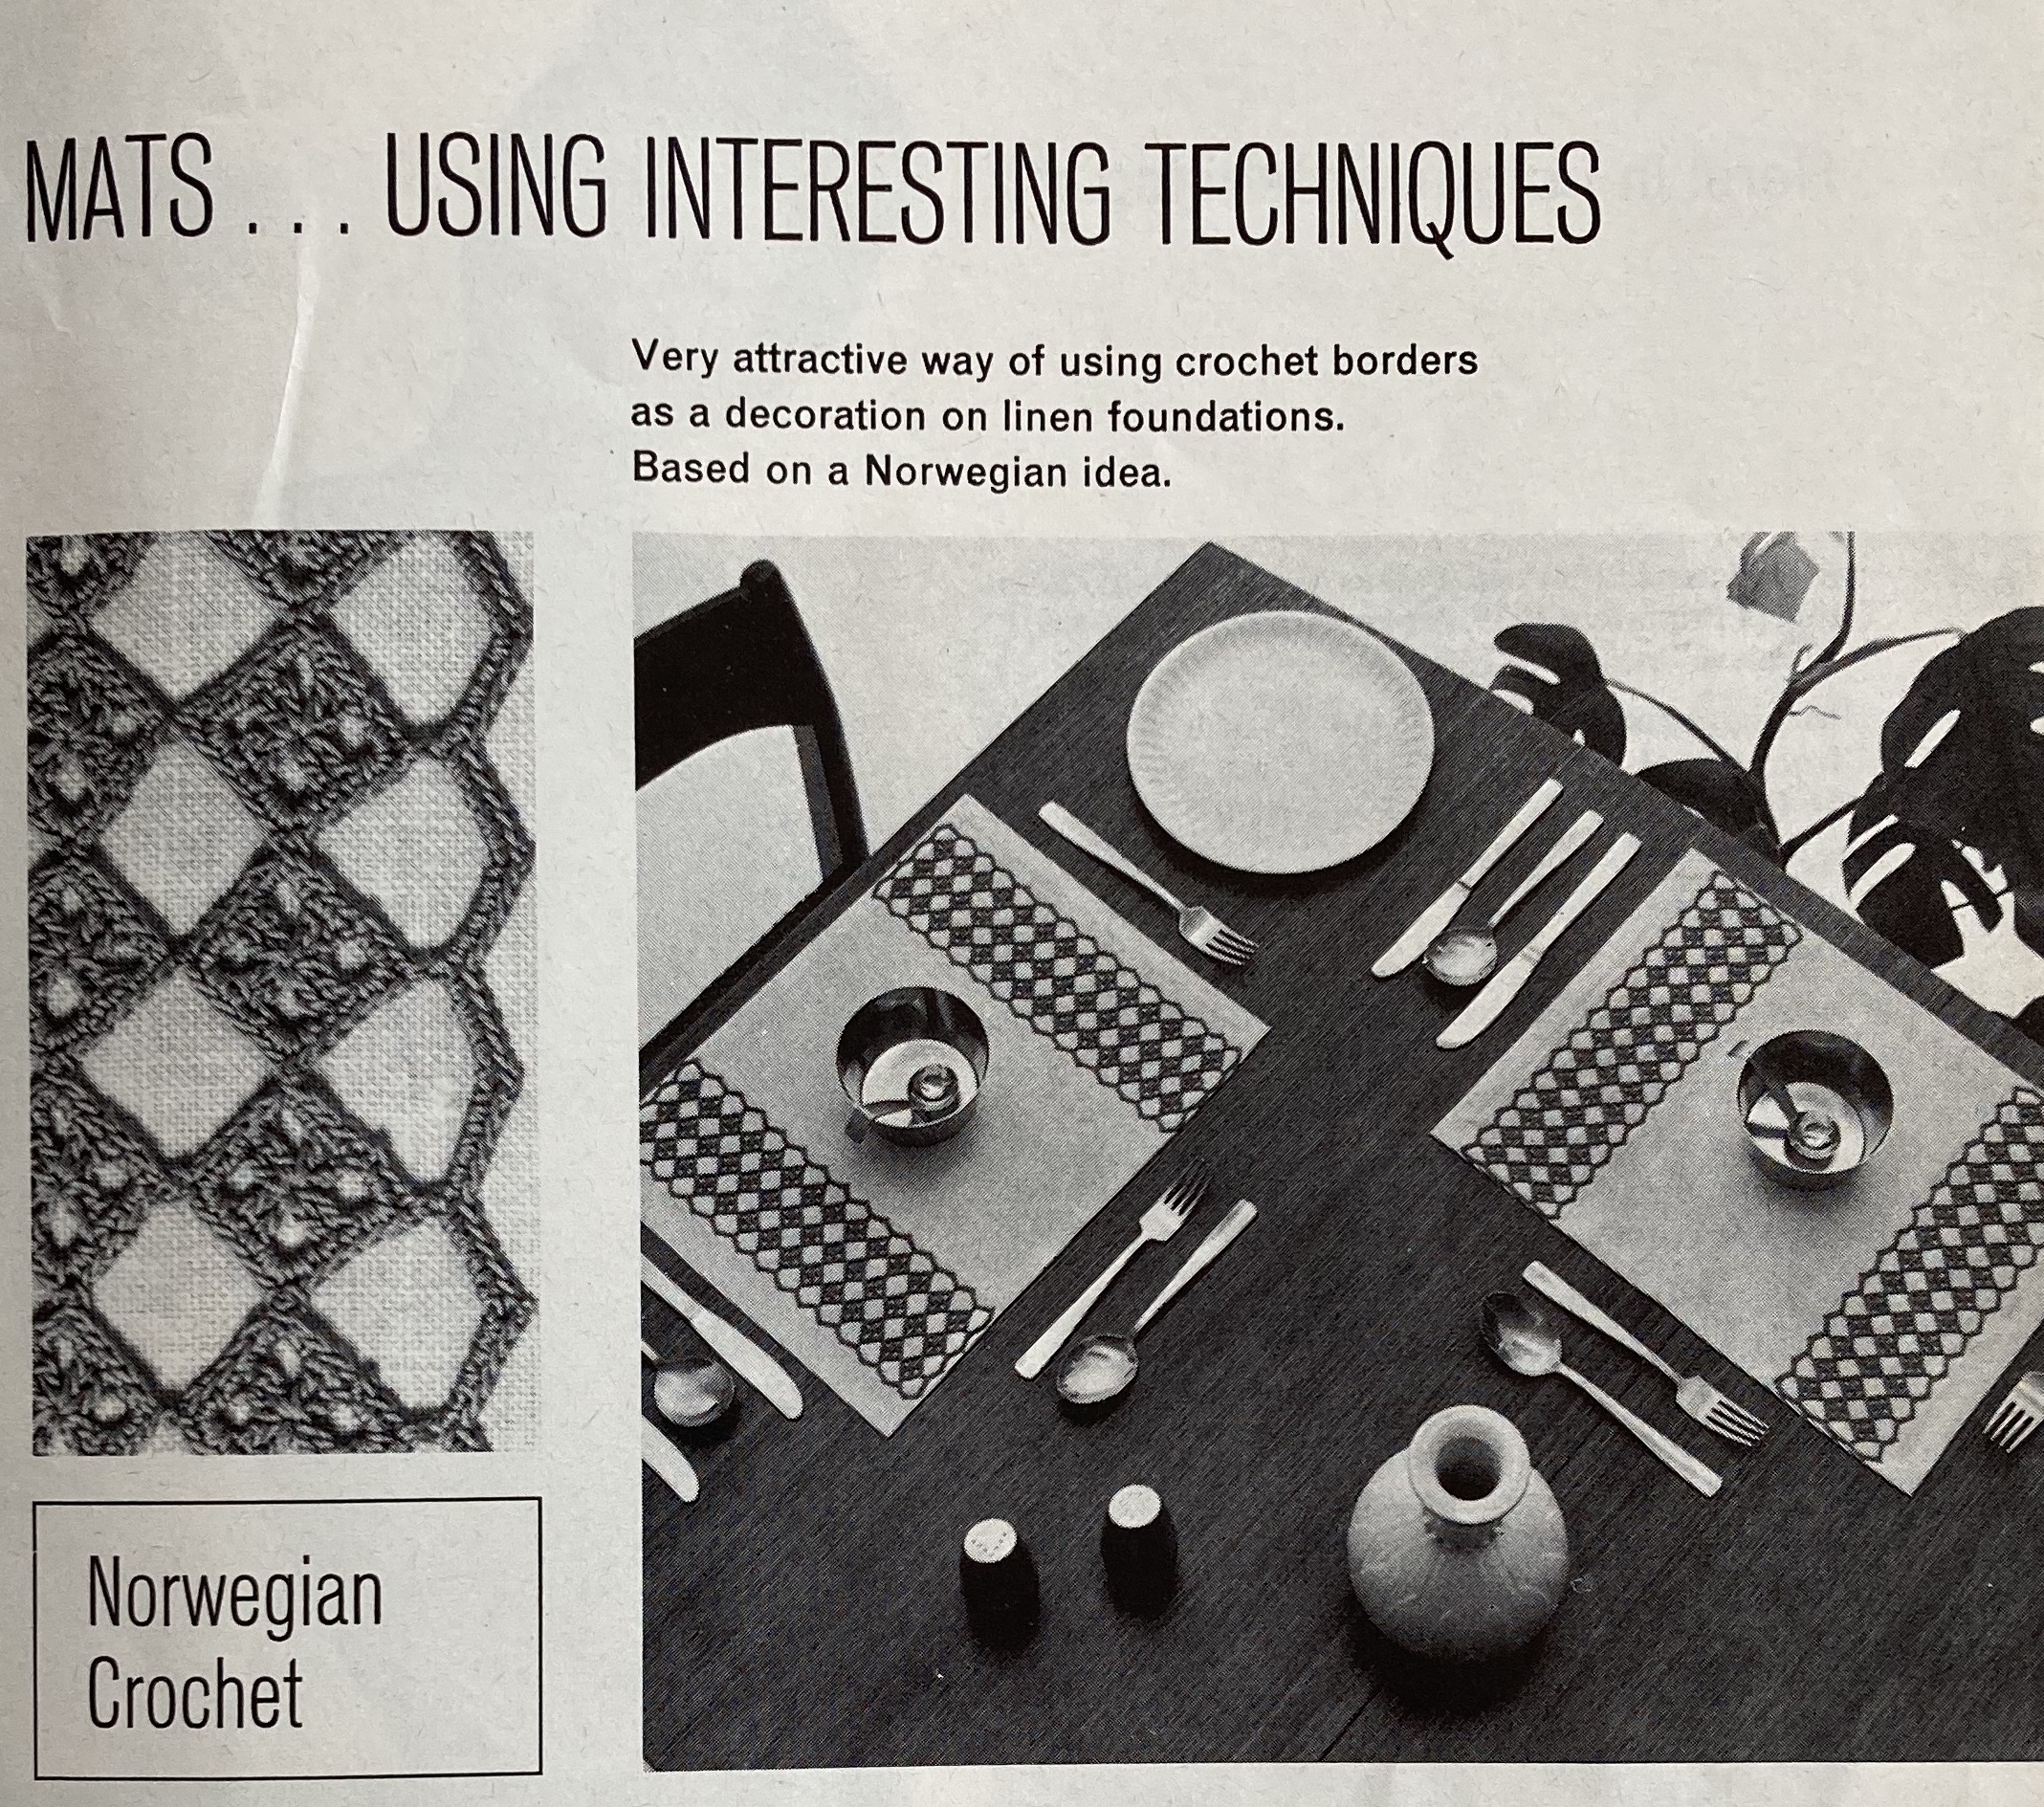
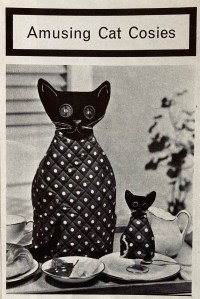
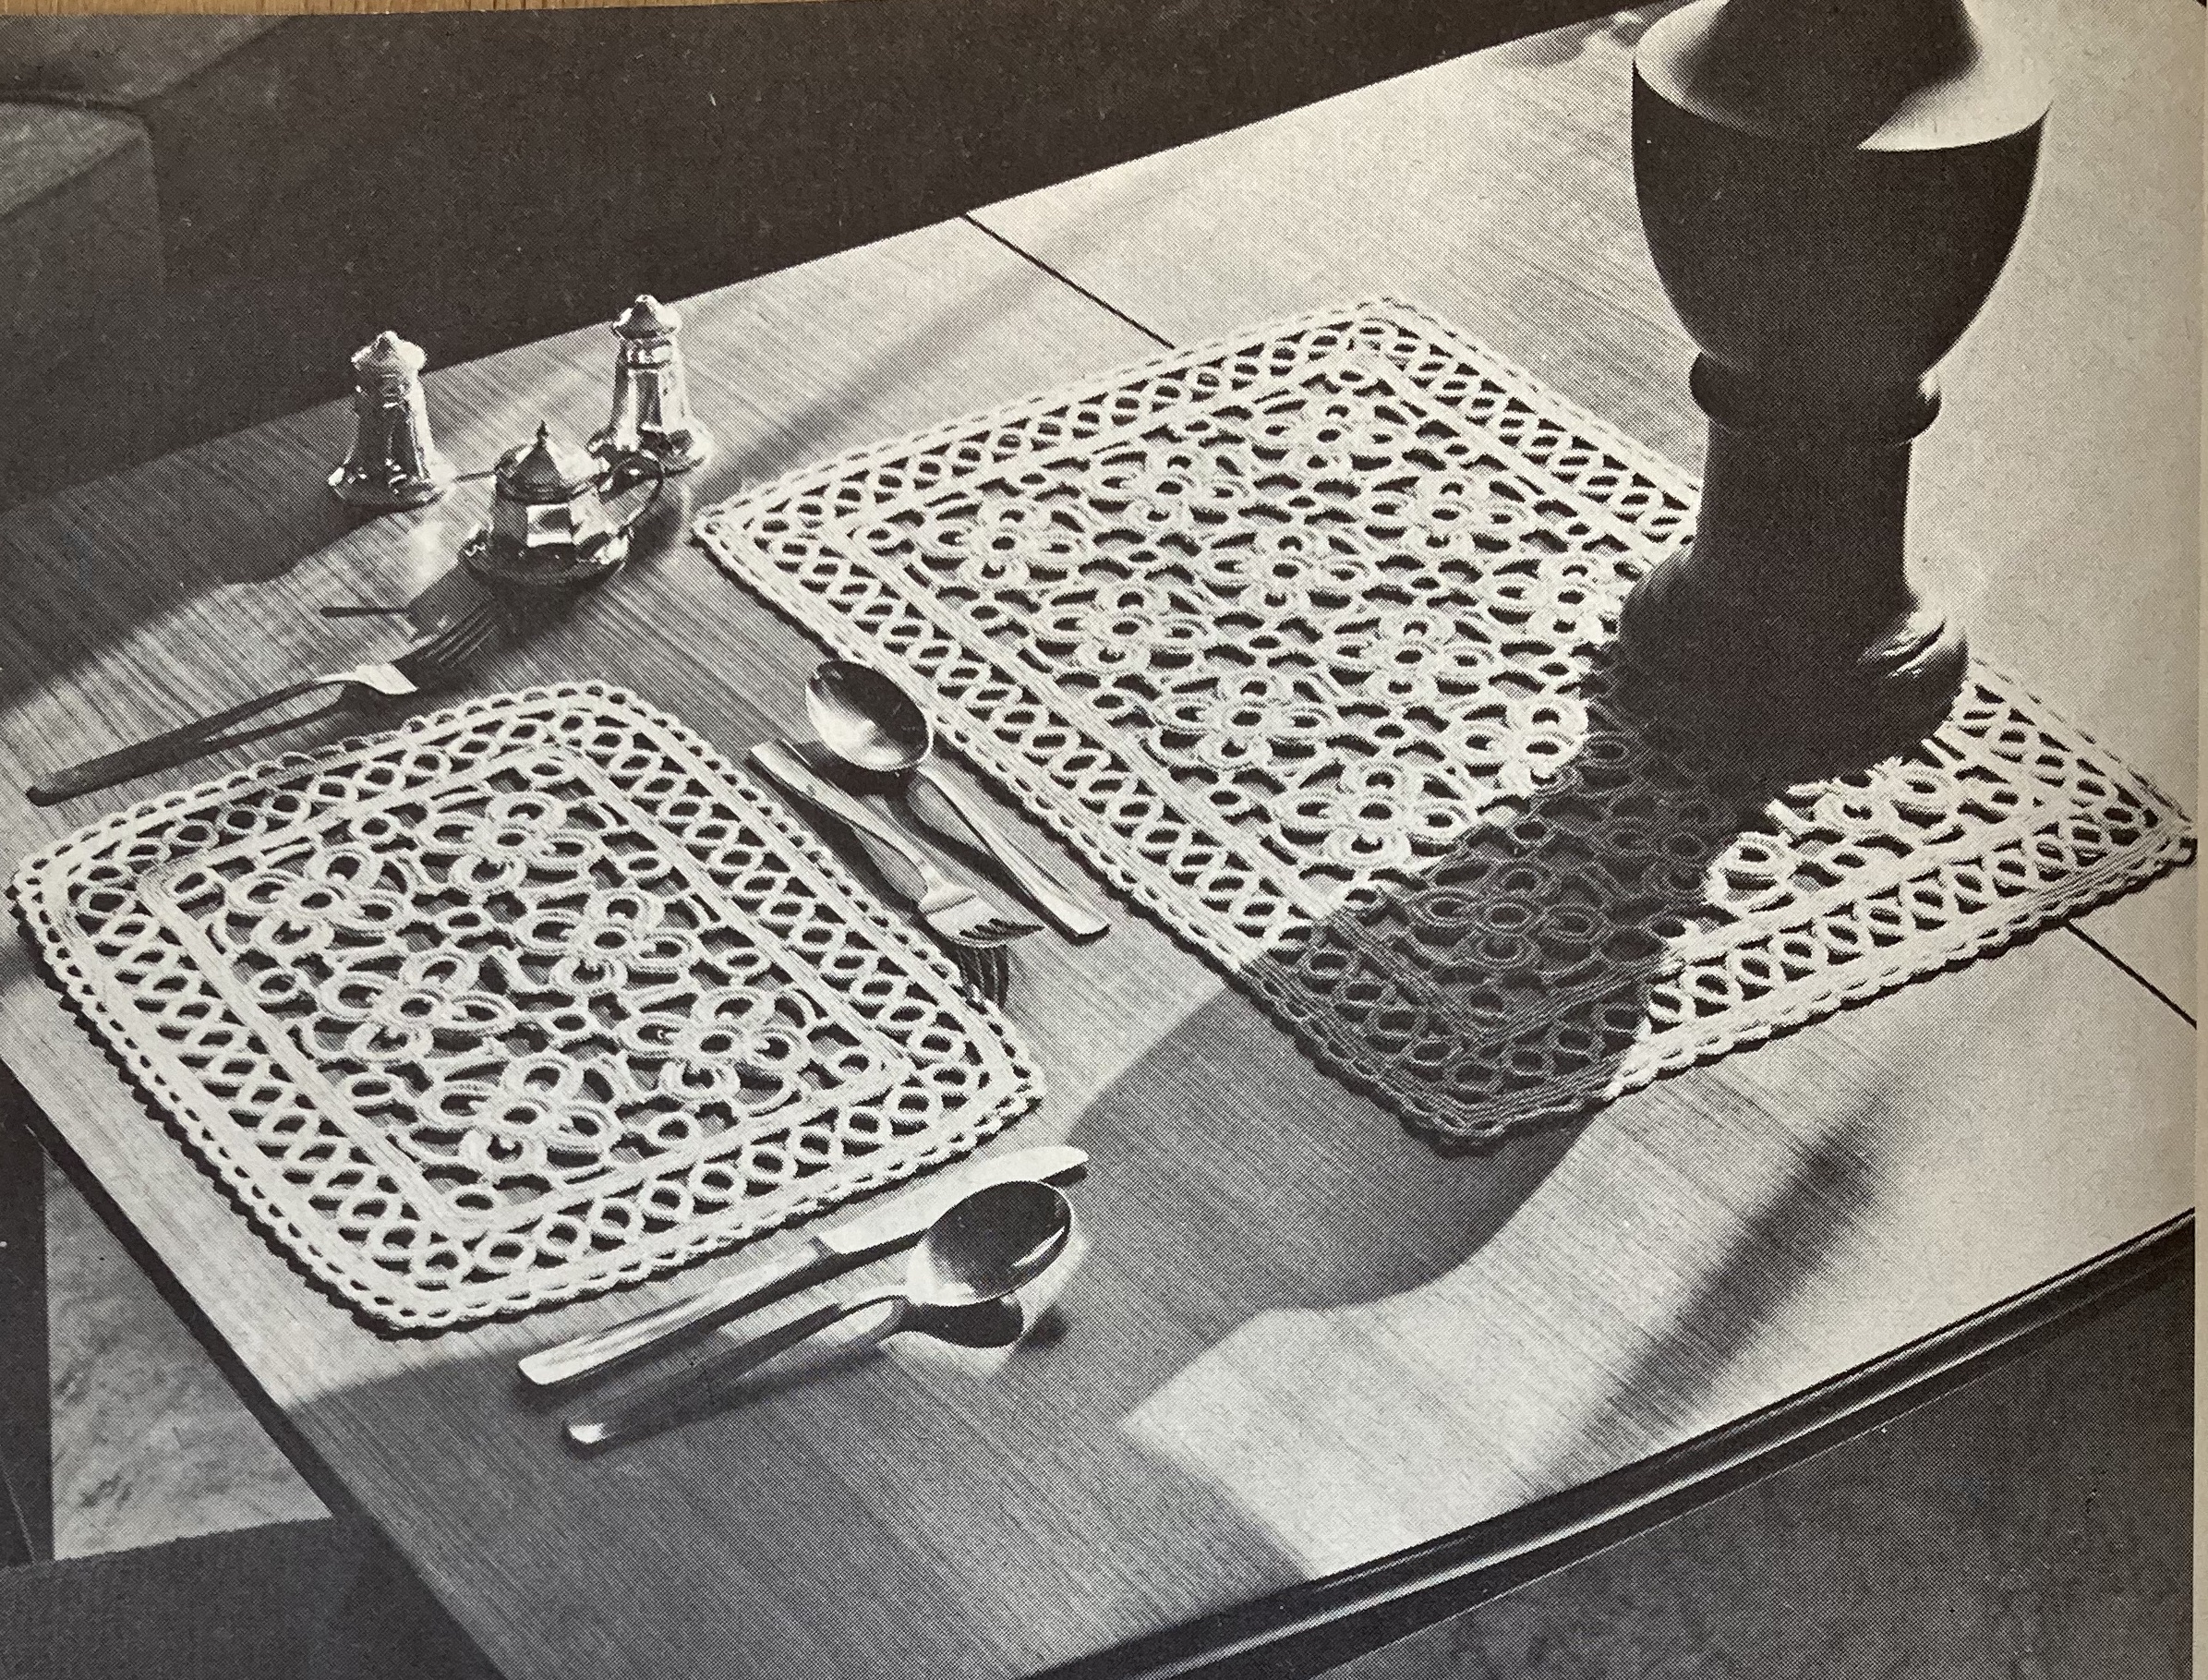
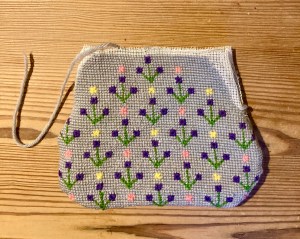
For those who want a quicker, easier homeware project or are already getting started on the Christmas presents, there are more embroidered acorns on cutwork mats and some knitted and crocheted goodies: a “Scottie-dog” night-case, a crocheted bag, and… a hippo, yes, a friendly knitted hippo stuffed animal. Well, why not? It’s cute. An older child might embroider her own Little Miss Muffet picture in cross-stitch.


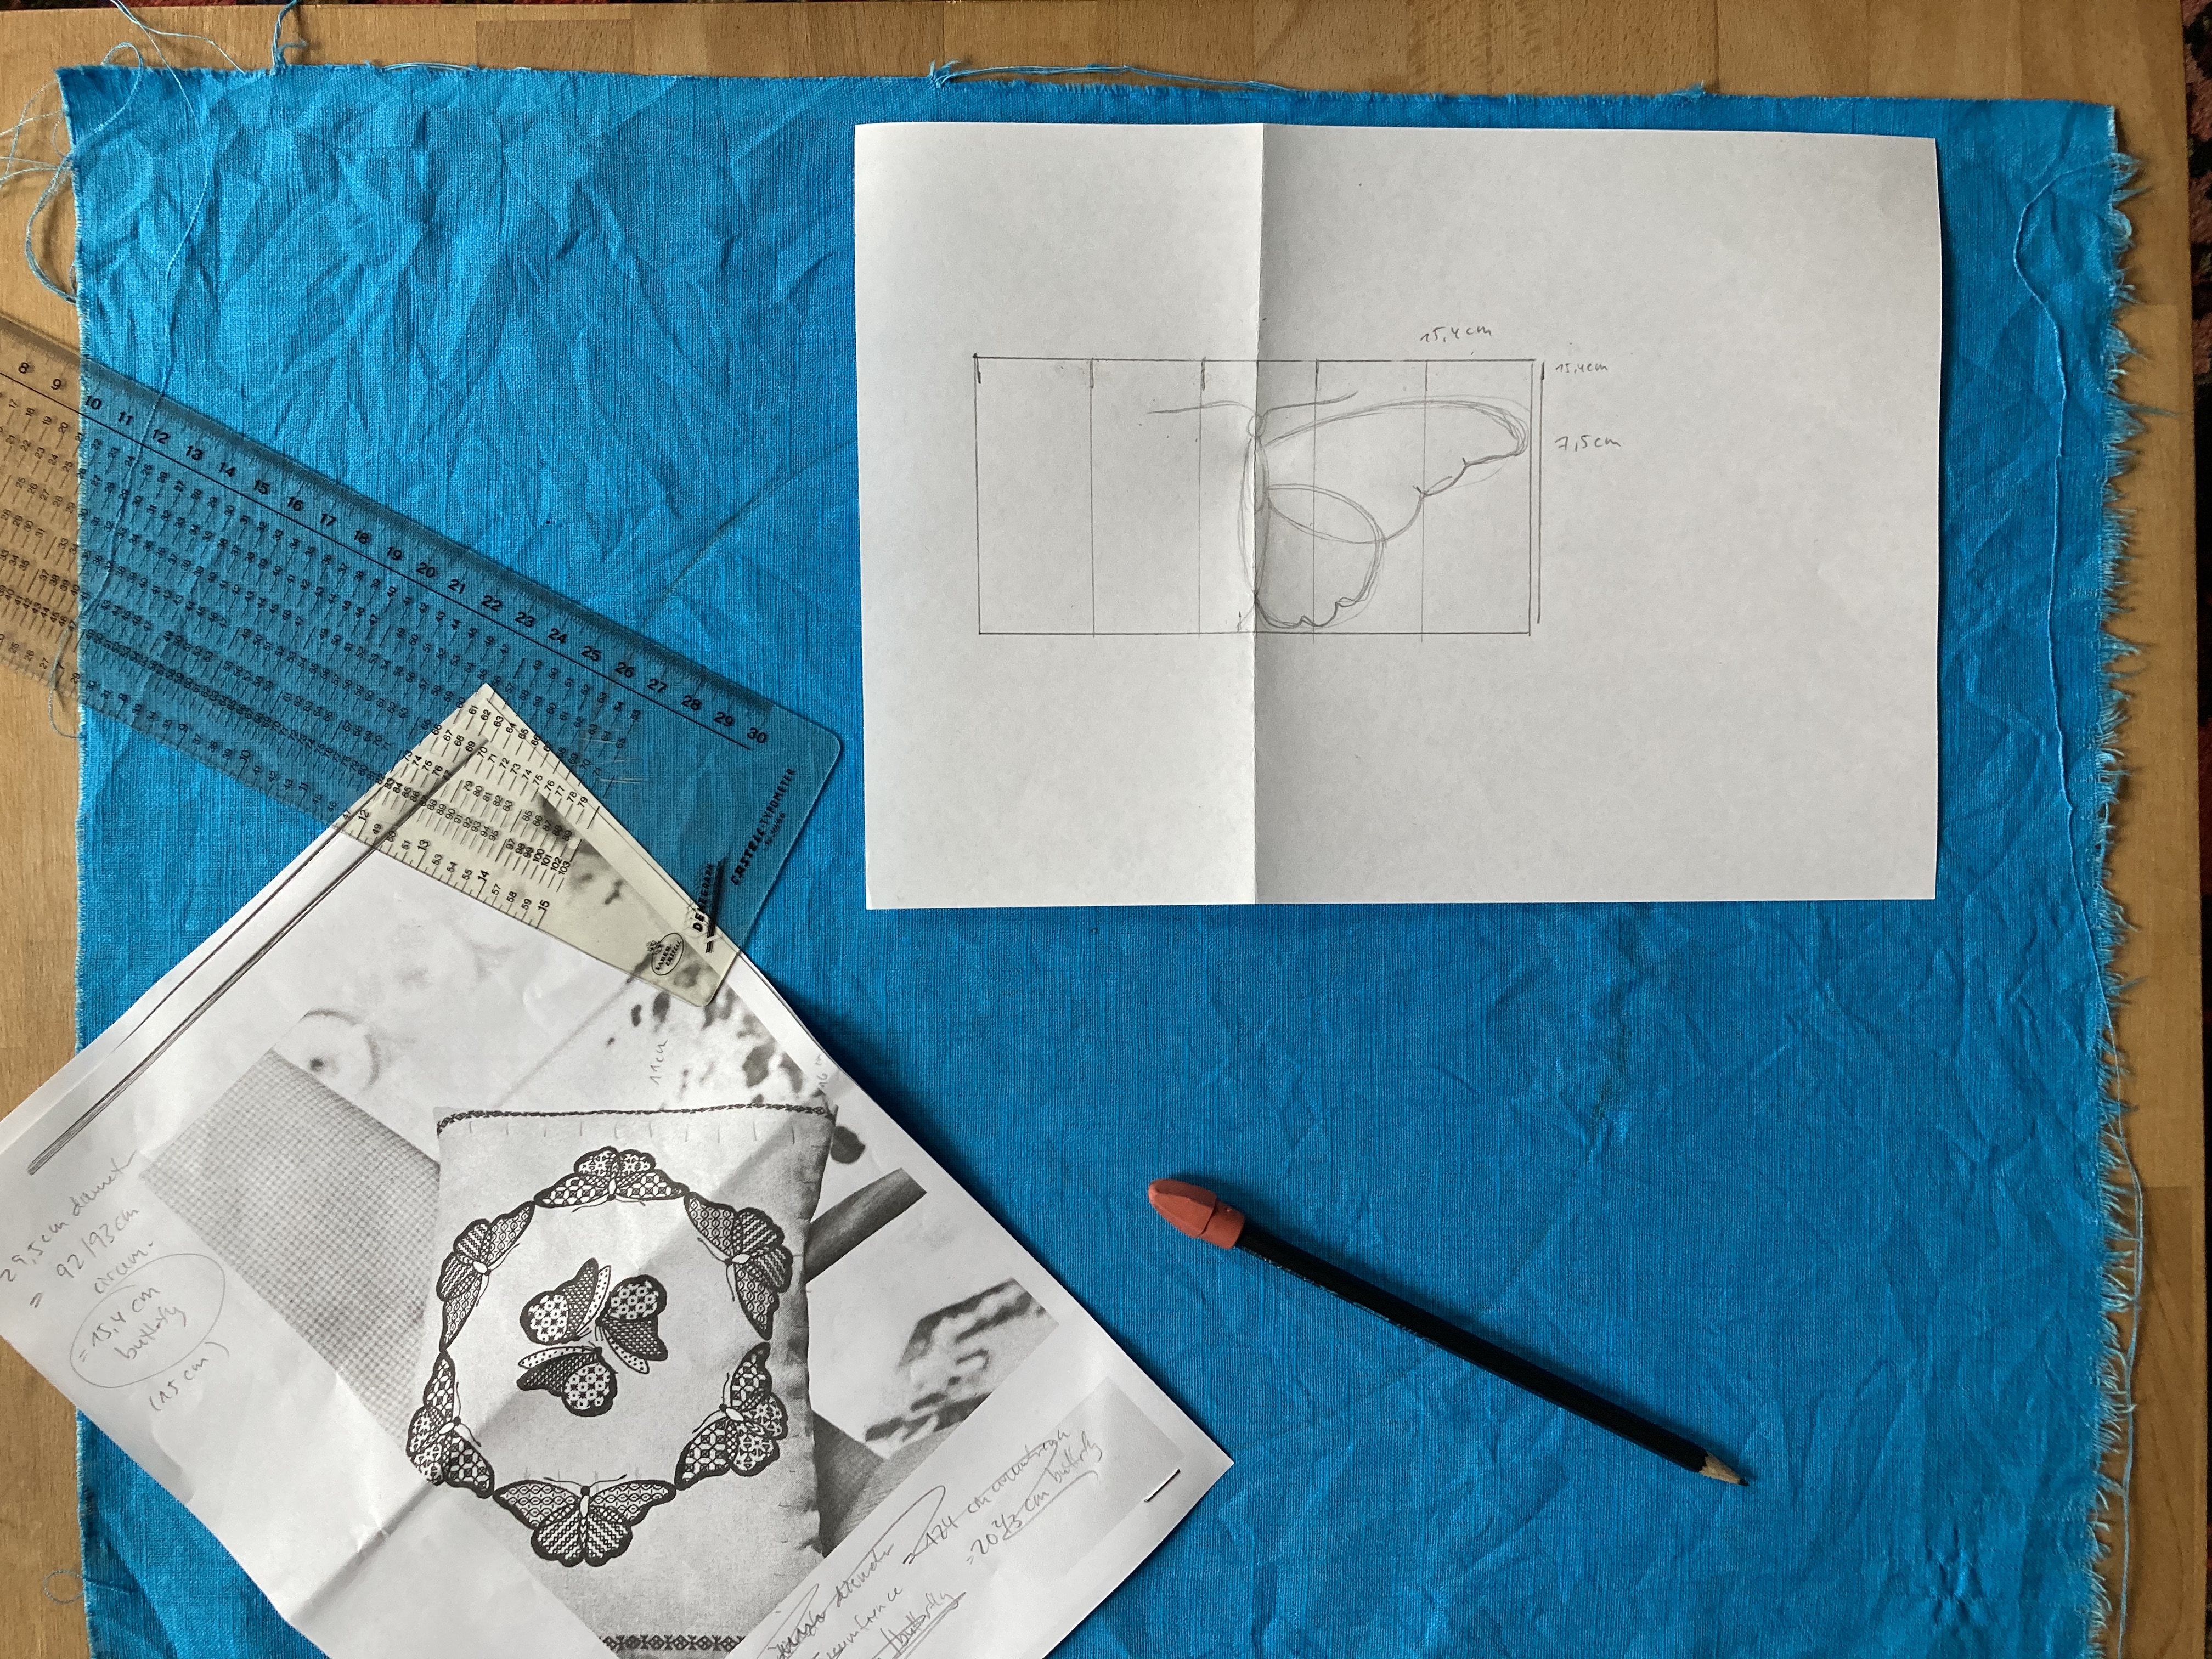
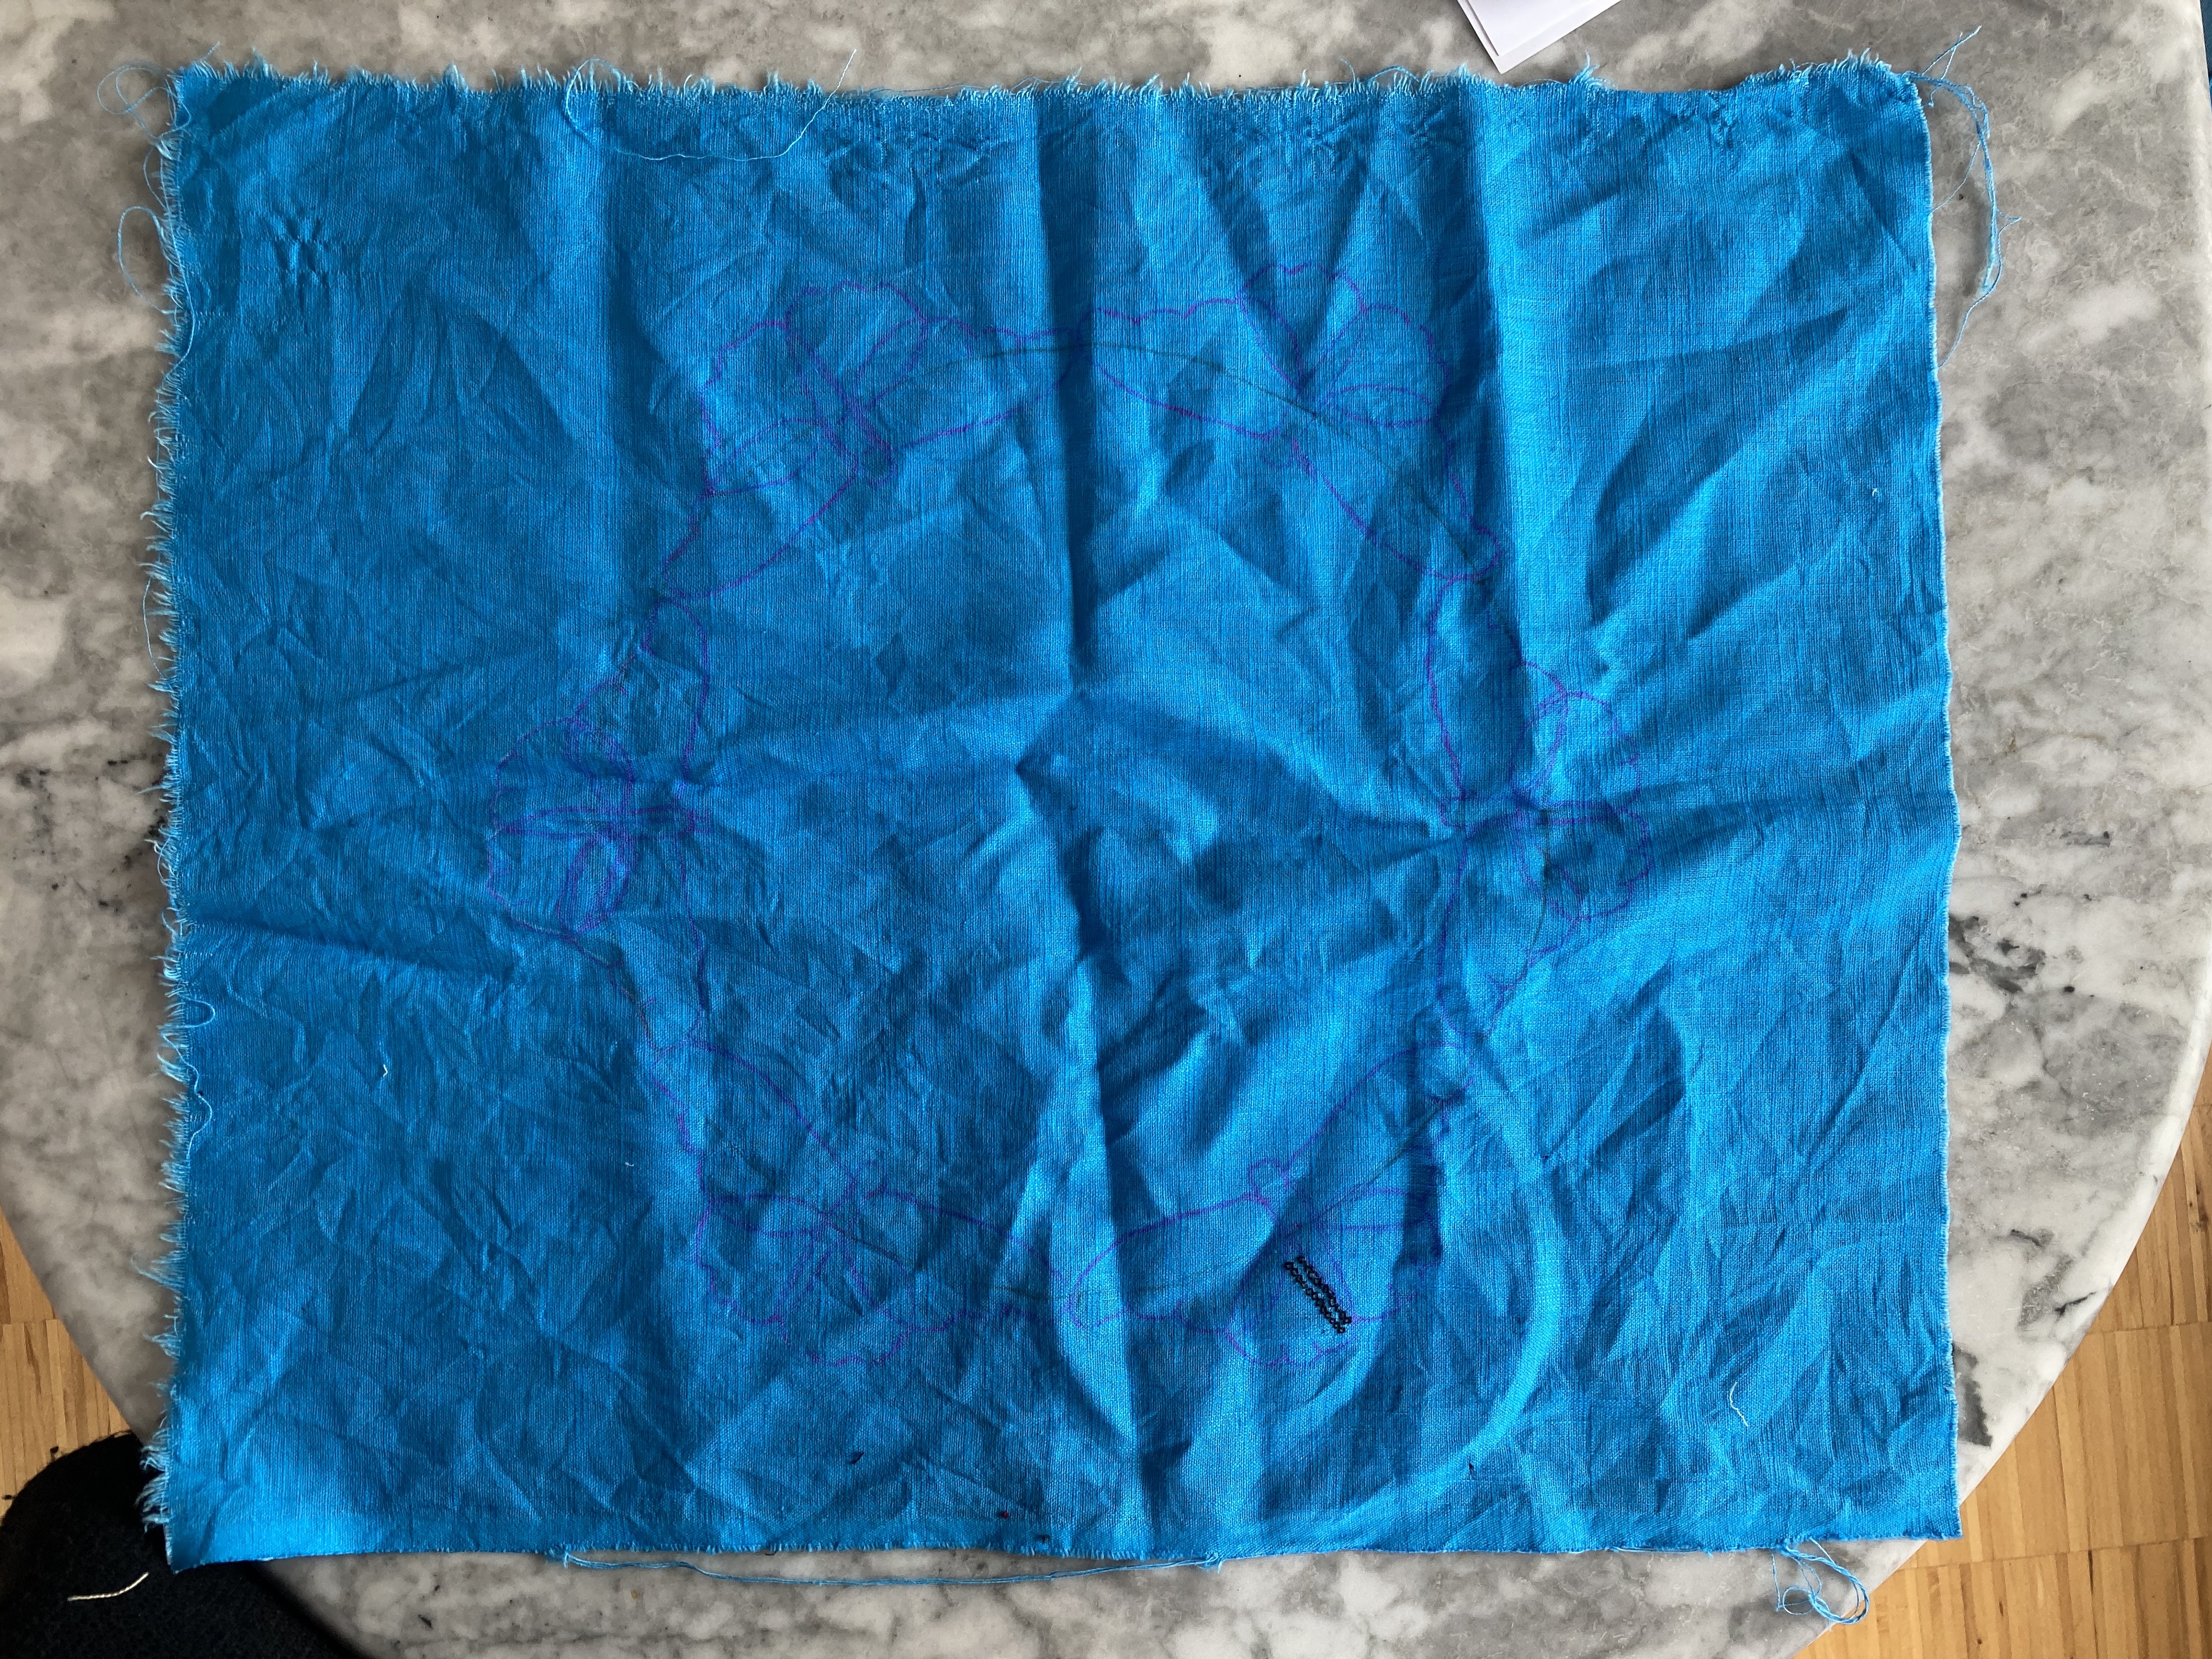
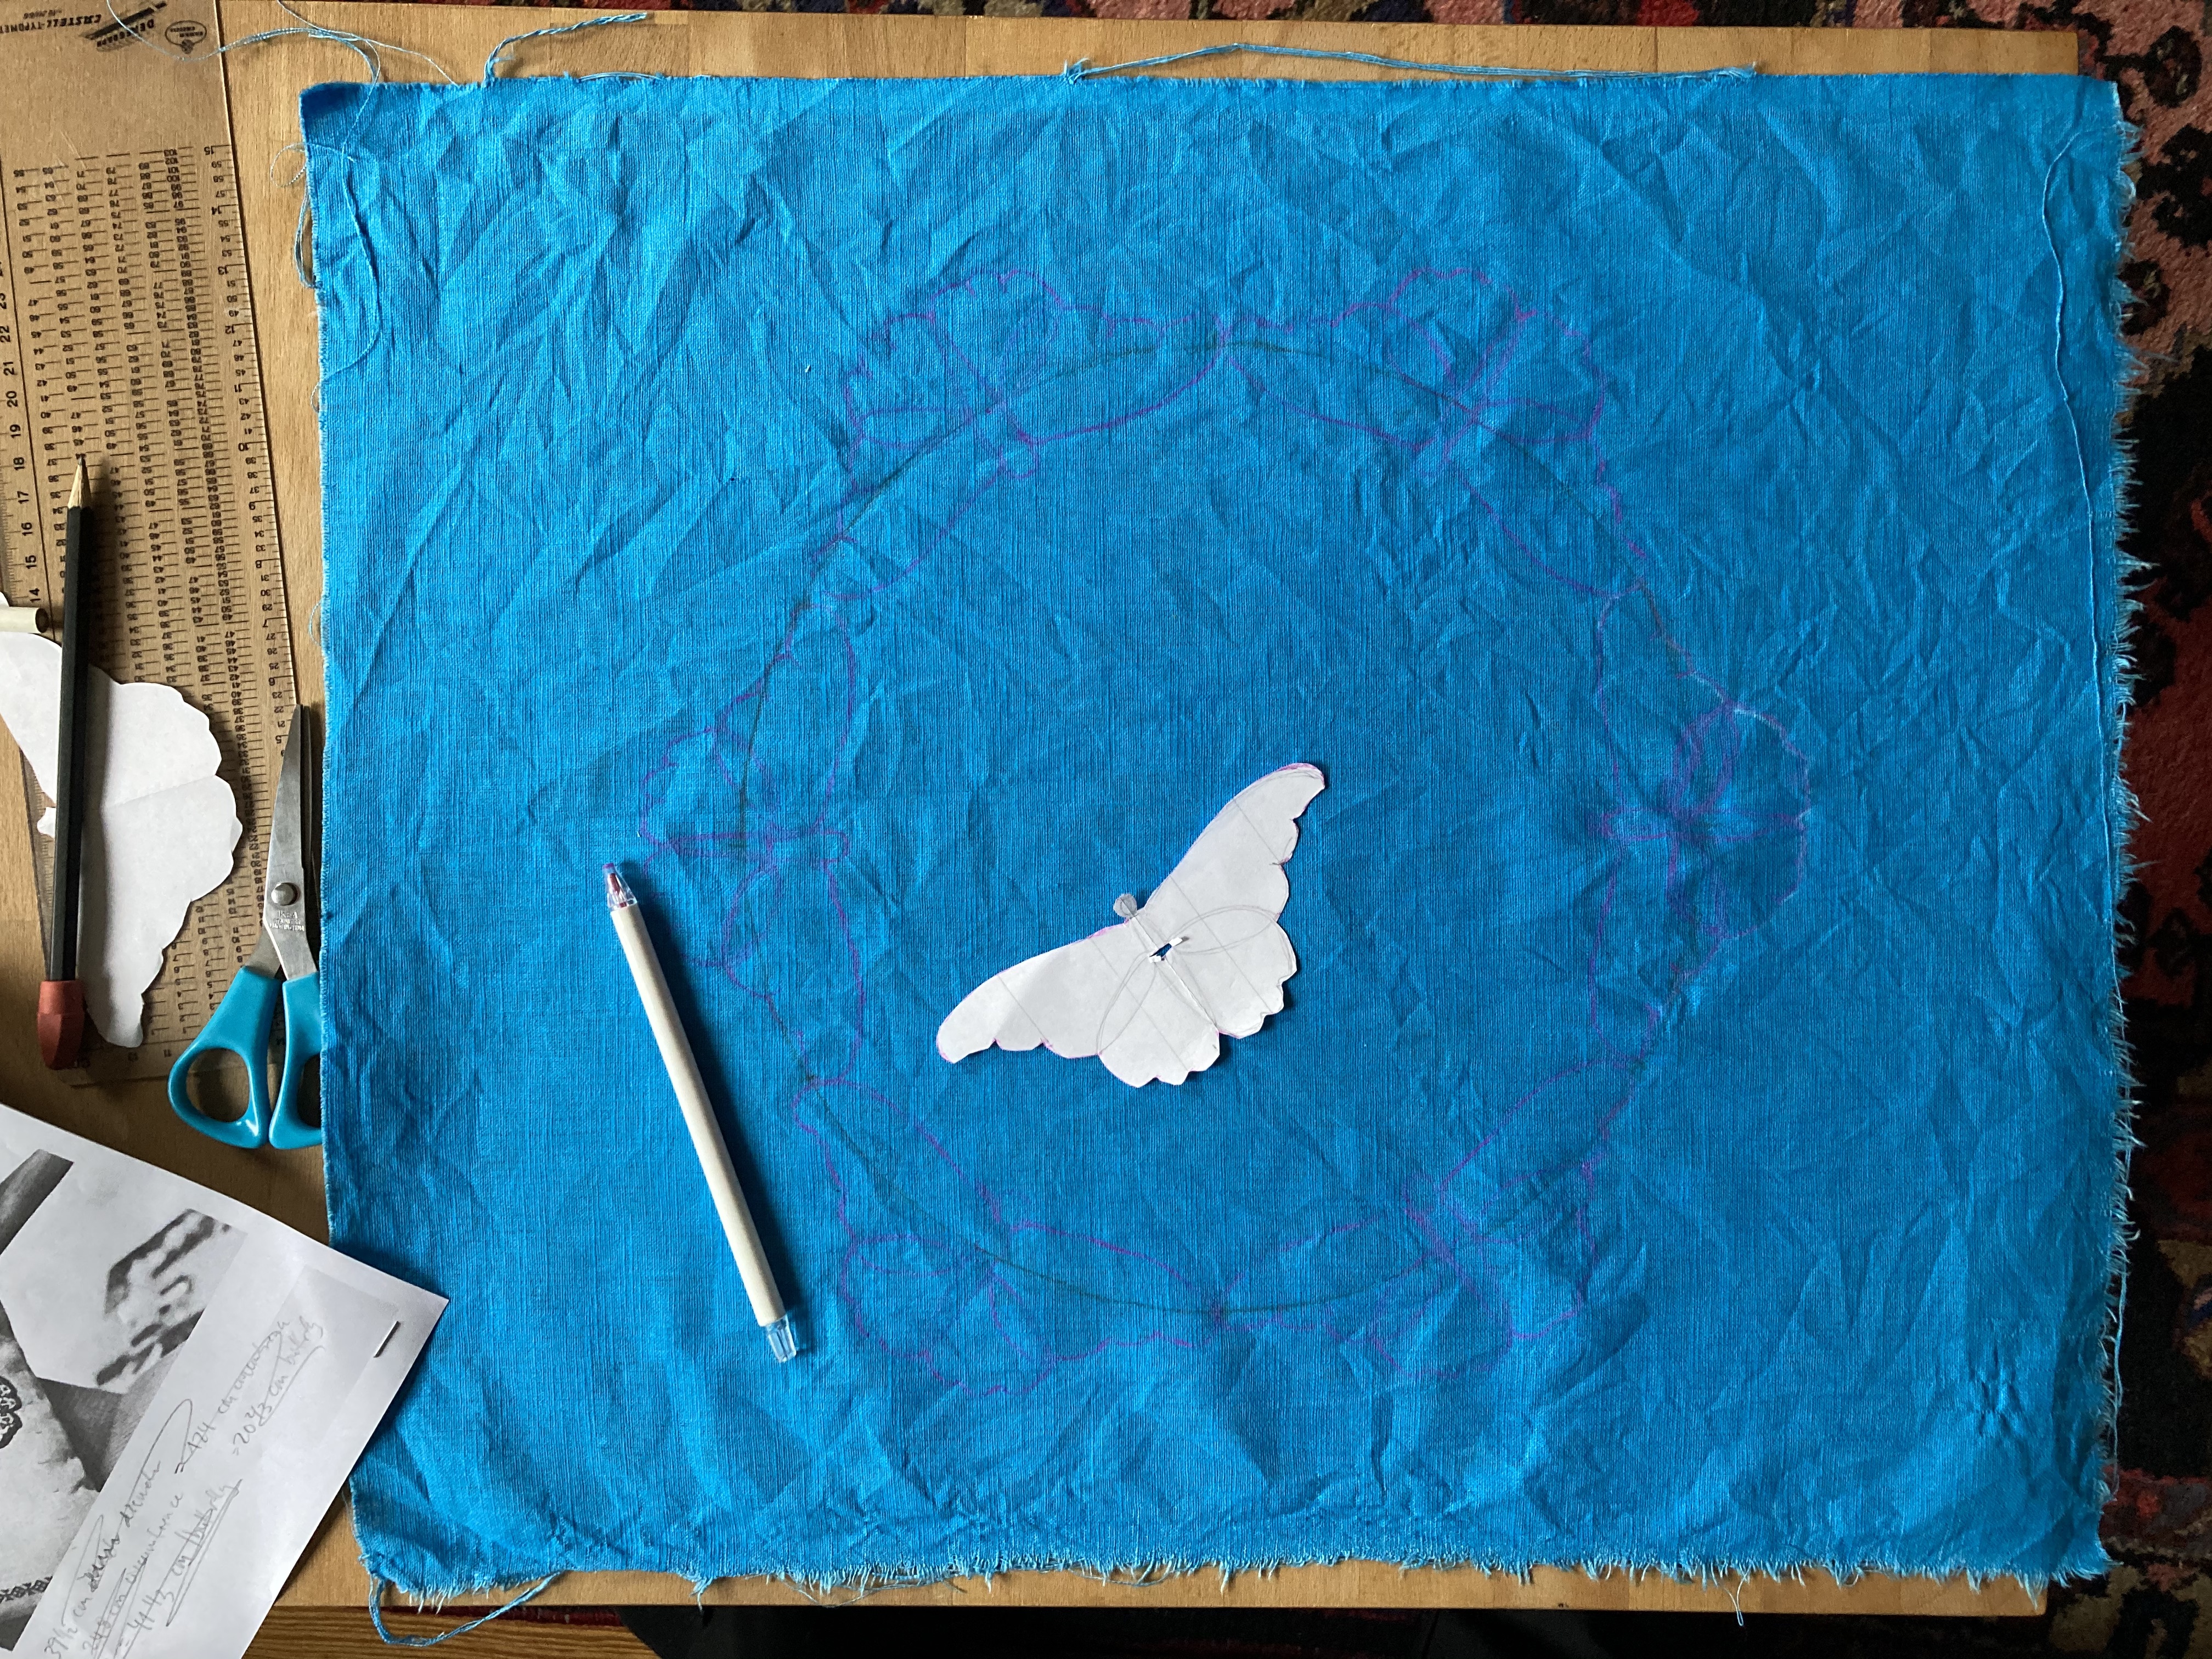
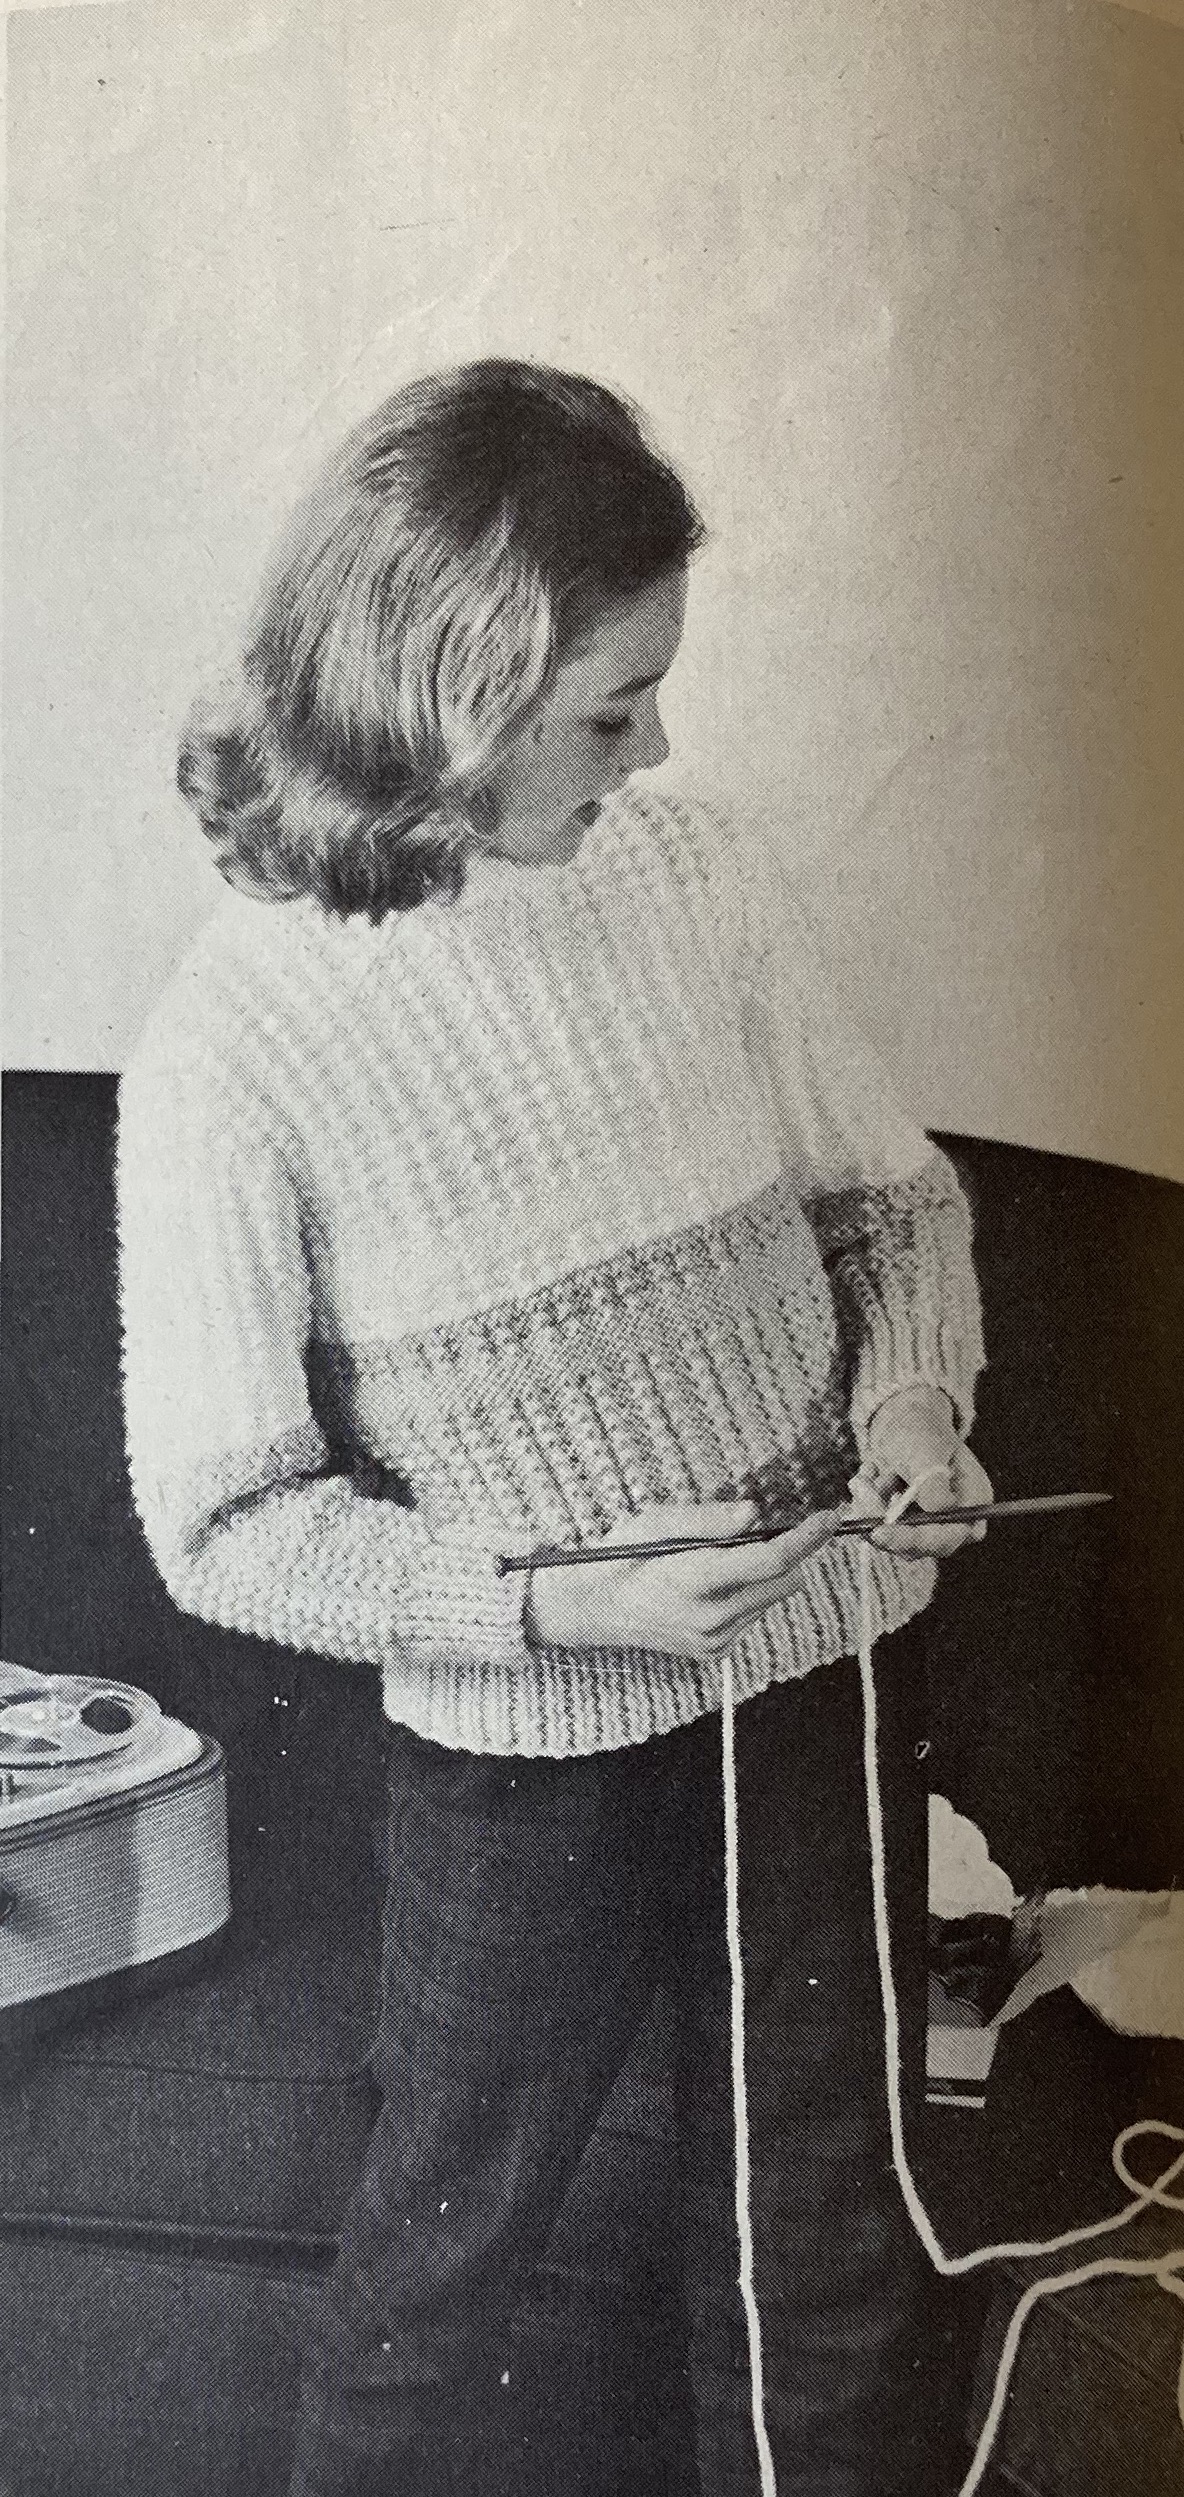
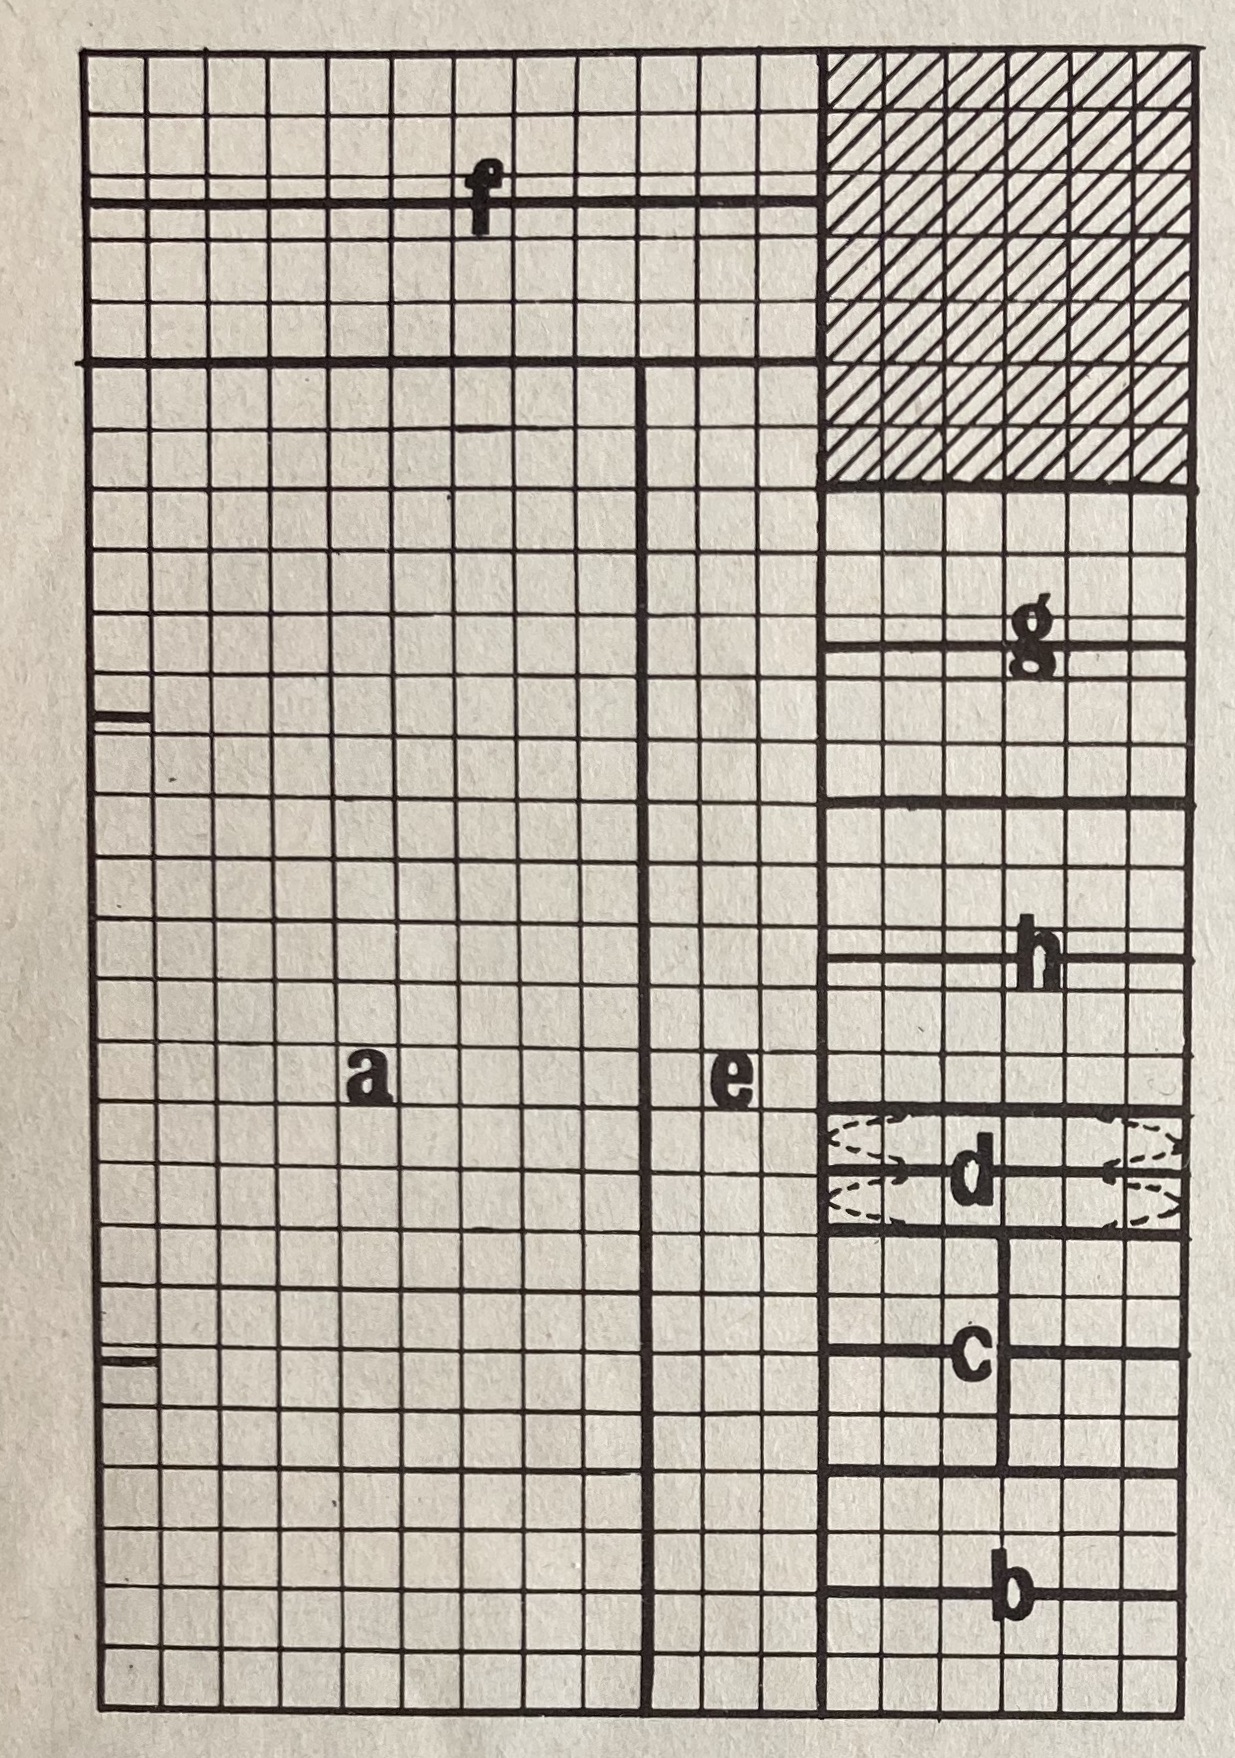
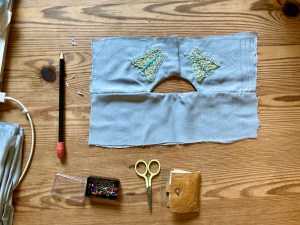
The very last project in the issue, tucked way back in the “Readers’ Pages”, is the one I will make. In fact, I have been waiting for this issue to come up specifically so that I can make it! It is a very simply constructed and embroidered “Apron-cum-Knitting-Bag” where the front panel and waist ties of the apron fold into the bag part along with your knitting. Pull the drawstrings closed and carry the bag around, then when it’s time to knit you can undo the strings, pull the apron part out of the bag and tie it around your waist, Presto, you are ready to knit in any situation, standing or sitting, and your ball of wool will not fall down and roll about the room. Stay tuned for a project that will actually get finished on time, as well as progress on those projects that didn’t.