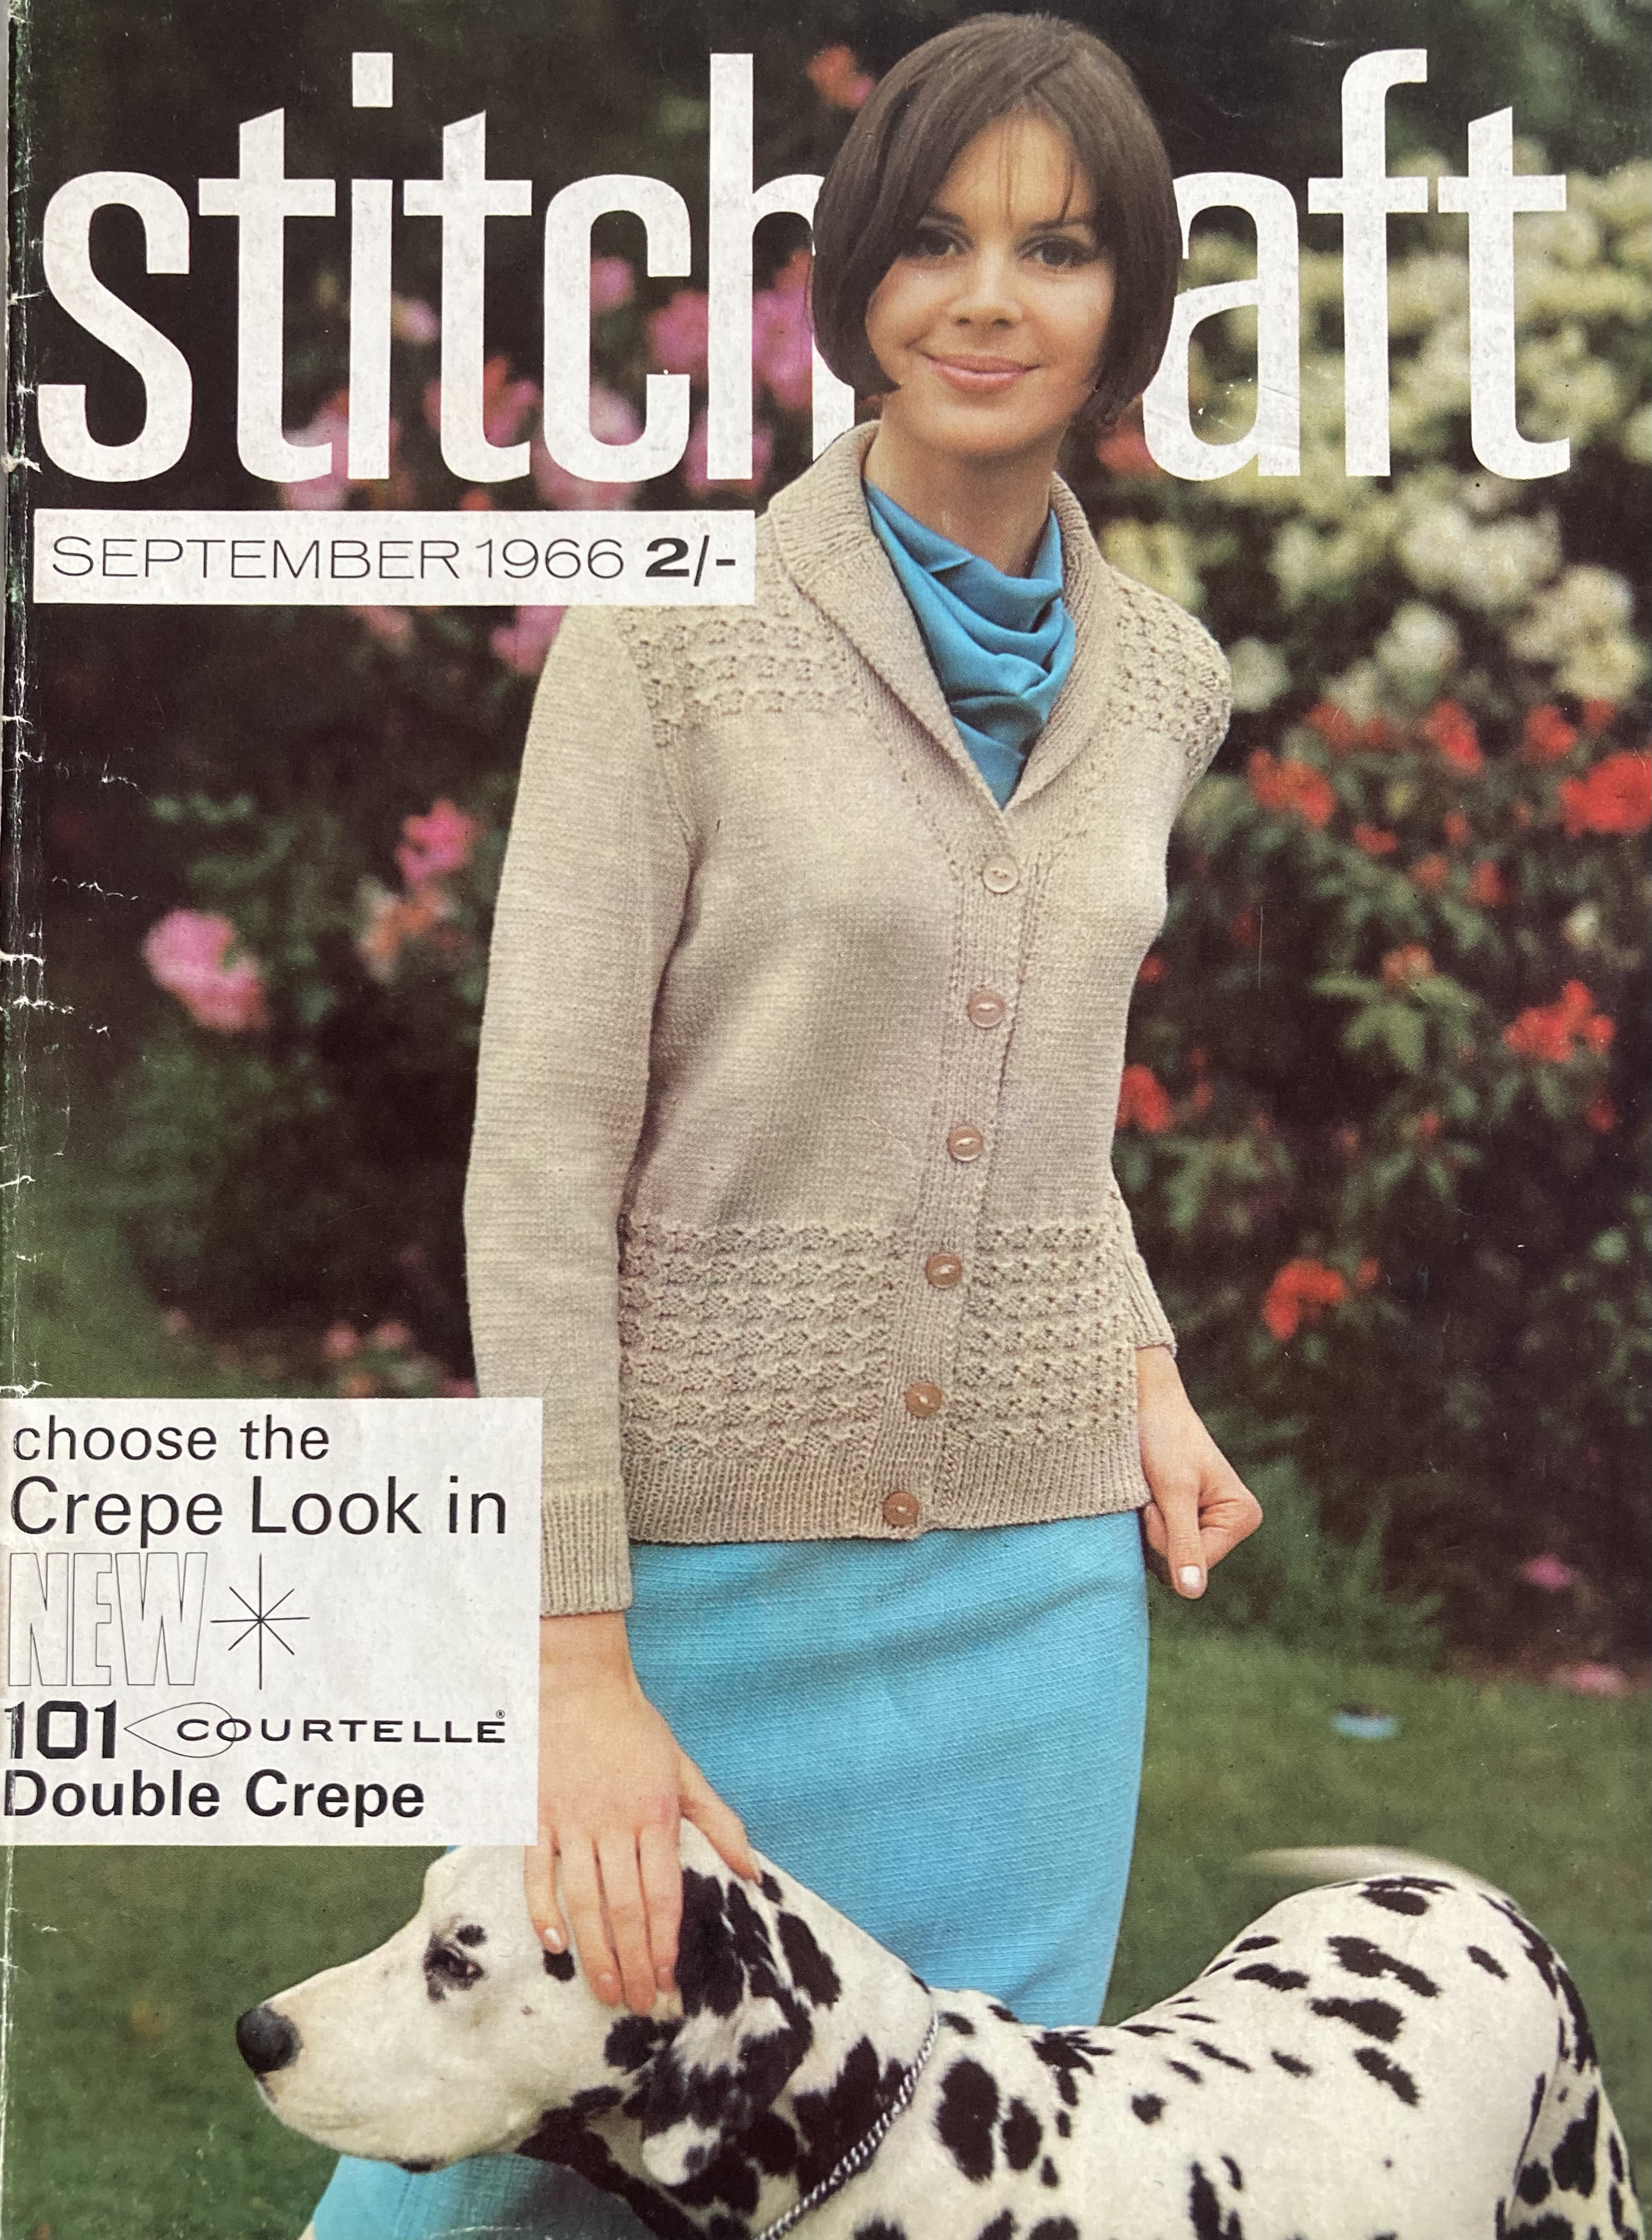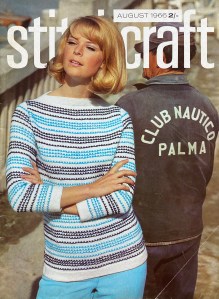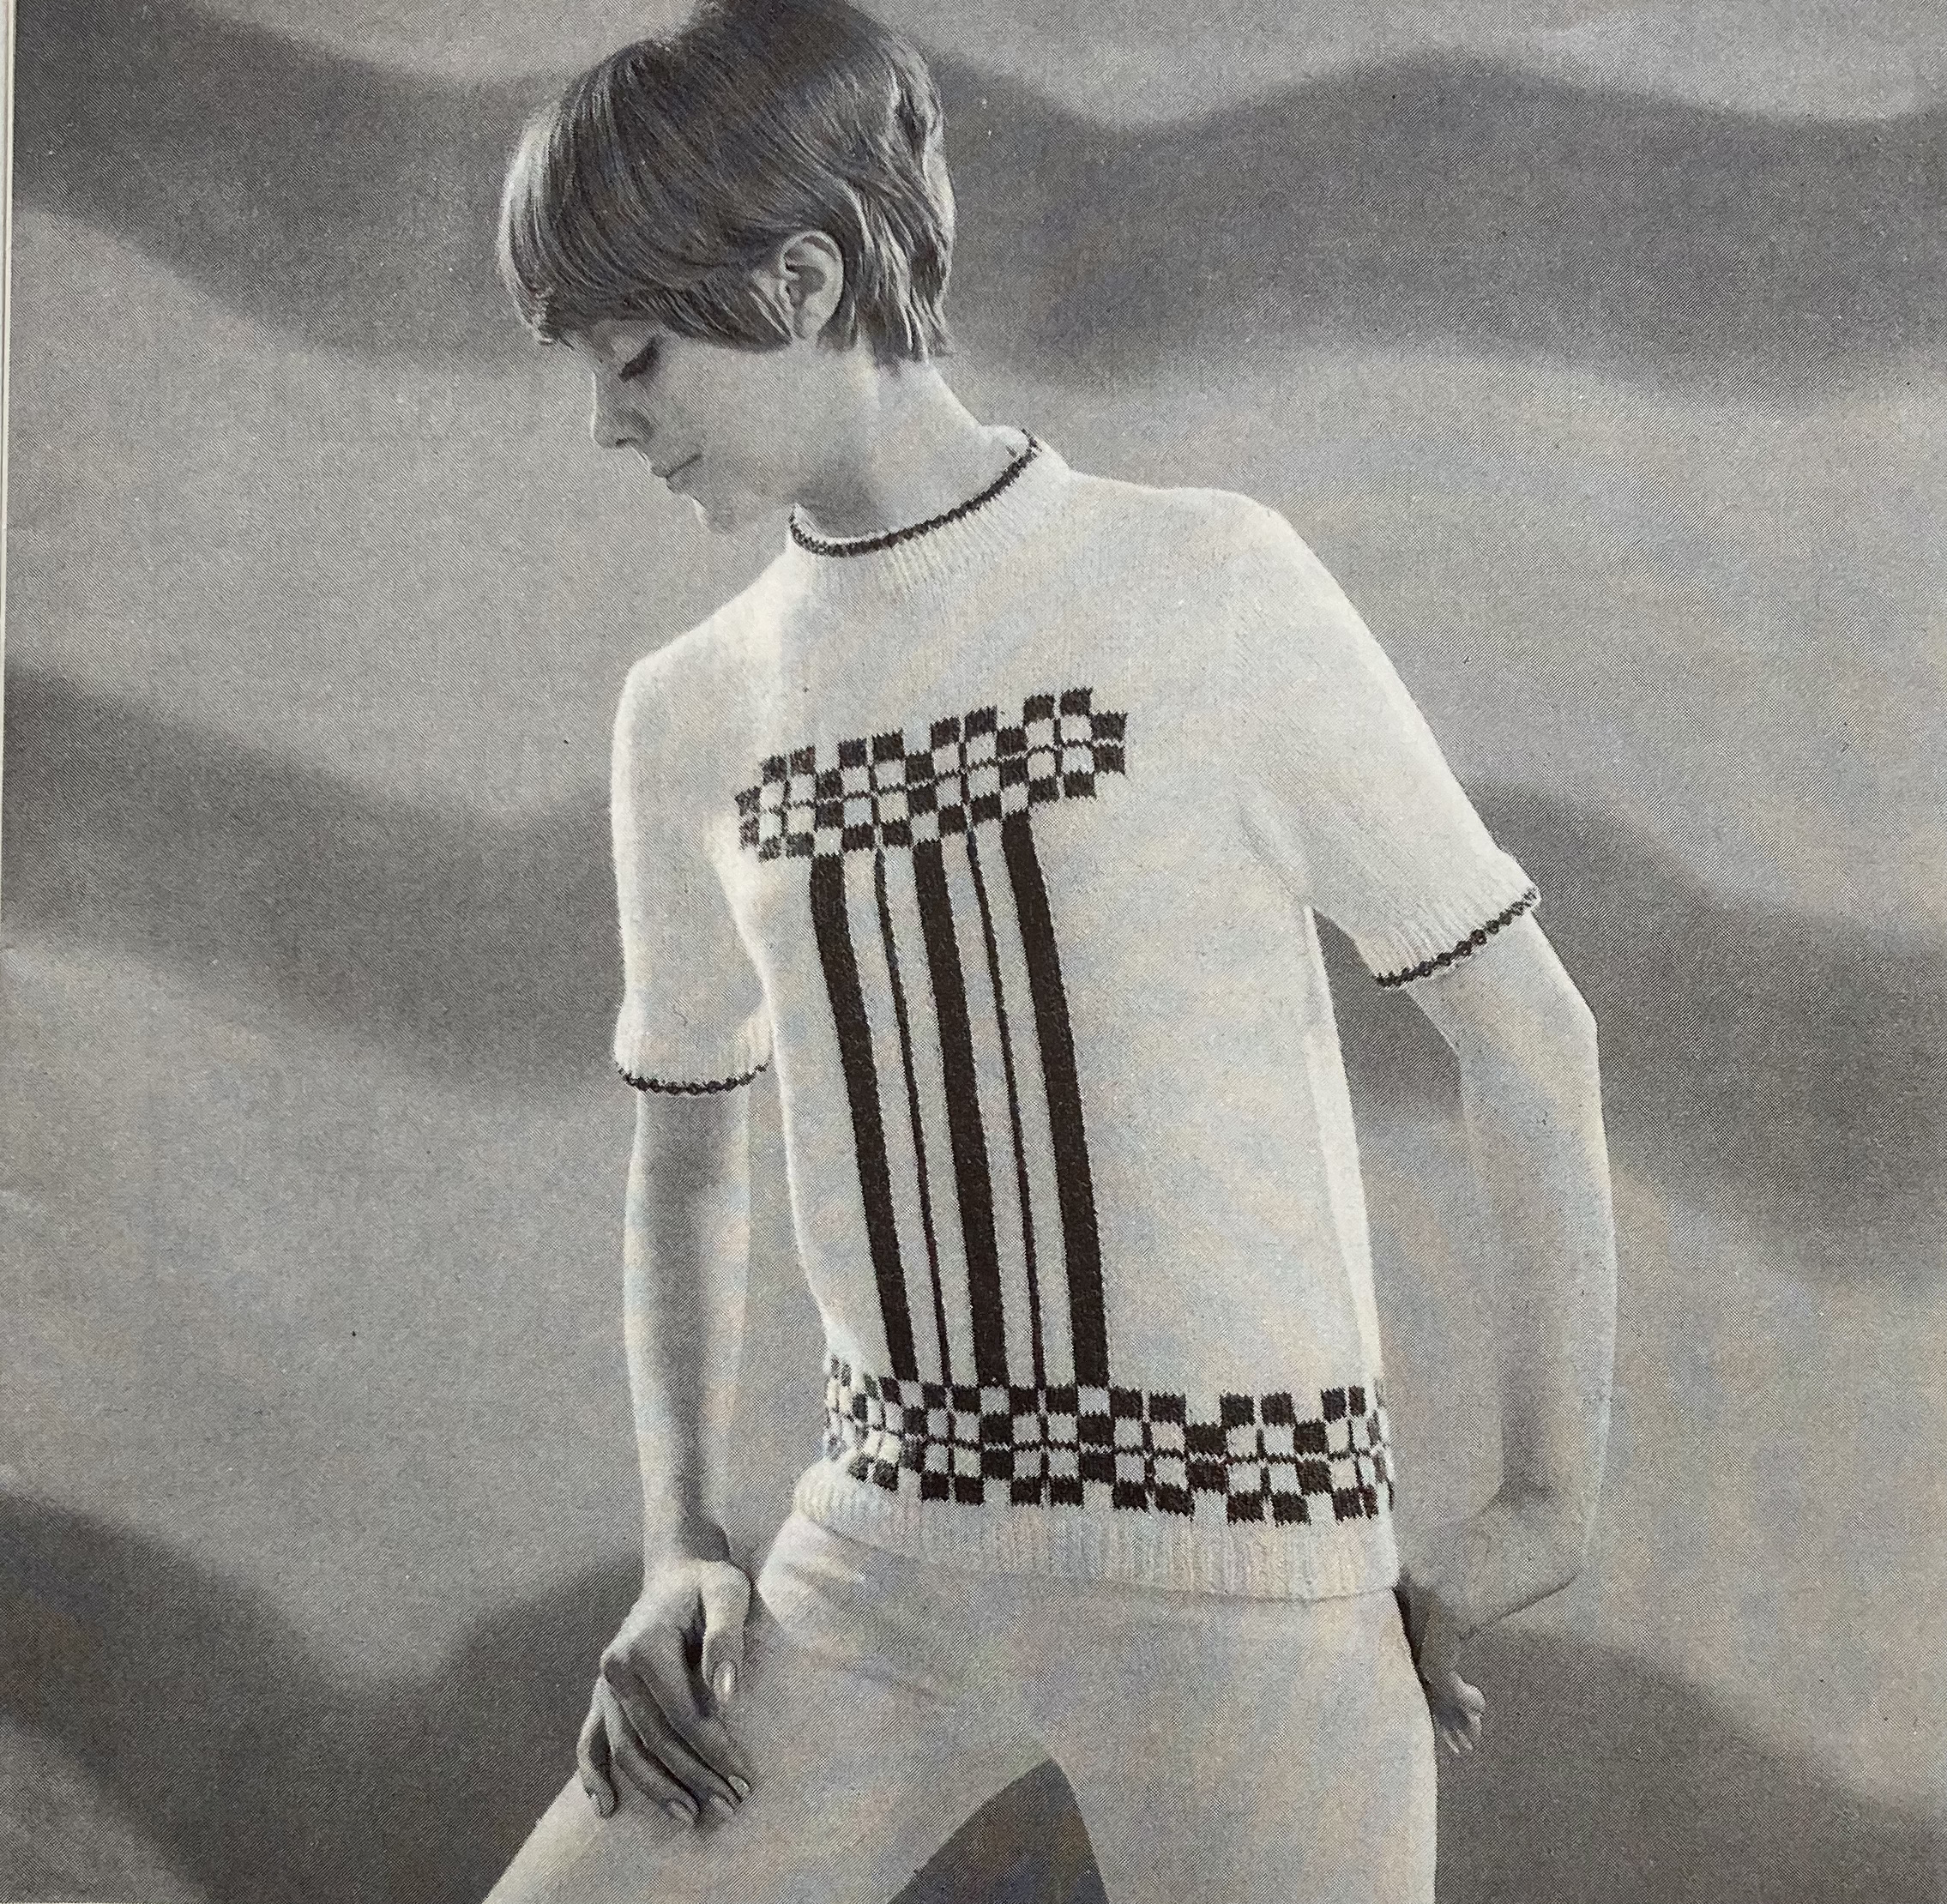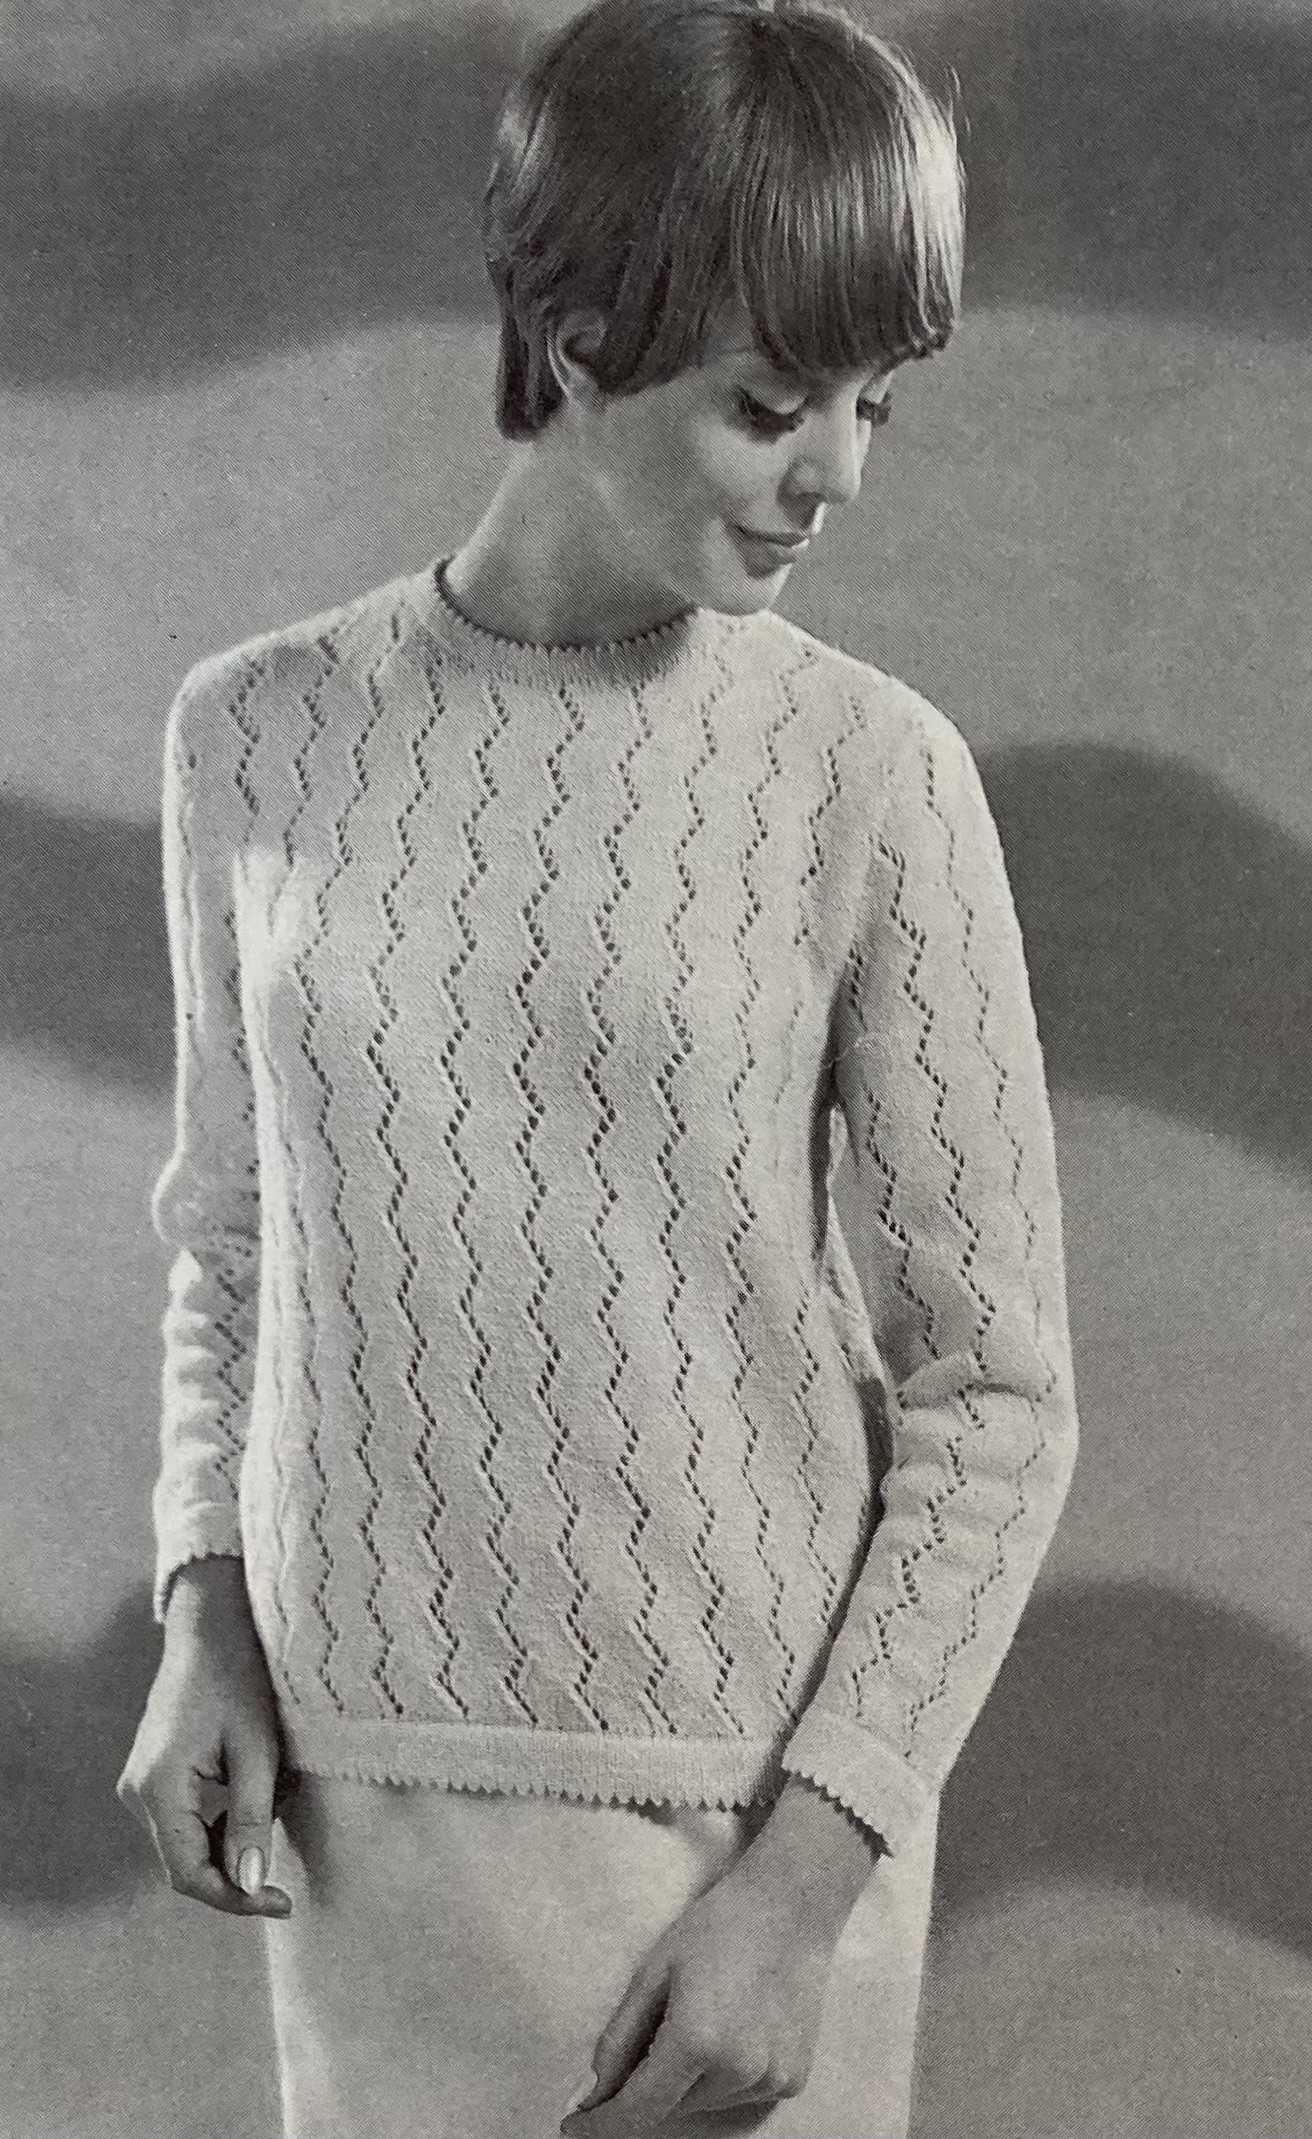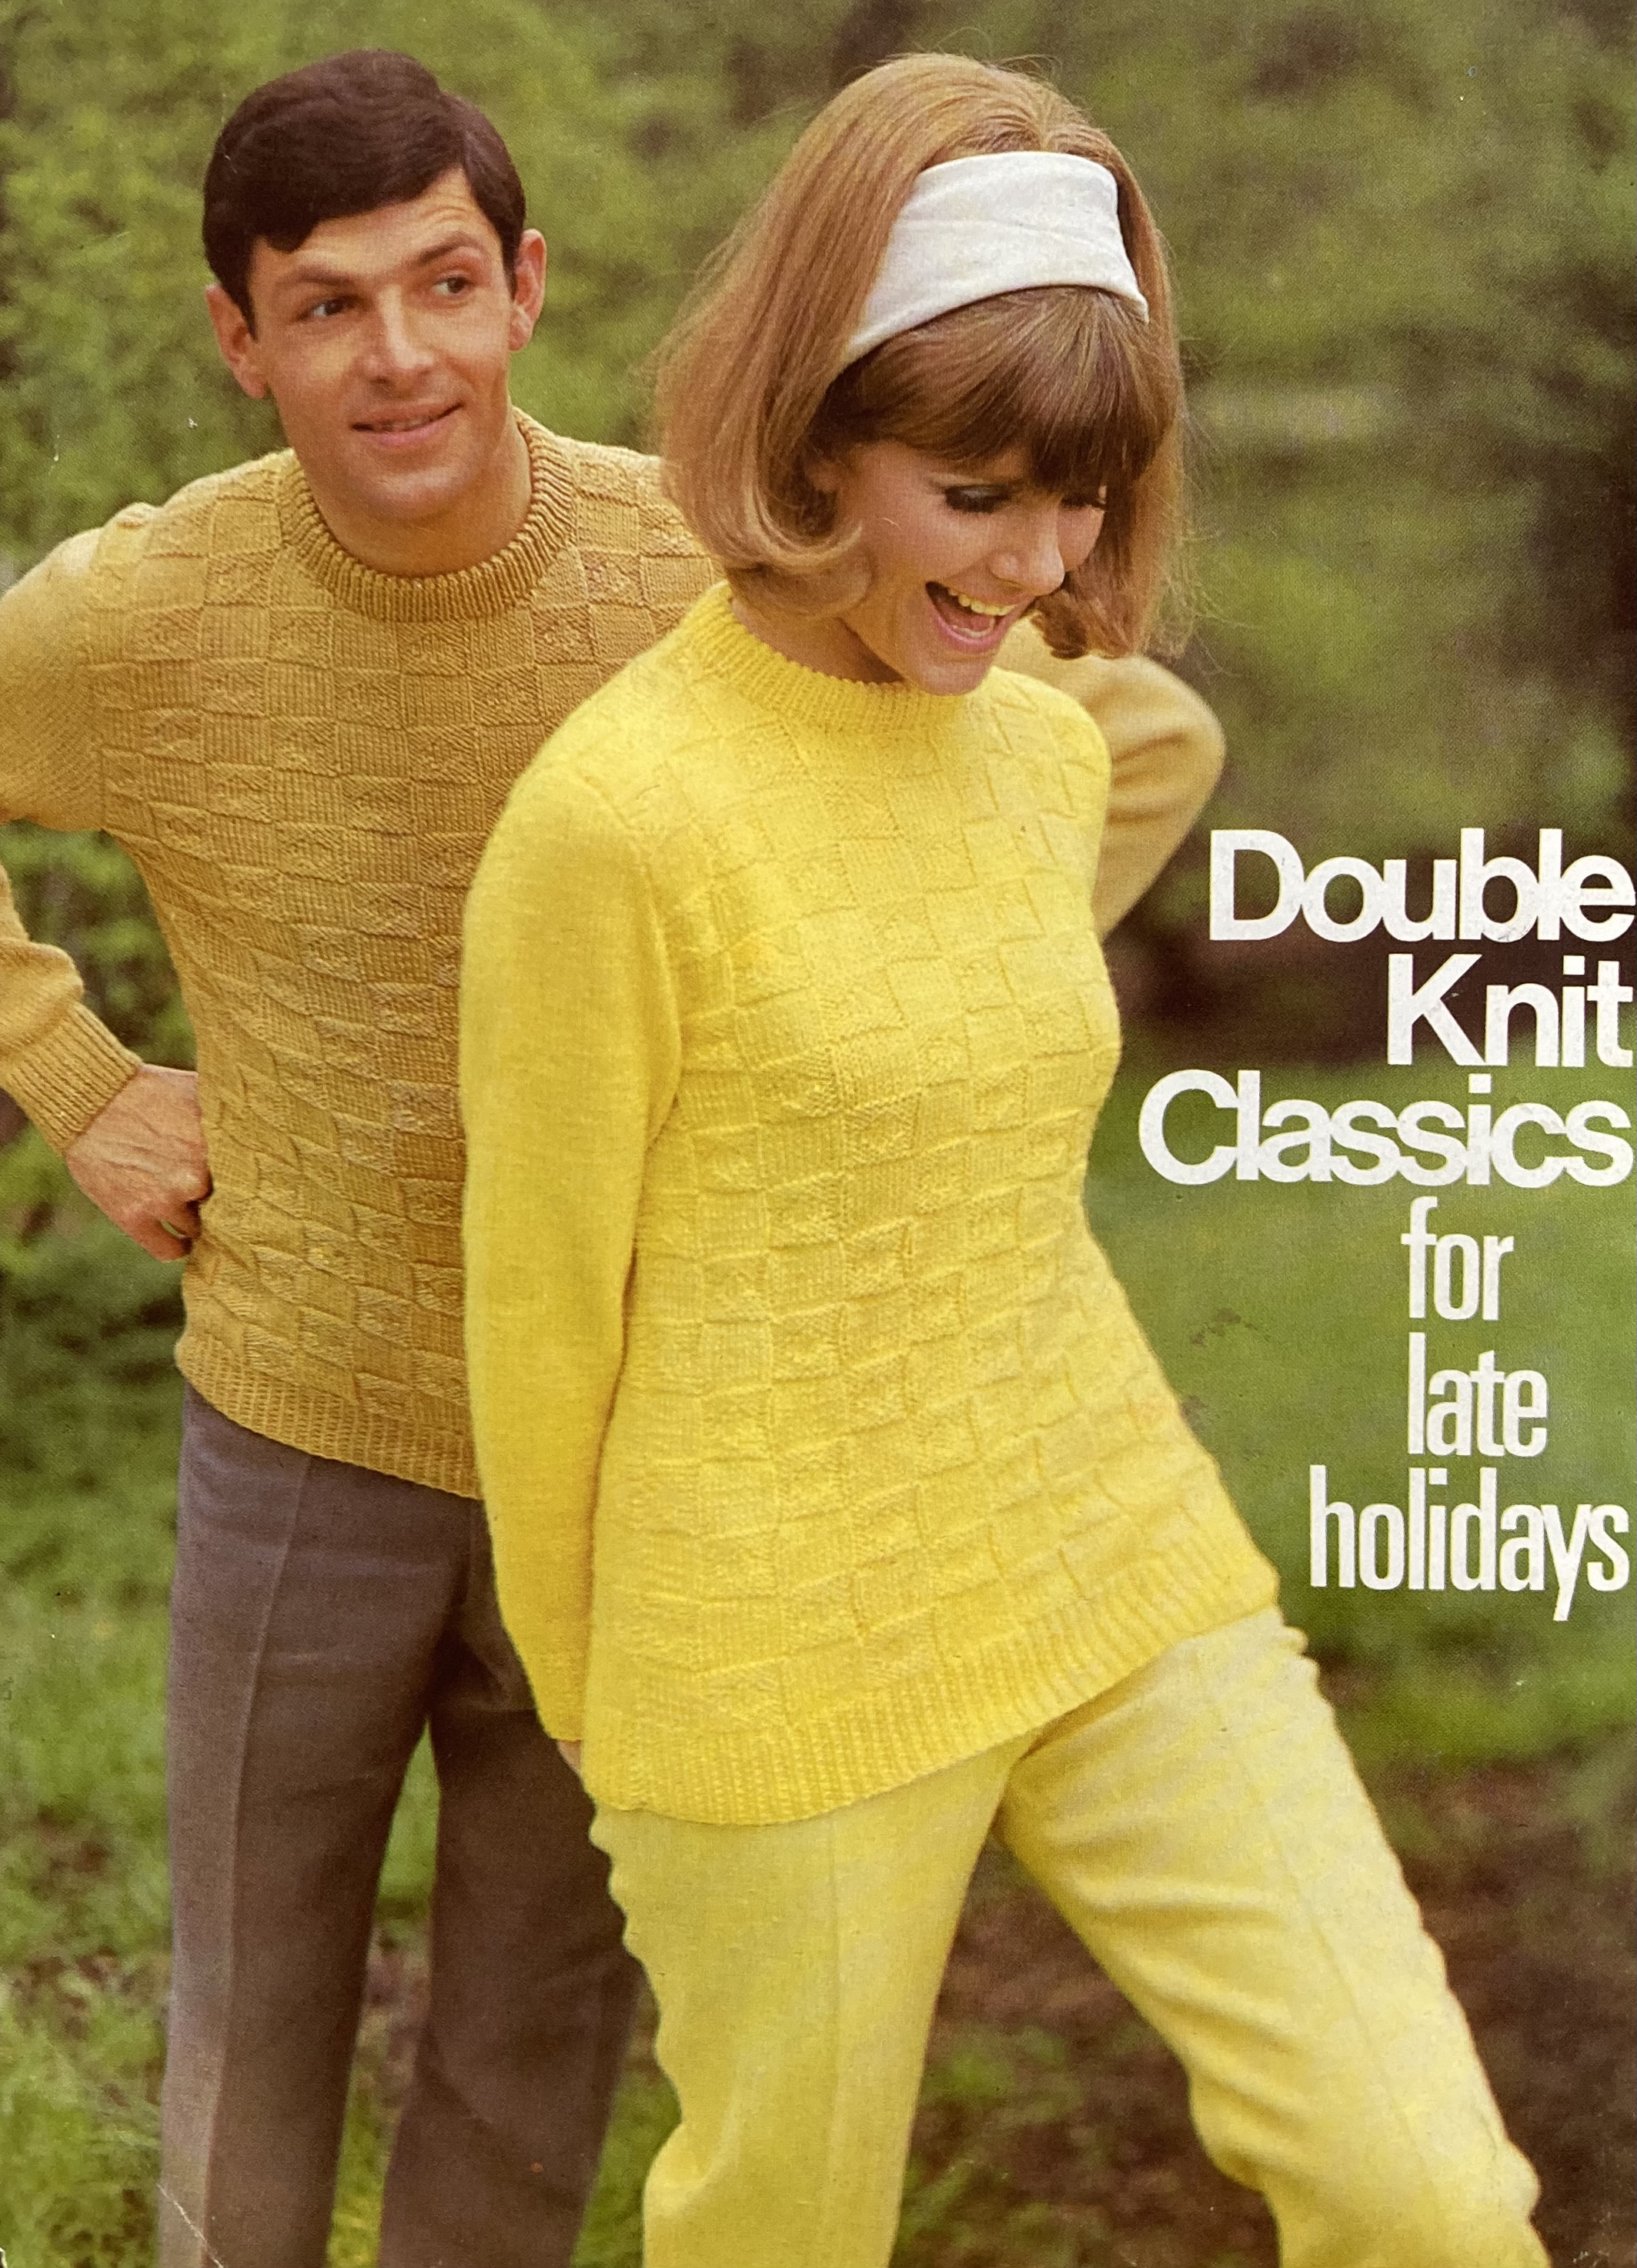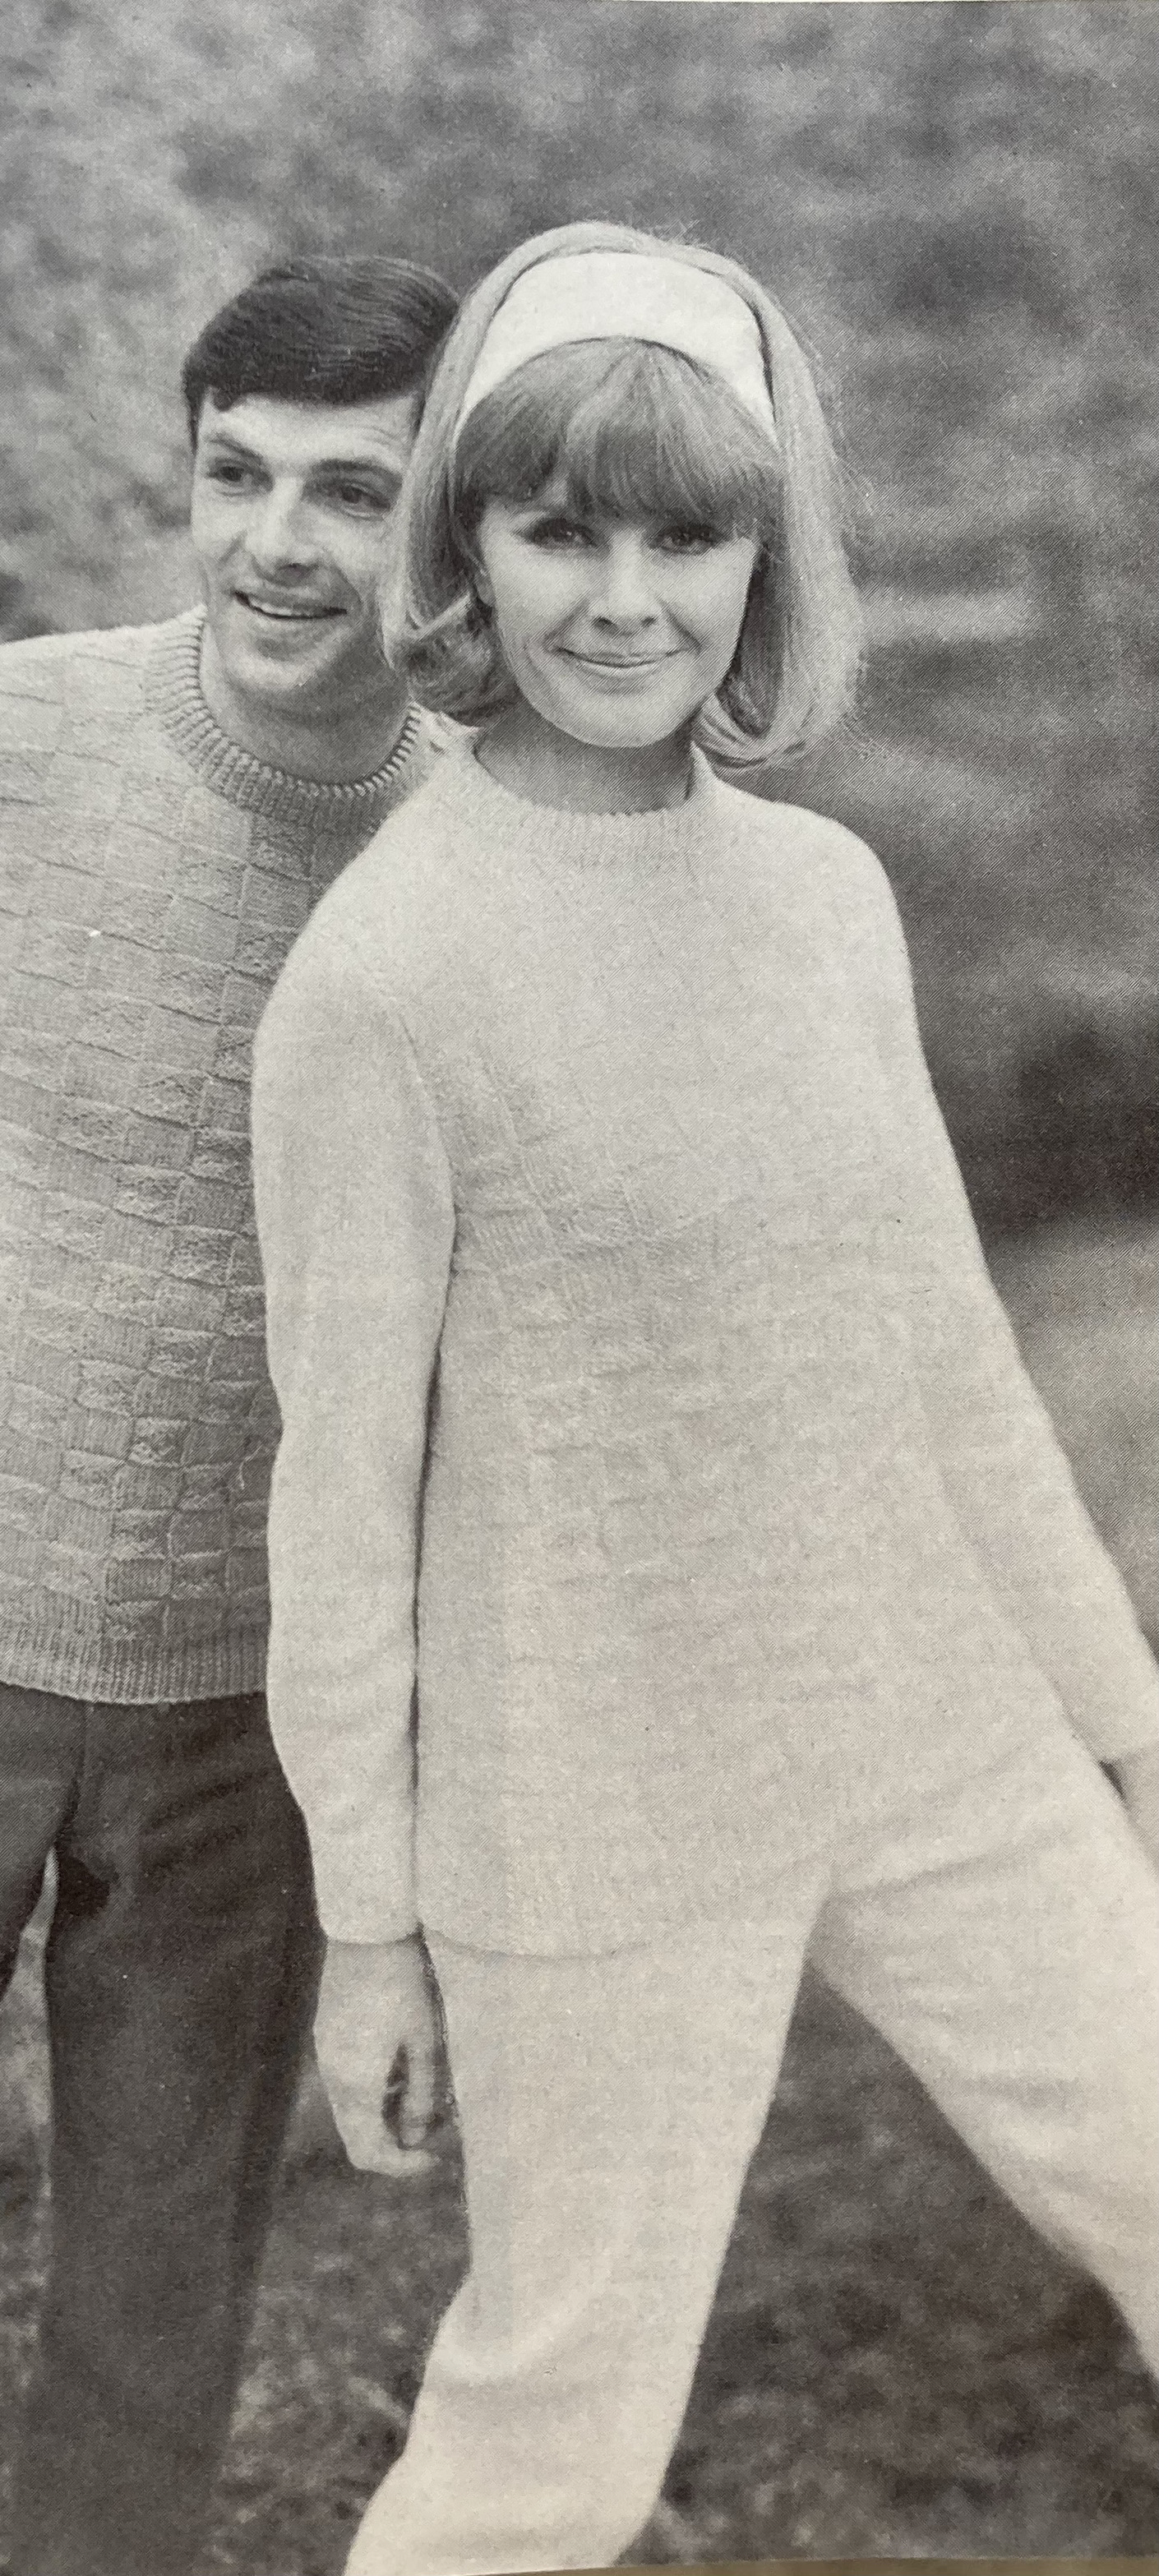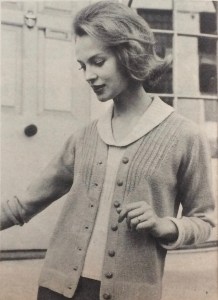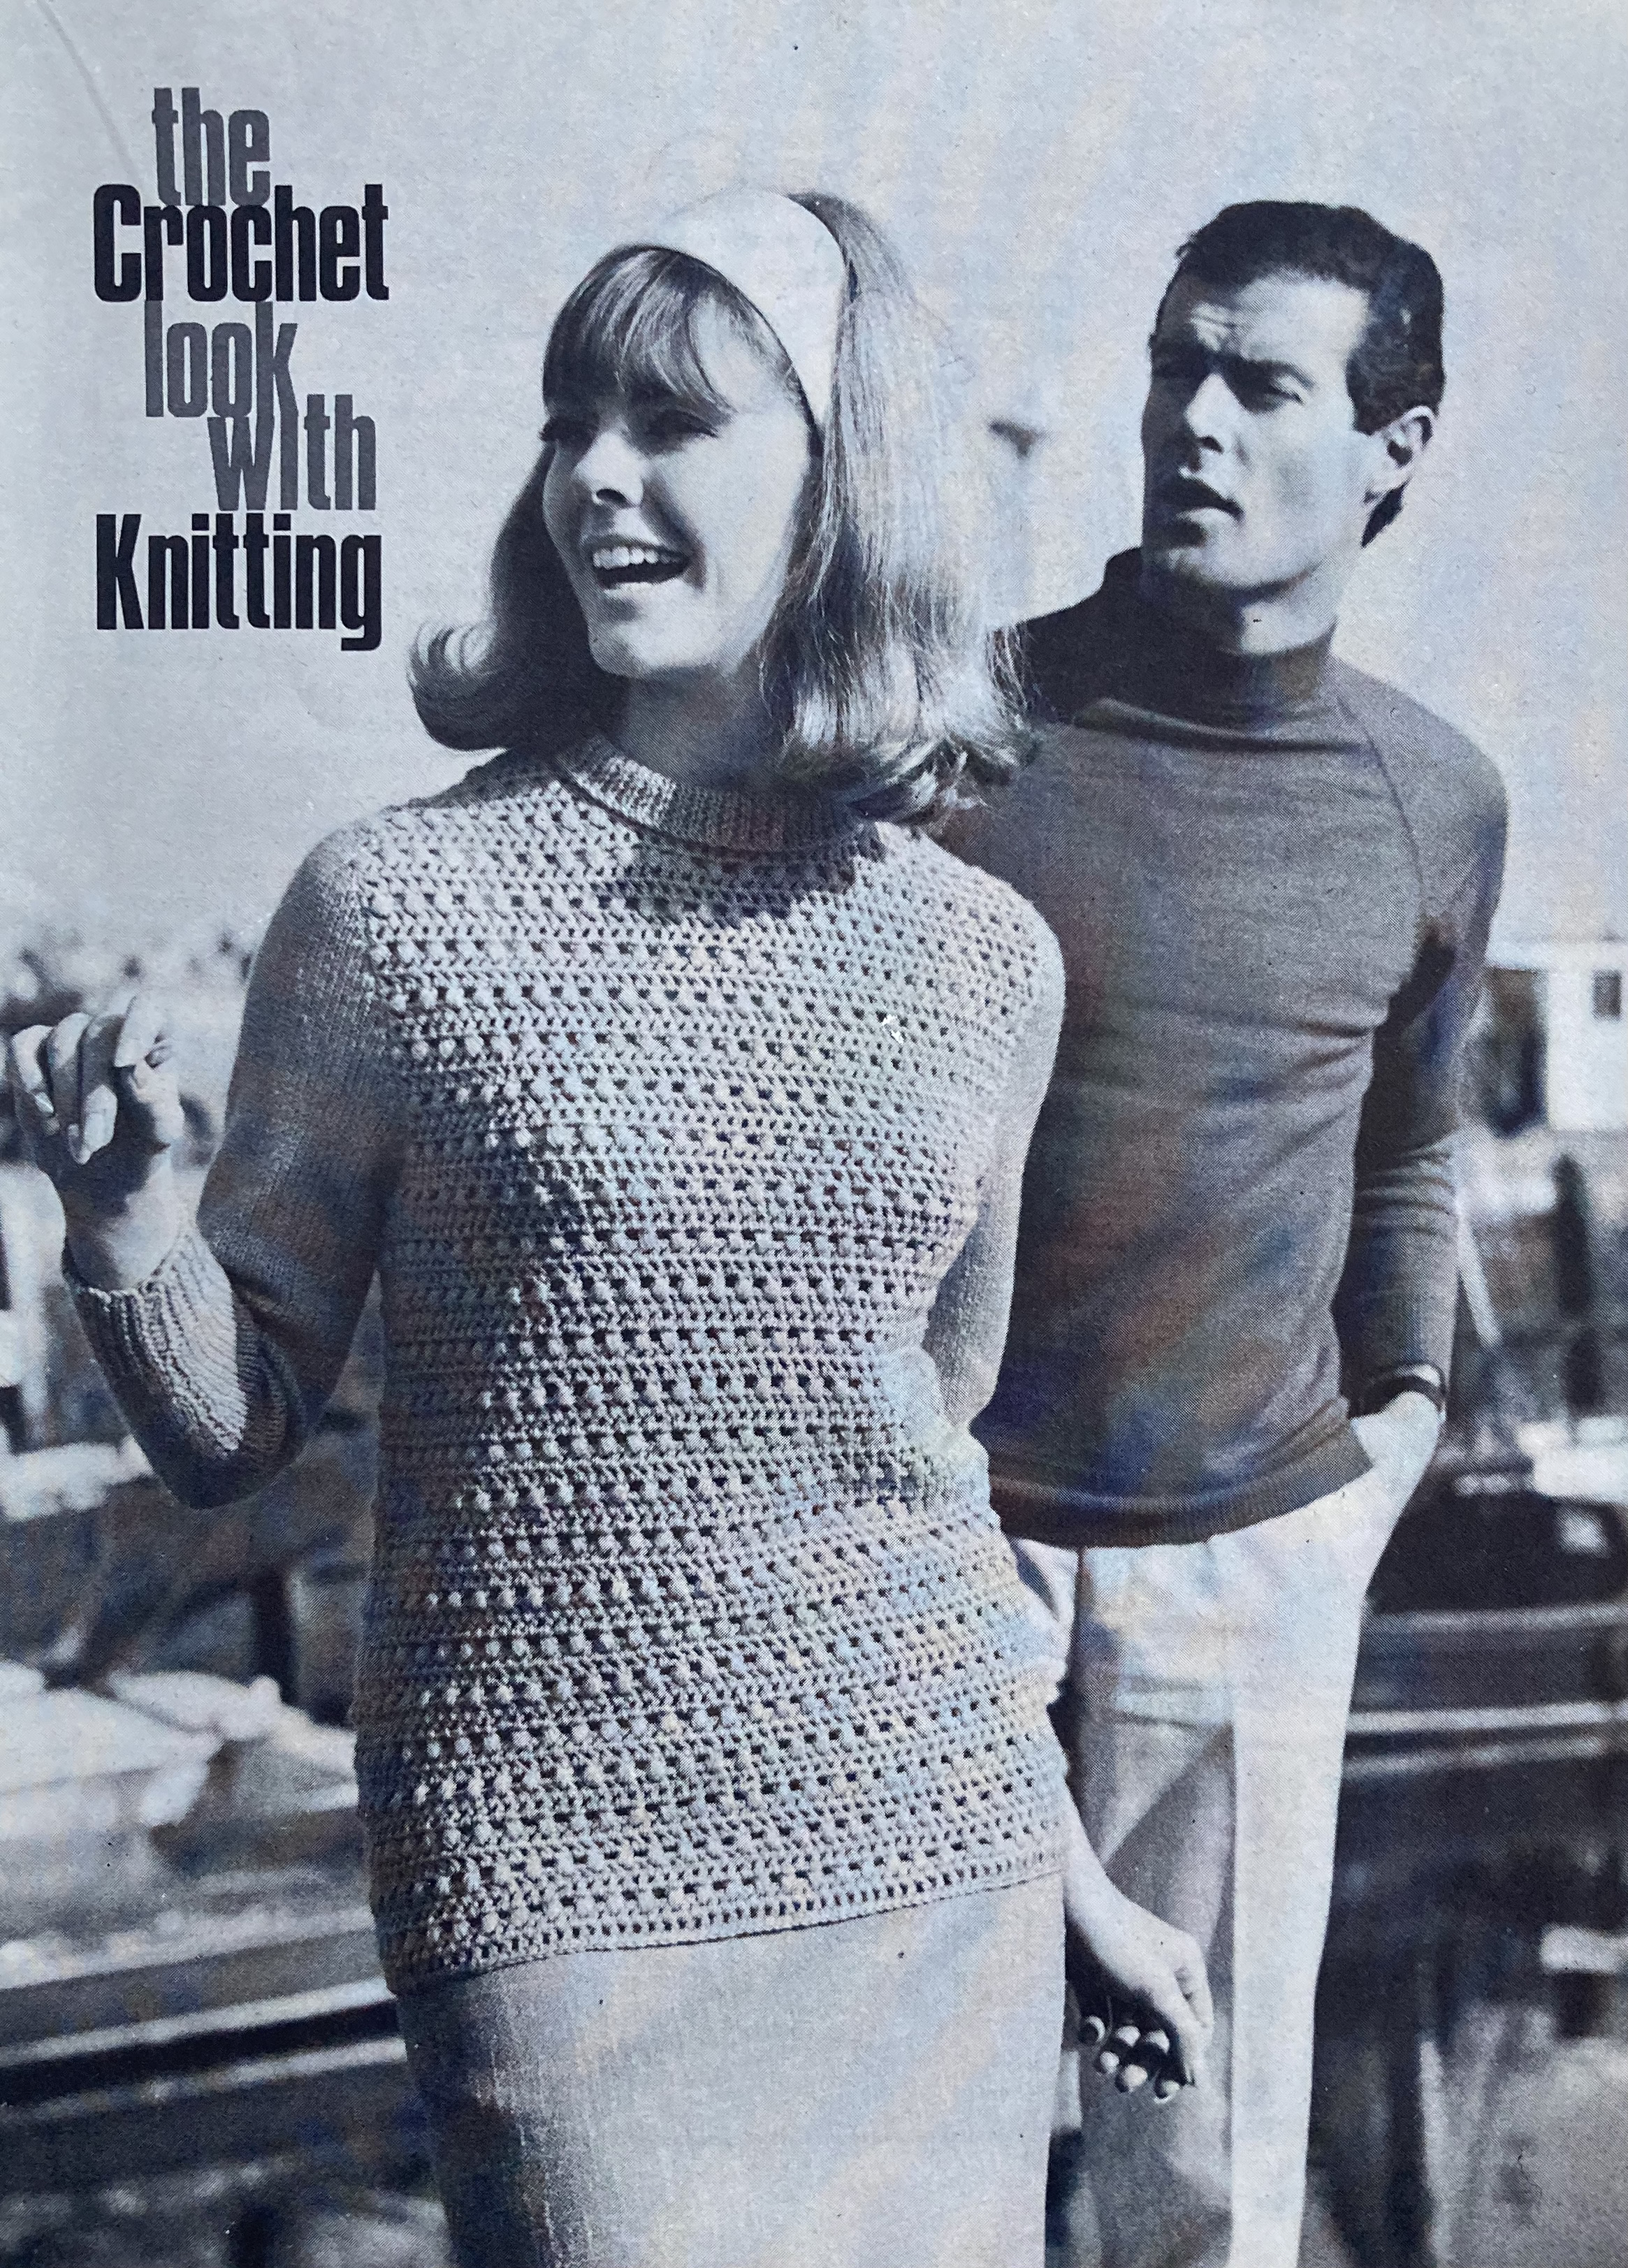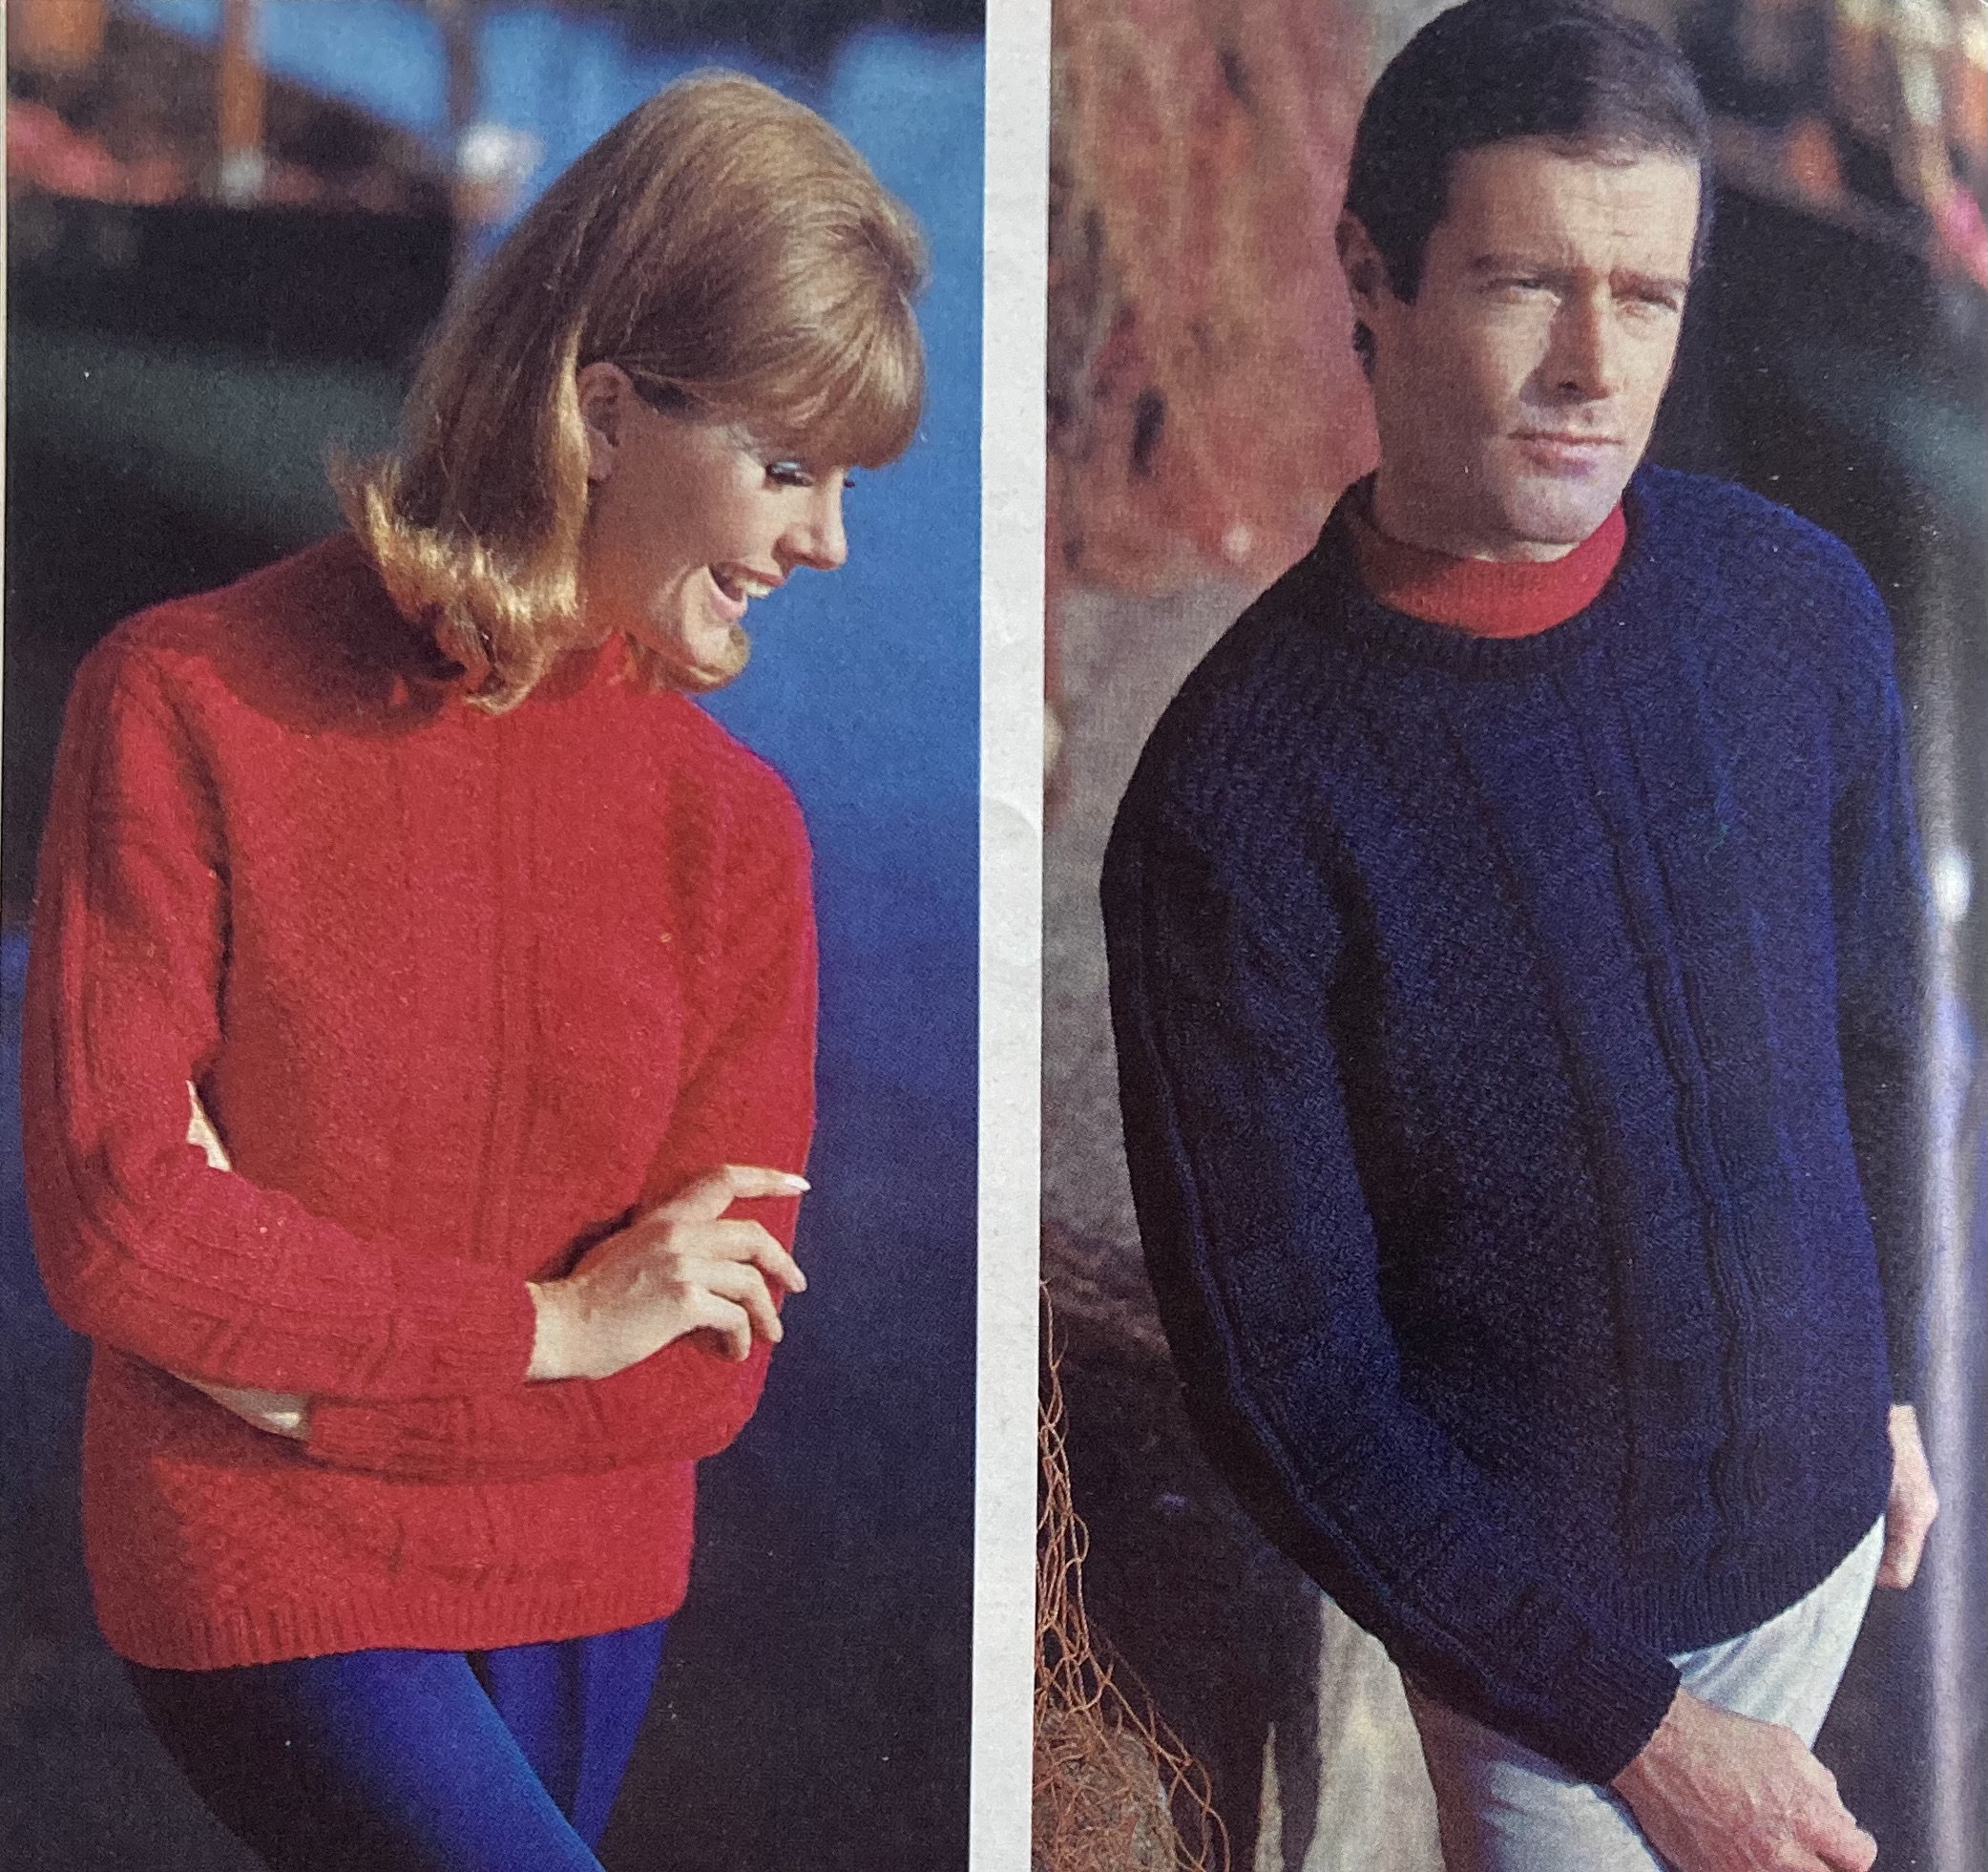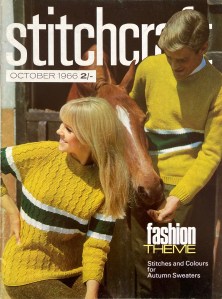
Autumn is here, and Stitchcraft‘s October 1966 issue celebrated it with warm, cosy sweaters in bold colours and textured stitches. Our cover pair sports not-quite-matching partnered pullovers in bright “Golden Willow” with a thick stripe in “Woodland Green.” The stripe on the man’s sweater is diagonal and made in intarsia. “Her” pullover has a broken-zigzag stitch pattern and the stripe running horizontally under the bust line and across the sleeve. Both are made in smooth Totem Double Crepe wool.
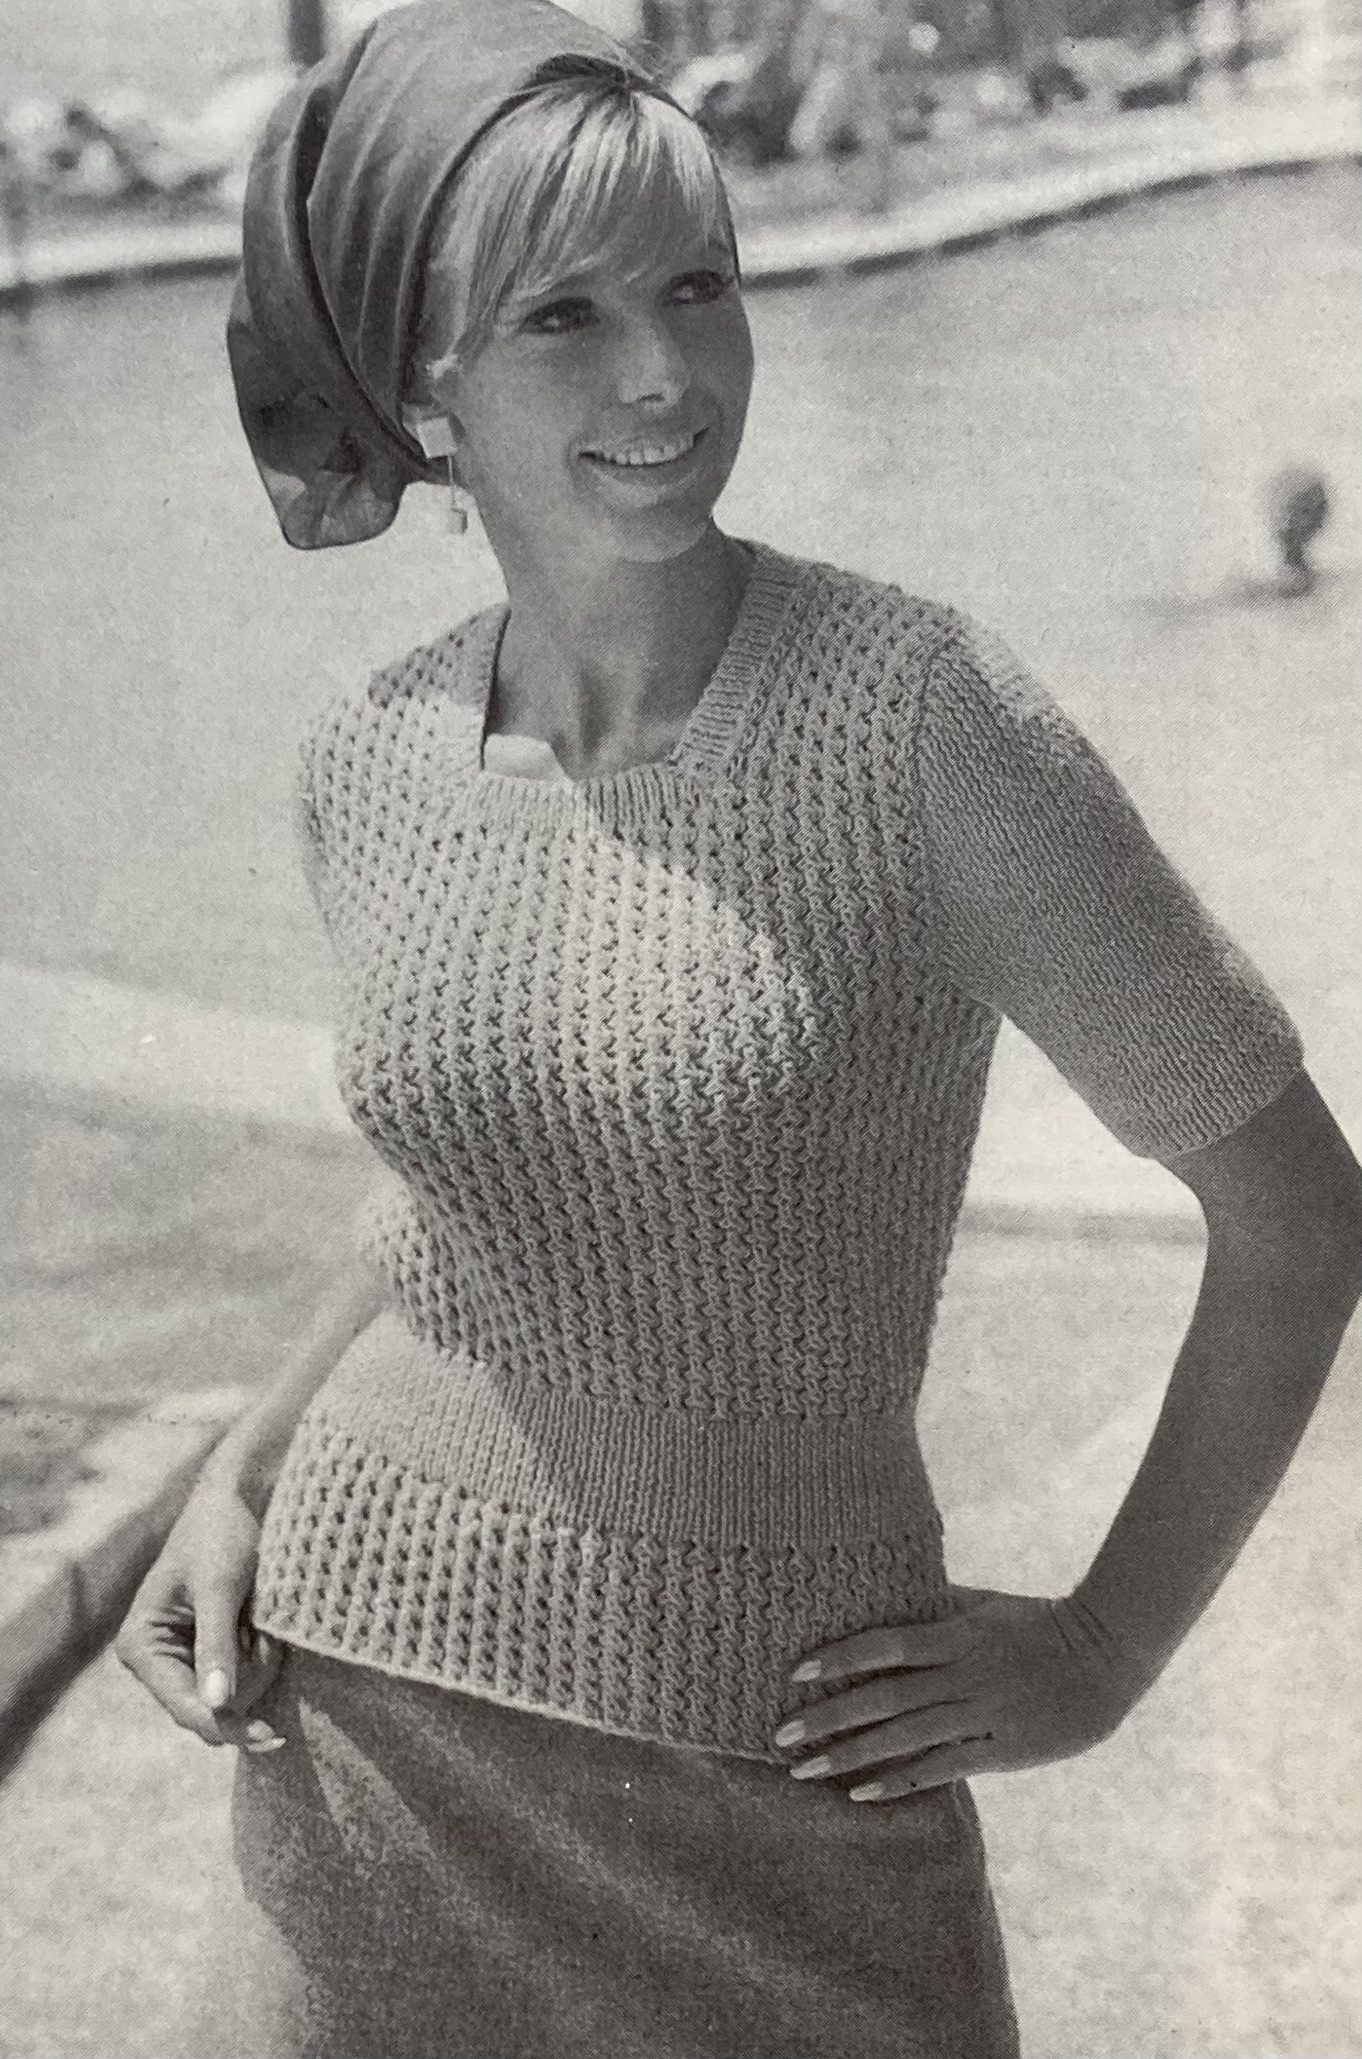
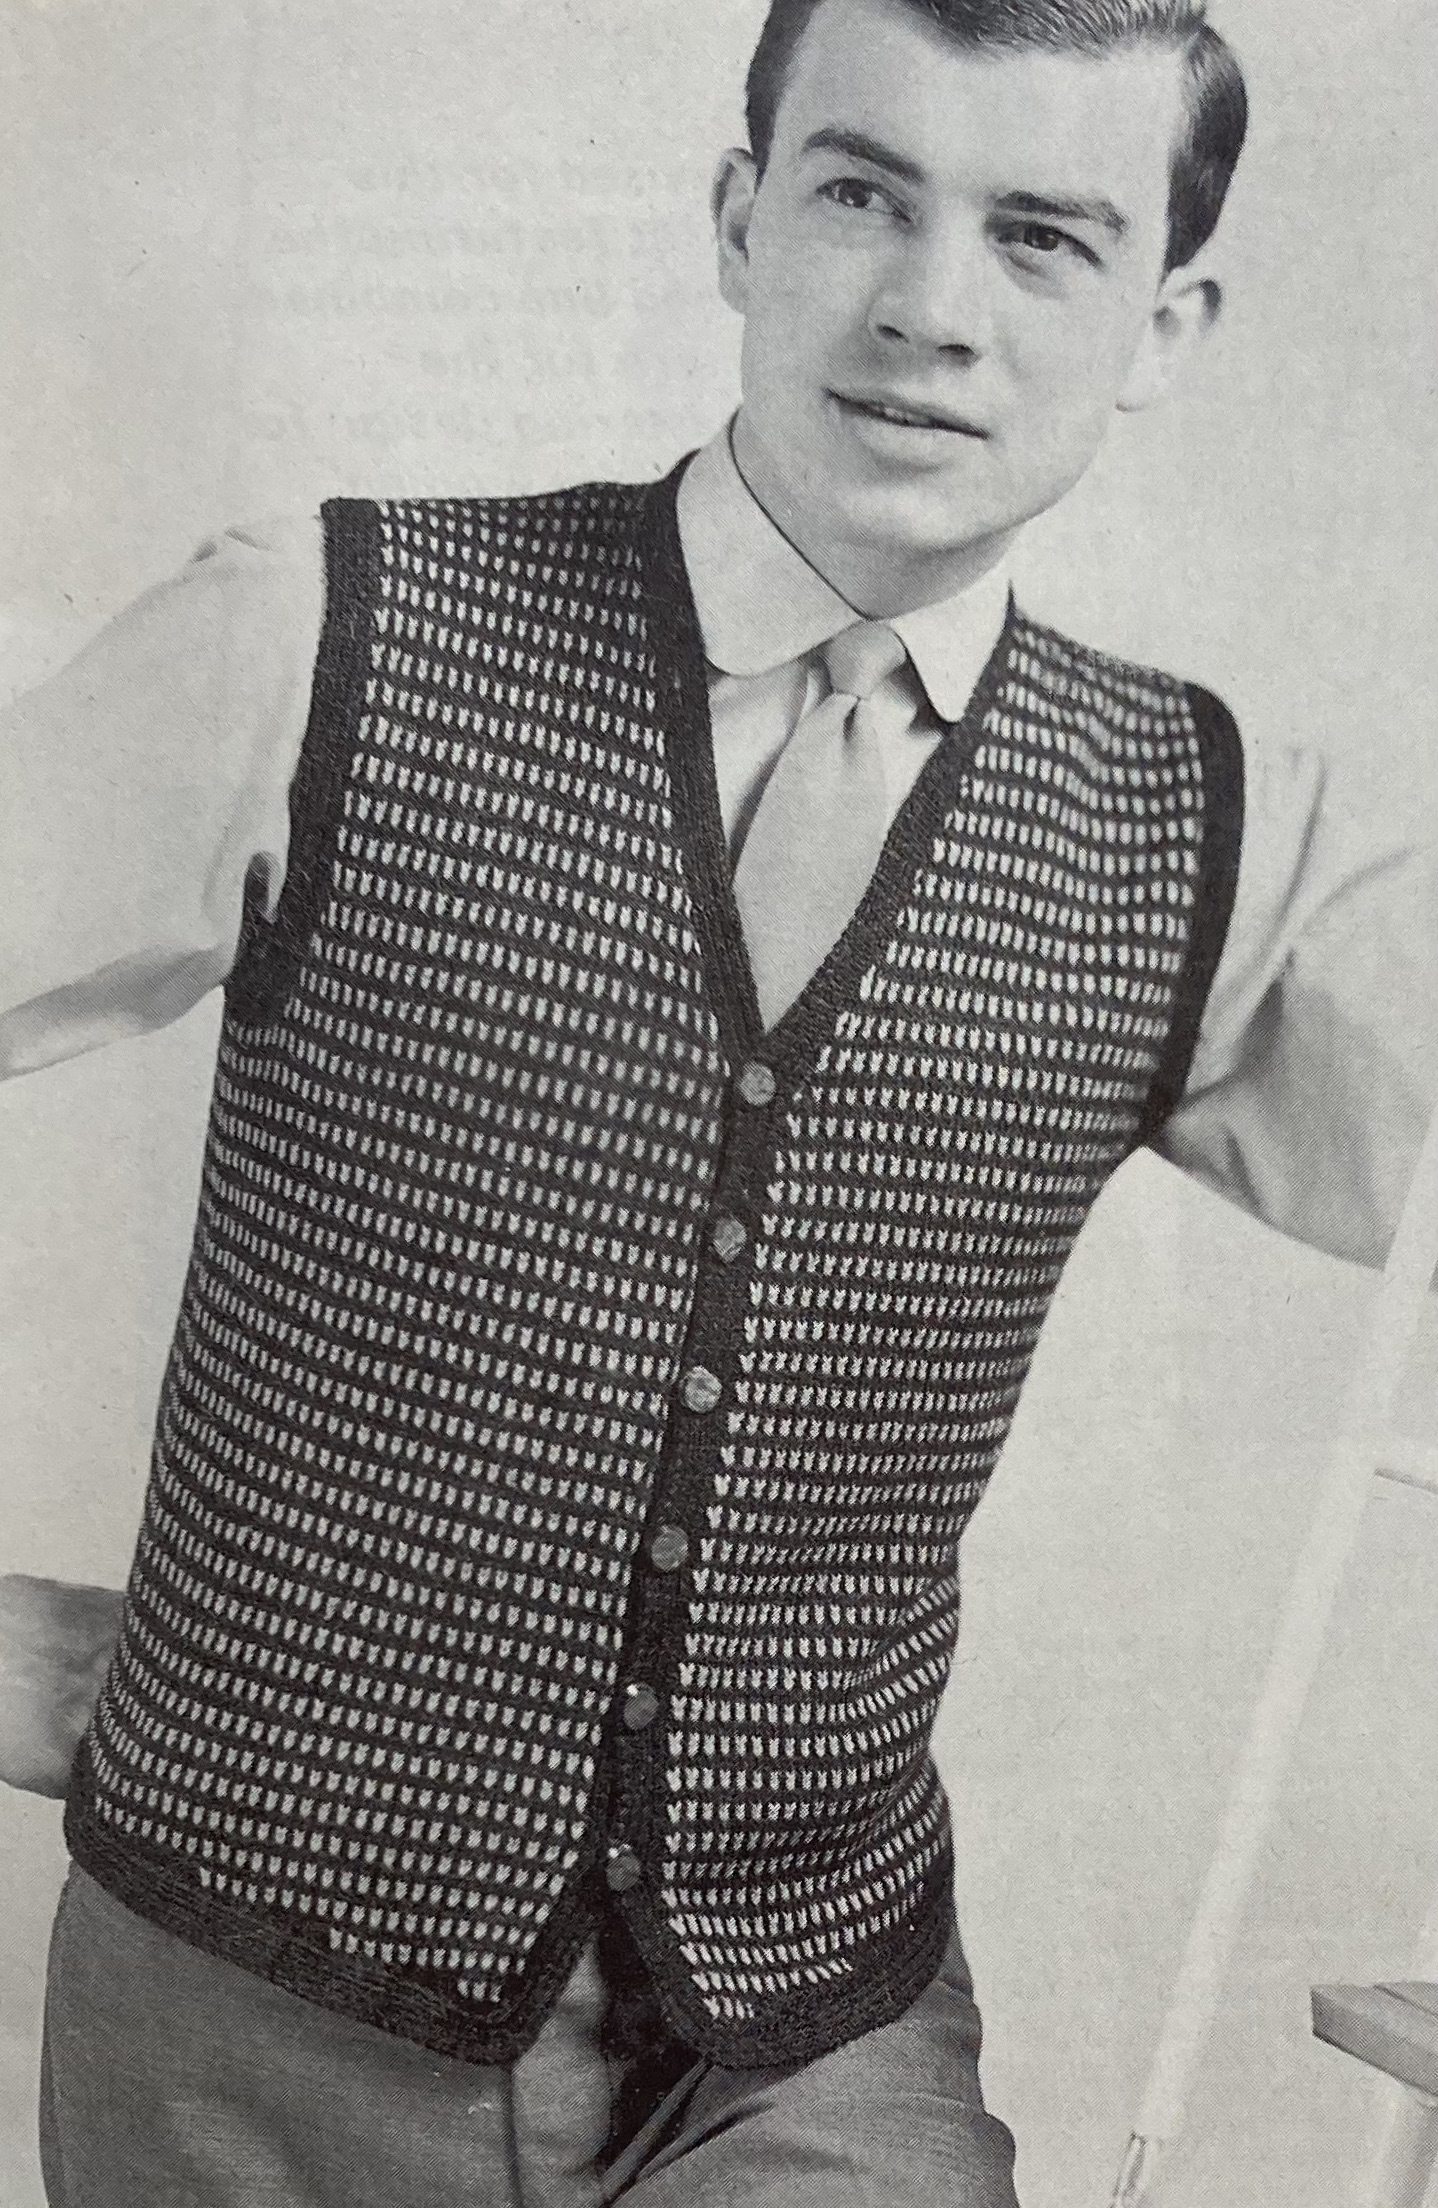
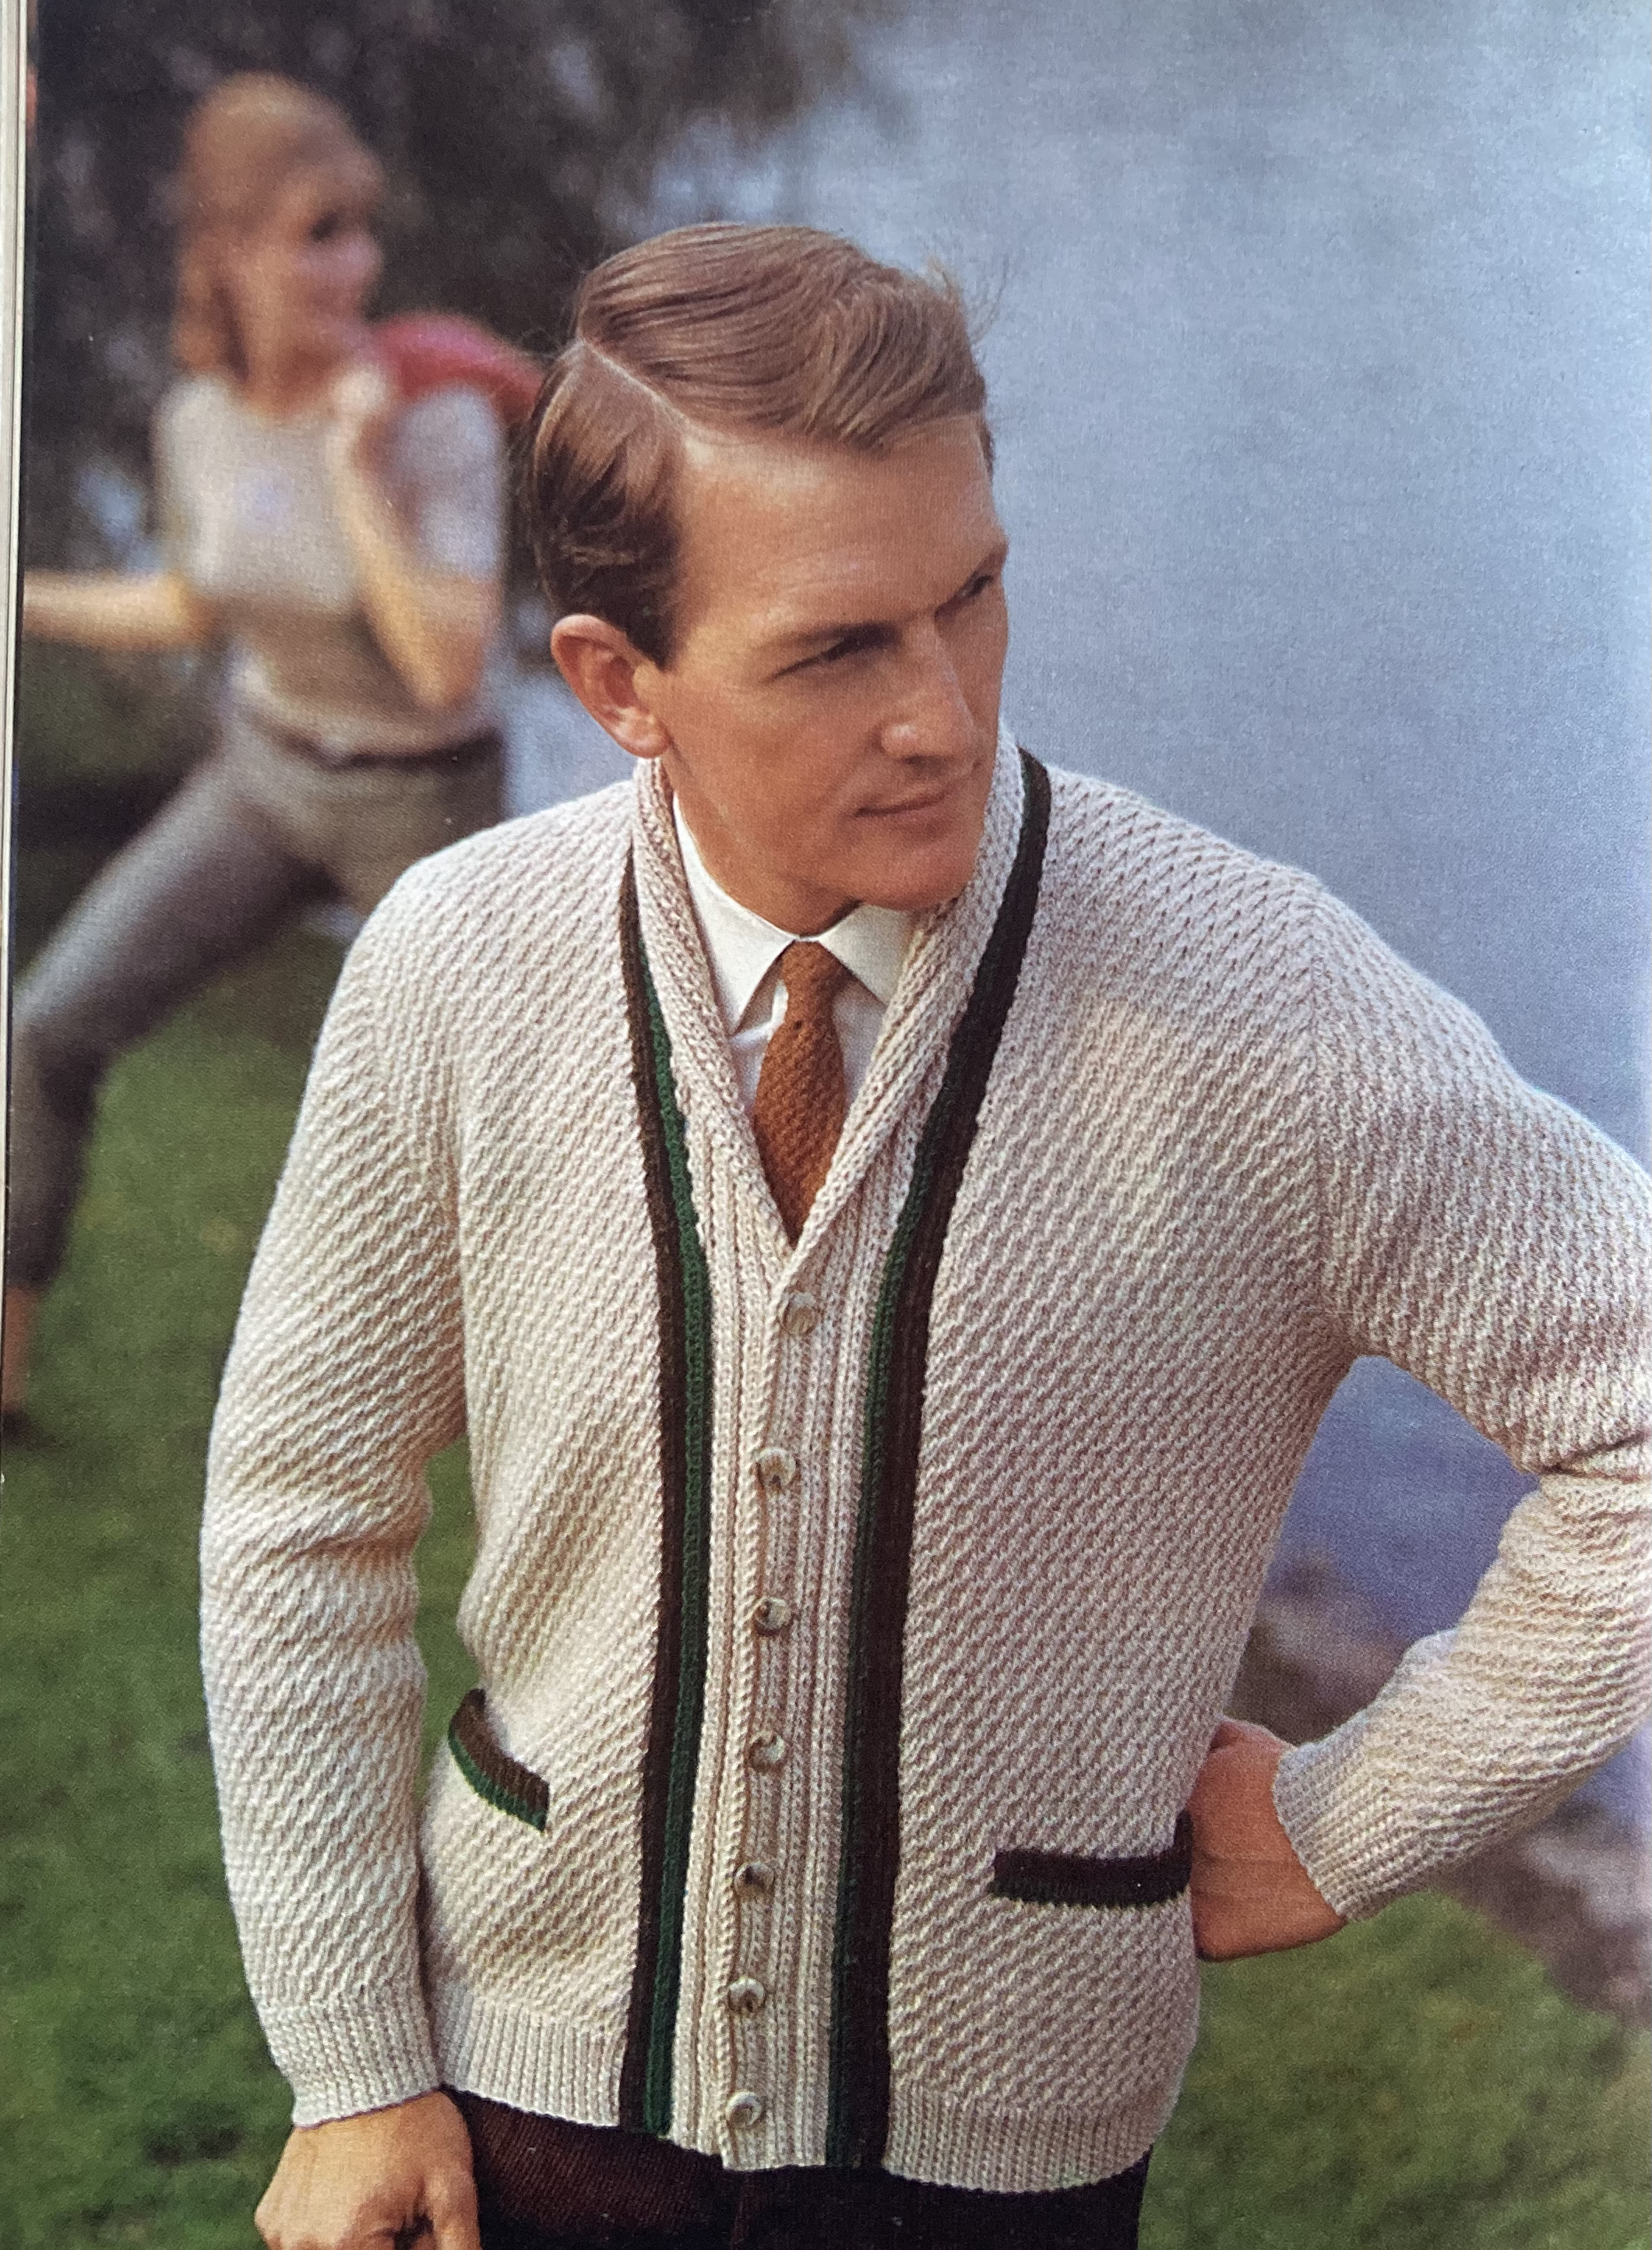
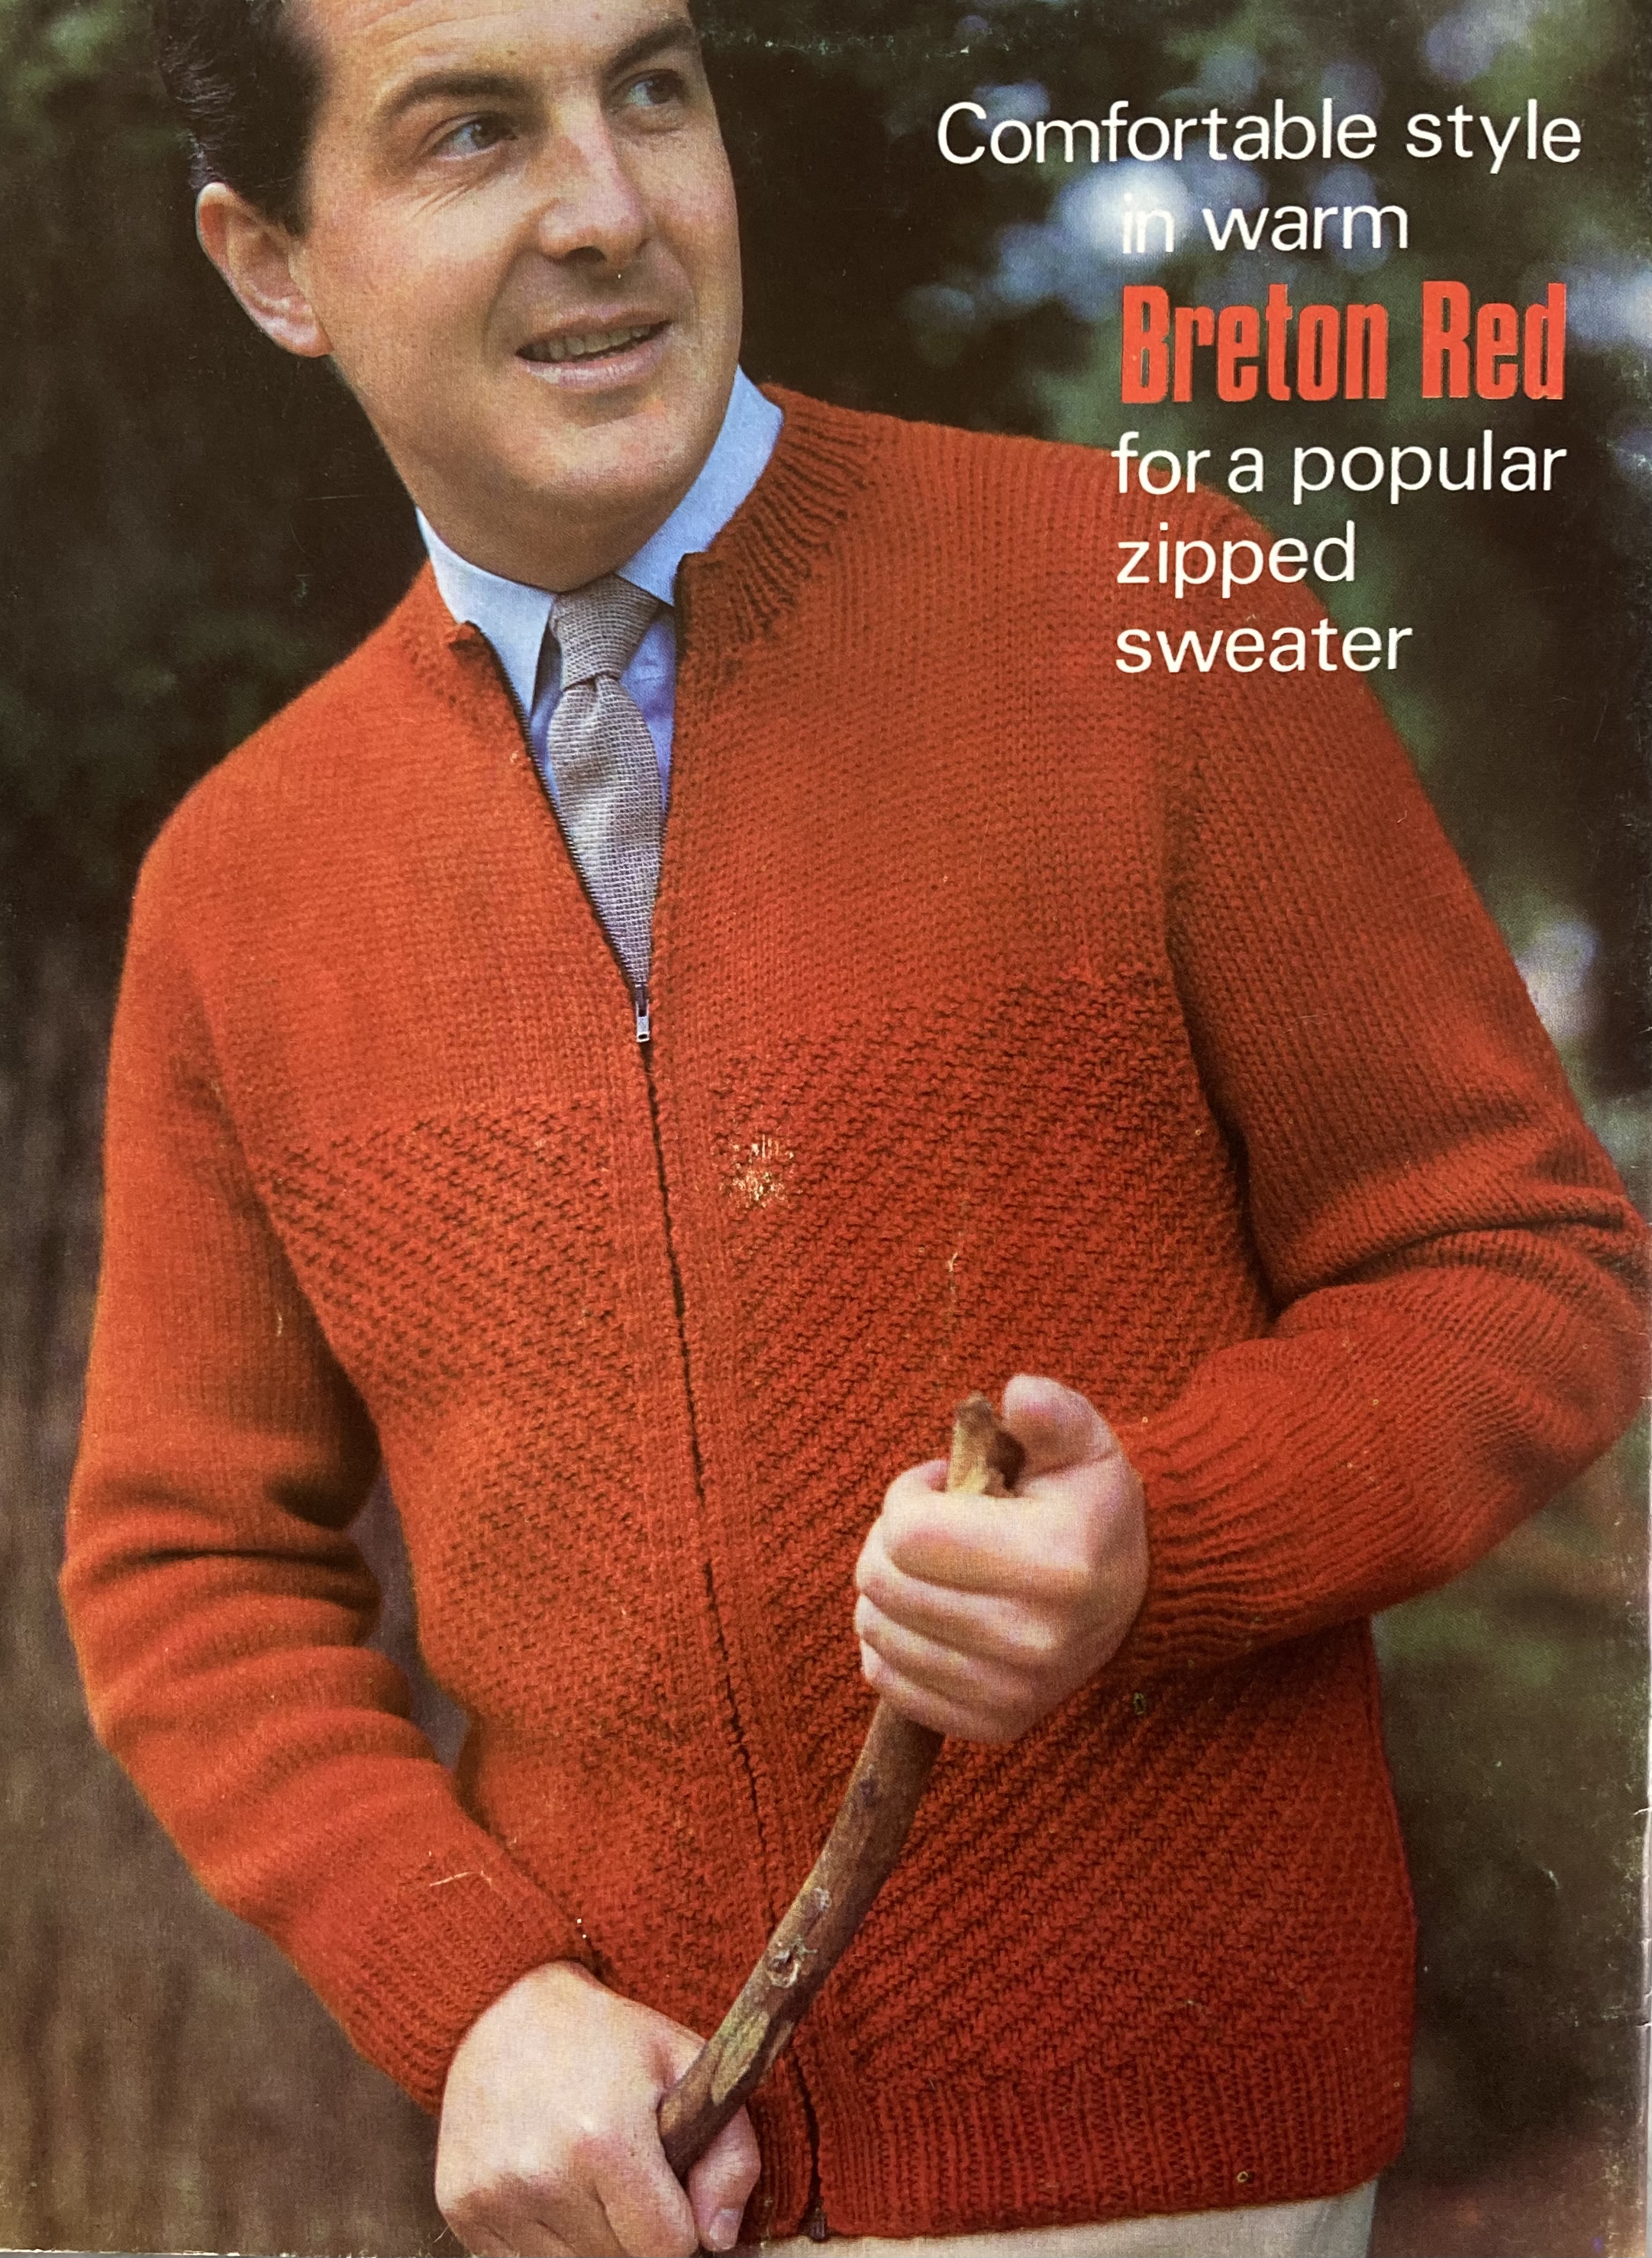
Bold colours, textures and diagonal stripes (whether made with colours or stitch pattern) are on trend for many of the other garments in this issue as well, for example, a ridge-pattern women’s pullover in “Gemini Turquoise” in Courtelle Double Crepe (like Totem, but 100% synthetic), or a “car coat” for larger sizes in bulky, bright red Capstan with a flattened cable pattern. There’s a rust-red zipped cardigan for men, too, in Patons Flair wool and diagonal herringbone stitch.
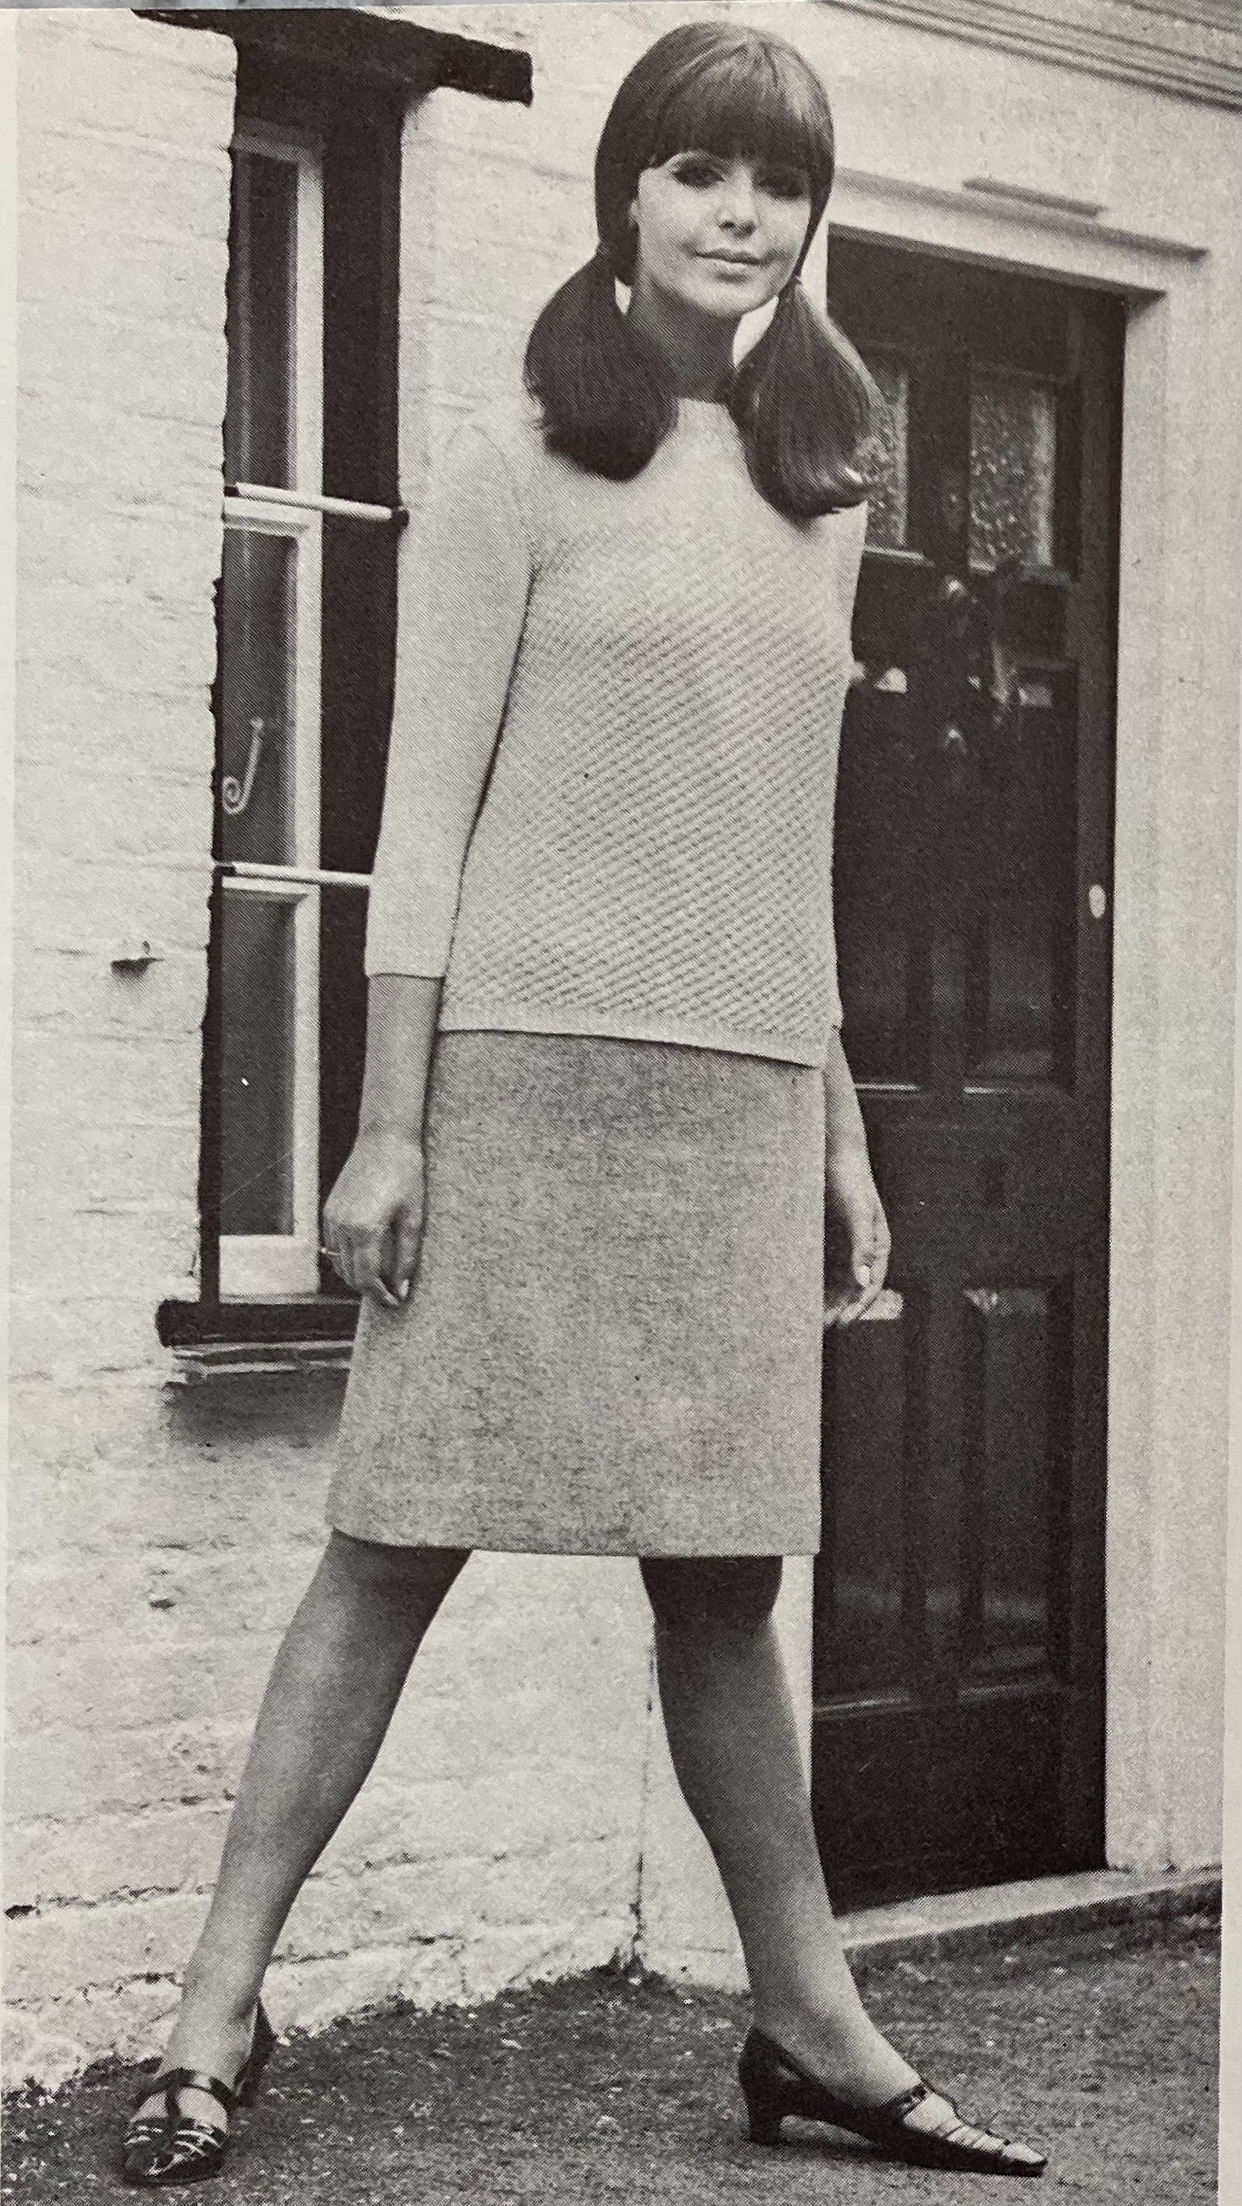
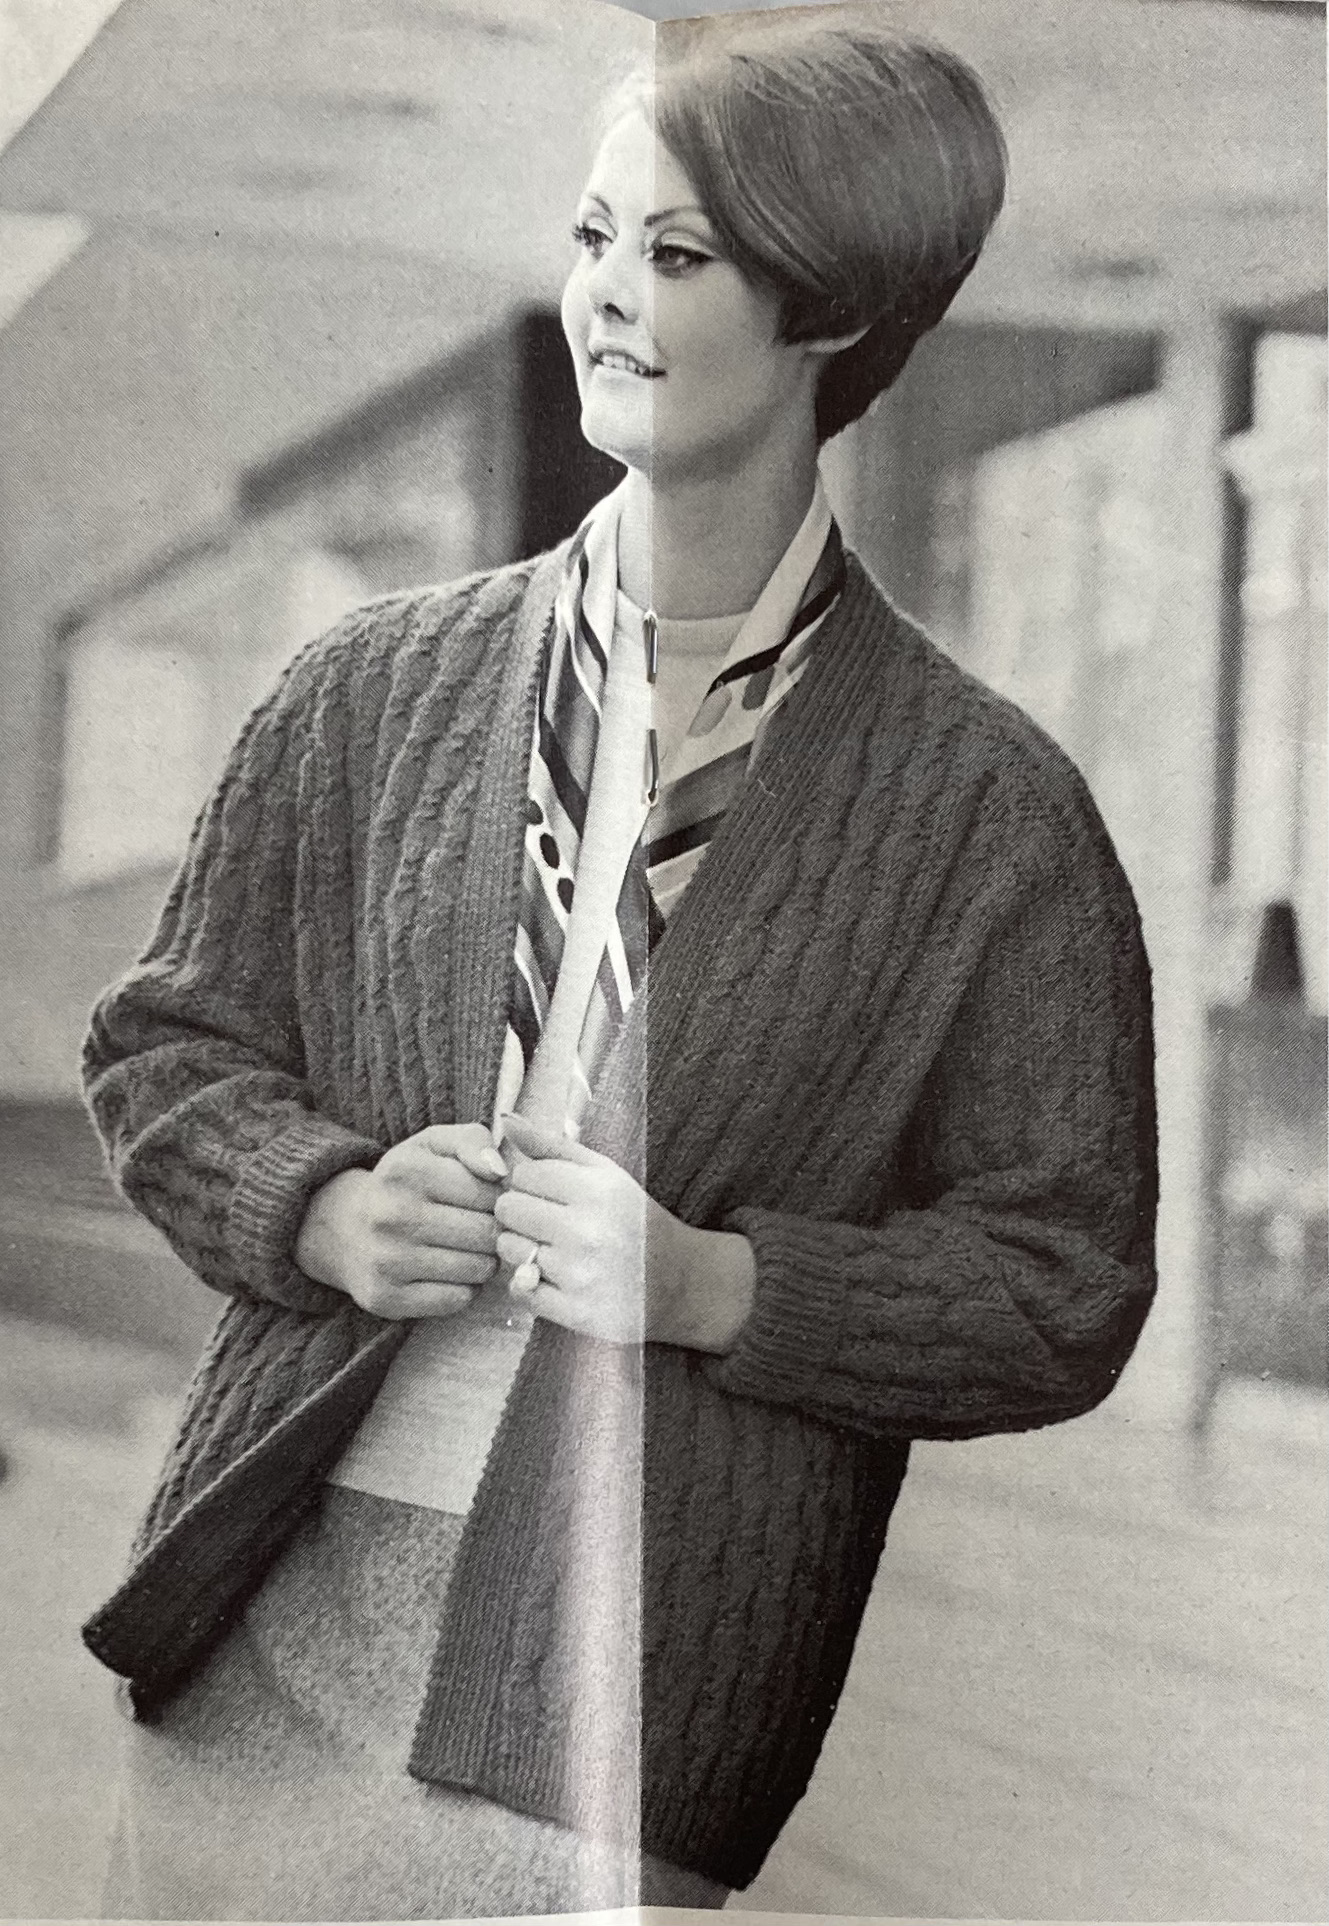
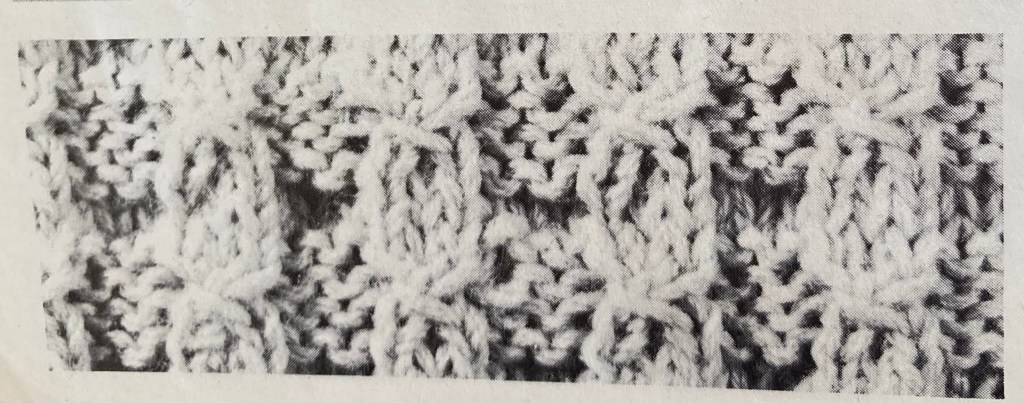
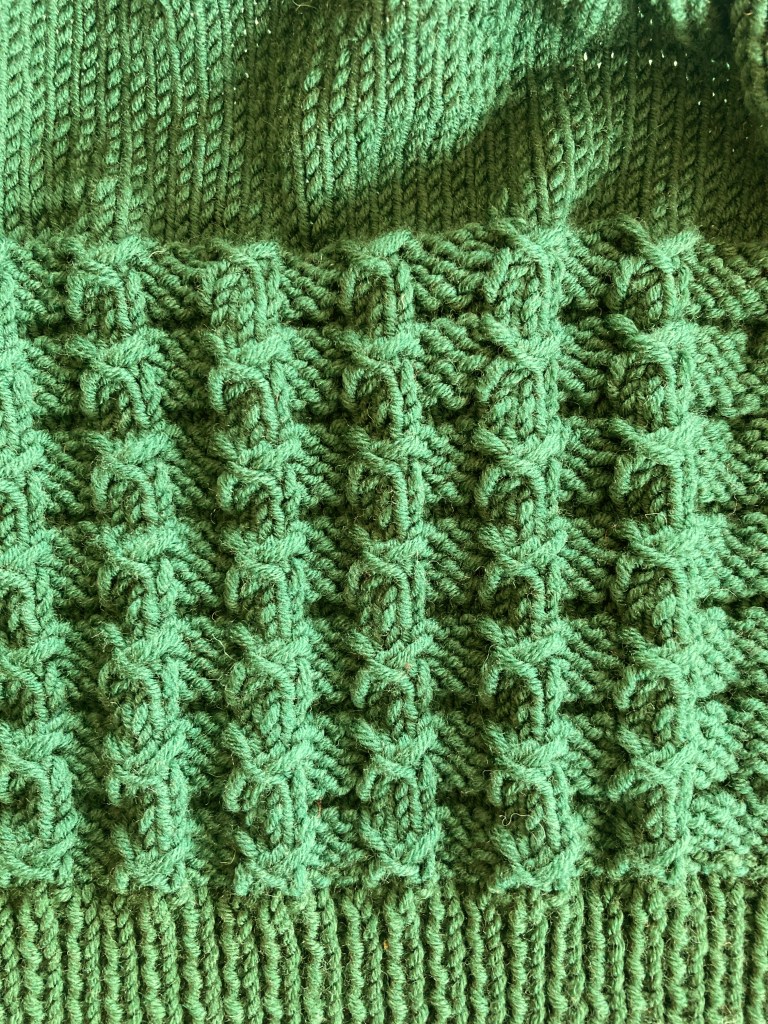
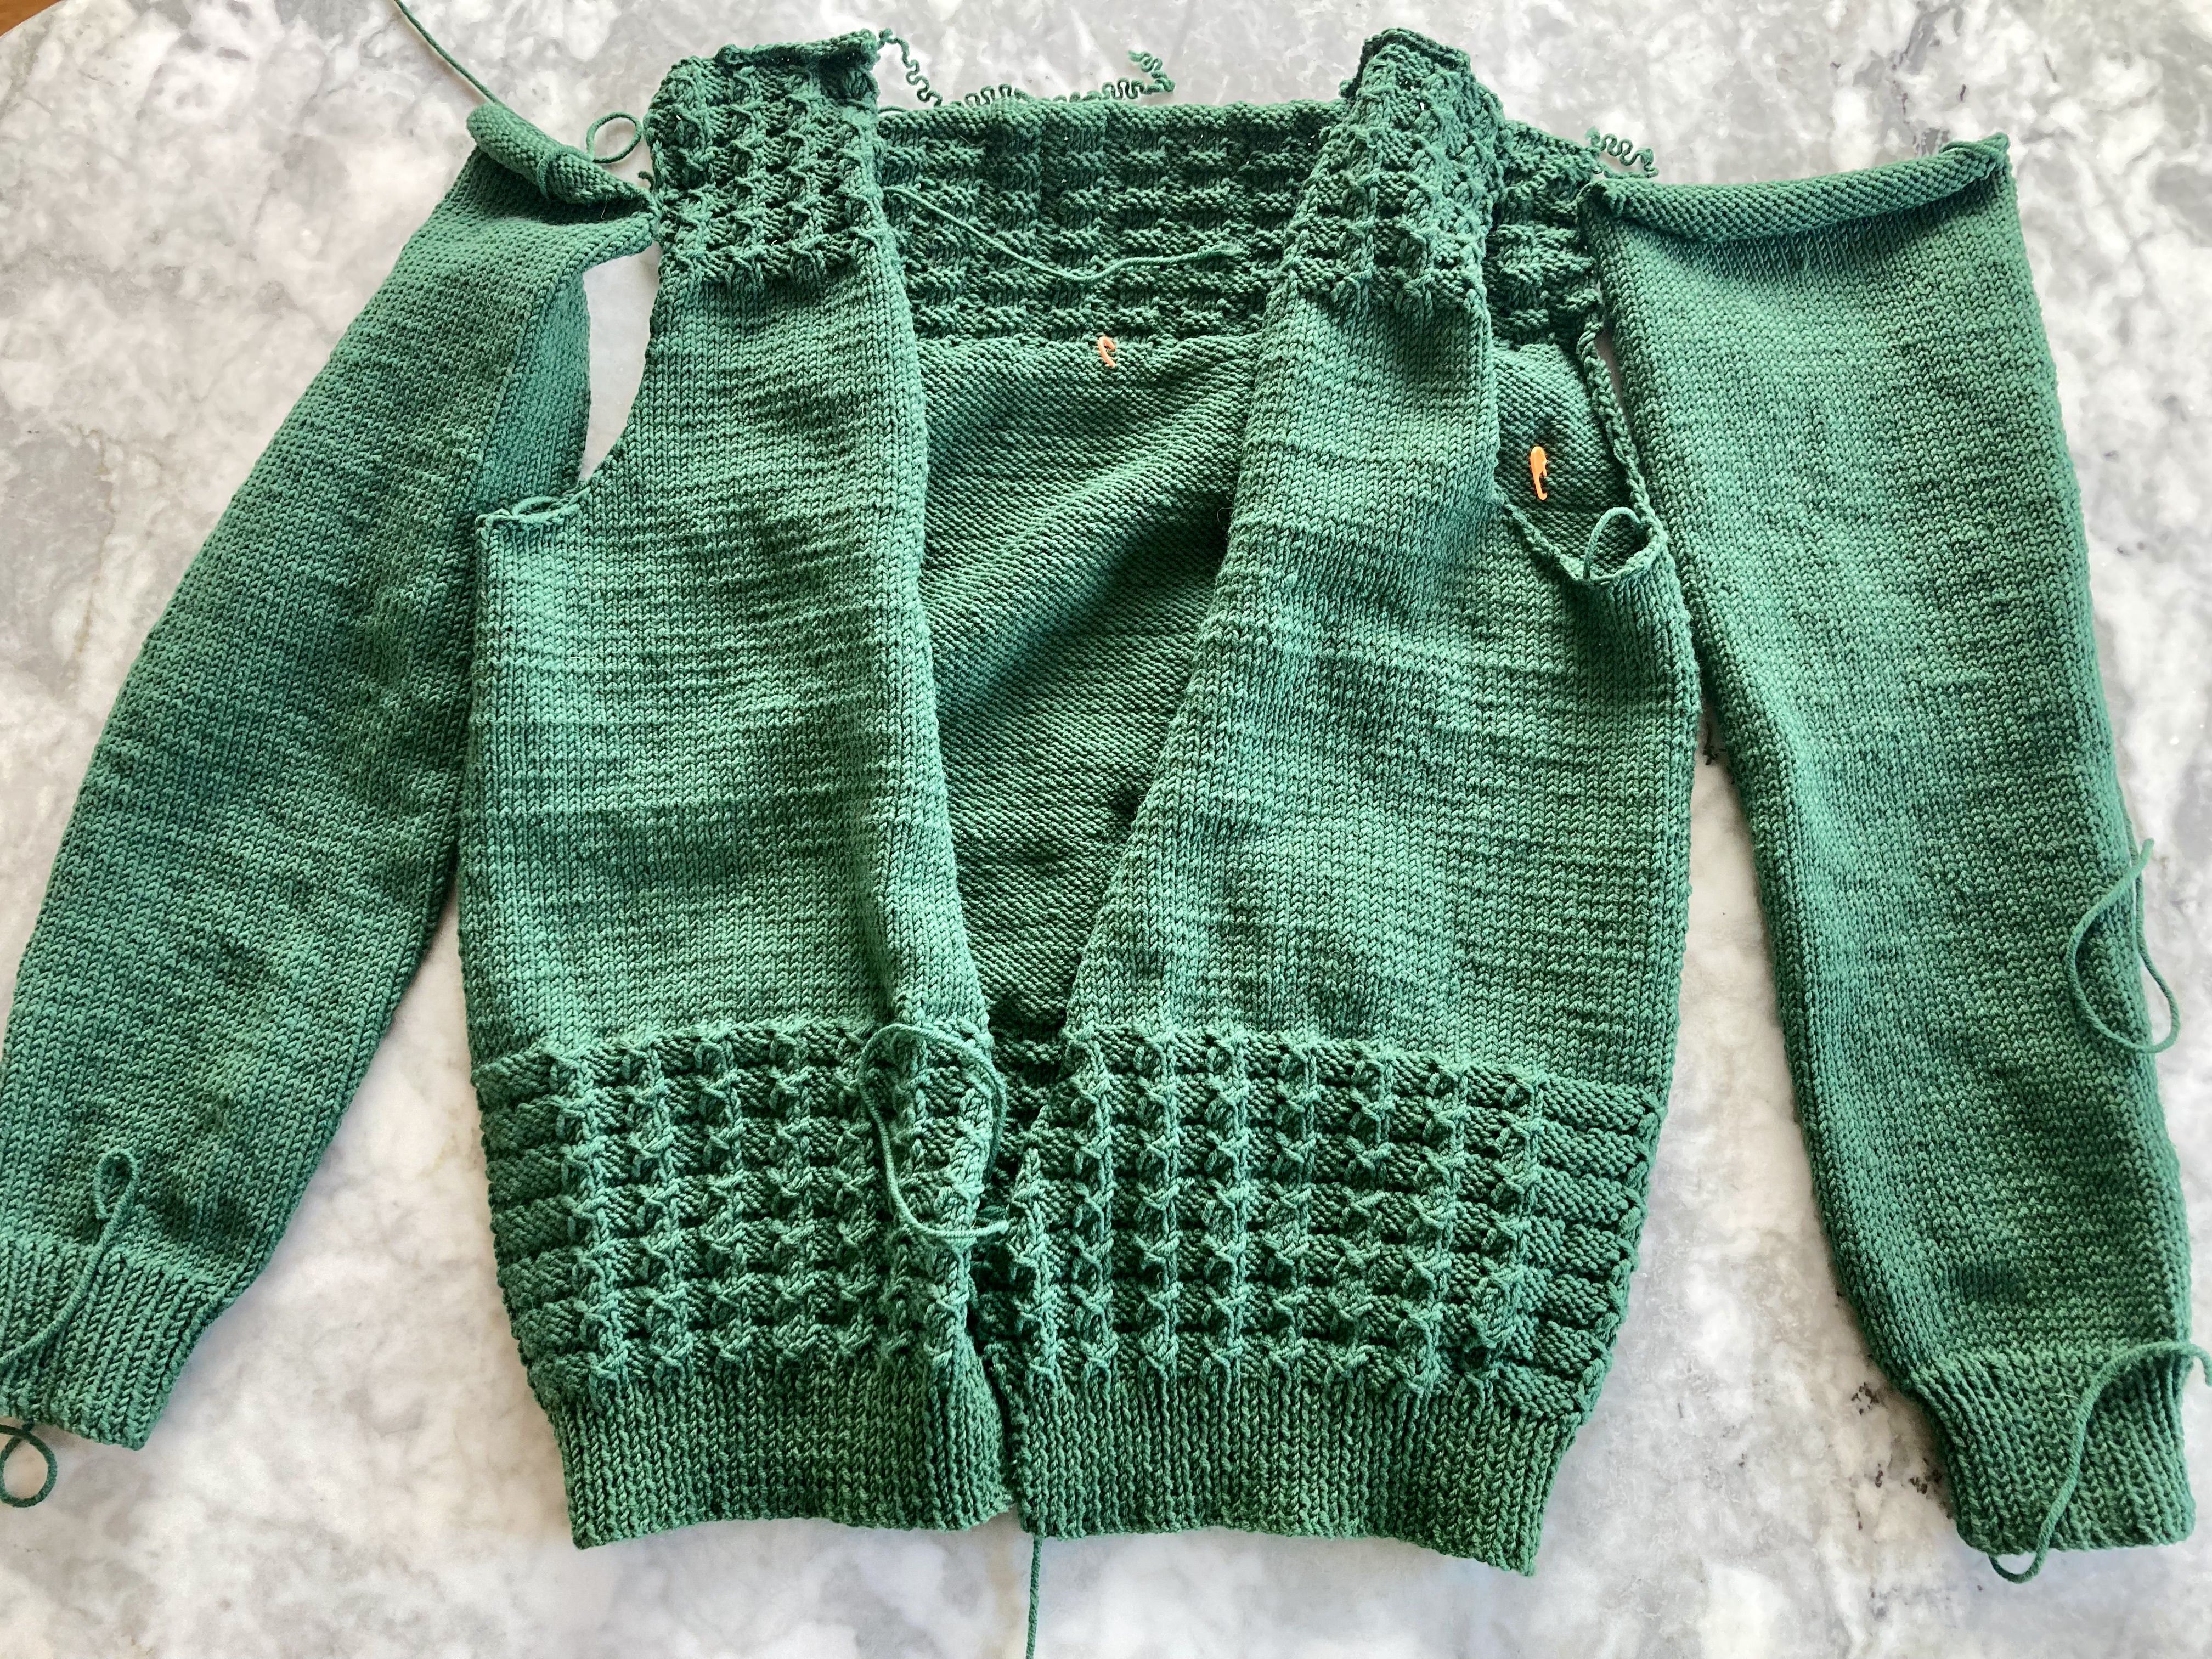
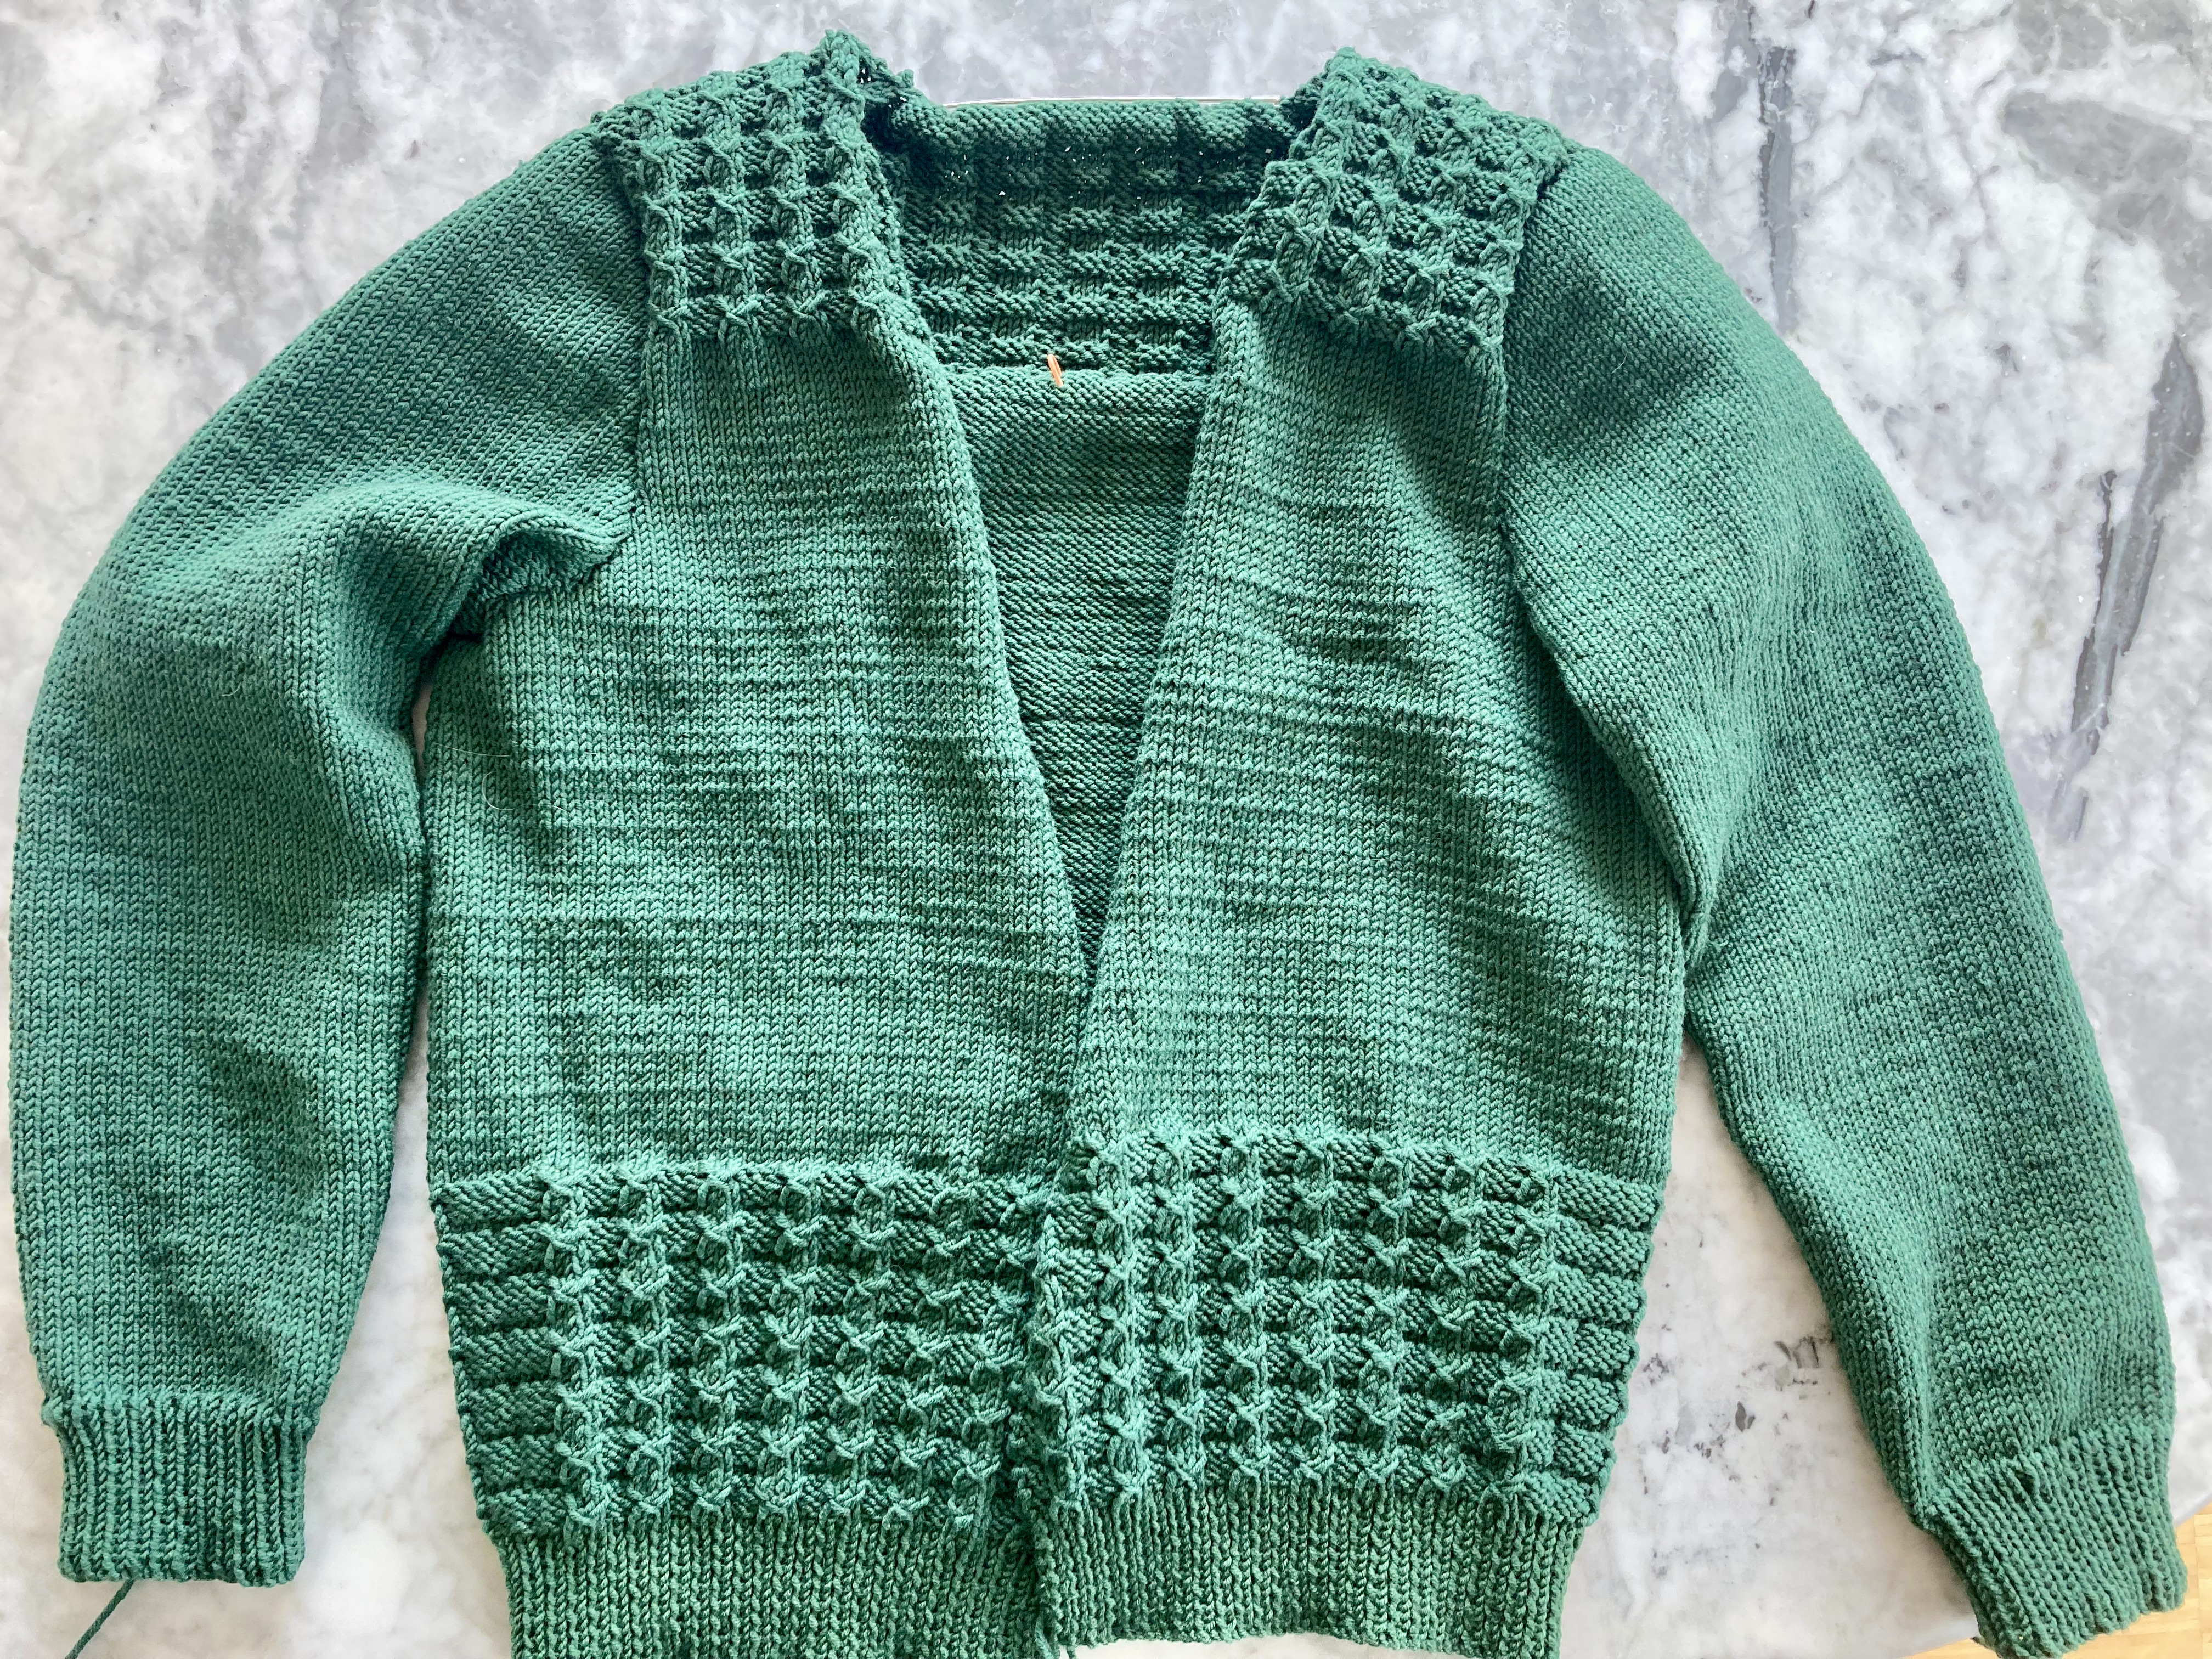
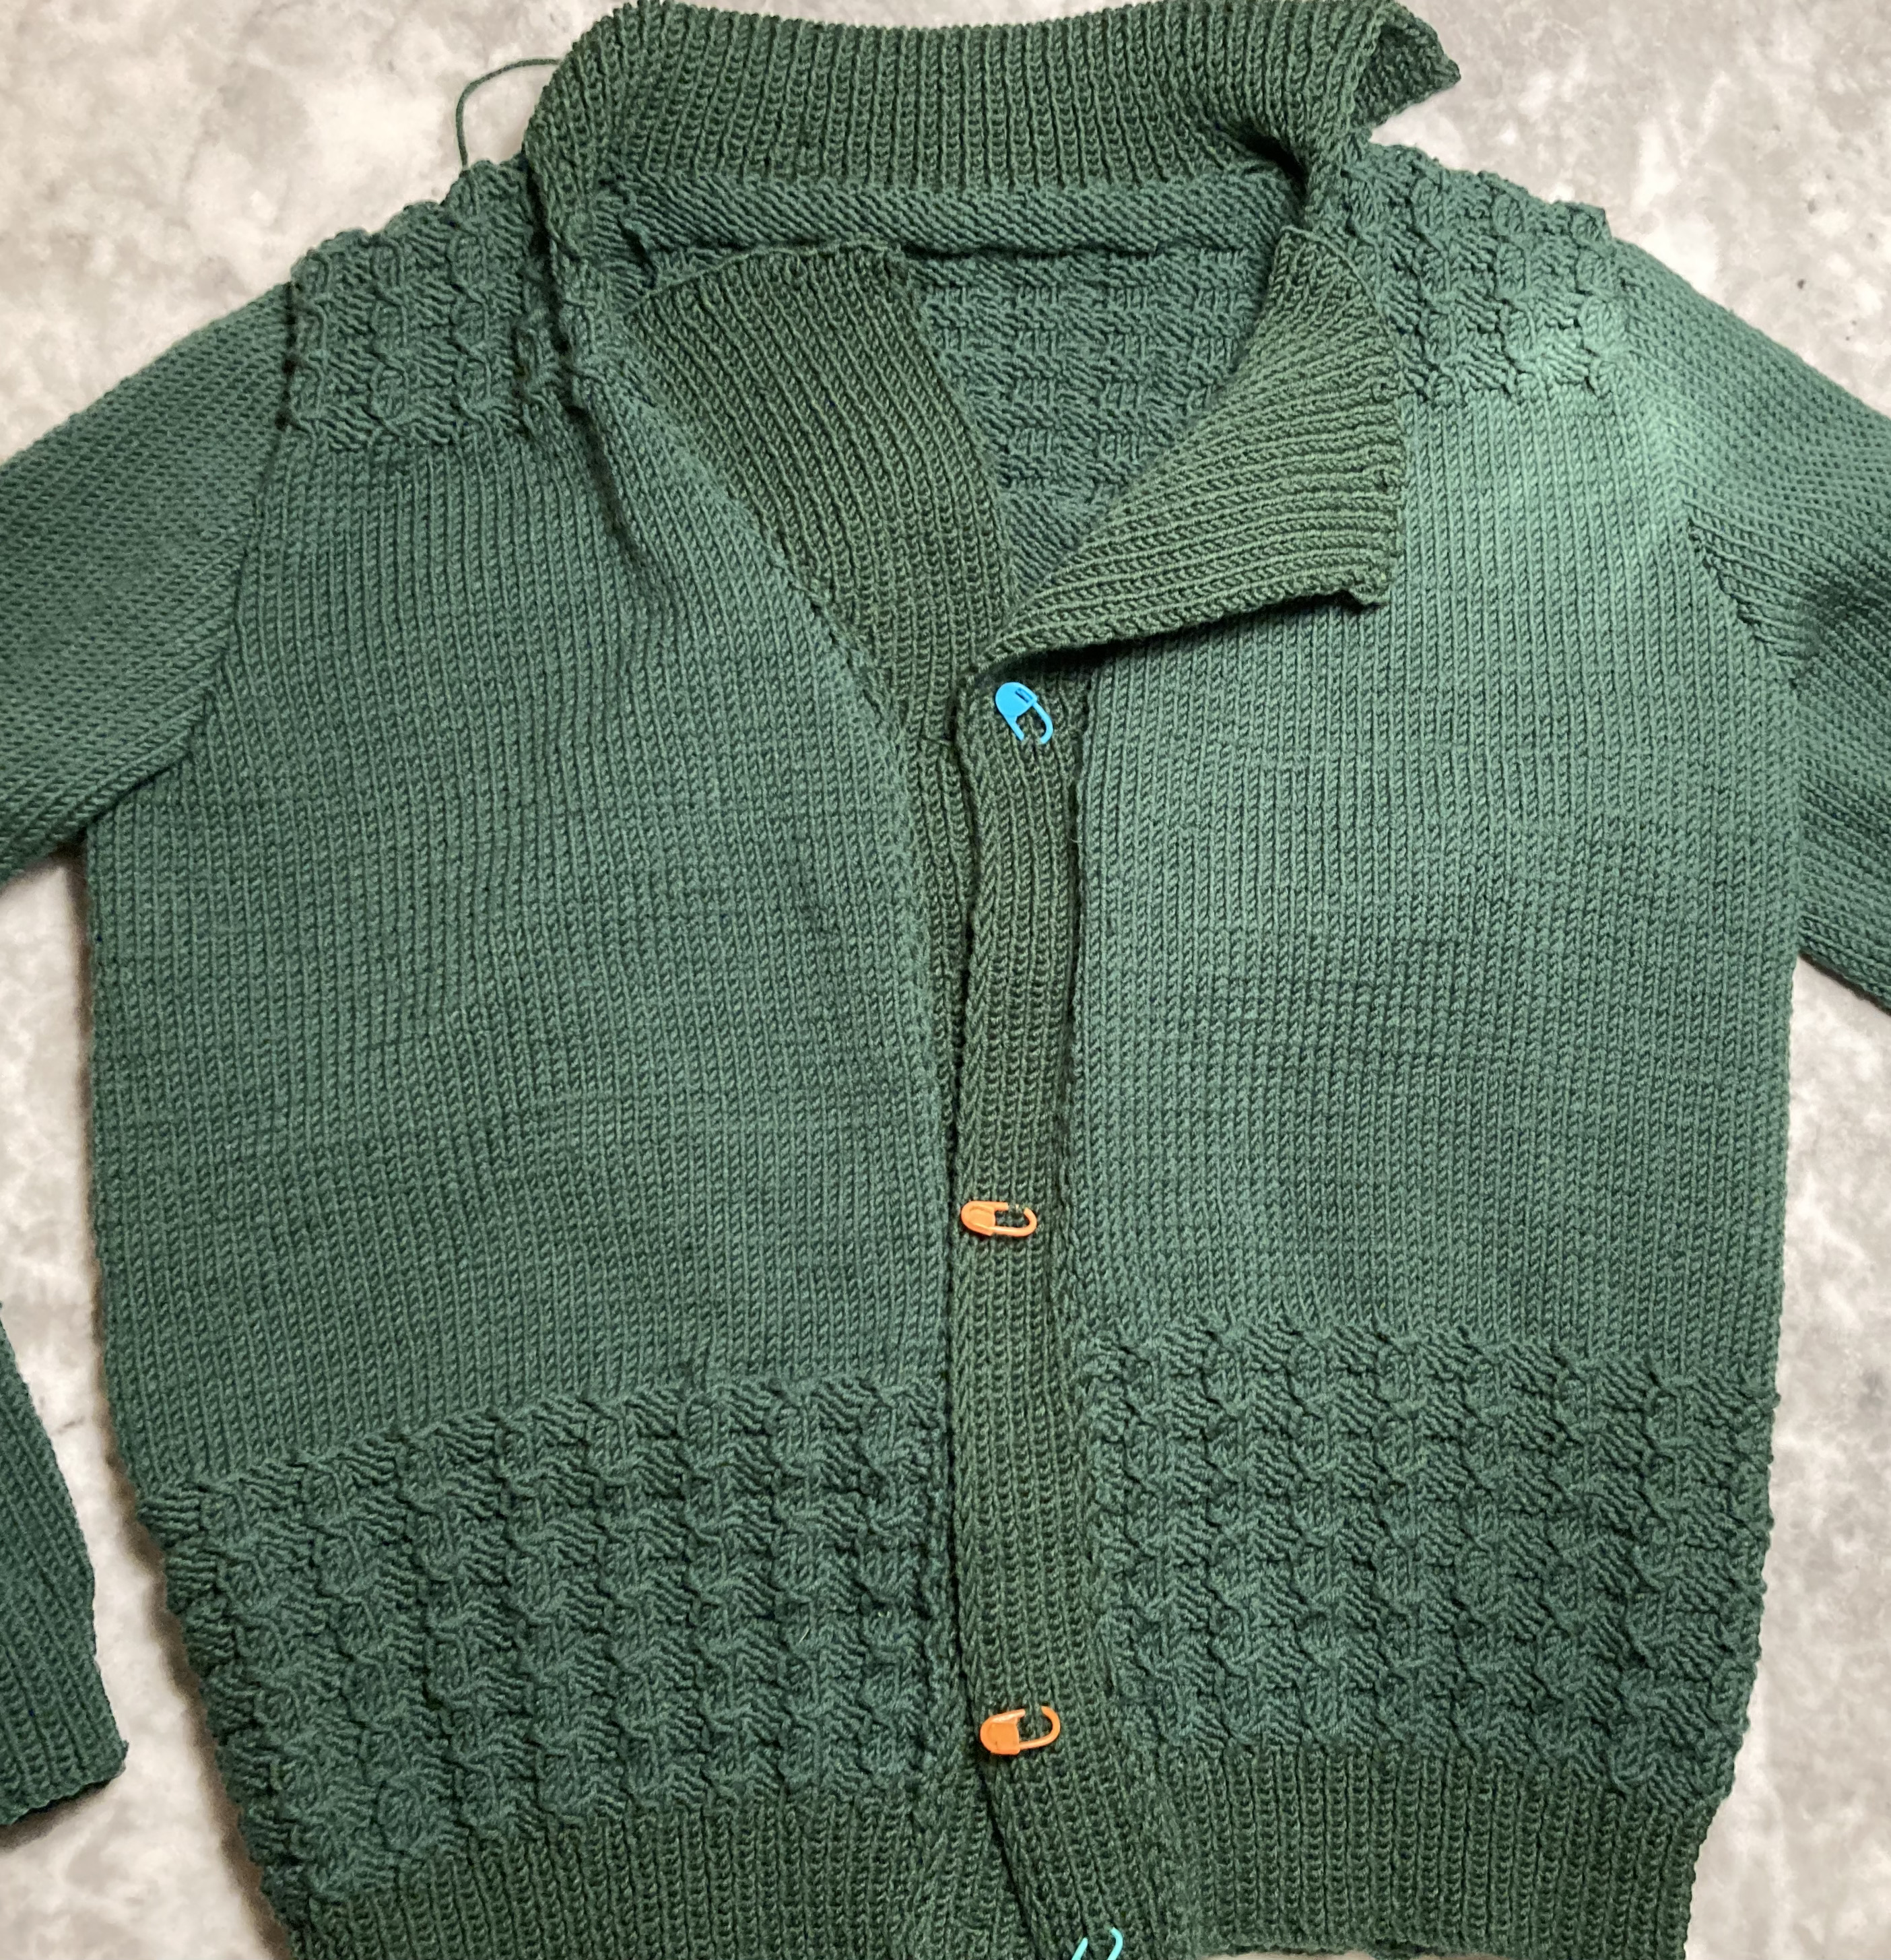
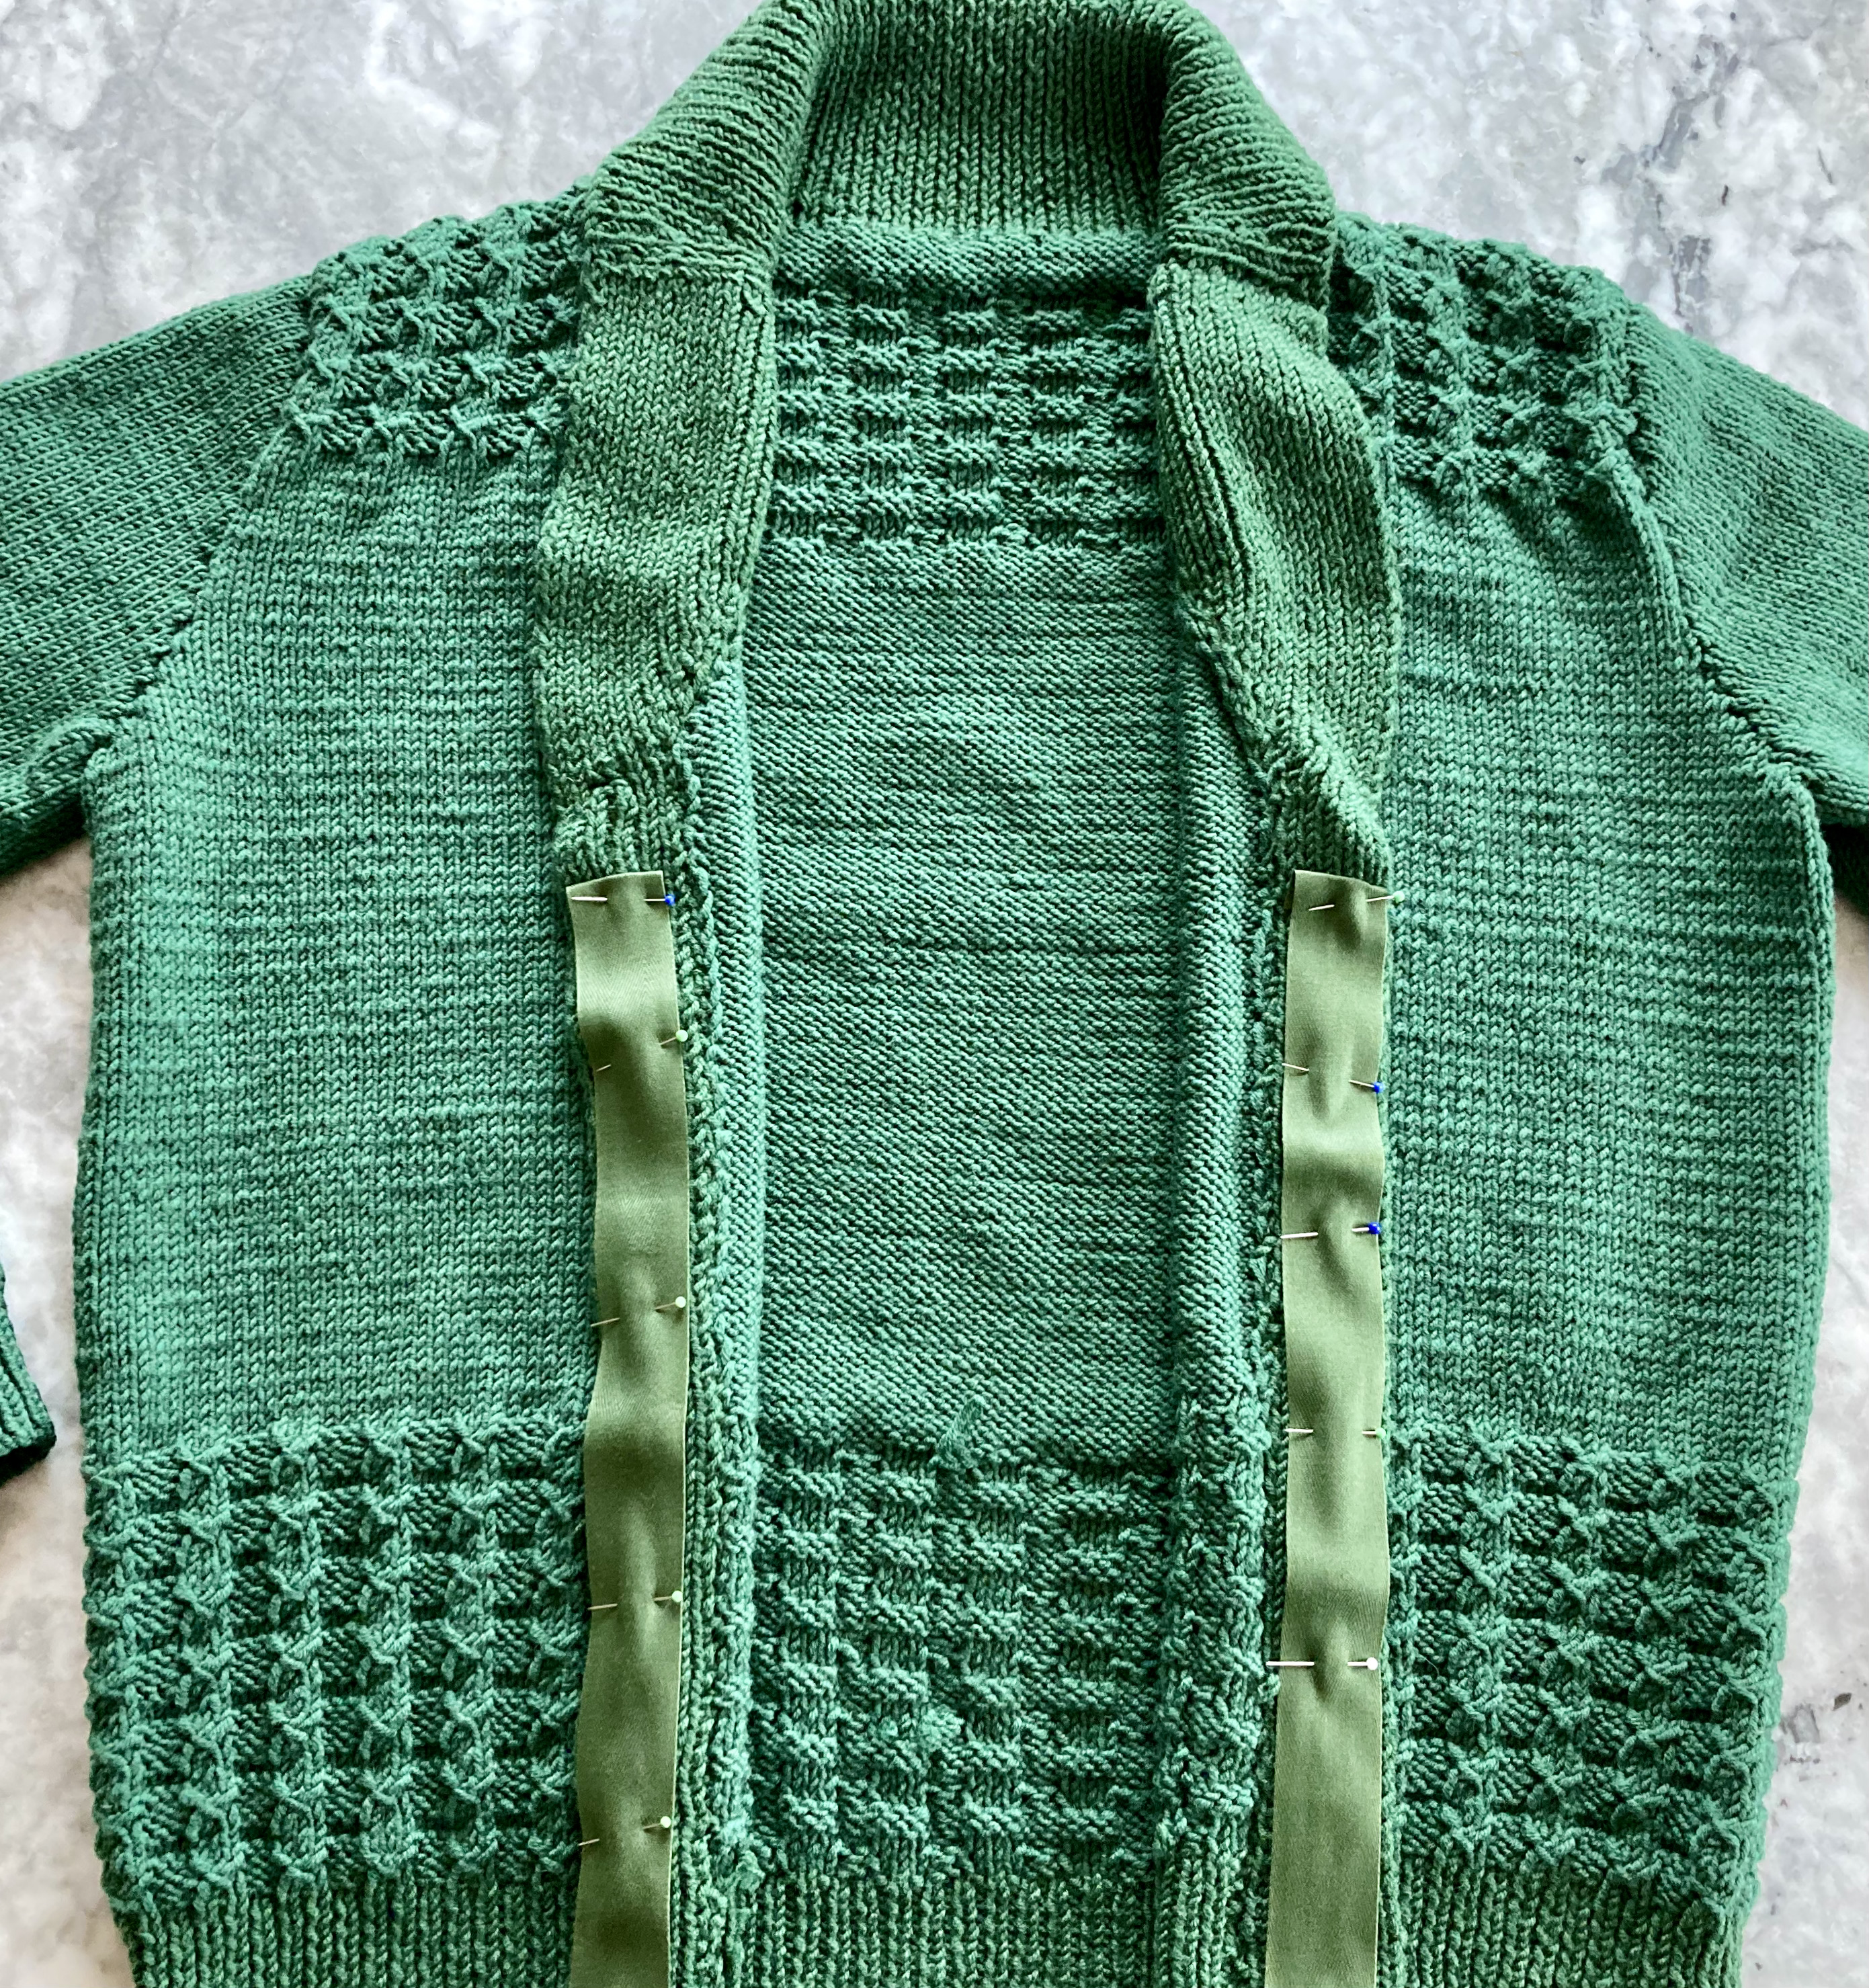
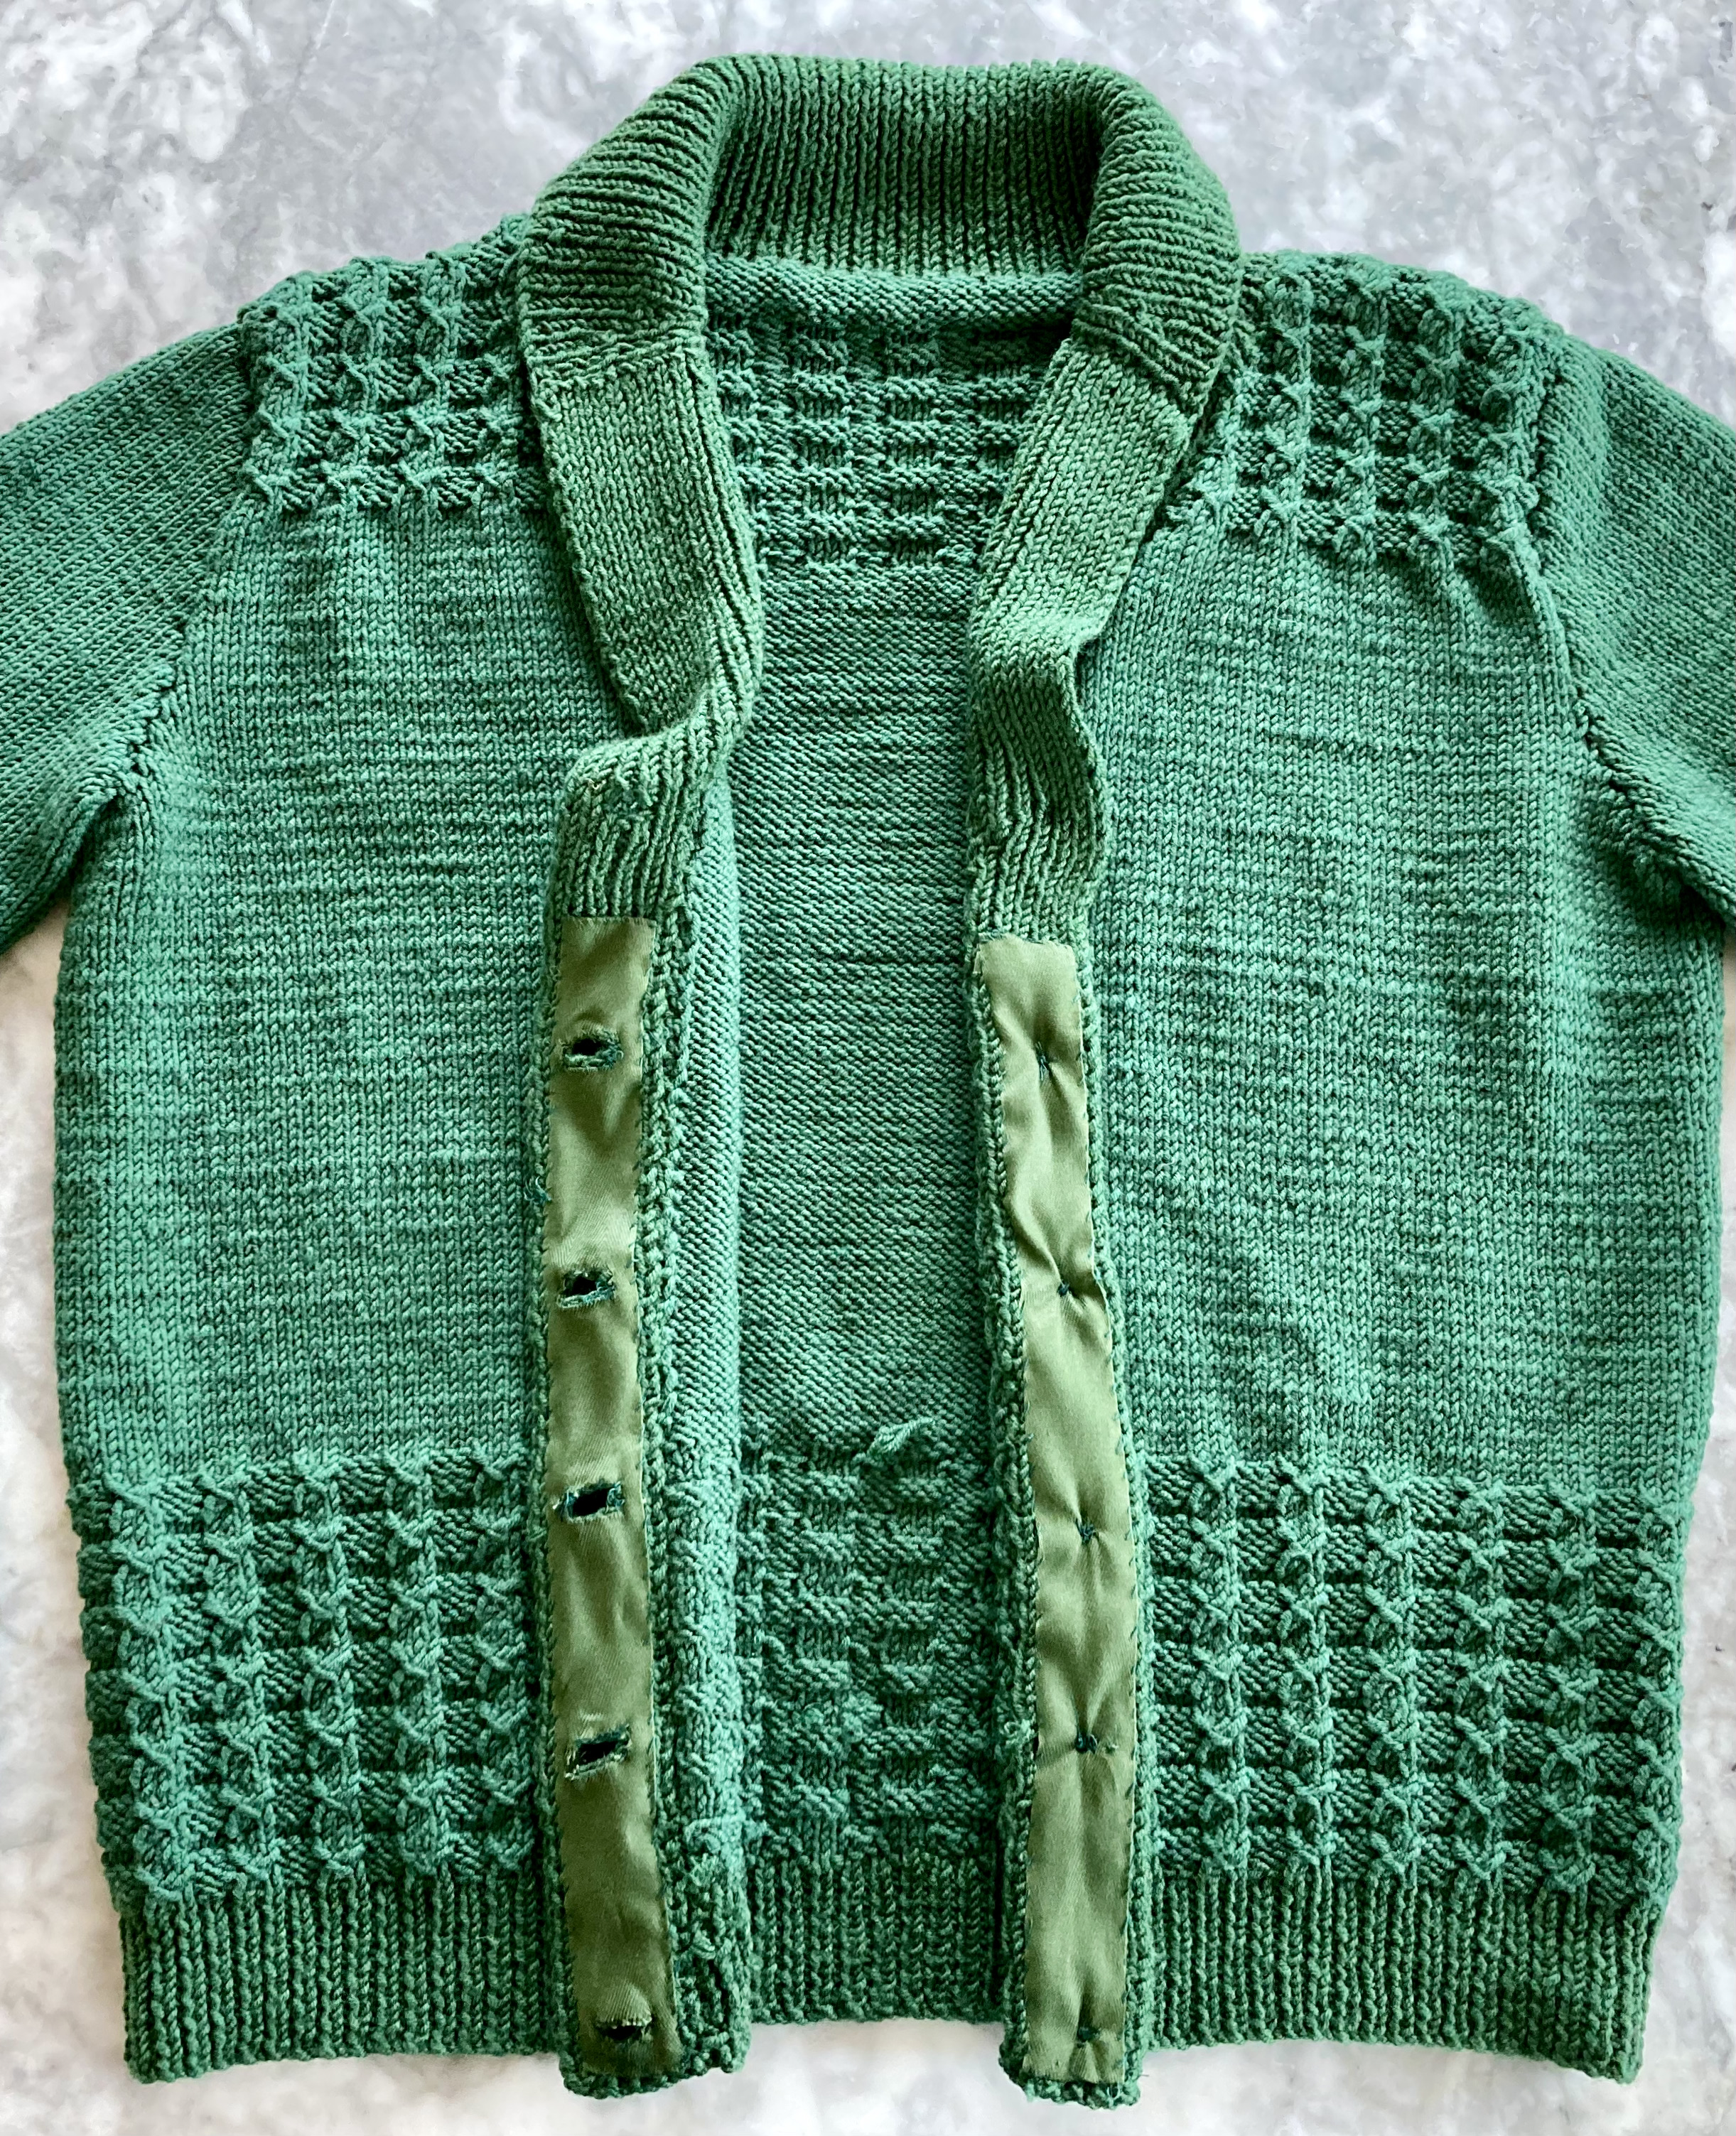
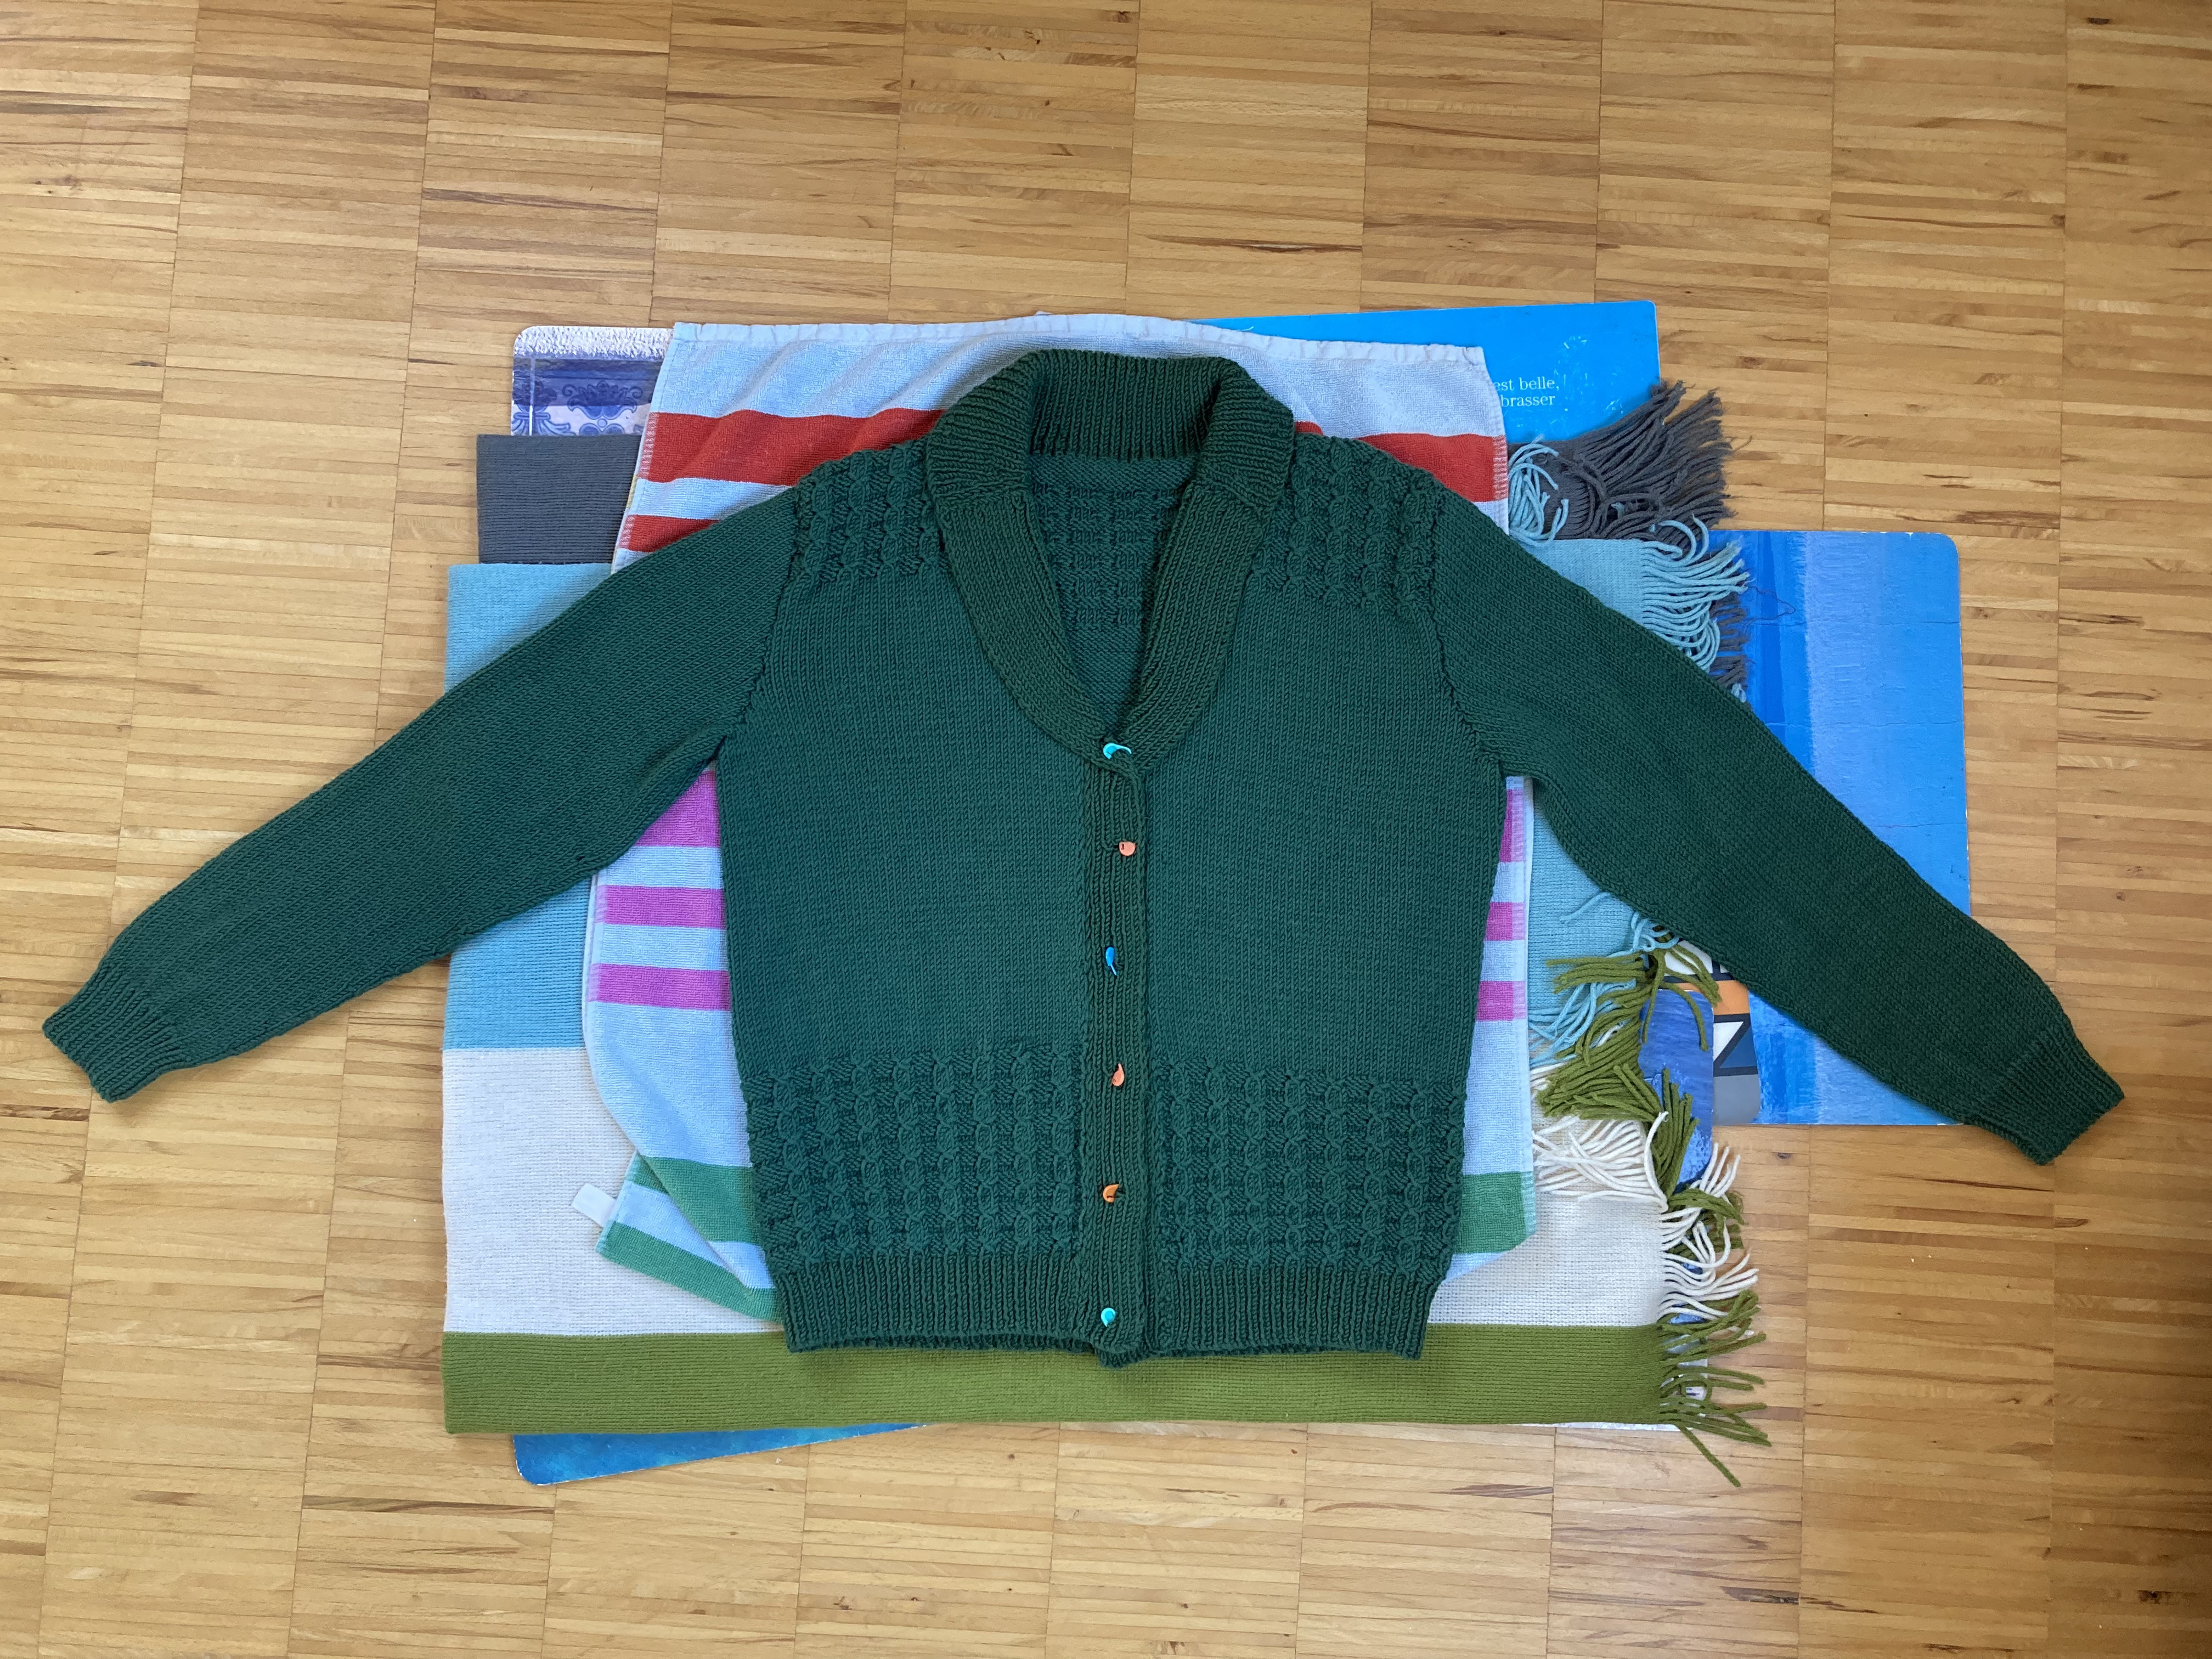
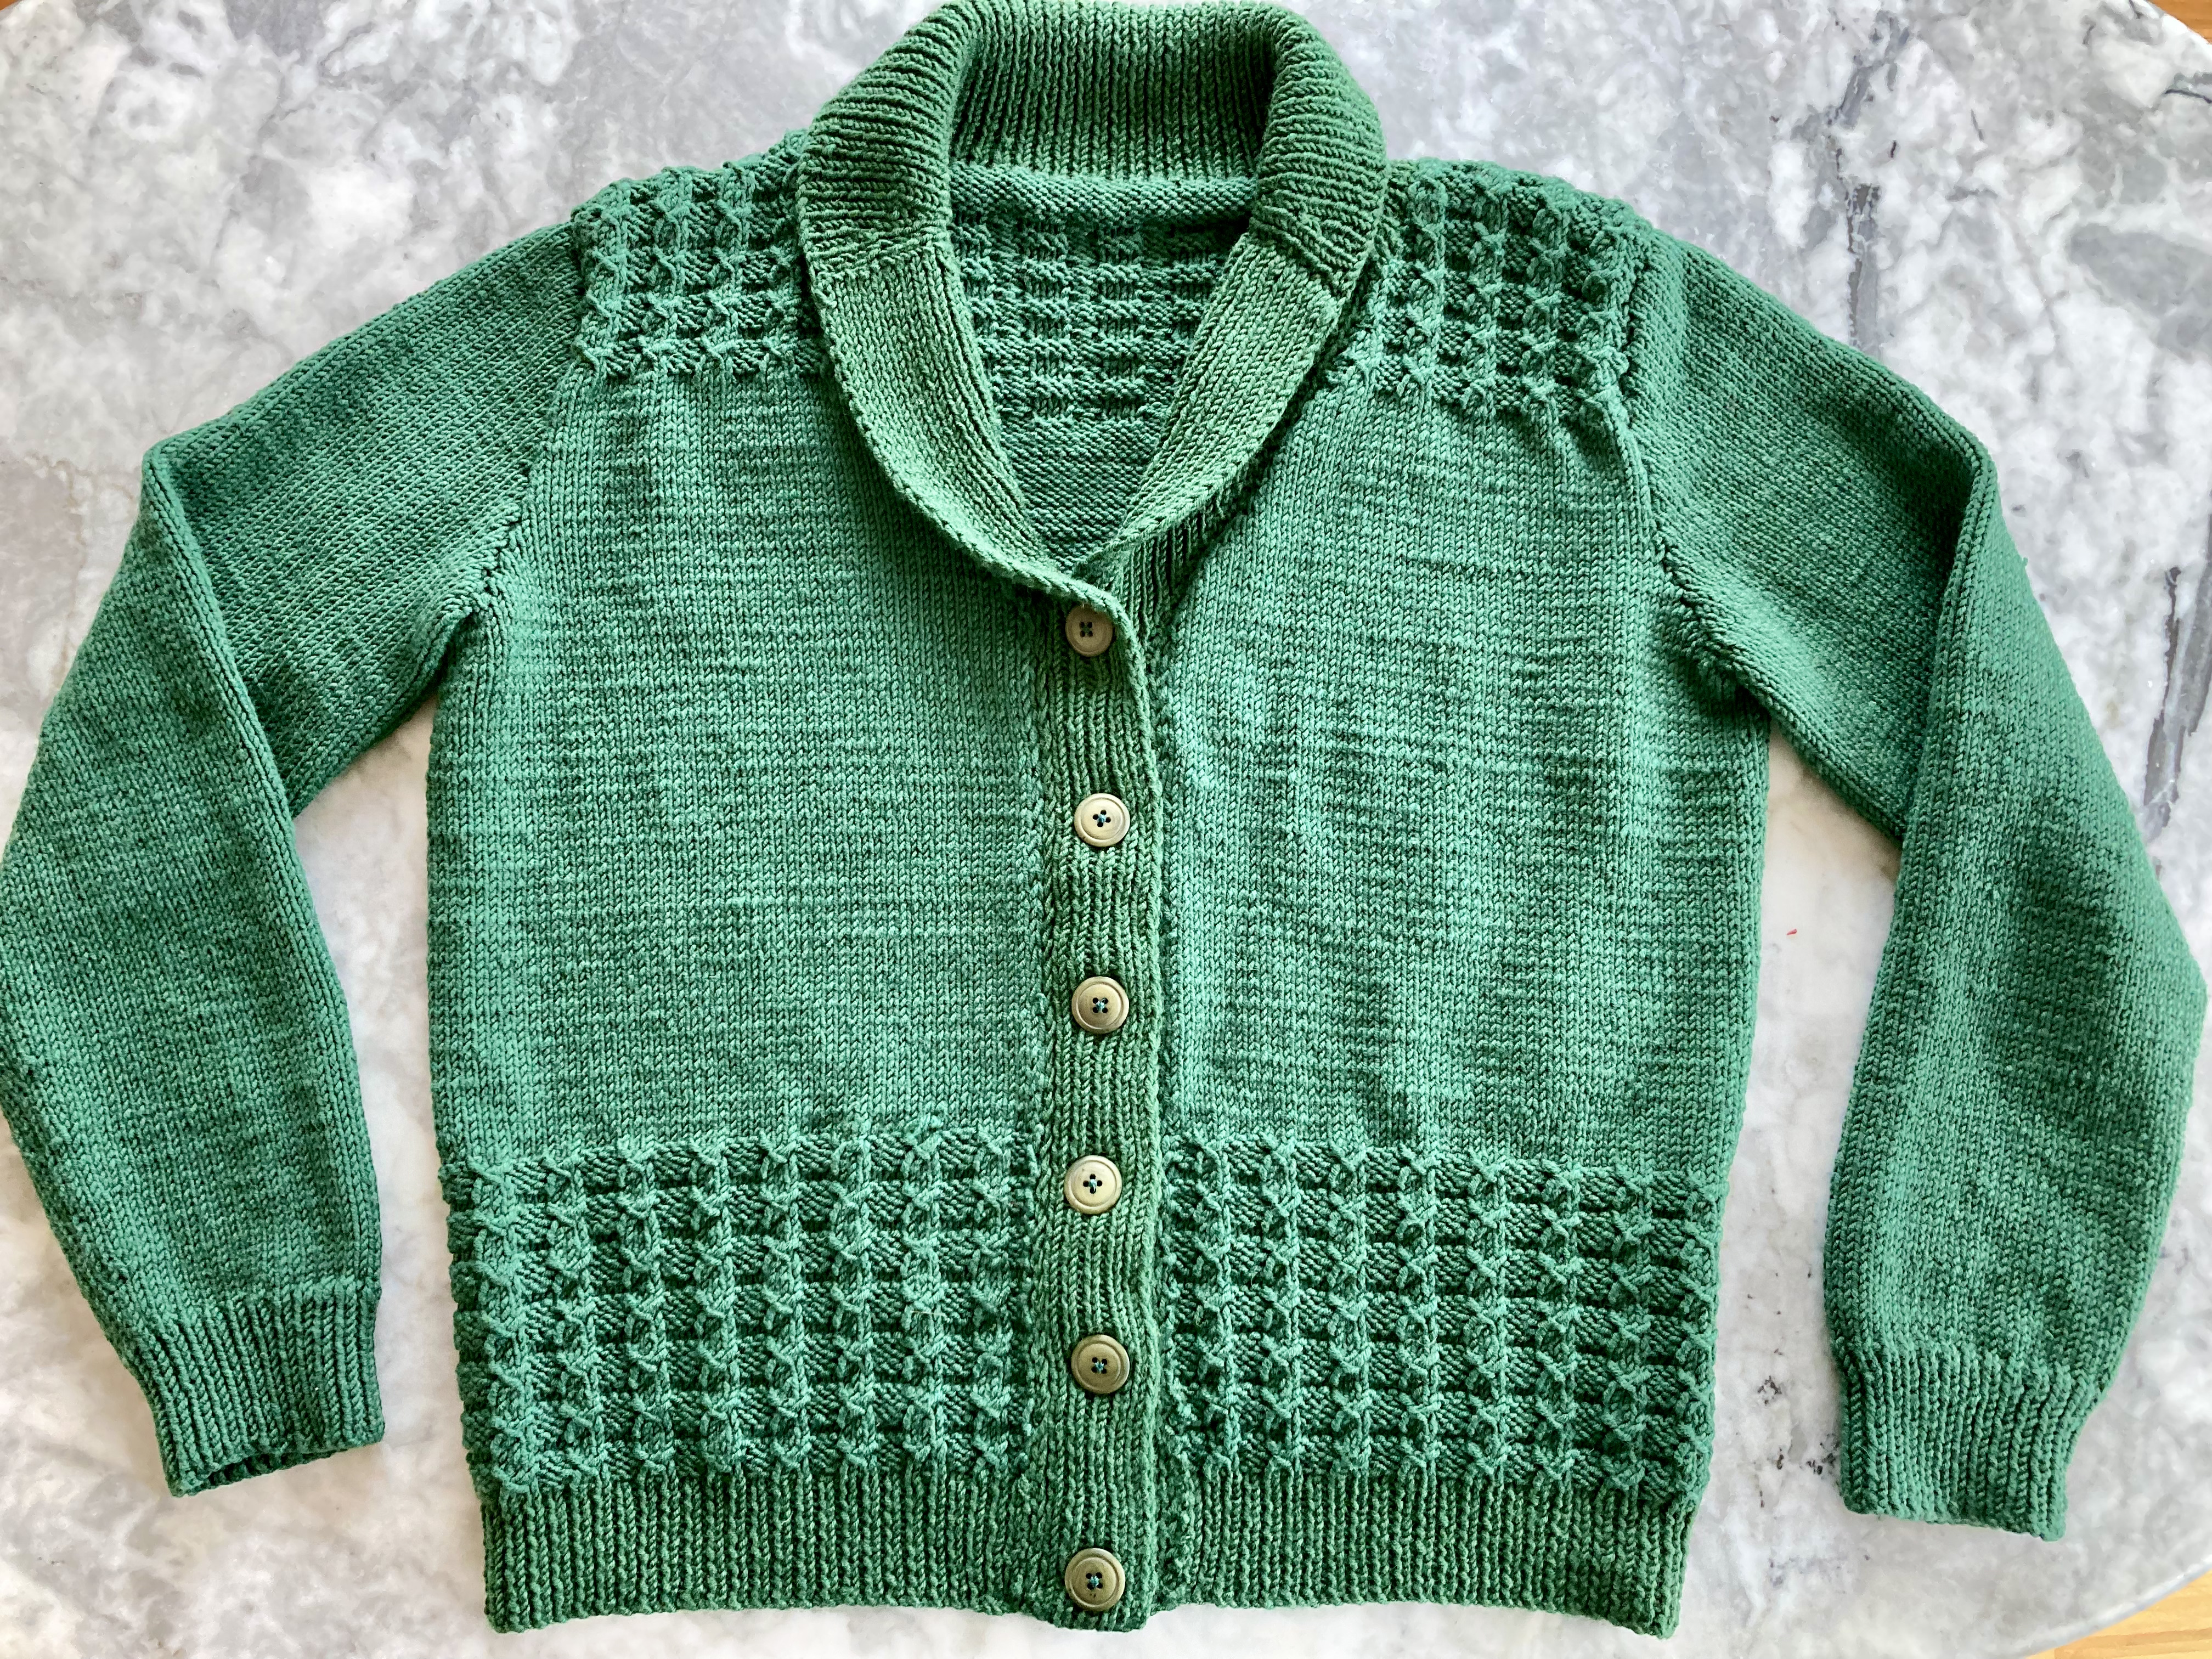
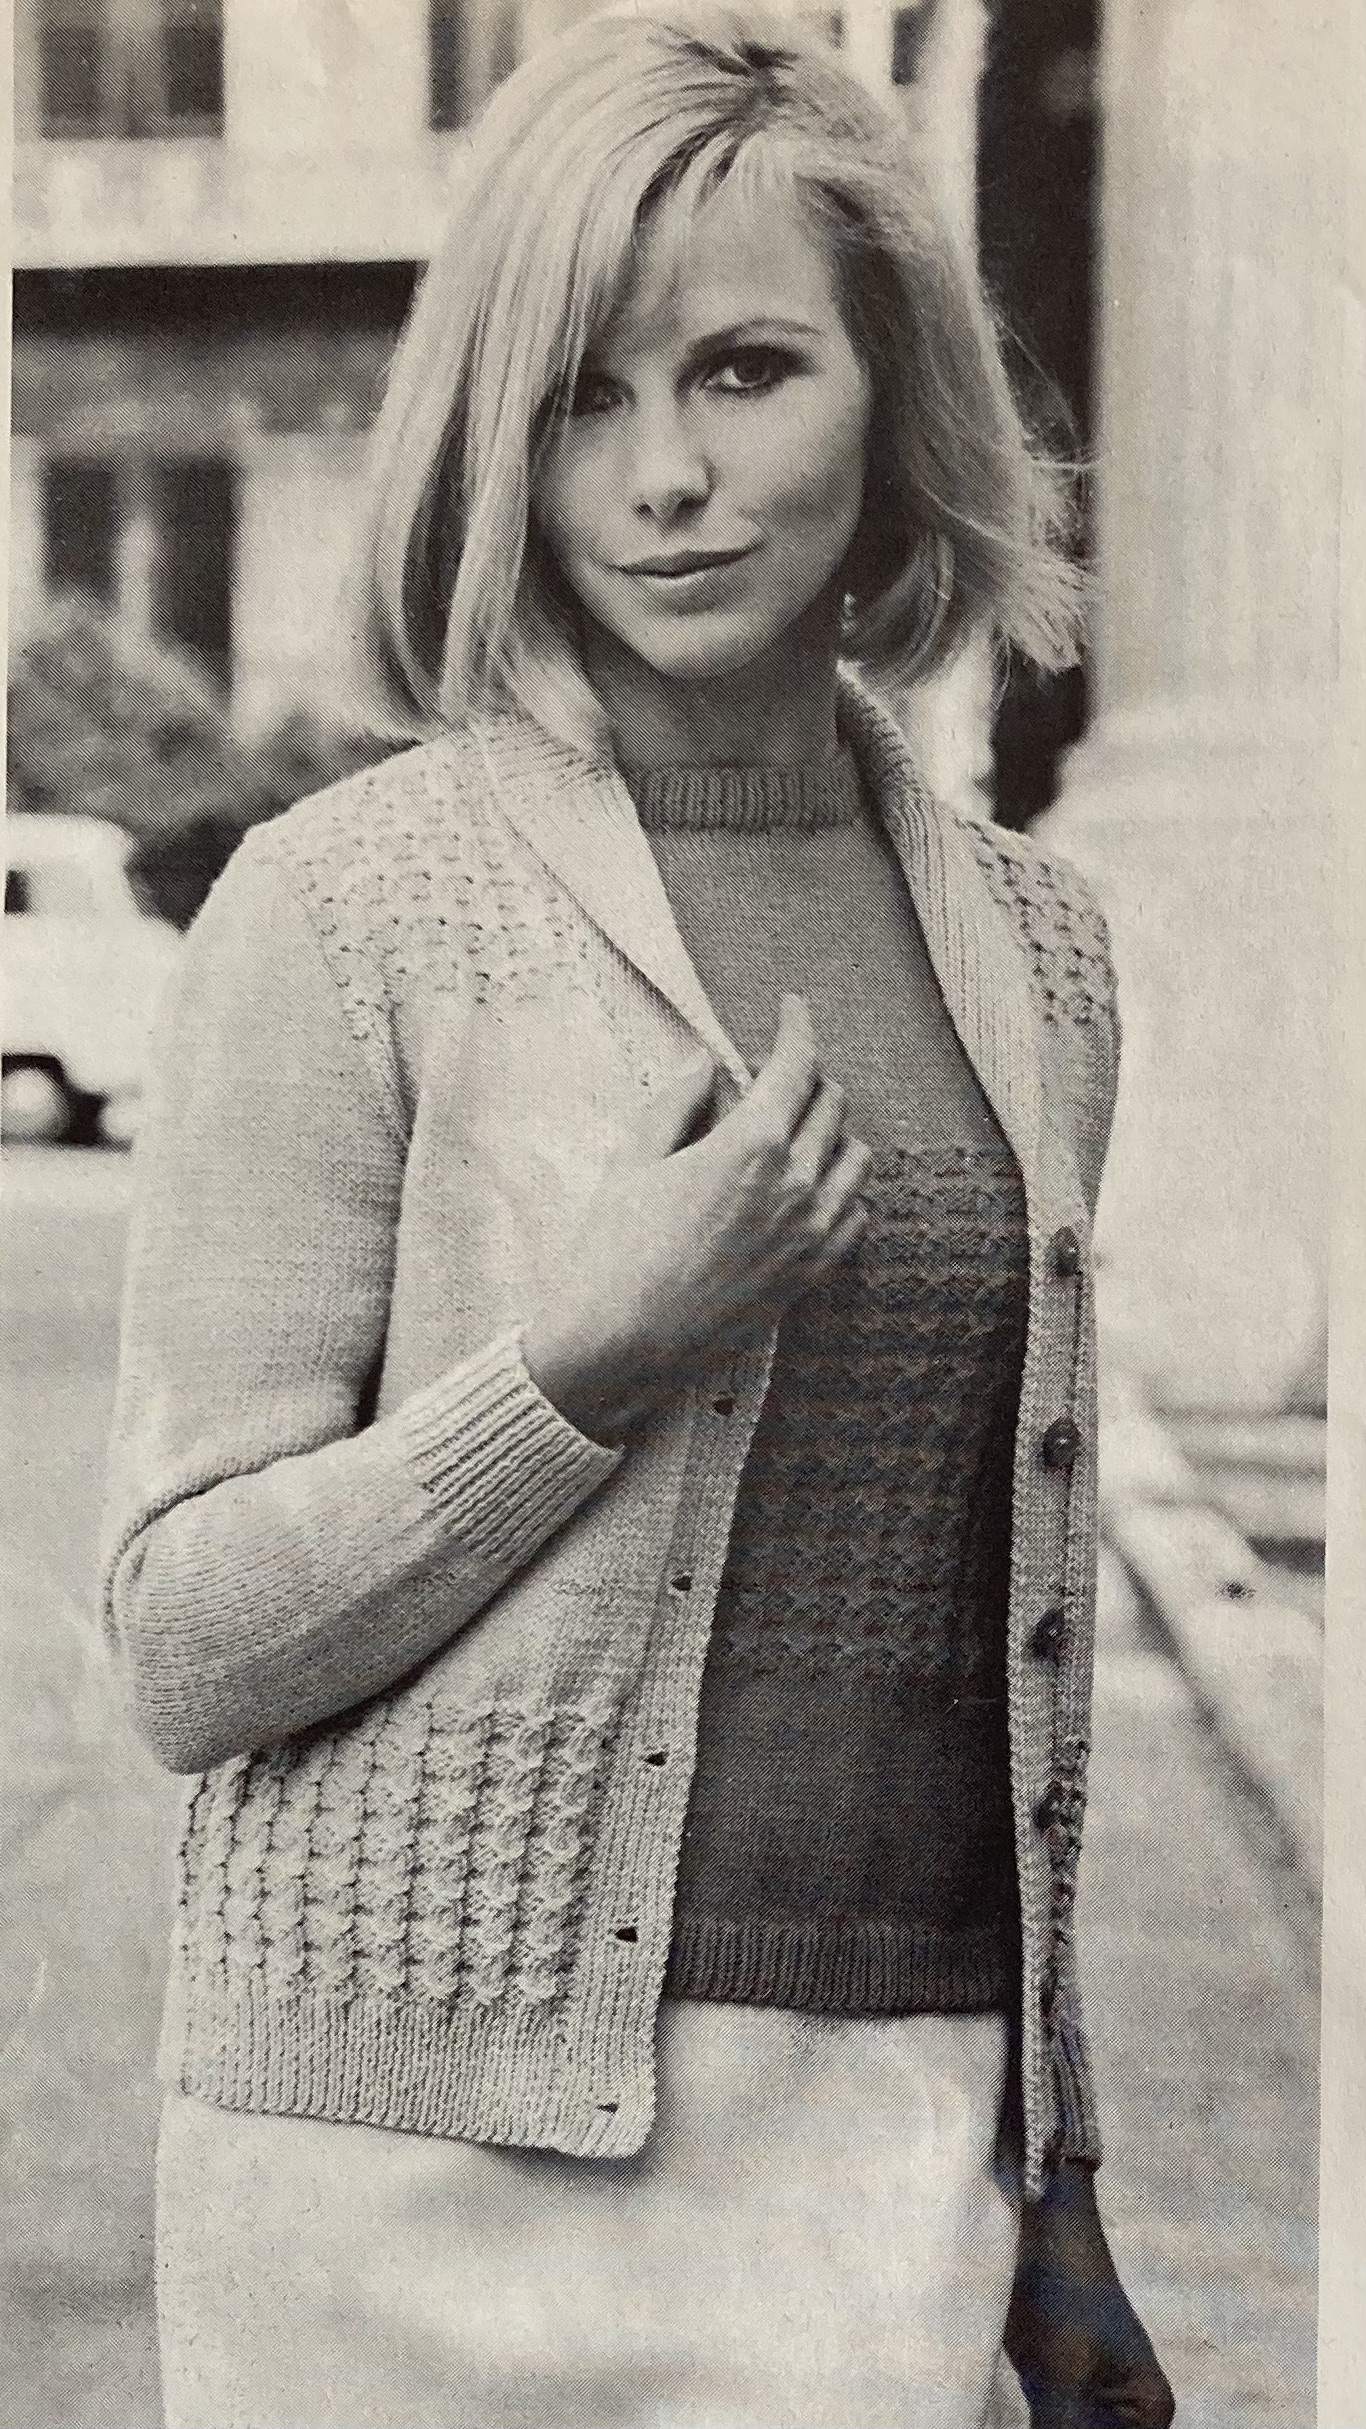
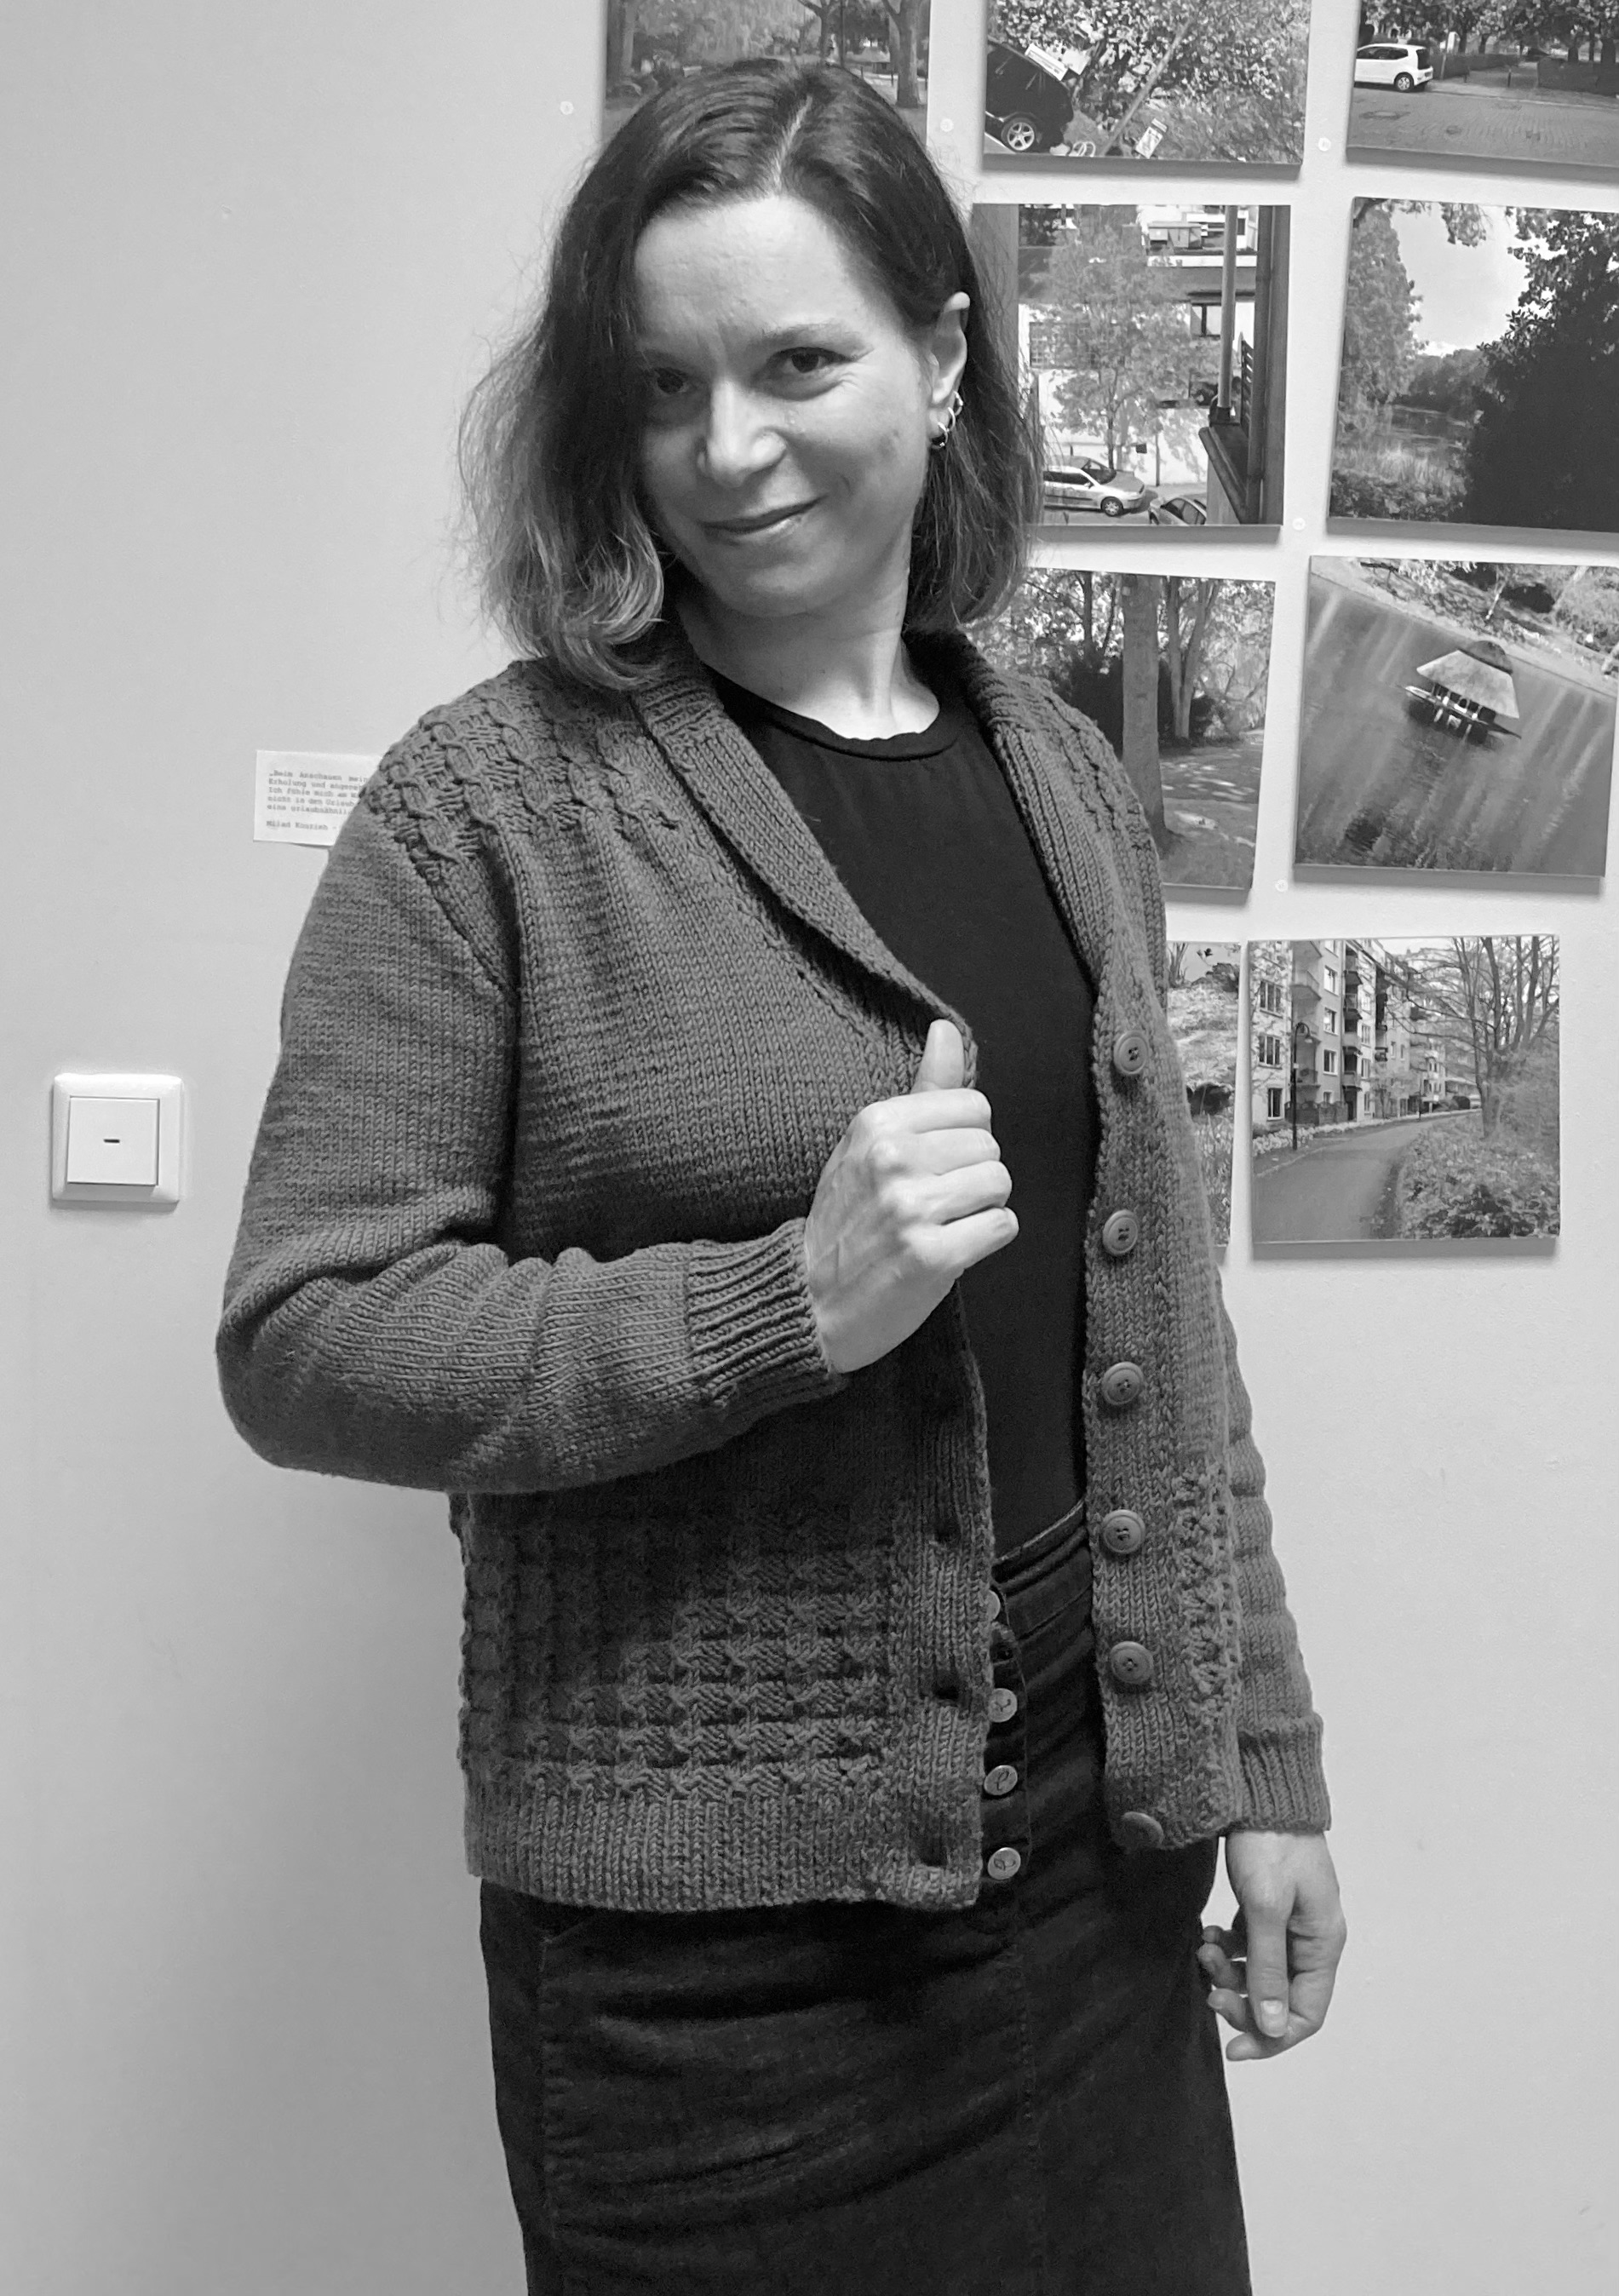
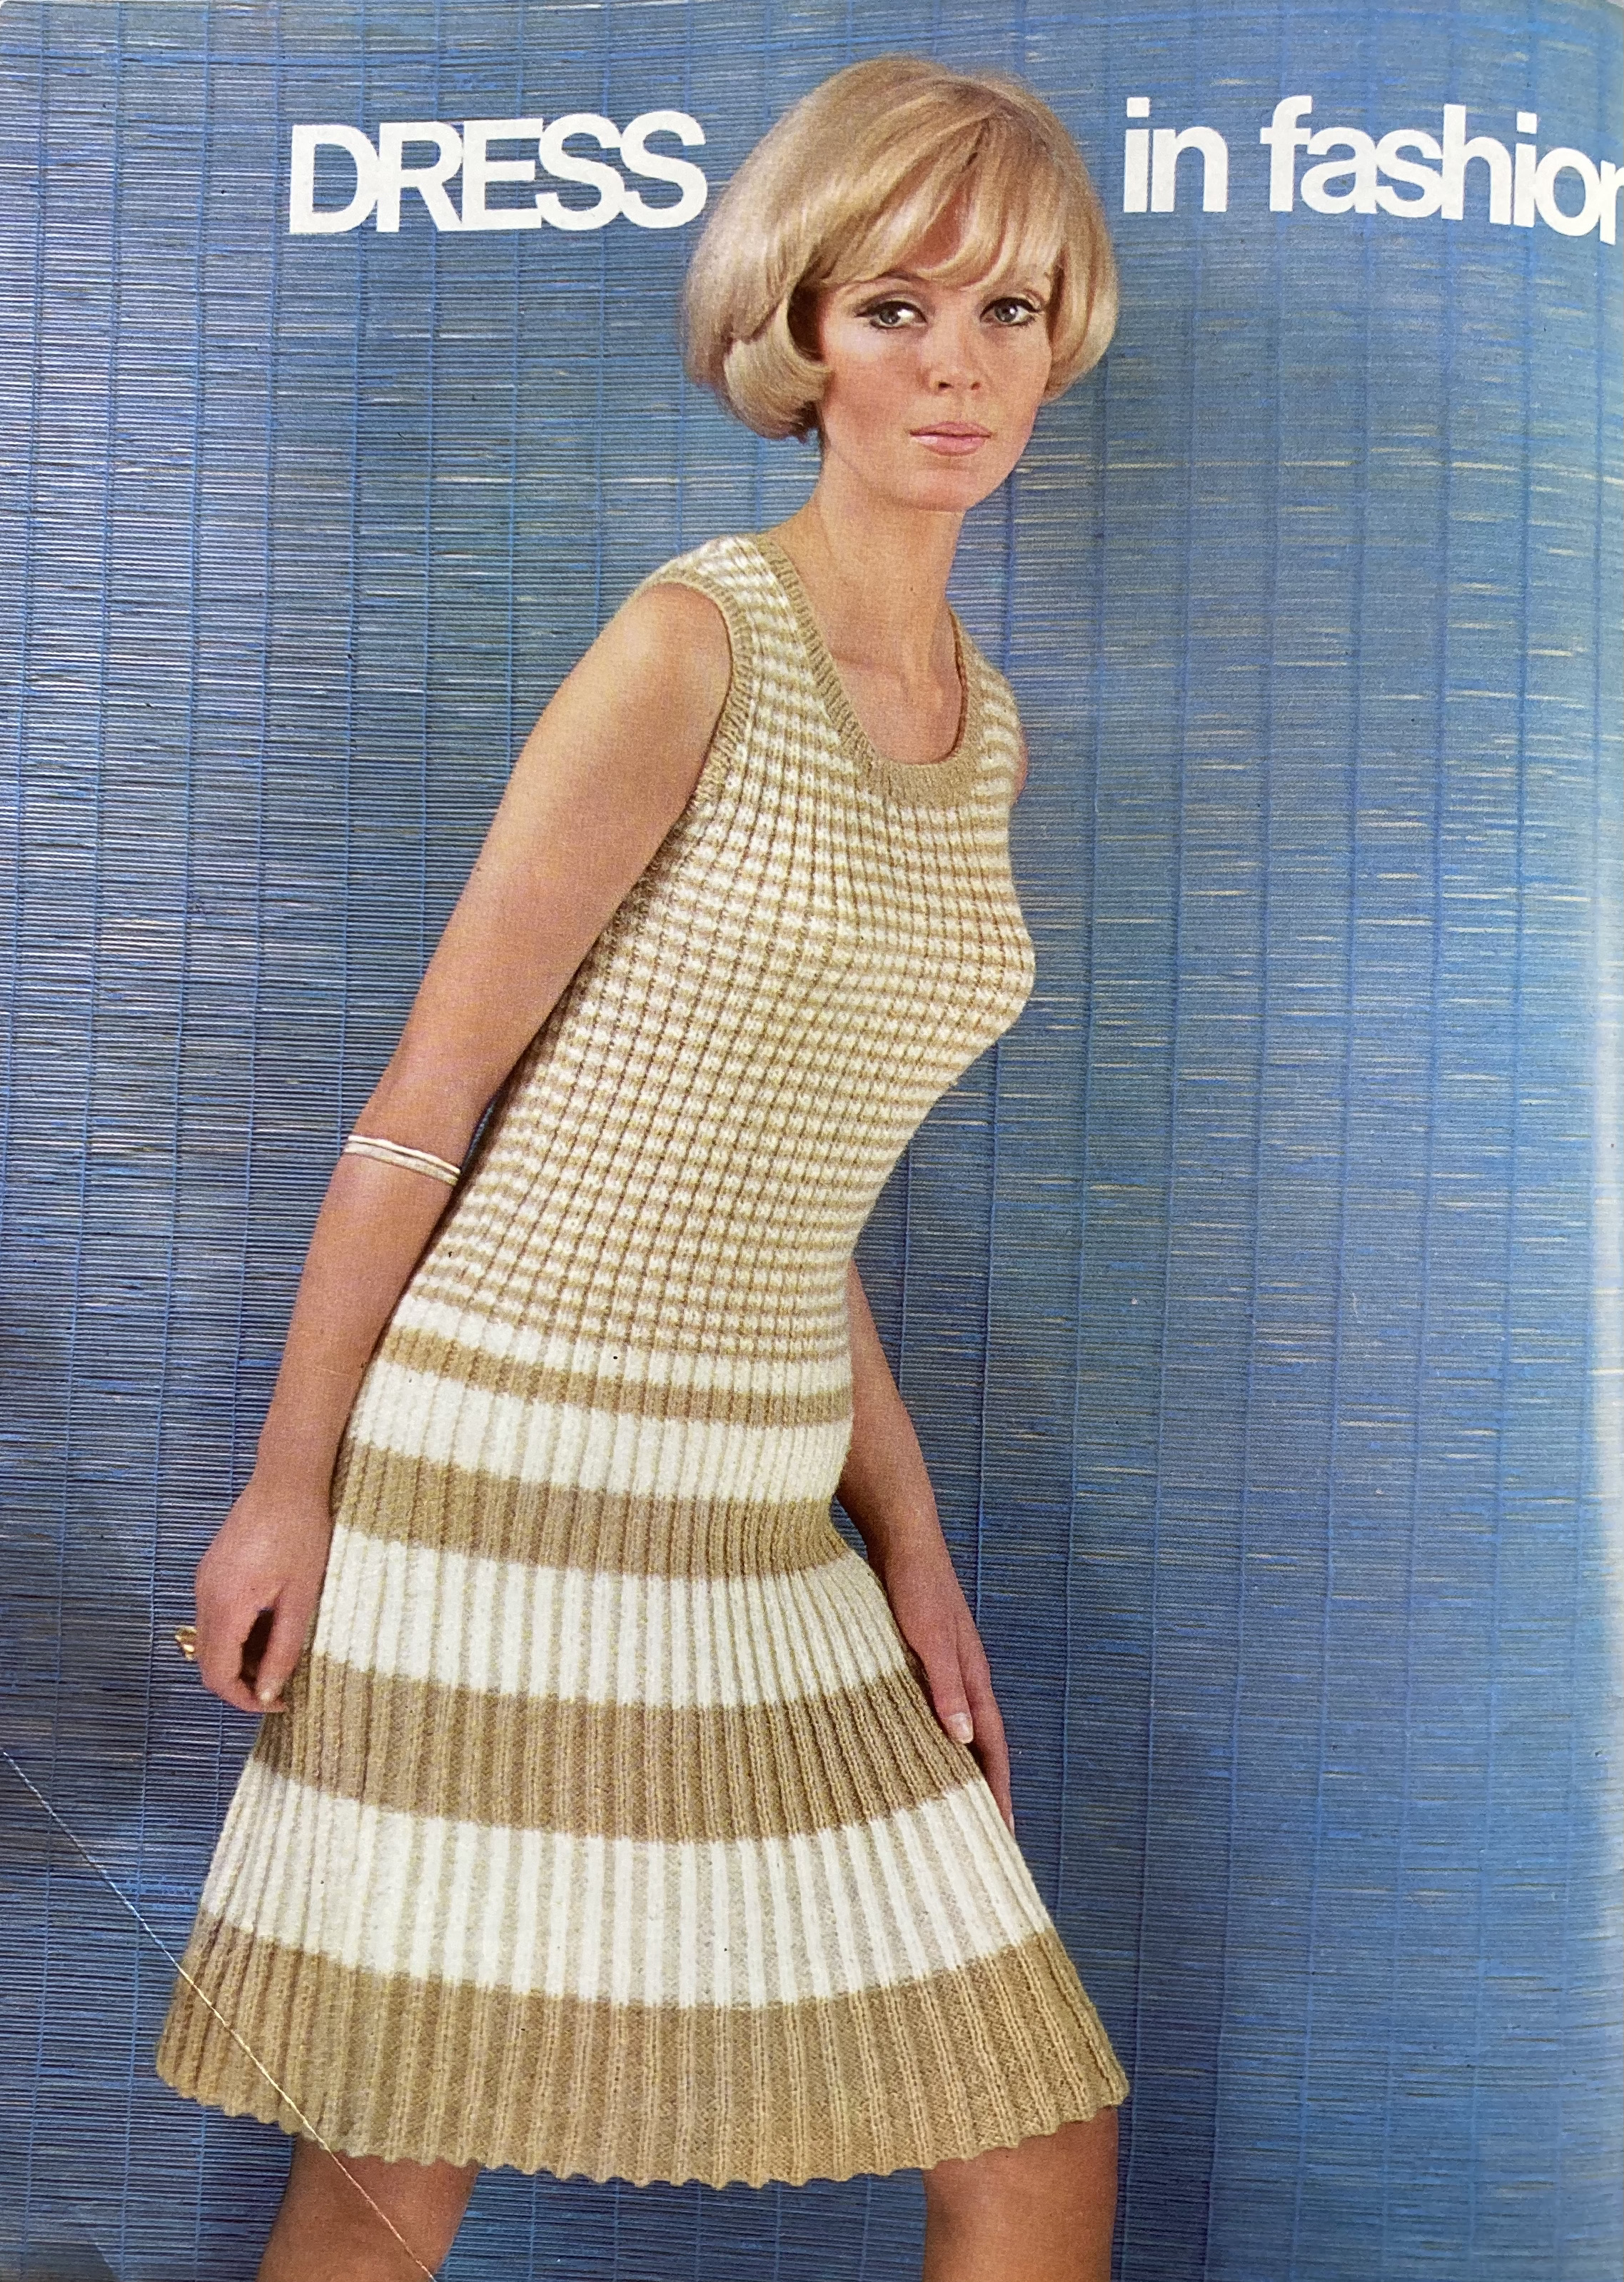
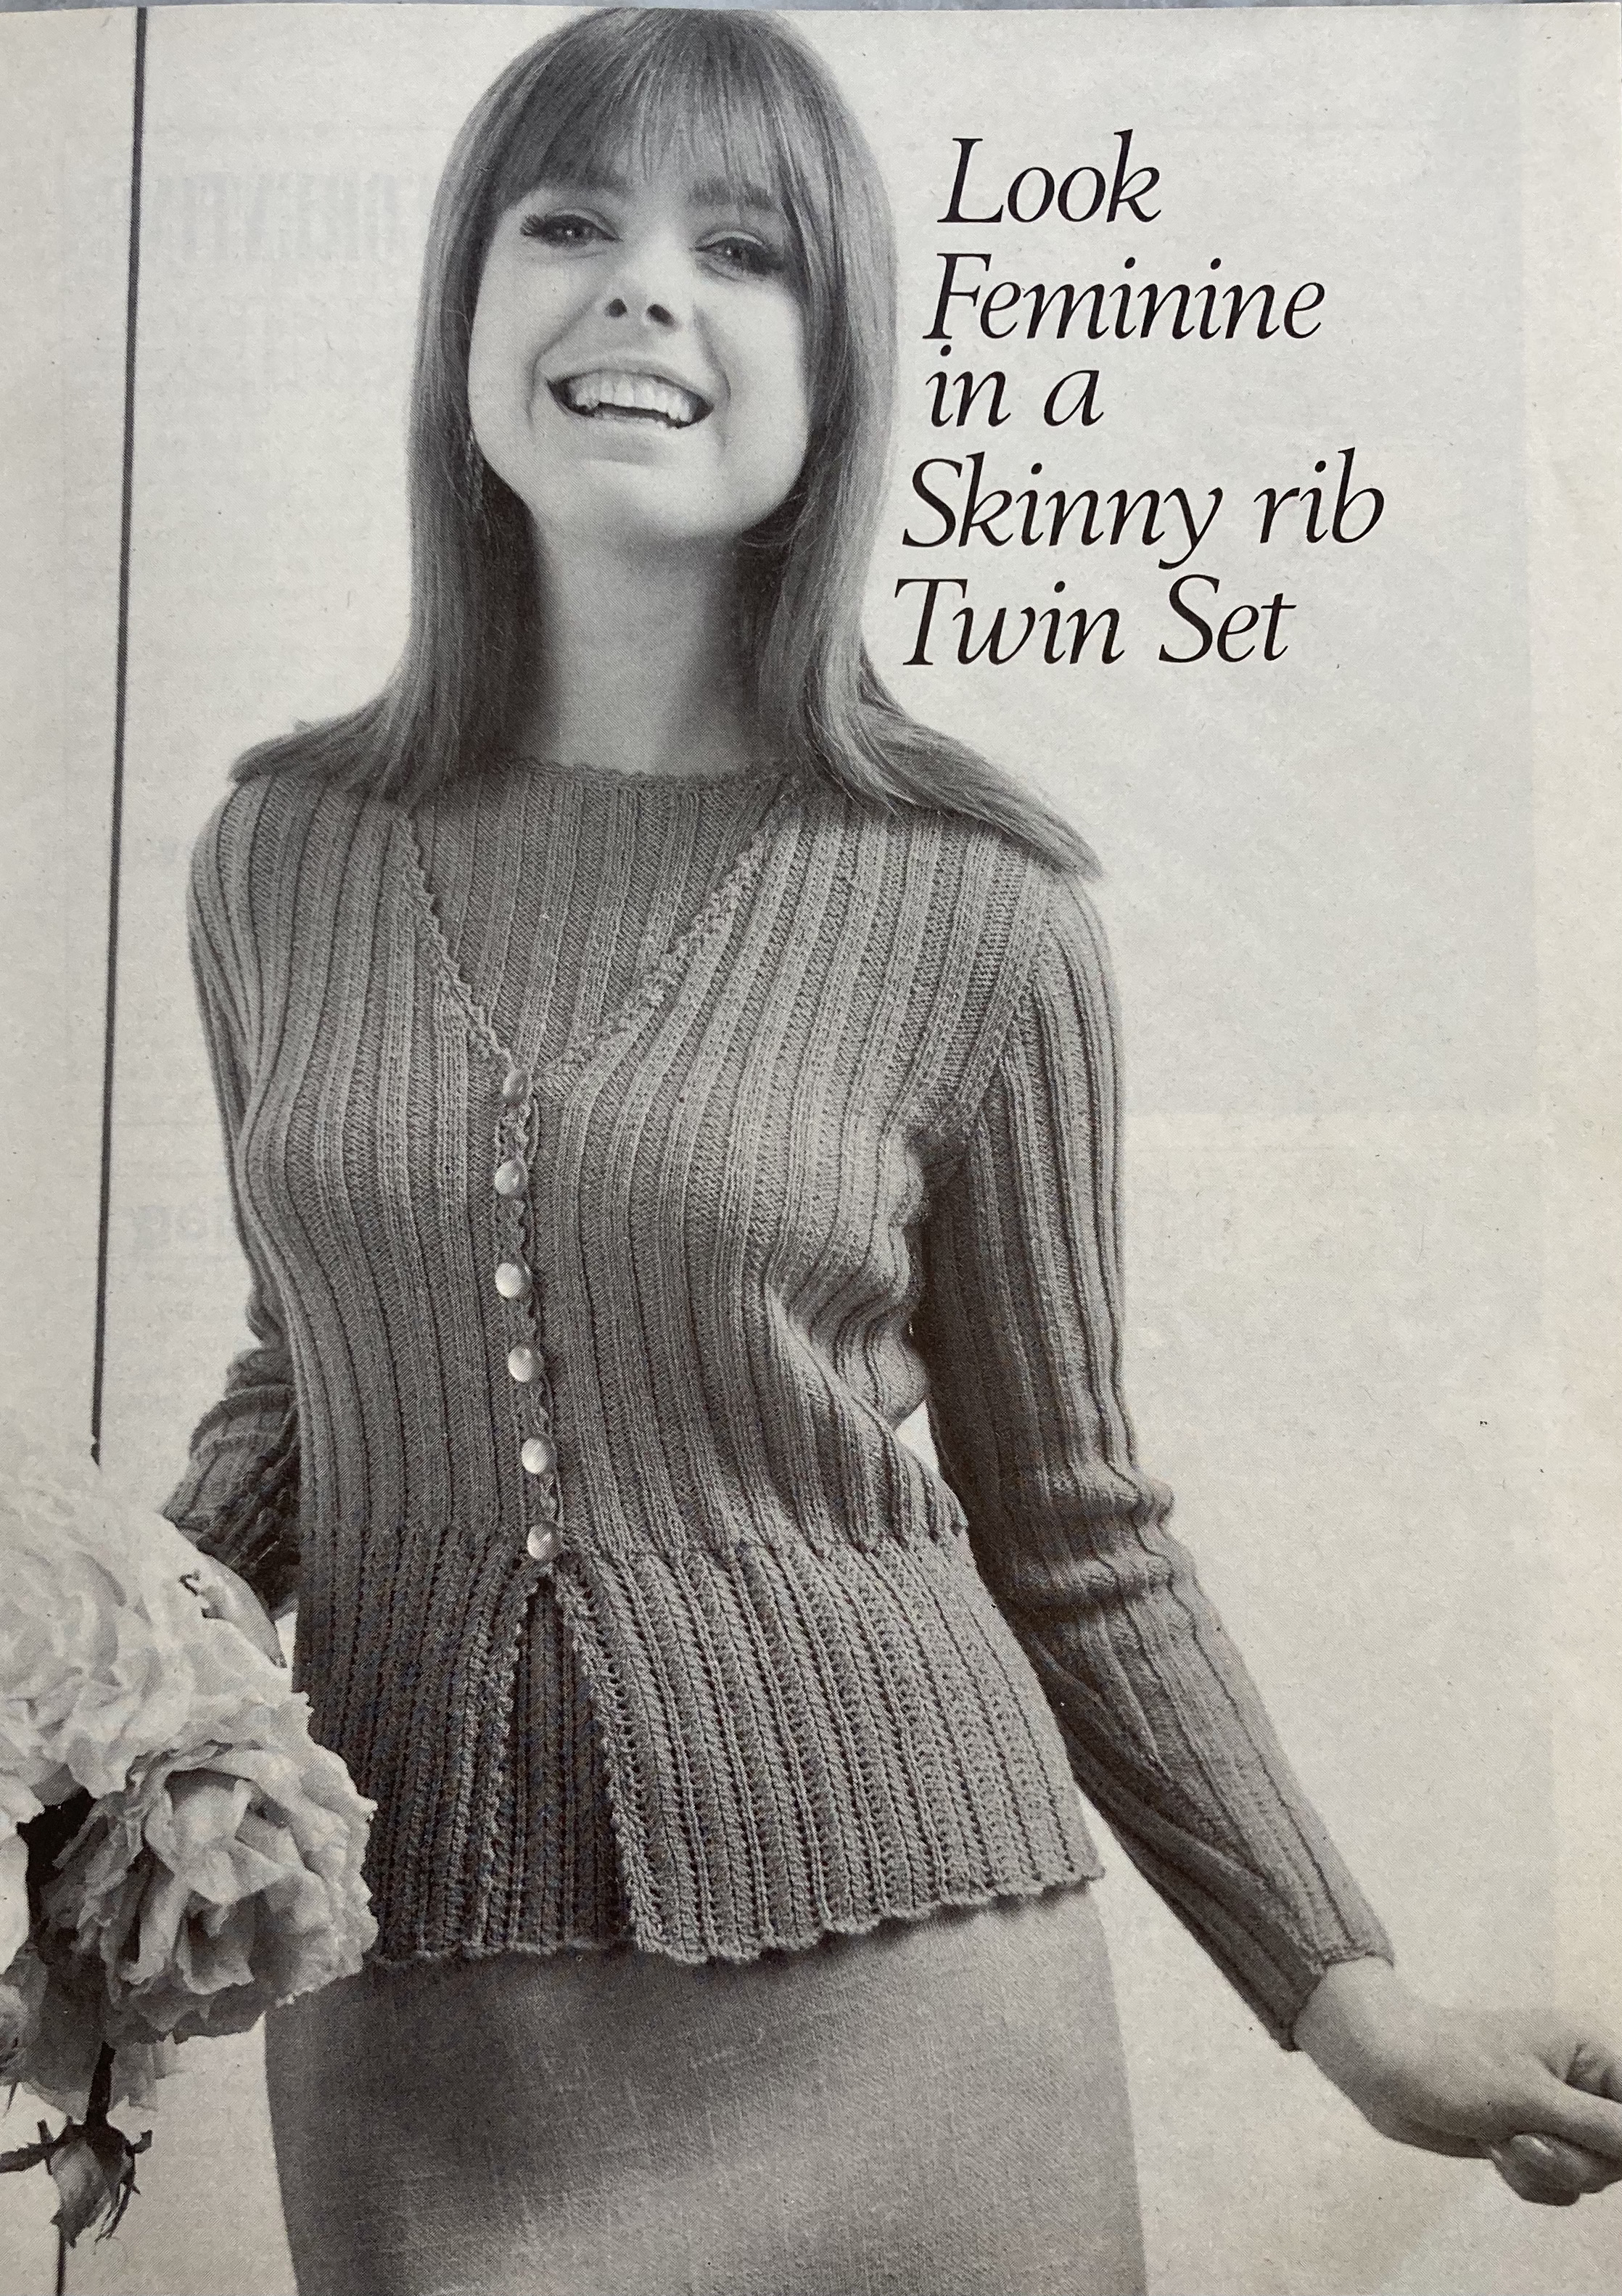
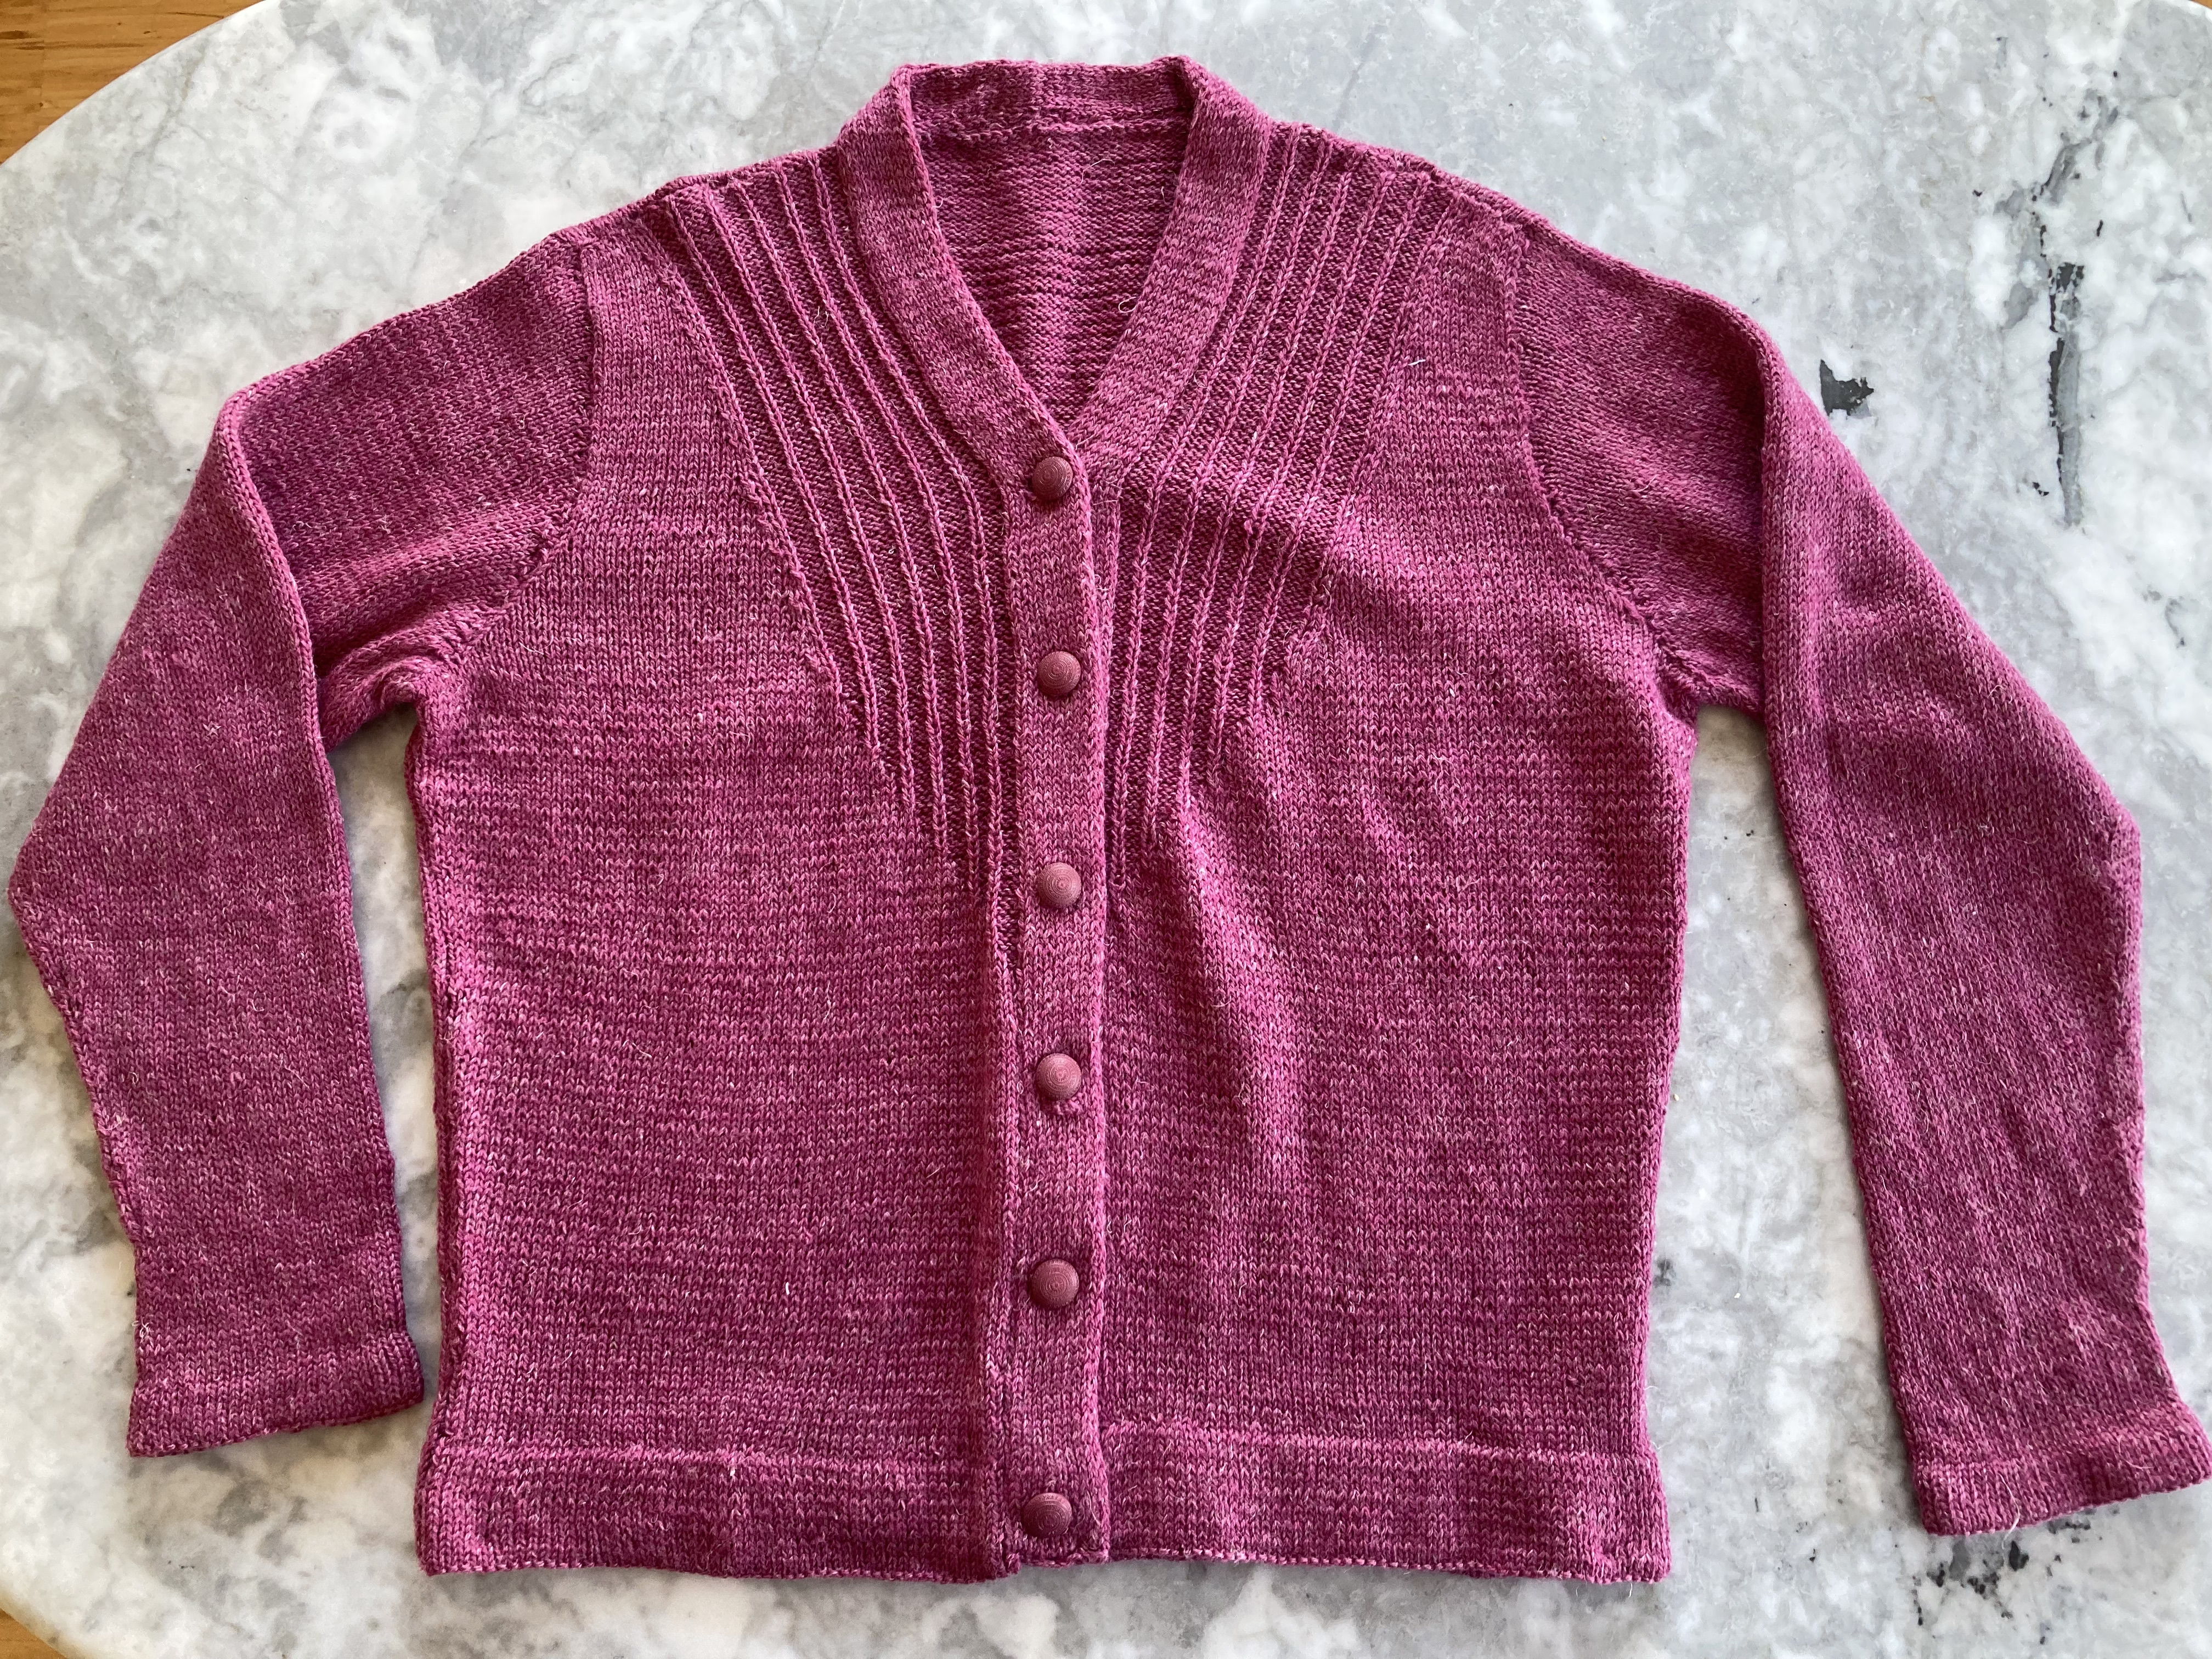
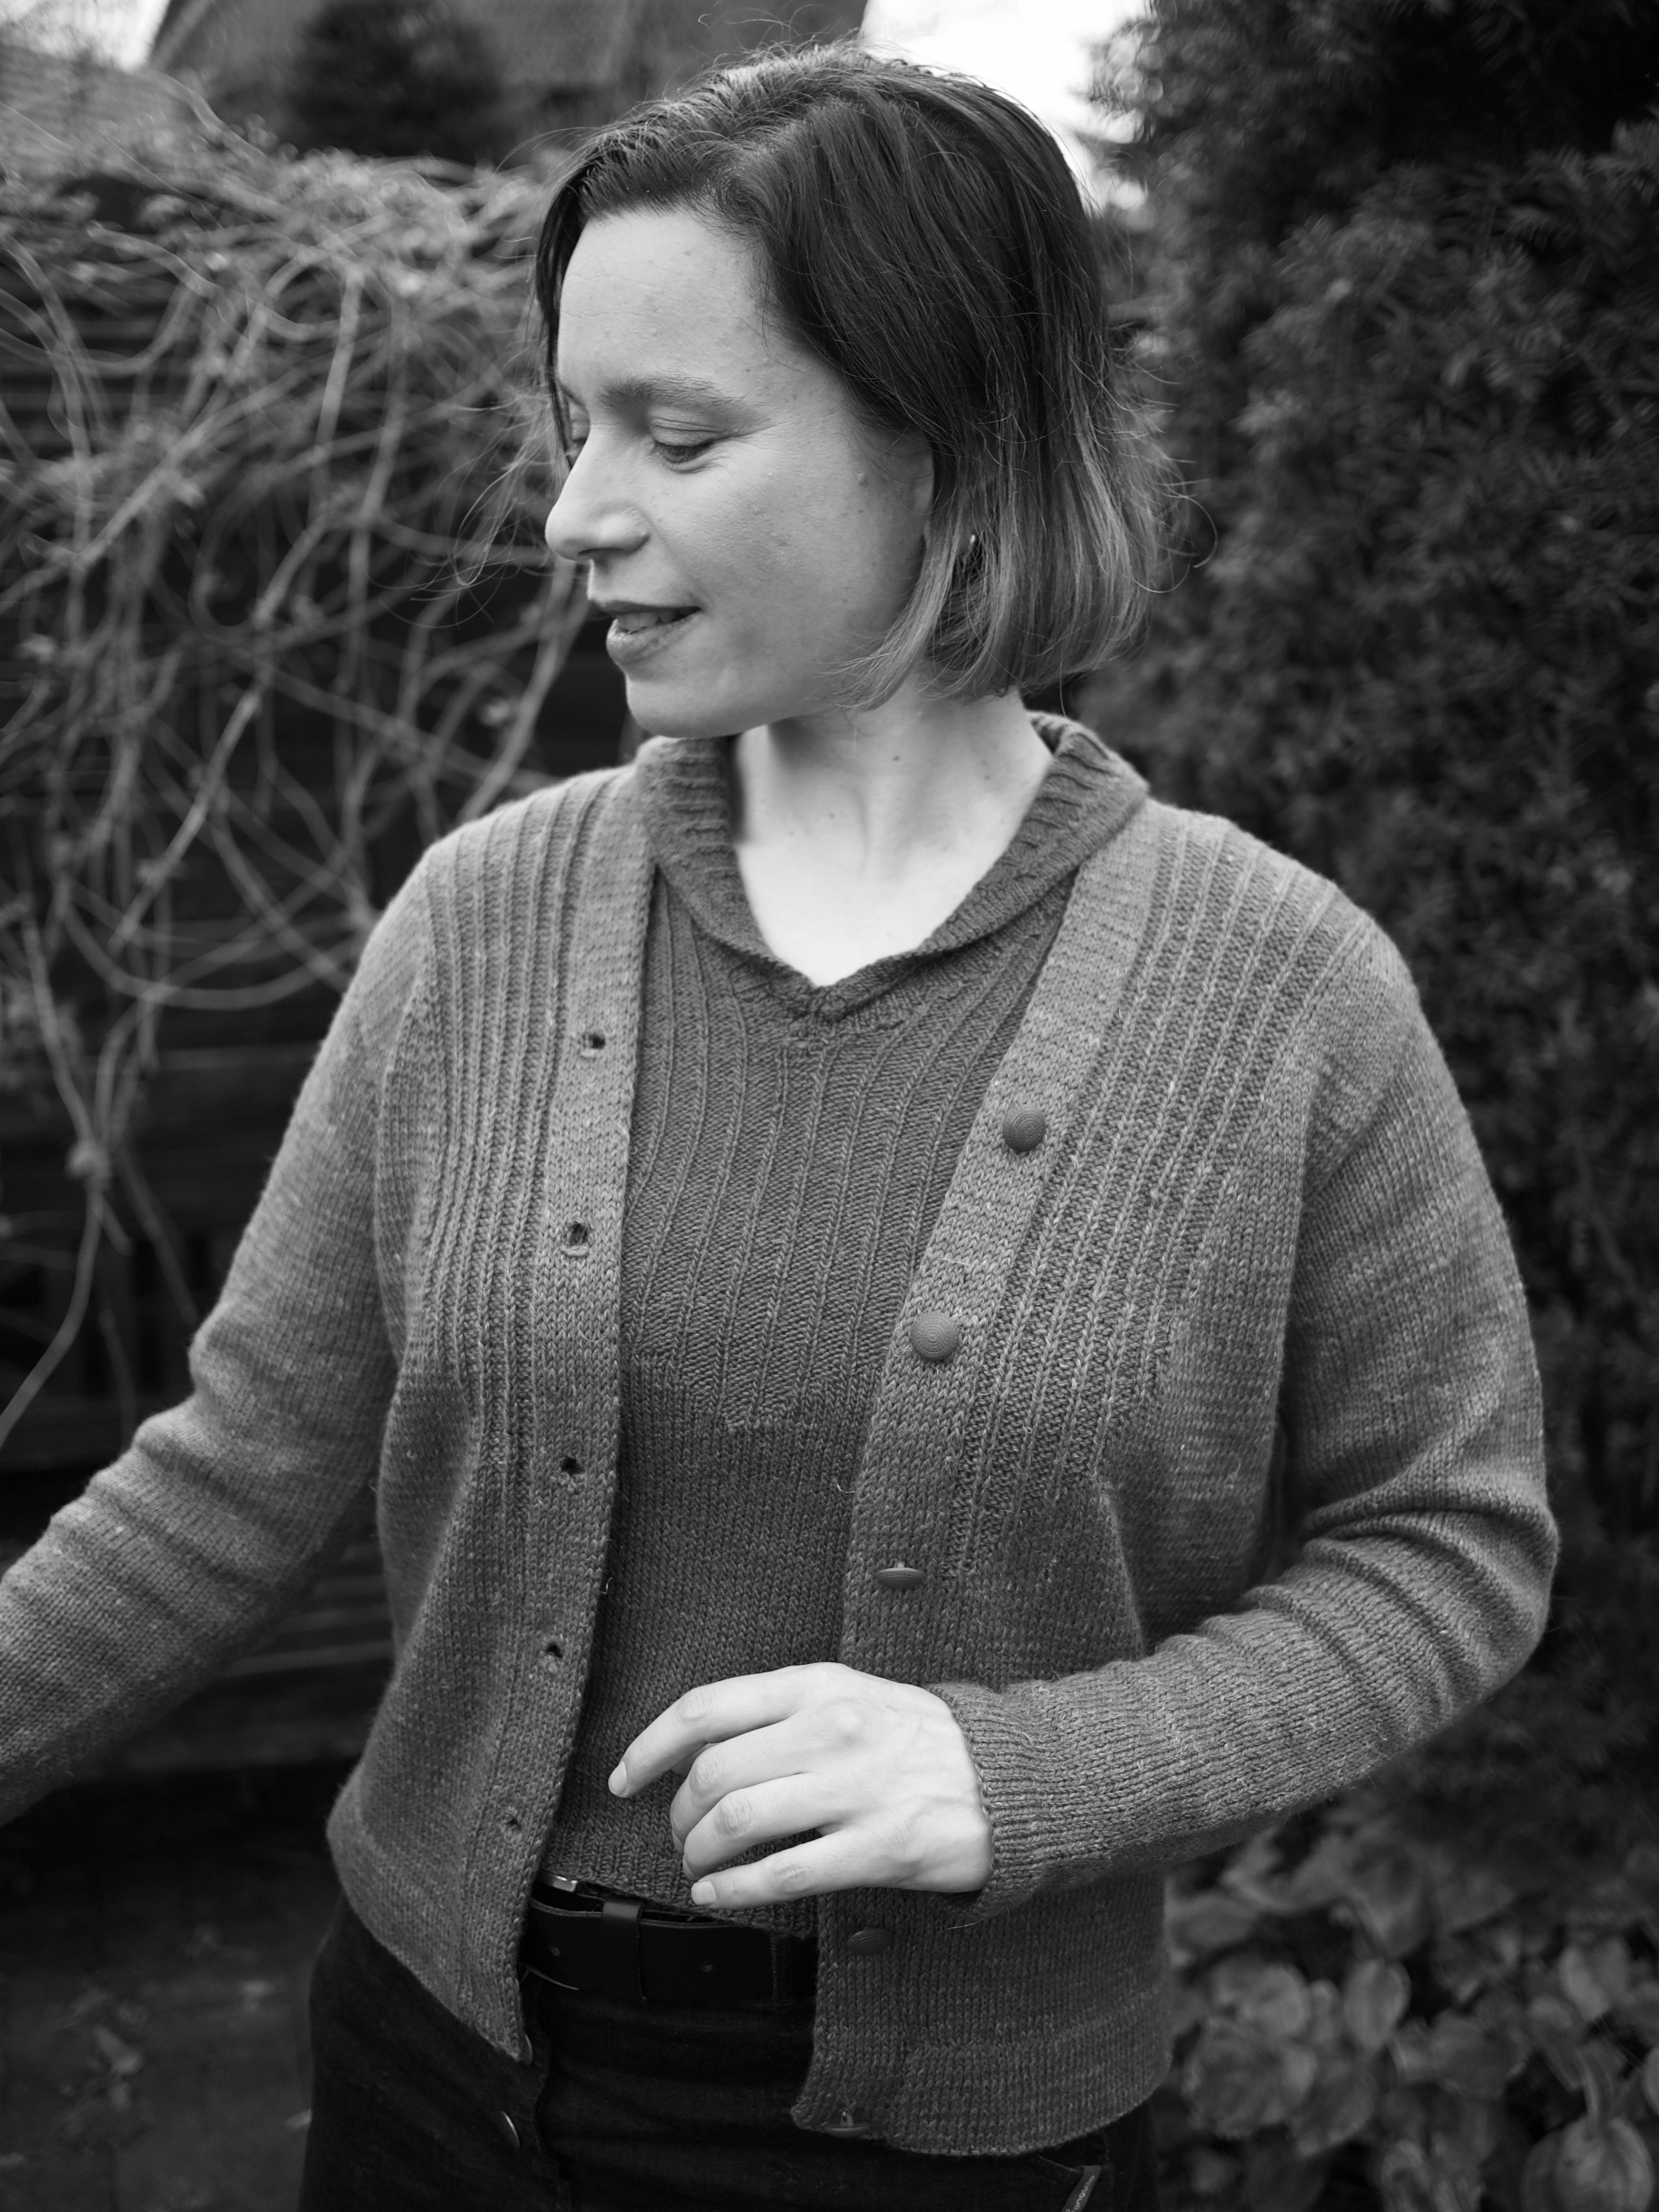
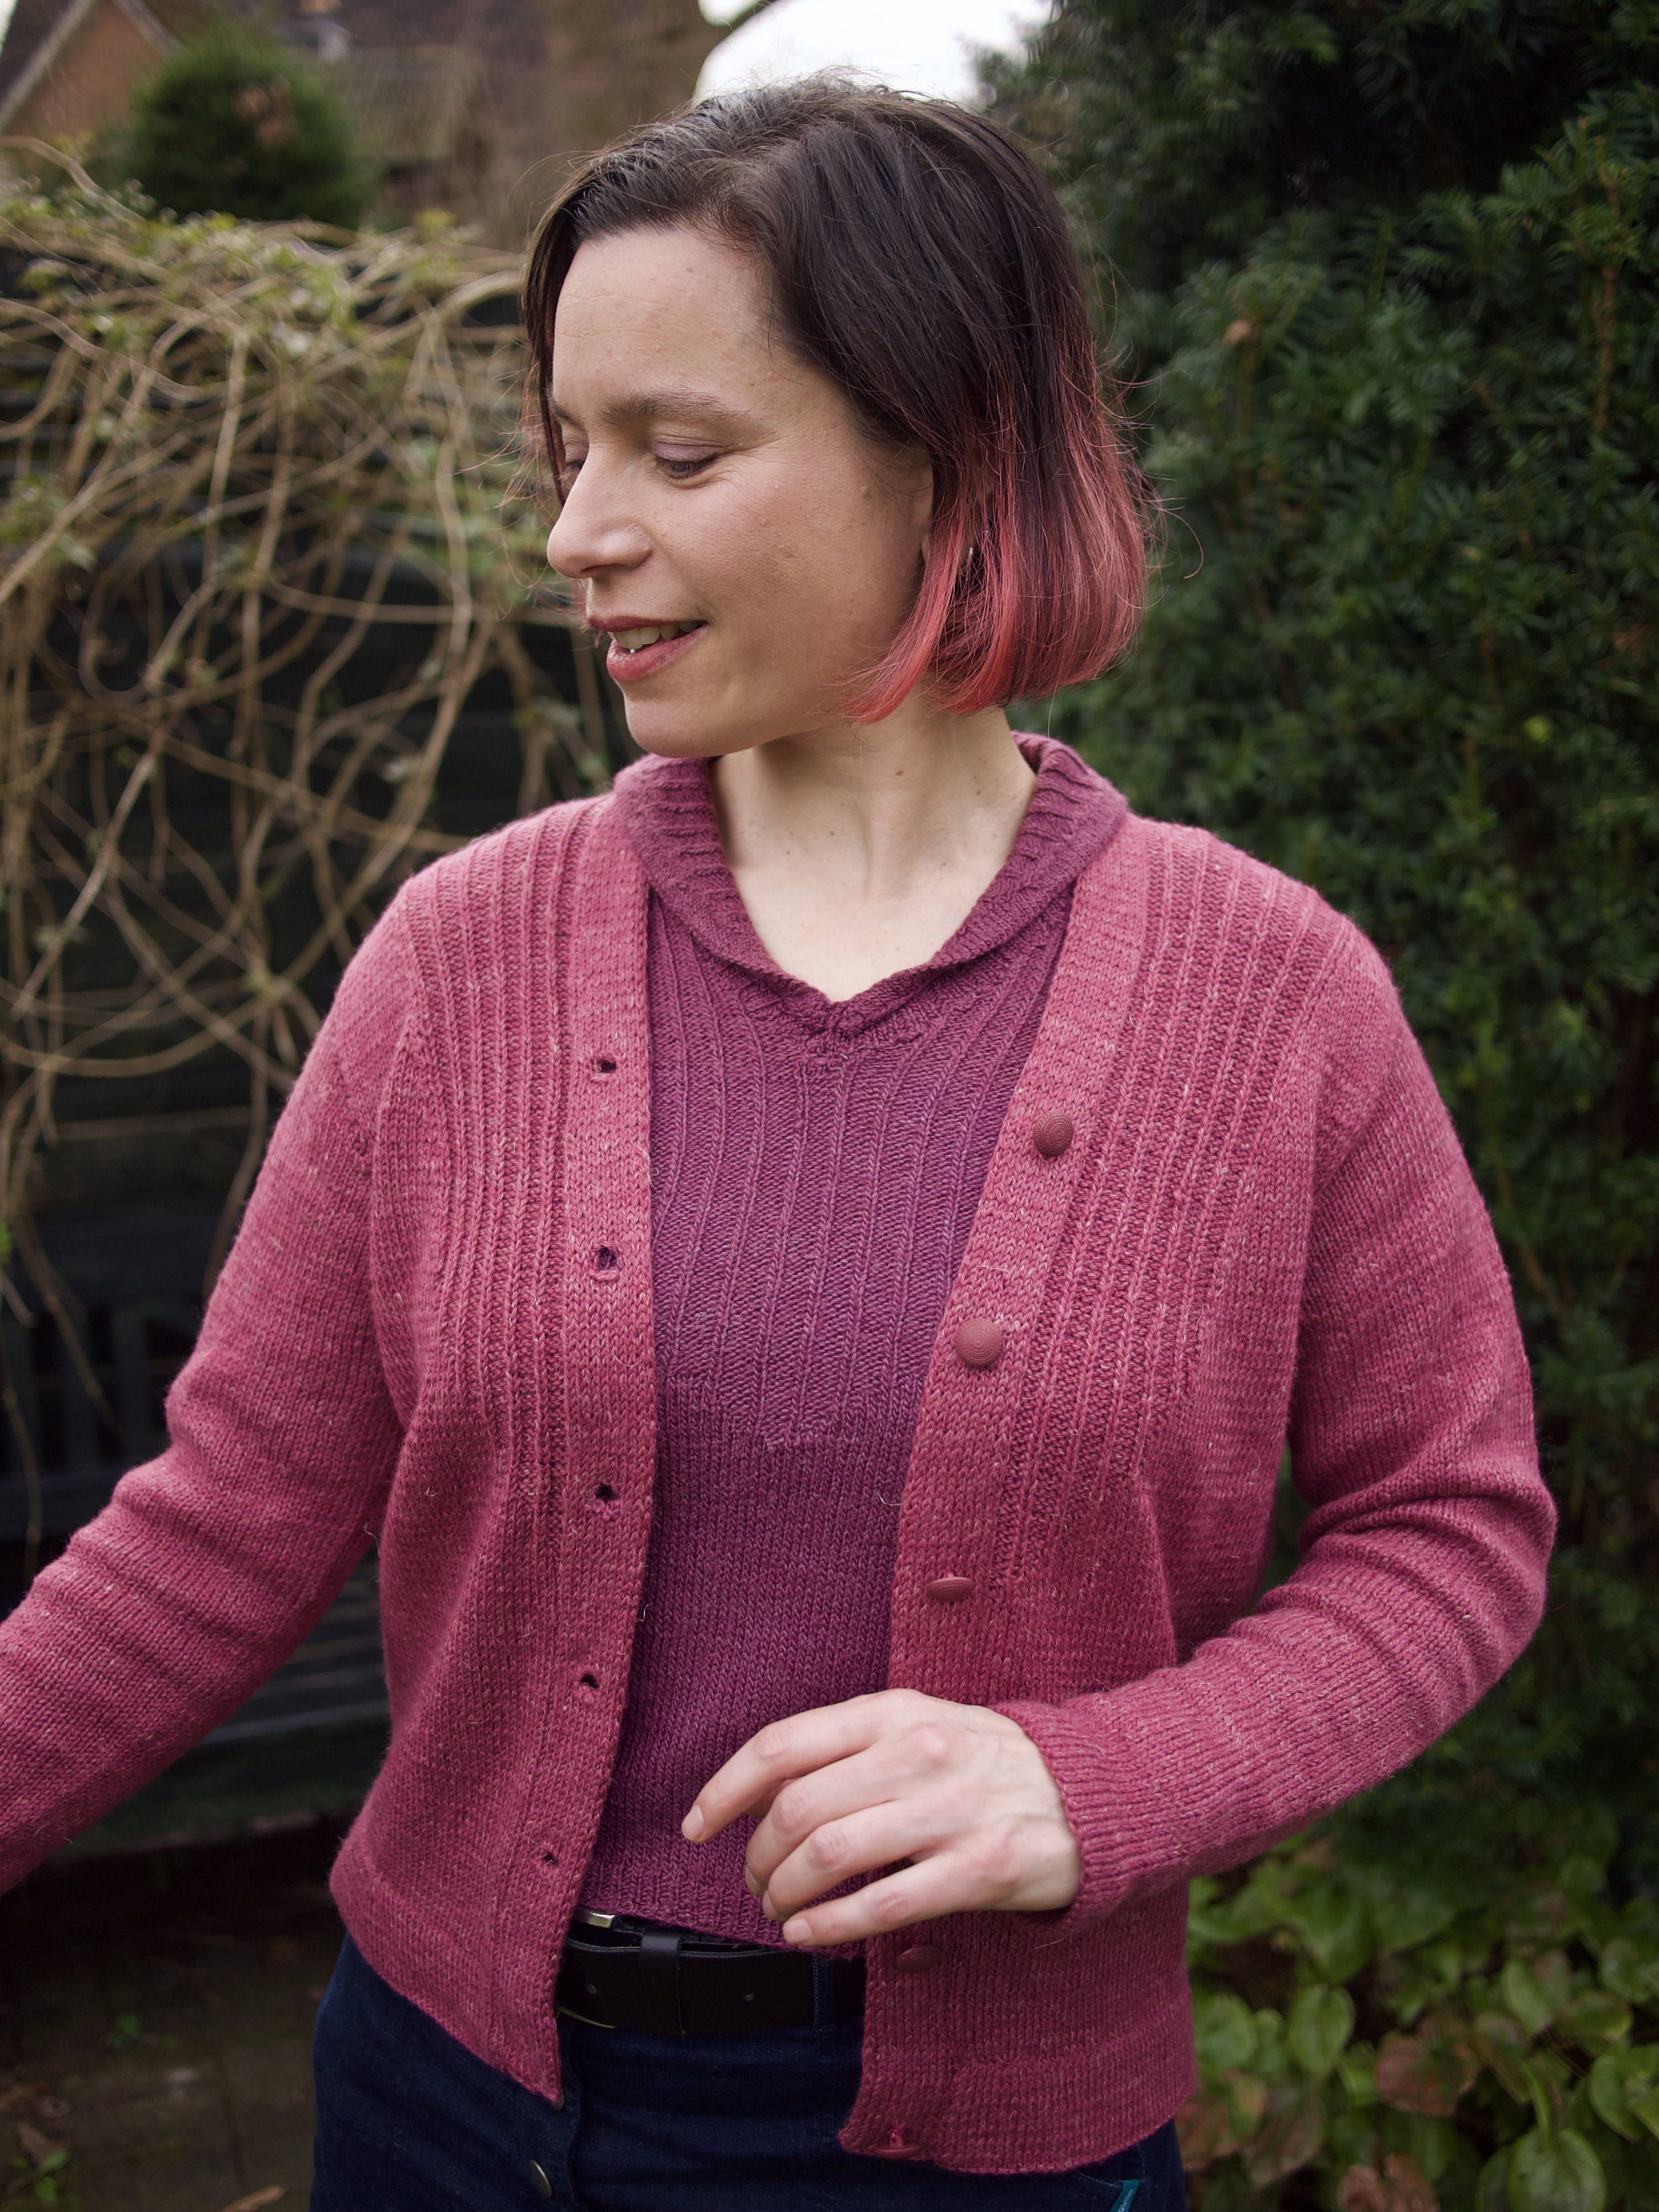
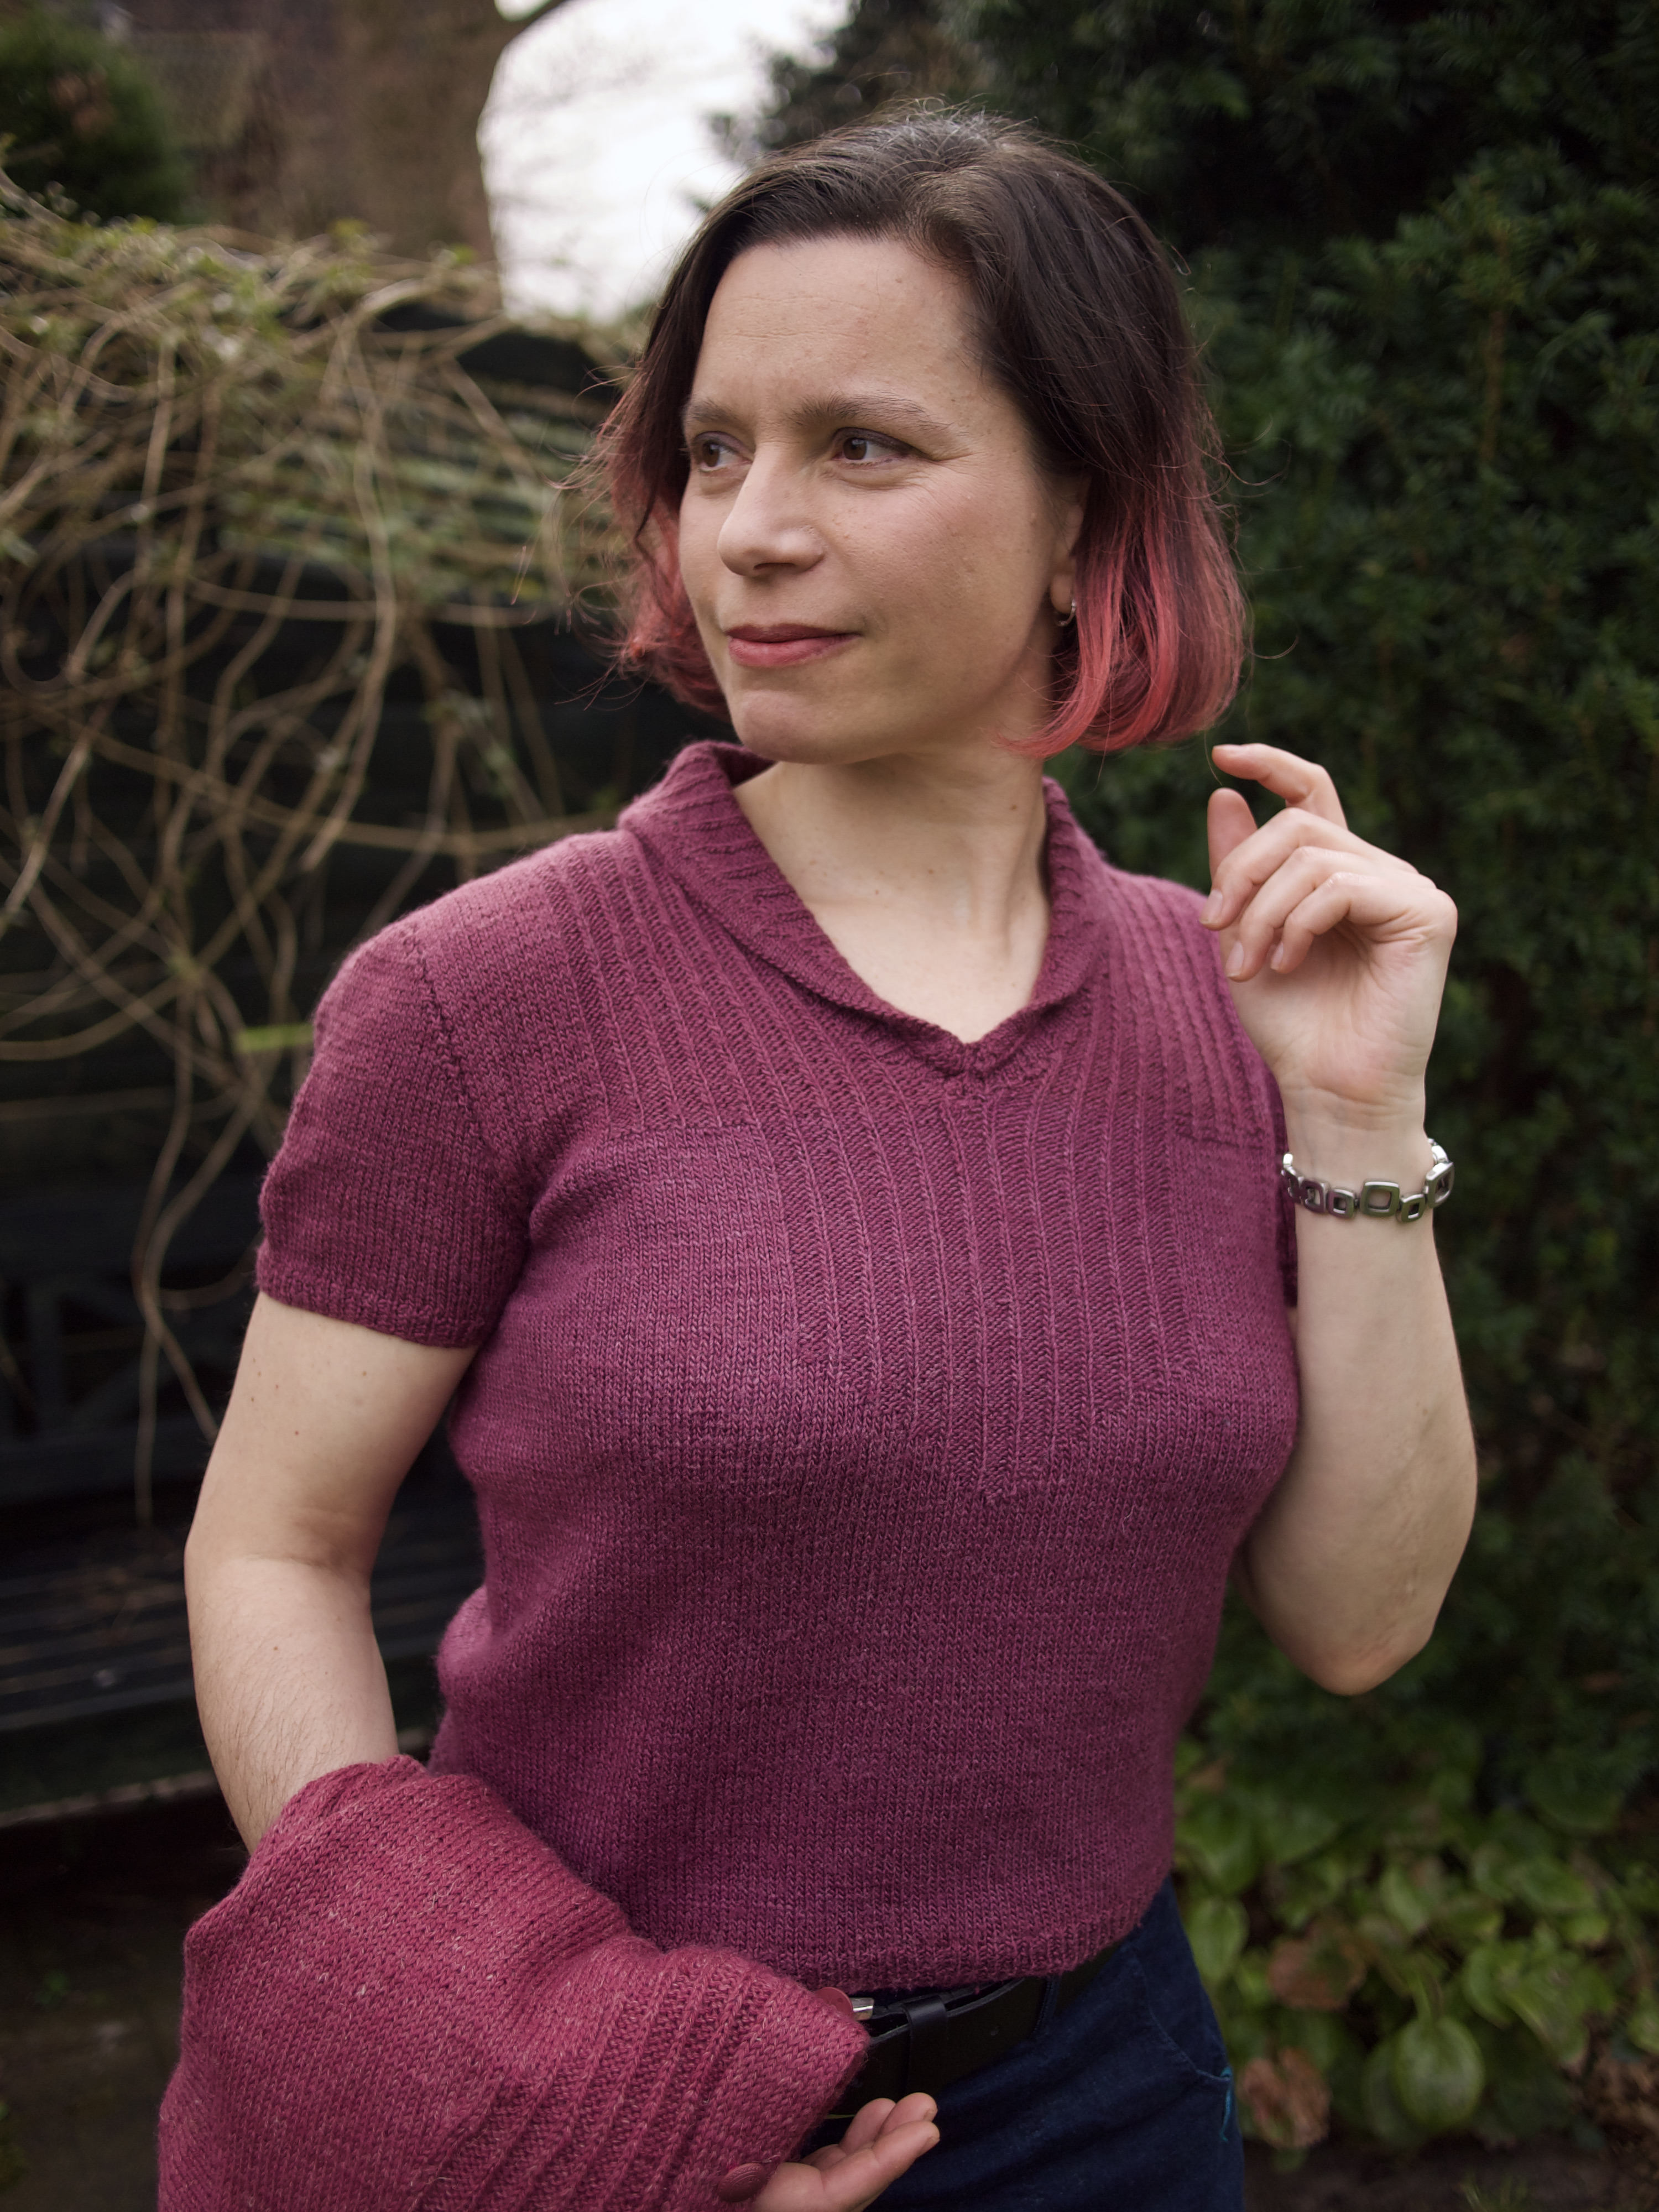
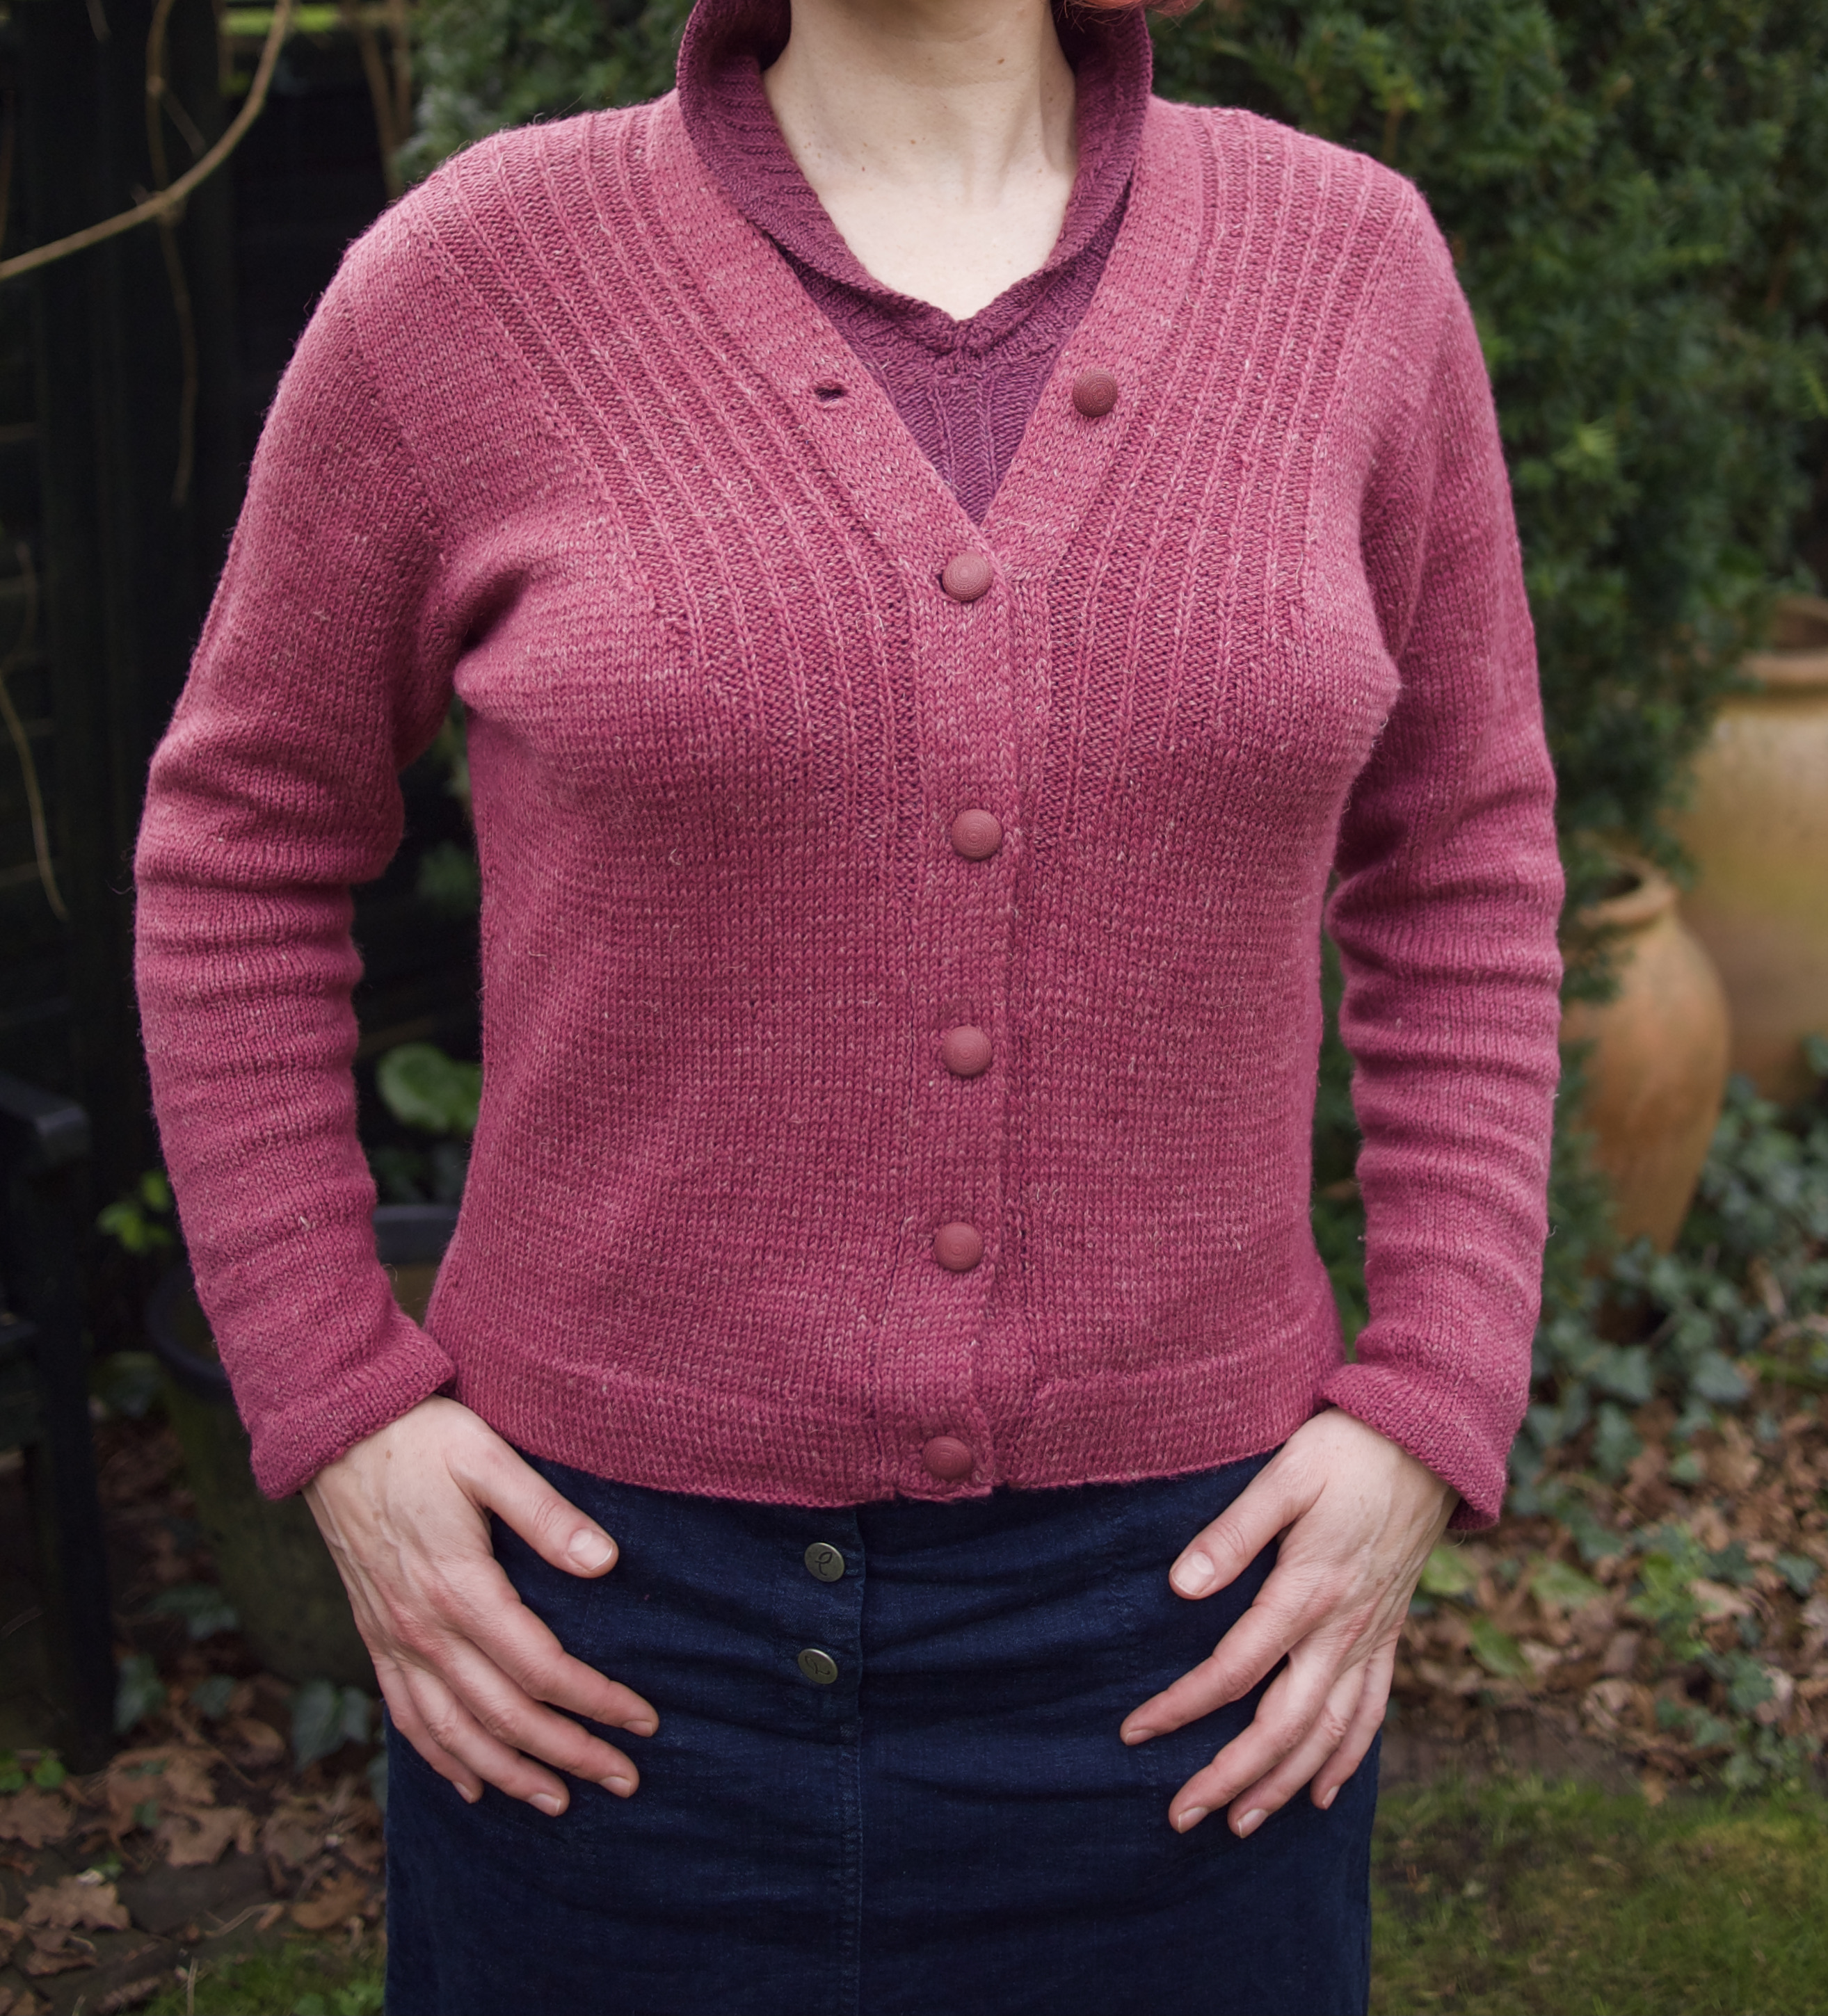
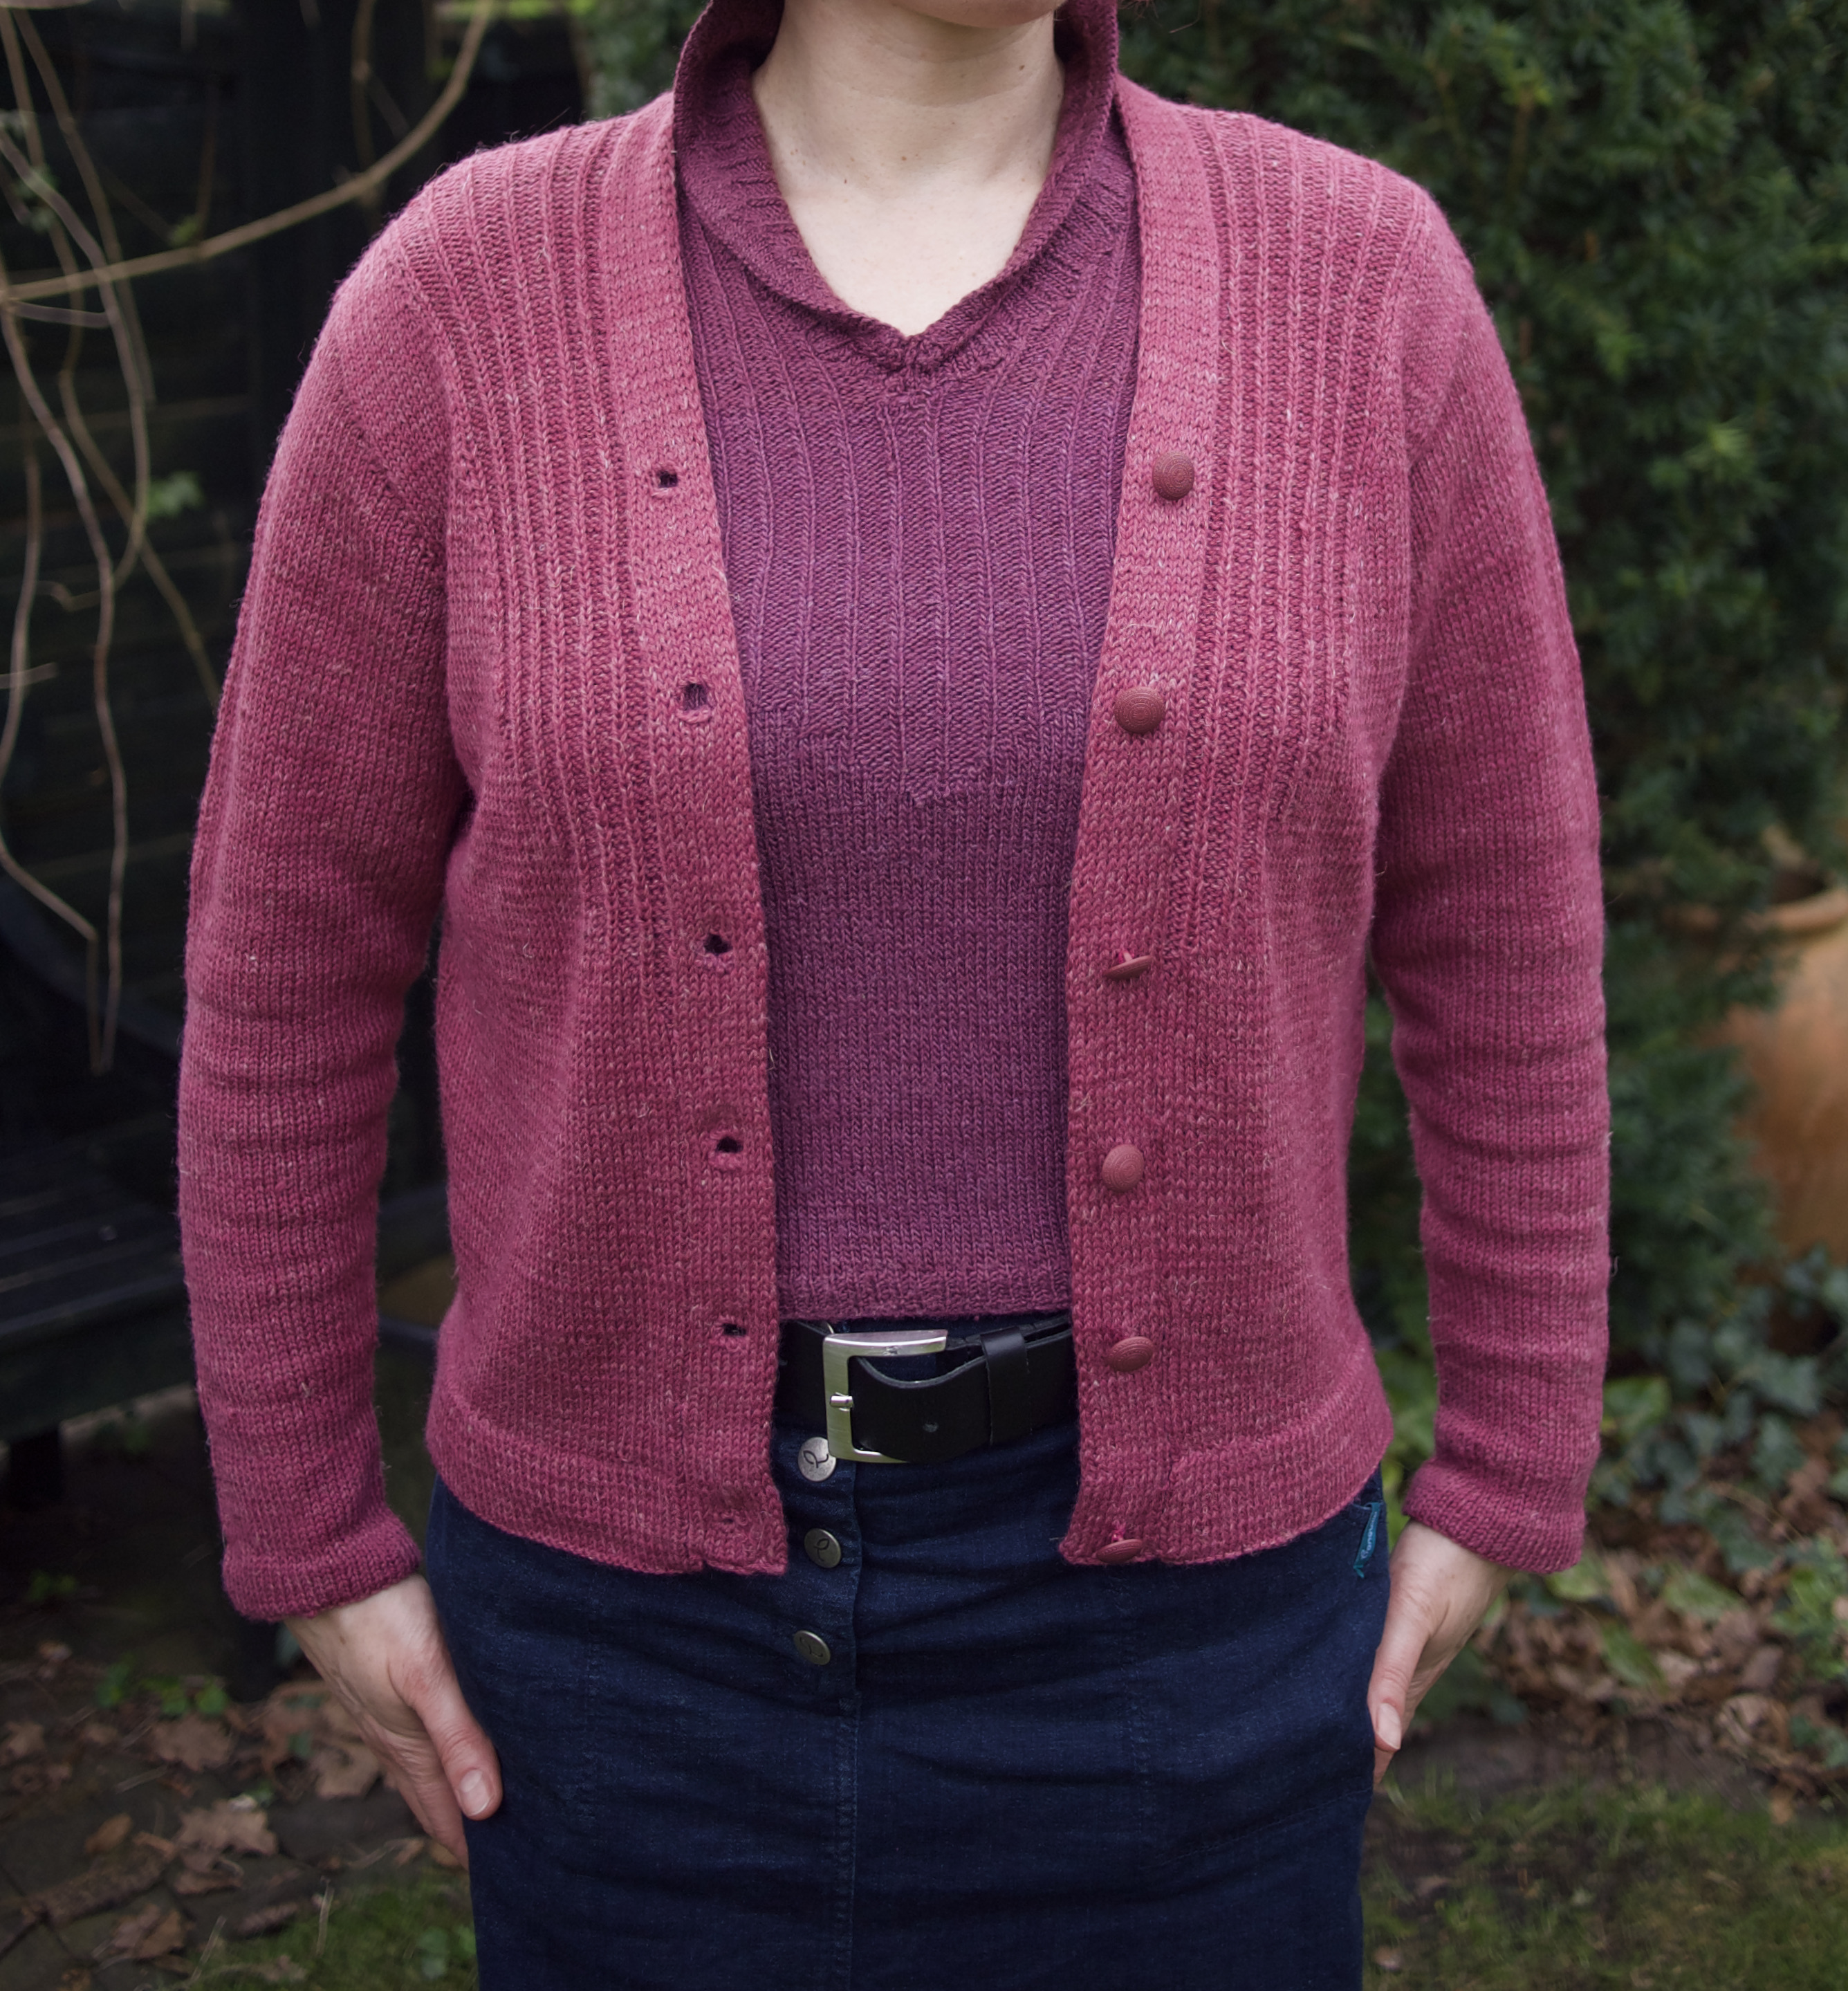
For a more elegant look, there are two garments in lighter, 4-ply wool: a dress in “French Green” with an intriguing “shadow check” pattern or a classic V-neck cardigan for larger sizes (colour: “Blue Streak”). I have never seen either of the stitch patterns before. The “shadow check” is particularly intriguing, as it seems quite simple, but makes a very cool sort of large waffle-check effect. The first two rows are stocking-stitch, to make the horizontal line, then the squares are made with 1 row of k1 tbl / p1 tbl “ribbing” separated by 2 purl stitches and one row of k2, p9, repeated to the end of the “block” (14 rows in all). The pattern on the cardigan is even simpler: Row 1: k3, p1; Row 2: k1, p1. If you have any wool left over, you can make a diagonally-striped (or plain) knitted tie.


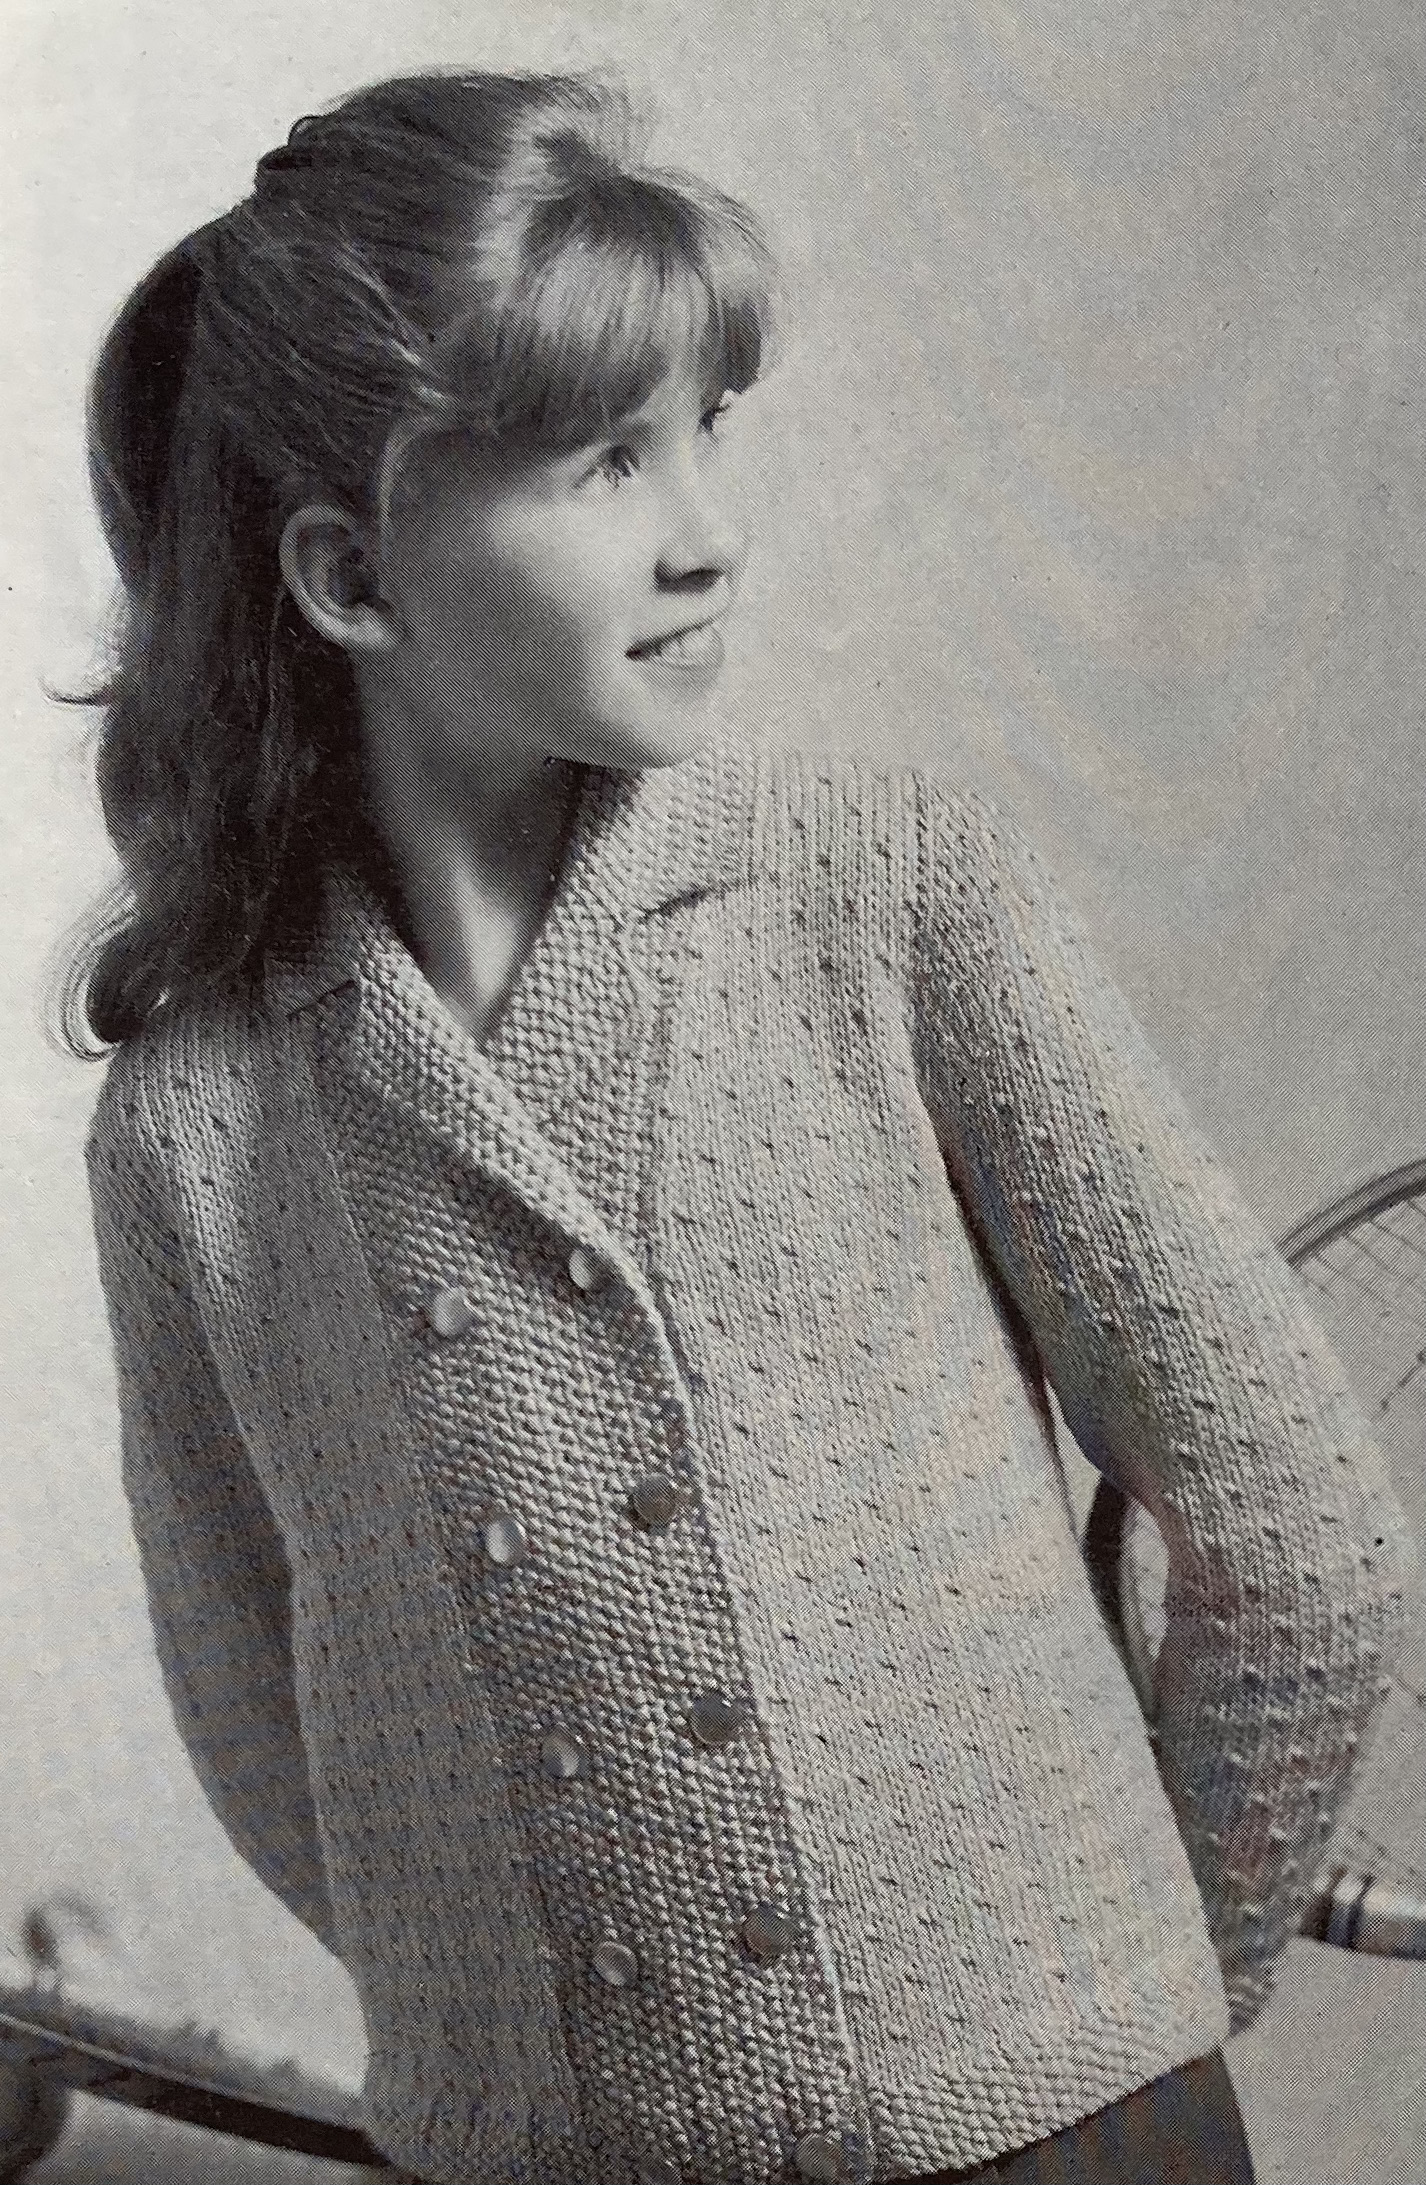
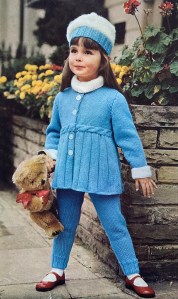
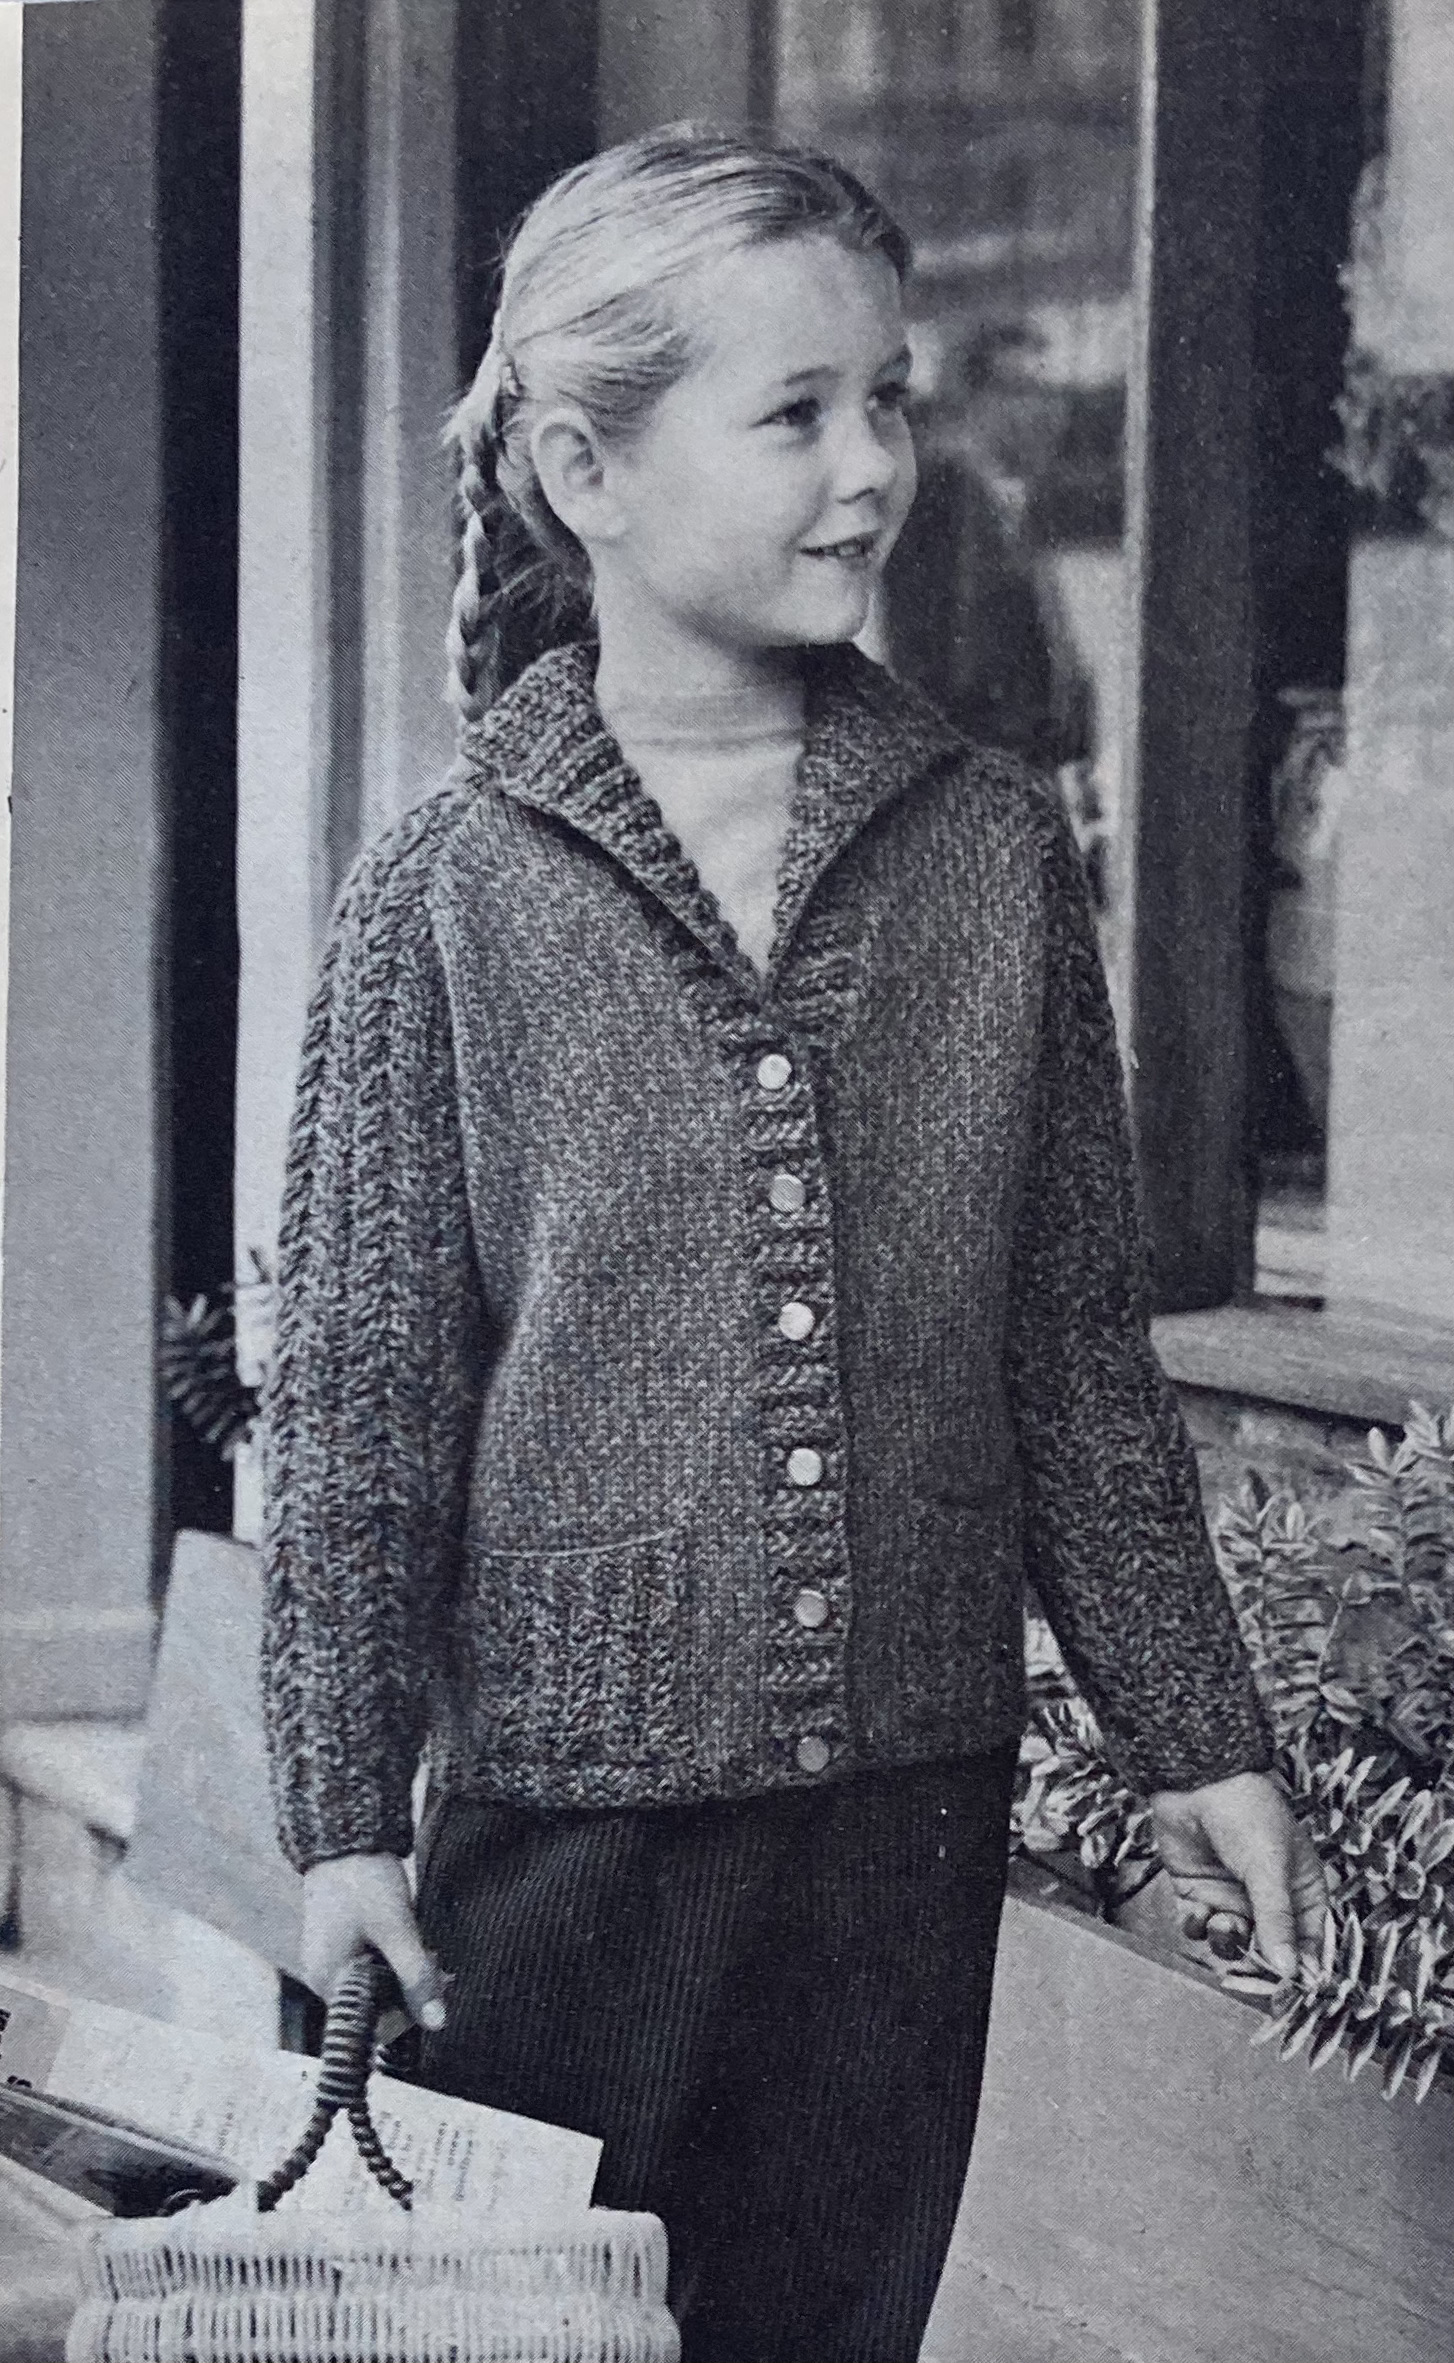
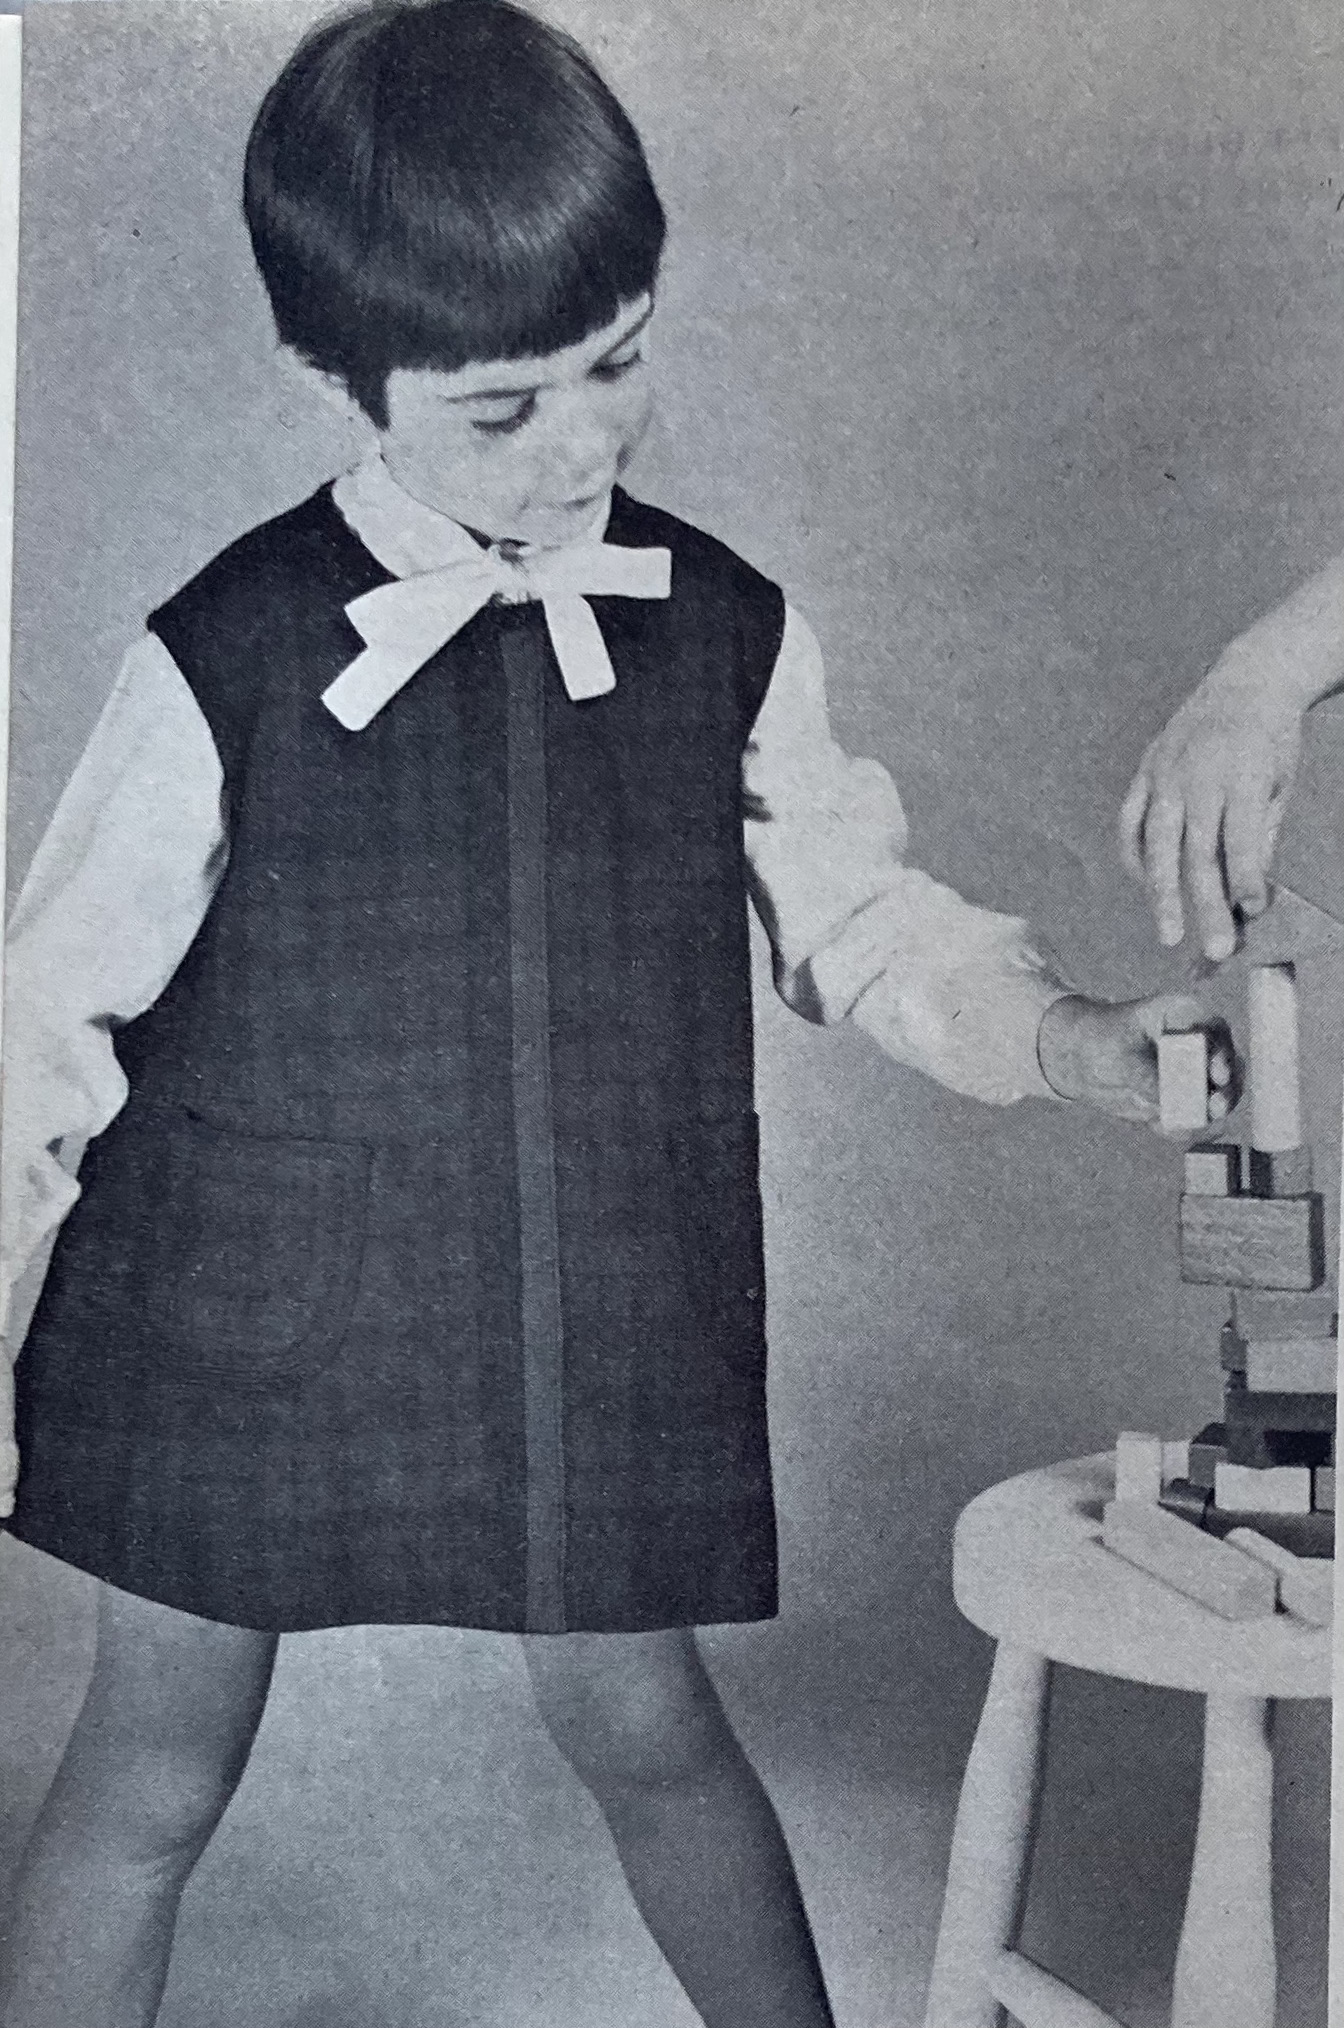
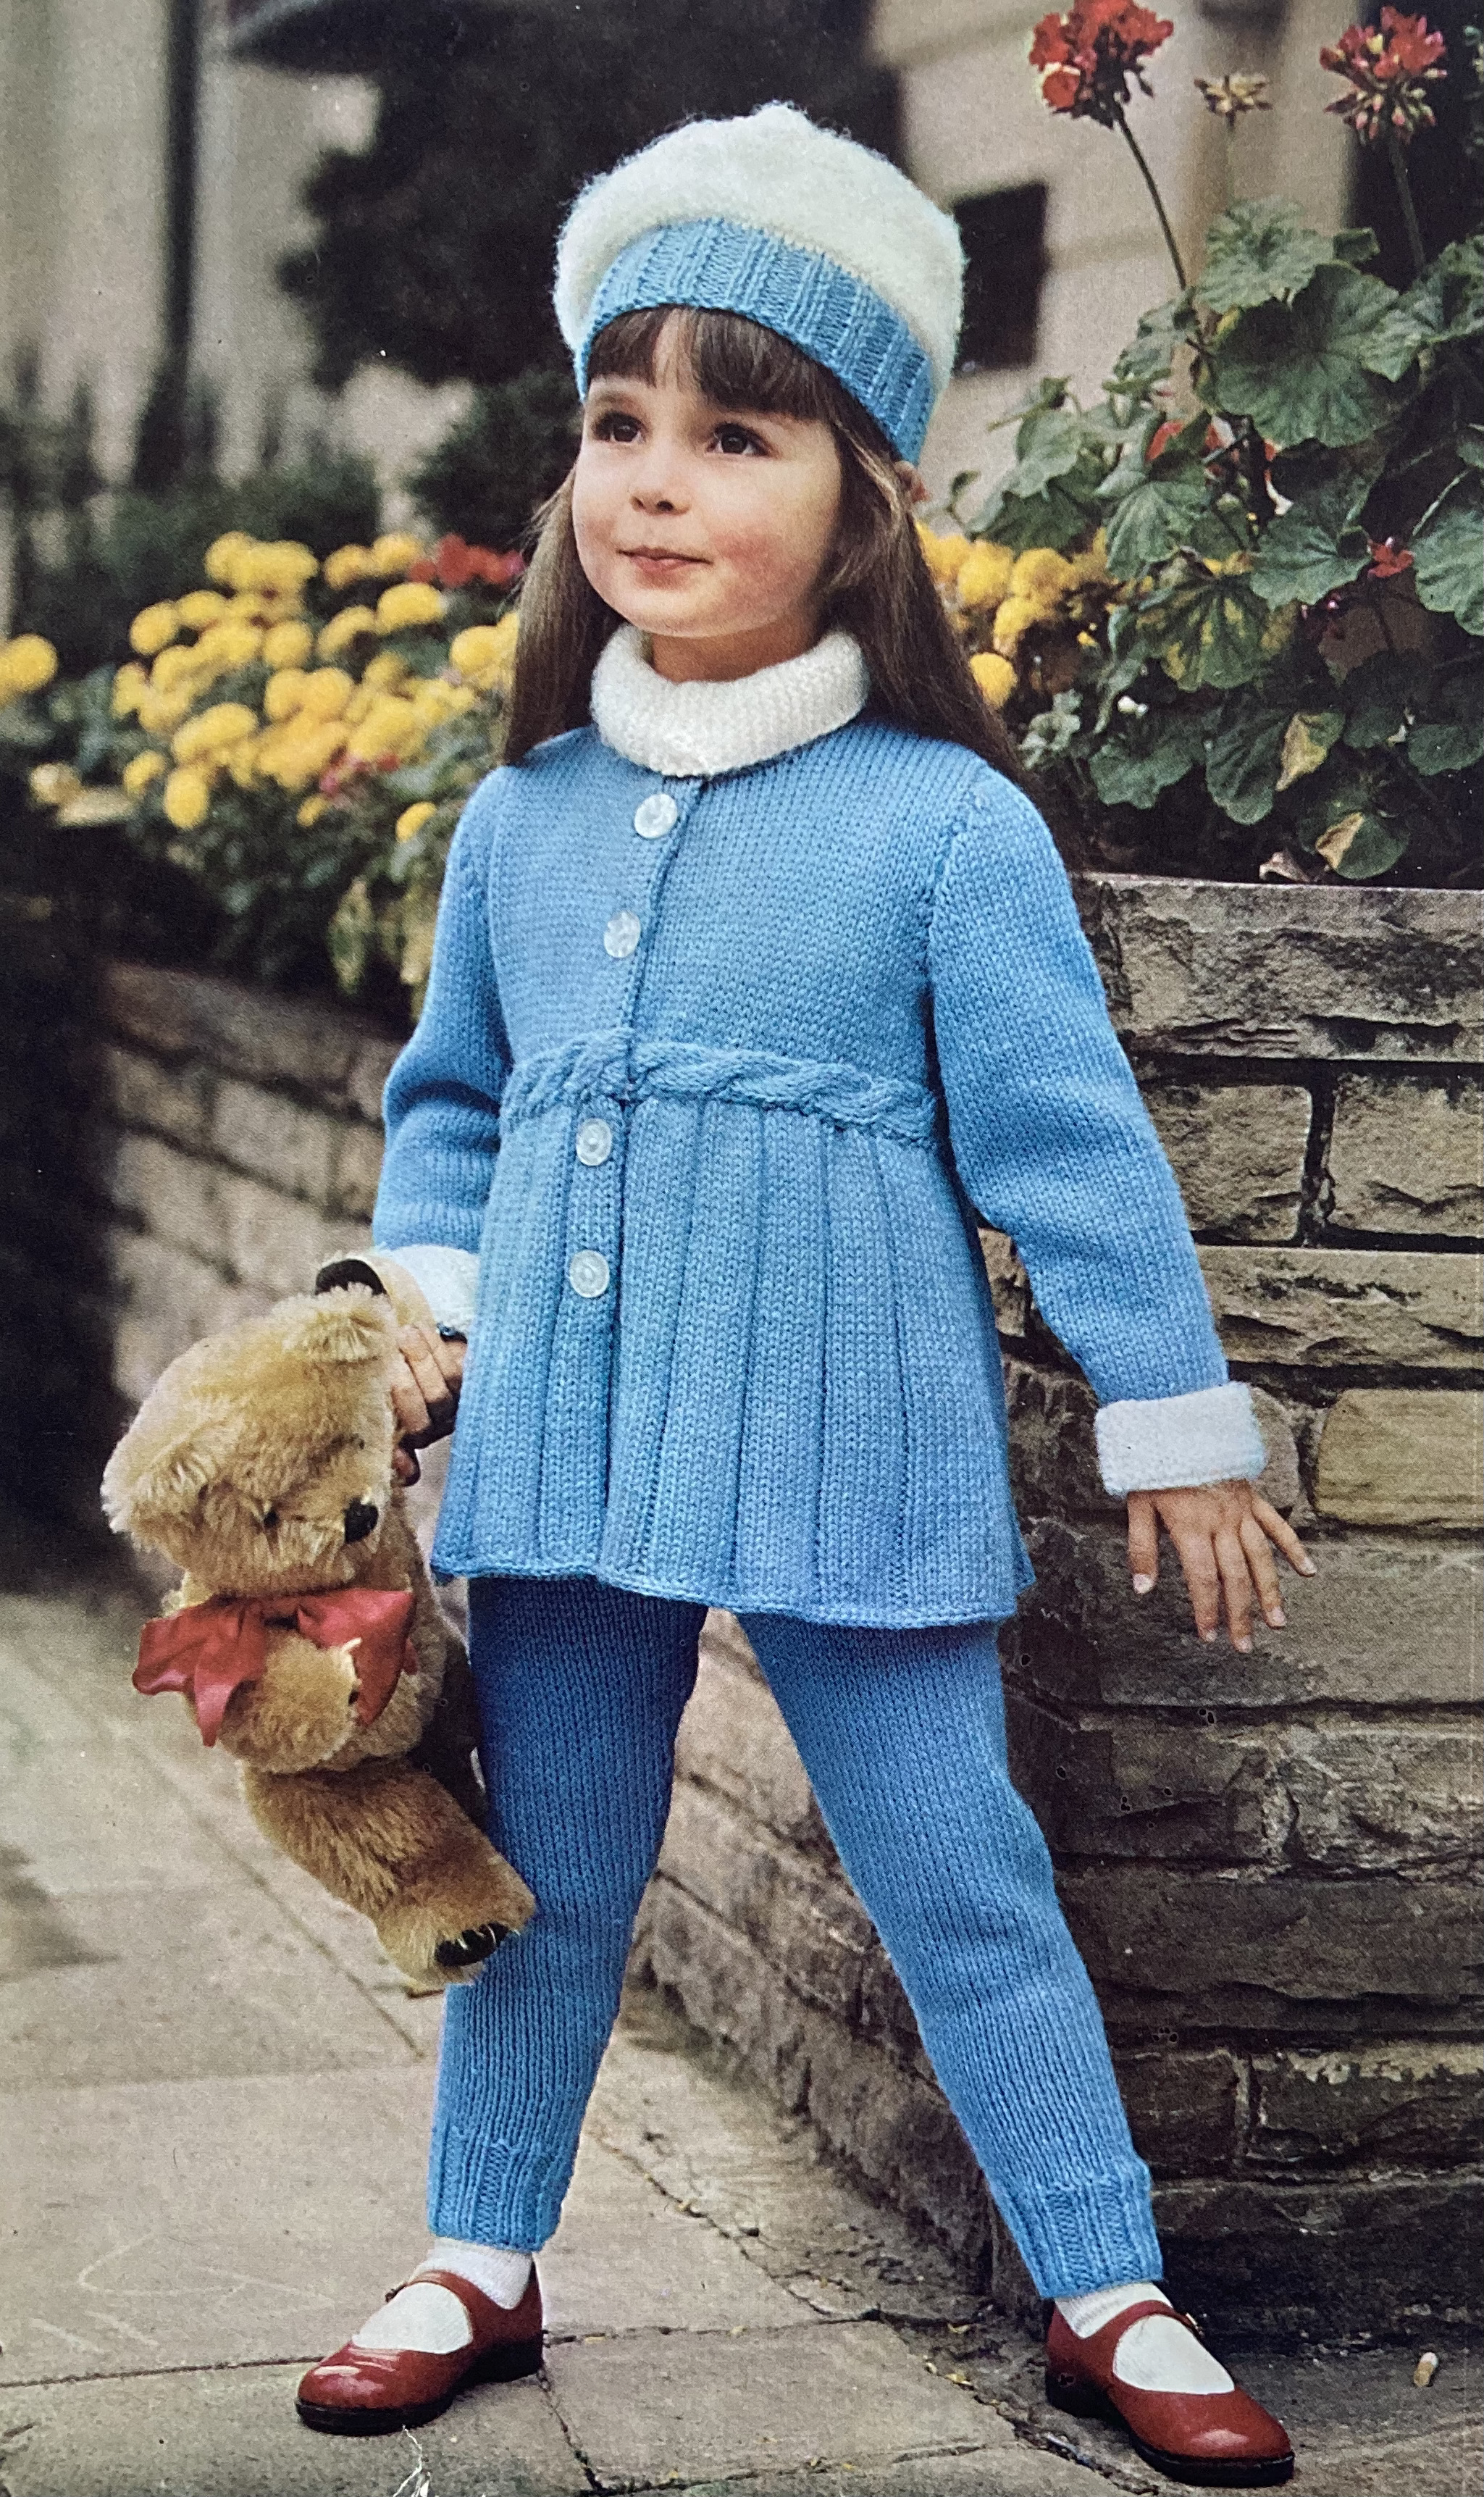
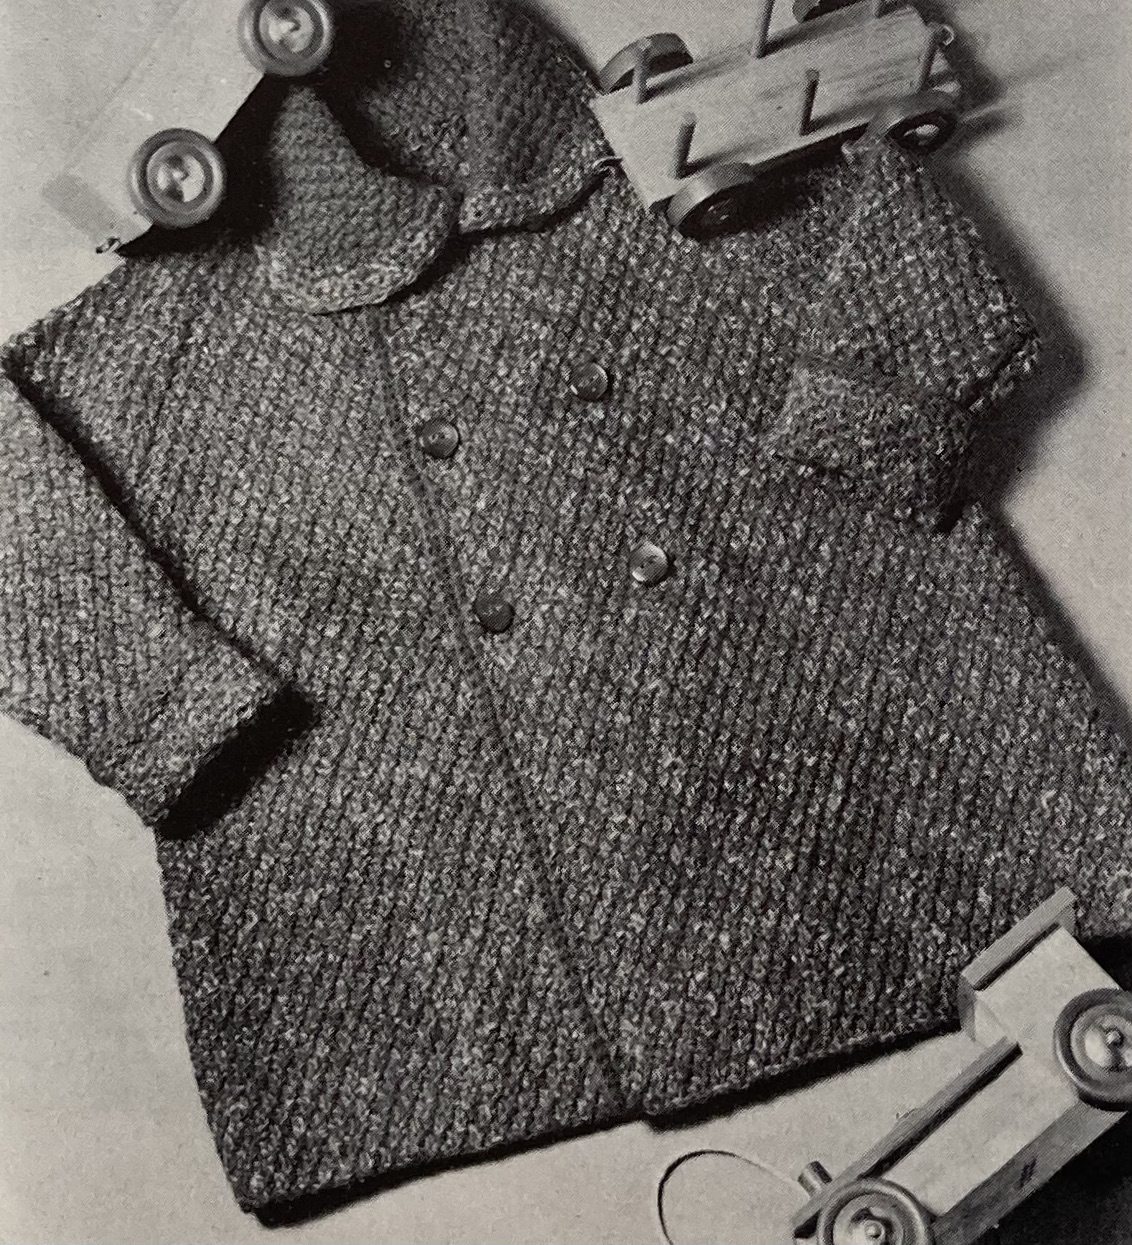
For the little ones, there’s a cardigan with checked front panels in “Fuzzy Wuzzy” angora wool that are knitted separately and sewn on to the front+back piece before adding the ribbed trim, and a nice warm tweed coat in “Moorland” wool. Well, at least the upper half of this poor tot’s body will be warm — if he goes out dressed as he is in the photo, I worry that he will literally freeze his arse off. (Doesn’t seem to bother him — I’m guessing it was warm enough in the studio). There’s a huggable stuffed elephant and a winter outfit for a doll to knit, as well.
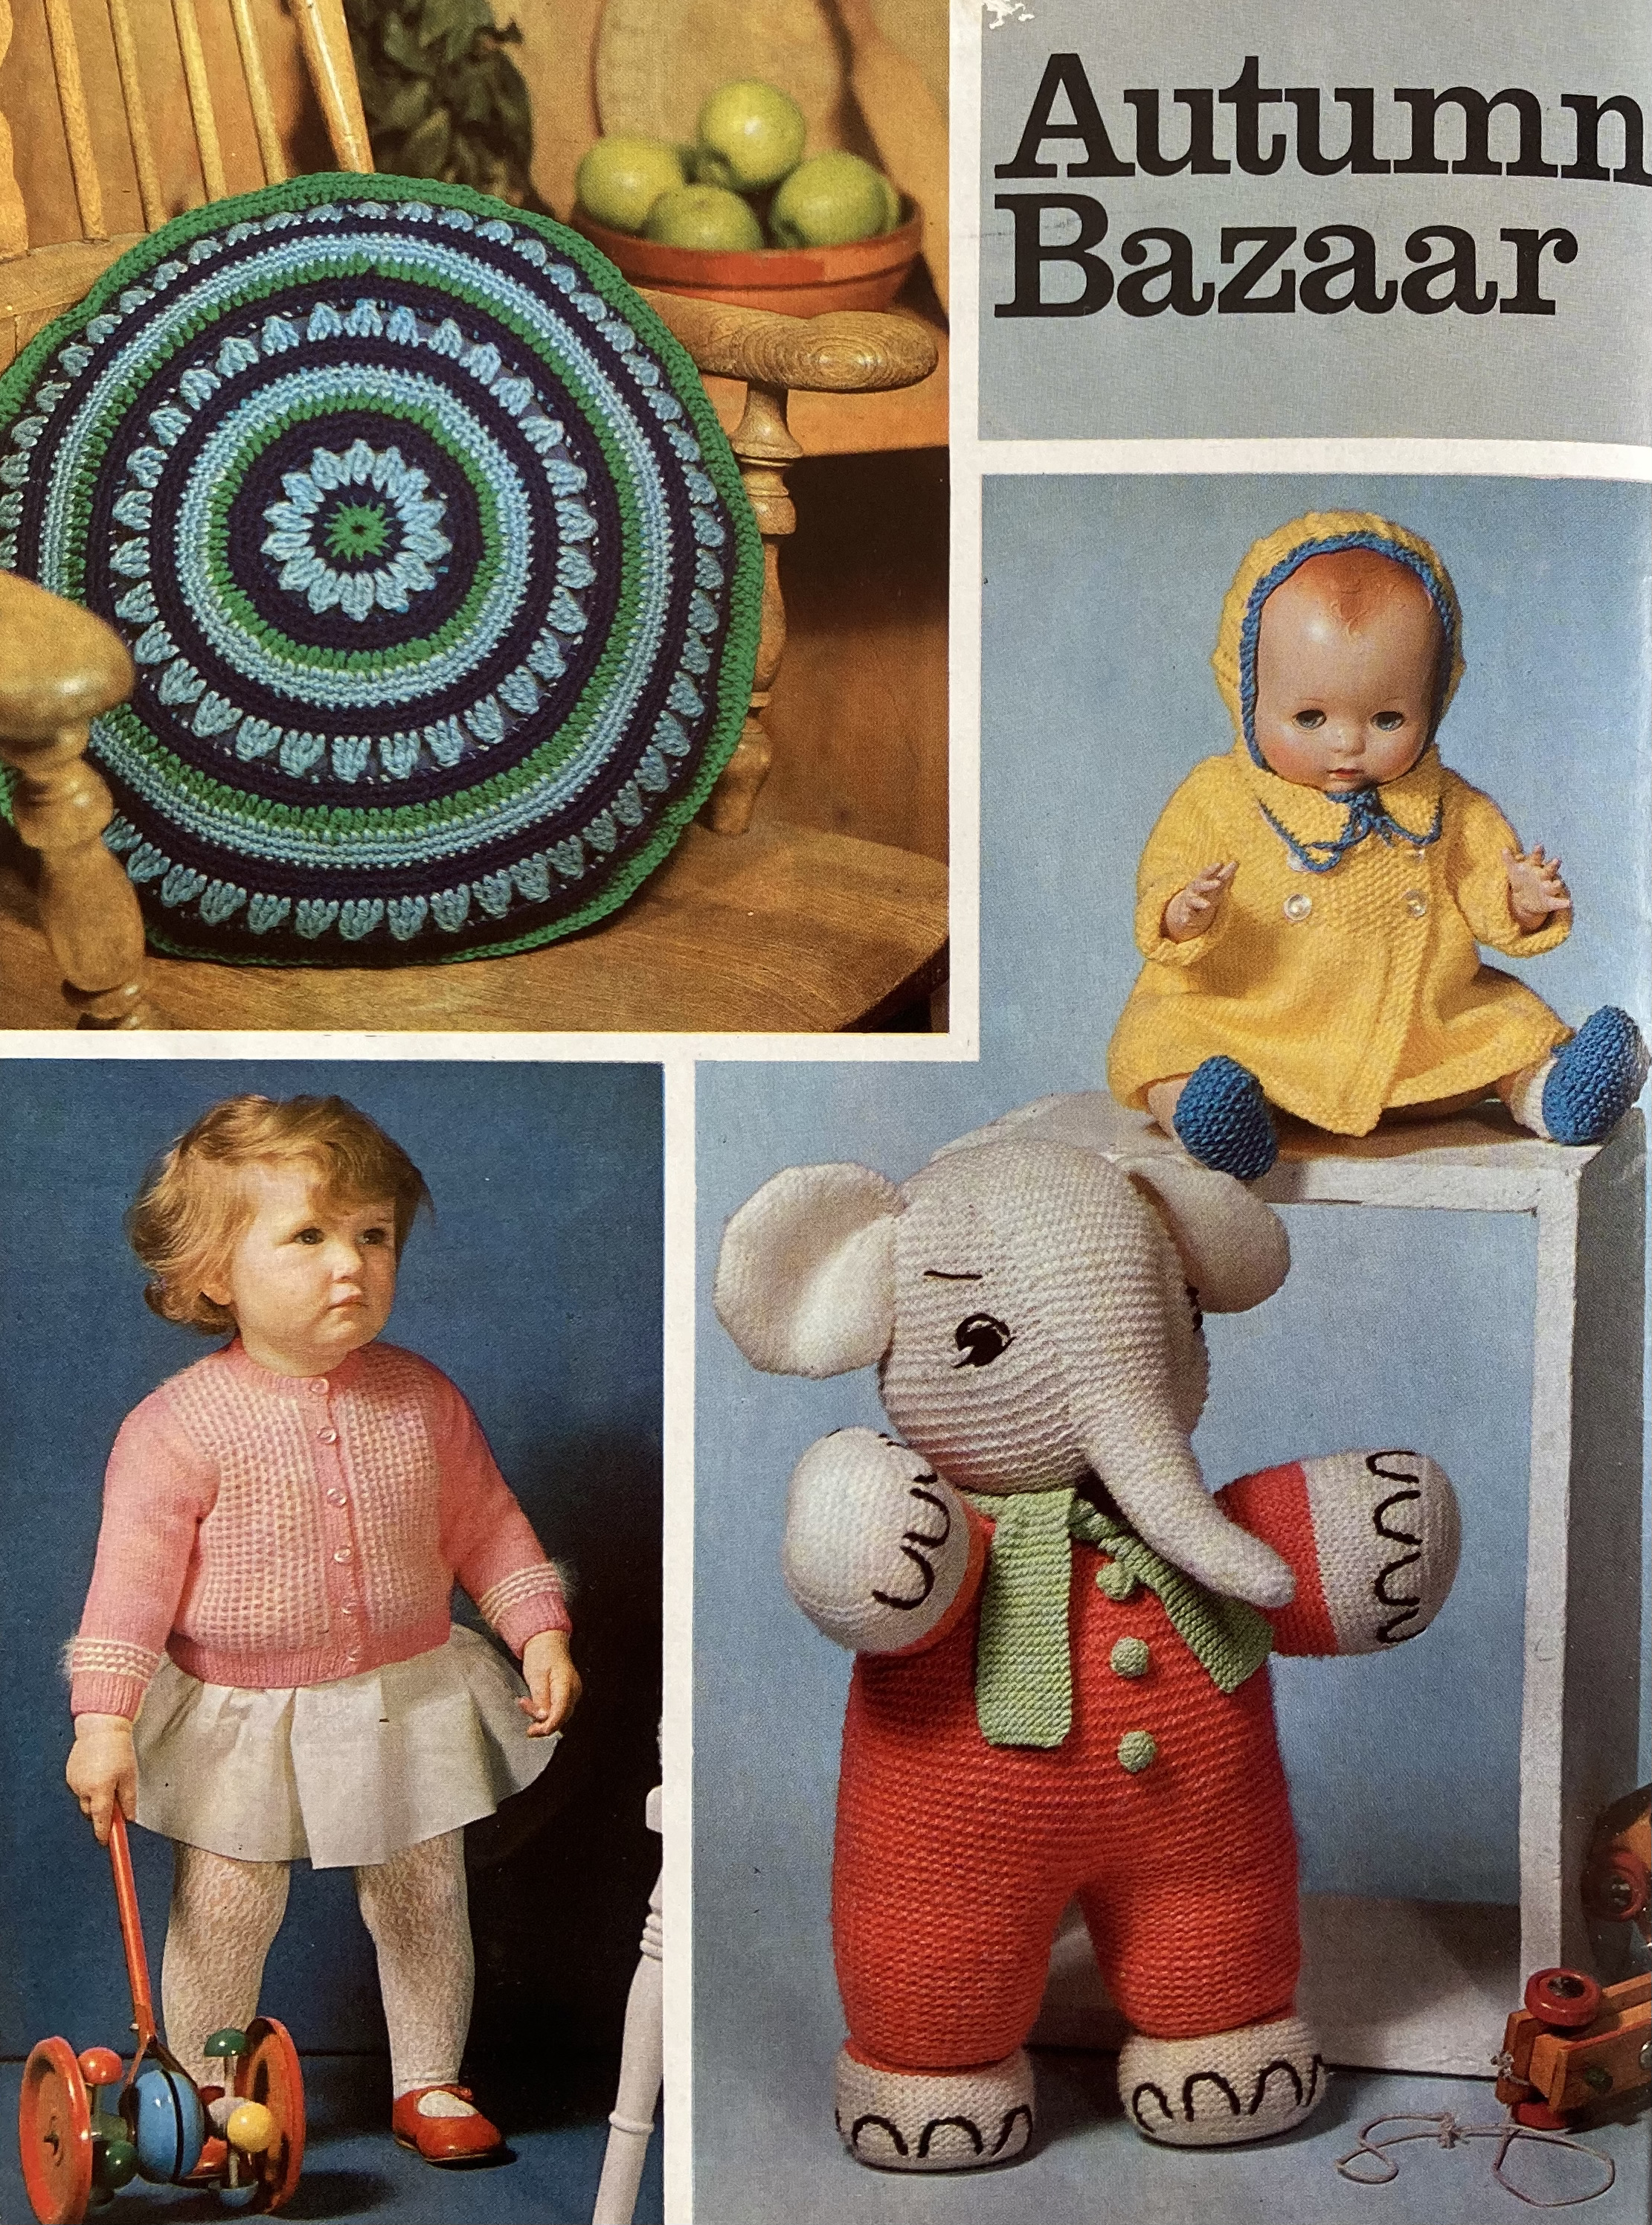


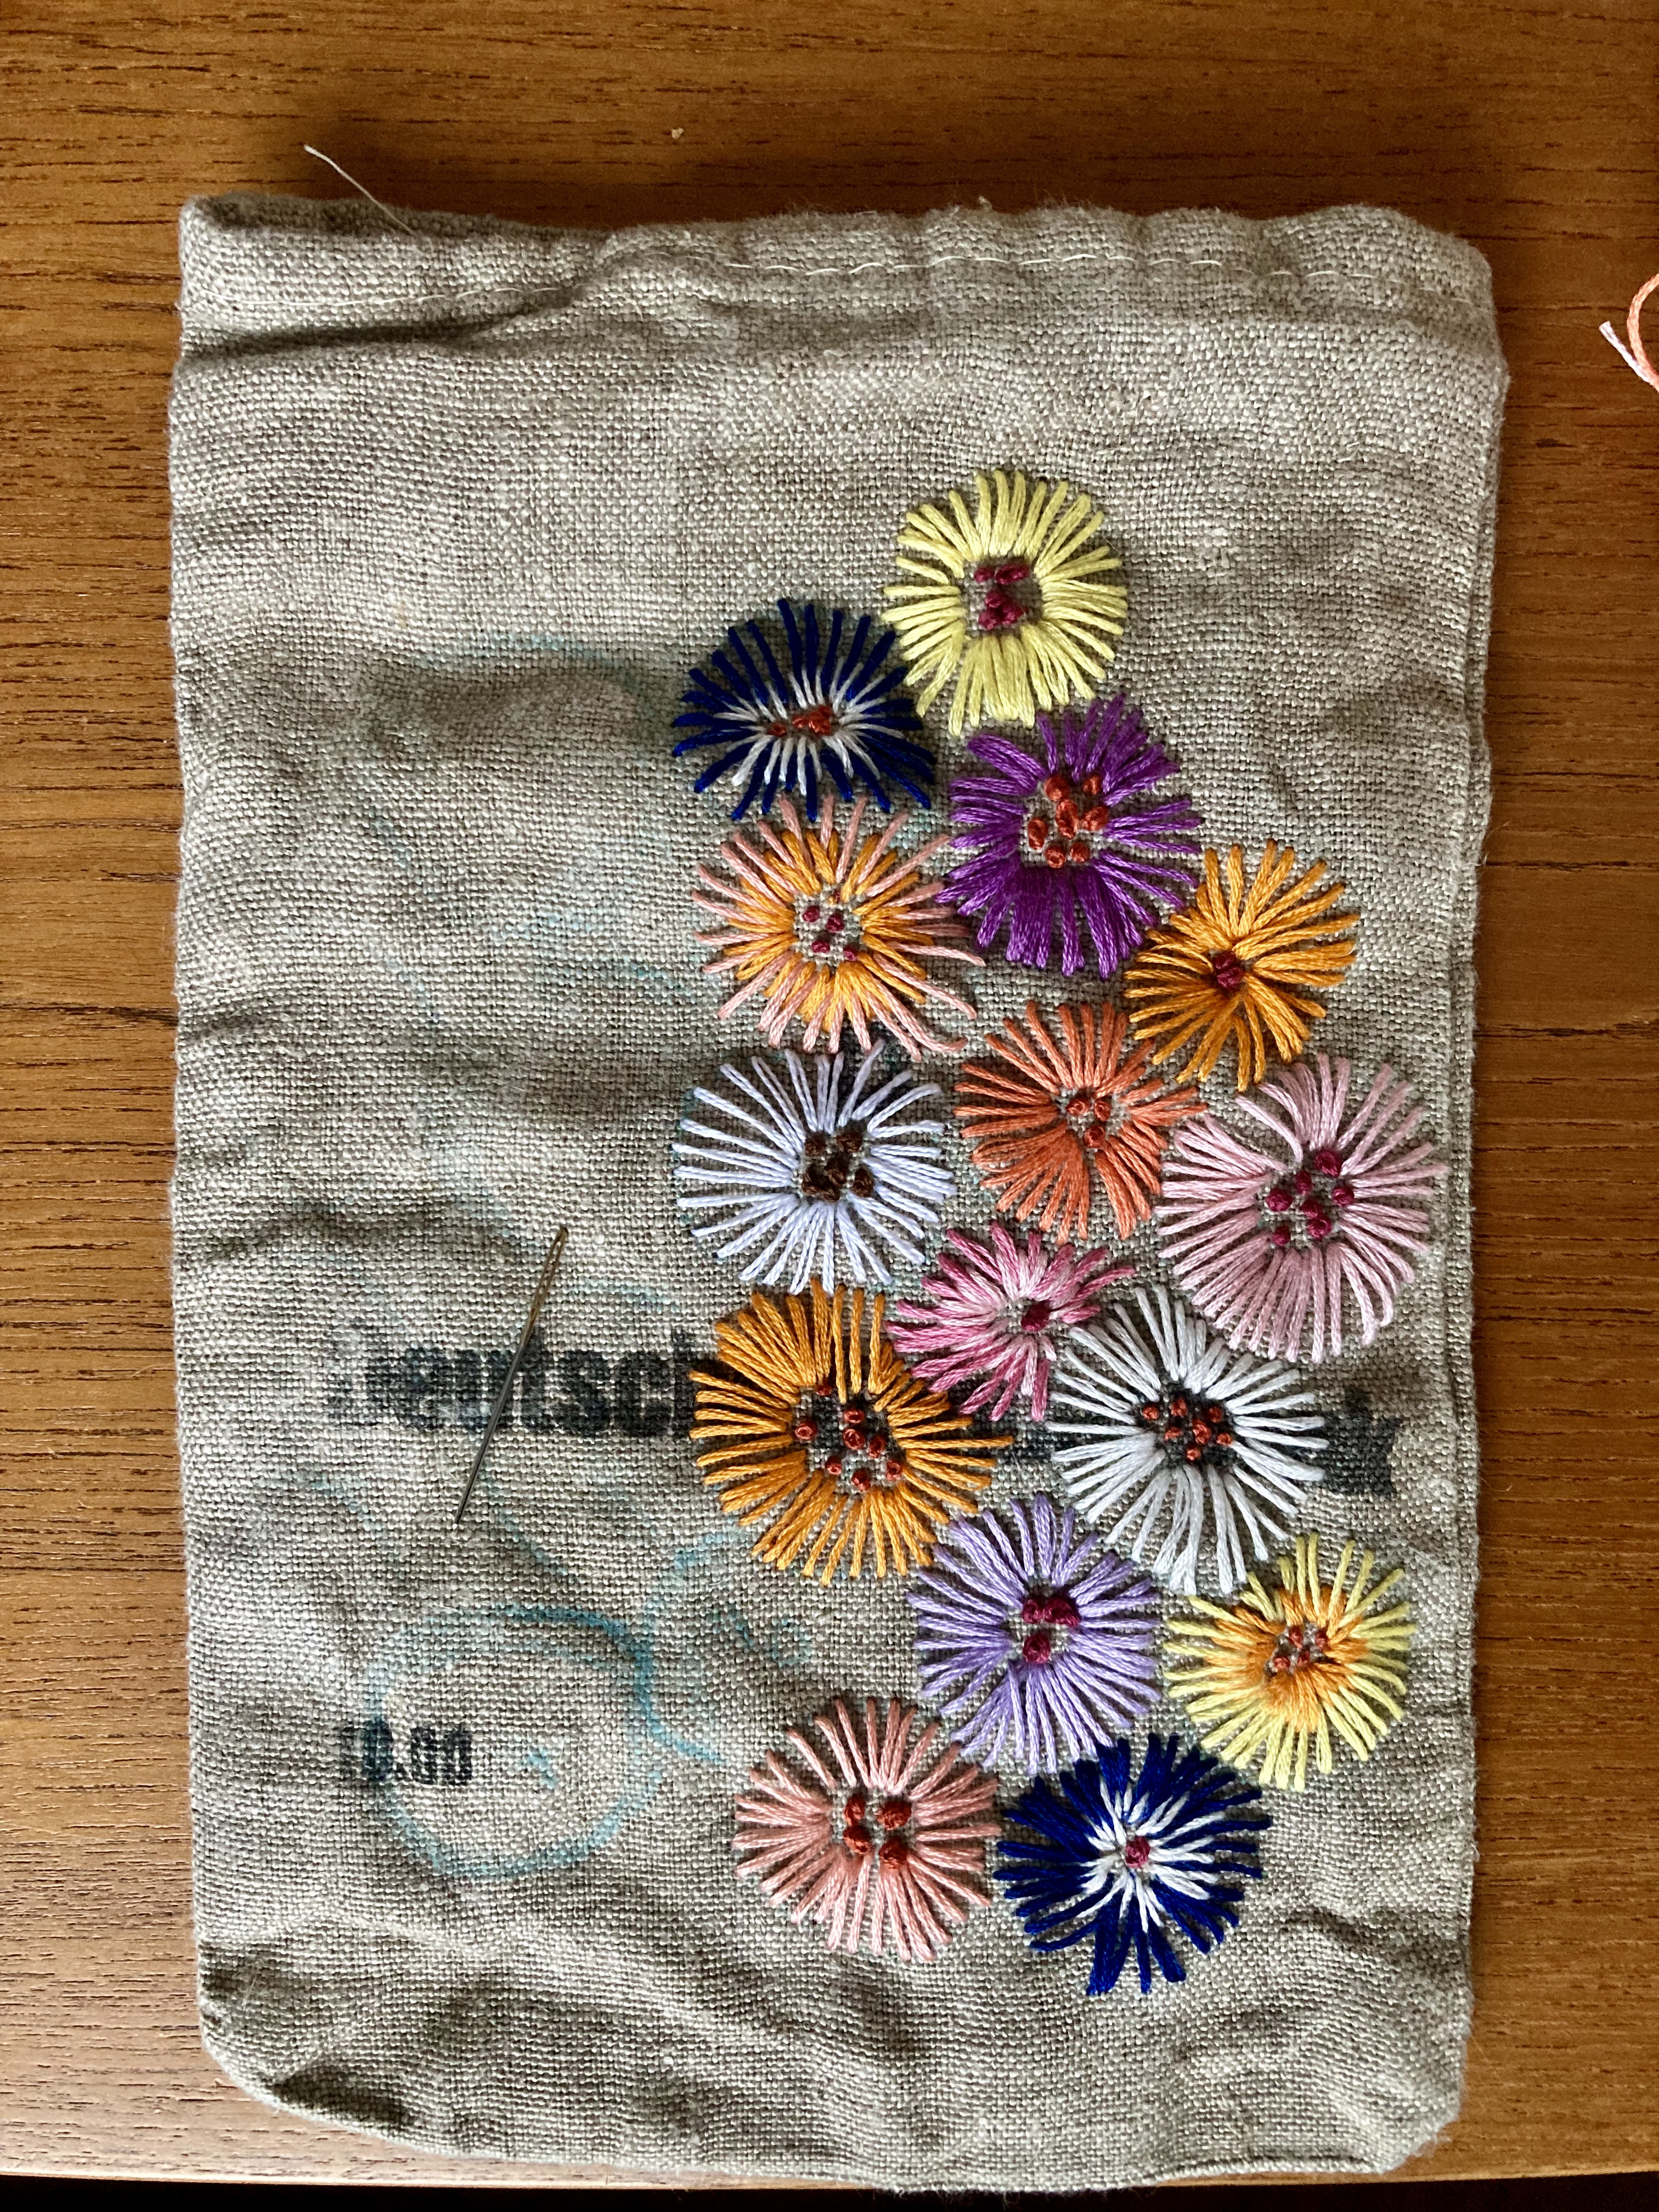
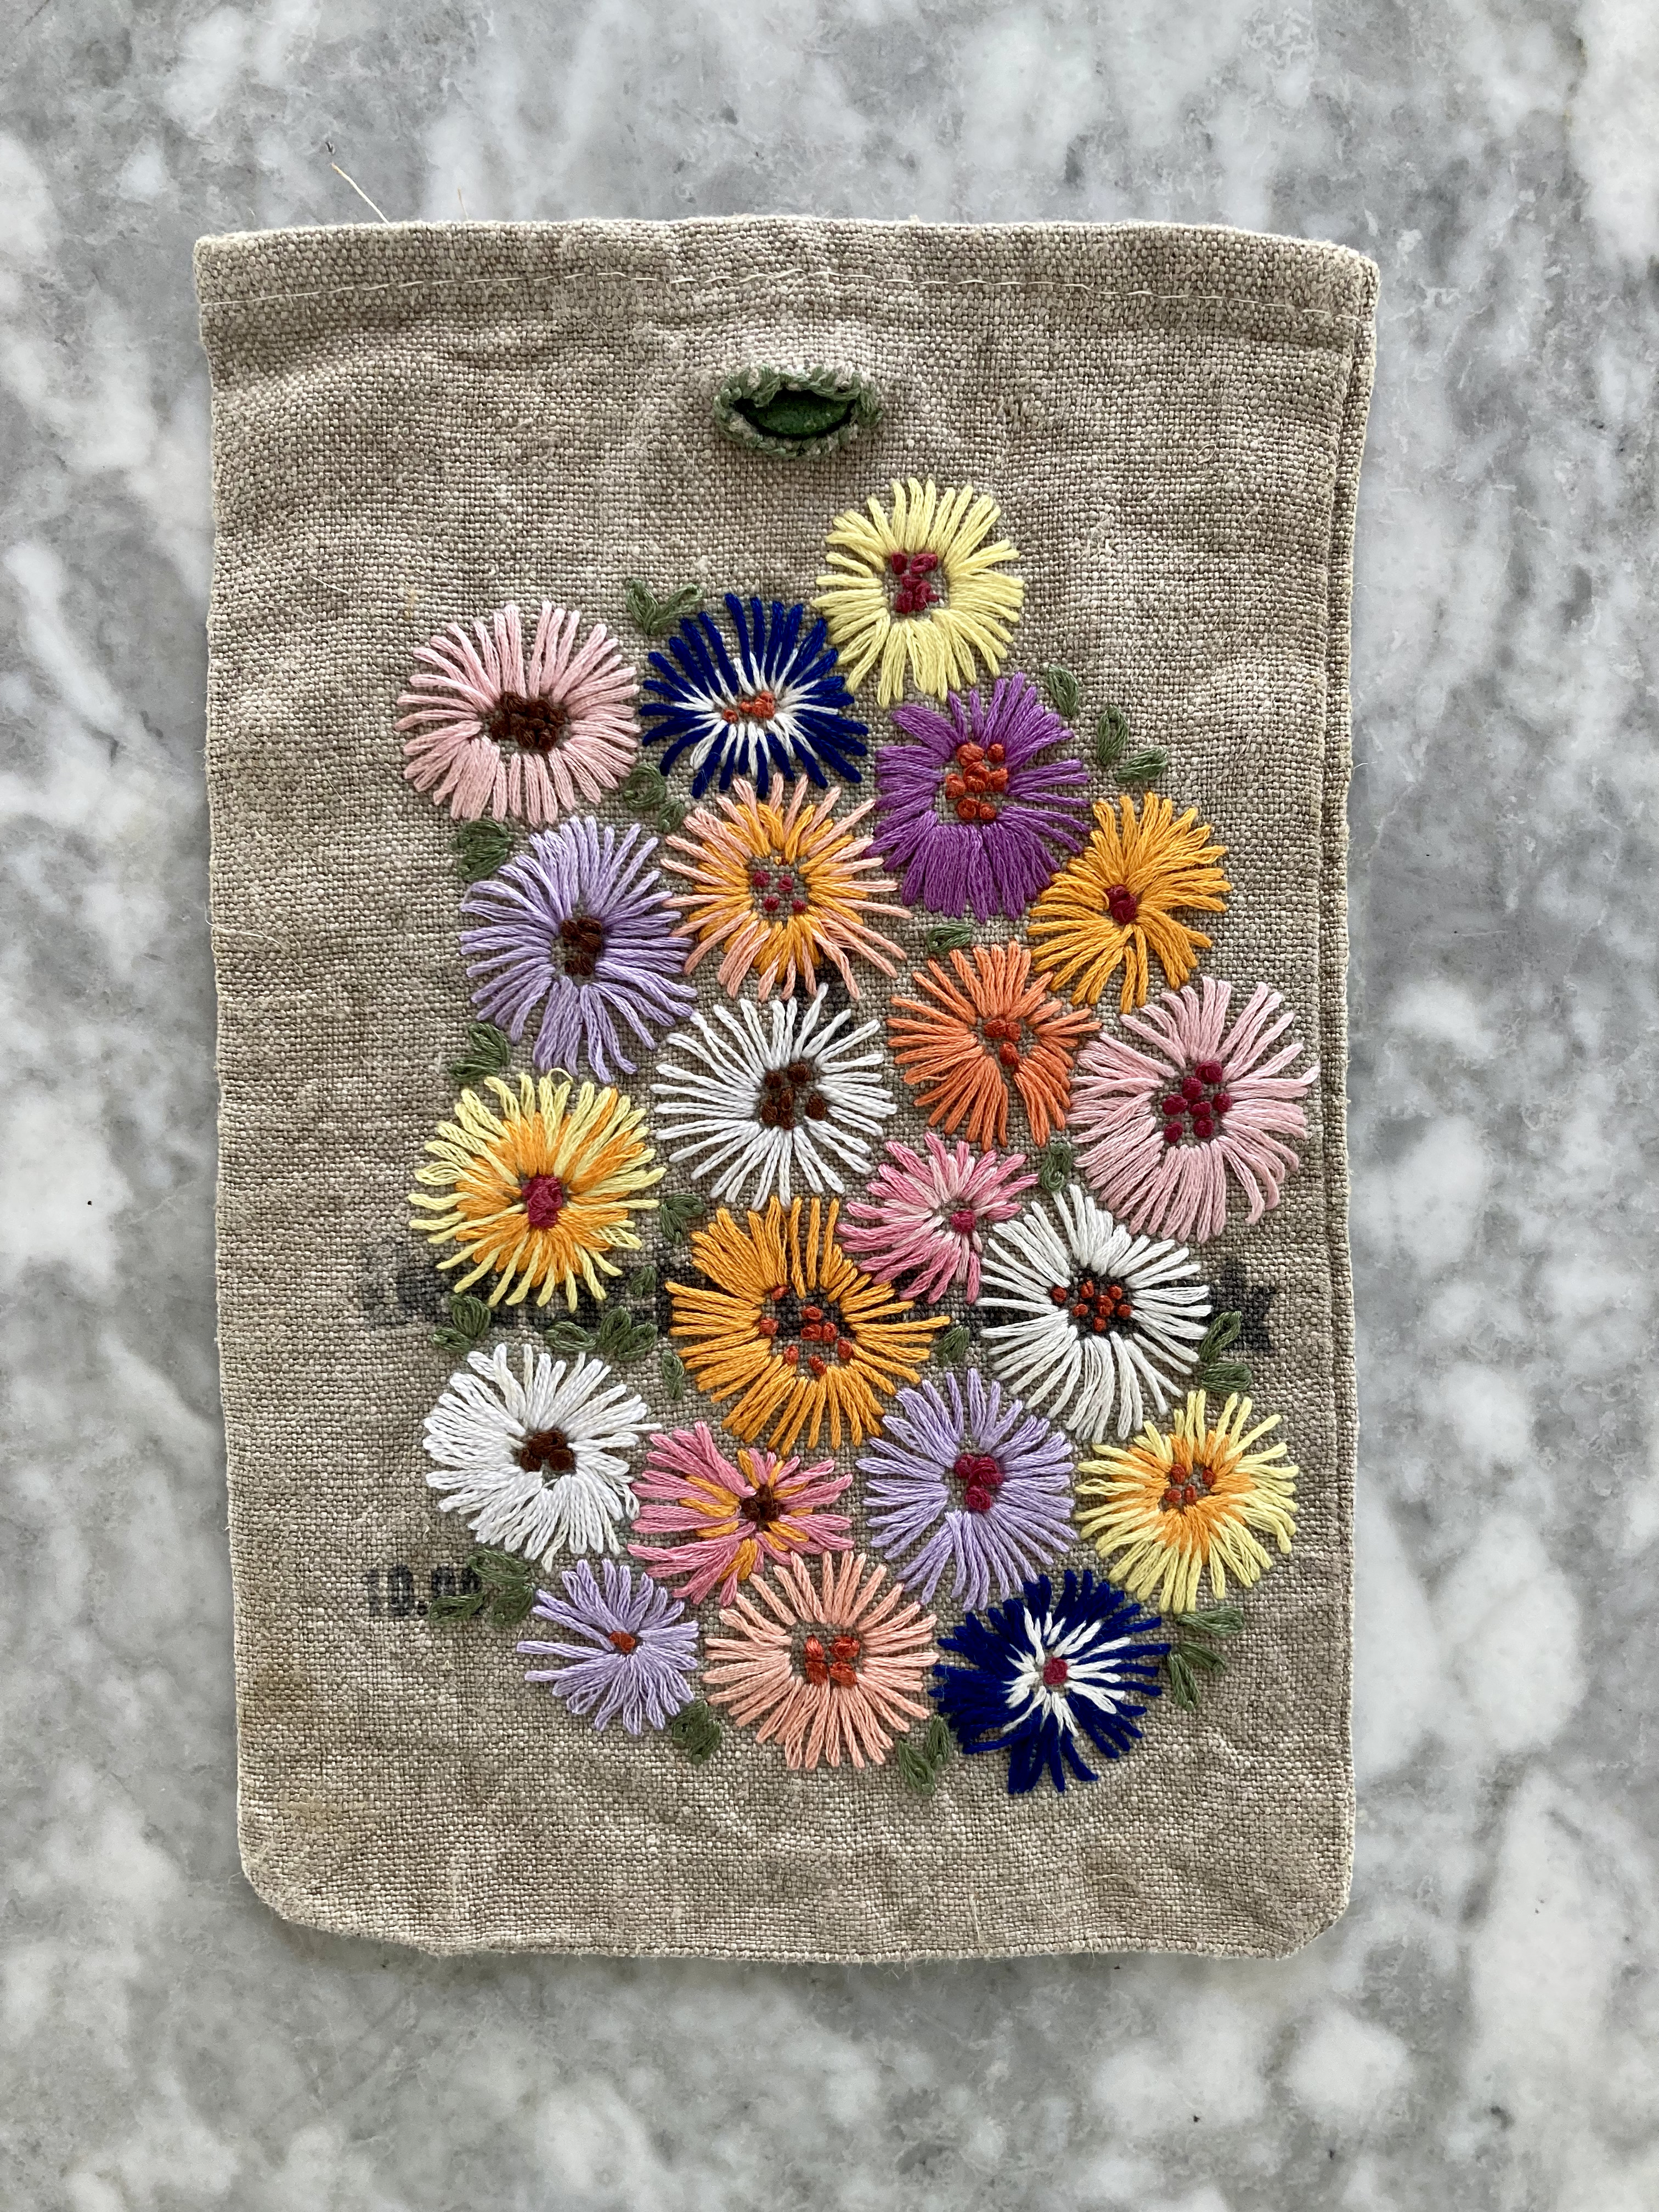
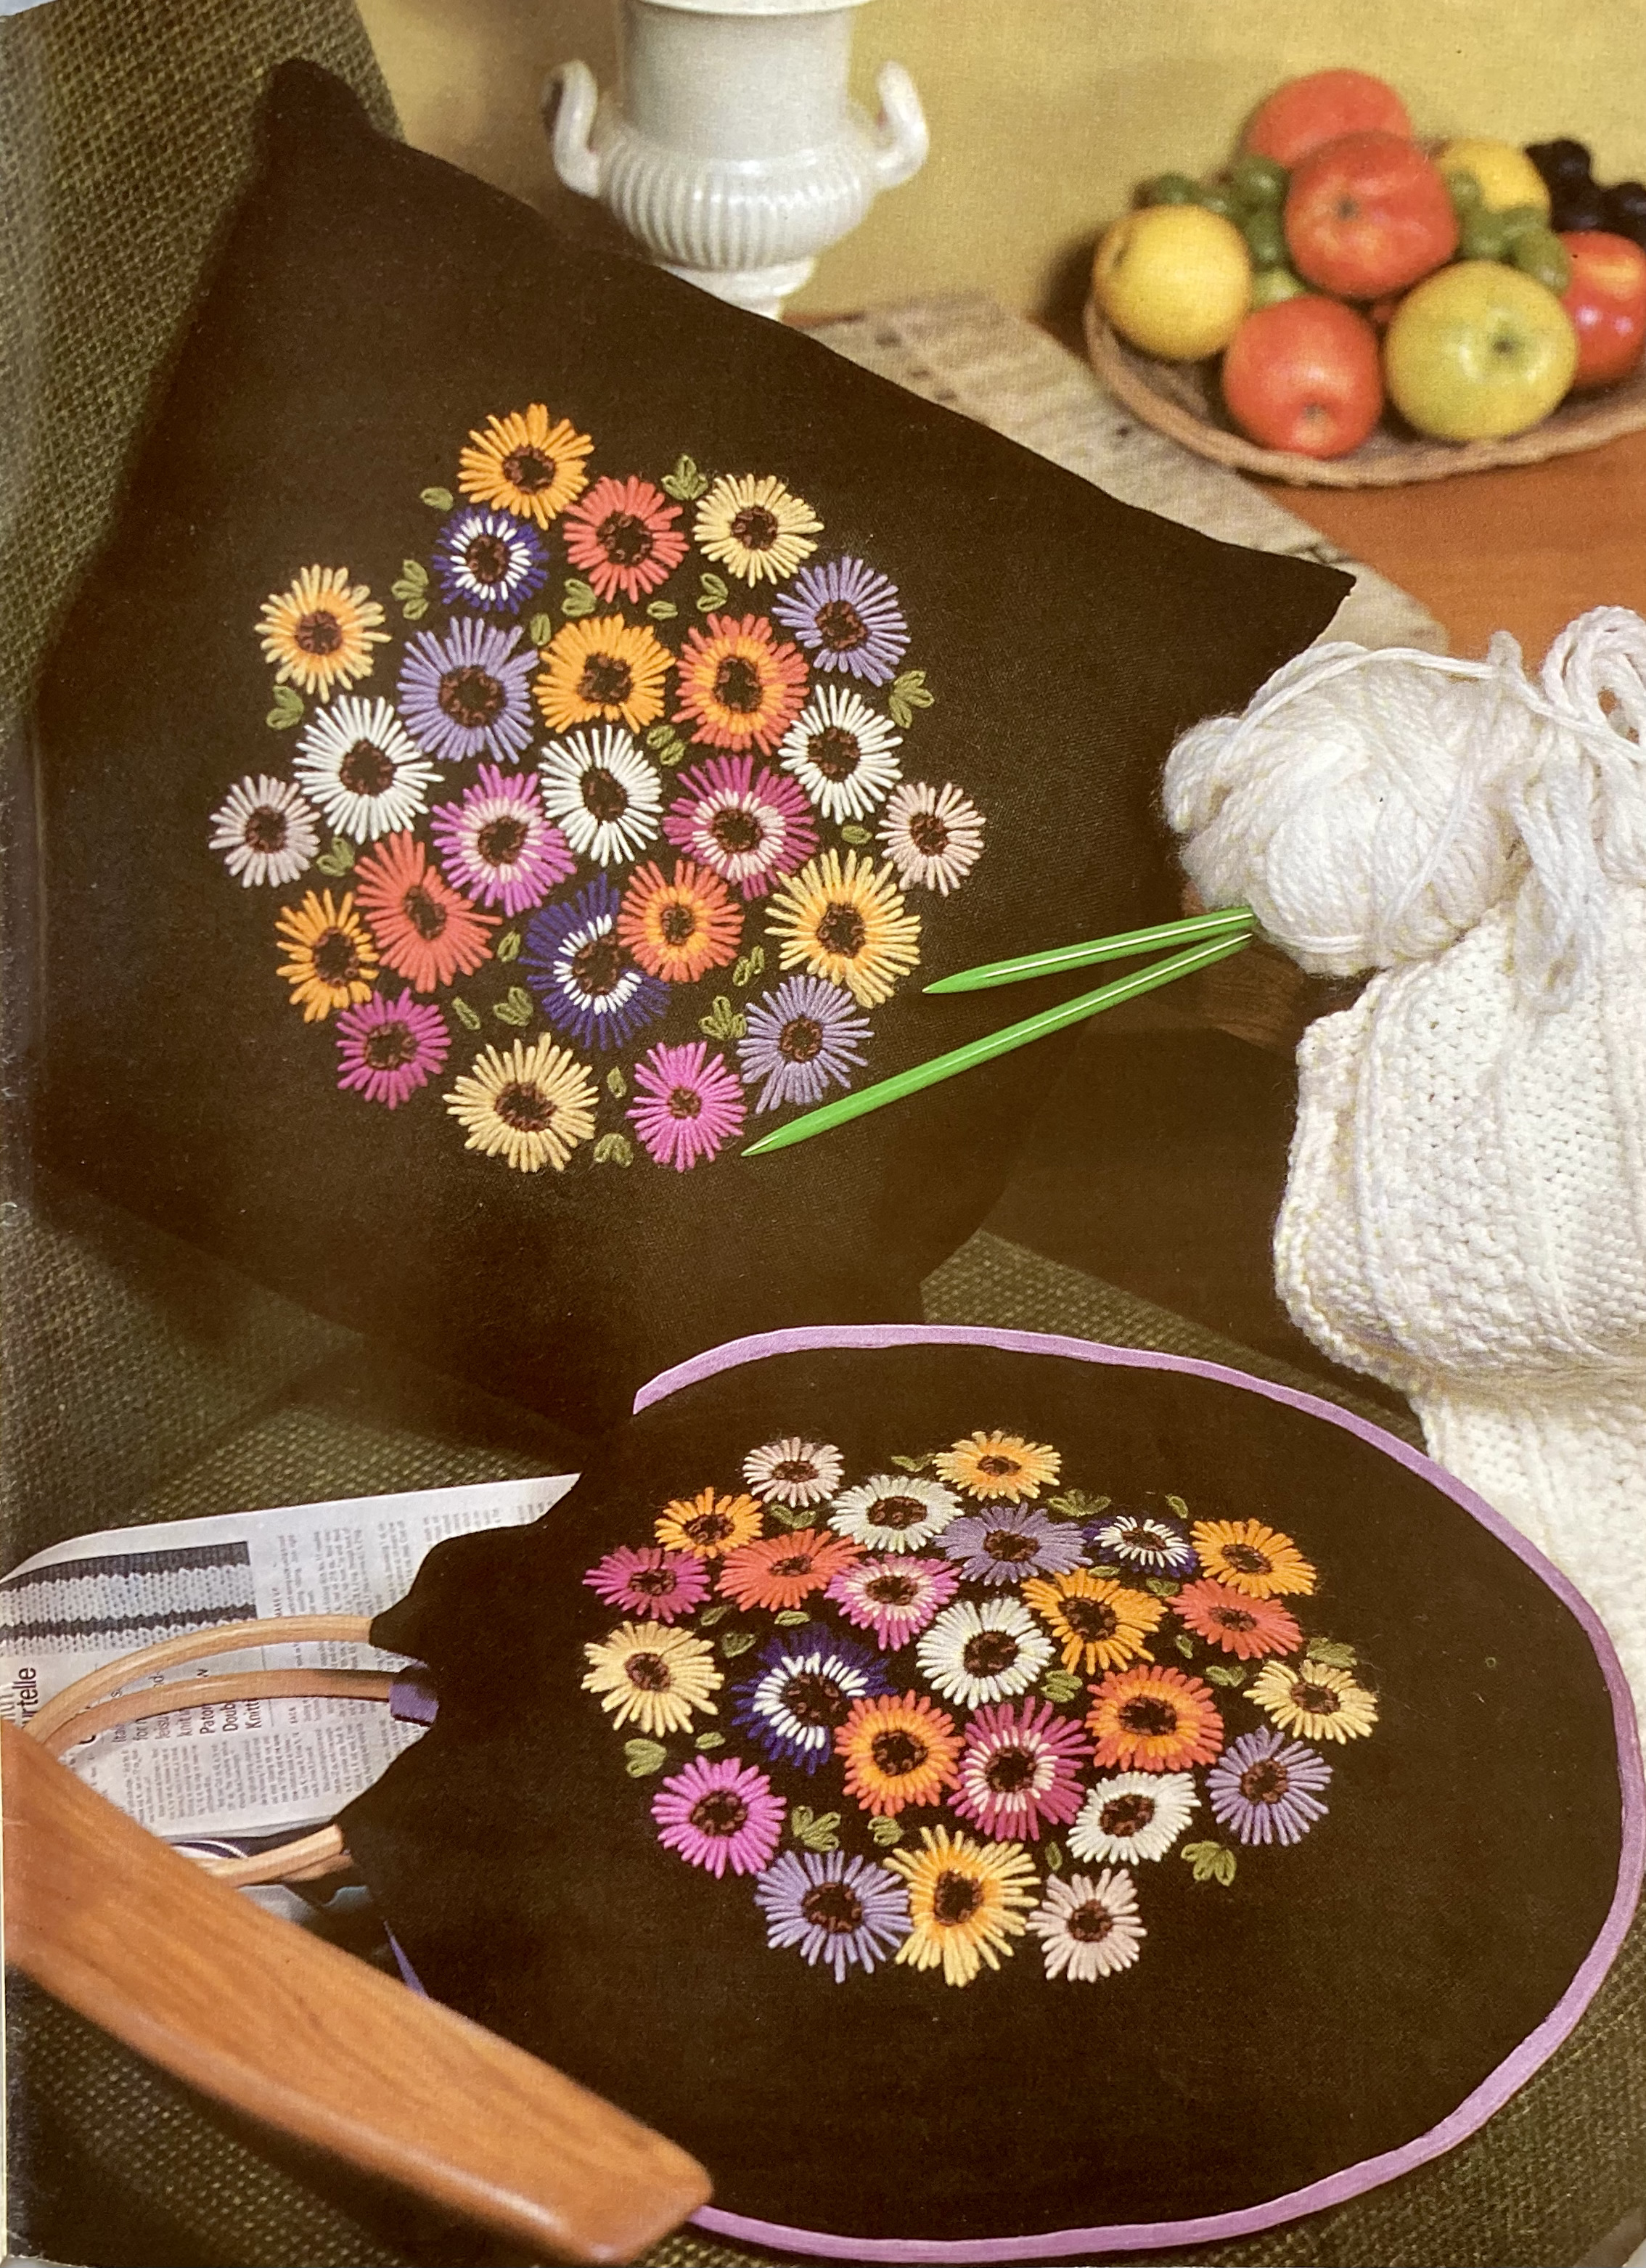
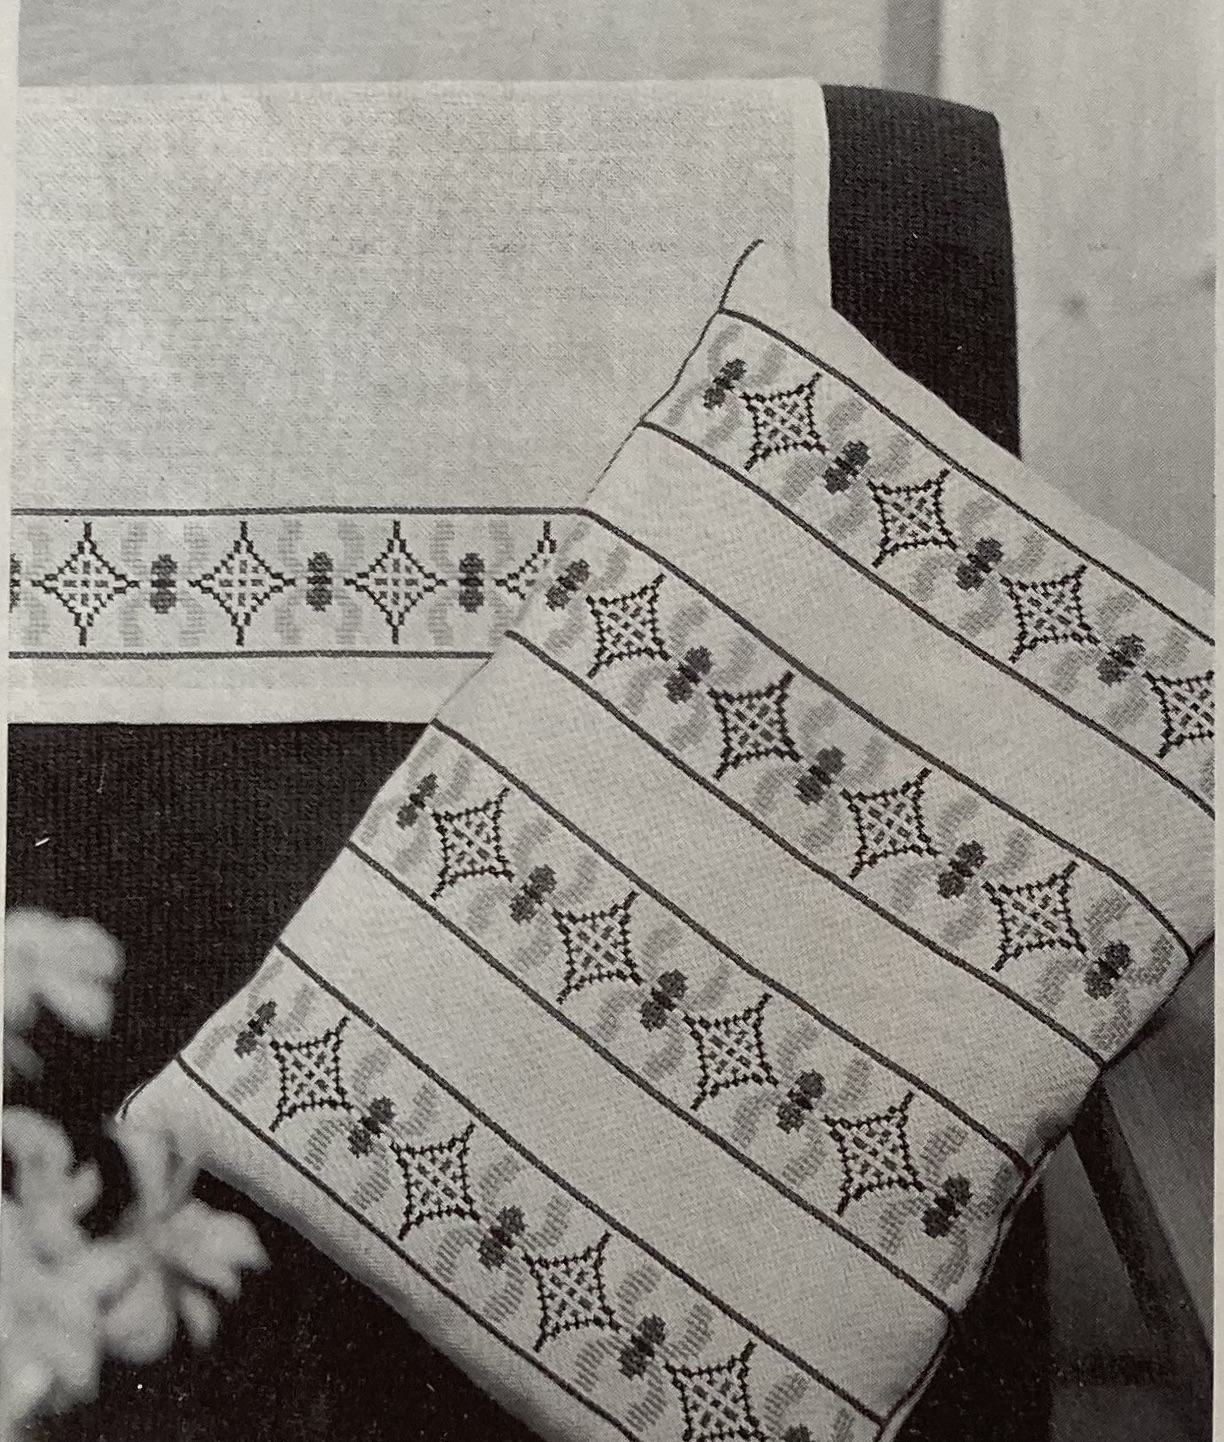
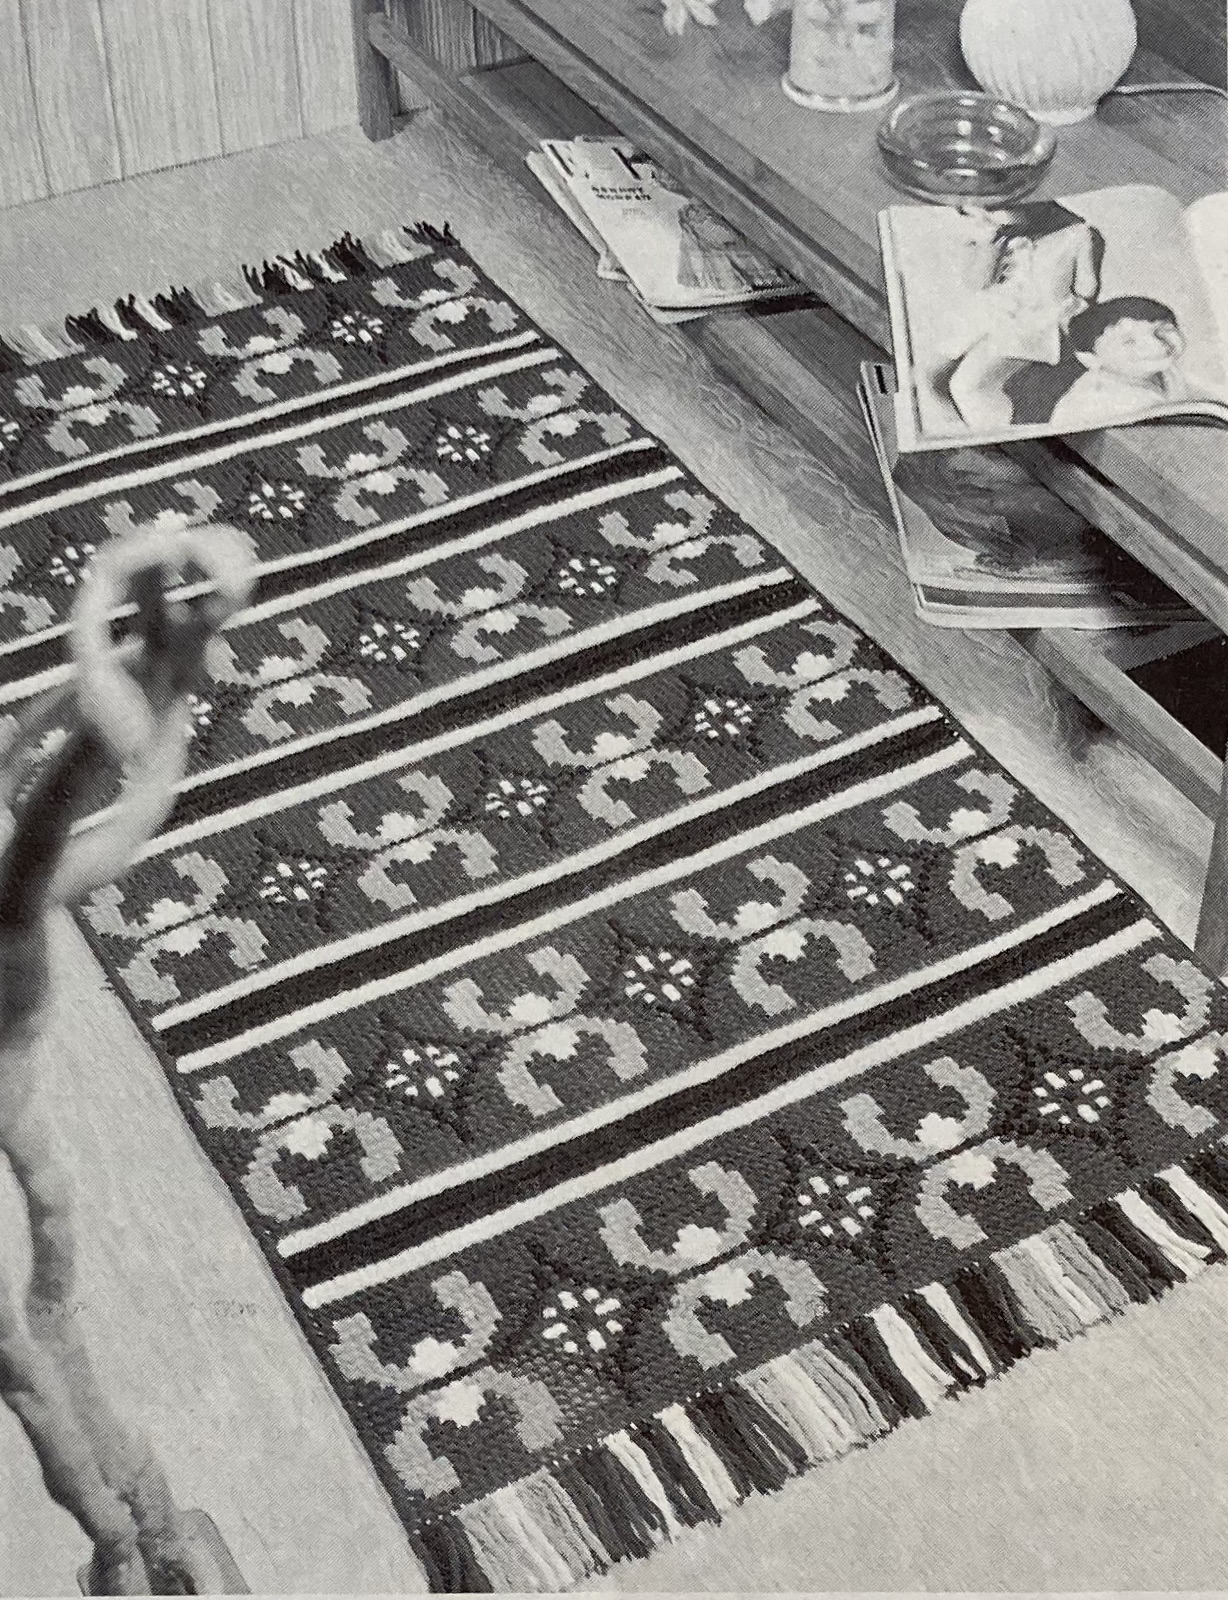
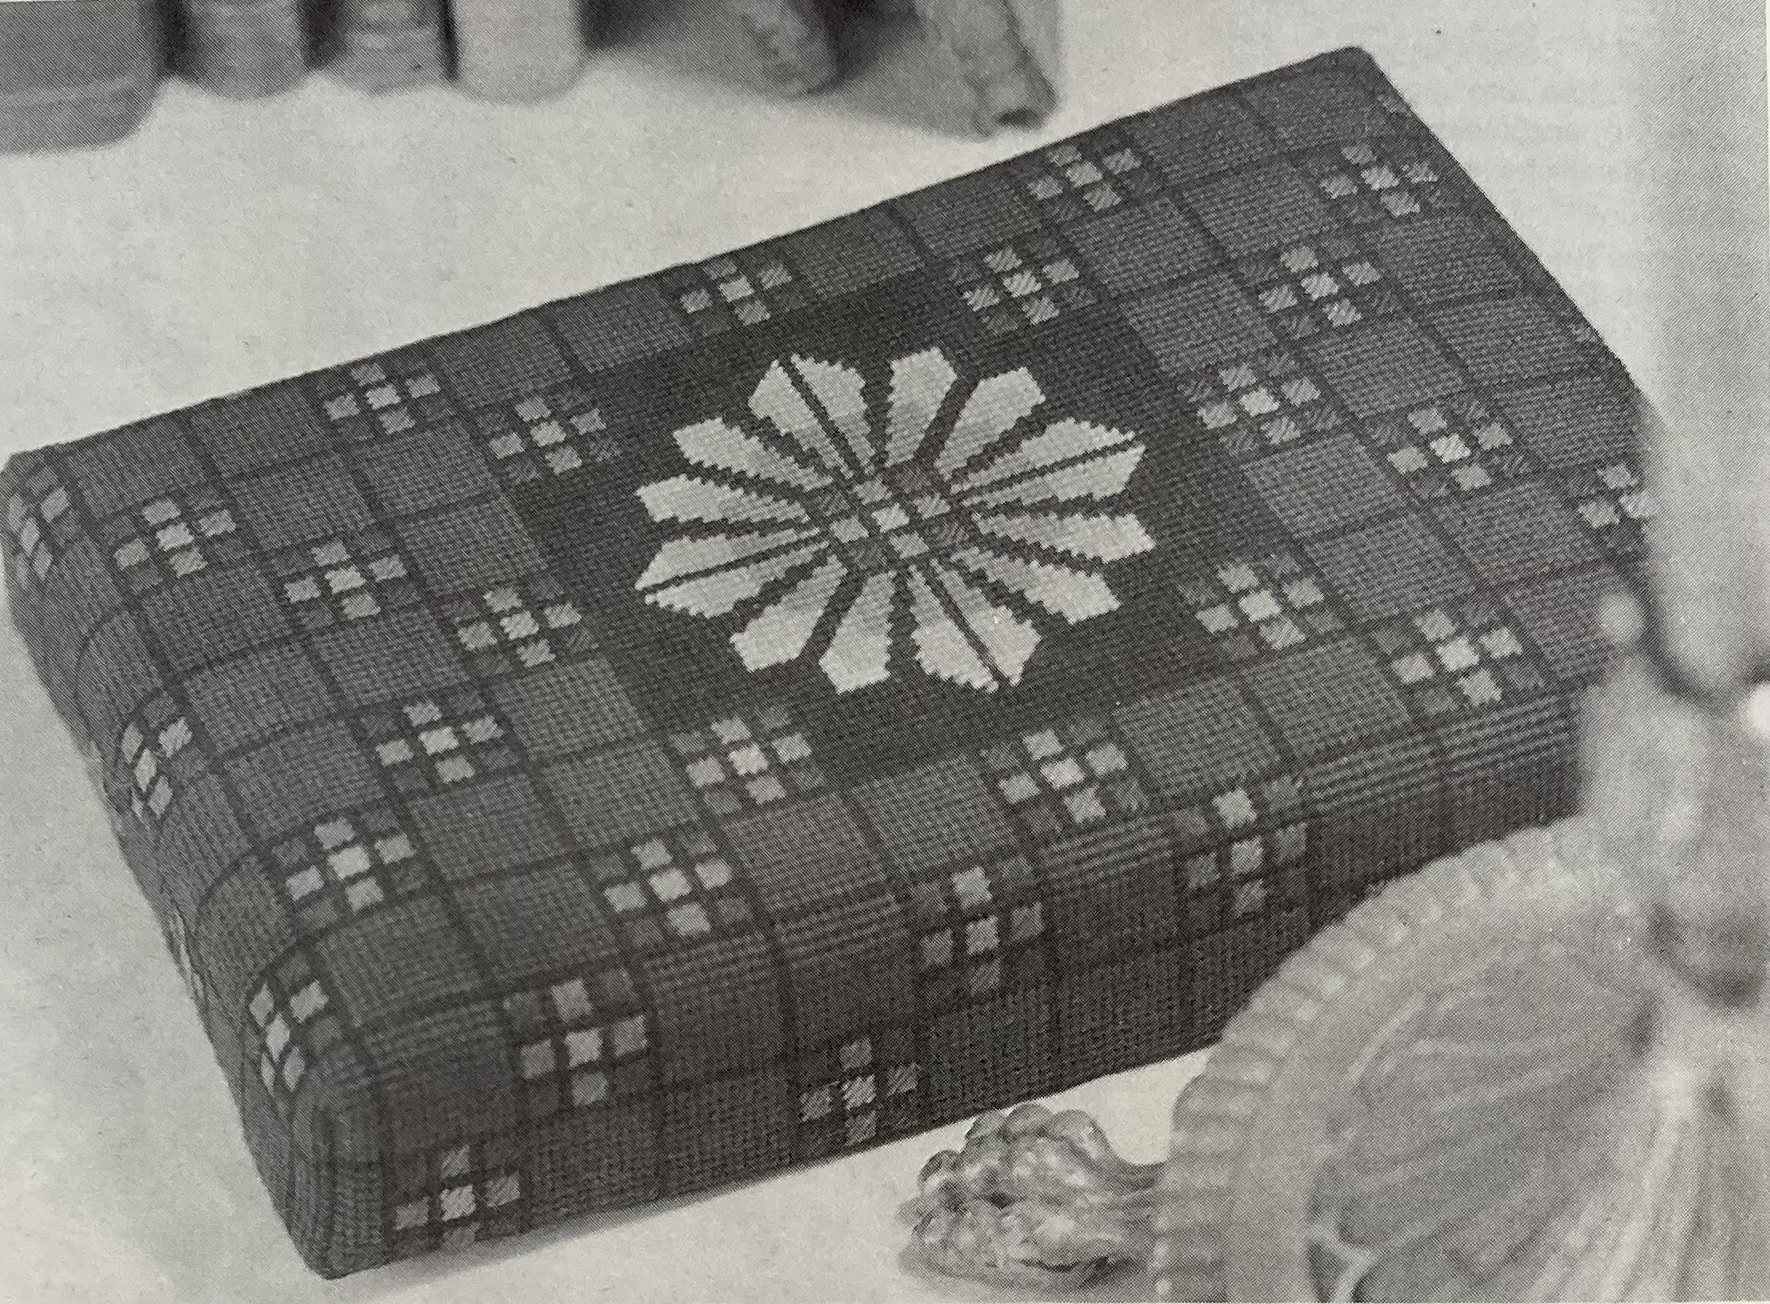
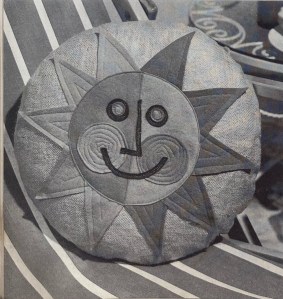
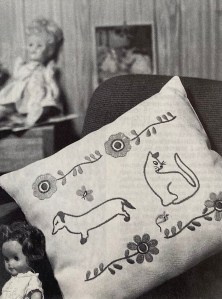
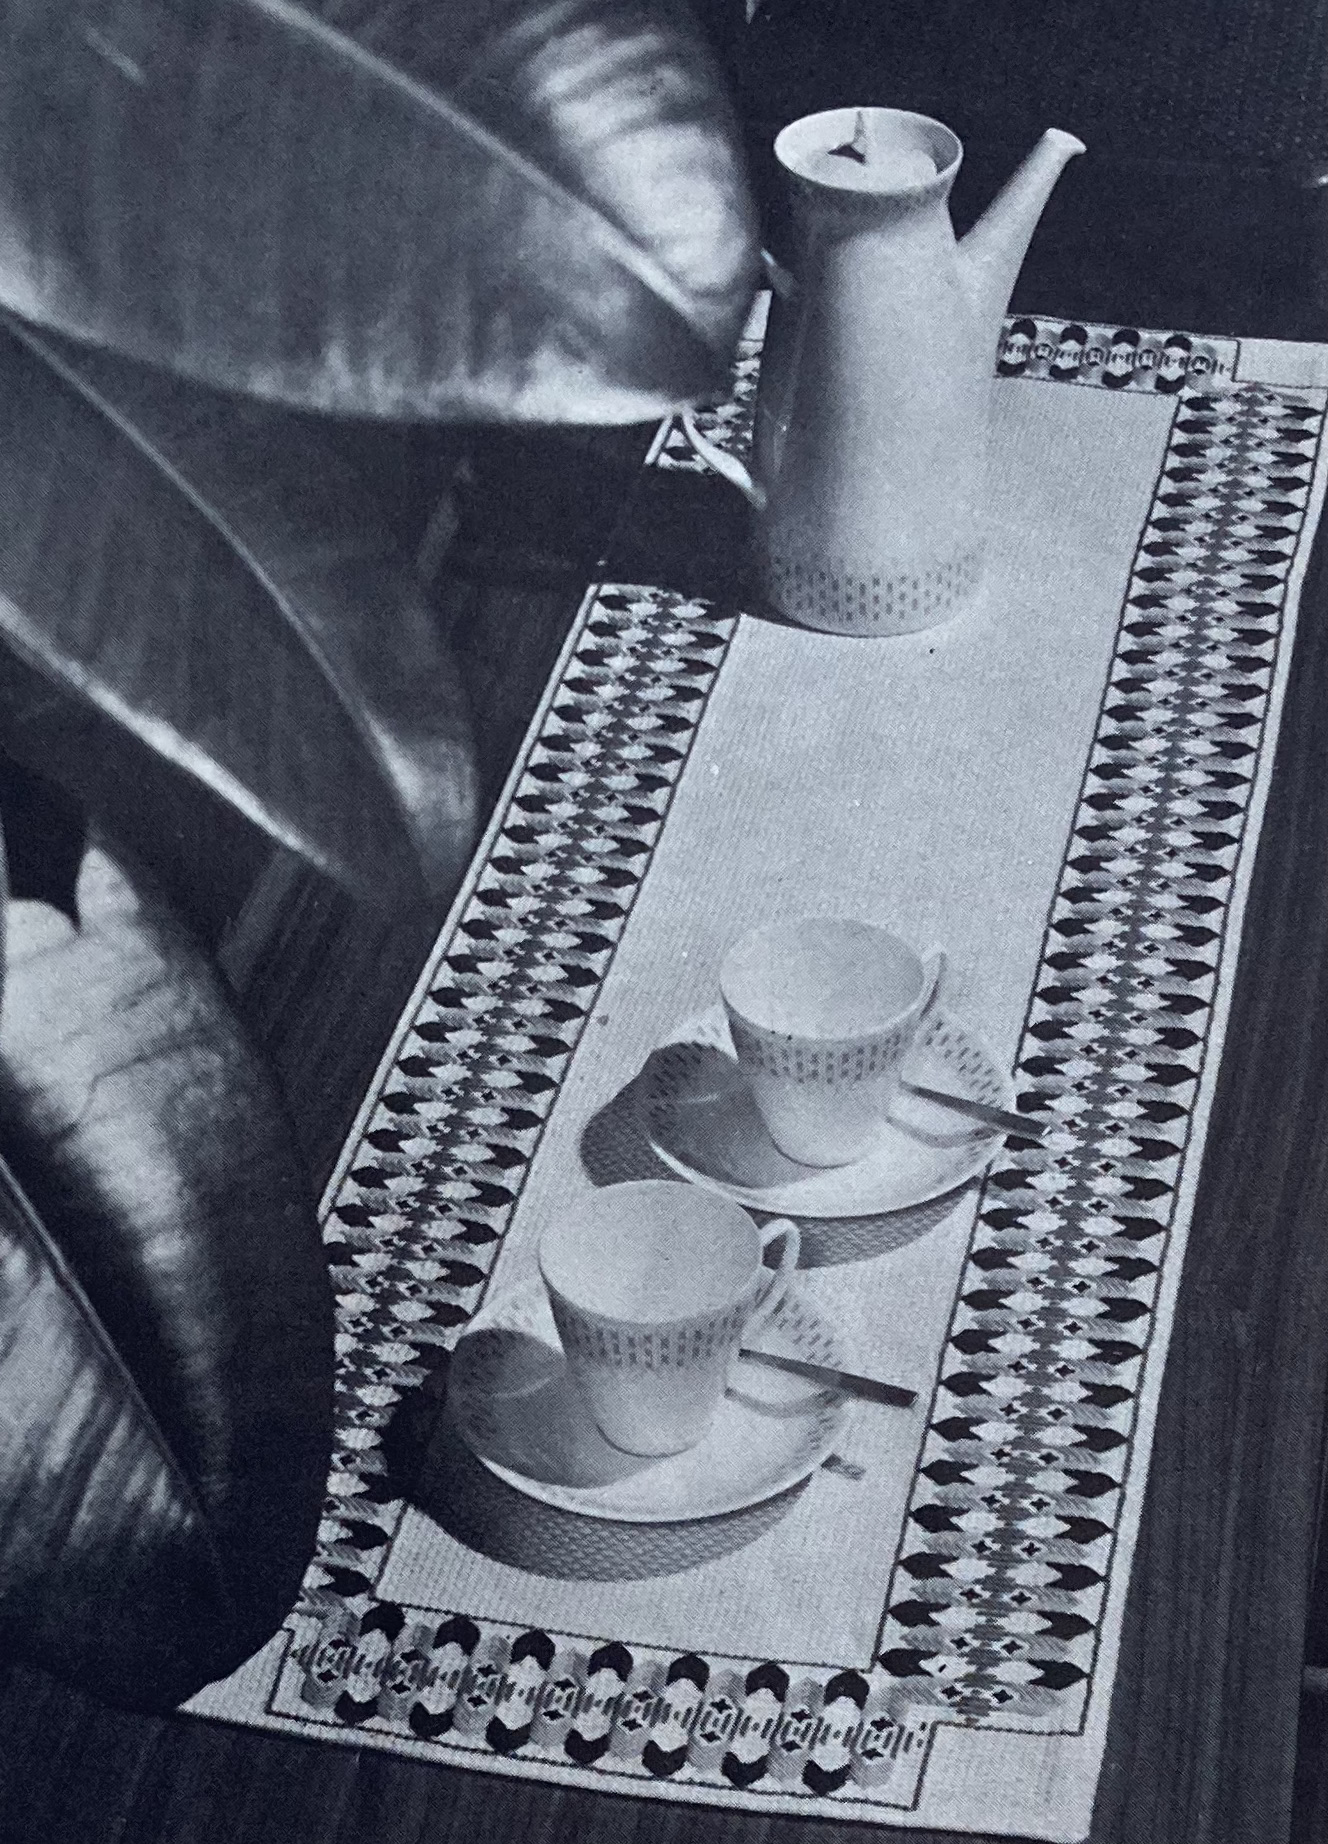
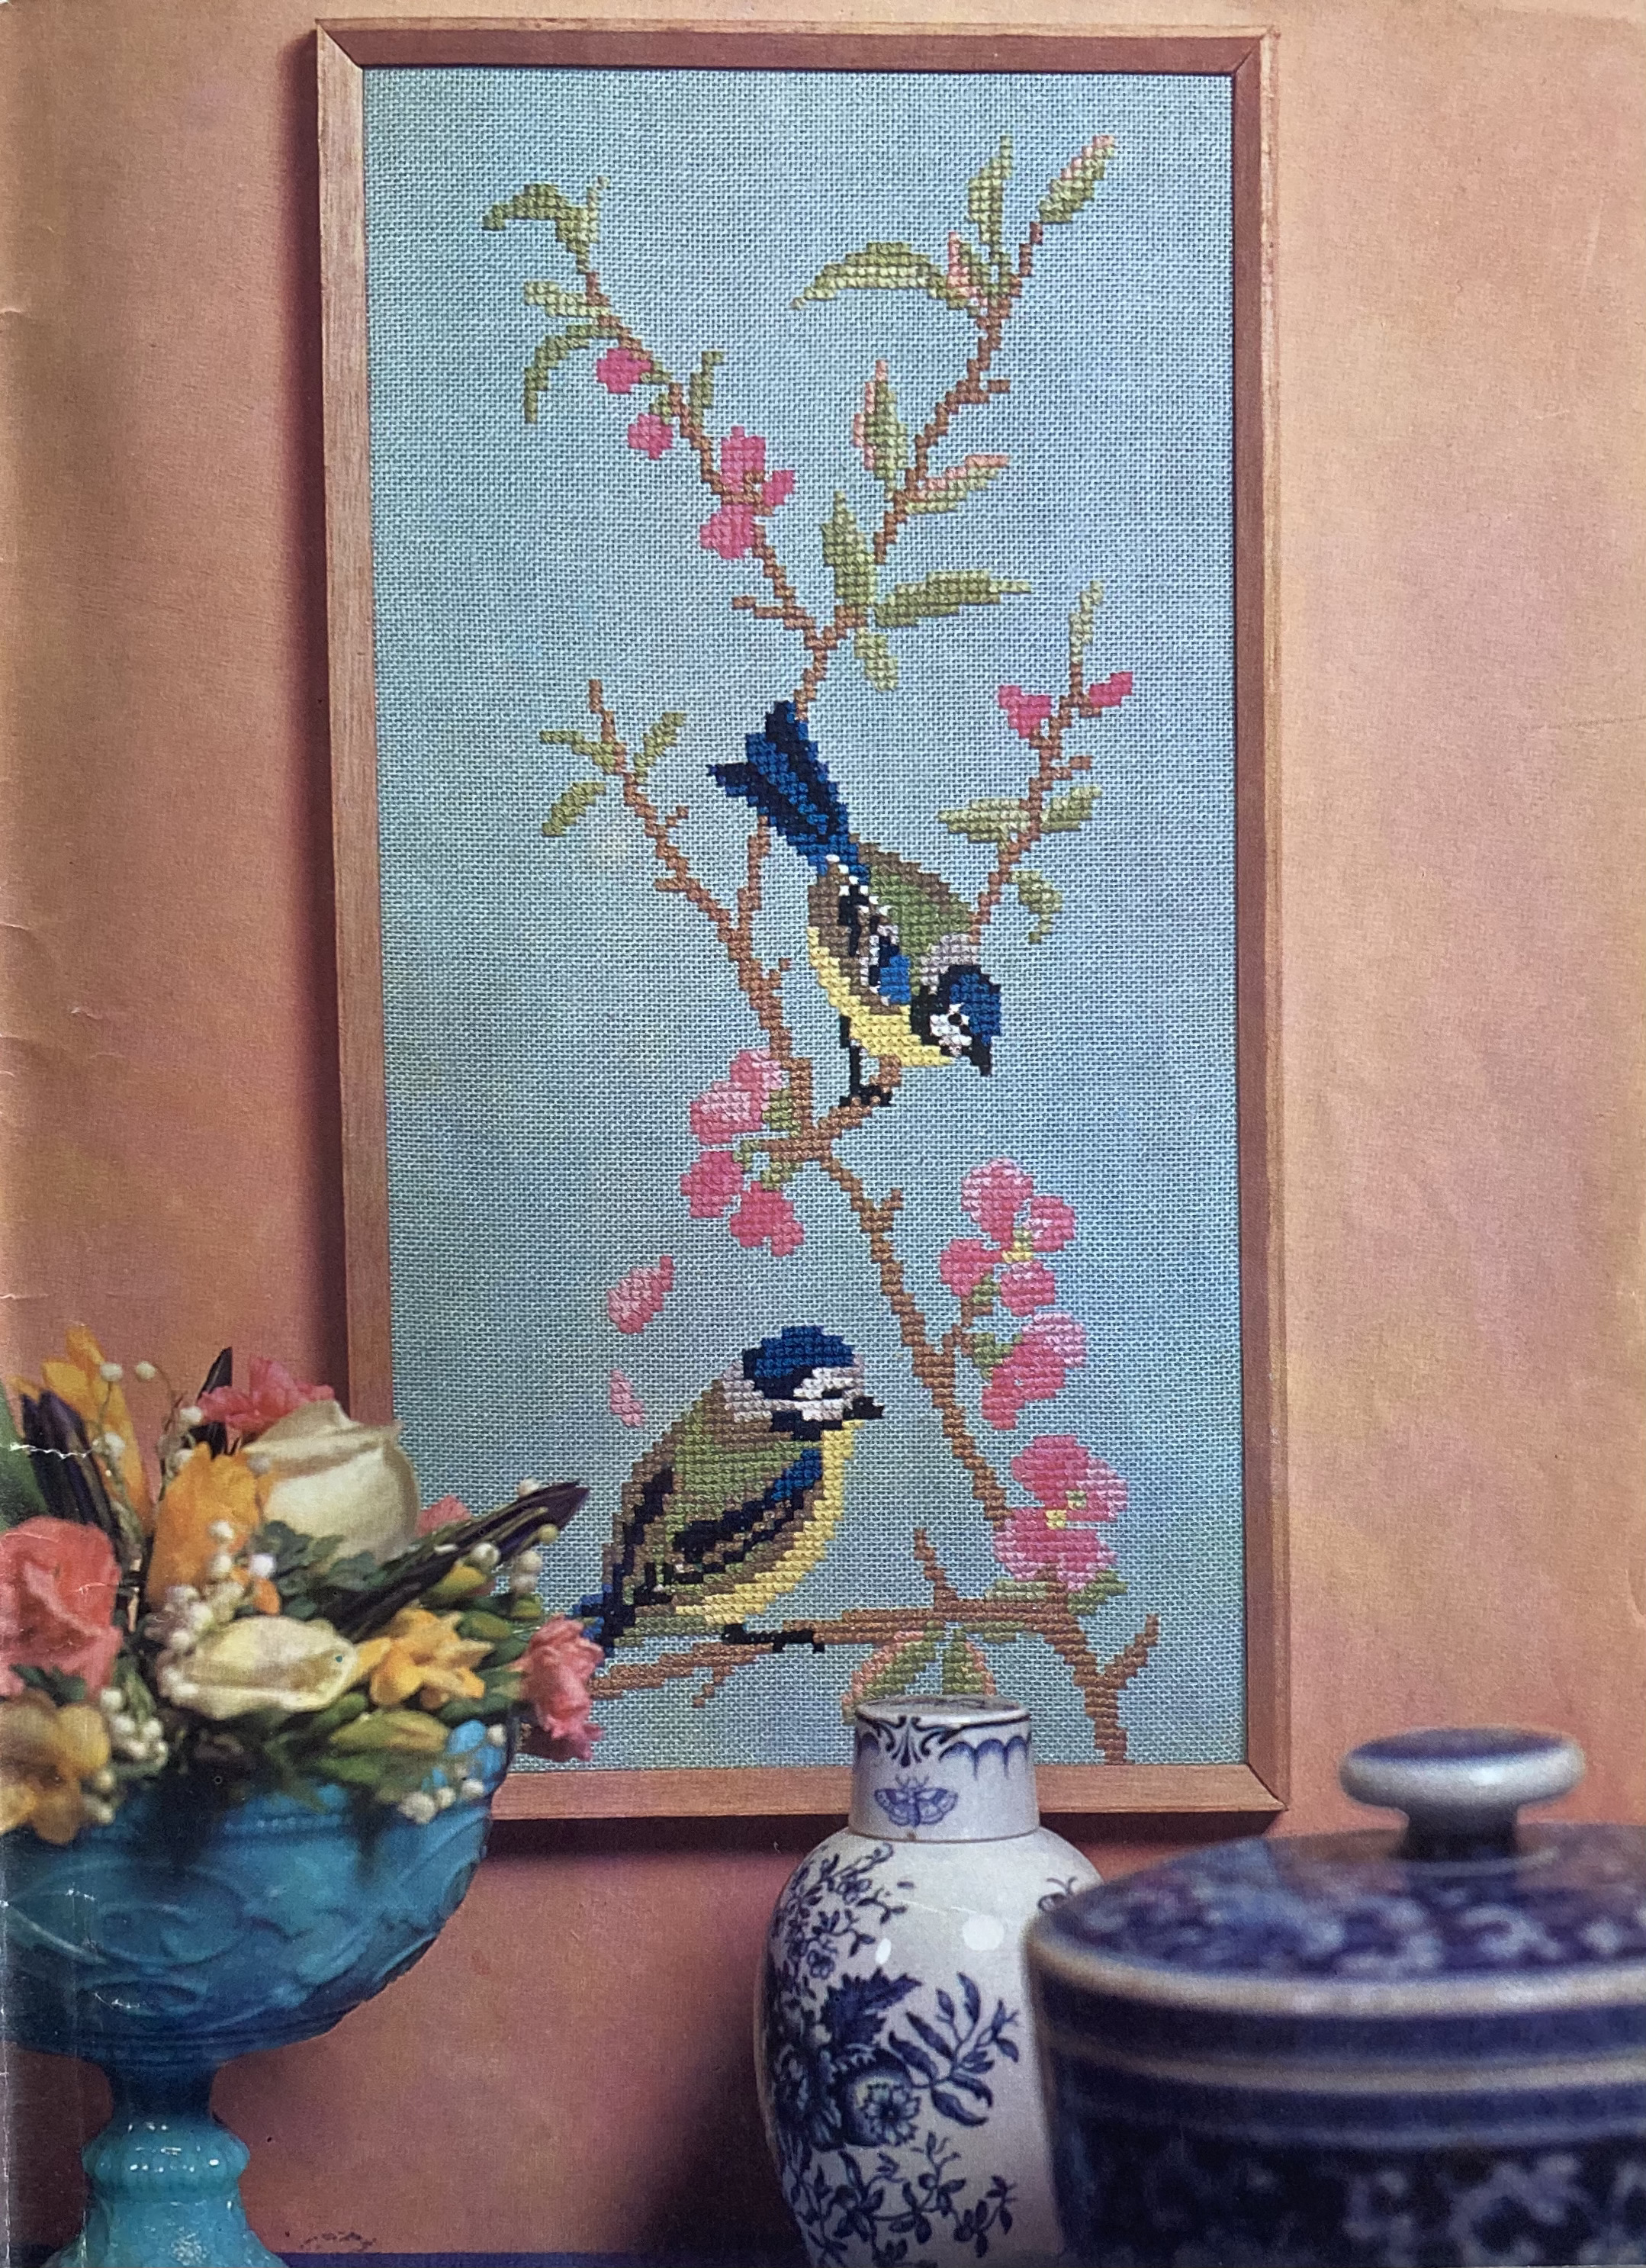
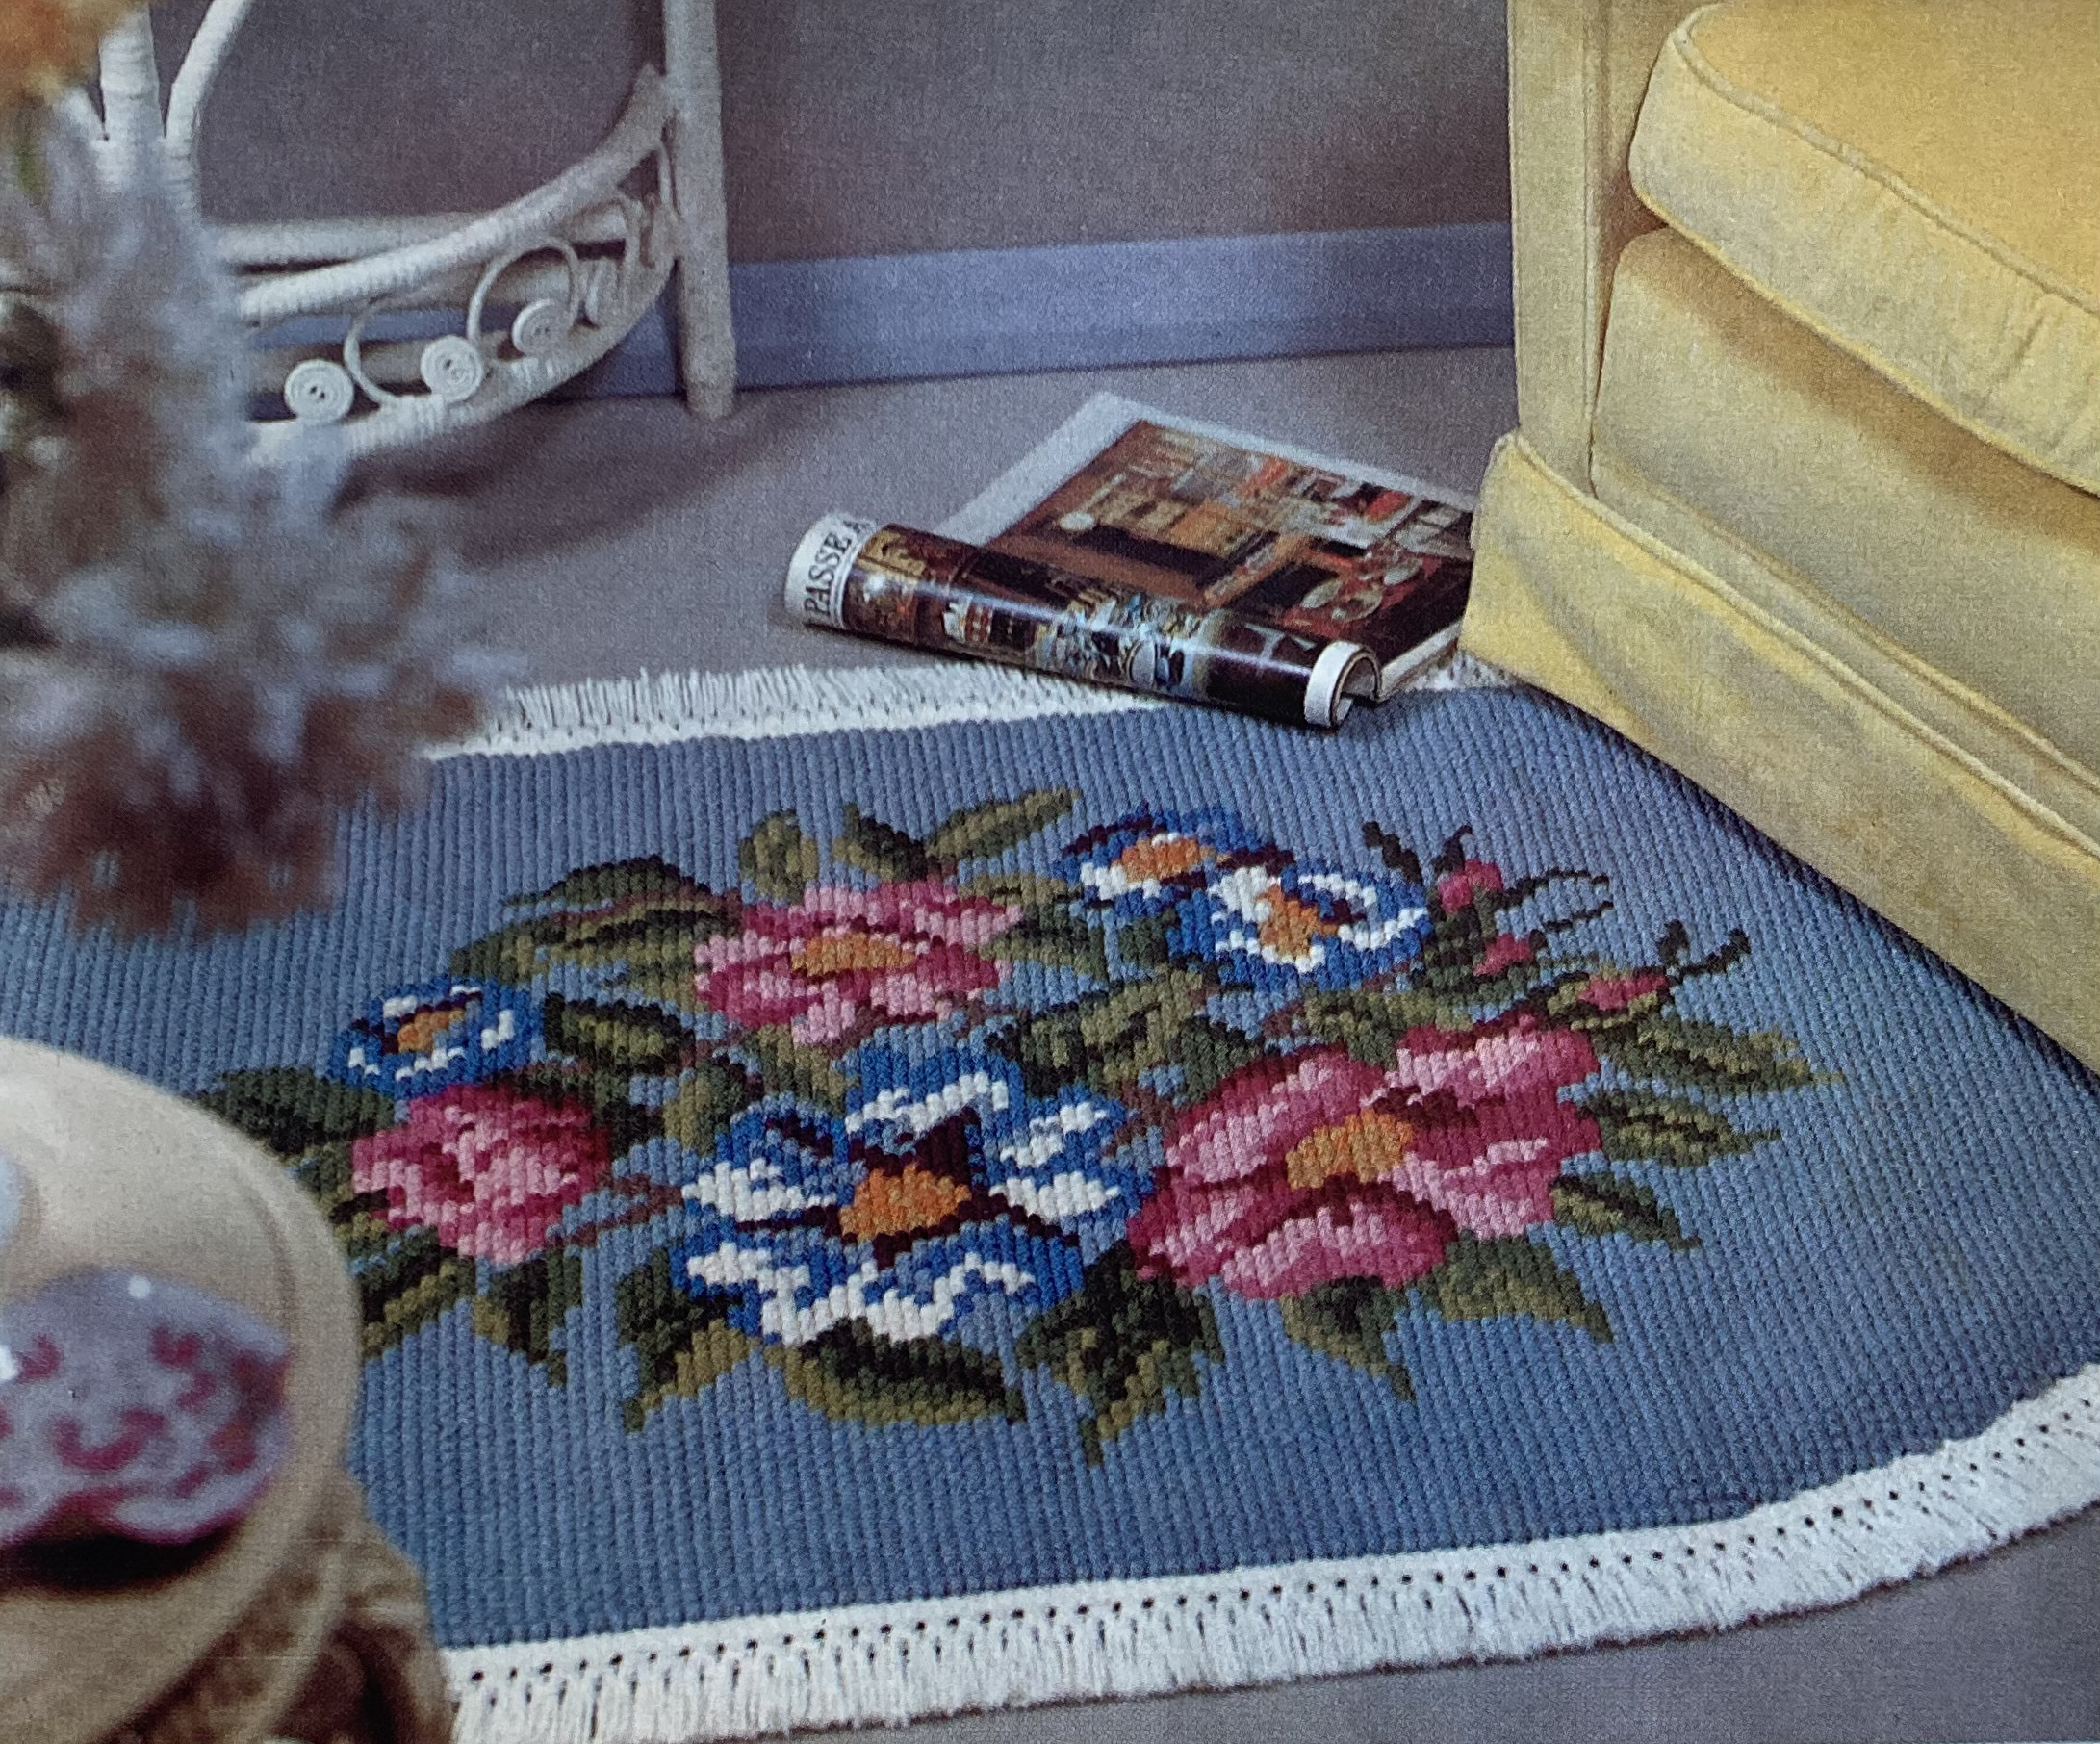
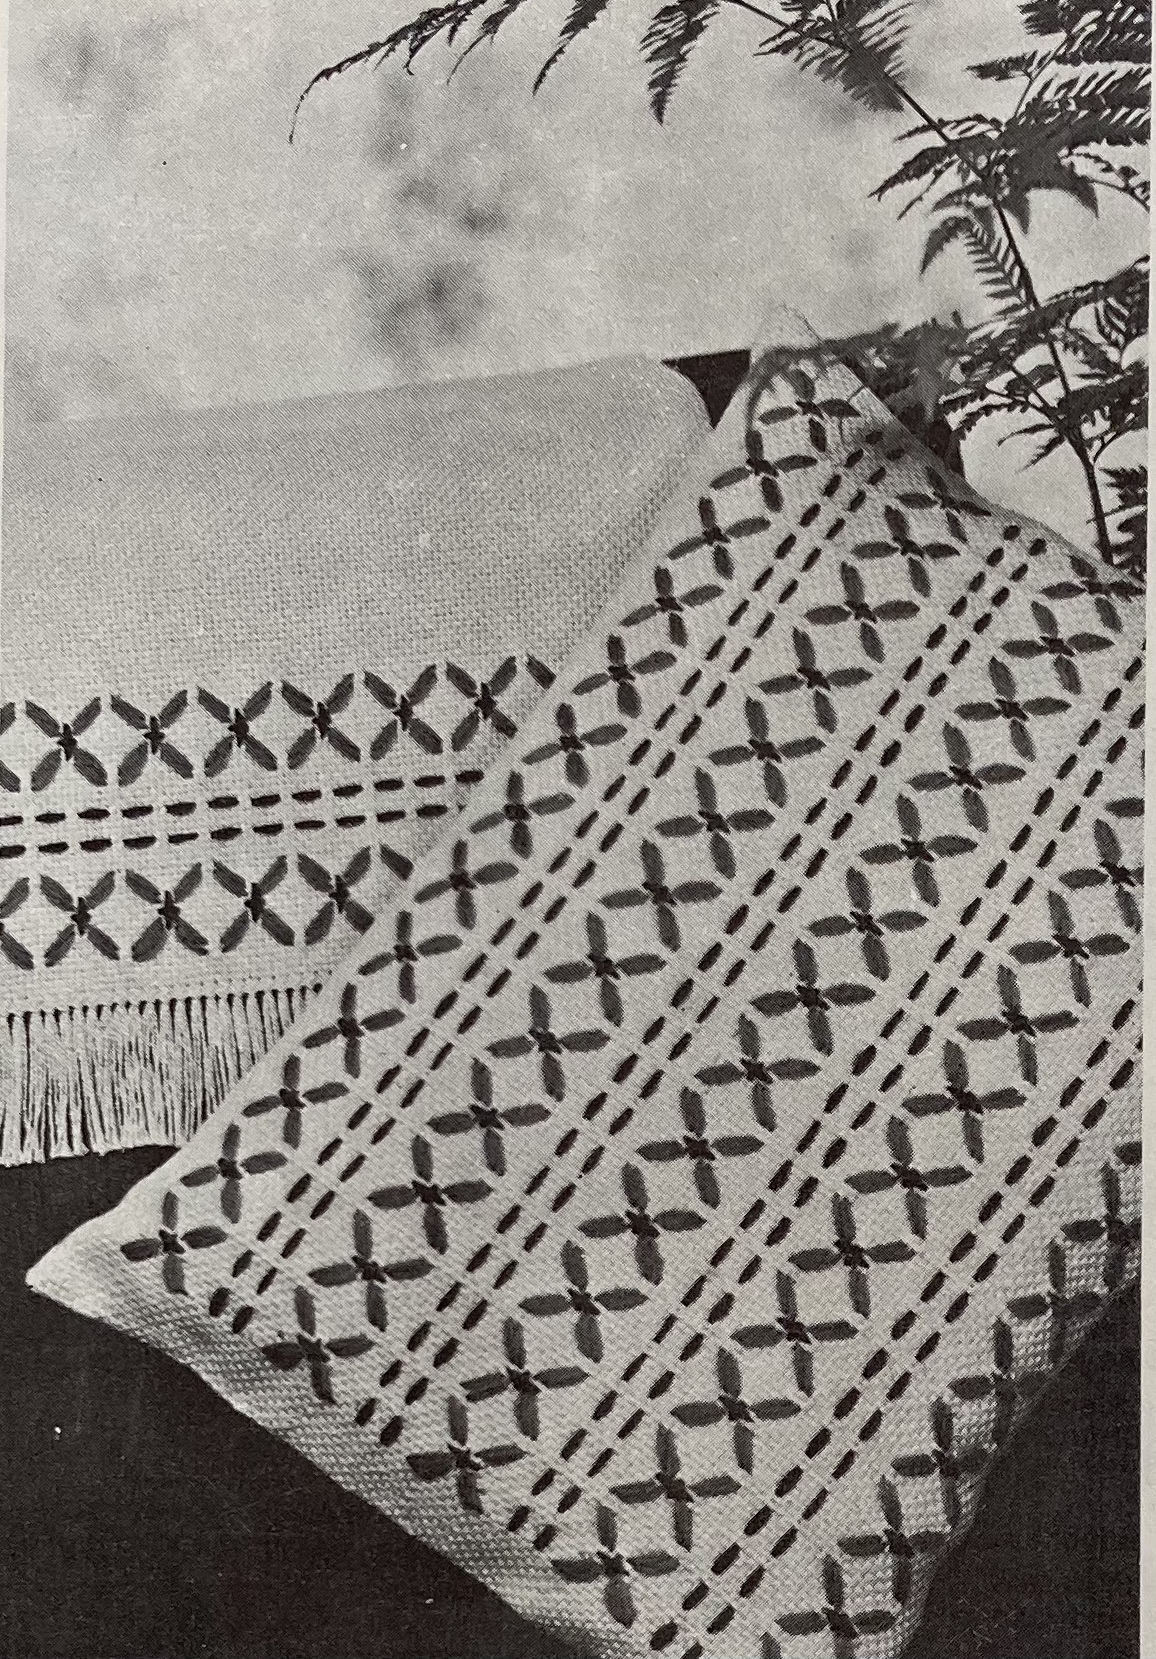
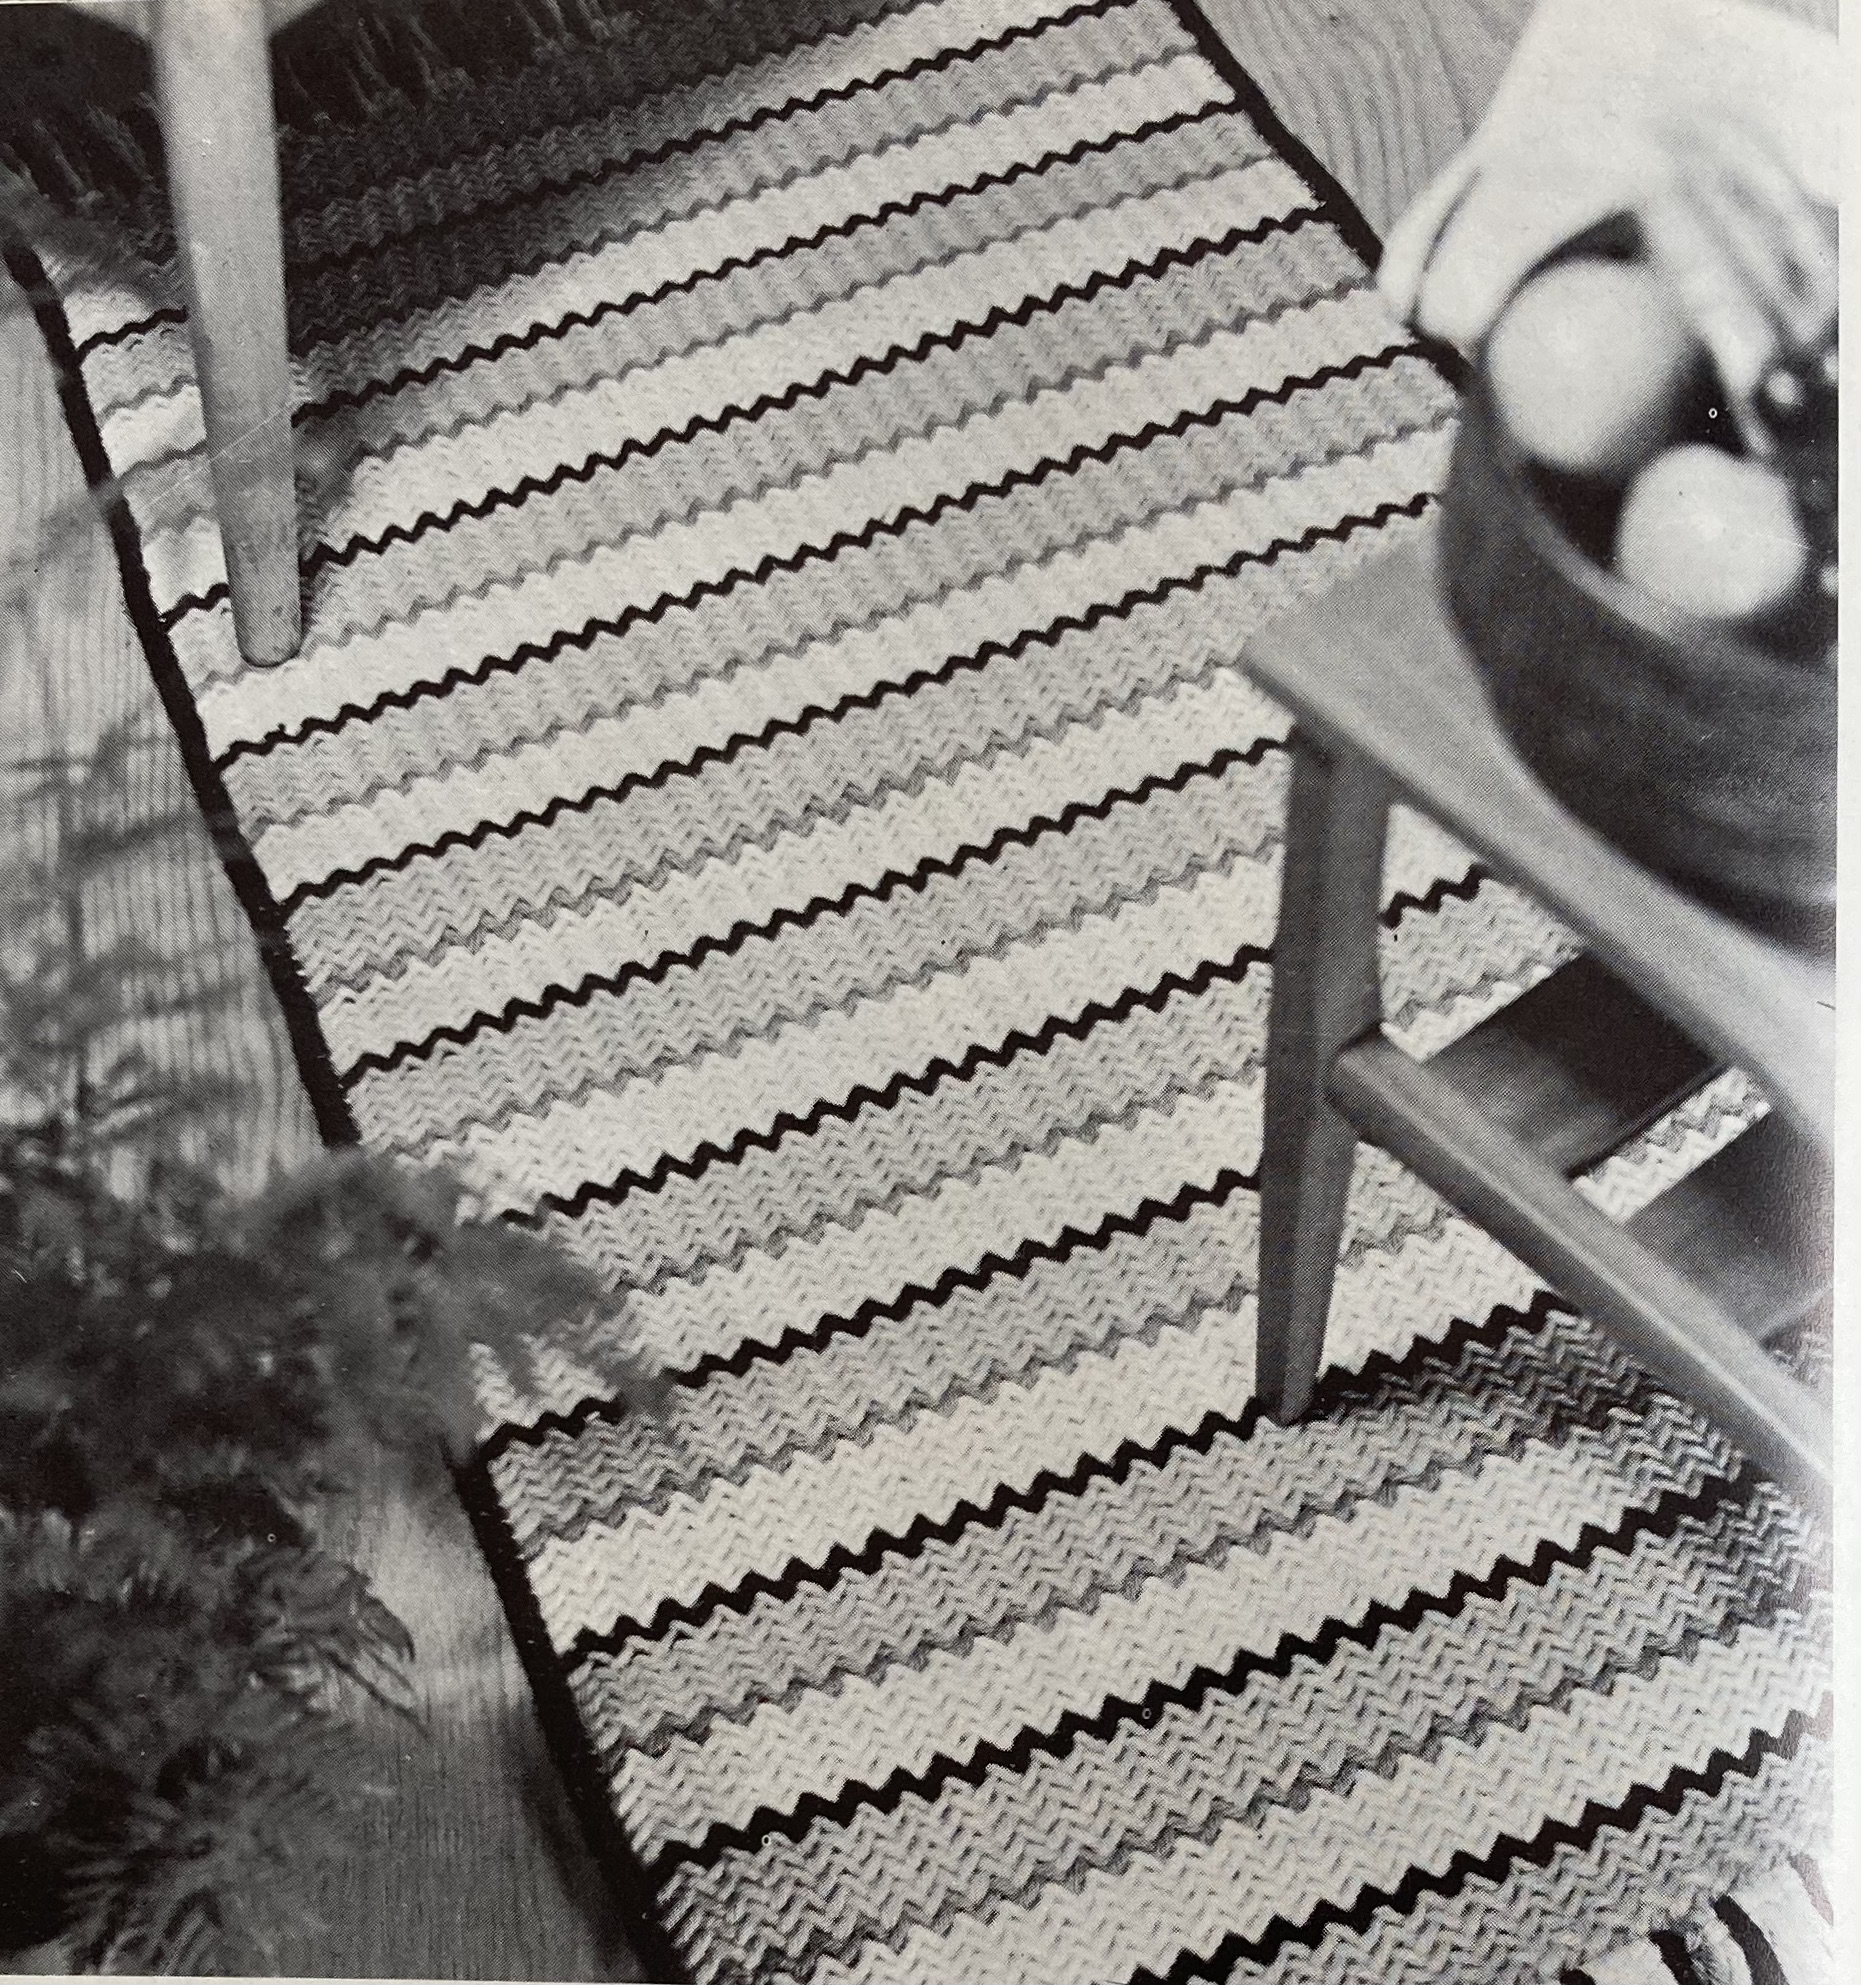
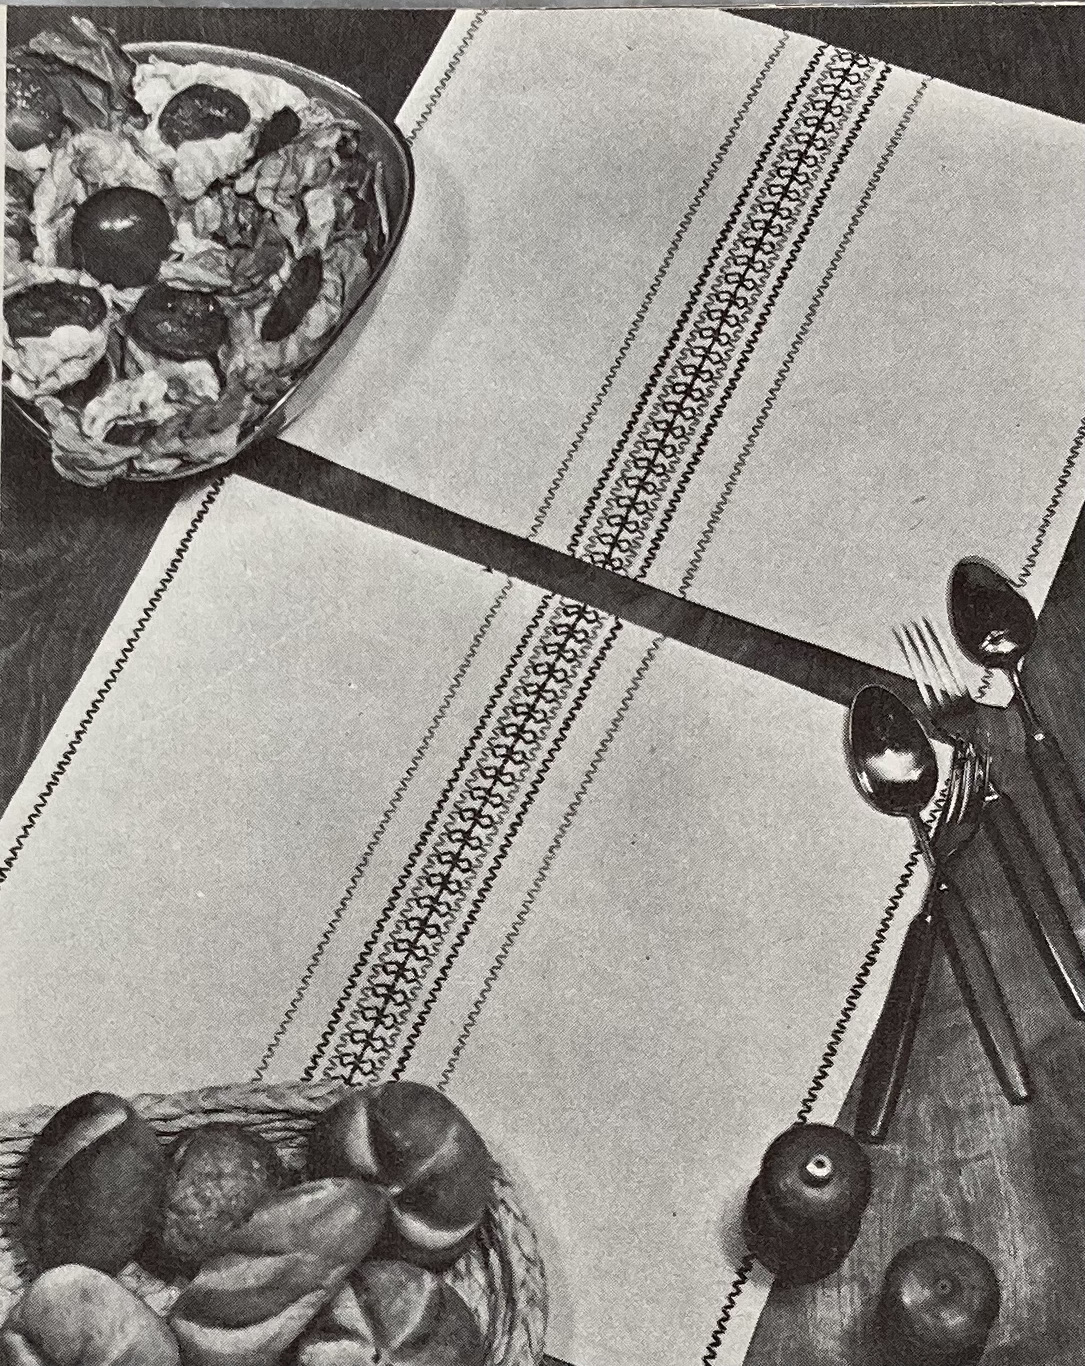
The homewares are pretty standard, but offer a range of different techniques: a crocheted cushion, a counted-stitch cushion and chairback, a practical stitched rug, or huckaback embroidery for various practical linens. Advanced embroideresses can make a stunning chairback set in Jacobean-style wool embroidery with plenty of intricate and multi-coloured stitches.

But wait, there’s more! Or not, sadly. This issue apparently had a supplement of nine designs “to knit for the family in Patons Brilliante qualities”. It must have been carefully removed from this particular issue at some point and separated from it, since there is no trace of it in my magazine, not even in the centre fold where it was presumably stapled in, and all the regular pages are intact. If you happen to have this supplement, please feel free to write in and let us know what’s in it!
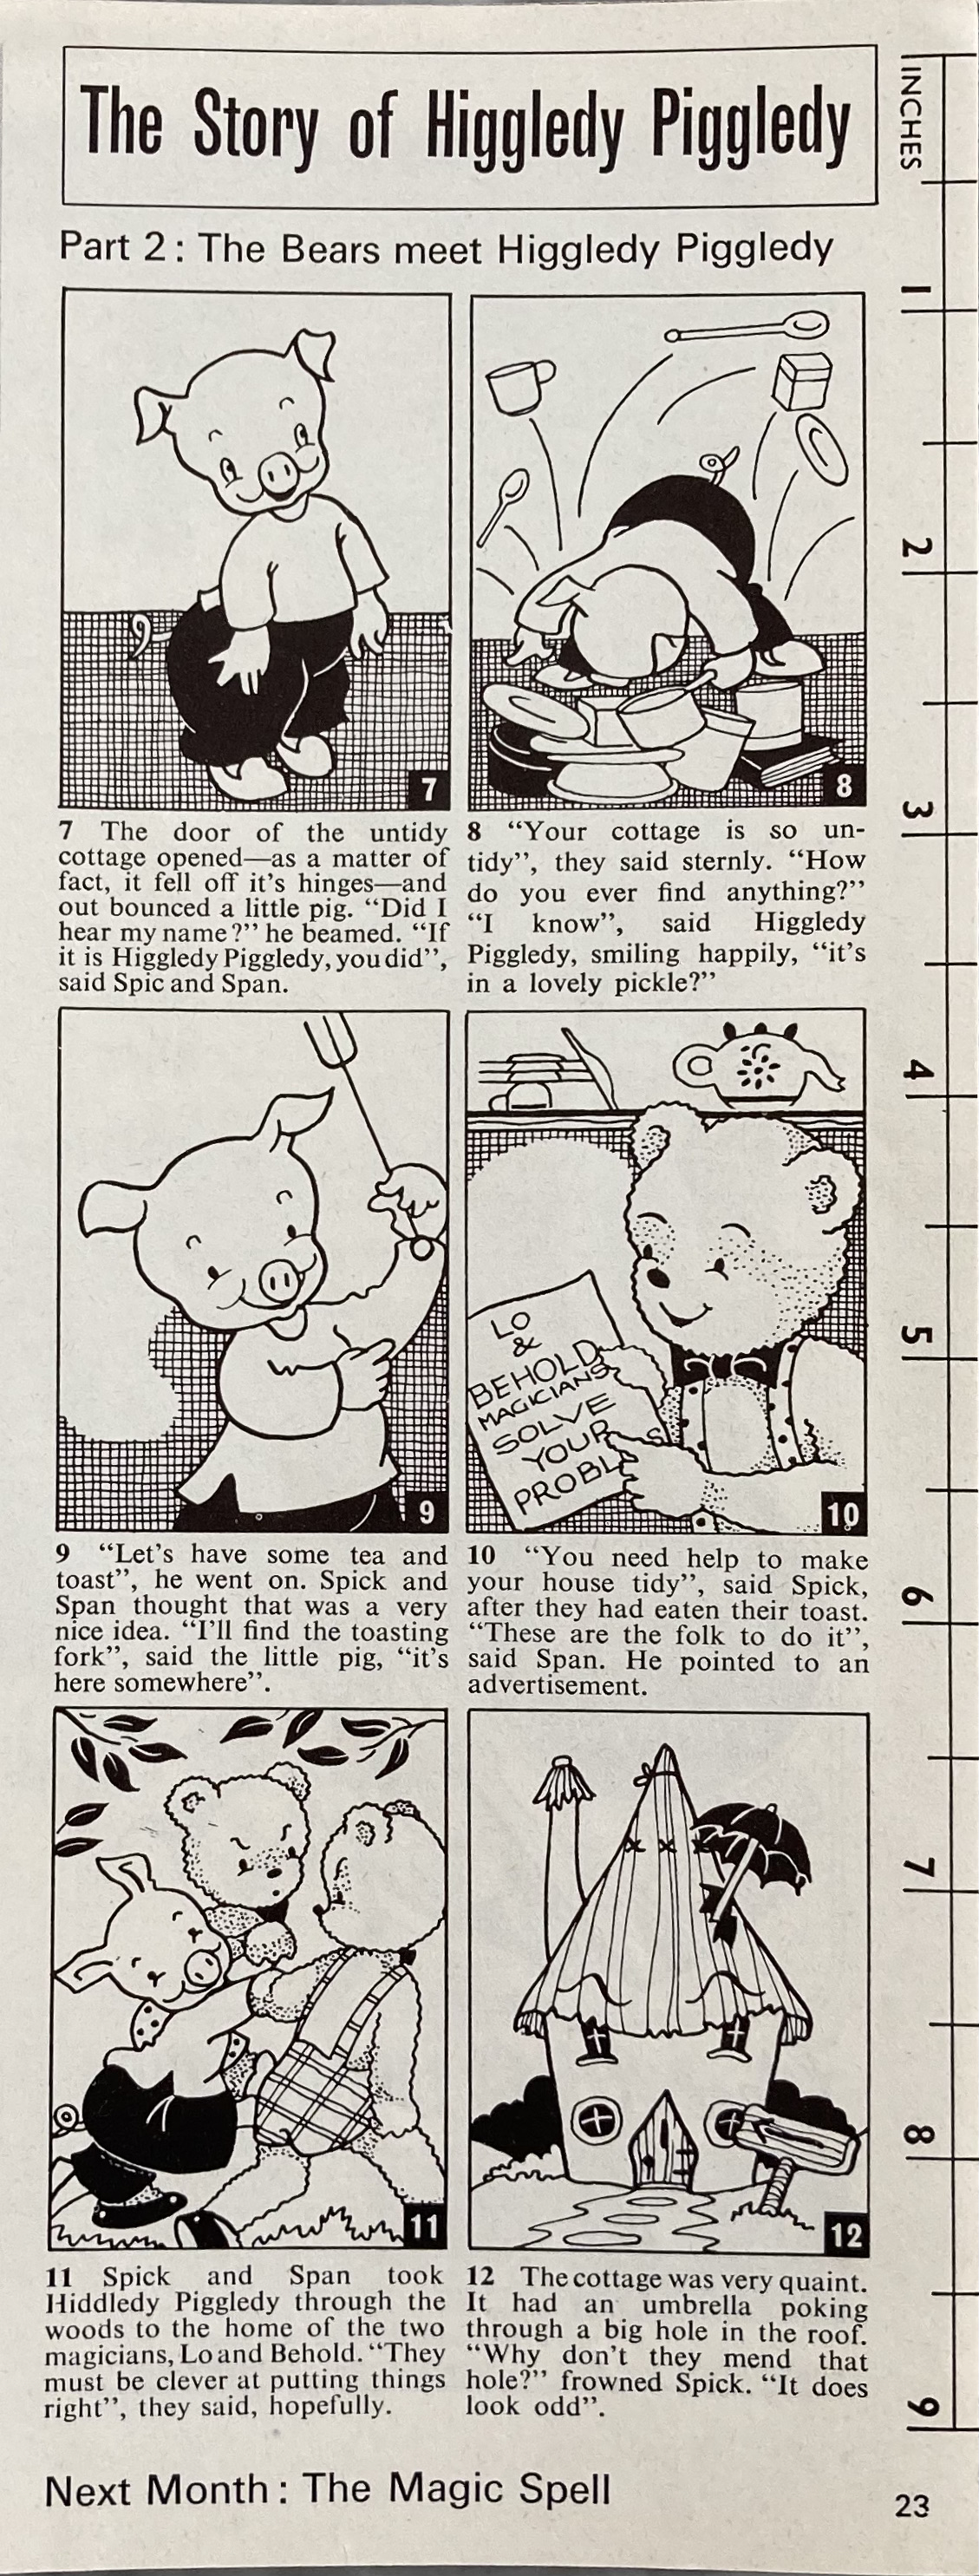
In the “Readers Pages”, there’s a reprint of a pattern for machine-knitted wool “slacks” (I guess we would call them leggings today) and Part 2 of the comic adventures of Spick and Span, the two very neat and tidy teddy bears. They meet a very untidy bear named Higgledy Piggledy and seek out the services of two magicians, “Lo” and “Behold”, to magically turn him into a tidy bear. I sense a certain pedagogical overtone in this story, which is perhaps why it is less fun and interesting than some of the other ones.

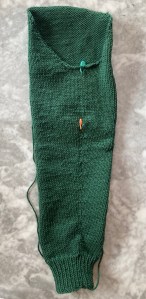
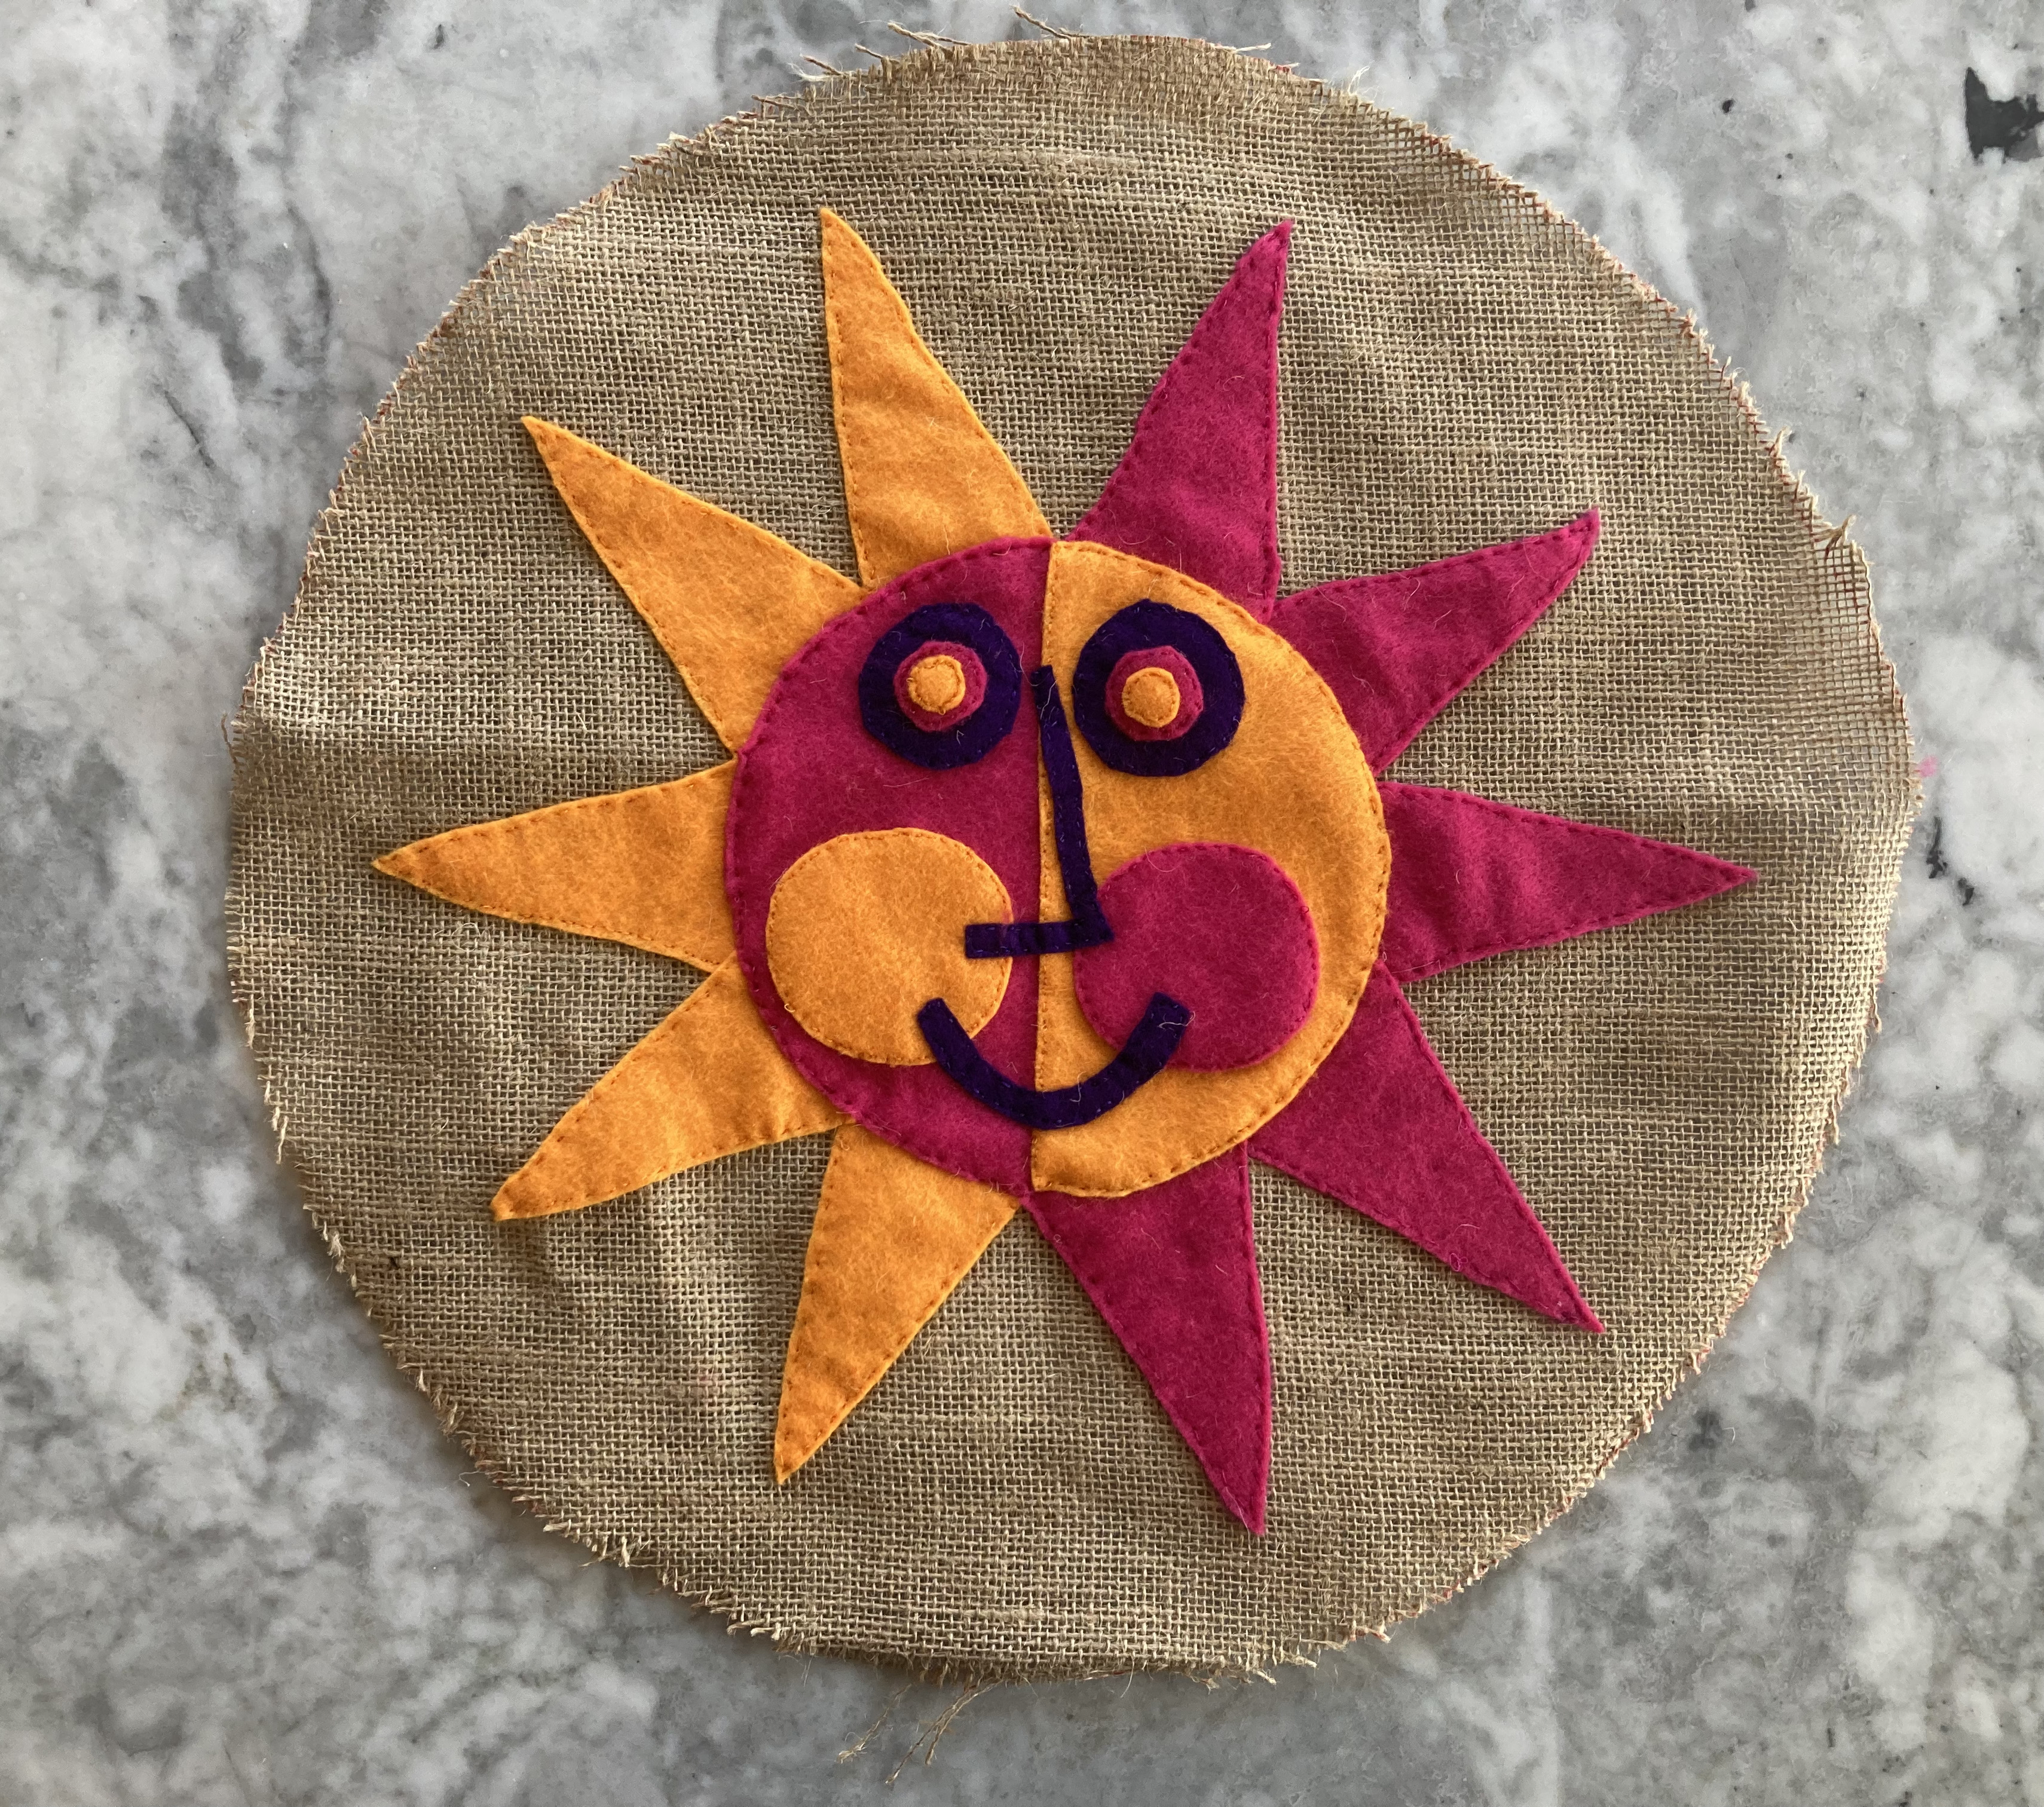
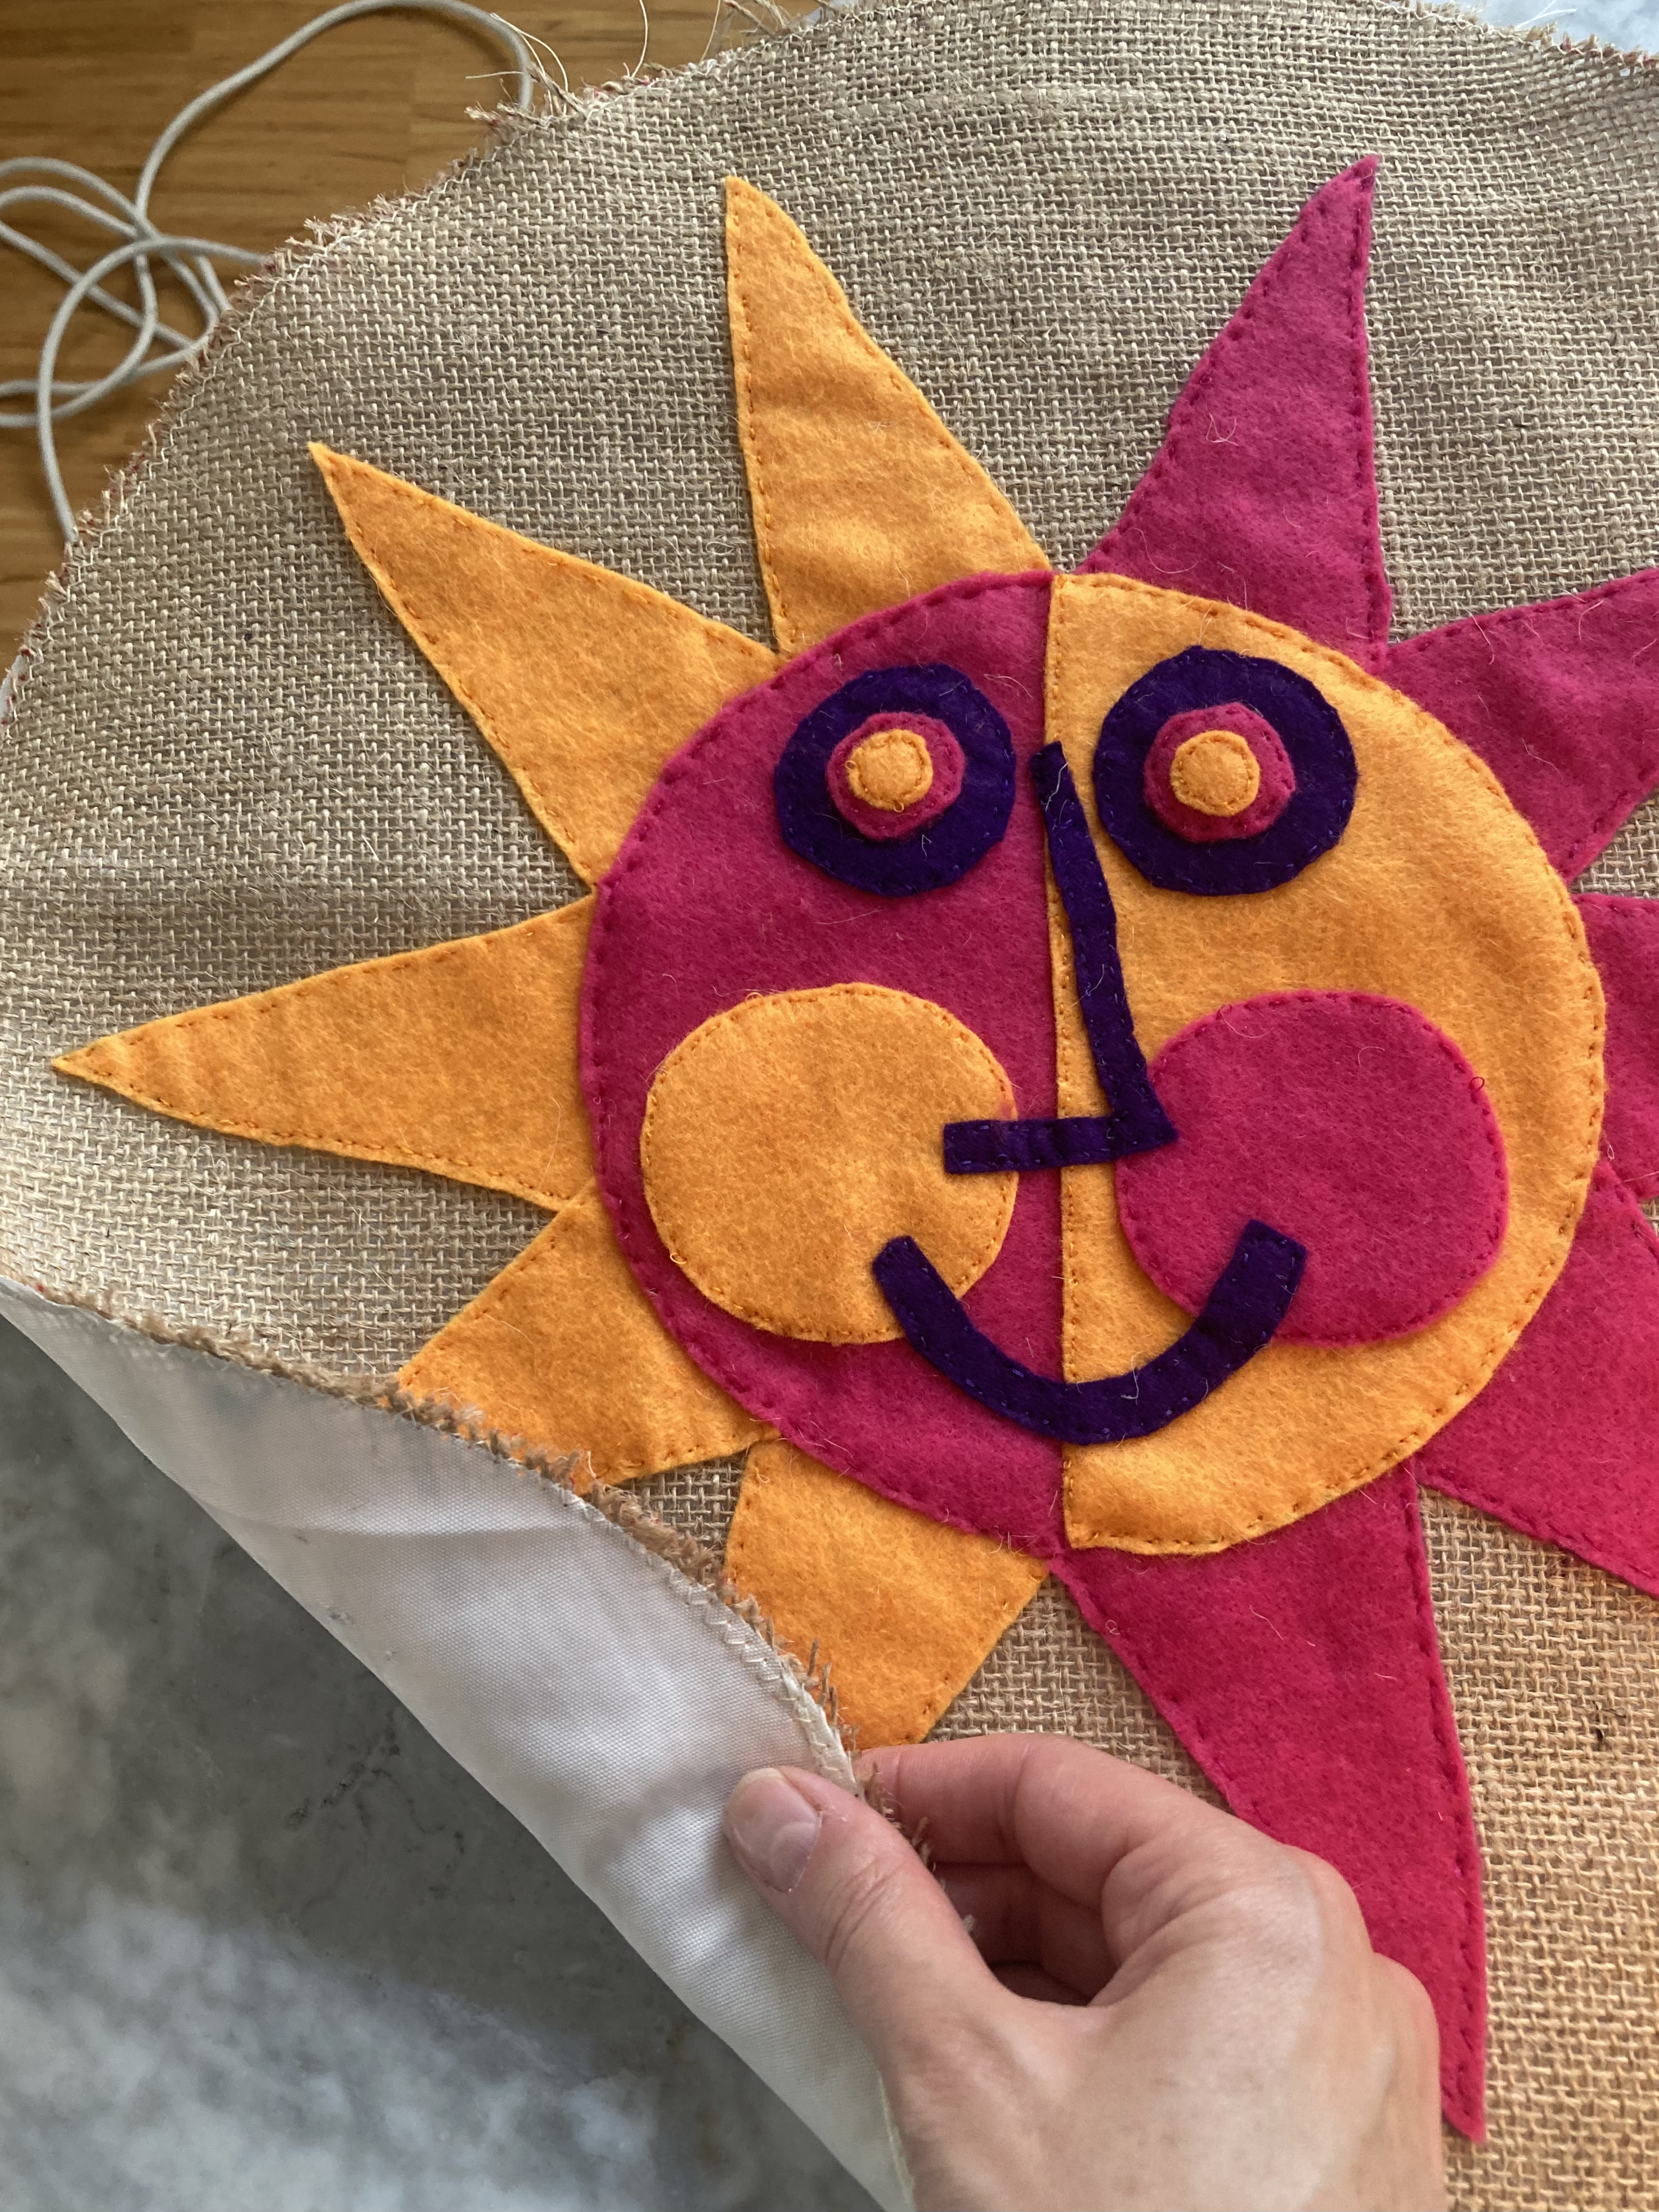
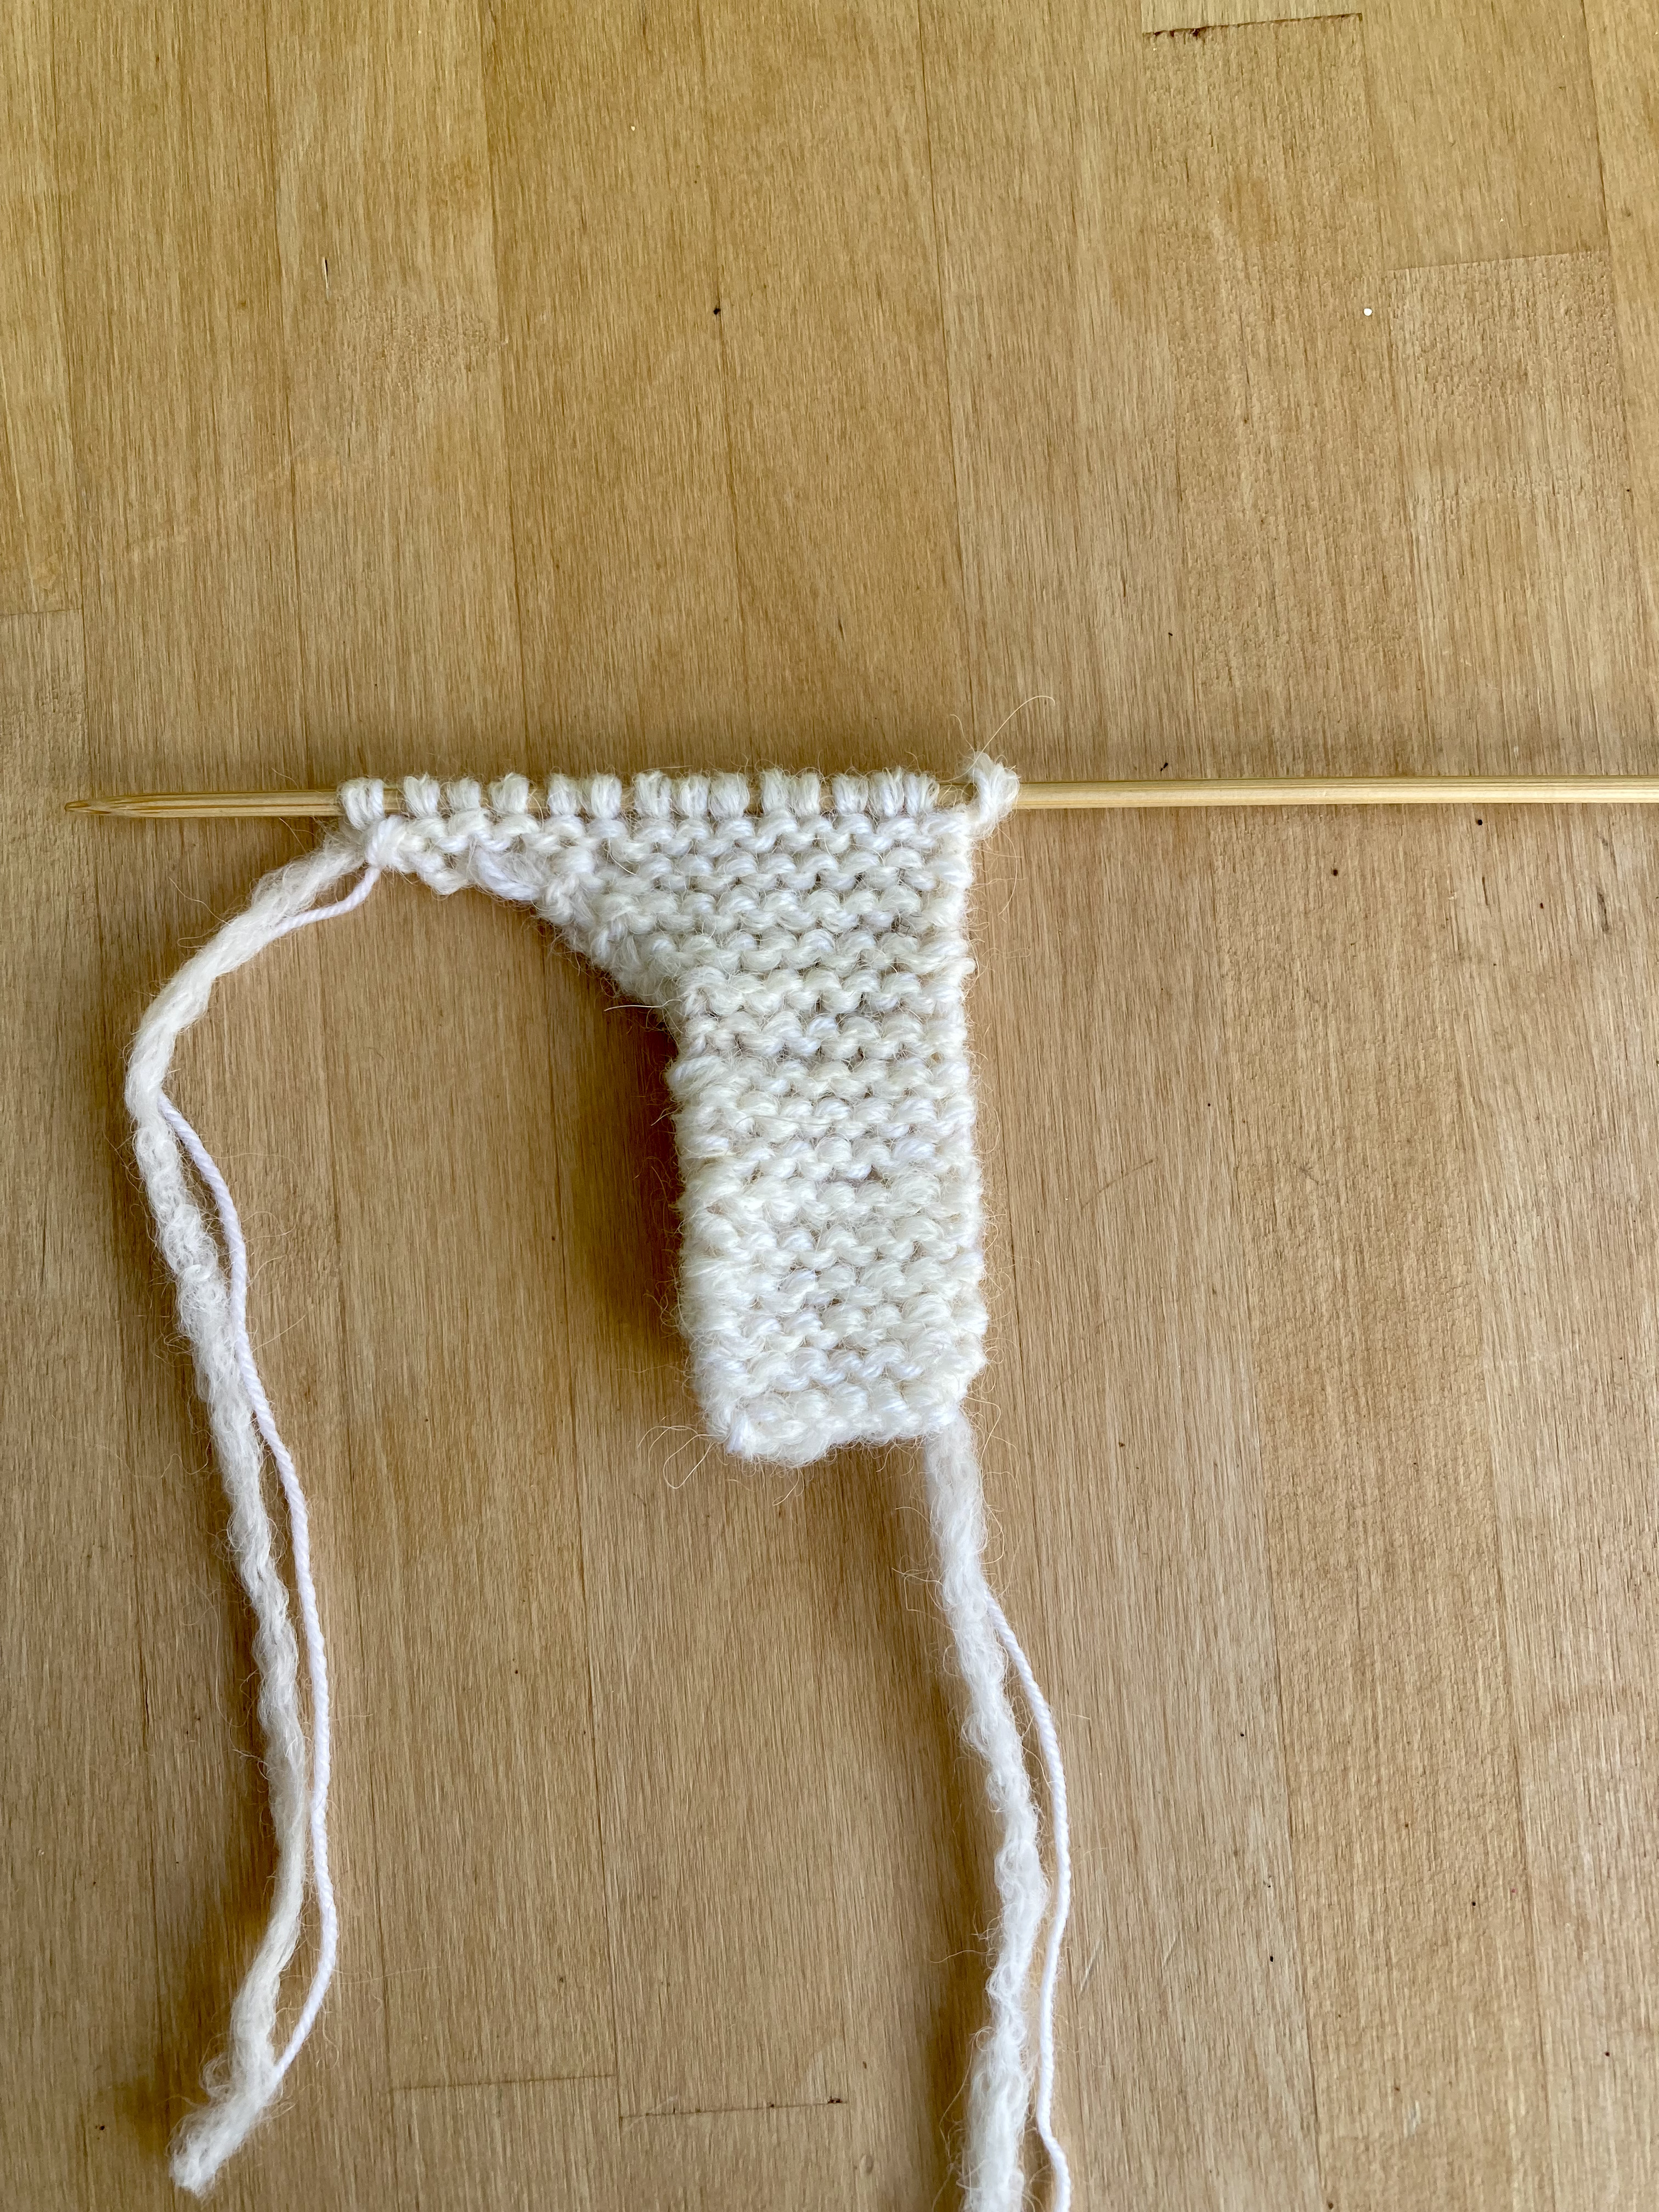
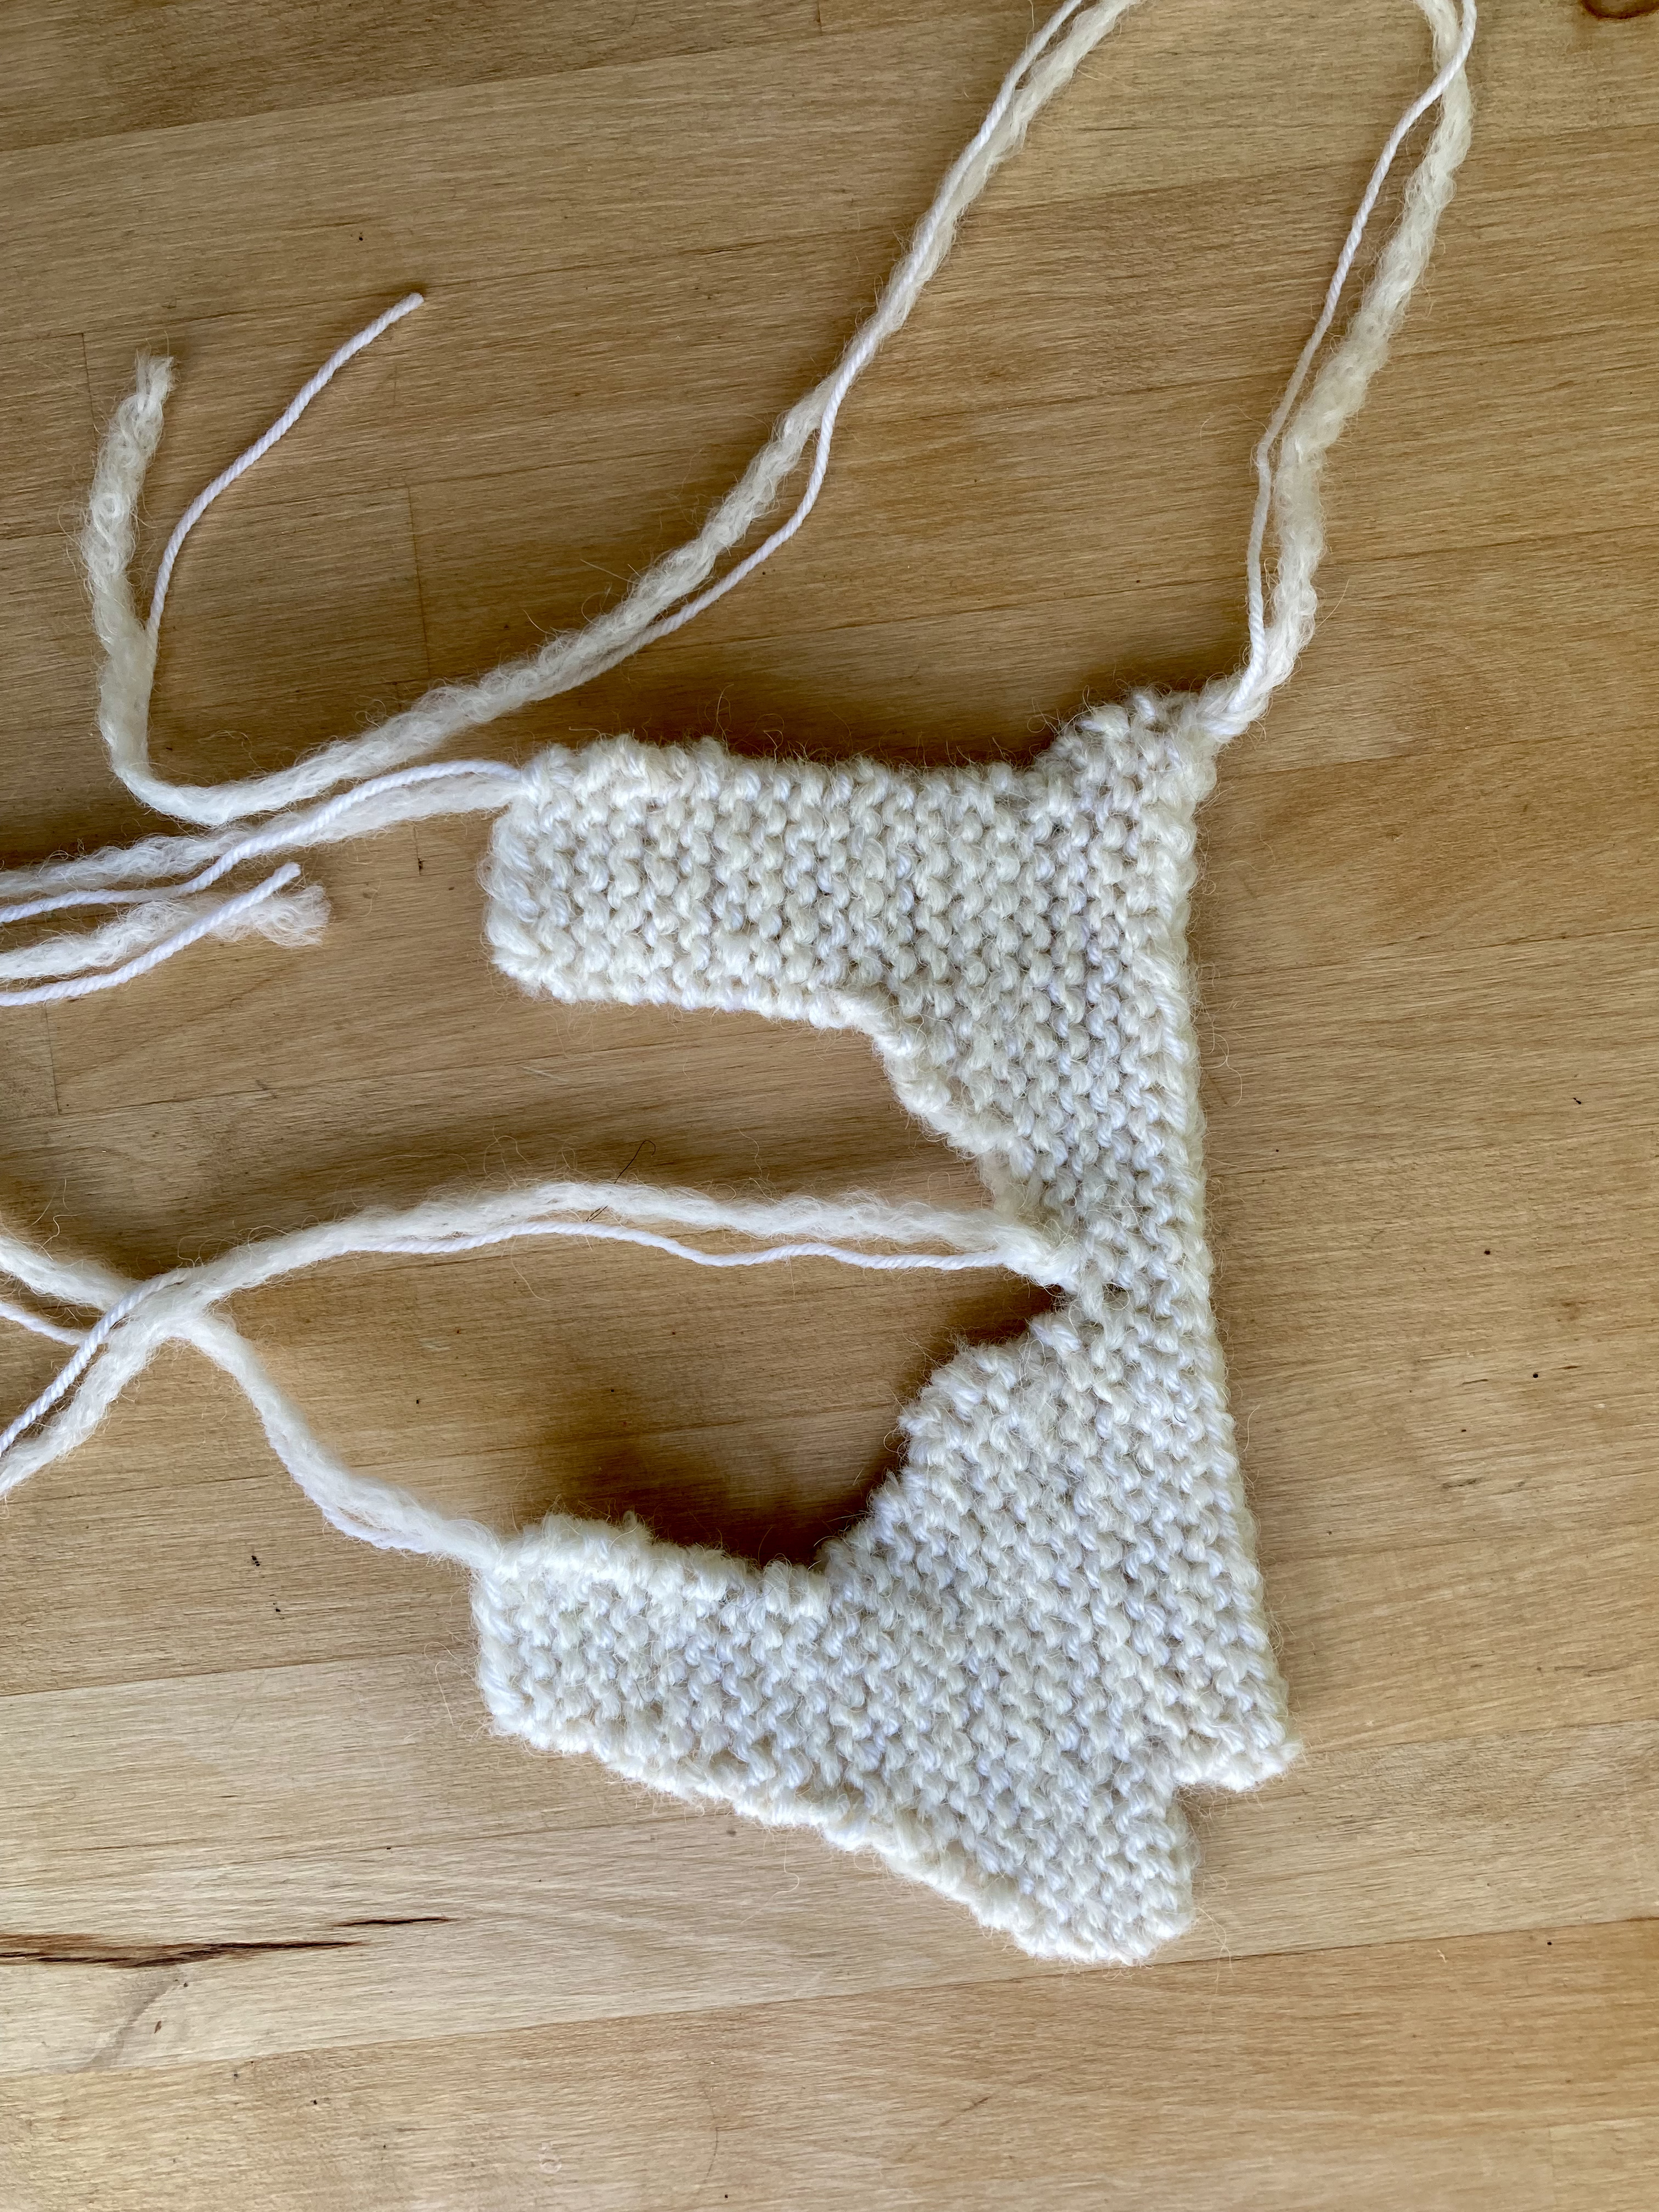
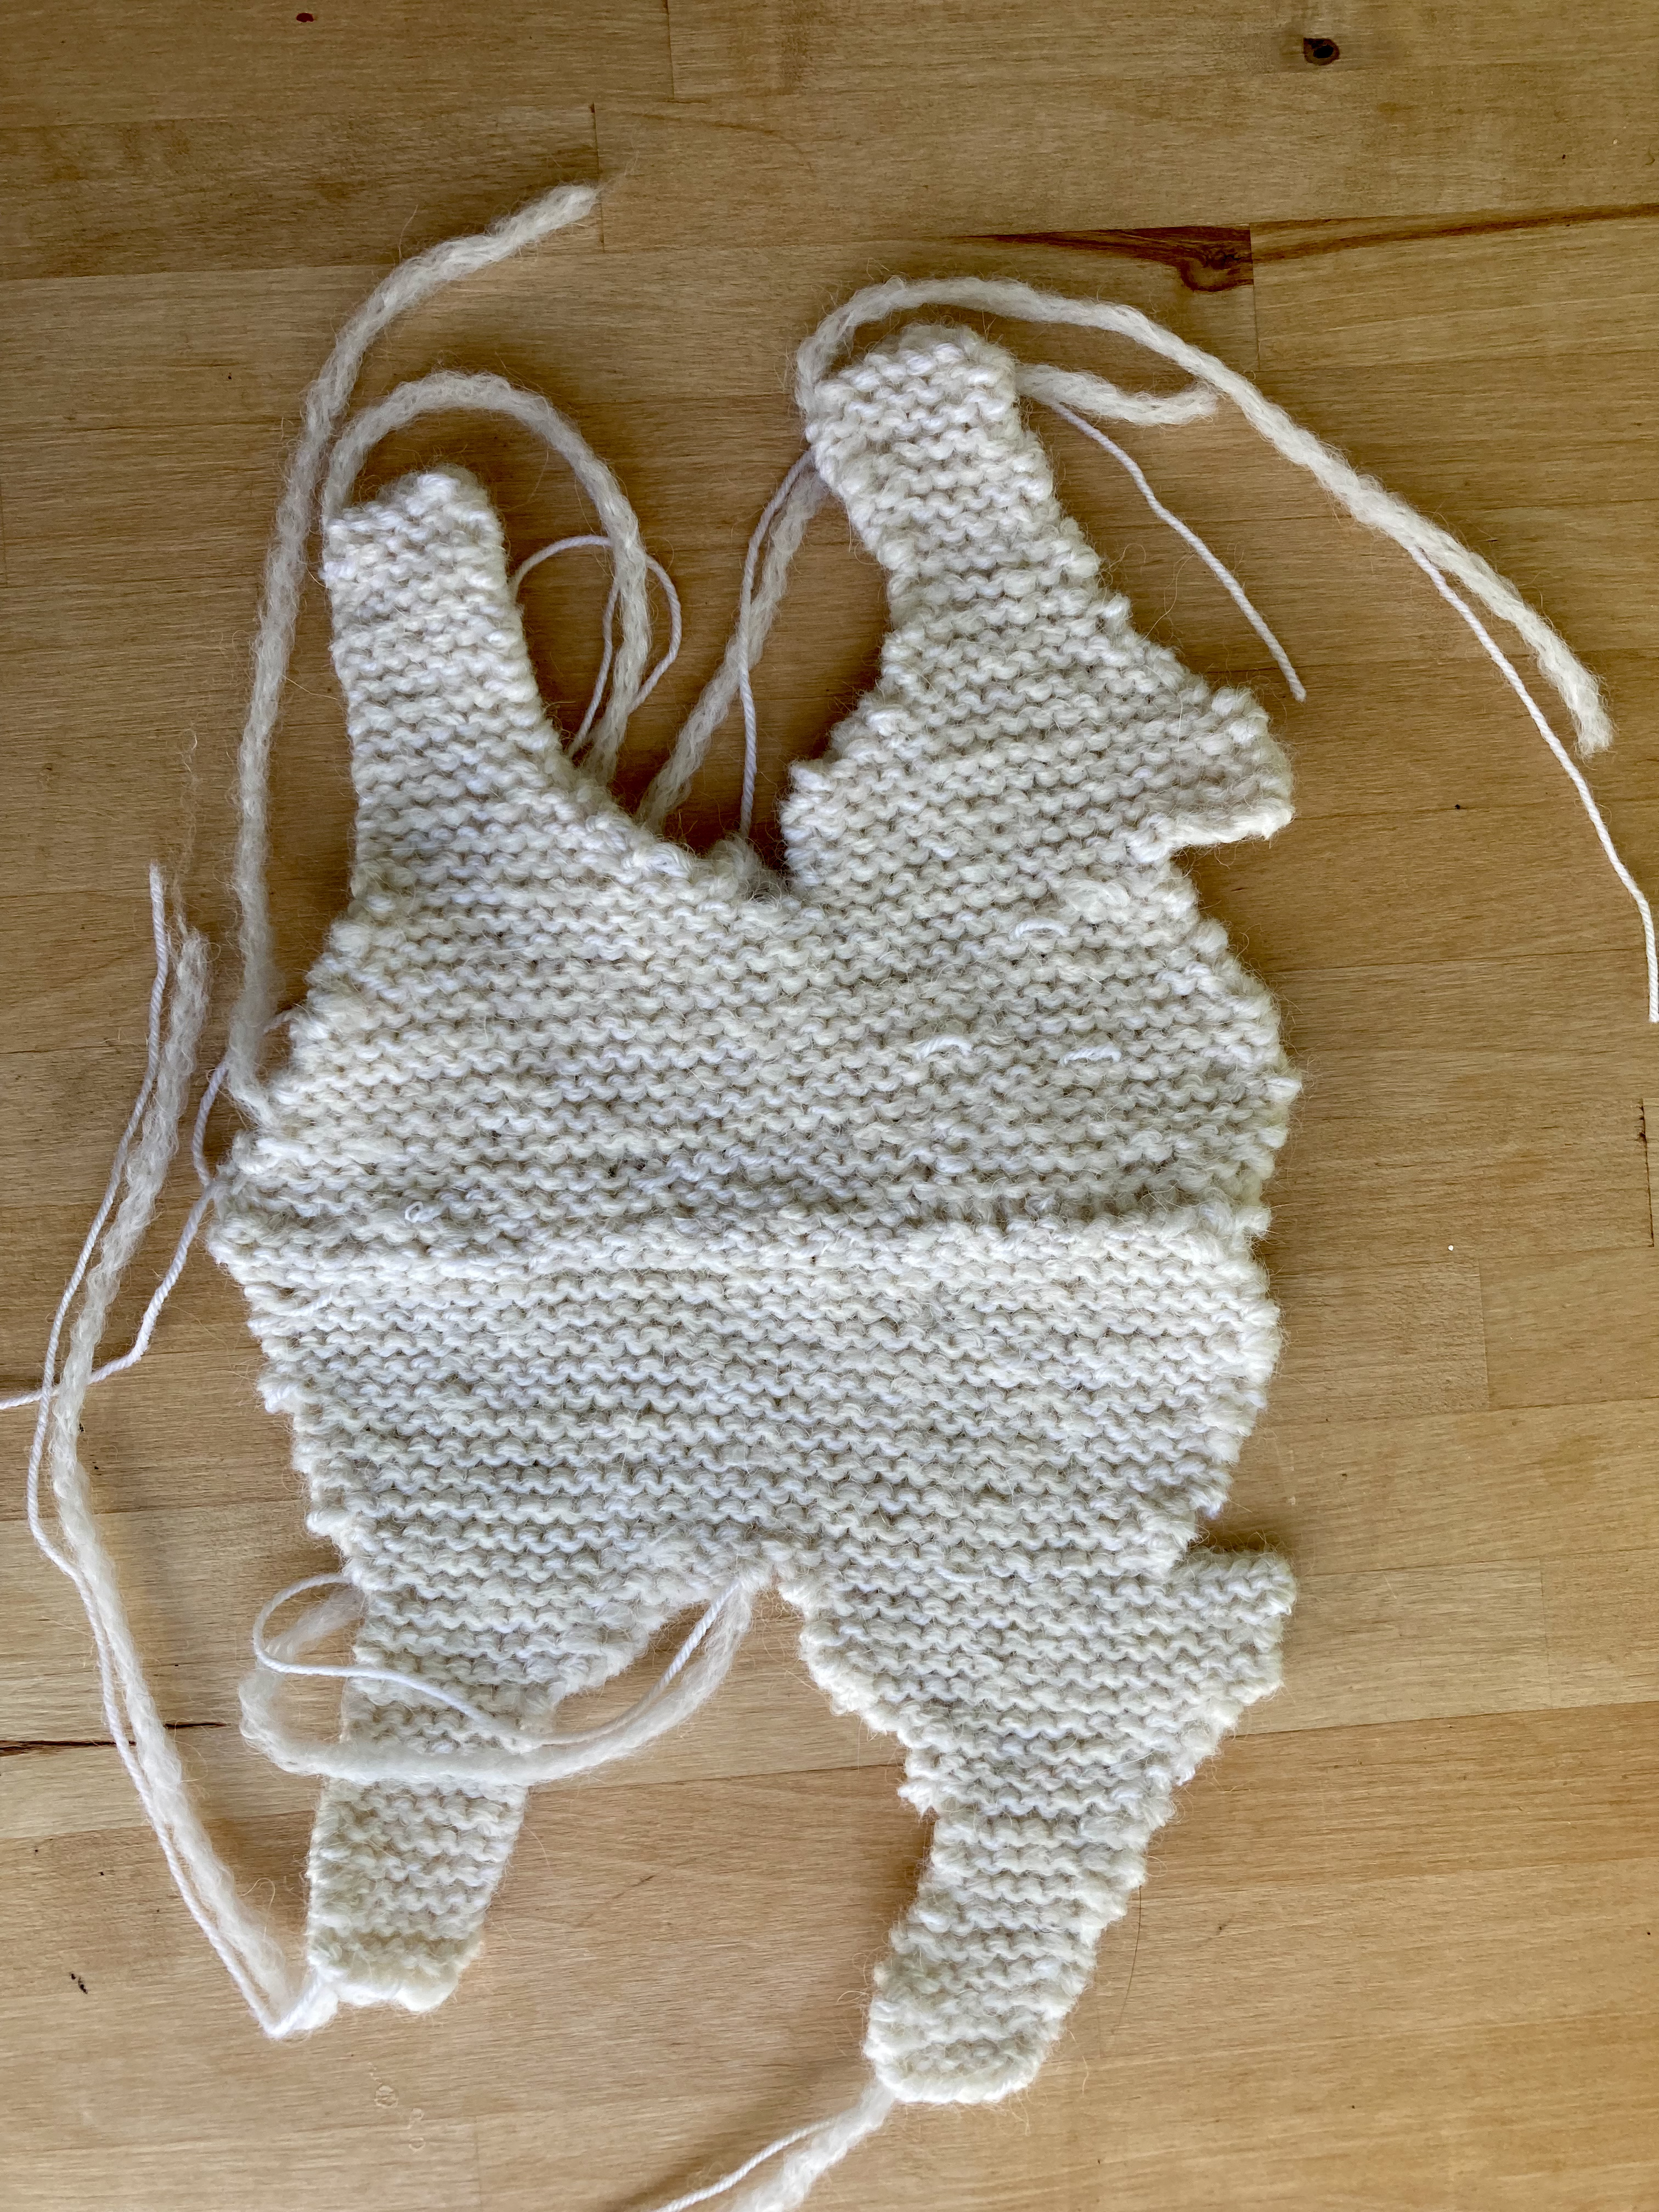
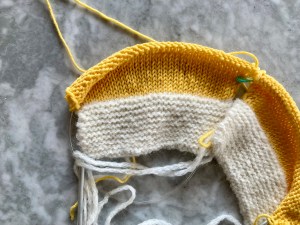
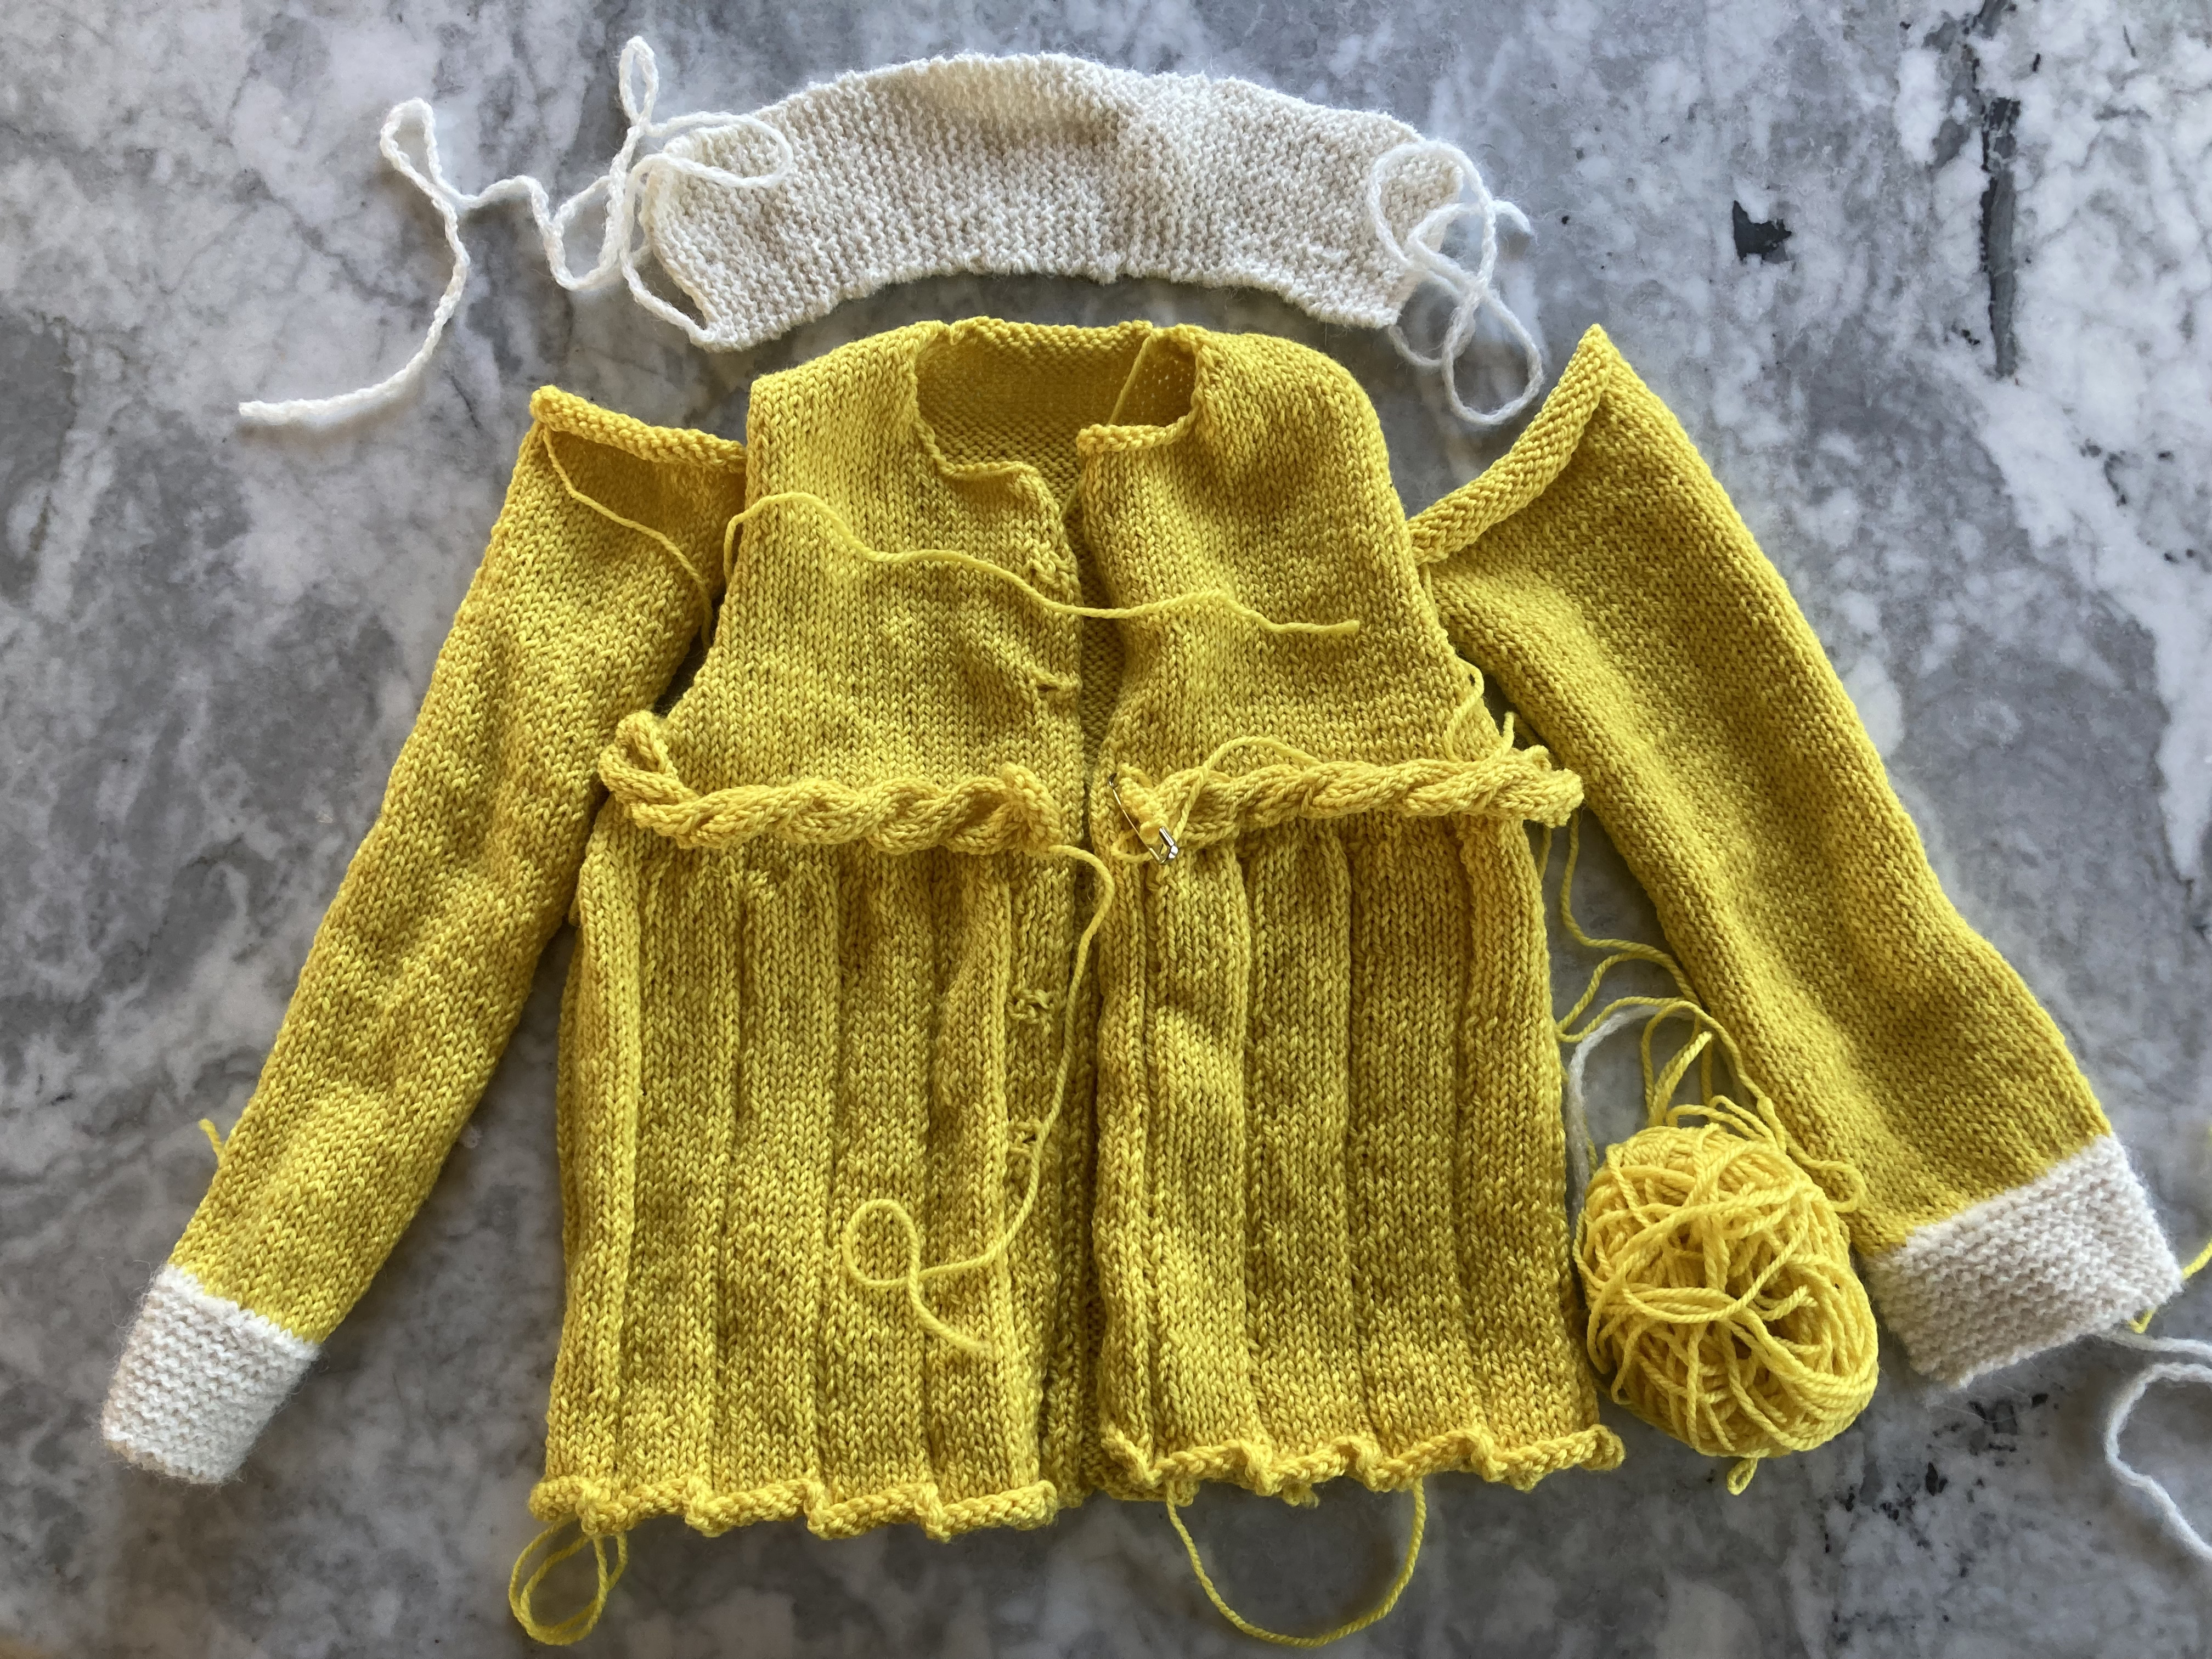
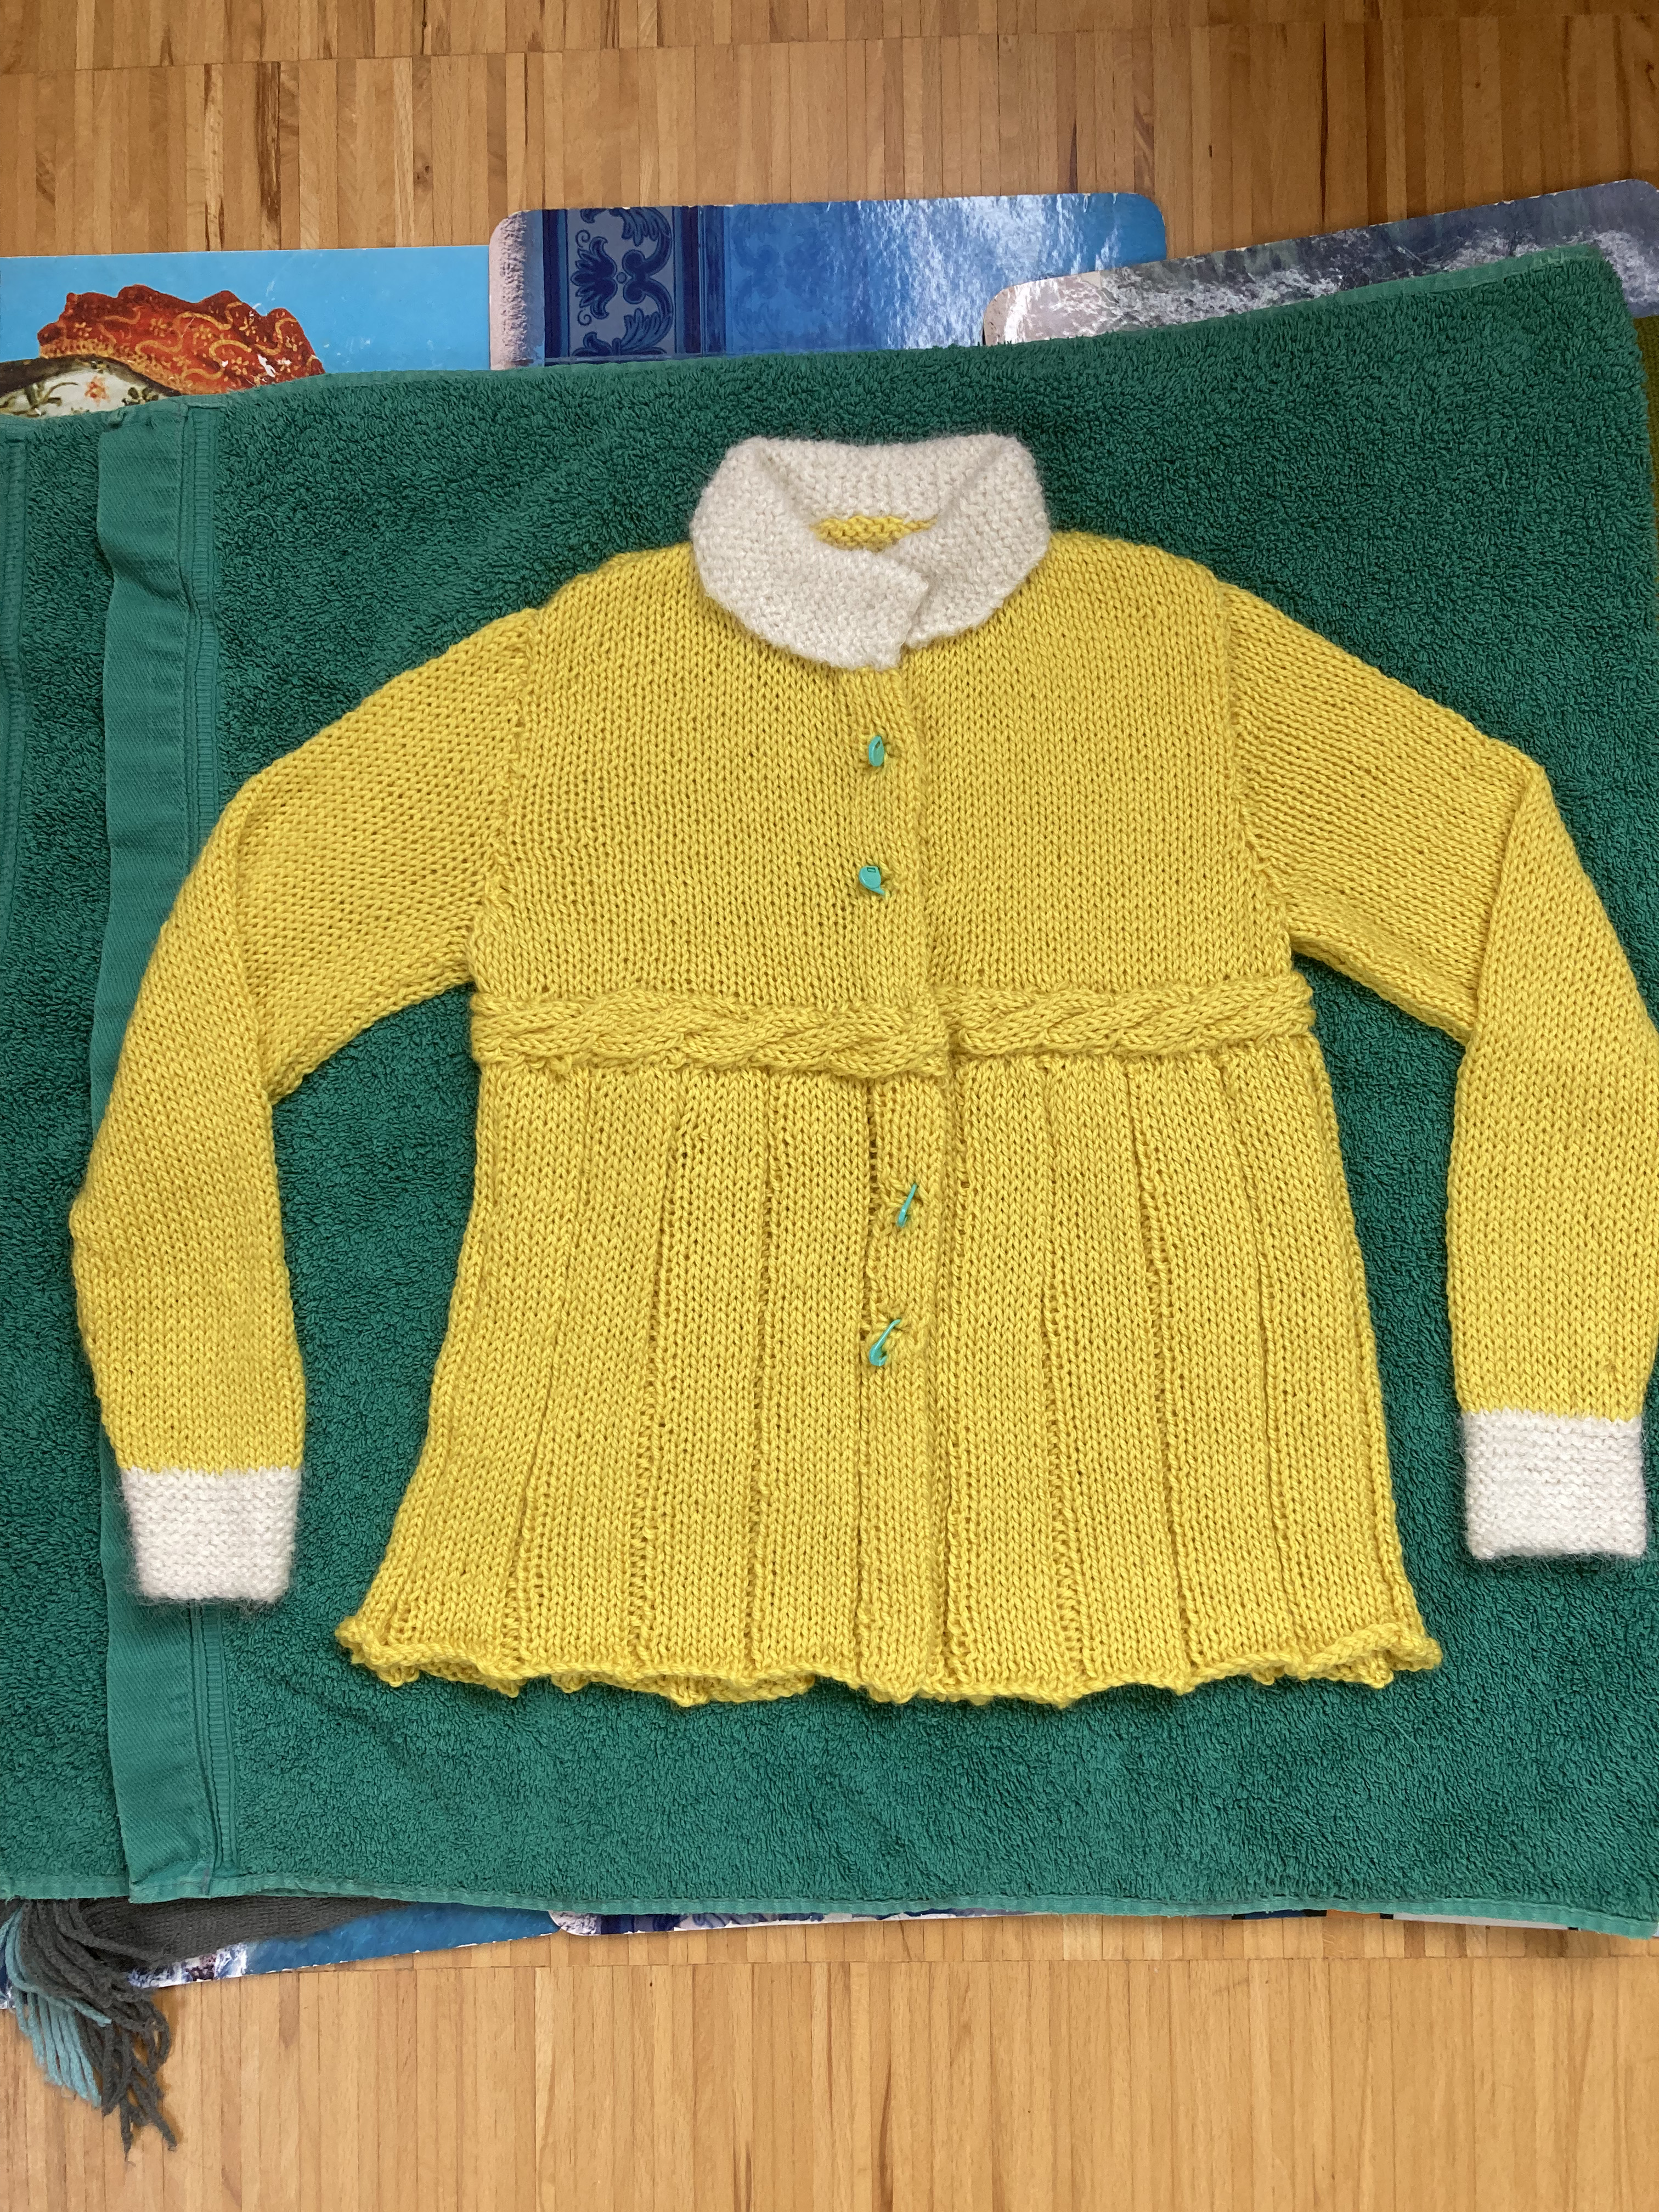
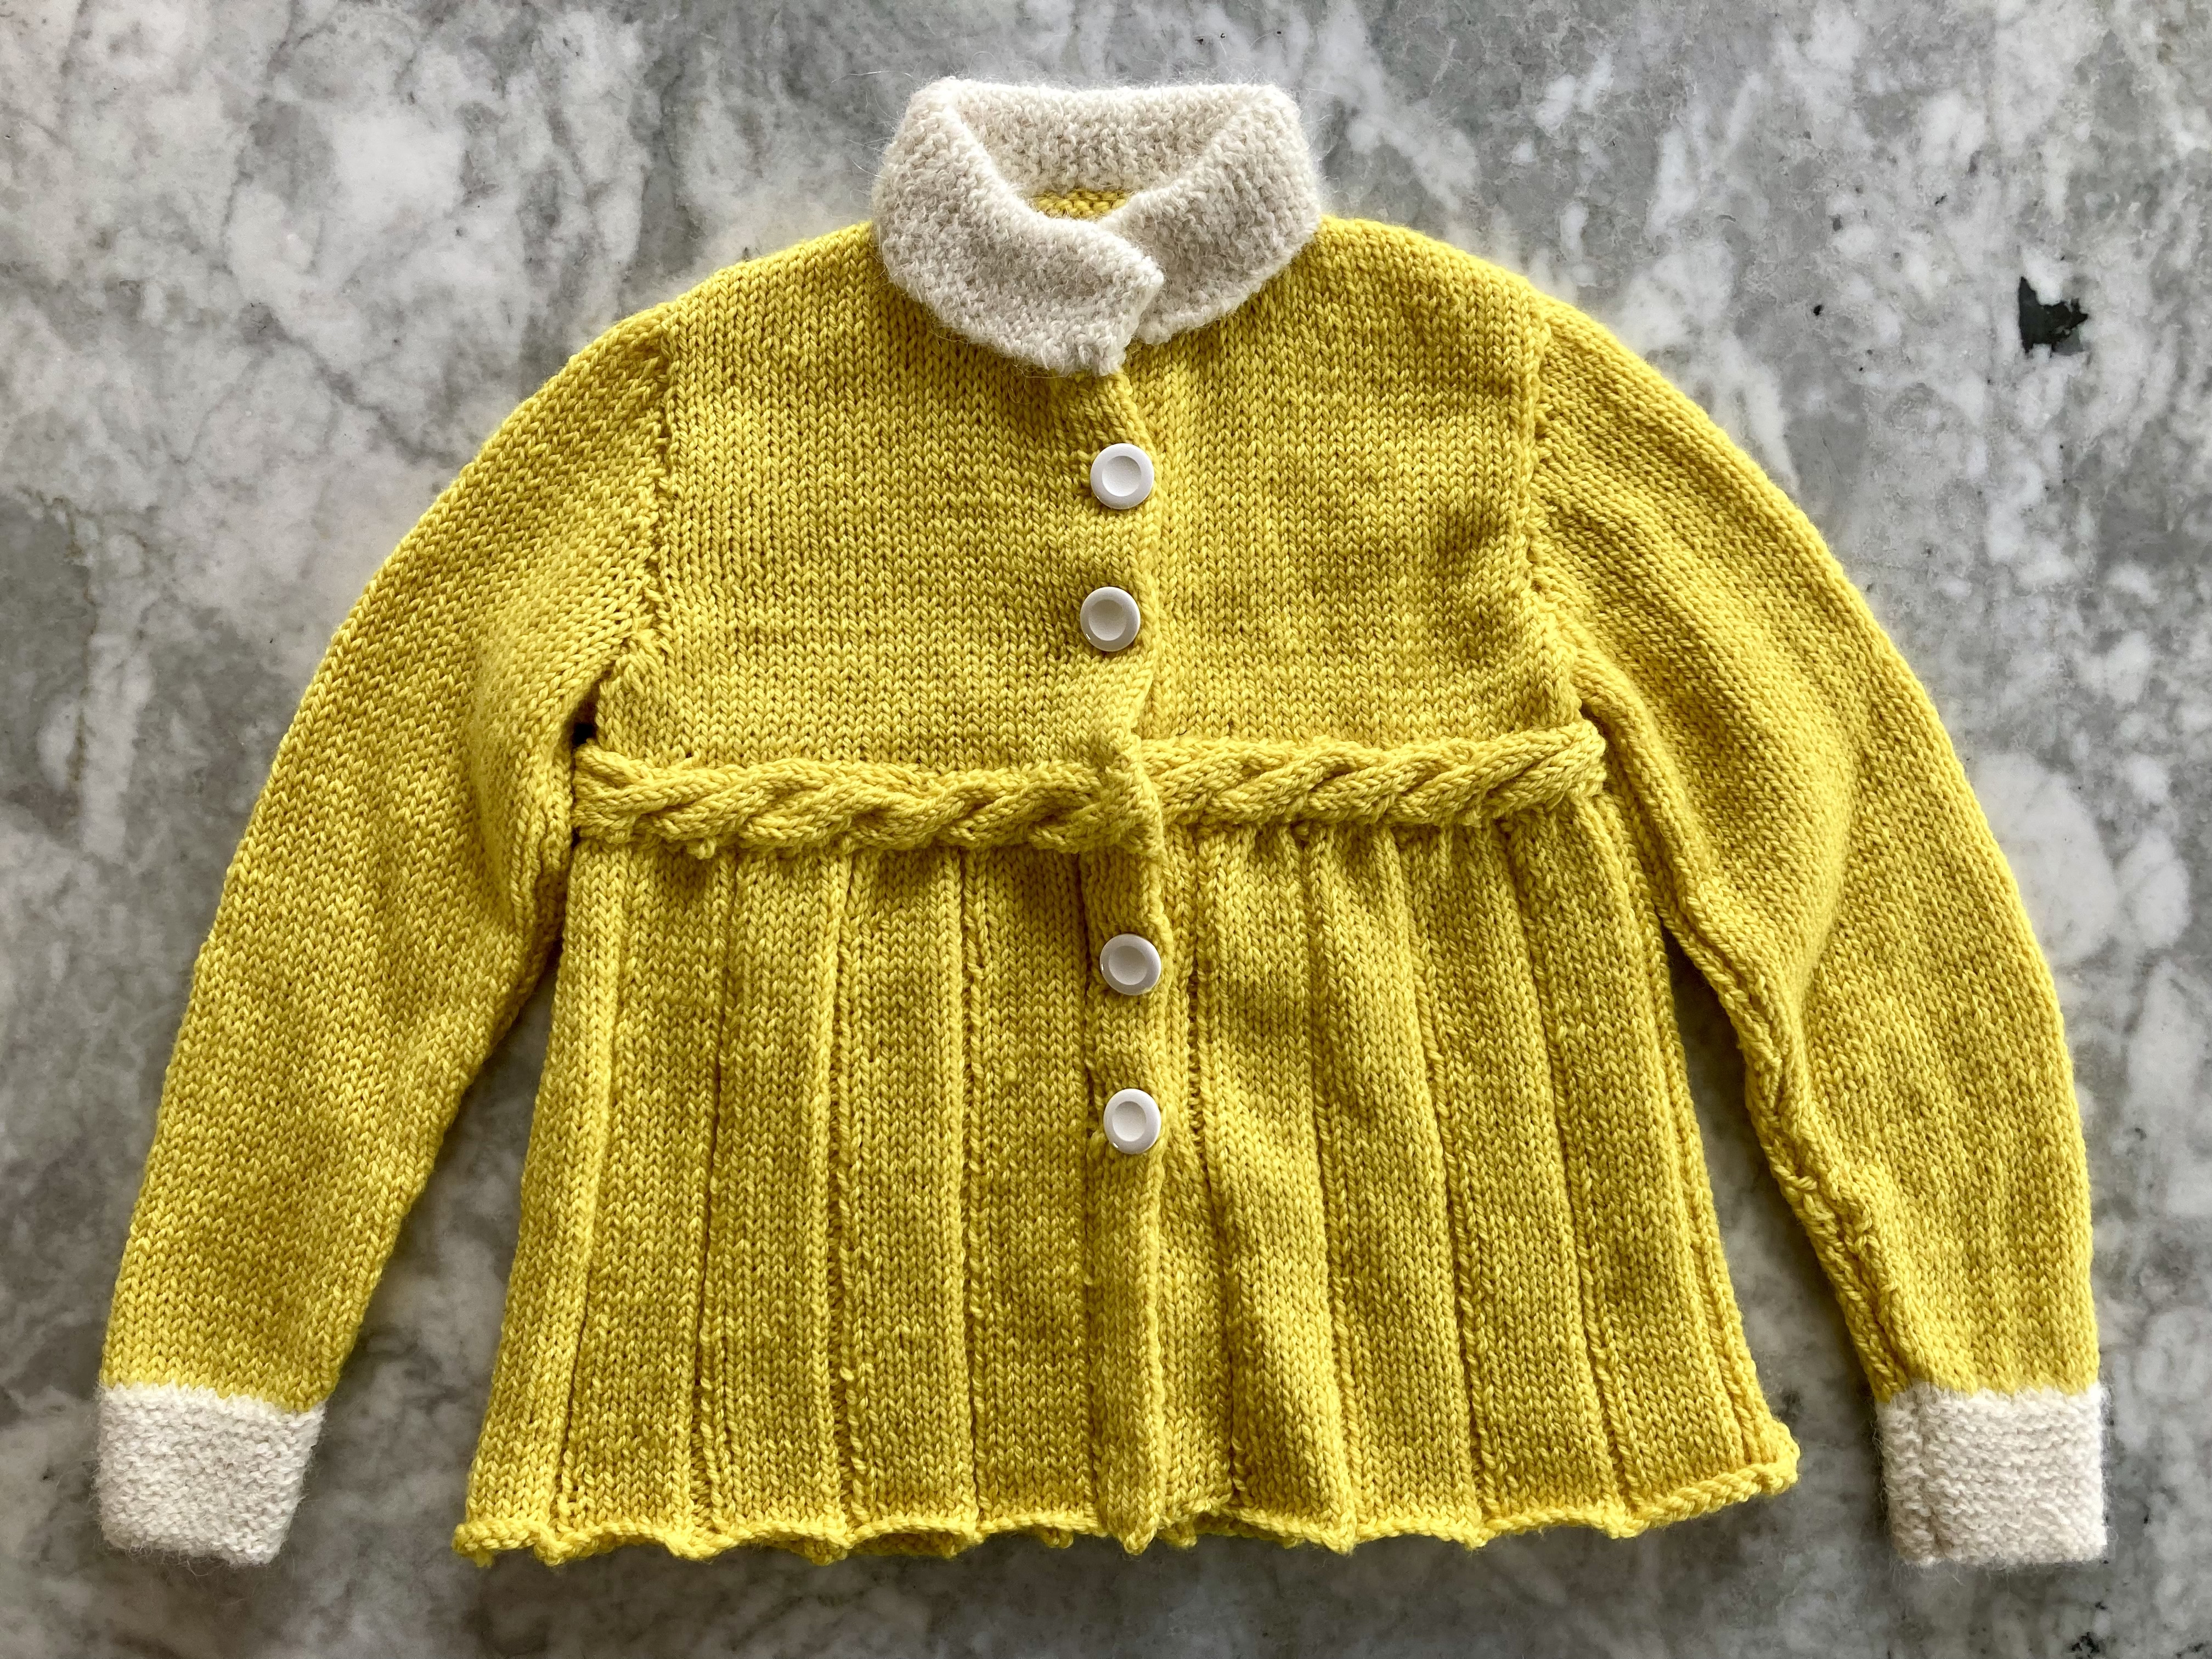
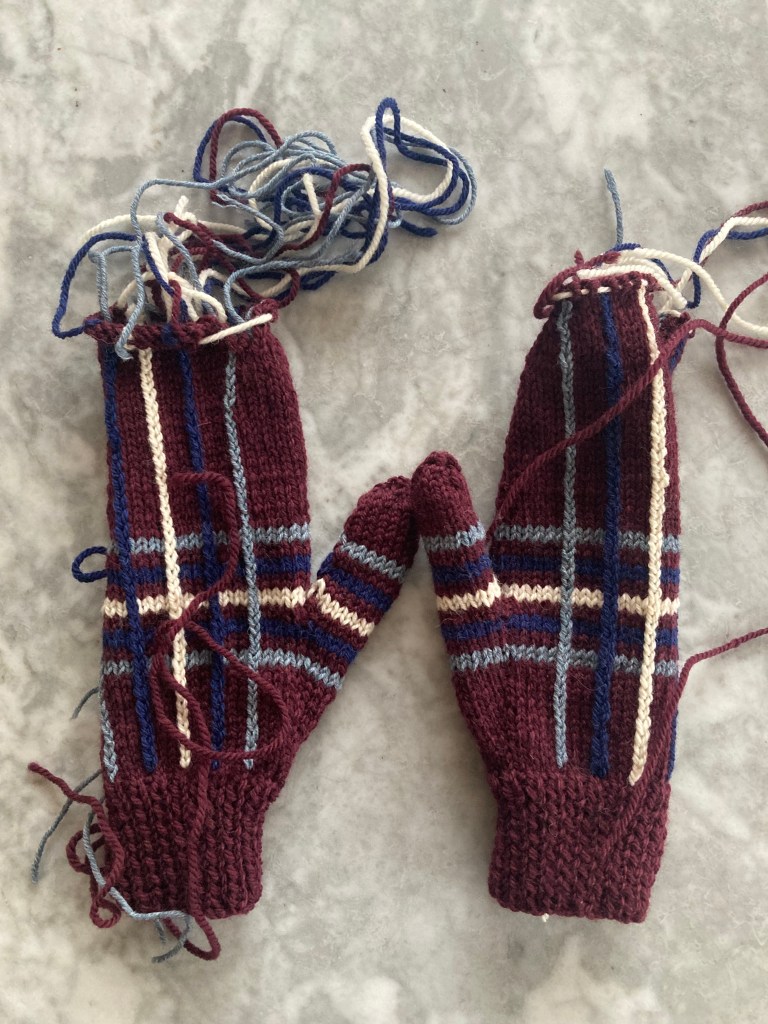
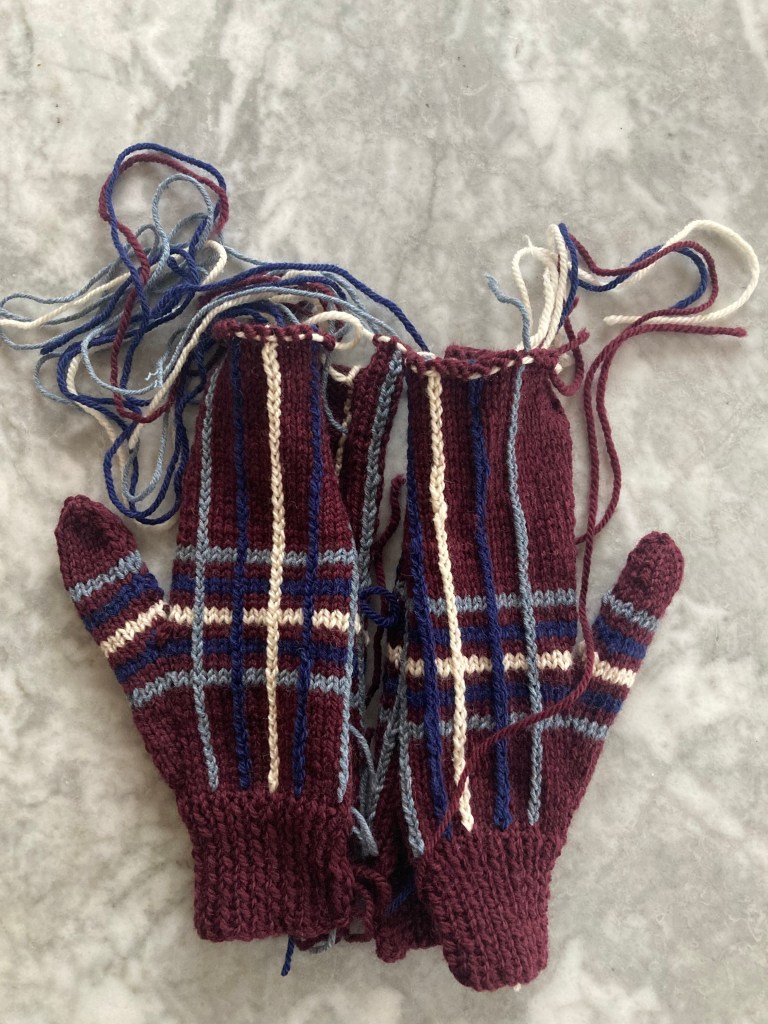
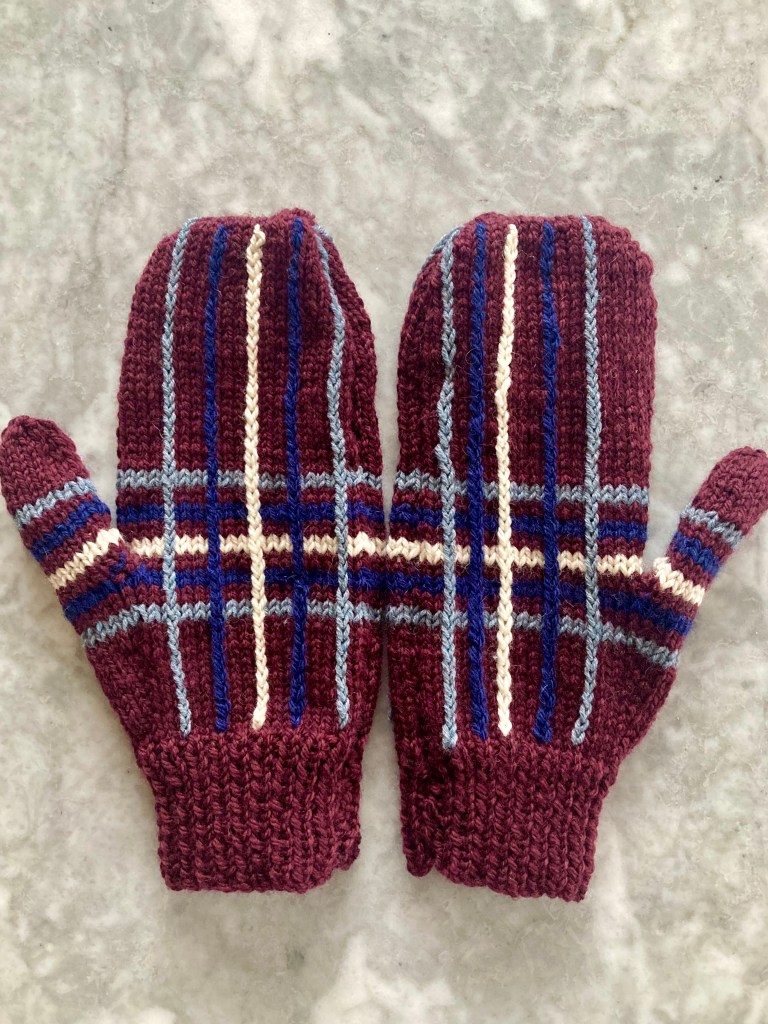
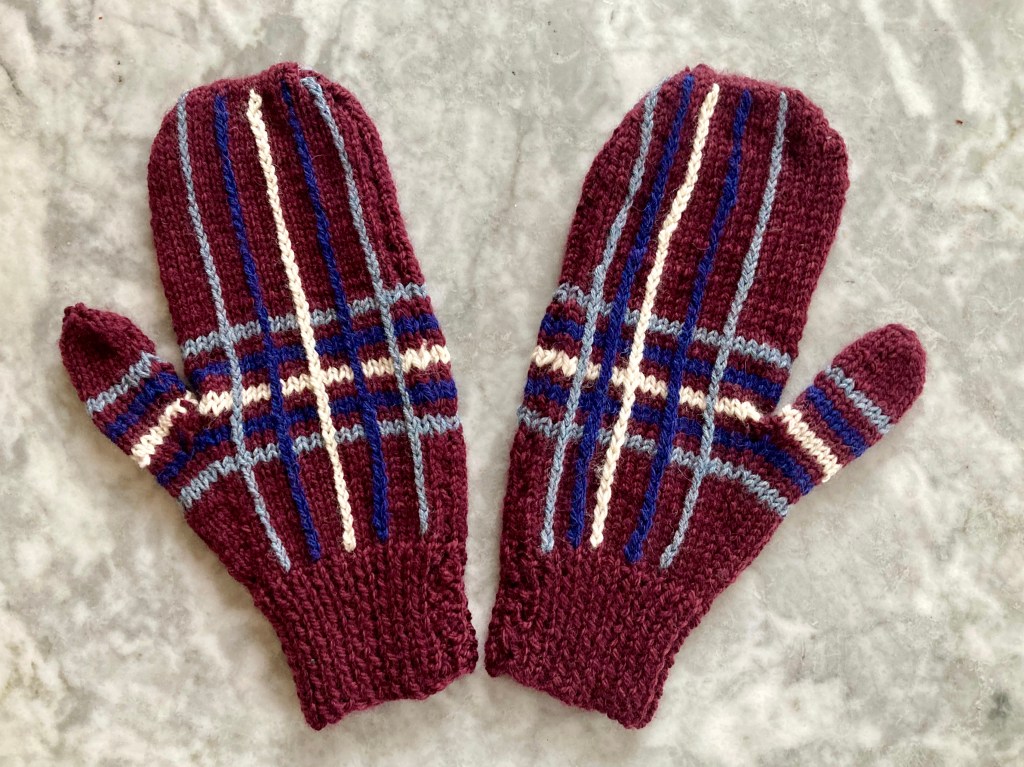
That’s all! I don’t know what to make from this issue. I offered to knit my father the red zippered cardigan, but he claimed to not need another cardigan, and nothing else really speaks to me except for the Jacobean embroidery. But what to embroider it on? I have so many cushions and I don’t need a chairback. New laptop case? Black felt skirt? We’ll see! I still have to finish my September 1966 project, anyway.