
Happy New Year! It’s 1964 in the Stitchcraft blog world. “Busy as we all are,” writes “editress” Patience Horne in the issue notes, “it is surprising how many things needlewomen manage to make in a year.” Well, it’s my New Year’s handcraft resolution to finish up WIPs and reduce yarn stash, so let’s see how many new things I will manage to make.
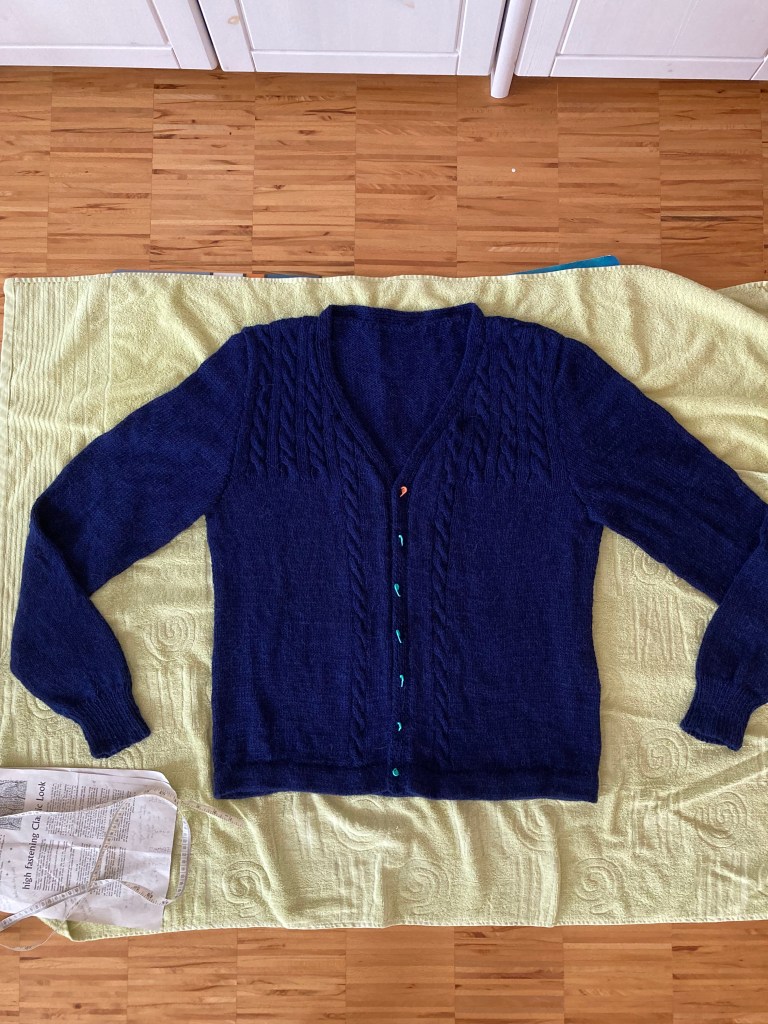
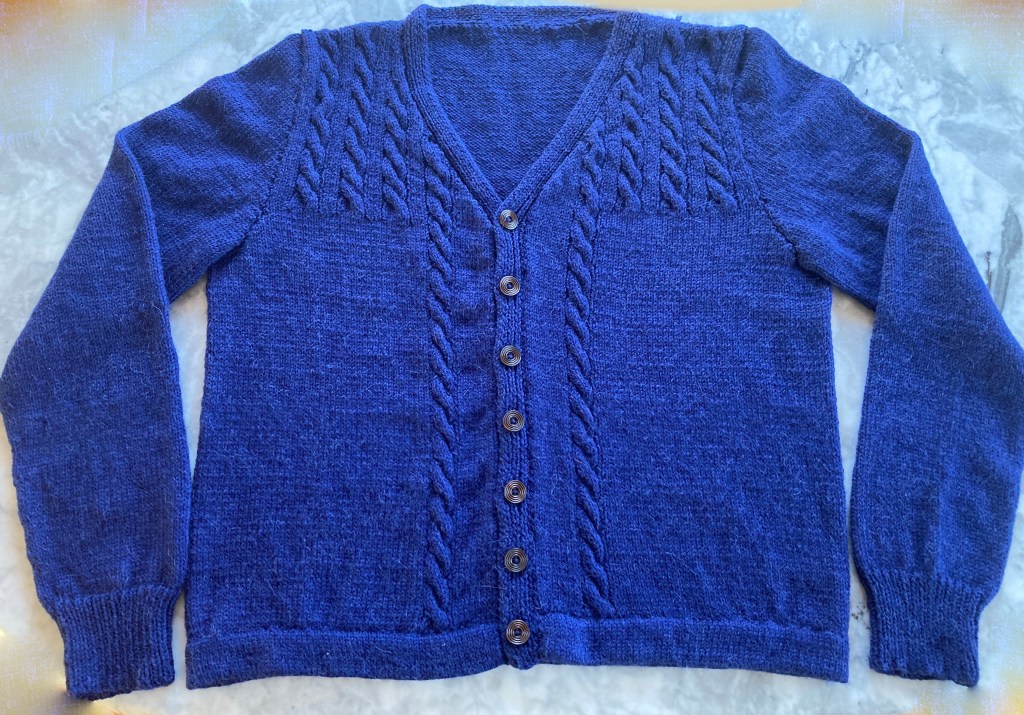
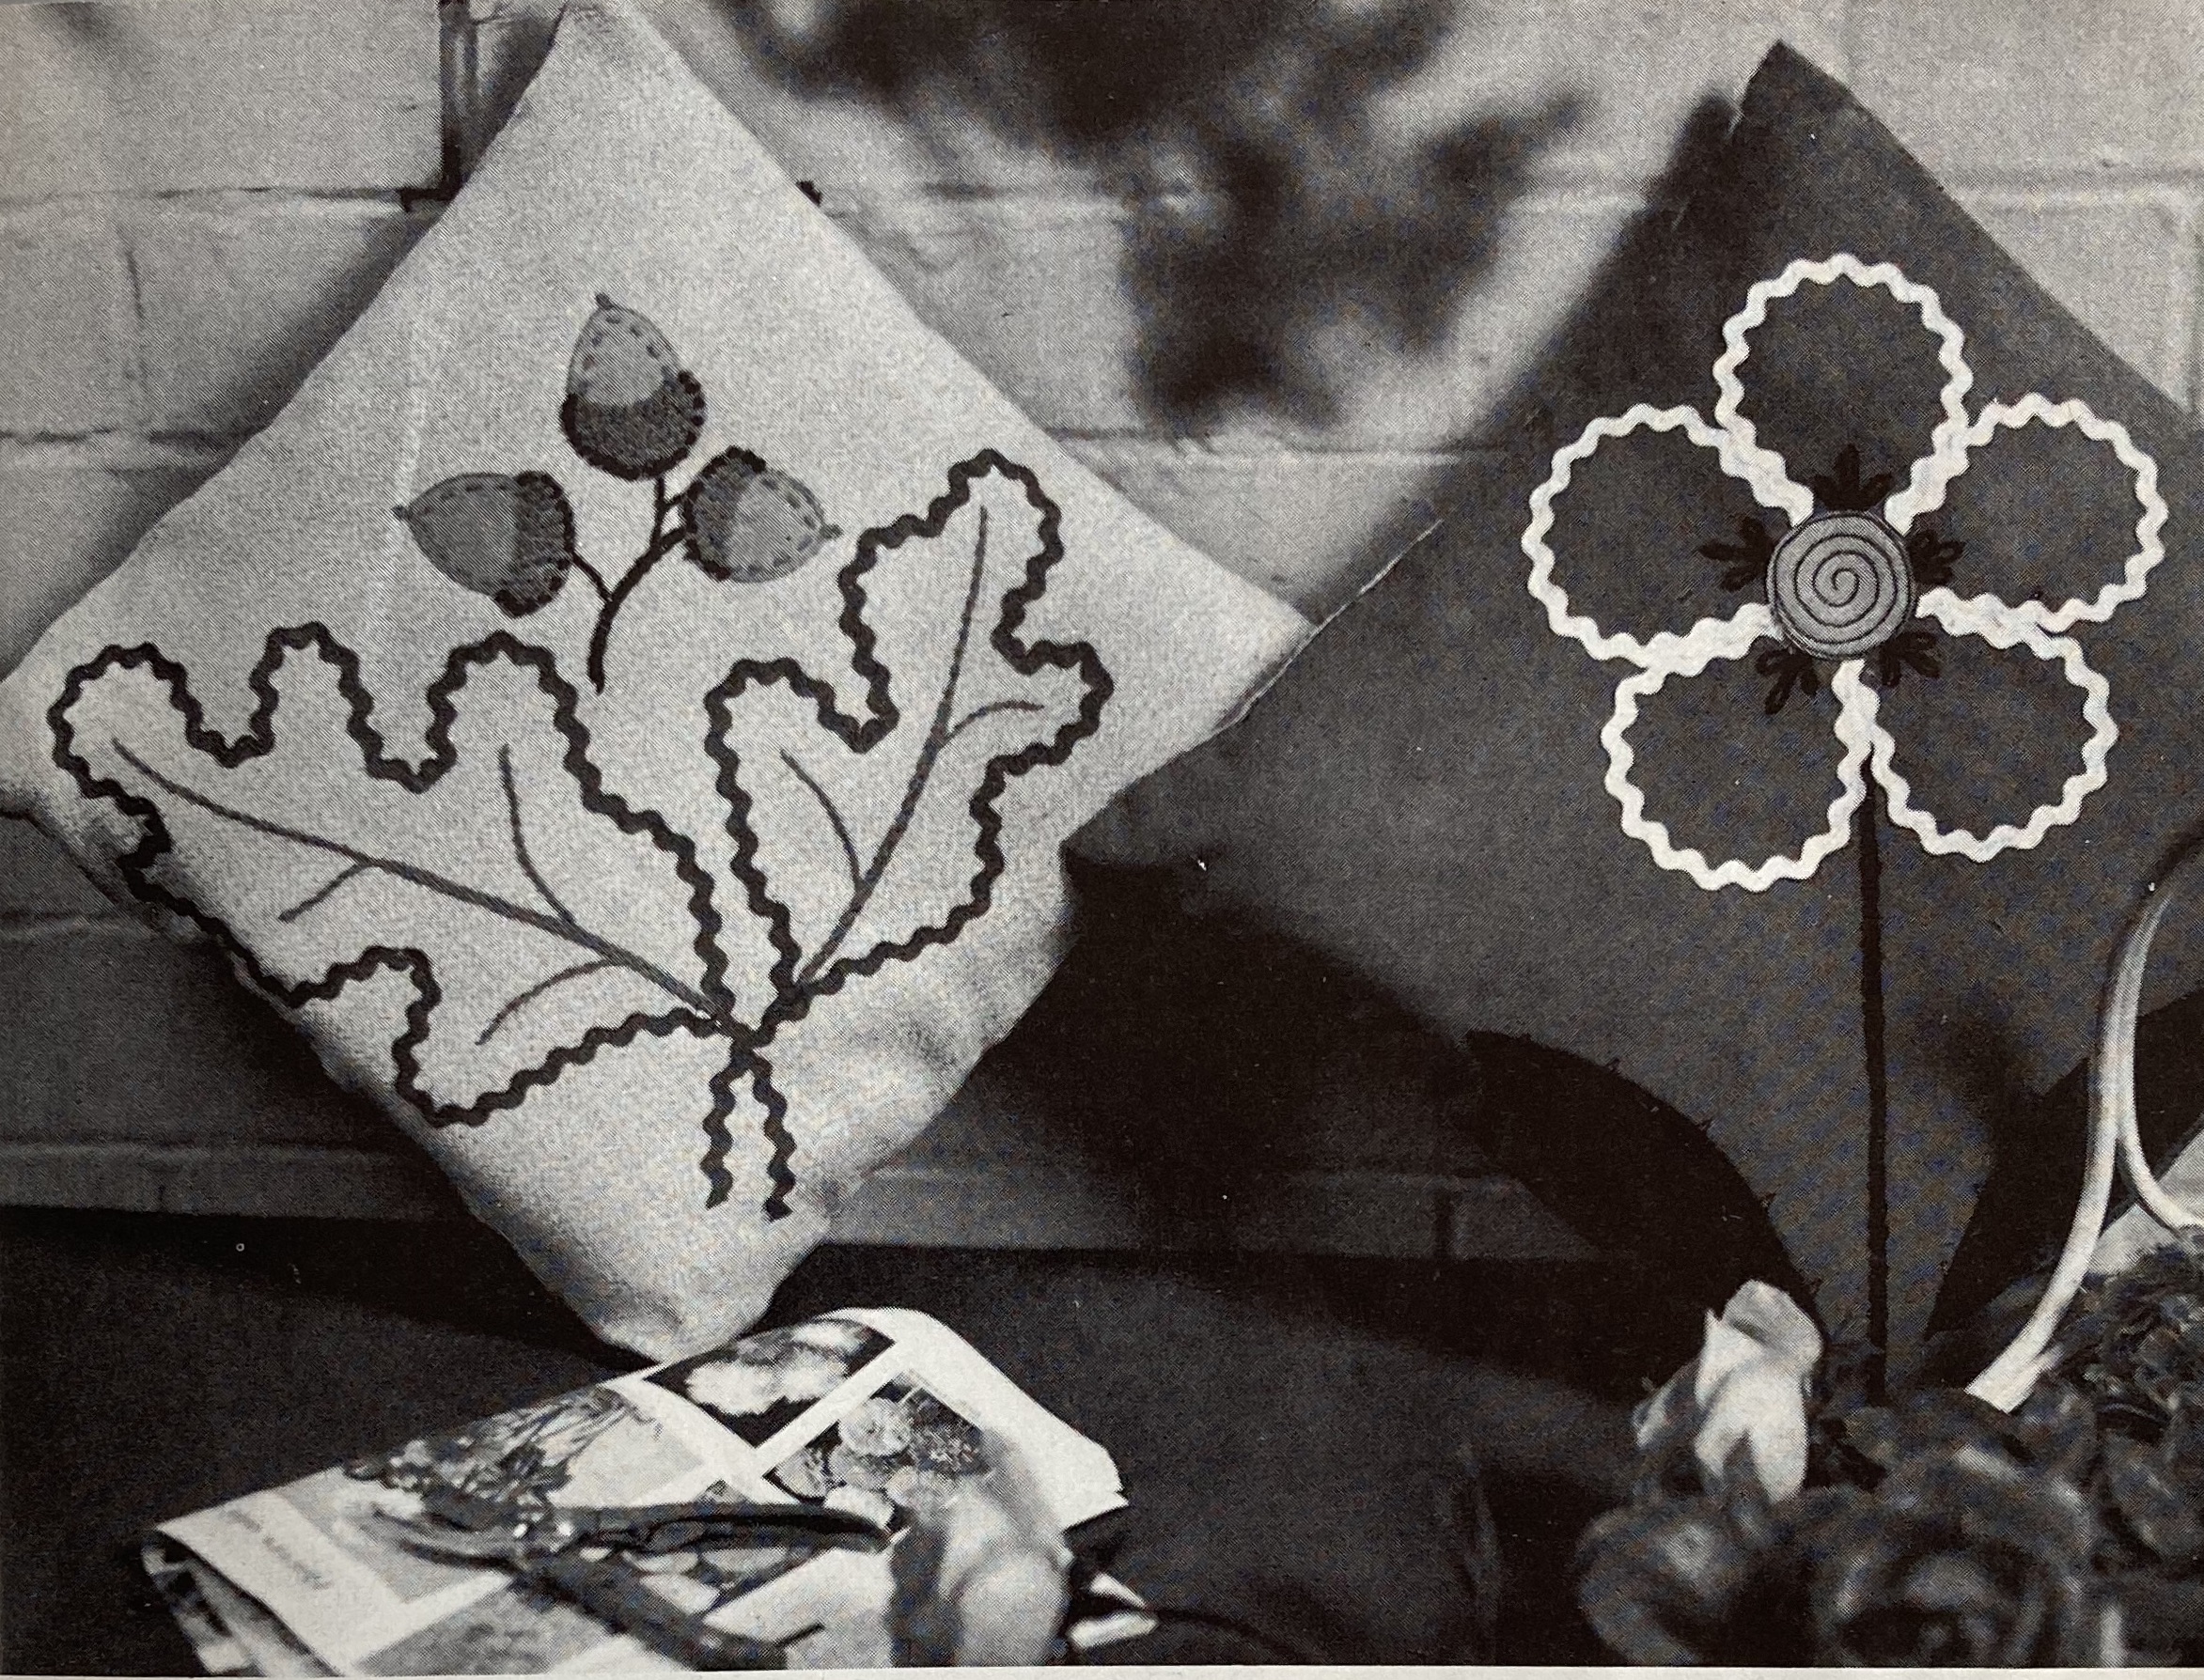
(Apropos finishing up WIPs, I finally finished two very detailed and extravagant cushions: these blackwork butterflies and this amazing neo-Jacobean embroidered felt appliqué extravaganza, so be sure to check out the updated posts.)
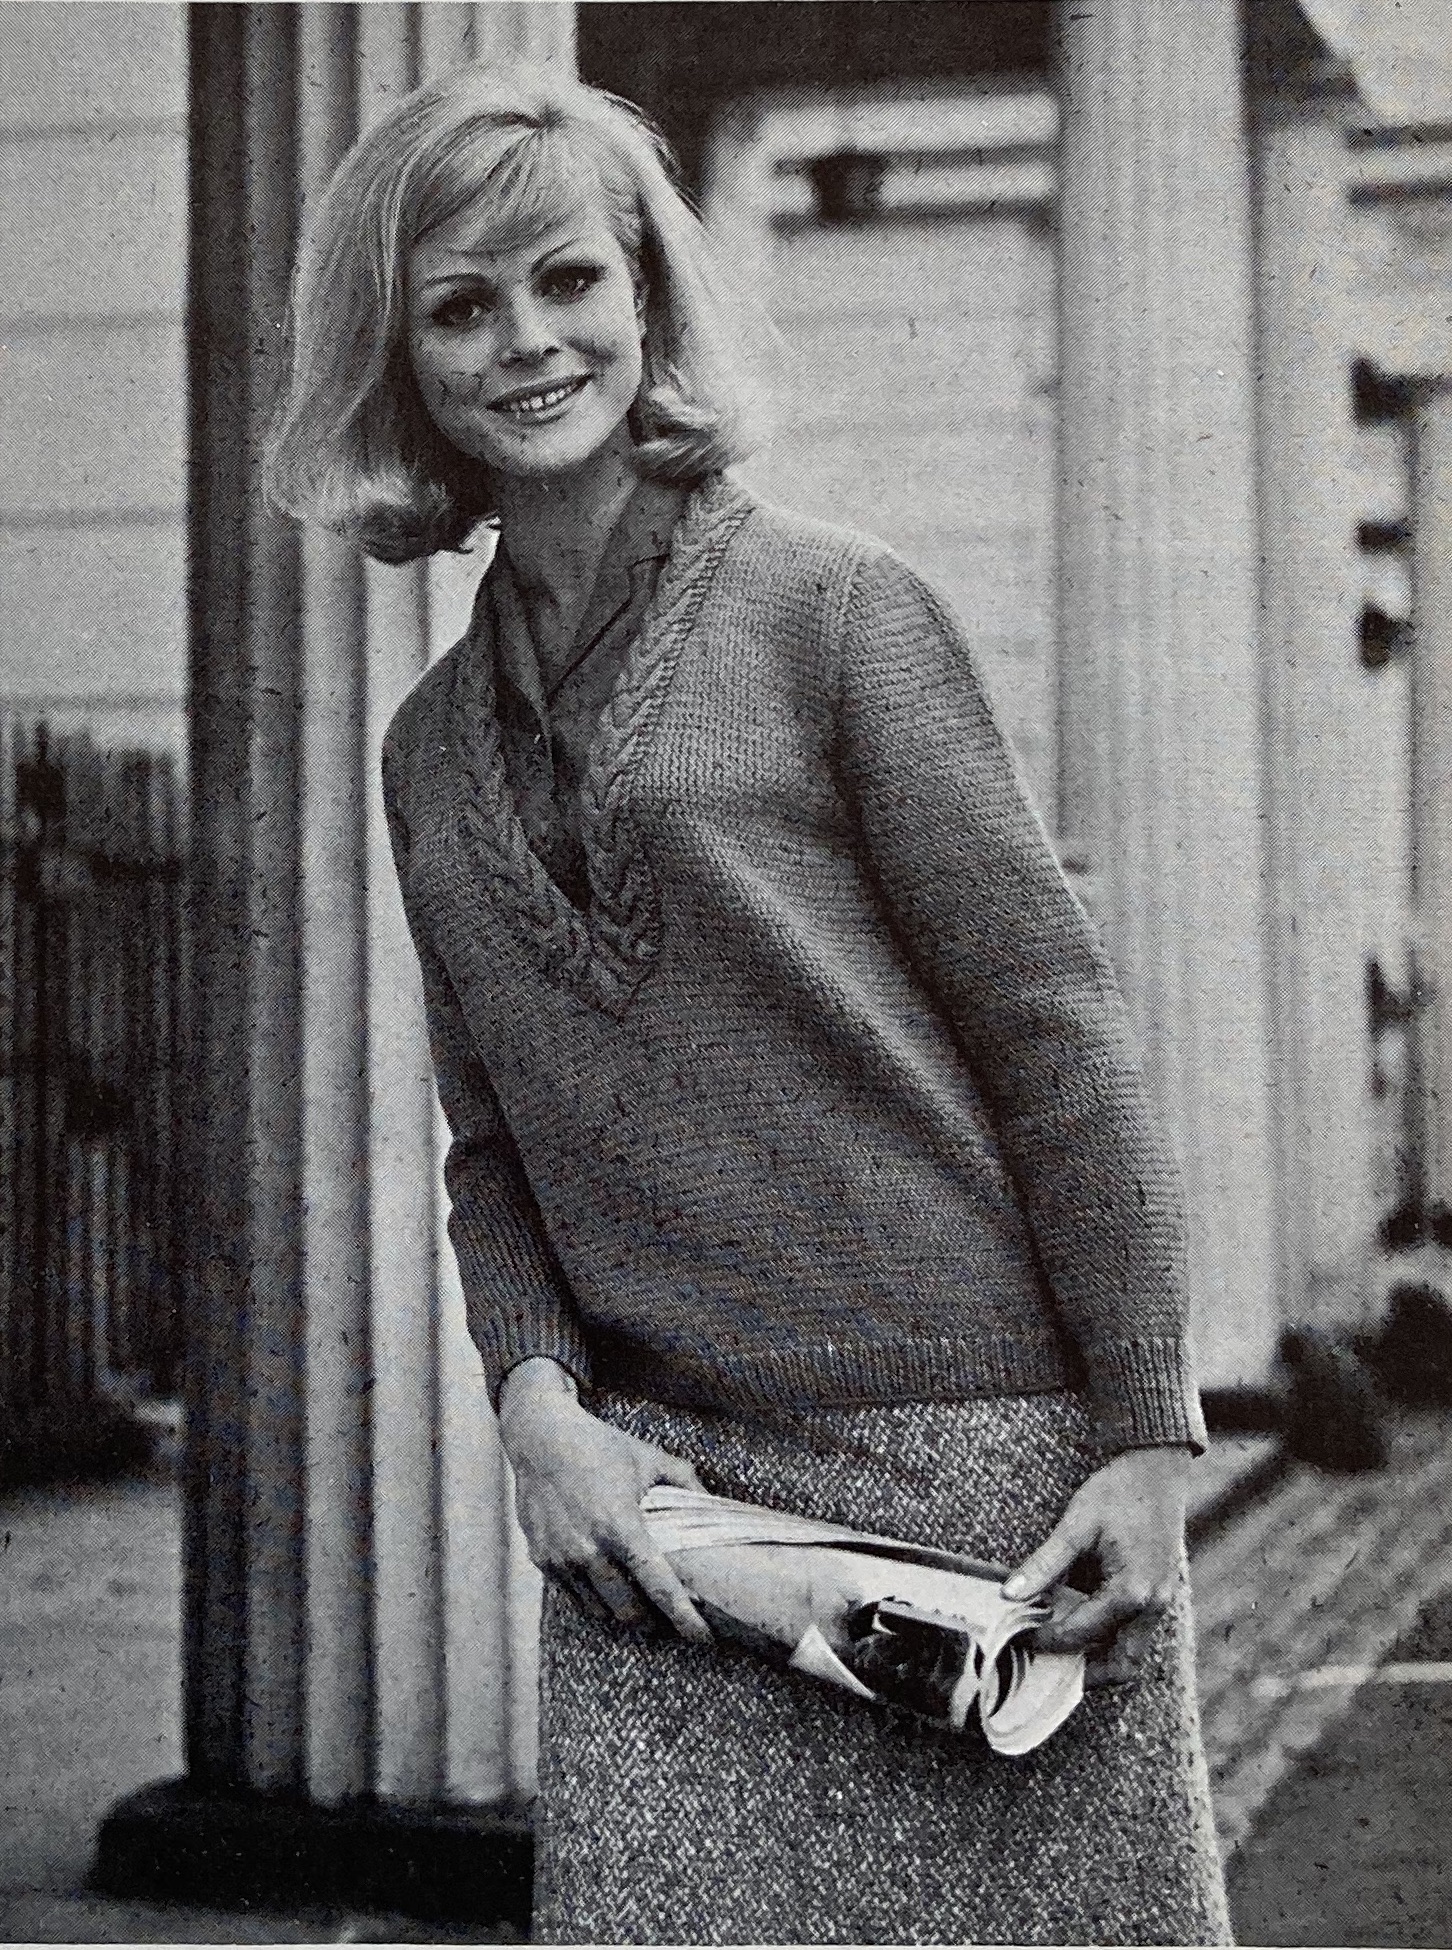
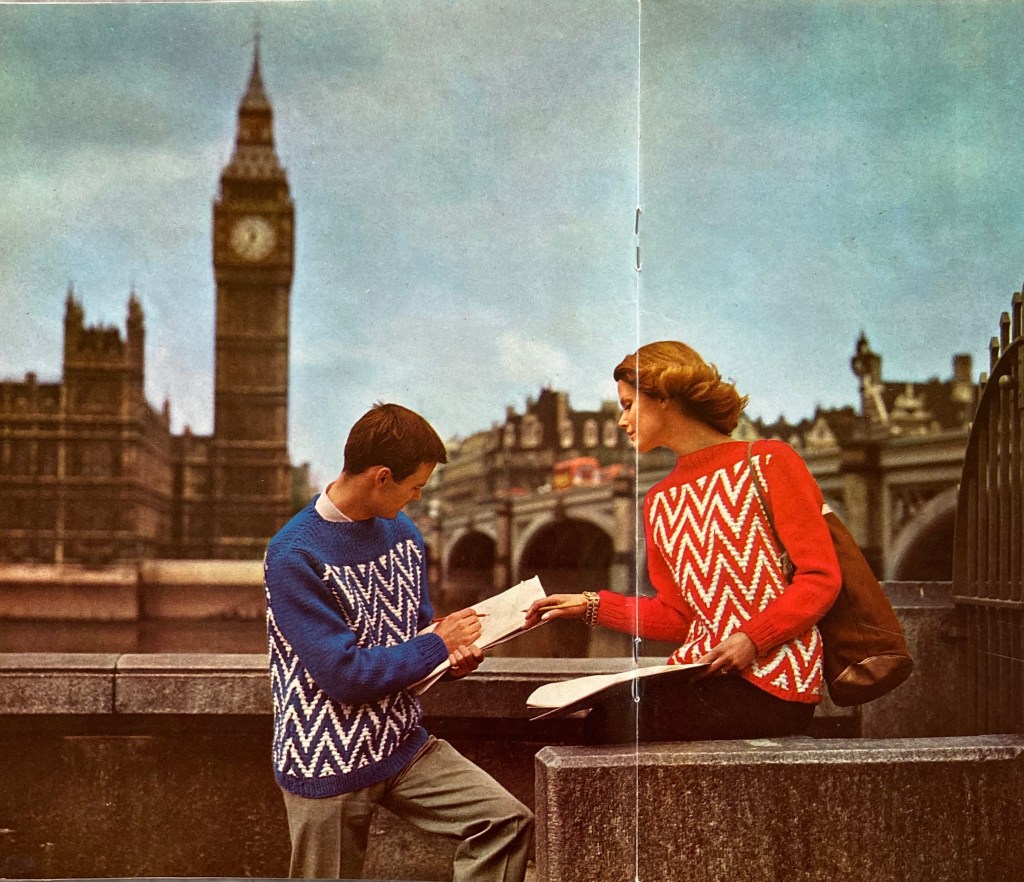
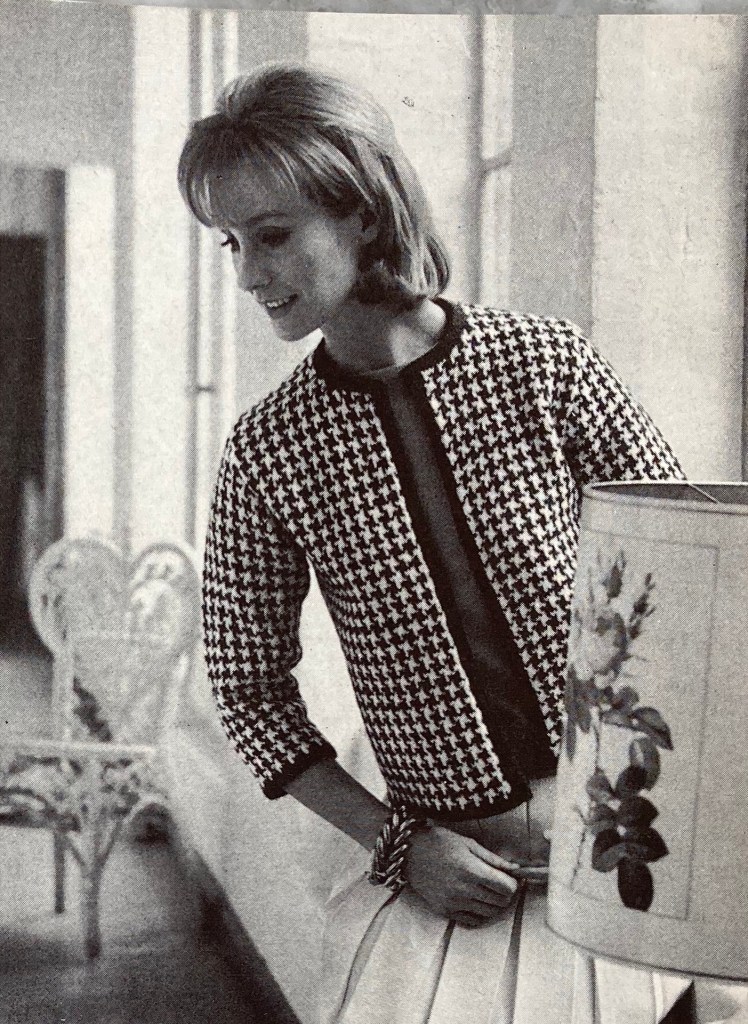
Back to January 1964, what does the New Year have in store for us, fashion-wise? At first glance, it doesn’t look much different from the trends of 1963. Garments are warm, bulky, tweedy and textured, and homewares are traditional and floral. The Swinging Sixties have not swung through the pages of fashion-conservative Stitchcraft yet. Still, the designs are fun and easy-going, the bulky items quick to make.
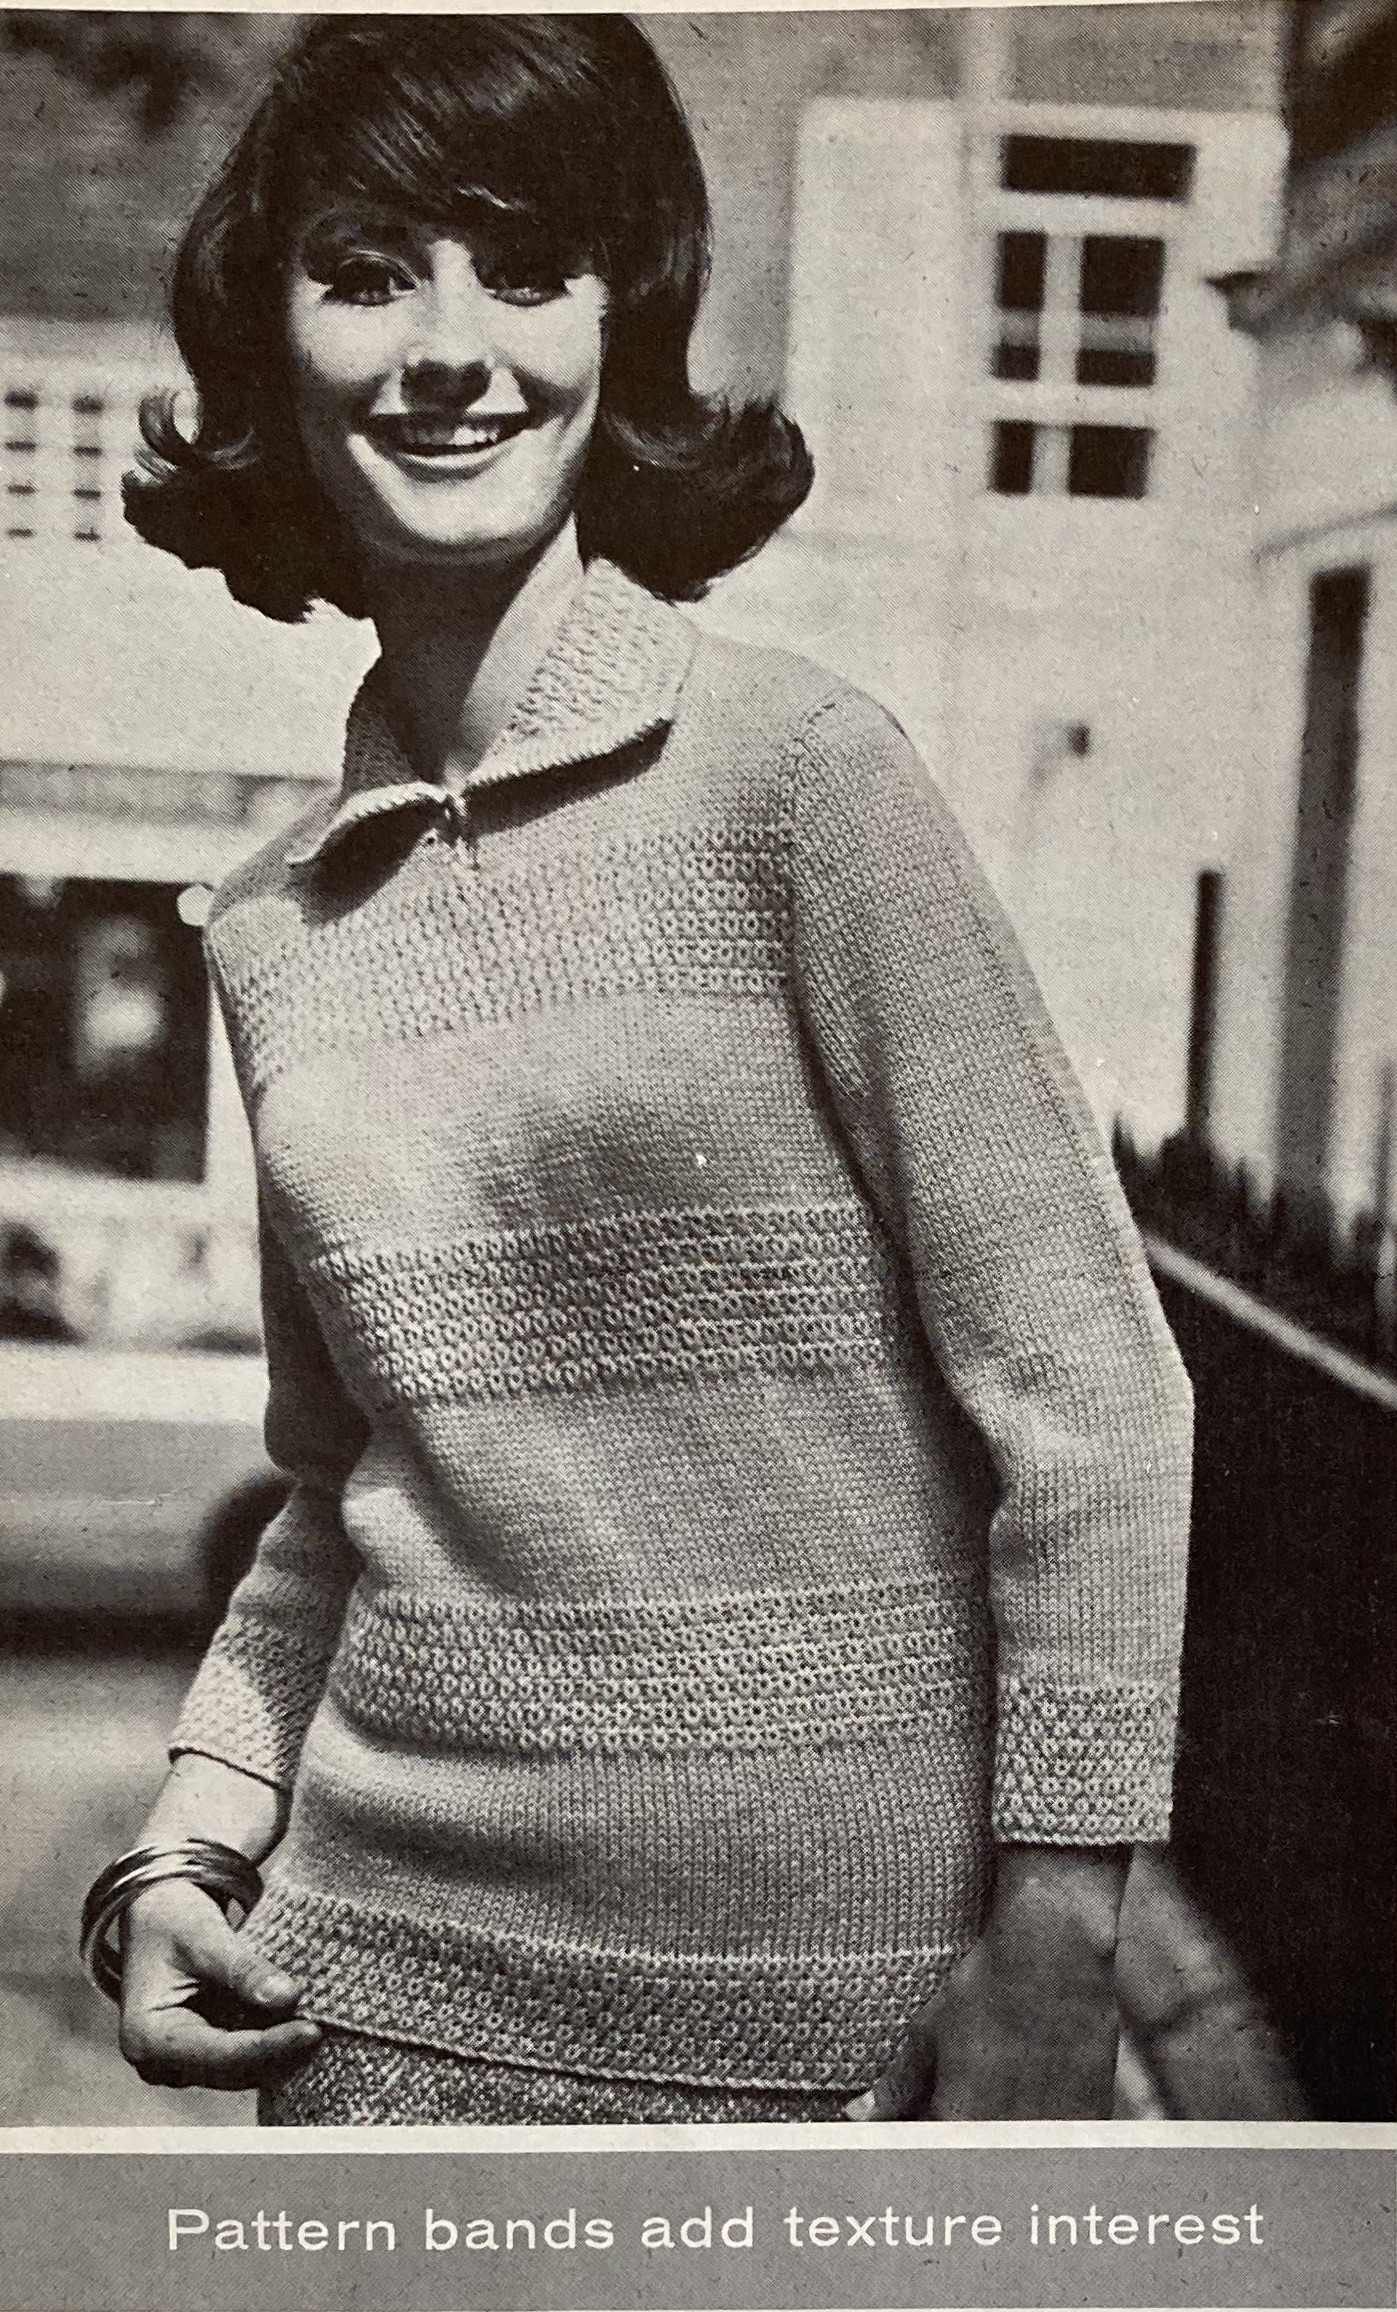
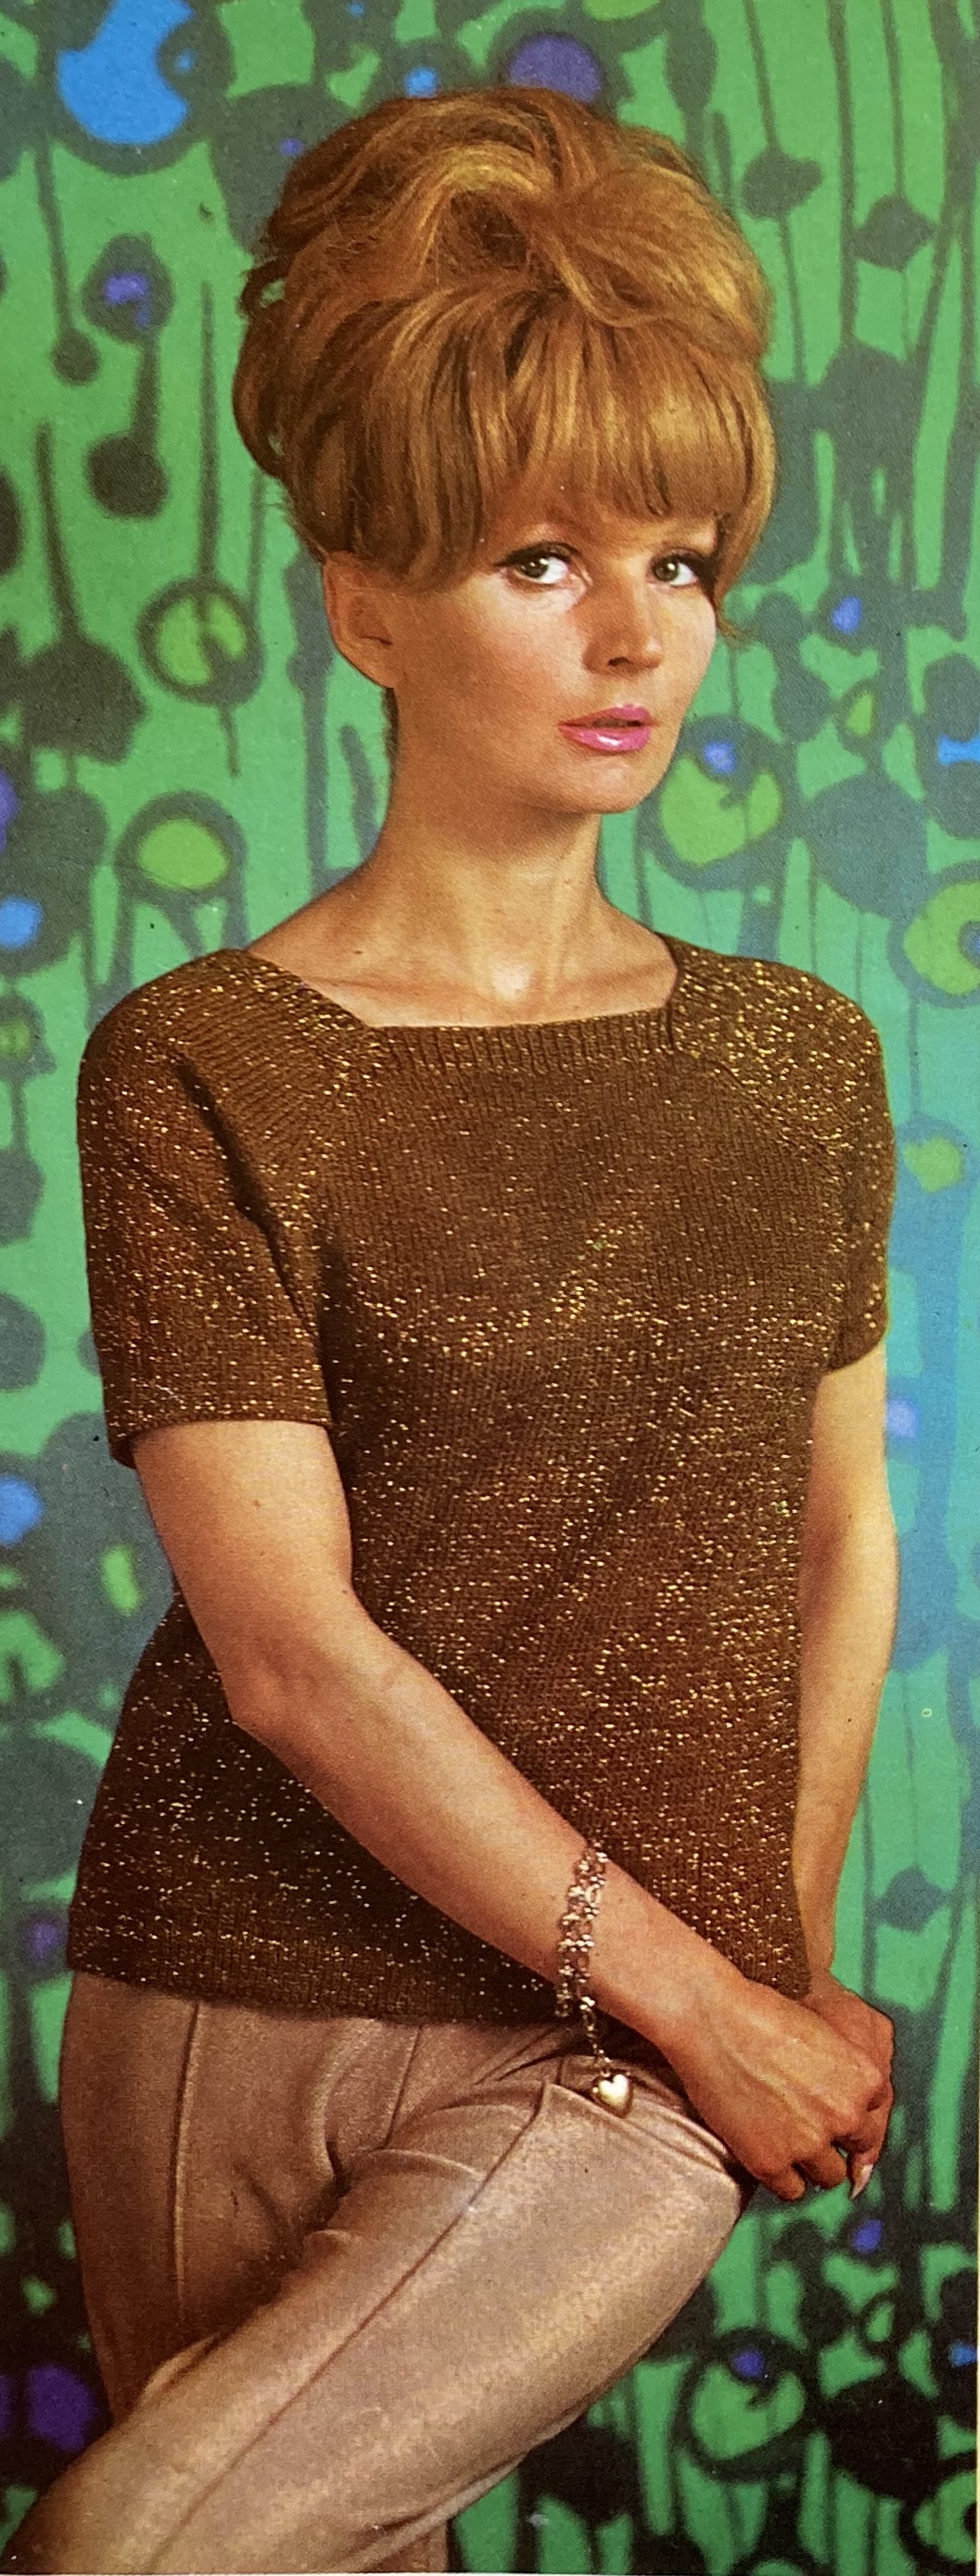
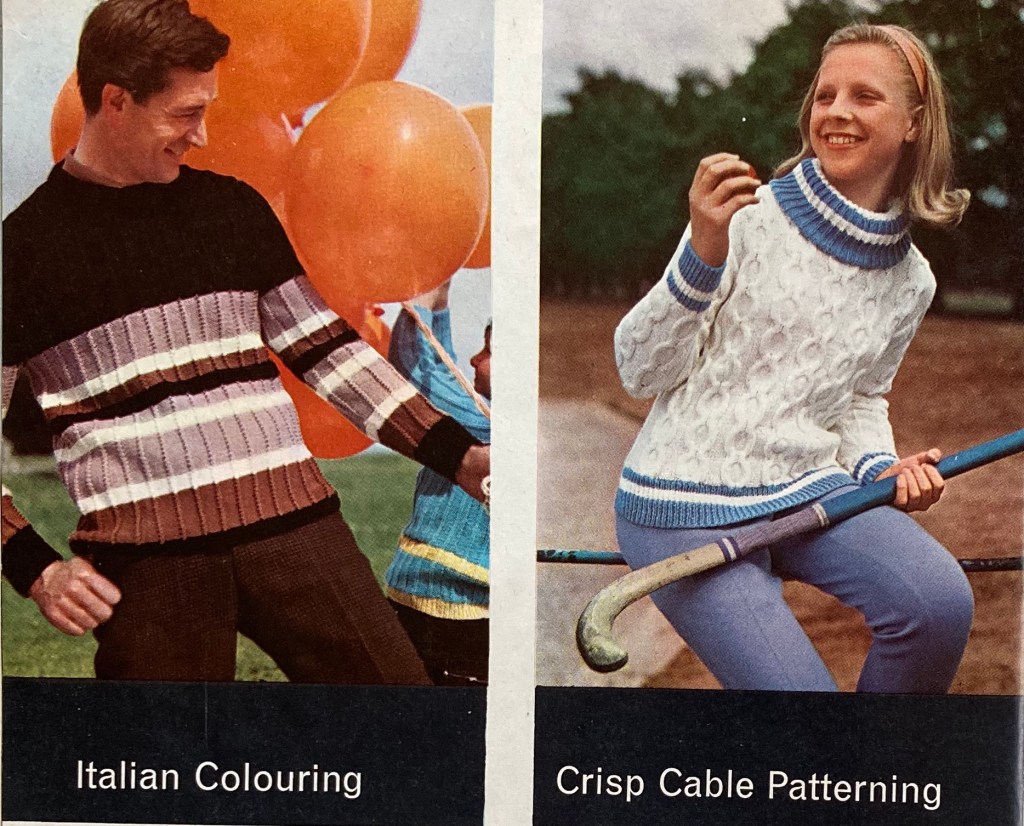
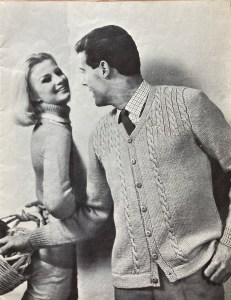
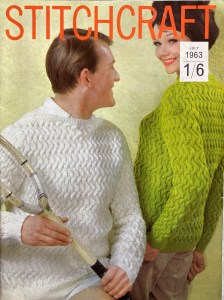
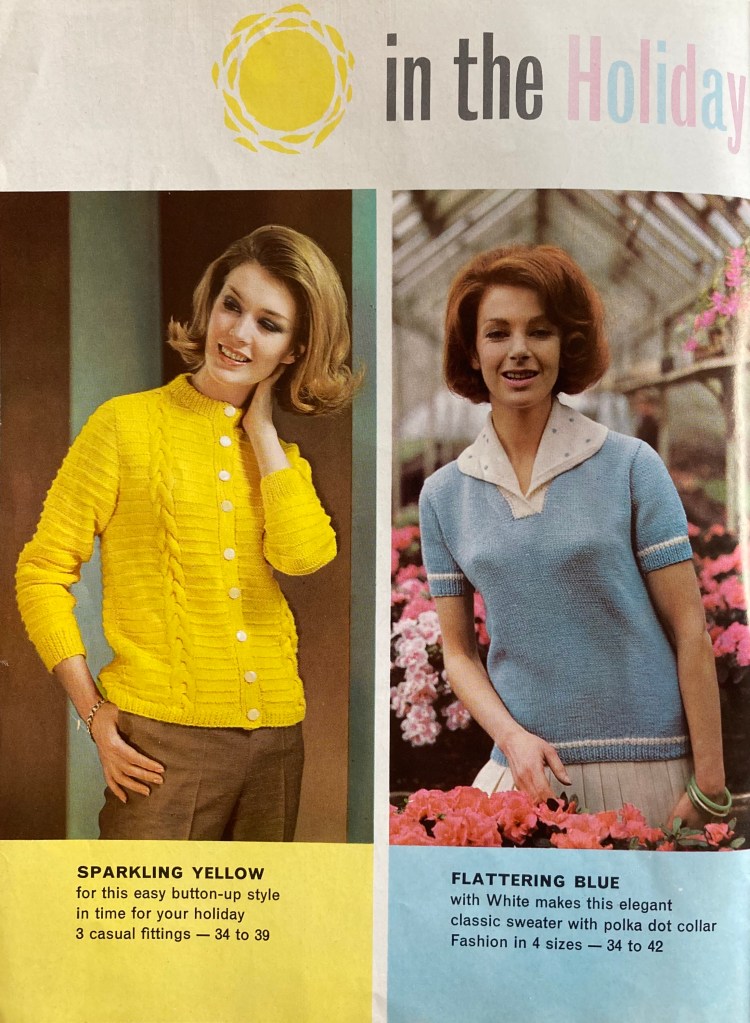
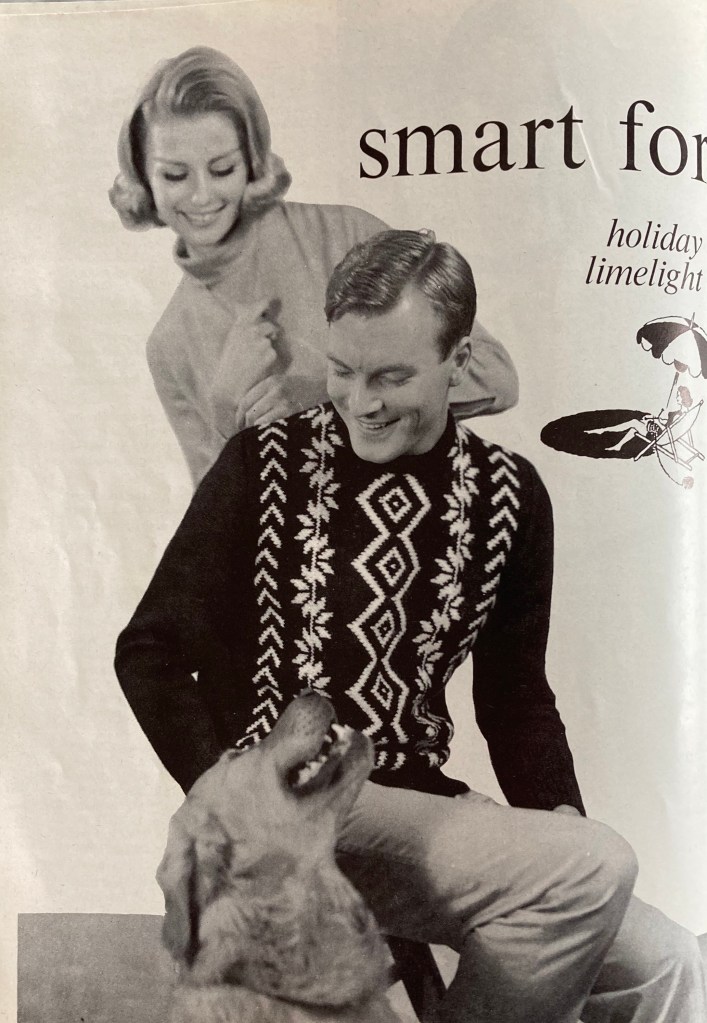
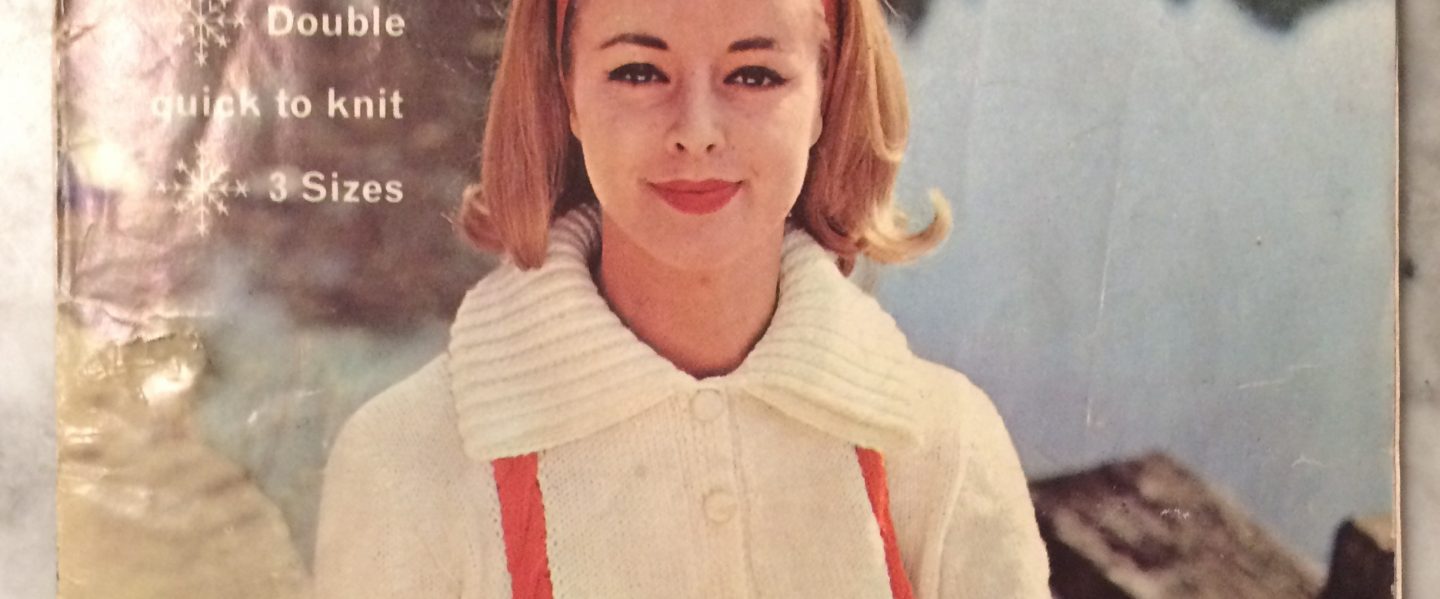
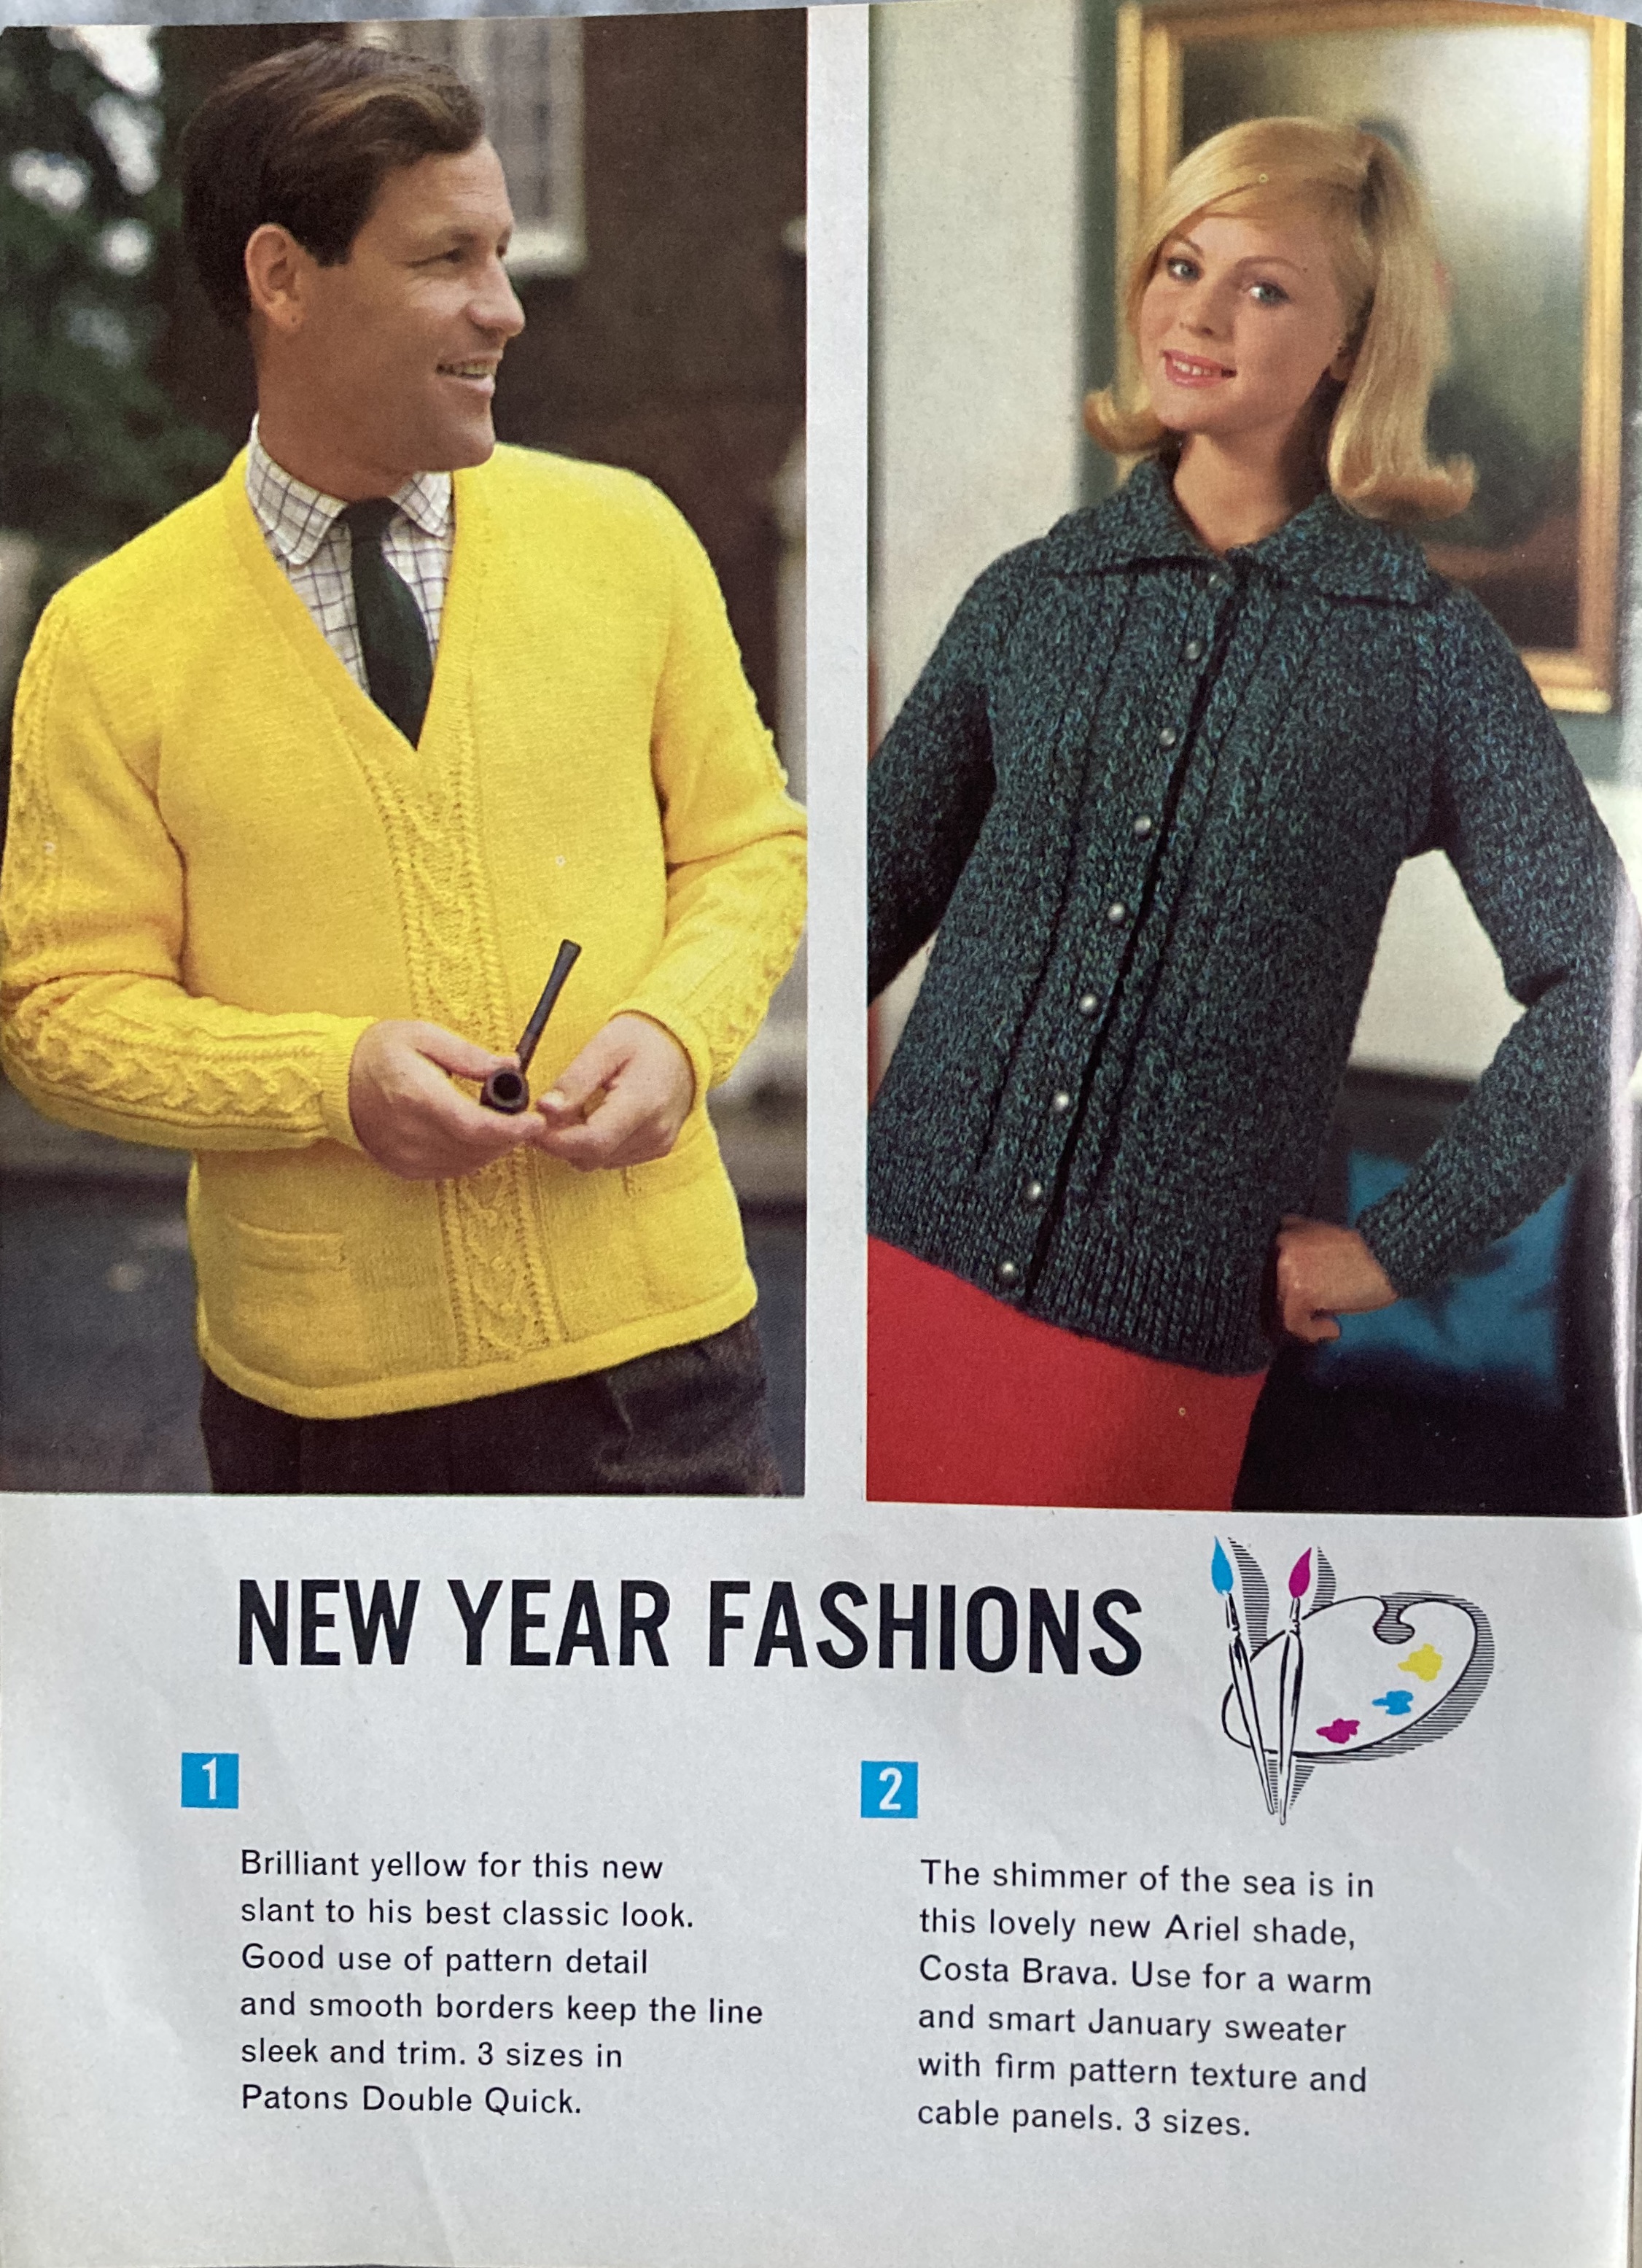
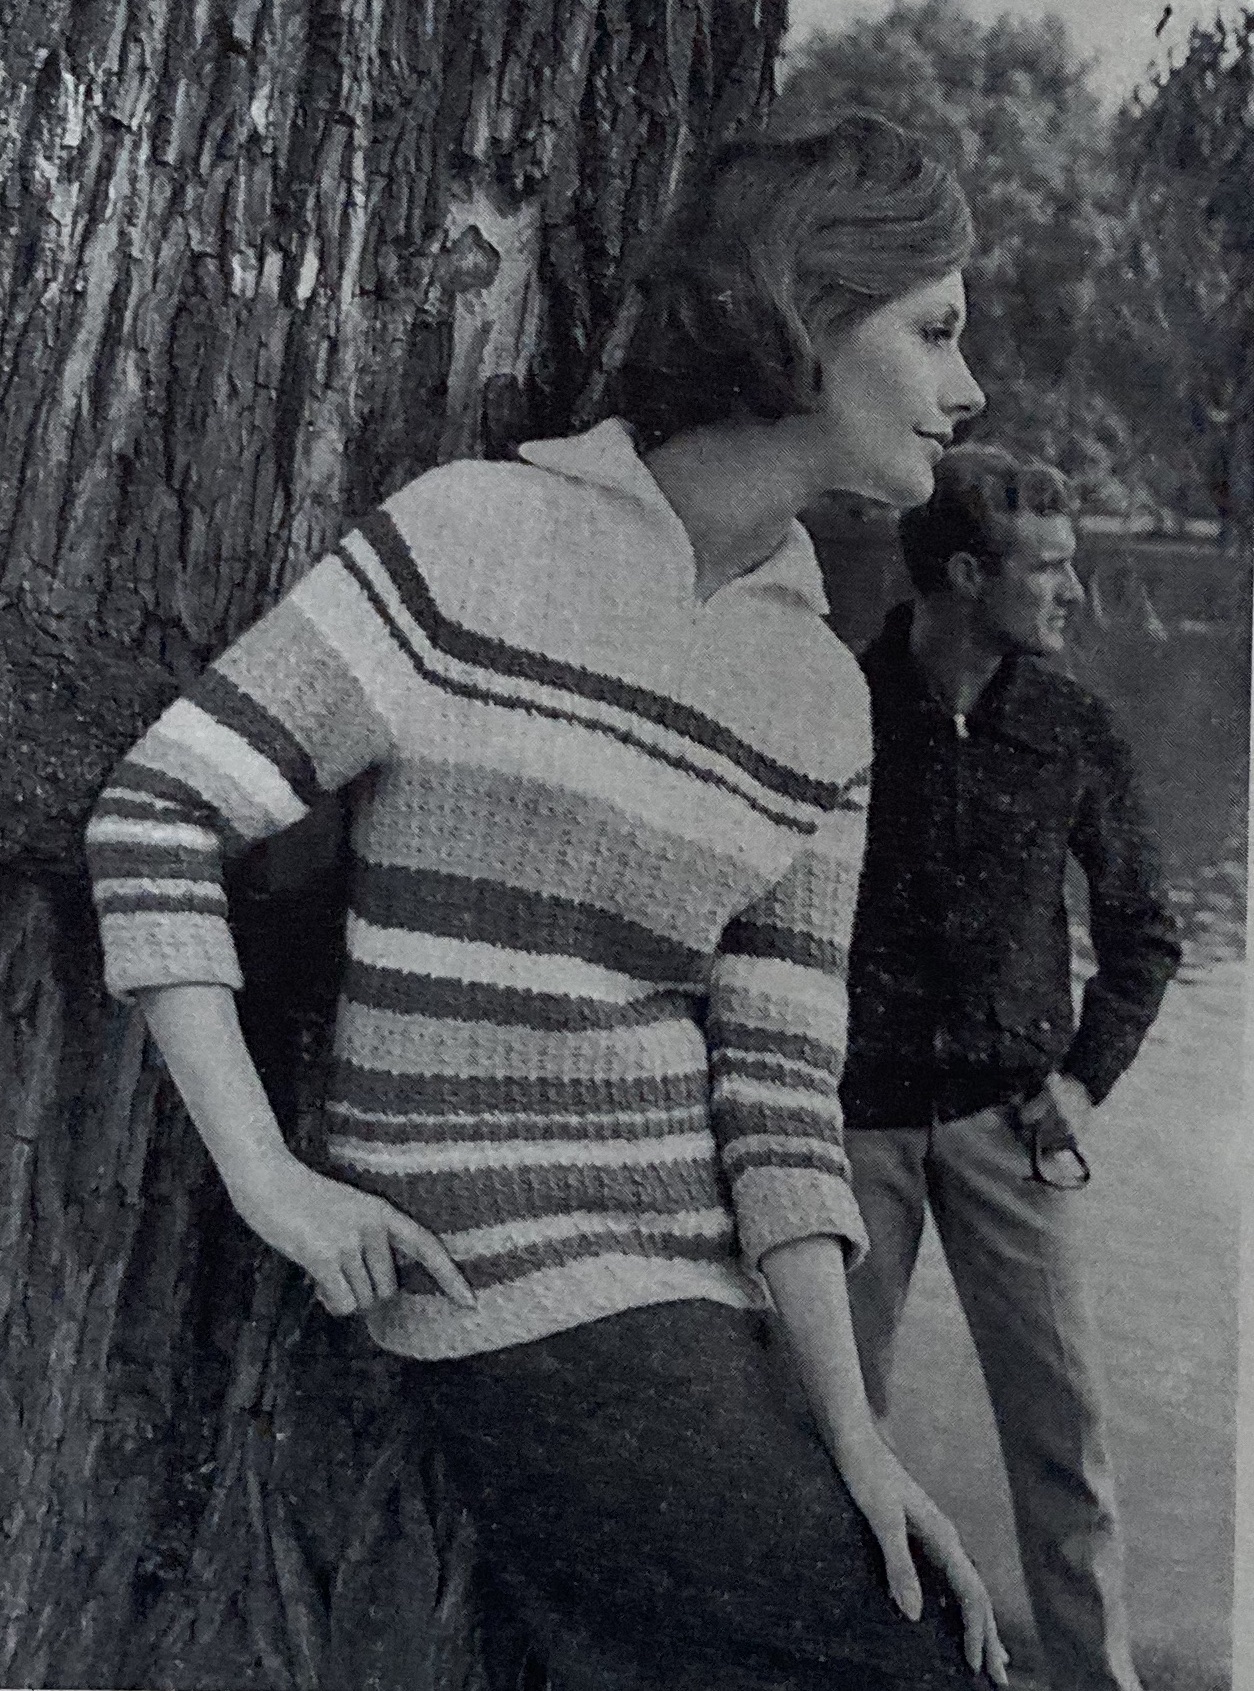
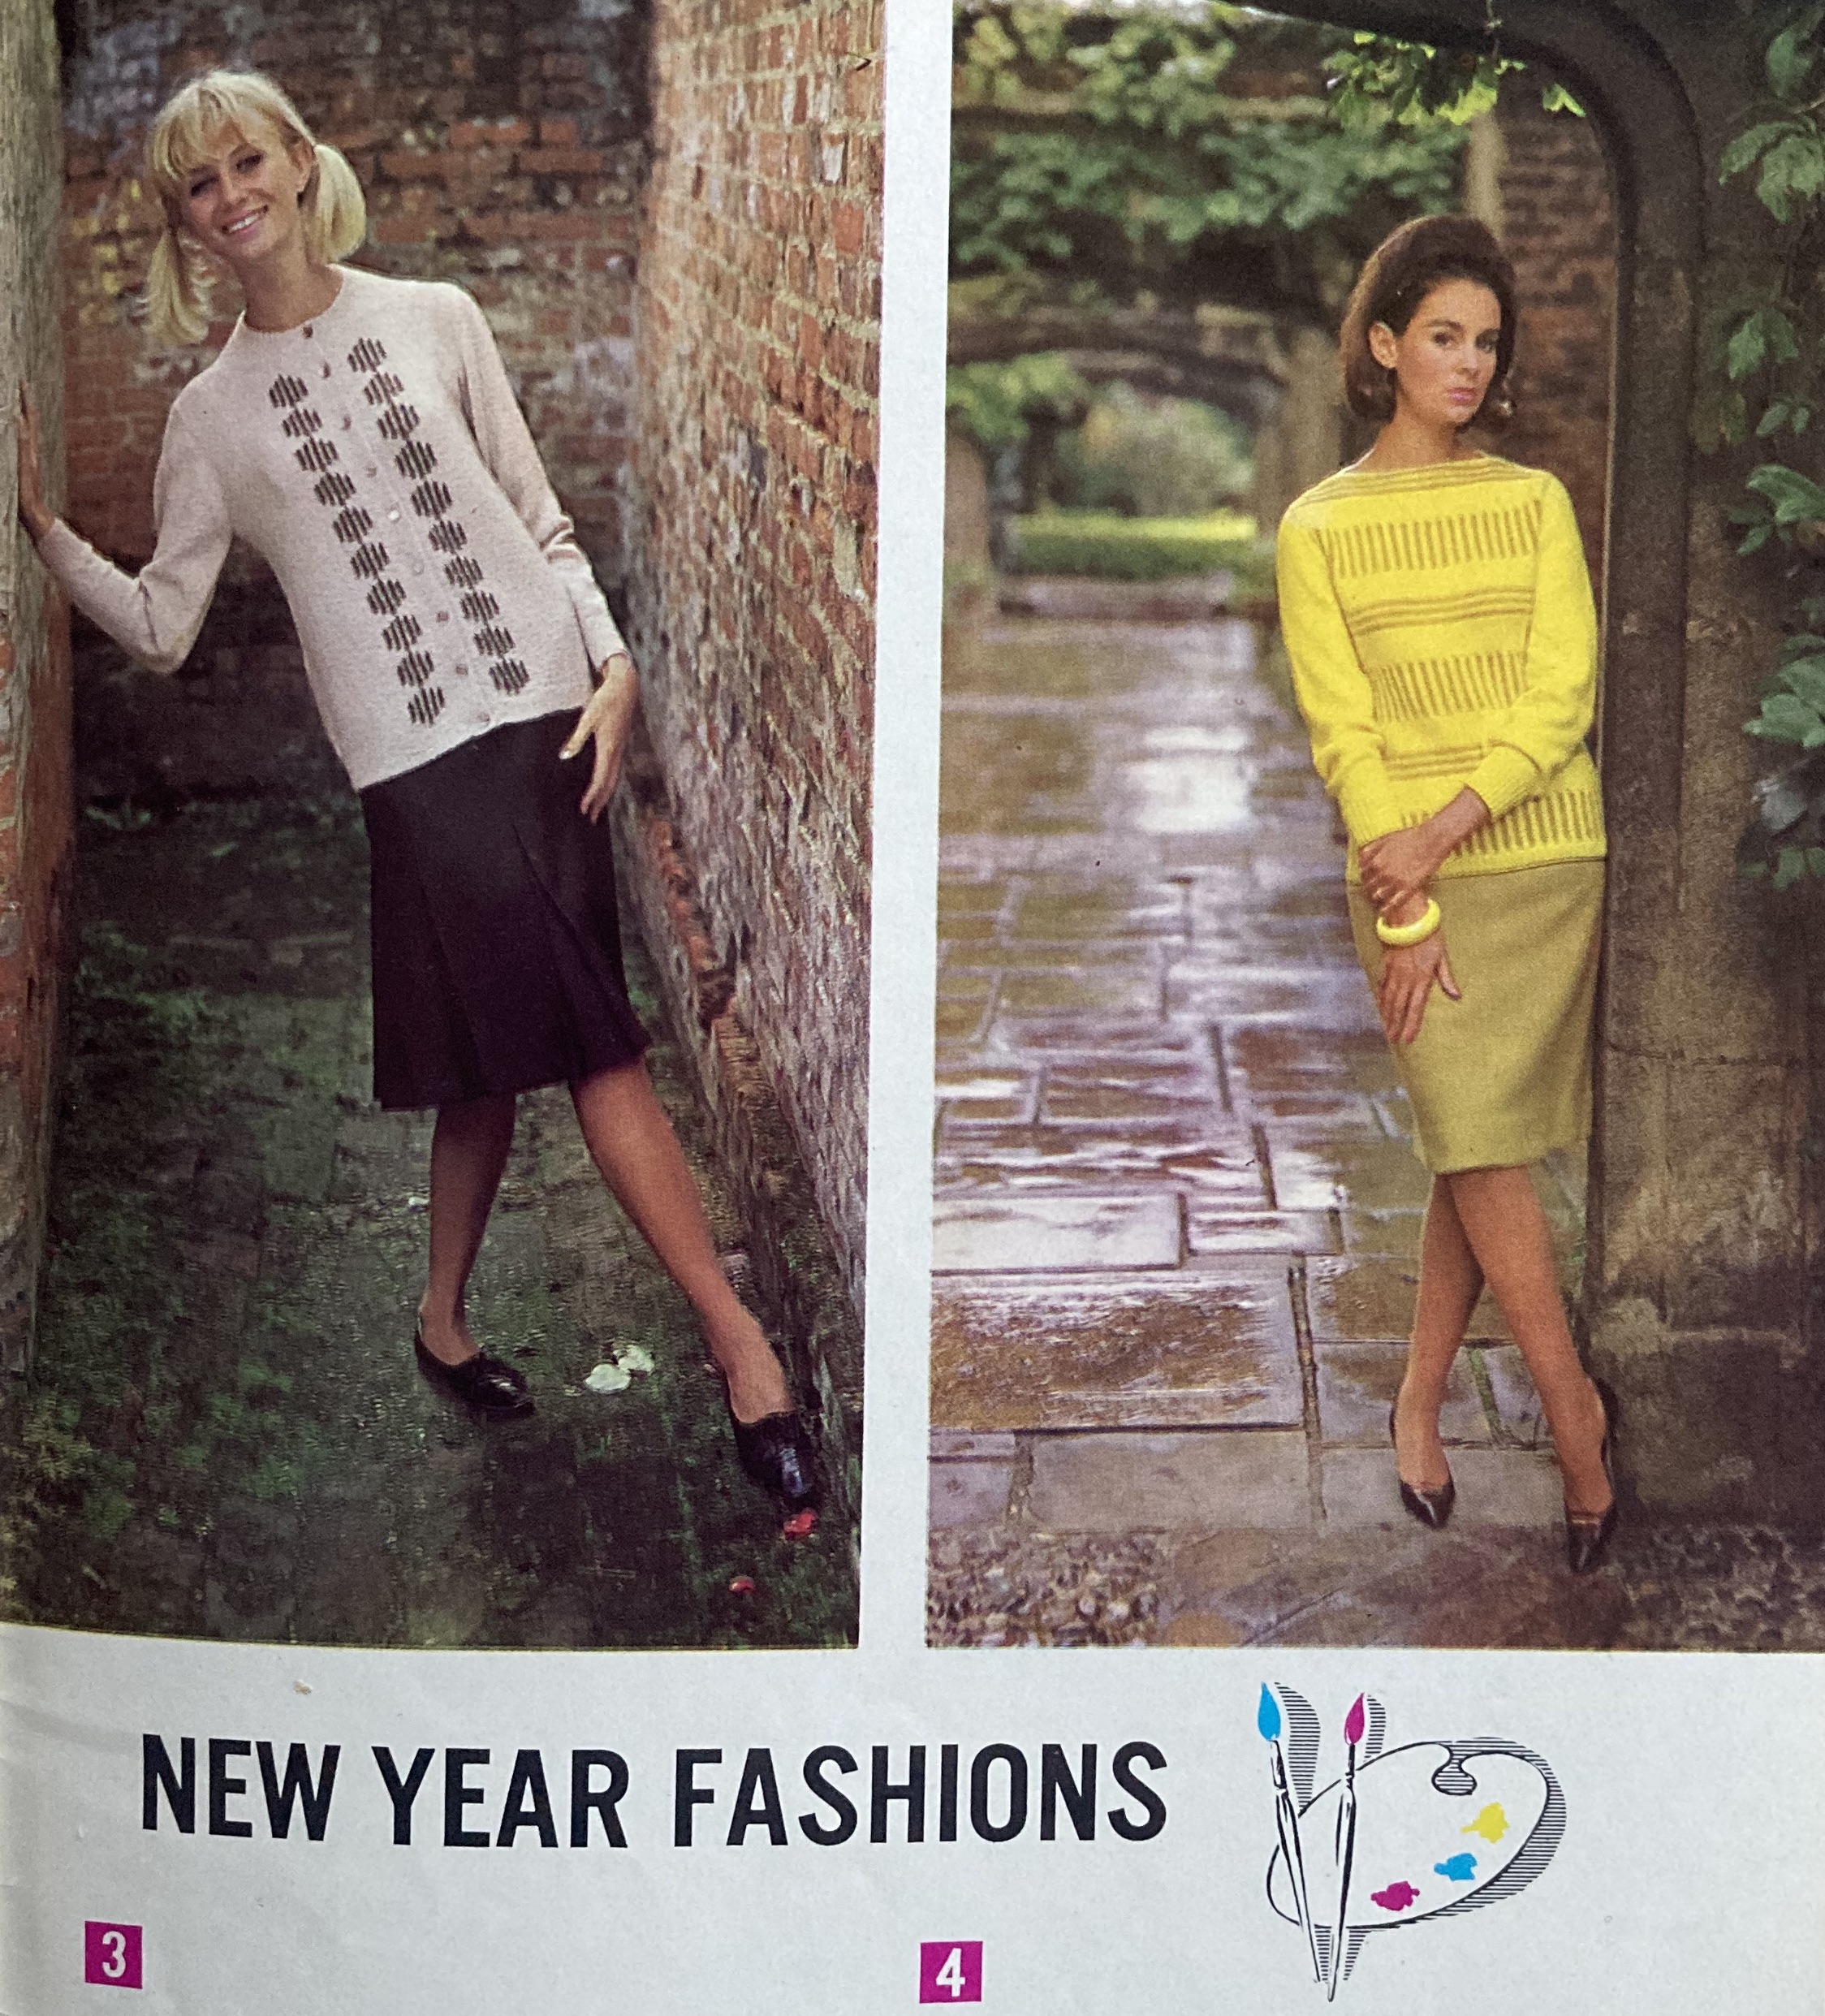
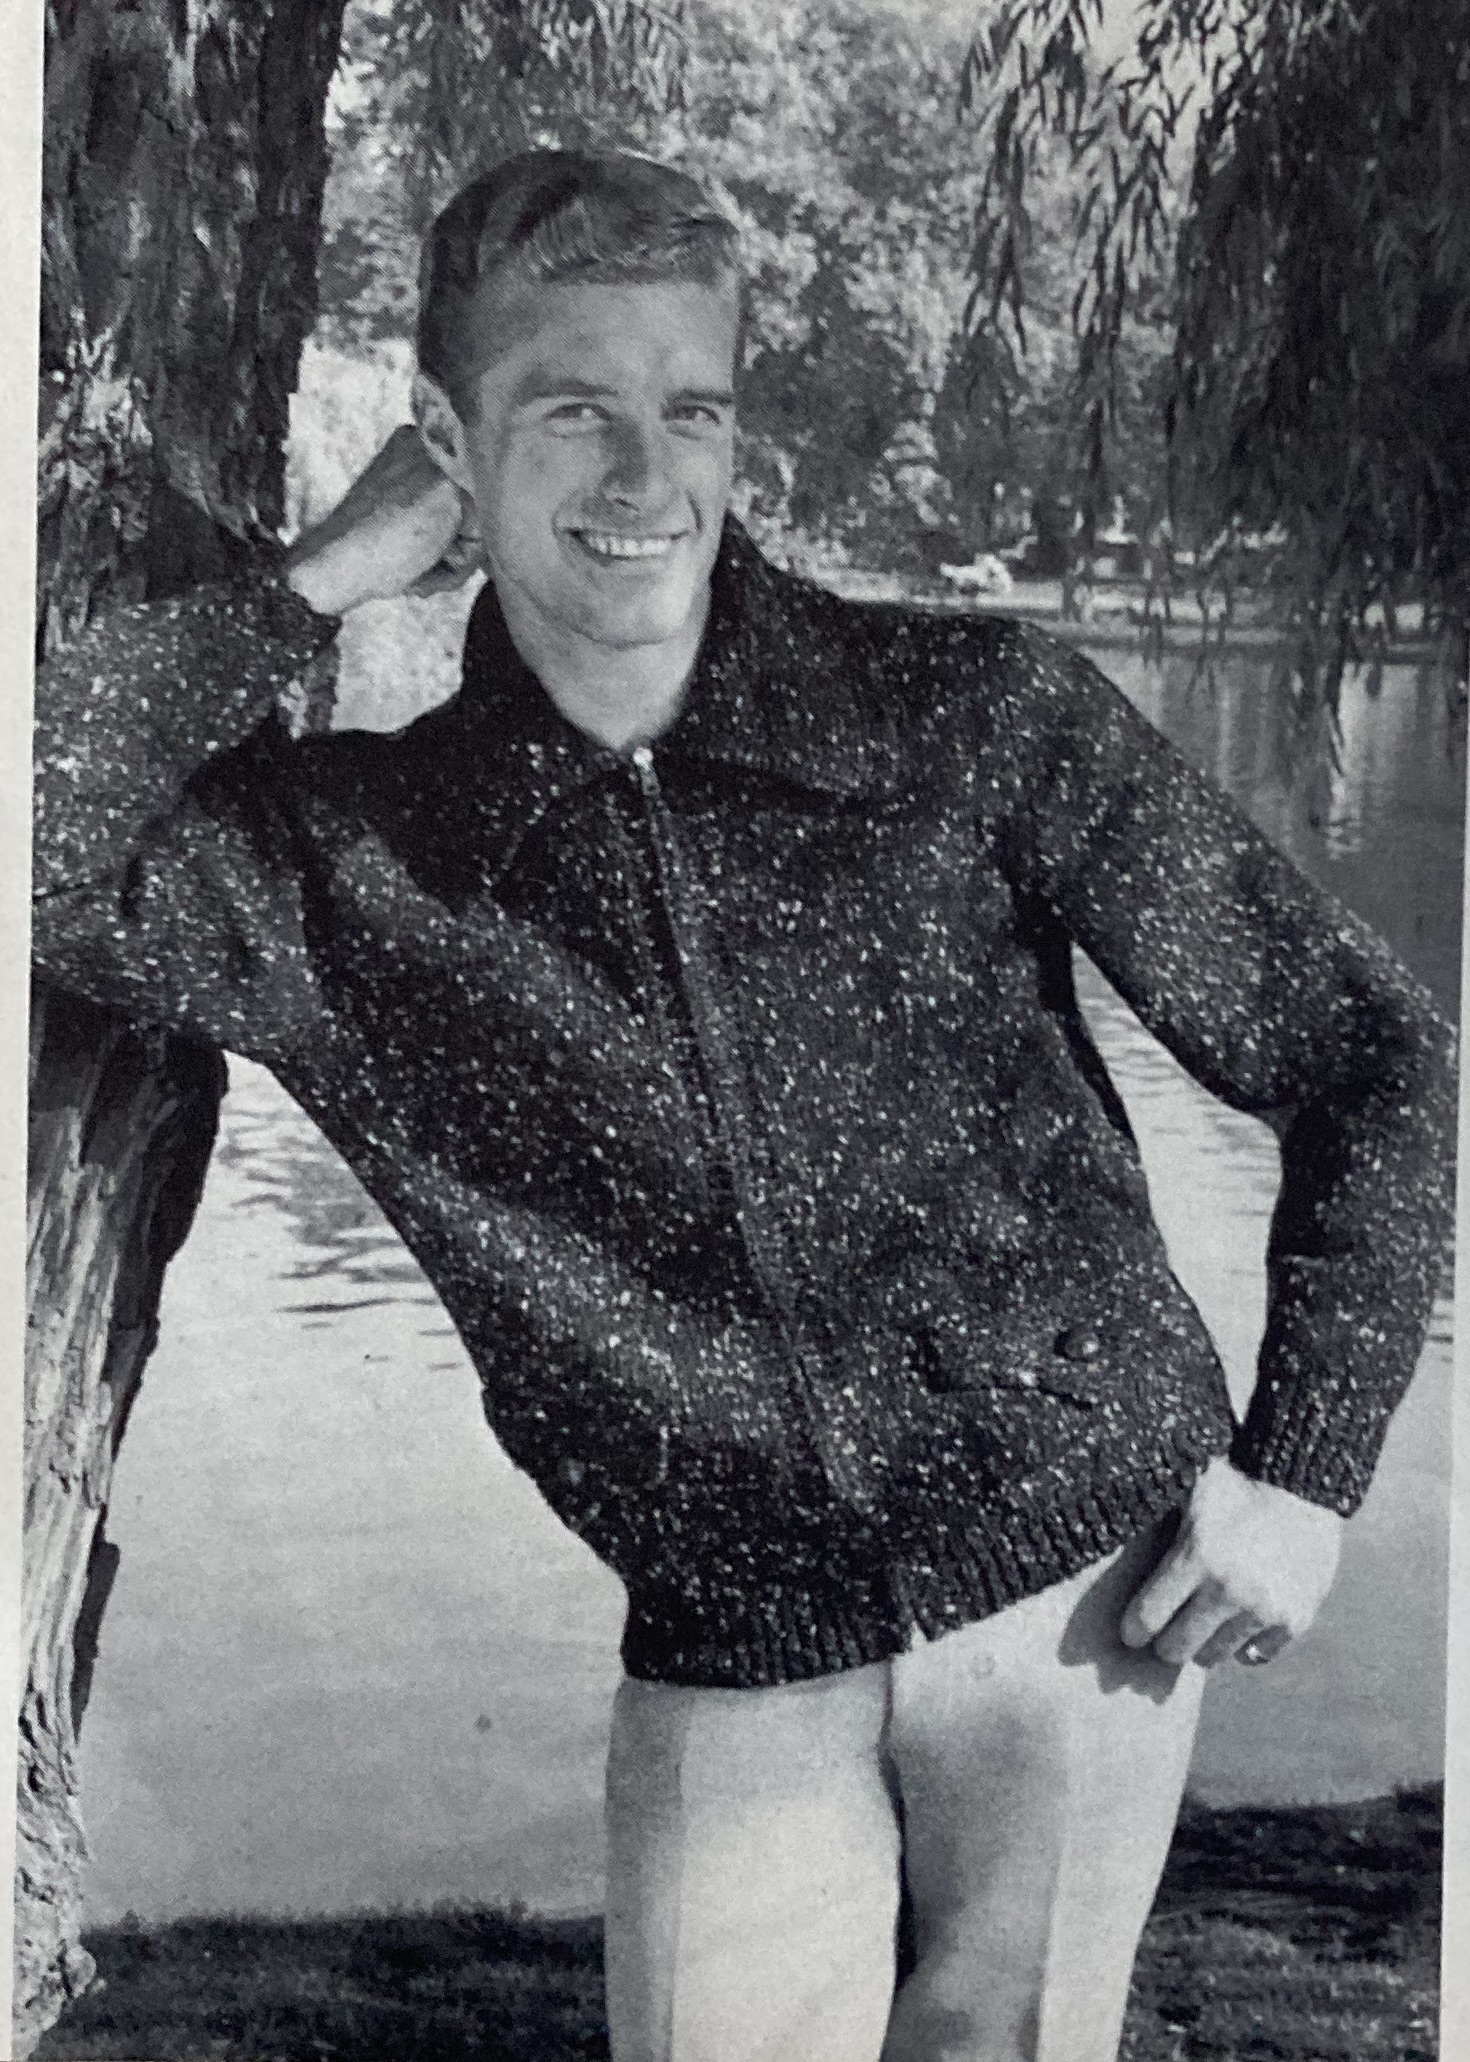
Our cover design is a sweater suit in in plain DK and tweedy Patons “Glenora” wool. There’s an equally tweedy cardigan in bulky Ariel for women as well as garments with fun colour motifs and textured stripes. The colours are warm and vibrant, with deep pinks and yellows prevailing. Men get a very yellow pullover with nice cable details and a zip-up cardigan for the casual “country look” (with a coquettish smile from our handsome model.)
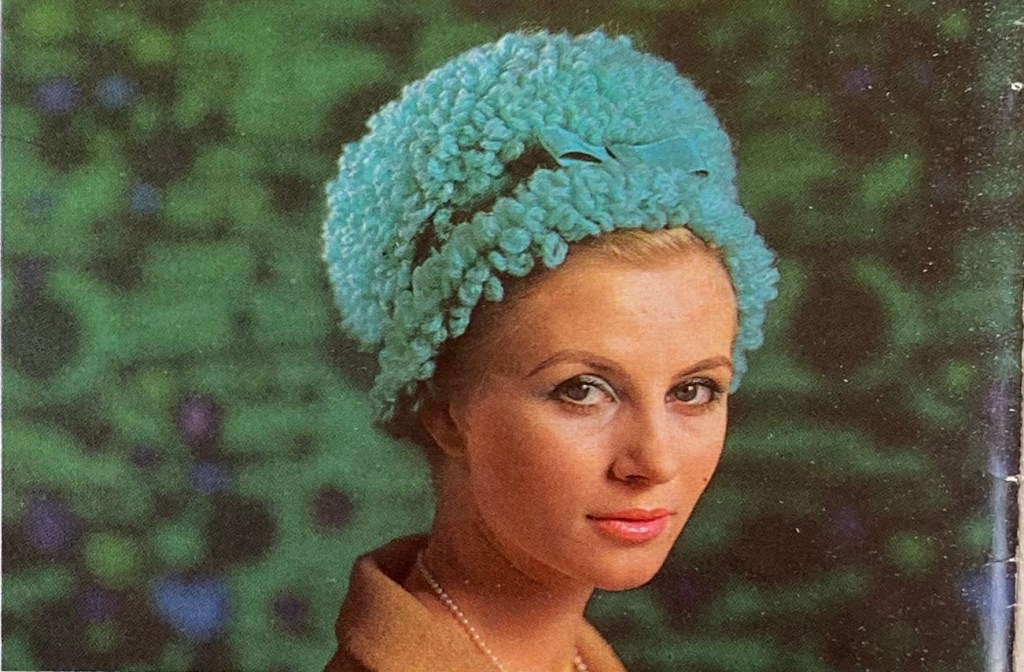
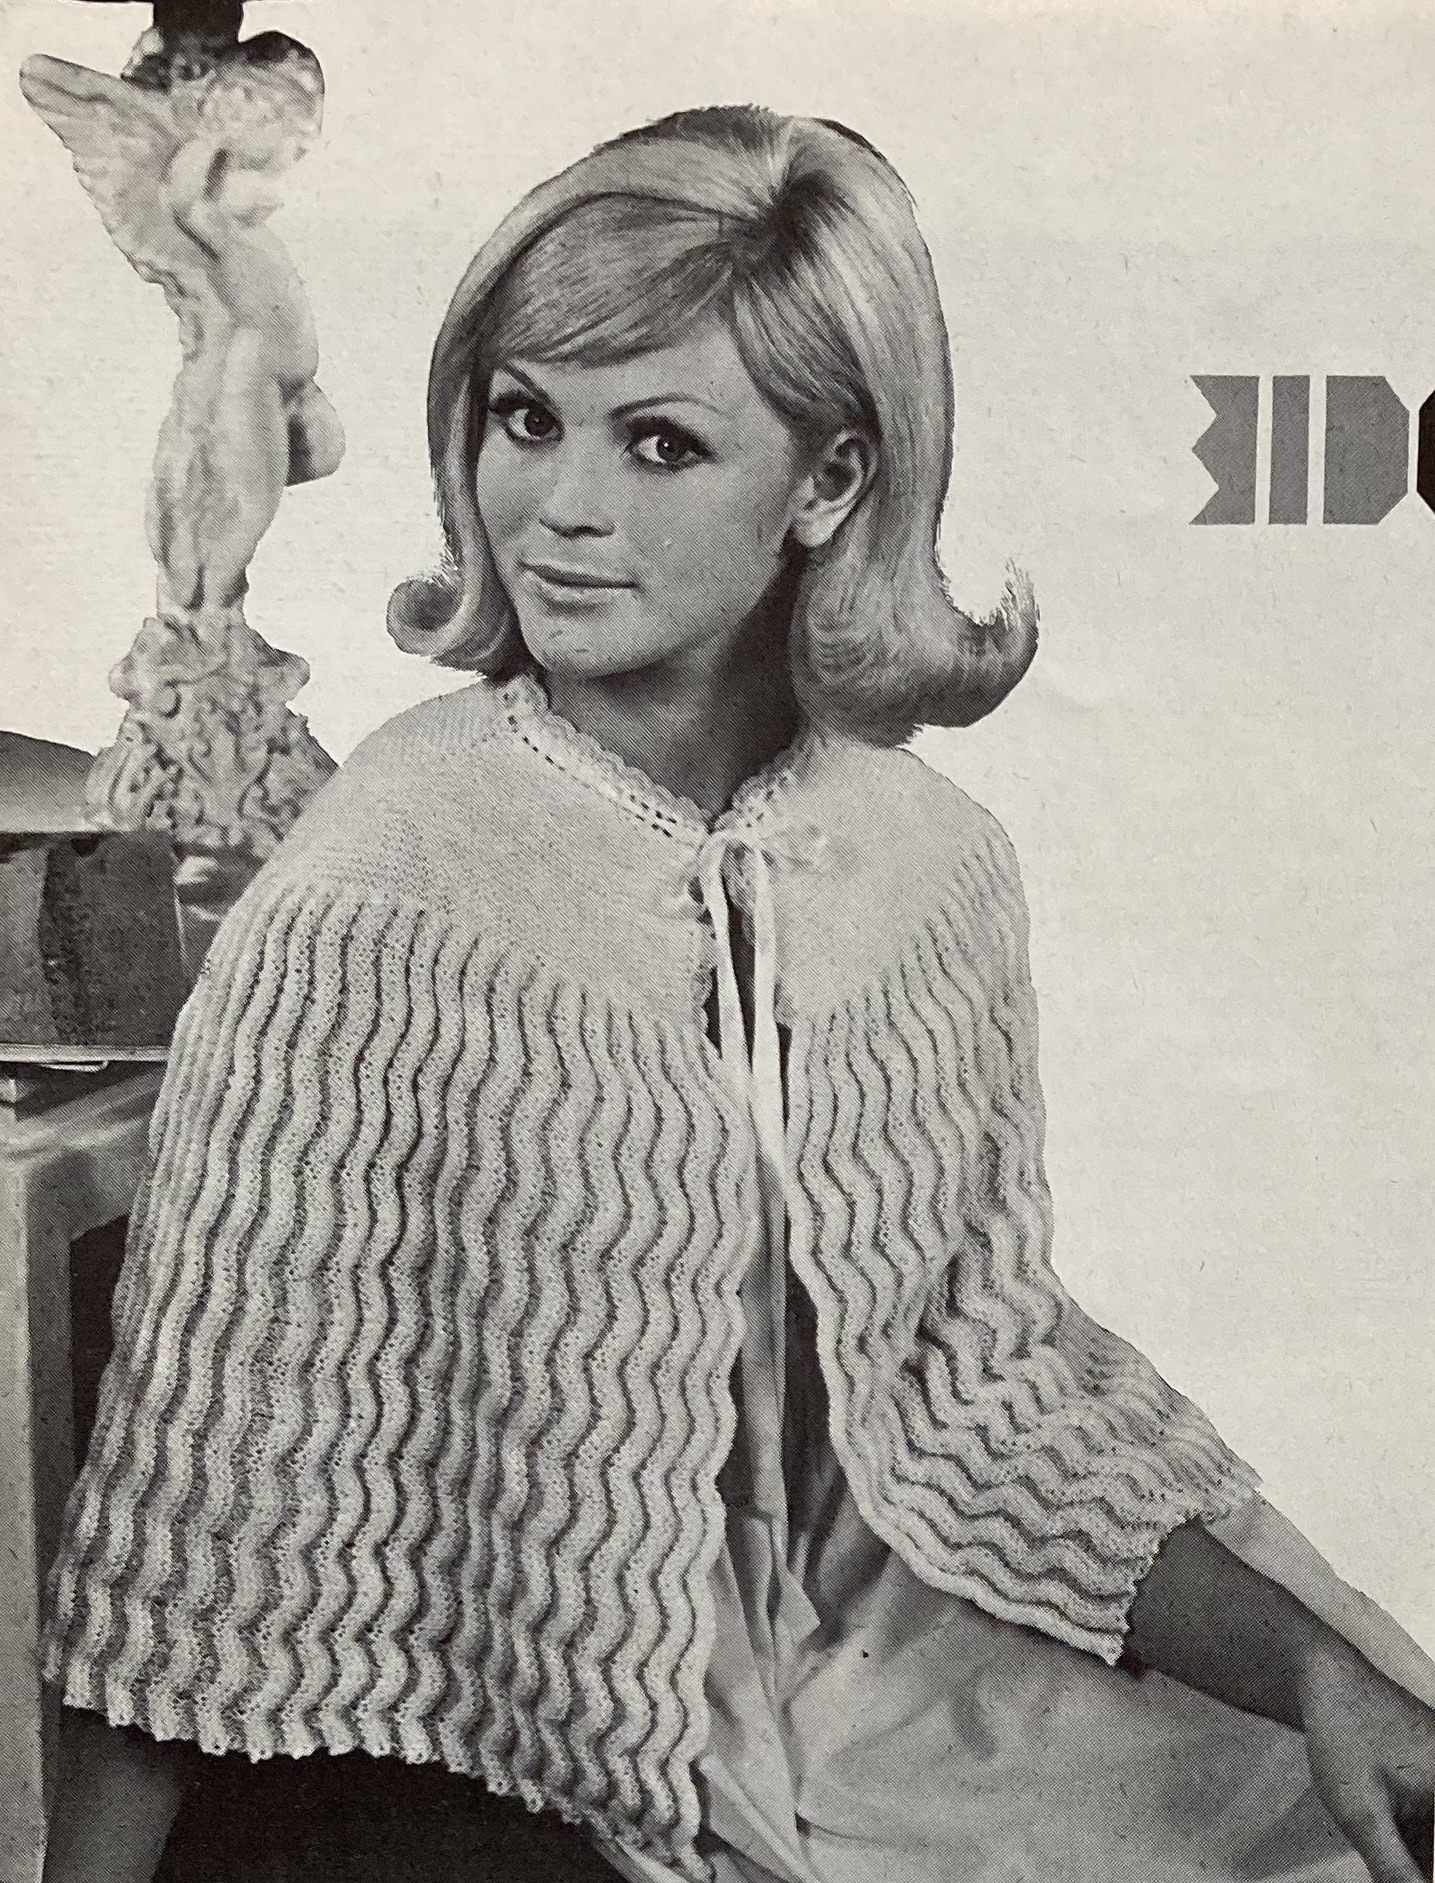
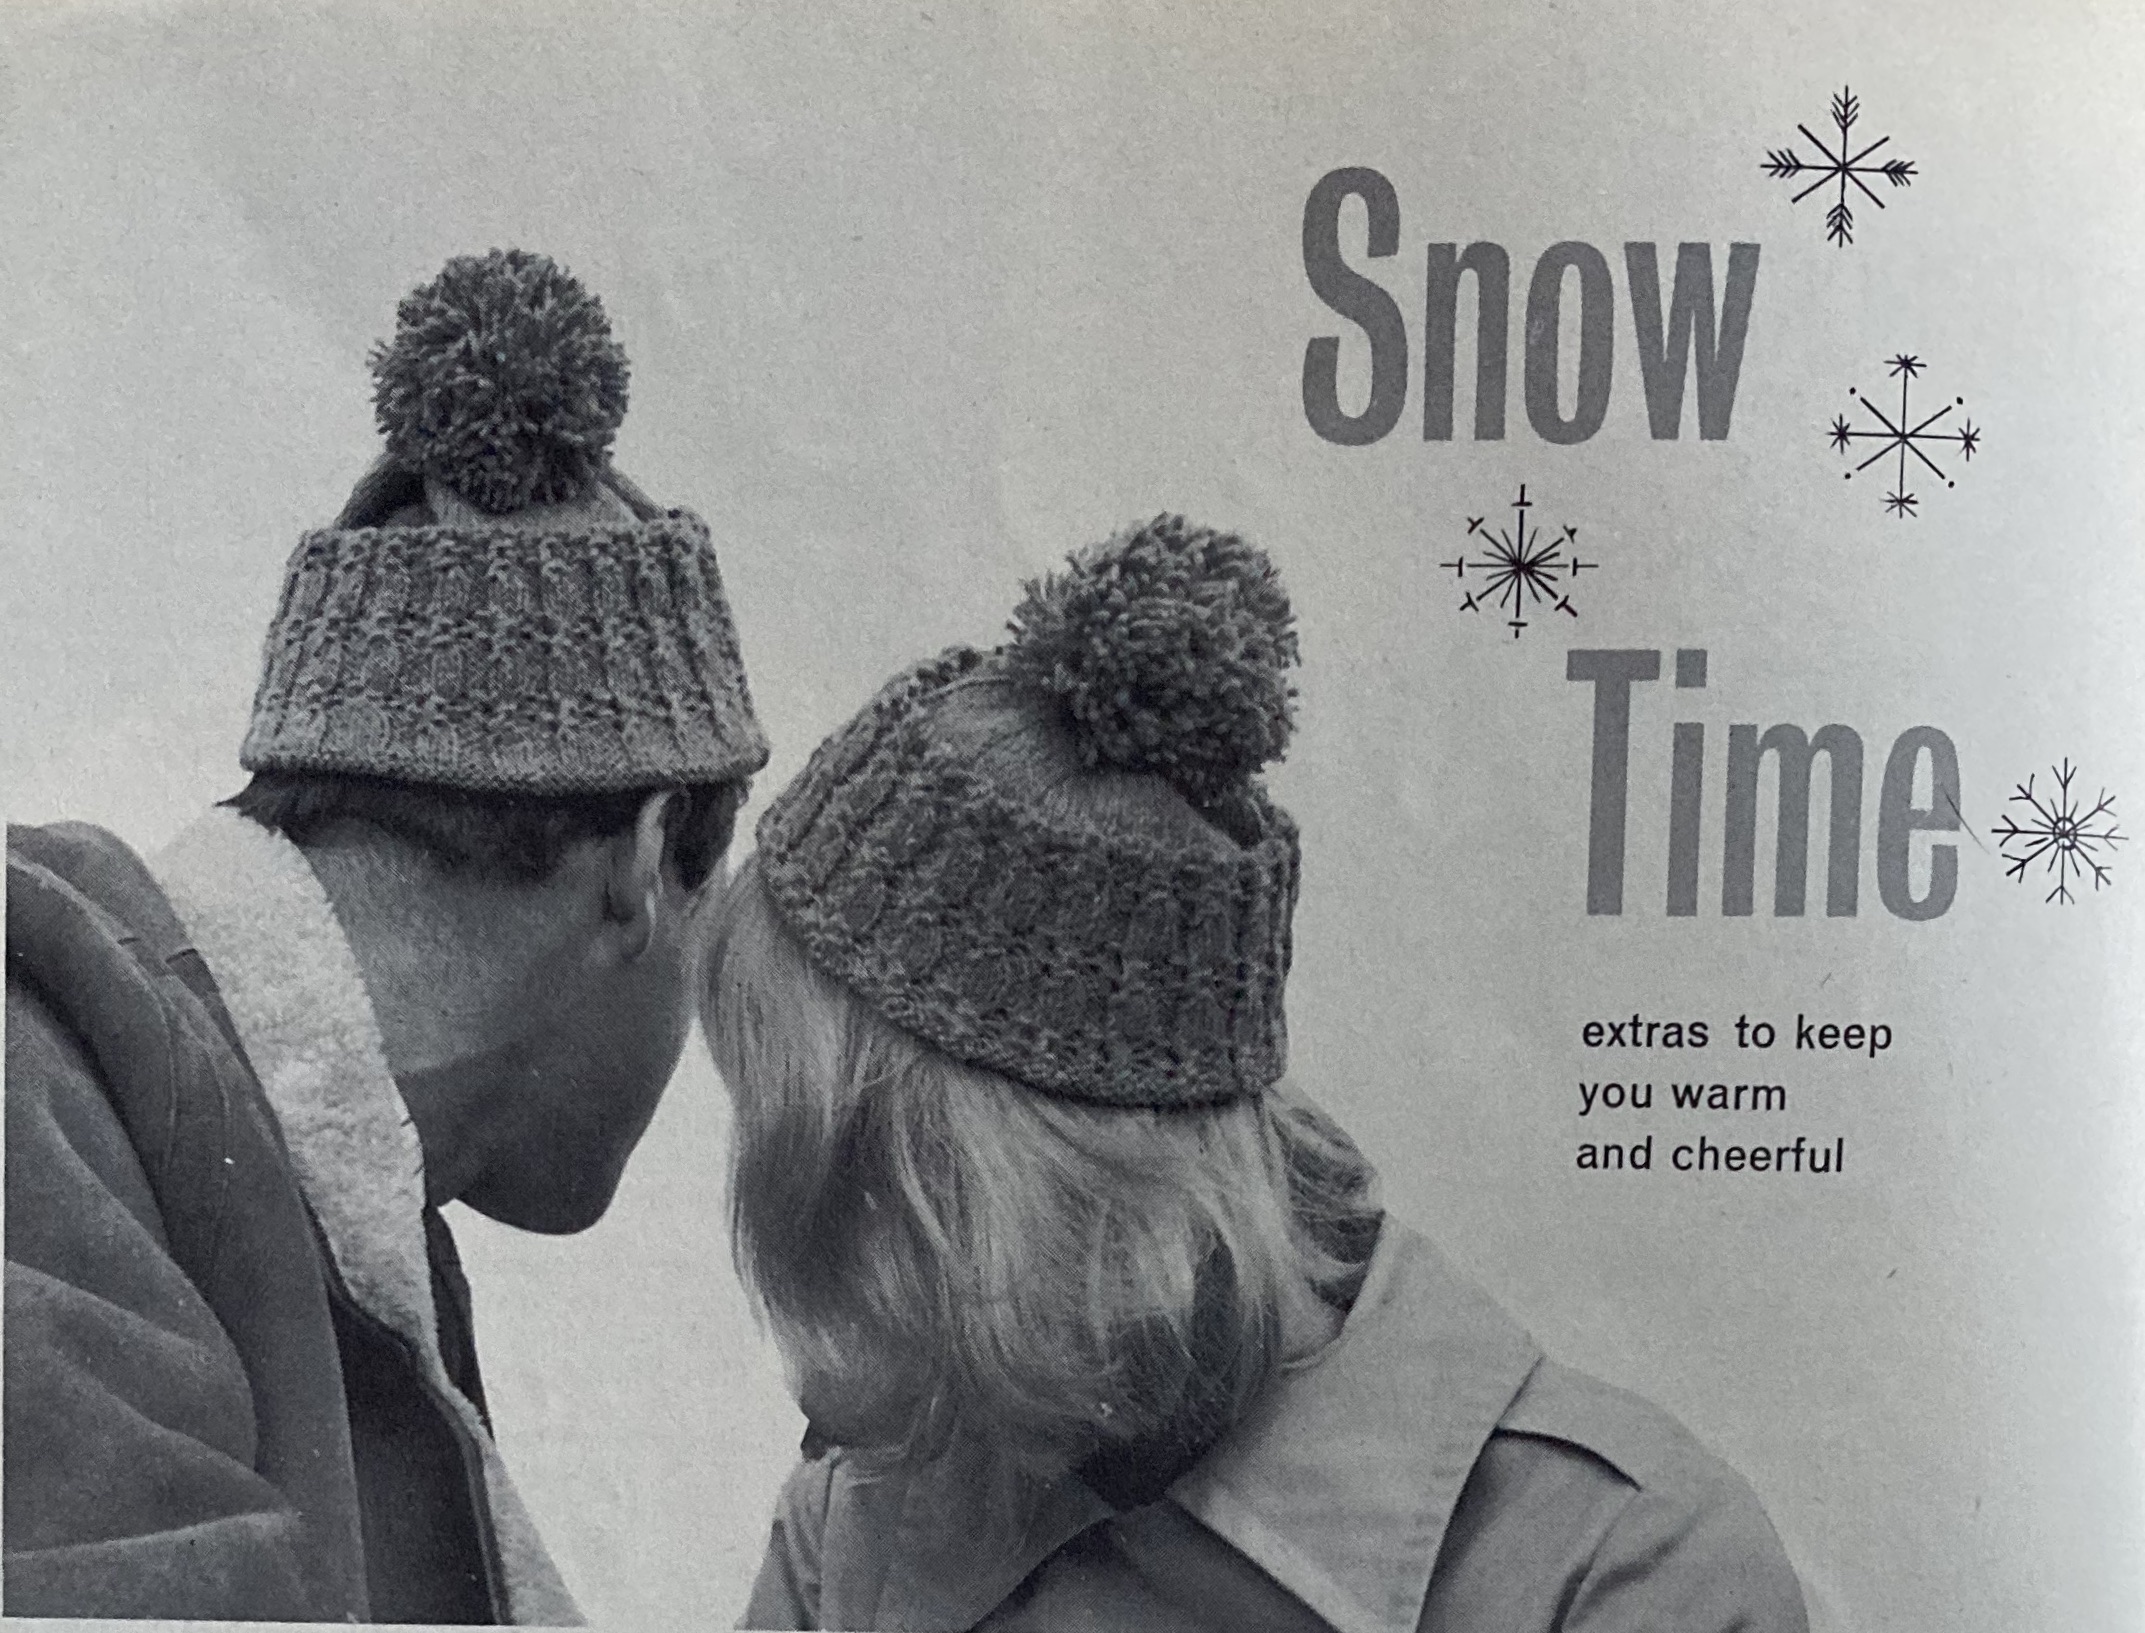
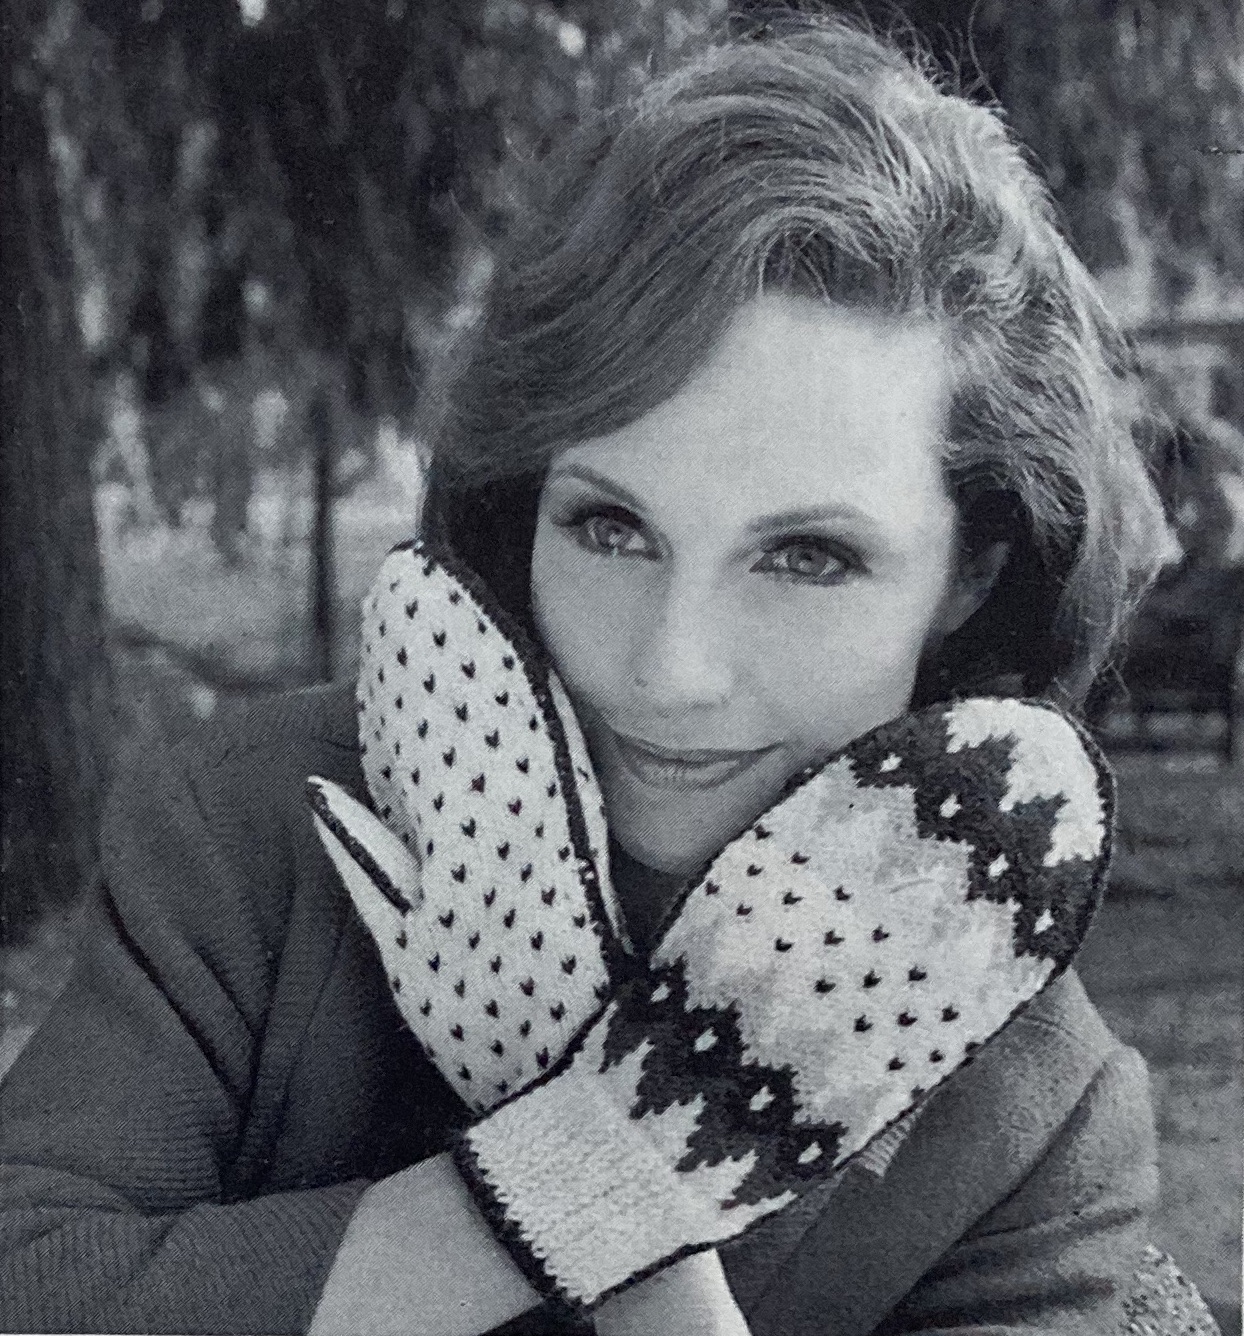
Appropriately enough for January, the accessories are warm and practical: cheerful hats in an interesting tied-loop stitch for “him and her” and warm mittens in stranded colourwork. As usual for this time, the stranded patterns, even for gloves, are worked back and forth, with front and back pieces worked separately and crocheted together.
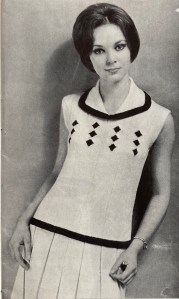
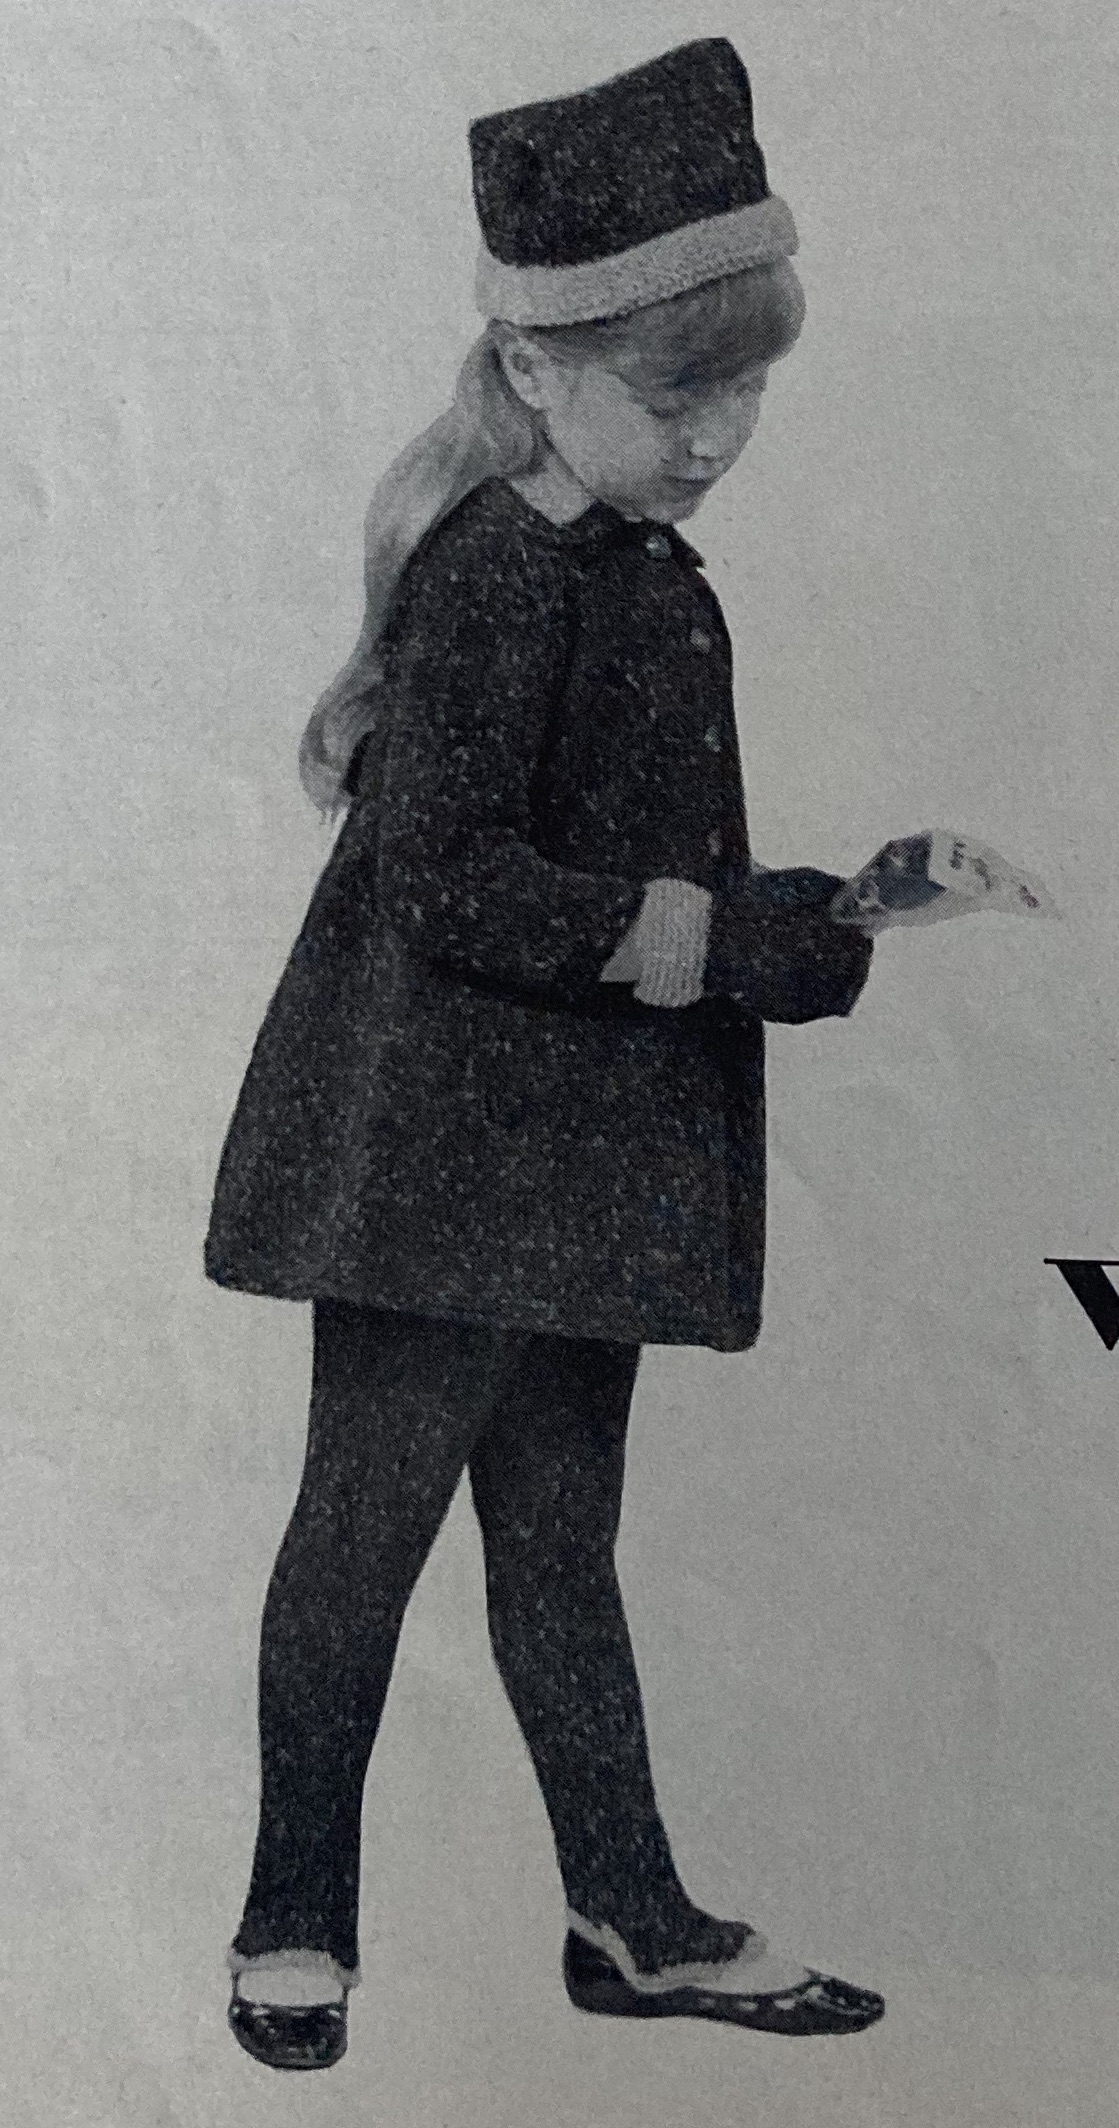
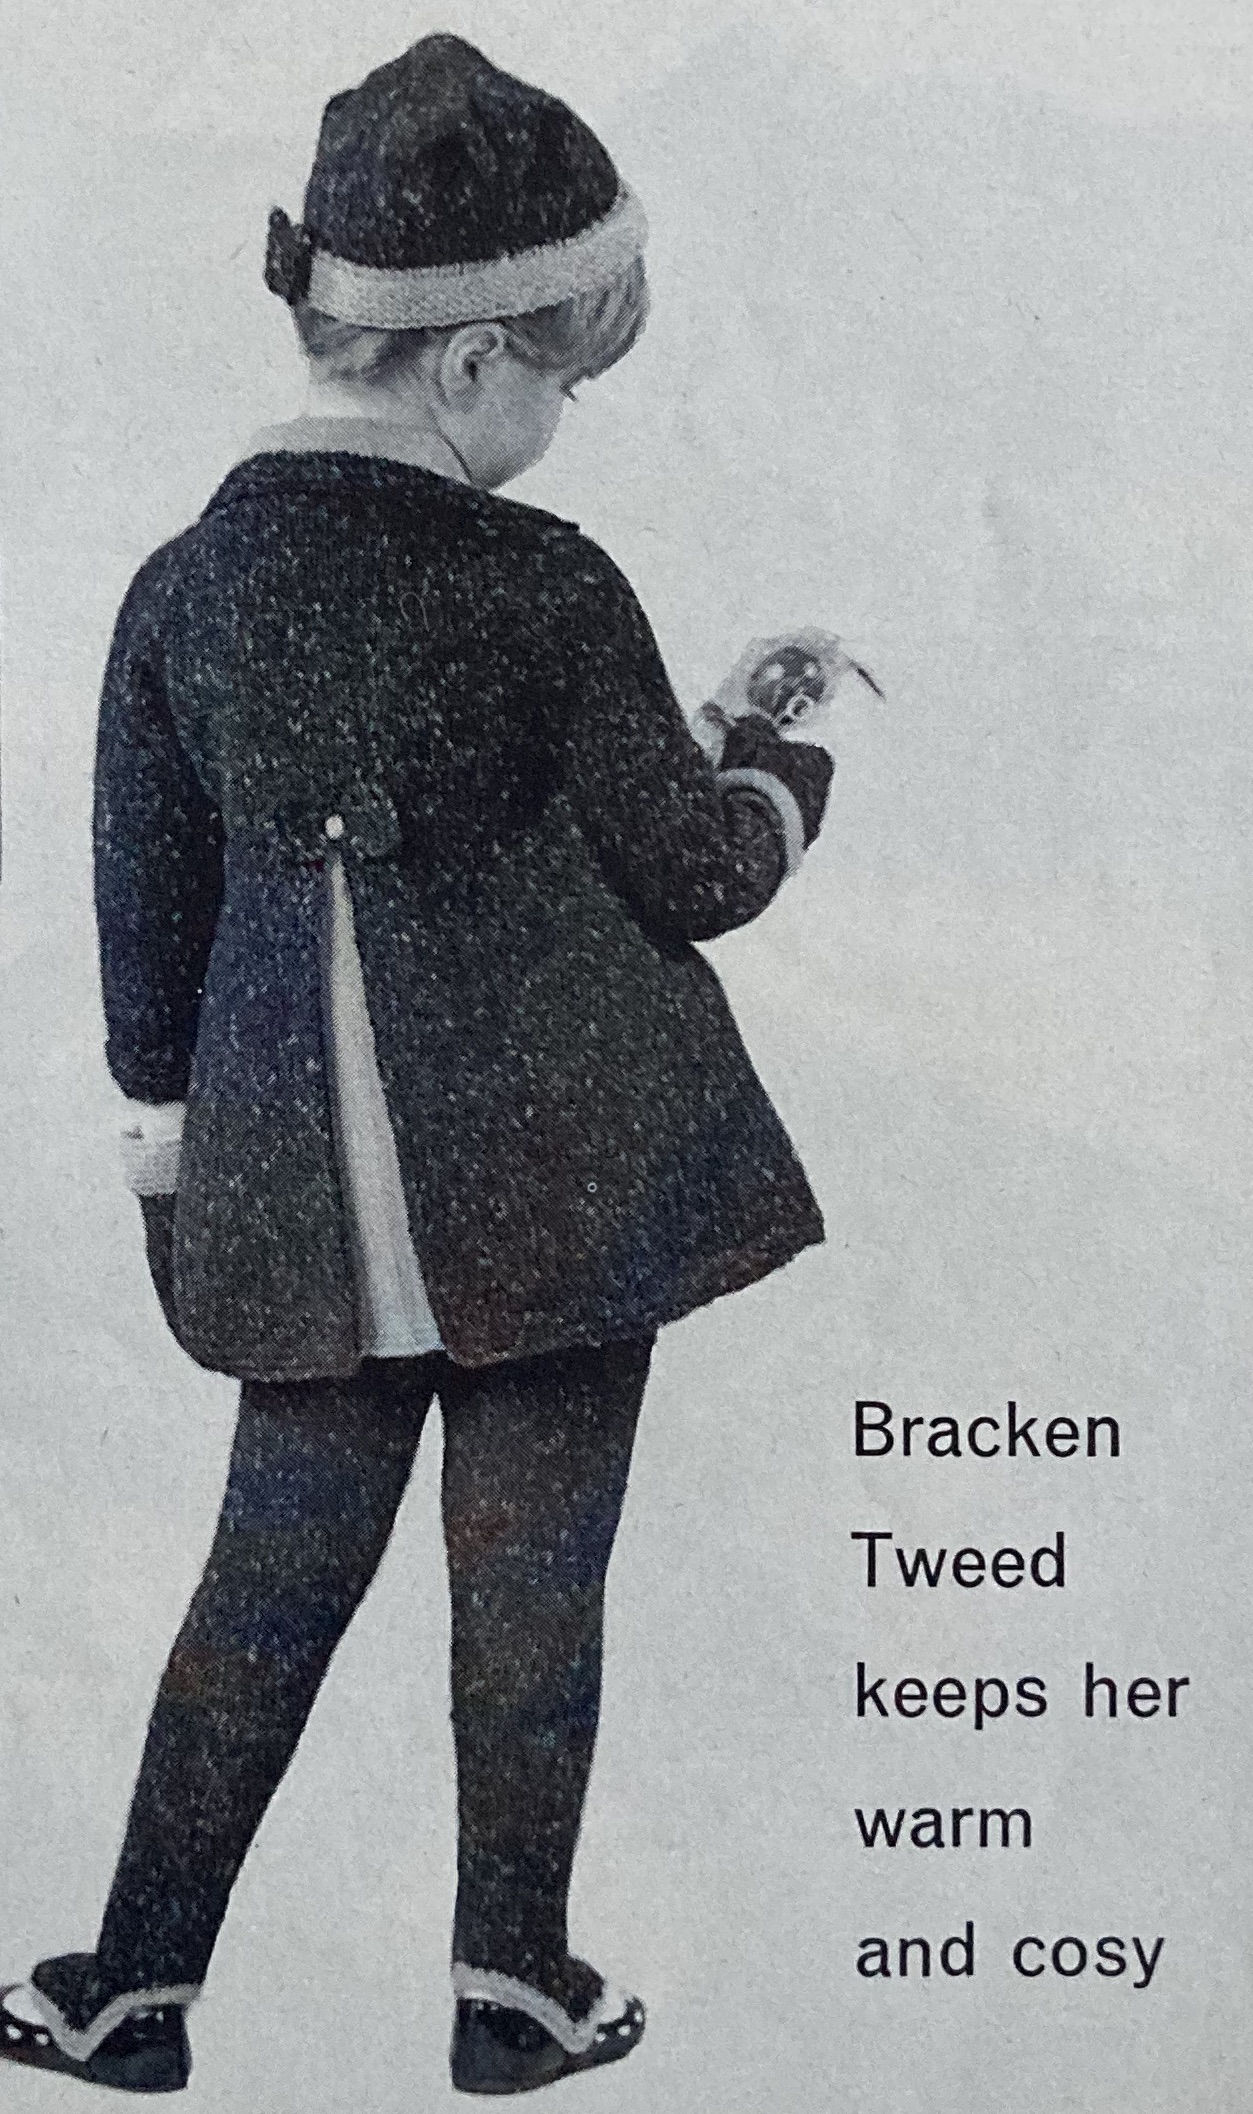
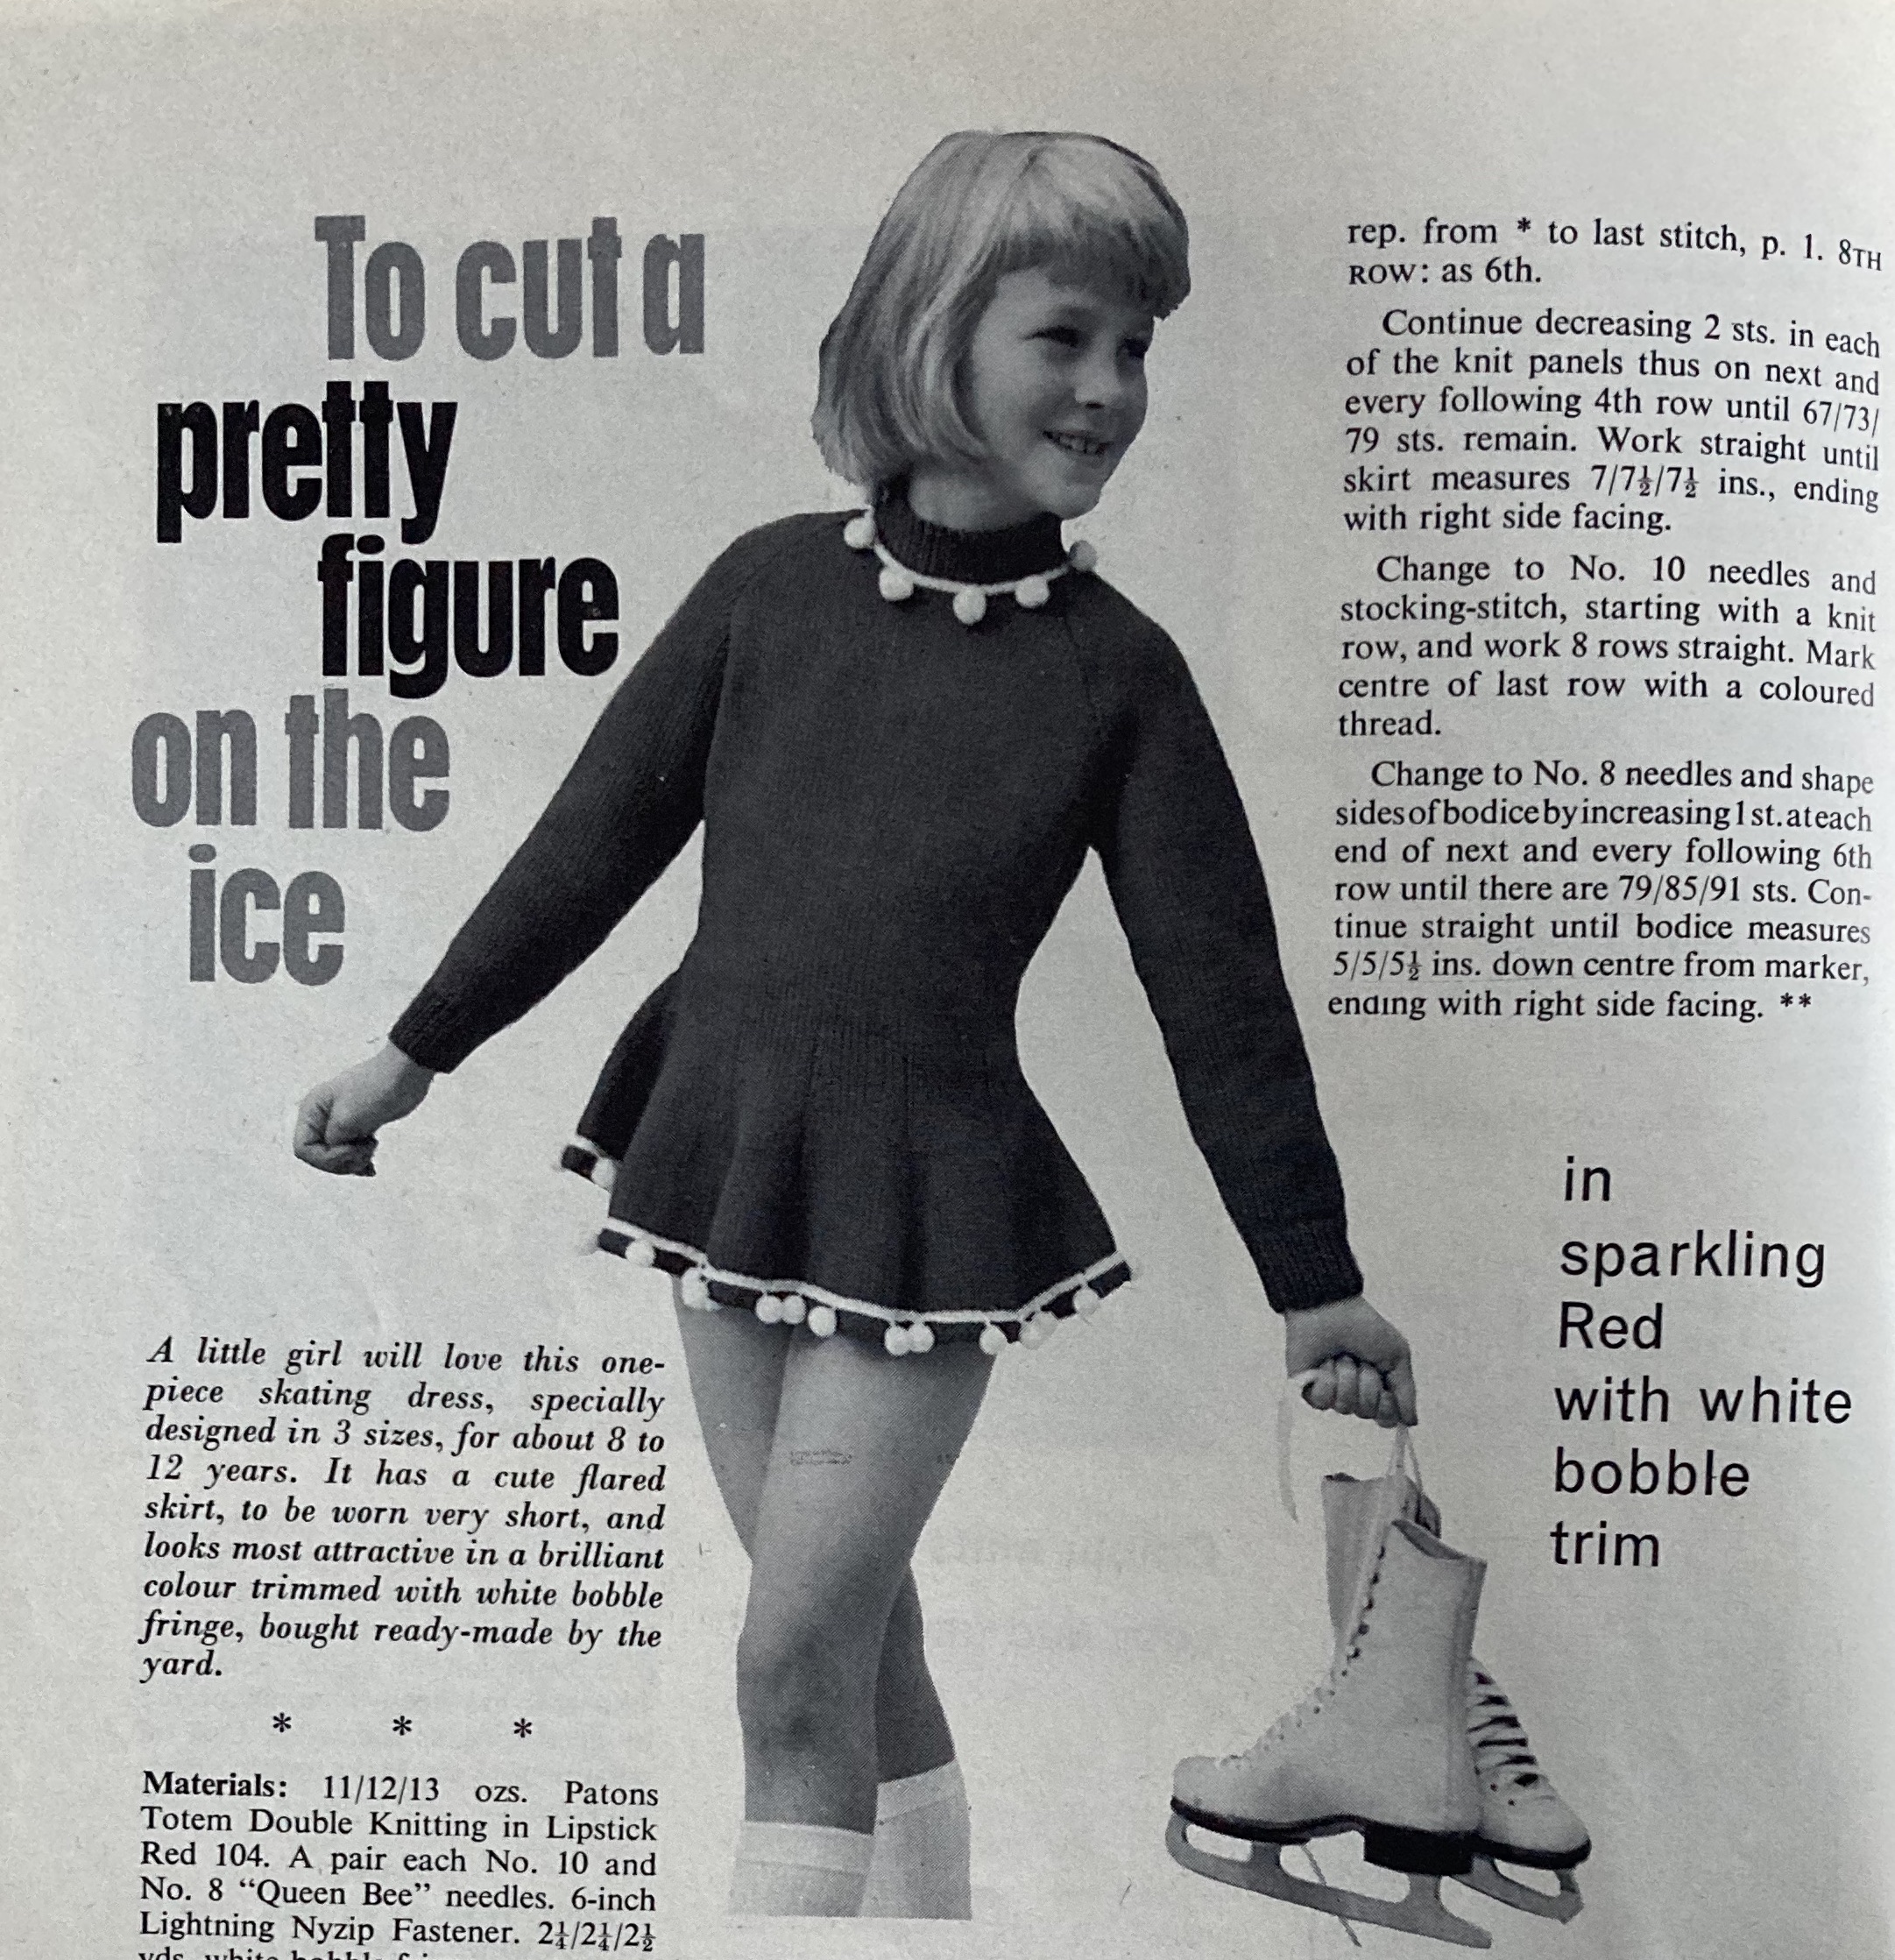
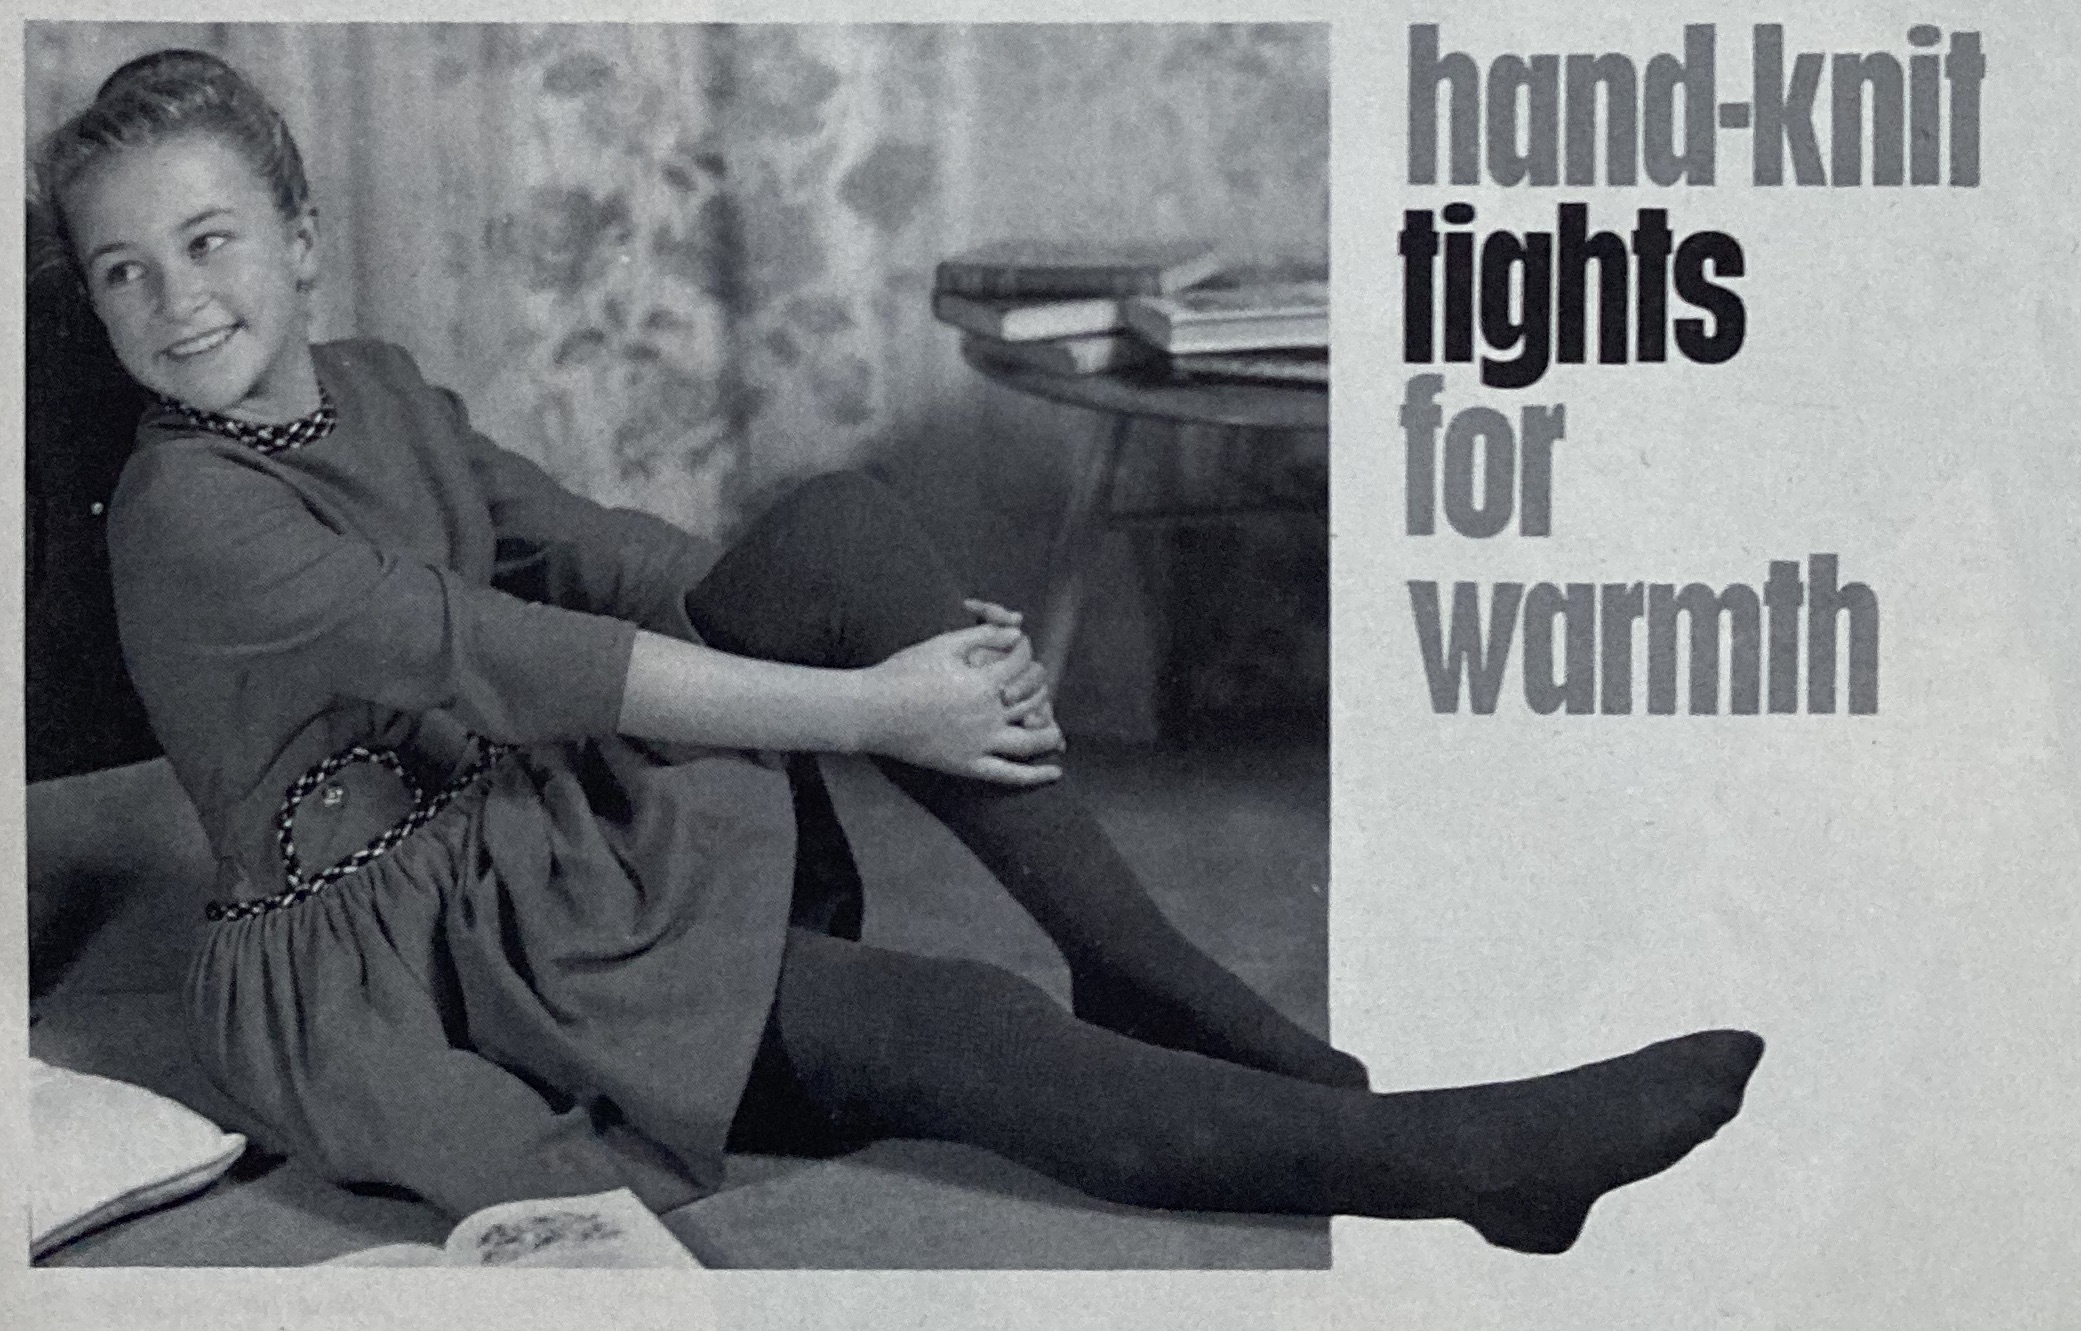
There are three fantastic designs for a young girl in this issue: a wonderful “walking set” for a toddler, a warm wool dress for an ice-skater and — at long last! — hand-knitted tights to keep a girl’s legs warm. (Strangely, our skating model is not wearing the tights, though you think she would need them out on the ice more than the young model pictured in an indoor setting!) I love the toddler’s outfit, with its contrasting colour in the flared back seam of the coat and ribbing on the hat, mittens and leggings. I like the seated girl’s dress too, as well, though it’s neither knitted nor one of the magazine’s designs.
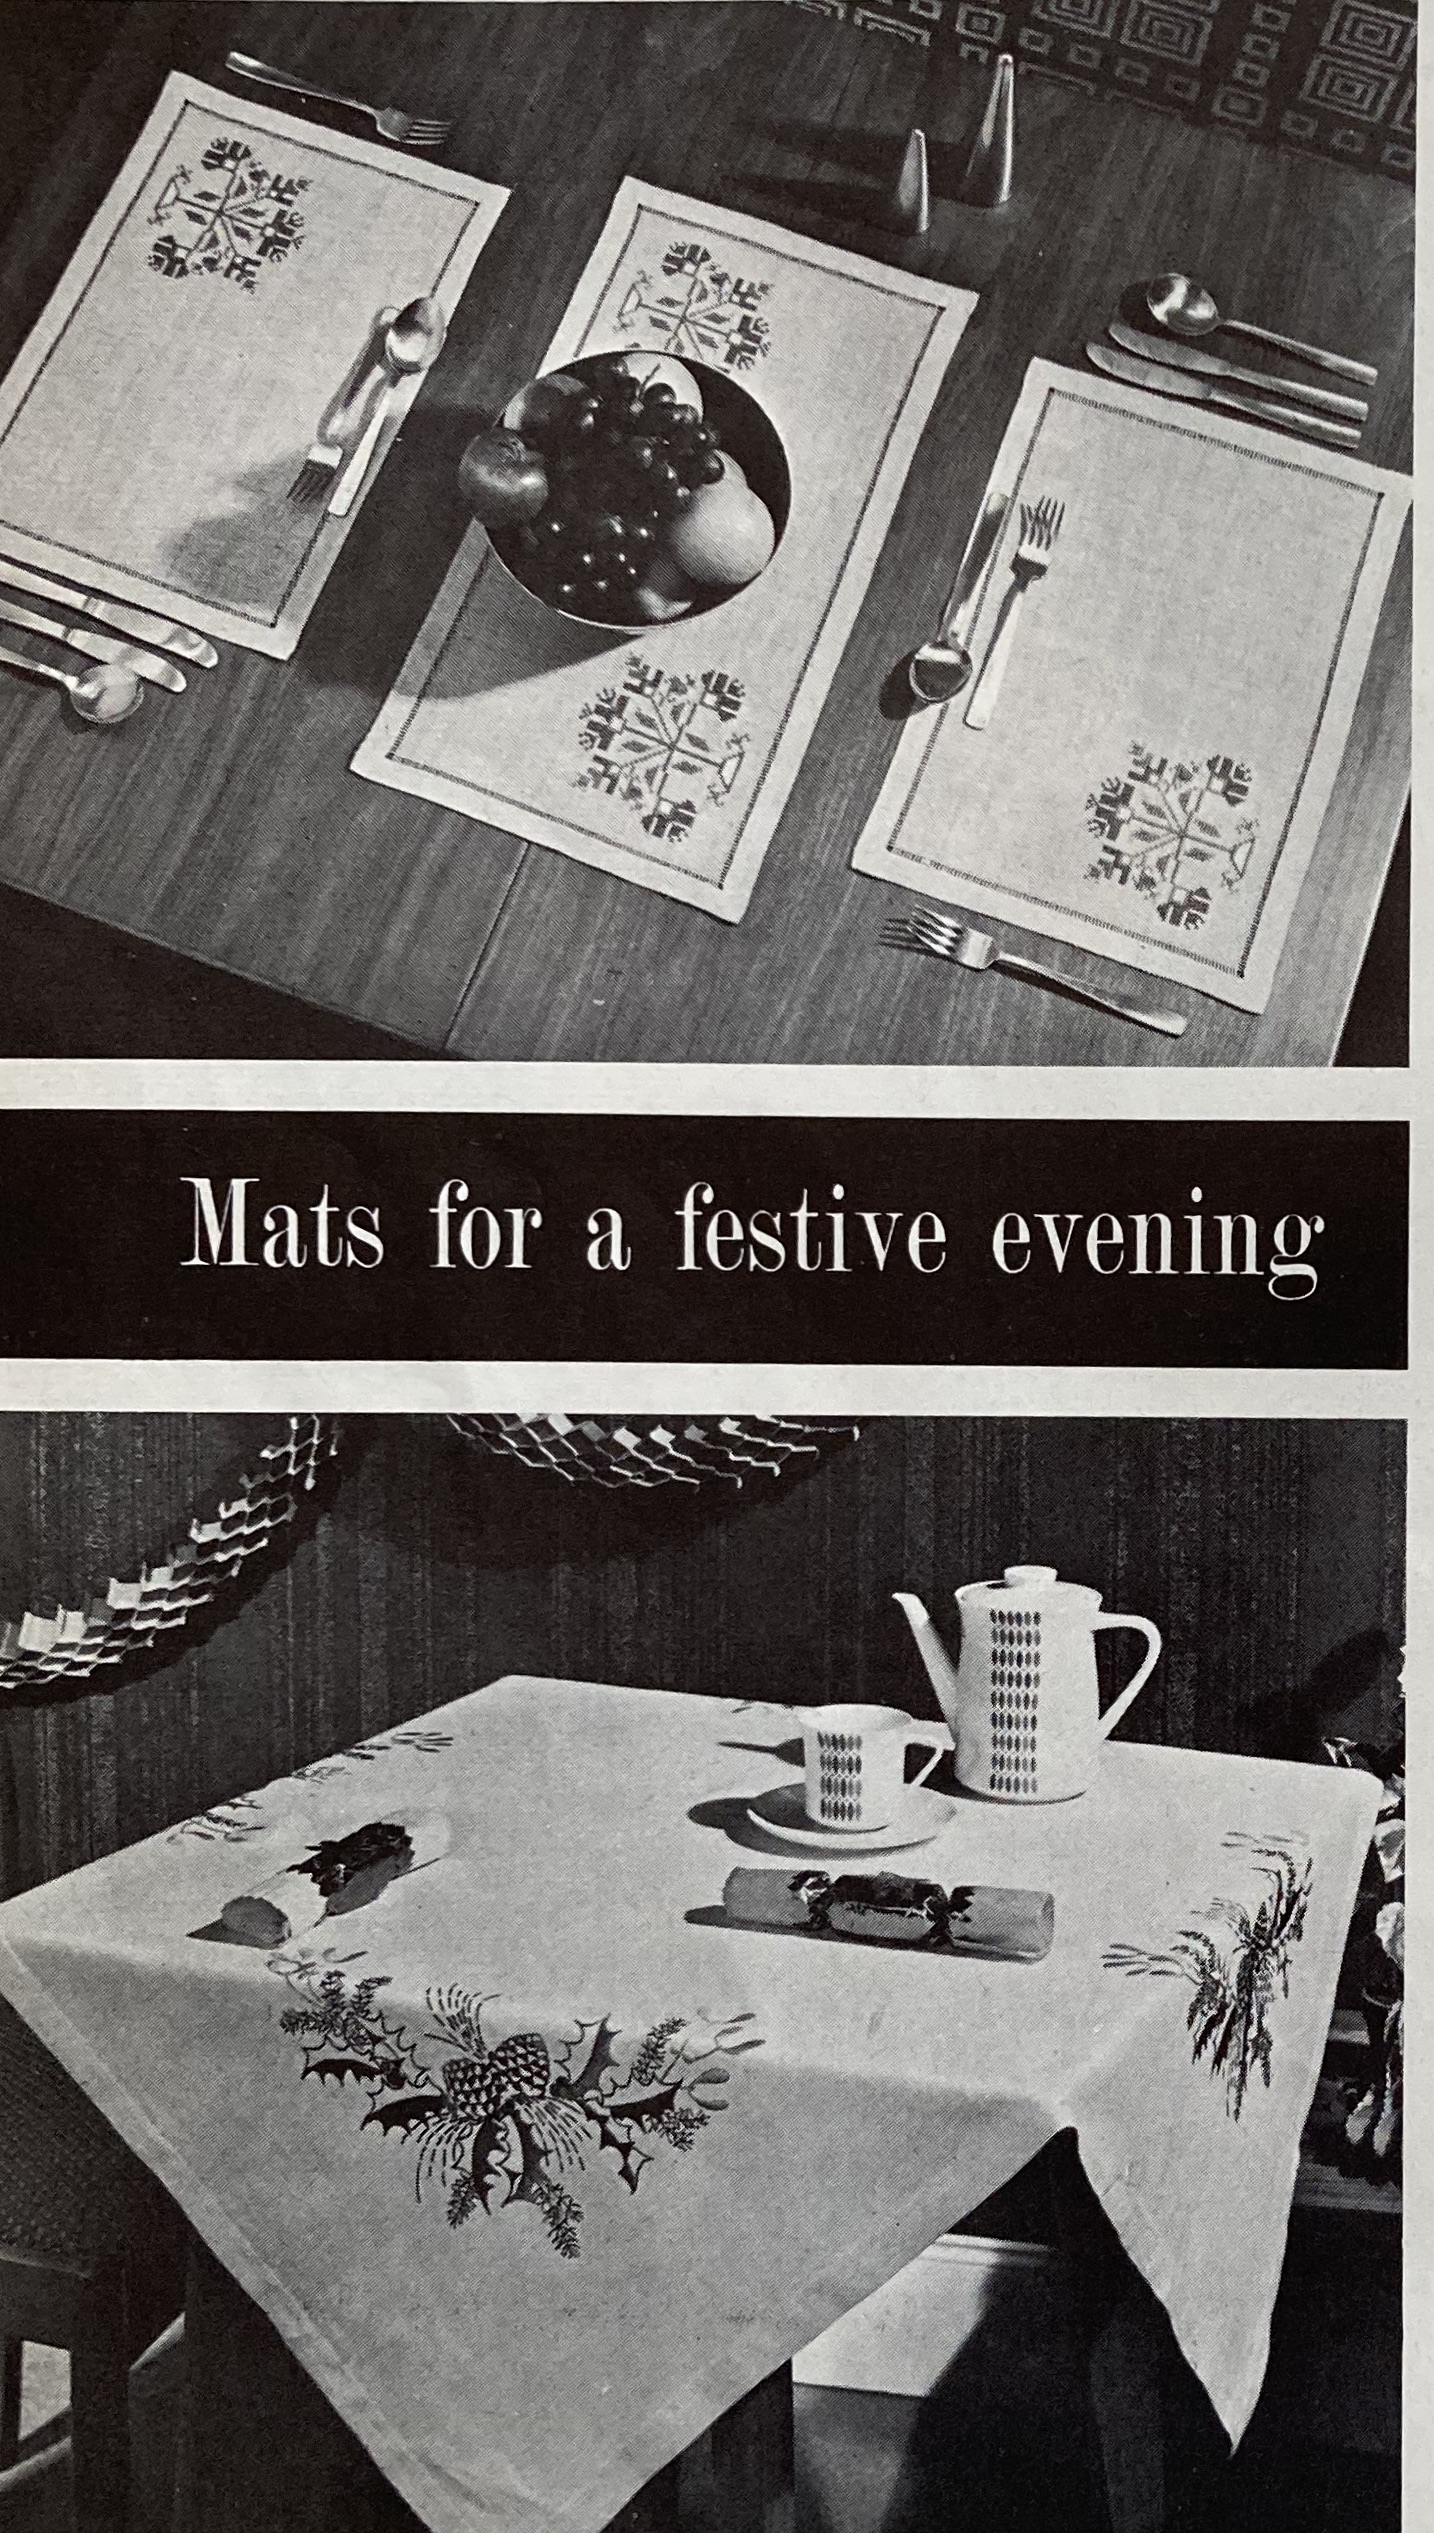
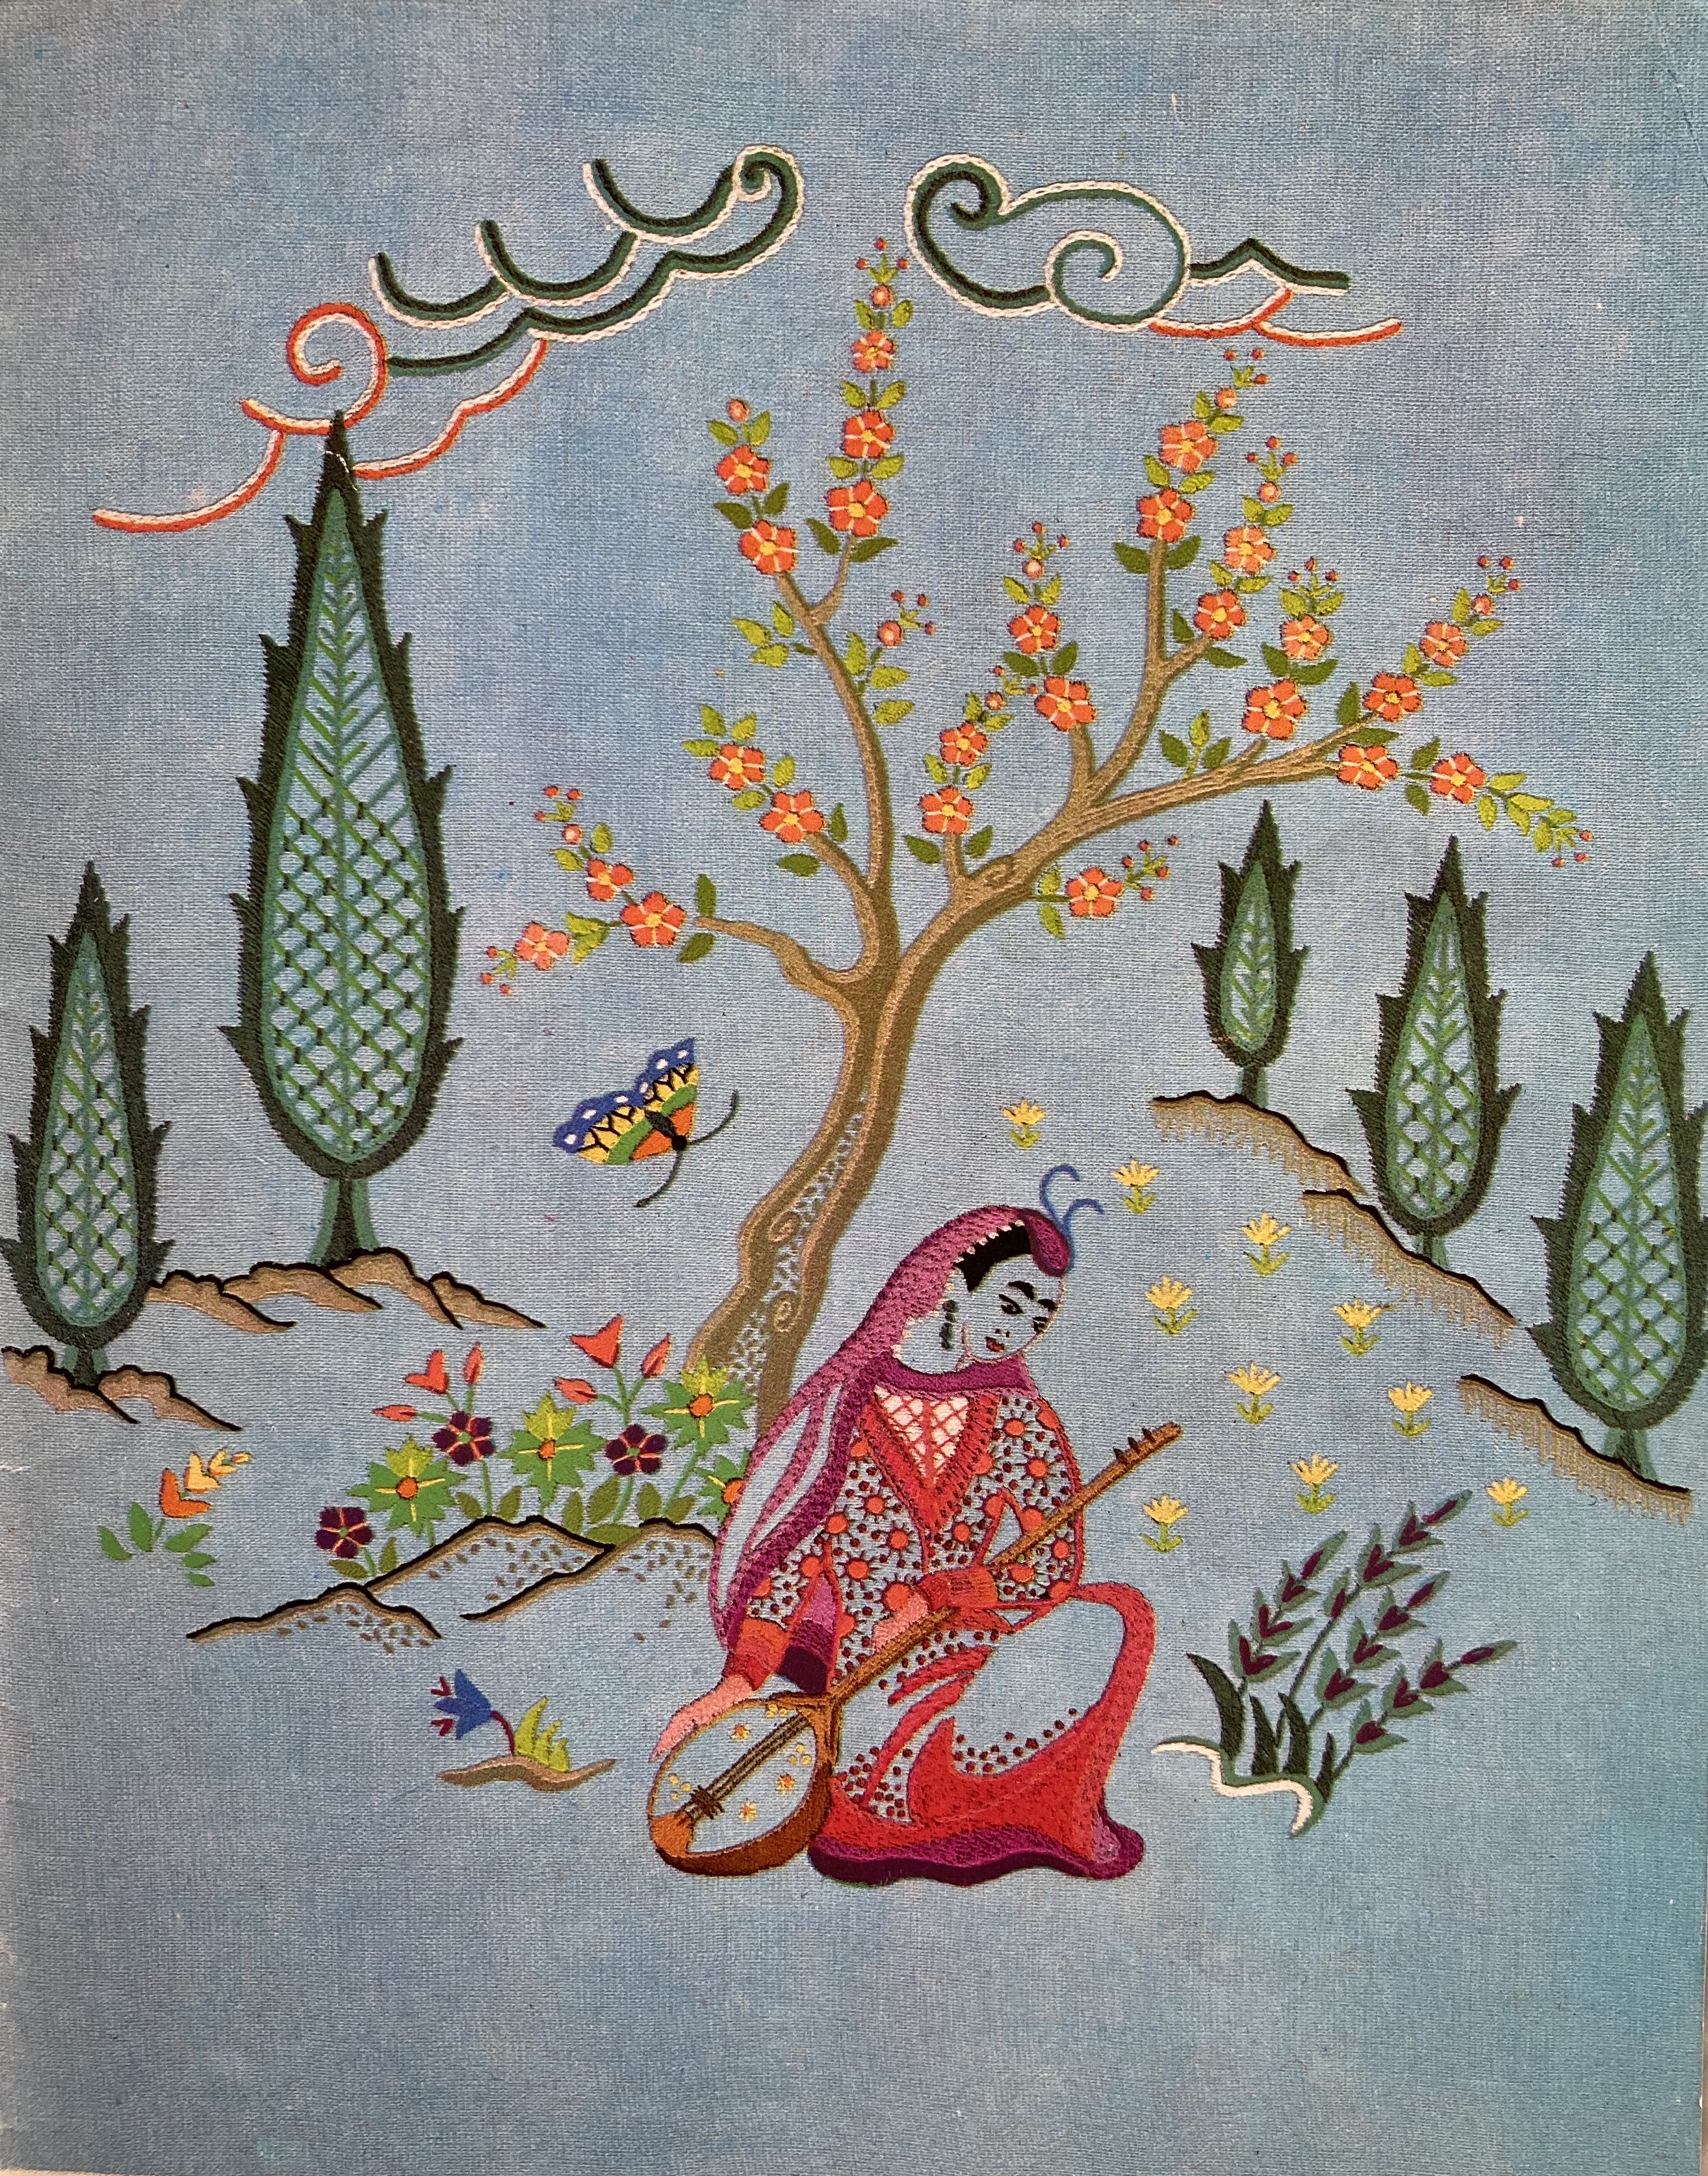
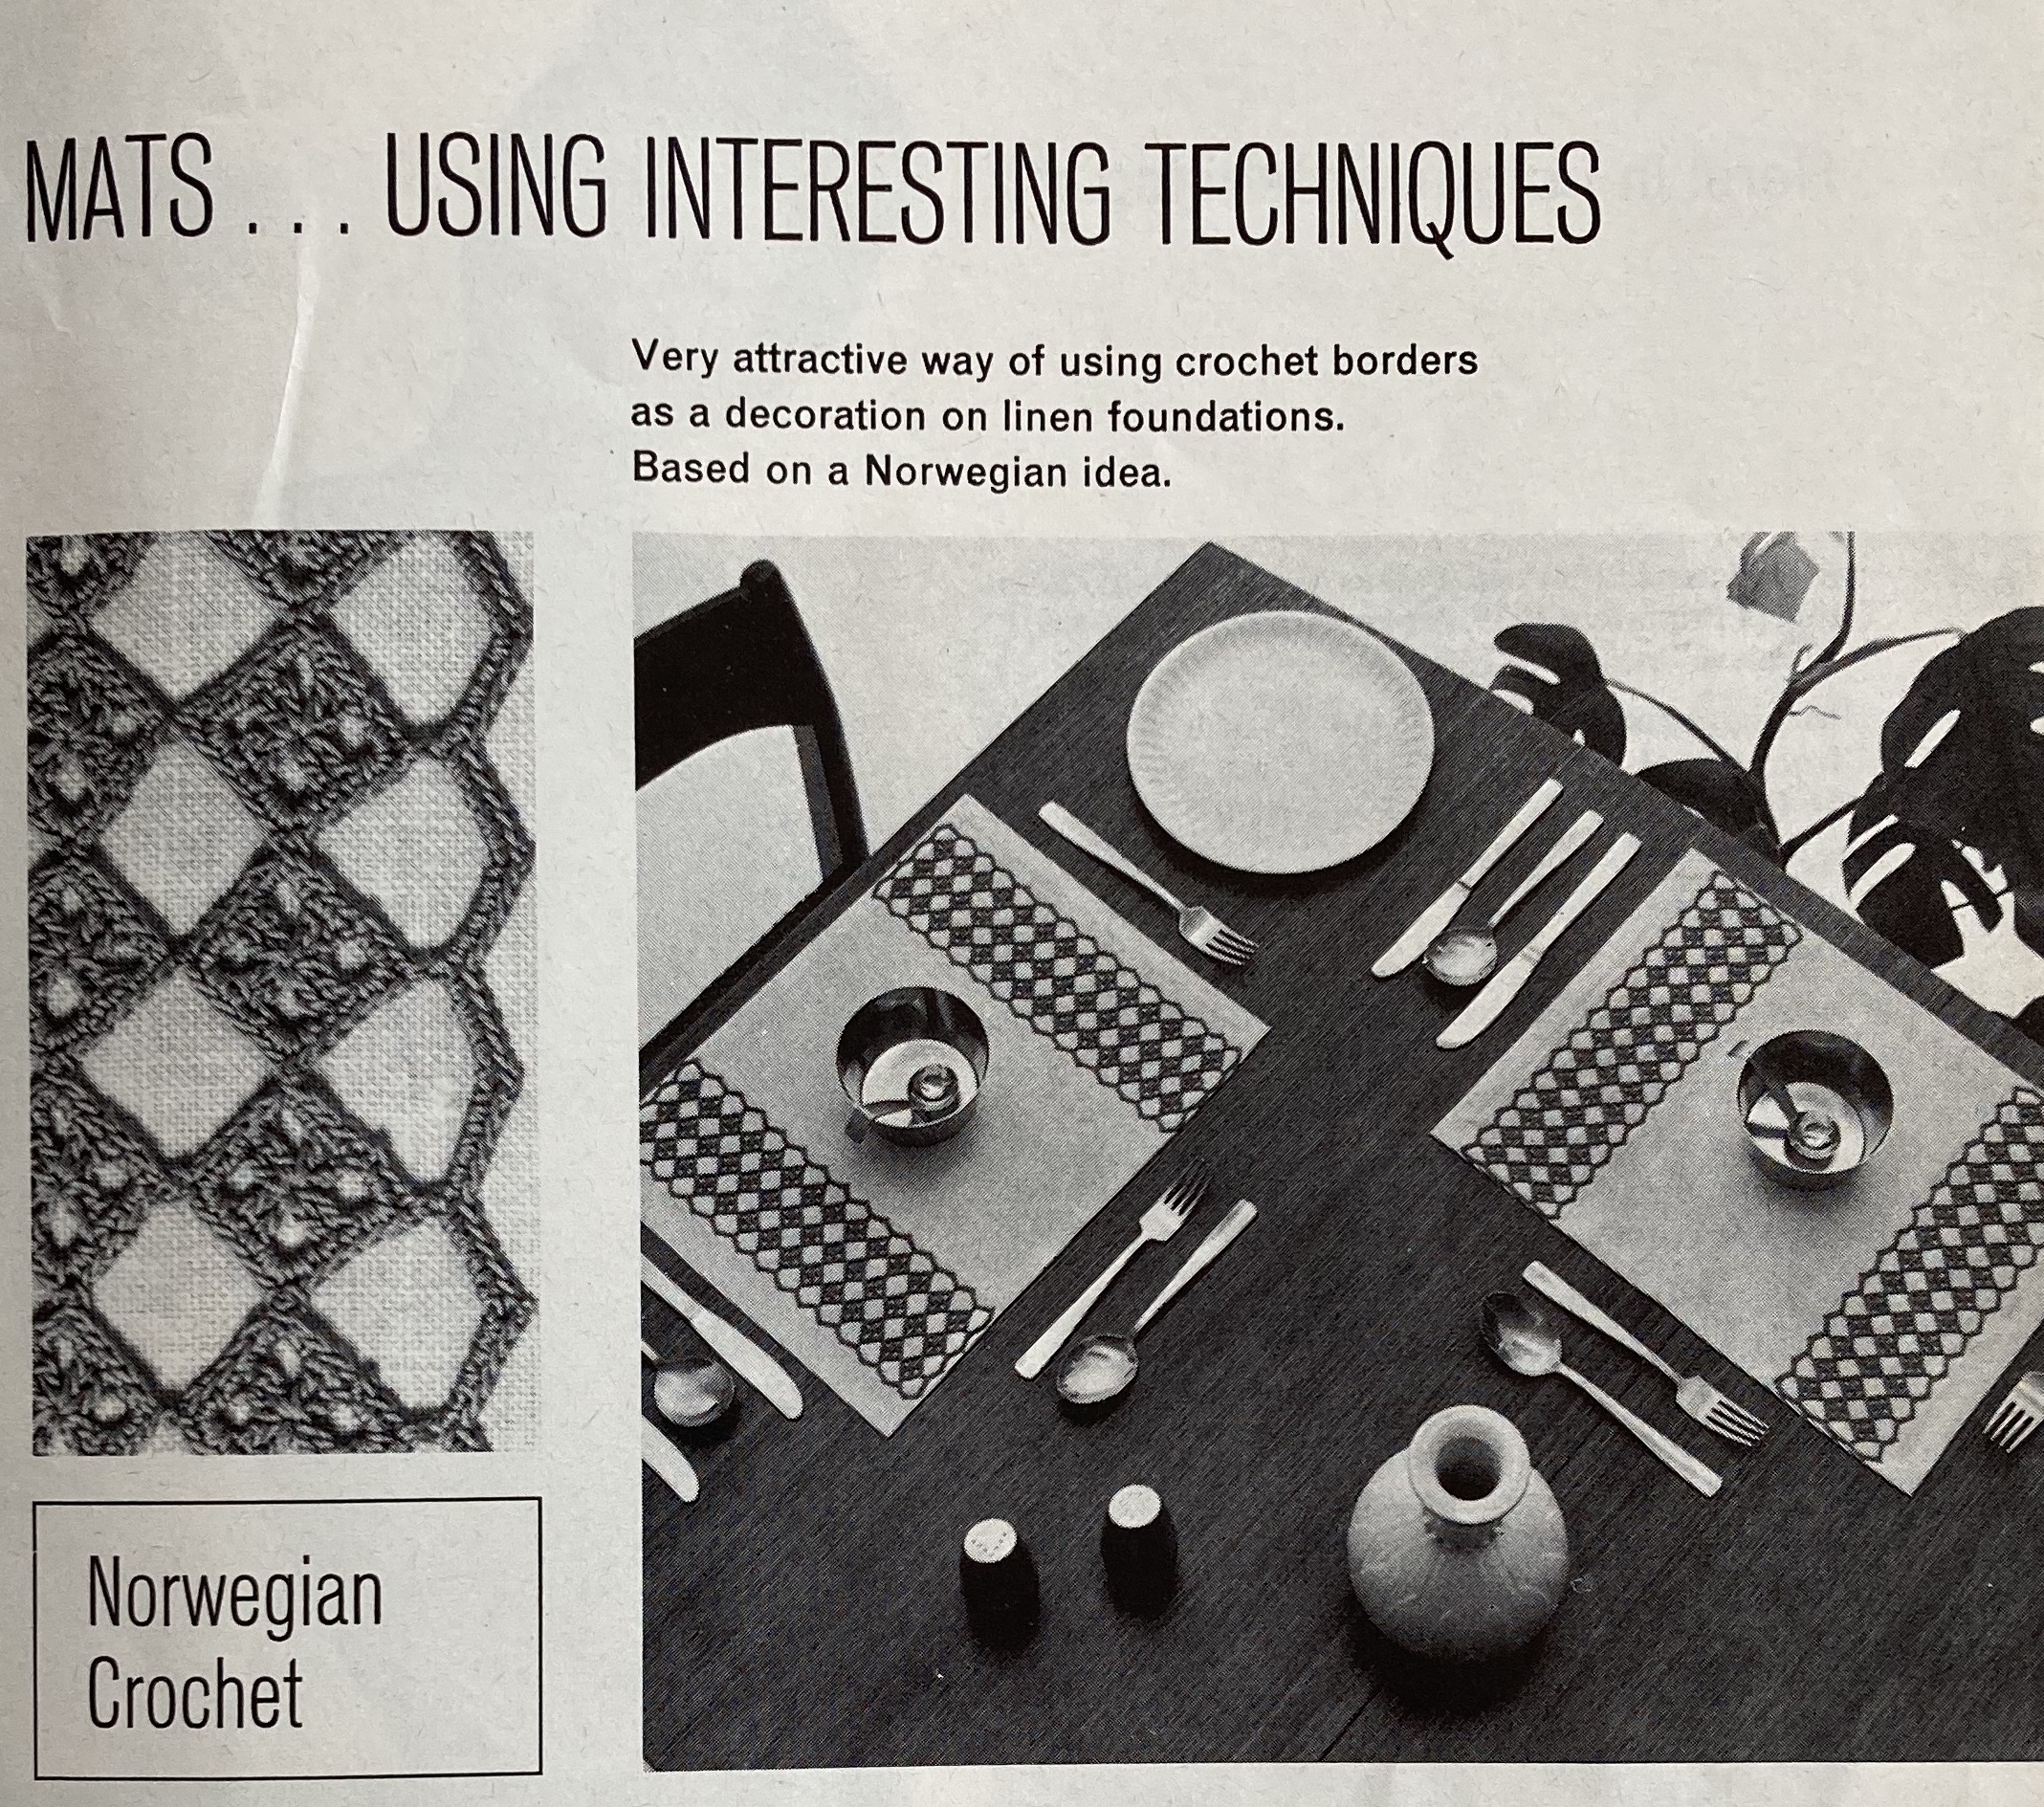
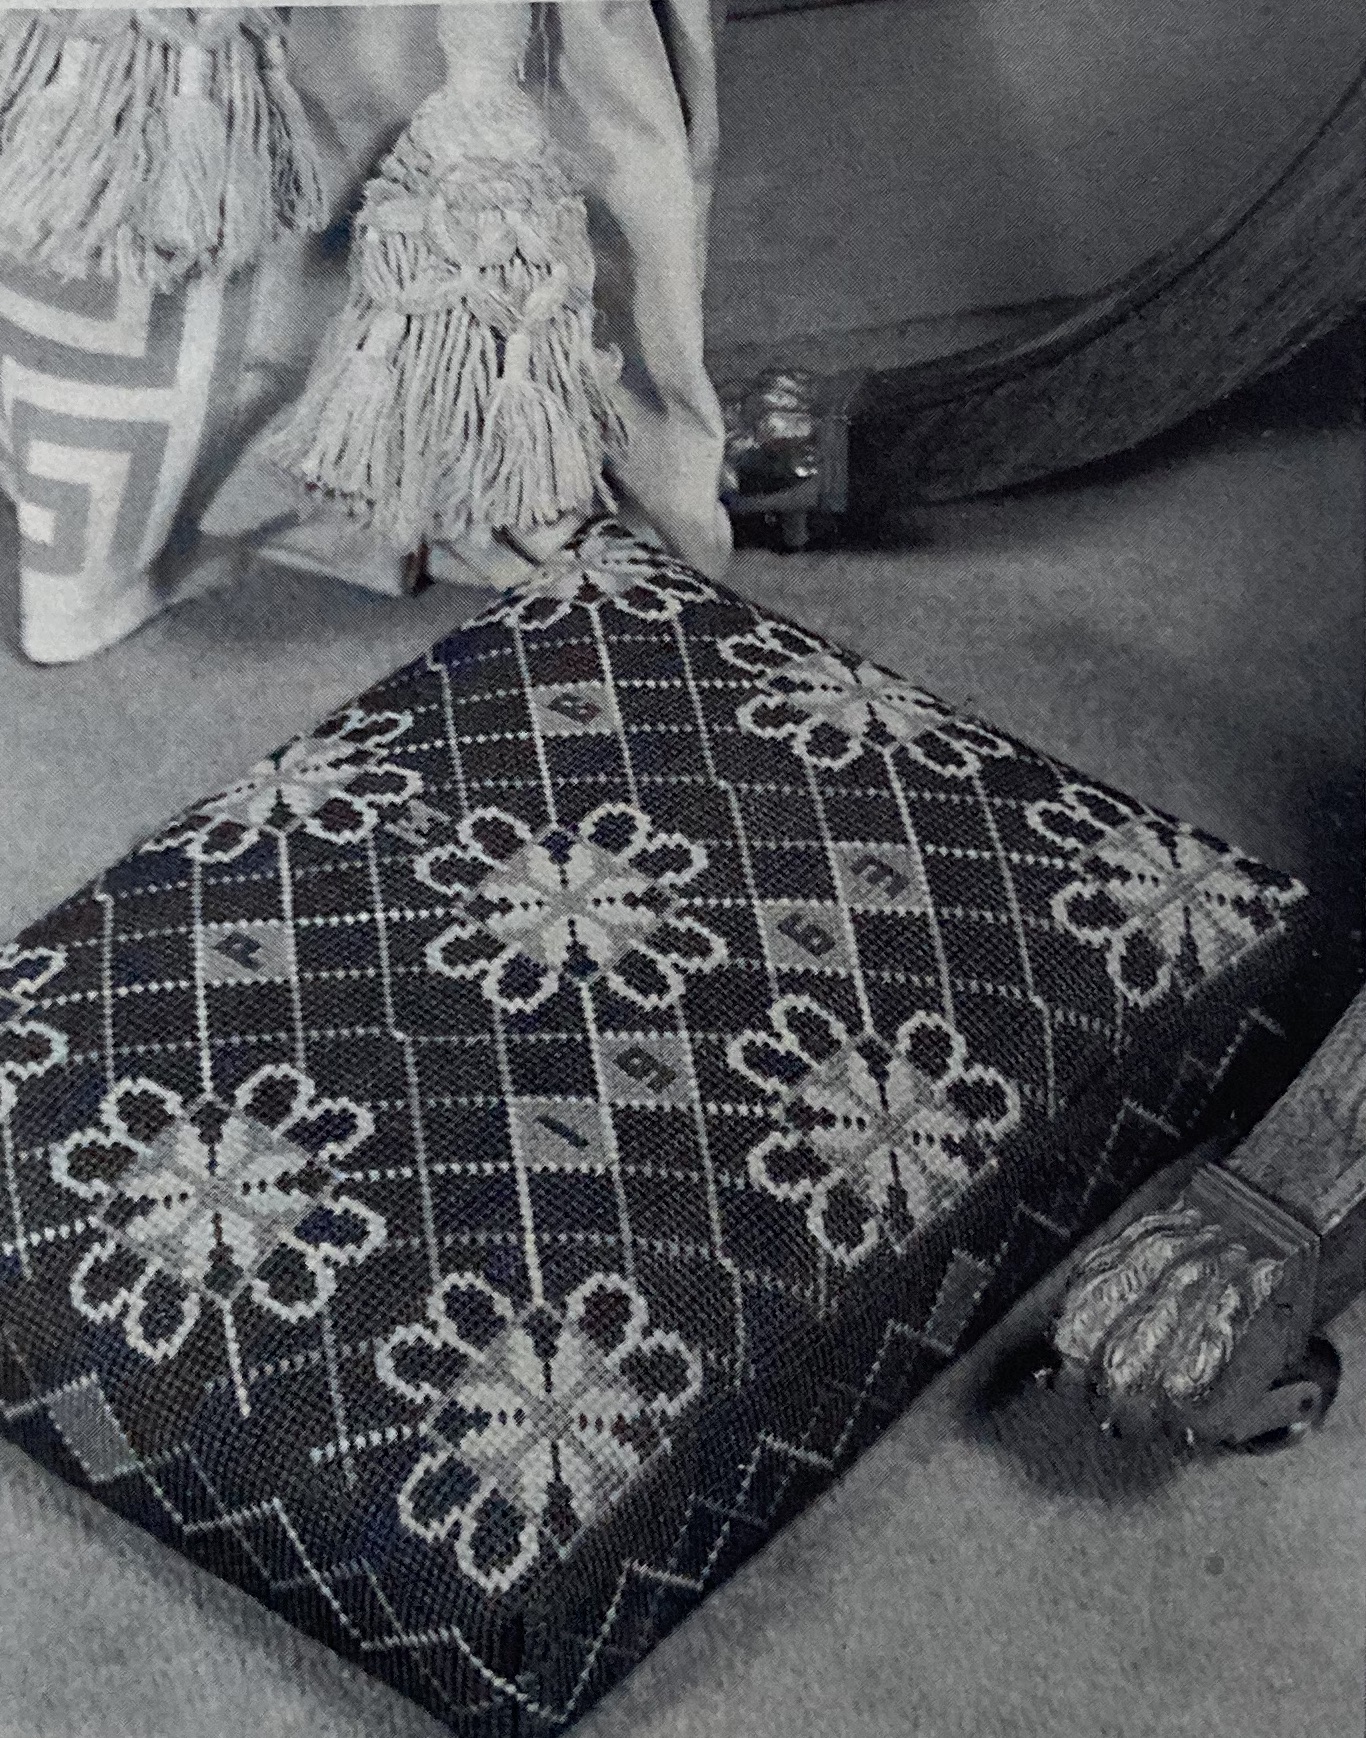
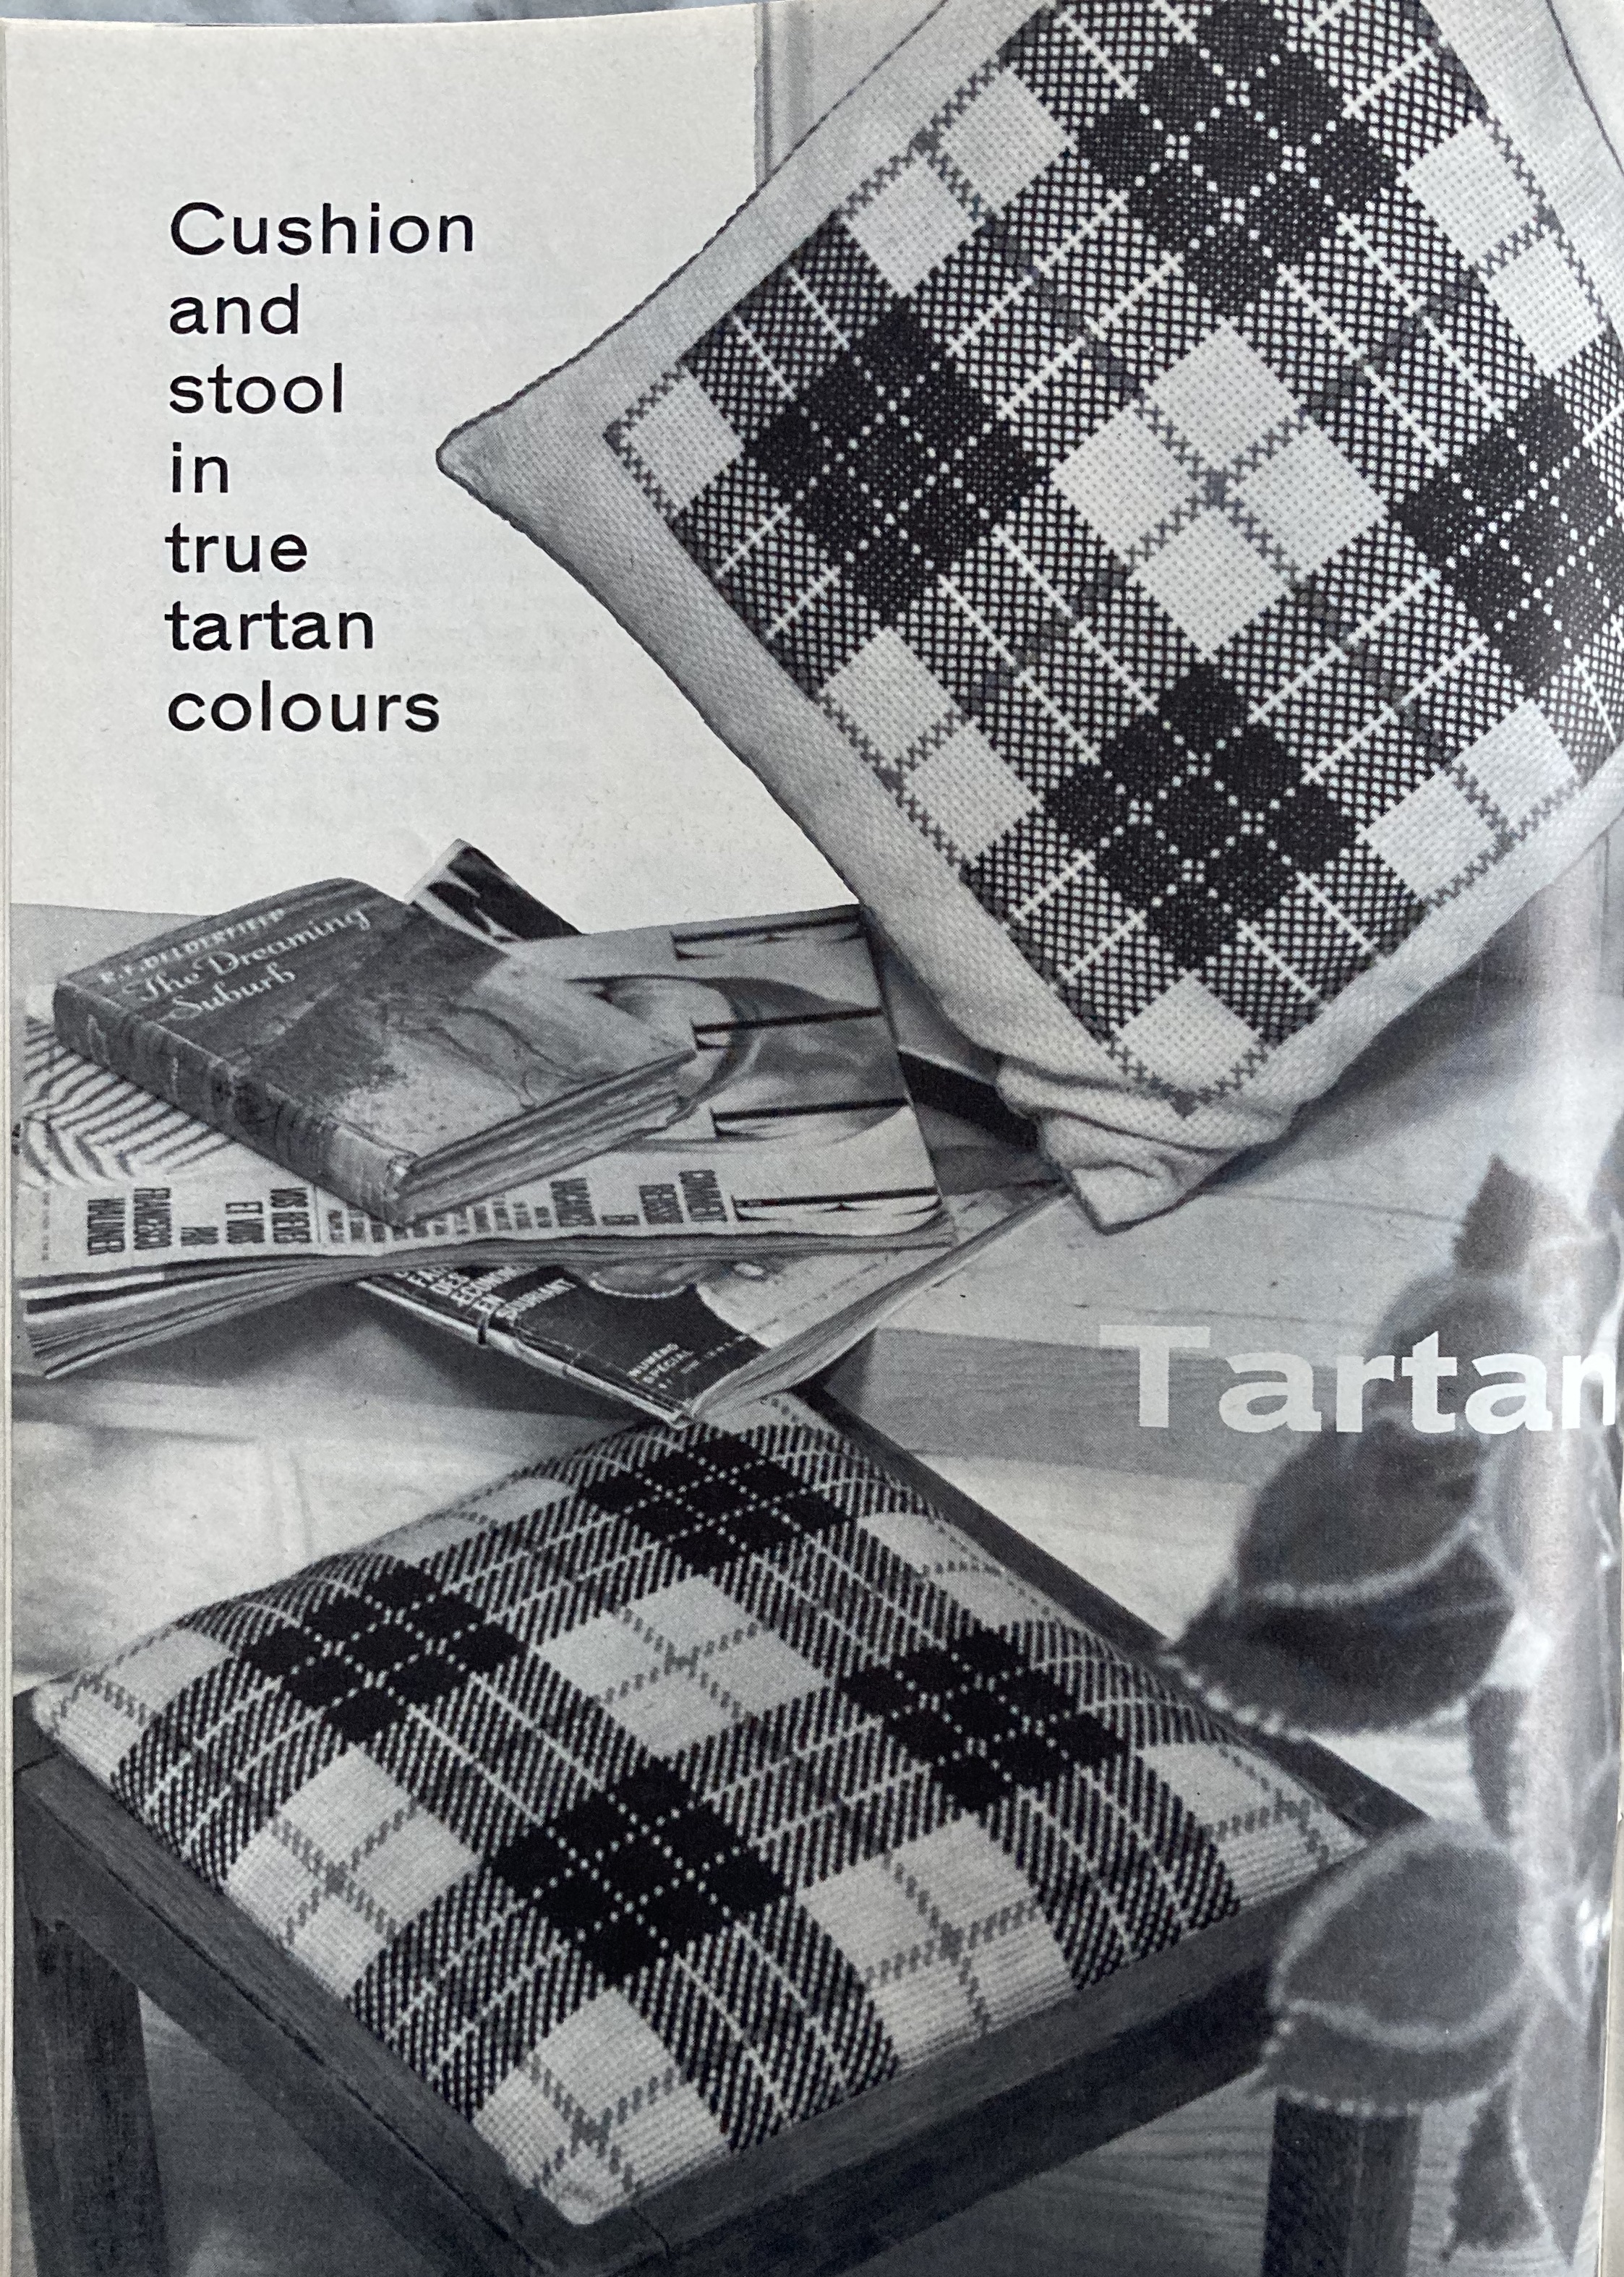
The homeware projects are fairly standard: a floral tablecloth, a tartan tapestry chair seat, a decorative panel with a white vase worked on a red background. The “music” tapestry motif is quite classic, as is the tapestry kneeler for church use.


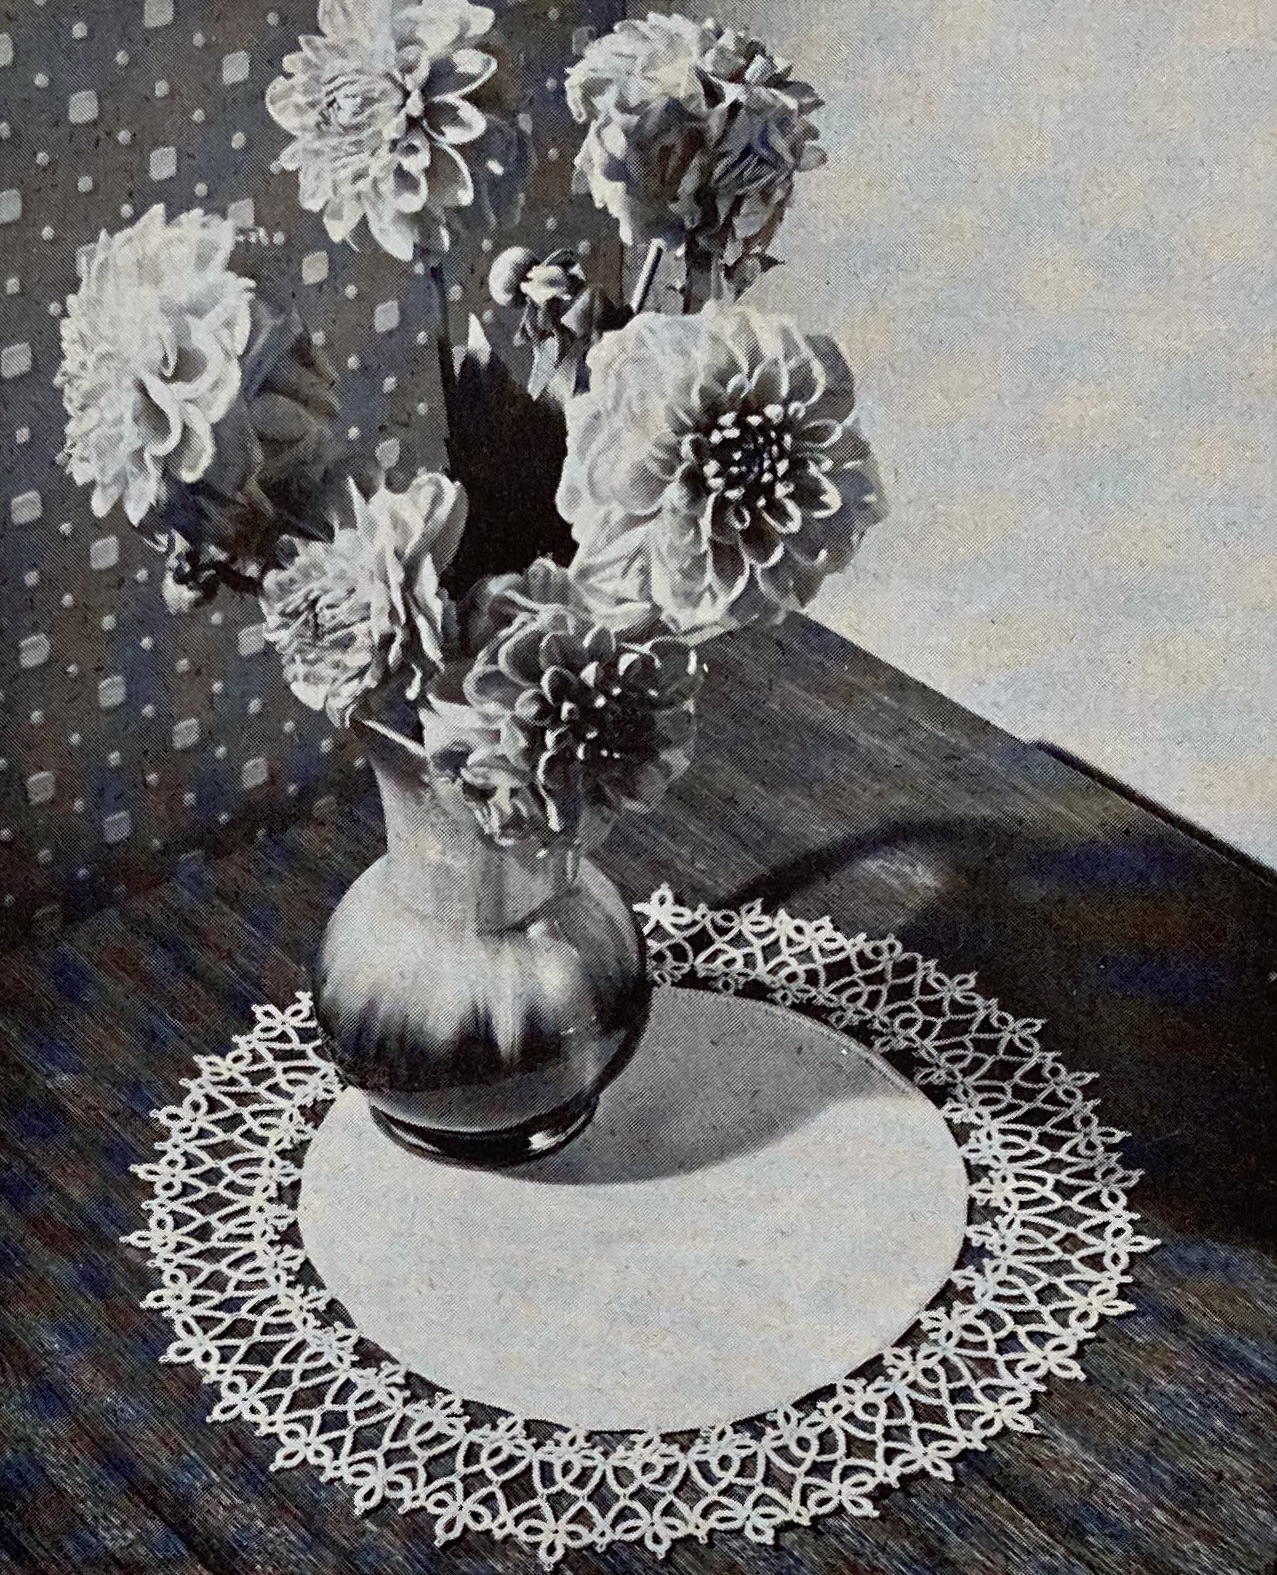
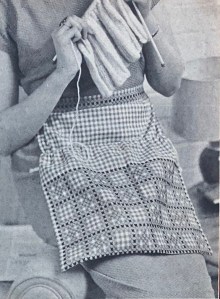
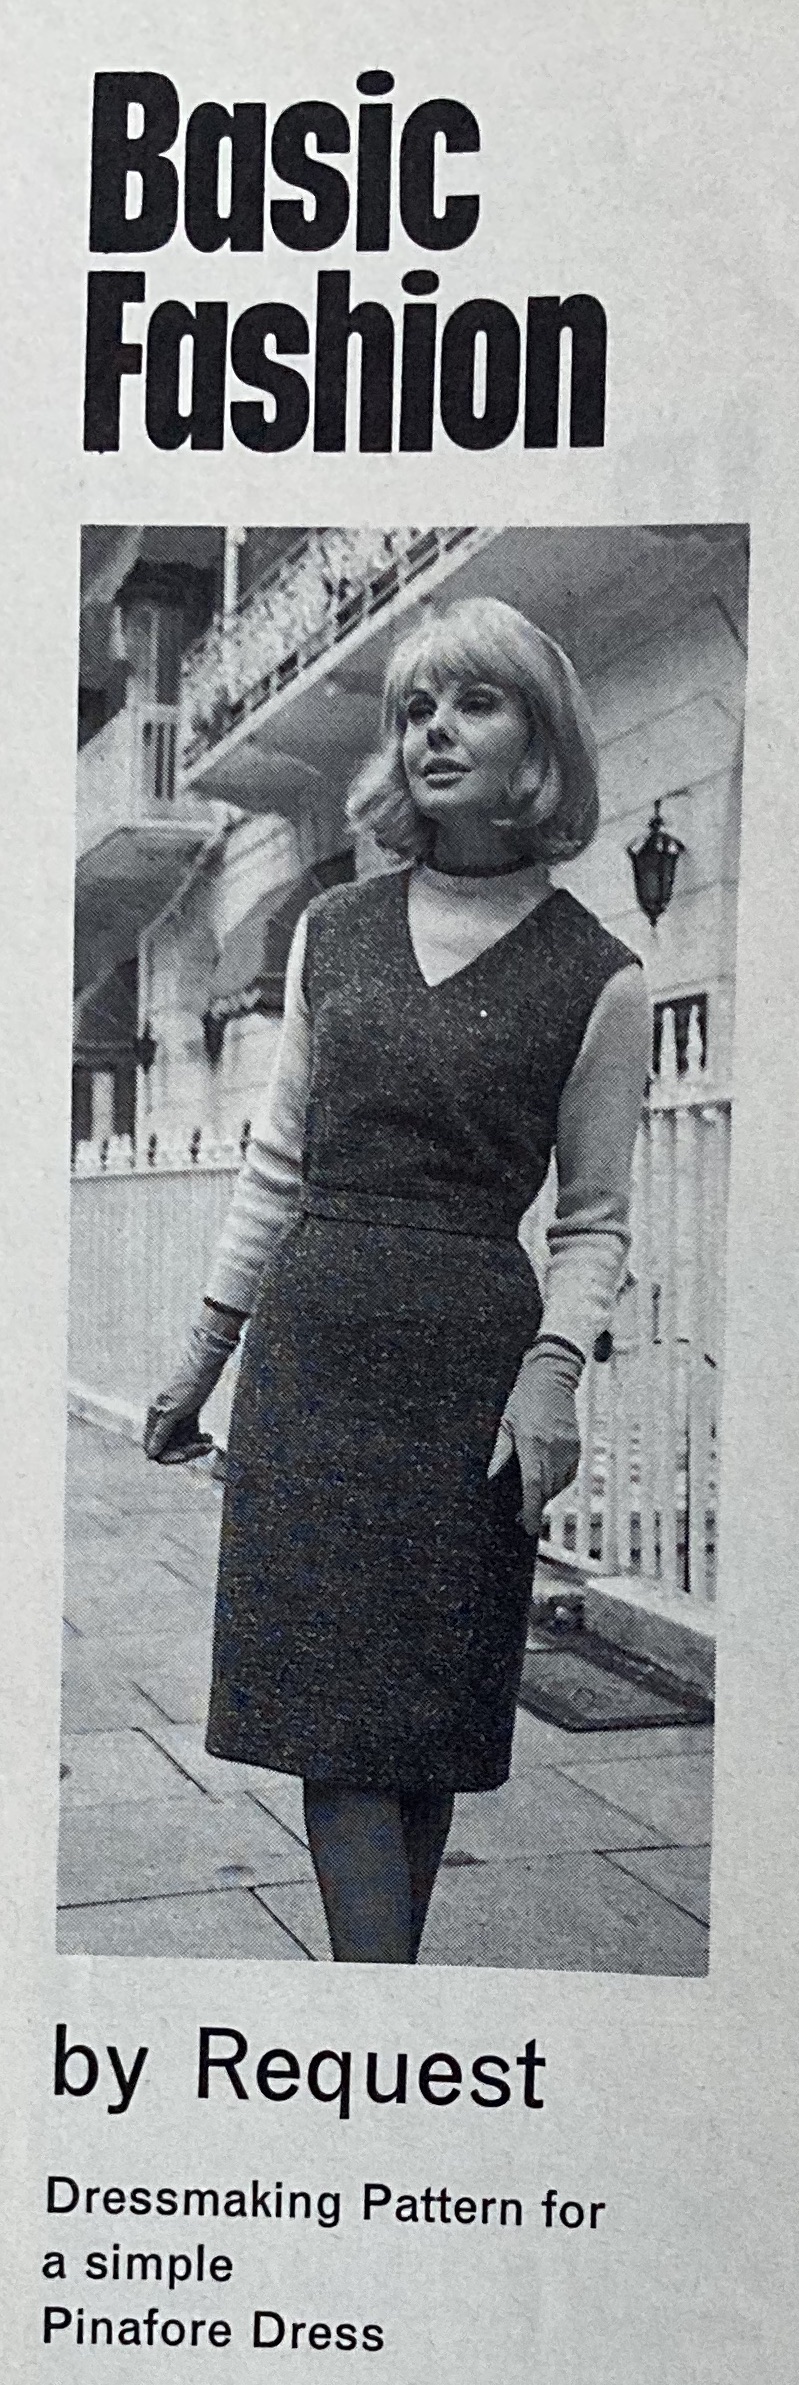
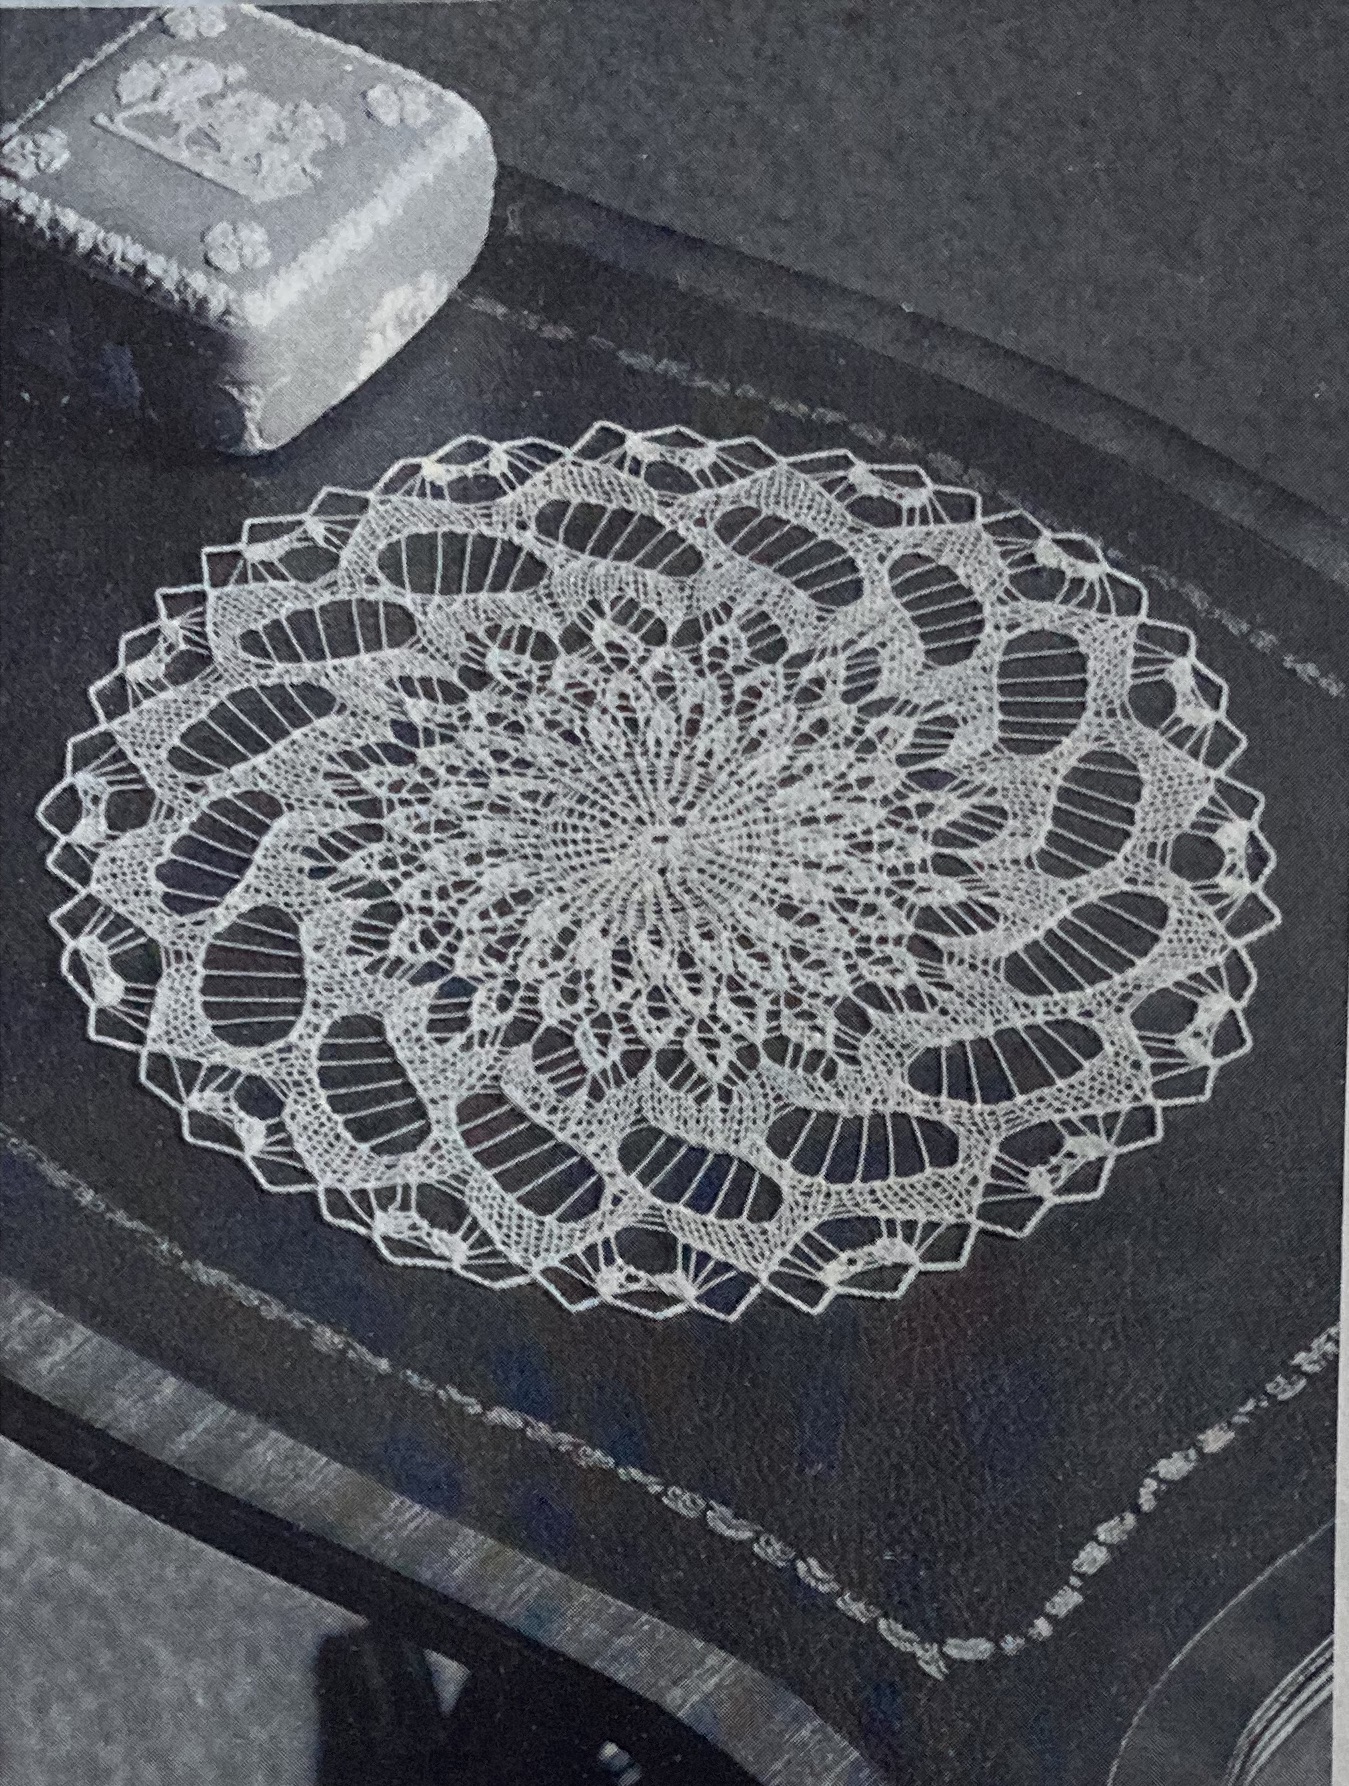
As always, some of the most interesting features are tucked away in the back pages. I would love to be able to send away for this sewing design, offered by Vogue patterns in cooperation with Stitchcraft. It’s a simple, sewn woolen “pinafore dress” that could be worn over a blouse or lightweight jumper, with a blazer for a suit effect, etc. Unfortunately, I can’t sew well enough to reverse-engineer a no-longer-existent sewing pattern from a photo. Also, what a beautiful knitted doily.
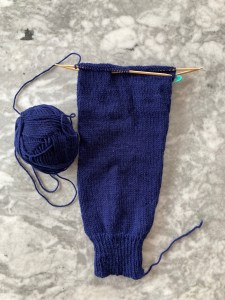
As much as I would love to make the toddler’s walking outfit, I don’t currently know a child of the right age, and starting another huge project seems daunting at the moment. I’ll probably skip ahead or back a few years to find a project from another issue that will help me de-stash. Stay tuned for details, and happy New Year!