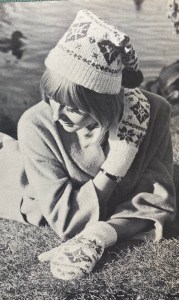
I had long admired this cap and mitten set and was very happy to arrive at this issue in order to knit it.
… That is, until I actually took a better look at the pattern and made it! The snowflake pattern and folded stocking-cap design looks great in the photo, but the pretty setting and pose detract from some of the design flaws, which became glaringly apparent once I started work on it.
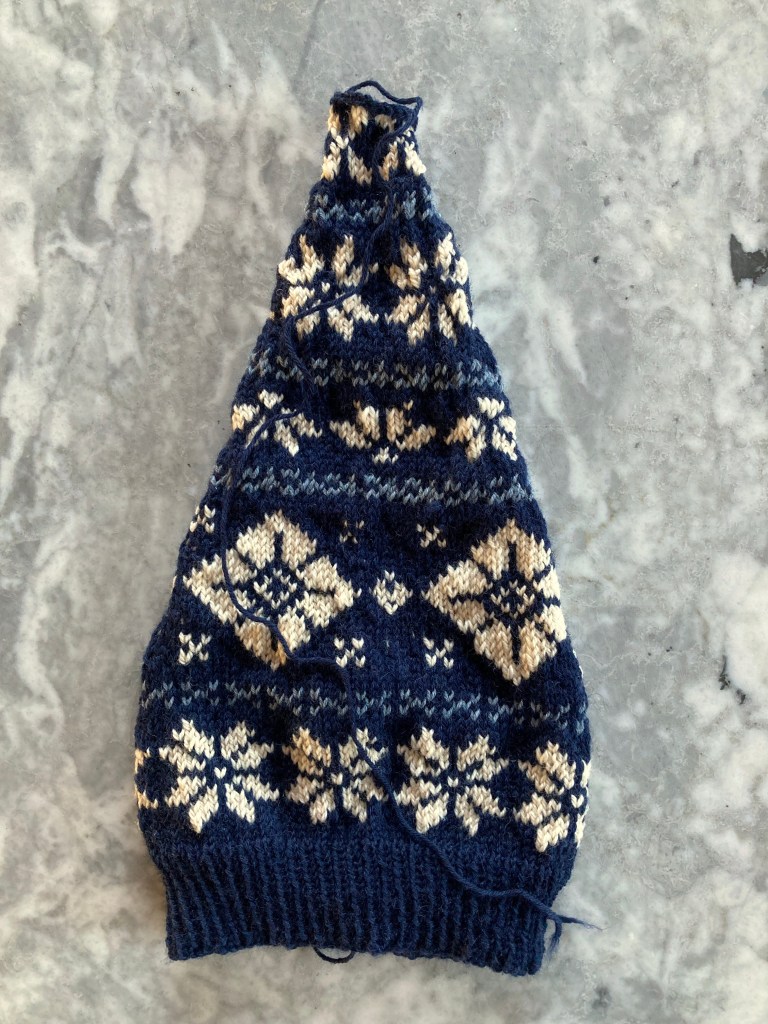
But first things first: It’s written for Patons DK yarn, 100% wool, in white with “Lipstick Red” pattern. I have a good stash of leftover DK wool from other projects and decided on a dark blue background (Schachenmayr Regia 6-ply sock wool) with the pattern in white (Wolle Rödel Soft Merino) and blue-grey (Lana Grossa Cool Wool Big Mélange) to really bring out the snowflakes. The written pattern gives no row gauge and assumes a tension of 6.5 stitches to the inch over the stranded pattern on No. 10 (3.25 mm) needles for the mittens, and 6 stitches to the inch on No. 8 (4 mm) needles for the hat.
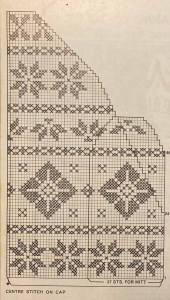
6 and especially 6.5 stitches to the inch is quite tight for DK wool, but I did my best on 3.5 needles (I don’t have 3.25 needles — the pattern is written for old UK sizes) and started with the hat. I noticed it was meant to be knitted flat and seamed up the back, but no worries, I could just make it in the round. There was even a chart (not a given with vintage patterns), so everything seemed fine.
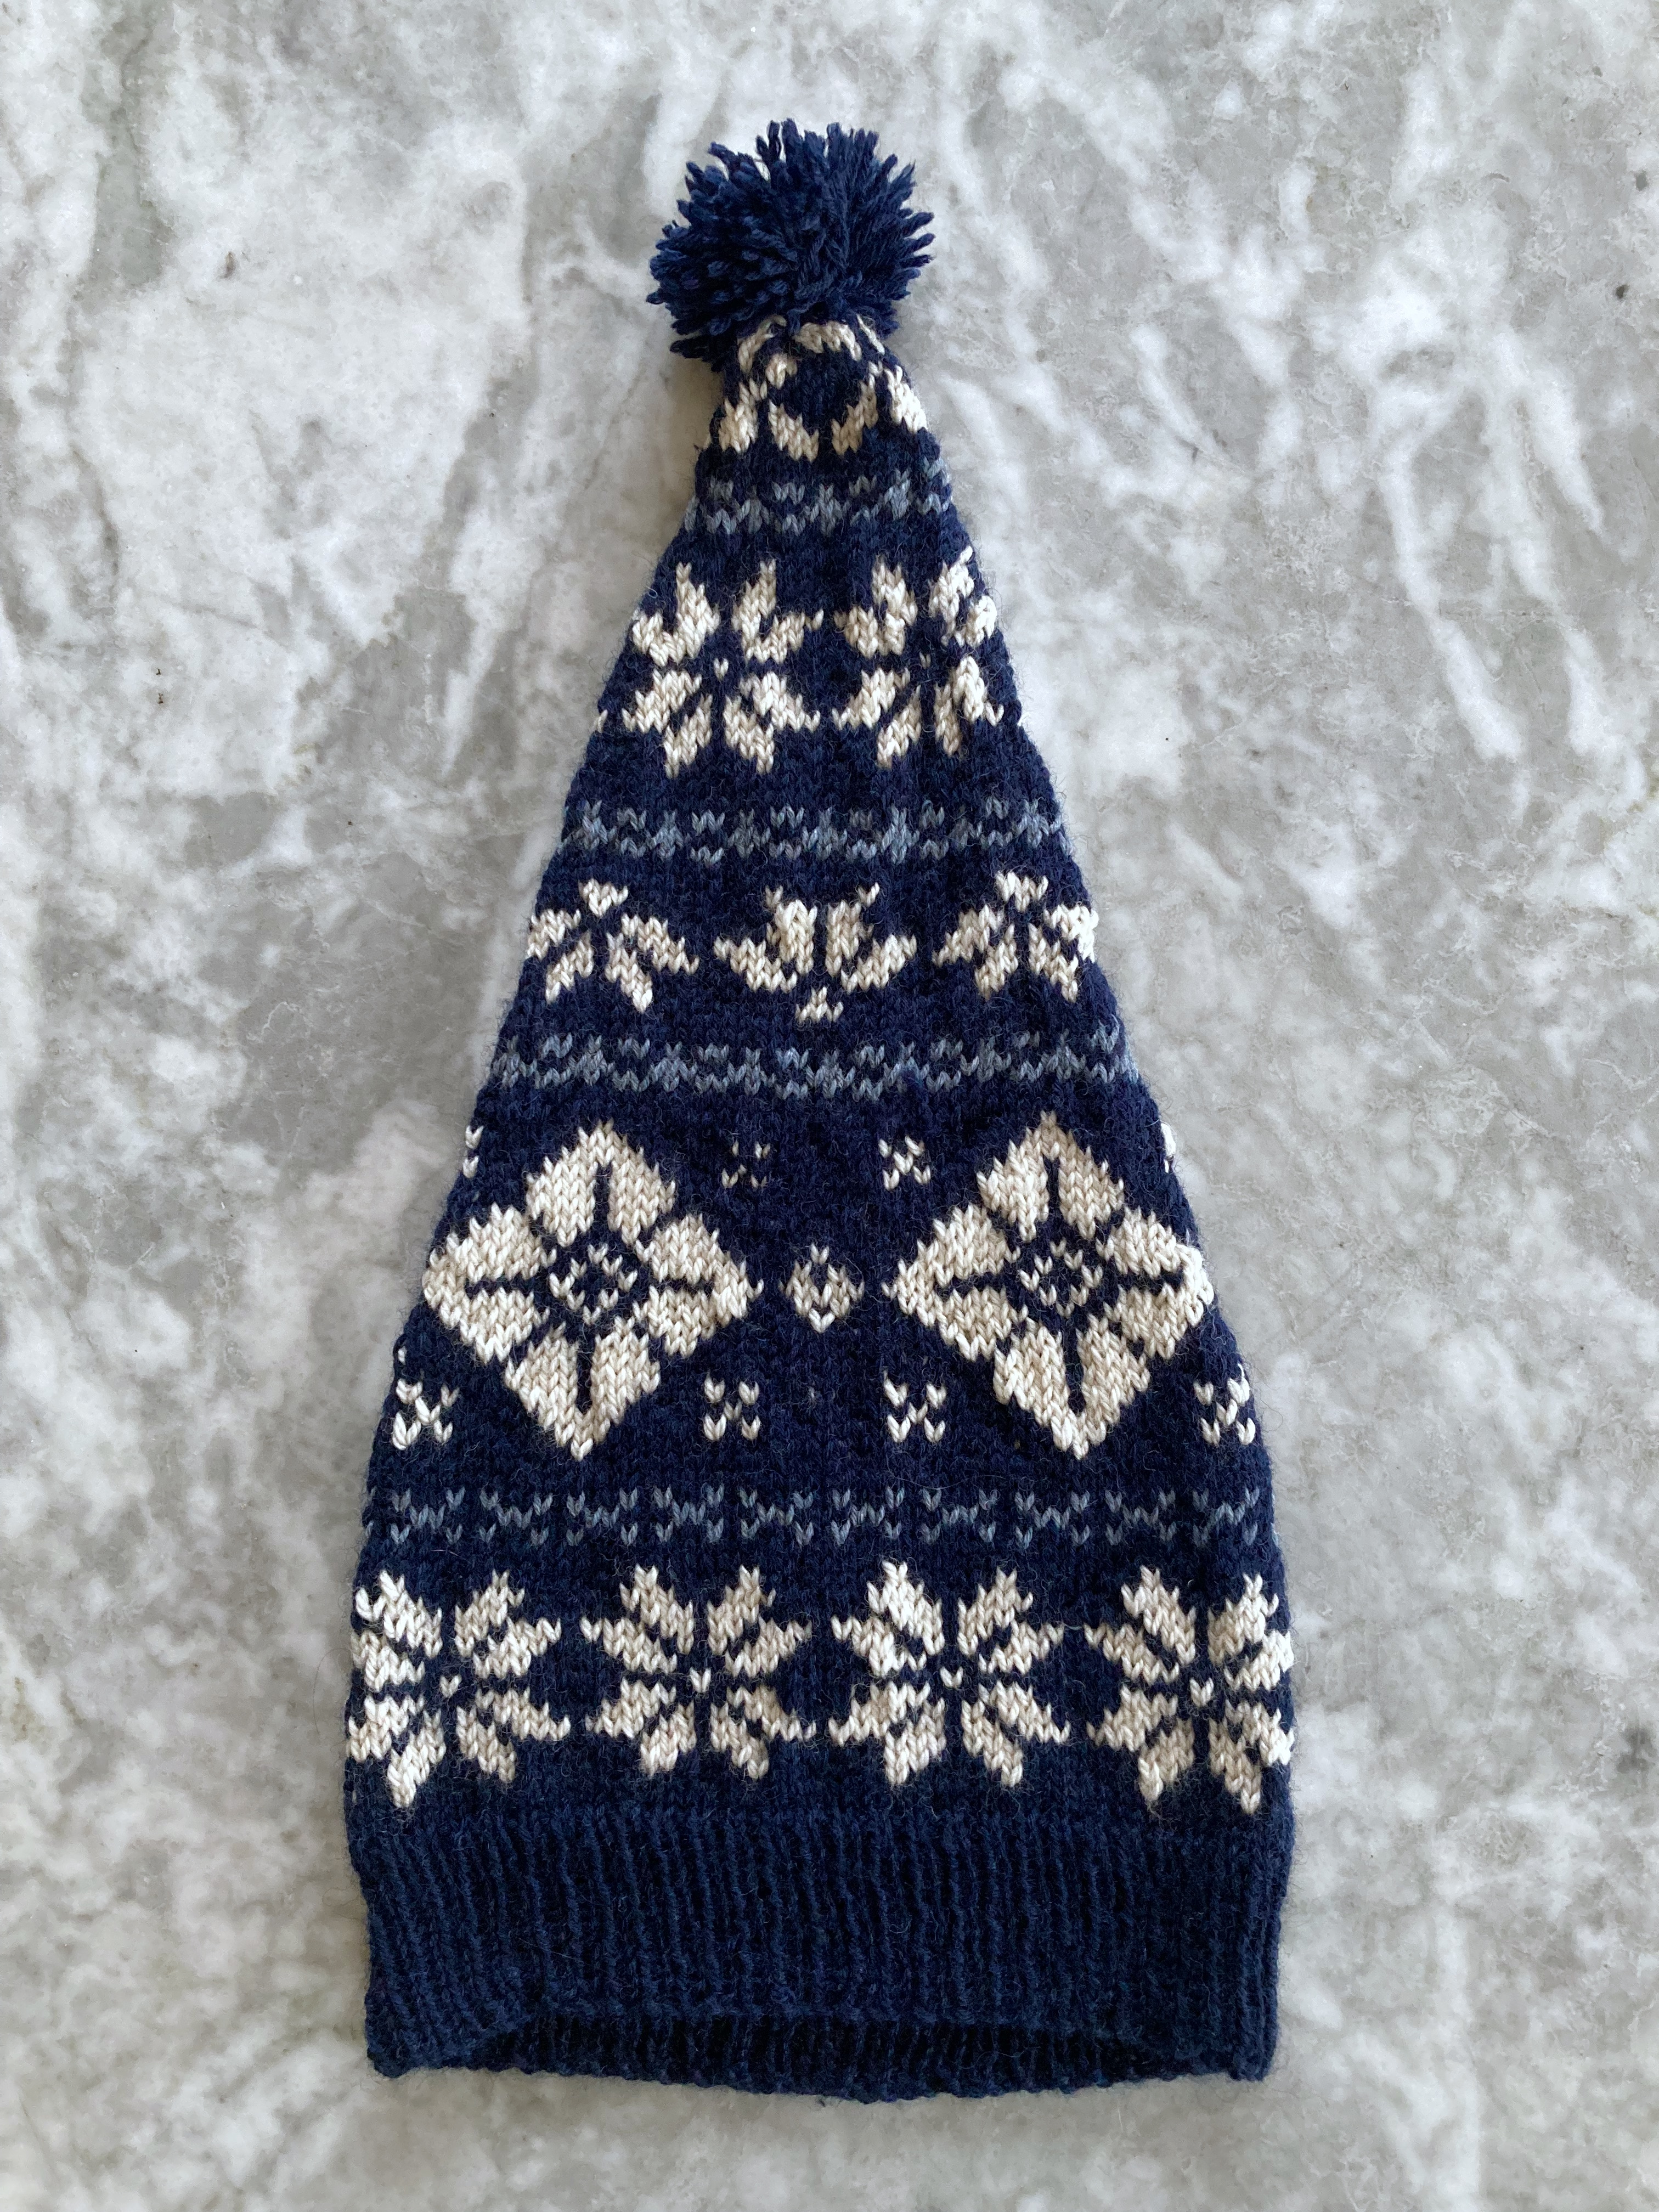
Well — after the first snowflake, it was clear that this hat would not fit any adult head, even that of the friend it was intended for, whose head is quite small. Knitting stranded DK that tightly just made it impossible to stretch, as well. Looking back at the photo, I noticed that the finished hat is just sort of perched on the of the model’s head, not pulled down over her forehead like one would normally wear a hat…! Yeah, 6 stitches to the inch is too tight. So I started over with 4 mm needles for the pattern and 3.5 mm for the ribbing.
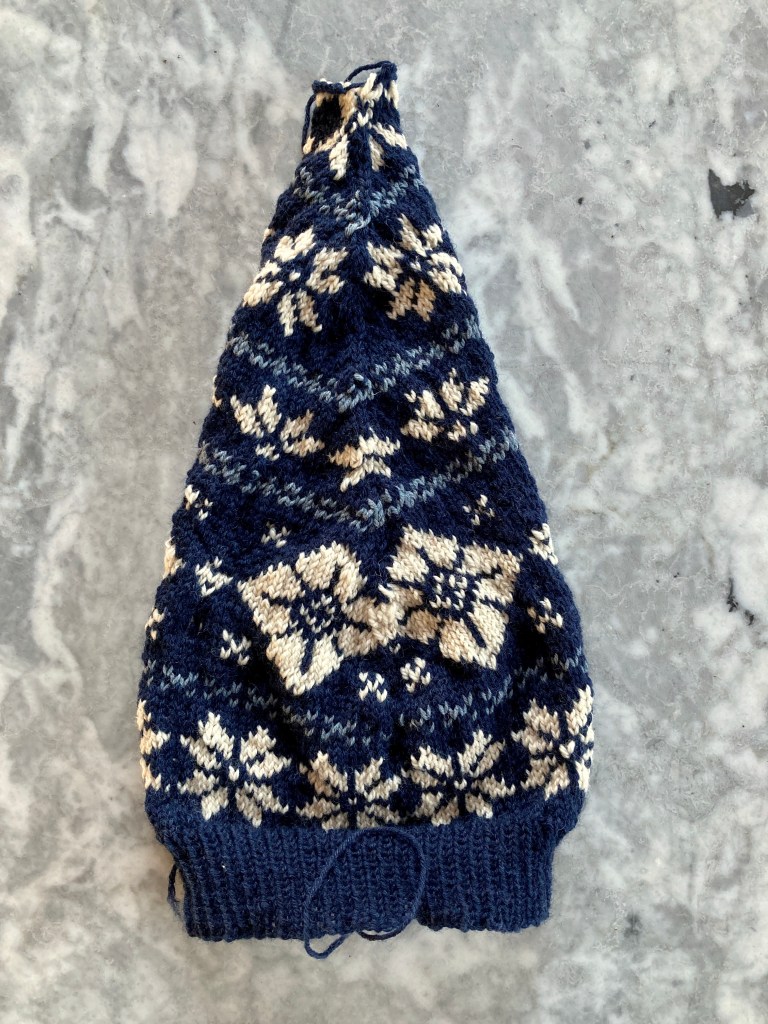
That solved the first problem, but as soon as the large diamond pattern started, I noticed how badly designed the colourwork pattern was. There were huge gaps between colour changes, necessitating weaving-in the wool constantly, and even then, the white wool showed in the gaps. I can’t imagine how this would have worked with stranding bright red behind white! Even worse, the pattern doesn’t match up in any way at the “seam” / round change. The large diamonds just get swallowed into each other like in of all those Netflix opening credits that use mirror effects. I was able to finesse it on the smaller snowflake and the repeat of the medium-size snowflake at the top of the hat, and the back “seam” does get covered by the long upper part of the hat when it fold over, but still, it looks messy.
Starting on the mittens, it became obvious why the hat pattern was so badly designed: The mitten pattern is perfectly centered and balanced and looks fine. There’s no problem with patterns bleeding into each other because the decreases only happen at the top of the fingers, and no big problem with weaving in across the back, because the back-of-the-hand and palm pieces are knitted flat and separately and there is no patterning on the palm, so the pattern motifs are made in sort of stranded intarsia. It seems the designer designed a pattern for mittens and, when instructed to make a matching hat, just extended the pattern out to hat size without much though about pattern placement or correct sizing.

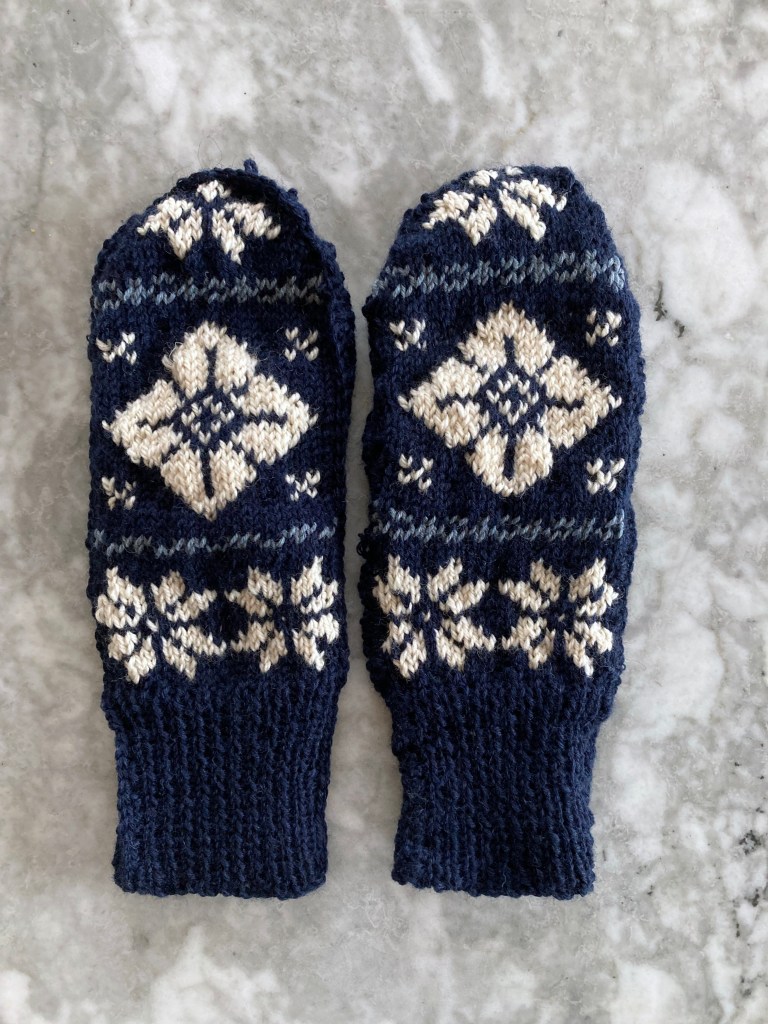
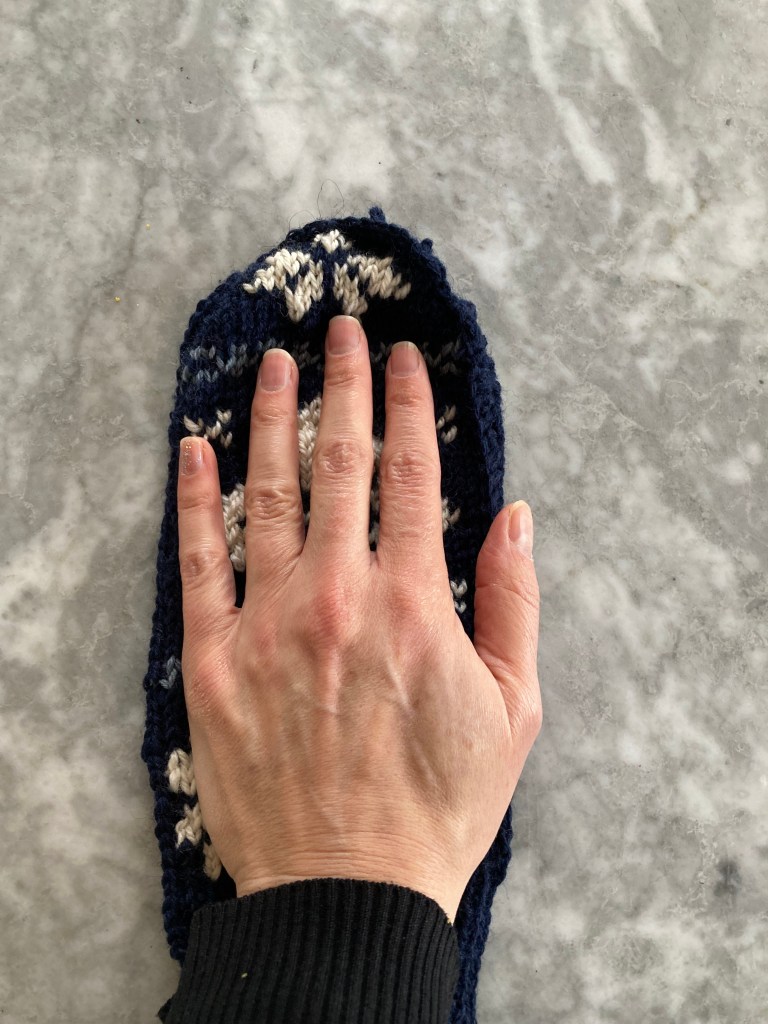
Speaking of sizing, though… The finished mittens were way too long! I have size 8 hands and really long fingers, but even they look stubby on this photo, simply because the mitten length is out of all proportion. Looking at the magazine photo again, I think they are too long for the model’s hands as well. Yes, I should have checked it as I went along, but of course I didn’t, so I only noticed the problem after all the pieces were made and seamed together. (Using a crochet seam as directed in the pattern.) I thought I could block them shorter… Erreur fatal! Blocking not only made no difference in the size, it cemented that crocheted seam so solidly that it was not possible to undo it in order to frog and re-knit the mitten tops in a better size. By the time I was finished “undoing” the first mitten seam, the whole mitten looked like it had been mangled by a dog.
I will give the hat to my friend as intended, as it turned out OK and the weaving-in blotches mostly disappeared after blocking. It does look cute, especially with a pompom on the tip. As for the mittens, I consigned them to the upcycling drawer, as I just didn’t want to deal with them any more.

This project was no fun to knit, but I will call it a learning experience and move on. And I do think my friend will like the hat, at least.
